… otherwise entitled: Further Developments in the Case of the Super-Prolific Citrus Trees
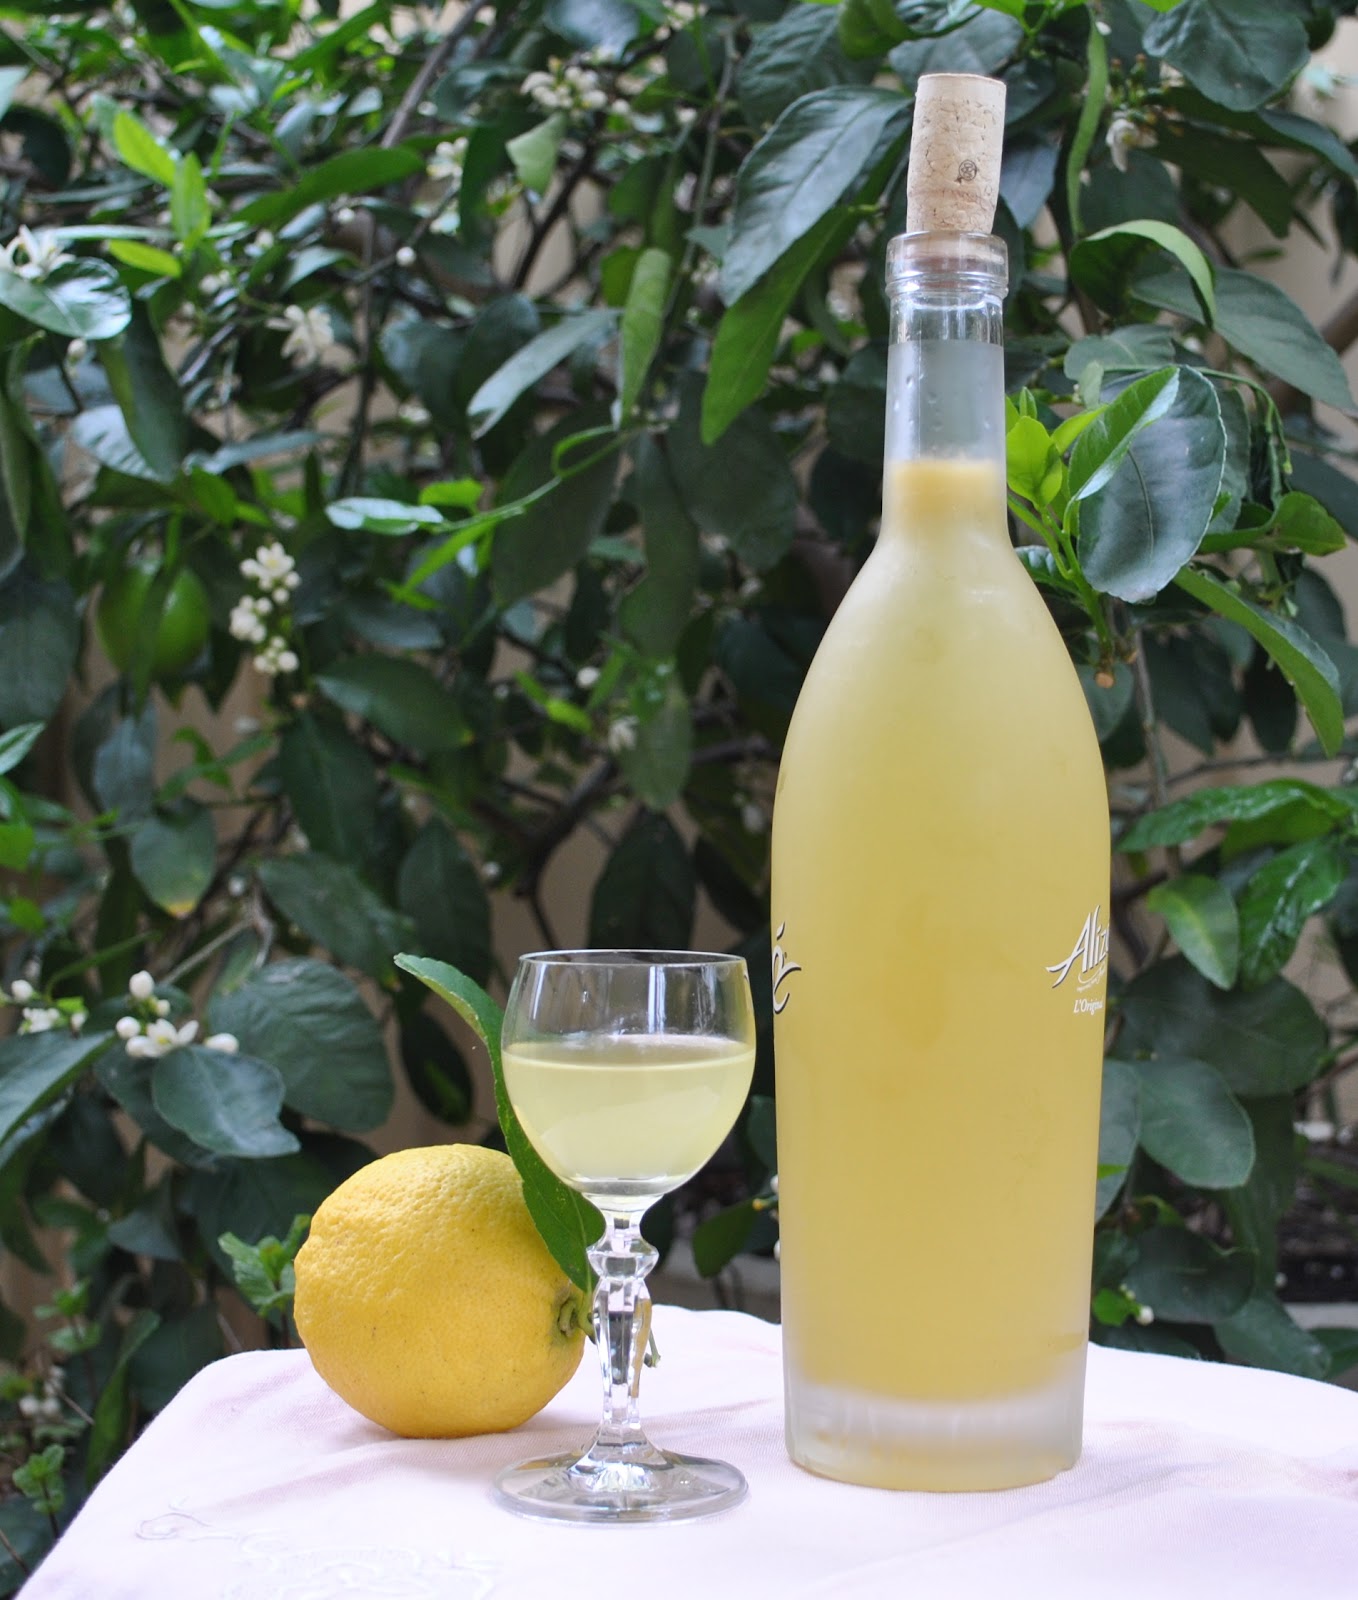
Our lemon tree’s desire to give give give and just keep on giving…. well, I have been doing more good things with our produce 🙂 Limoncello!! Aah, the taste of Italia, si?
And thank you all for those links to recipes for Limoncello, I used this one, the
link sent to me by
Sue, thank you!
Limoncello
6 lemons
750mL vodka
225g sugar
435mL water
Place the lemons in a saucepan and cover with boiling water. Set aside for 1 hour to soak. Drain and pat dry. Finely grate the lemons, and combine the lemon rind and vodka in a jug. (You don’t use the juice from the lemons in this recipe, but obviously the lemons can be juiced and the juice can still be used somewhere; waste not want not 🙂 )
Heat the sugar and water in a saucepan over a low heat, stirring for 5 minutes or until the sugar has dissolved. Increase heat to medium and bring to the boil. Cook without stirring for 5 minutes, or until the syrup begins to thicken. Set aside to cool.
Add cool syrup to the vodka mixture and pour into an airtight container. Seal and store in a cool, dark place, shaking occasionally, for 1 month to develop the flavours.
Strain the vodka mixture through a fine sieve, into a clean sterilised airtight bottle. Discard the rind.
Note: This liqueur must be served well chilled. Place it in the freezer for 1 hour before serving.
We are now
so looking forward to long hot summer evenings taking tiny sips of limoncello in tonic water… I can taste it already. Oh maybe that is because I just did.. hehehe 😀
And remember
my plan to drink a-lemon-a-day?? well I am very pleased to report that I have not been sick or felt even vaguely under the weather all this winter! I’m positive that has been due to my (almost) daily dose of Vitamin C! My family likewise has been perfectly well all winter, which is awesome.
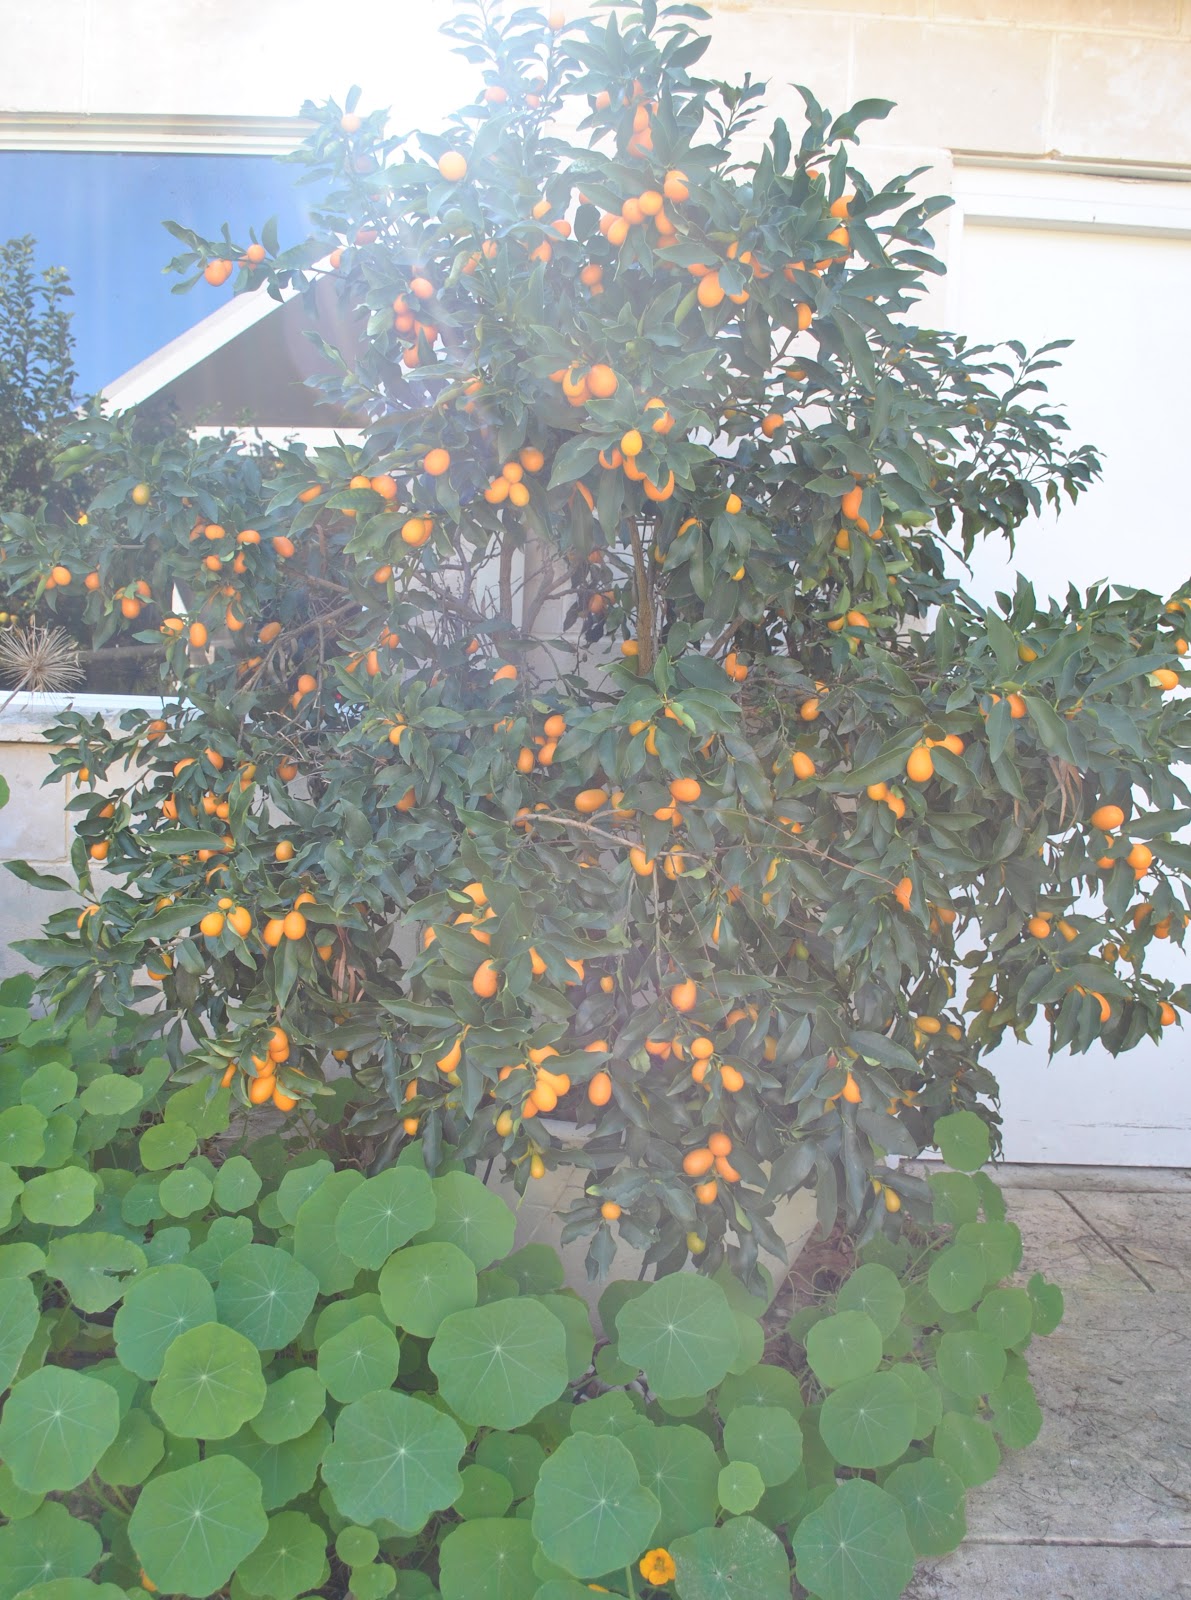
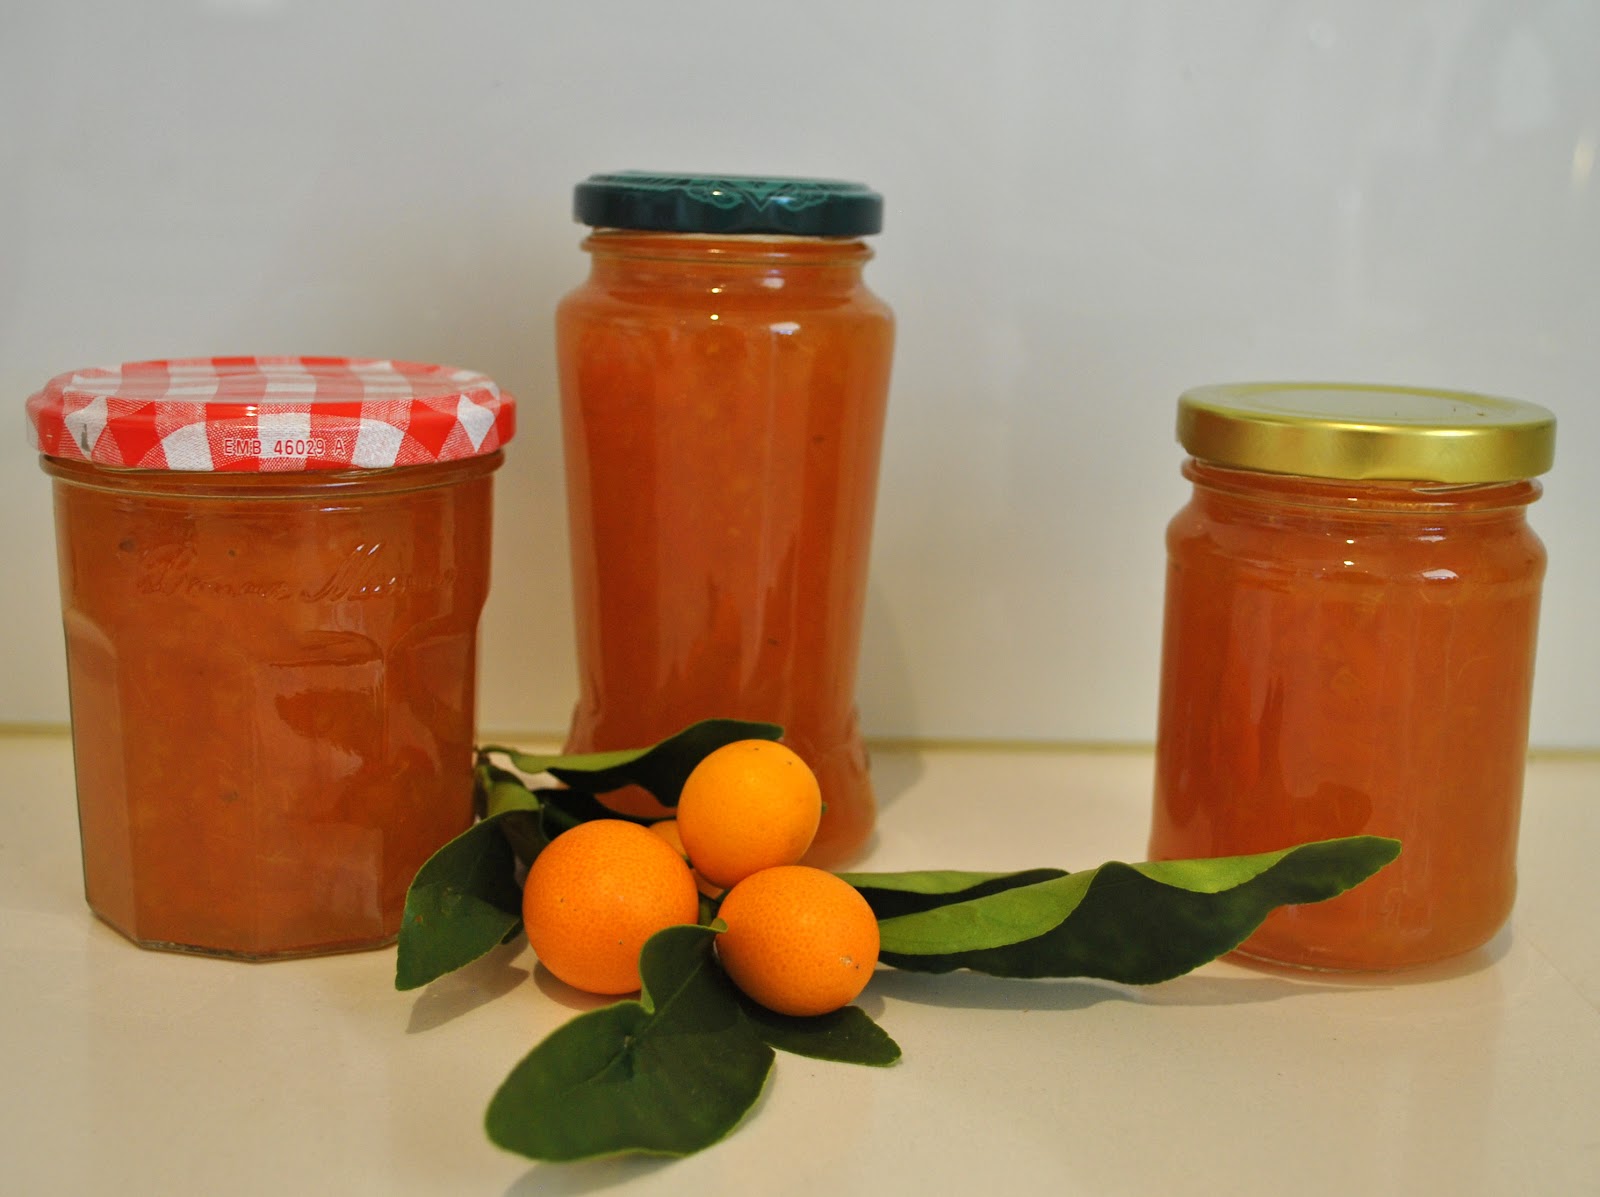
From our cumquat tree:
Cumquat marmalade
2 cups cumquats, washed and sliced finely
2 cups water
juice of 1 lemon
2 cups sugar
if you have bumper crops of cumquats, double the quantities
Wash and slice fruit finely and remove the seeds, but don’t throw them away.
Place the fruit in a large saucepan, cover with water and soak overnight (8 hours). Put the seeds in a separate small bowl and soak in a small amount of boiling water overnight also.
Next day, strain the liquid from the seeds. Discard the seeds and add the water to the cumquats. Cook gently on a low heat until the fruit is tender and the liquid is reduced by half.
Add the sugar and lemon juice. When the sugar has dissolved, turn up the heat and boil rapidly while stirring constantly until the mixture jells, around 30-45 minutes.
To test if the marmalade is jelling, spoon a little onto a cold saucer. if a skin forms and it glazes on the surface and wrinkles when touched, it is ready. If it is still runny, boil for a little longer and test again.
That recipe is from an old Burke’s Backyard facts sheet. Slicing the cumquats is fiddly and a bit of a pain, but I just set myself up in front of the TV and knocked off a huge batch over one evening.
(Later edit: I’ve had enough comments utilising a variety of different spellings for me to wish to confirm that “cumquats” with a “c” IS the correct spelling here in Australia 🙂 )
I neglected to mention it previously, but we have a little lime tree as well (pictured in the background of my limoncello above) and it too has been gallantly producing a bountiful harvest… so:
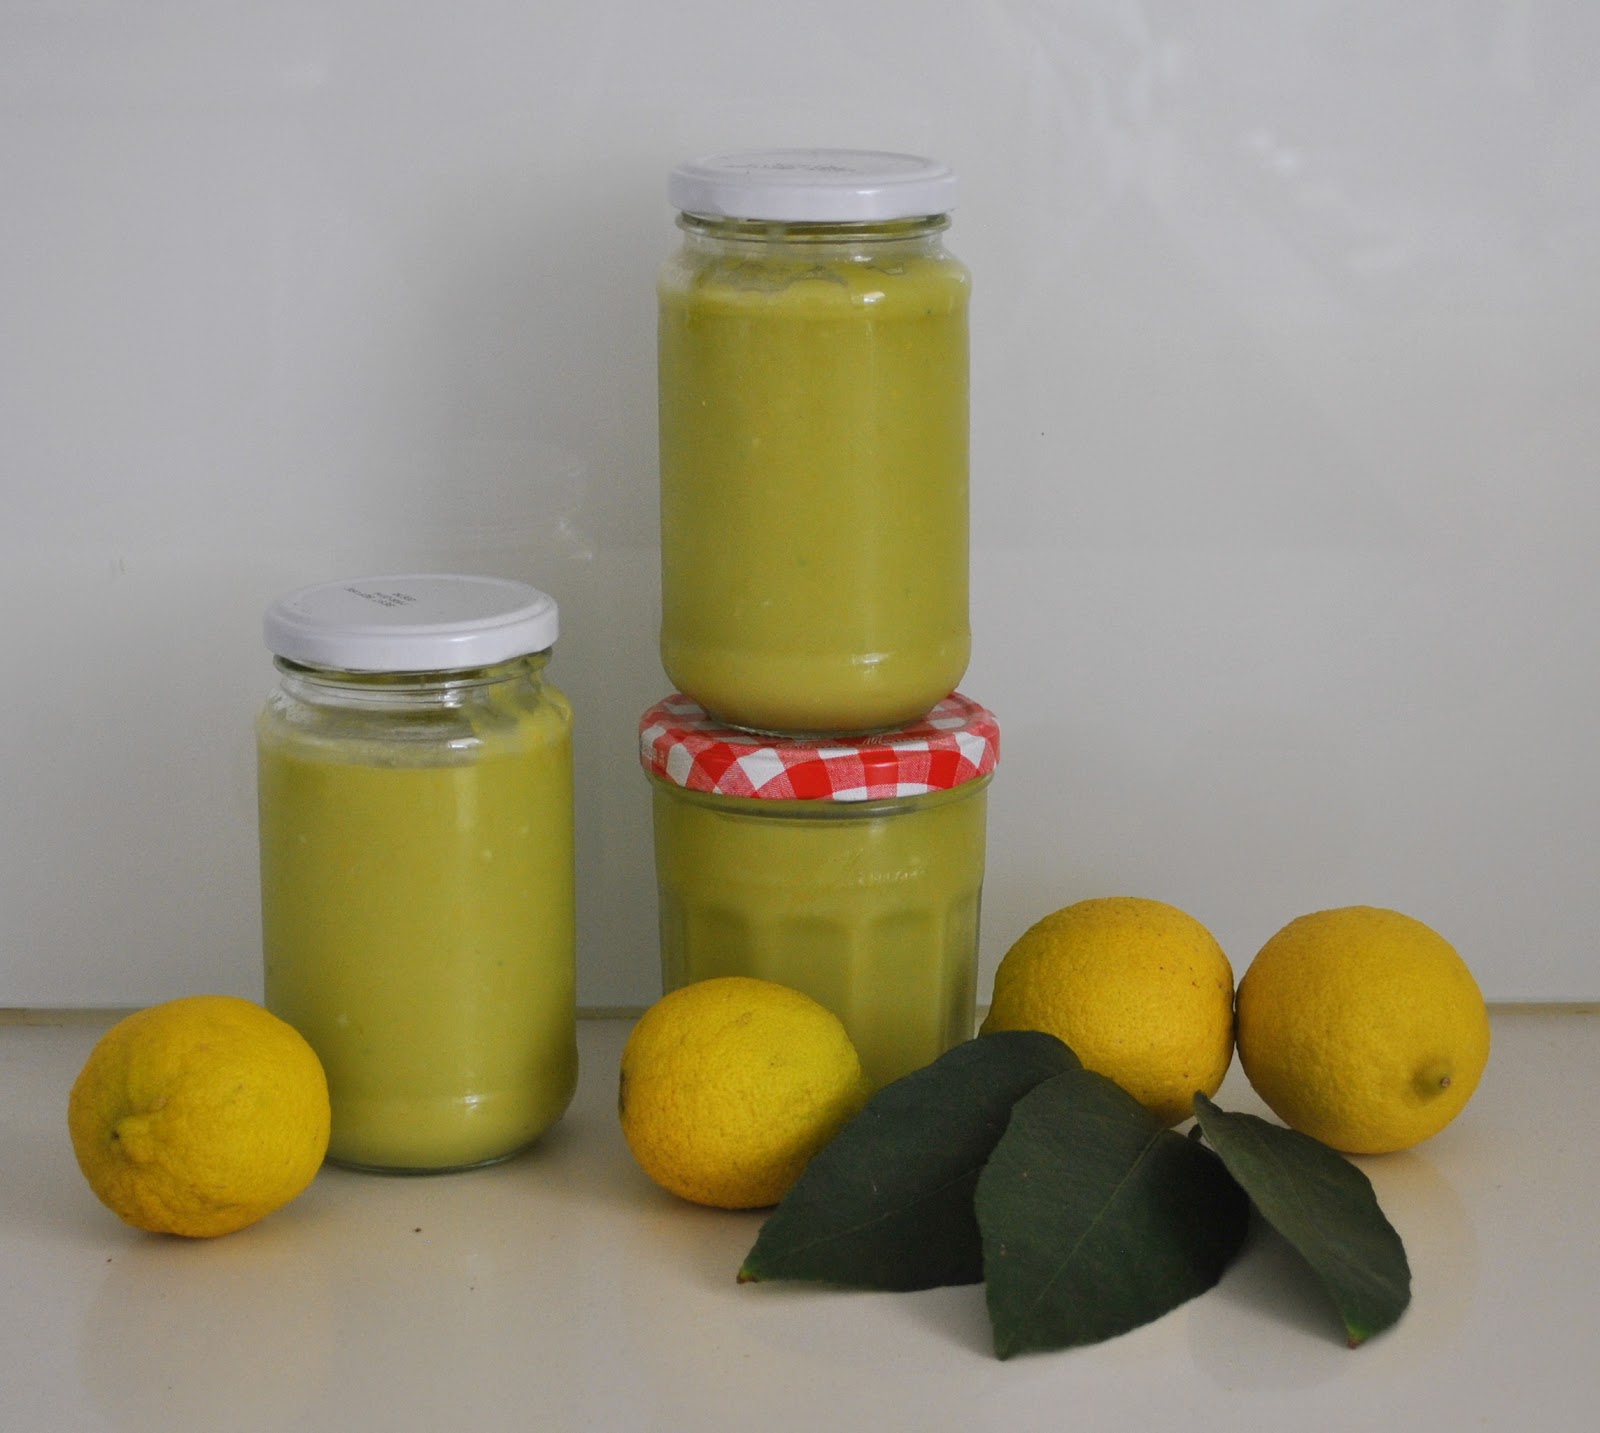
Lime curd
rind and juice of 5 limes
6 eggs
1 1/2 c sugar
125g butter
Lightly whisk the eggs and sugar together in a saucepan, then add the other ingredients. Whisk continually over a medium heat until the mixture has thickened to a custard-like texture then allow to cool in the pan. Decant into sterilised jars.
This is the same recipe I used for my lemon curd just with one extra lime added in, since the limes are a little smaller than the lemons. I also added a titch of green food colouring to distinguish it from the lemon curd, but I think this could have been a bad idea. According to my family it looks like jars of slime.
Oh. Mmmm. Right. Not such a hugely appetising description, mebbee?! Previously it was a perfectly delectable shade of yellow. So I would NOT recommend the green food colouring 🙂
But whilst it may look slightly dubious I can assure you it still tastes absolutely delicious! I think I like it even more than the lemon curd!
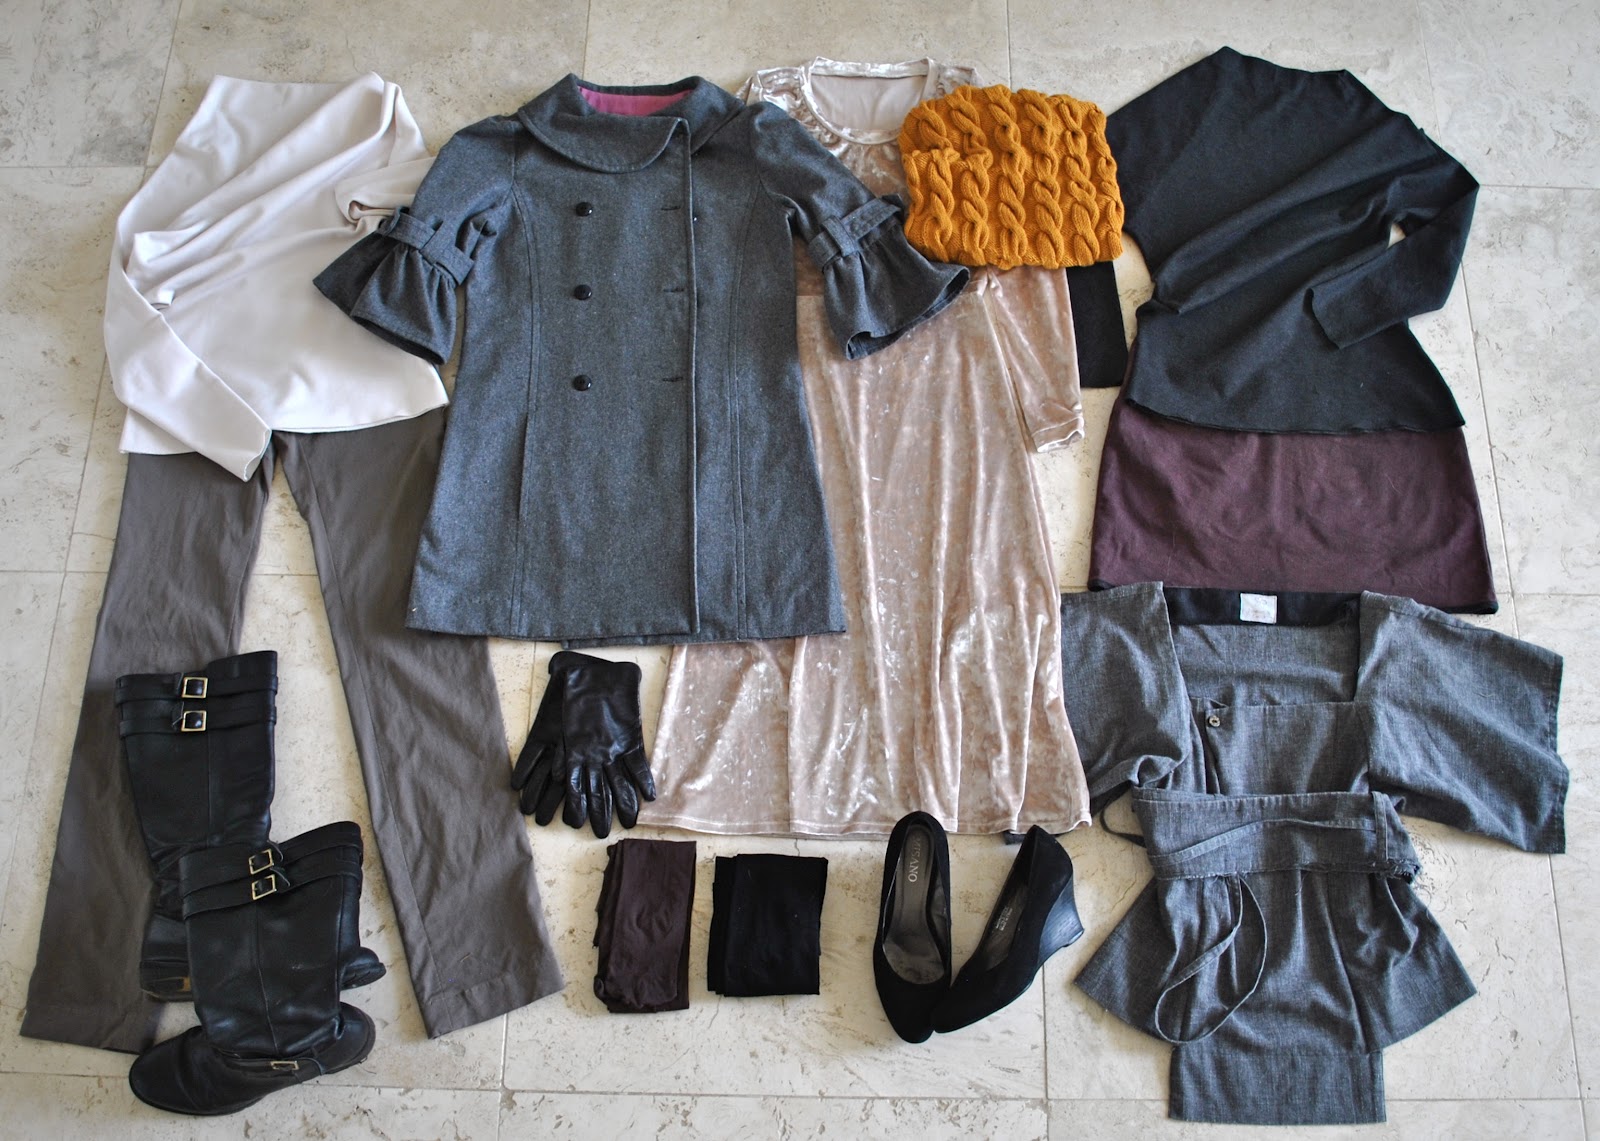
Finally, boring (sorry) but here are my additions for August
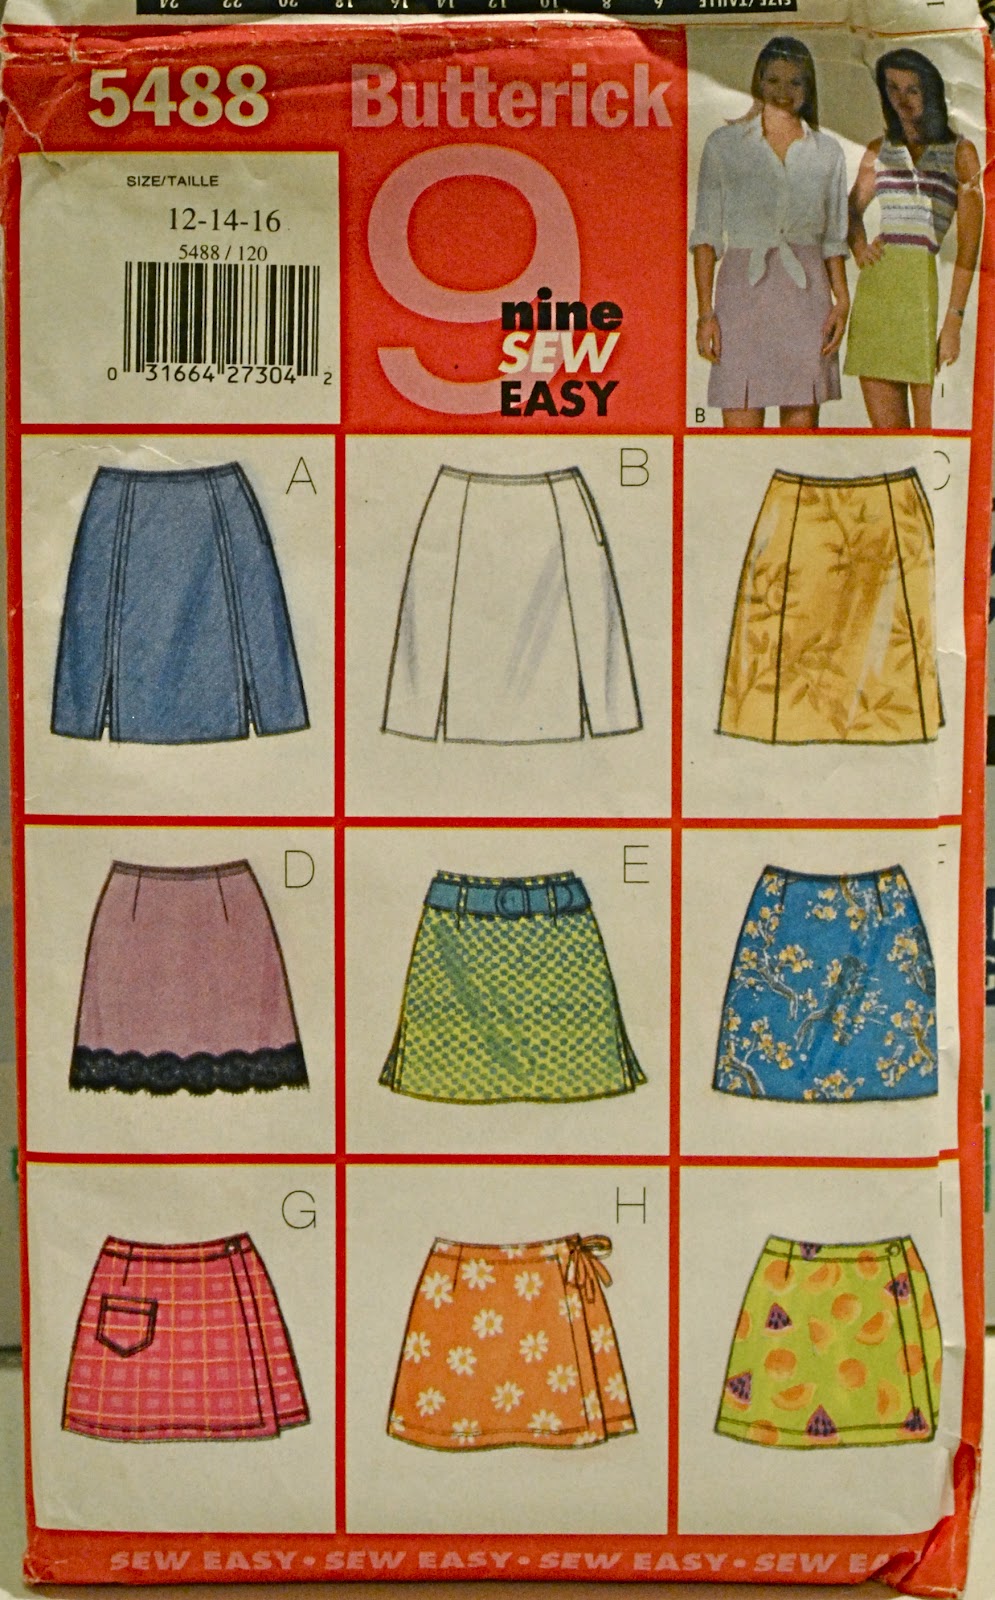
Fabric; $5.00
Patterns; KwikSew 3300
$11.75 and McCalls 2772, used previously
Underwires; $2.49
Cup inserts; $12.95
Bra closure;
$2.49
Elastic; $7.98
Buttons; old, from stash
Total cost: $41.66
Fabric; white Tshirts;
fabric previously accounted for, striped Tshirt and sleeve Tshirt, all
refashioned old garments and leftovers
Pattern; self drafted
Total cost for the 4
Tshirts: free
Fabric; birthday gift from
friends
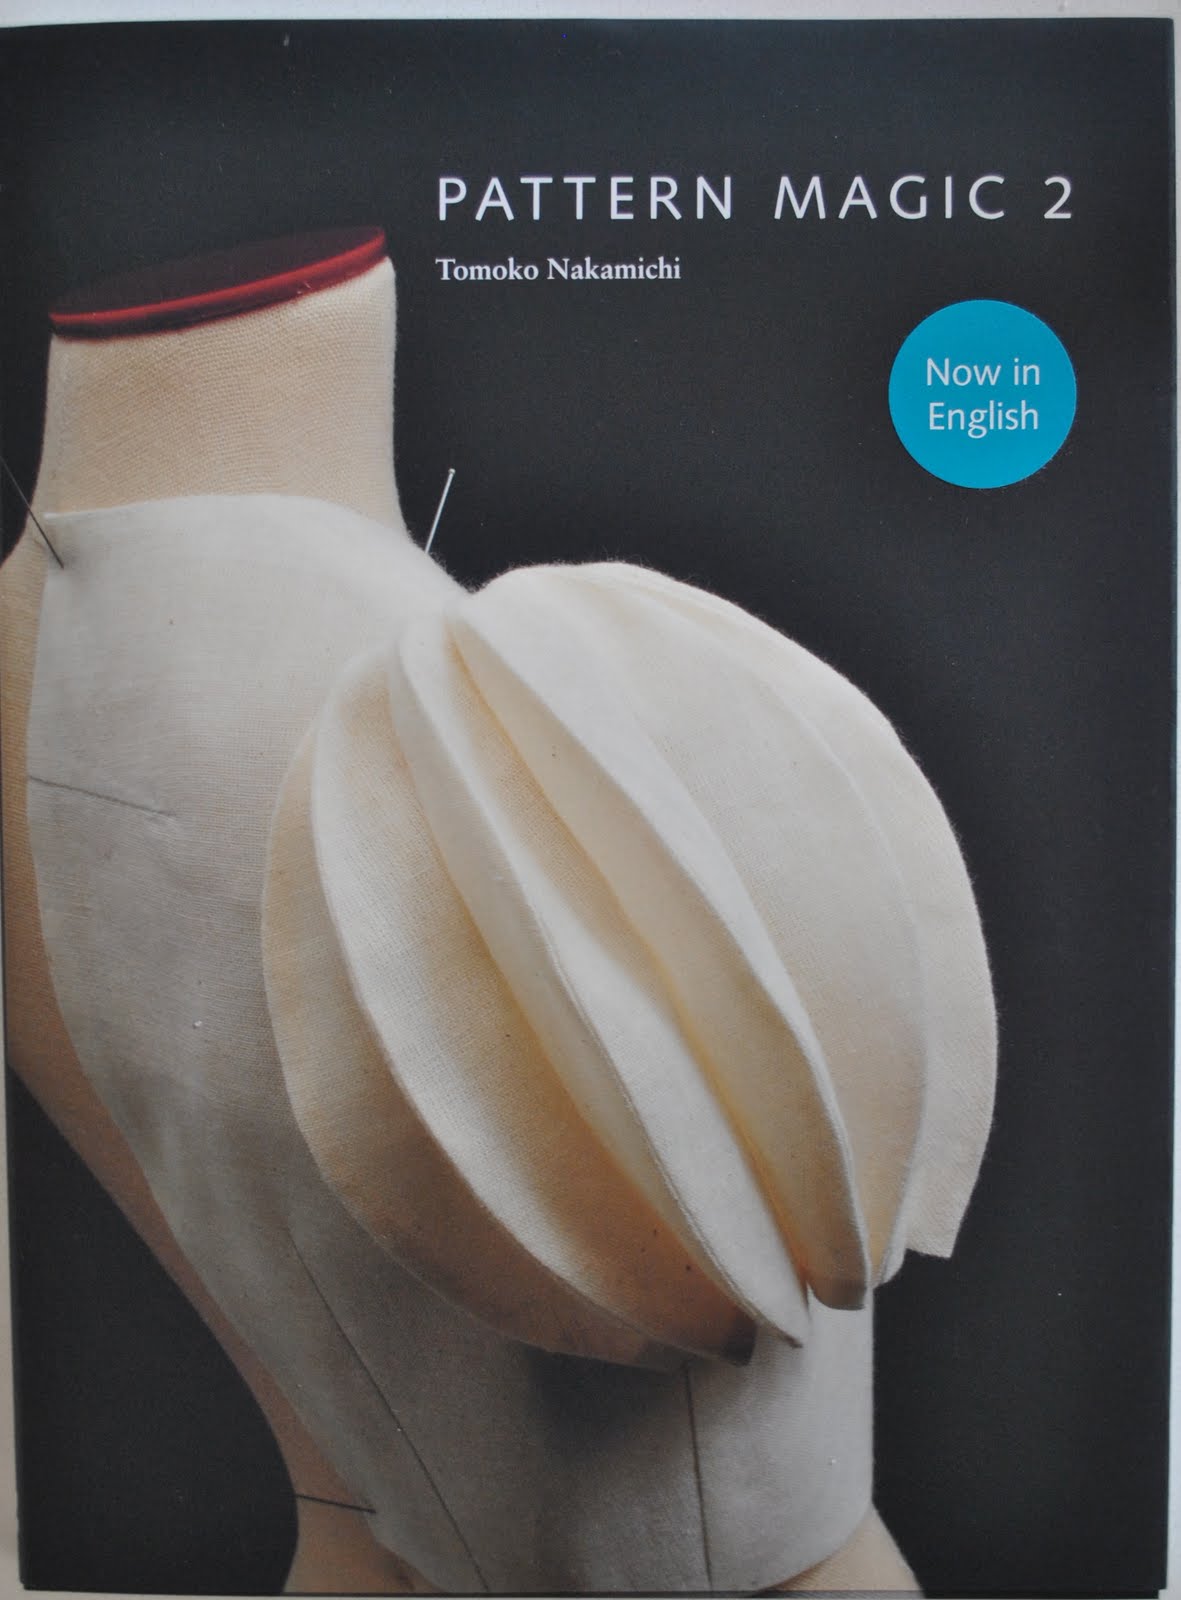
Pattern; from Pattern Magic
3, been used before
Total cost: free
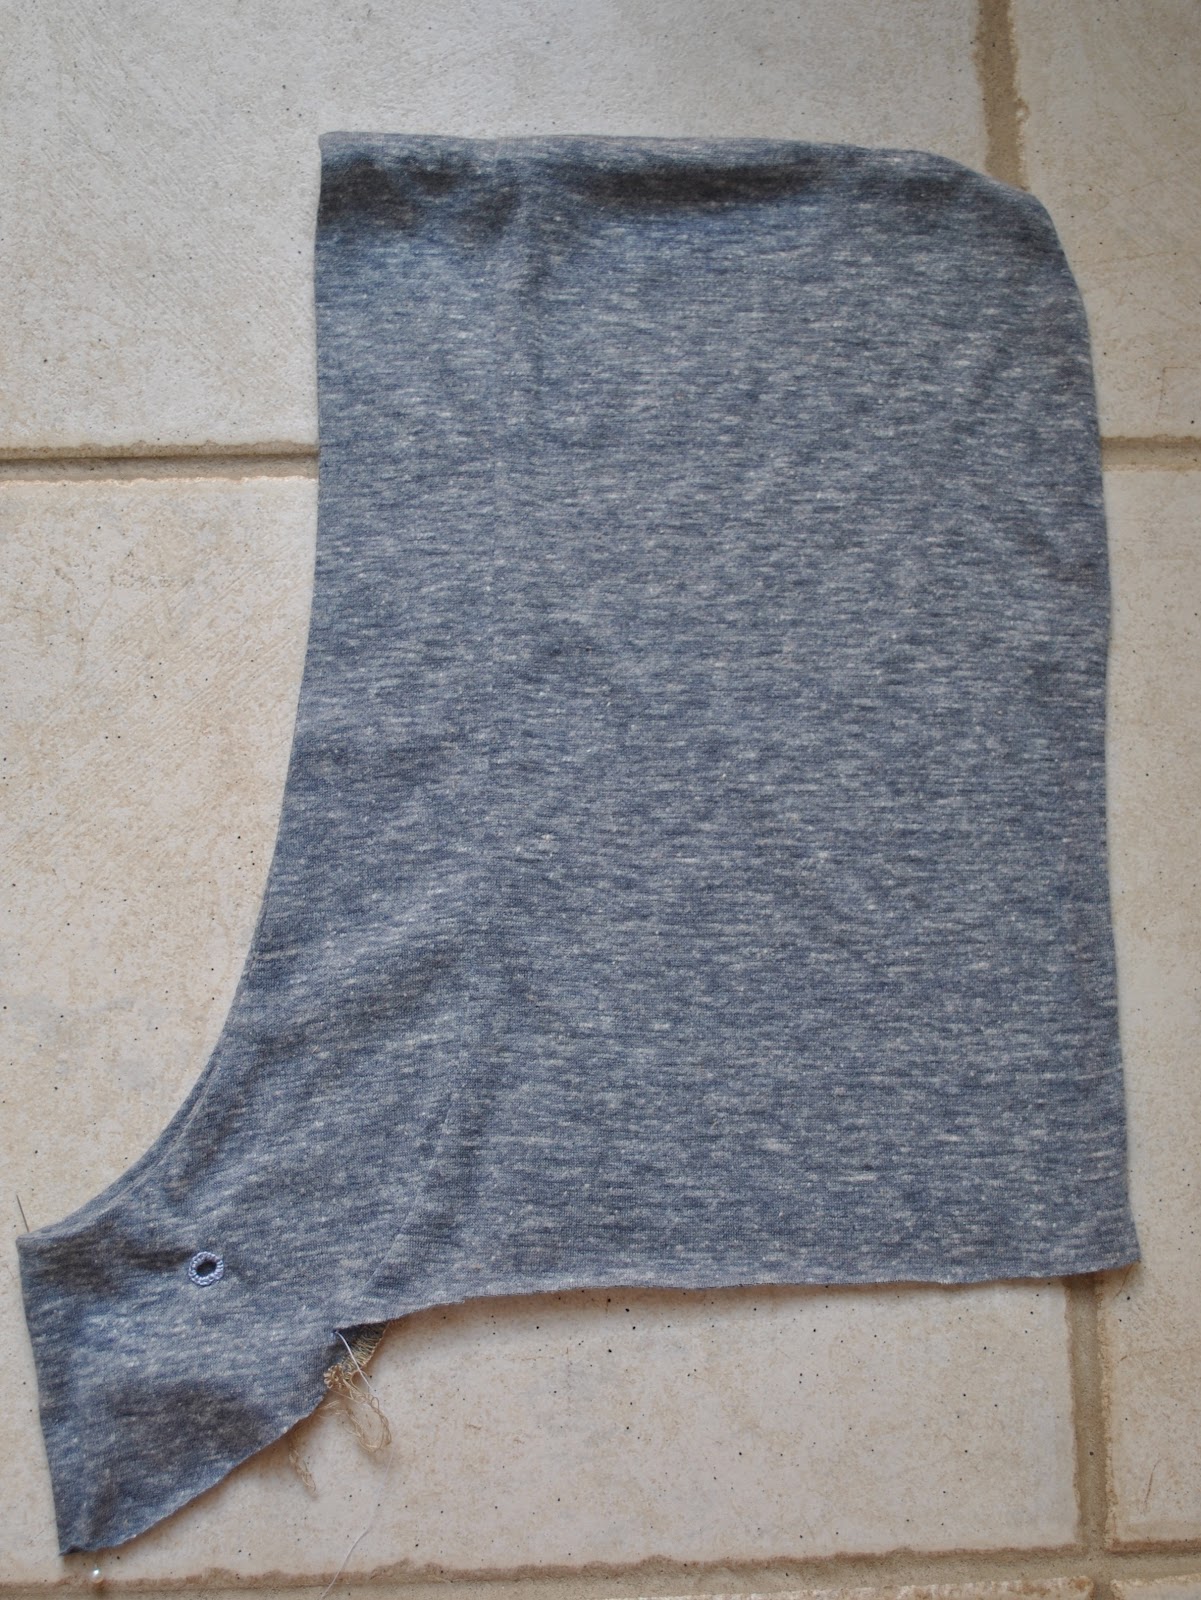
Fabric; from an old cardigan
and Tshirt
Zip; $2.99
Thread; $2.68
Total cost: $5.67
Fabric; $7.50
Patterns; KwikSew 3300 and
McCalls 2772, both used previously
Underwires; recycled from
old bra
Cup inserts; $12.95
Bra closure;
$2.49
Elastic; $2.99
Embroidery thread; old, from stash
Total cost: $25.93
Fabric; $37.48
Thread; broke into a new
1000m reel of black $13.95
Pattern; self drafted
Total cost: $51.43 (but I am not including this cost in the total for my own wardrobe)
Fabric; about $50.00?
Yellow
jersey; $12.00
Pattern;
self-drafted
Brass
Snaps; $4.95
Total
cost; $66.95
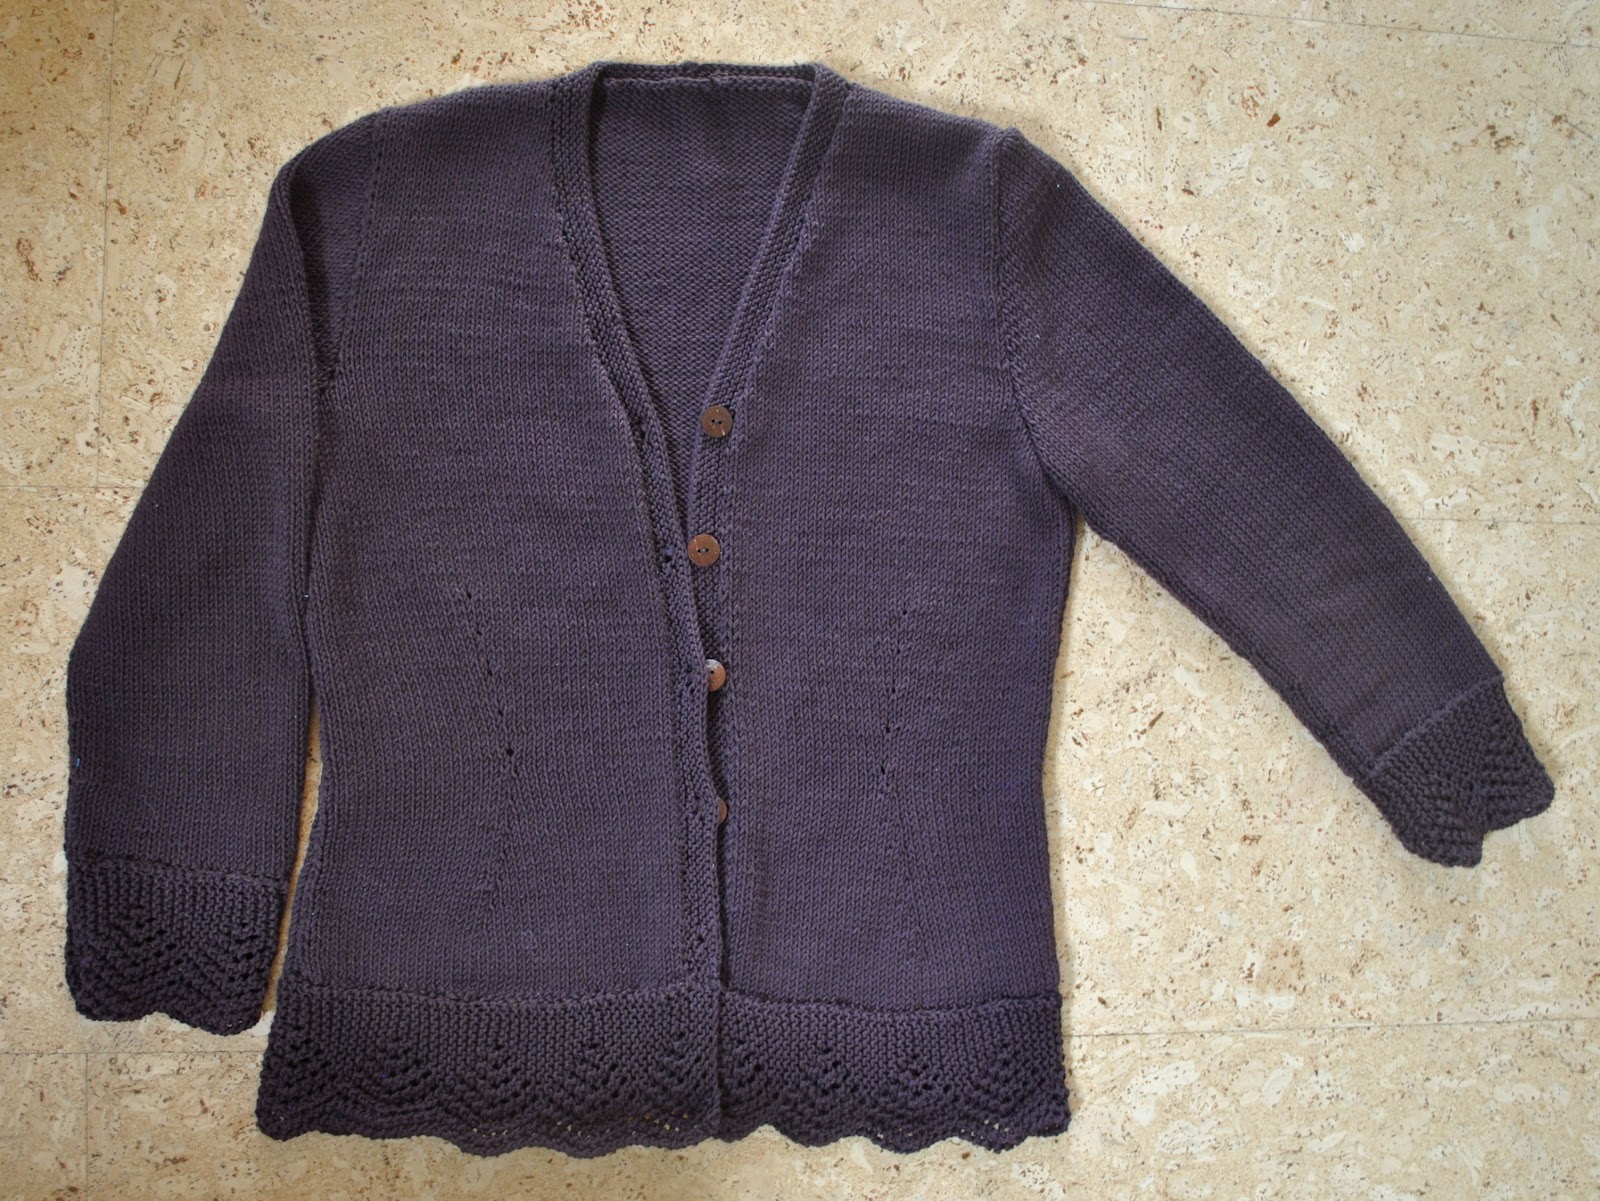
Fabric;
all leftovers
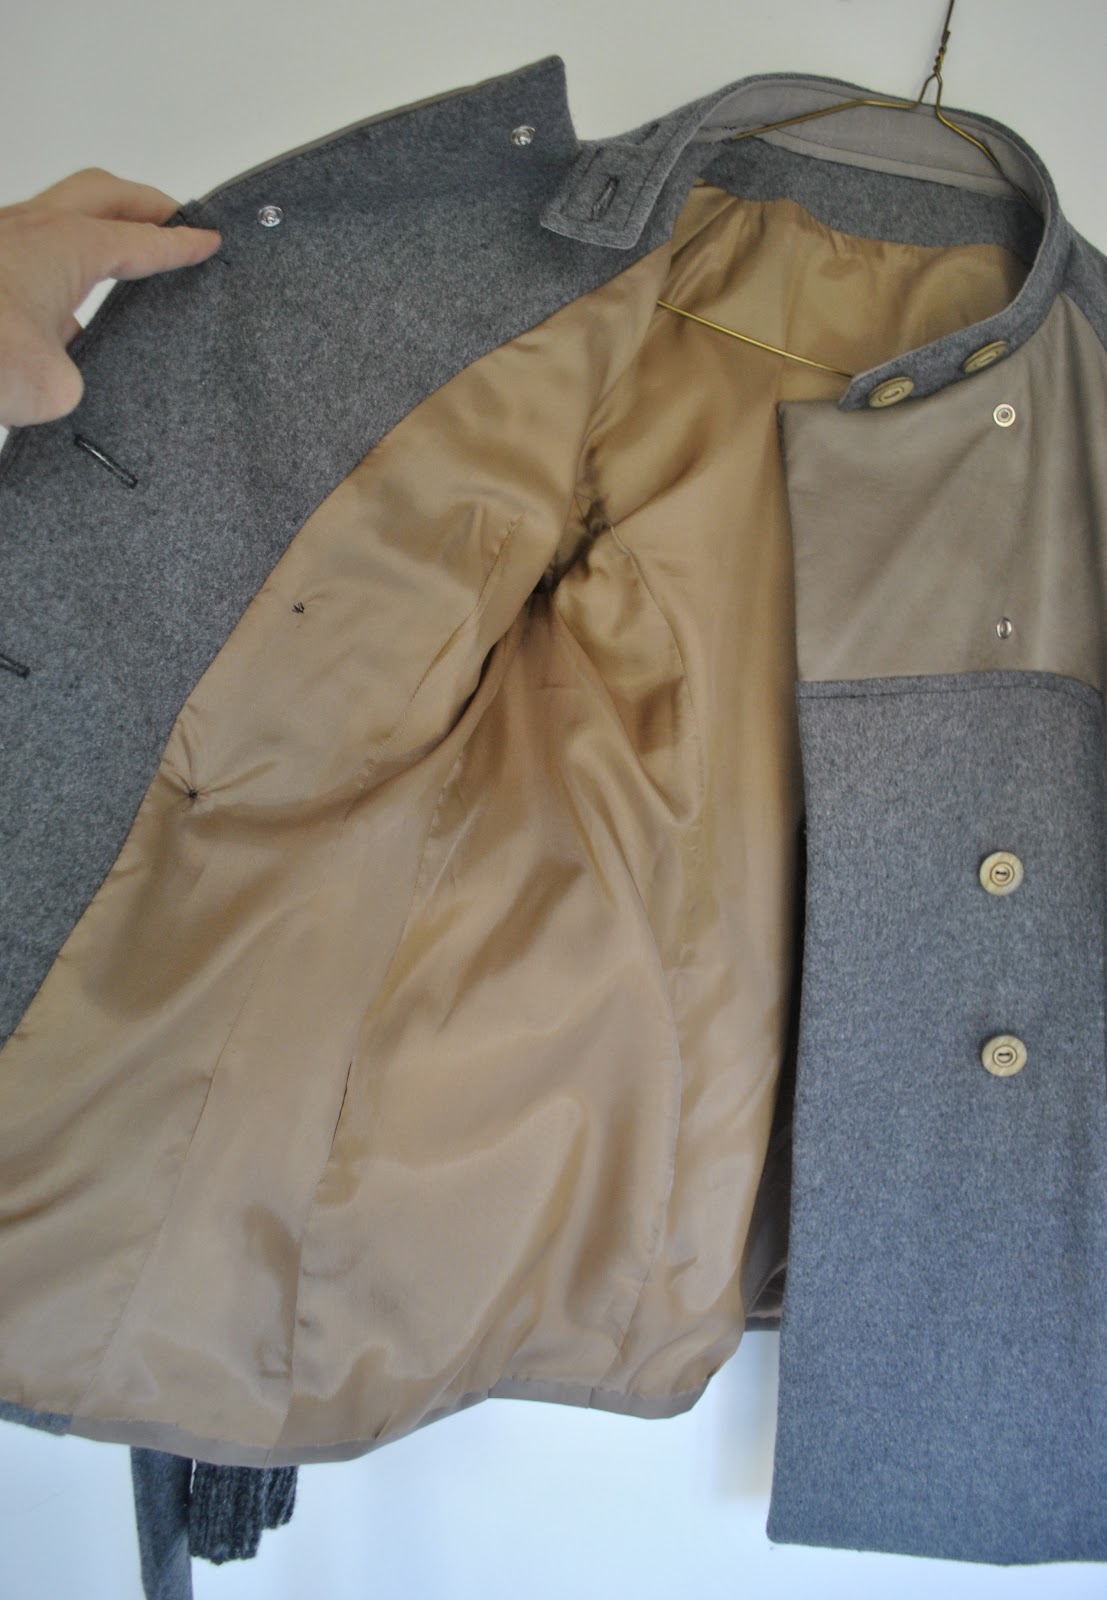
Lining;
$8.39
Pattern;
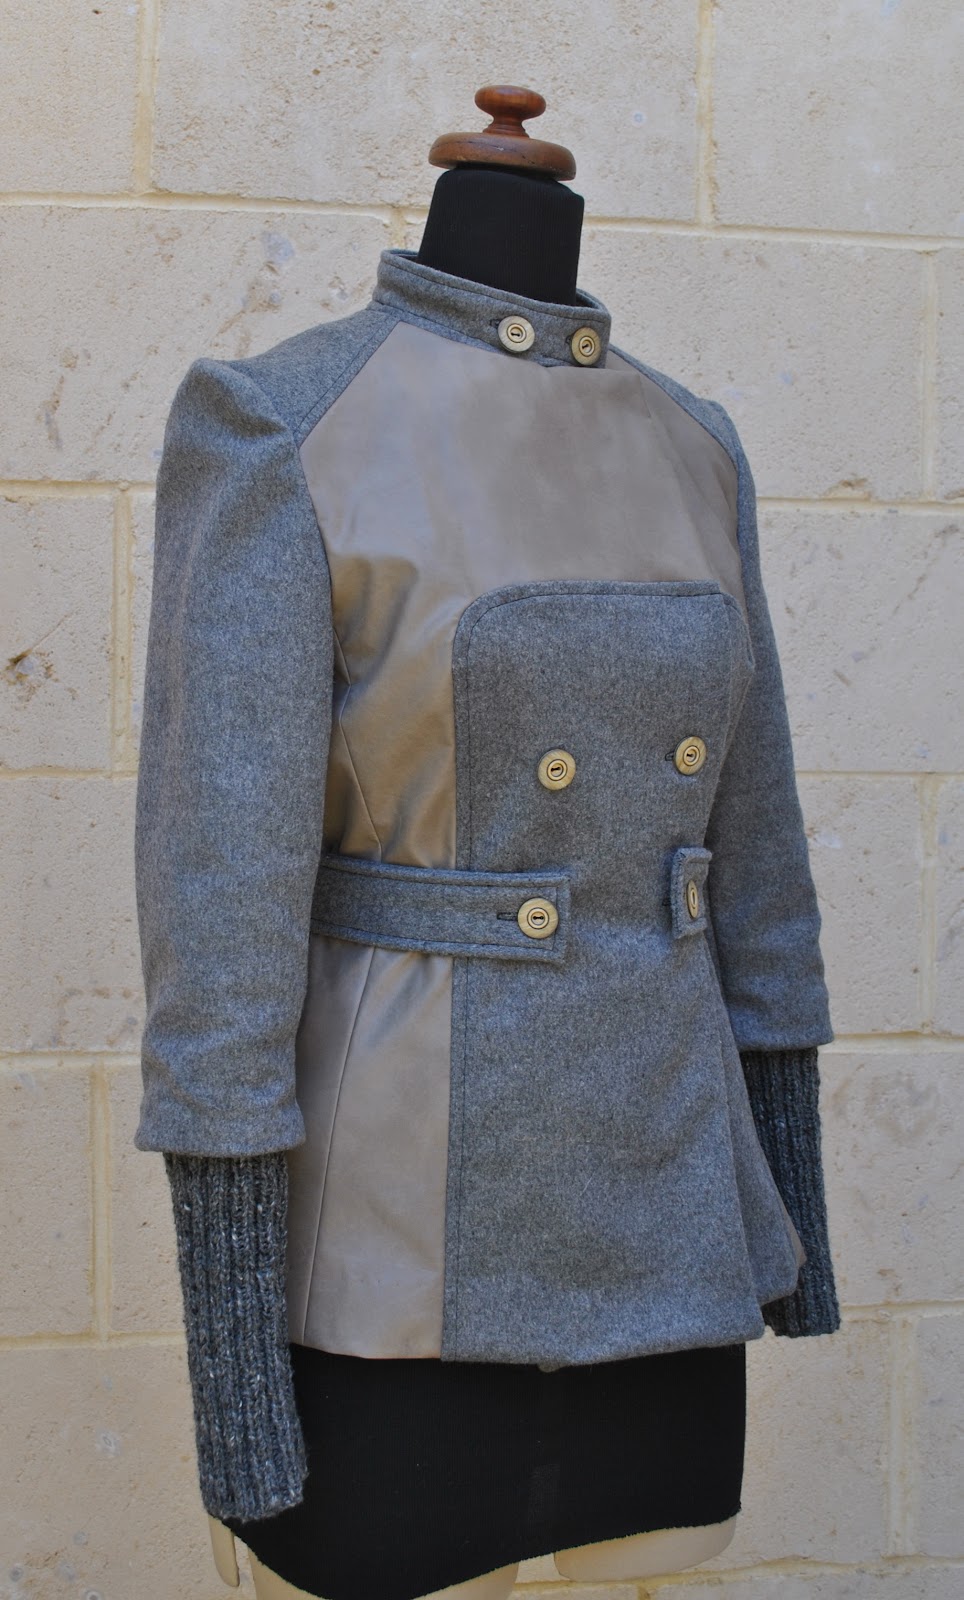
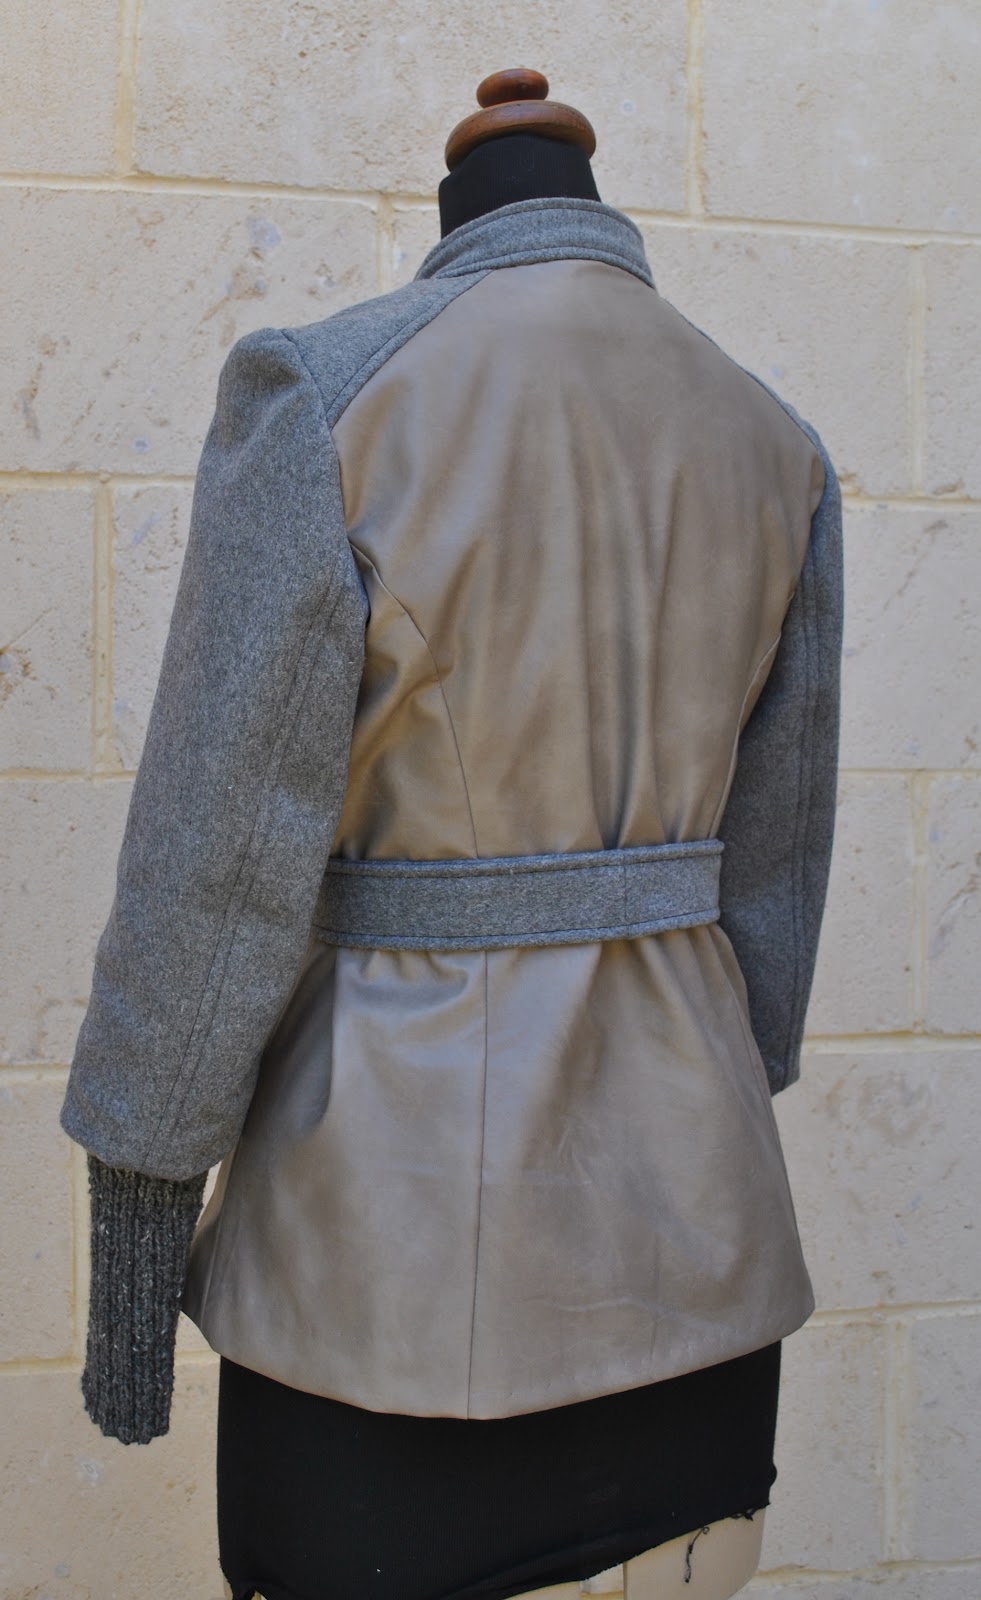
from the Pattern Pyramid… free
Buttons;
$5.70
Total
cost; $14.09
Miscellaneous
No miscellaneous purchases
this month
Making the total for the second third of the year; $499.02
and my running total for the year so far $1132.06


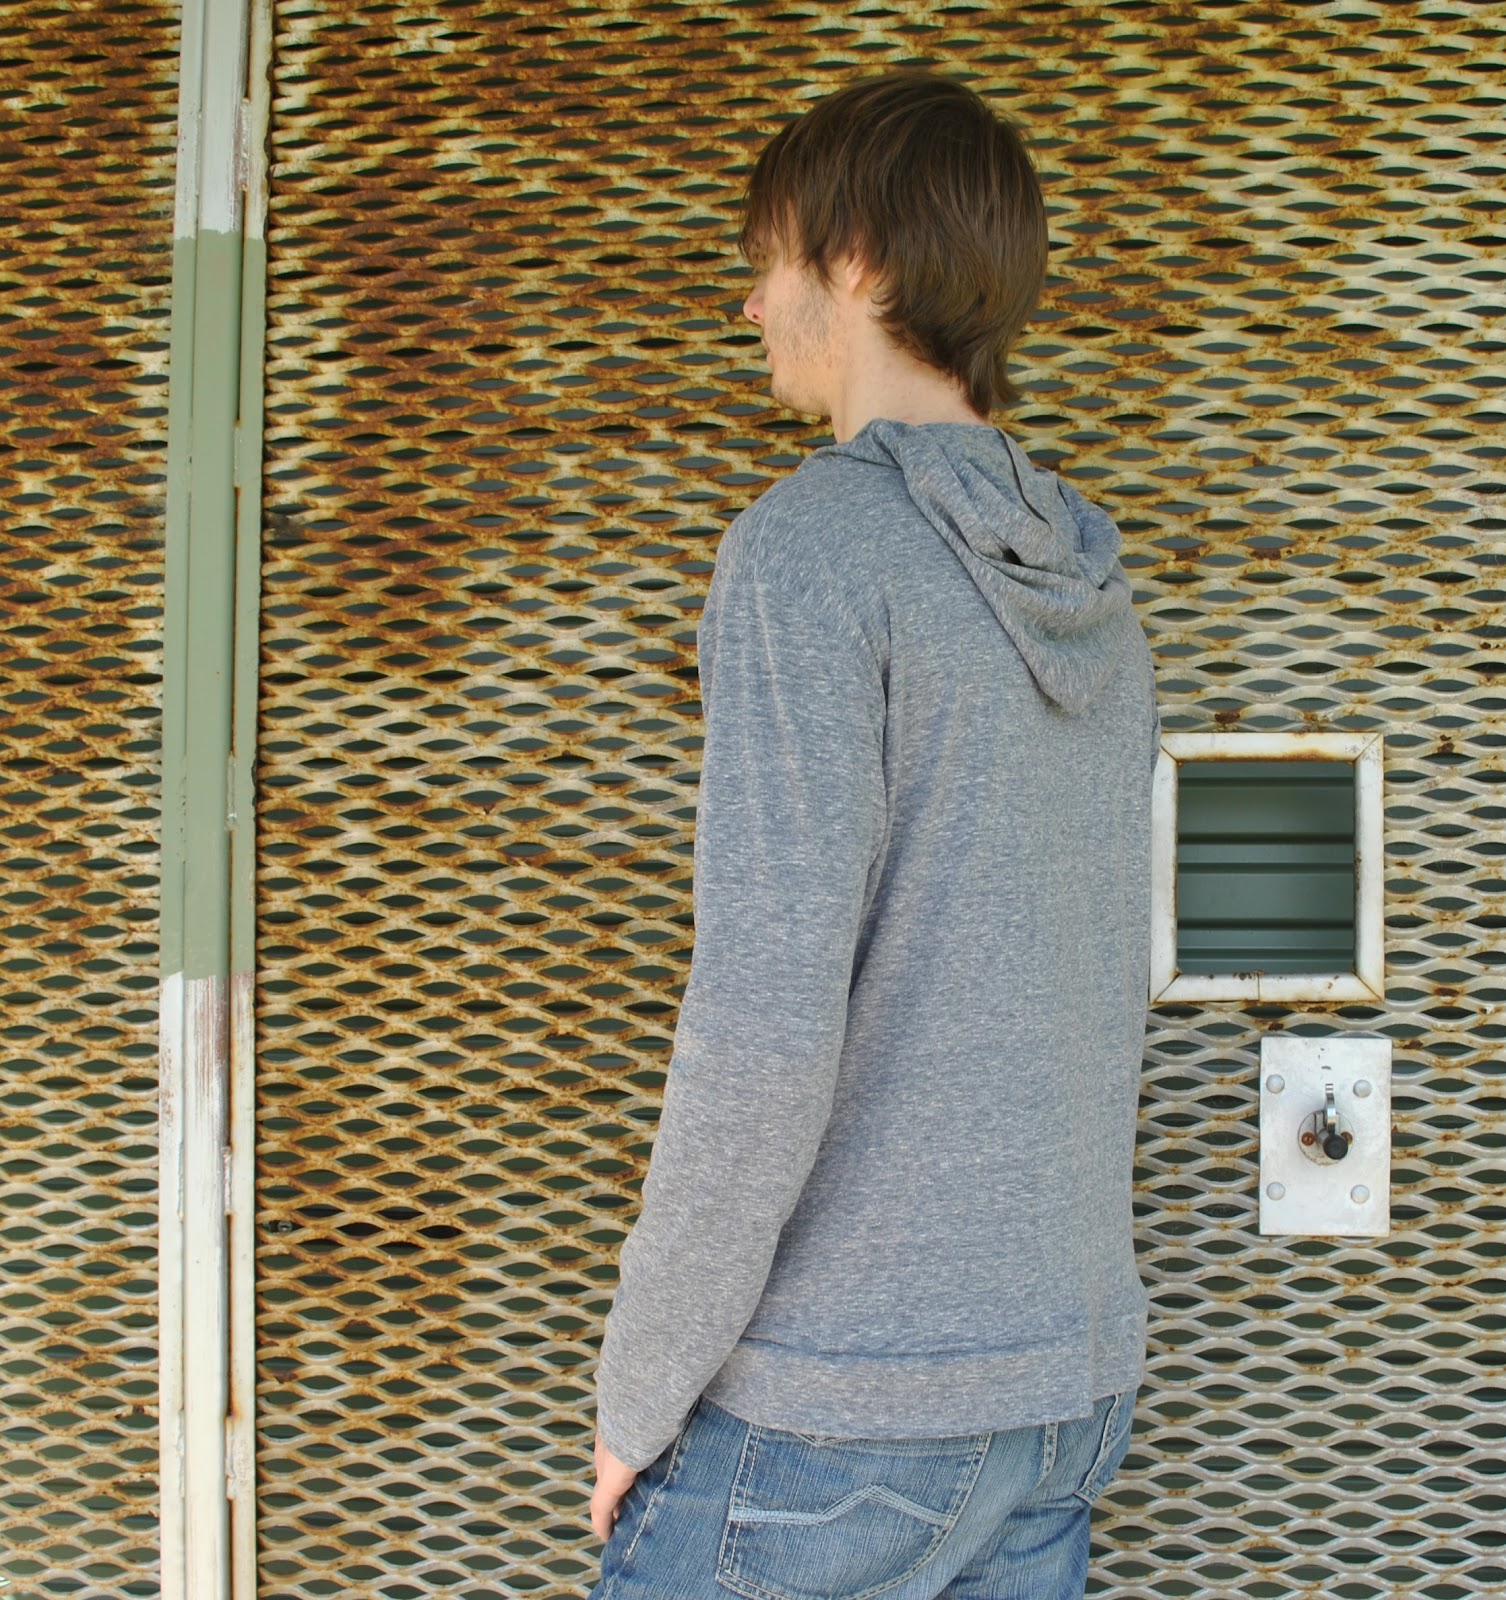
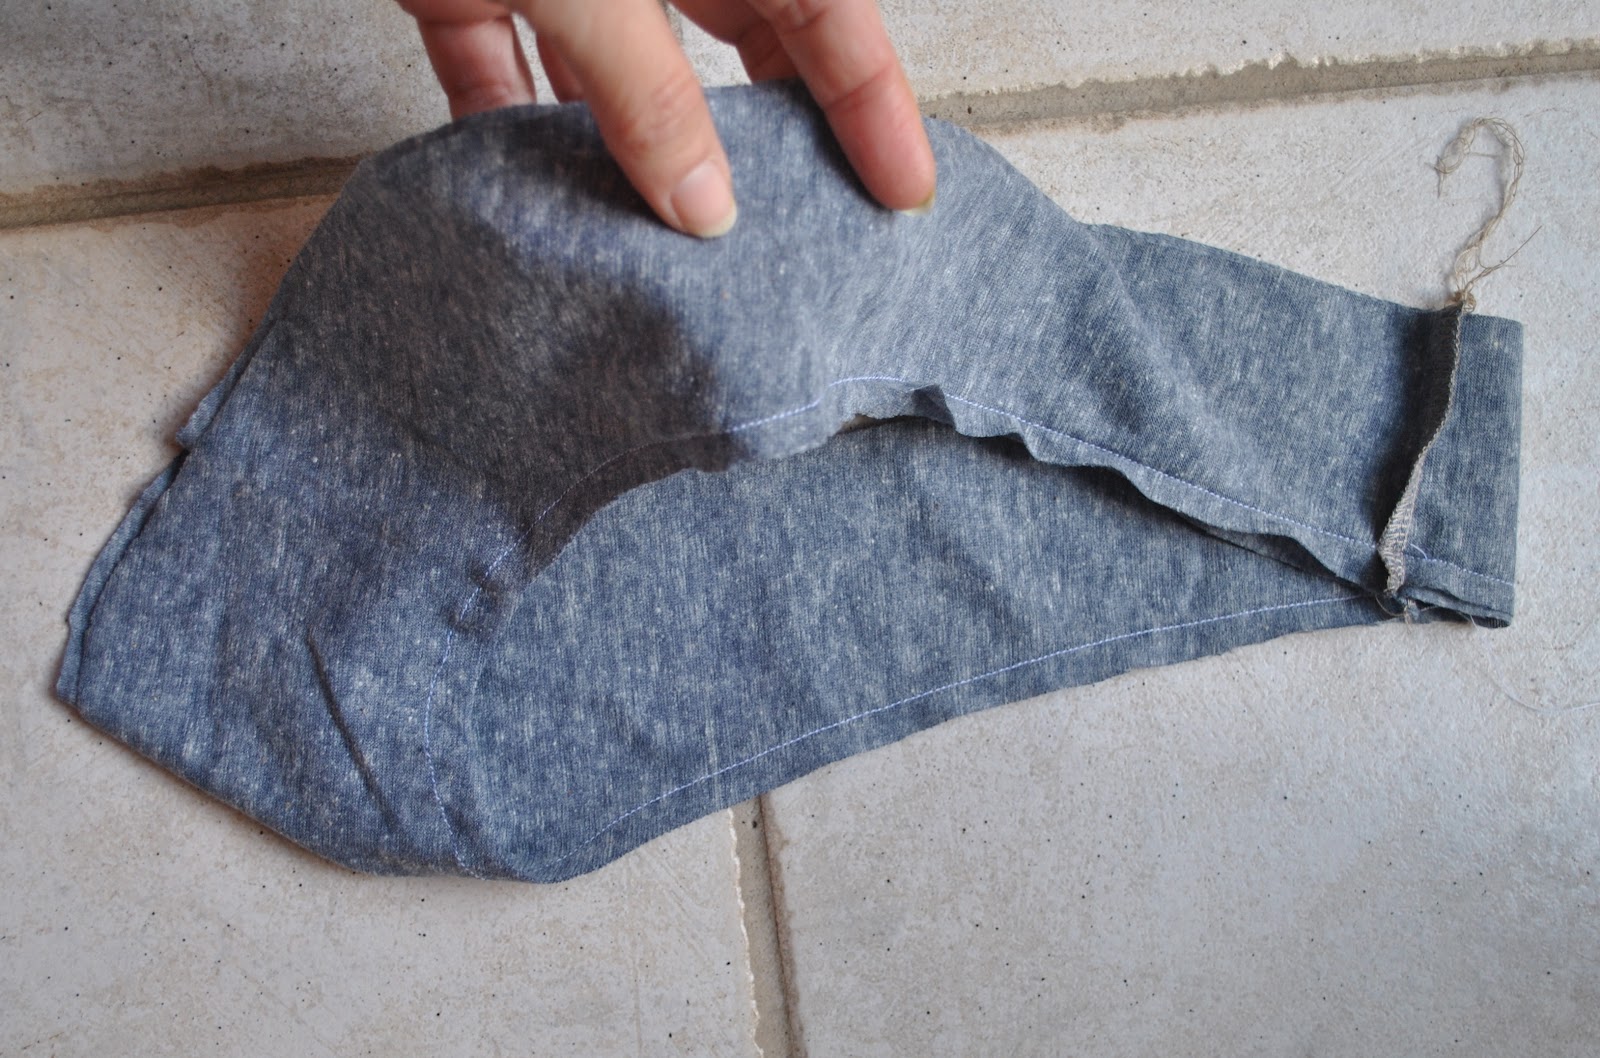
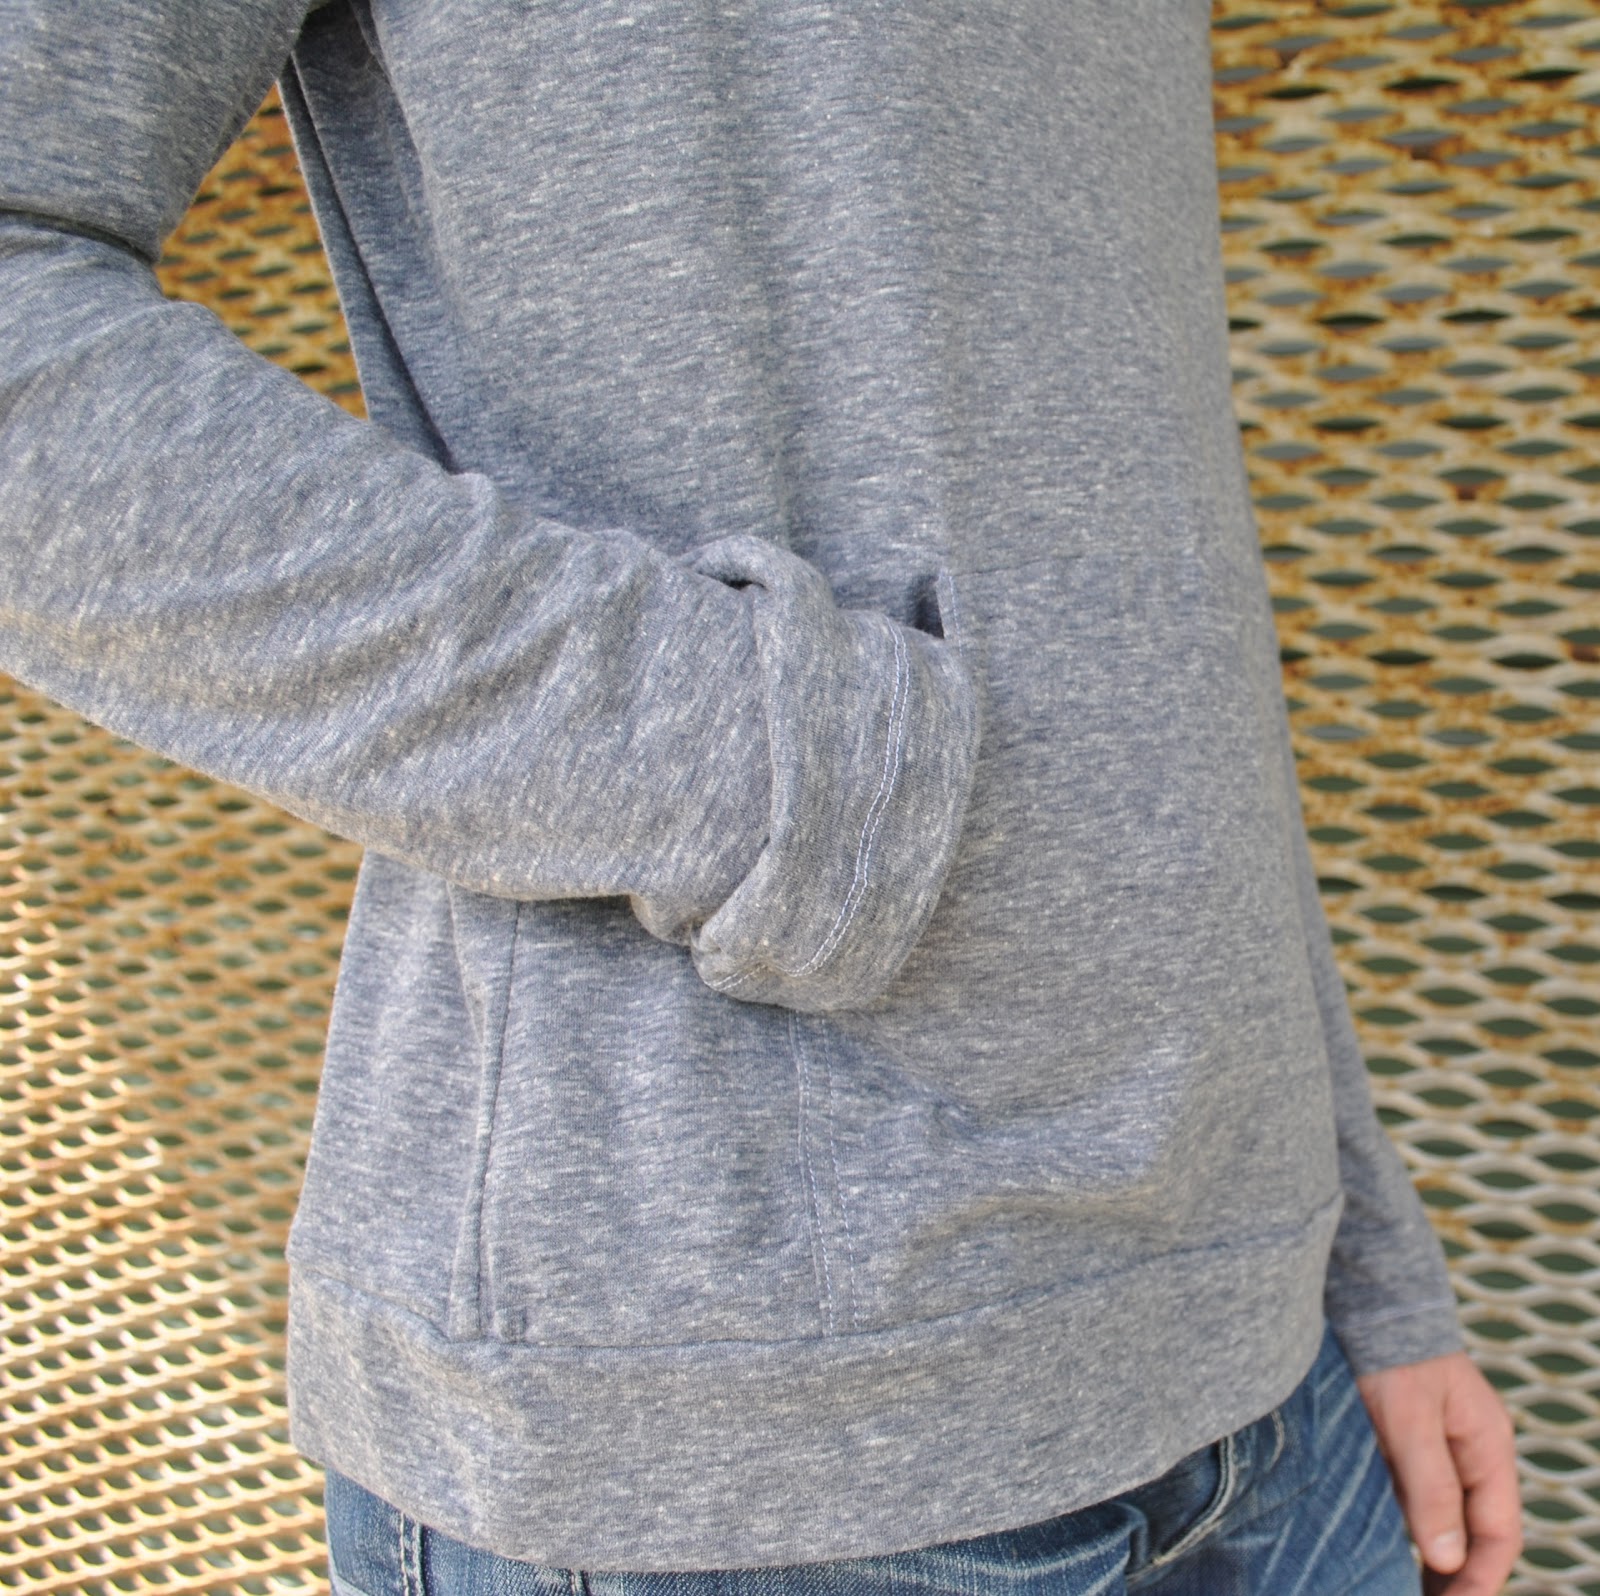
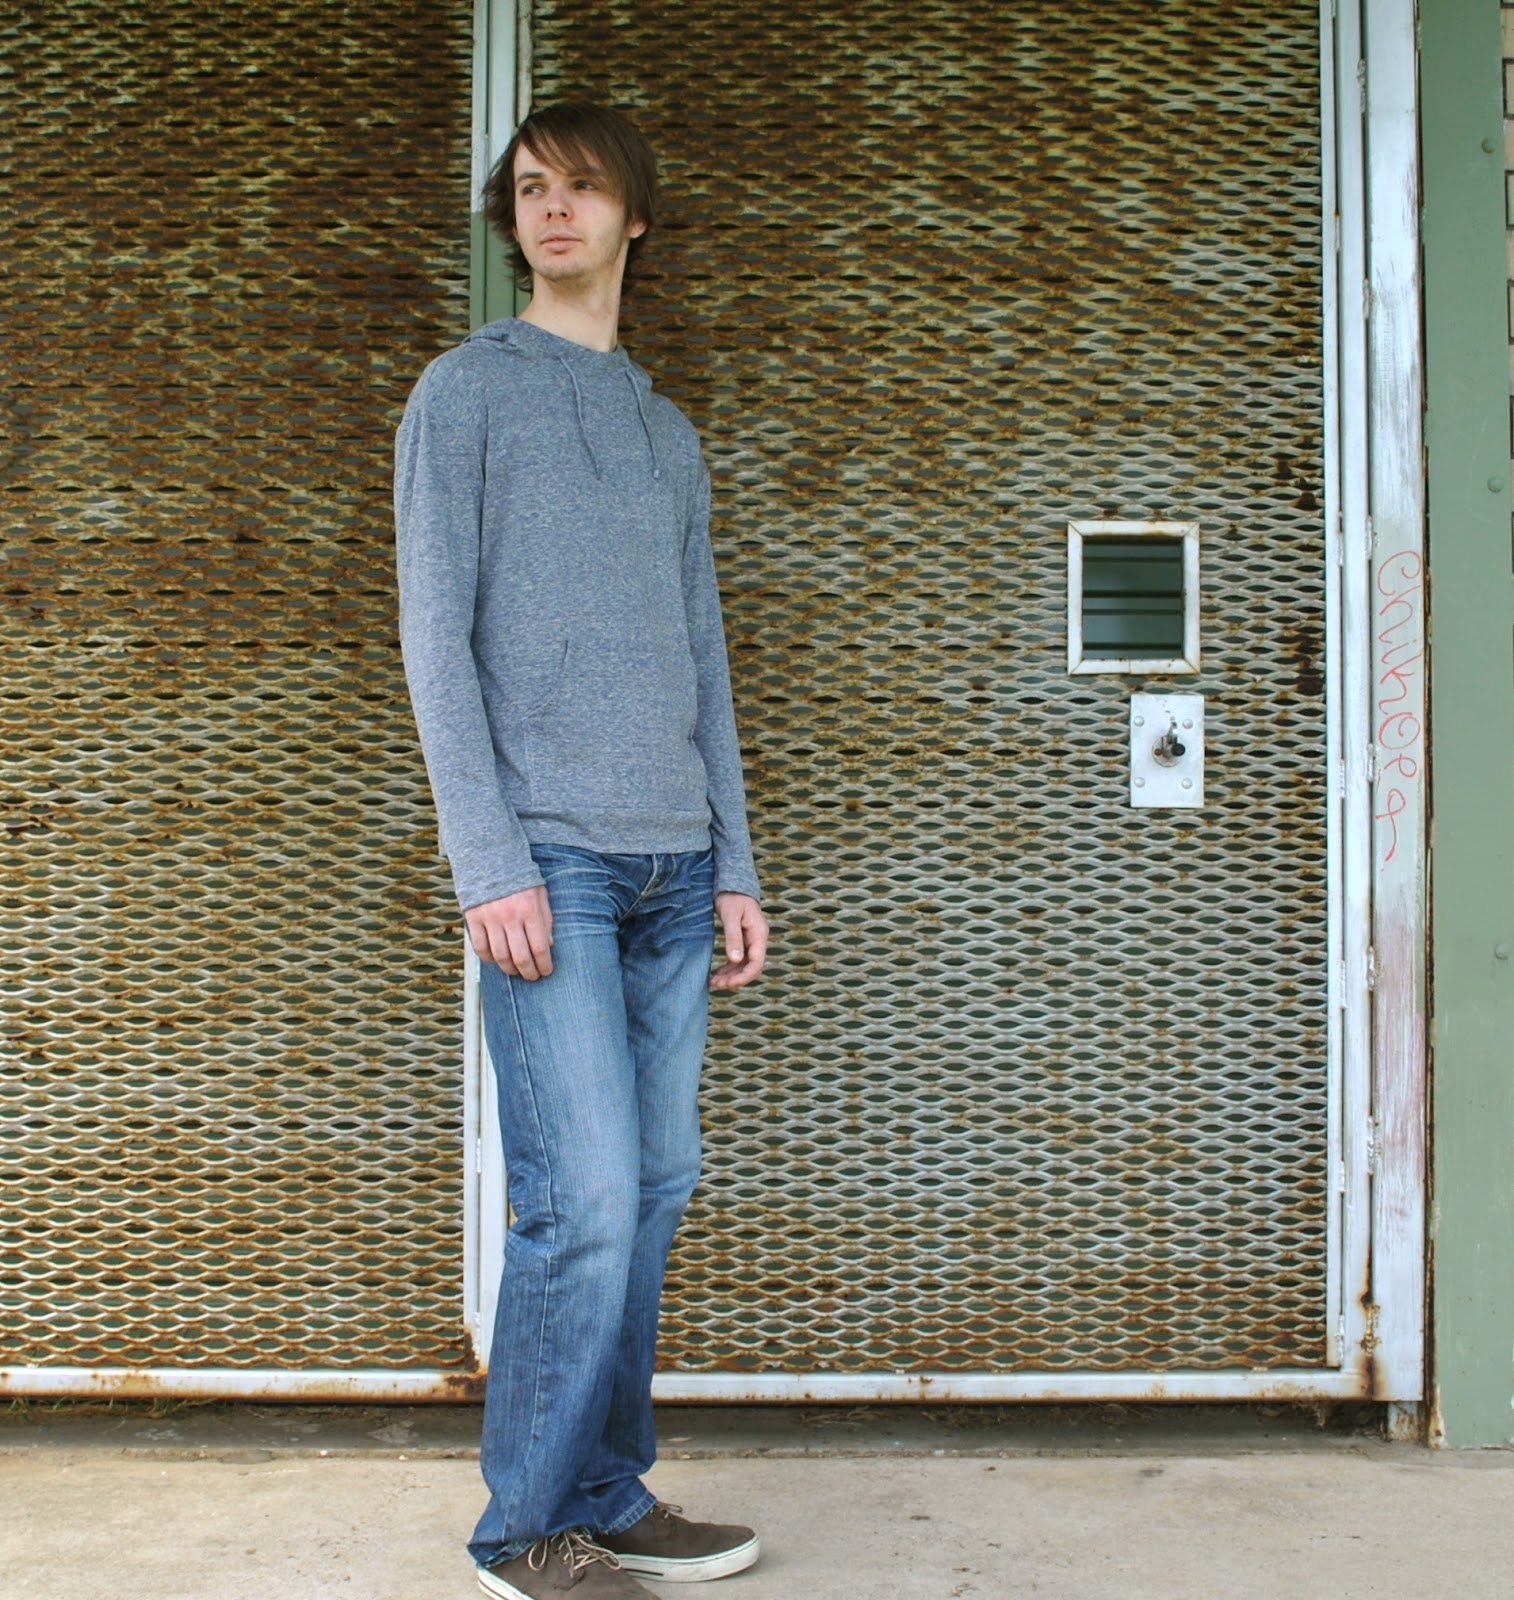
 After I had finished Craig’s hoodie, I had quite a lot of leftover fabric. I had originally bought 2.5m of this lovely grey-and-black striped cotton jersey from Spotlight. Turns out that this was stacks. Loads. Well ahem, I didn’t want to fall short 🙂 When I am making something self-drafted, for the first time; I worry so much about stuffing up somewhere along the line, and so I think I need way more fabric than I usually do. And buy accordingly.
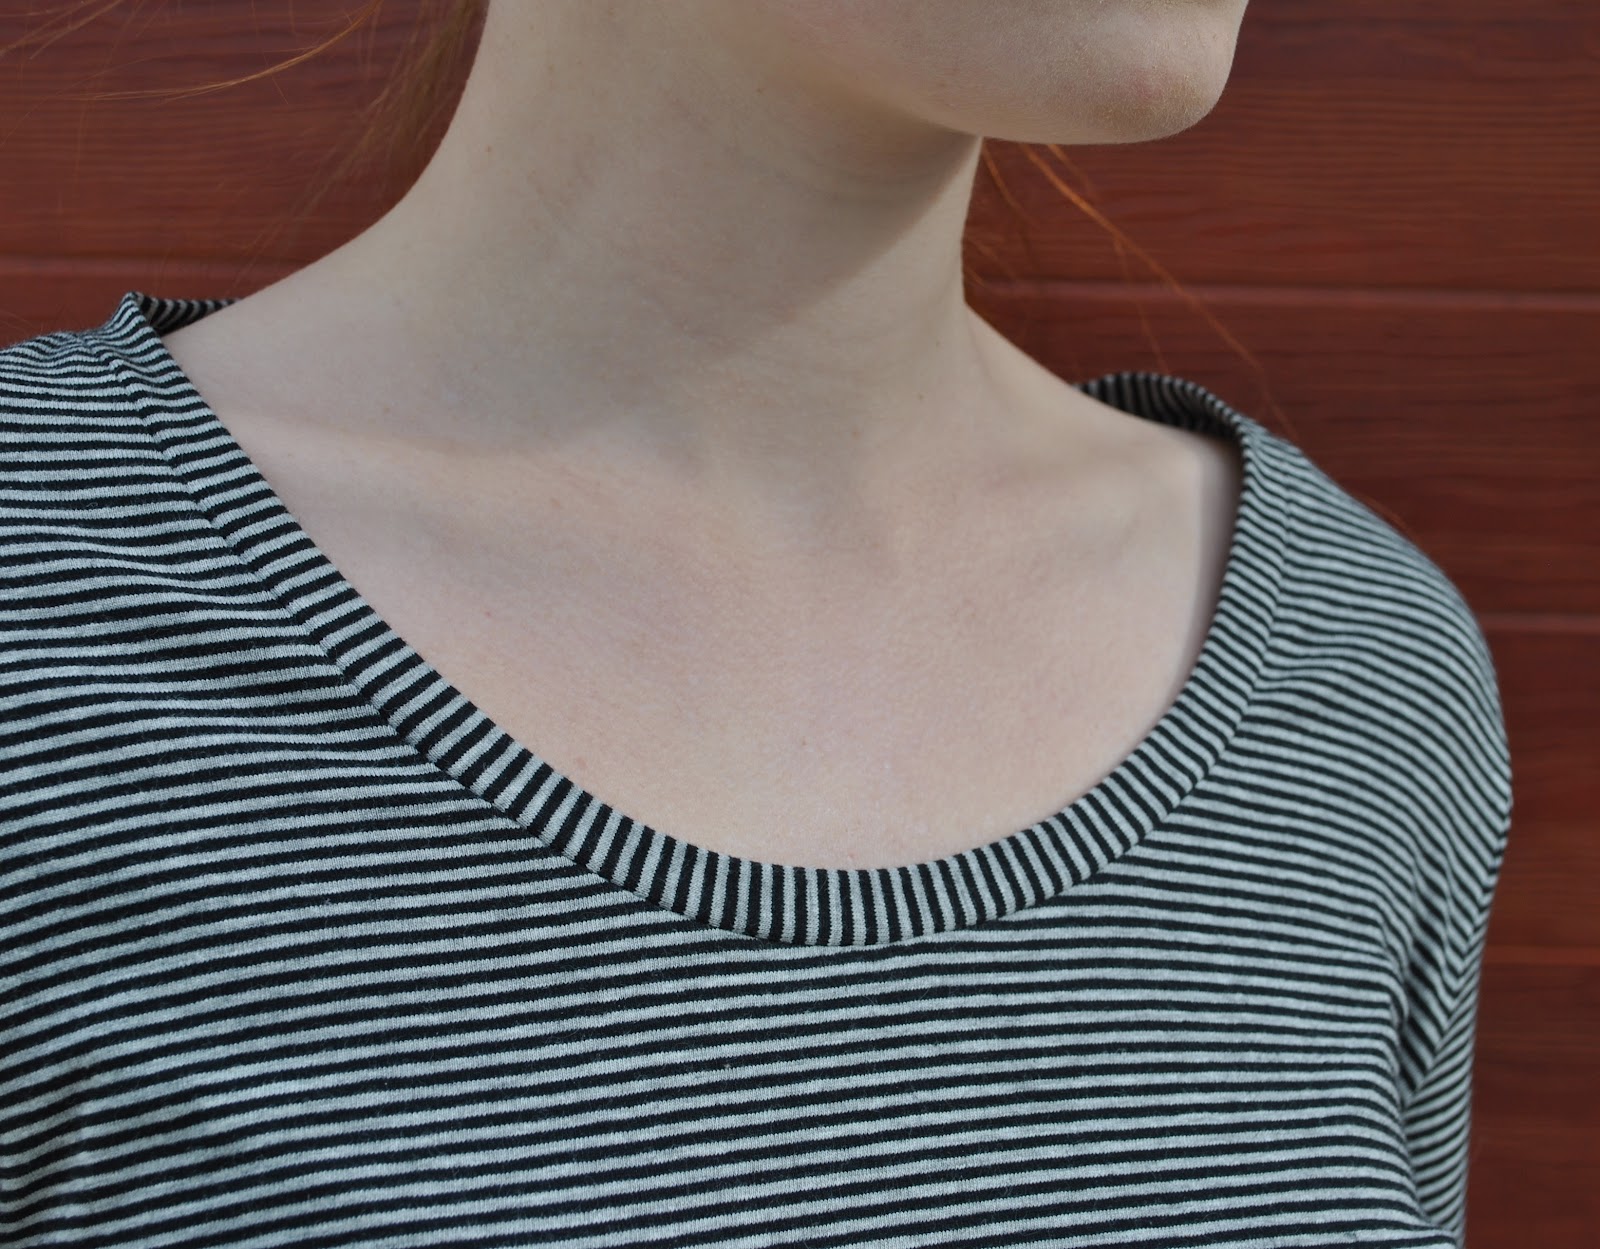


