I usually use 1cm lingerie elastic on my lingerie.. and when I went to get some more of the pale yellow, Spotlight only had the 1.5cm width; aaagh!… so I had to use this wider stuff on the upper sections of the bra. Oh well (shrug) you can only see that it’s wider on the inside!
You can probably also see the hand pick-stitching around the perimeter, my version of under-stitching that secures the bra lining to the foam cup. I don’t know if this stitching is necessary or not?but I just don’t like the idea of the foam cup not attached to anything, possibly floating about in the wash. I stitch it all together, just in case.
I did make some teeny mini-bows using orange-y mustard coloured ribbon, and trialled sewing them on the set as decoration, but took them off. That scorpion print is plenty busy enough already!
Scorpio
In-seam pockets
An in-seam side pocket is a pretty simple, basic and close-to invisible pocket, and is a modification I make to a heckuvva lot of my own sewing projects. It can be added to most garments that are loose enough to allow you to comfortably have your hands shoved inside ie. not anything tight and close-fitting like a pencil skirt.
If you have a good-size-for-you pocket piece already, use this, otherwise just lay your hand down on the fabric and draw around it. Give yourself a 1cm seam allowance, and allow a plenty wide opening straight edge at least the width of the very widest part of your hand… otherwise you may have trouble getting your hands into your pockets! Yup, I learnt that one the hard way once….
Cut 4 pocket pieces with the straight opening edge on the grain. If you don’t have enough fabric for 4 pieces, you can just cut 2 mirror image pocket pieces from the fashion fabric, and then cut the other two pocket facings from another, tonally unobtrusive fabric OR if your fabric is bulky, you can optionally cut the pocket facing pieces from a lightweight, thinner fabric to reduce the fabric bulk in your garment.
Decide where on your garment you want the pockets to sit. Pin the pocket pieces (fashion fabric) to the back piece, and the corresponding pocket facings to the front piece and stitch together in a narrow 1cm (3/8″) seam allowance.
Finish the edge with overlocking or HongKong seaming, if desired, and press the pocket and pocket facing pieces out.
Pin front and back right sides together, aligning the pocket seams exactly.
Now sew the side seams of the garment in a regular 1.5cm (5/8″) seam allowance, to a point just a couple of stitches below the the junction of the side seam and where the pocket bag seam will start. Back sew those few stitches to the start of the pocket bag seam, turn and continue sewing around the pocket bag. Do the same back sew for a couple of stitches up in to the pocket opening at the lower edge of the pocket bag seam, and then continue sewing the remainder of the side seam. The seam junctions, with the narrower pocket SA within the side SA, will look like so:
Finish the seam allowances with either overlocking or HongKong seaming, if desired.
Press the pocket bag and all seam allowances towards the garment front. To keep the pocket bag permanently sitting frontwards, stitch all the seam allowances to the garment front, in a short row of stitches at the upper and lower pocket opening of the pocket. Stitch from the right side of the garment, and just go forward and reverse a few times.
E finito!
Optional; I also stitched the lower edges of my pockets to the lower hem allowance of this top to give them an extra tethering point but you wouldn’t ordinarily do any more stitching. I just lucked out with the size and space there!
White trees and buttons
I’ve sewn up my white trees fabric… into a top! I drafted it myself but it is a pretty simple silhouette; basically a big oversized T-shape, with something interesting in the form of the completely open top edge. The top edges of front and back have a full length button and buttonhole placket respectively, stretching from sleeve hem to sleeve hem along the whole neckline, and it’s partially buttoned up to close the top of the sleeves. Technically, you could button the top edge up all the way, except that the neckline is curved as an anti-strangulation measure. It’s funny though, when you’re wearing it you can’t really tell the neckline is curved, it reads as an almost straight edge.
It is based on several different sources of inspiration: years ago I had a Metalicus Tshirt that had an open top with snaps, that could open like this from sleeve right the way along the neckline; and also a few months ago Kirsty posted plans for her gorgeous top from the Japanese pattern book She has a Mannish Style, a top with a wide buttoned neckline although with separate closed sleeves. I sorta combined those concepts in the design of my own top.
Most time consuming bit: I fiddled for aaaages with the spacing of the buttons/buttonhole, so it would both look “right” and also that I could have a button placed just at the point on my shoulders where I wanted it to go.
Since the front neckline has a lower dip than the back, the buttons are spaced a little more wide apart along the front curve than the corresponding buttonholes at the back. I sewed up the rest of the top completely, before doing the button/buttonhole plackets along the top edge, this was the last step. The top edges were interfaced with similarly shaped strips of iron-on interfacing and then I sewed the plackets on.
What else. Oh, and it’s got pockets, too (blush)
I fear I have some sort of weird pocket obsession… is pocket-aholic a “thing”? Guess I should sign myself up ;D
Details:
Top; my own design, coffee cotton broadcloth, screen-printed by me with little white trees here
Skirt; Vogue 1247, blue damask, details here and my review of this pattern here
Sandals; c/o Misano

the paper doll project
6th-11th October
from left:
pale grey hoodie, grey skirt from jeans, white Tshirt
khaki linen shirt, grey/green floaty layered skirt
lace shirt-dress, pink petticoat, iceberg knitted jacket
blue knitted cardigan, petrol corduroy skirt, white Tshirt
emerald corduroy skirt, ecru boxy jacket from jeans, beige tshirt (unblogged)
watercolour floral dress, black wool tights, army jacket
18th-23rd October
from left:
panelled corduroy dress, chocolate cardigan
corduroy/white hoodie (refashioned from jeans), navy corduroy skirt, white Tshirt (under), russet handknit socks
petrol blue corduroy skirt, purple Tshirt, paprika tights, iceberg knitted jacket
white trees top, wedgwood blue damask skirt
draped blue silk top, beige Tshirt (unblogged), beige corduroy skirt (from jeans)
emerald corduroy skirt, royal blue PM hoodie
O bliss… the temperatures in the last coupla days have finally warmed up nicely to a level that I feel comfortable and happy in and at which I function the best. I’m a warm weather bunny who feels the cold something awful, even when it’s not really cold; and this spring has been on the chilly side so far. I’m hanging out for the days when I can pop my bathers on and take a dip in the ocean/pool… Funny thing, I’d almost forgotten about my new(ish) bathers… and was thinking the other day that it was getting close to swimming season and hmmmm, what would I make this year…? when, oh yeah! I remembered that I do actually have some practically unworn, pristine new bathers already! hehe feels like its been aaaaages since I made them, well, probably because it has been ages; nearly 6 months now, and they haven’t even got wet yet! I’m roooolly looking forward to taking them out on their maiden voyage… when it warms up just a little bit more 😉
Audrey in Unst, in Blue
I am finishing all of my winter knitting projects just in the nick of time for them all to be packed away. Woot! This is pretty typical for me. I think I really should plan my wardrobe far more efficiently and be more seasonally aware and prepared!
I was struck by something Roobeedoo wrote recently; that since a knitting project takes so much longer than a sewing project and, as well, lasts for so much longer in your wardrobe, the sensible self-tailored individual plans future sewing projects around a current knitting project; not concurrently. So sensible! An edict; the singular wisdom of which I had not appreciated before then…
Thy knitting projects are the key to planning thy wardrobe, y’all!
I bought this lovely wool during my afternoon out in Paris with Donna of Nid de Tissus, so it brings back happy memories to me of our fun chatty lunch and fabric/wool shopping excursion together. A wearable souvenir! It is from Renaissance Dyeing; 4-ply poll dorset wool hand-dyed with natural plant dyes in France, colour Canigou. Terrified of not getting enough I bought four skeins so obviously Murphy’s Law decreed that I had overestimated how much I would need… doh! I can never get that bit right! The cardigan used just over two skeins, so at some point I am going to order some more and make something else using my almost two whole leftover skeins. I do already have ideas, hehehe 🙂 The full range can be viewed and ordered here.
The pattern is Audrey in Unst, designed by Gudrun Johnston; available here. I’ve long admired Roobeedoo’s leaf green version that she has worn during me-made May and had decided that at some point I would have to make my own. The shape is nearly identical to my recently finished Miette! but the chunkiness is the difference between the two. The Miette is in a thick aran weight yarn, whilst the Audrey in Unst is in a light, fingering weight yarn. So this is a light little cardigan with much finer stitching tension, and subsequently took a lot longer to knit! I started this at the beginning of the year (blush) and only just bought the shell buttons and stitched them on a few days ago.
The neckline is finished off with an i-cord stitch. This is the first time I have tried this technique and I think it’s quite a nice, neat and tidy finish and a refreshing change from the usual rib.
The cardigan is knitted bottom up, and is, like the Miette, designed to be knitted in one piece with no stitching pieces together. WIN! Well, you are supposed to stitch the shoulder seams together but I elected to graft the stitches together, like I do with the toes of my socks. This gives a very nice seam; neat and flat and quite unobtrusive. I can do a step-by-step if anyone hasn’t heard of and is interested in this technique?
The pattern has a built-in faux side seam, which is an interesting feature. Essentially it is just a purl stitch every knit row, and vice versa. The shaping is discreetly alongside the faux side seam.
The sleeves are knitted by picking up the stitches and knitting short rows with wrapping and turning to form the sleeve cap. LOVE this feature and I think it makes for a really nice attractive finish; far smoother and sits flatter than a stitched in sleeve would be.
Are there any negatives? Well you get started; and 36 long long rows of ribbing later, all that blasted purling through the back of the loop had just about killed me. Seriously HATED this bit. And I’m curious, does purling/knitting through the back of the loop really make a significant difference to the rib? and if it does then is it really an improvement on the regular sort? That’s not a rhetorical question btw, I would like to know.
Details:
Cardigan; Audrey-in-Unst in Renaissance Dyeing; 4-ply poll dorset, colour Canigou
Skirt; Vogue 1170 lined, blue corduroy later dyed brown, details here and my review of this pattern here
Tshirt (under); self-drafted, white cotton jersey, details here
Sandals; c/o Misano
Chequered Elisalex
Hello!
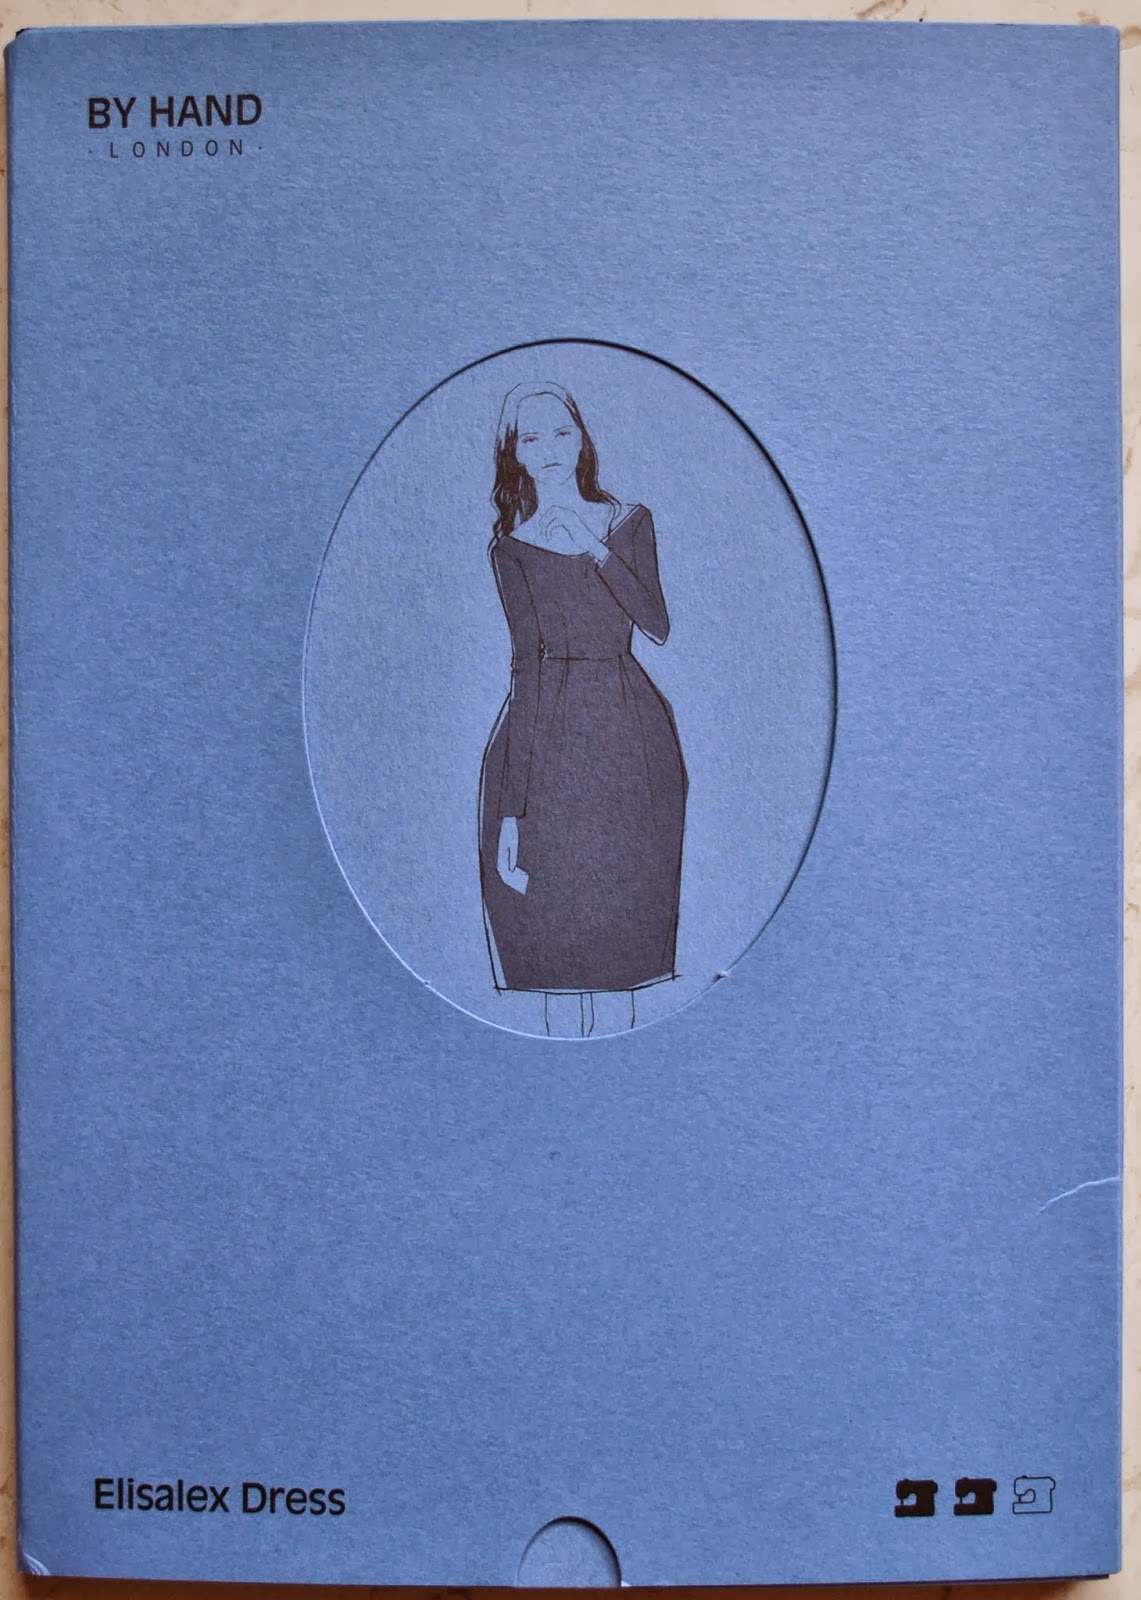
A little while ago Liz contacted me to generously send her copy of the By Hand London Elisalex pattern to me. Thank you so much Liz! Obviously I leapt at the chance to try out this deservedly popular pattern 🙂
One of the most wonderful things about being part of this online sewing community is how we all openly and honestly share our love of sewing and our sewing experiences. I’ve believe the sewing community to be such a friendly group of generous, upbeat and helpful women: so I really want to spread the love and pay it forward and all that, and in turn offer this pattern up to another… a giveaway! Maybe this is a sorta blogging anniversary giveaway, since I have been blogging for four years as of last Friday, but really all the thanks and credit is due to Liz 🙂
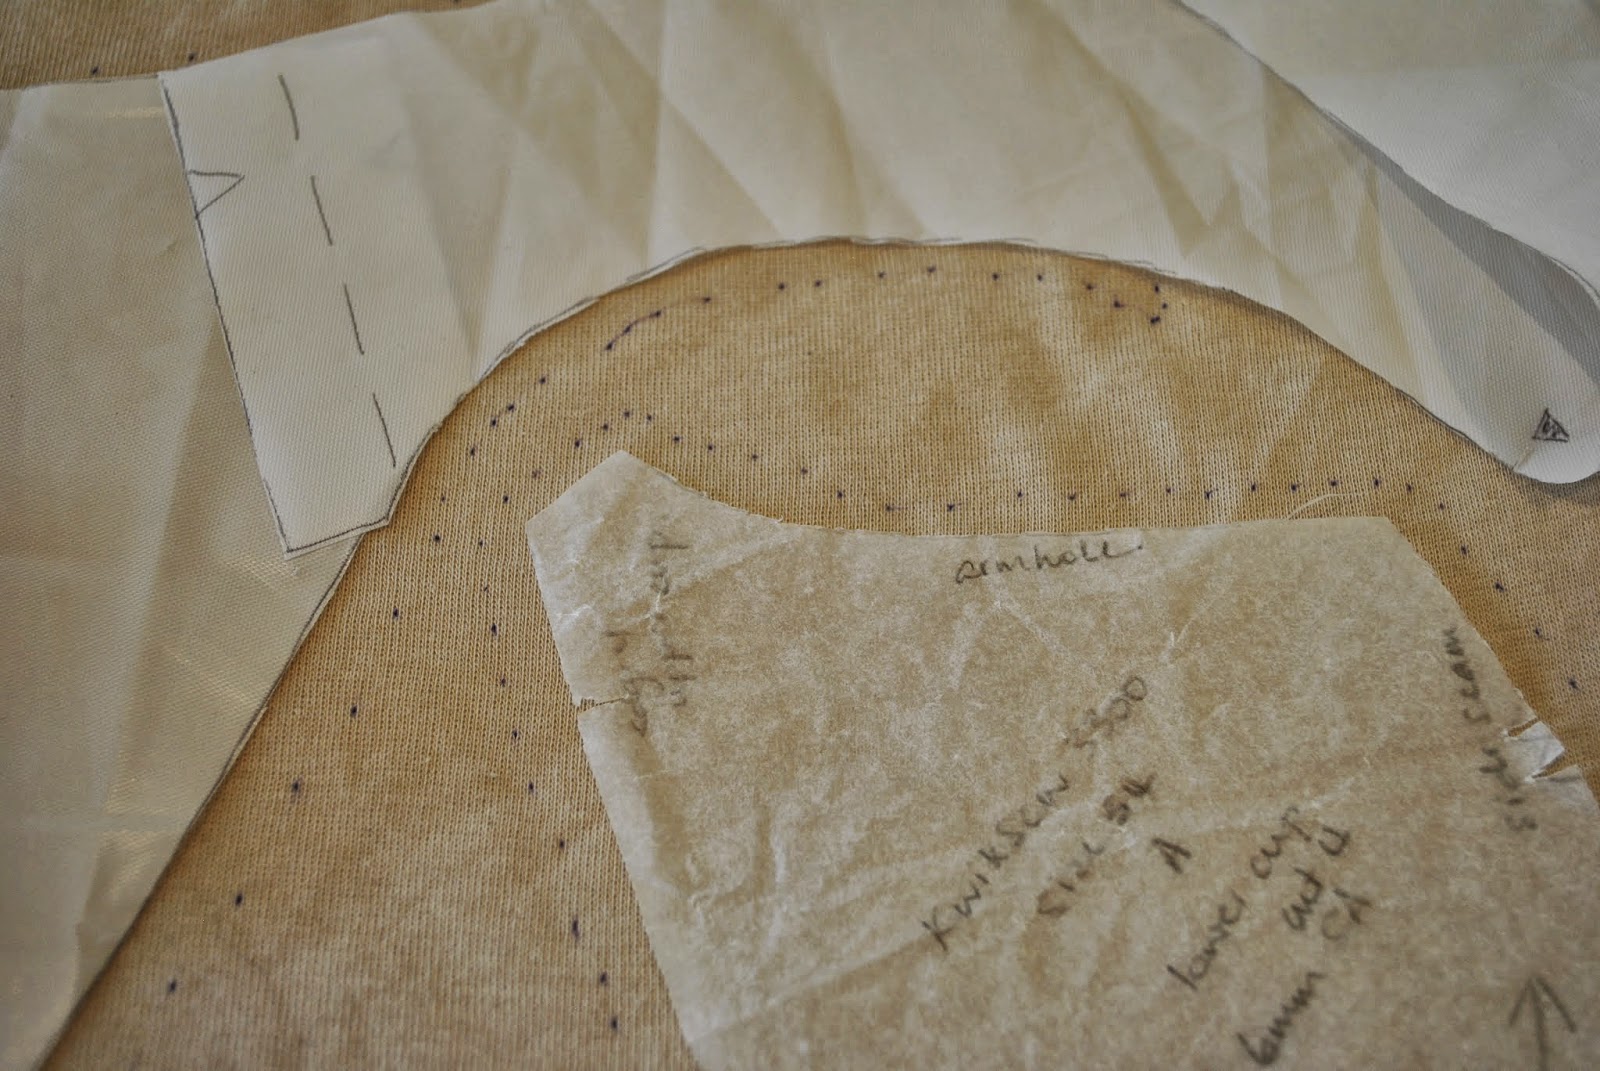
As recommended in the pattern instructions, I traced my size onto white plastic table-clothing, which means that the original pattern is still in immaculate condition. I refolded it carefully back into its factory folds; I’m pretty expert at that, if I say so myself. Years of pattern control-freak practice 😀 Anyway, it is all nicely and perfectly intact. And the pattern packaging is exquisite, truly a thing of great beauty, with two nesting envelopes of high quality blue cardboard bearing elegant drawings of the three variations. Seriously, this is a gorgeous thing! So, if you would like this copy of the very popular Elisalex pattern then please leave a comment saying so. I will randomly pick a recipient this Thursday, 17th October.
(Later edit: a commenter has pointed out that my giving away this pattern is morally “iffy” … obviously this is the very last thing I want! so I have decided to withdraw the offer. My sincerest apologies to all, and my thanks for your kind comments and I will rustling up something different for a blogging anniversary giveaway very soon… please stay tuned 🙂 )
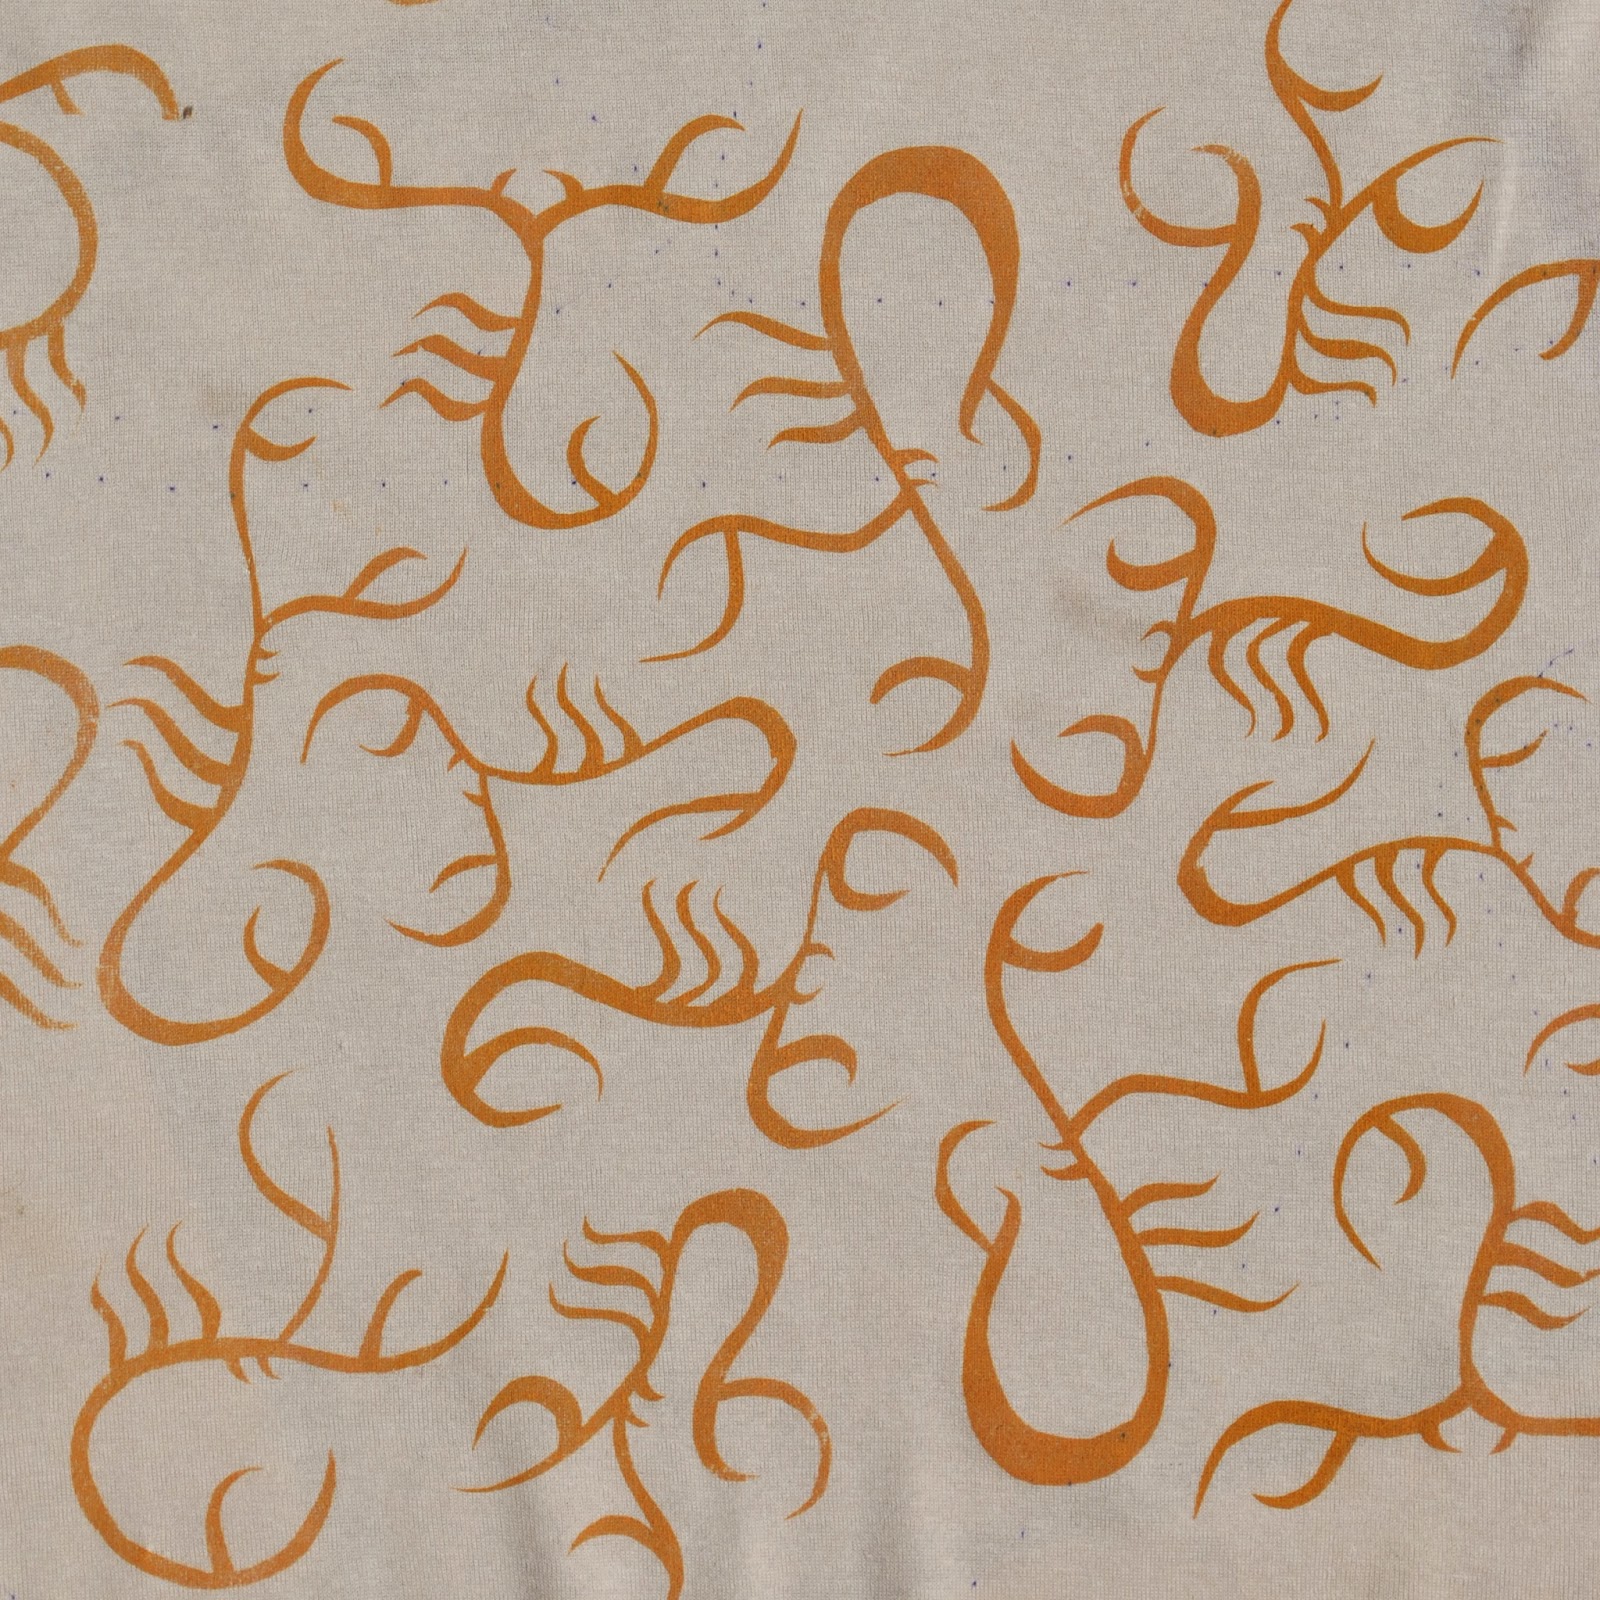
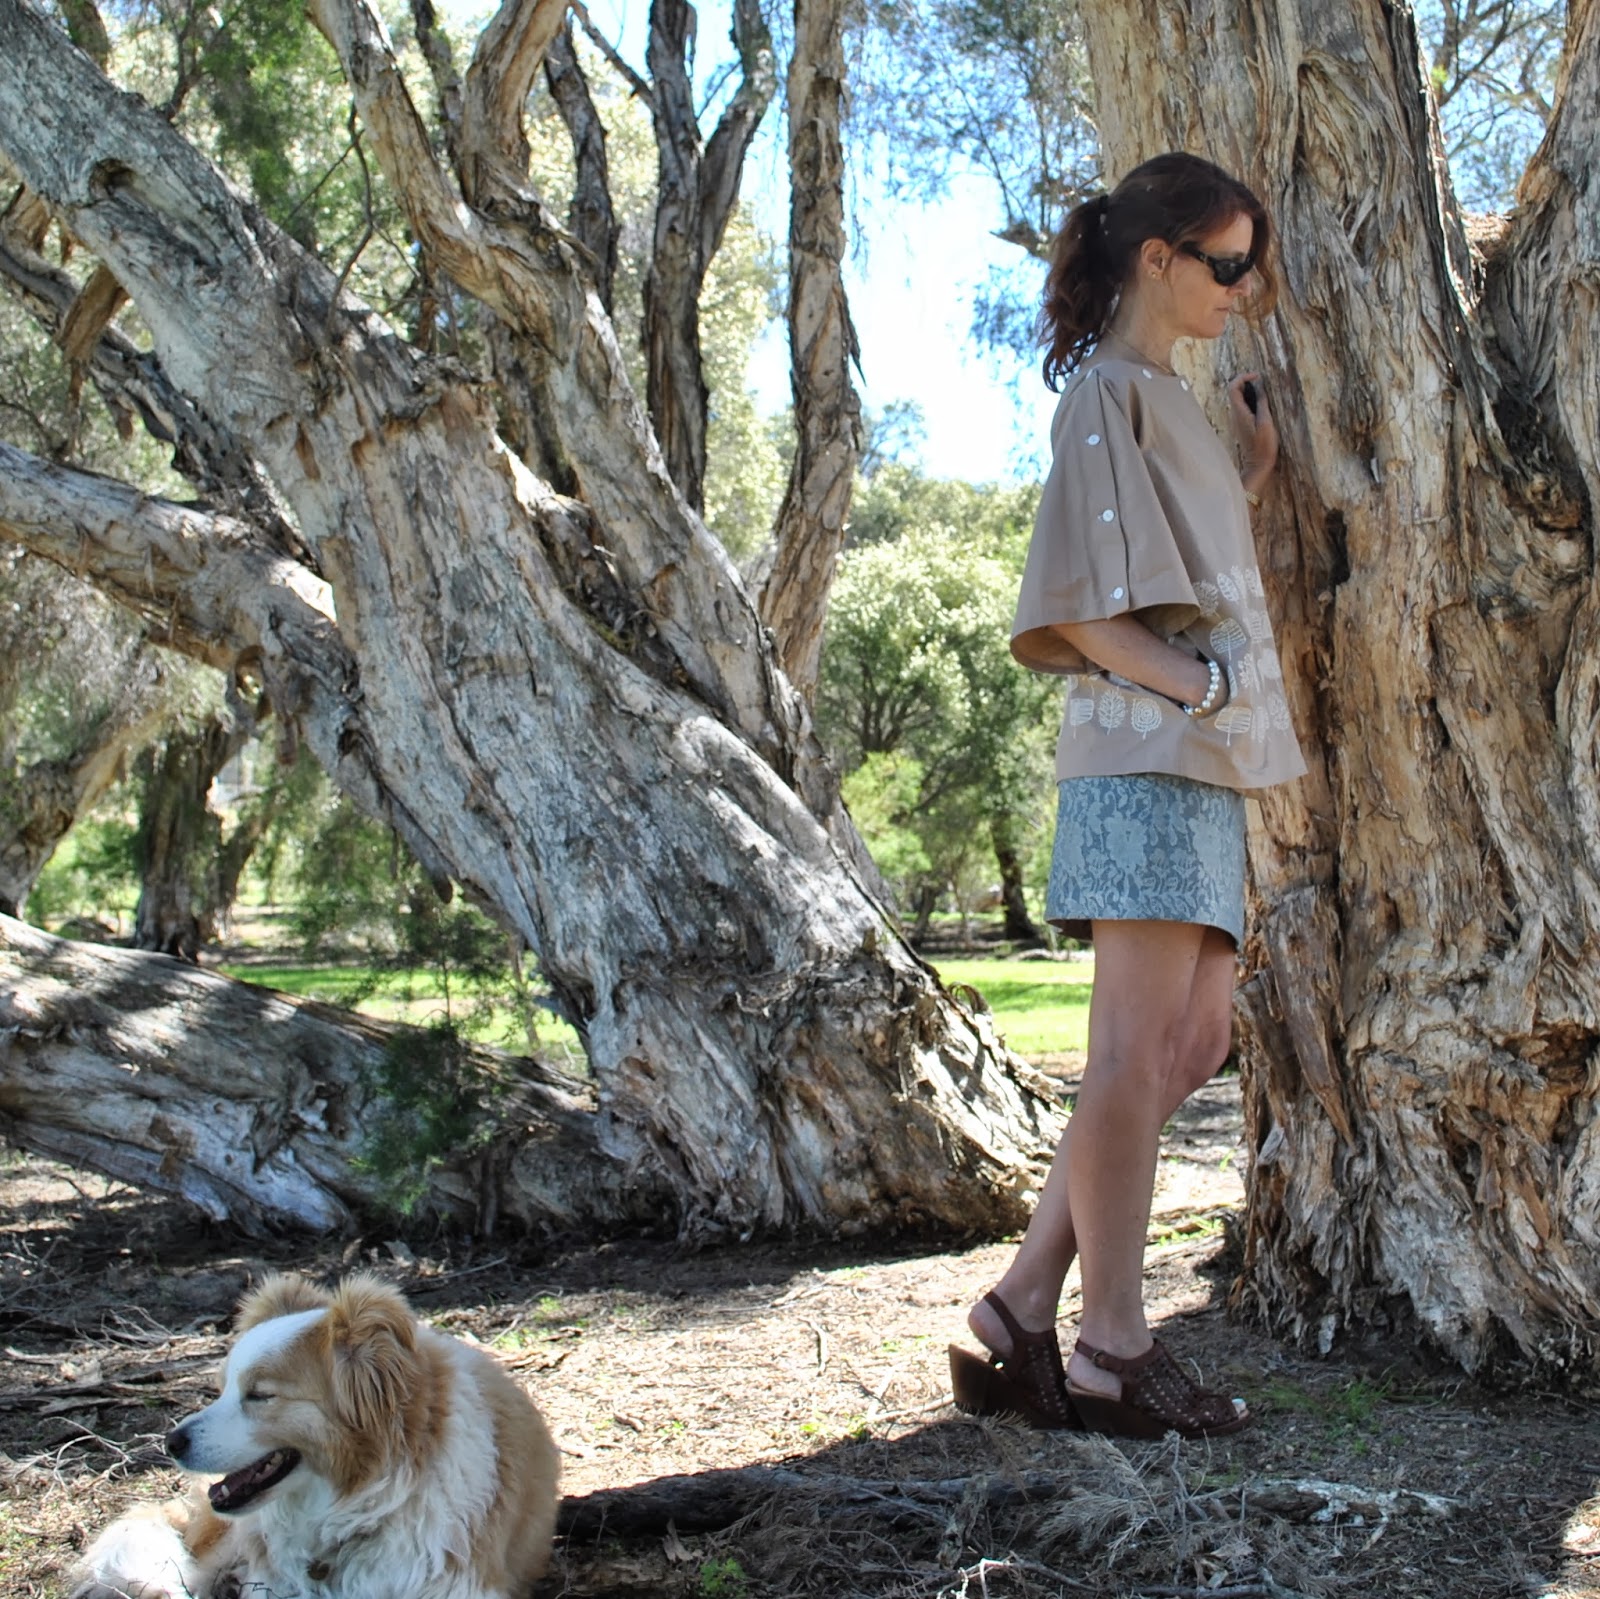
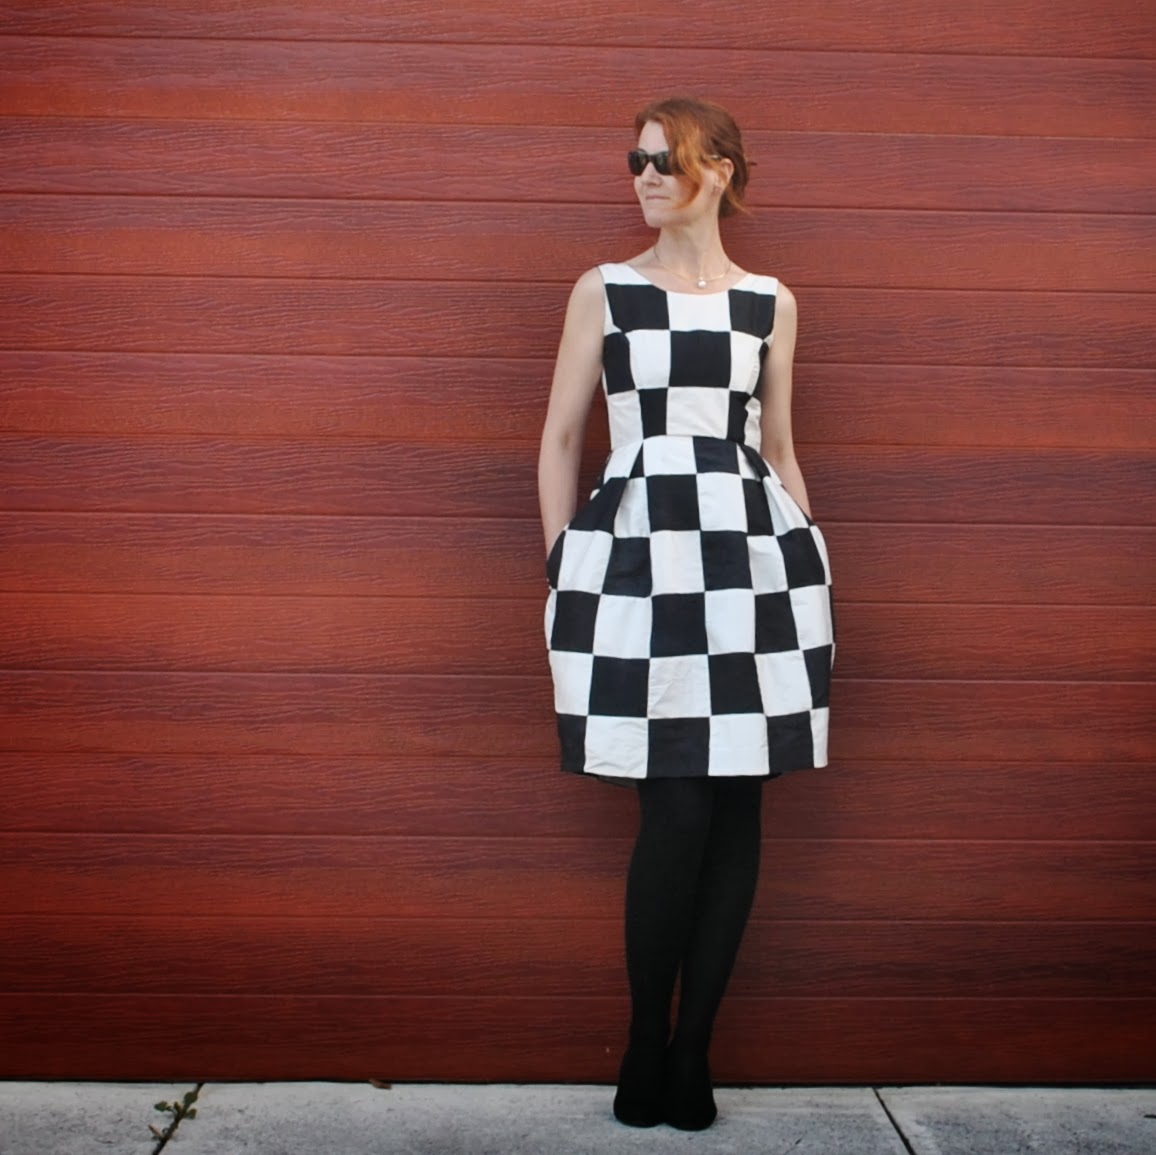
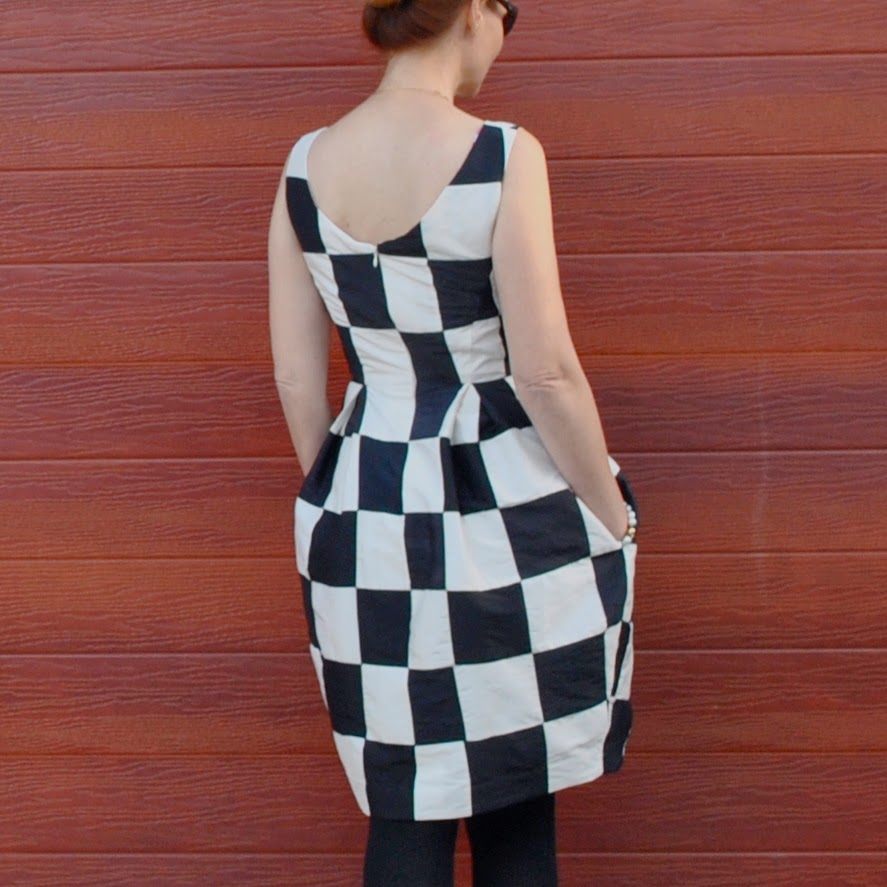
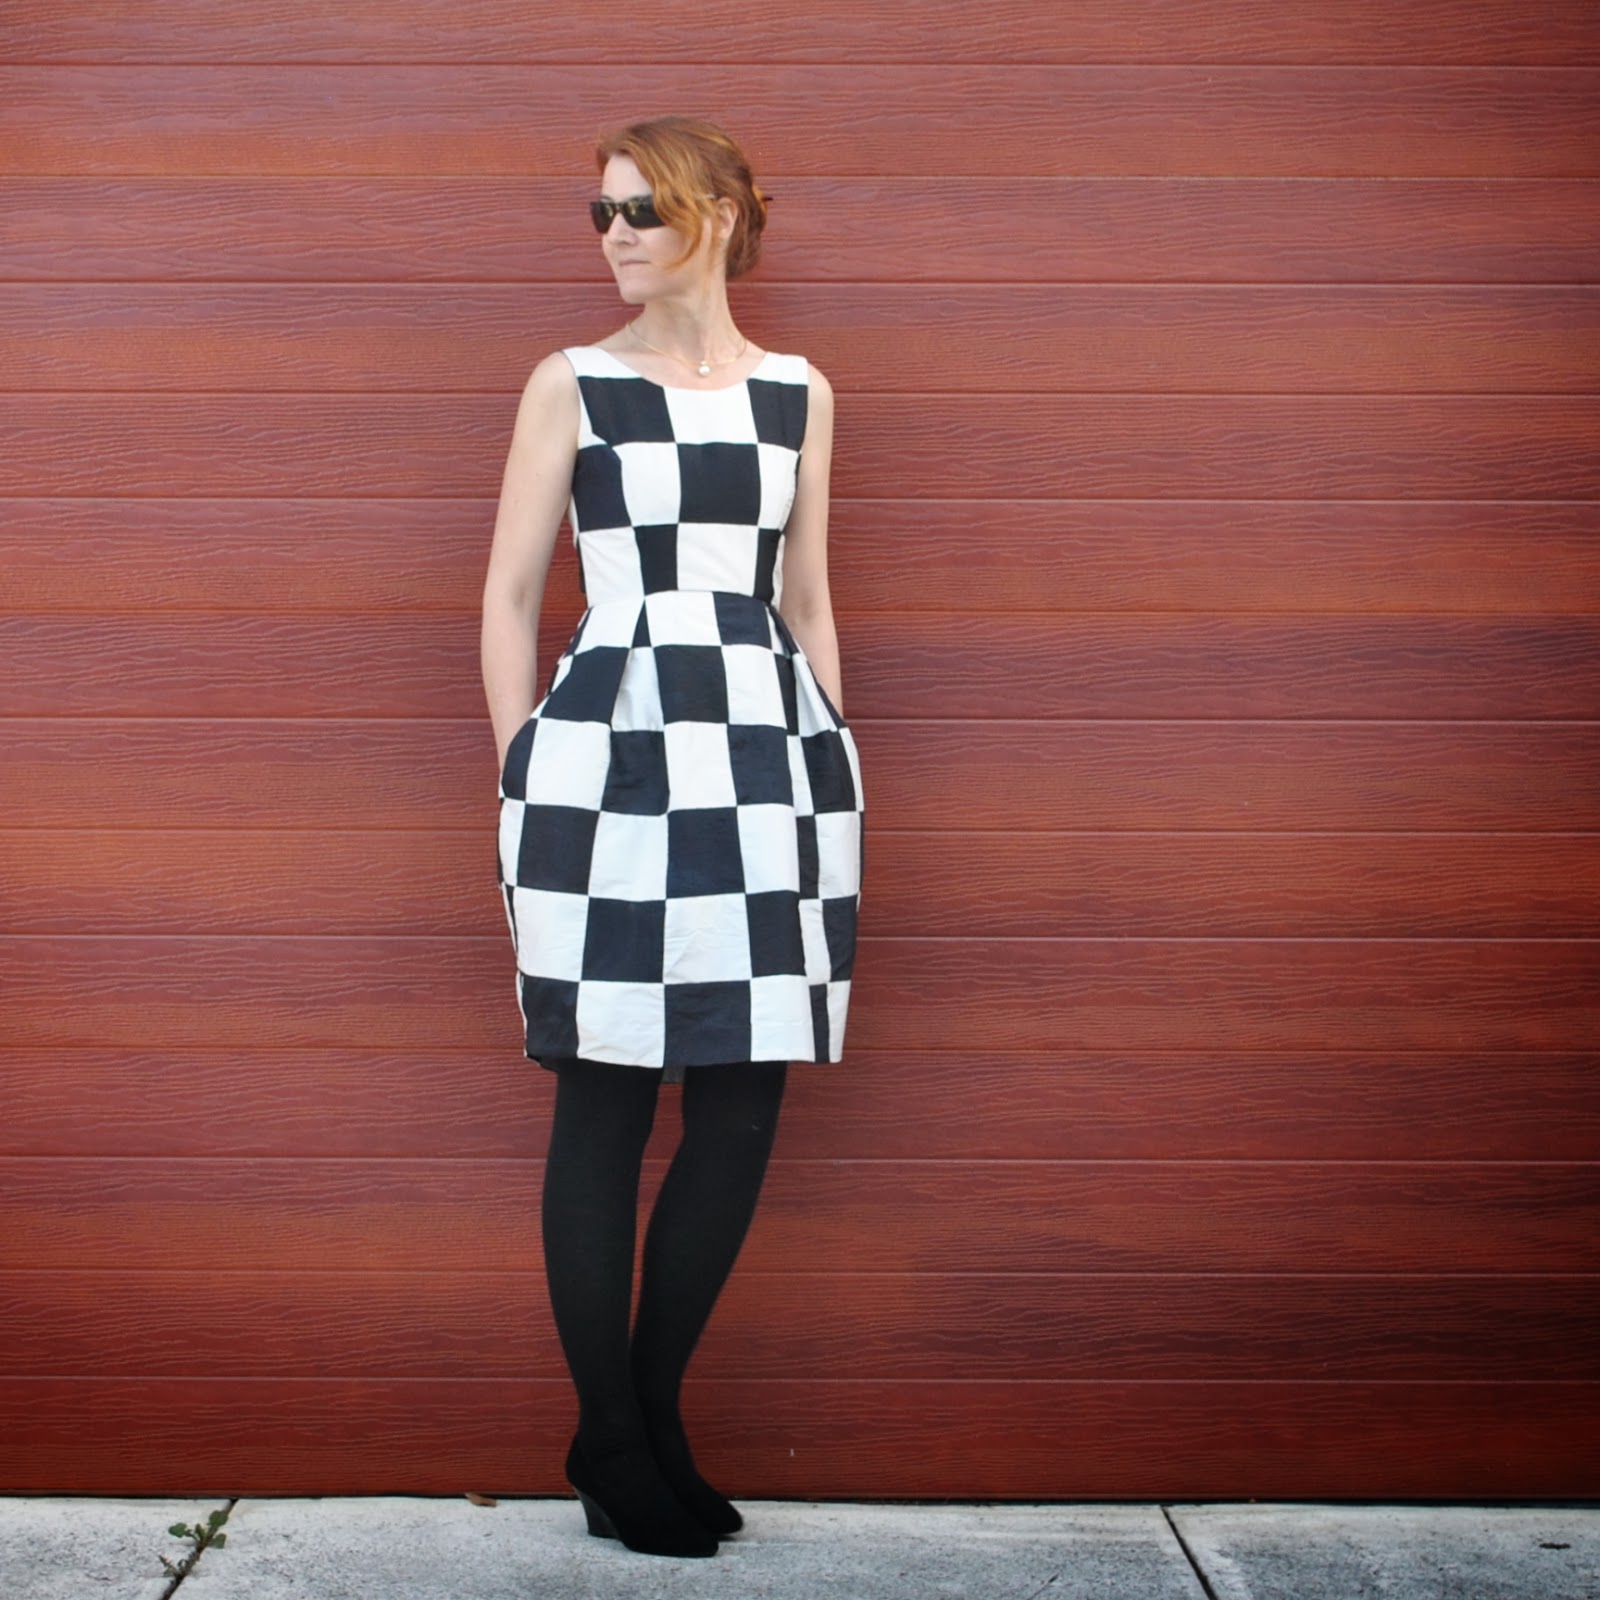
I bought this piece of black-and-ivory patchworked silk taffeta from Homecraft Textiles a while back, thinking about those Louis Vuitton shift dresses, and then had second thoughts since the silk is very thin and slightly floaty and so was really too light to work well in a structured shift dress design. Shift dresses need a fabric with a bit of oomph.
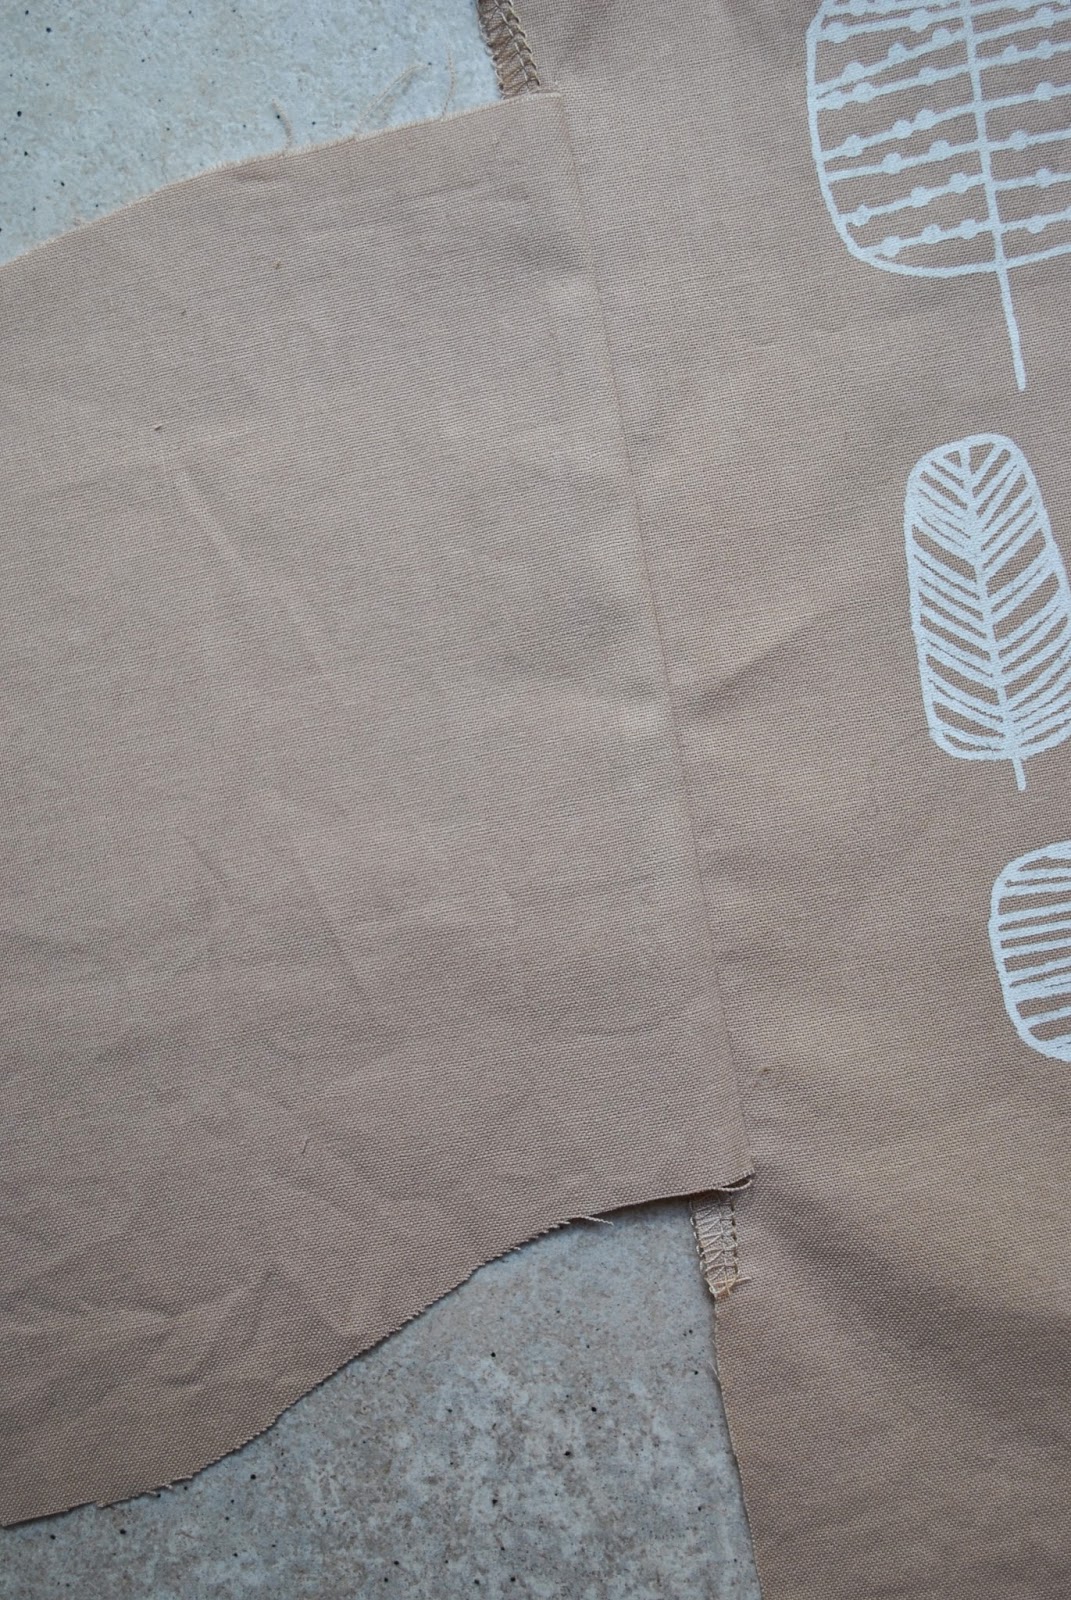
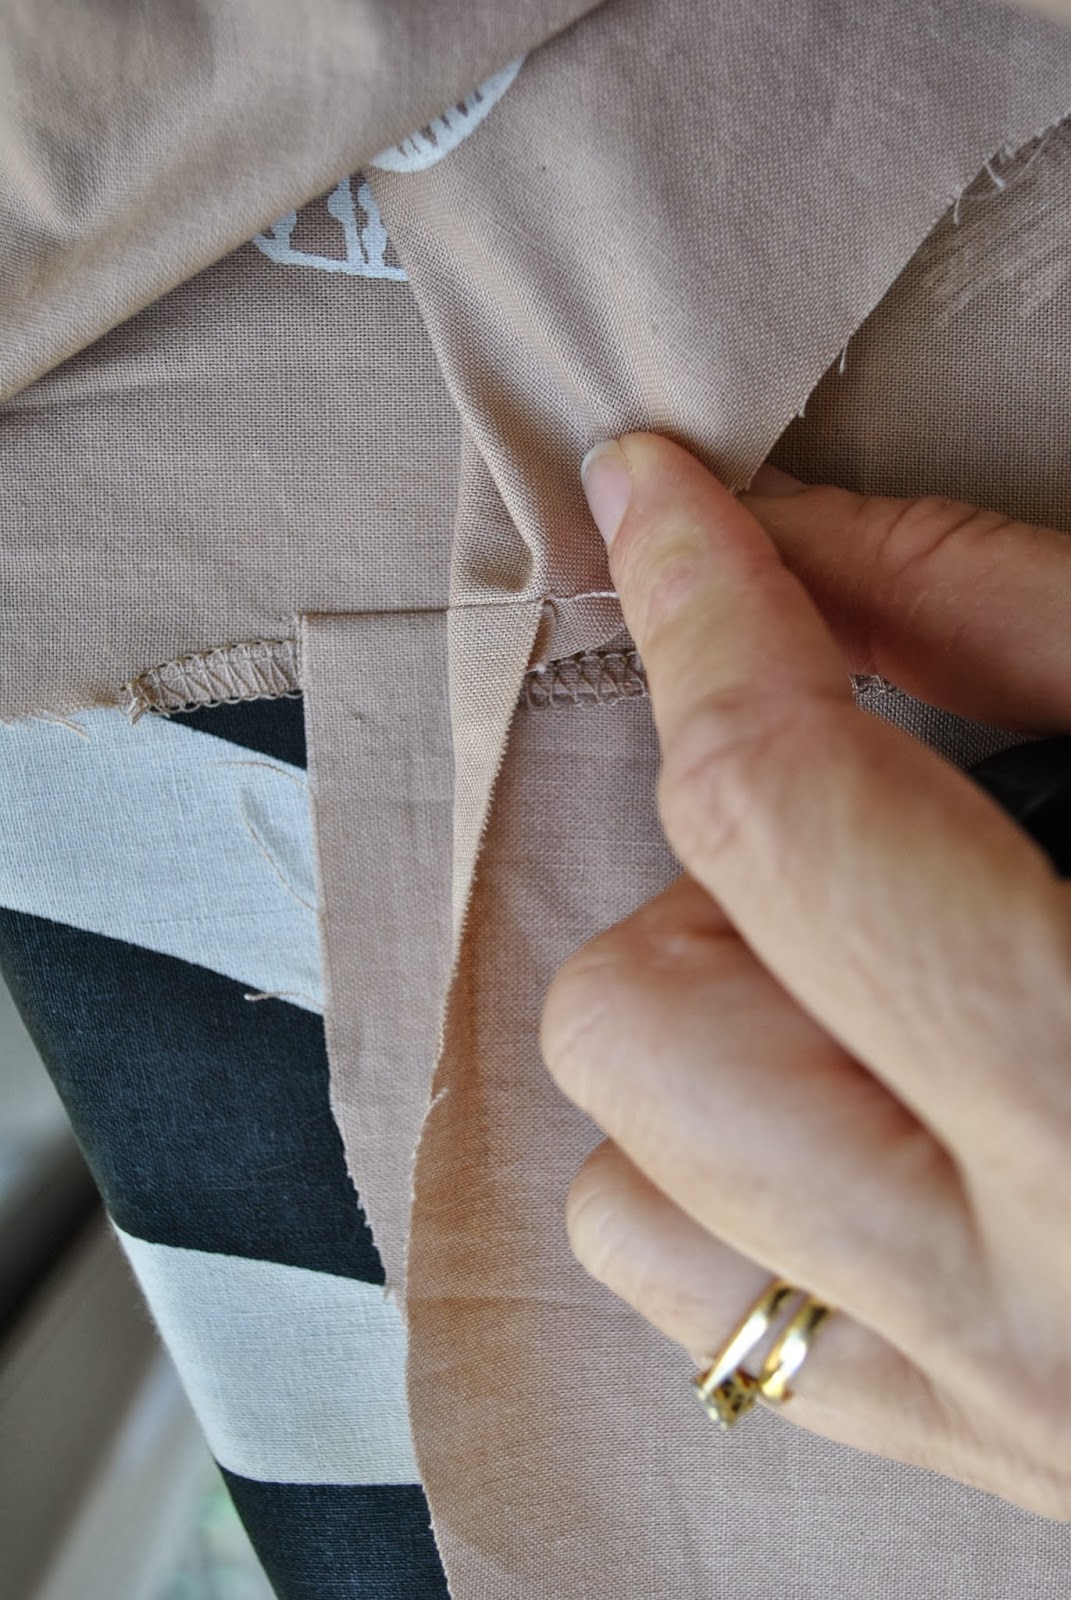
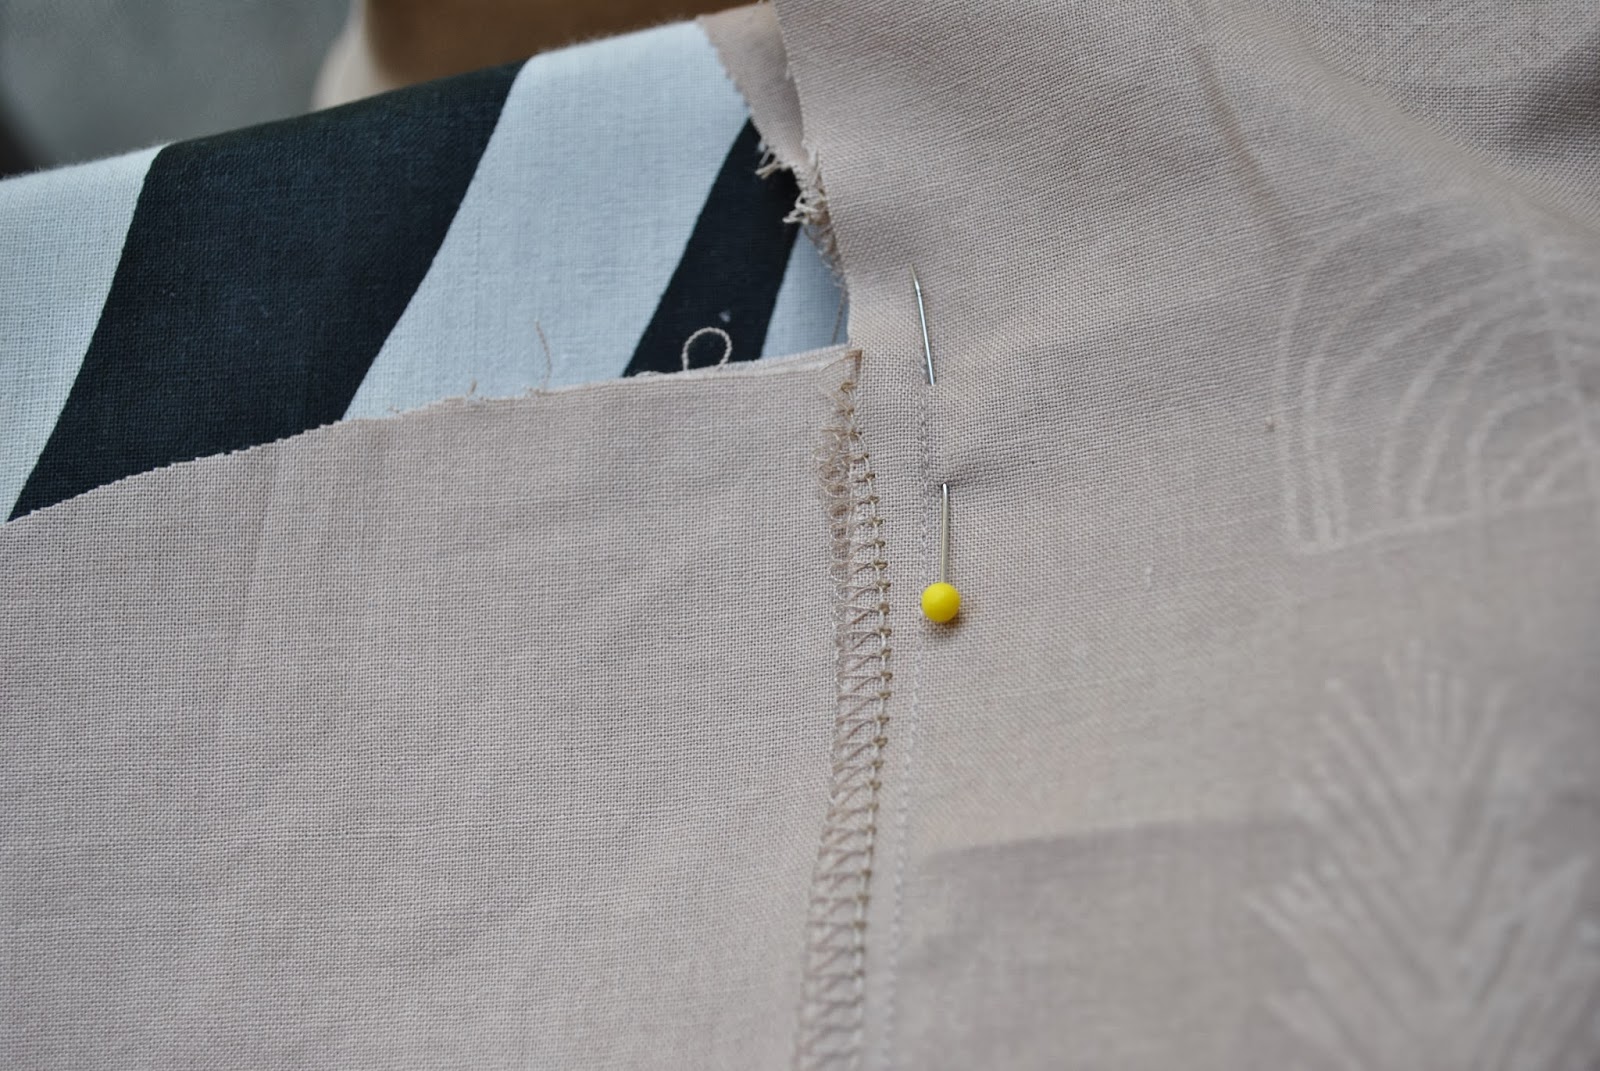
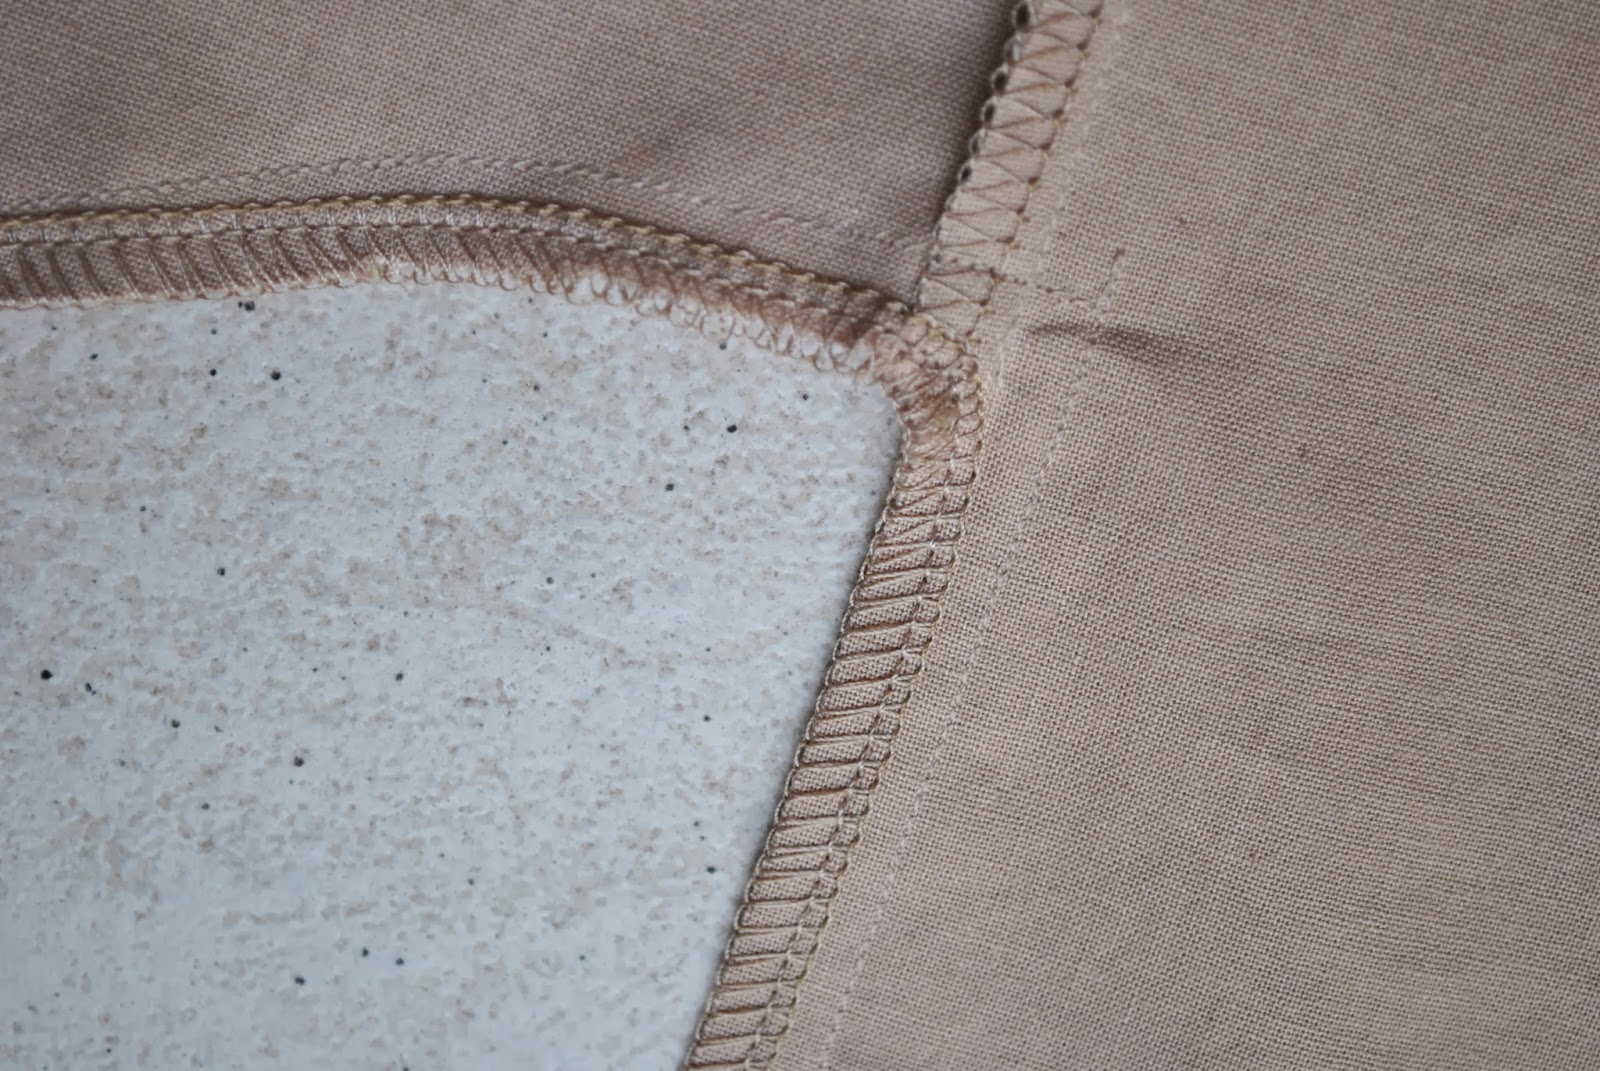
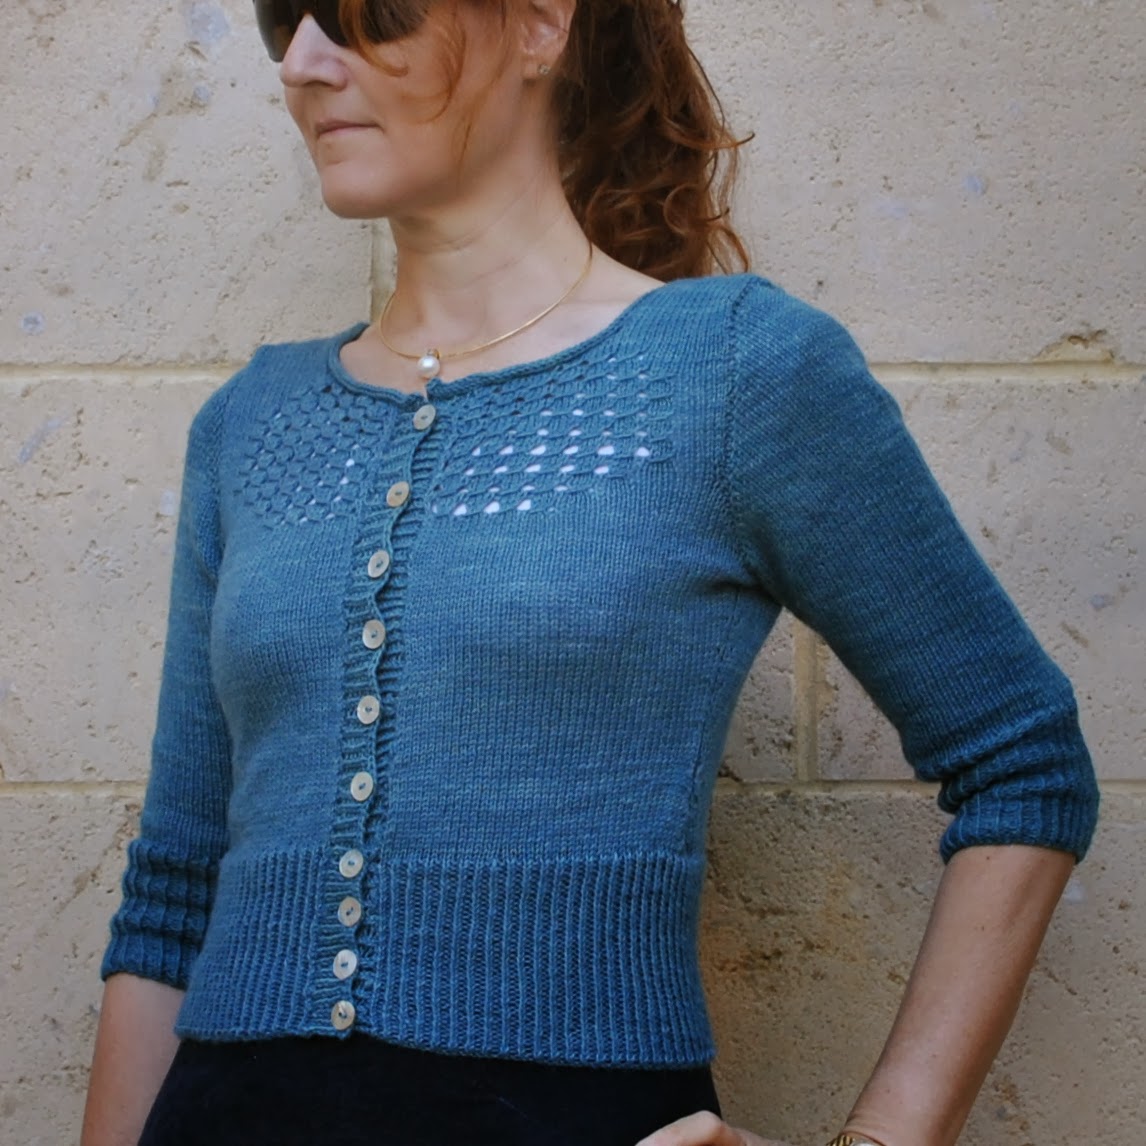
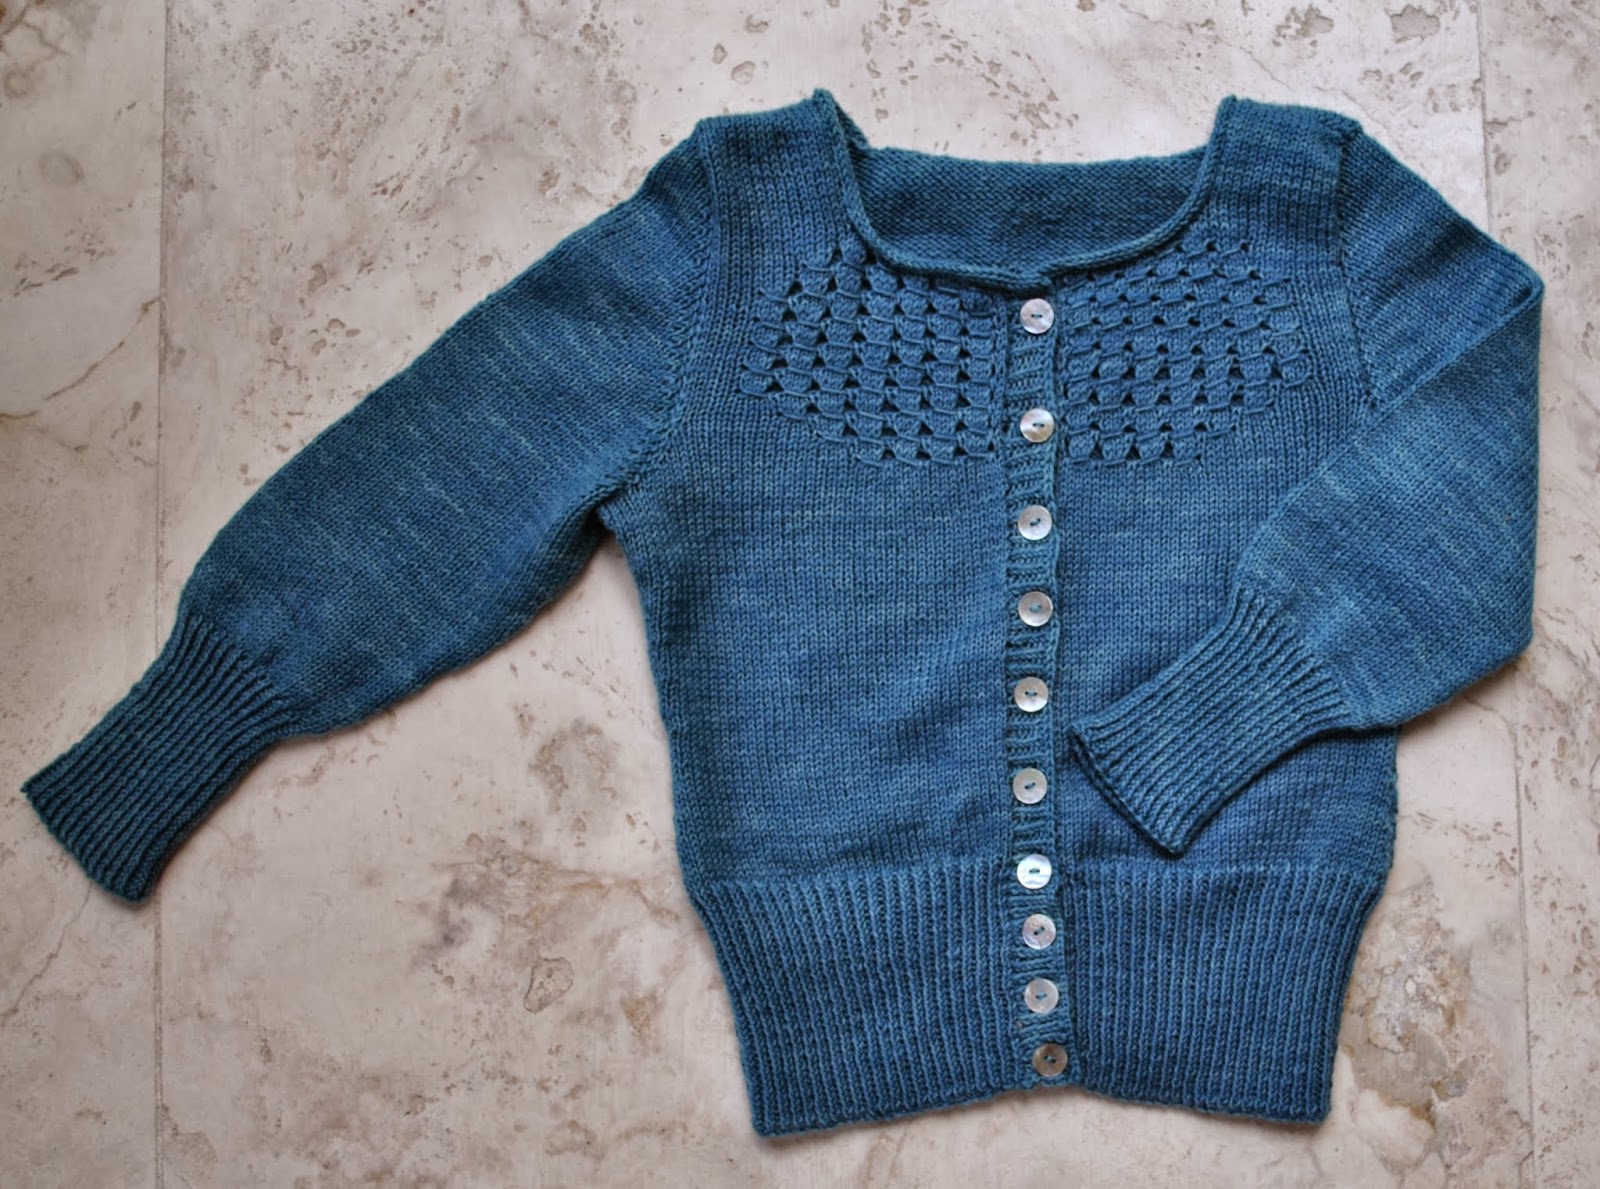
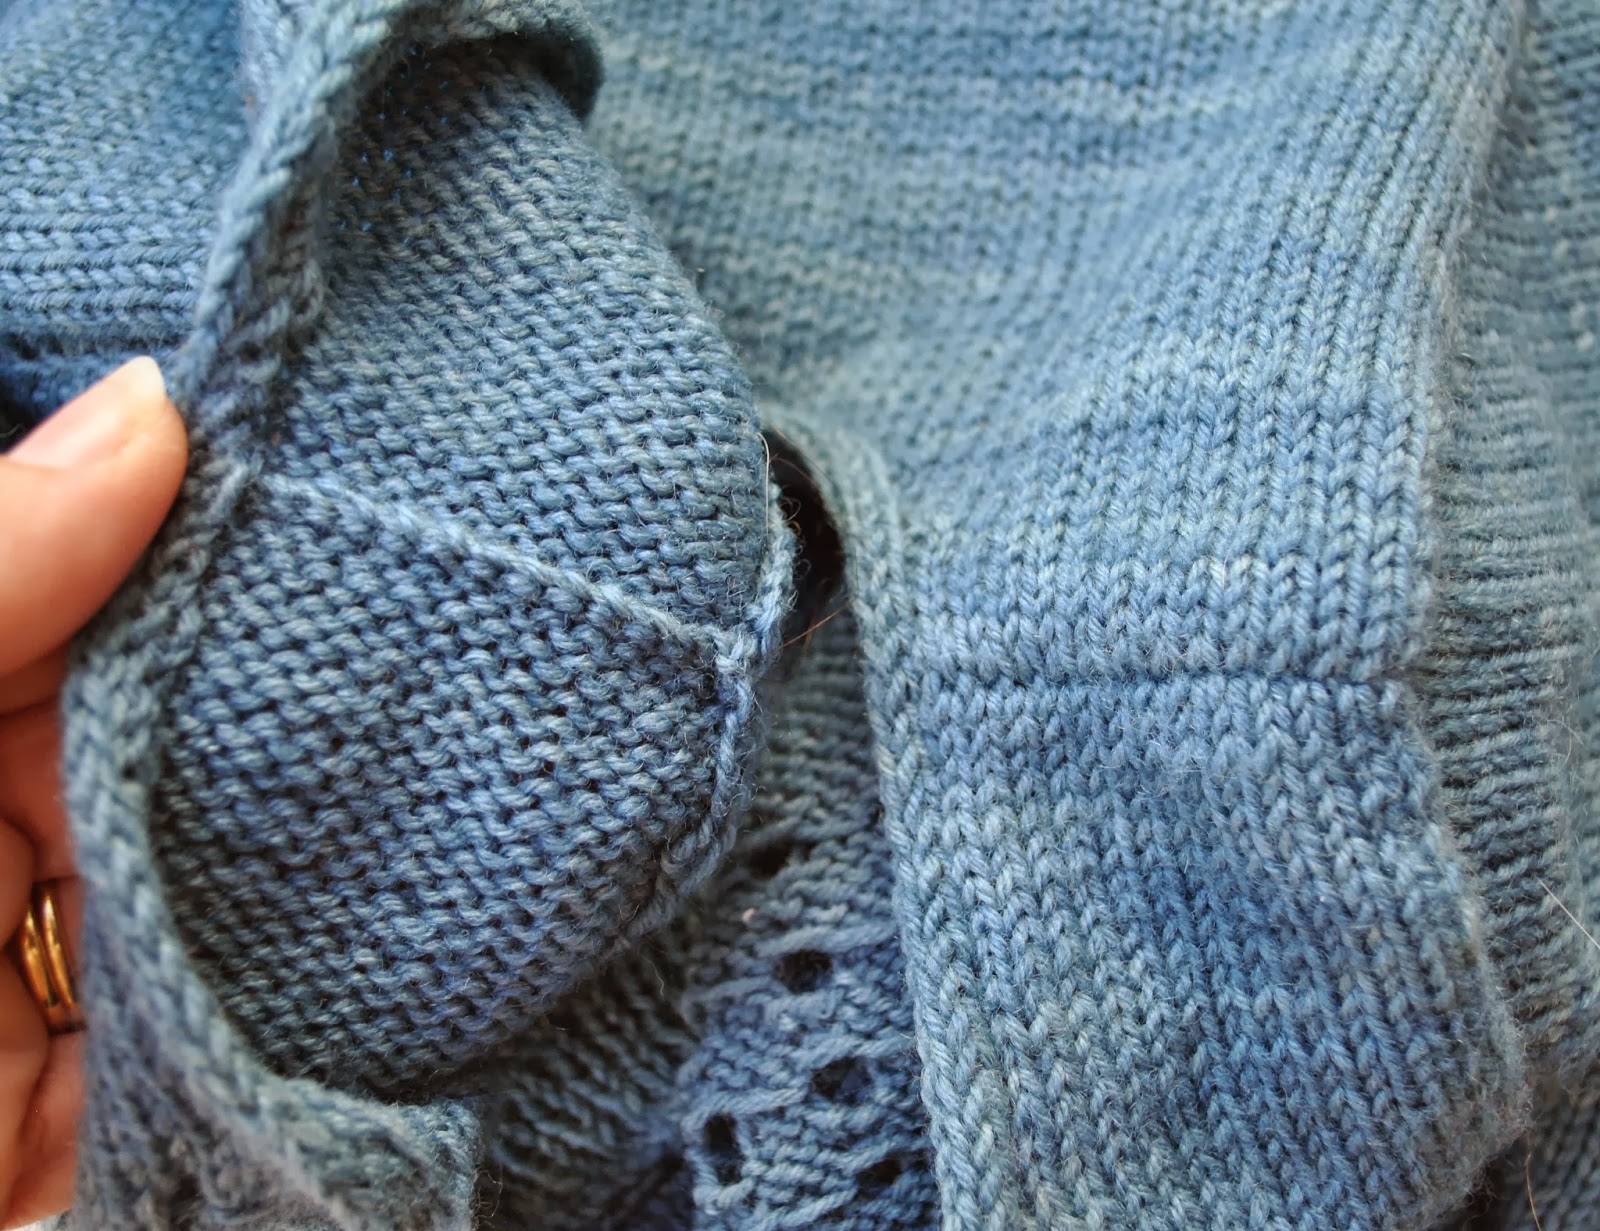
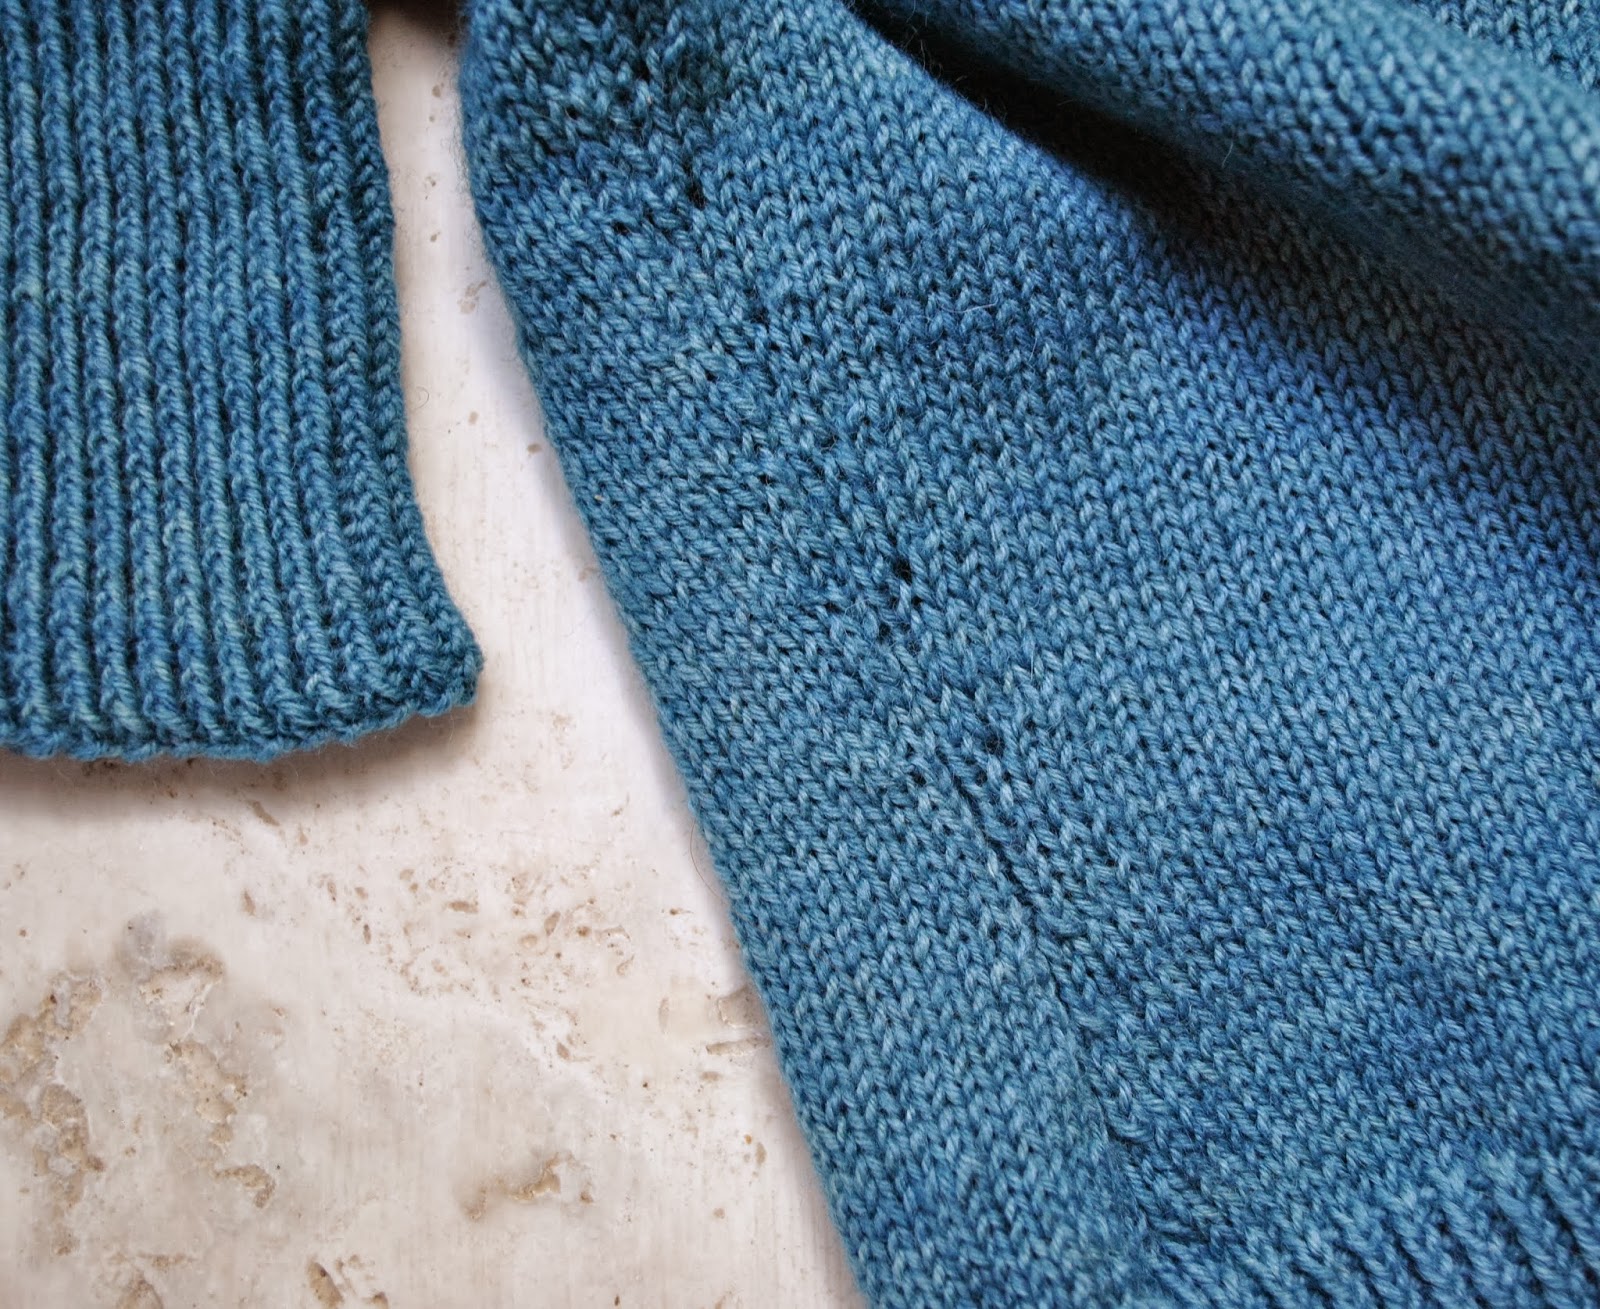
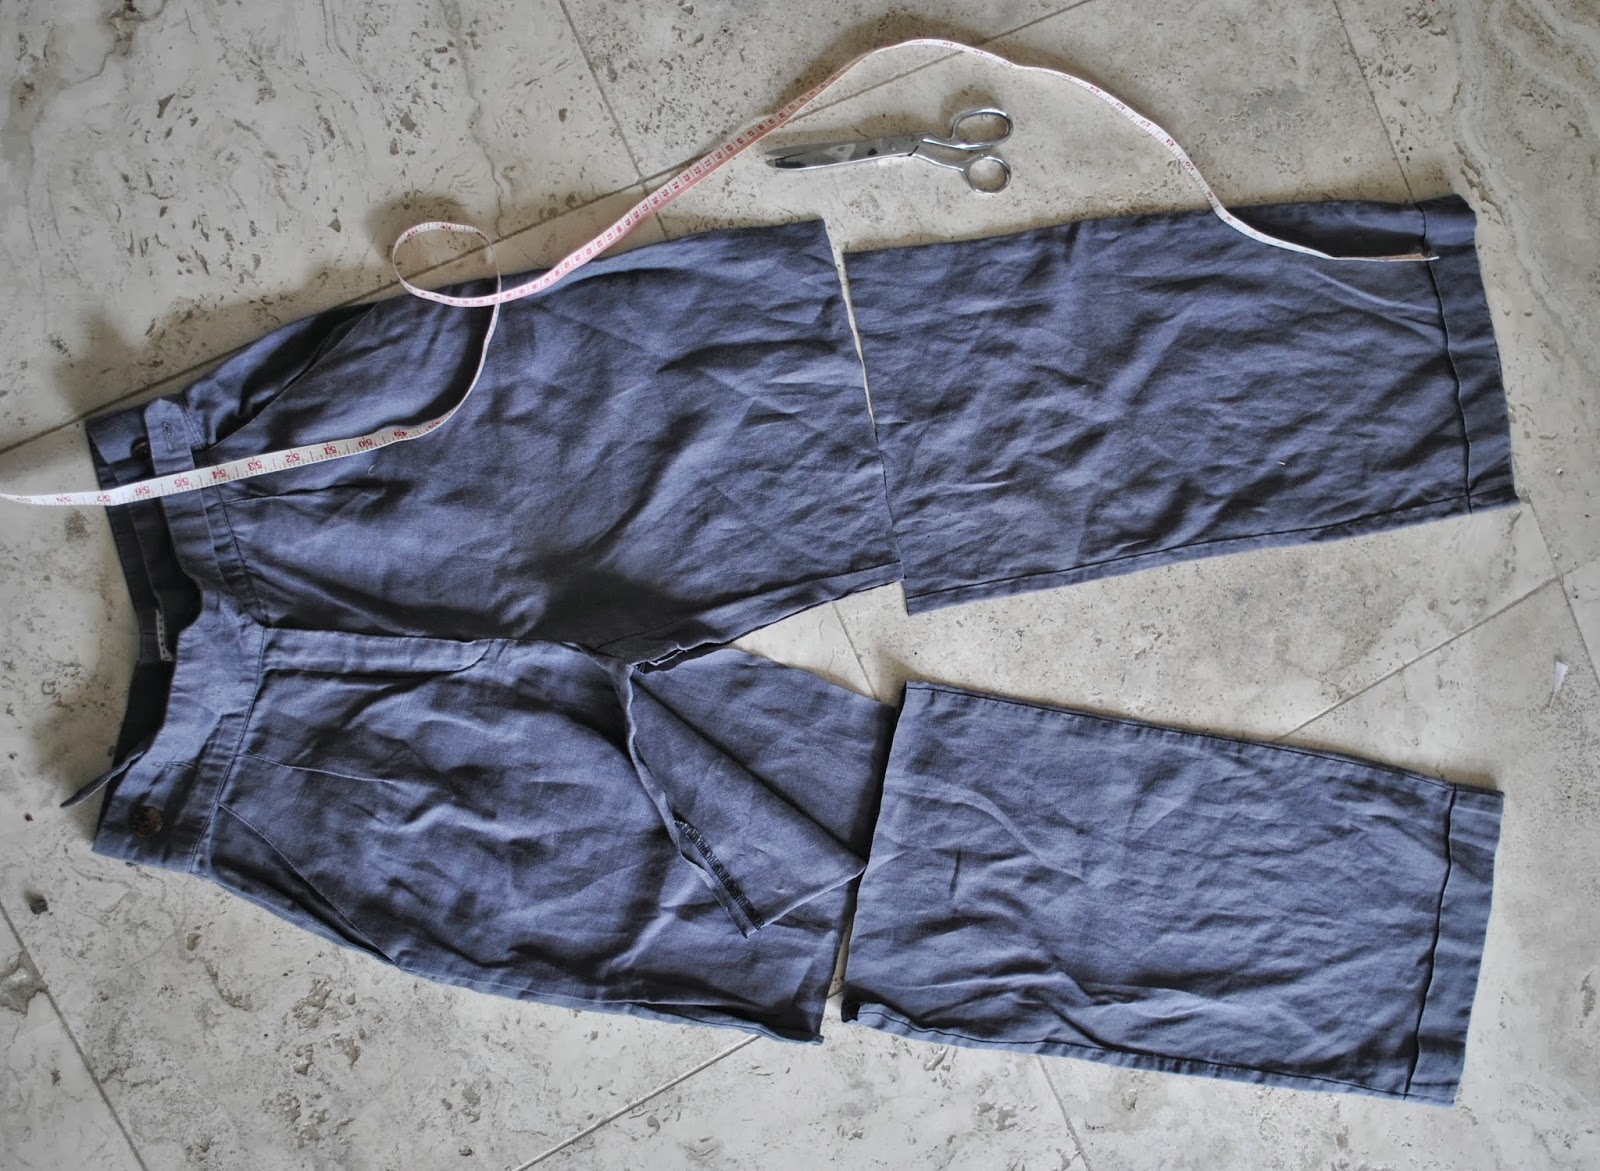
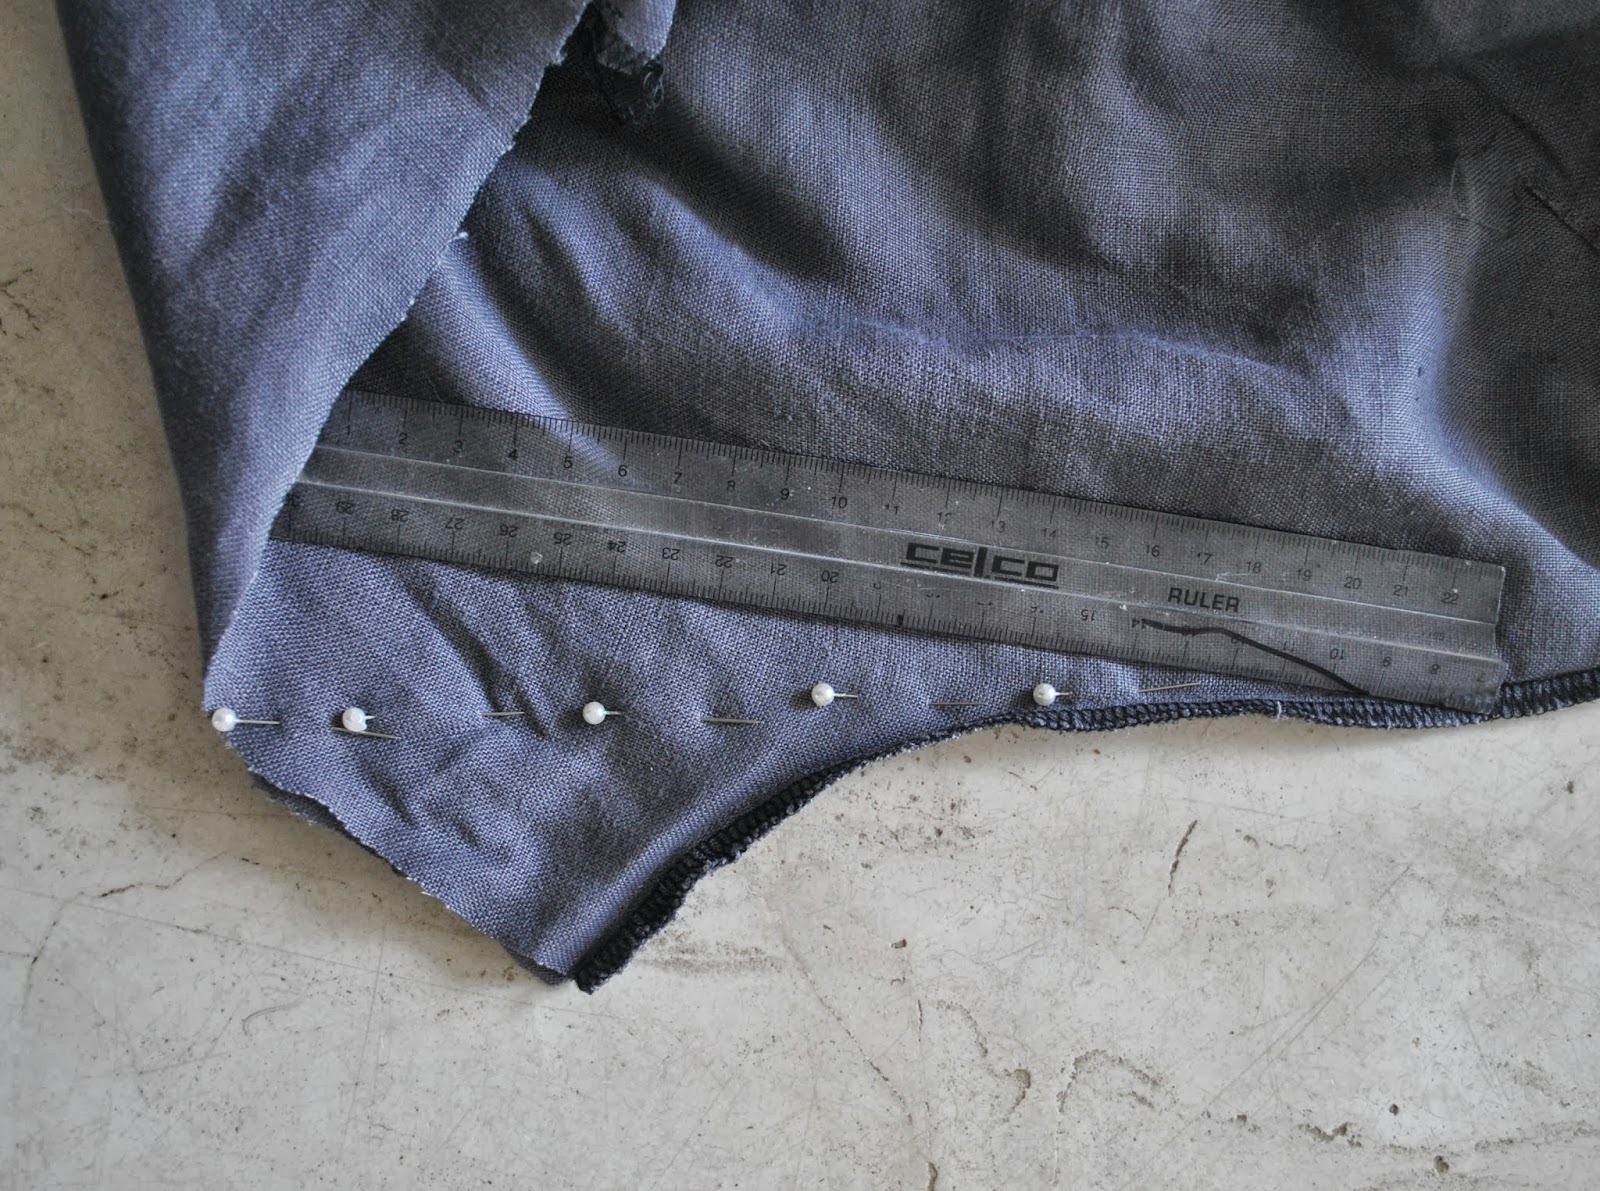
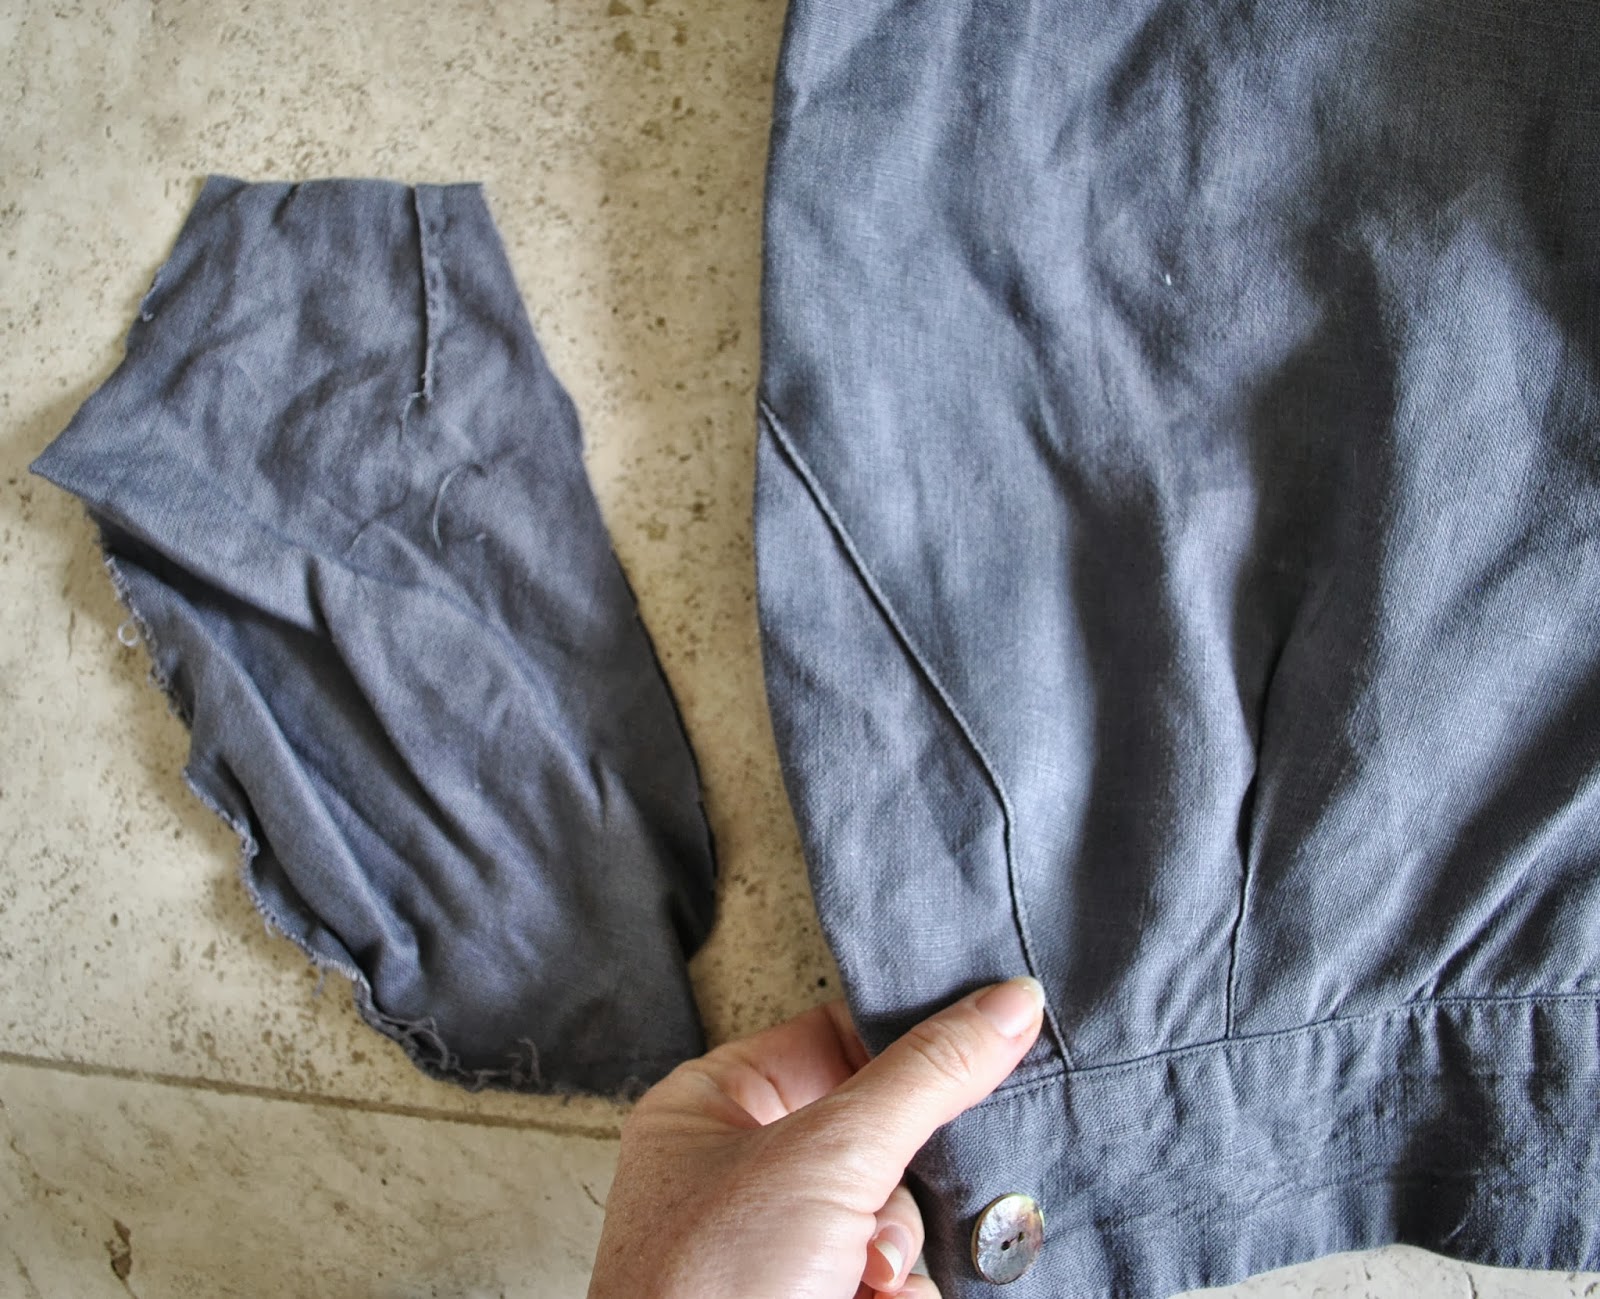
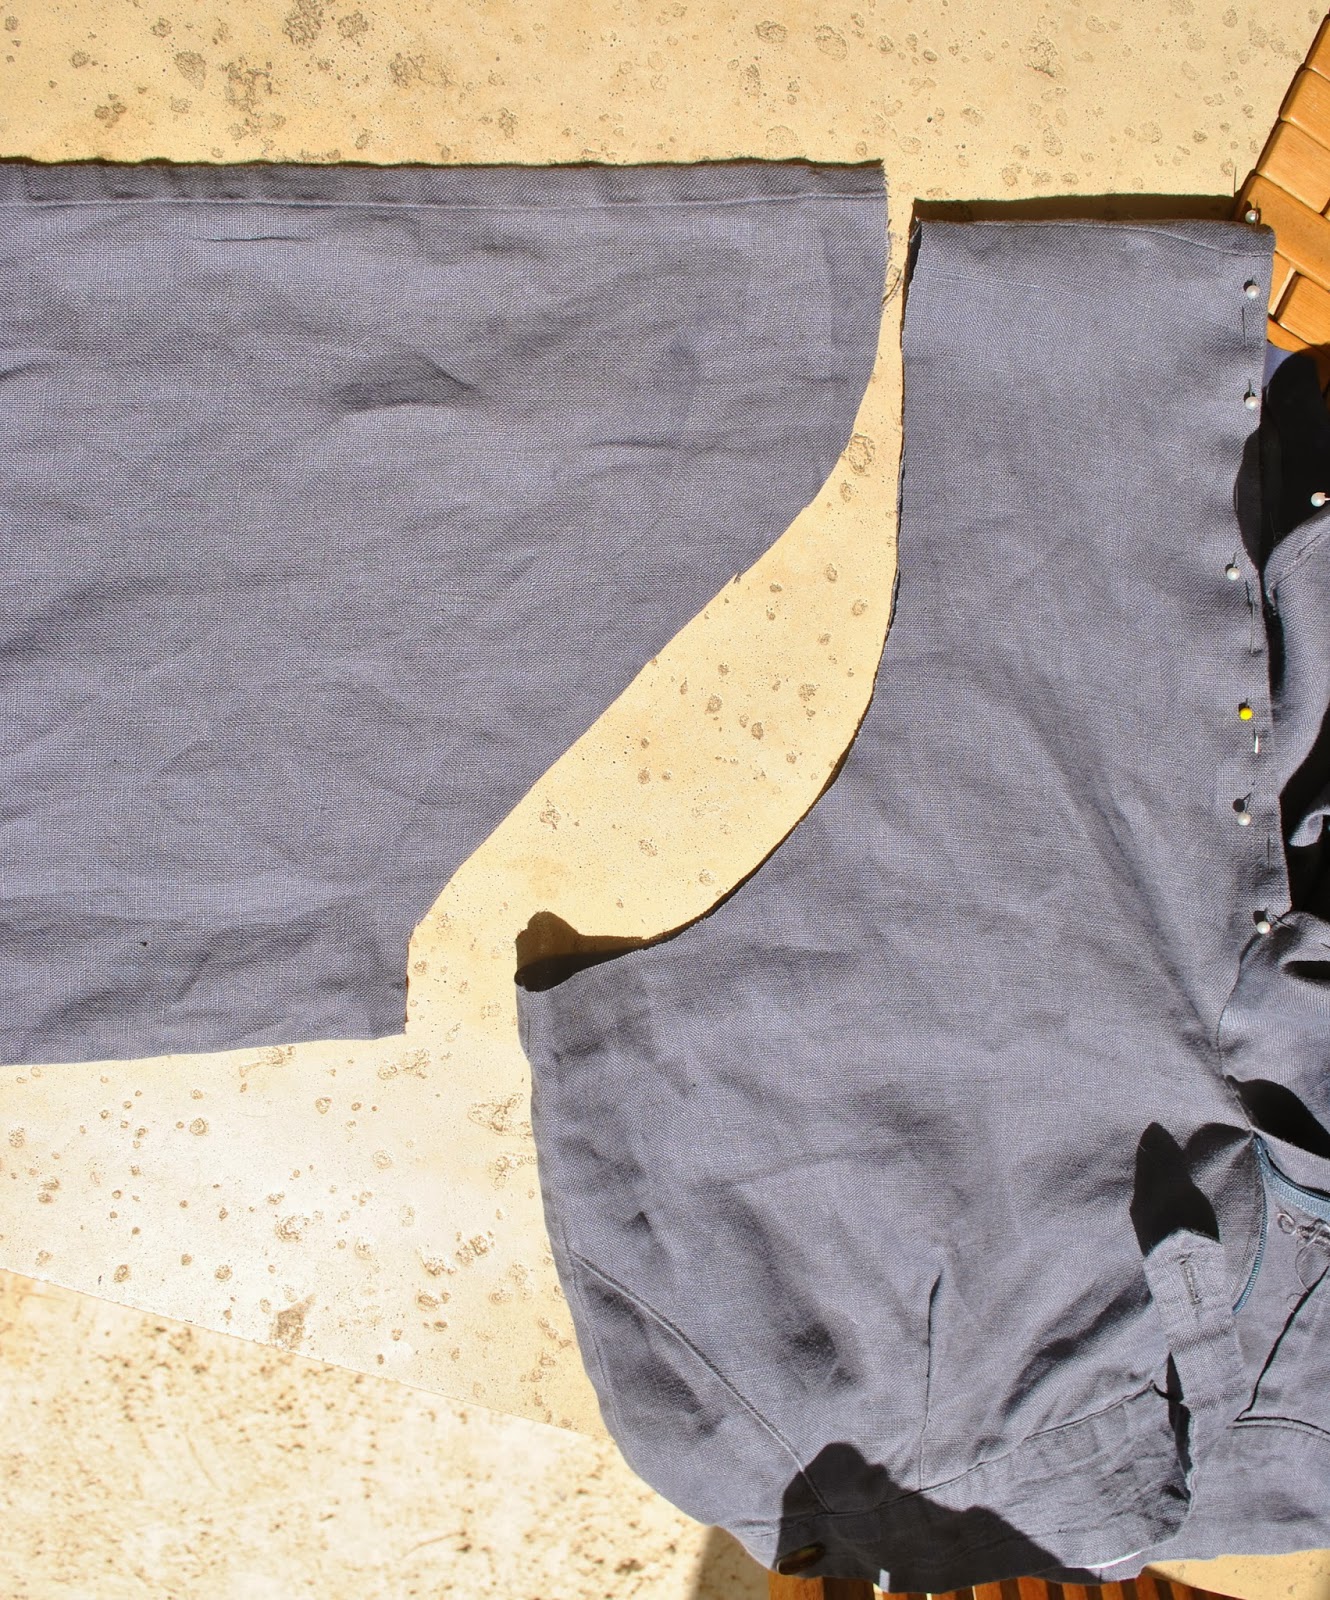
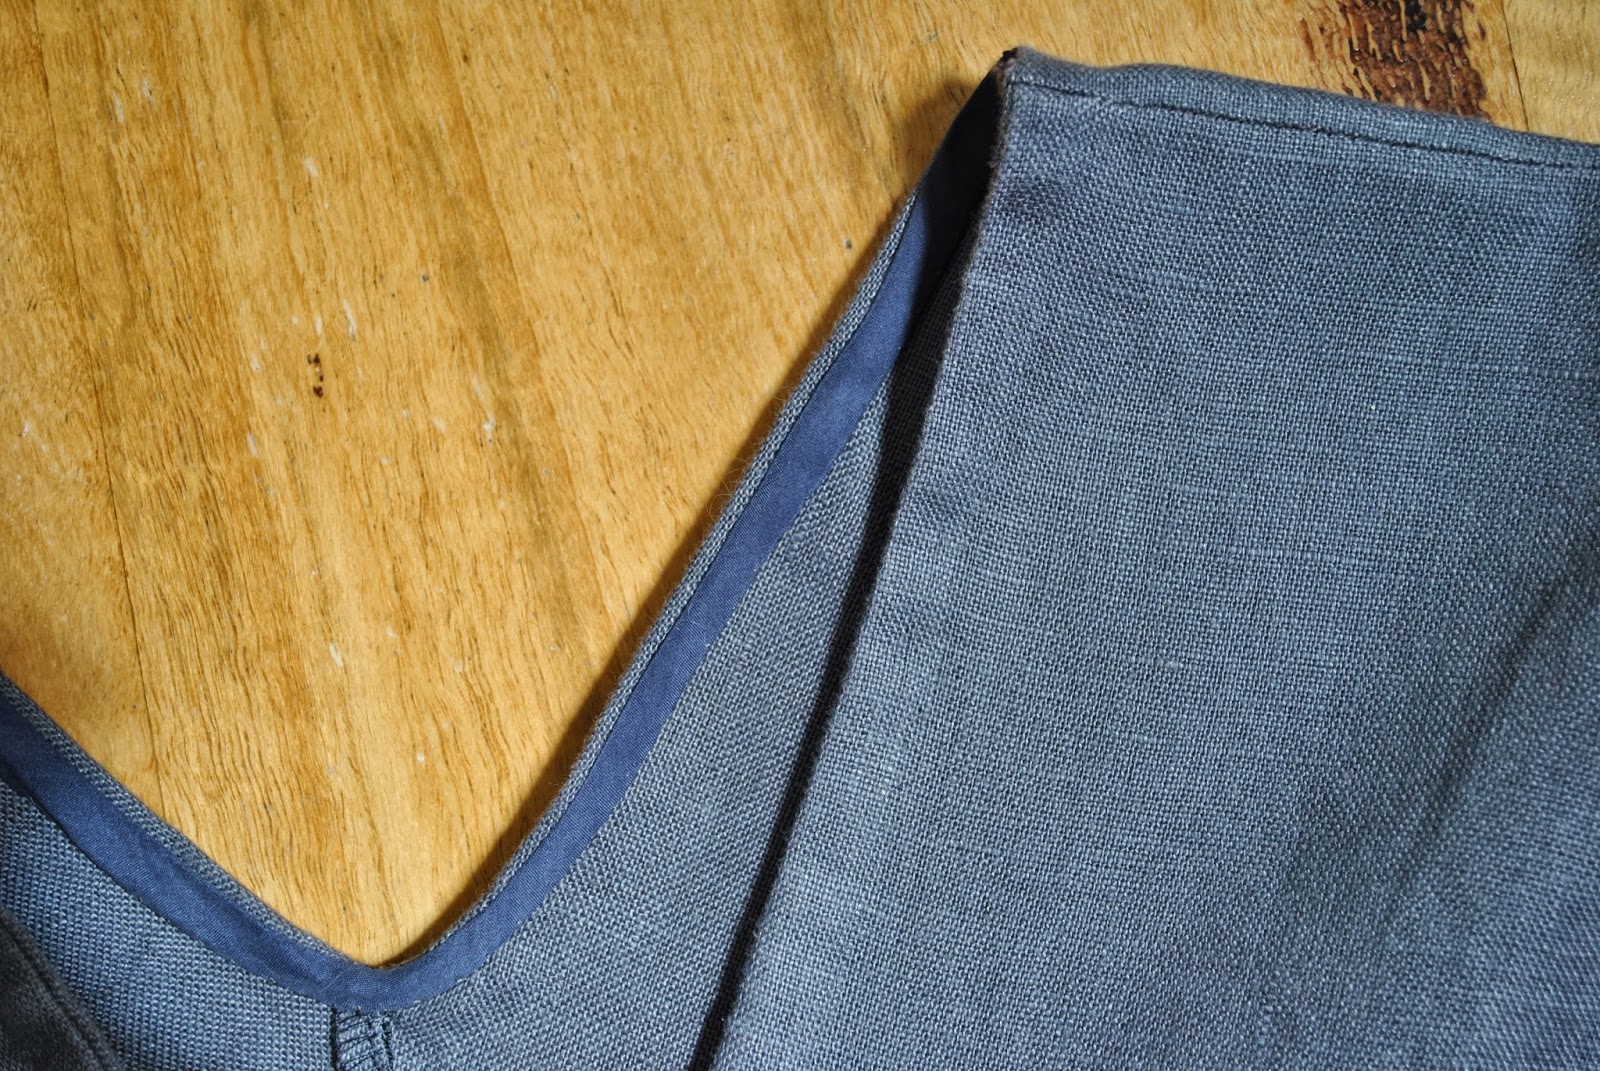
I put the idea of a shift dress on ice, but as soon as I saw the big pouffy skirt on the Elisalex the silk leapt to my mind again. The piece was wide but I only had 1.5m so pattern matching was the biggest challenge. Also a lot of the squares were not exactly square but are slightly bigger and smaller here and there, and the corners don’t always match up perfectly. I’m pretty pleased with how I managed to get the dress out of my small piece and got my squares, princess seams, corners and box pleats matching up not too badly. The only area I am disappointed with is the junction between the skirt and bodice at the centre back, where the two ivory squares and two black squares are adjacent with each other and so there is one ivory and one black rectangle instead of squares and the chessboard effect falls into a heap! … but I think I can live with that little quirk. Well, I have to because I wasn’t going to go out and buy more fabric just for that. Although I will admit that I considered it 😉 I have the smallest mere scraps leftover, so I did make very good use of my piece.
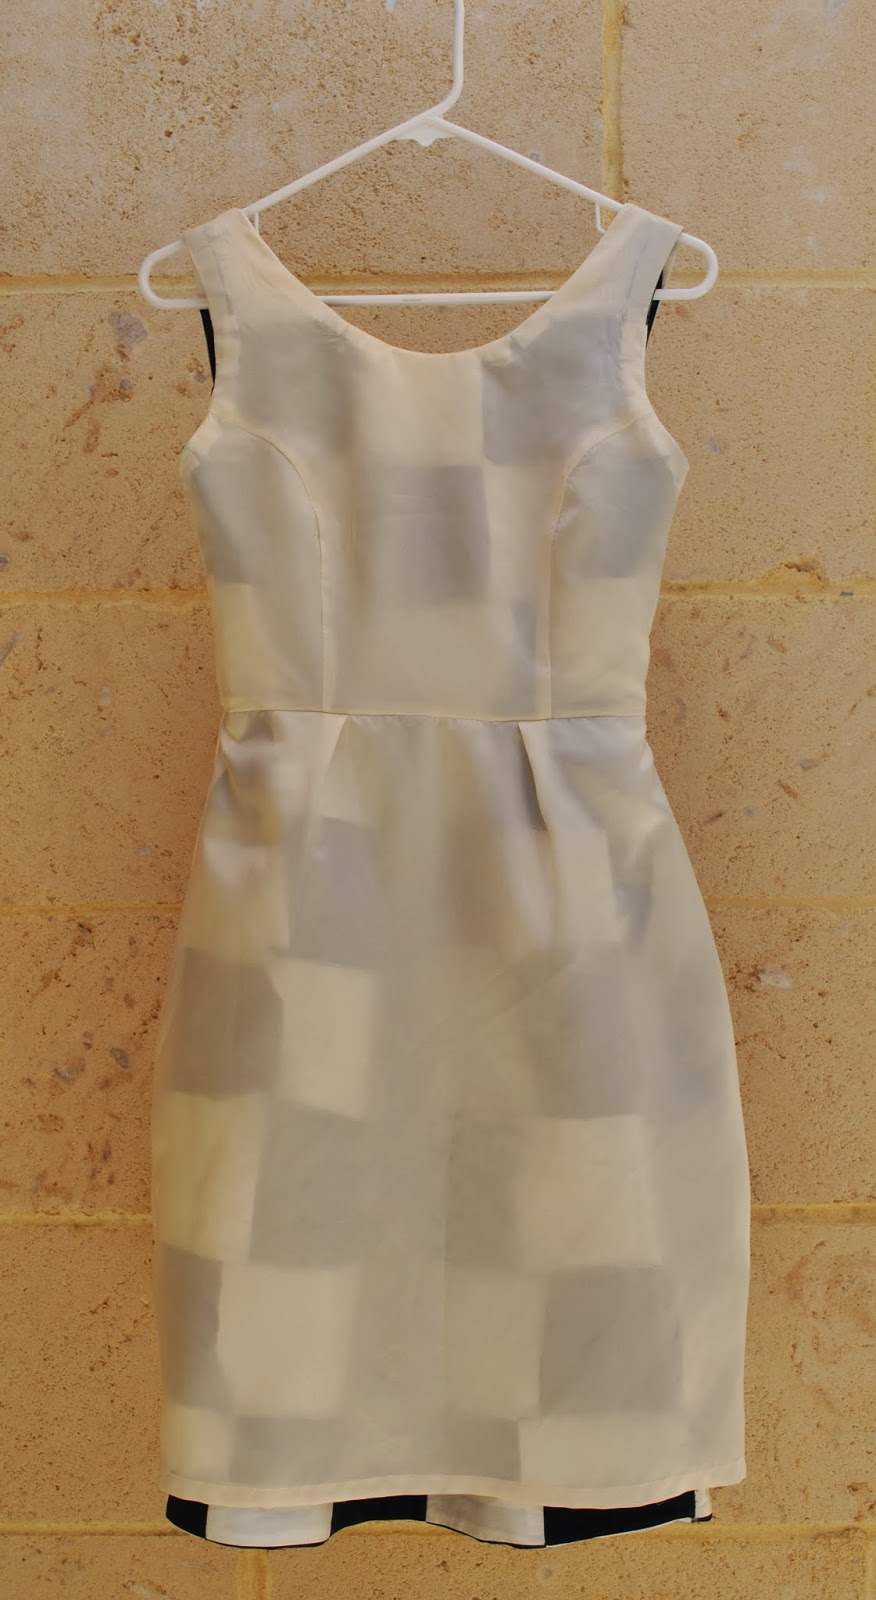
My dress is fully lined with cream-coloured polyacetate lining fabric. The pattern does not mention lining the skirt, so I cut the skirt pieces out as narrower versions of the skirt pattern pieces without the extra “pouffe” at the side edges. I also chose to add huge inseam side pockets, because well duh! Sorry to sound like a broken record on the subject, but in my view this design was just screaming out for pockets!! For the pockets I used a lightweight ivory swiss dotted cotton voile.
Details:
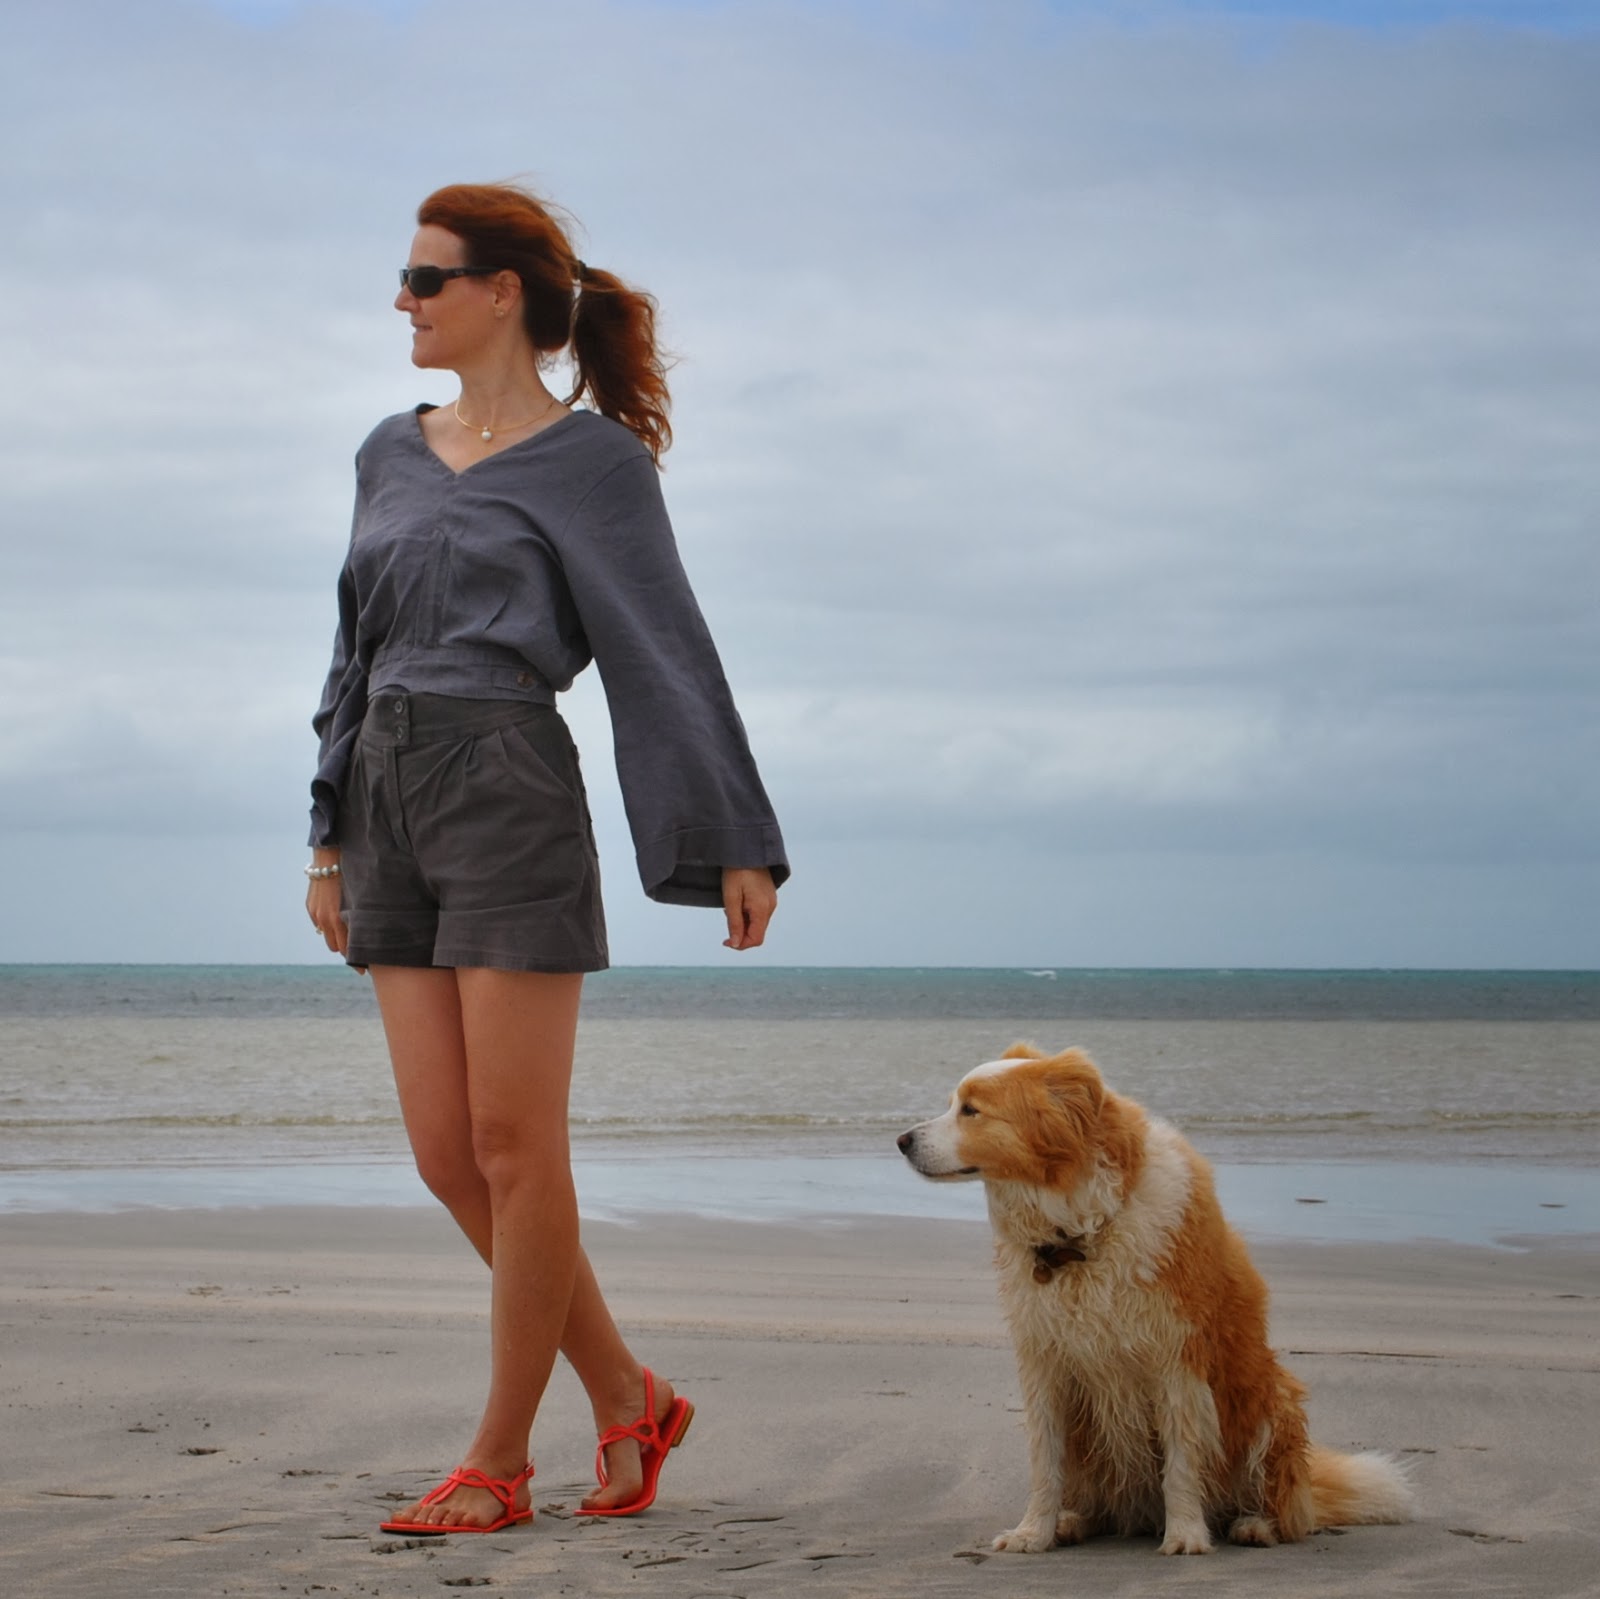
Dress: By Hand London Elisalex dress, patchwork silk
Tights; self-drafted, black wool, details here
Shoes; Misano, from Labels boutique
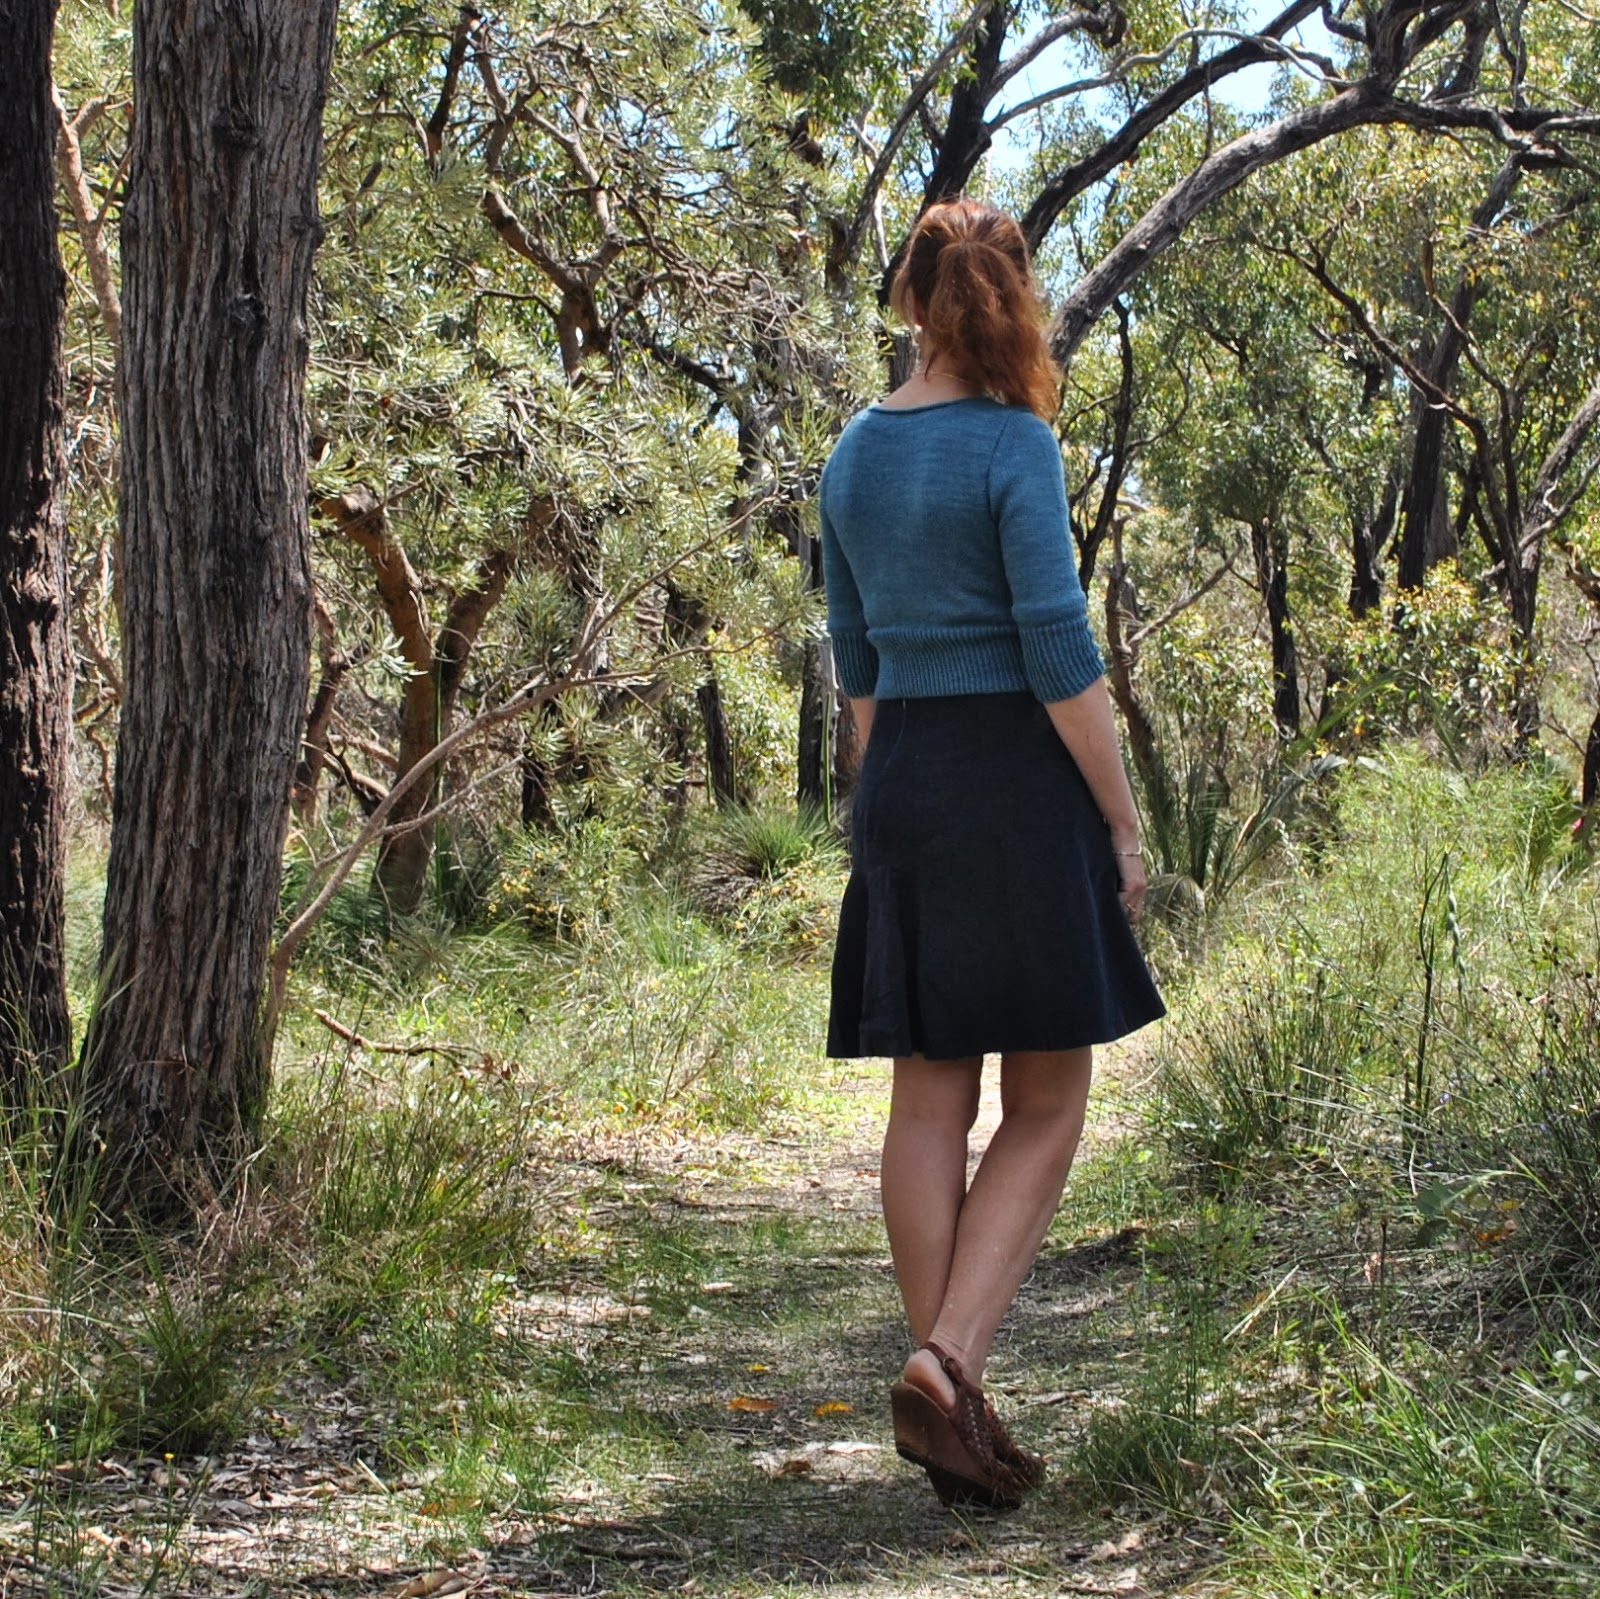
Sizing:
it look like the photo/drawing on the pattern envelope once you had finished
sewing it?
the instructions easy to follow?
did you particularly like or dislike about the pattern?
The pattern itself is beautifully packaged; this is an exceptionally high quality product.
surprised that the pattern didn’t have pockets considering that the big pouffy skirt could so easily accommodate them. Fortunately it is super easy to put them in yourself.
Used:
alterations or any design changes you made:
you sew it again? Would you recommend it to others?
yes 🙂
Design-wise; it is an absolutely beautiful and classic design, and I am very pleased with how mine turned out.
Gunmetal linen trousers to jacket-y thing
So new top… well, new? not really, this funky little jacket was until recently a pair of menswear-inspired, wide-legged, linen trousers, that have been sitting in my re-fashioning bag for a coupla years now. True! I took them out to wear as fancy dress last year, but they went straight back into the bag afterwards!
I originally made these trousers back in 2009 using Burda 7944, and they have been good trousers. I wore them a lot and even featured them in a 6 different ways post forever ago.
But eventually they got to the stage where they looked like a dishrag practically as soon as they went on and got “knees” in them instantly. That’s linen for ya; I love it to bits but if it’s not a quality weave it does tend to lose its integrity quickly. This linen was not particularly fine-grade in the first place. Some linen trousers can get away with the dish-raggy look but not a tailored design like this one.
I’ve re-made them into a loose-sleeved jacket thingy. I’ve done this very same re-fashion once before, making a boxy little jacket out of a pair of Mum’s old cast-off three-quarter pants, but these trousers started out with quite a different shape to those pants so have ended up as quite a different shaped jacket. The waistband is close-fitted, not loose, and those long wide legs with a satisfyingly deep cuff have resulted in long wide sleeves, still with that satisfyingly deep cuff on the ends. You put it on with unzipped fly, and then zip it up down! and do up the buttons, just like when it was trousers but upside down. Cool huh? I really like it in it’s new identity. Making something like this is deeply satisfying to me. Taking something old, unwanted and un-chic and making it into something different; and I use the term different as in the kind of thing you rarely see a pattern for. It’s hardly mainstream, is it? This is why I sew; to make things for myself that are individual and unusual.
A quick run-down on the procedure…
Firstly, you cut off the legs to give a “body” section, and cut open the inner leg seam from one inner leg to the other.
Re-stitch both the front and back crotch seams to be straight lines from the waistband(back)/bottom of zip(front) to the old-crotch/new-neckline opening, Cut off excess fabric (the old-crotch curves).
My trousers had pockets; stitch the opening closed and trim off the pocket bags inside. I know I know, it’s slightly painful to remove pockets, even useless ones, but they just do not work in this design. I also switched the old plastic, colour-matched buttons I had used previously for nacre buttons sewn on upside down with the mottley-brown underneath showing, just because.
Stitch up the shoulder seams and cut armhole curve on the body section, and a sleevecap curve at the top of the cut-off legs, now sleeves. If you have a great fitting shirt pattern then use this as a guide. I just tried it on a few times, pinned it and winged it, being sure to keep both sides symmetrical.
Set the sleeves into the body section.
Don’t know if it’s obvious or not, but it was crazy windy while I was taking these photos. My tripod actually blew over once! Goodness knows why I pick the absolute blasting-est days to get out and photograph my makes. I must be some kind of freaking masochist. Hair; styled by gale-force winds. Lovely, not. But, seize the moment, and all that. After all, this is what I actually look like here. Keeping it real. Man, I’m a loon.
This one gave me a laugh when I saw it!
Details:
Jacket; refashioned from a pair of Burda 7944 trousers, gunmetal linen
Shorts; Burda 7723, themselves refashioned from an old skirt, details here, and see my review of this shorts pattern here
Tshirt (underneath); self-drafted, white cotton jersey, details here
Sandals; c/o Misano
the paper doll project
(I’ve pledged to wear only clothes handmade by me this year and to sketch my daily outfits in my Fashionary. I’m calling this; the paper doll project)
24th-29th September
from left:
white wrap top, grey-green layered skirt, army jacket
Wedgwood blue jacquard skirt, blue-bell sleeved top, beige Tshirt (unblogged)
ivory jeans, dyed “banksia” cardigan, white Tshirt, russet hand-knit socks
white Nougat dress, peppercorn cardigan
gunmetal linen top, charcoal shorts, white Tshirt, peppercorn cardigan
peppercorn cardigan, ivory curtaining skirt, black Tshirt, black wool tights
30th September-5th October
from left:
lace-y layered skirt, white Tshirt, forest green Miette cardigan
watercolour floral dress, black wool tights
gunmetal silk dress, ecru boxy jacket (from jeans)
powder blue tunic blouse, coffee lace skirt
blue bell-sleeved top, lace shirt dress, powder blue silk petticoat
Ivory jeans, sand and gold swirl top


