So this is my third fabric shopping guide for Japan?! because every time we go I discover wonderful, new-to-me fabric and wool stores. Japan has a truly impressive abundance of the most amazing stores for sewing and knitting related shopping, honestly I wish I could go every year. Hmmm, that could be dangerous though!
My first guide to fabric shopping in Japan can be found here…
and my second guide to fabric shopping in Japan is here…
As in the past, I recommend taking plenty of cash, since credit cards may or may not be accepted, and you do not want to find out the hard way when you have that adorable and on-sale nani Iro print in your hand and no cash!! And for foreigners, the best place to easily get cash is the ATMs in 7Eleven stores.
Nippori Fabric Town

Arakawa, Tokyo Prefecture
google map location
Nippori Fabric Town is worth mentioning every time because it really is that good… my previous shopping guide to Nippori is here… honestly; a whole street of fabric stores and there are so many fantastic ones along the street it’s pretty hard to narrow it down, you could spend hours here and still not cover everything. And there is a very handy 7Eleven on the street in case you need to pop in for more cash! #shamelessenabler
I was quite restrained and bought only one piece of fabric, and some leather bits and pieces from the shop at the end, hopefully to be some shoes in the future!

Okadaya

Okadaya, 3-chōme-23-17 Shinjuku, Shinjuku City, Tōkyō-to 160-0022, Japan
google map location
Still in Tokyo, and I visited the fantastic Okodaya store in Shinjuku… this has four whole floors of sewing/knitting/crafting opportunities; different handcrafts on every floor. I spent basically all of my time on the knitting floor and bought a crochet book and some raffia… I’m going to make a hat!!!

SOOOOO excited for this, it’s gonna be a nice challenge since the instructions are 100% Japanese. The illustrations are excellent which will be very helpful. Stay tuned!!

… like a moth to a flame, the sewing/knitting blogger in the wild answers the primeval urge and returns to graze in her natural habitat. Photo taken by a bored husband
Incidentally, I also bought another two excellent craft books from a newsagent in the Matsumoto train station… and can I just say, you know how Australian newsagents used to have really good sewing/knitting/making books and magazines once upon a time but don’t any more? well Japanese newsagents still cater to peeps who love to MAKE, hallelujah!

In Kyoto; I couldn’t resist hunting down Misuyabari – the famous, and yet quite secret, handmade needle and pin store…

Sanjodori, Kawaramachi Nishiiru, Nakagyo-ku, Kyoto 604-8036, Kyoto Prefecture
google map location
This little oasis is notoriously difficult to find! and I found not one single guide on the internet that made the task any easier… in the end I used google maps and still struggled! so I shall attempt to make a clear and unambiguous one myself…
 When walking westward along Sanjo-dori, after you’ve crossed over the bridge spanning the Kamo river and passing Starbucks on the right … keep heading west and after a few minutes you’ll come to a T-junction with Kawaramachi-dori. The intersection is labeled Kawaramachi-Sanjo (lefthand picture, below), and the entrance into the shopping mall where the shop is located is directly in front of you, looking like this (righthand picture, below):

Walk into and along the shopping mall, and very shortly you’ll see a shop on your right (north side) that looks like this:

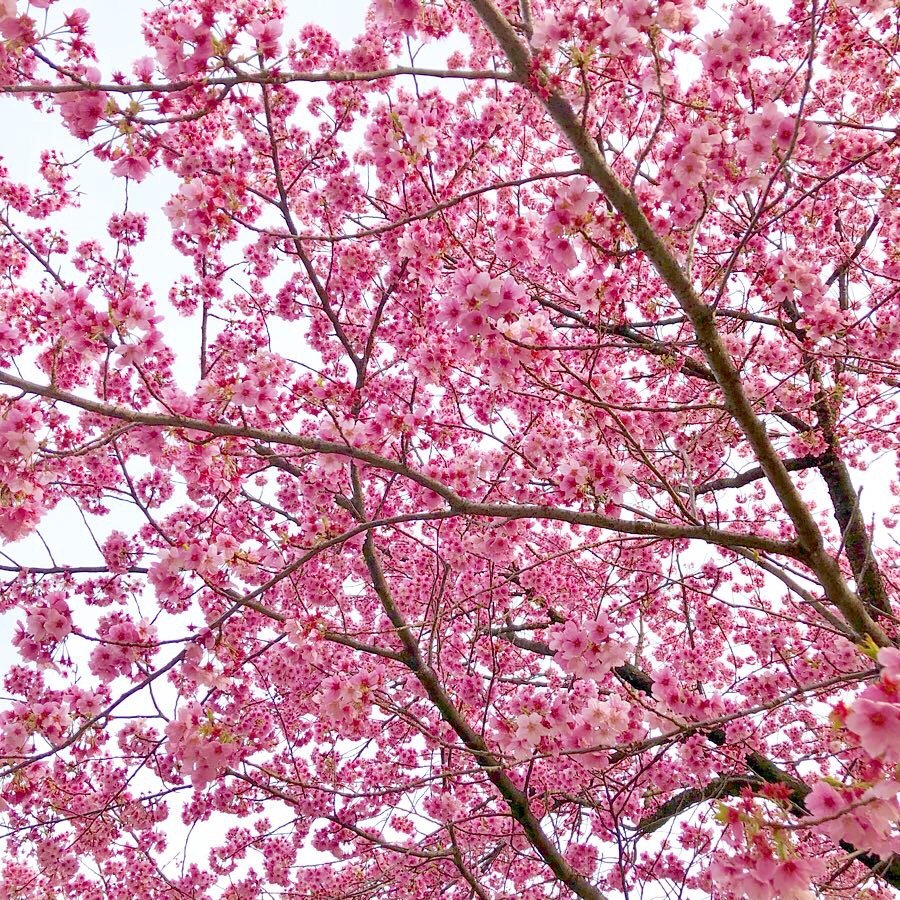
That there passageway leads to the needle shop, and you can see a glimpse of the charming gardens already! If you’re in luck, the cherry blossom out front will be in full beautiful bloom too
if these directions fail you, here is the google map location… good luck!
Anyway, I bought a few little treasures… some of the exquisite handmade pins, one for each of my fluffy girls:

and some more regular pins, and these beautiful little hand-sharpened? I think? thread snips and cases. I bought one for Cassie too.

Avril pépin

Avril, 606-8185, 20-1 Ichijōji Takatsukichō, Sakyō-ku, Kyoto, 606-8185, Japan
google map location
We also biked out the to Avril knitting shop in Kyoto, it’s a bit far out of town but not too far from the Higashiyama Jisho-ji temple, and/or the Honen-in temple so you can combine visiting them together in an afternoon quite nicely. I bought some more raffia, to make… a bag? another hat?? well, something from one of those Japanese crochet books!
And for the next I owe many thanks to my dear friend Yoshimi, who introduced me to her favourite sewing/knitting/craft store;
Yuzawaya Kichoji, just adjacent to/inside the Kichijoji train station

Yuzawaya Kirarina Keio Kichijoji, 180-0003 Tokyo, Musashino, Kichijoji
google map location
Note: unlike all the other pictures here which as usual, I took myself, I made the above collage using two images off google search, I was too overwhelmed at the time by all the incredible STUFF to think of taking my own picture… sorry. Unfortunately the pictures do not adequately convey just how very treasure-packed this store is. Trust me, this store is WELL worth taking the train for a reccy.
Take the Chuo line out from Shinjuku station towards Mitaka, and be sure to take the train that actually stops at Mitaka! because we learned to our chagrin that not all of them do, and if you’re on one that does not then you will have to get off as soon as possible and catch a return train that does stop at Mitaka. Then take the other local Chuo line for just one stop to Kichojoji, and head for the South exit.
So, if you have been fortunate enough to secure tickets to the Studio Ghibli museum then you can combine your visit to the museum with a side visit to Yuzawaya since they are easy walking distance to each other.
From a sewing/knitting/crafting perspective, Yuzawaya is pretty mindblowing, two floors chock full of the most amazing hand making fabulousness I have ever experienced in my life… along with the expected leather, fabrics and yarn; I saw tools and bits and bobs for handcrafts that had never even occurred to me even existed. I bought quite a lot of stuff while I was there with Yoshimi, an embarrassing amount really! and then after we parted company and she went innocently back home and wasn’t there to curtail my dreadful tendency to excess, I went back in and bought even more! several, um…quite a lot of balls of irresistibly discounted sock yarn… *blush* I’m not going to post pictures of the all the stuff I bought because all will be revealed no doubt! the sock yarn probably during my box of socks challenge that I am doing this year … however I will post this one little teaser picture…

I am SOOOO EXCITED to make this up! yes your eyes do not deceive you… it’s a kit to make your own umbrella… HOW COOL???!!! just uber uber cool, that’s all. Yes, a double uber. I went there. I juuuust managed to squeeze this into my suitcase, thank goodness, because obviously I could not NOT buy this!! I am hoping, once wedding related sewing is out of the way, to make it up tout de suite!
Tokyu Hands

google map location of Ginza store
speaking of leatherwork… or were we? well we are now! the fabulous chain store Tokyu Hands actually has a pretty good leather working section in its DIY section, though it is a little expensive. I bought some small pieces of very high quality leather – clogs! and a few leather working tools from the Ginza store, although the Shinjuku store is bigger… and incidentally, the Shinjuku store is very near the superb Shinjuku Gyoen National Gardens, which is absolutely spectacular during cherry blossom season.
google map location of Shinjuku store
Obviously we bought other stuff in the Tokyu Hands store too, because this is the kind of place that stocks things that you never knew you needed, until the moment you clap eyes on them in this store and then suddenly you can’t live without it. You have been warned!


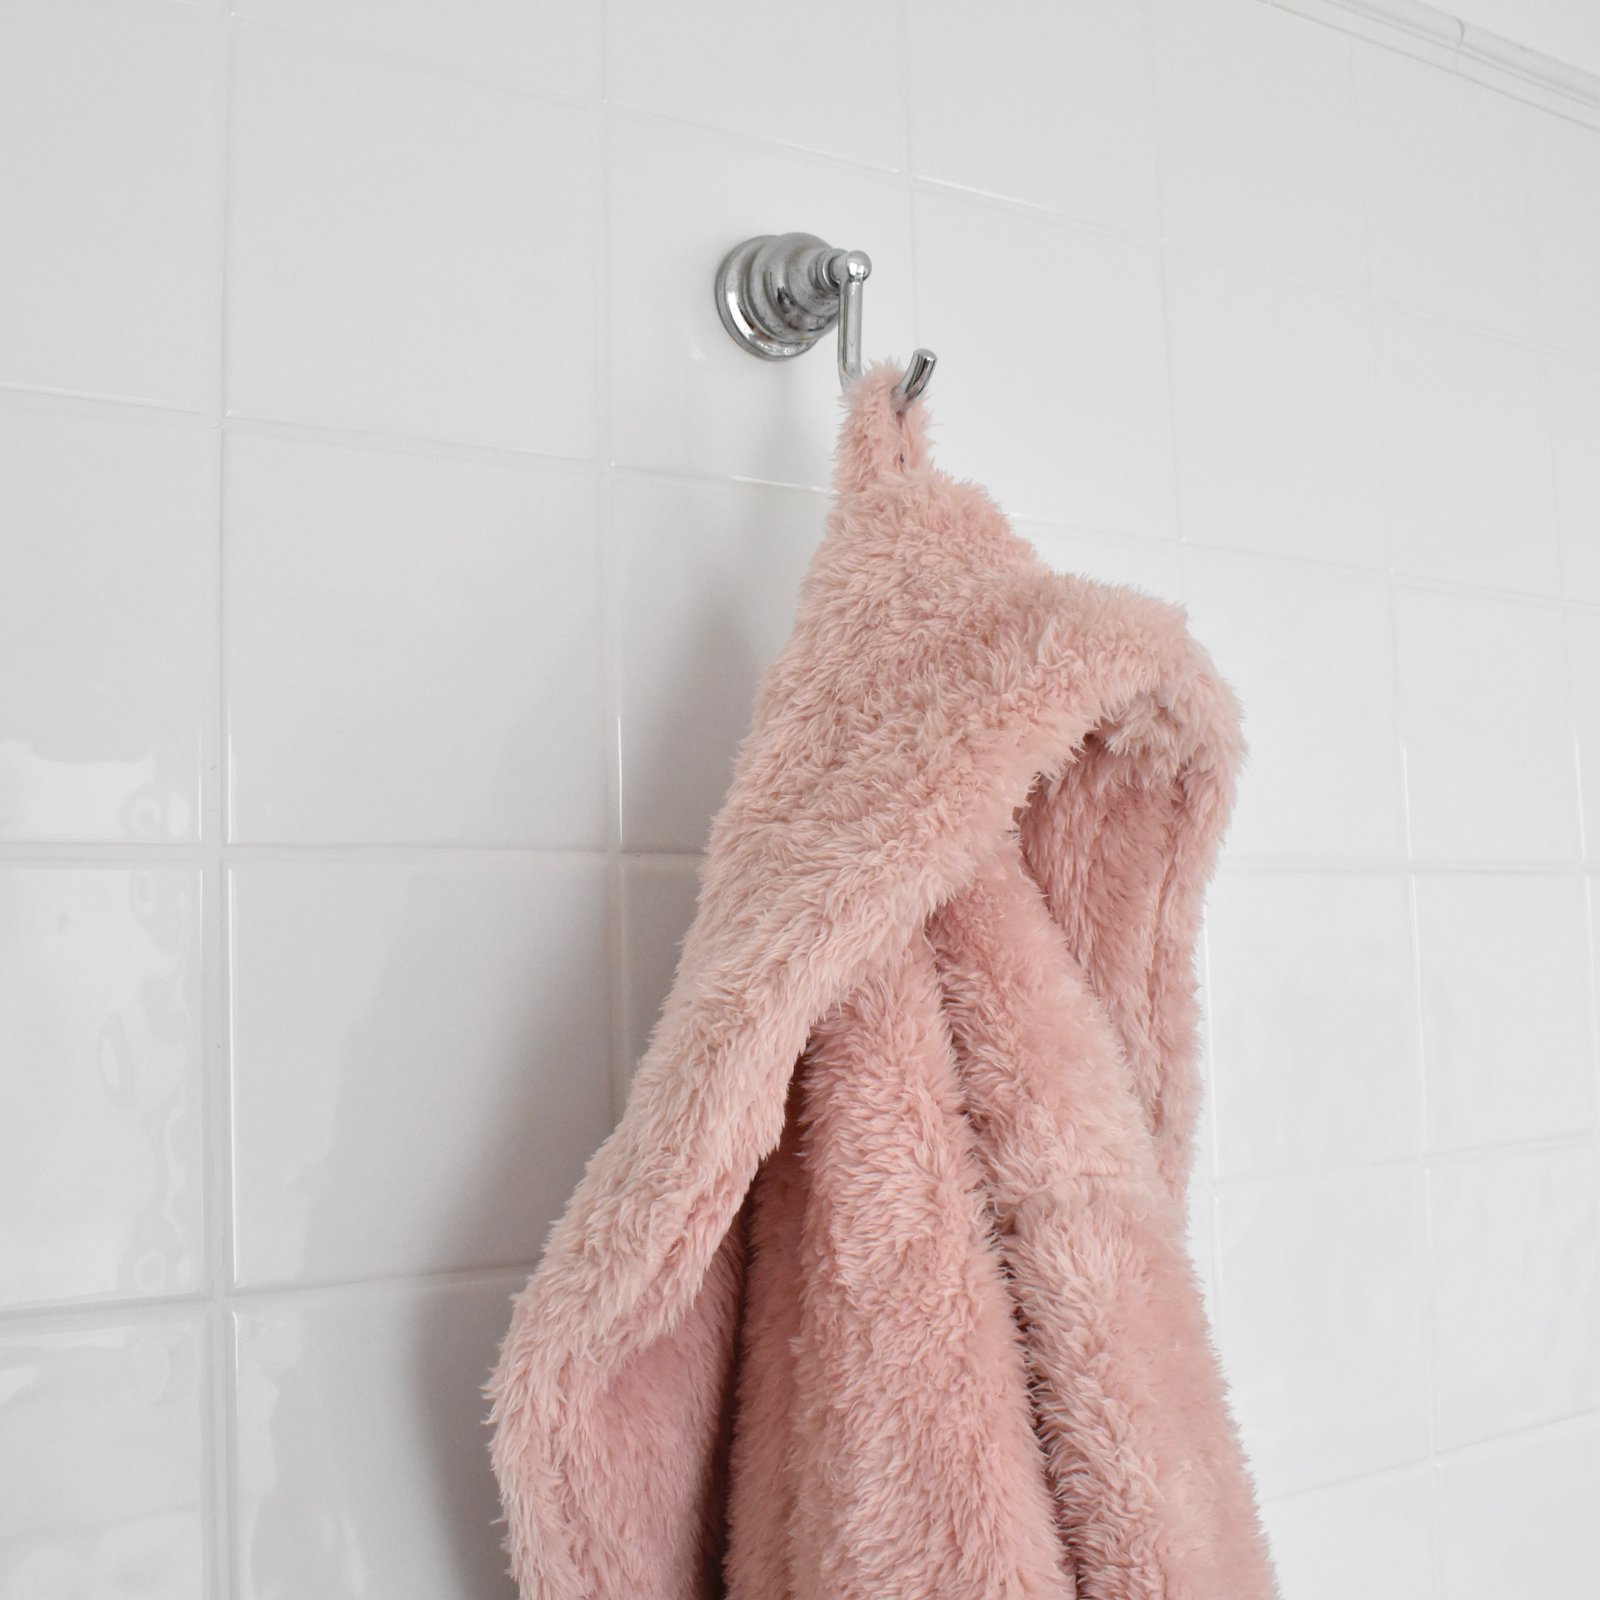
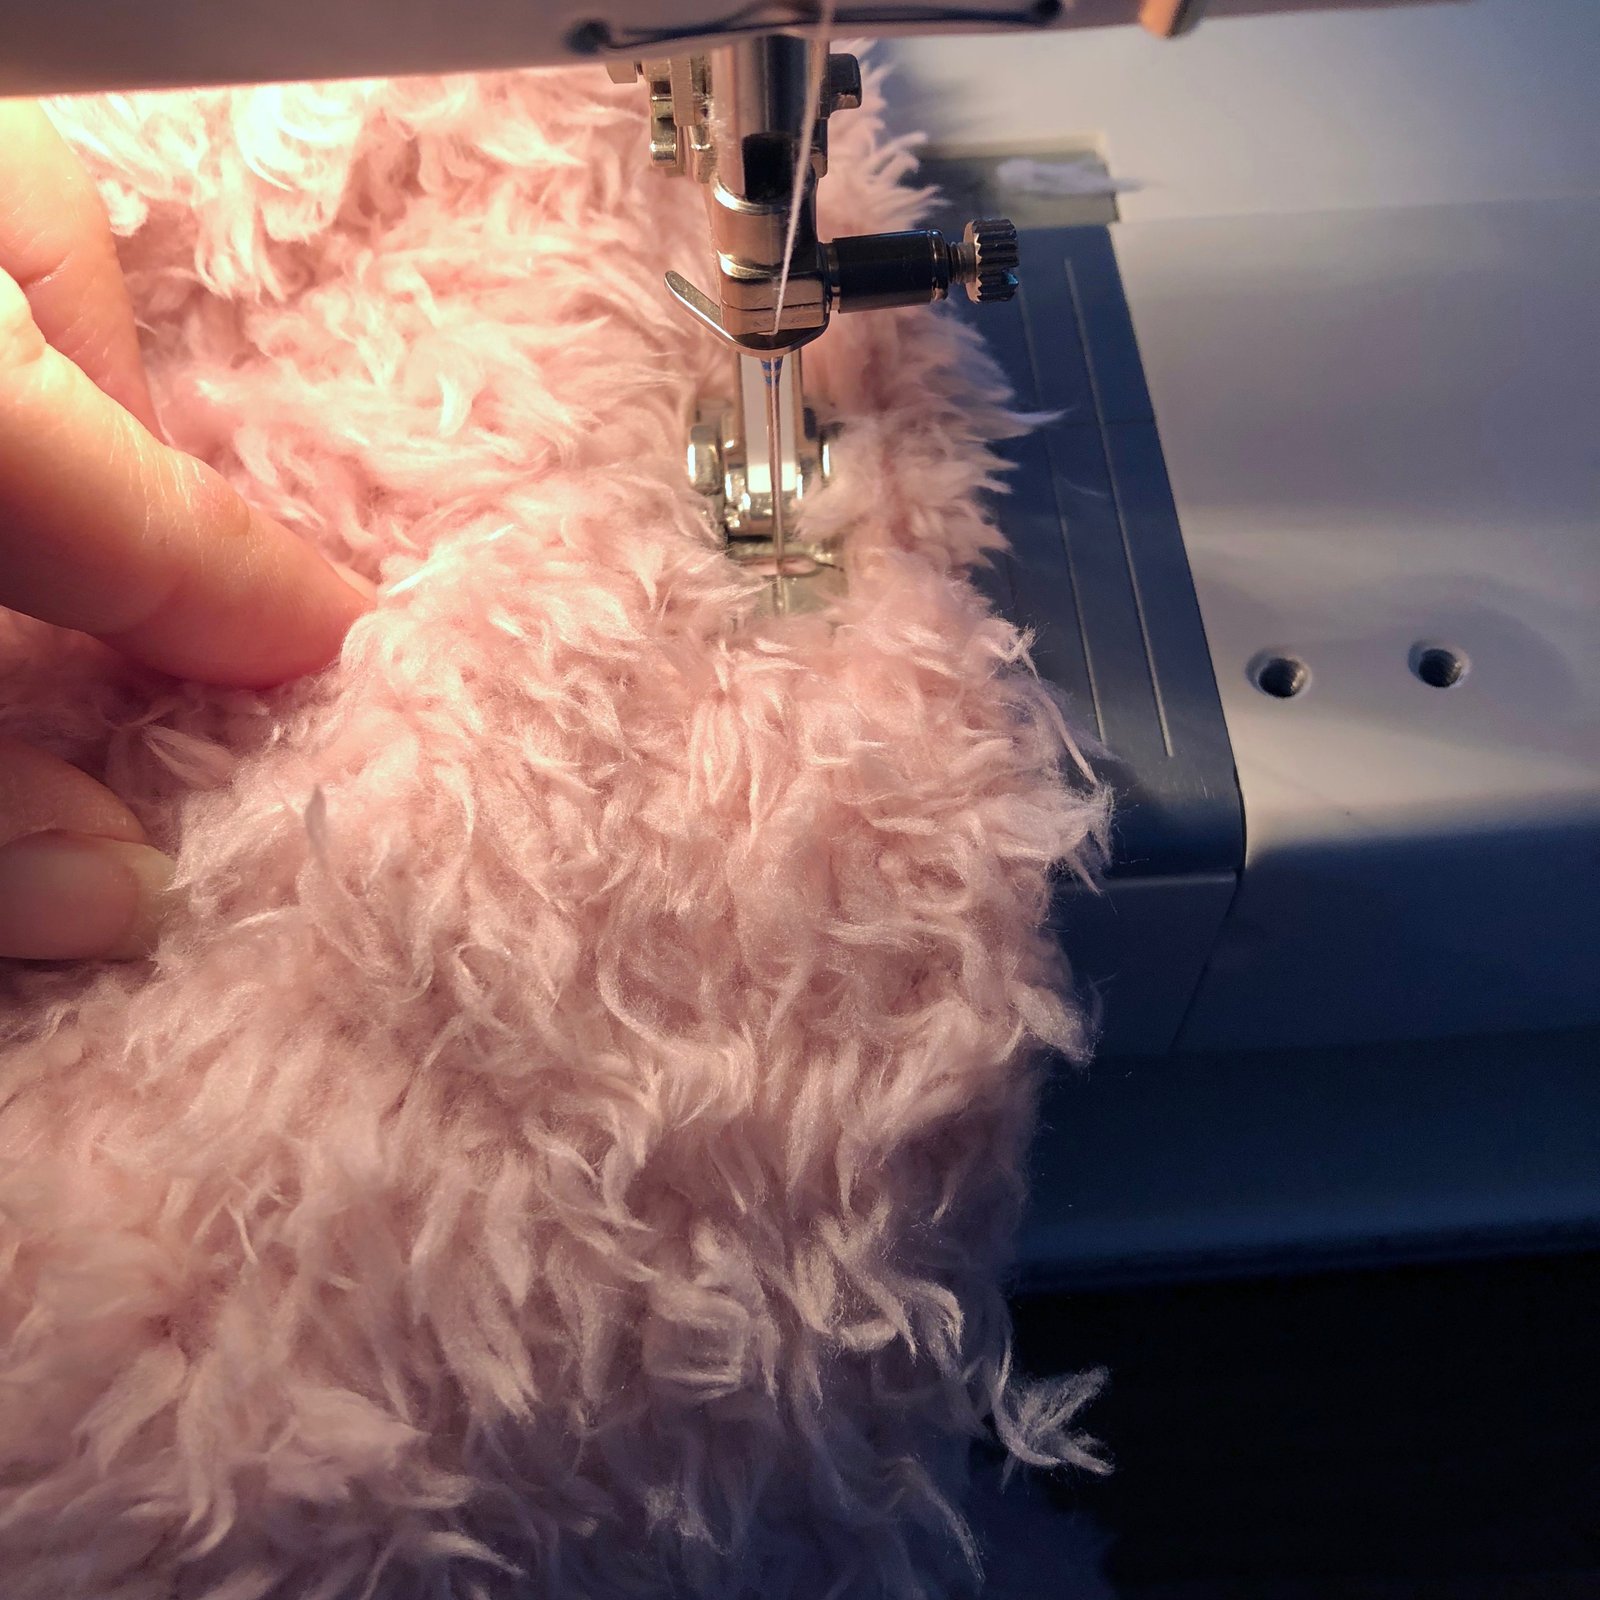
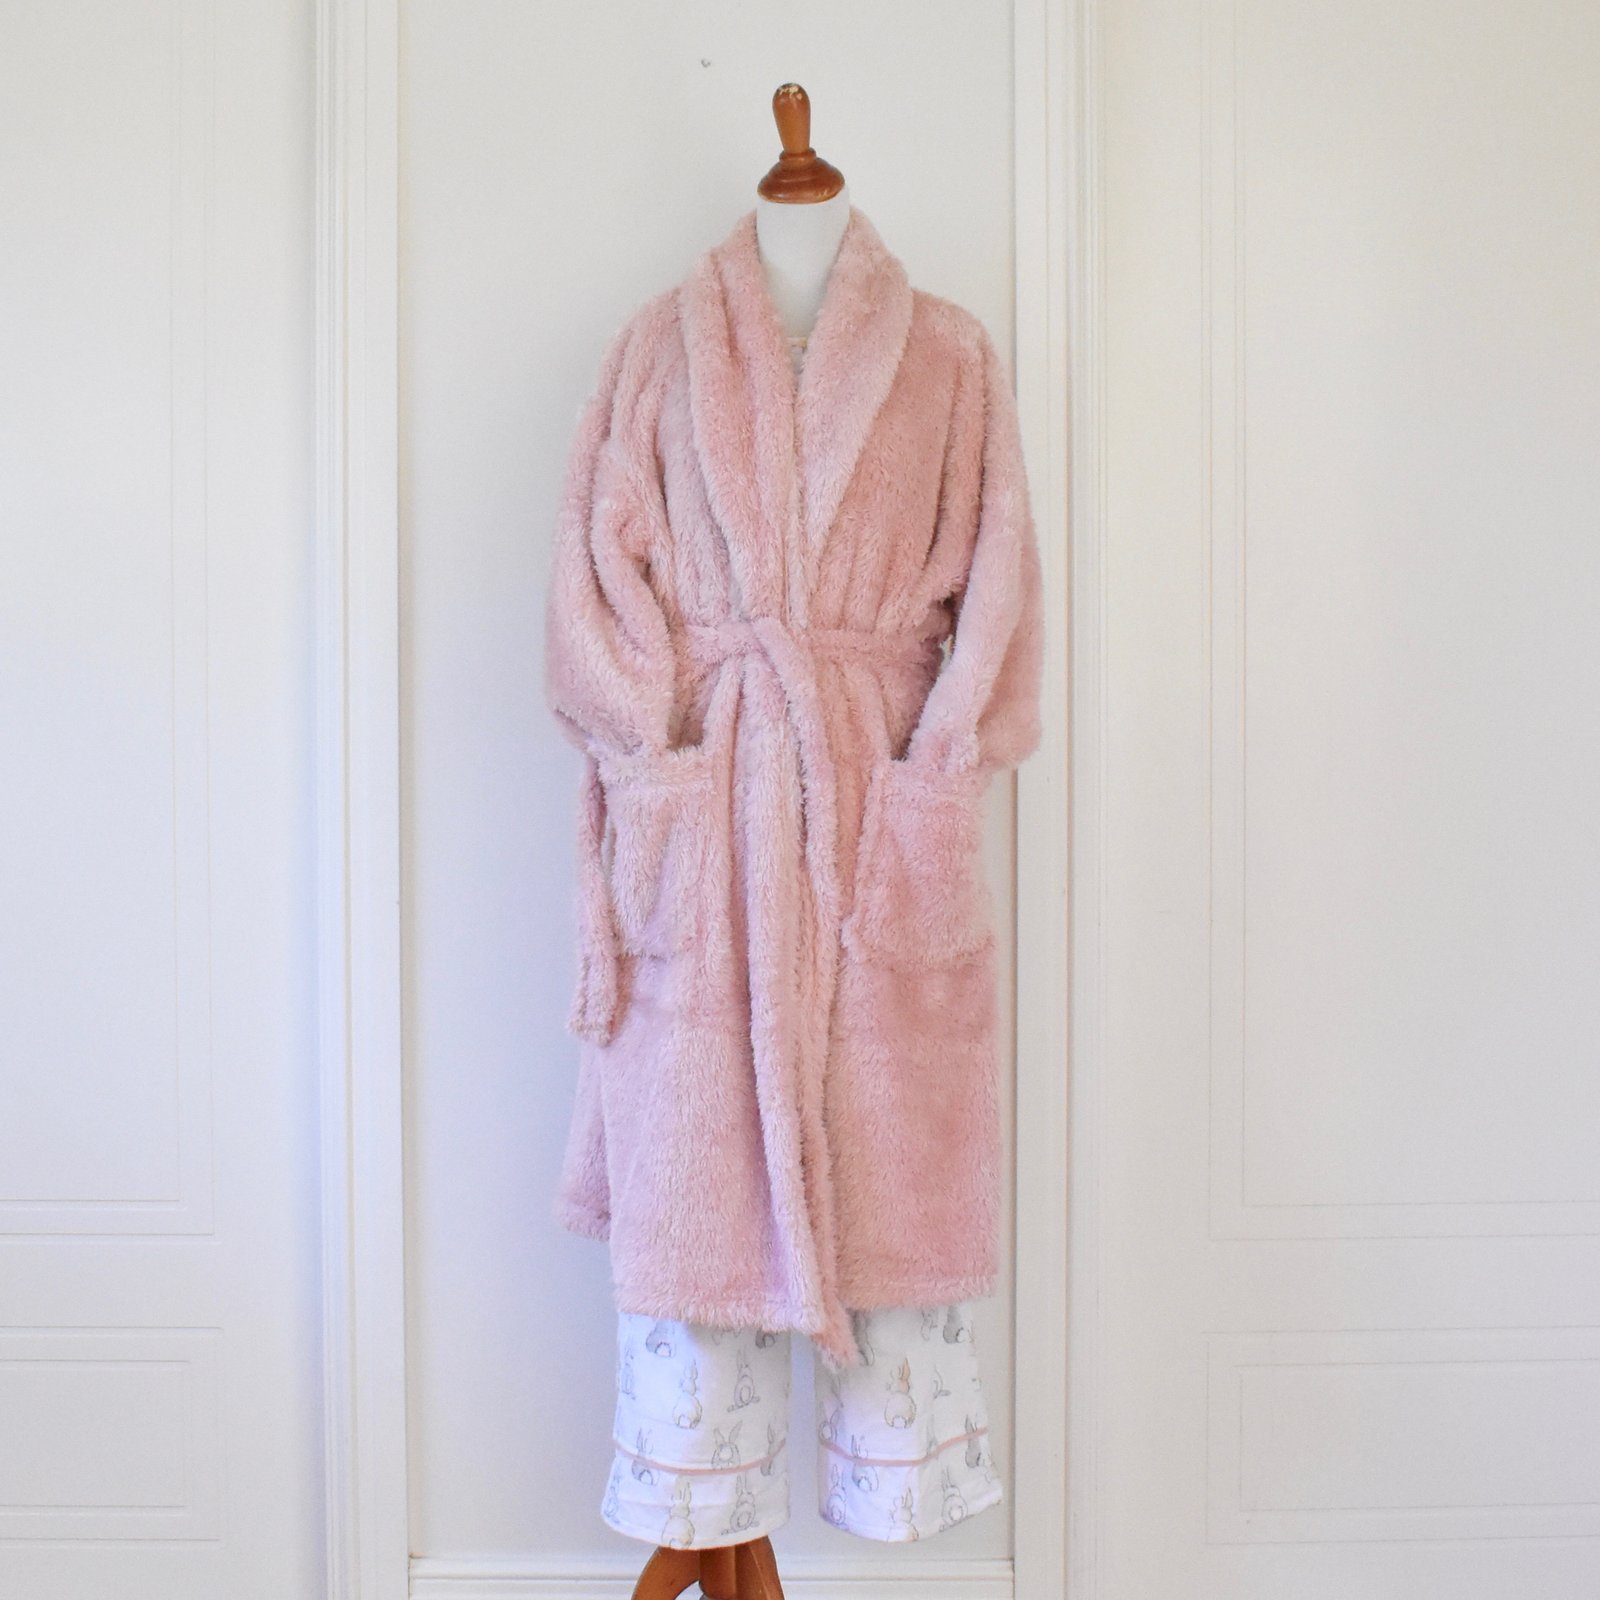
 I really only cut out this set so as to have something to work on at the recent Australian Sewing Guild meeting… since I couldn’t really take along any wedding sewing. And I enjoyed it so much, I just had to keep on and finish it immediately. Sooo nice to just make something simple and fun and trivial, just for myself! Honestly, when I’m feeling stressed, or anxious, or just otherwise unhappy, making a set of lingerie… well there’s just something so restorative about it.
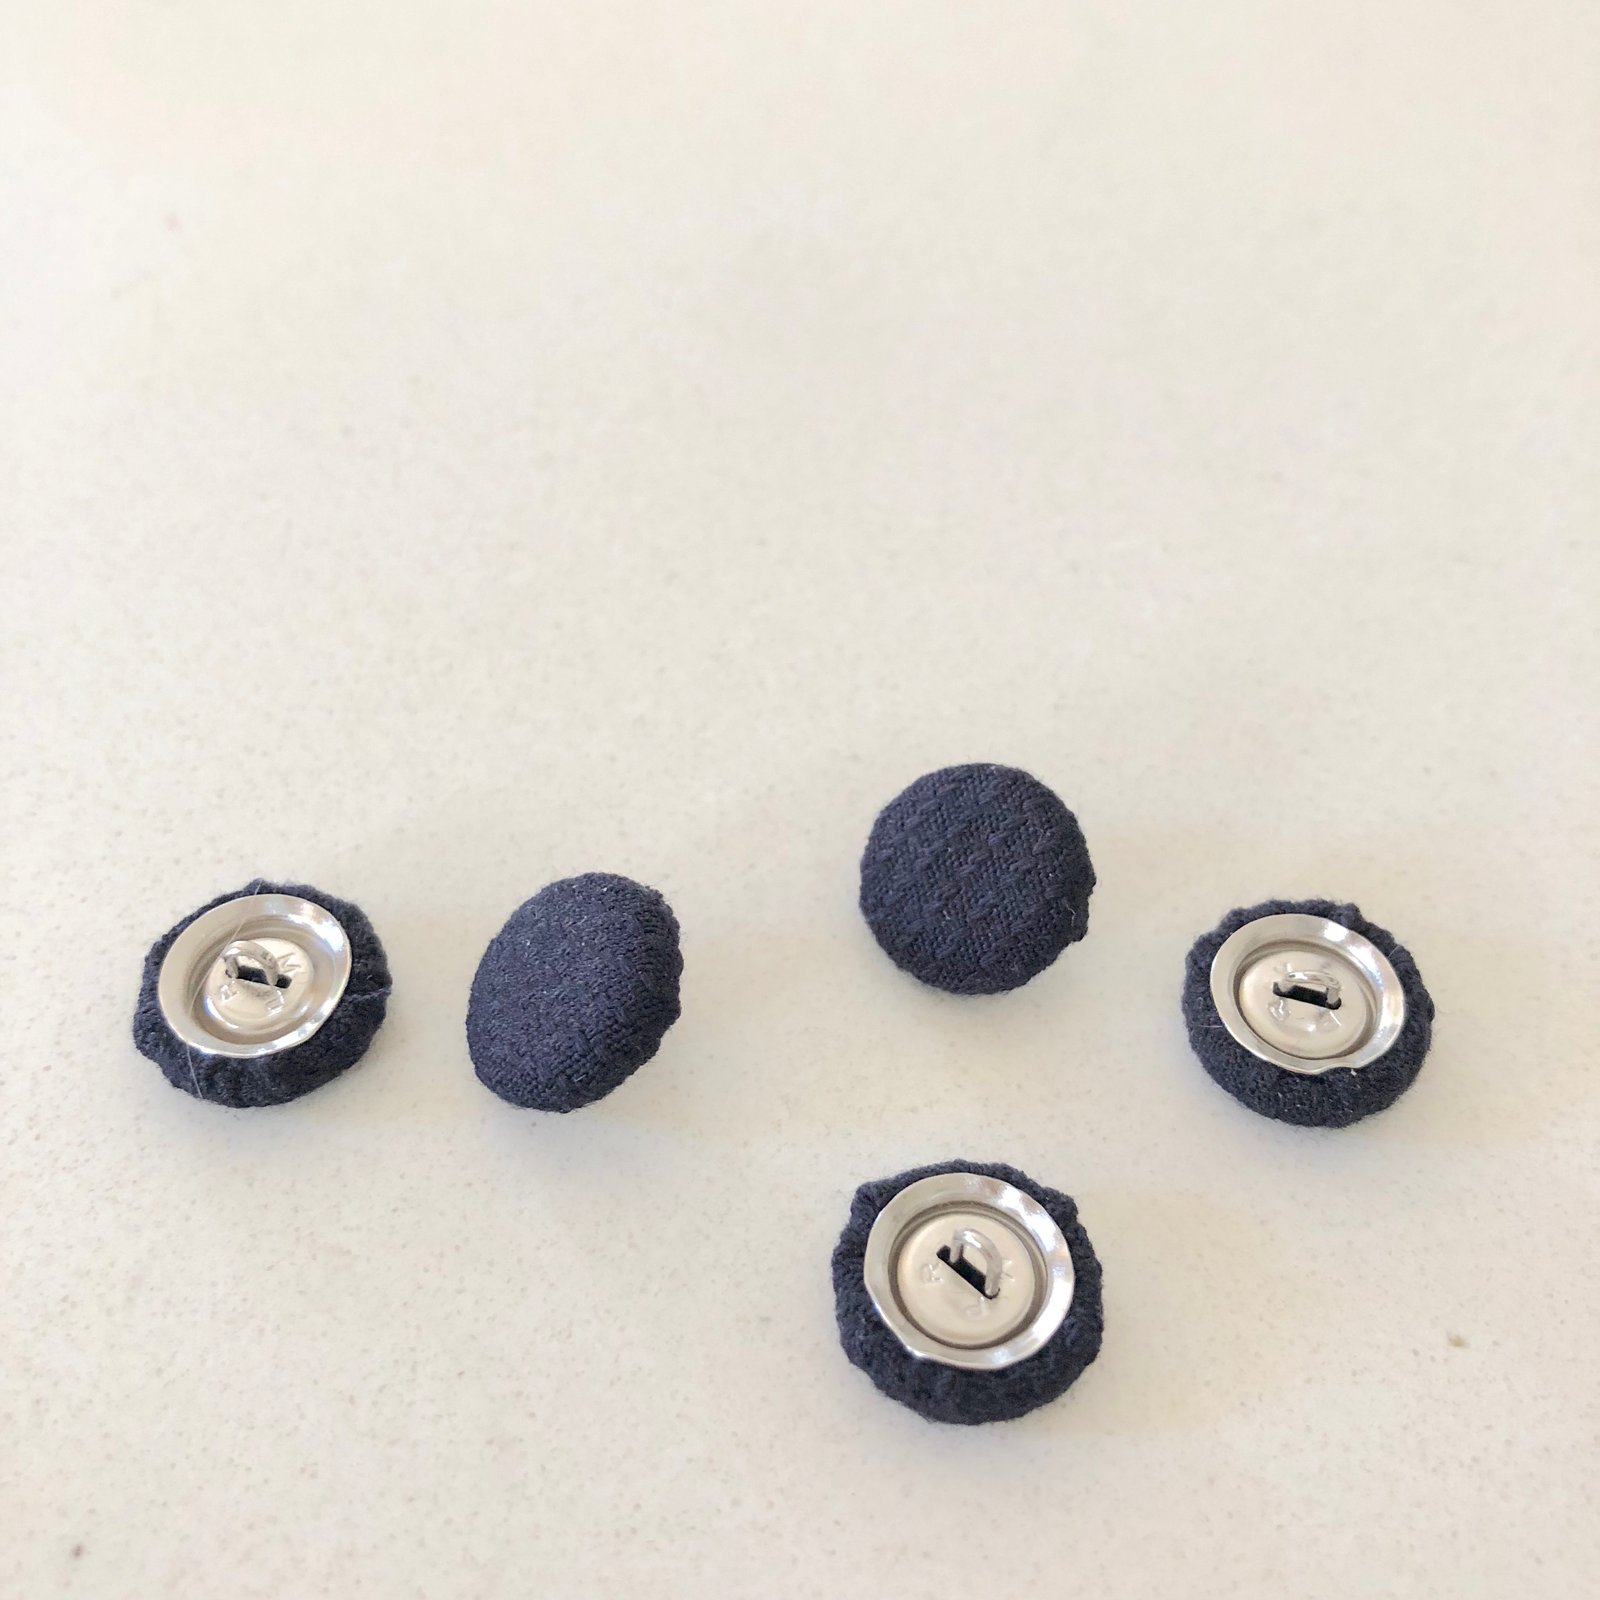
 Pattern; the Watson, by cloth habit. My favourite! I did my usual alterations; namely cutting the front and outer crotch piece as one, and constructing the bra front so as to be fully lined and to have all the seam allowances enclosed within the layers (tute here). For this one, I also cut the front cradle and back bands to be about 0.5cm longer at the lower edges, tapering back to the regular width at the centre back where the hook and eye closure is attached.


 For patterns; I used the eponymous Carolyn Pyjama pattern by Closet Case patterns for the bottoms of course! and for the top I used a plain Burdastyle T-top pattern I’ve used a few times before, Burda 10/2009;121, with minor modifications – story of my sewing life, hehe.


 So, items in my wardrobe I am currently very much in want, and need, of replenishing, are those that reside in my smalls drawer…. and with our Family Wedding just around the corner I reeeeeeeally wanted a lovely new set of lingerie for the Big Day! And of course, what better than one to tone in/match my wedding outfit?


 The current state of the box of socks …

 New dress! And, how gorgeous is this cheerfully splashy fabric?!!! Ohmigosh, but I love it so much! You cannot possibly be sad whilst wearing this stuff. The very instant I saw it I was just like, YES. MUST HAVE.