Tag Archives: Own Design

Screen-printing; a field of poppies

Hello!
I am doing a screen printing course!  I have tonnes of pretty patterns gleaned from Pinterest that I would loooove to print onto my own fabric, but I think my aspirations might be a tad more ambitious than my abilities, hehe.  Whatevs, it should be fun and I am finally making use of my screen, bought using a Jacksons gift voucher that was on the point of expiration.  Confession time; this purchase actually took place about seven years ago (eep!) and up until now the screen has been utterly and perfectly pristine and unsullied by anything so messy as actual fabric paint …  perish the thought!  Well, it has at last had its initiation ceremony  ðŸ™‚
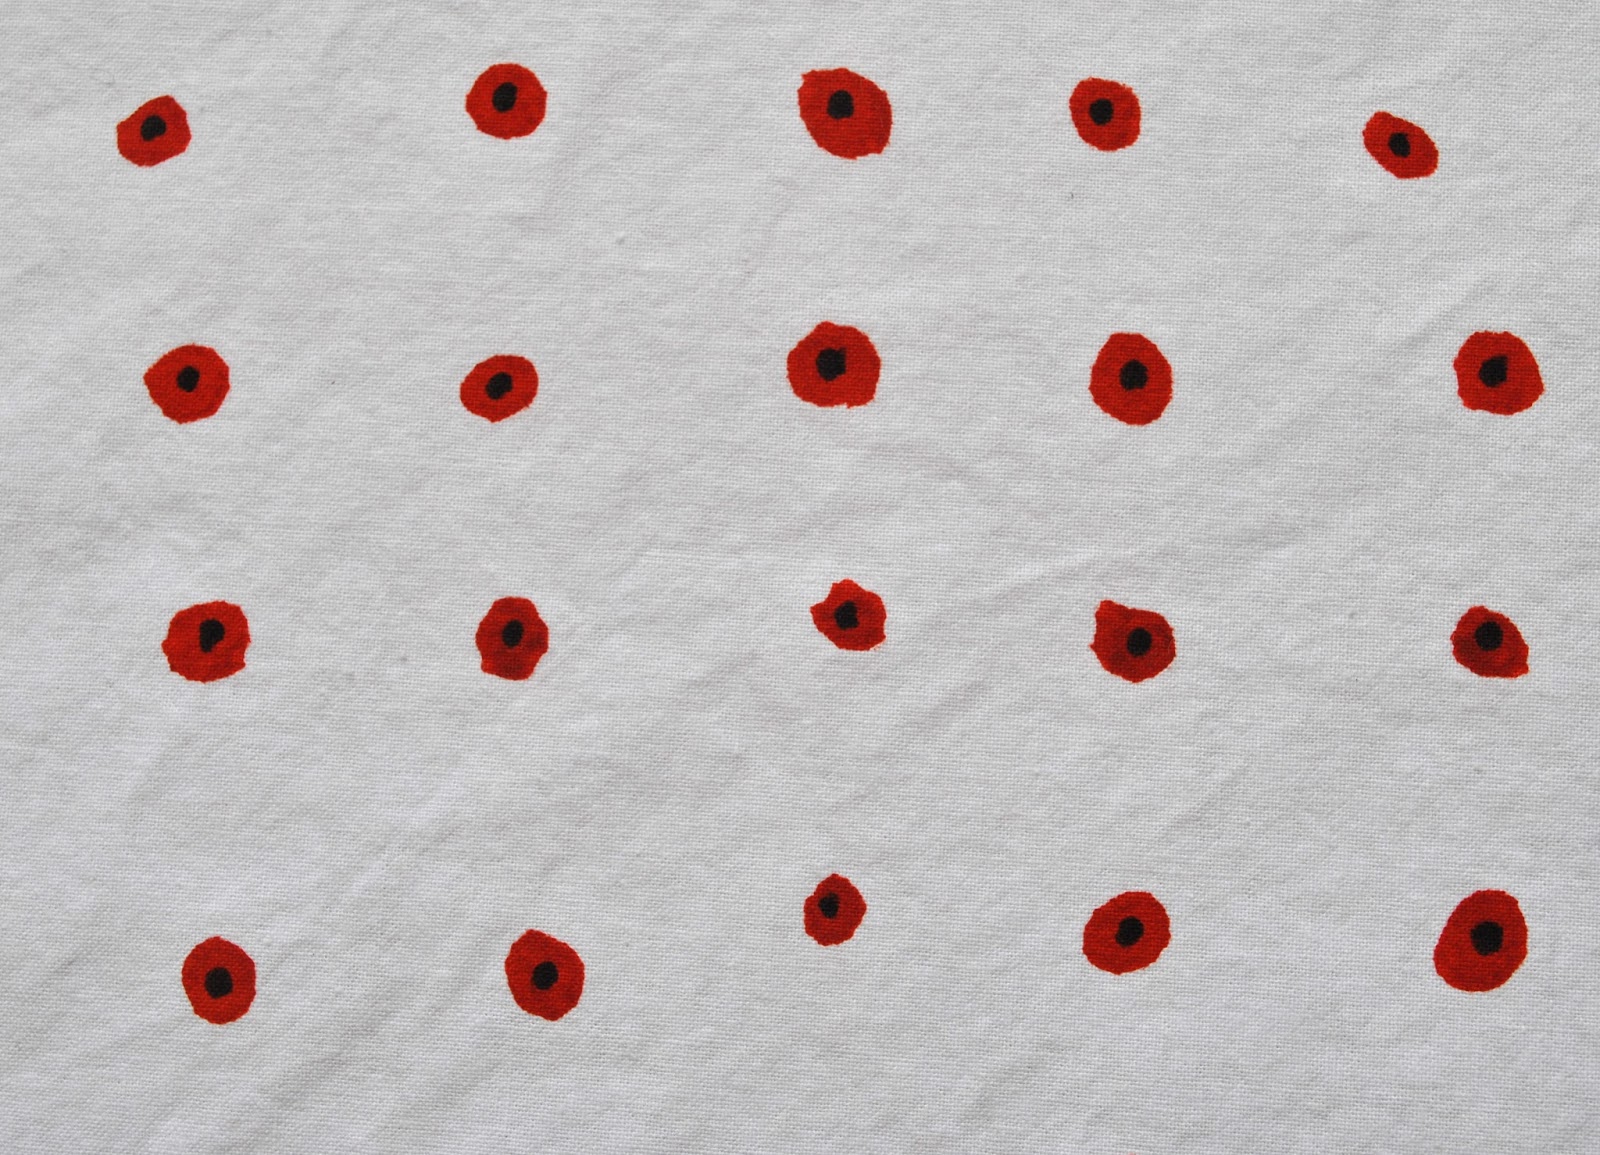
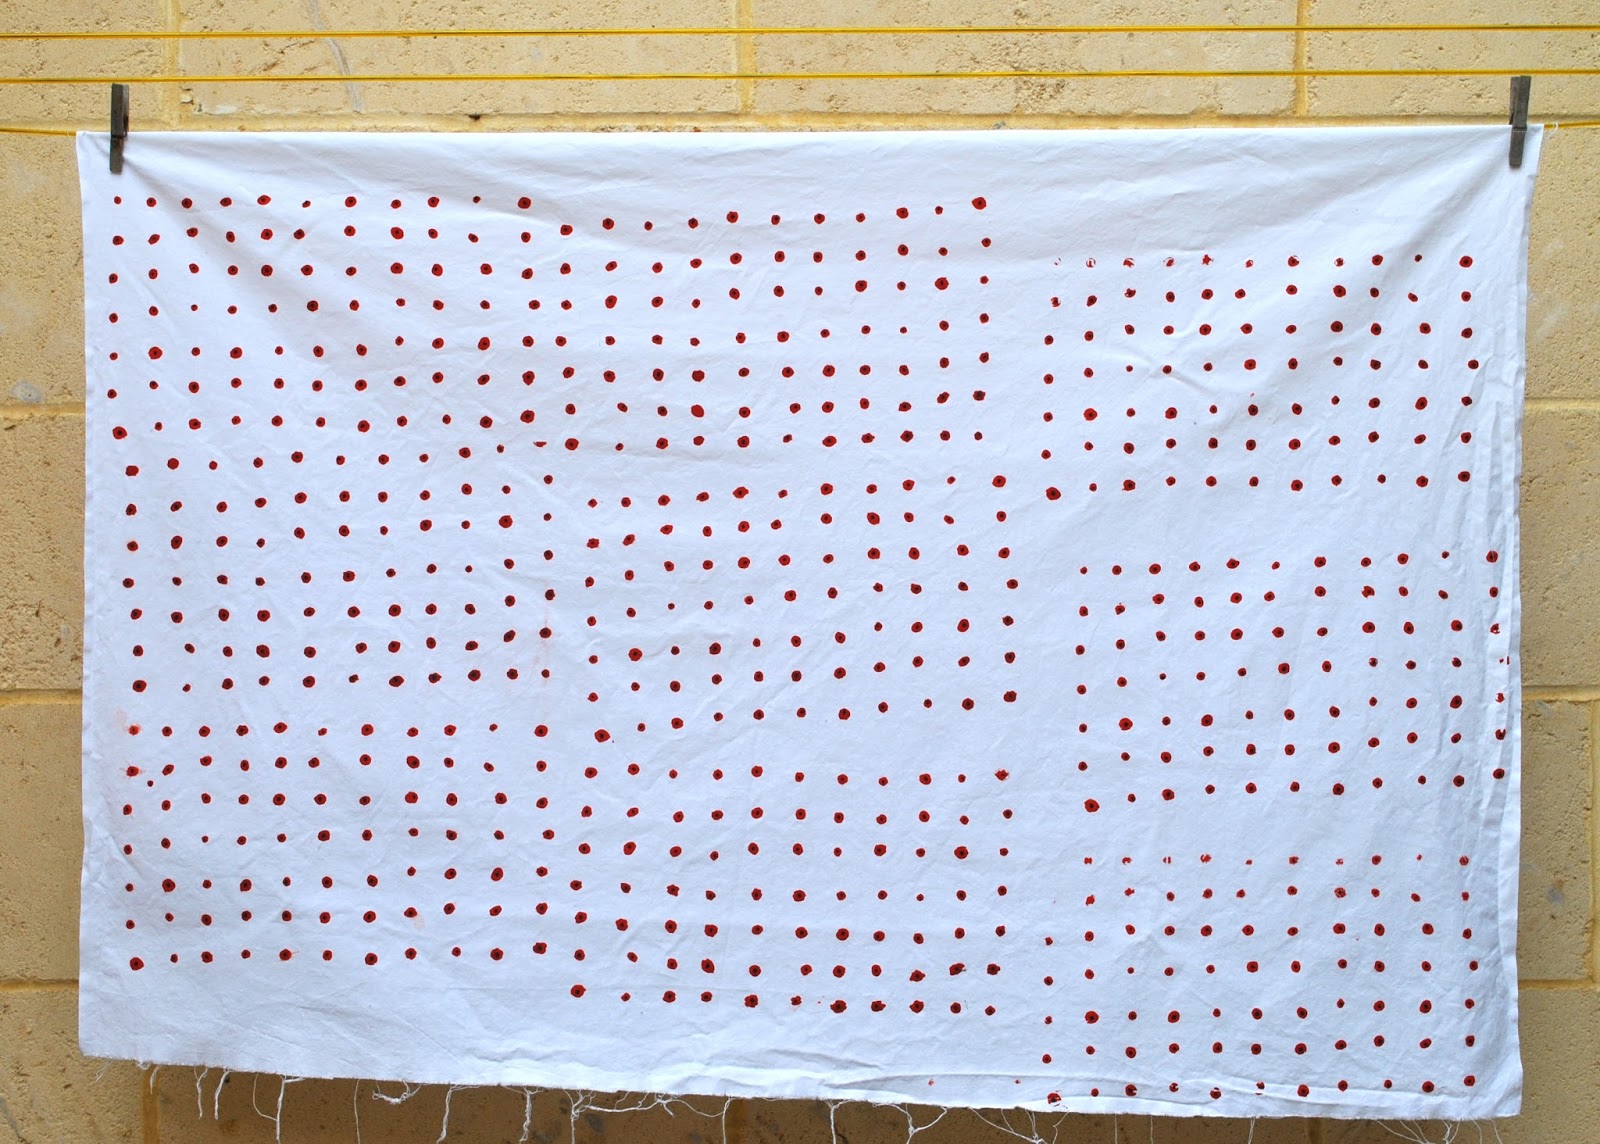
I decided to start with something simple; my first effort is a stylised field of poppies.  The screen print component is a imperfect grid of wonky red dots, like a really lovely Nano Iro pocho dots pattern that I saw for $50/m in a local shop which shall remain nameless.  Ah, the joys of living in Perth…. hey, I’m all for supporting local businesses and have got nothing against someone making a living, but a line has to be drawn somewhere.  $50/m is overstepping somewhat, no?!
I used a lightweight white cotton from Spotlight, and mixed a deepish but still quite intense red/orange, like the colour of a, well the colour of a poppy!  The break-down is about two thirds mid orange (which I would describe as garishly, in-your-face, “life jacket” orange), a third new mid red (which I would describe as “crimson”) and the tiniest touch of black.  I added about 10% transparency medium but I don’t think this quantity was enough to make any difference.  After it had dried I went over and manually added a black dot in the middle of each orange dot using a Sharpie laundry marker.
“Registering the print”, which is printer’s speak for lining up the screen so that repeat designs sit seamlessly alongside each other and you are not supposed to be able to tell where one stops and the next starts; is a heck of a lot harder than it appears… my nine prints are laughably misaligned.  I think though that since my design is random and intentionally wonky it can almost get away with having a less than perfect line-up.
This fabric to appear in sewn-together garment form very soon… stay tuned!

pinterestmail

The Alessa hoodie

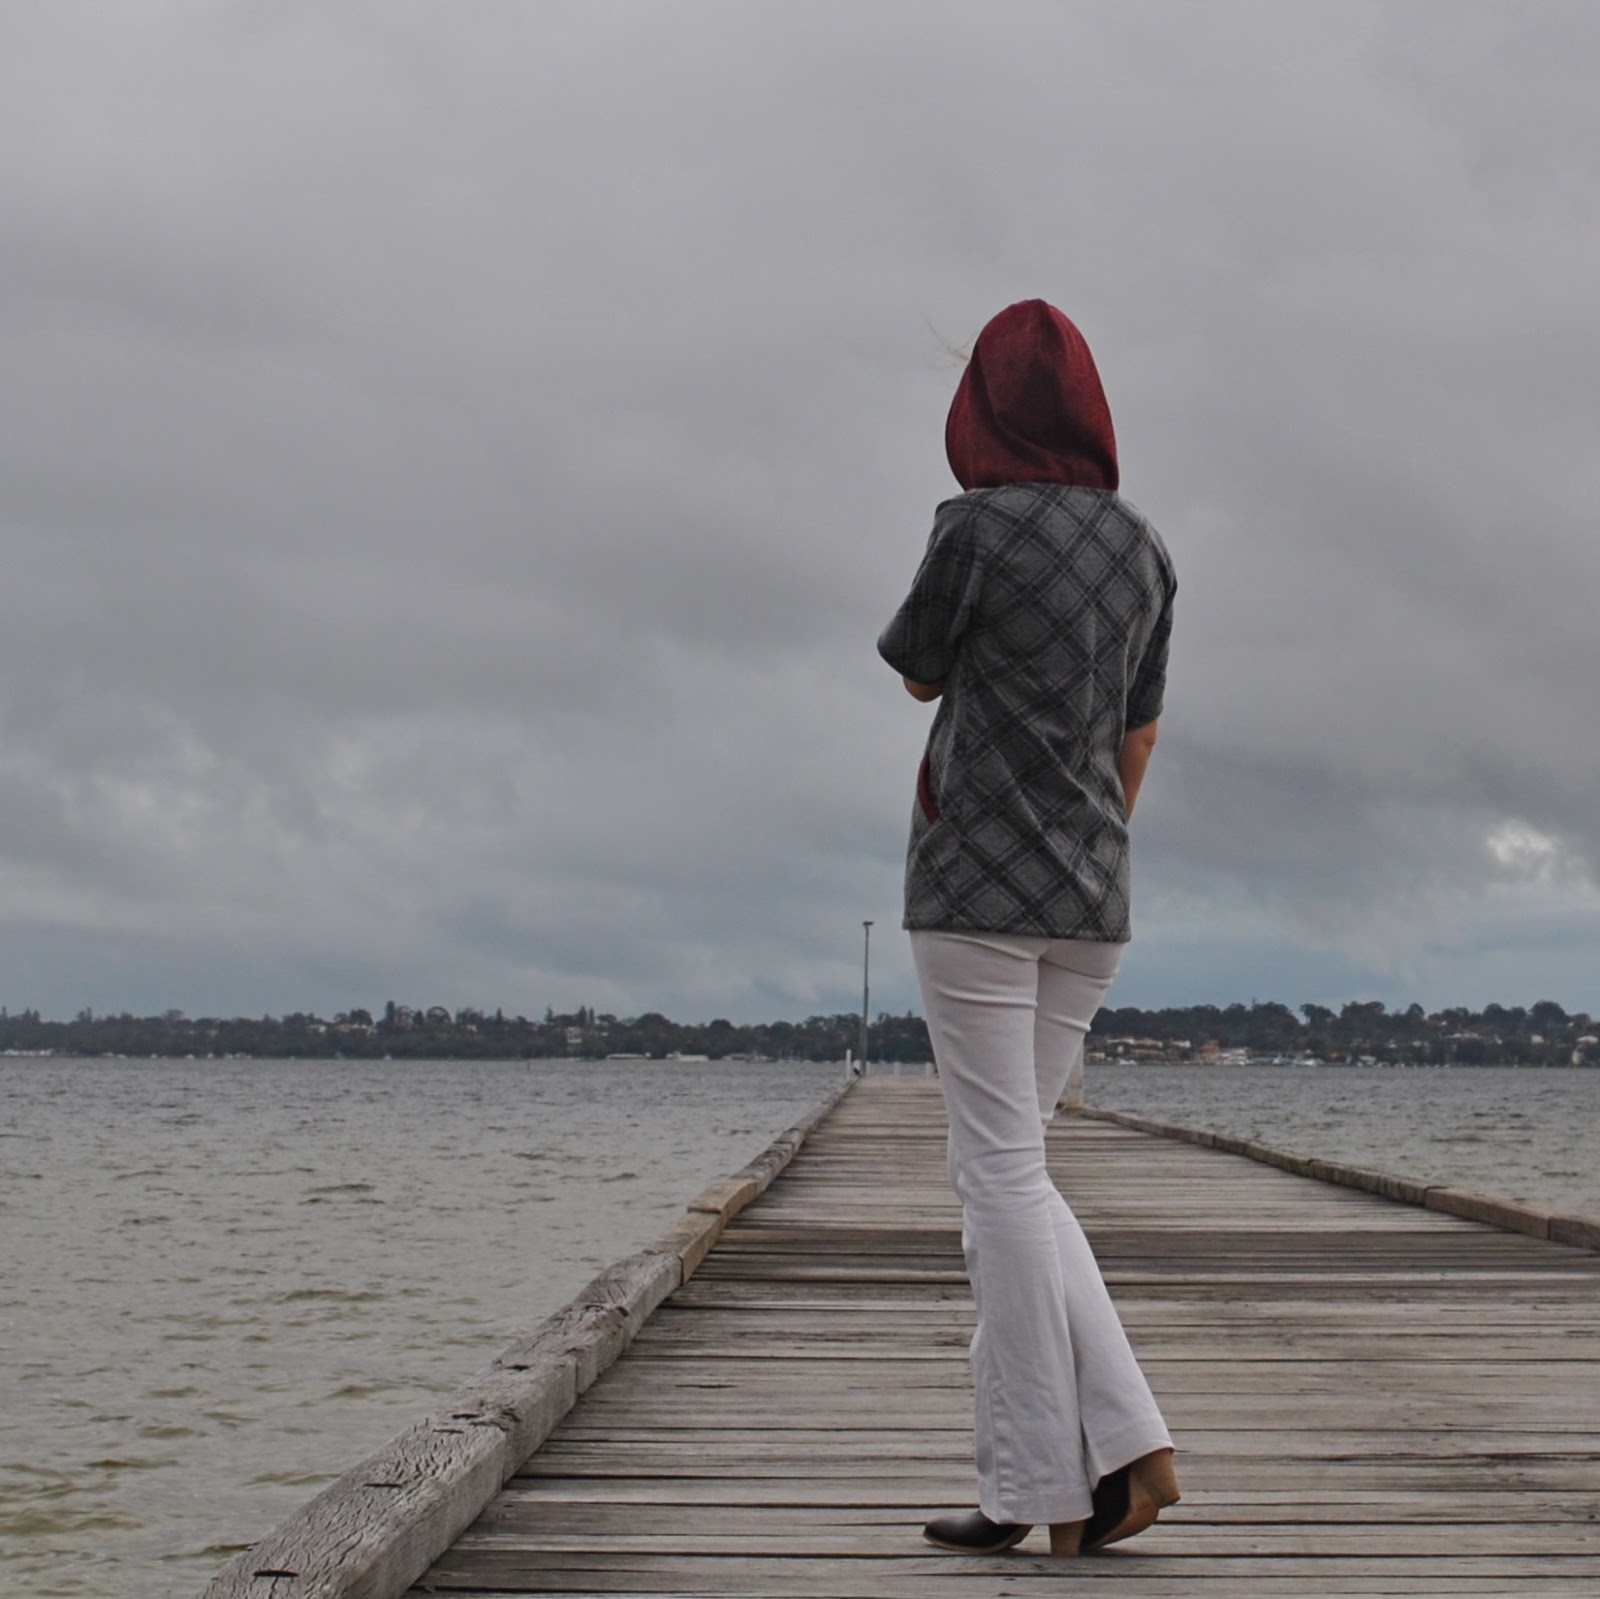
… so called because Alessa of Farbenfreude gave this fabric to me in a recent giveaway… thank you so much Alessa!
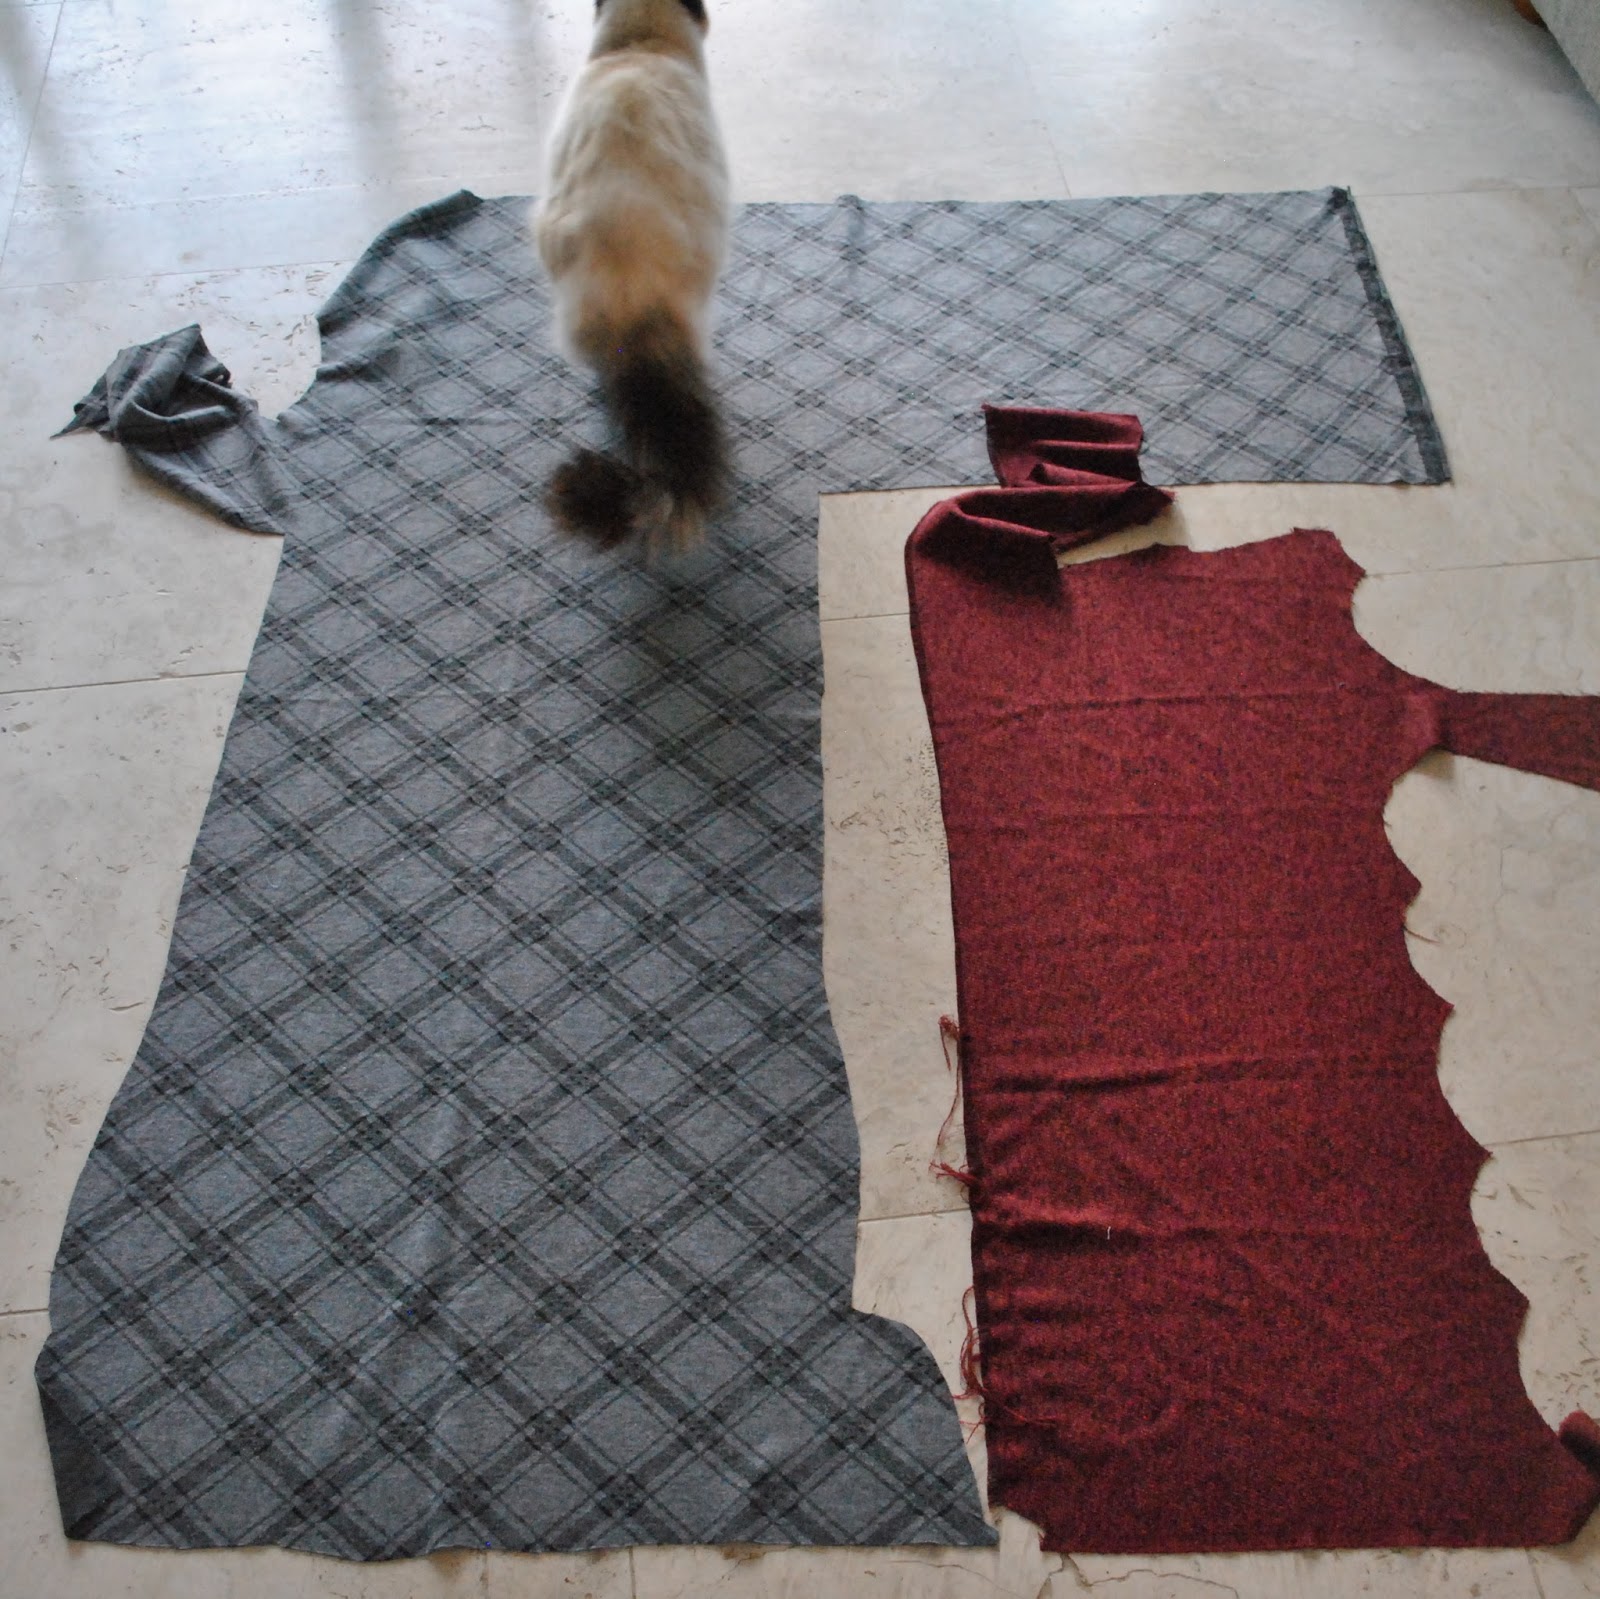
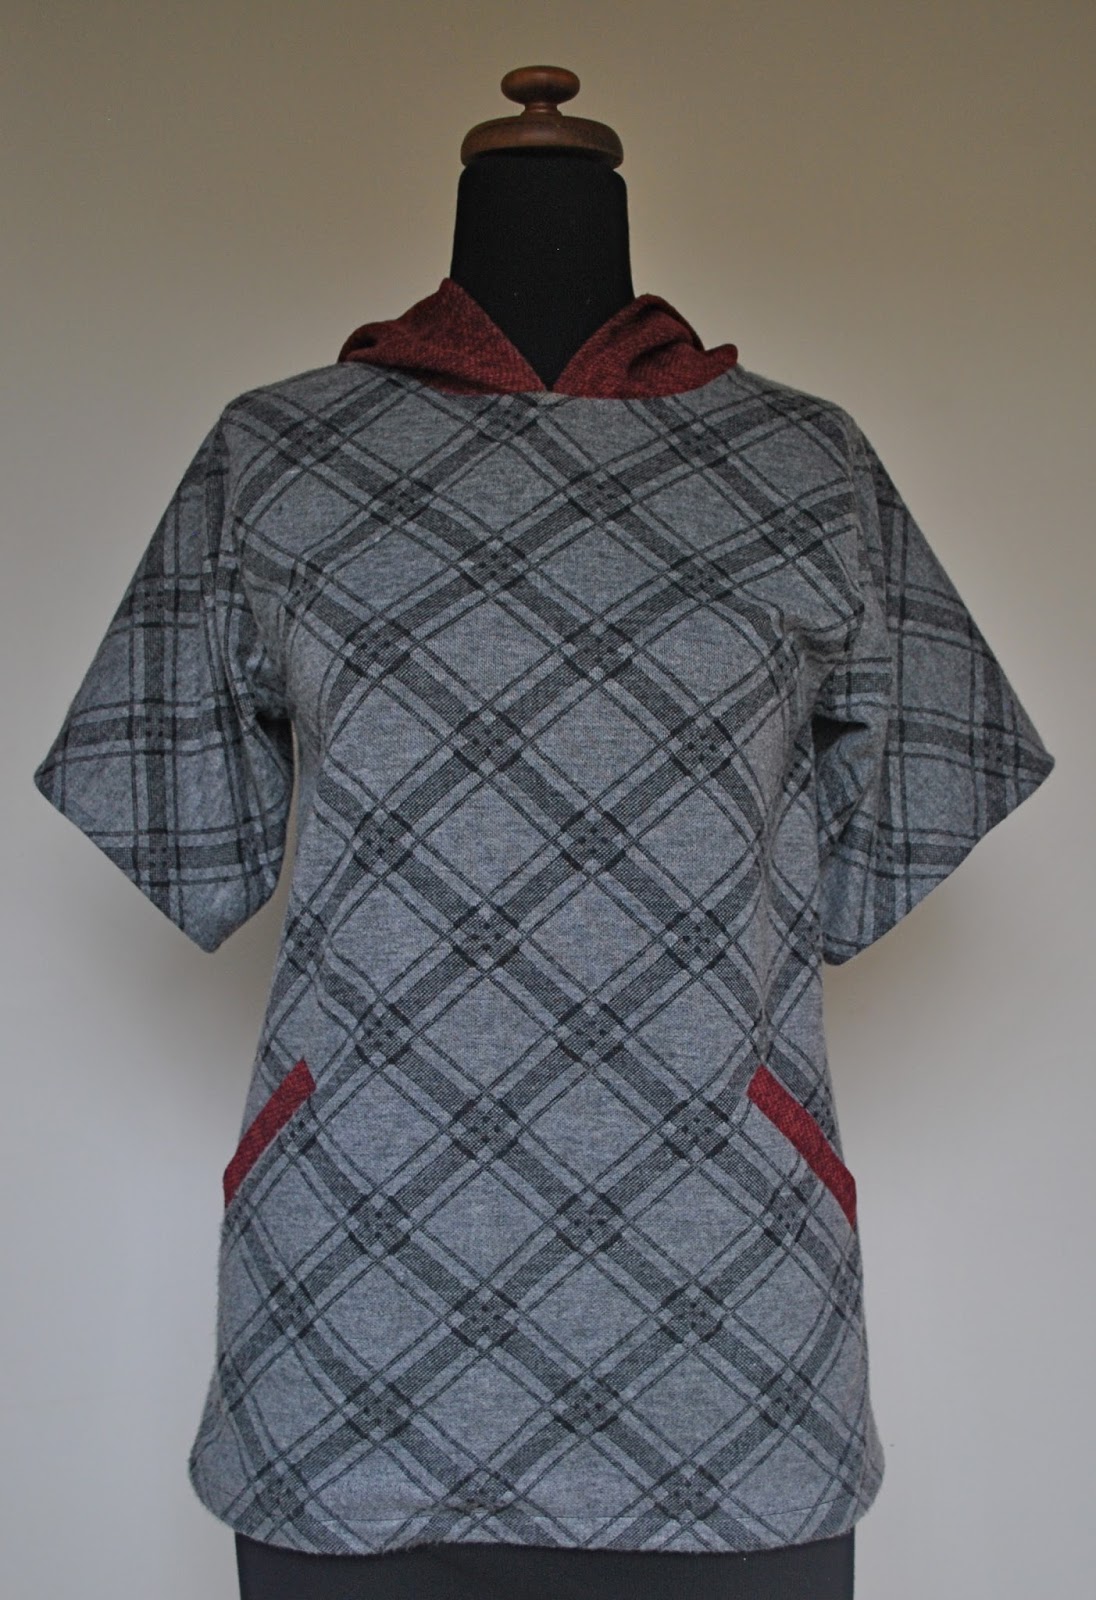
It is very nice fabric, a largish piece of soft fluffy charcoal grey non-stretchy knit stuff with a diagonally printed black check pattern, and a smaller piece of raspberry red woven fabric with an almost chenille-y quality to it.  They went so nicely together so I decided to combine the two in one garment.

The cat should give an idea of the scale here; there was not much fabric and I had to get creative to make the most of the small pieces.  And just to clarify; that is not a whinge… I LOVE sewing challenges like this!
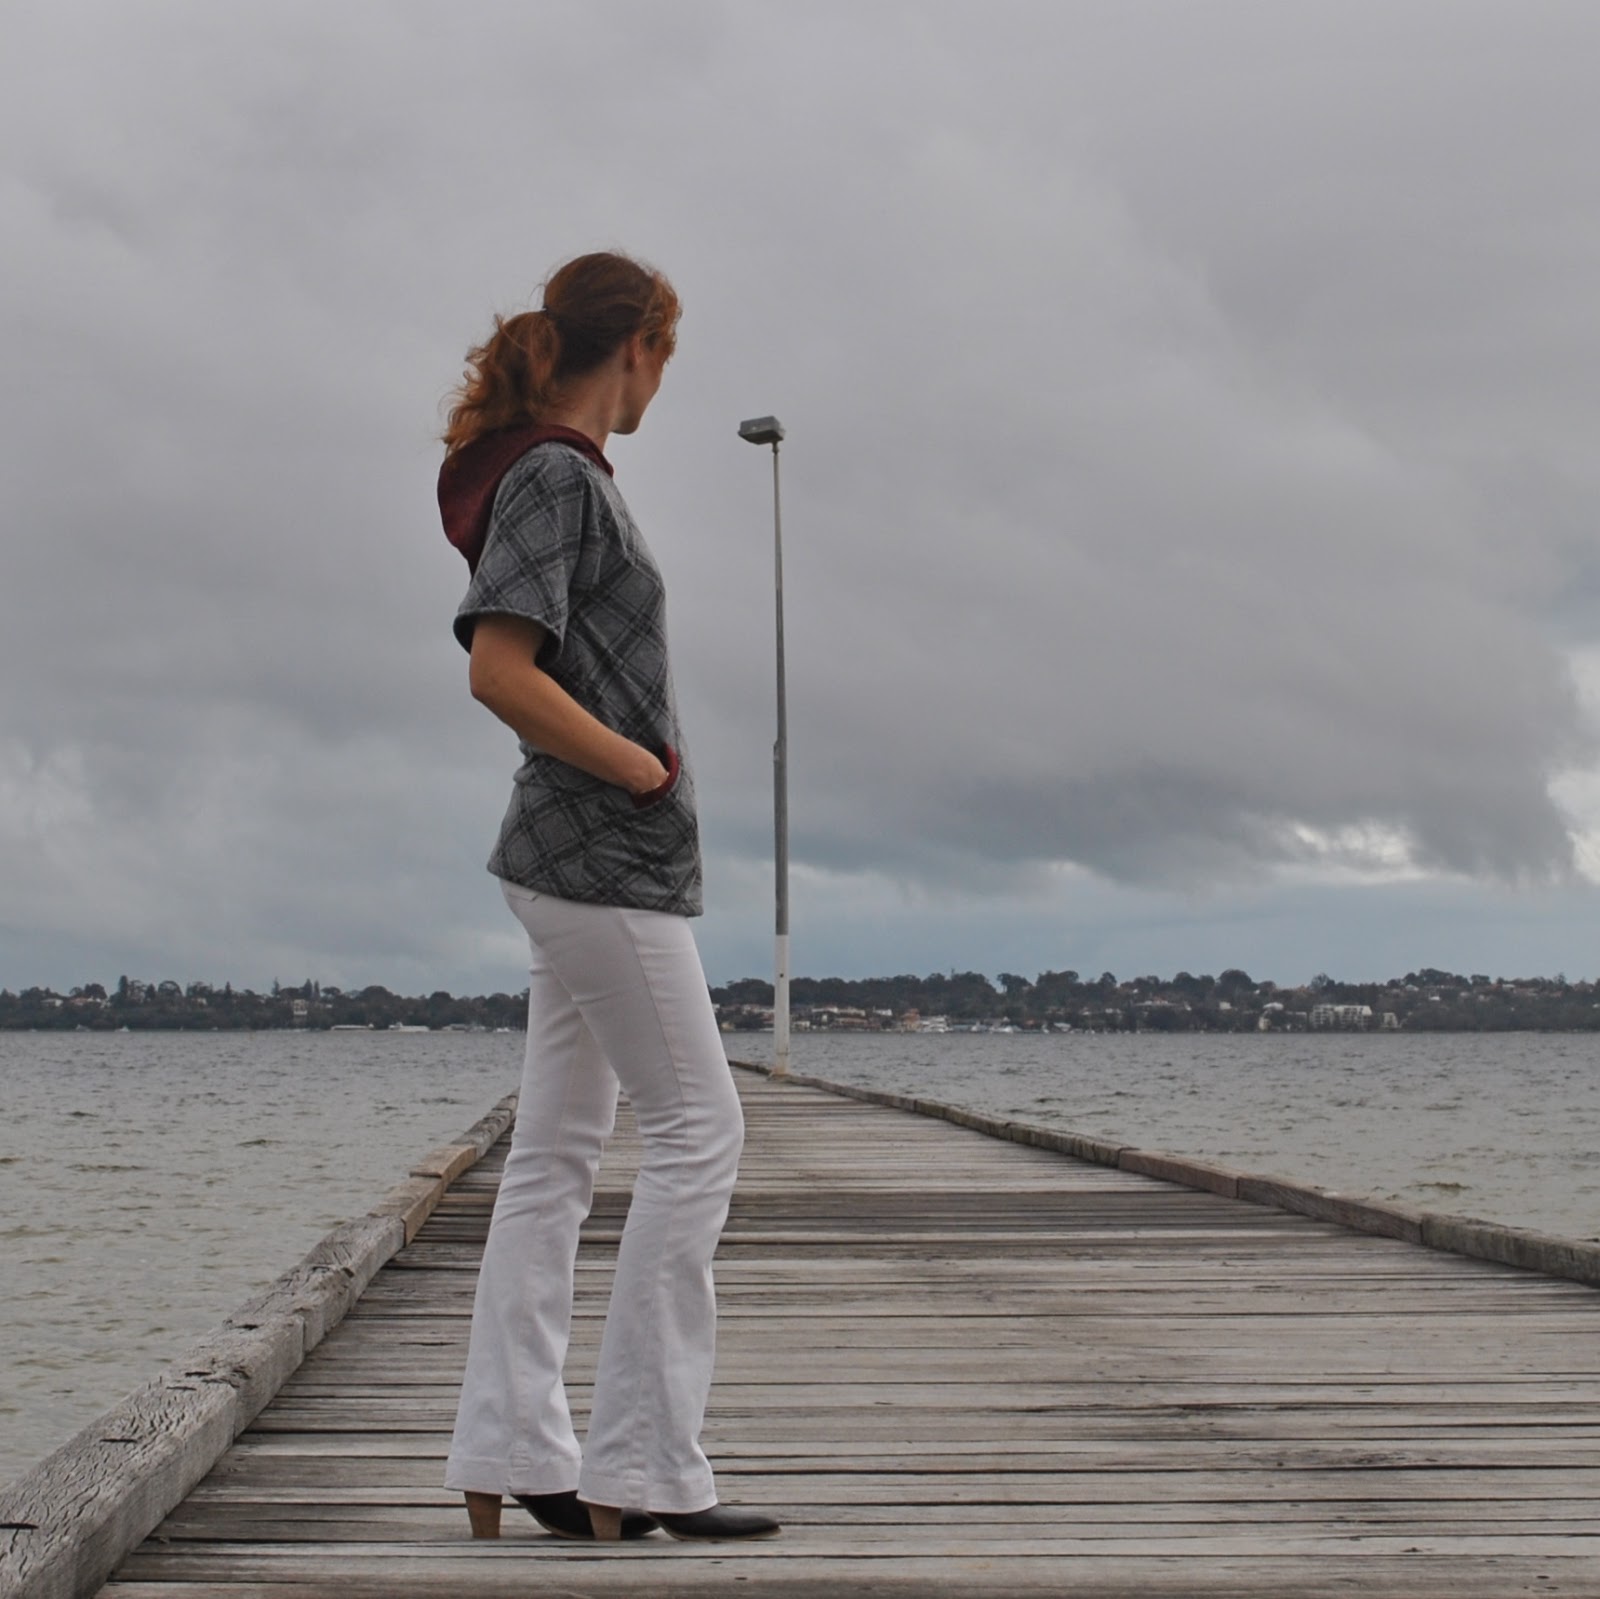
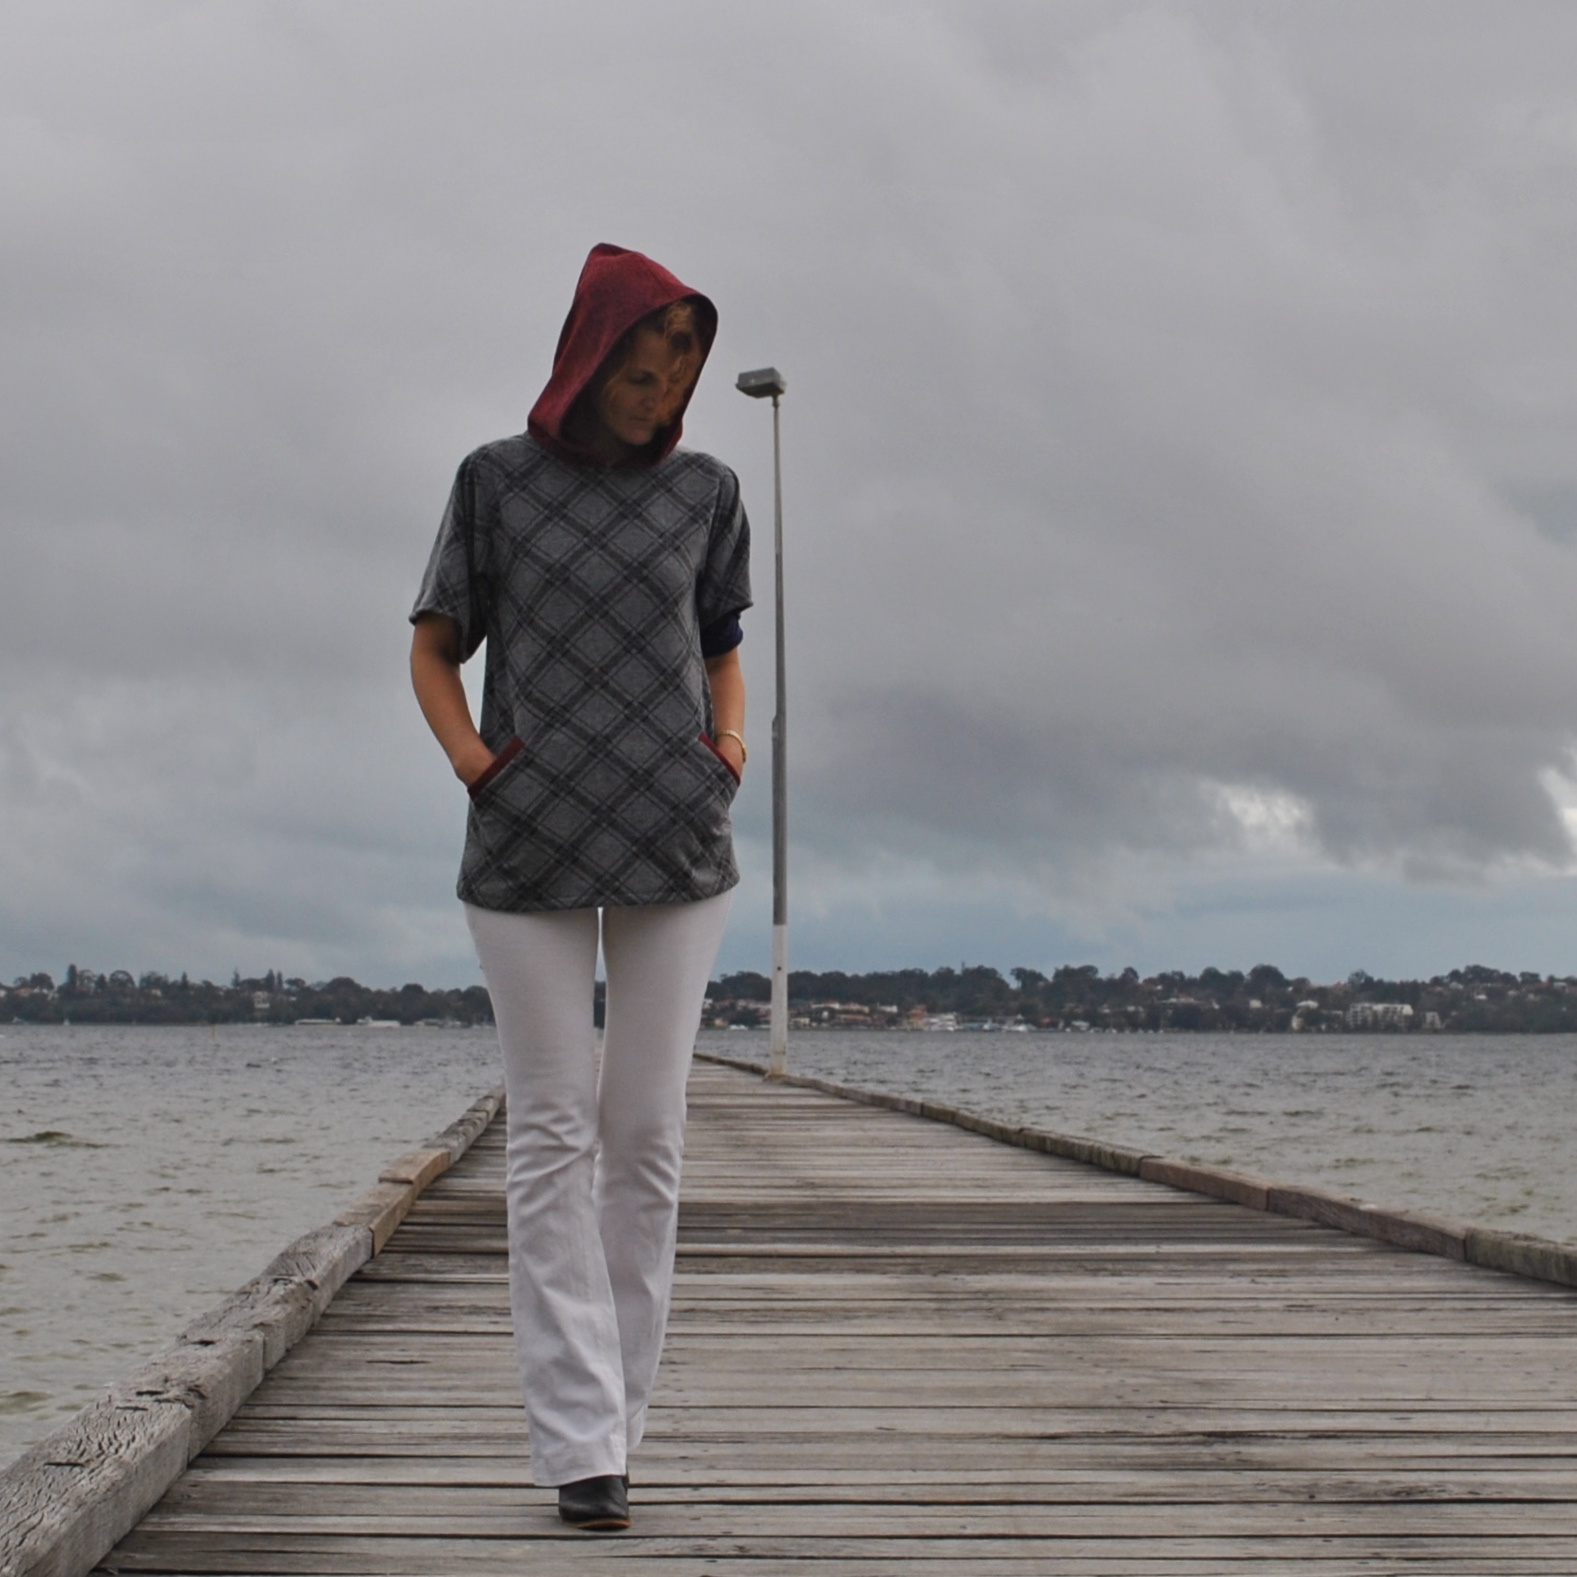
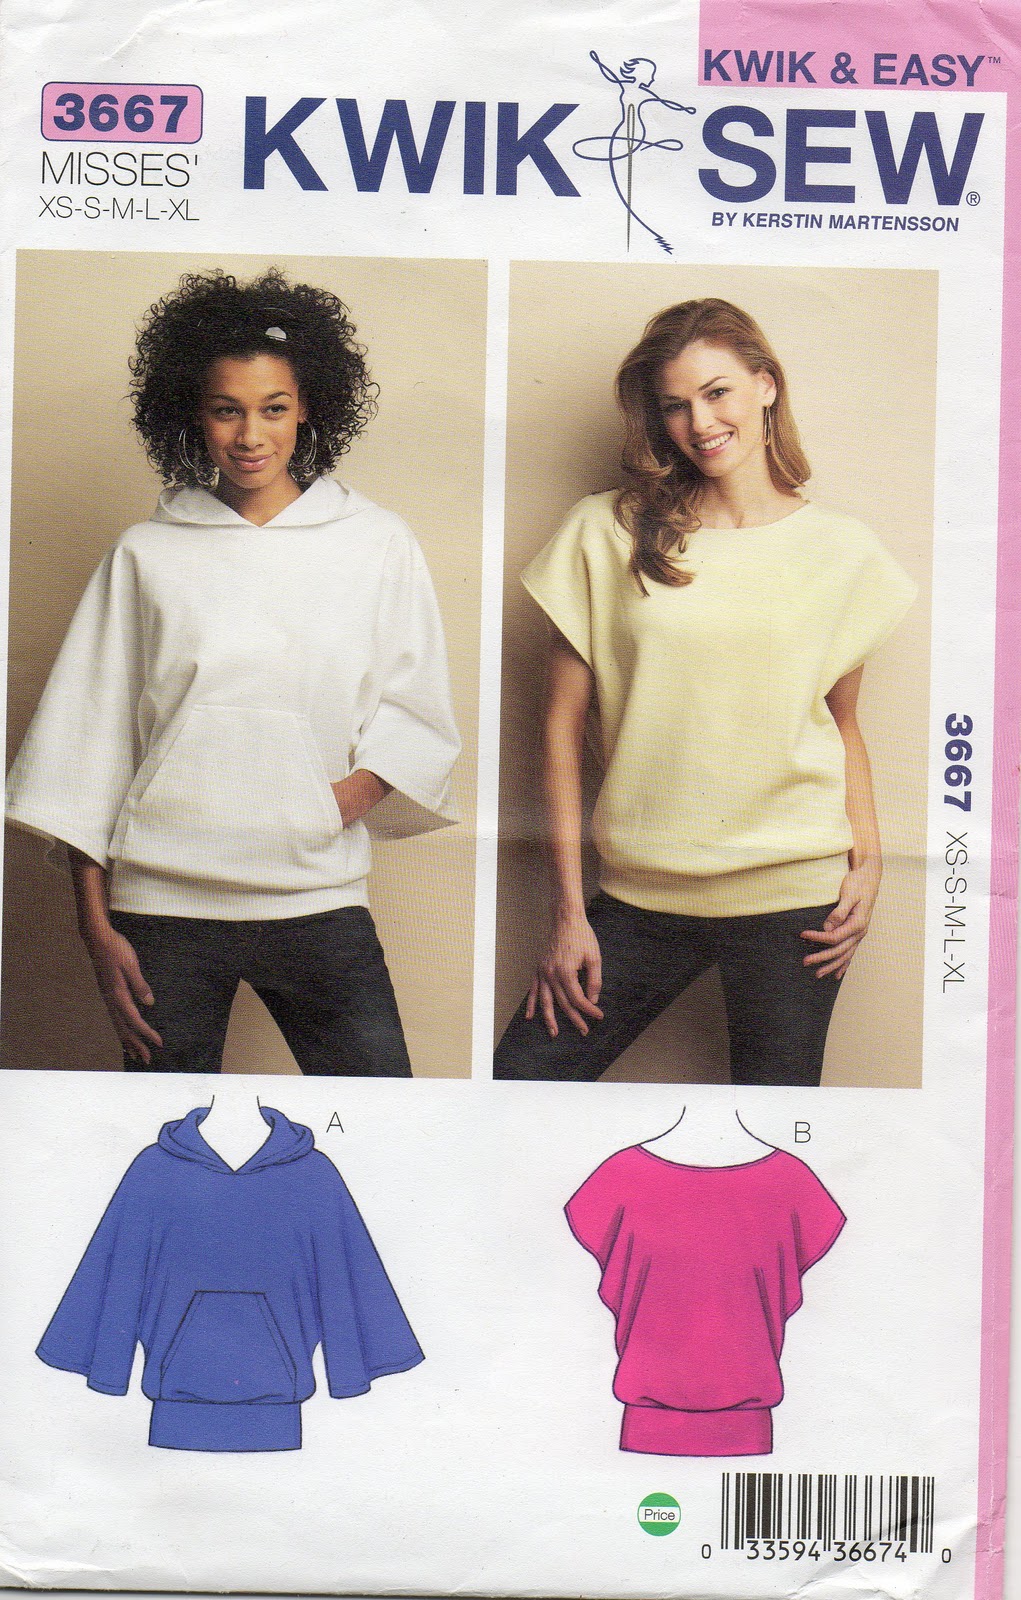
I made a slightly A-line tunic with plain set-in sleeves, and I cut the neckline and hoodie piece using KwikSew 3667.  I’ve used this hood piece in several garments now, and this pattern was also given to me, by Mary of biblioblog a few years ago.  I am so lucky to have such nice blogging friends!

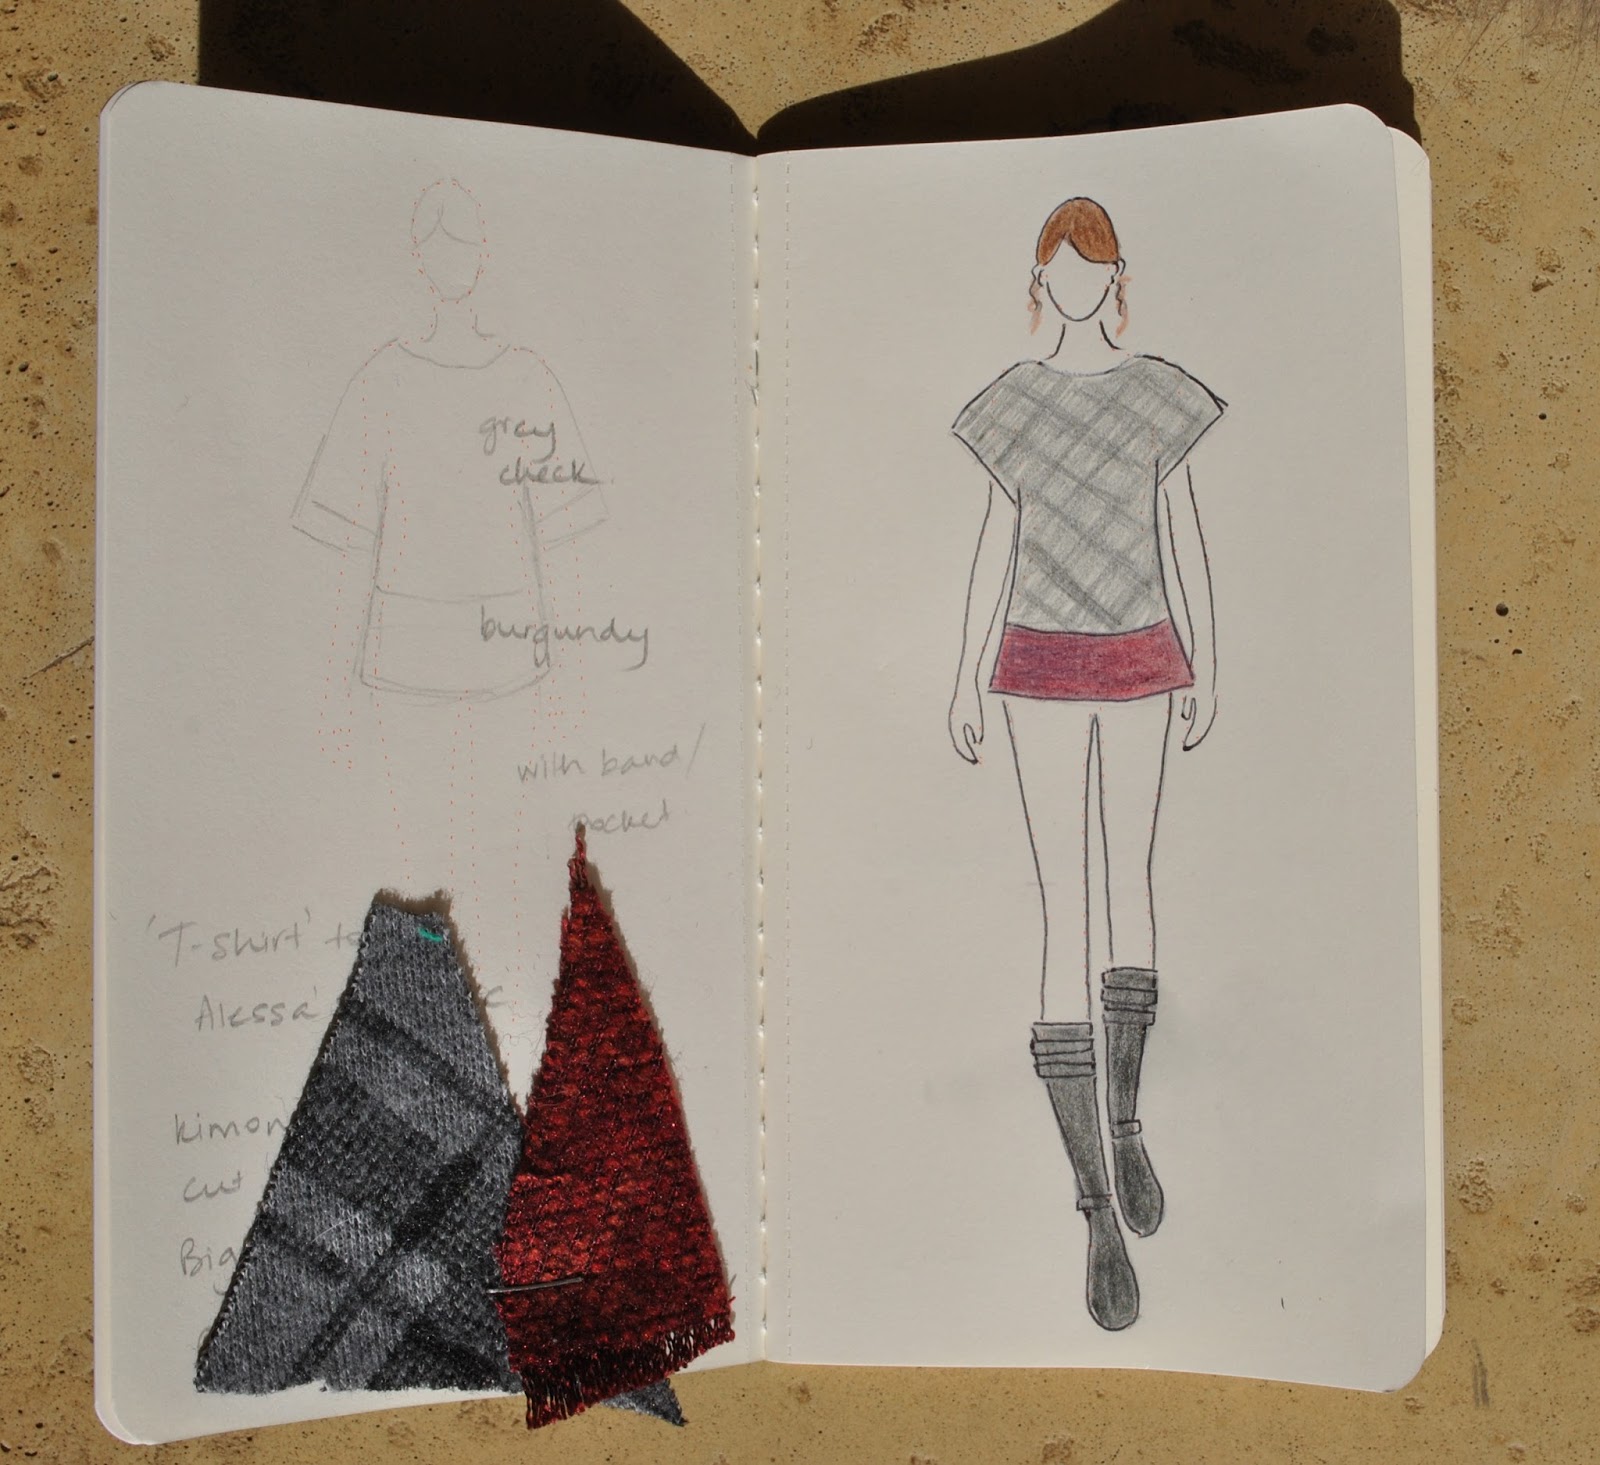
Um, the hoodie looks quite different from my initial plan, which wasn’t a hoodie at all.  This is a recurring phenomenon, I make plans but frequently change my mind once I get cutting.  Indecisive? maybe! … but at least something will get made.  And I’m very pleased with the contrasting hood and welt pockets.
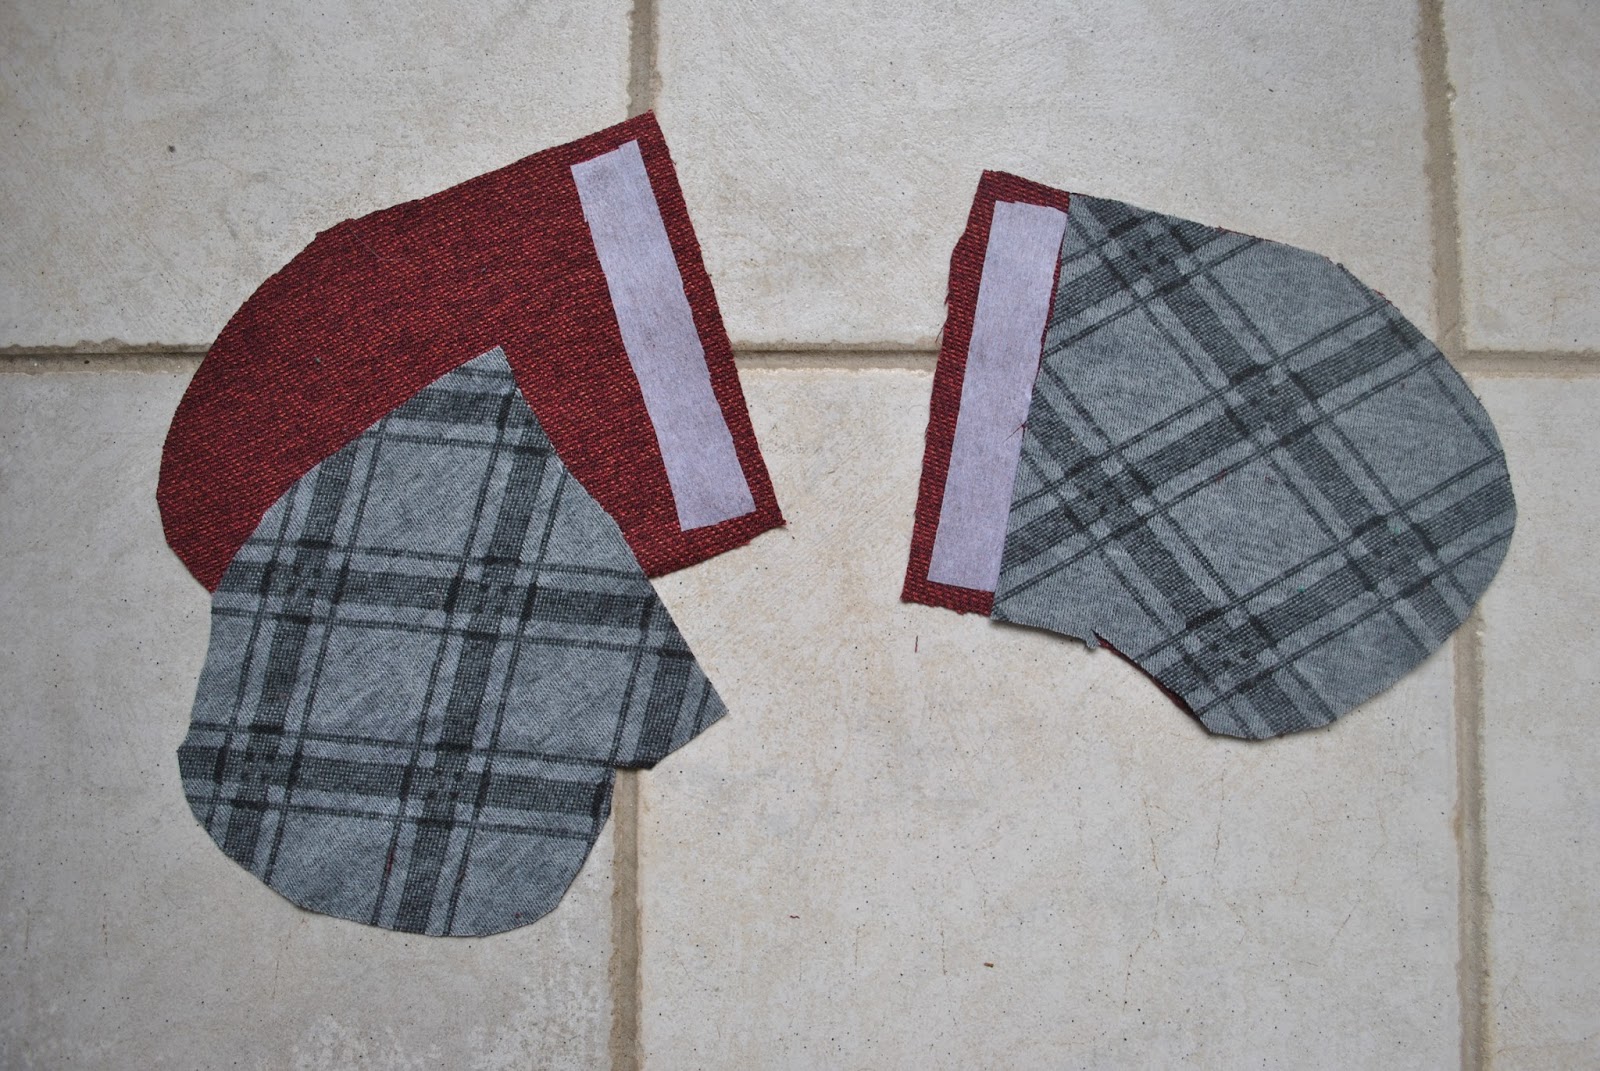
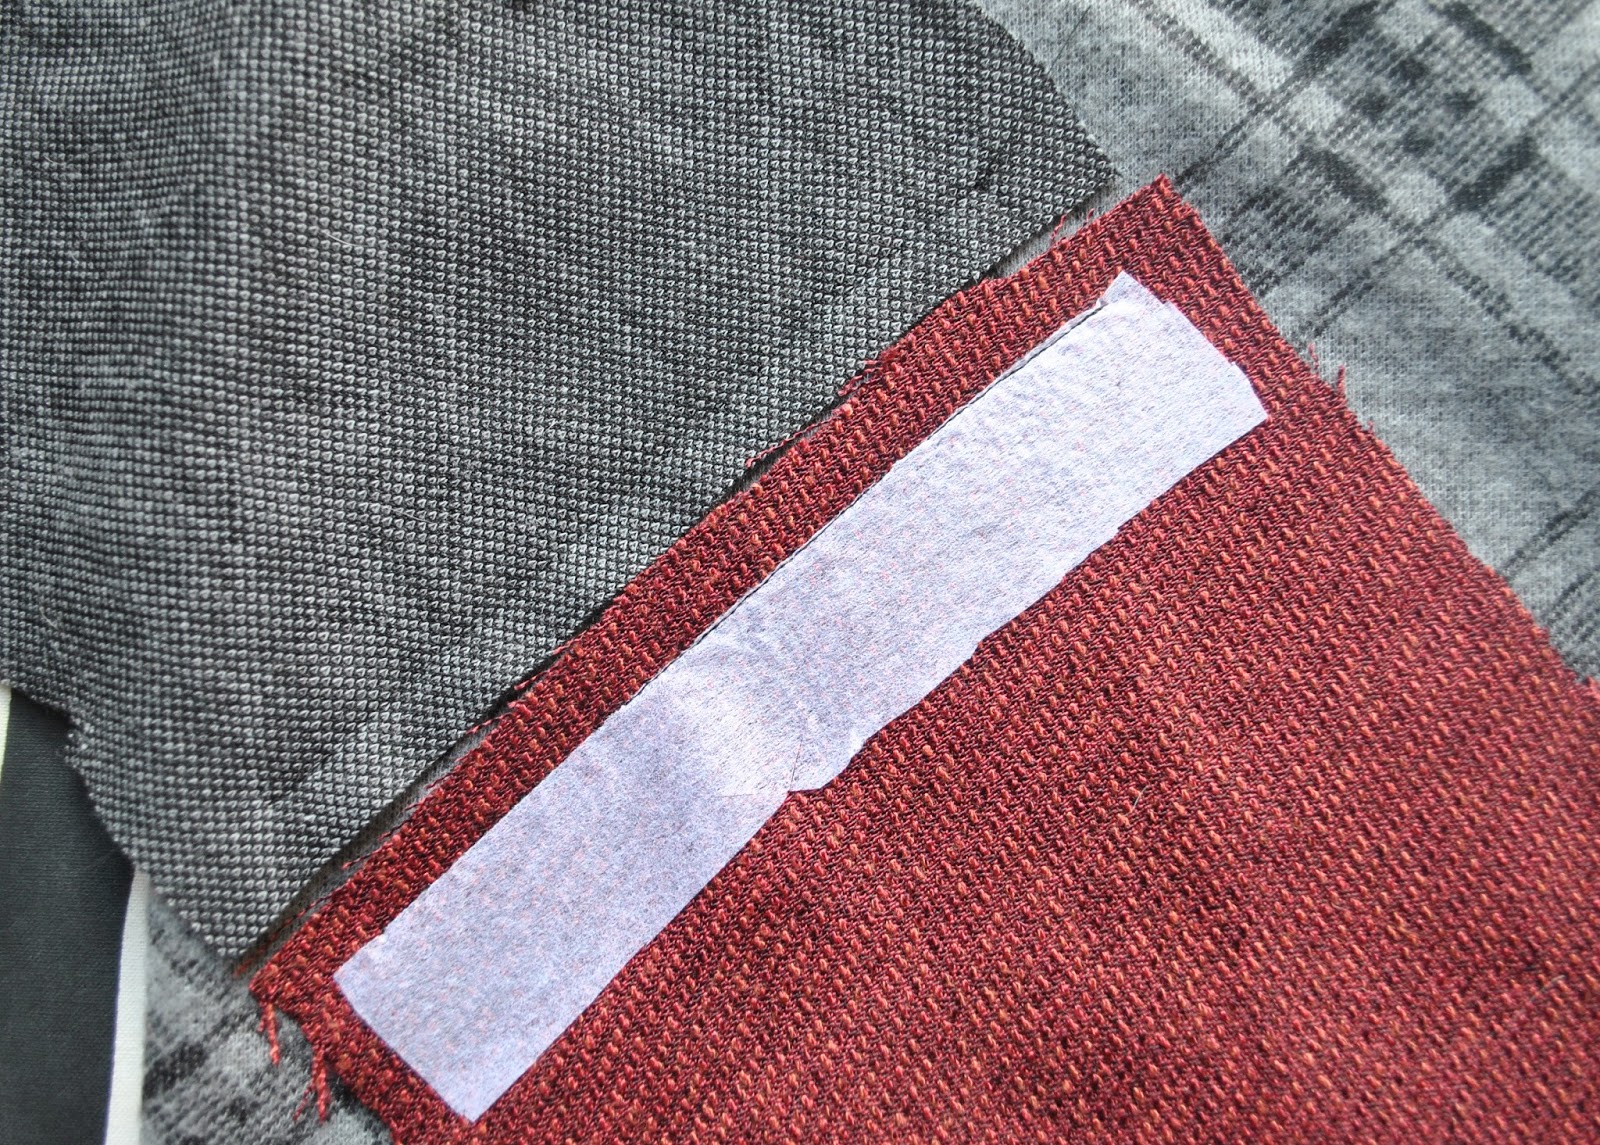
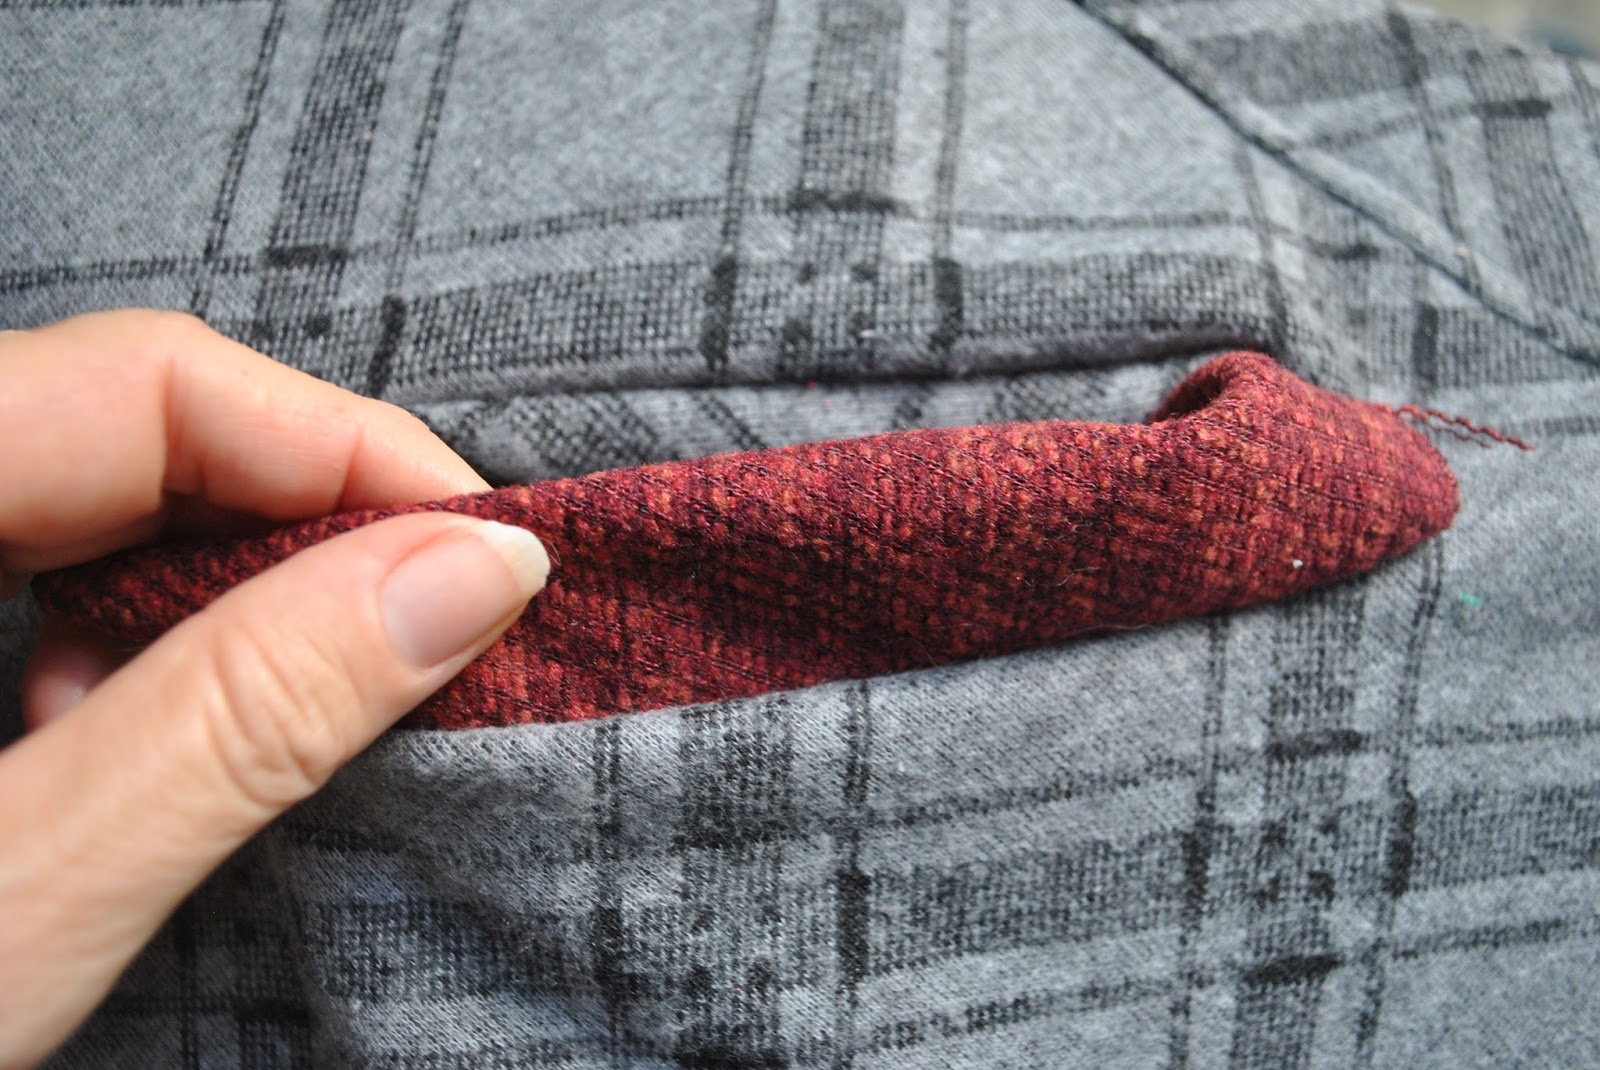
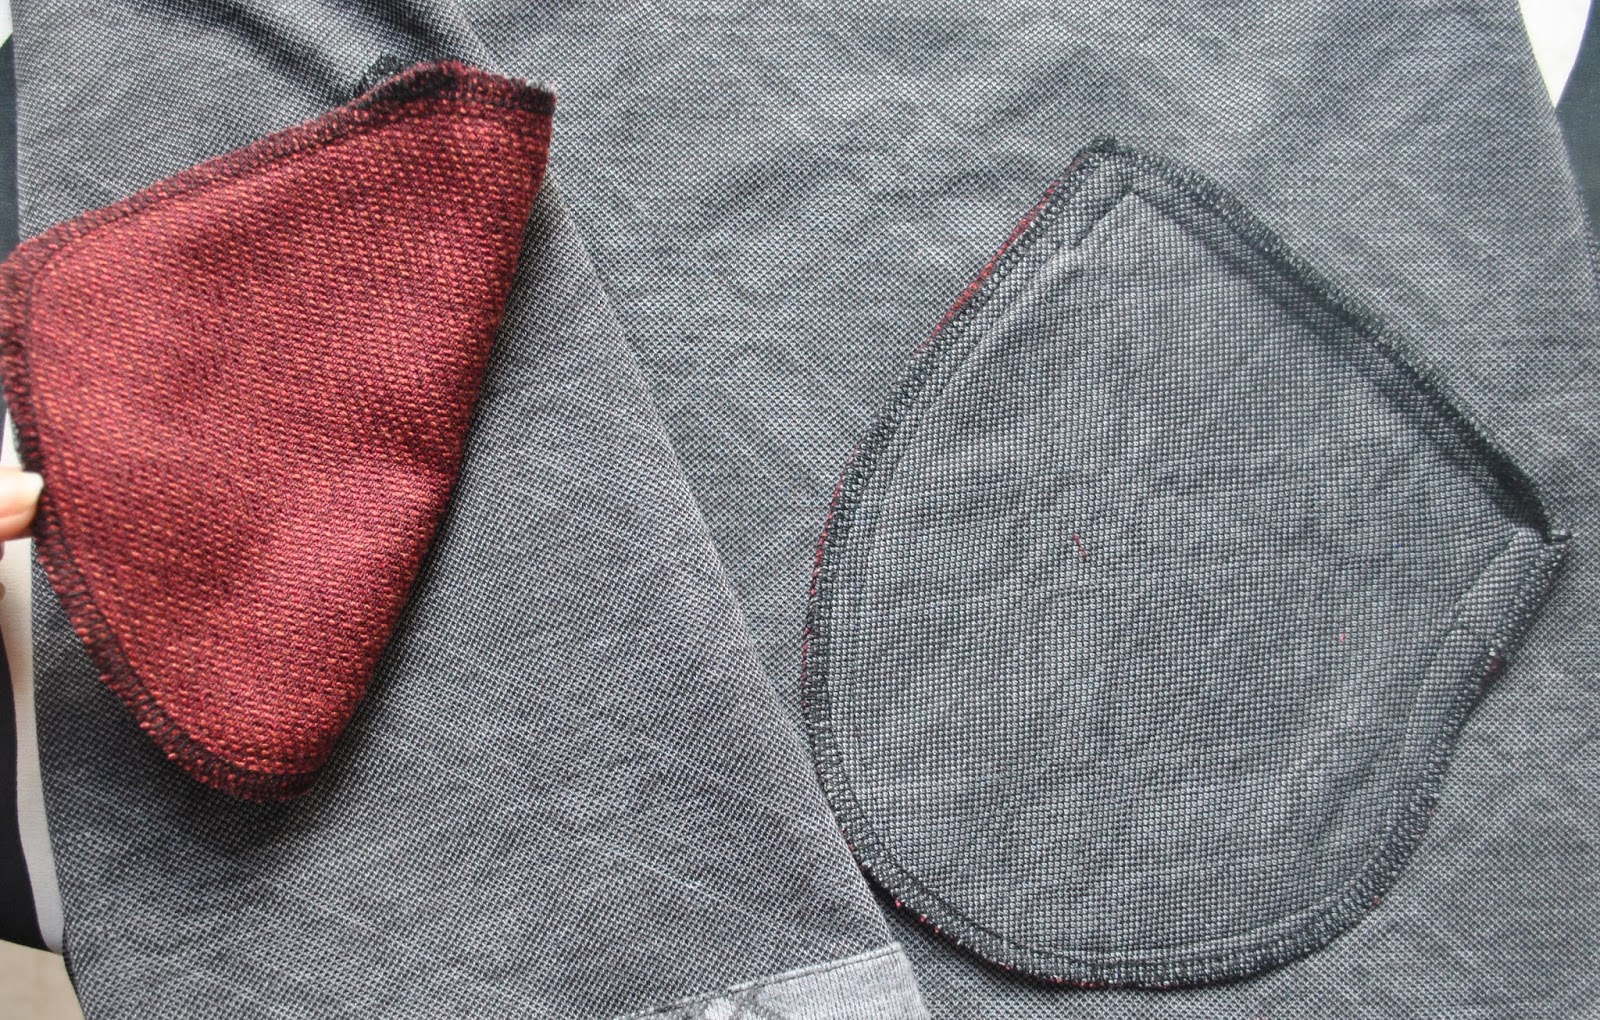
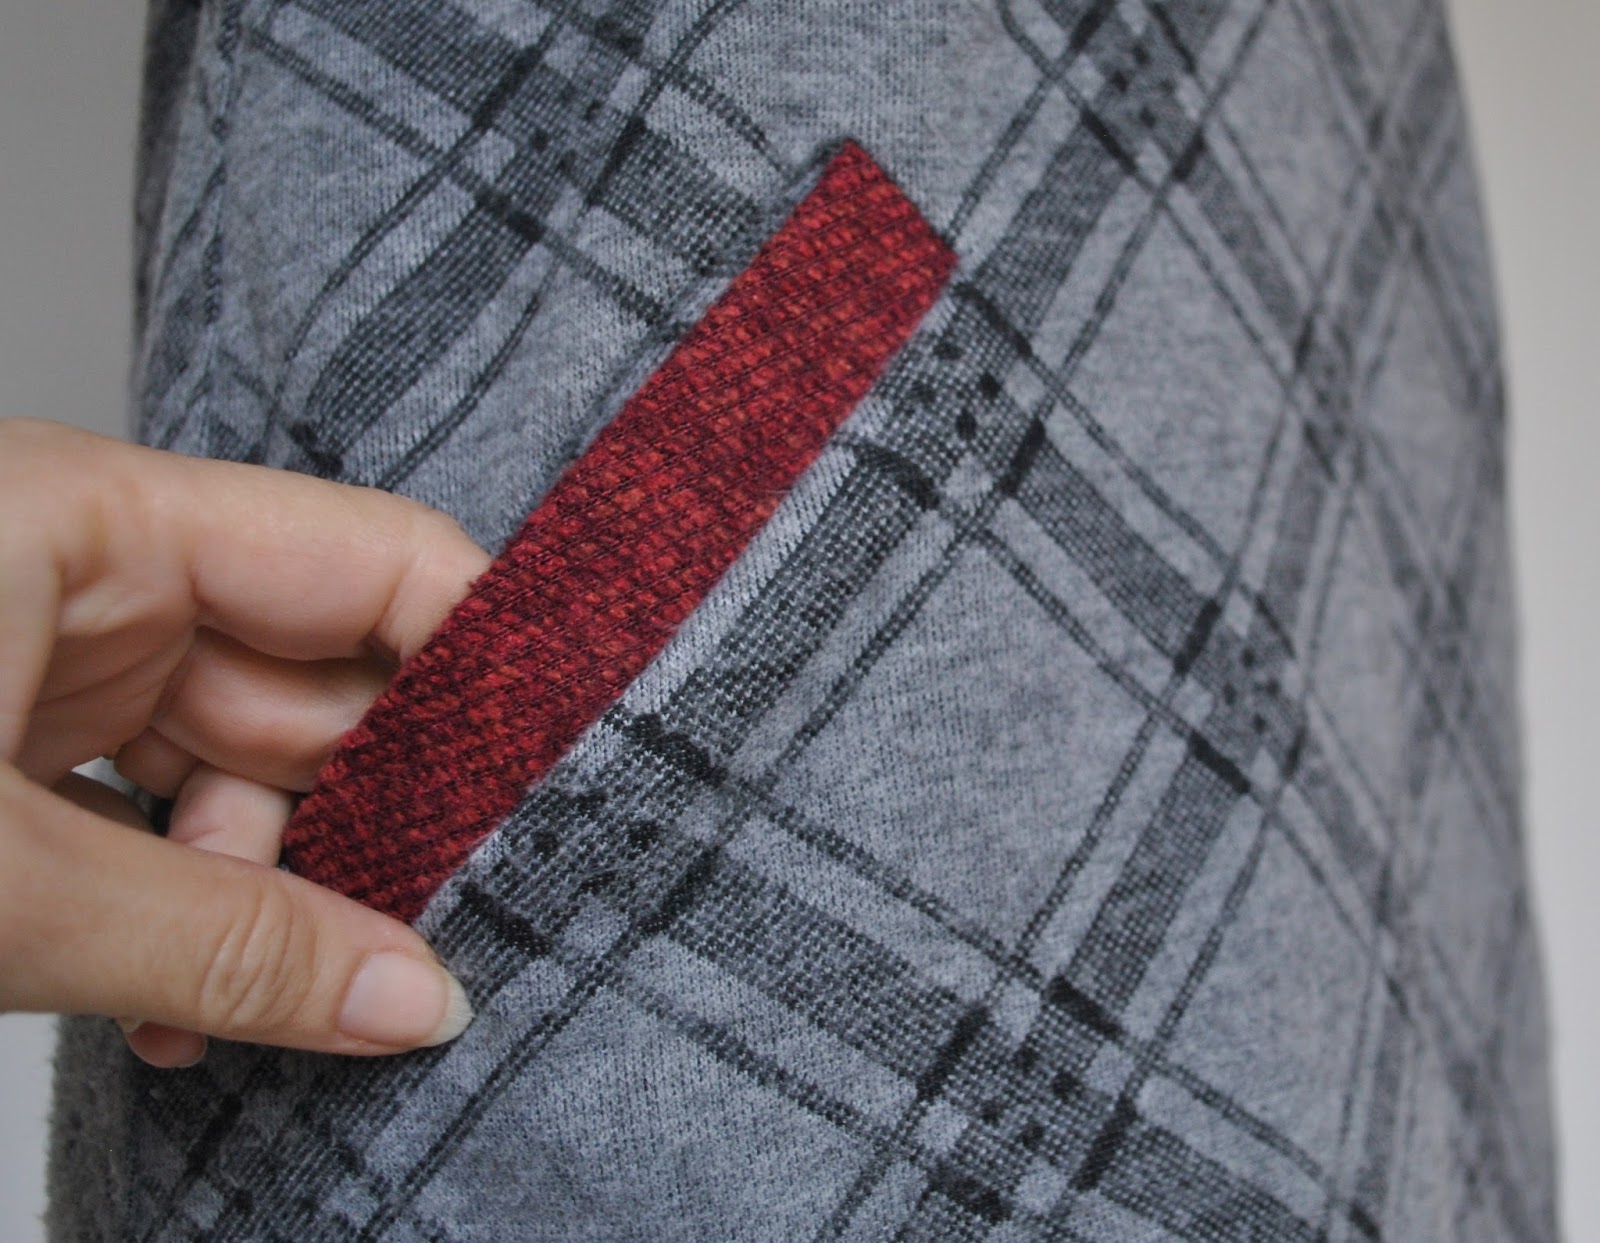
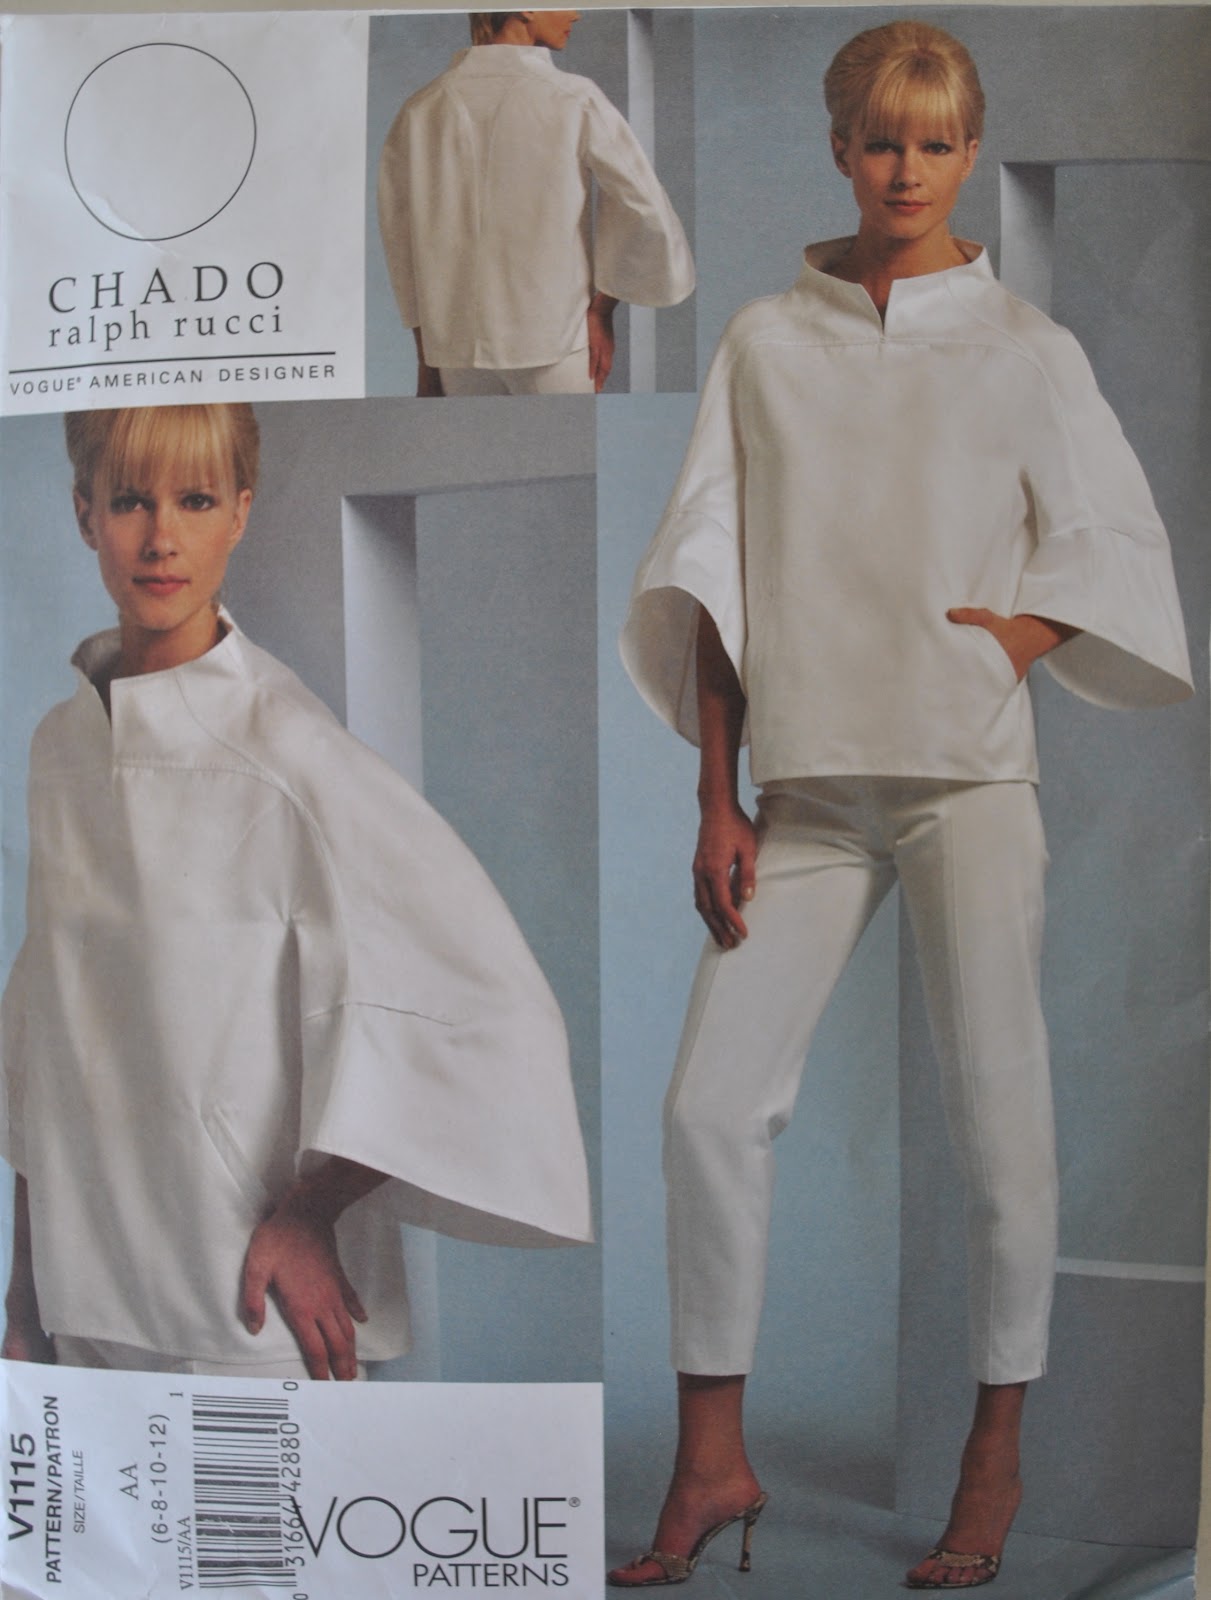
Welted pockets … woot!  I had just barely enough fabric for these!  I used the pocket piece from Vogue 1115, and the contrasting welt is not a separate piece; to save fabric I cut the upper pocket piece with an interfaced extension at the opening, which folds back on itself to the inside becoming an integrated welt…  doing this skips a seam underneath, resulting in a little less fabric bulk.  I might just stick to this method from here on out!

All the raw seam allowance edges are overlocked together, and then I applied a cheat’s version of flat-felling because the fabric is quite “bouncy” and the seams didn’t press flat very satisfactorily.  This involved just laying the overlocked seam allowance down to one side and top-stitching them to the garment.

Details:
Hoodie; self-drafted, with the hood piece from KwikSew 3667
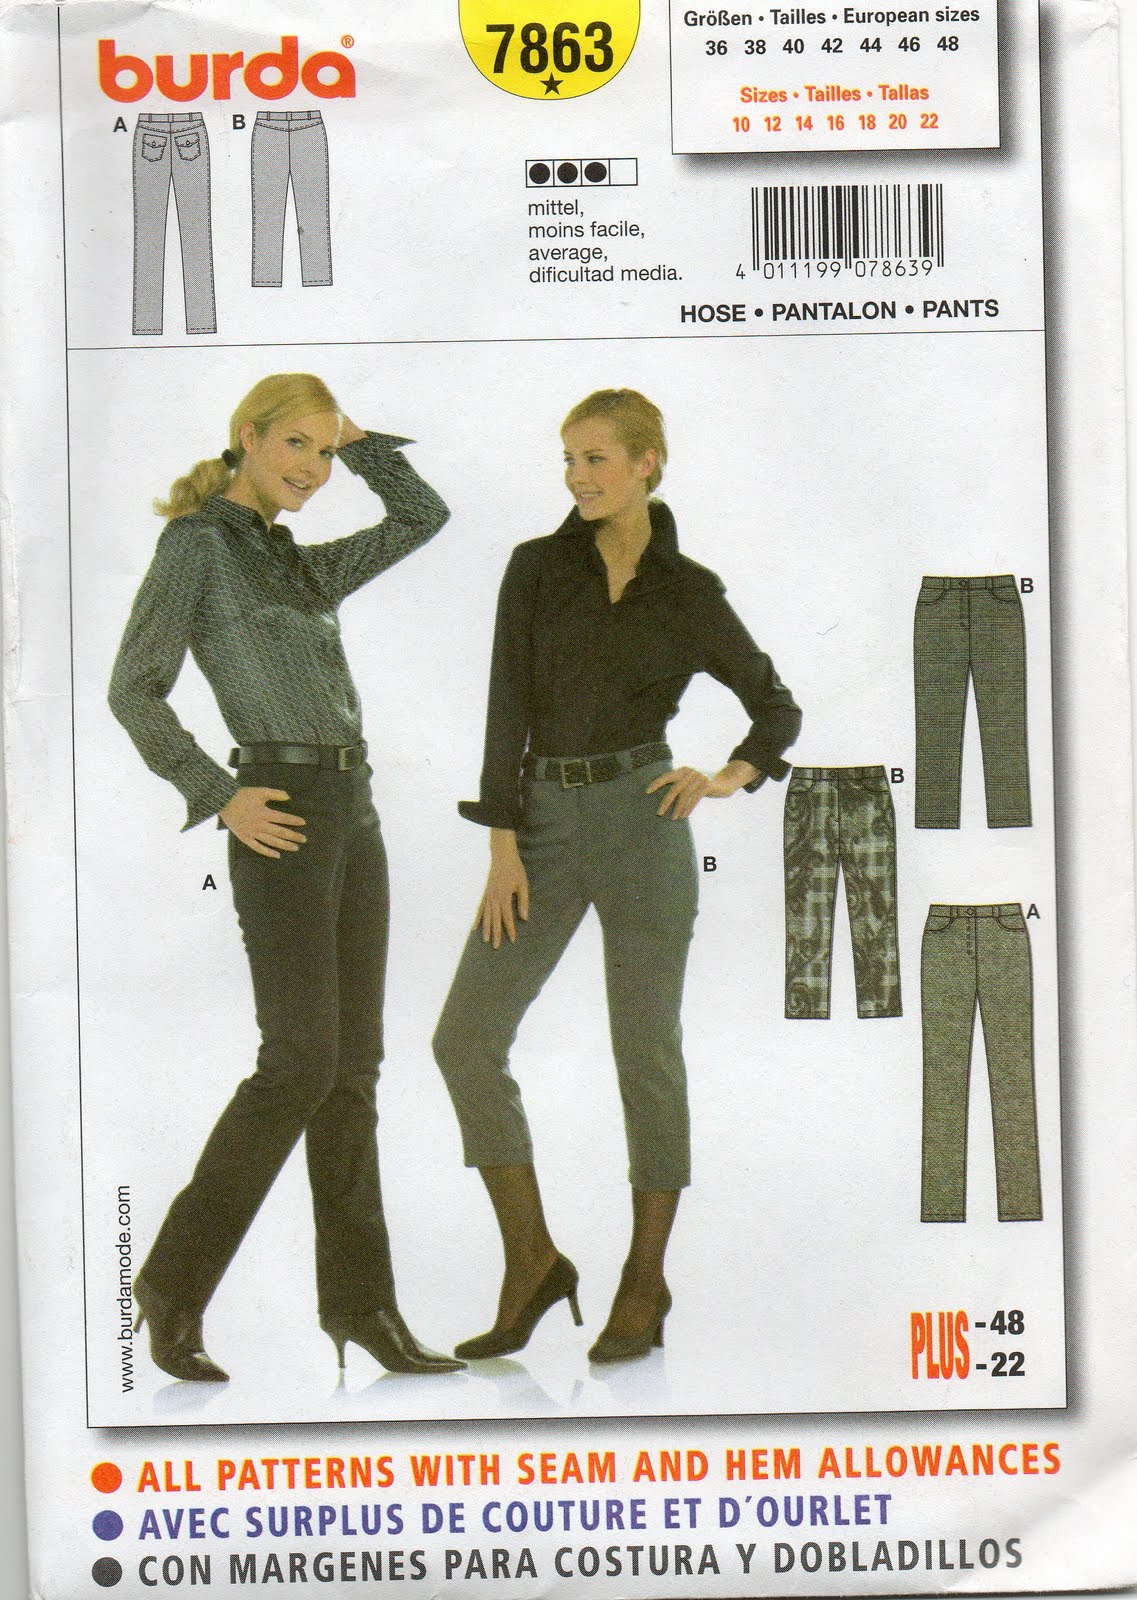
Jeans; Burda 7863 modified, ivory stretch denim, details here
Boots; nylon, from Zomp shoes

pinterestmail

Bright roses, tops n tights

Y’ello  ðŸ™‚
I’ve been making stoof.  Please bear with me while my photo-taking catches up…
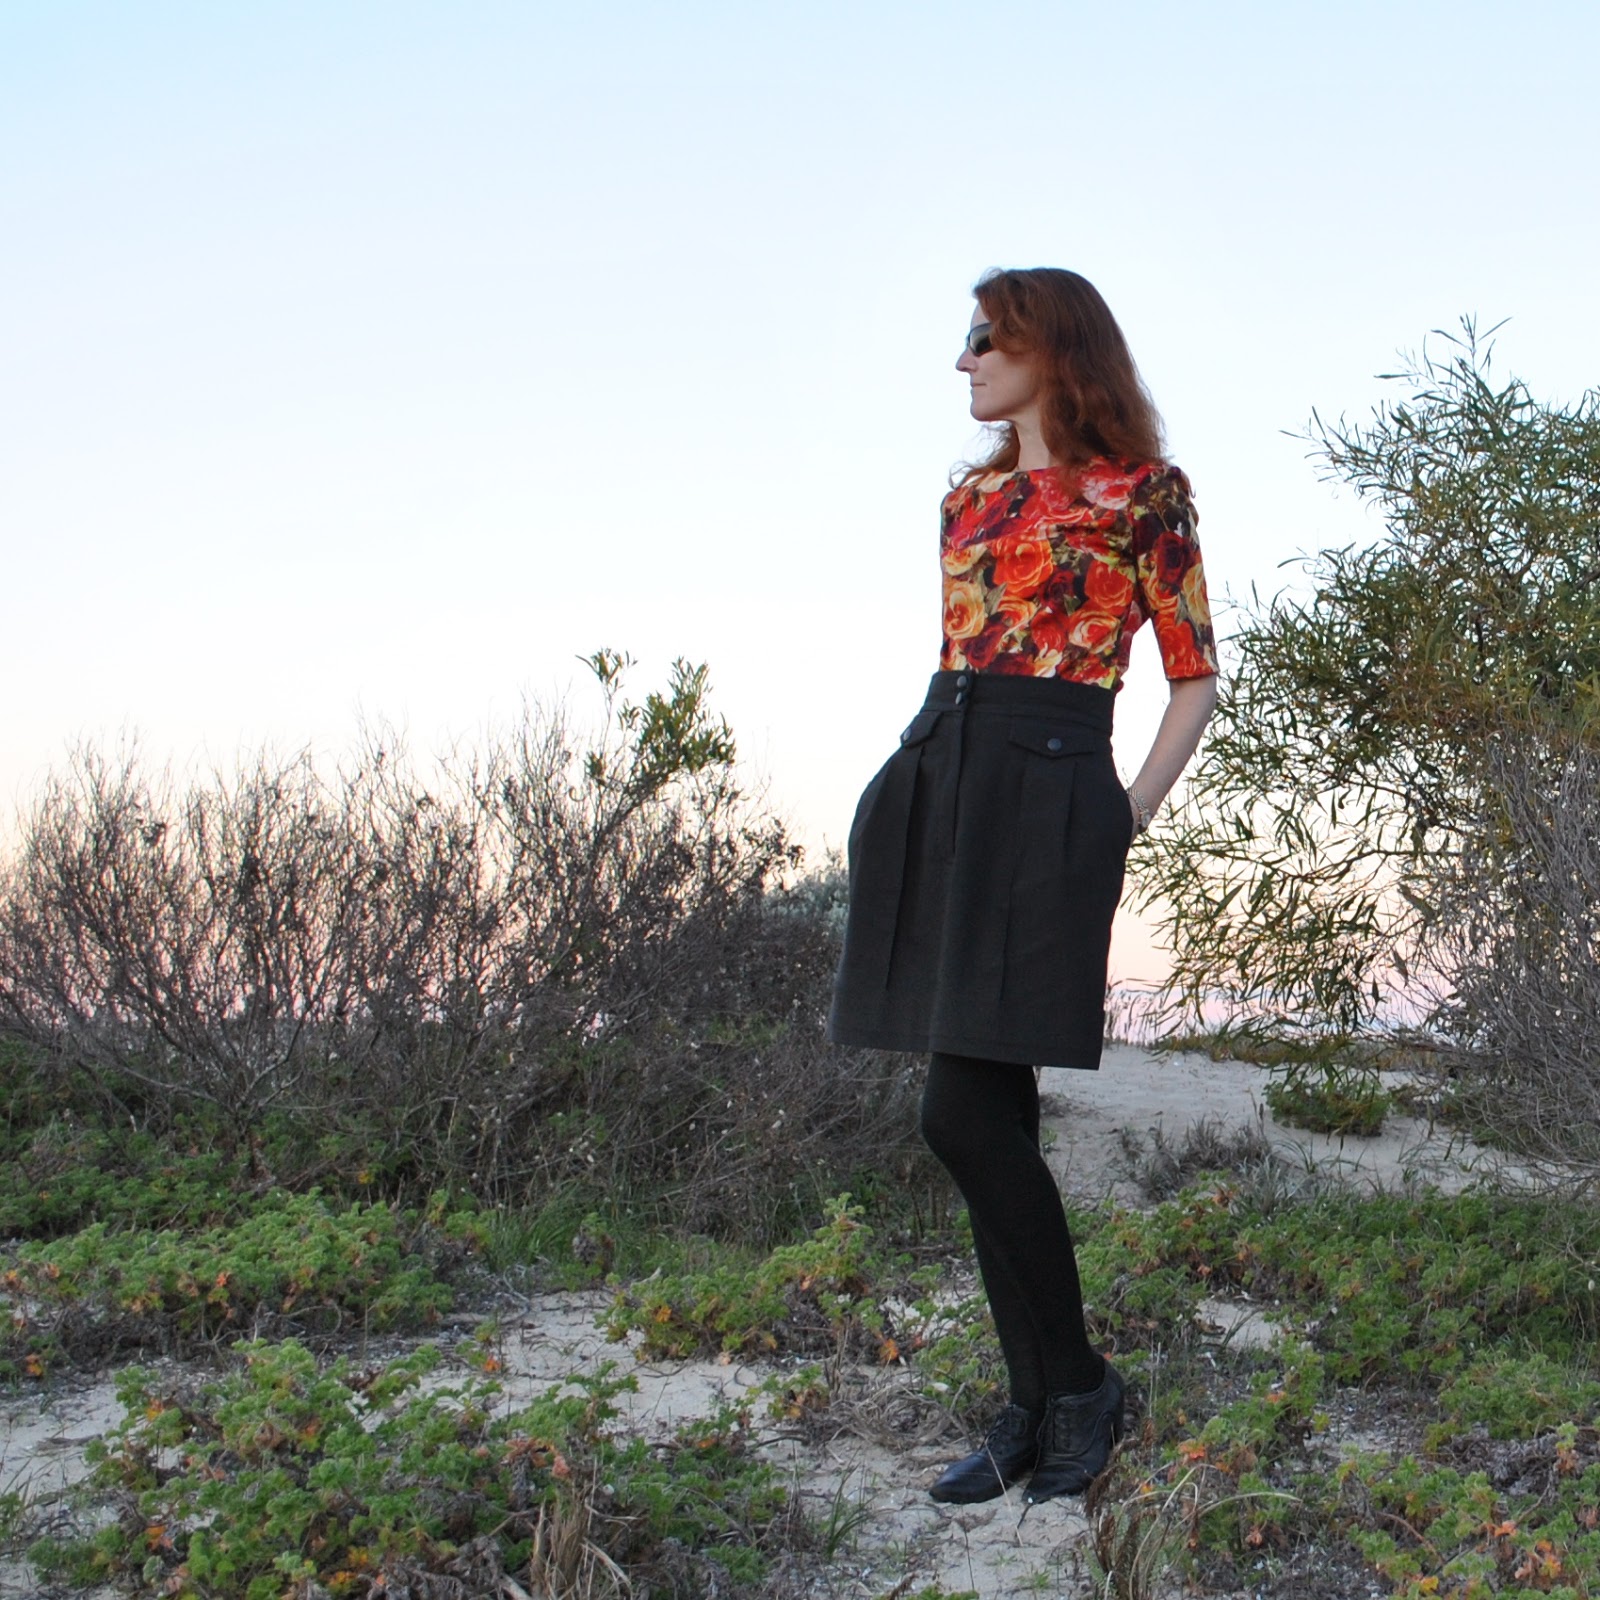
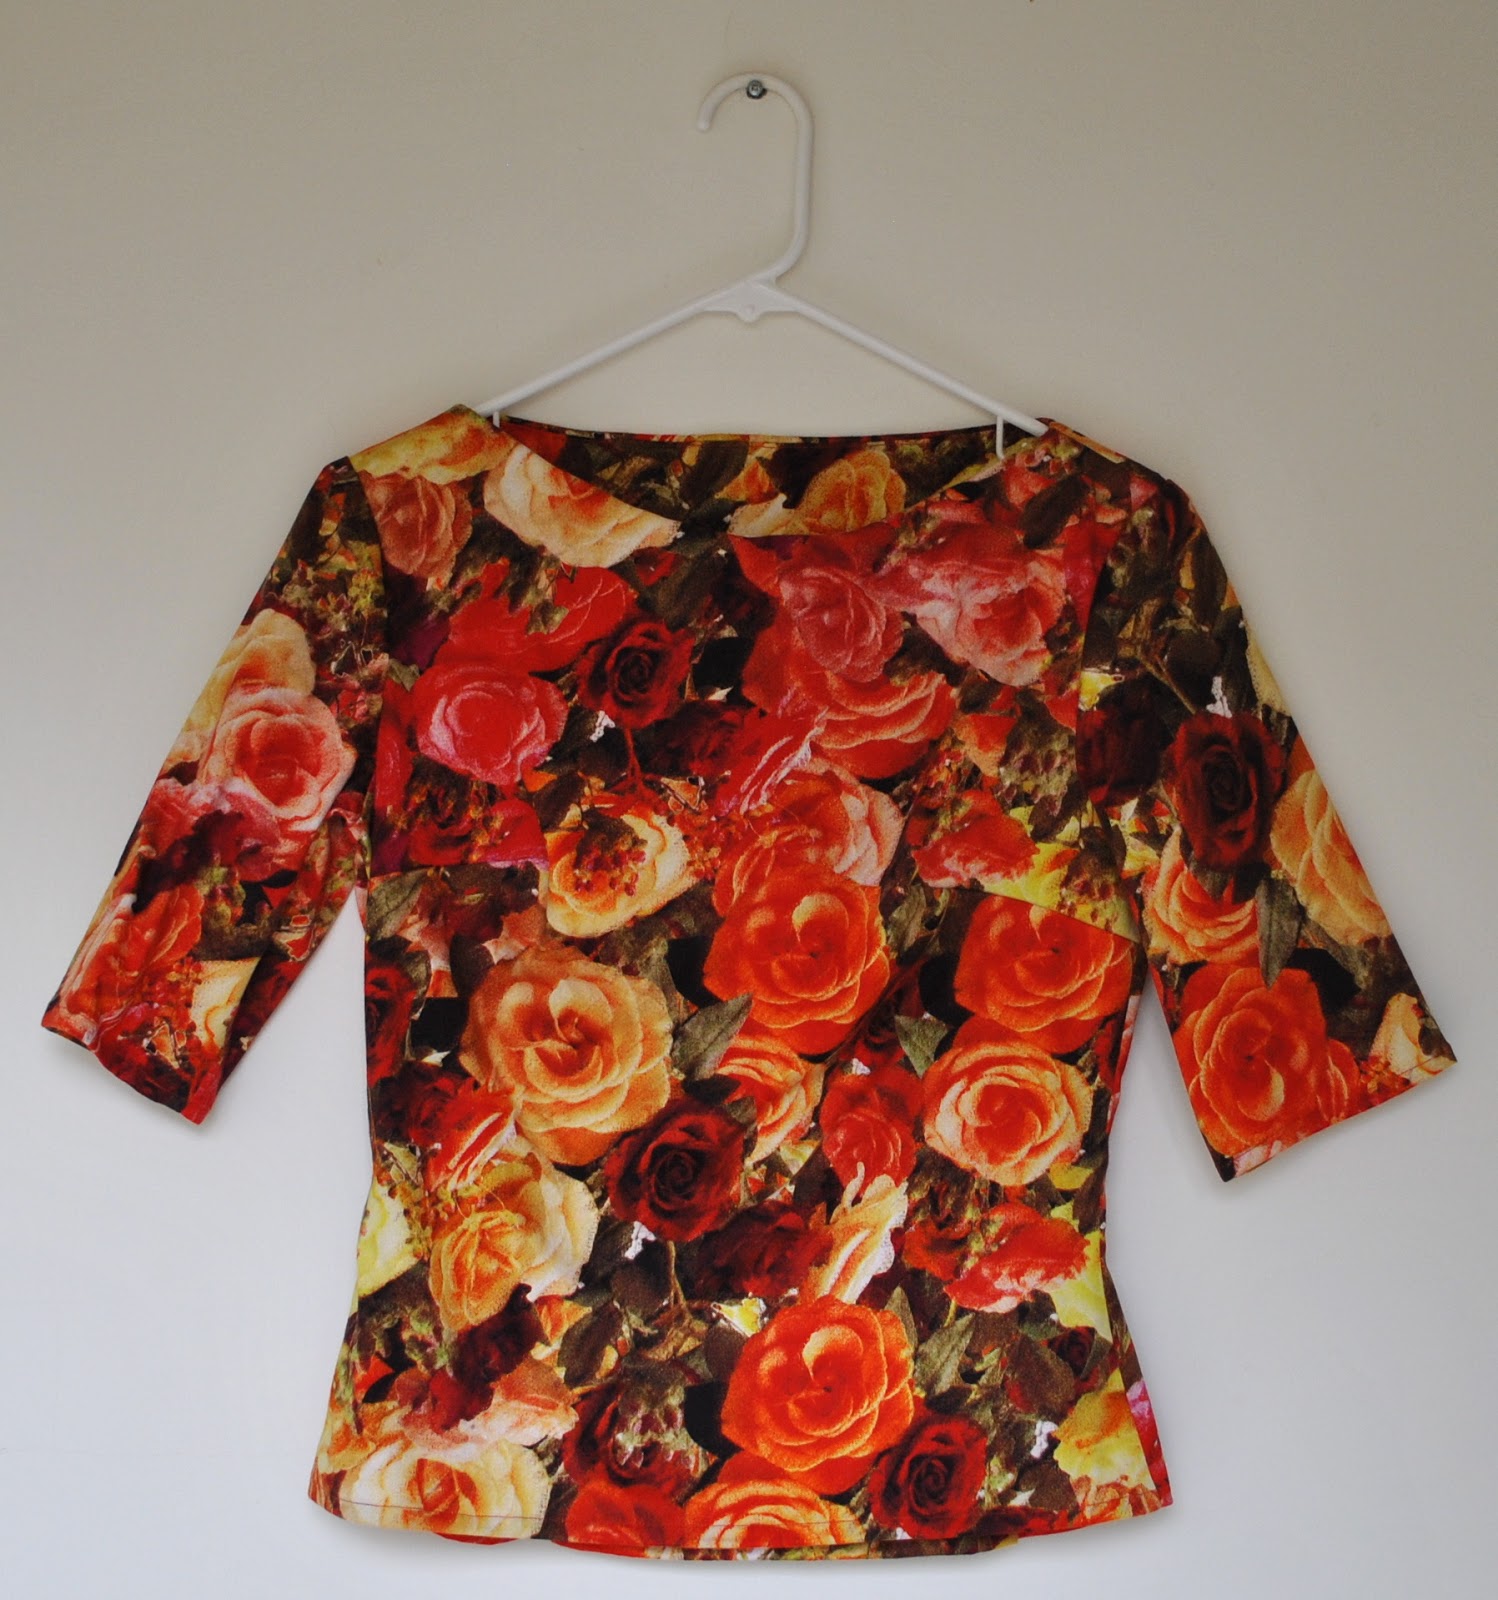
Firstly, my new top of stretchy cotton sateen.  I must be dreaming of spring already, I think!
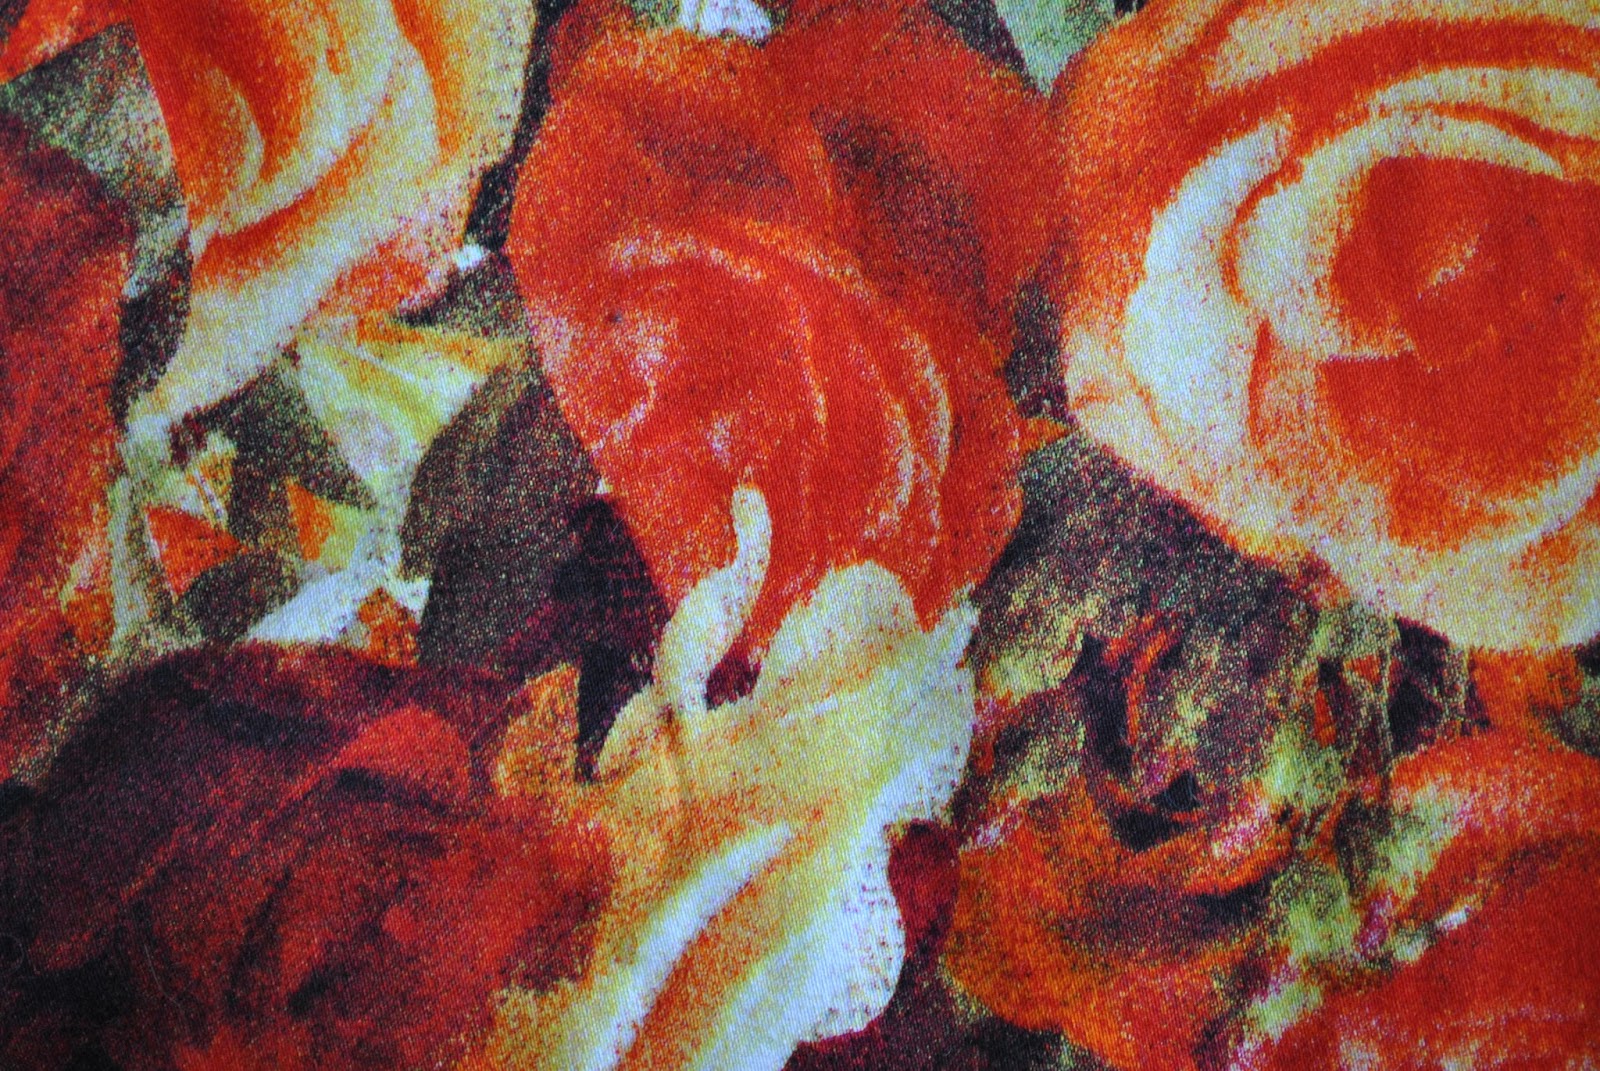
This is a stash-busting success story.  I fell deeply in love with this autumnal gold/orange/scarlet/khaki rose-print fabric from Tessuti’s in Melbourne last year, and threw down my credit card with blithe abandon.  So my colours!  Close-up, the print has that slightly scratchy spotty appearance of an old polaroid.  Love it.
Difficulties arose when I got home and had to come to terms with the fact that for some dumb reason I had bought only 70cm.  I have no excuse for this insanity. Yes, I was an idiot.  I’m blaming that state of mad fabric drunkenness brought on by places like Tessuti’s.  Note to self:  get at least a metre from now on.
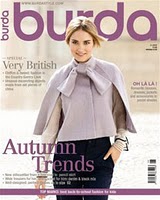
So I made a simple little pull-on Tshirt top because fortunately you don’t need much metrage for this style.  This is the bodice from a dress pattern, Burda style magazine 08/2009, 128; elongated a bit.  I have made this pattern up twice before, firstly as a dress and then as a top just like this one, so I already know how much I love this flattering boat-neck style.  It has bust darts in the front and two long vertical darts in the back for shaping.  No zip or closure is needed because the neck opening is wide enough so that you can just pull it on over your head.

I could not make the sleeves as long as the pattern intended, as in my previous two versions.  This is the very longest I could get from out of my meagre piece.  I would really prefer them to be about 12cm longer, but meh.  I can cope.

Details:

Top; Burdastyle magazine 08/2009; 128 modified to be a top, stretchy cotton sateen, my review of this pattern here
Skirt; Burdastyle 10/2010, 136 (the Karl Lagerfeld skirt) lengthened, black suiting gabardine, details and my review of this pattern here
Shoes; Django and Juliette, from Zomp shoes
Some notes on the finishing details for this top:

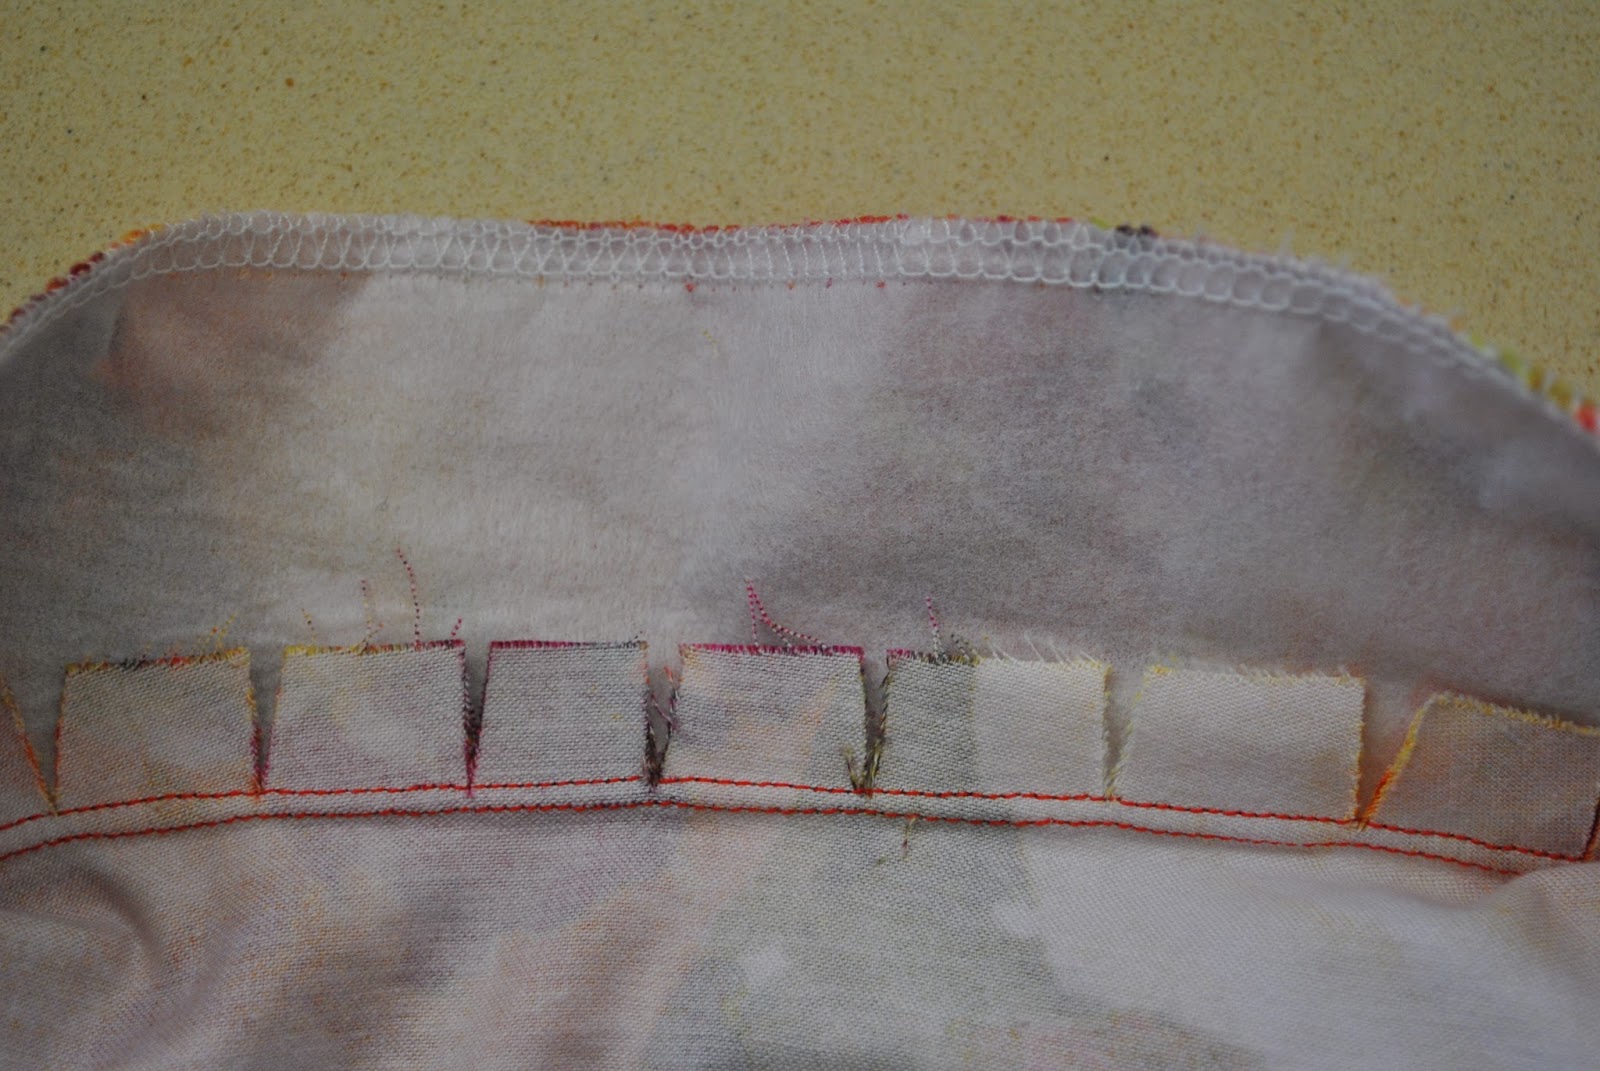
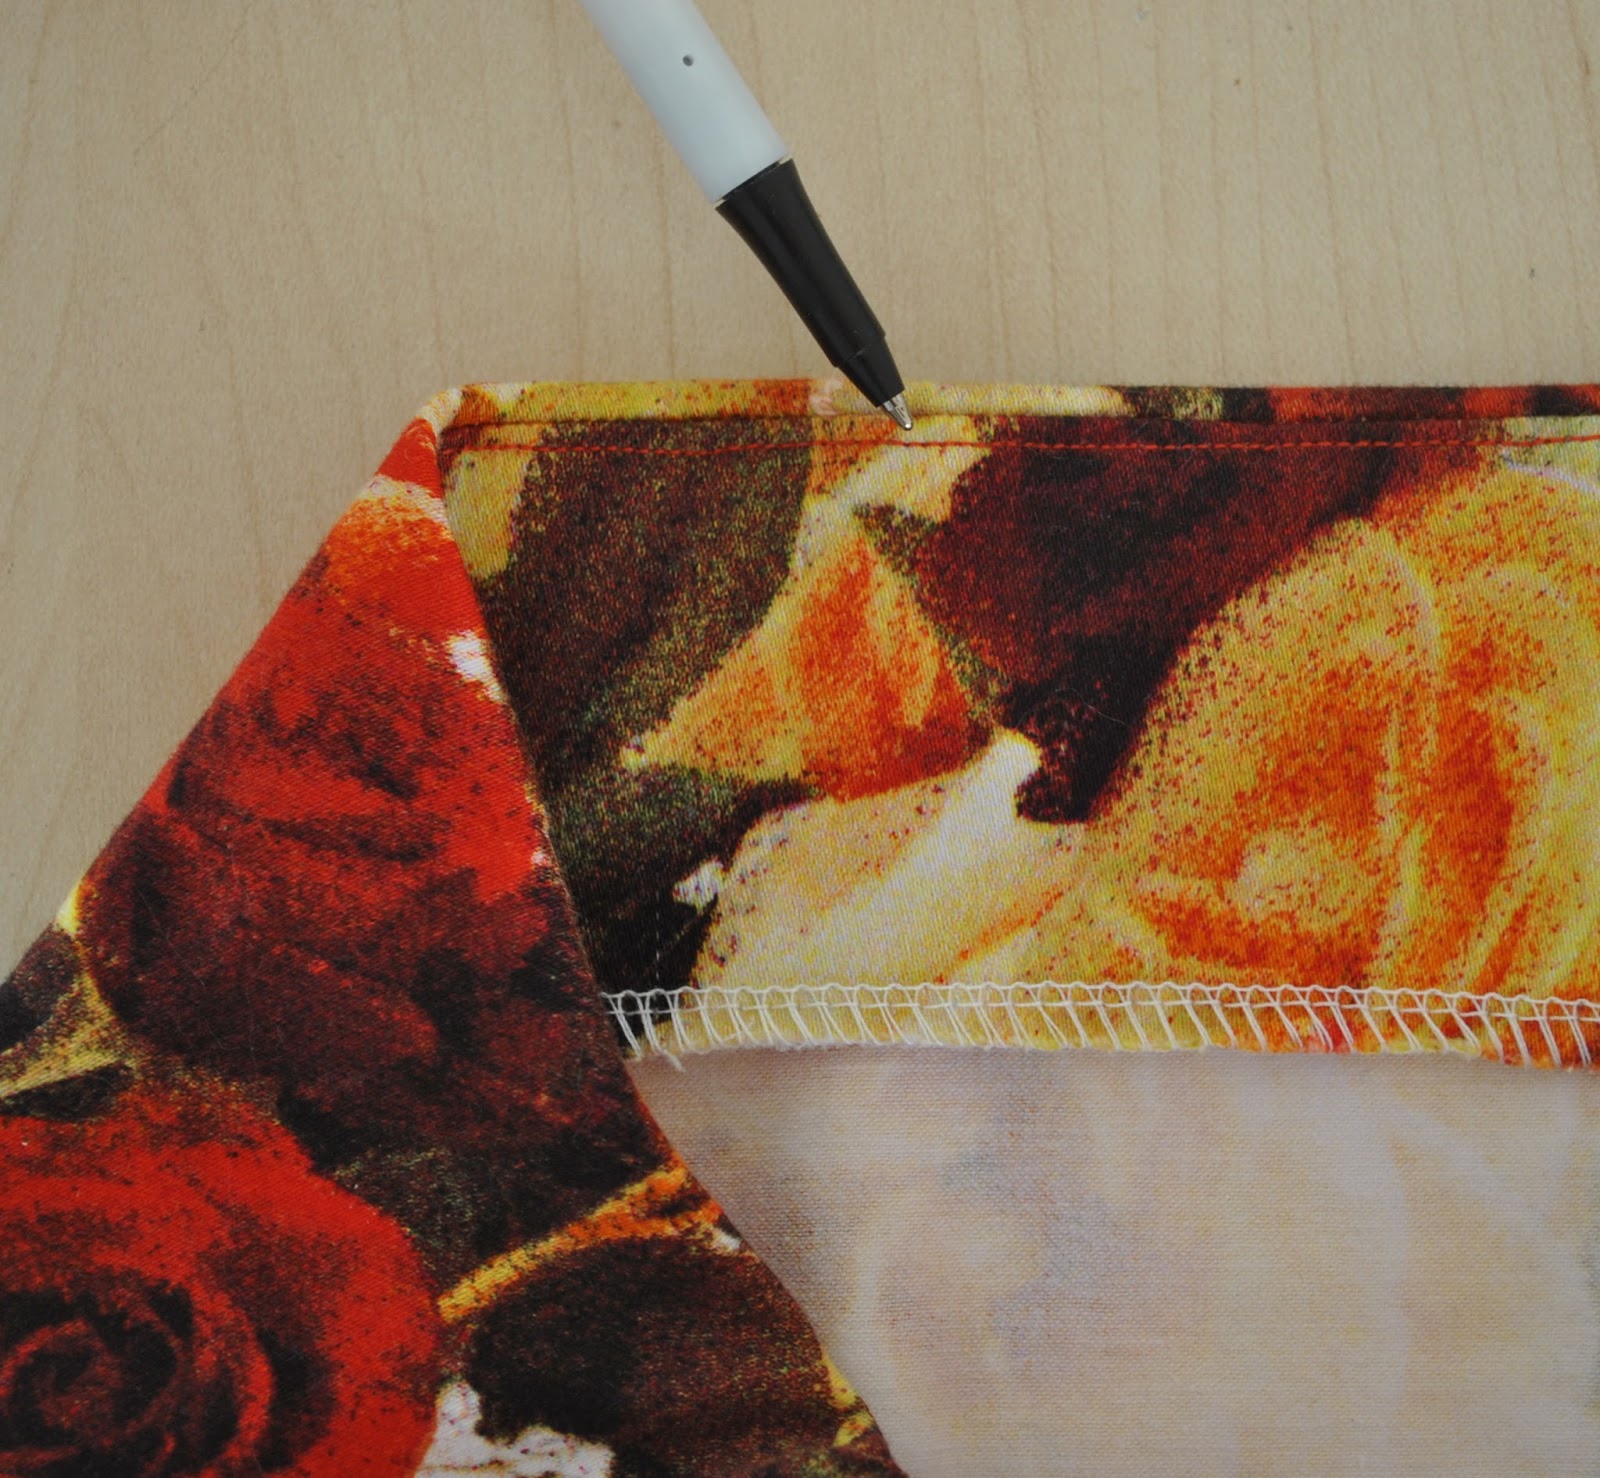
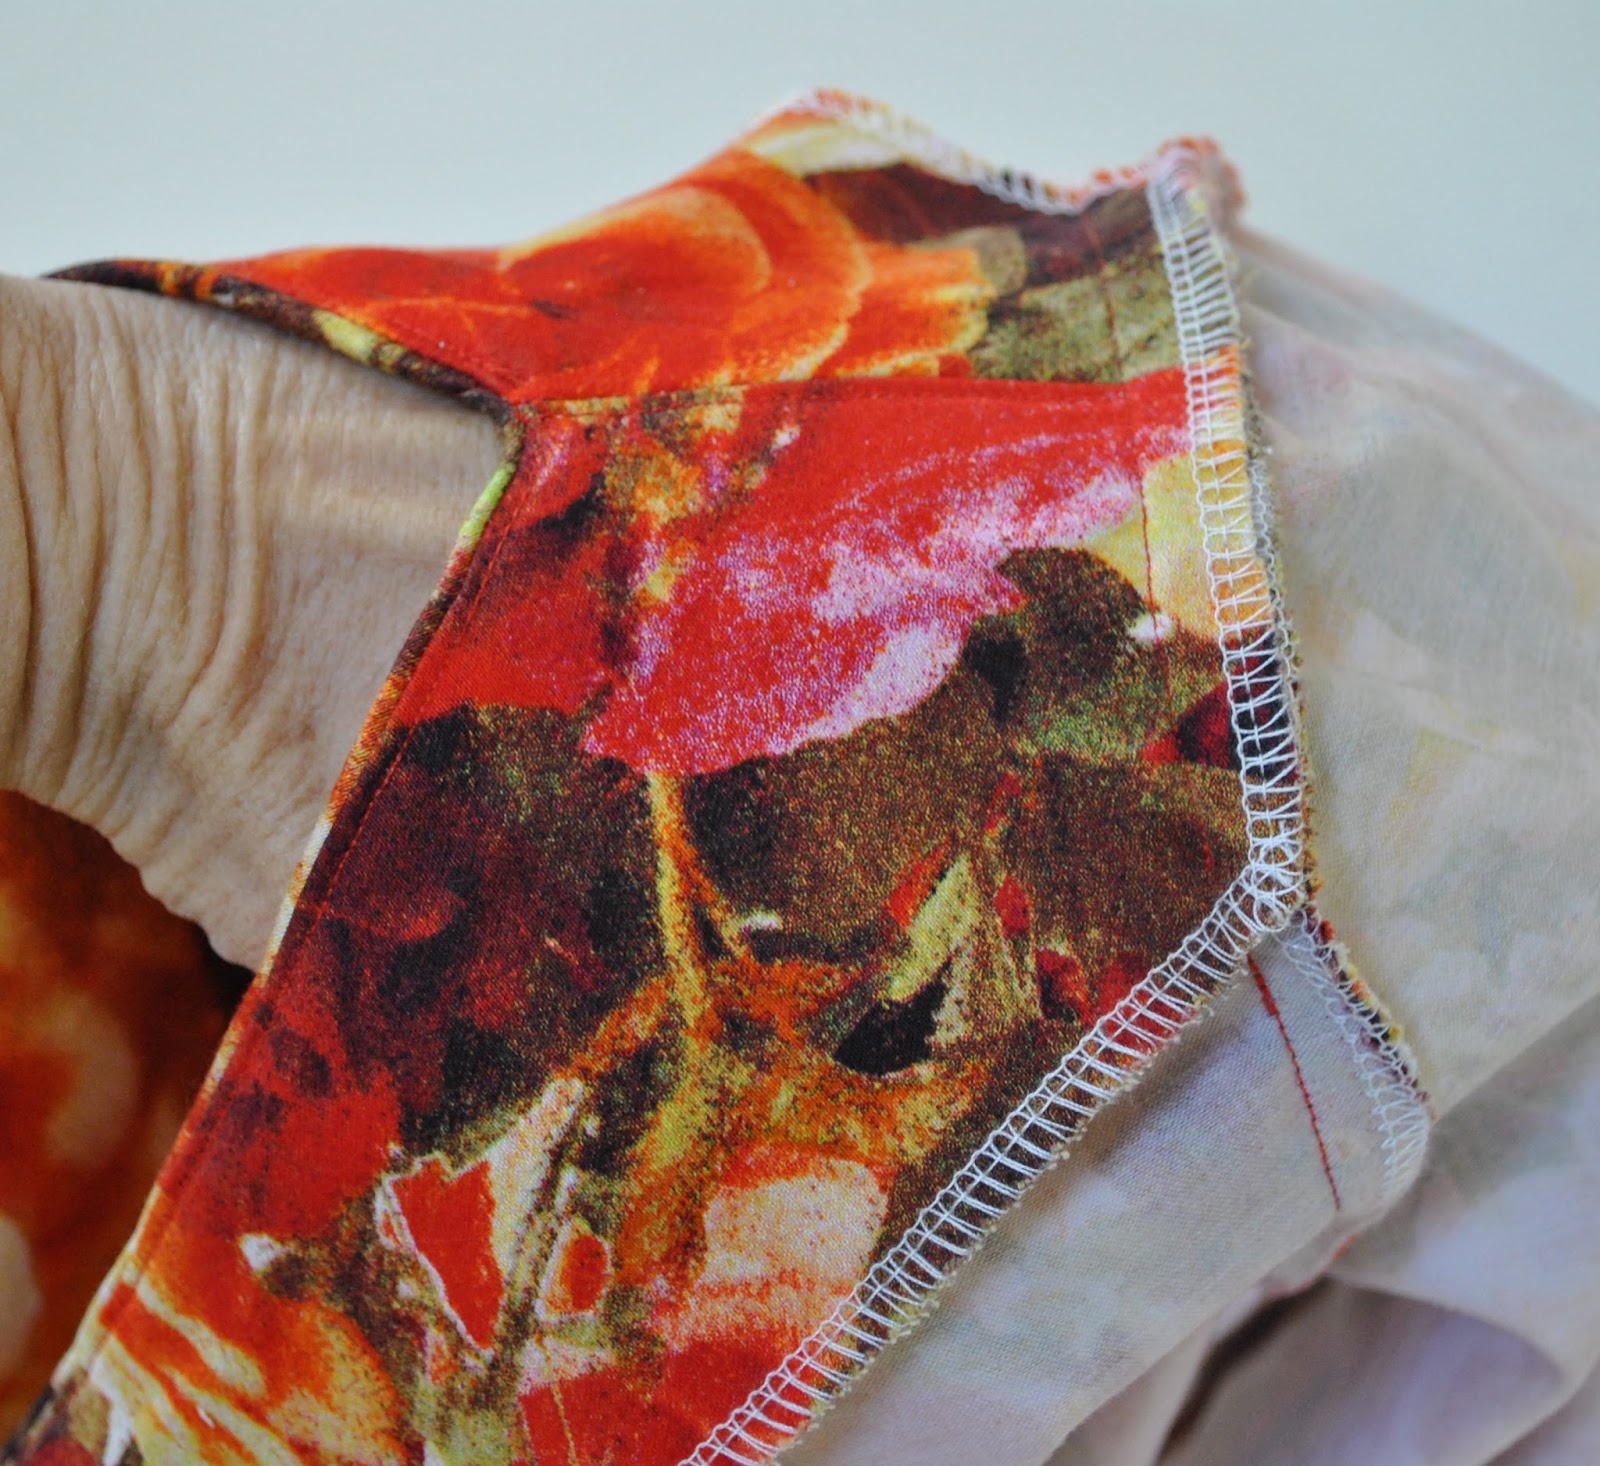
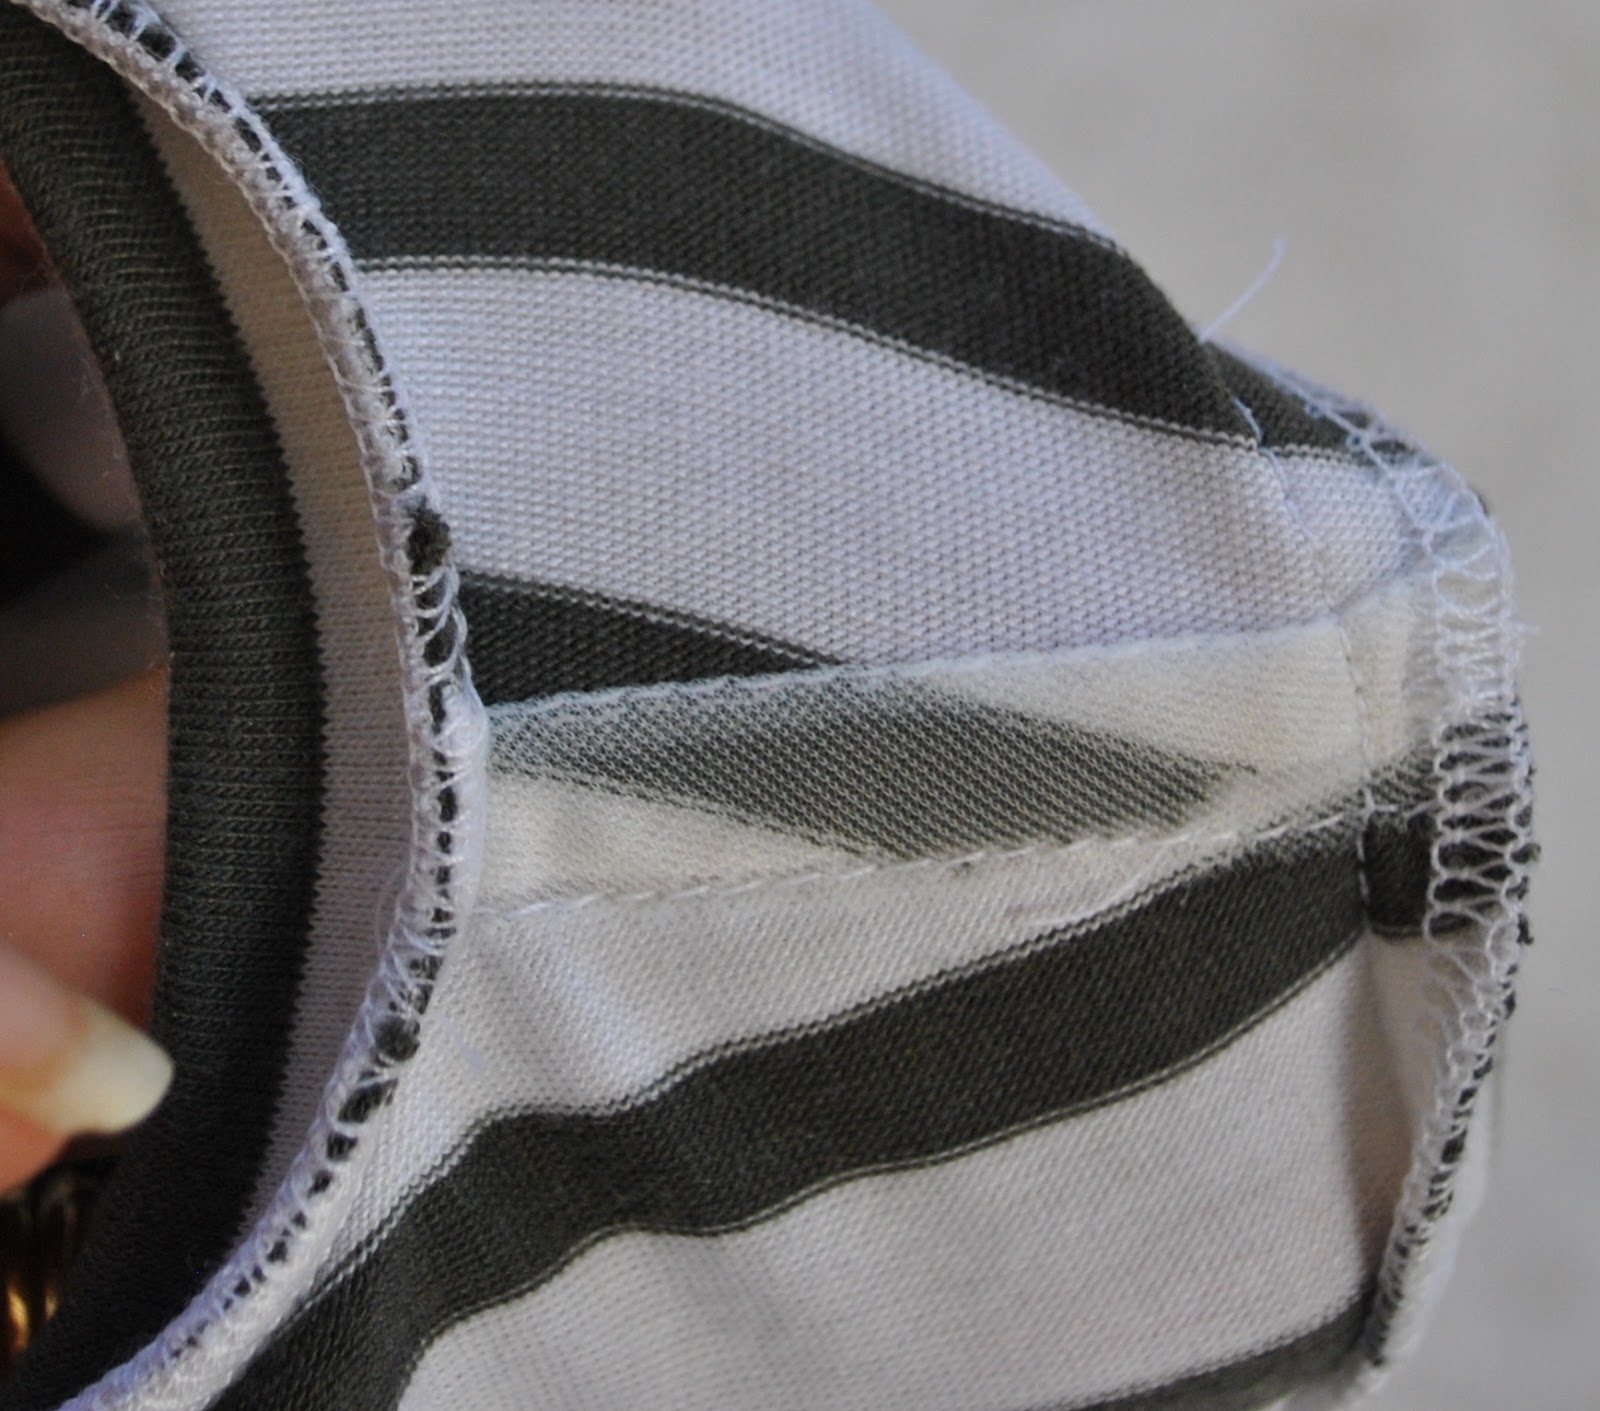
The neckband is finished with facings.  I always always under-stitch facings on a garment that I wish to look sorta dressy, or just not-so casual.  Top-stitching always makes things look a bit more “casual” imo, and often you want an edge that smoothly and cleanly rolls under to the inside, with no top-stitching or anything visible on the edge.  Under-stitching (the red stitching in both photos below) always provides a nice clean and minimal look on the outside; and safeguards against facings popping up and out.

After under-stitching, the facings are stitched to the sleeve cap seam allowances just inside the previous sleeve cap stitching, and stitched-in-the-ditch down to the shoulder from the right side of the garment, to hold them firmly in place.  

But wait, there’s more…

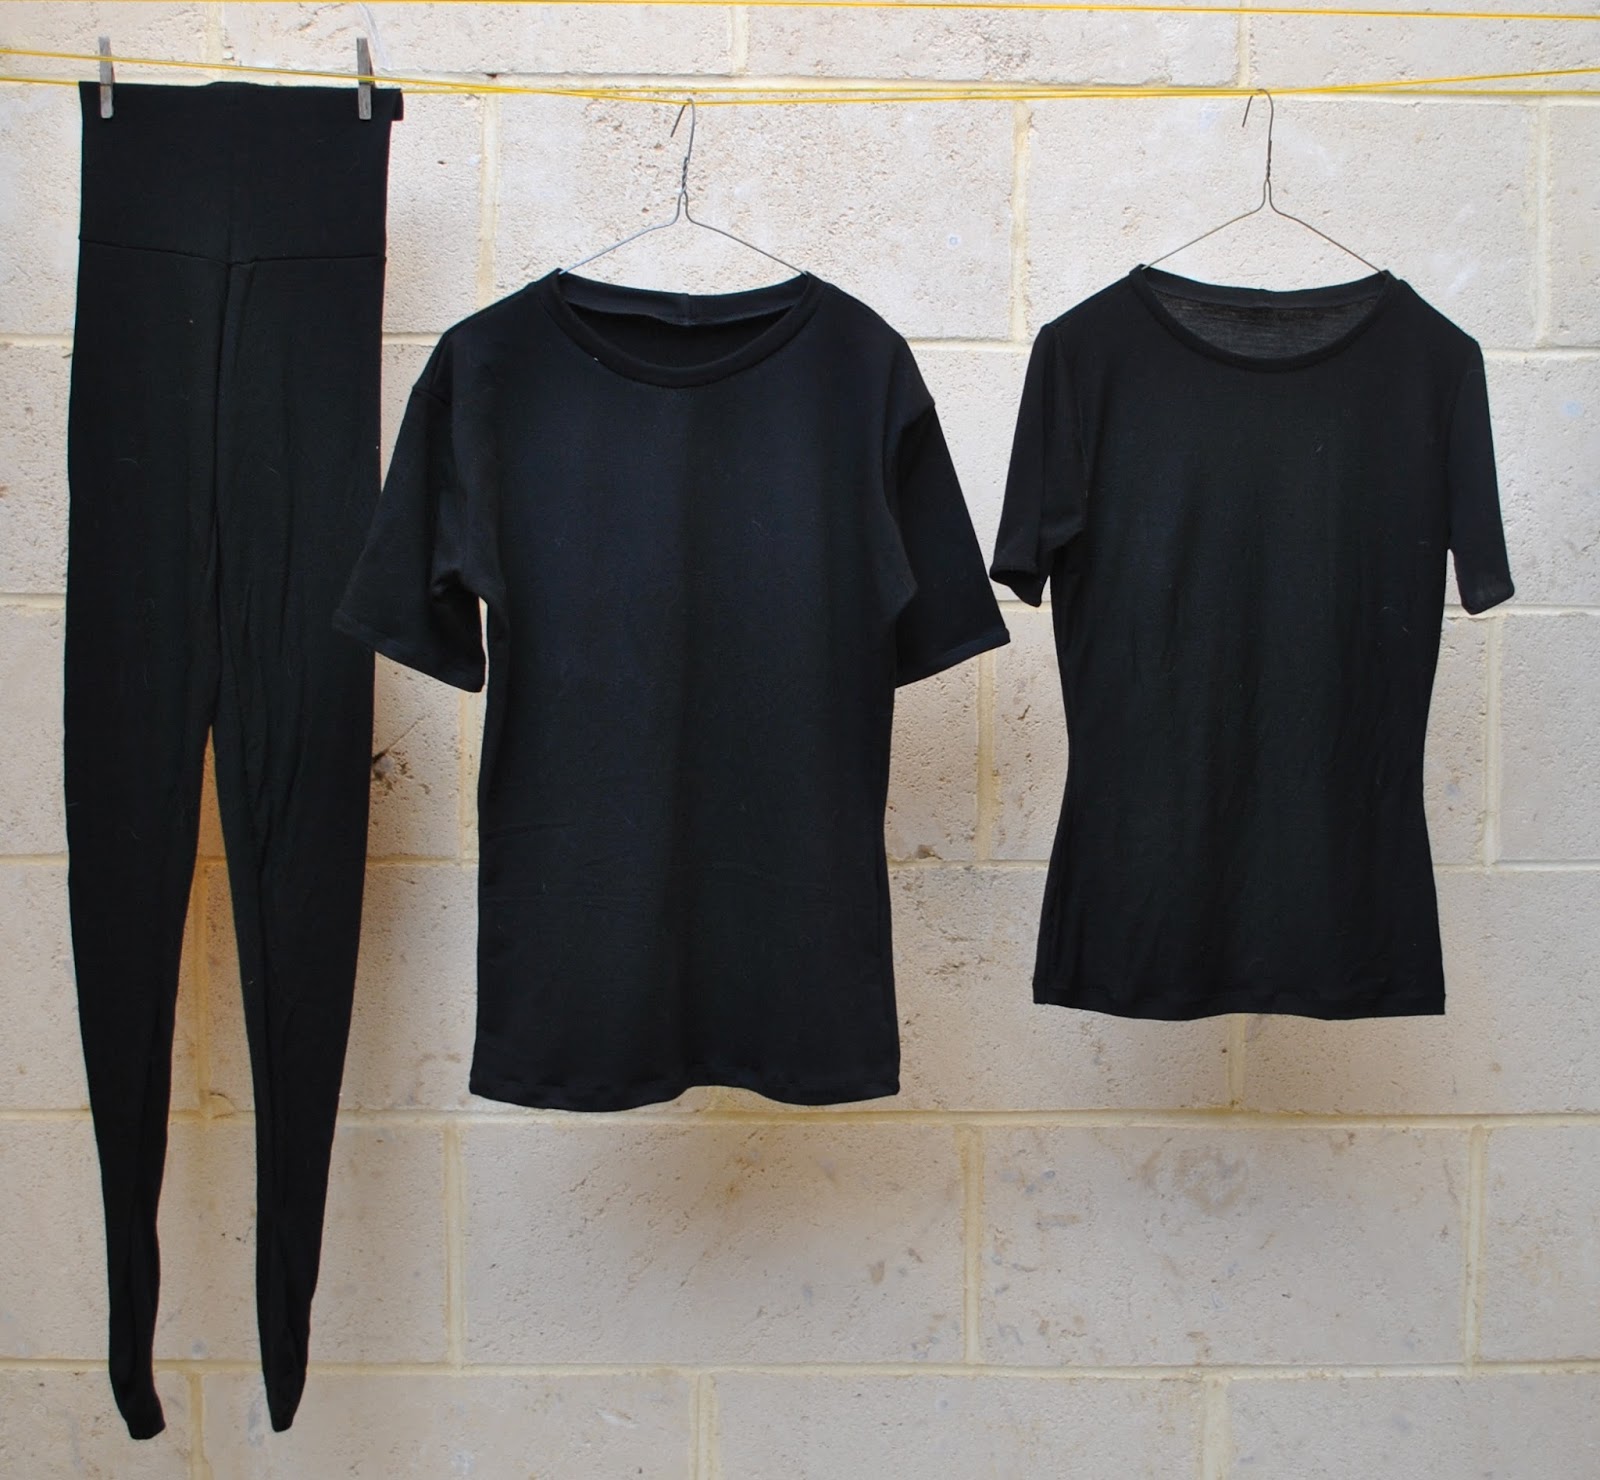
While I am really enjoying wearing my crazier leggings and tights, I guess we all agree that plain black tights are kinda the most useful type to have, and a must for winter, right?  So I made a second pair identical in every way to my previous pair.  I am wearing these in the photo above too.
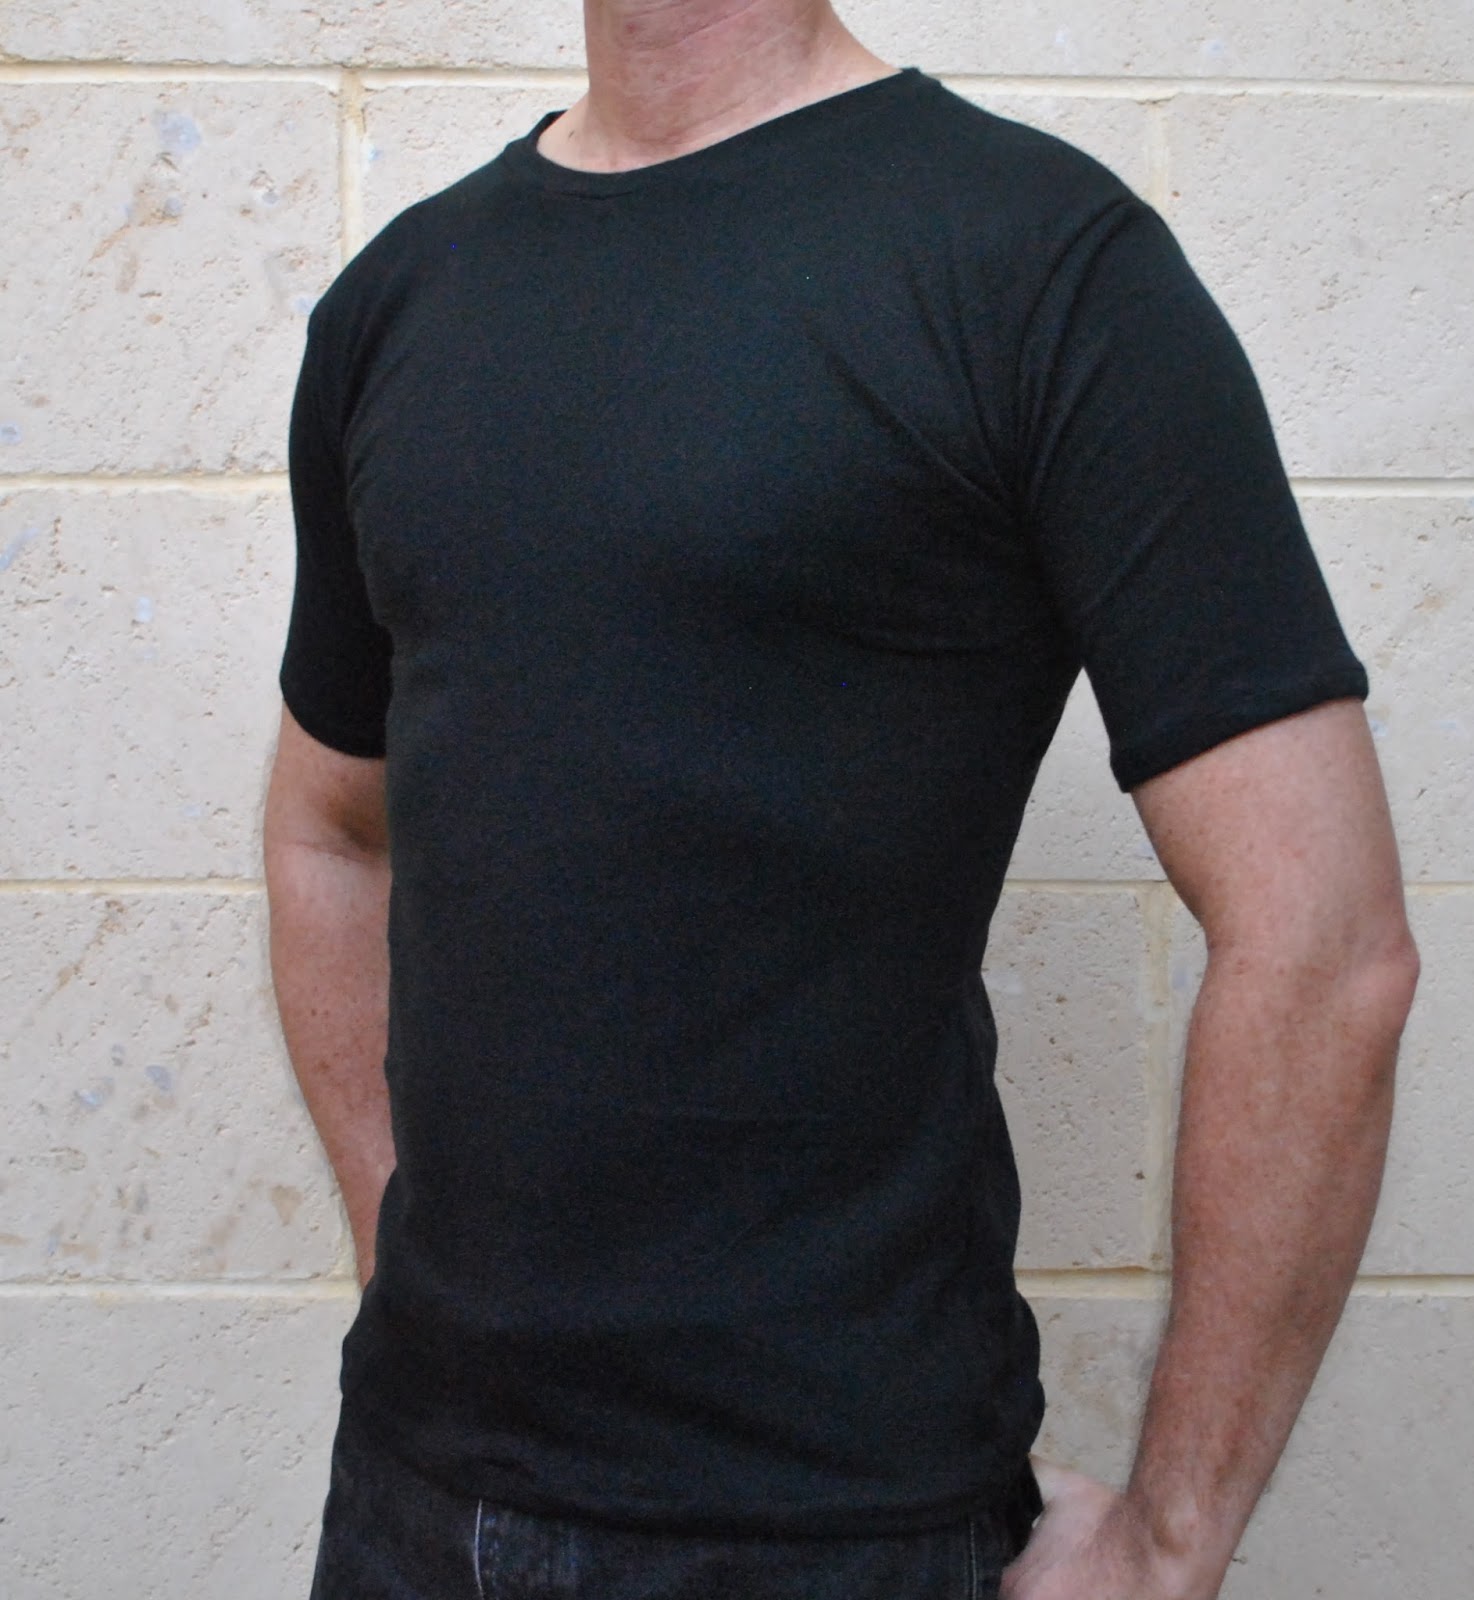
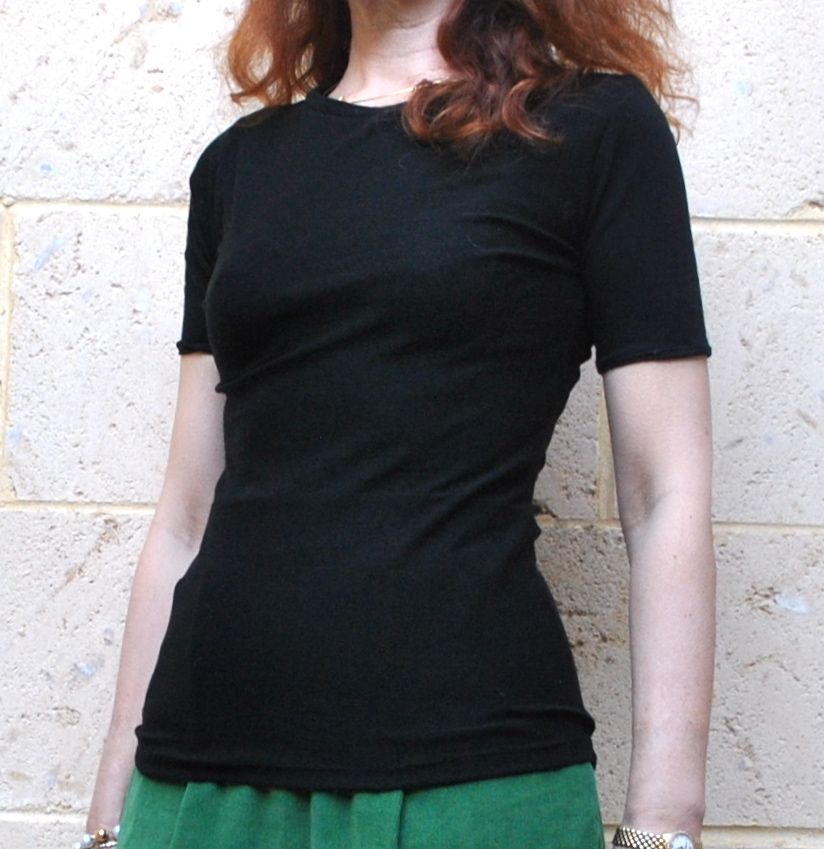
And I have made two little Tshirts too, one for me, and one for my husband, both self-drafted and custom-fit, using the very last of my 100% merino wool stash, bought from the Fabric Store in Melbourne last year.  Now we have matching his-and-hers thermal tops, haha.  Quelle romantic, non?

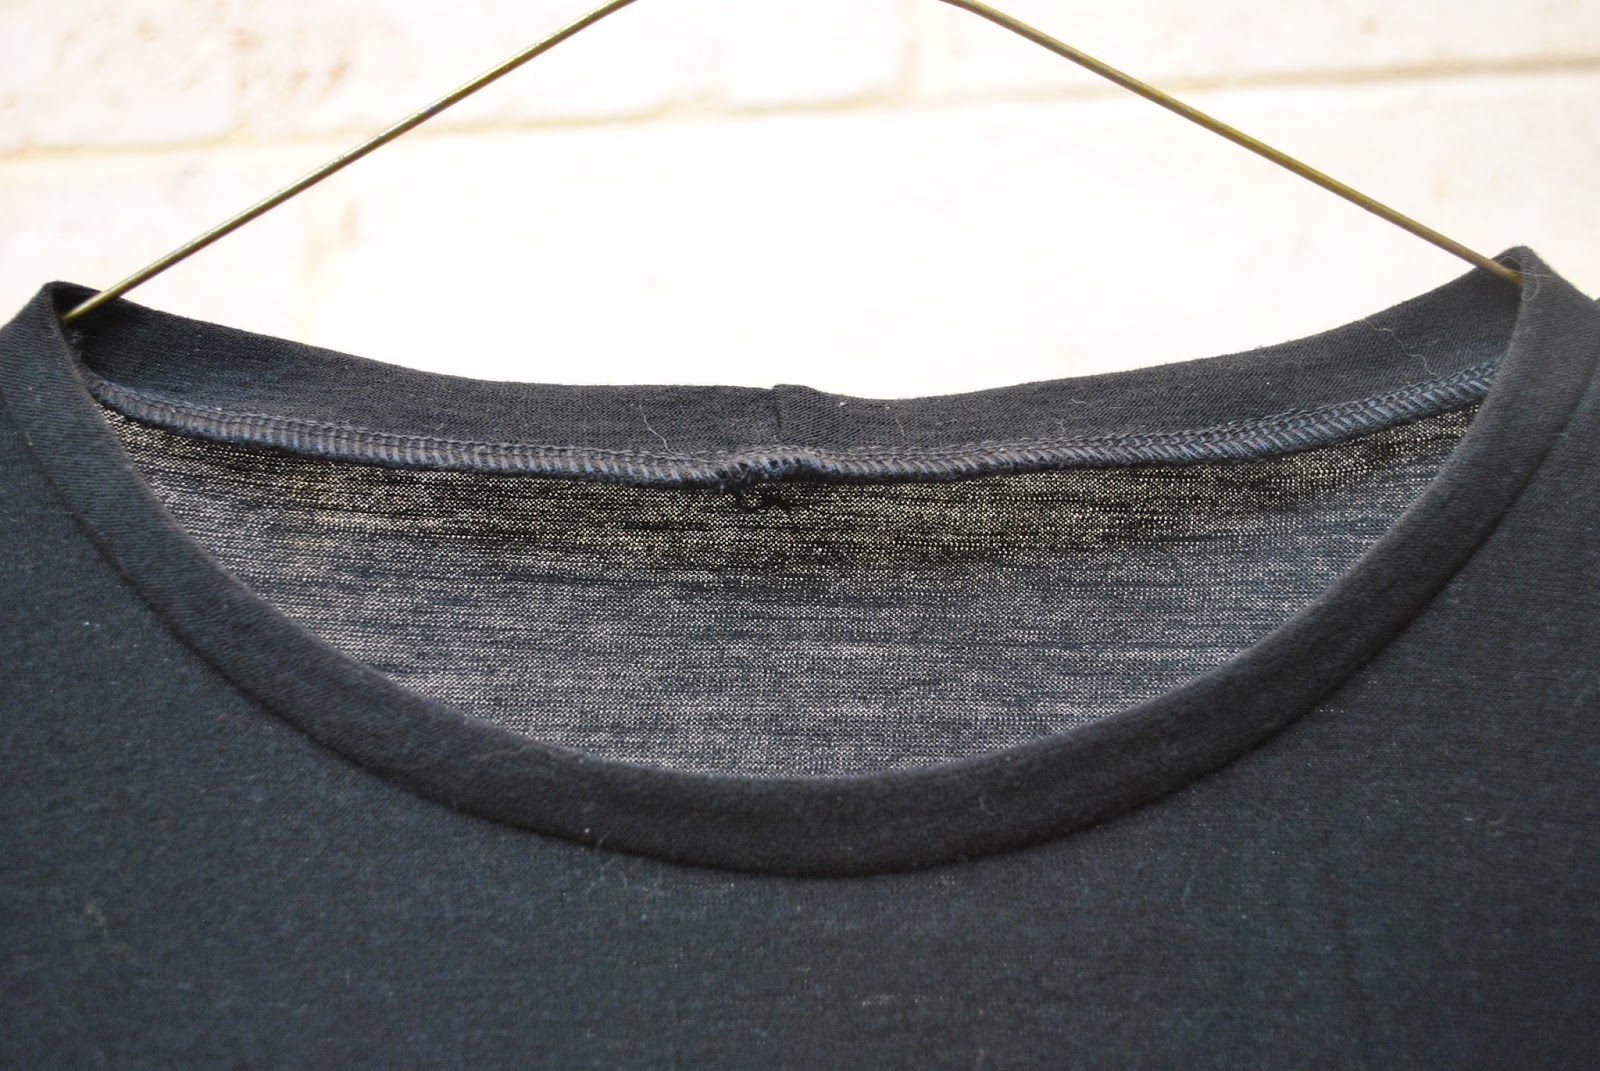
Random picture of the neckband, constructed using this method.  Appearing here for no better reason than for me to feel good about the increasingly better finish I am achieving nowadays.  The centre back is still a wee bit bobbly thanks to the extra thickness of fabric in the joining seam there, but it’s getting there.  Practise is benefiting the quest for perfection!
pinterestmail

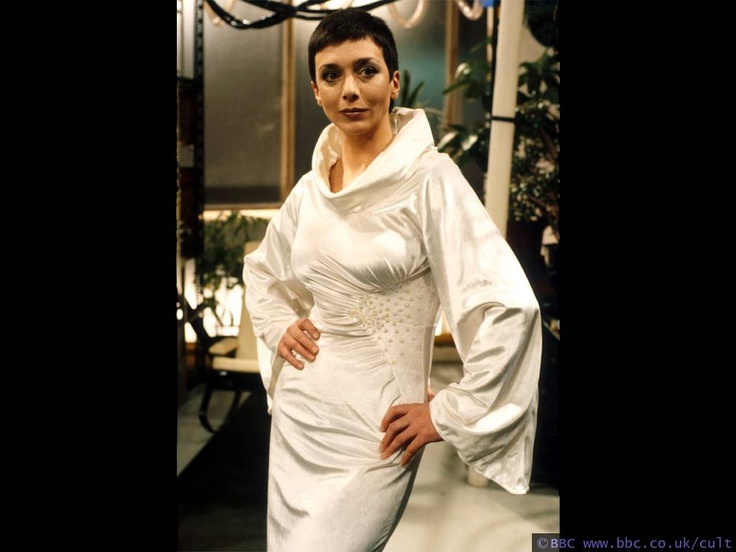
Supreme Commander Servalan

Put him on the fastest scout ship available and send him here. No flight plan is to be filed.
 That’s against Bureau standing orders, Commissioner.
 Who do you think wrote those orders, Borr? I did. So do as I say, and do it now.
(source)

So, what on earth, or should I say … off earth, is going on here?
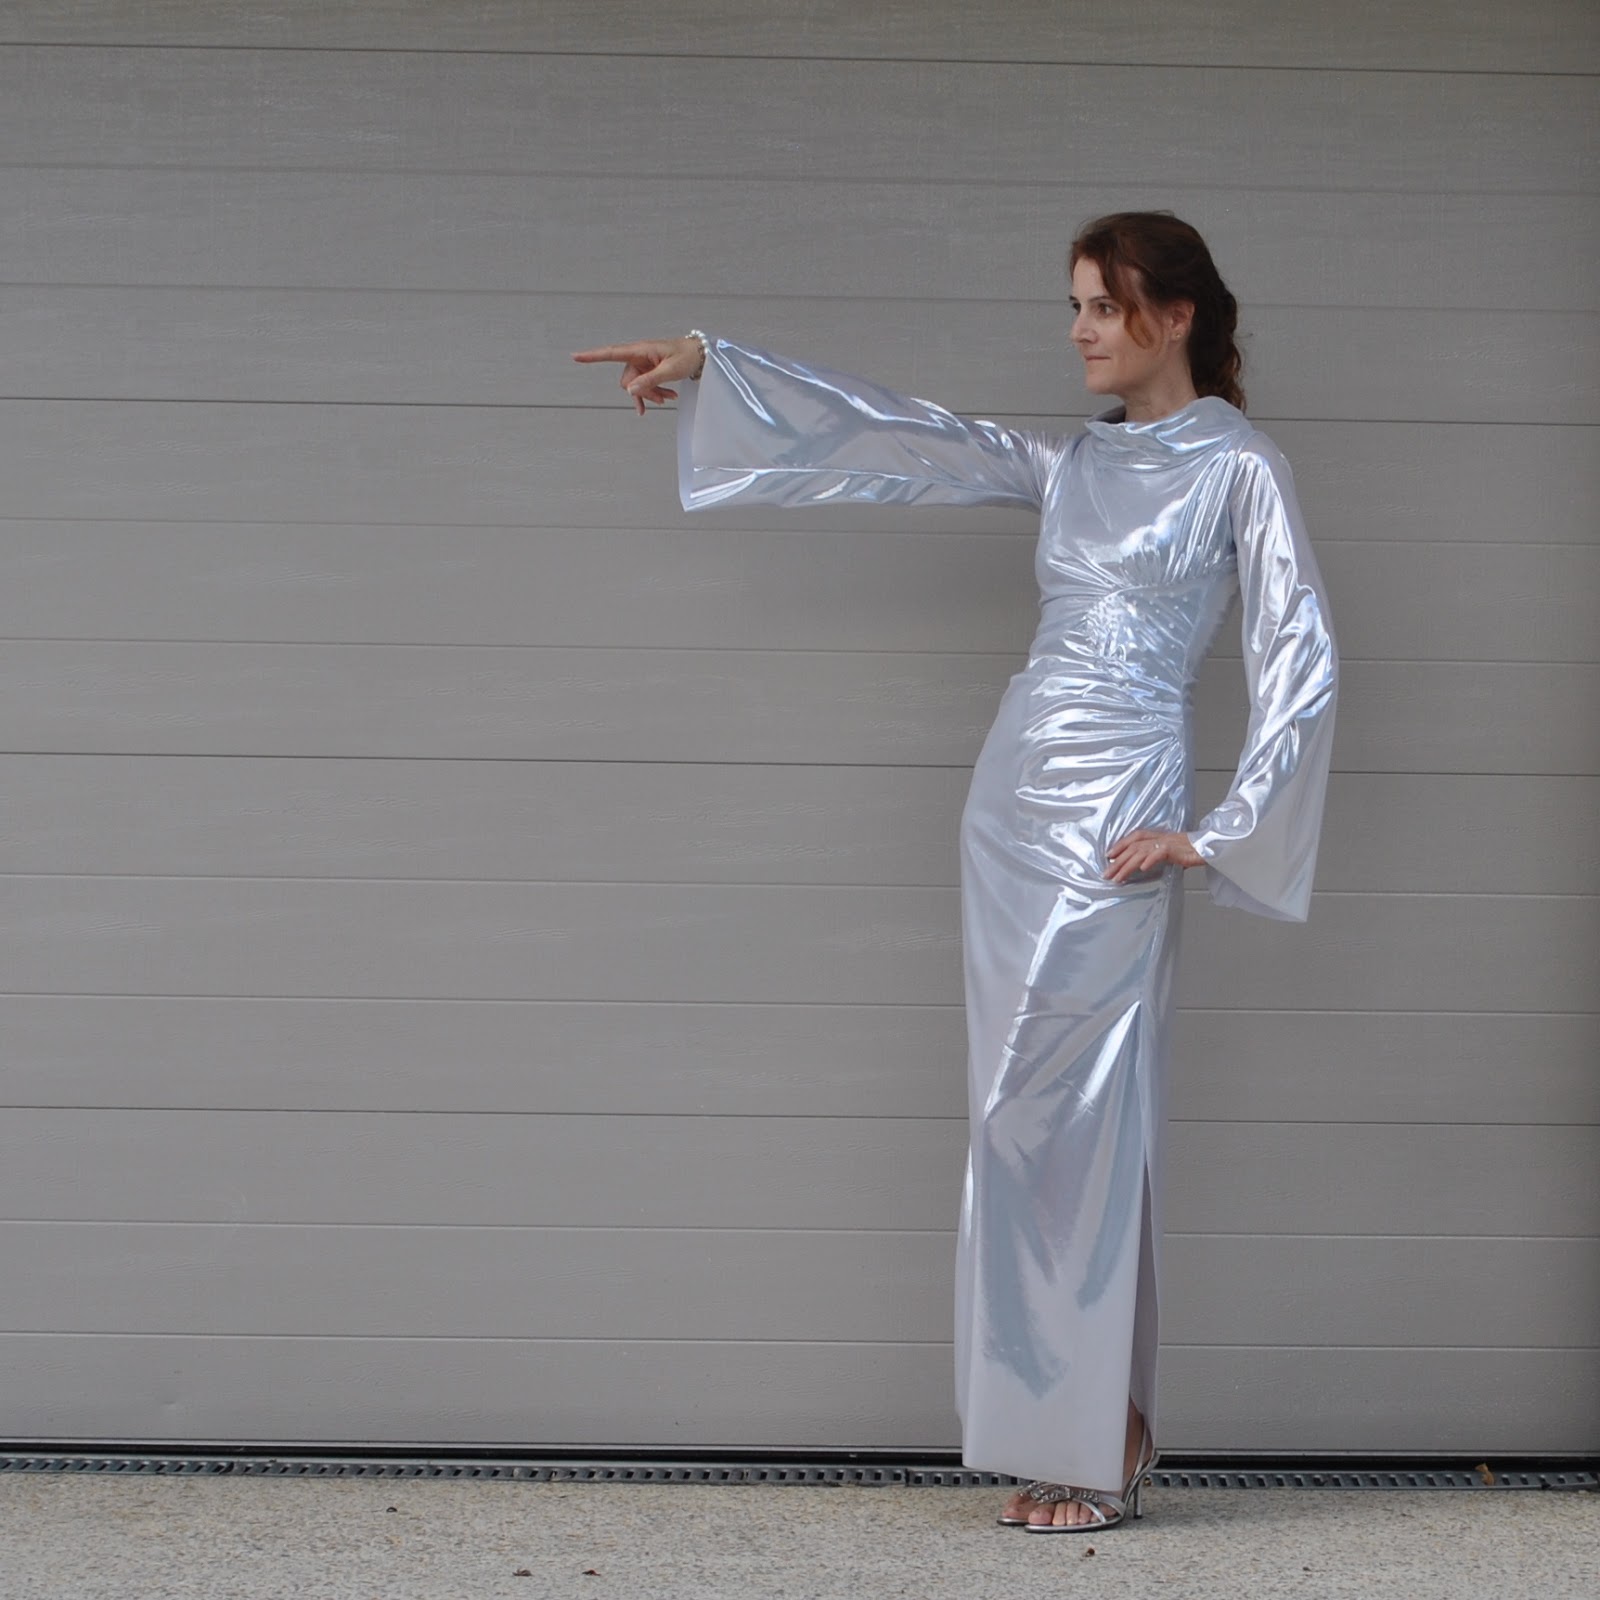
Well, we are going to a Sci-fi party, and it’s been a while since I made something ridiculously glamorous so I decided to embrace my inner superbitch, and go as Supreme Commander Servalan.  This requires some mega-fabulous frocking up and I get to behave like an obnoxious vamp all evening.
DOUBLE WIN!  I can hardly wait!  😀

“I find unsophisticated clothes quite amusing.  Like unsophisticated people.  Obvious, but amusing.” (Servalan)

It’s been a while since I clapped eyes on Servalan doing her evil thang on the small screen… I checked out this video and also this one for a trip down memory lane, and to re-acquaint myself with her style.  She has the most amazing and dramatic wardrobe.  I chose this dress above from out of the plentiful fabulosity.  It’s winter here.  It’s cold.  I want to be covered up!
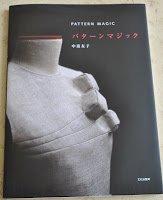
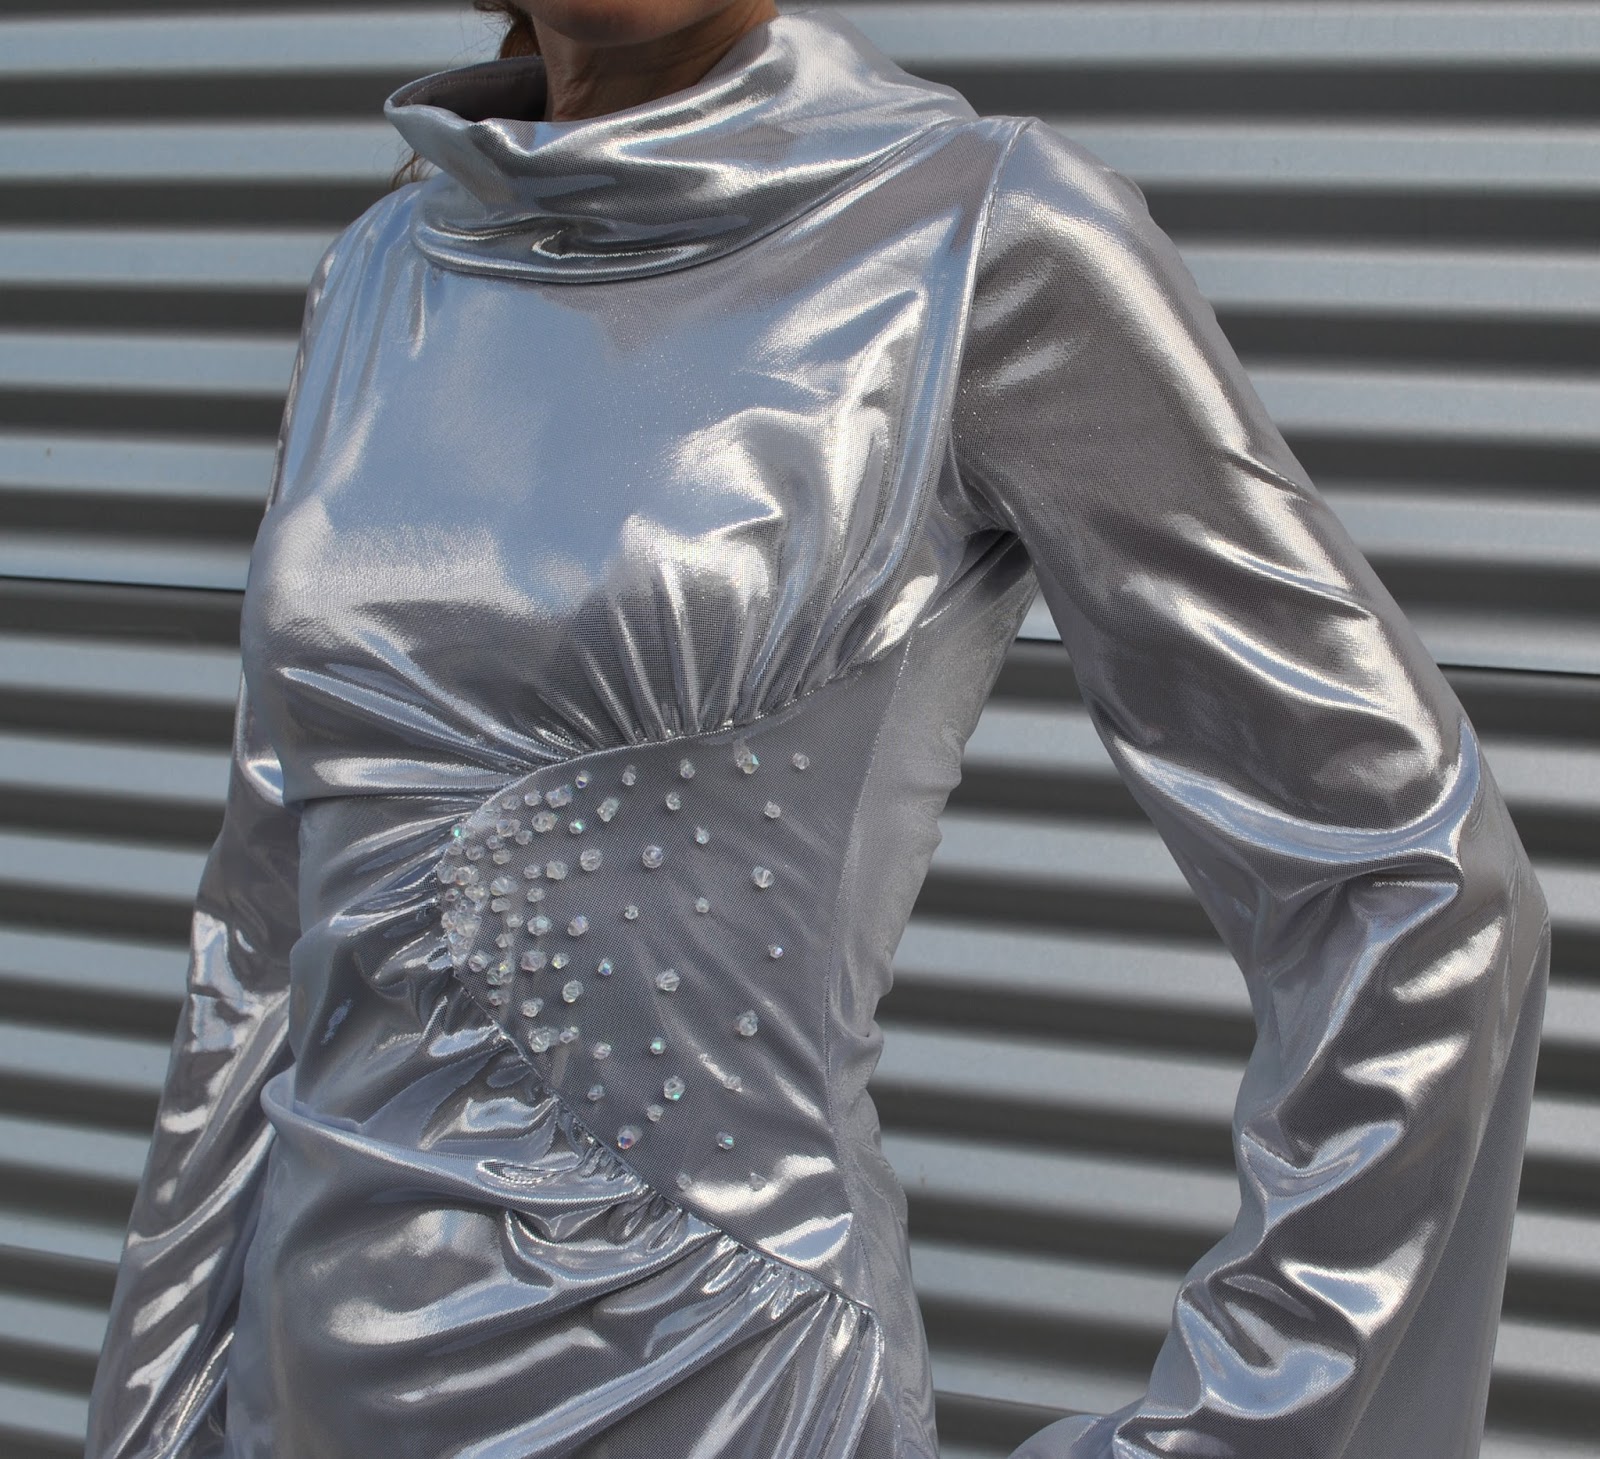
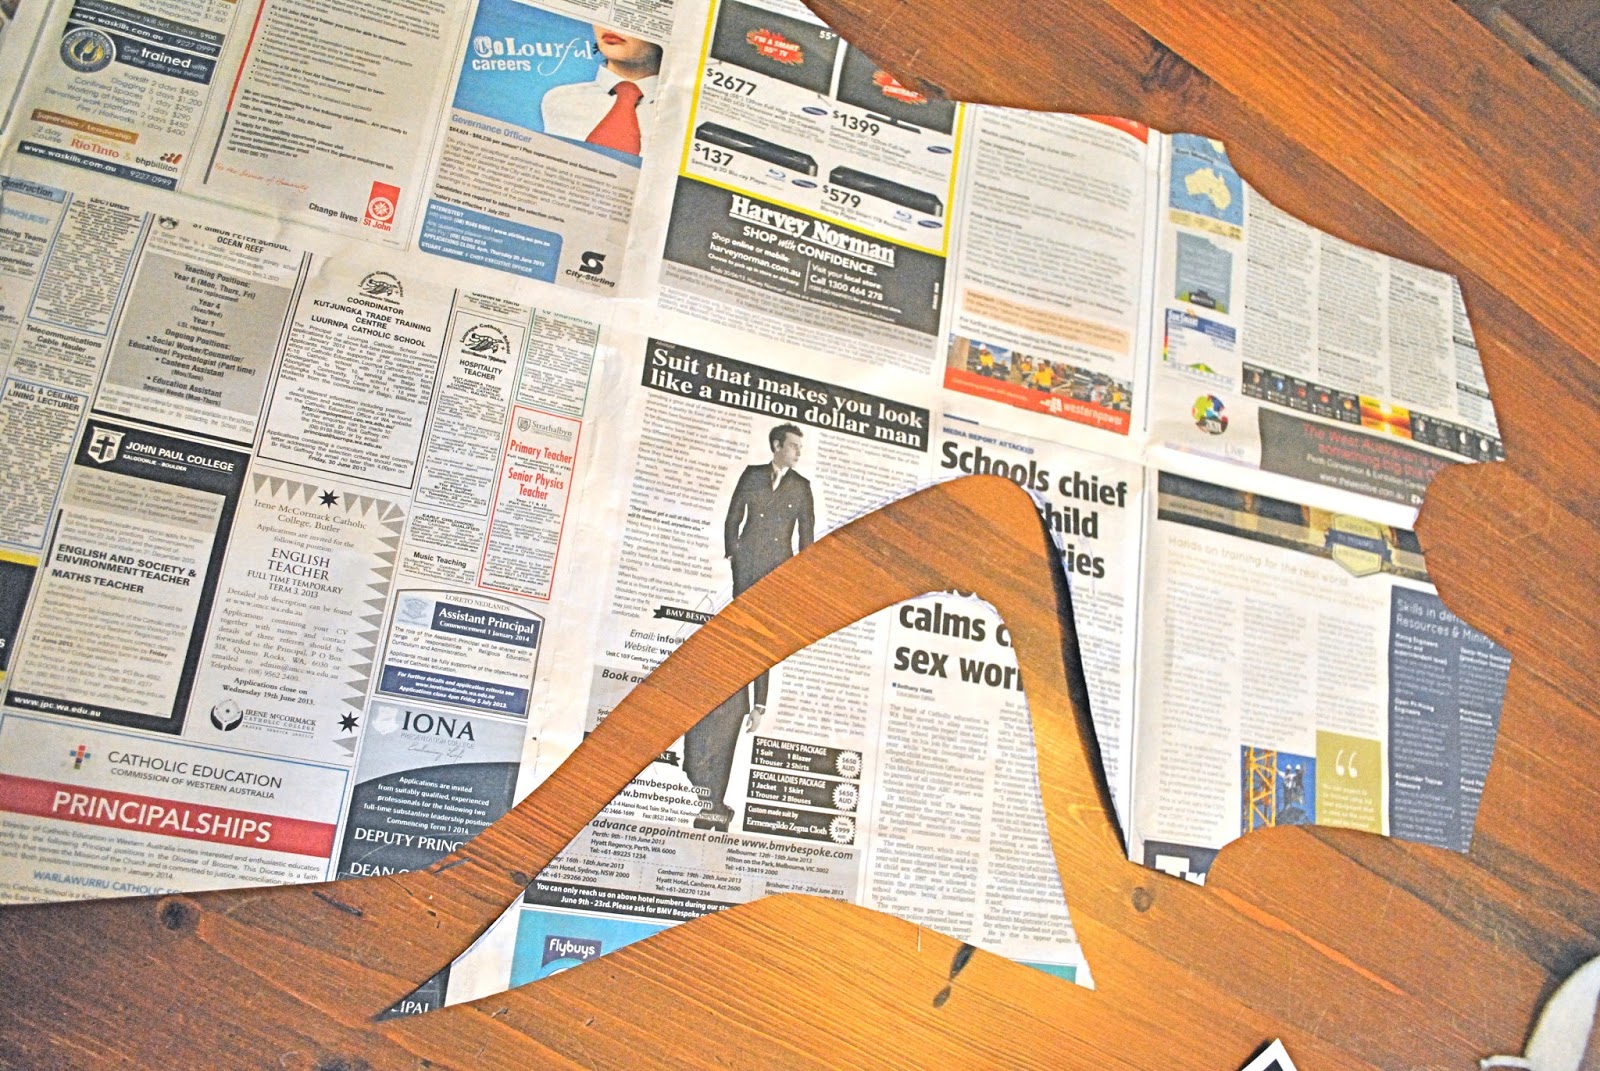
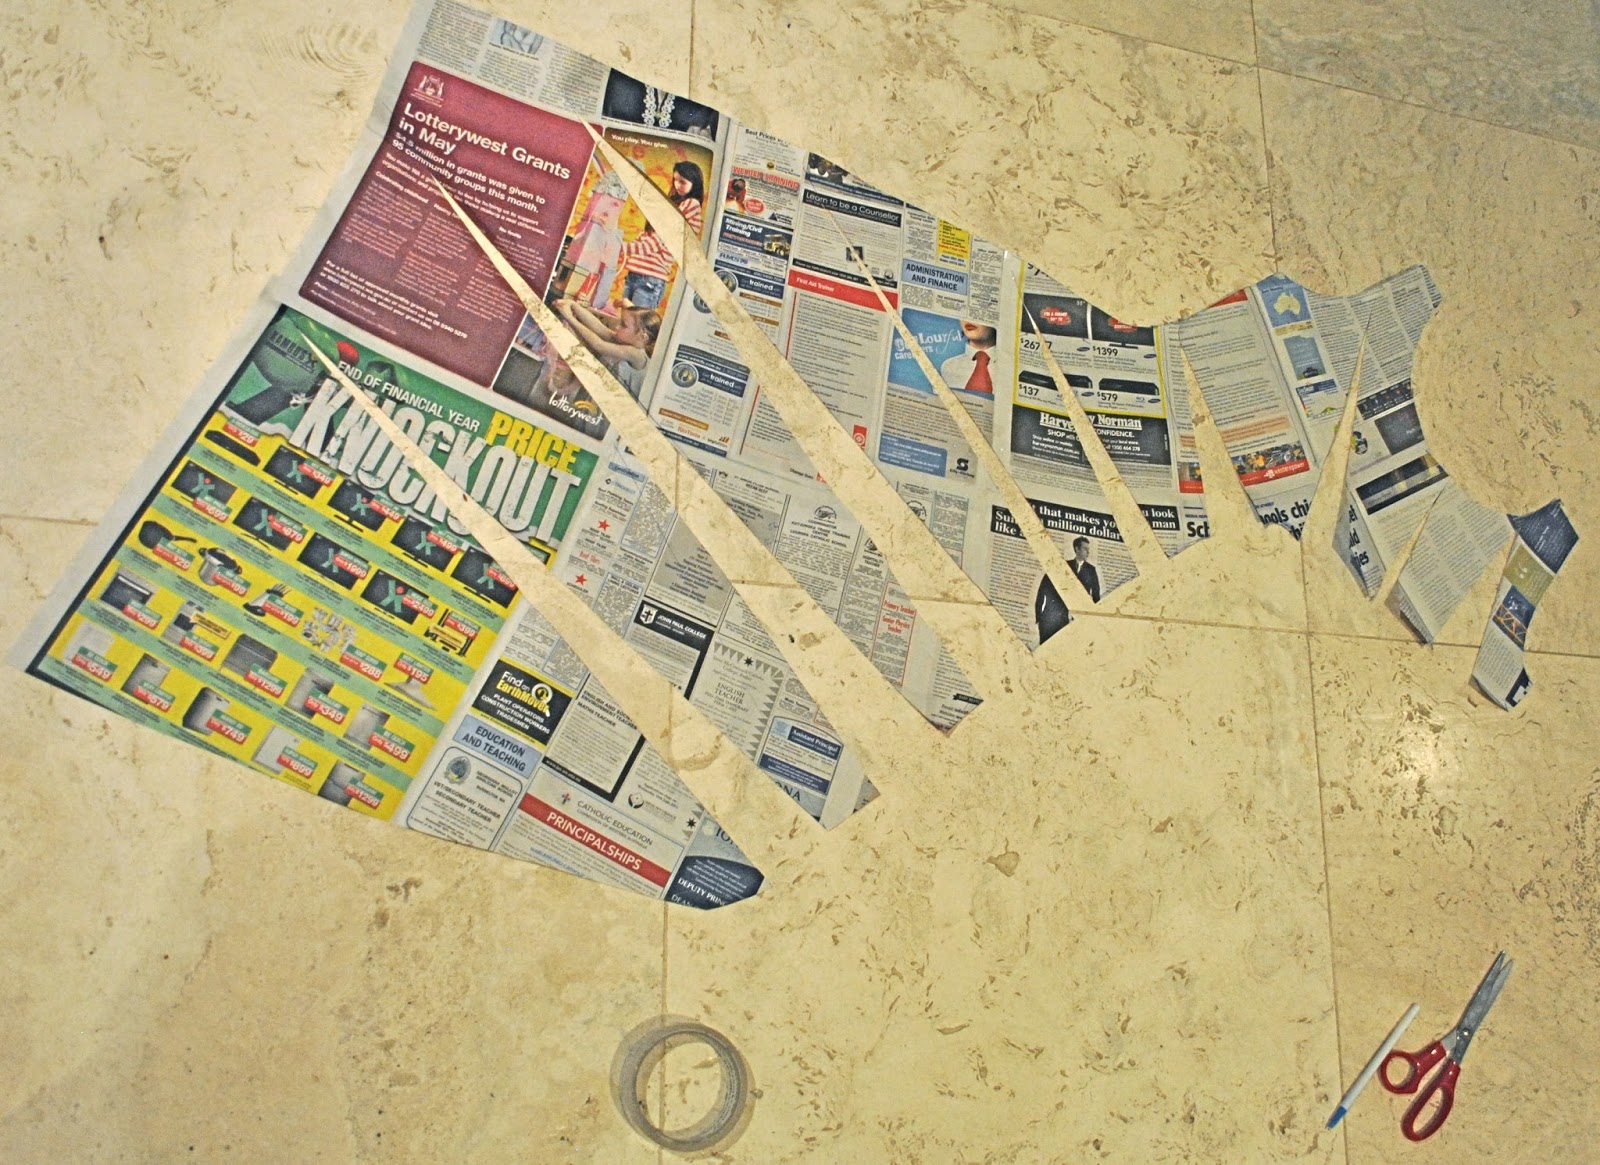
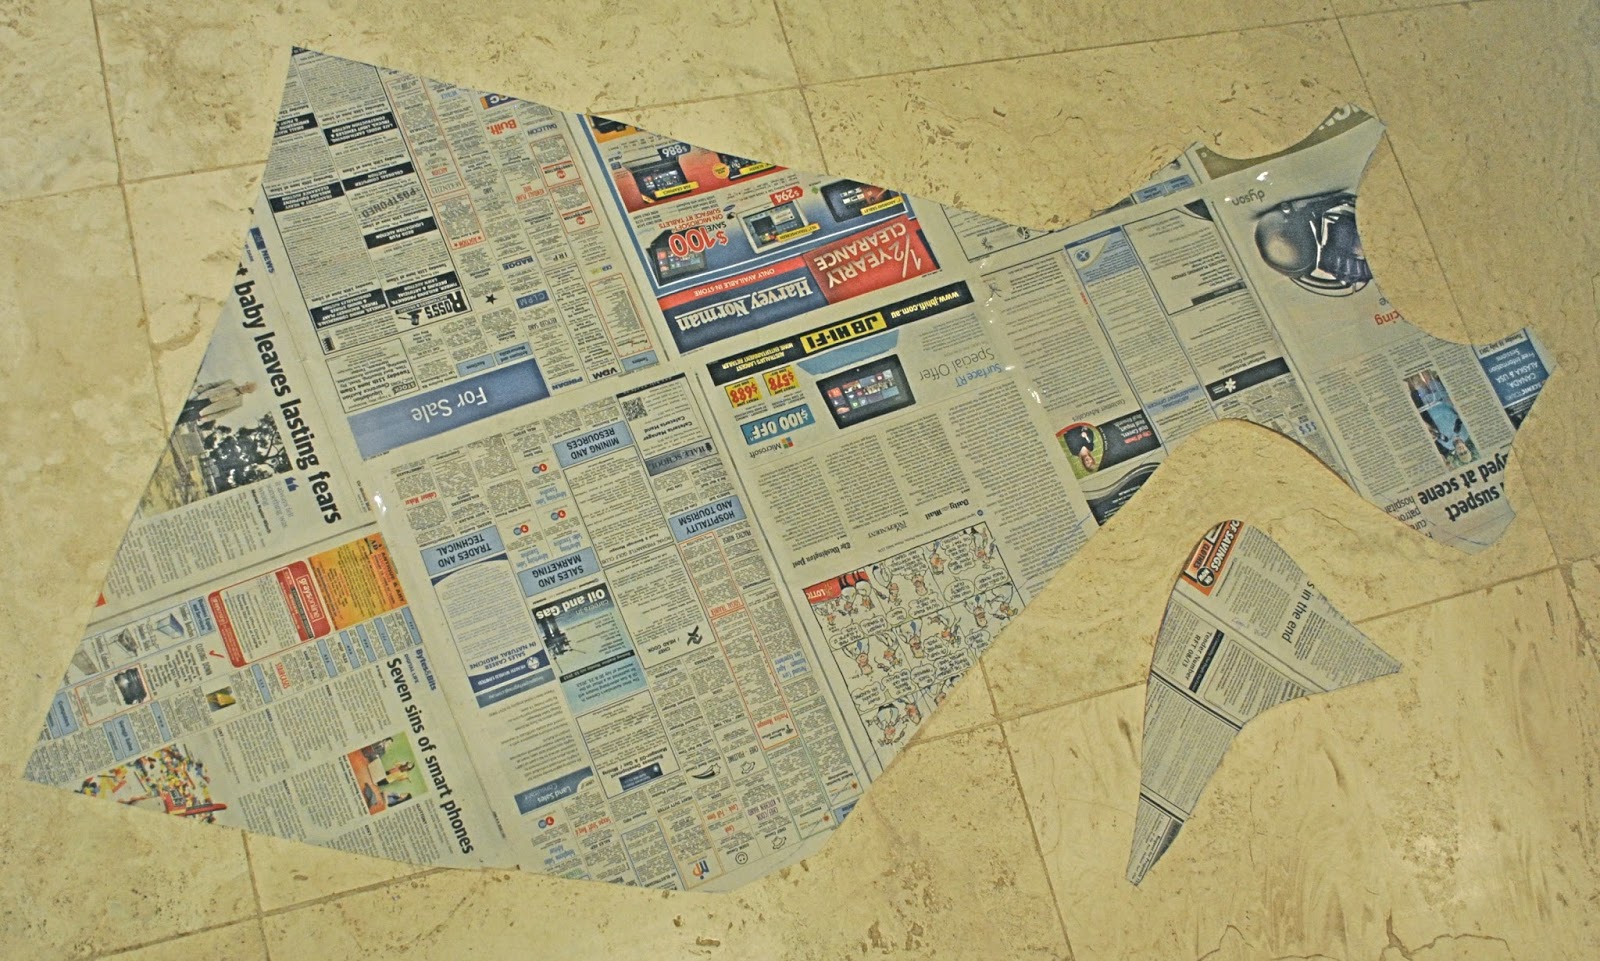
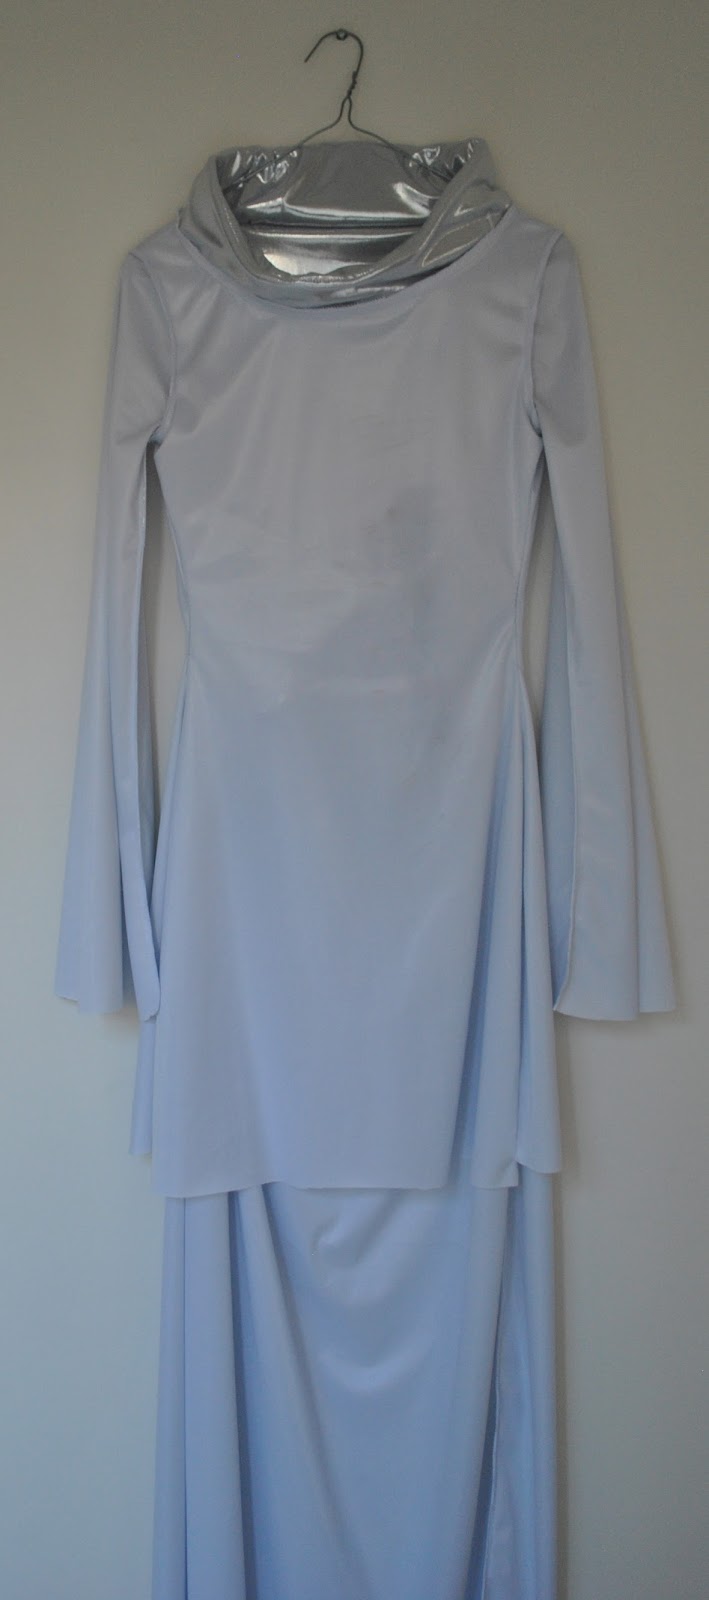
I bought some cheap and rather temperamental silver-foiled, slightly stretchy stuff from Spotlight and two packets of crystal beads in different sizes and got drafting.  I drafted the pattern myself and have provided more extensive details below, if anyone is interested in all that technical mumbo jumbo  ðŸ™‚ but basically I used the idea behind the gathered hole design from Pattern Magic.

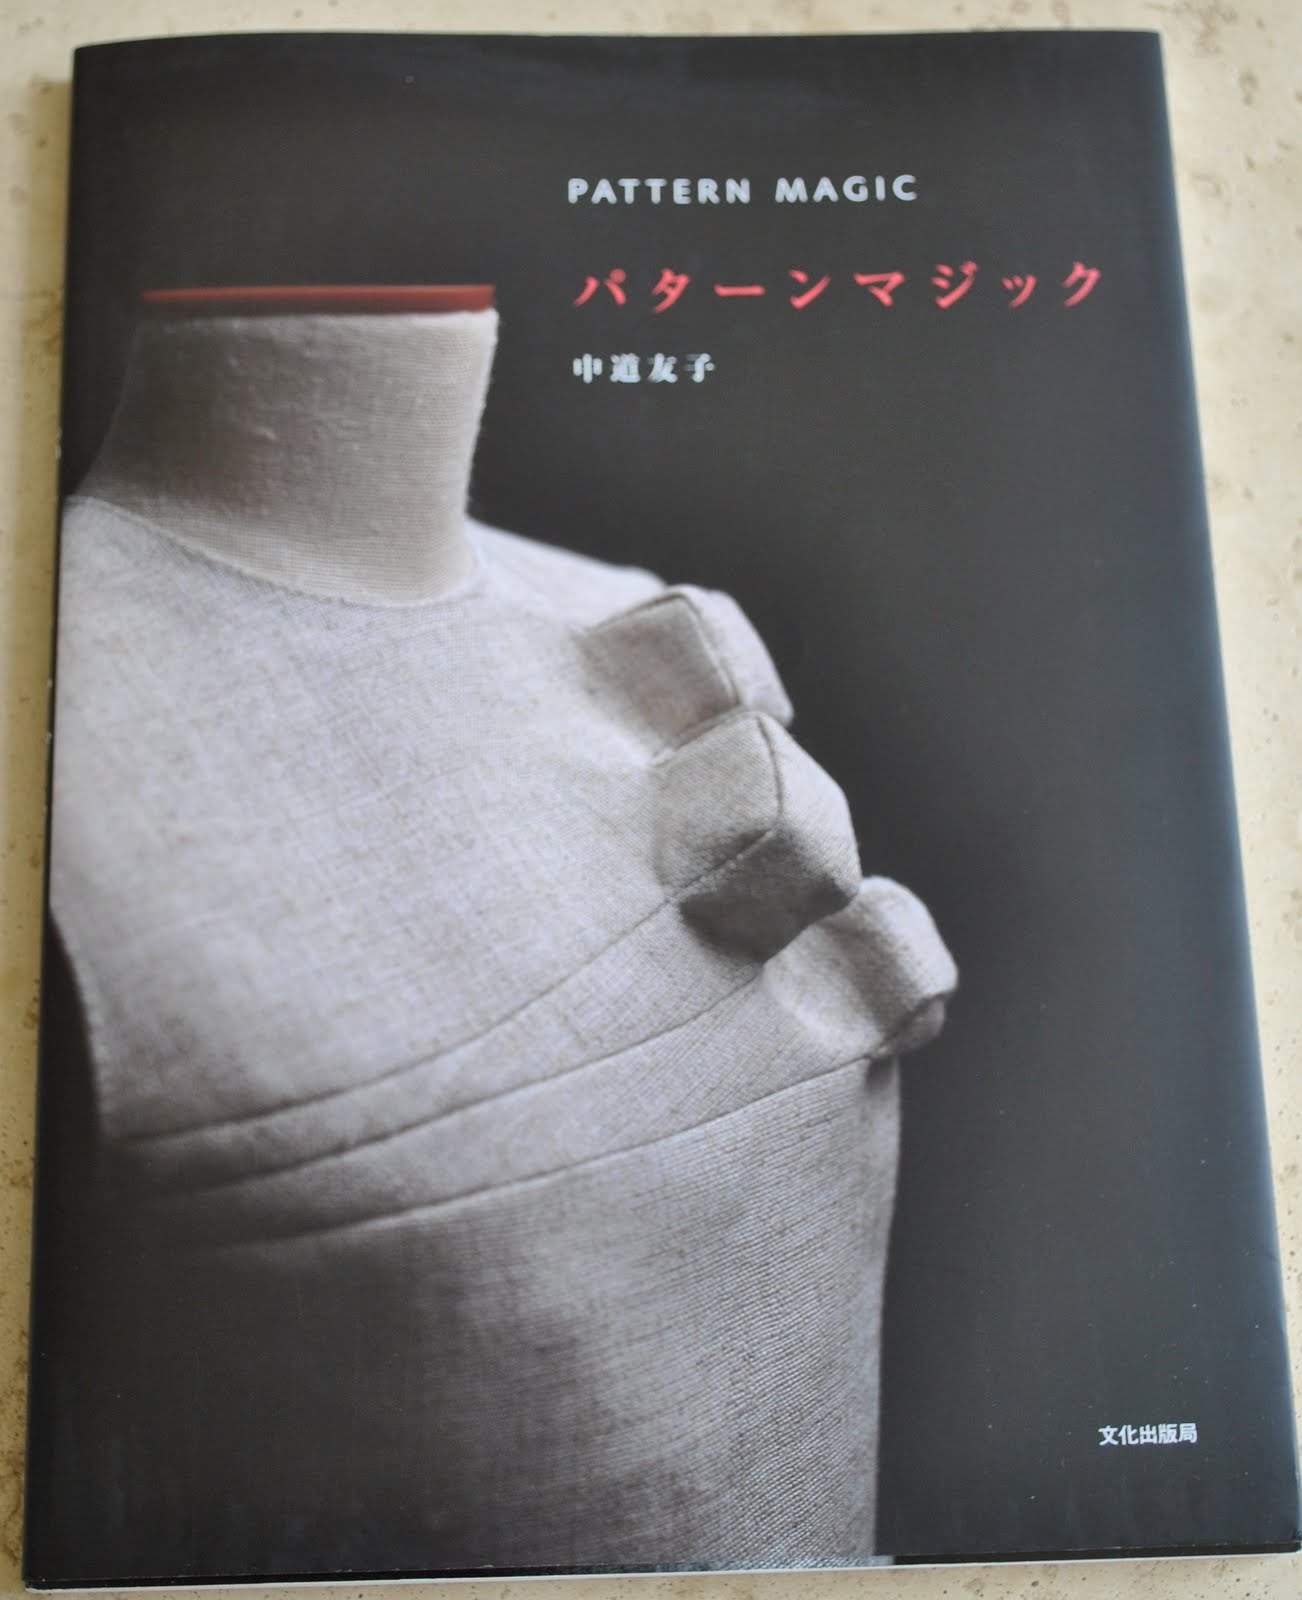
Speaking of Pattern Magic, I received an email from Anna-Brit, who is curating The Pattern Magic Index.  This site is aiming to bring together makers and enthusiasts of the series with images of people’s creations and link-backs.  If you have used any of the books in the Pattern Magic series to make things and would like to be included on the site, then send her an email at thepatternmagicindex(at)gmail(dot)com.

Details:
Silver sandals from Zu, from donkey’s years ago

Drafting and construction details:
I started out with my custom fit Tshirt pattern and  spliced it with my plain little skirt pattern, and lengthened; to get a front and back.  Then cut out a portion from the side front to be the flat beaded section at the waist.  The remaining portion is cut and splayed out as per the gathered hole instructions in Pattern Magic 1.

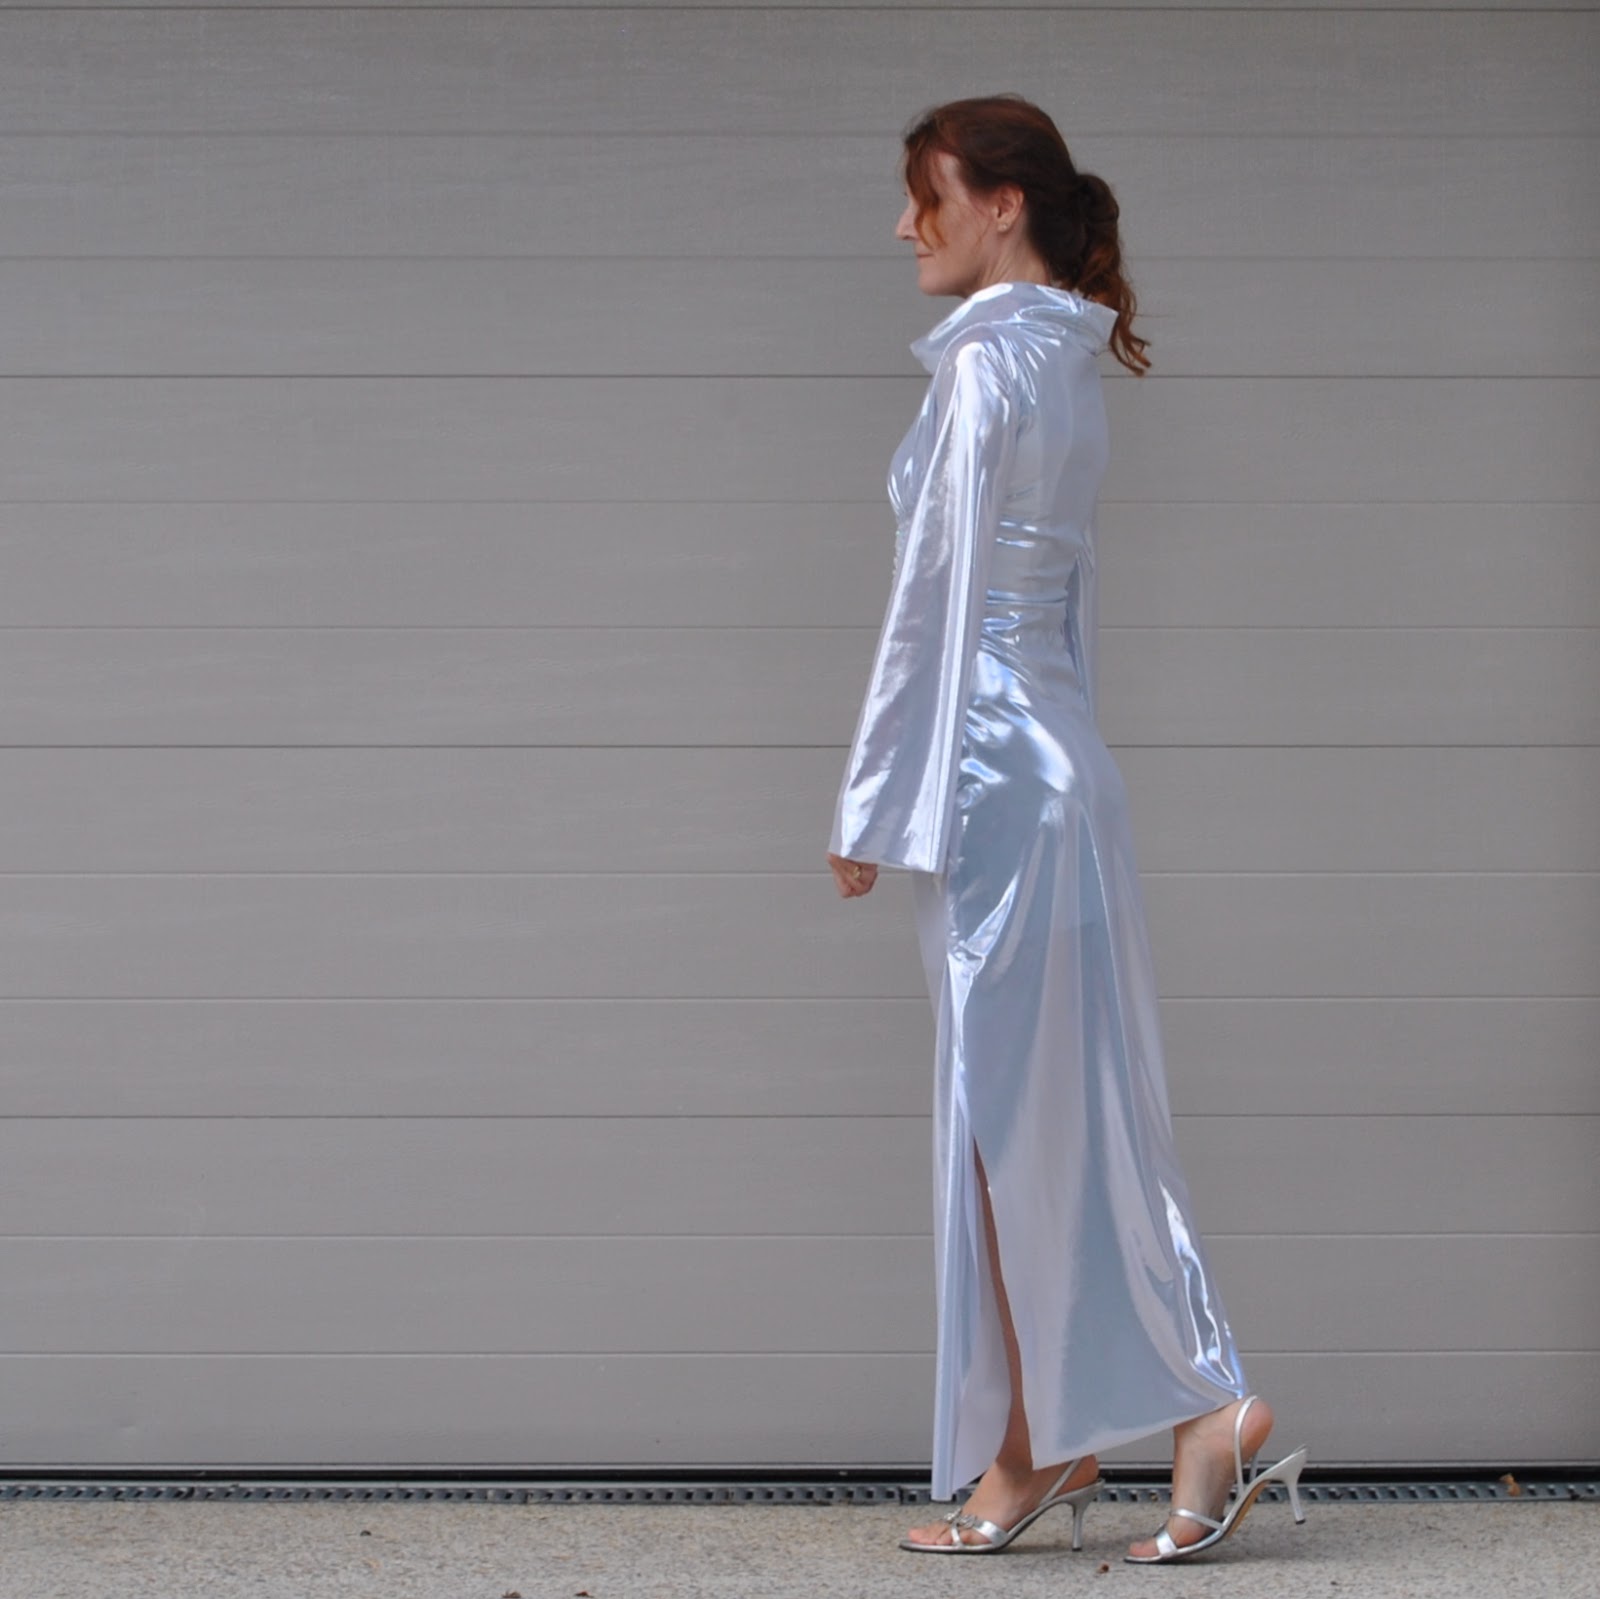
The back is quite plain and featureless, basically a fitted Tshirt dress. Like Servalan’s dress, the skirt has a long slit in one side, for walking ease.  Unlike Servalan’s, which has a centre back zip, mine has enough stretch for it to be a pull-over the head affair. 
The sleeves are based on my plain Tshirt sleeve, with the side seams tapered out in a gentle arc to a wide wrist, in a bell shape.  
The neckband is a plain rectangle, cut to fit the neckline measurement, and sewn on using this method.  It is interlined with a piece of old cotton towelling, cut from a (clean) old towel.  Sounds deeply unglamorous, right?! but I didn’t have any batting on hand which, yes, would have been ideal, and didn’t want to spend money on invisible things like that in a costume and the towelling was the perfect thickness and stiffness for the job.  It is securely stitched to the neckband facing around all its edges on the inside.
The beaded section is done on two layers of the fabric for stability, and then with a layer of plain woven white cotton sewn underneath, to contain all the threads and for extra strength.
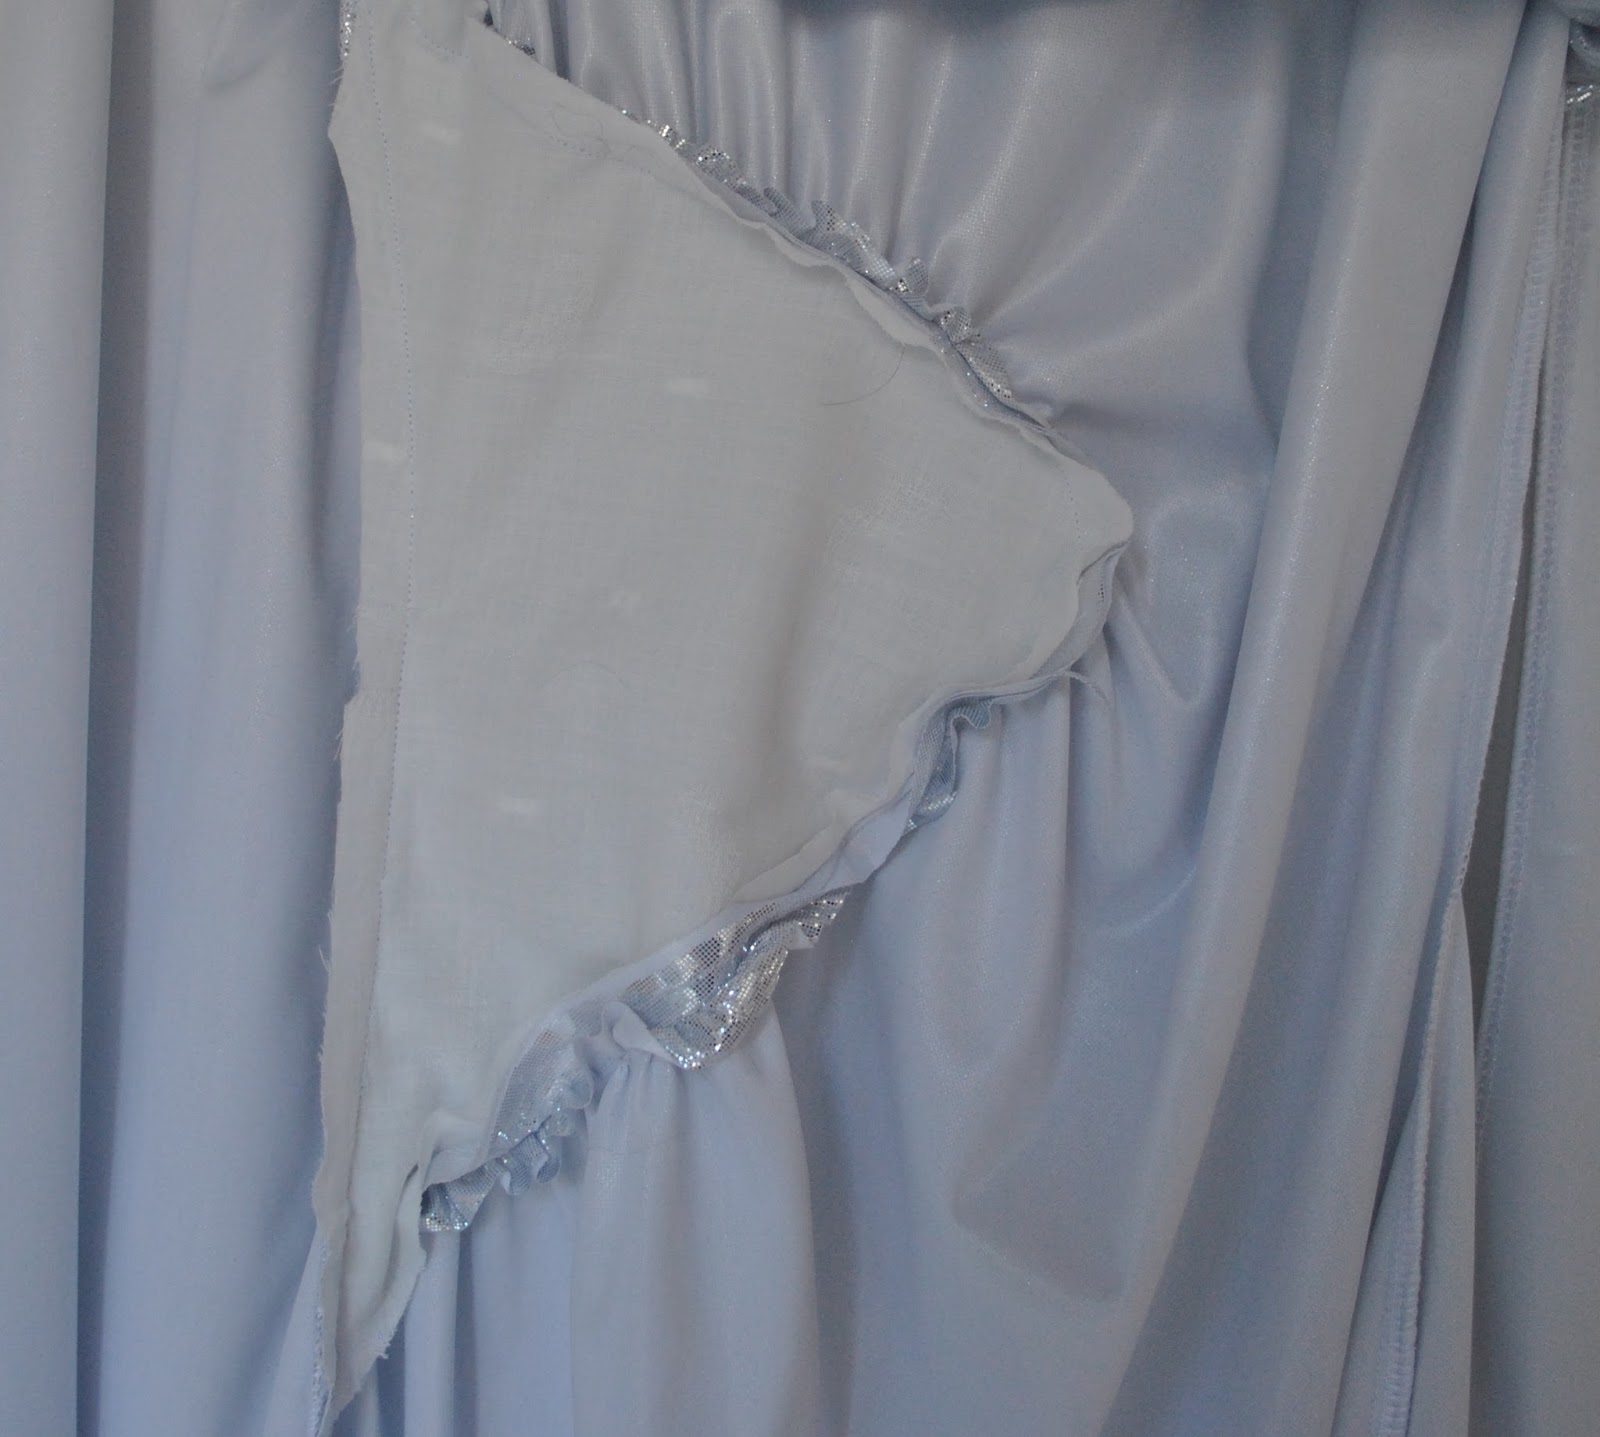
Being so shiny it’s hard to tell, but the fabric is actually almost sheer! so I made a little attached slip/liner dress as well, using the same pattern pieces, shortened and the front without the gathered feature, obviously.  This is attached to  the shell of the dress at the armscyes and the neckline, and conceals those gathering edges and that white bead-backing fabric inside.

I didn’t hem the sleeves or the hemline.  The fabric is blessedly not frayable, and anyway, it’s a costume!!  I will be lucky if I get to wear it more than a handful of times, really.

I have a little anecdote about this fabric too… we have a History.  About twelve years ago I put up my hand to make half of about fifty costumes for little girls, including Cassie, performing an Abba number in a dance recital, and this was the exact same fabric I was given to work with along with the breezy advice to “just run them up on the overlocker”.  I didn’t have an overlocker back then, so borrowed my sister-in-law’s brand new overlocker.
Man!
That experience nearly put me off overlockers for life!  There is just something about this fabric … I destroyed almost one whole costume’s worth of fabric, just trying to get the settings for this fabric right on the overlocker.  Nothing seemed to work.  Either the seam was too loose and looked wobbly, bobbly and like a messy nest of loose and tangled threads; or too tight and threads were snapping left, right and centre.  I re-threaded that machine countless times.  Luckily it was not my own machine, if it had been mine I might even have heaved it into the bin in a rage….  When I finally hit on a setting that gave me a nice neat looking seam with no bobbly bits anywhere; the seam would just pull quite wide apart when any pressure was put on it.  I was tearing my hair out.  Finally, I hit upon a plan of attack; I overlocked using the setting that “looked” real nice but pulled apart under pressure, which was for “looks” only, then went back over every seam with my regular sewing machine using a straight stitch, which was actually holding the seam together. 
Finally, success!  
Just before the dance recital, I surreptitiously checked out the costumes made by the other lady … and they all had the pulling-wide-apart seams!  I was new and didn’t want to rock any boats so just kept quiet and hoped for the best.  Luckily no little girls’ costumes fell apart on stage!
Obviously, I sewed this dress using the described double-sewing method  ðŸ˜‰

pinterestmail

Navy and white striped Tshirt; 6 different ways

A striped Tshirt seems to be the wardrobe staple of a certain kind of girl, a very stylish and chic kind of girl, that I think is not very like me.  I mean, I like to think of myself as a non-conformist, but sometimes you find yourself latching on to a current trend almost without noticing!  The striped Tshirt is being touted as a “classic”, but I reckon it is a more accurately described as an ultra-fashionable item, that ipso facto will probably go out of fashion in a few years, like everything else.  Whichevs, for the moment it is IN.  And I found myself making one.  And wore it and wore it!
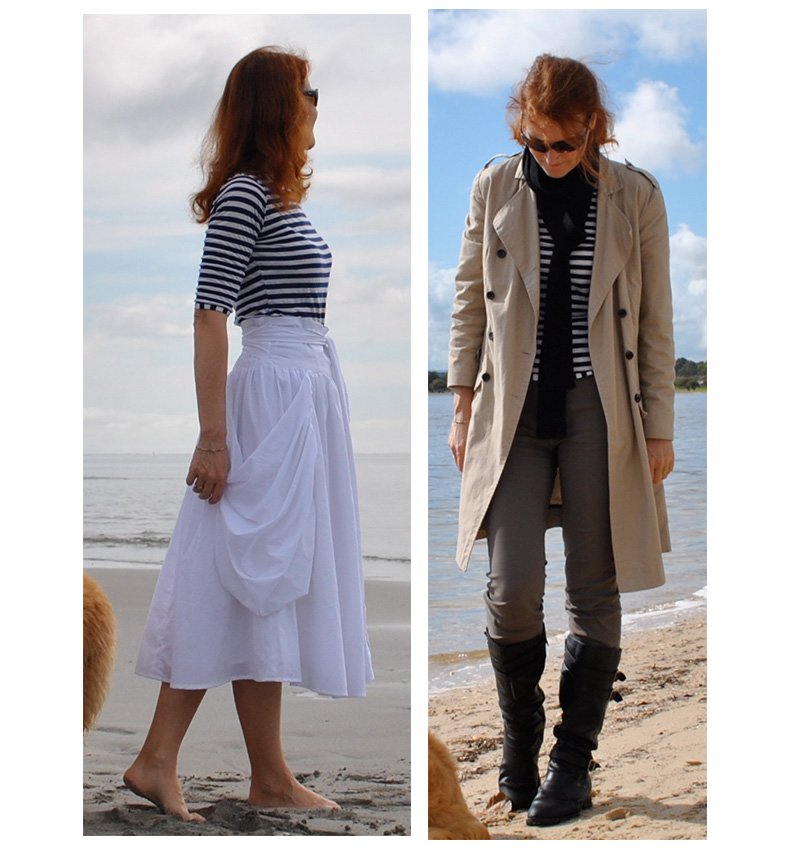
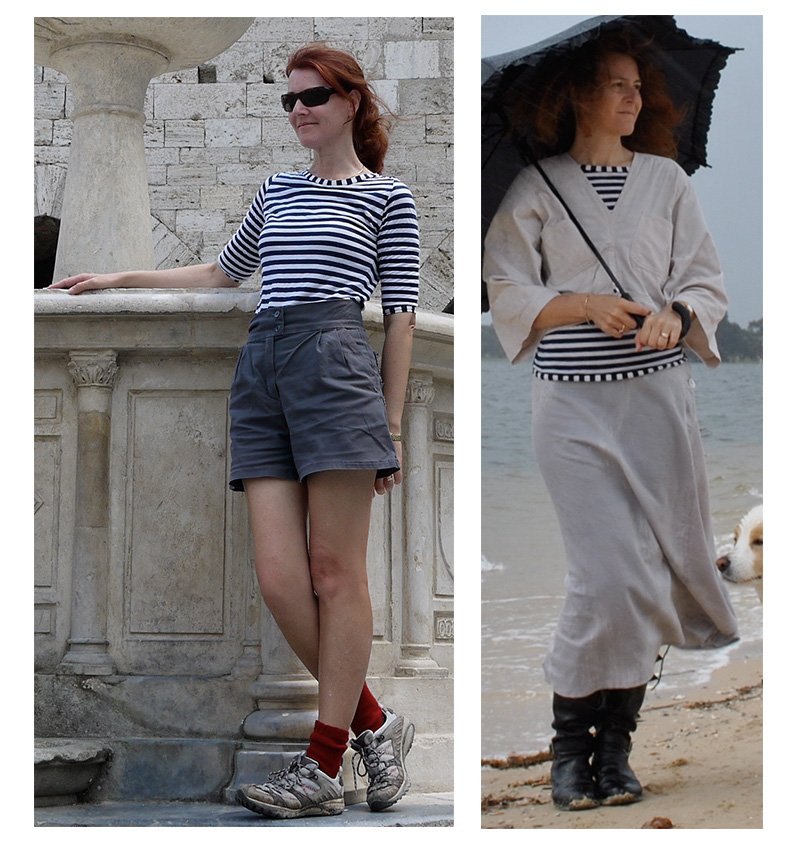
I looked back through my old photos to find these pictures of different outfits incorporating my navy and white striped Tshirt.  It has appeared in a supporting role in plenty of other outfits too, but these ones are all “new” to a 6 different ways post.  Five of these outfits are from previous me-made or self-stitched months; the first photo is a portion of one I used as my profile pic for a year!
Below: at left; the plain practical lines of the Tshirt play off well against the overblown silhouette of a pouffy white skirt, and at right; this is probably the “trendiest” out of all the outfits here…. worn with a beige trench coat, a long skinny knitted black scarf, and with khaki skinny jeans tucked into bikie boots.
stripe1a
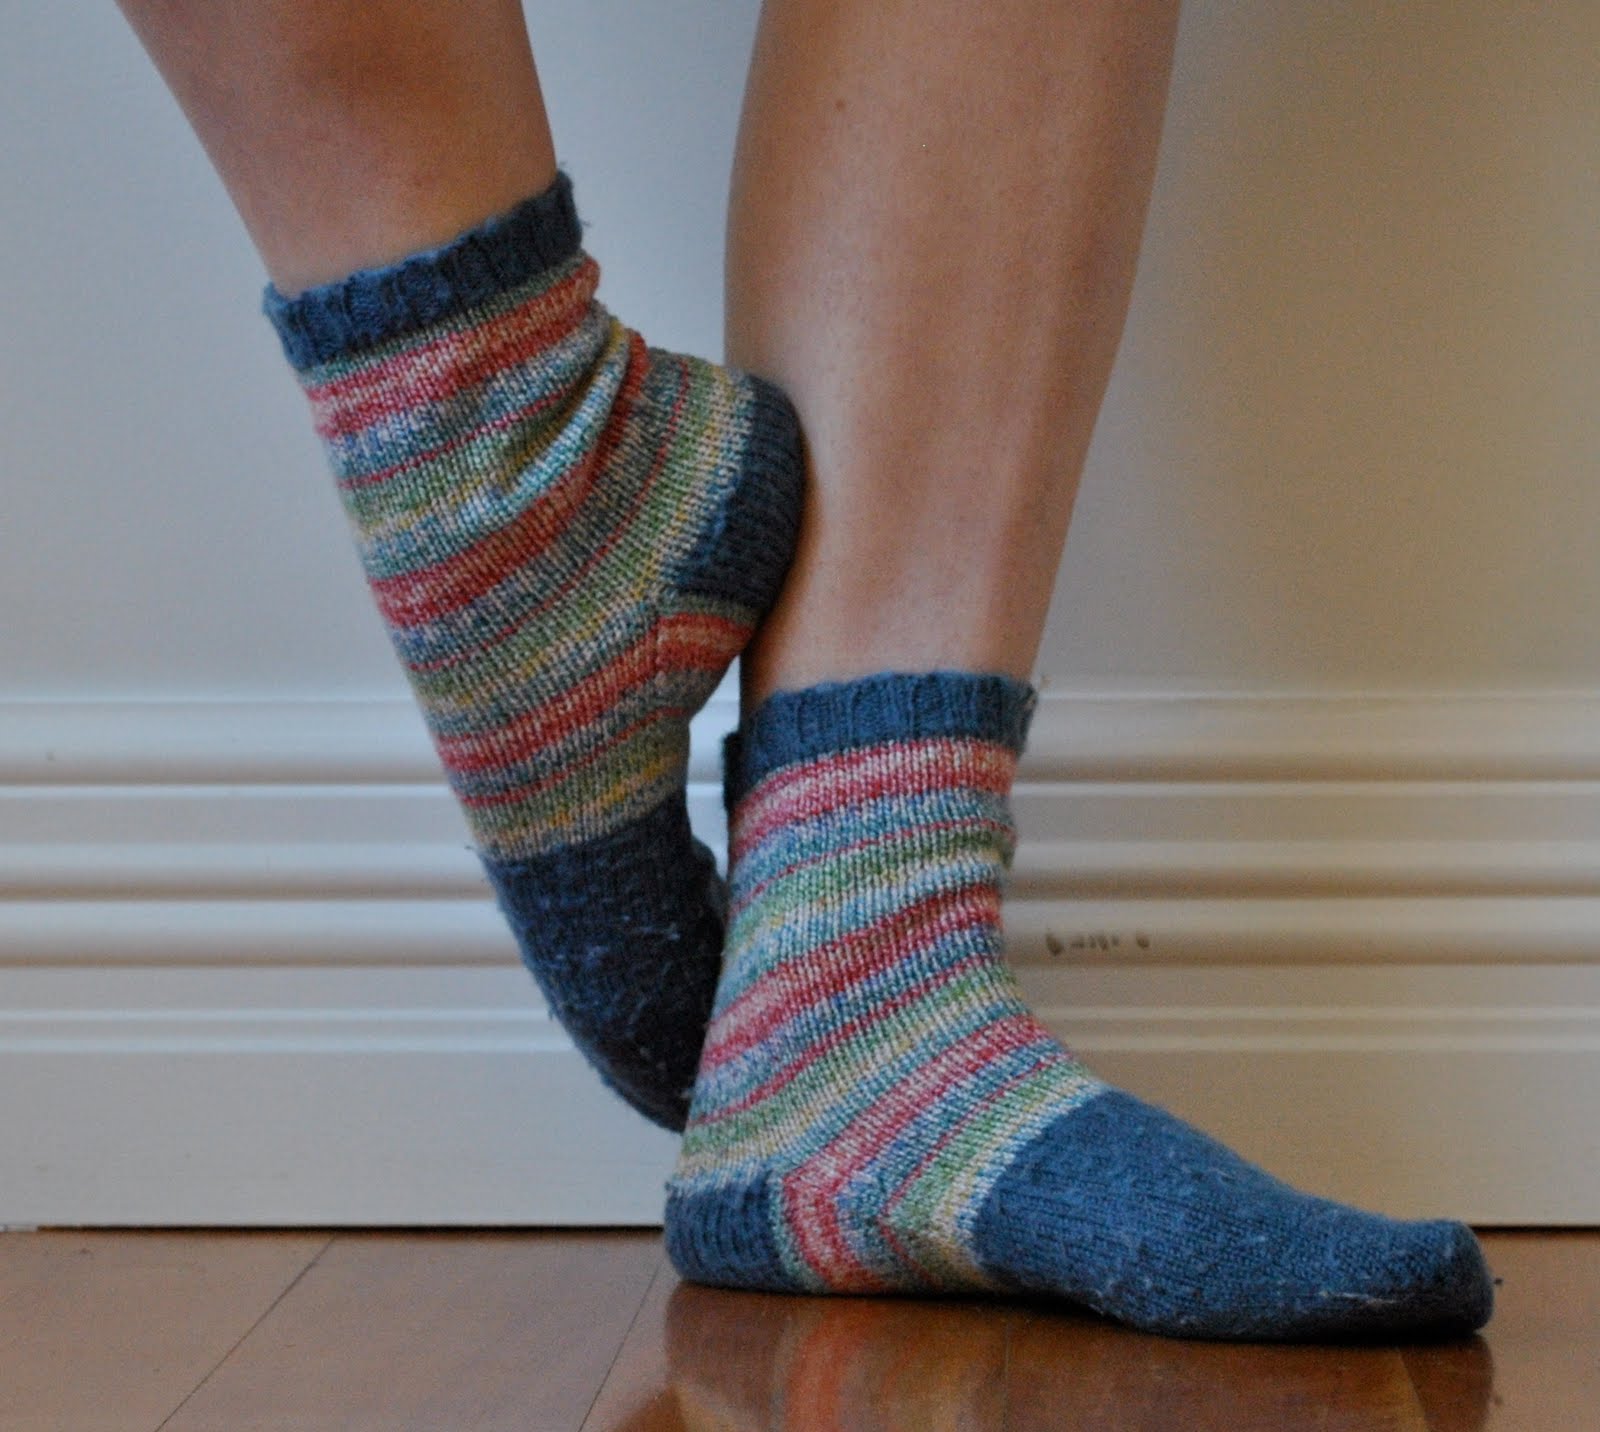
Below at left; the Tshirt’s first appearance here on my blog, worn with greige corduroy jeans, a jersey scarf and hand-knitted socks, and at right; worn pinafore-style underneath my favourite charcoal grey pattern magic dress, with matching navy blue tights.
stripe2a
Below left; grunged down for a day of sweaty cross-country hiking with charcoal grey shorts and hand-knitted socks, at right, for a rainy winter’s day, the stripes stand out against the pale colours of a light grey longline skirt and a boxy little ivory jacket
stripe3a
It’s funny really that this Tshirt turned into such a favourite, since it was initially just an afterthought, thrown together using the leftovers of some rather low quality fabric.  My newer striped Tshirt is made with much nicer and meatier fabric, so I am hoping it lasts even longer, at least until the trend fades away!  🙂
pinterestmail

Boring black Tshirt

The penultimate day of me-made May, and I have a post planned to spew out some vitriol reflect on my experiences.  Only kidding there.  I have no vitriol, of course.  Well, very very little  ðŸ˜‰ hehe, but seriously, I am going to be throwing a party that it’s finished!!
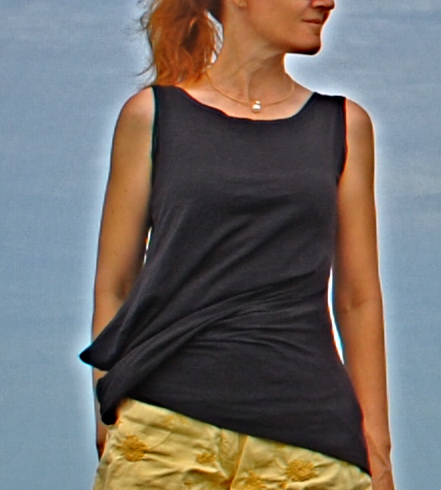
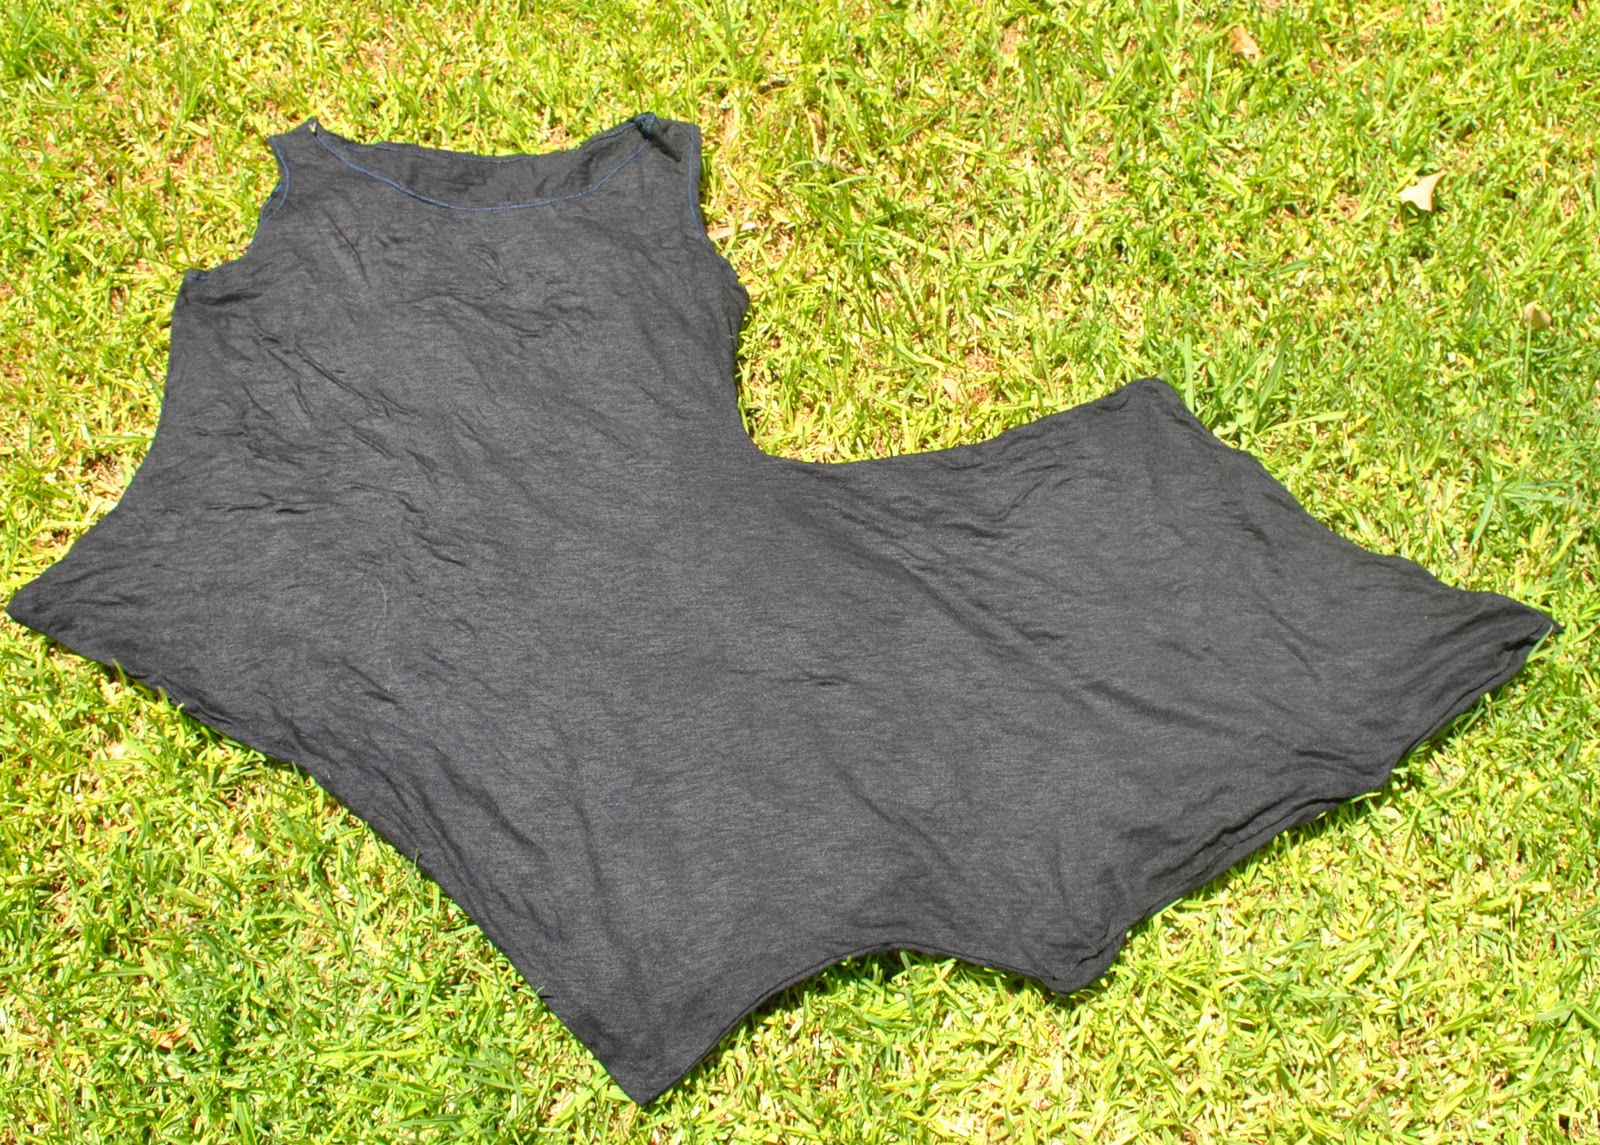
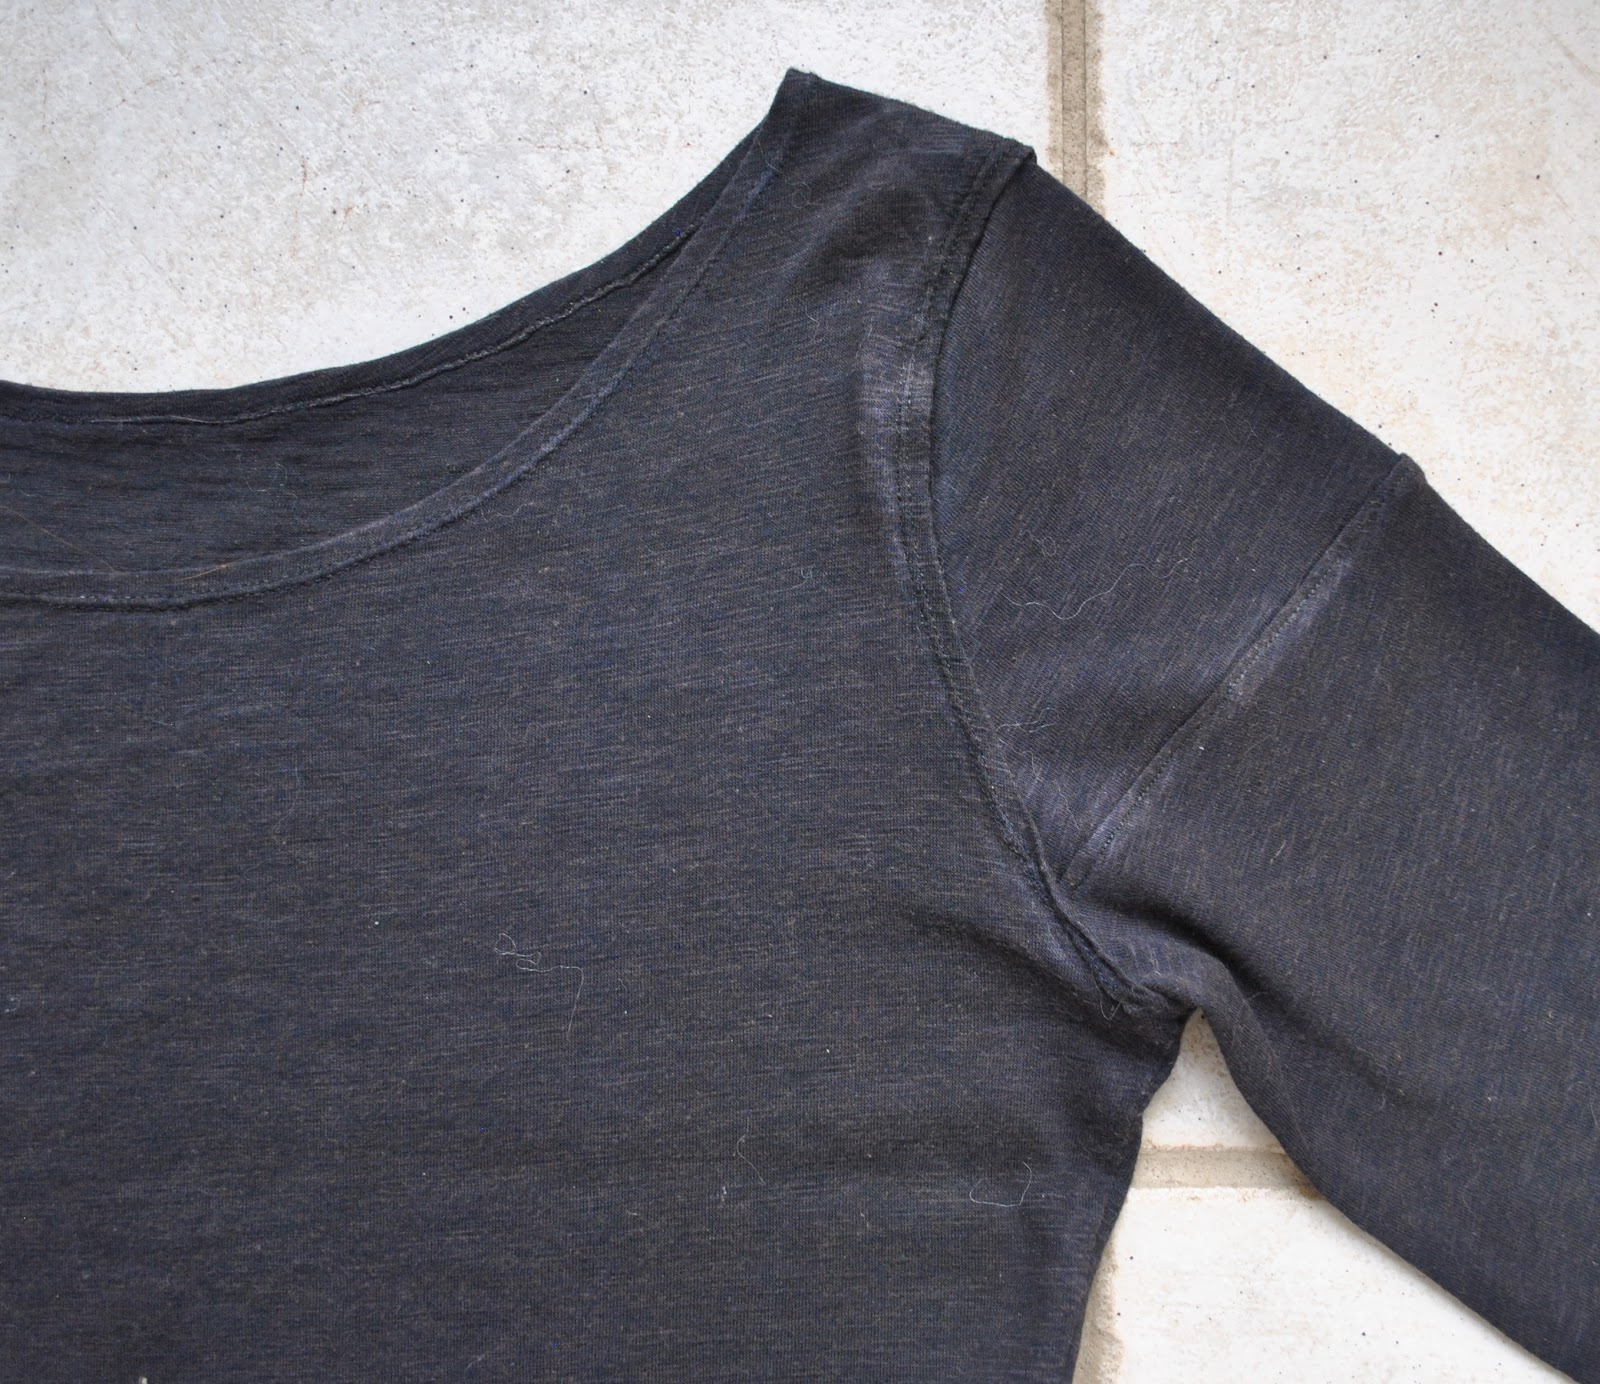
But ahem, my outfit.  I am wearing another sorta new, but not actually new thing, today.  I sorted through my Tshirt drawer.  And found this batty Pattern Magic top sitting there, sad and unloved and in need of a makeover.  I made it a year ago, using bright blue cotton jersey, dyed brown.  The resulting colour is a great colour for me, a very dark and quite rich chocolate brown that is almost purple in a certain light.

before

Great colour.
Not such a great top, though.
I wore it a couple of times and each time felt just a bit too… weird in it.  The pokey-out bits required pulling into place and arranging just so in order for them to not look Very Weird.  Mind you, I’ve nothing against “weird”, but there’s weird and there’s weird, if you know what I mean.  There’s interesting, avant-garde, attractive weird, and then there is just plain weird.  Don’t worry if you don’t see the difference there, I know what I mean.  
But hmm, still a great colour.  And there was a fair bit of fabric in it…

after

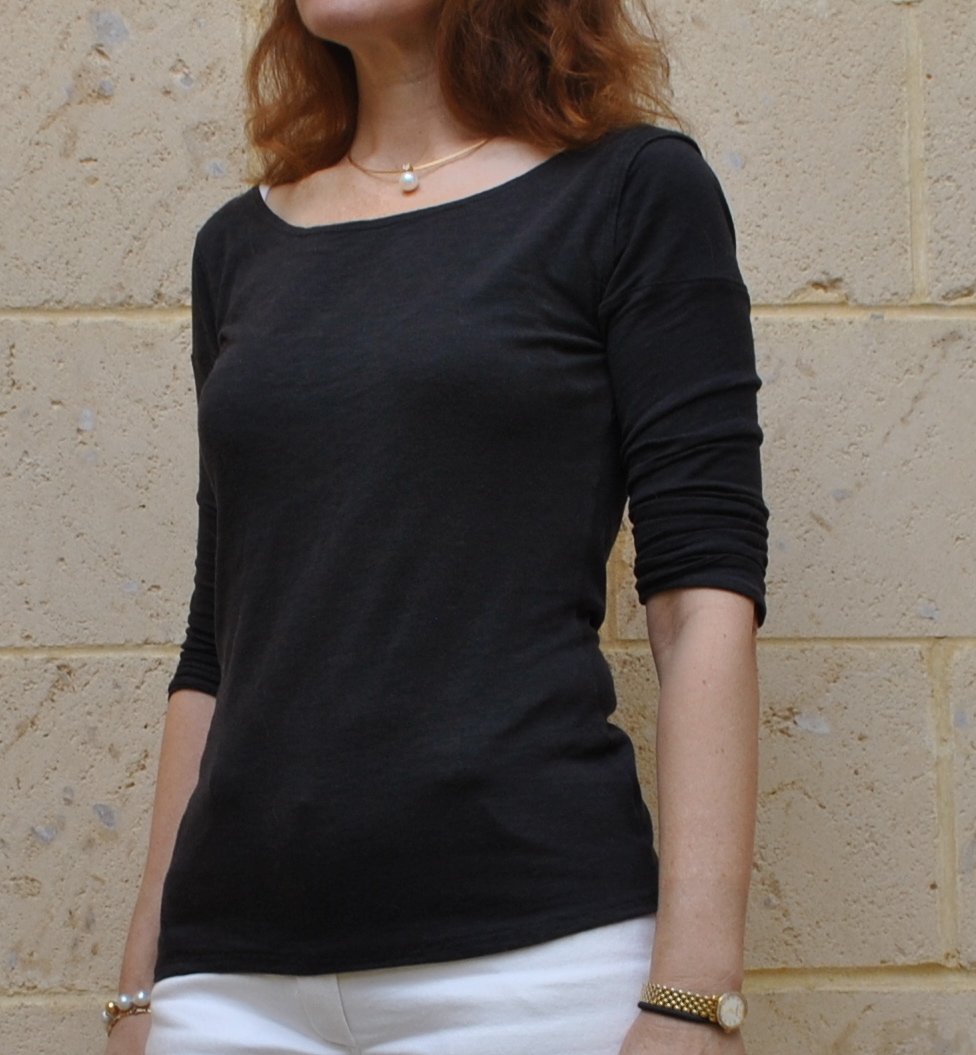
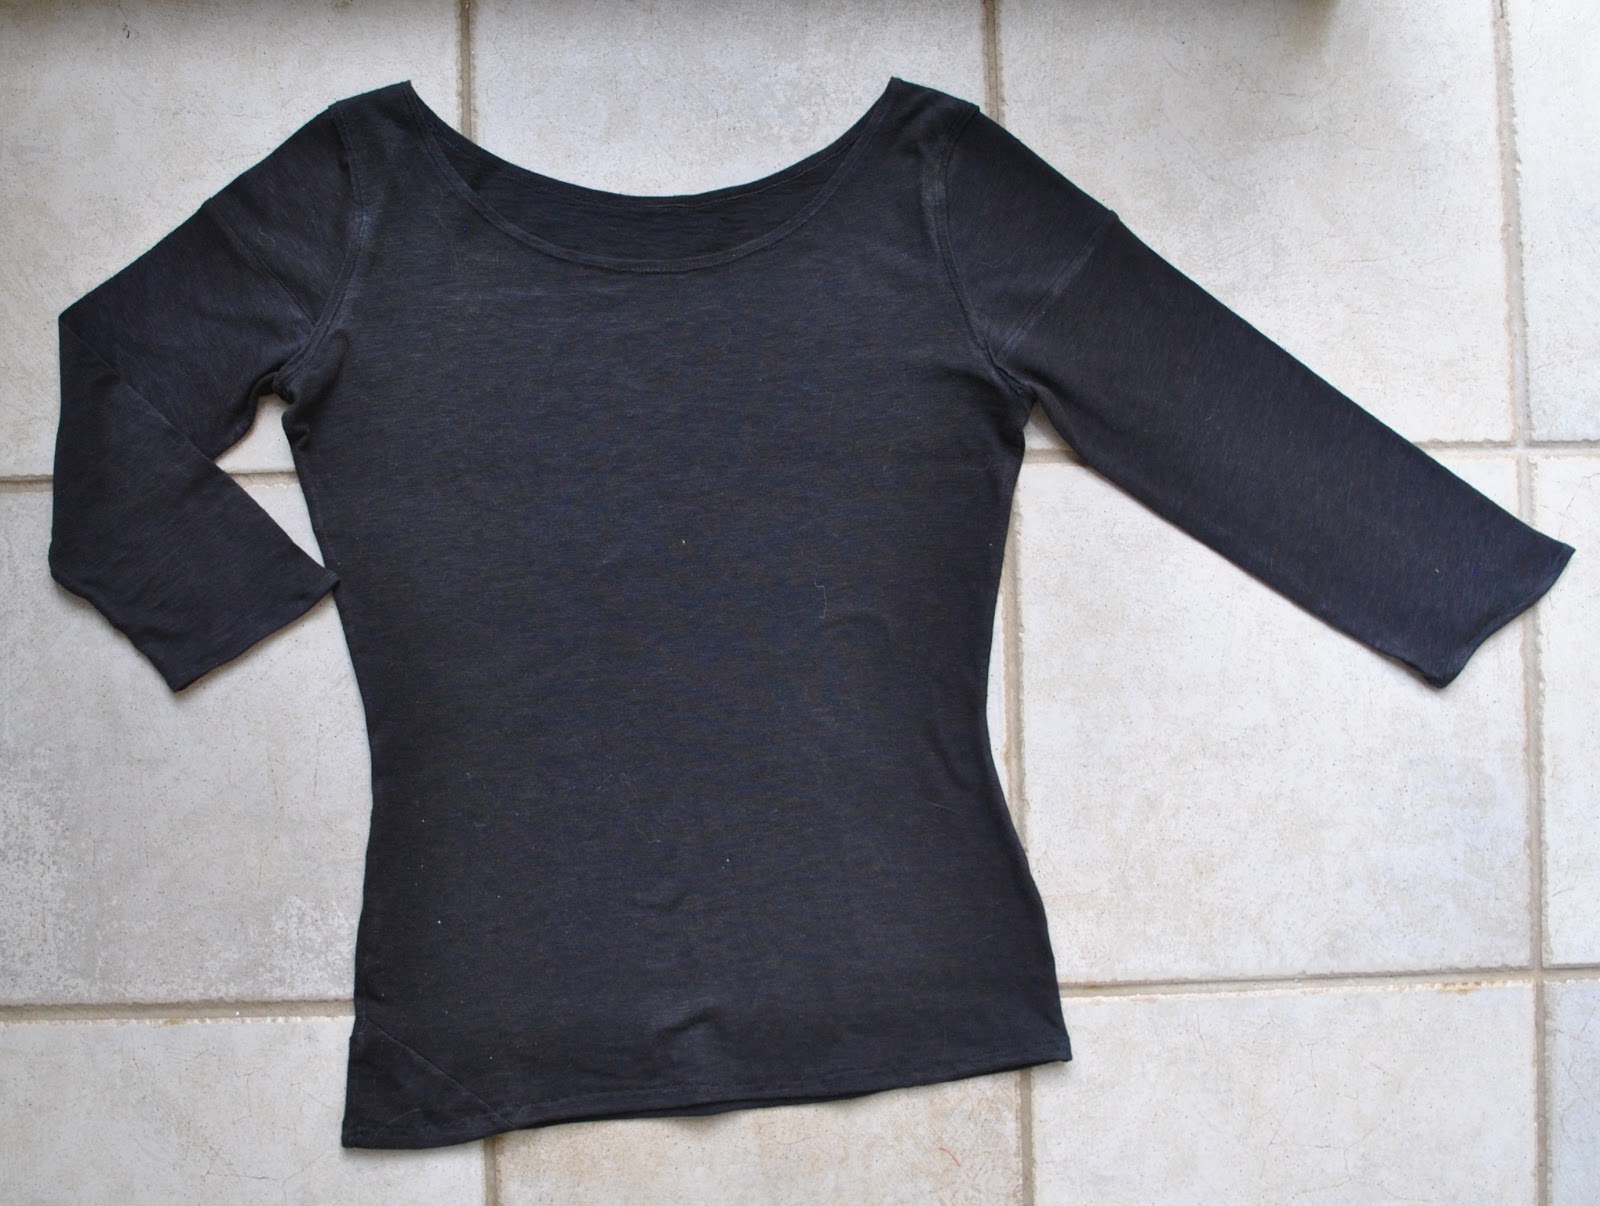
I half winged it, using my custom-fit Tshirt pattern.  I had to piece a new bit in the lower edge of one side, and angled the hem a bit to encompass this, a smaller, pieced-in bit would have looked too bitsy.  It’s still a bit bitsy probably, but this was the best I could do!  And I do really like that slightly angled hemline.  I hemmed the lower edge using the blind hem stitch, only on the outside; so it’s decorative close-up.

The sleeves also had to be pieced to get any length to them, and were stitched inside and underneath the existing narrow hem of the top’s armscye.  It has the effect almost of a tank with a little cap sleeve underneath, and then with a longer sleeve underneath that.  The sleeve hems are angled too; shorter at the underarm seam than on the outer arm.

Sorry if it’s boring now, compared to the before.  The good news is that I will actually wear it now, being no longer, you know, weird.

min 6C, max 17C  do not let that sunny blue sky deceive you, it is blinkin’ freezing! and we had heaps of rain this morning!

Details:
Jeans; Burda 7863 modified, ivory stretch denim, details here
Top; my own design, blue cotton jersey dyed brown
Jacket; Vogue 7975, thick woven wool, with silk lining and black braid edging, details here
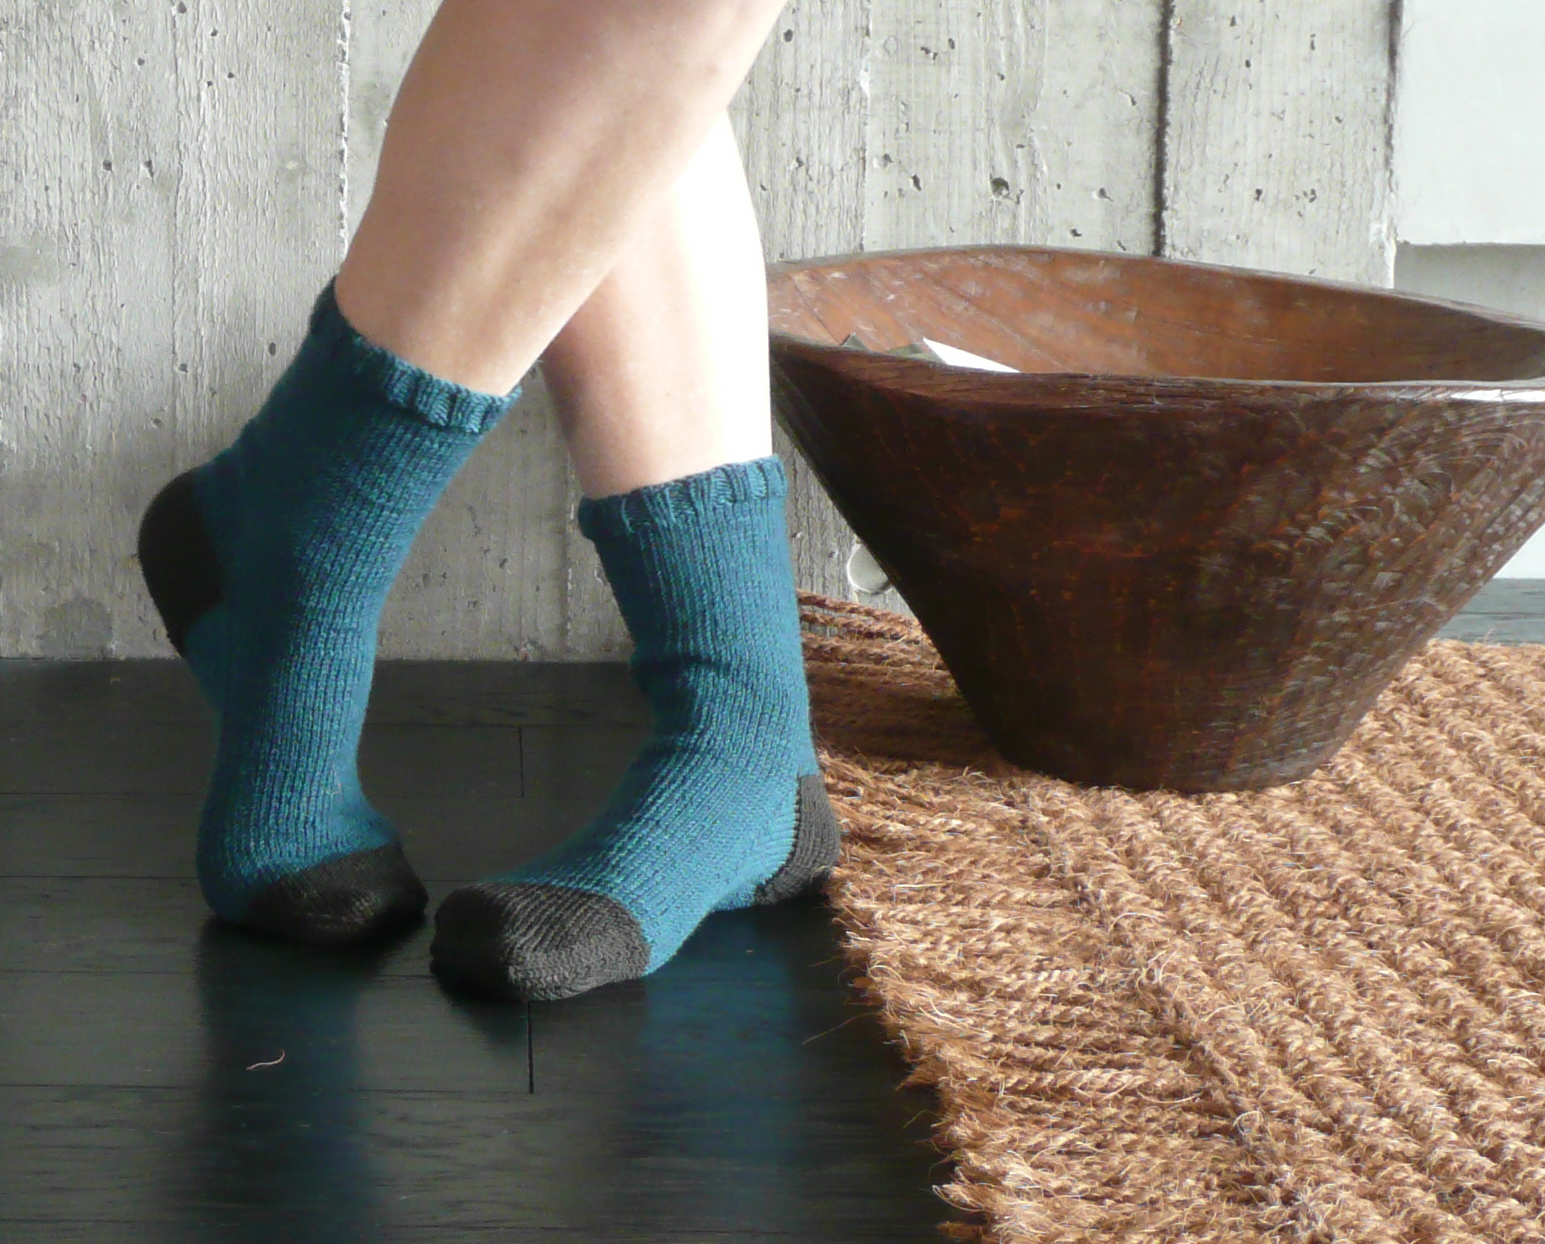
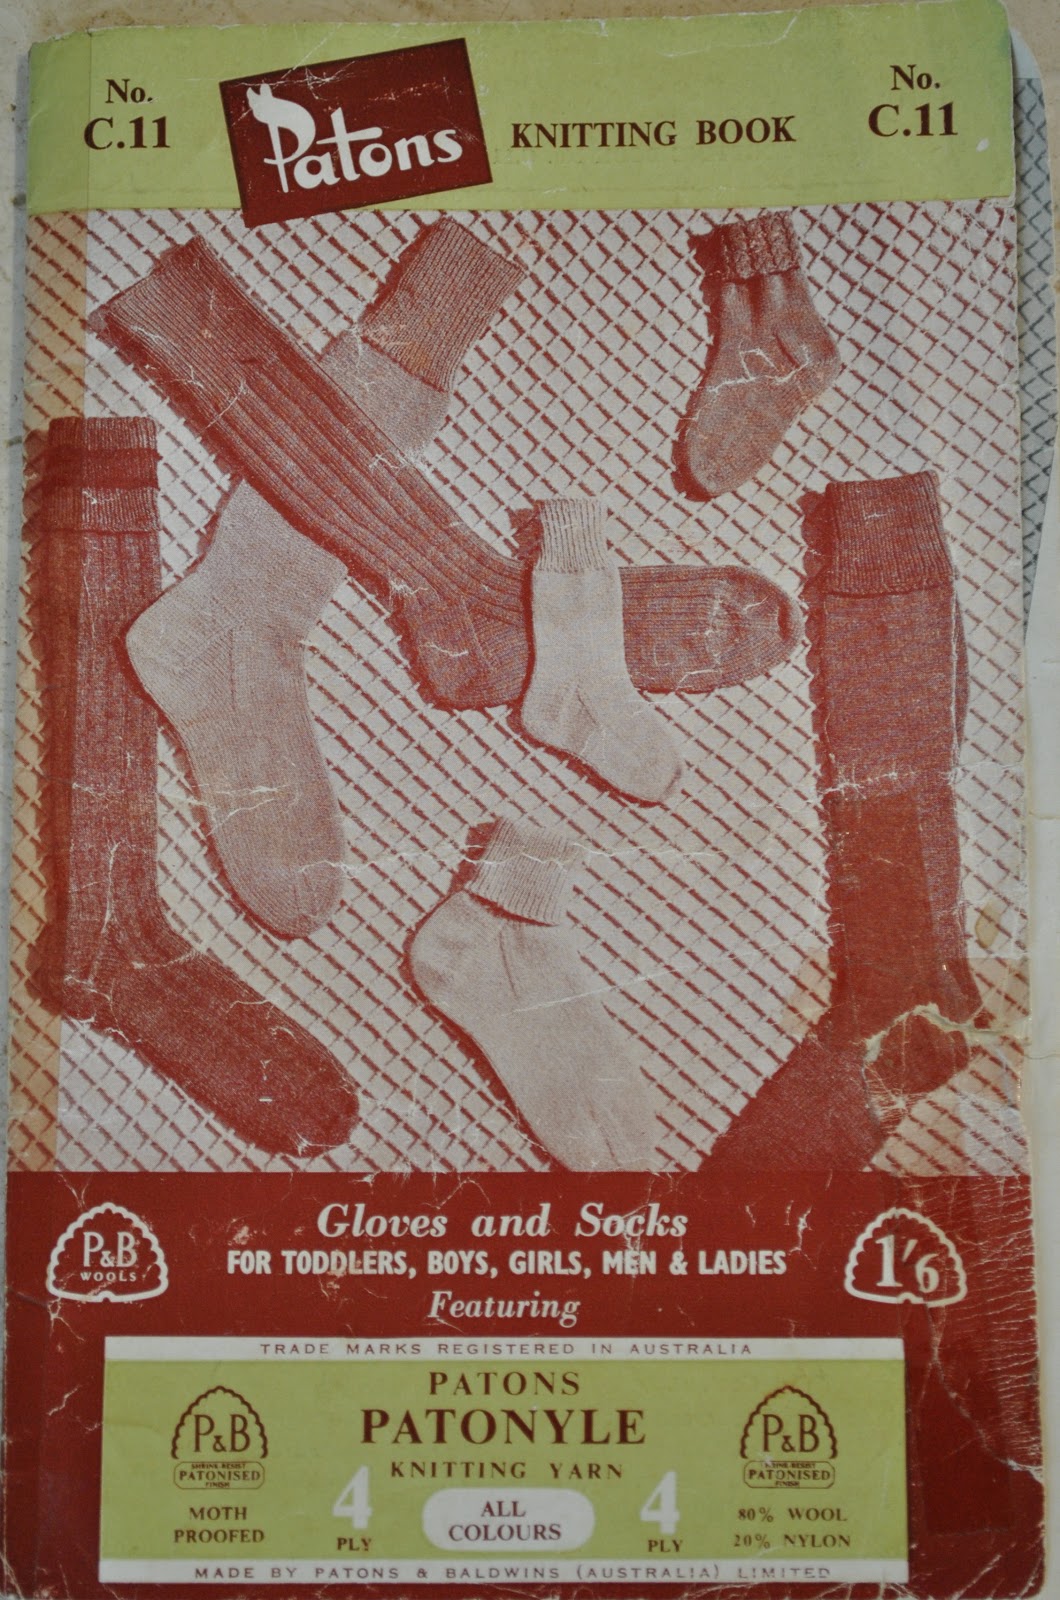
Socks; handknit by me to a 60’s pattern, details here
Boots; nylon, from Zomp shoes

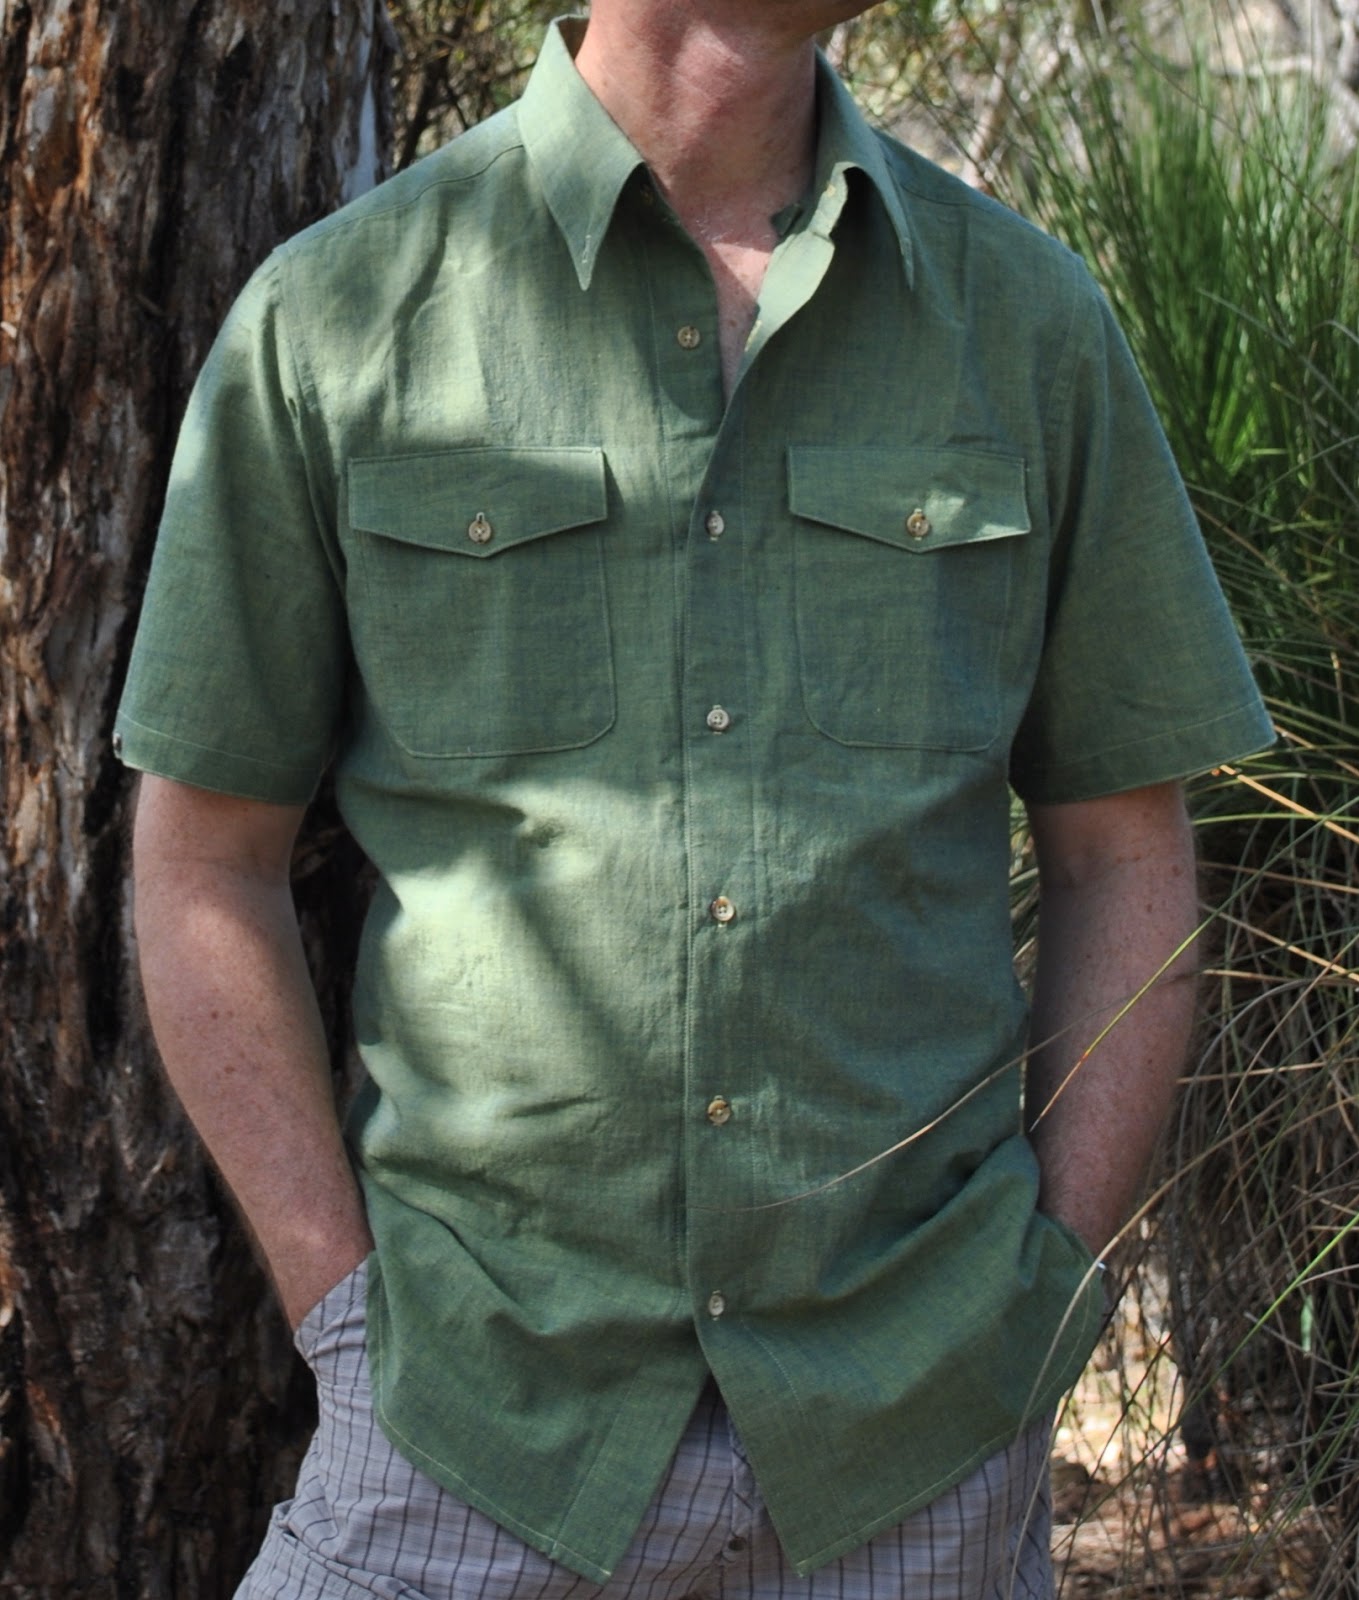
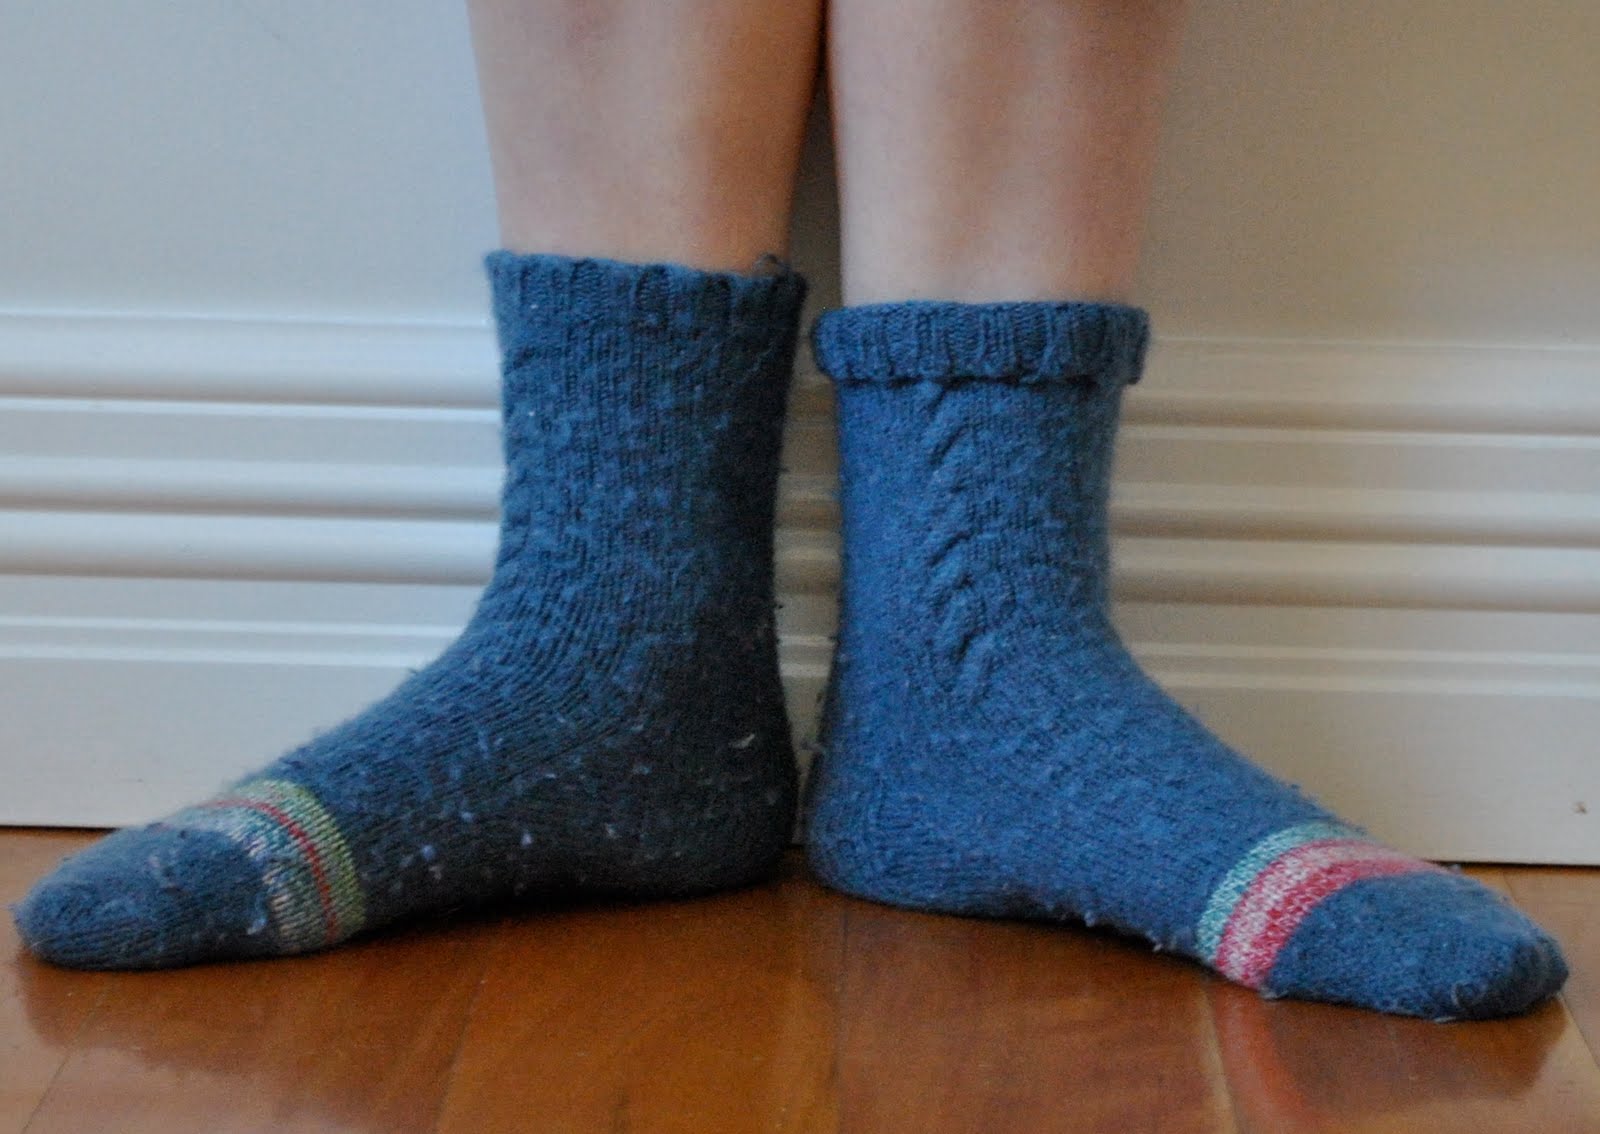
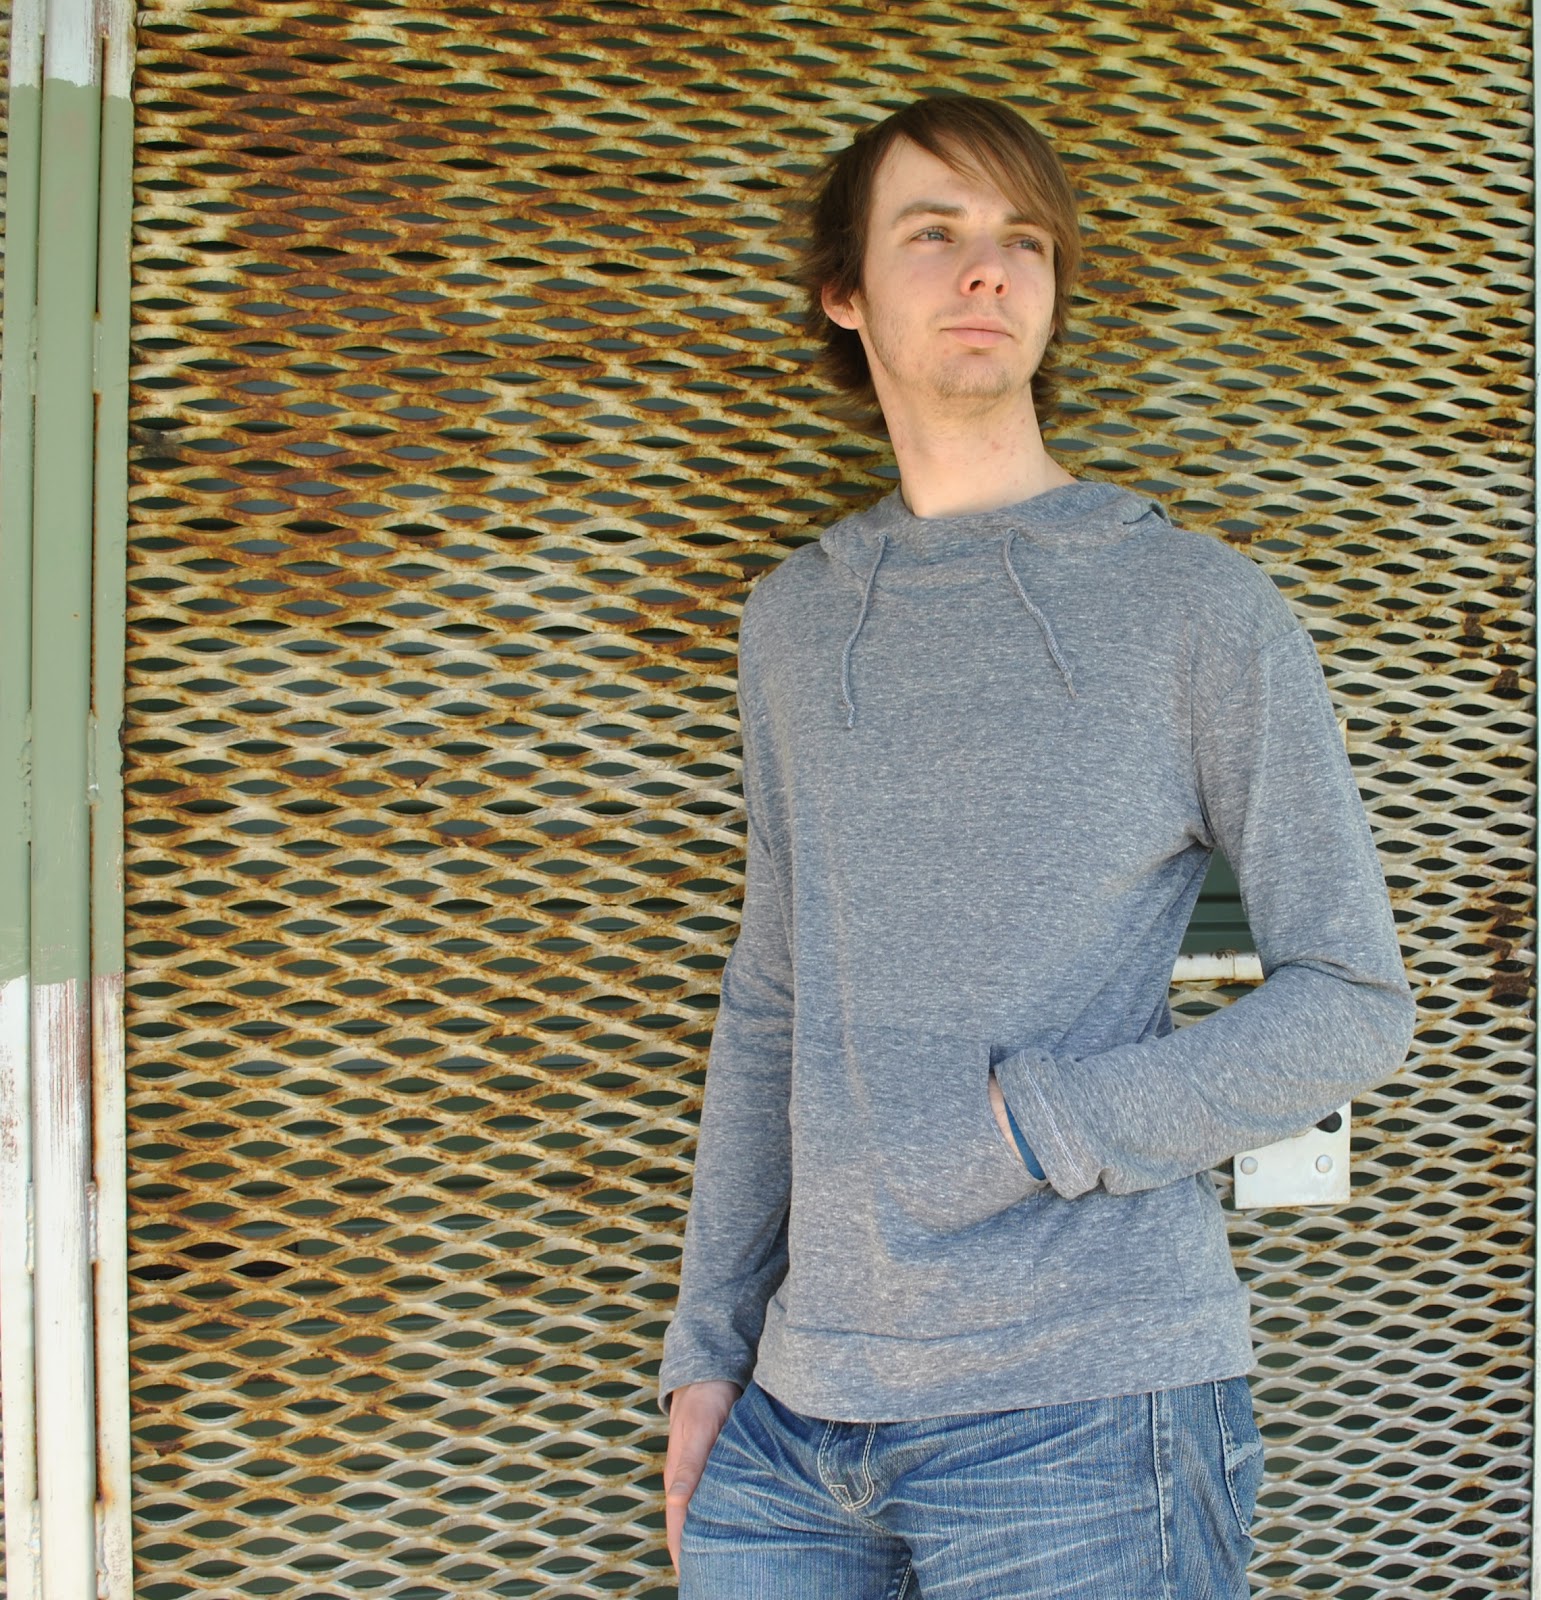
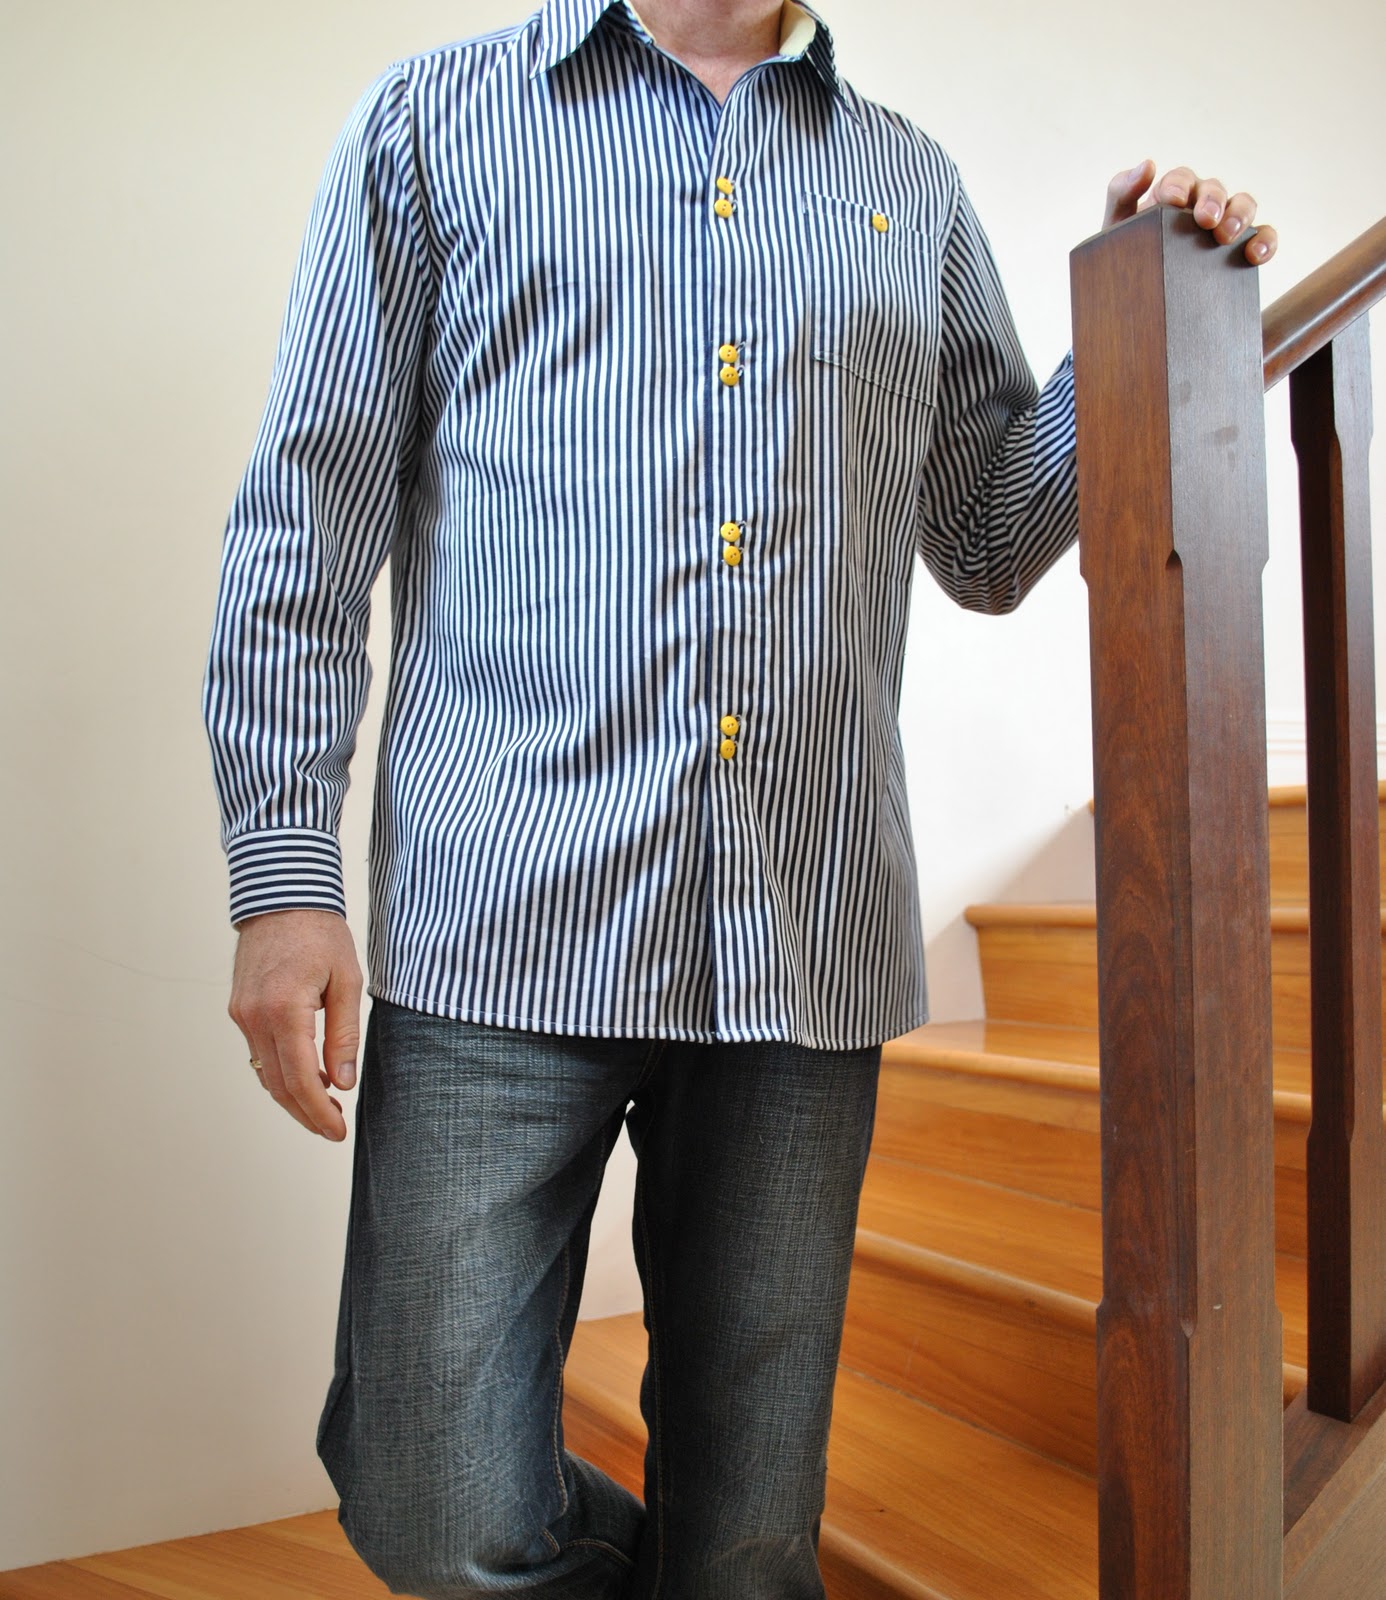
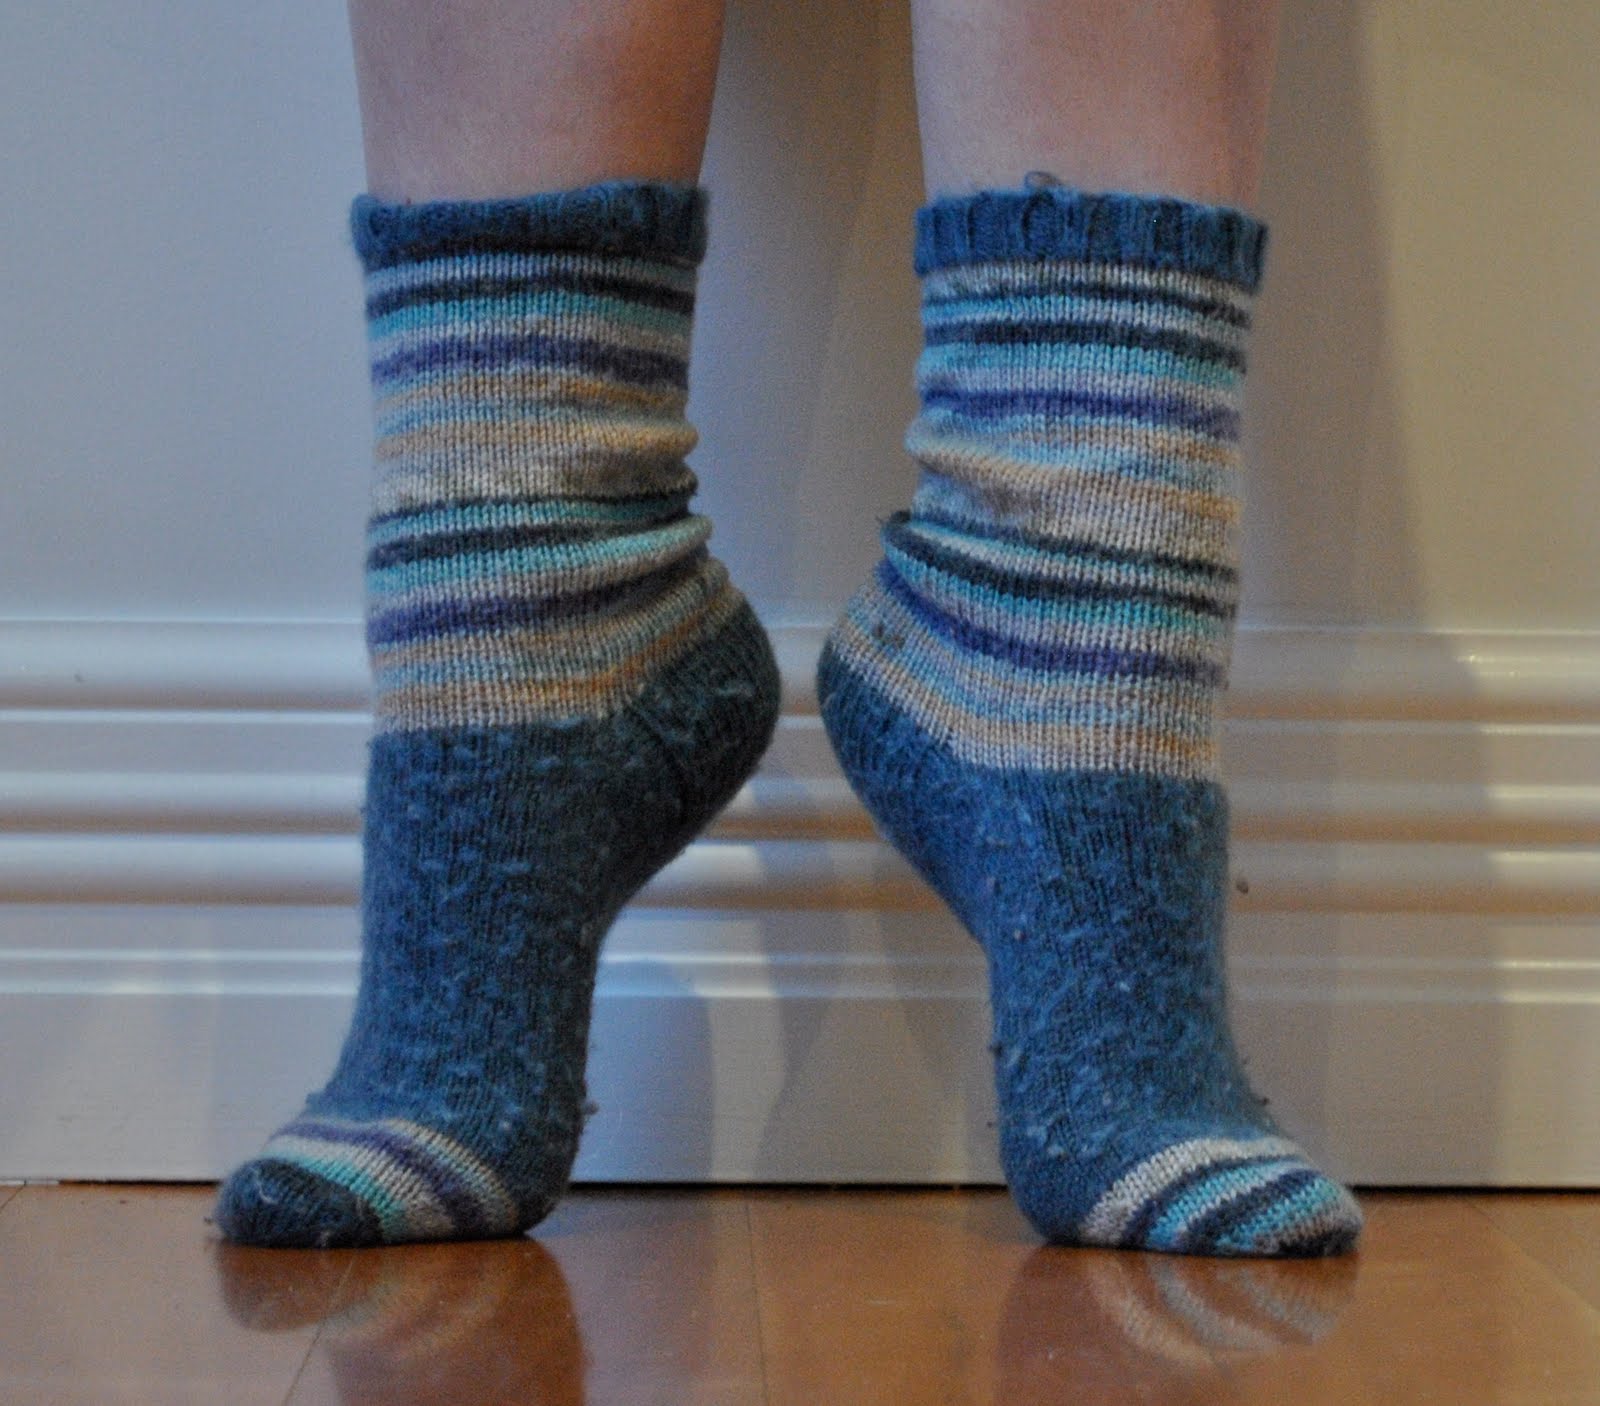
my family mmm13, Craig is wearing this shirt, Cassie is wearing these handknit socks, and Sam is wearing this hoodie

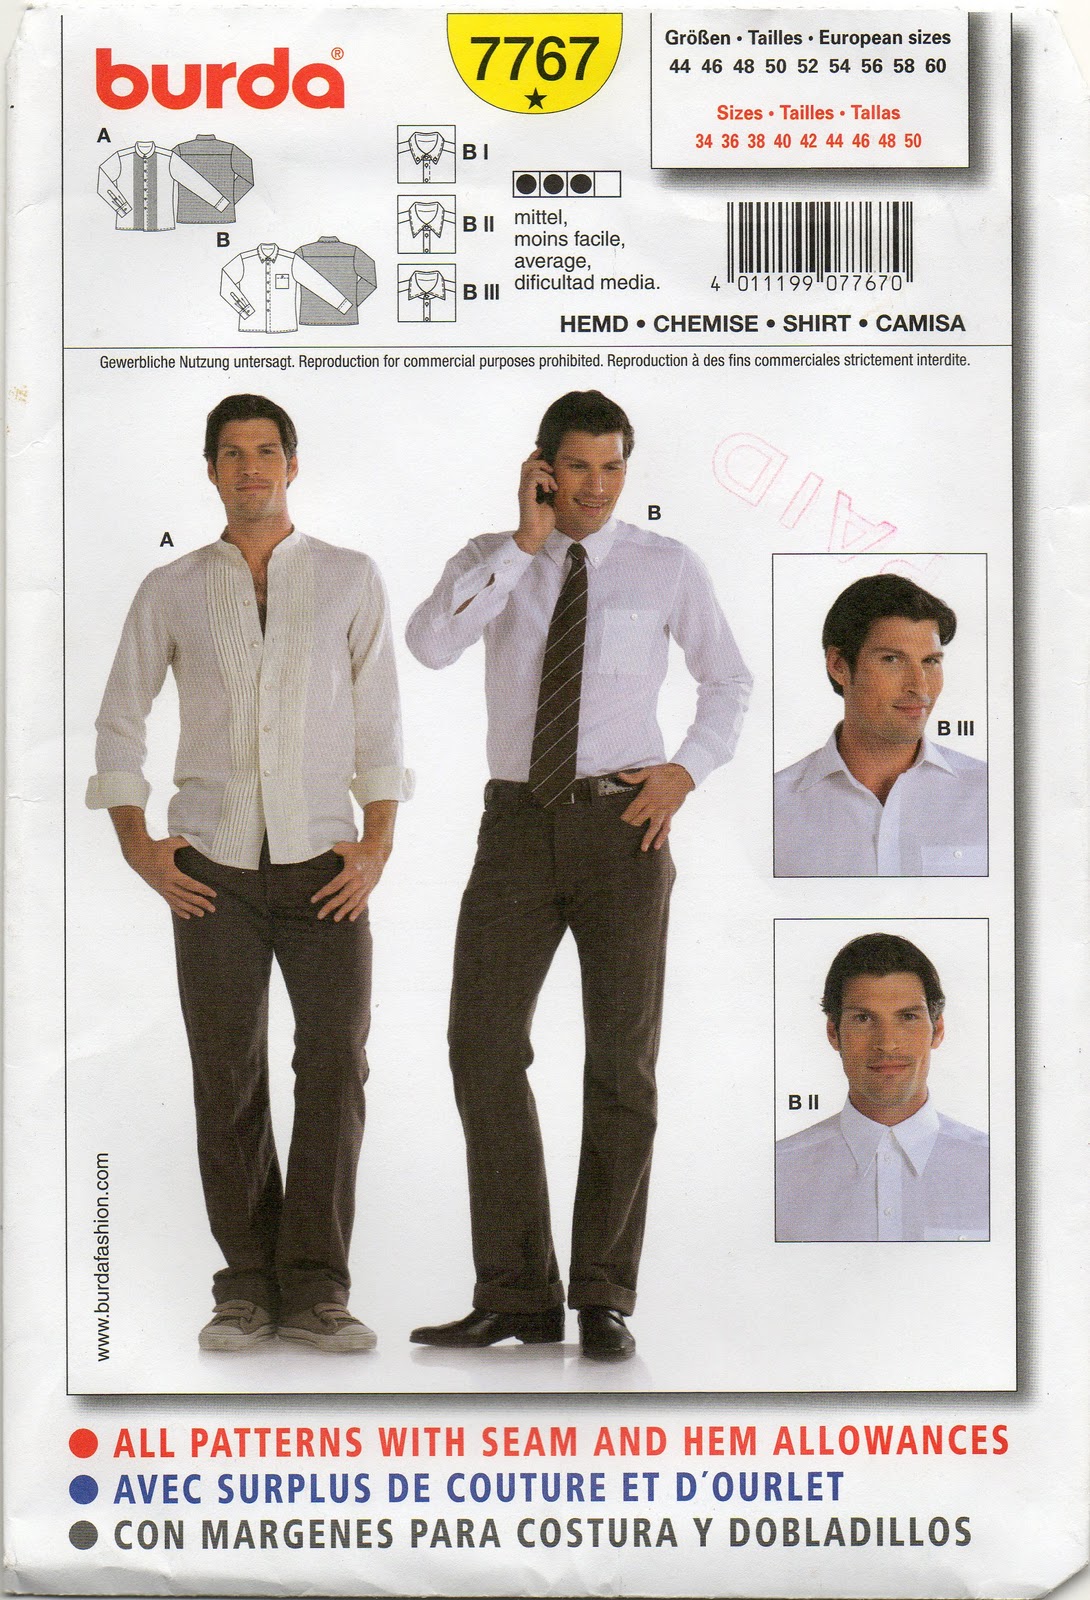
Craig’s shirt; Burda 7767 modified, green cotton, details here
Cassie’s socks; handknit by me to a 60’s pattern, 2ply yarn, details here
Sam’s hoodie; self-drafted, blue/grey jersey, details here

pinterestmail

Black tights and striped Tshirt

So yesterday I mentioned I would need some black tights to see me through winter… well I made some, tout de suite.  Nothing like striking while the iron is hot! 
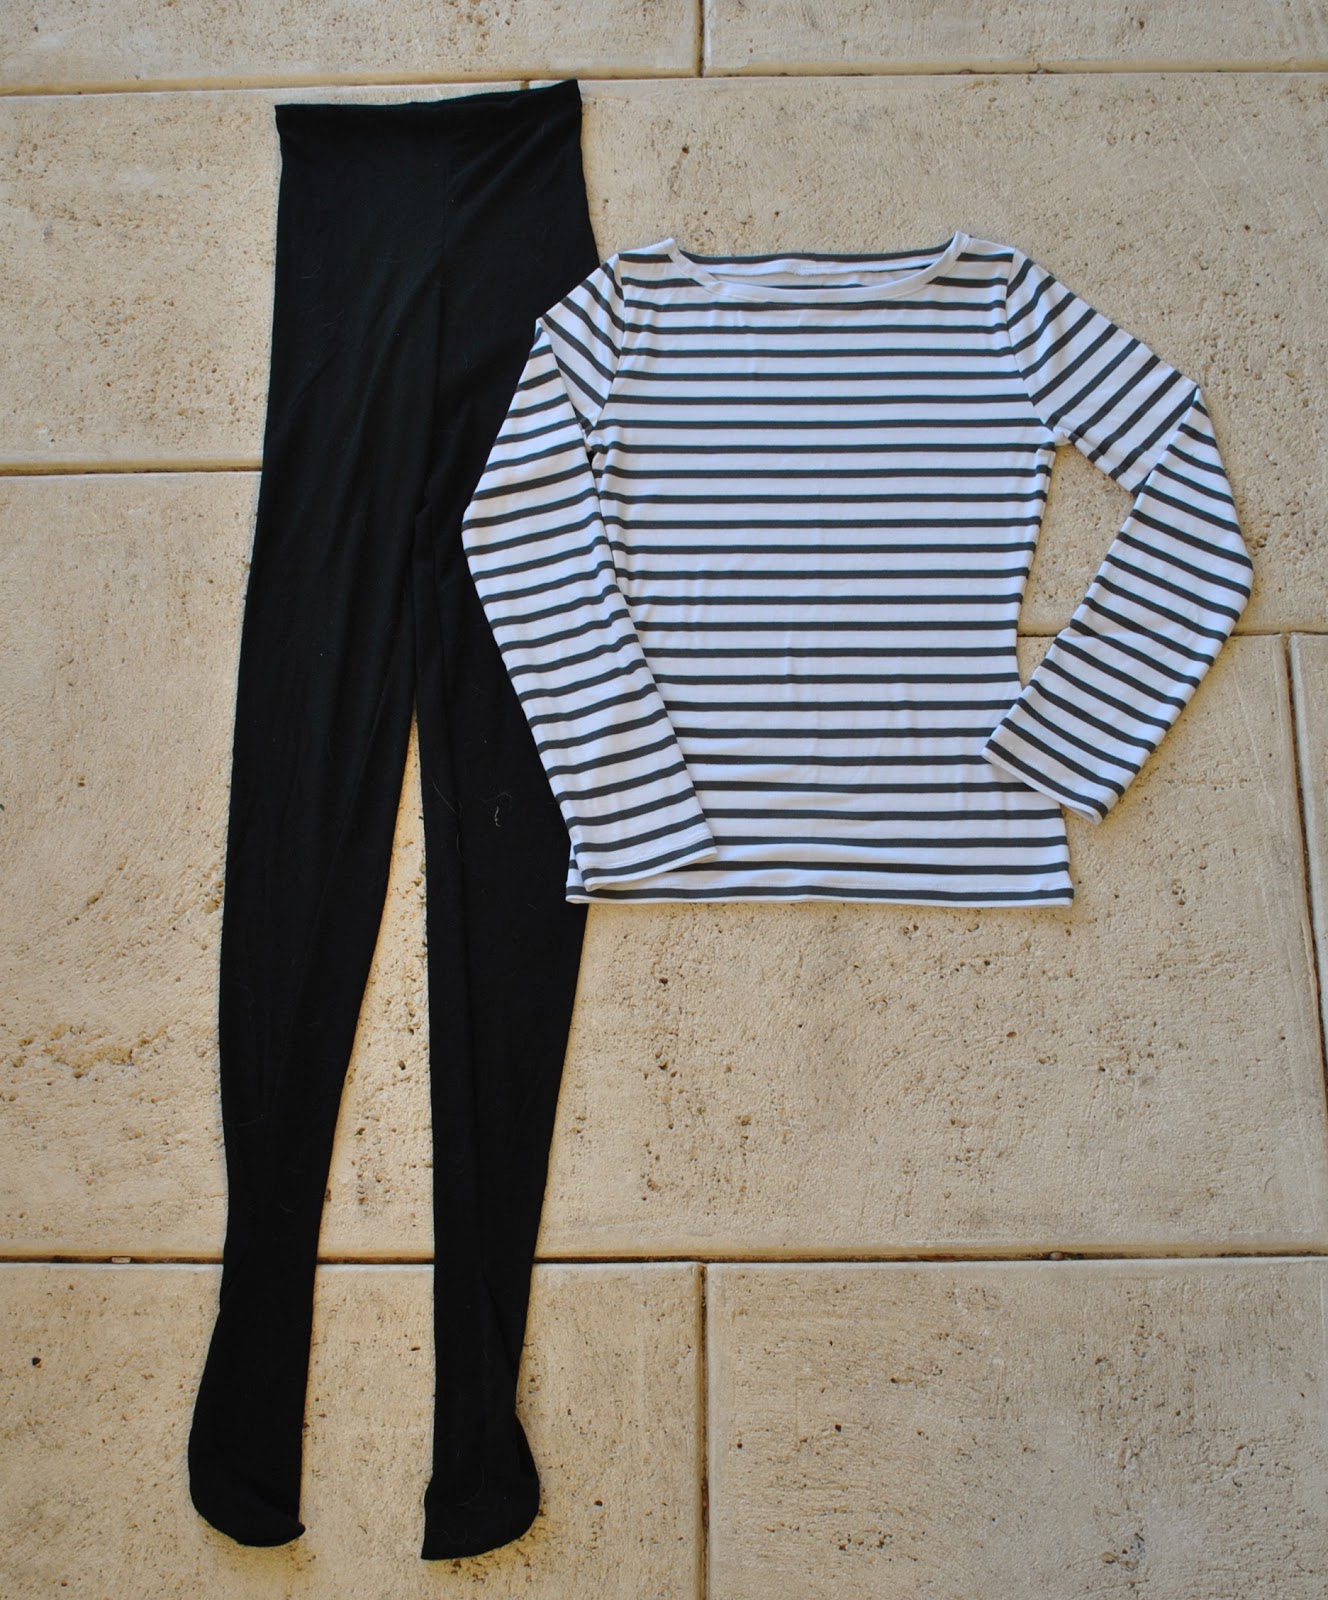
I used some lovely fine-knit black merino wool fabric, bought from the Fabric Store in Melbourne during our last visit, and my own self-drafted pattern.  Yah, nothing else to say about these really.  There’s no doubt I will wear them tonnes and tonnes.  I’m making a promise to myself that I will still wear my more colourful and interesting tights at least as frequently.

I also made a new striped Tshirt too; since my old navy and white striped Tshirt has been worn so much it’s had it and is now my PJ top.  I decided that a striped Tshirt, like the black tights, is another “need” for my wardrobe.  A must-have.  I know I know *cringe* must-have lists are a dime a dozen and sometimes appear to encompass everything under the sun: but I believe it takes time and trial and error to work out what really constitutes a must-have for an individual.  I think that these two pieces are both must-haves in the wardrobe, for me  ðŸ™‚
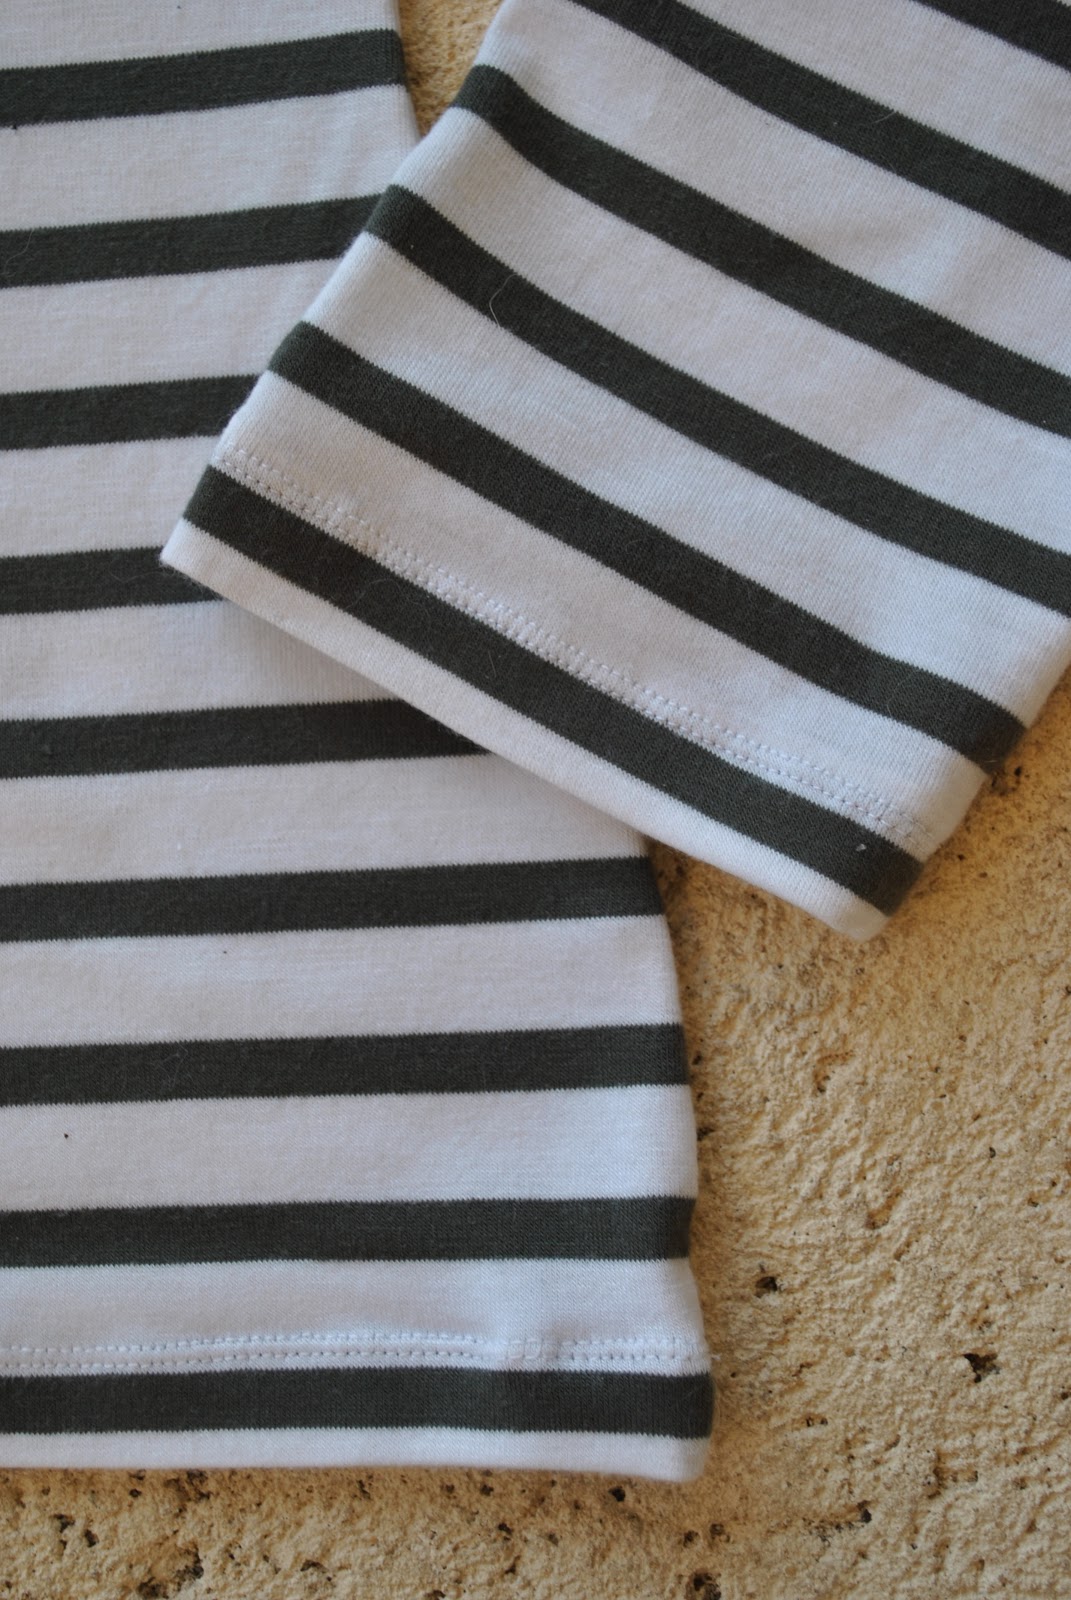
I used my custom fit Tshirt pattern, (the pattern that used to be Burdastyle magazine 06/2011, 120, altered completely beyond recognition), and a white and grey striped cotton jersey from Fabulous Fabrics.   I stabilised the shoulder seams with Seams Great, many thanks to velosewer for this  :).  The raw edges of the sleeve and lower are overlocked, then folded under once and stitched with a twin needle, taking care to have the stitching inside and out appearing within the white stripe.  

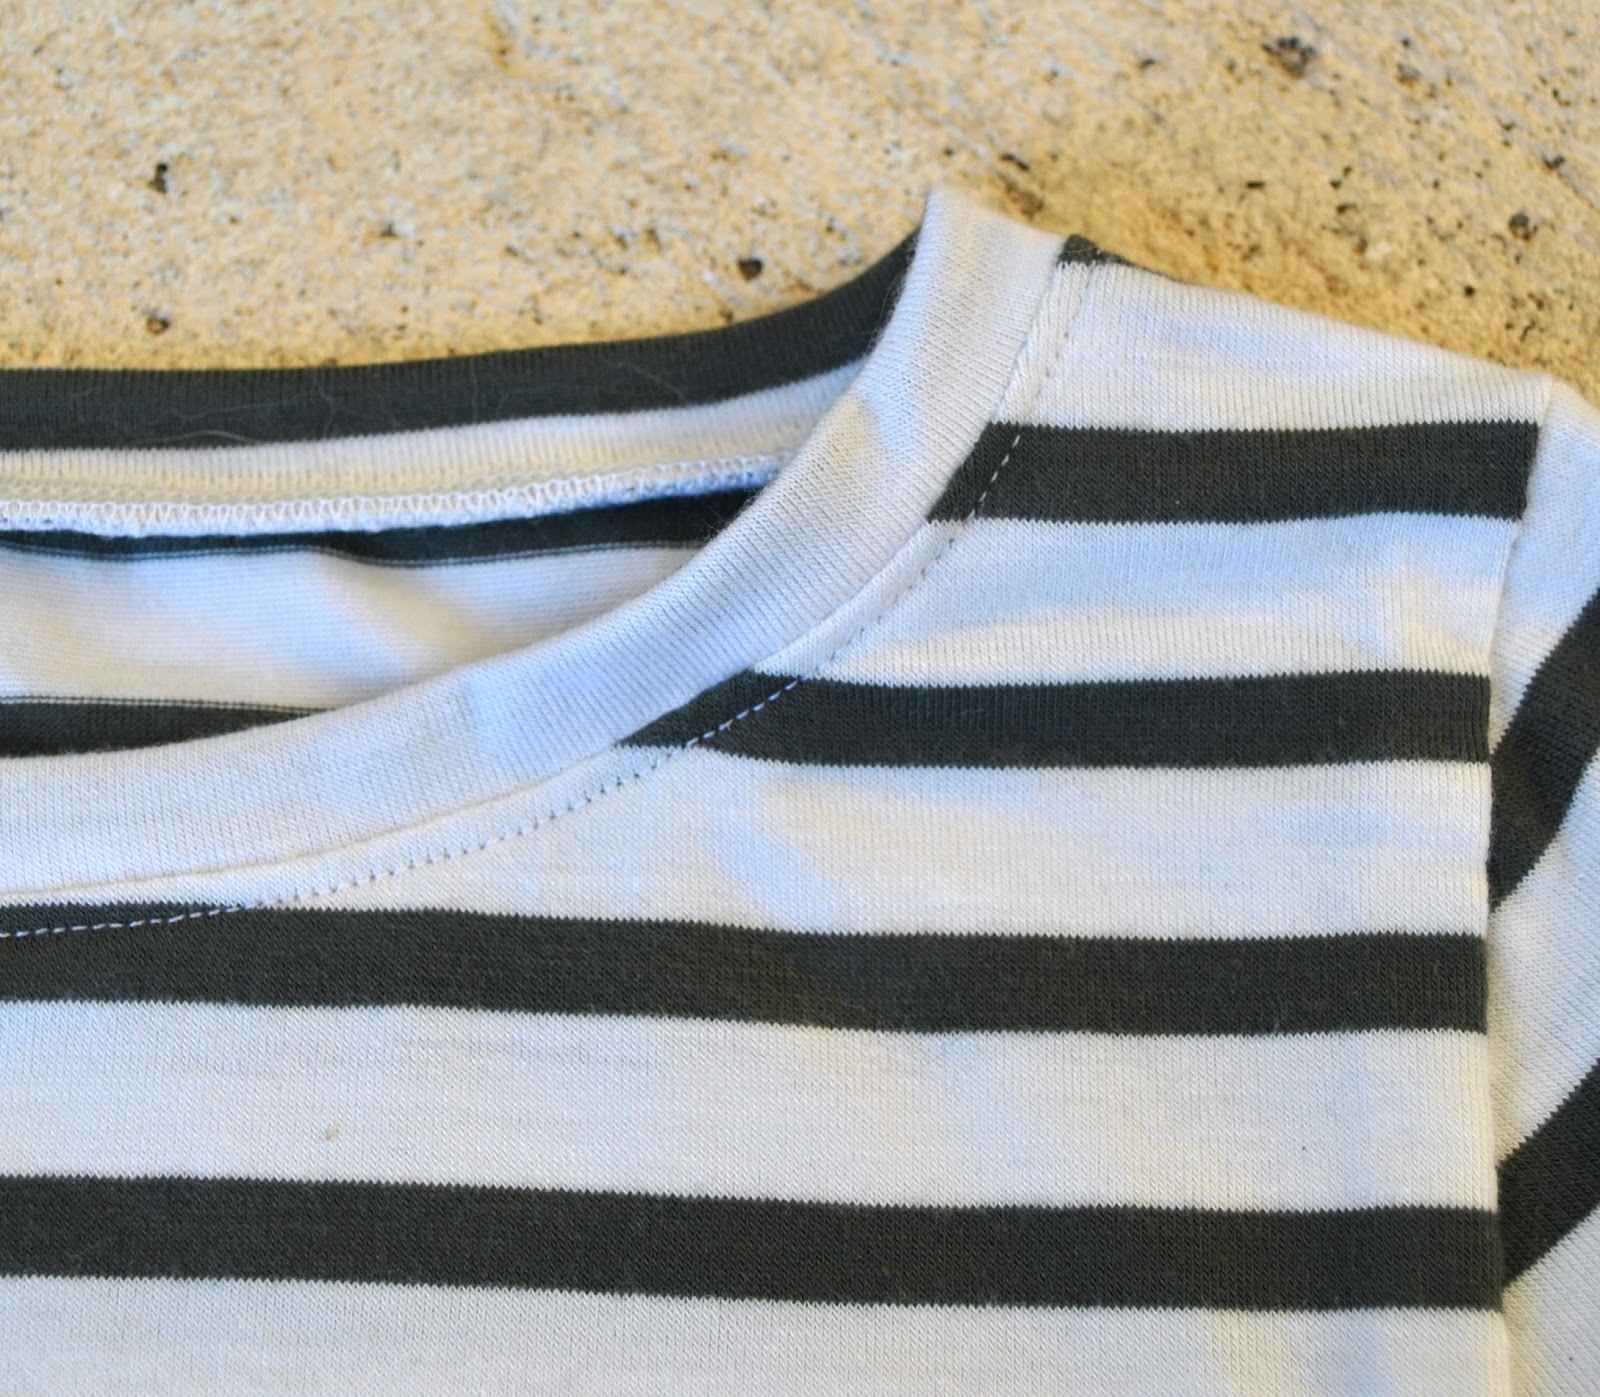
For the neckband; instead of a vertical or bias striped band, this time I decided I wanted the clean look of a plain white band.  So carefully cut the strip and folded and basted it so the band is the exact width of the white stripe.  The thinner grey stripe appears just inside the fold.
I attached the neckband using this method, and topstitched the seam allowance down to the body of the garment afterwards.

min 9C, max 20C, sun, cloud and a smidge of rain today!

Details:
Tshirt; self-drafted, khaki and white striped cotton jersey
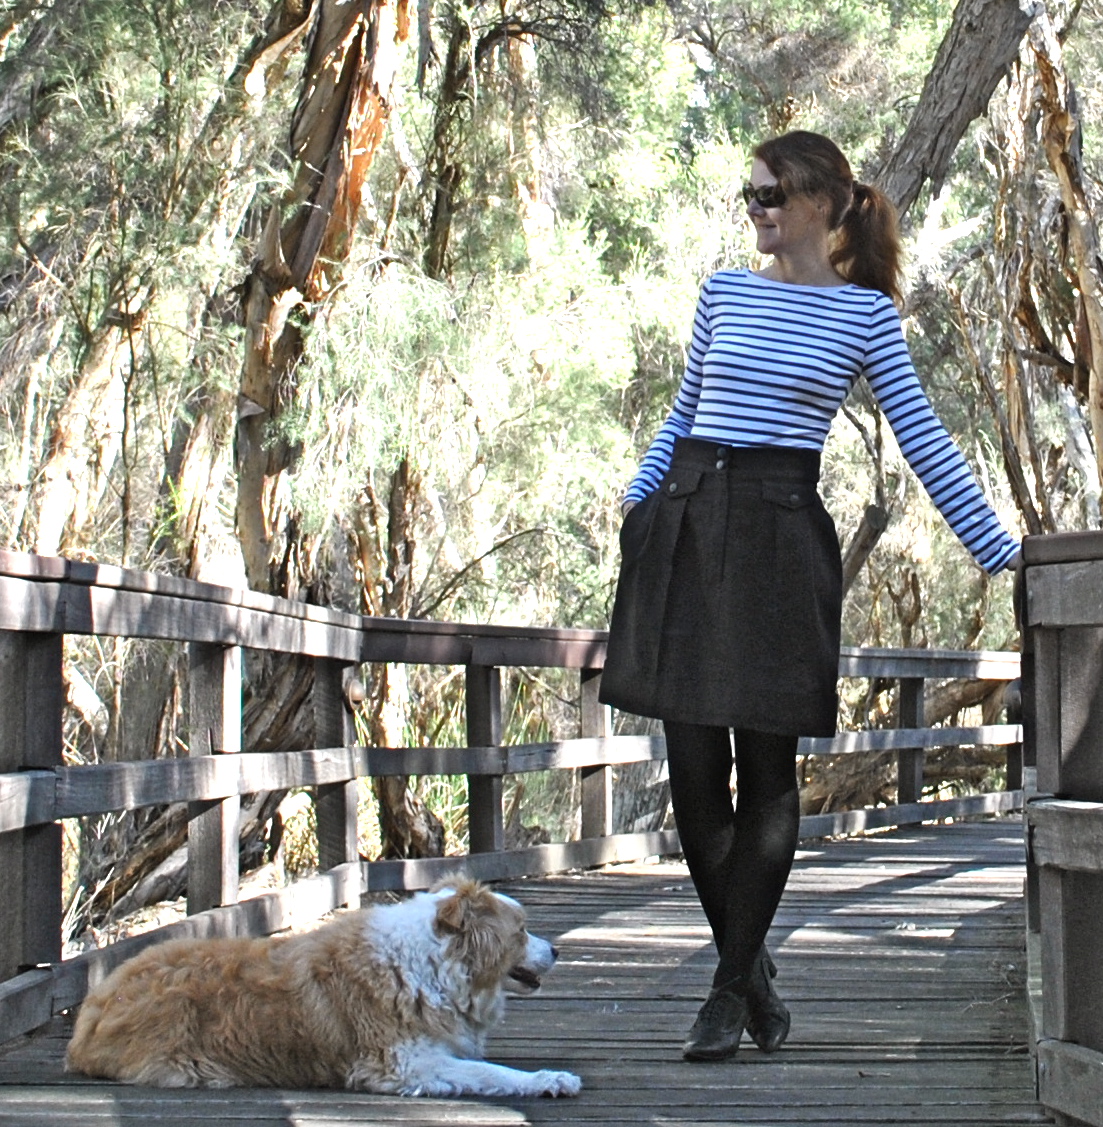
Skirt; Burda style magazine 10/2010, 136 modified, (the Karl Lagerfeld skirt) black suiting mix, details and my review of this pattern here
Tights; self-drafted, black merino wool knit: my tutorial for drafting your own custom fit tights pattern is here
Shoes; Django and Juliette, from Zomp shoes

in my family’s mmm13 today; Sam is wearing this hoodie, and Cassie is wearing these handknit socks.

Sam’s hoodie; self-drafted, blue/grey cotton jersey, details here
Cassie’s socks; handknit by me to a 60’s pattern, 2ply wool, details here

pinterestmail

Paprika legs

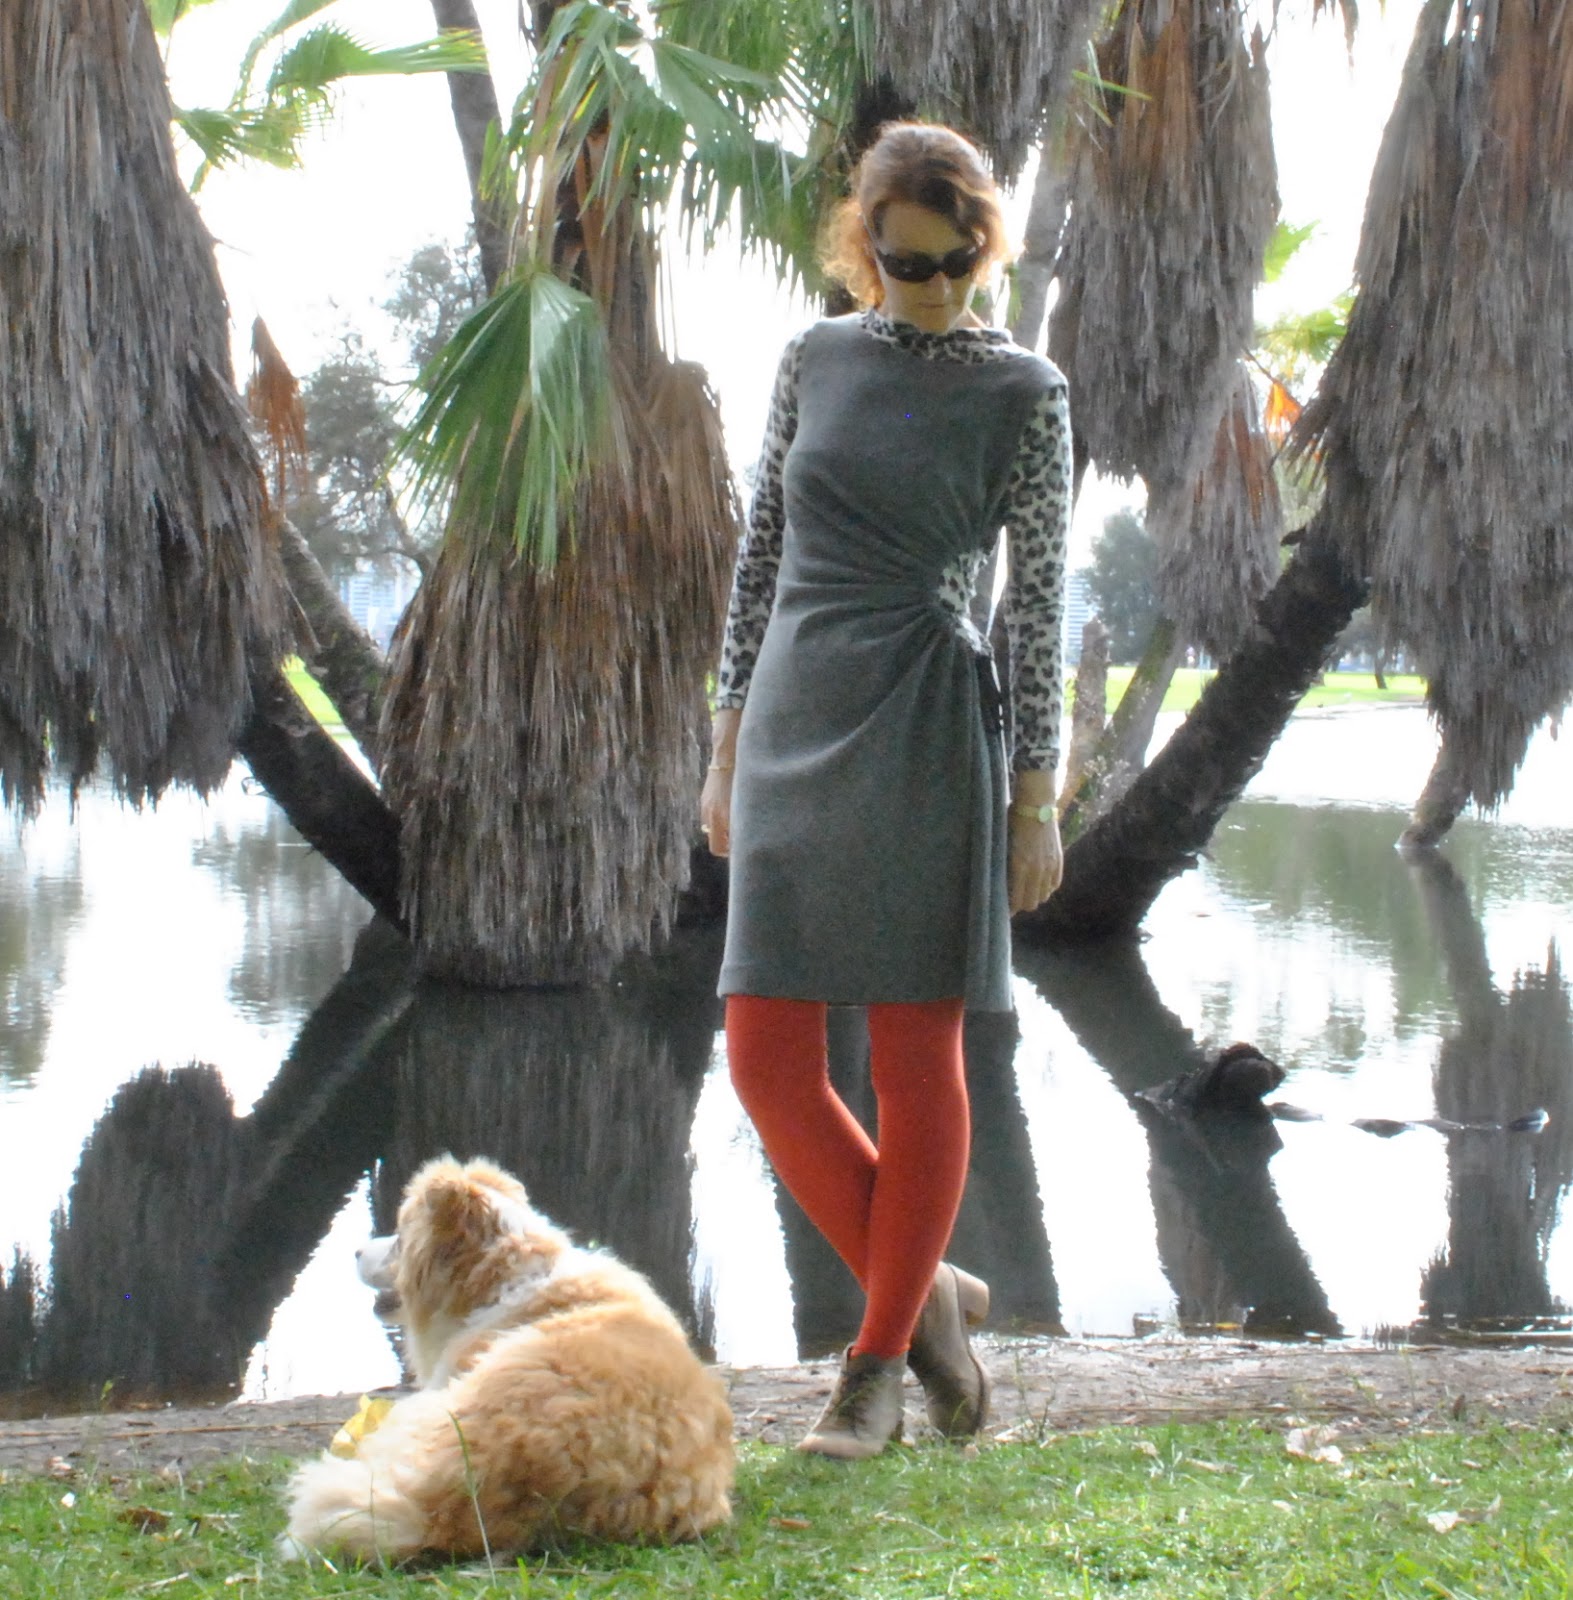
I have made some new tights! and now I have paprika legs.  You know, paprika, the hot n’ spicy stuff.
I like the idea of hot spicy legs  ðŸ˜‰  you see, my initial impulse was to go with “oompa loompa” legs, but it seemed a little… er, silly?  Ridiculous?  Too close to the bone?!  I prefer the poetry of paprika!
Taking part in me-made May has once again taught me that I have plenty of me-made clothes.  So much that I really don’t need to be sewing fripperies for myself.  I am going to devote myself from now on to sewing two types of things: challenging sewing, for fun and self-fulfillment; and replacement or maintenance sewing, making essential things that I actually really need.
This is part of the latter.
The colourful RTW tights and leggings I was wearing last year and the year before have finally gotten hole-y enough to be embarrassing and are now retired to become pool-socks.  You know, when stockings get old you use them to put powdered pool chemicals in, tie off and then sit them in the swimming pool.  So the chemicals can dissolve slowly without getting hoovered up by the creepy crawly. 
I bought this rich burnt orange polyester knit last year, specifically for tights when the time came. 
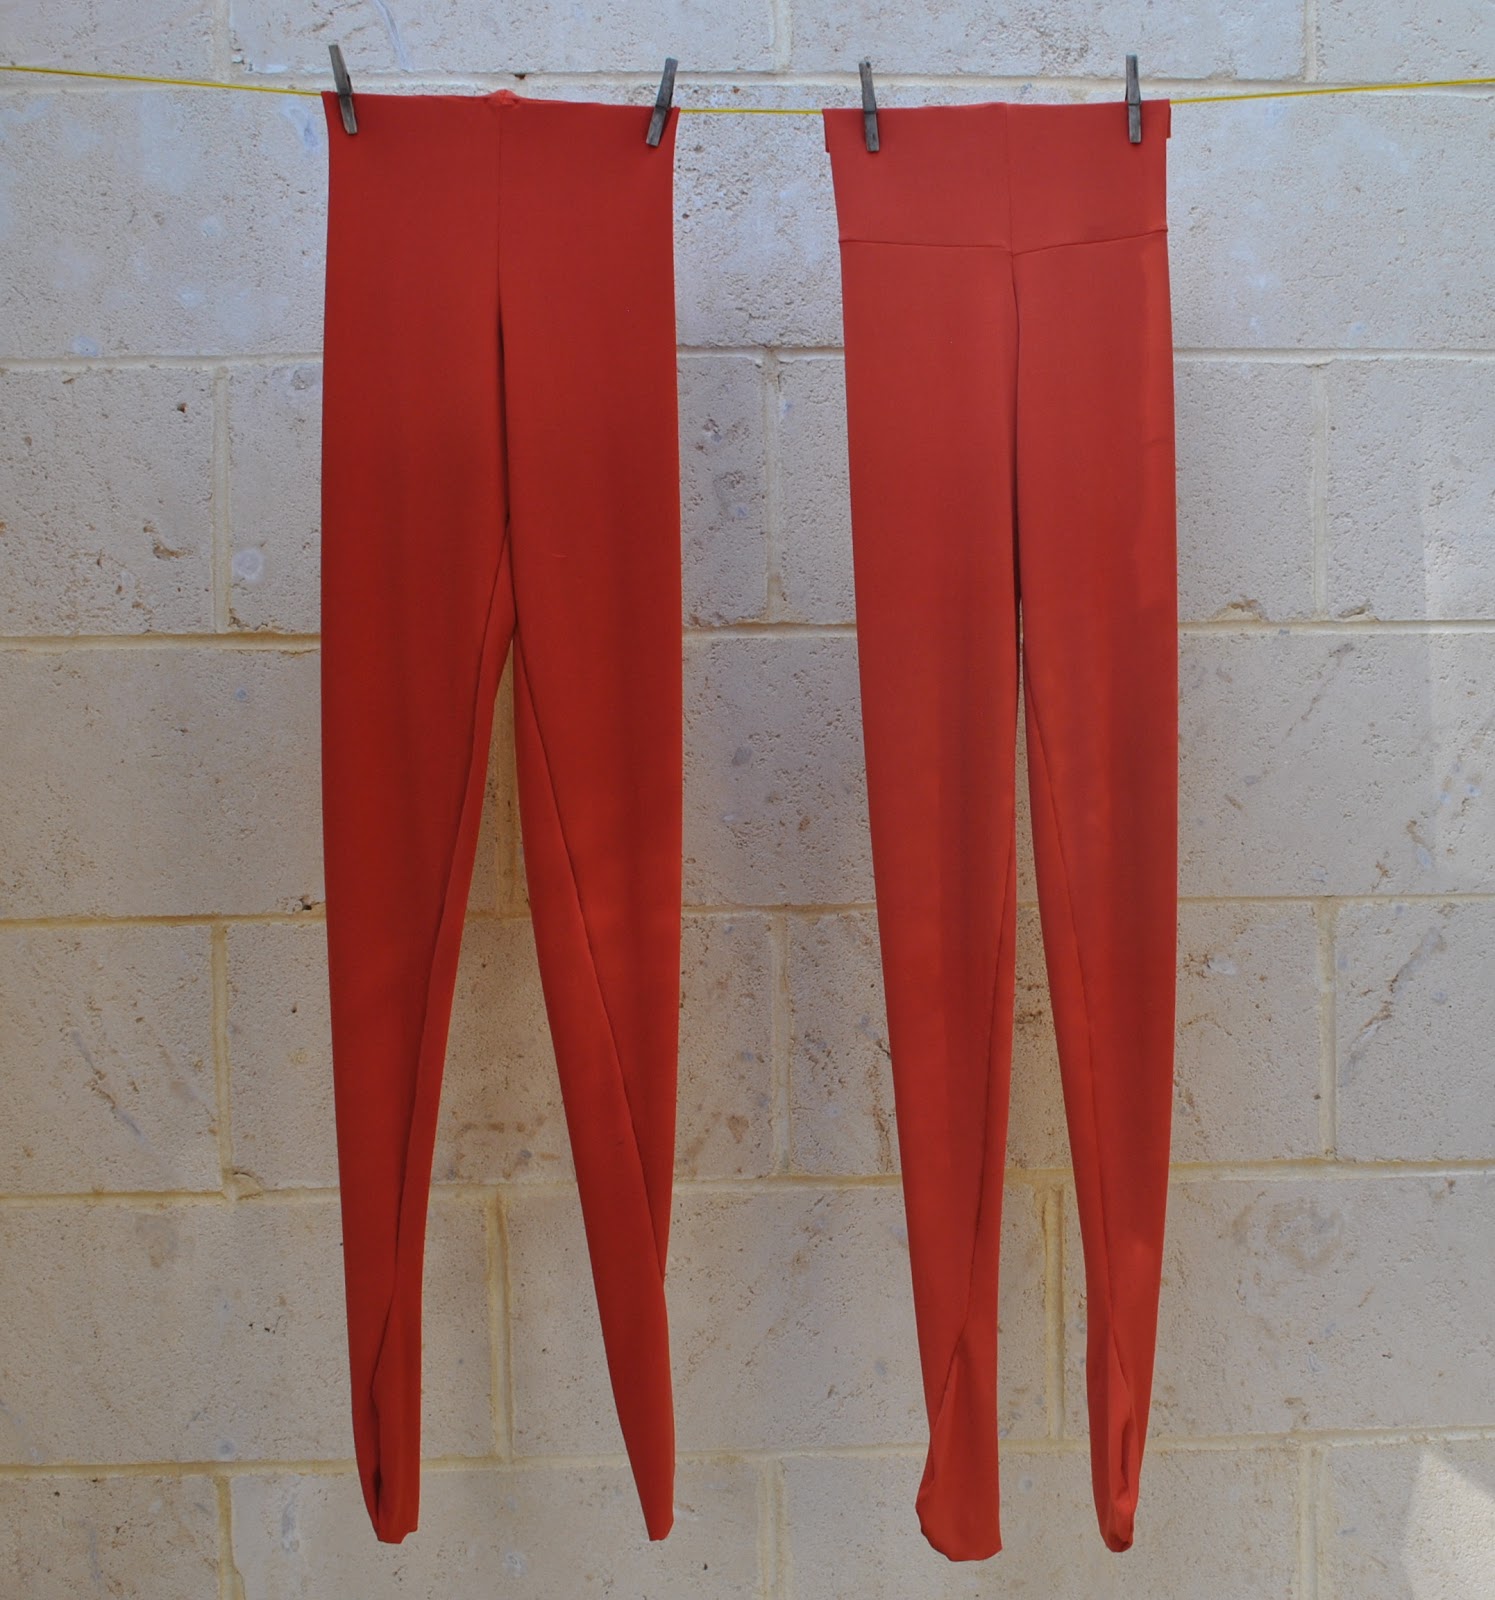
I used my own self-drafted pattern, and the piece was big enough to squeak out two pairs.  So I made one pair from each of the “sides” so one pair is marginally darker and redder, and the other pair is lighter, a bit more “pumpkin” than red.  The differences are very slight.  The pair I am wearing here is the left-hand “redder” pair.  I figure I will wear these exclusively until they get a hole, and then I can start on the reserve pair.

Verdict: well, the colour is bright but I LOVE it, and think it will fit in beautifully with my autumnal colour scheme.  I think cheerful tights will always have a place pepping up the sombre drab neutrals, the blacks, charcoal and browns that are the backbone of my winter wardrobe.  So these will be useful.
Now, I just need a black pair, and I think I will be all set for a me-made, warm legged winter….  ðŸ™‚

Details:
Tights; self-drafted using my own tutorial for making custom fit tights, rusty orange polyester knit
Top; half of a self-drafted twinset, leopard print knit, details here, and see this twinset styled in 6 different ways here
Dress; the gathered hole from Pattern Magic, charcoal fabric, details here
Shoes; Francesco Morichetti, from Zomp shoes

in my family’s me-made efforts today; Craig is wearing this shirt again, Cassie is wearing these hand-knit socks, and Sam is wearing this shirt

Craig’s shirt; Burda 7767, striped cotton with yellow facings, details here
Cassie’s socks; knitted by me to a 60’s pattern, 2ply wool, details here
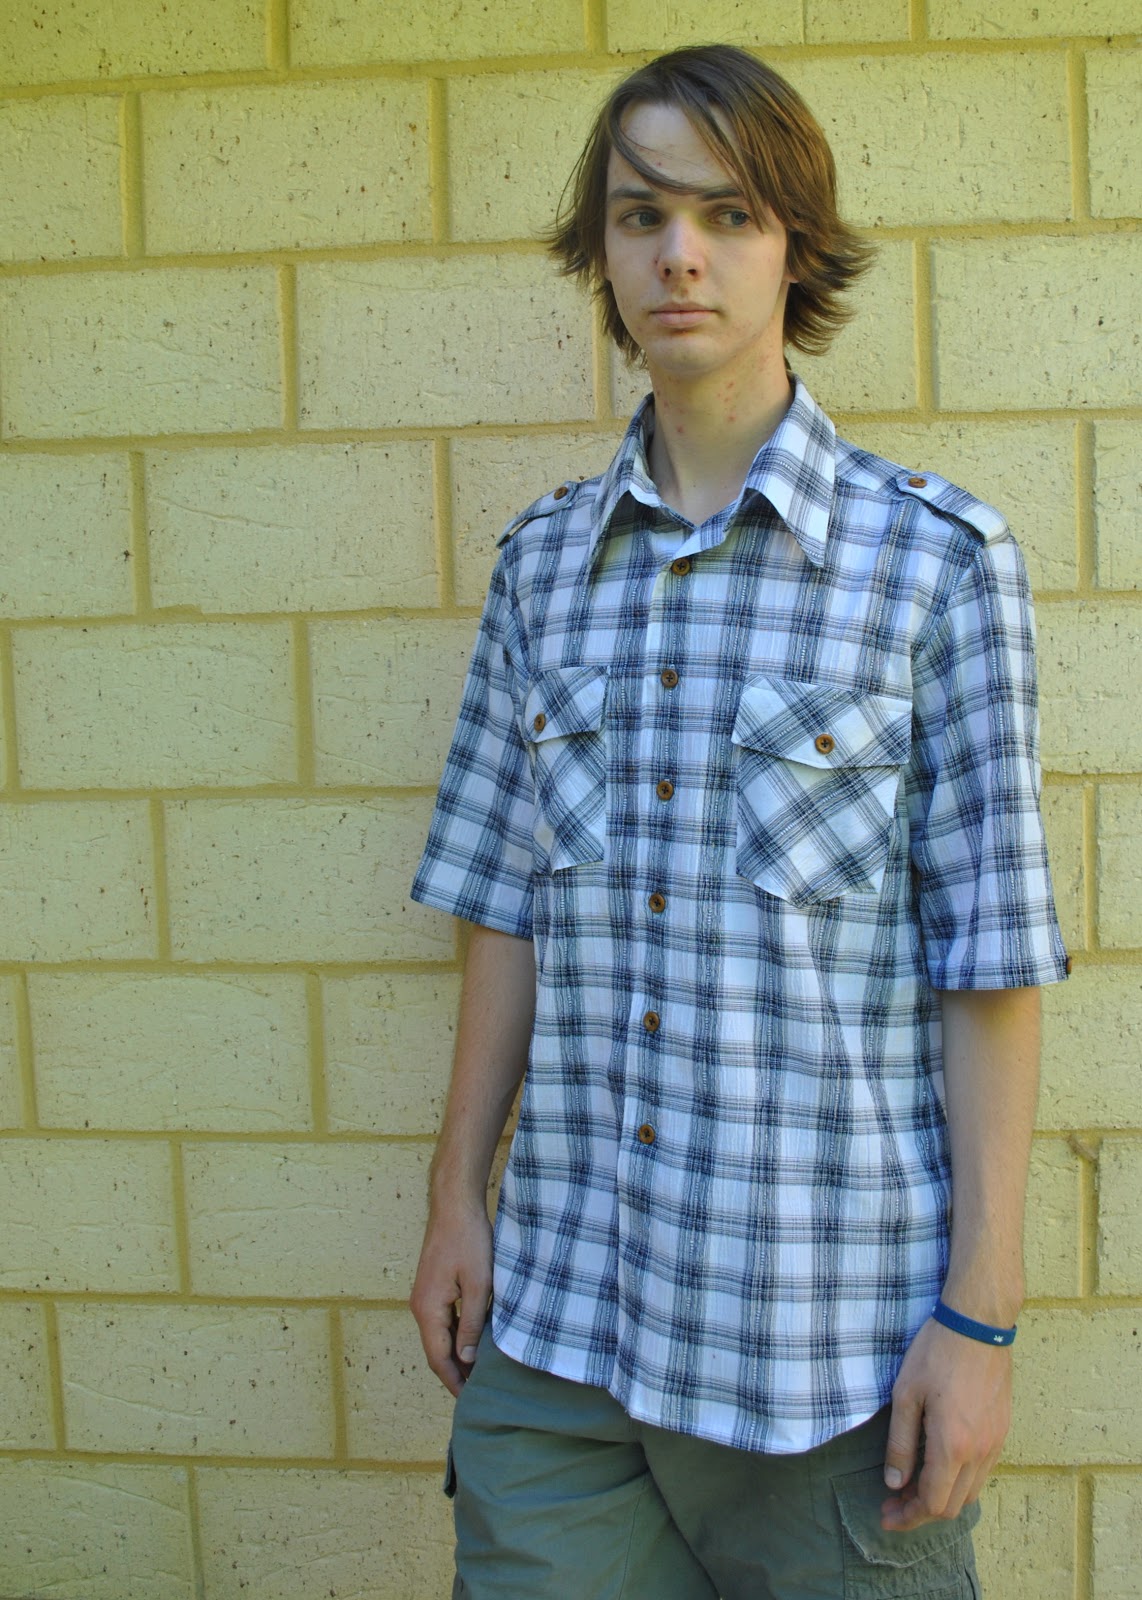
Sam’s shirt; Burda 7767 modified, navy and white check fabric, details here

pinterestmail
Switch to mobile version
↓