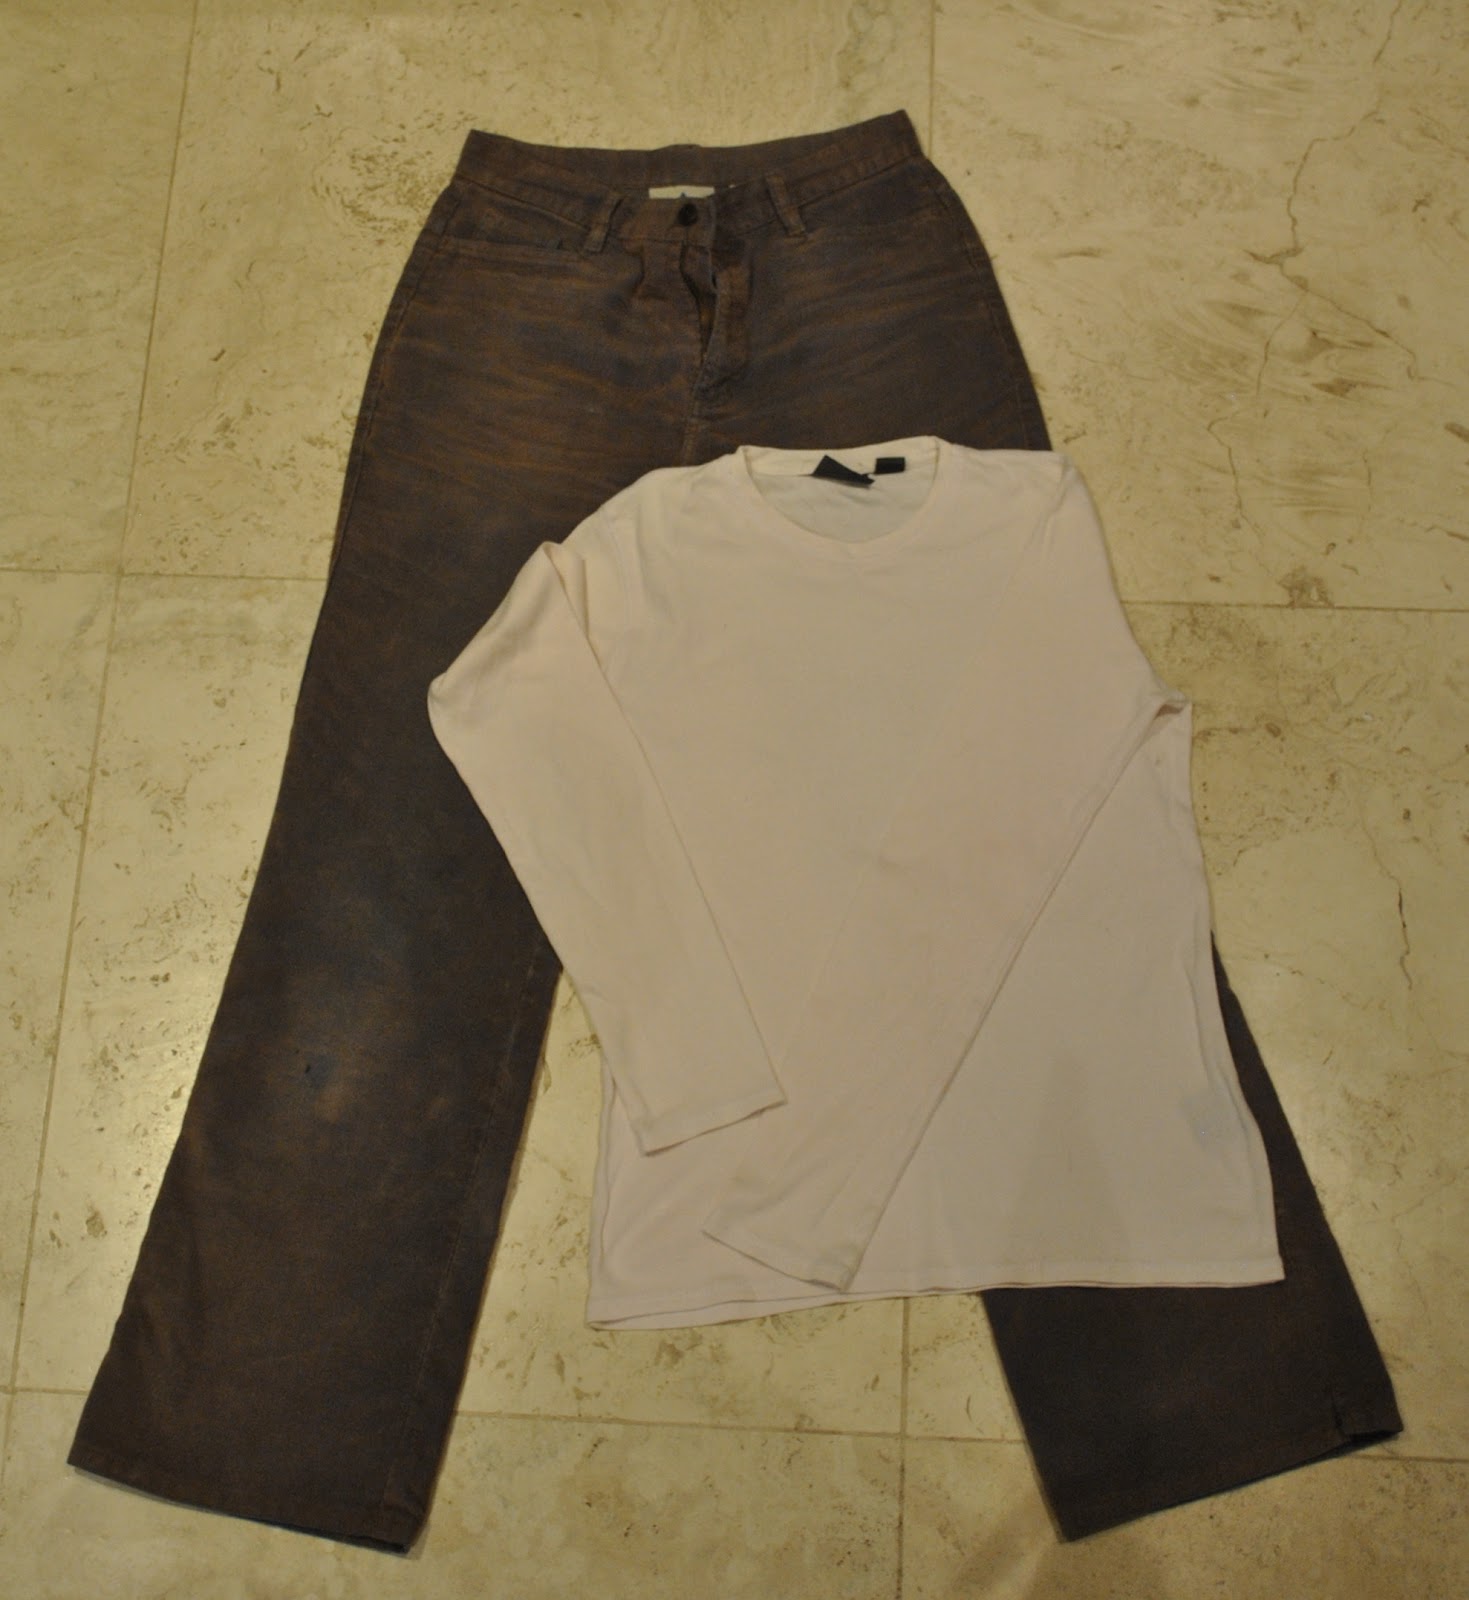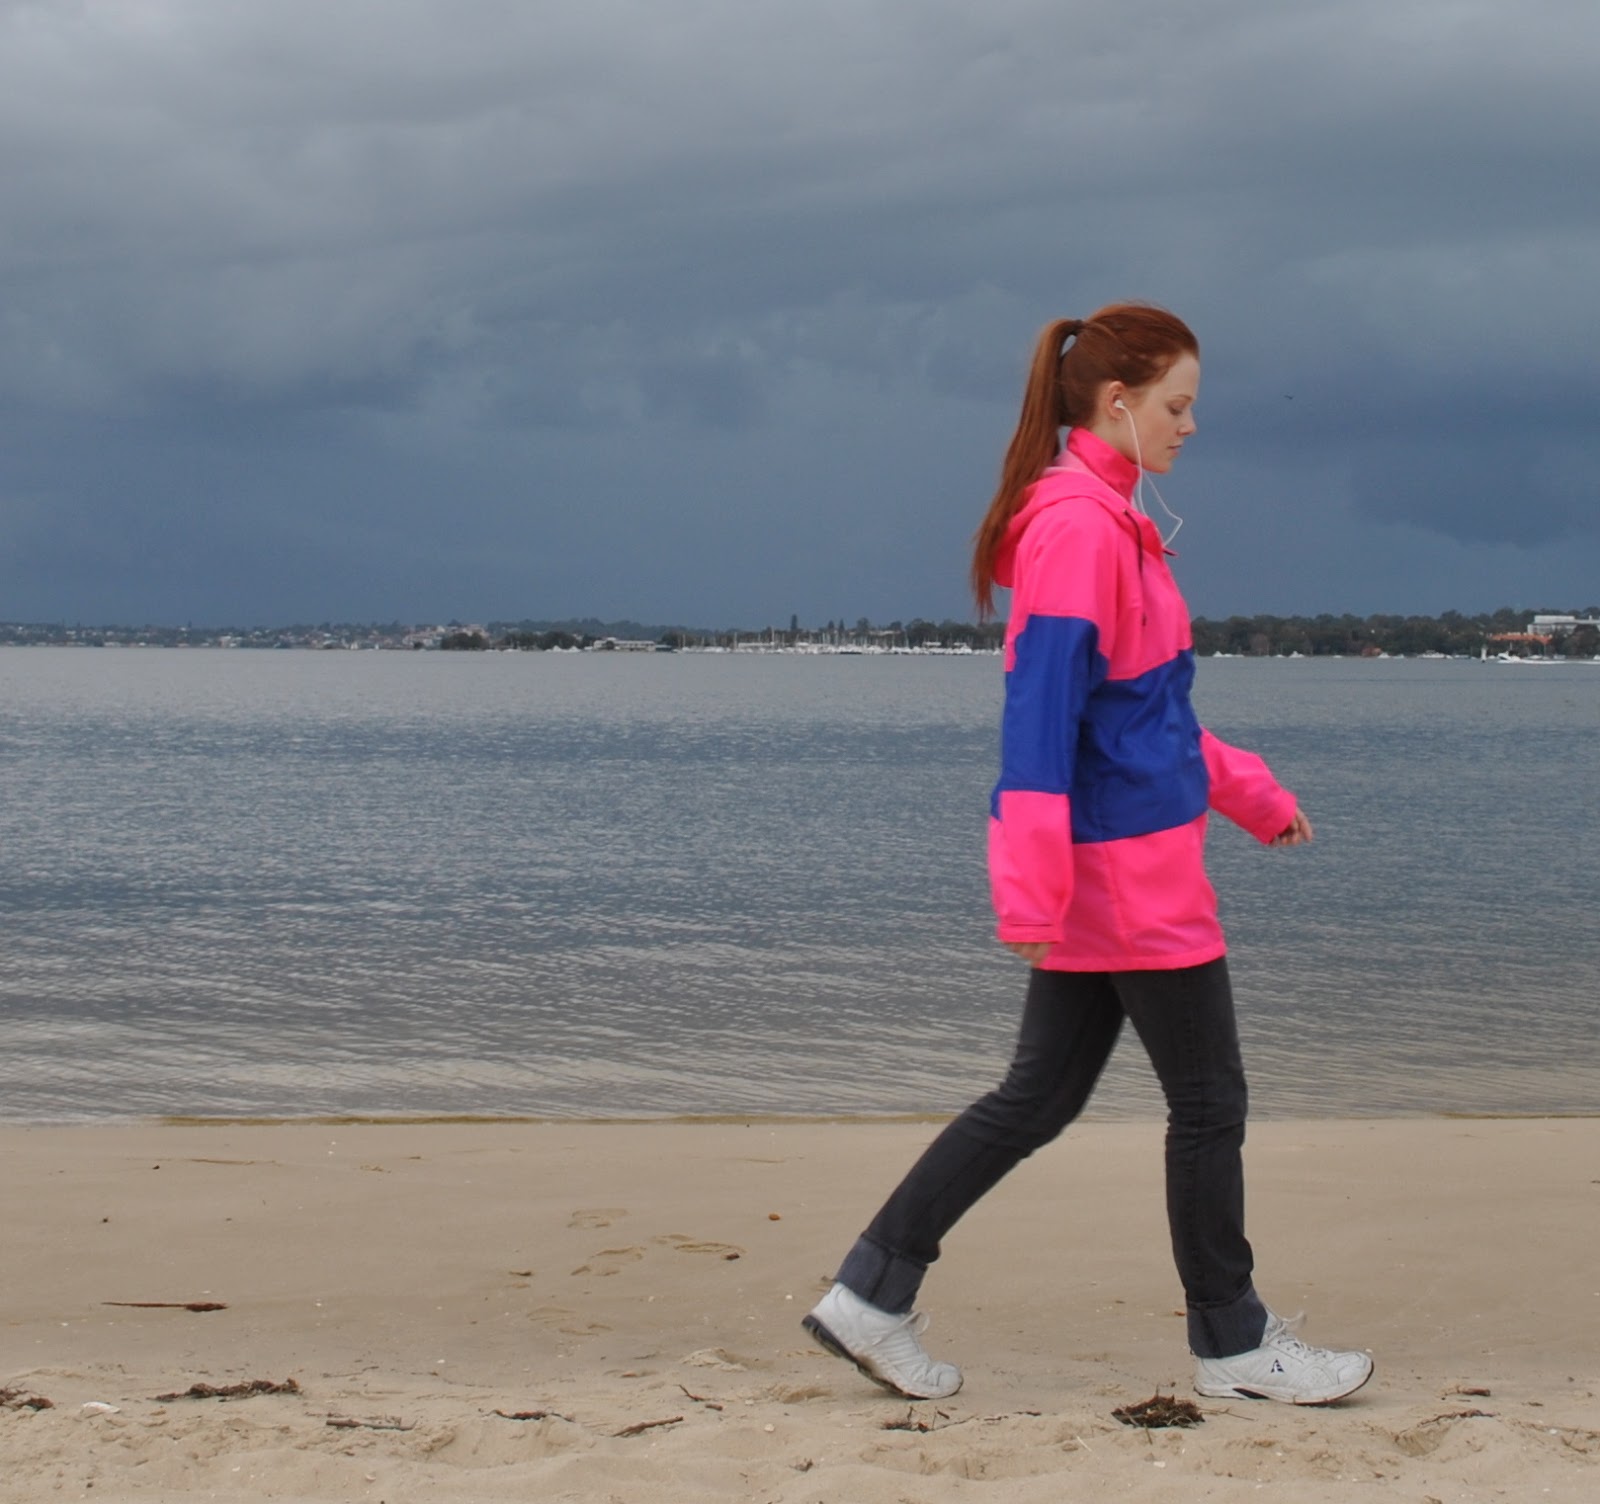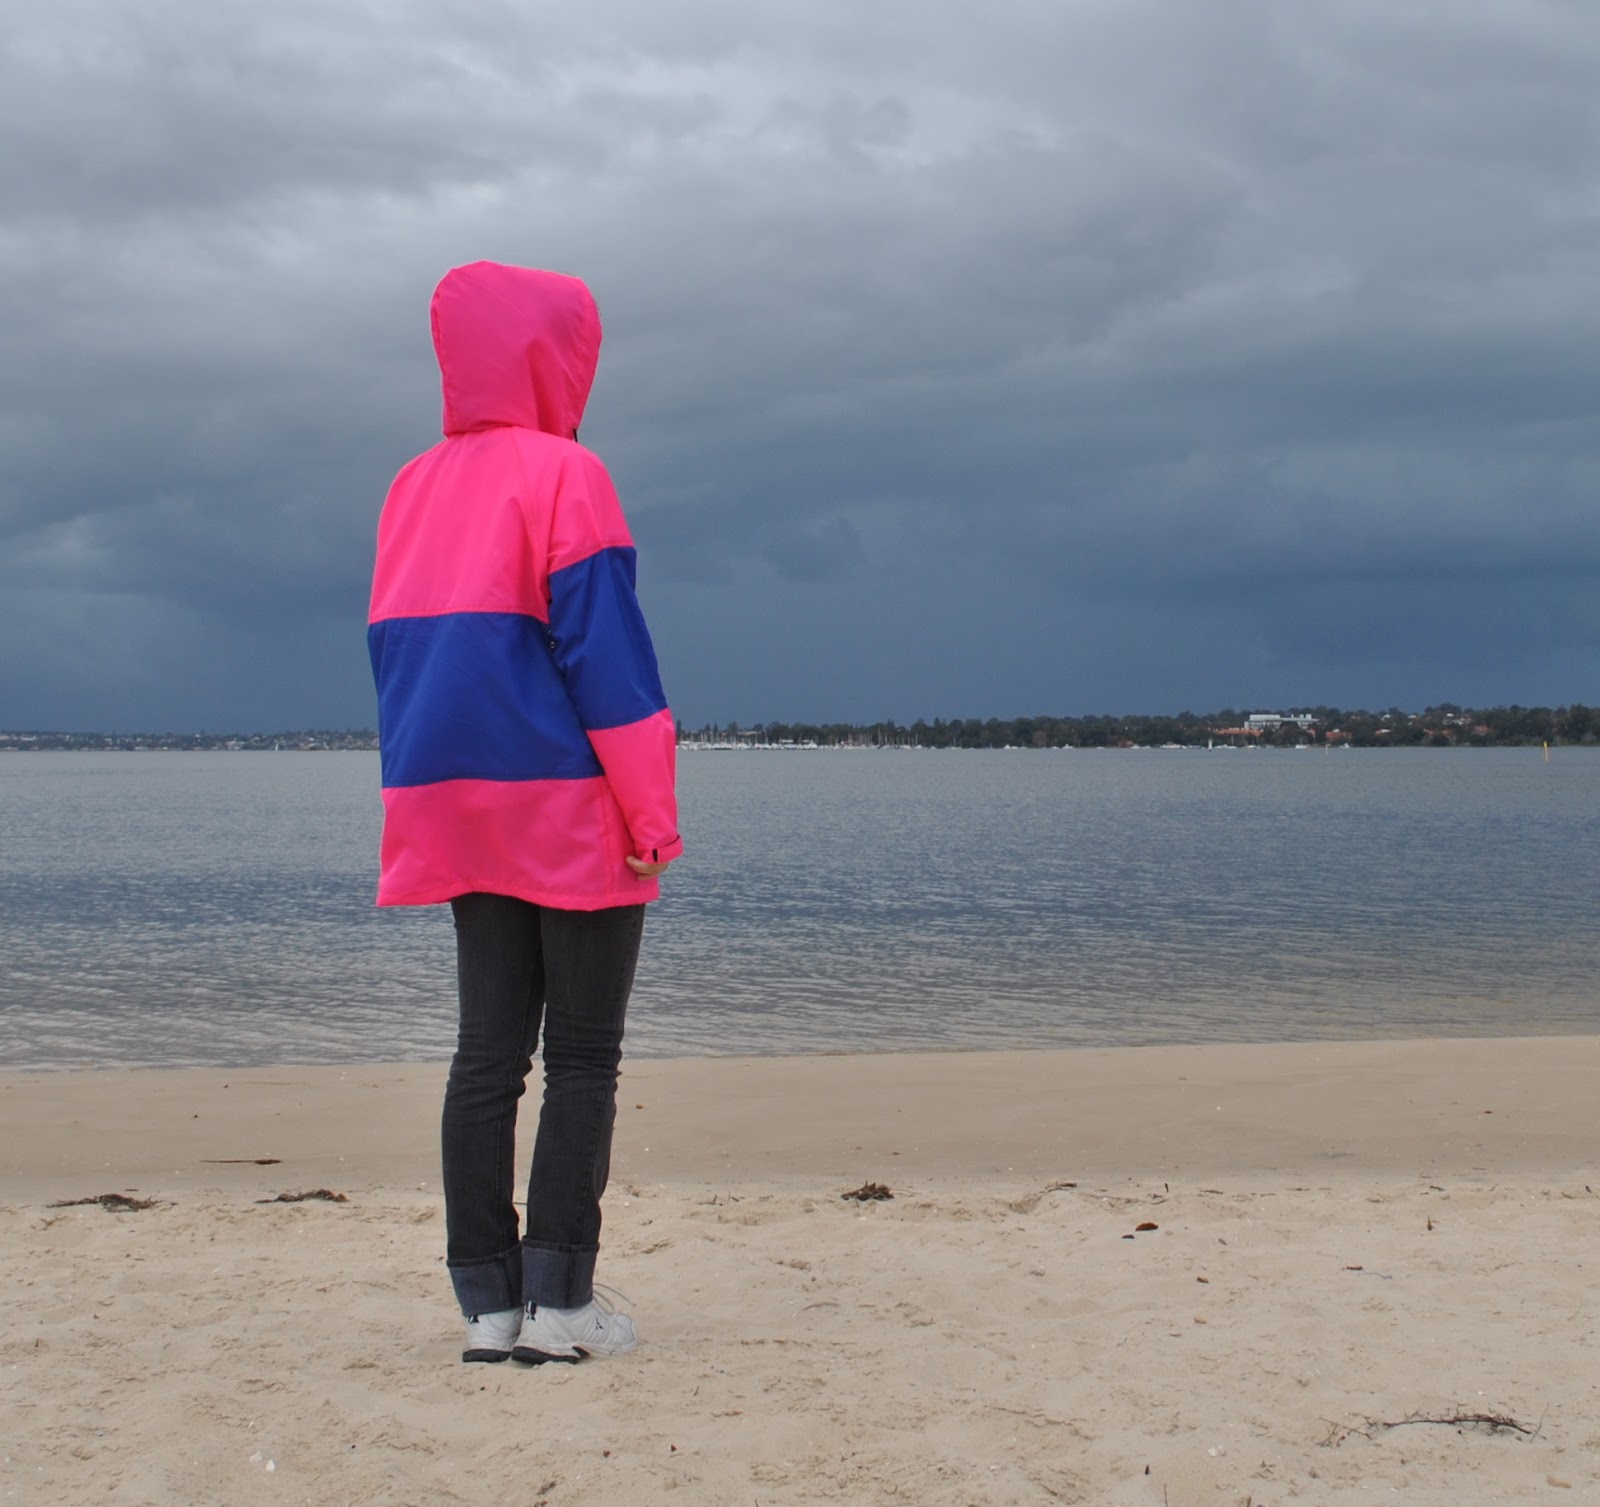
I have made a few new
Tshirts…
Tshirts…
I’ve noticed a few examples
of mixing and matching different colour and/or width stripes in the one Tshirt,
and decided to have a go at adding something like to my wardrobe; using up some scraps and a few more of the old Tshirts in my bag
of refashioning garments…
of mixing and matching different colour and/or width stripes in the one Tshirt,
and decided to have a go at adding something like to my wardrobe; using up some scraps and a few more of the old Tshirts in my bag
of refashioning garments…
Below: I took both these
pictures from Australian Vogue, at left is part of a Tommy Hilfiger advert; at
right, from the Antipodium resort ’13 collection.
pictures from Australian Vogue, at left is part of a Tommy Hilfiger advert; at
right, from the Antipodium resort ’13 collection.

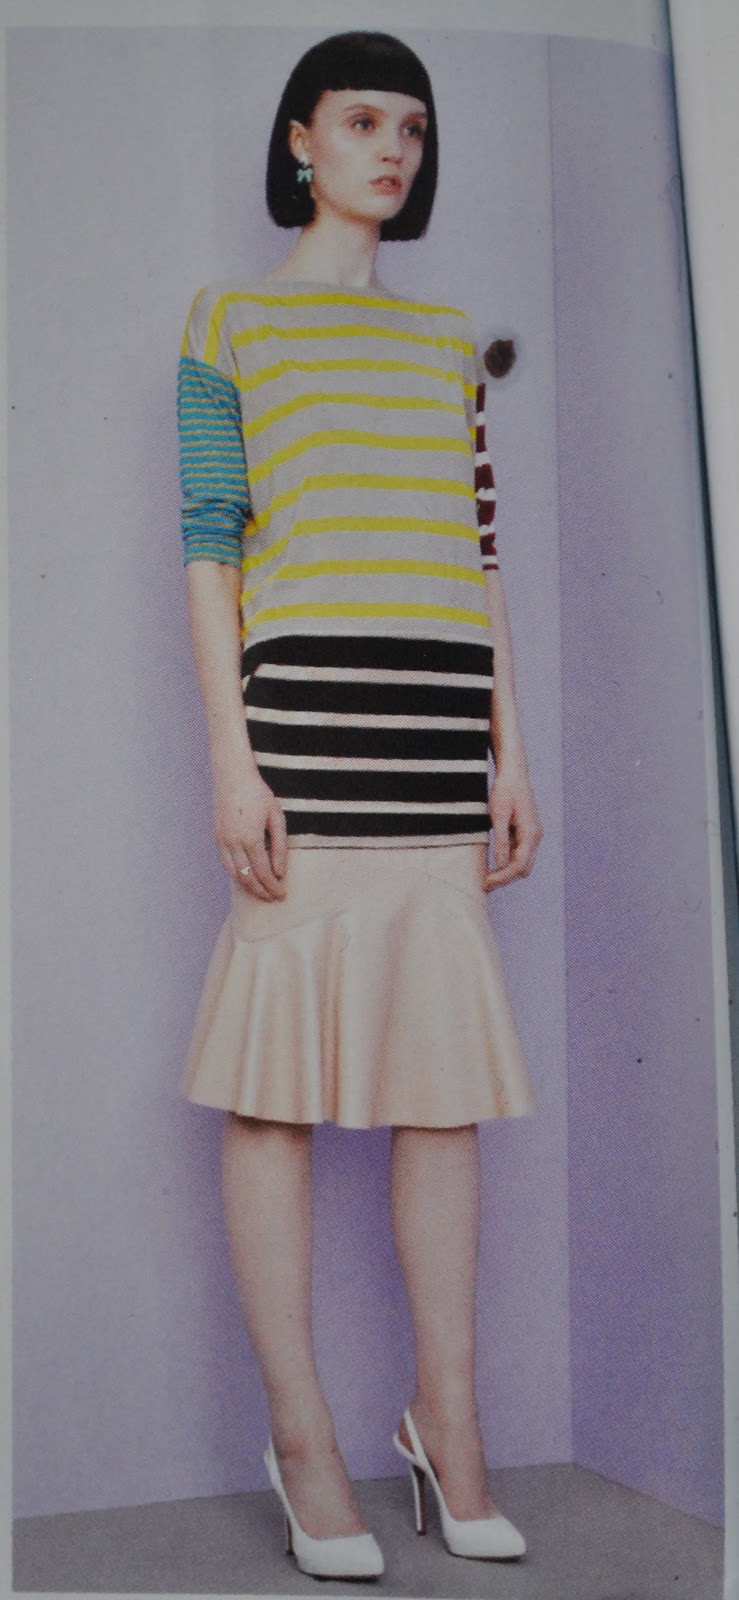
Quite interesting, yes?
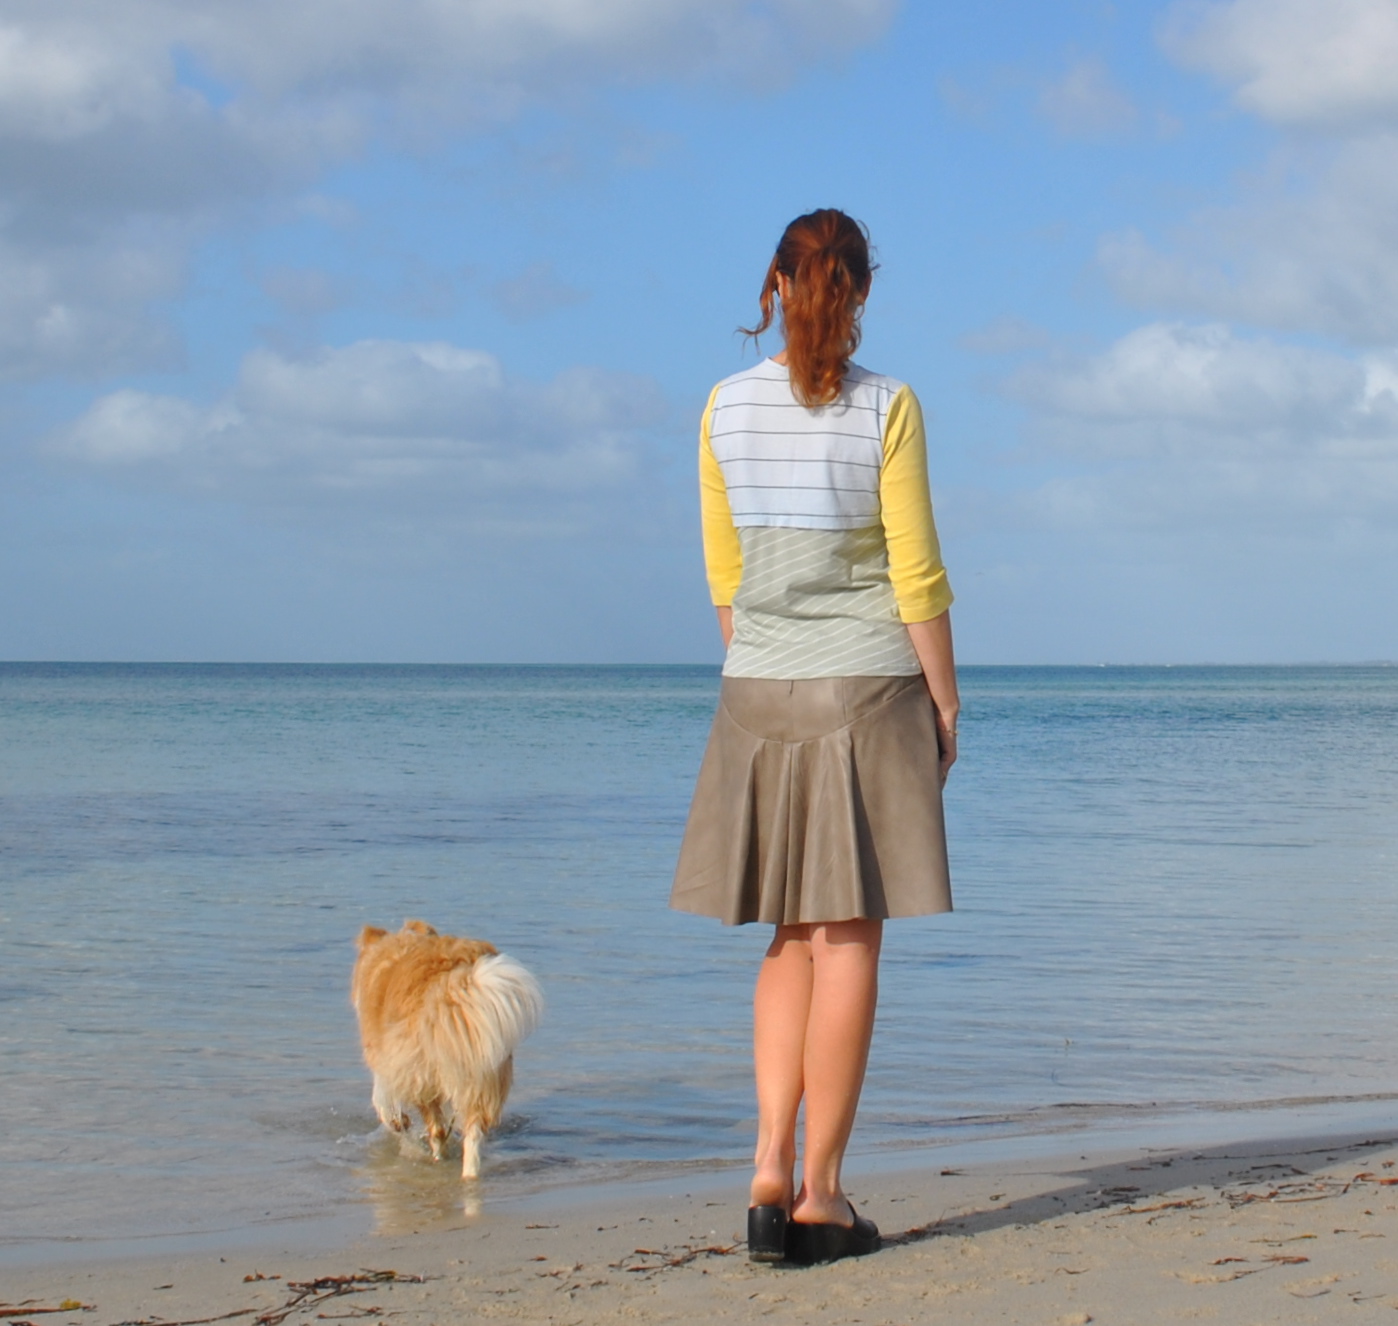
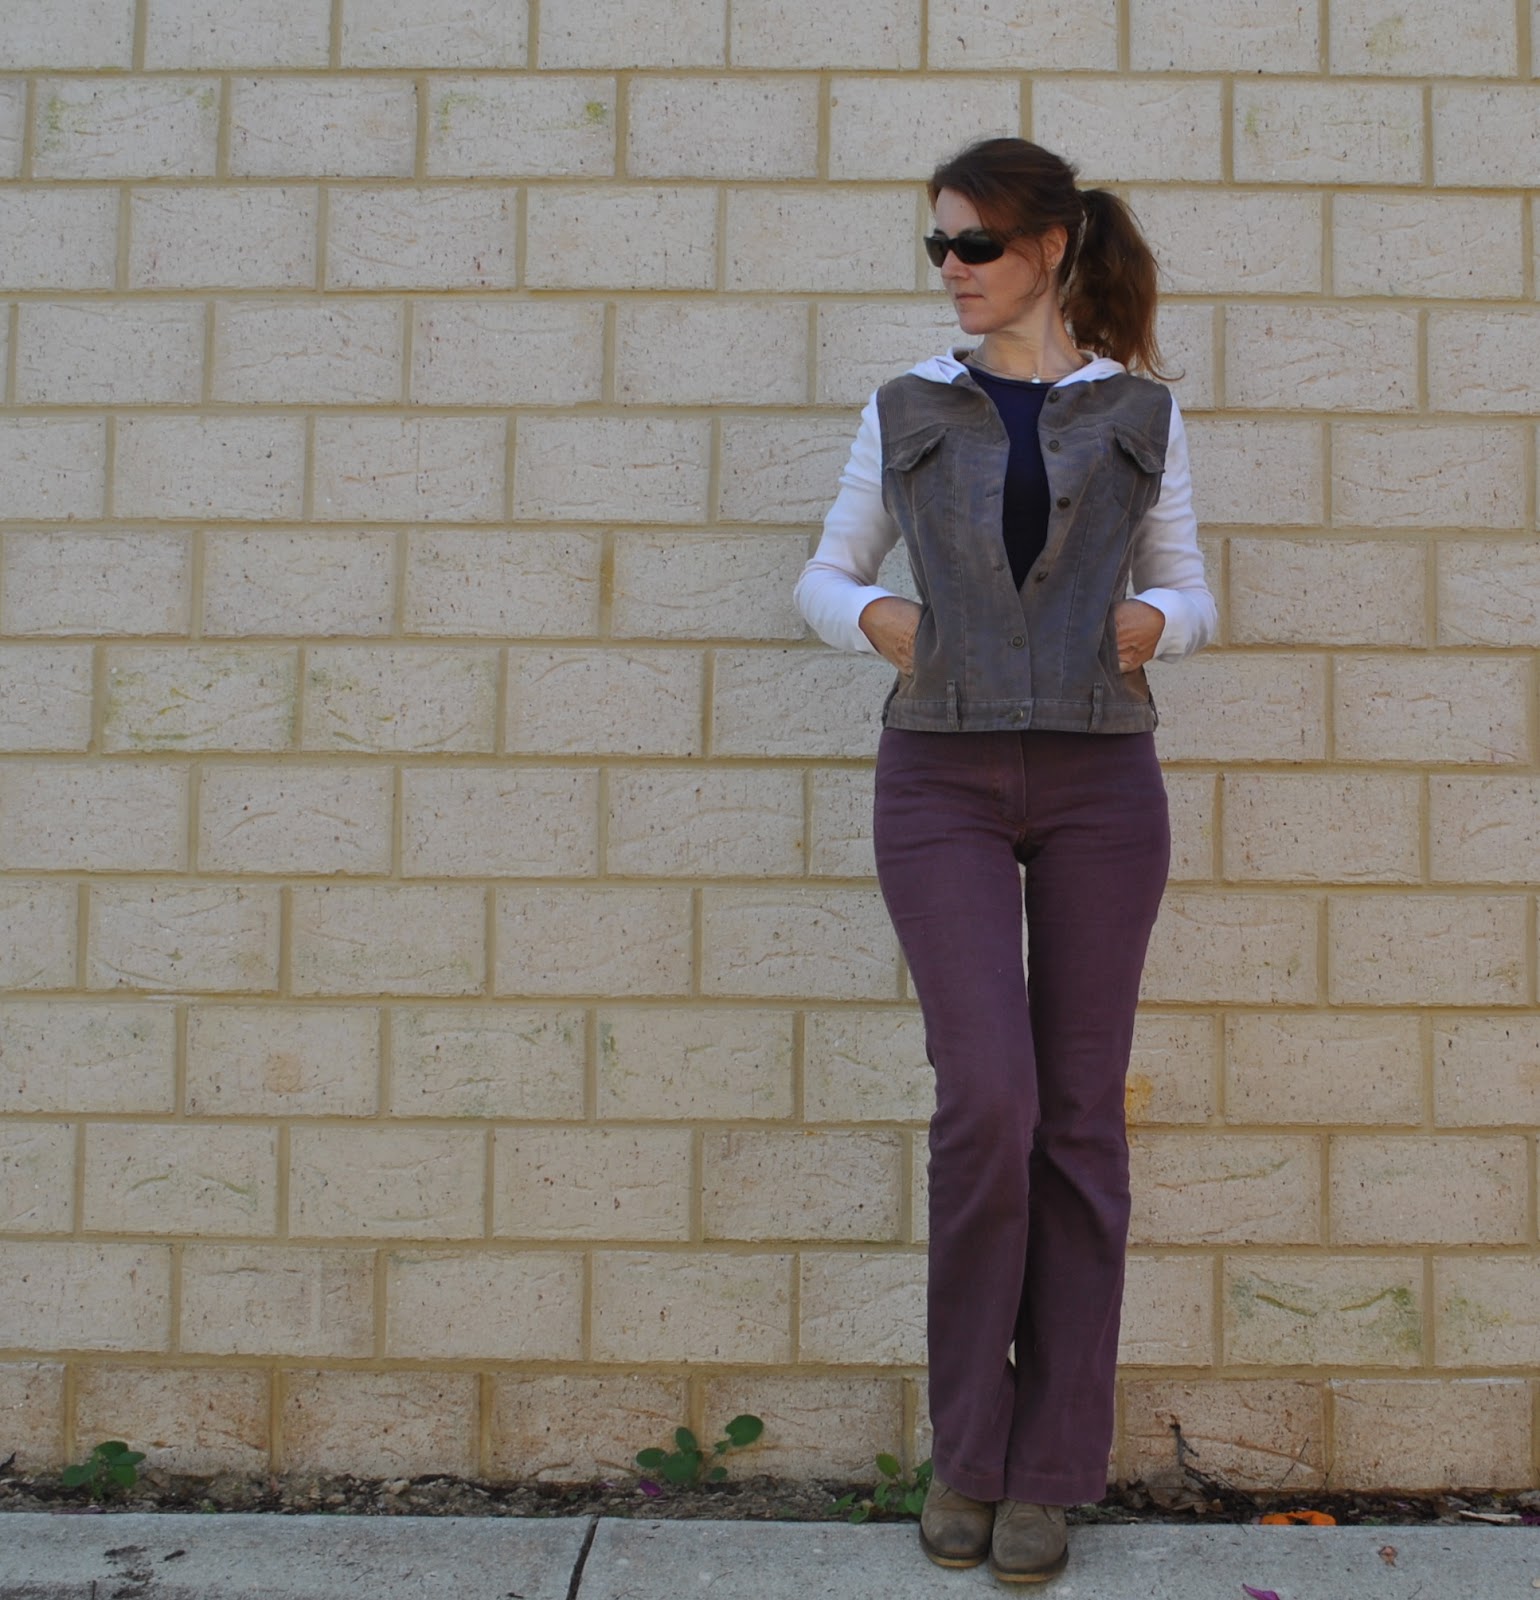
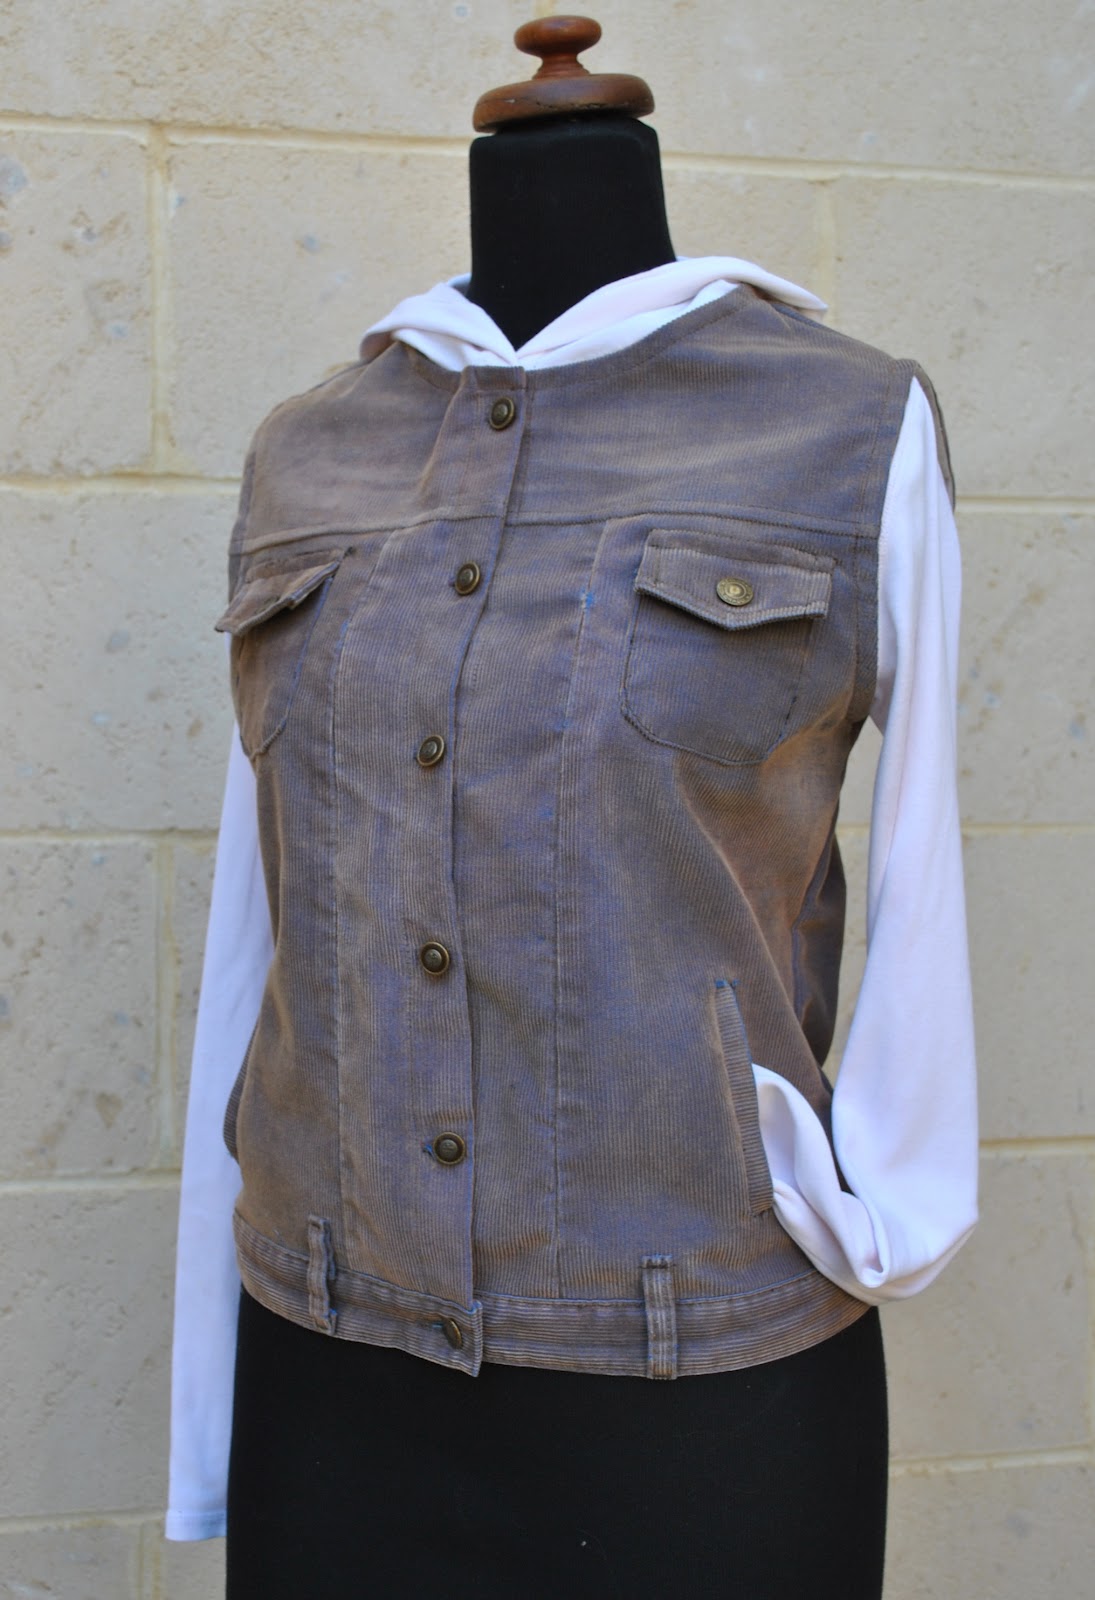
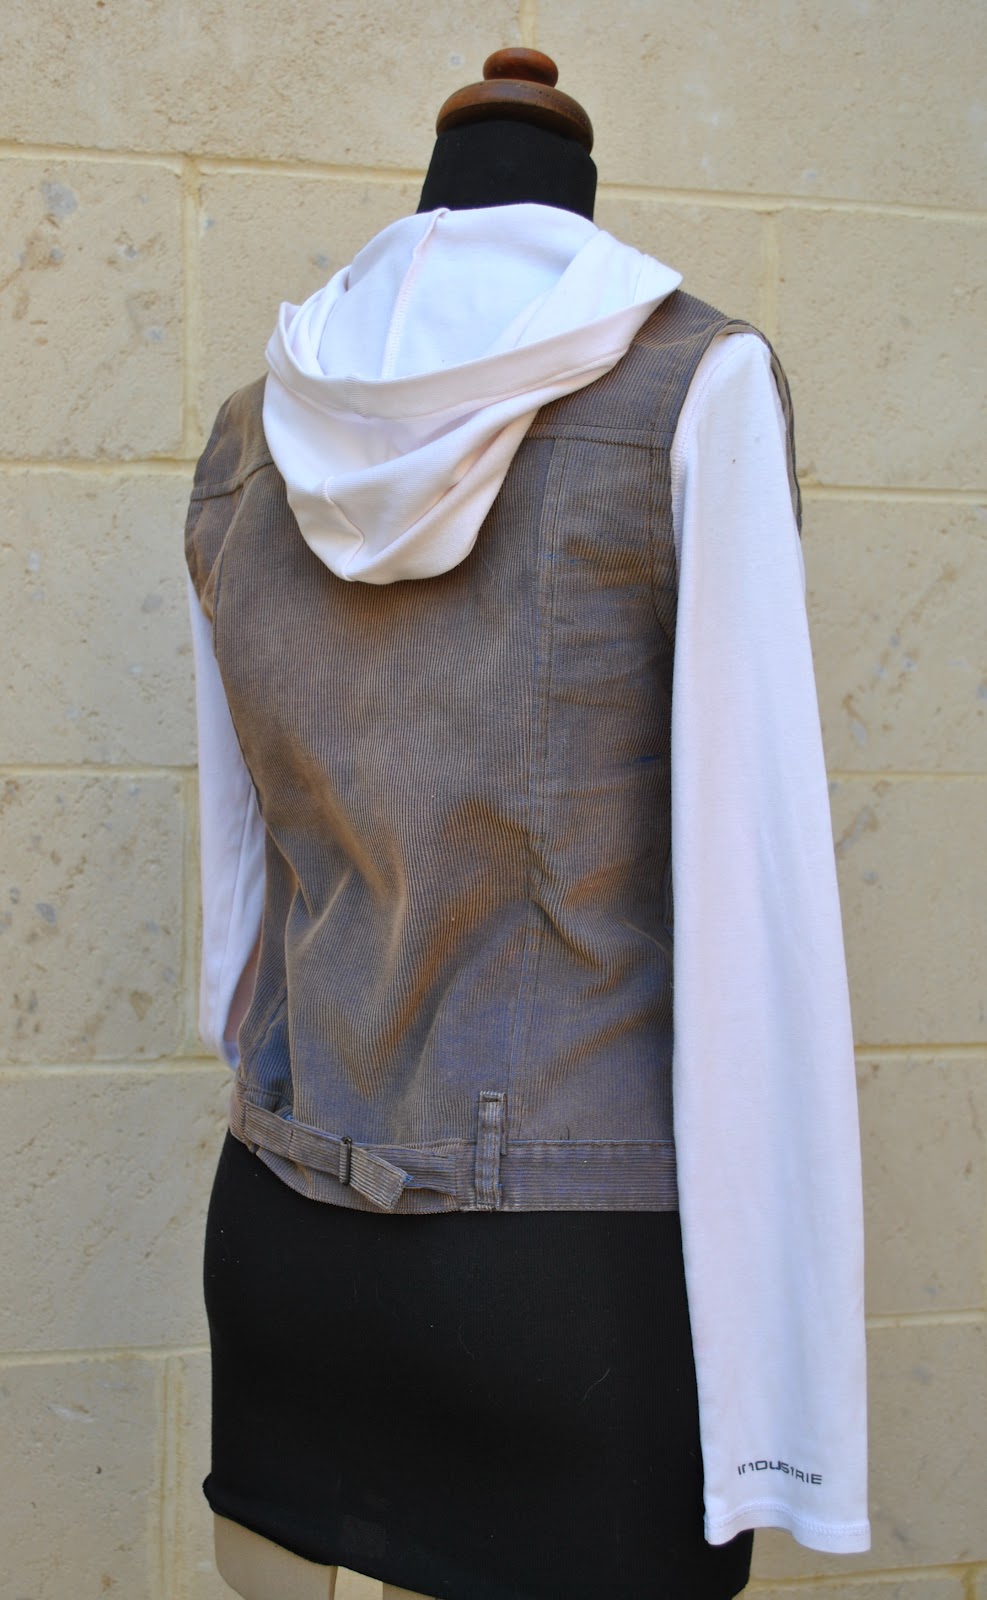
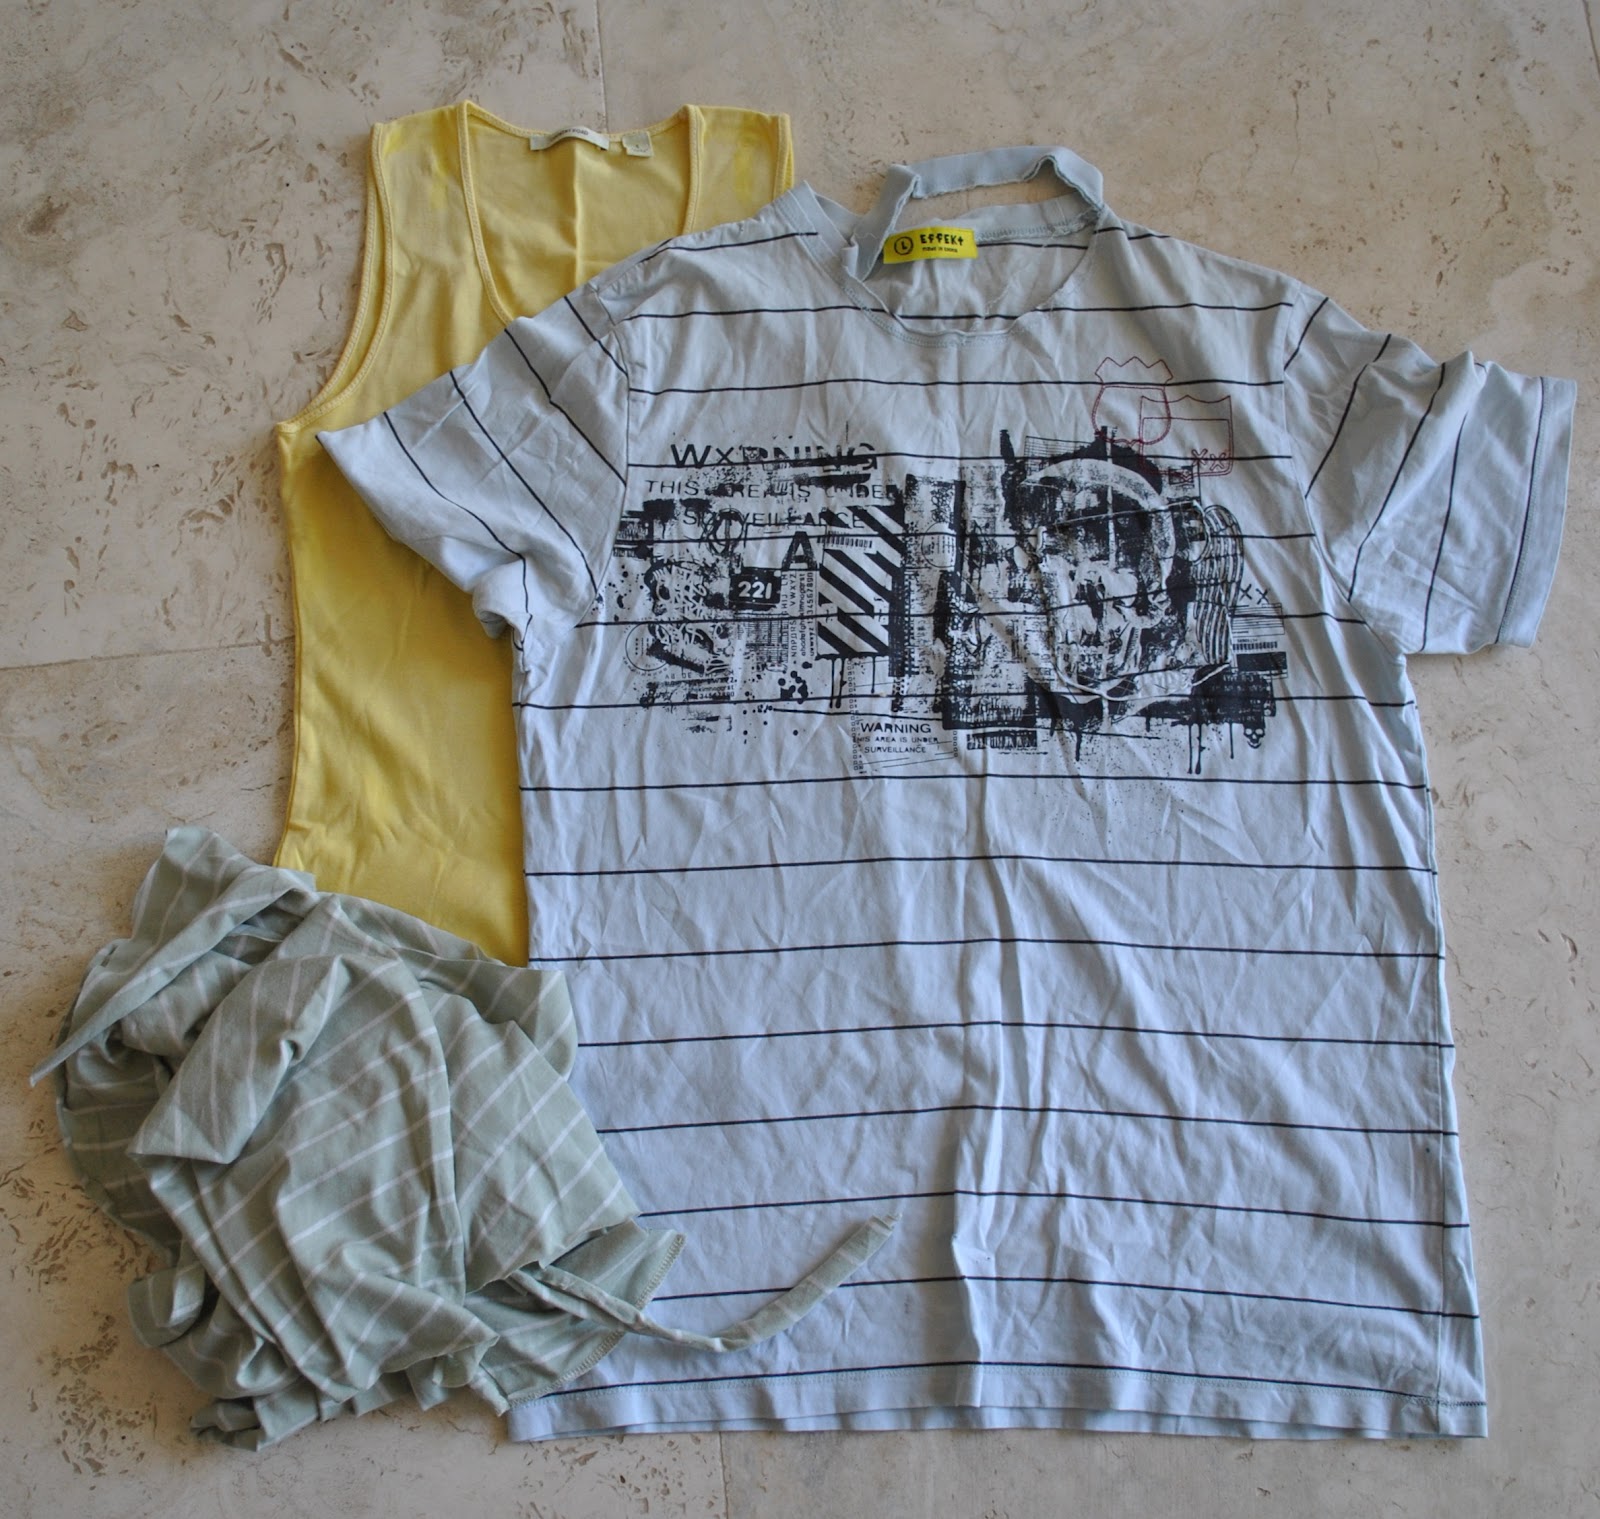
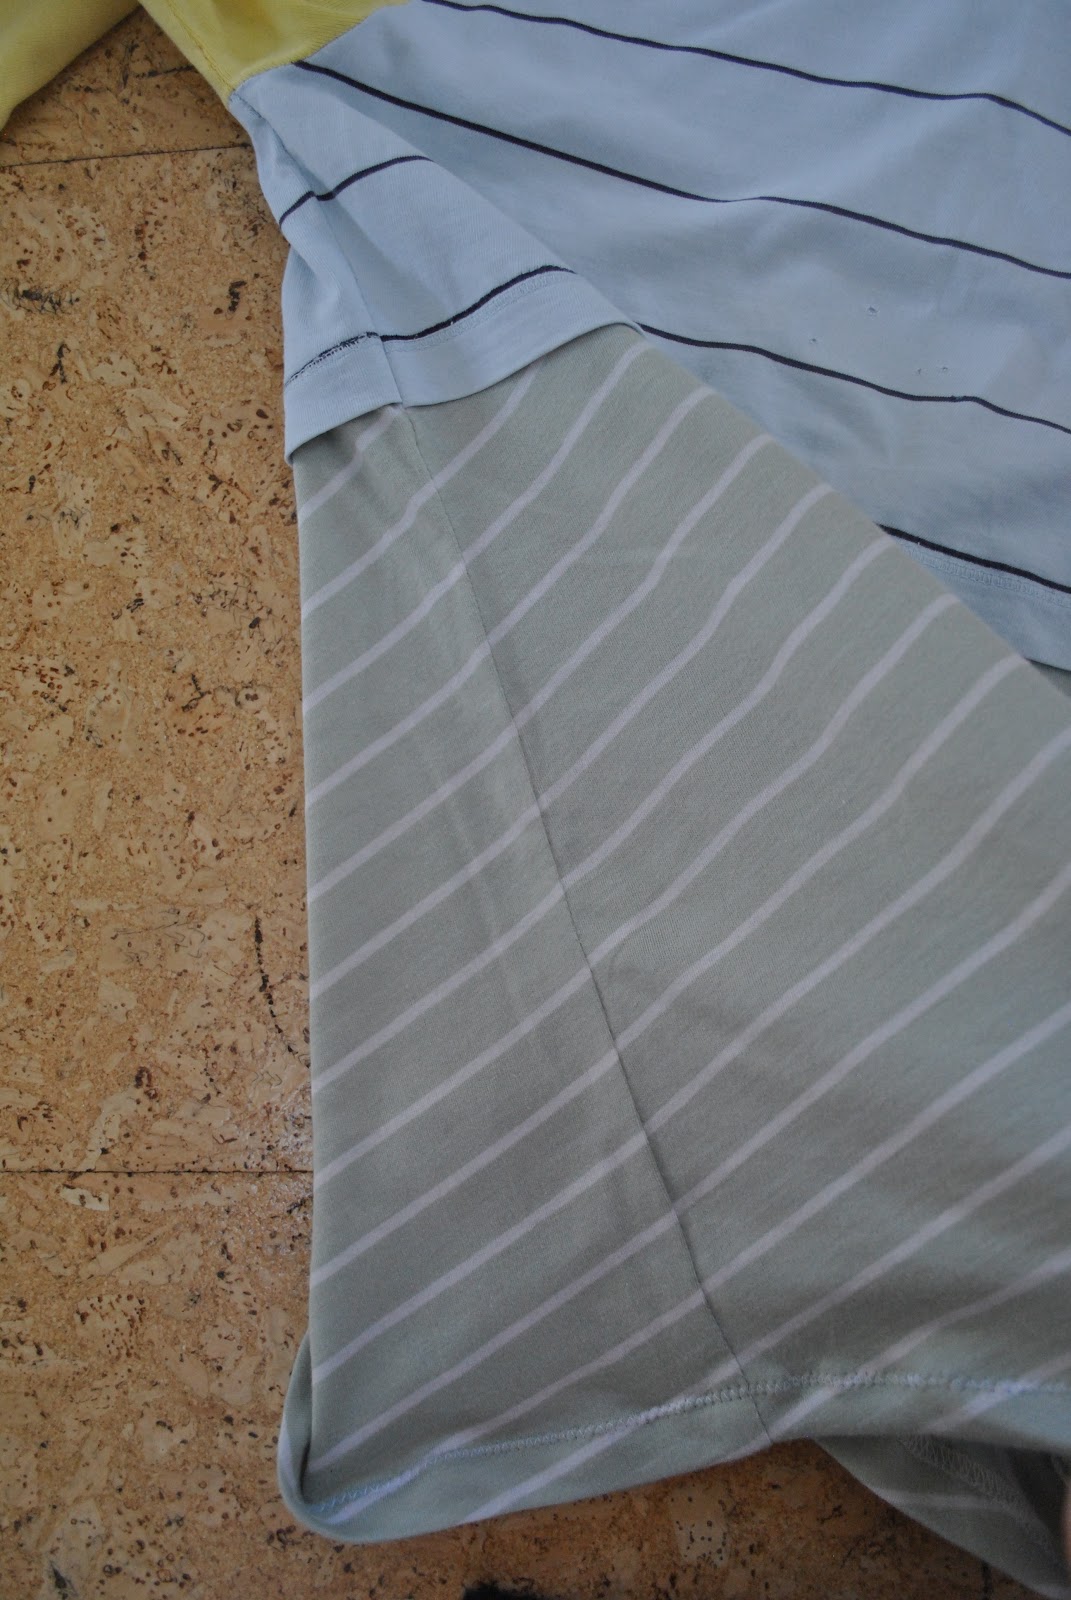
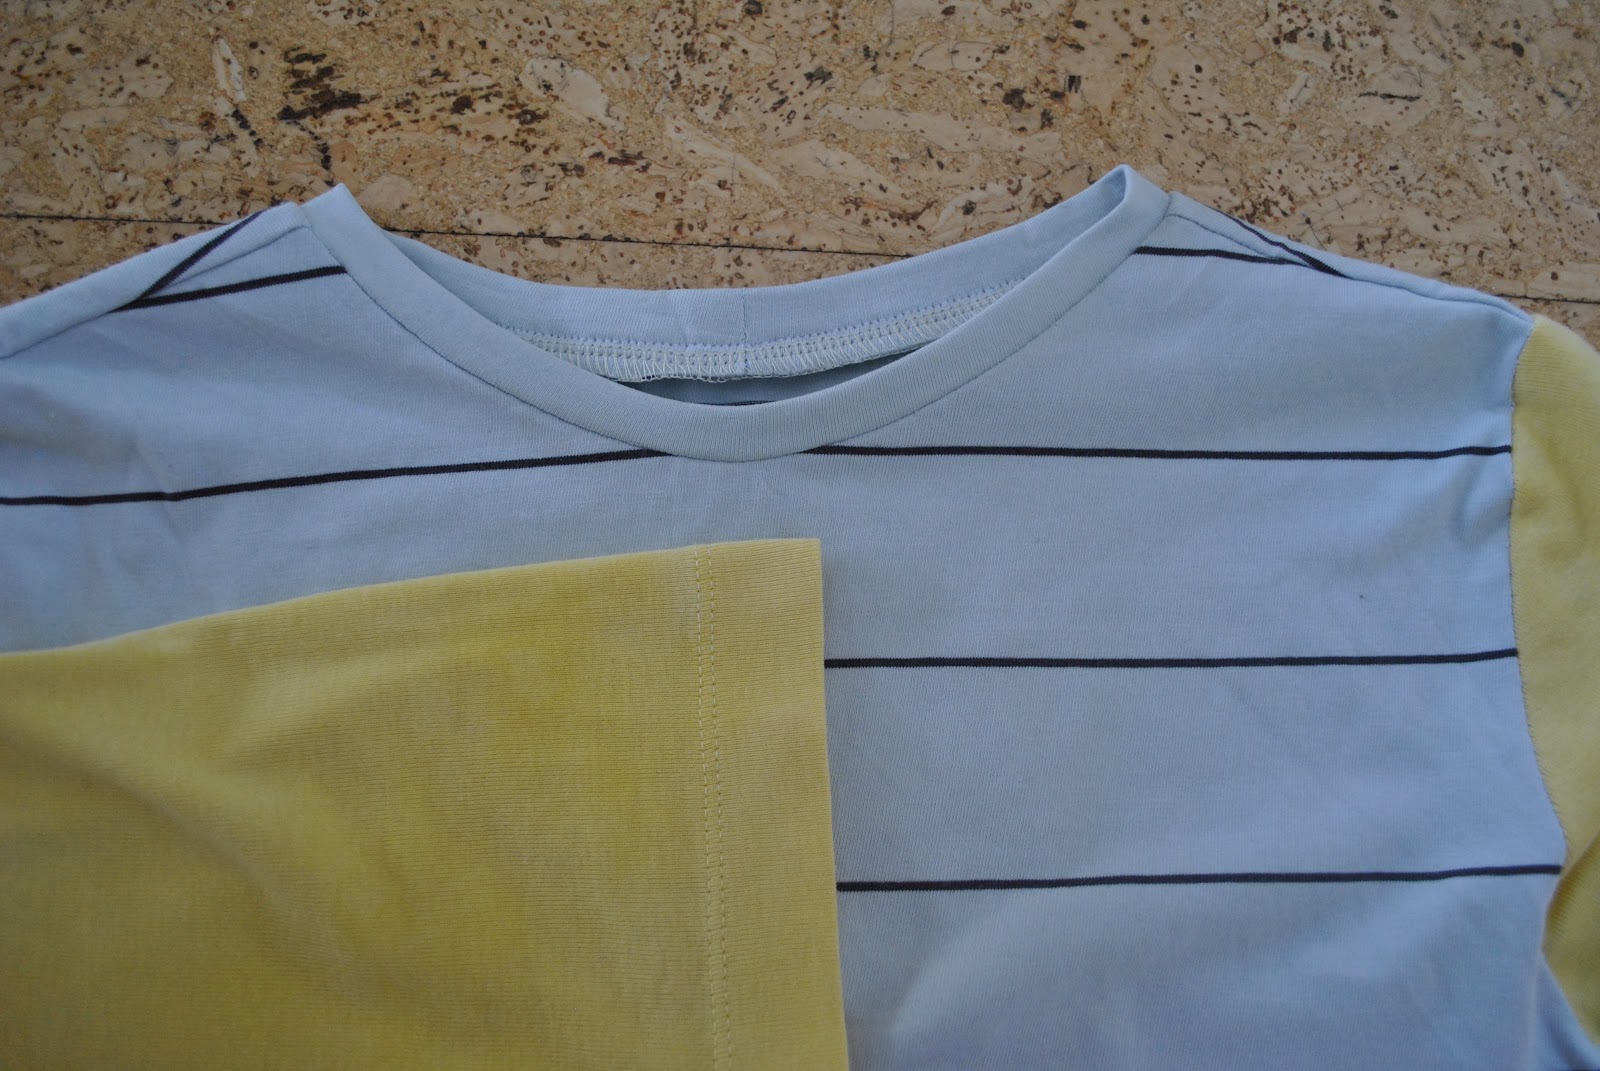
My Tshirt is made from: the baby blue with thin black stripe is cut
from one of Tim’s old Tshirts; the sage green with diagonal white stripes is
leftover fabric from a top Cassie made for herself; and the yellow sleeves are
cut from one of my old tank tops, that was once white and that I dyed yellow
with ground turmeric, here. The
green/white stripe fabric is an interesting print; the stripe is on the diagonal! So while it looks like the lower part
of the body is cut on the bias, it is not!
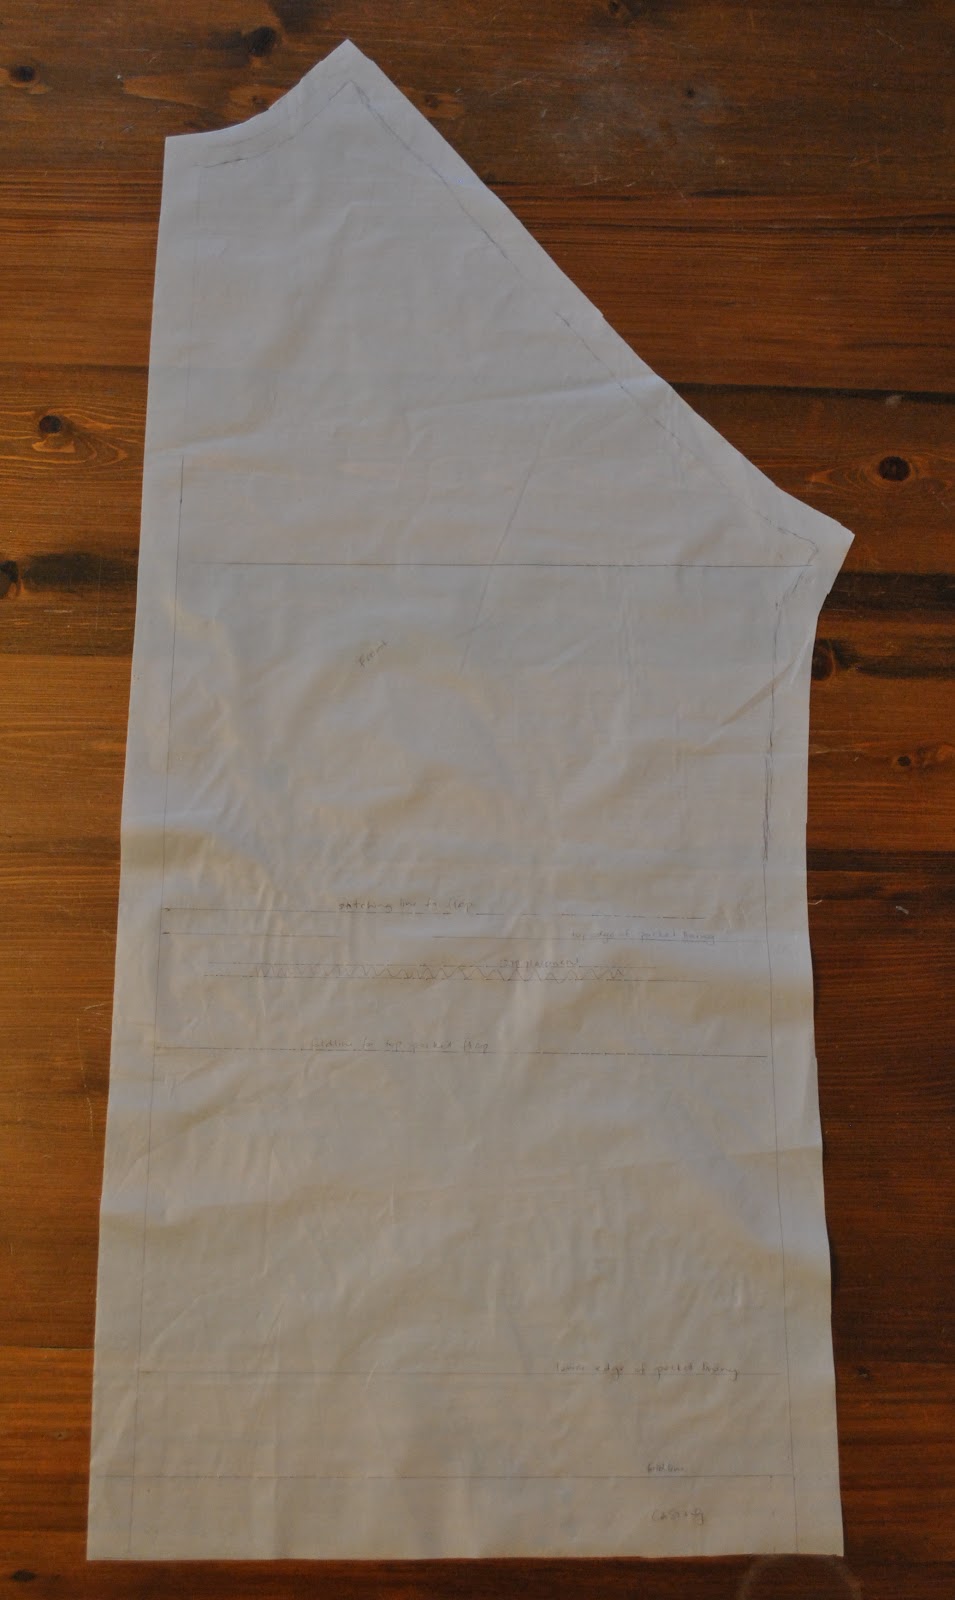
The pattern is my own
self-drafted pattern, with the sides cut straight down, instead of my usual
fitted-to-the-waist curve, because I wanted to match those diagonal stripes
down each side, this would have been a Mission Impossible with a waist curve! I’m pleased to say, mission was accomplished.
self-drafted pattern, with the sides cut straight down, instead of my usual
fitted-to-the-waist curve, because I wanted to match those diagonal stripes
down each side, this would have been a Mission Impossible with a waist curve! I’m pleased to say, mission was accomplished.
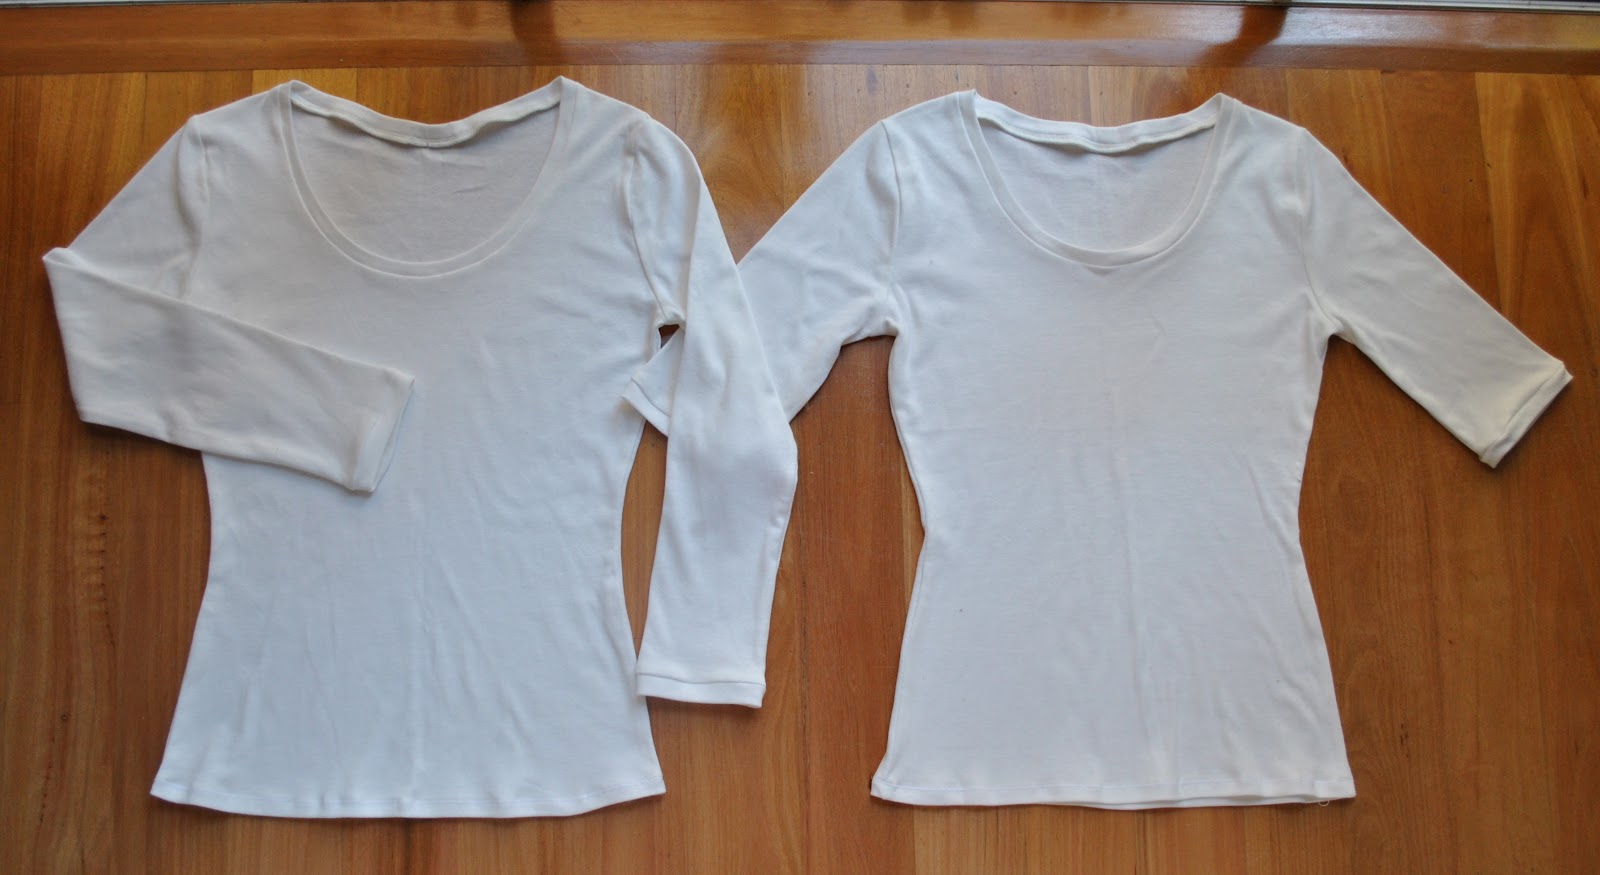
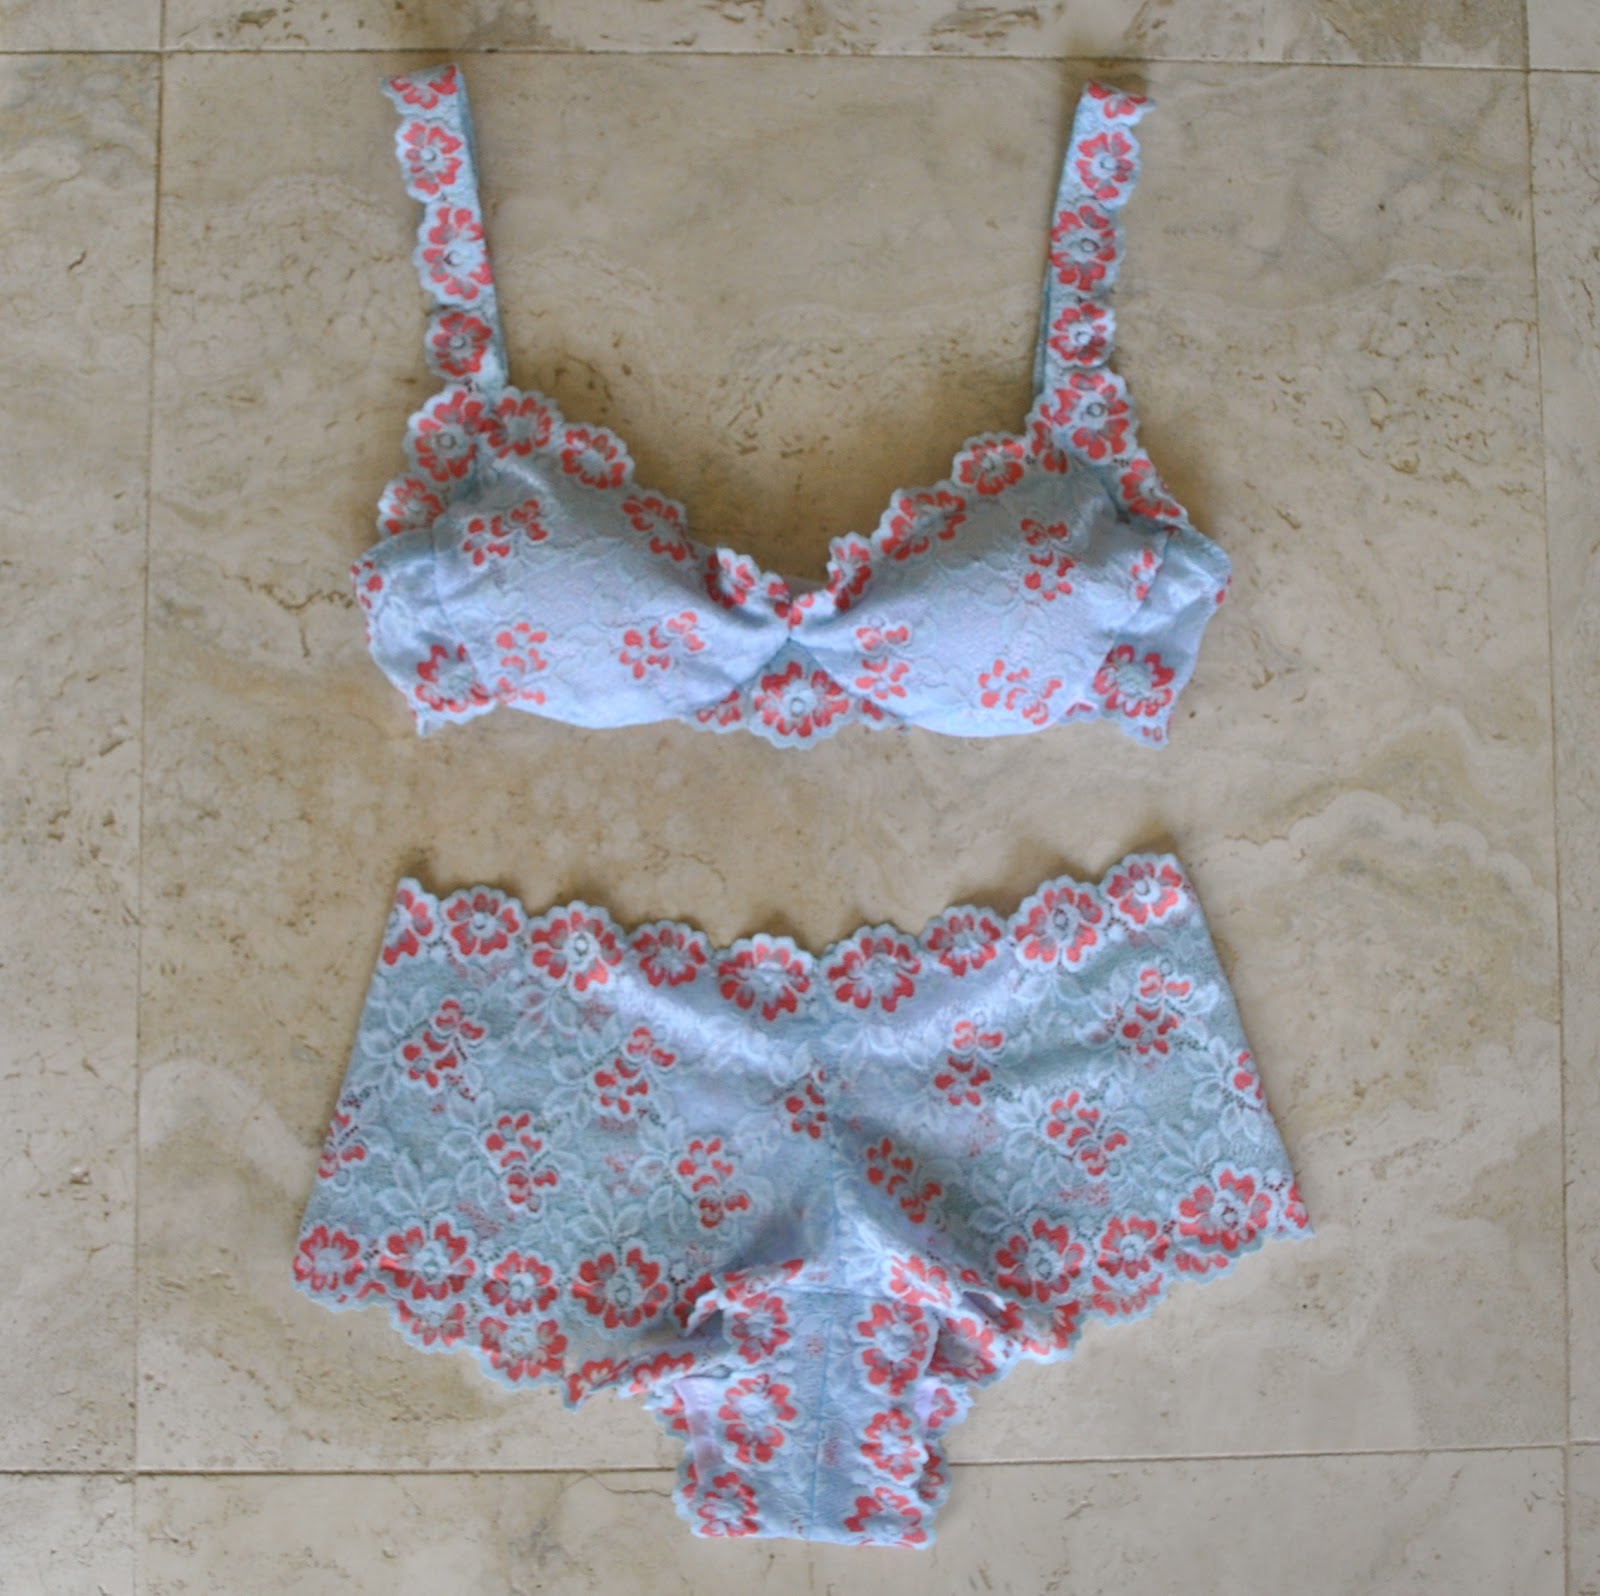
I’ve also made a coupla new
plain white Tshirts. I came across
some white cotton knit, leftover from this dress, while searching for suitable
candidates for lingerie, and while I decided it was not suitable for lingerie it
is perfect for Tshirts. So I cut
out two new Tshirts. Only then did I remember that I had mentally set this fabric aside for another Pattern Magic thing… (headslap)
oh well! There is fabric aplenty
still for Pattern Magic things!
These will be great for thermal purposes and just basic useful things… one can never have too many white Tshirts, no?

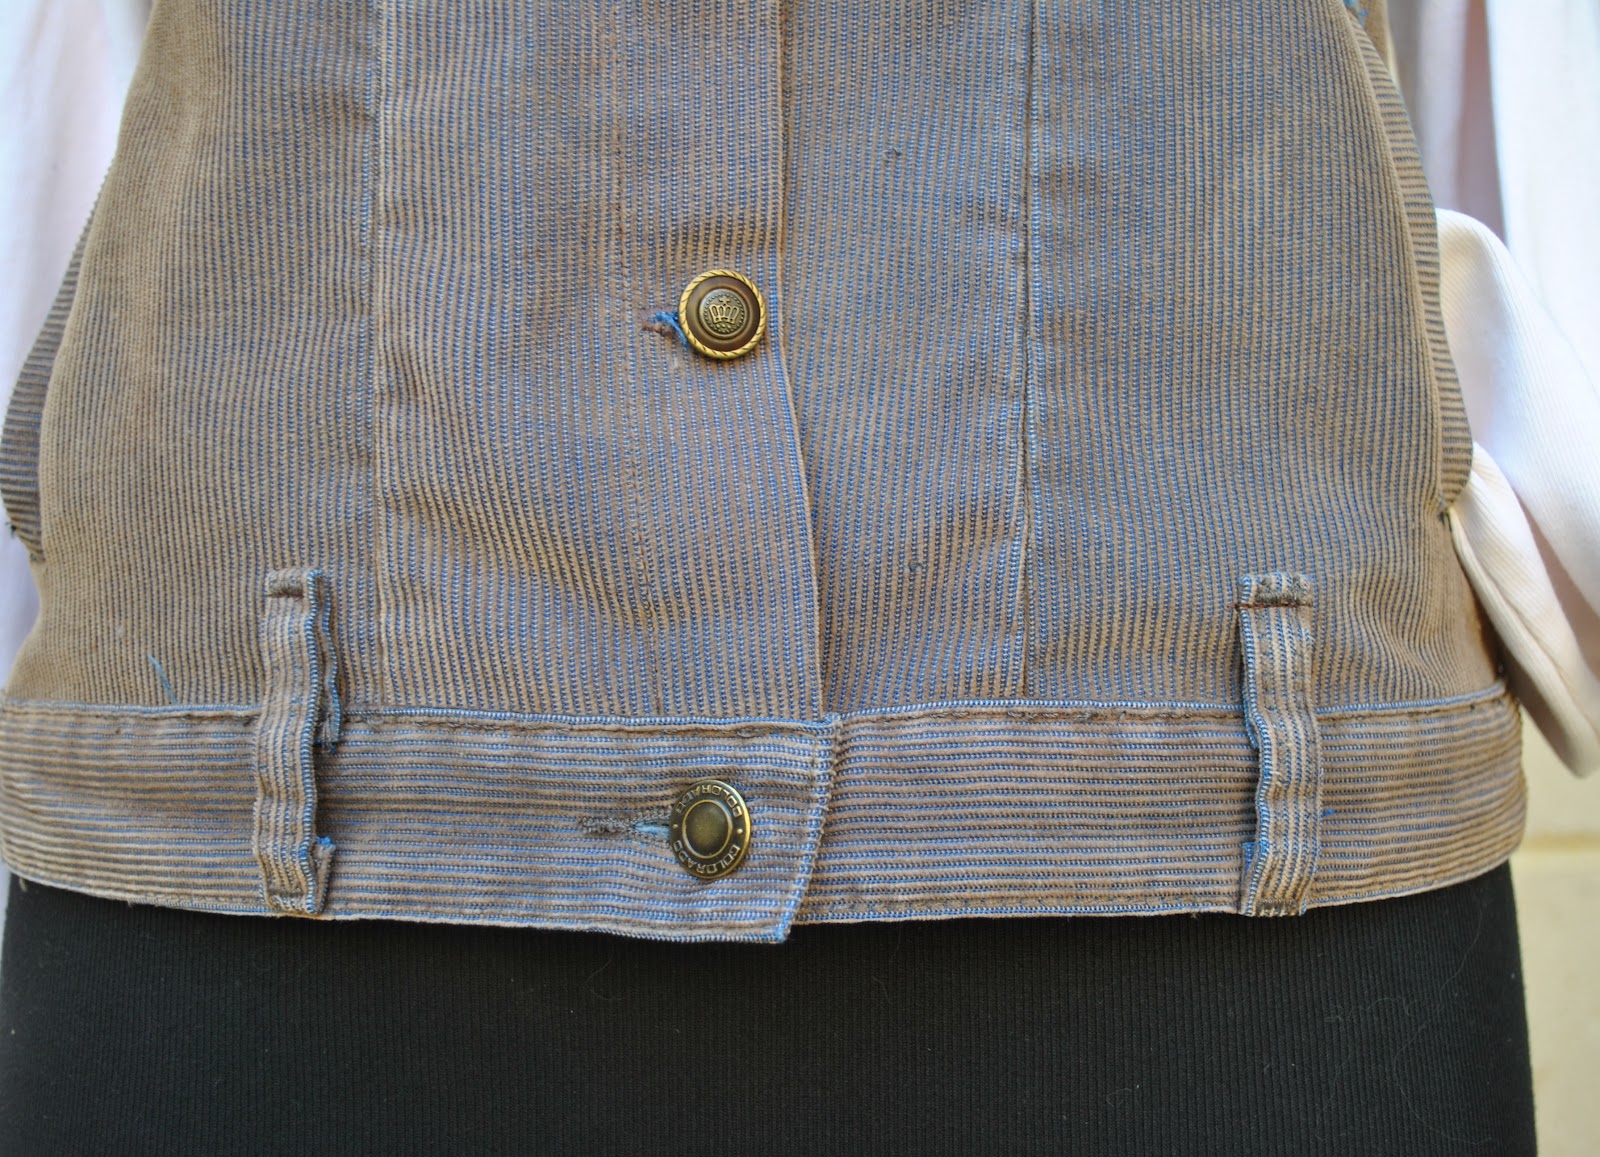
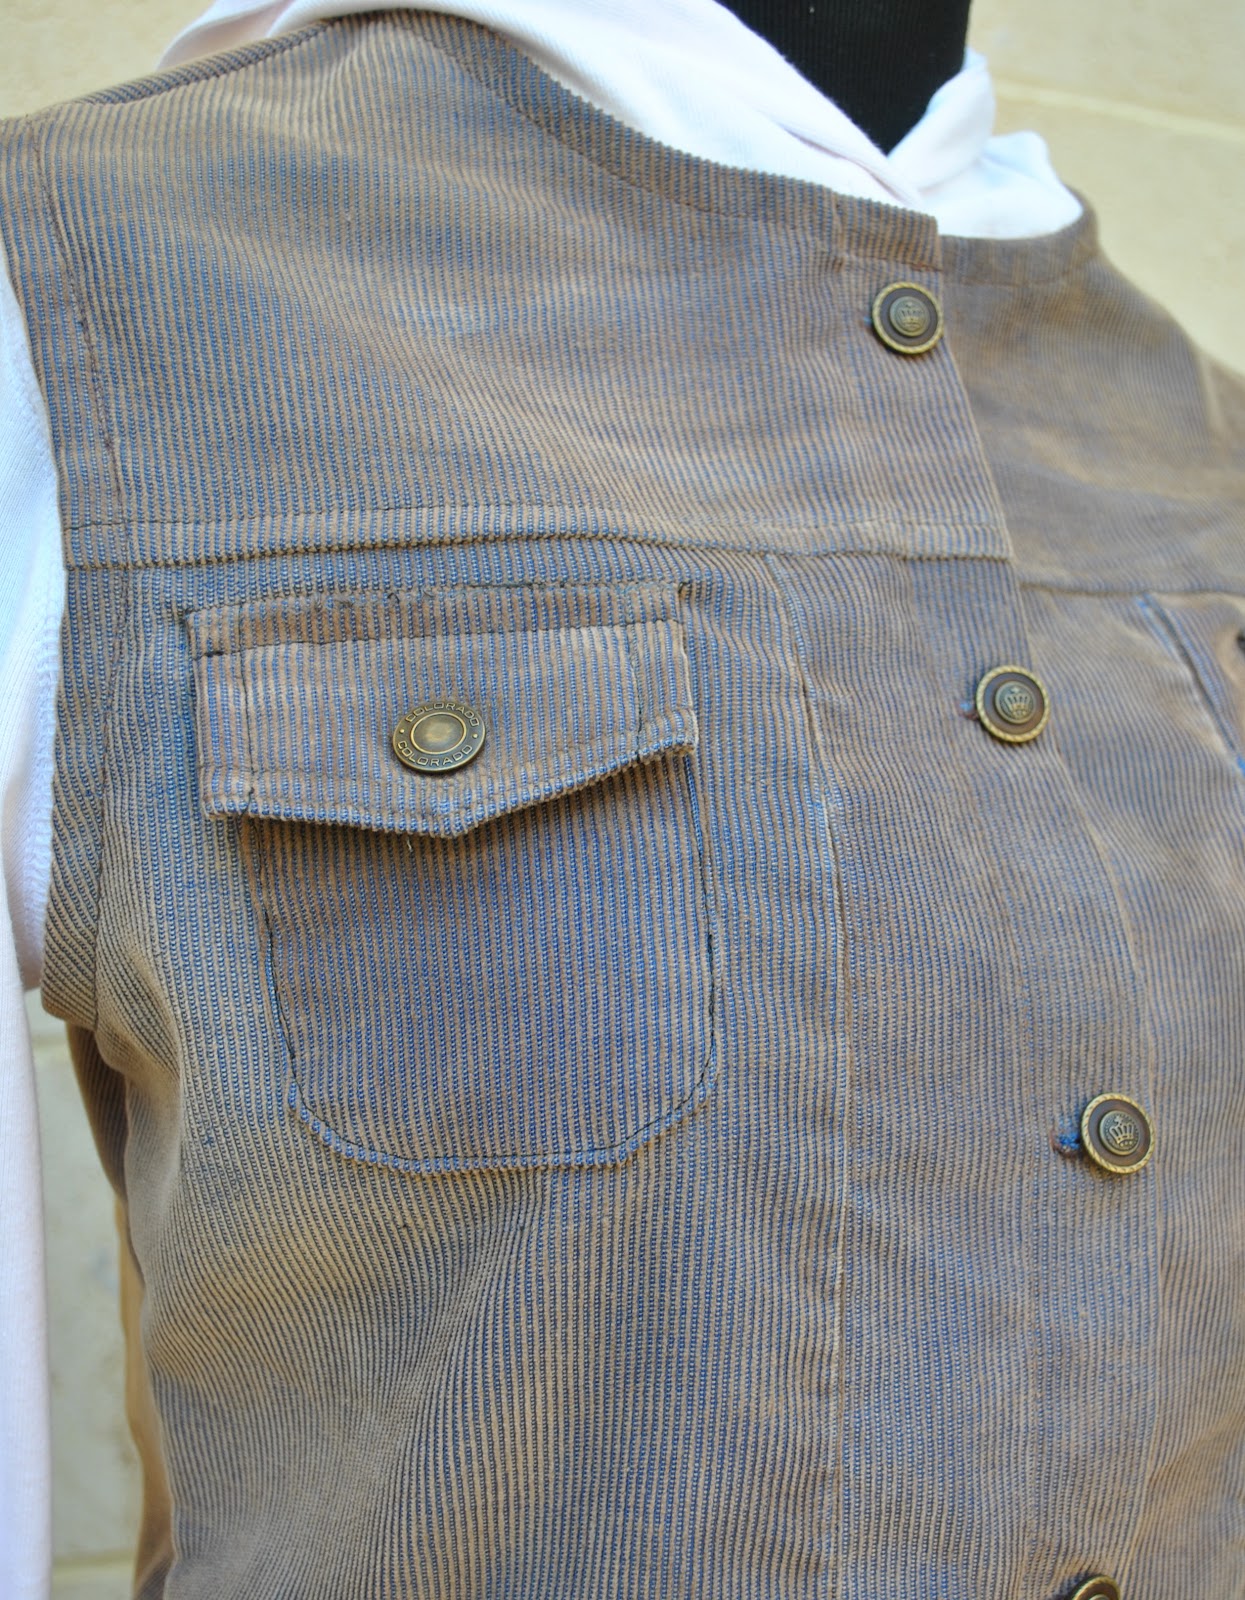
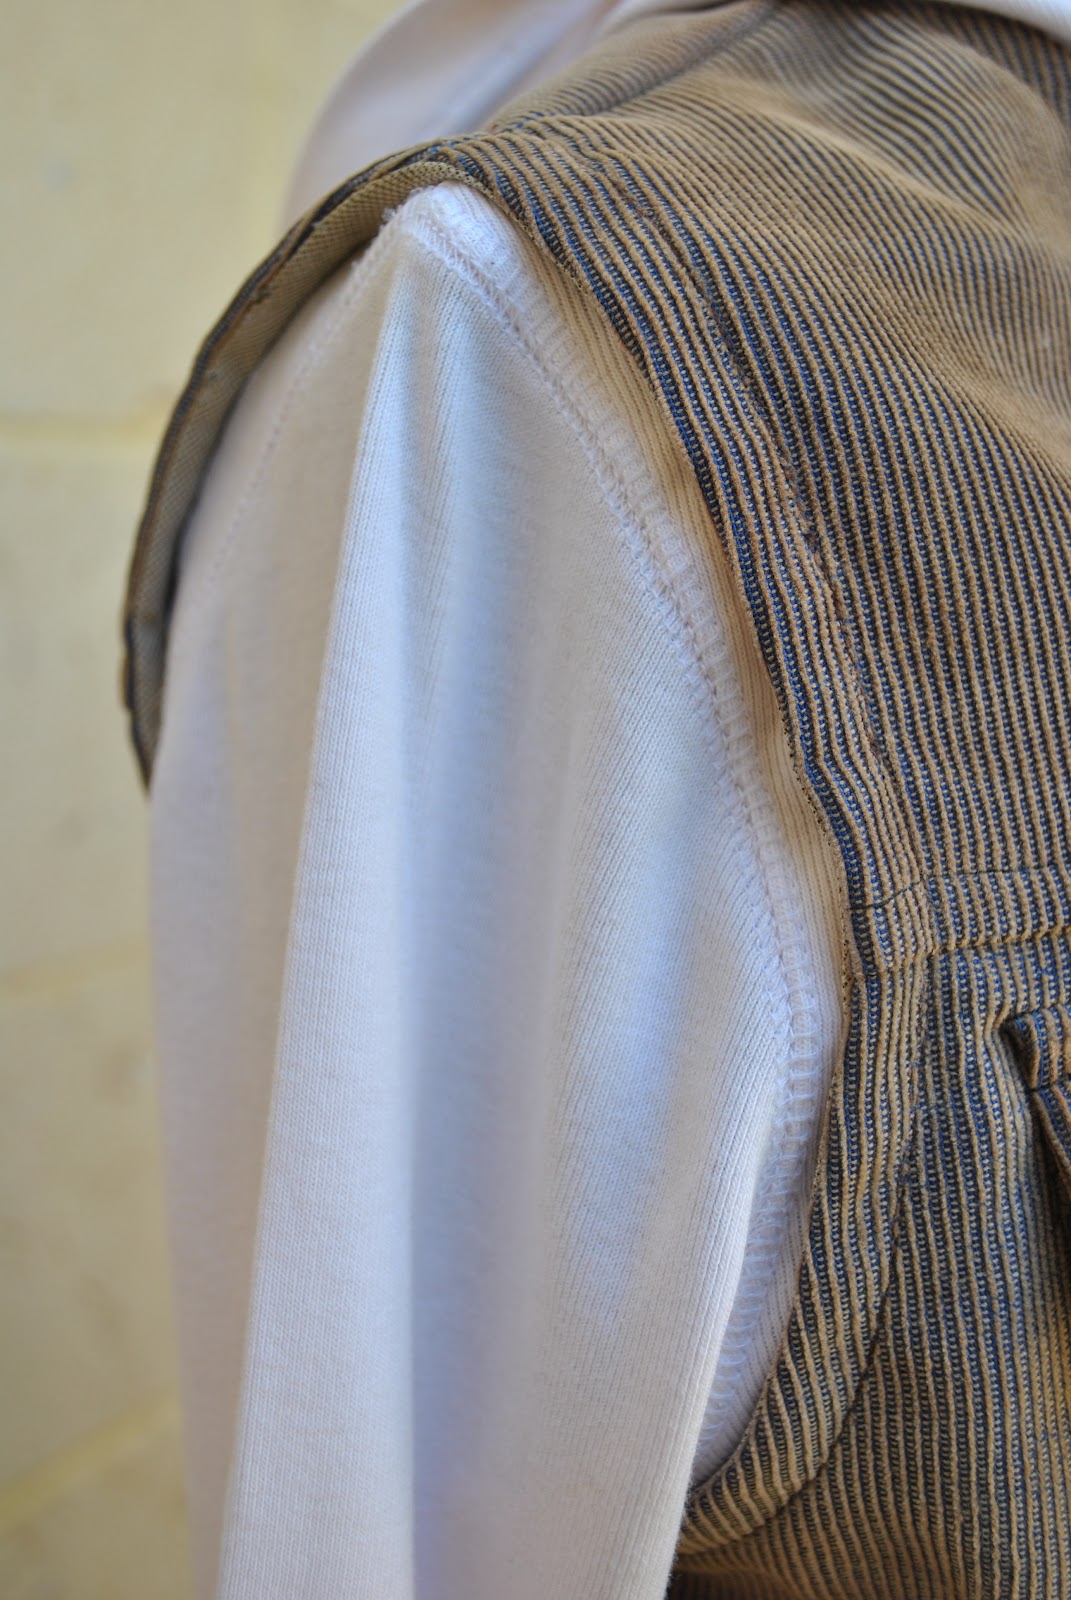
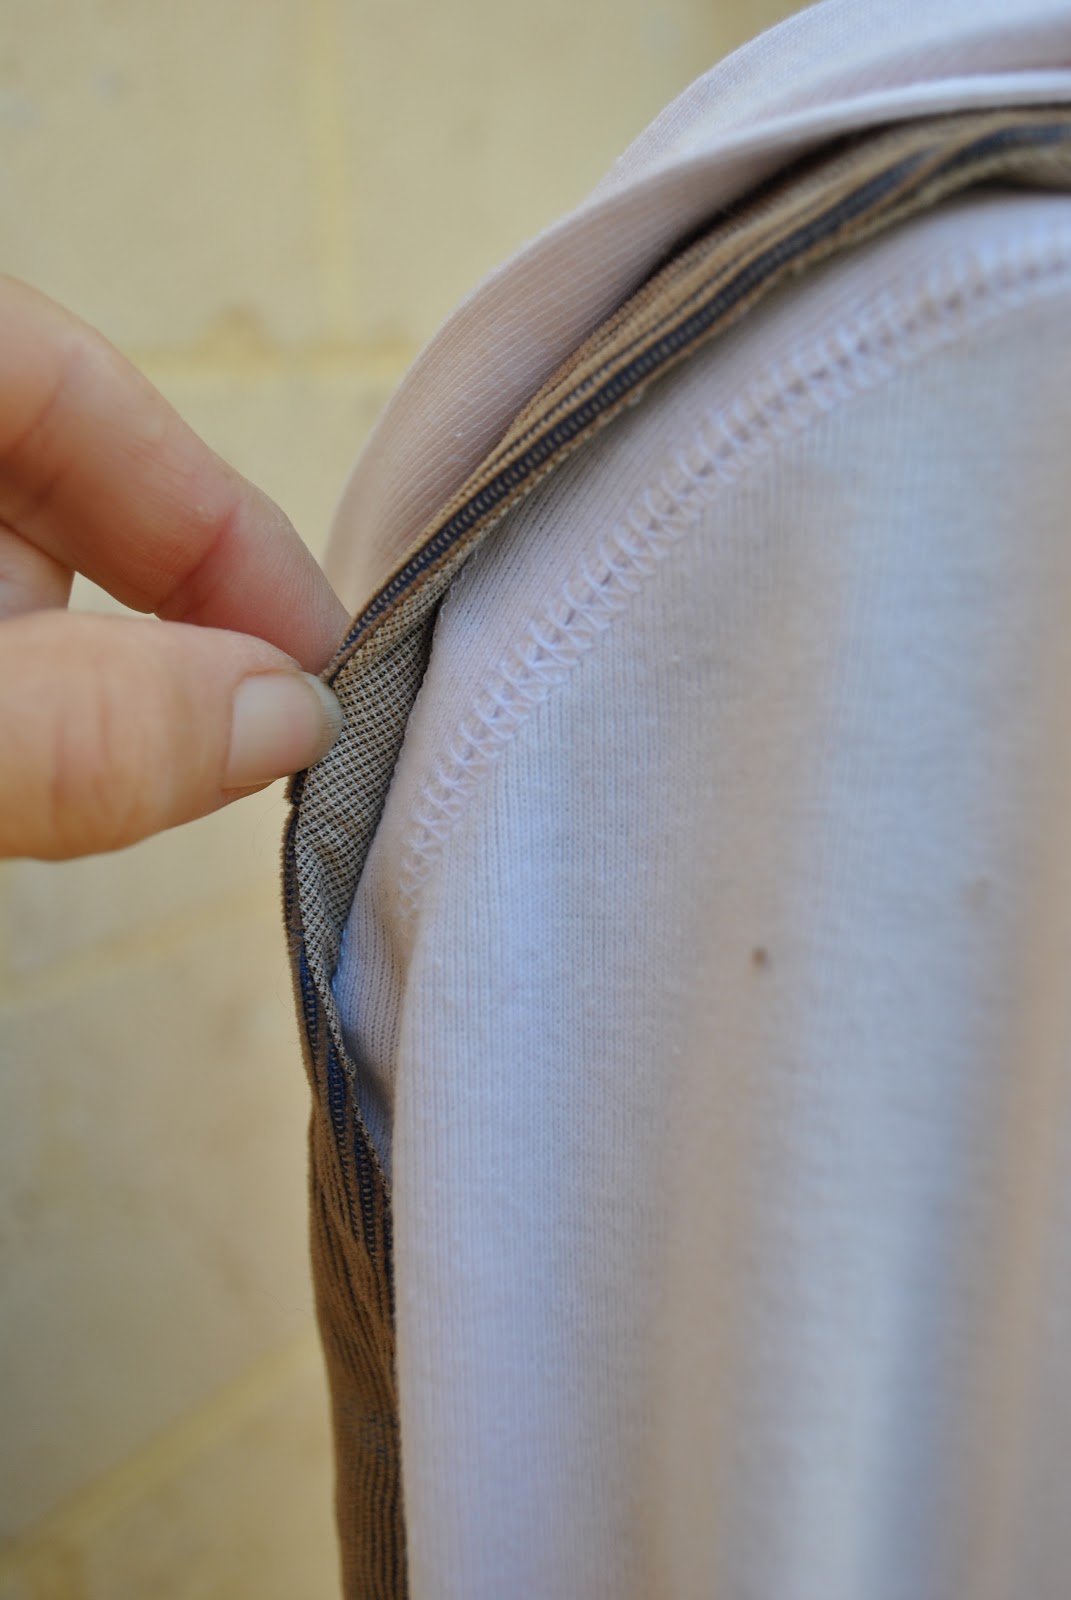
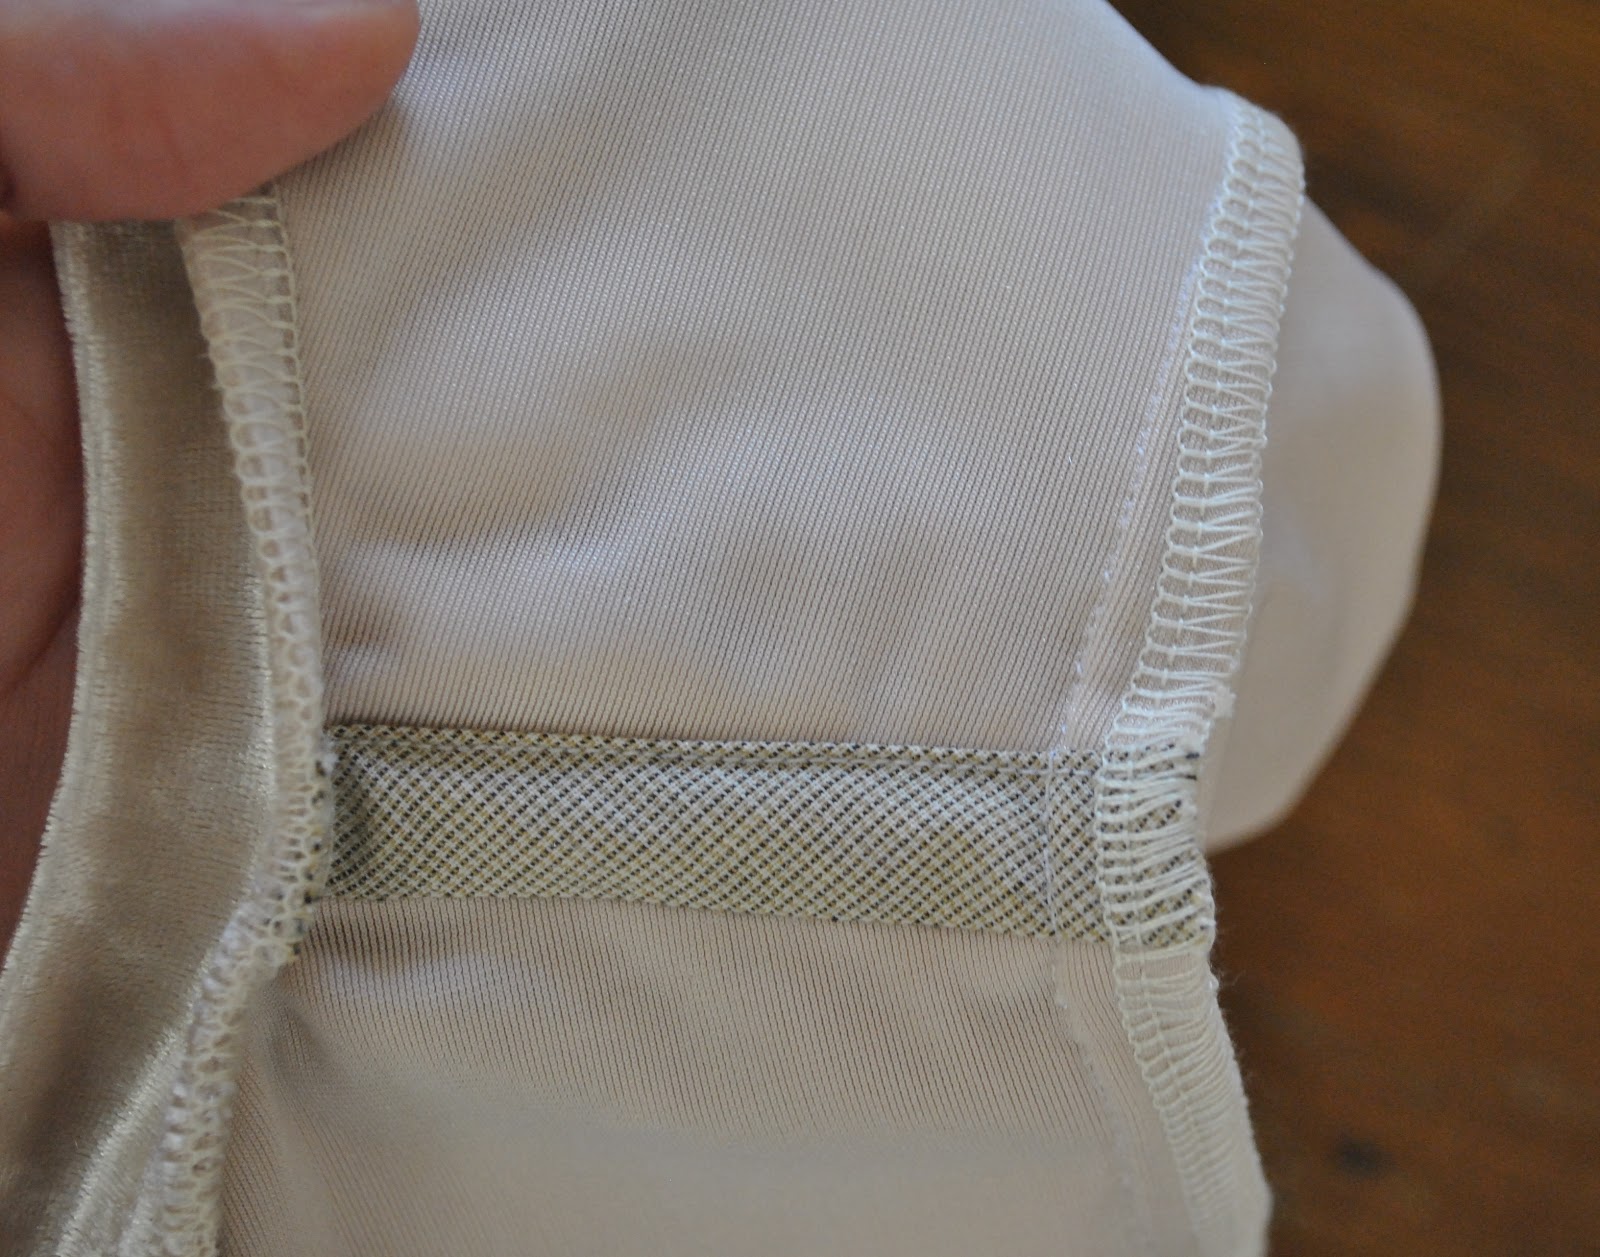
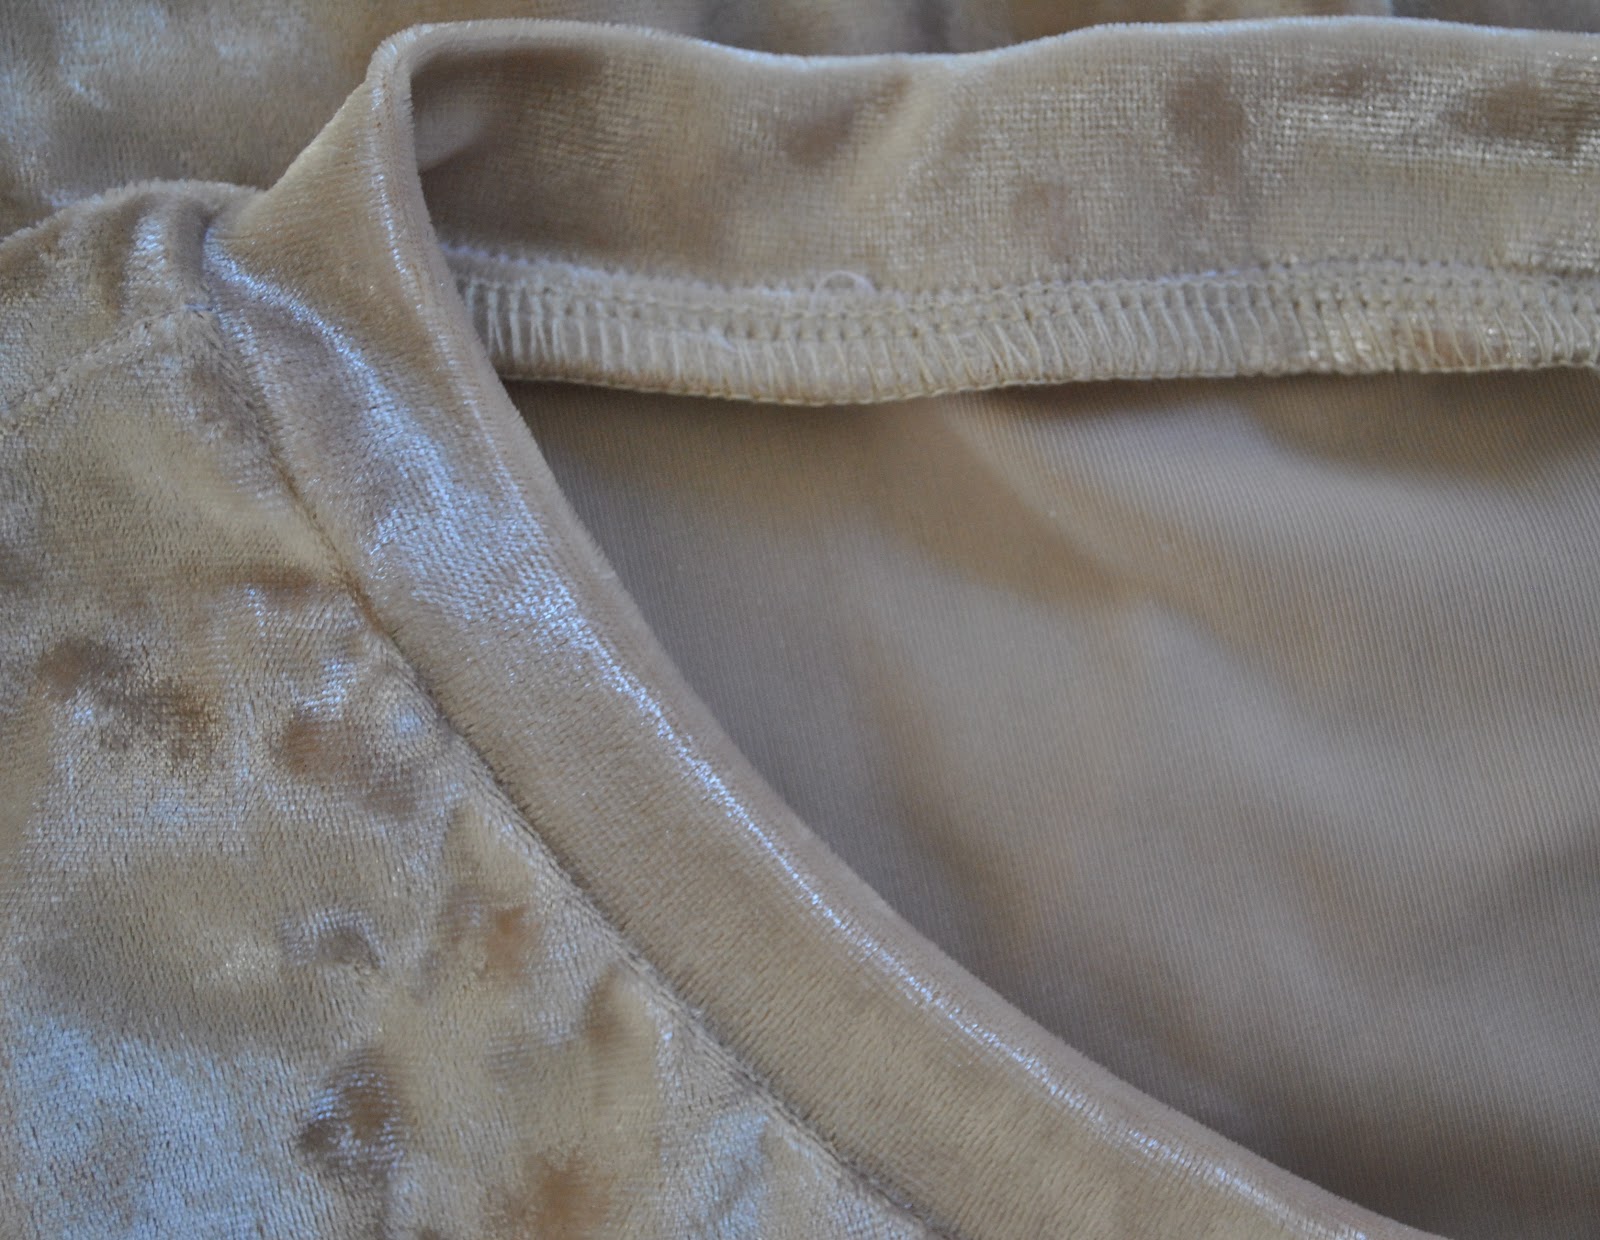
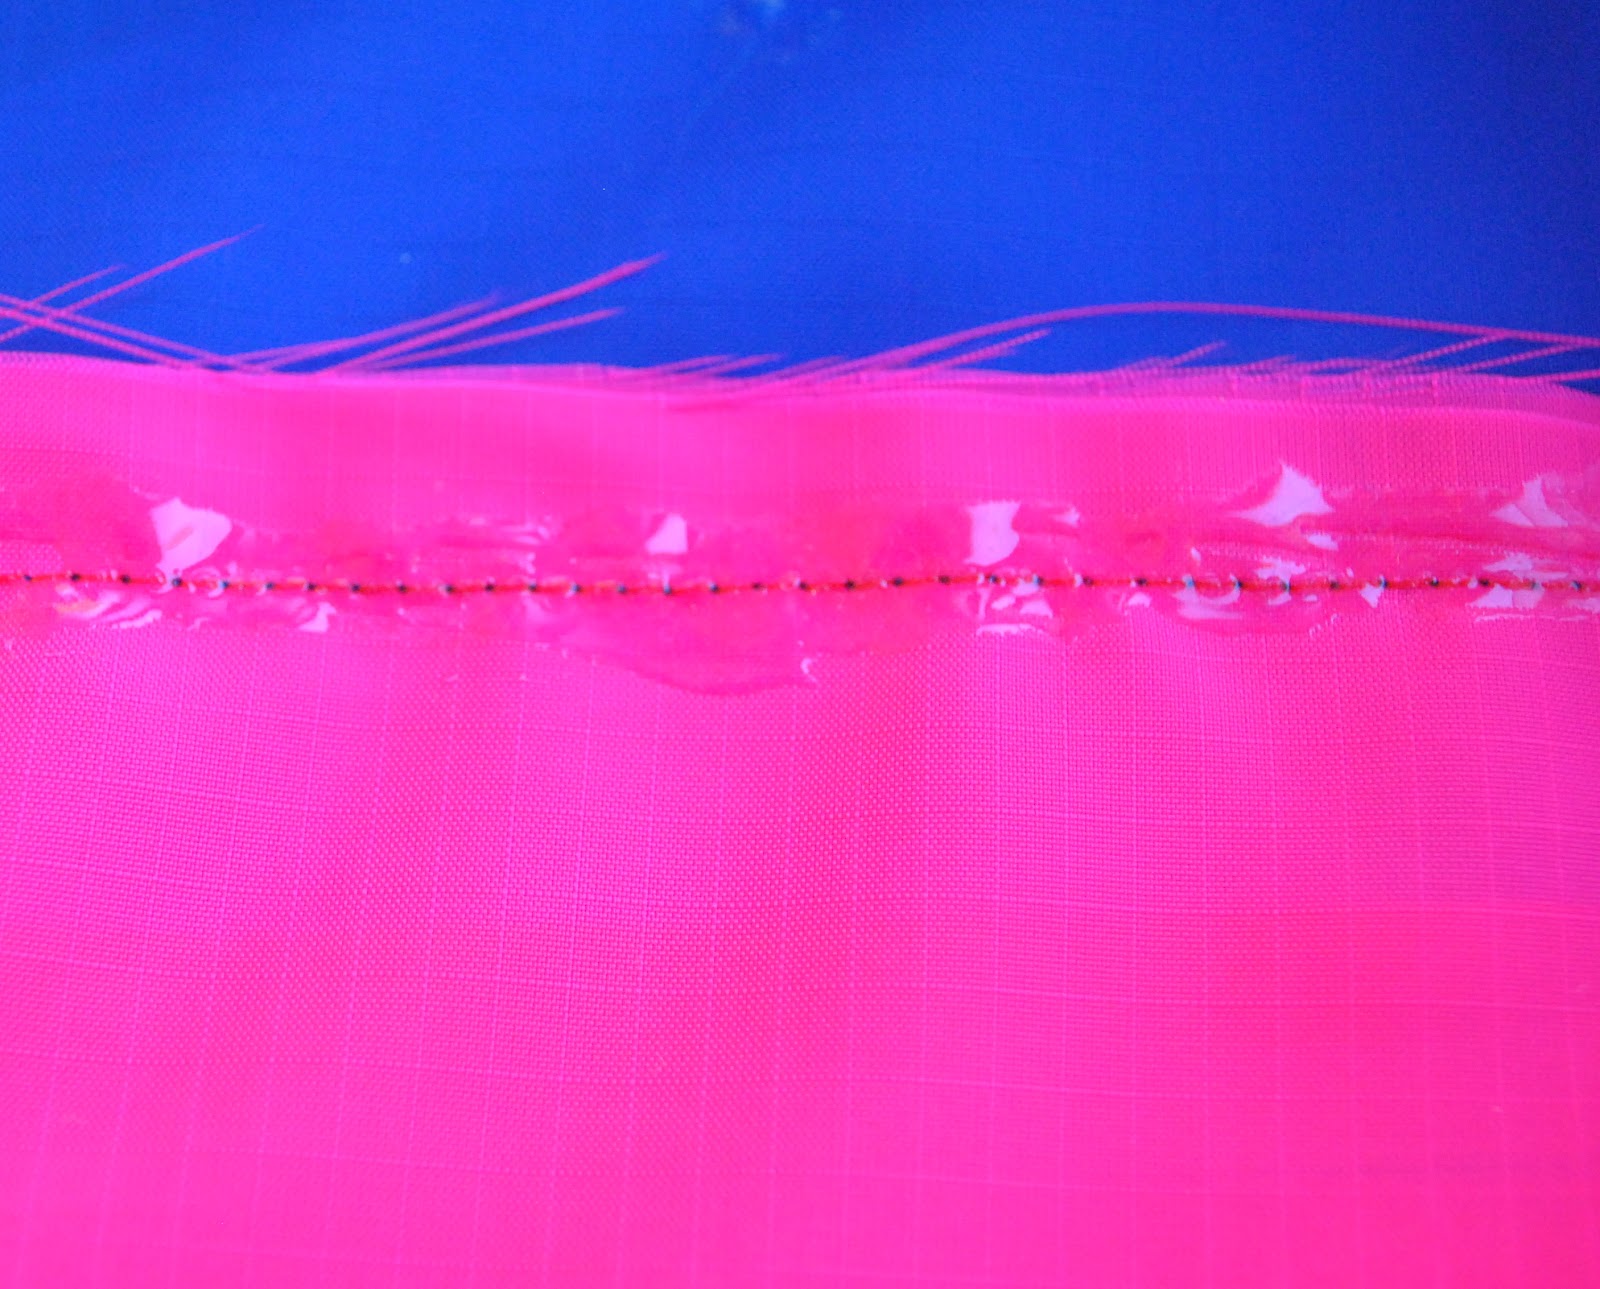
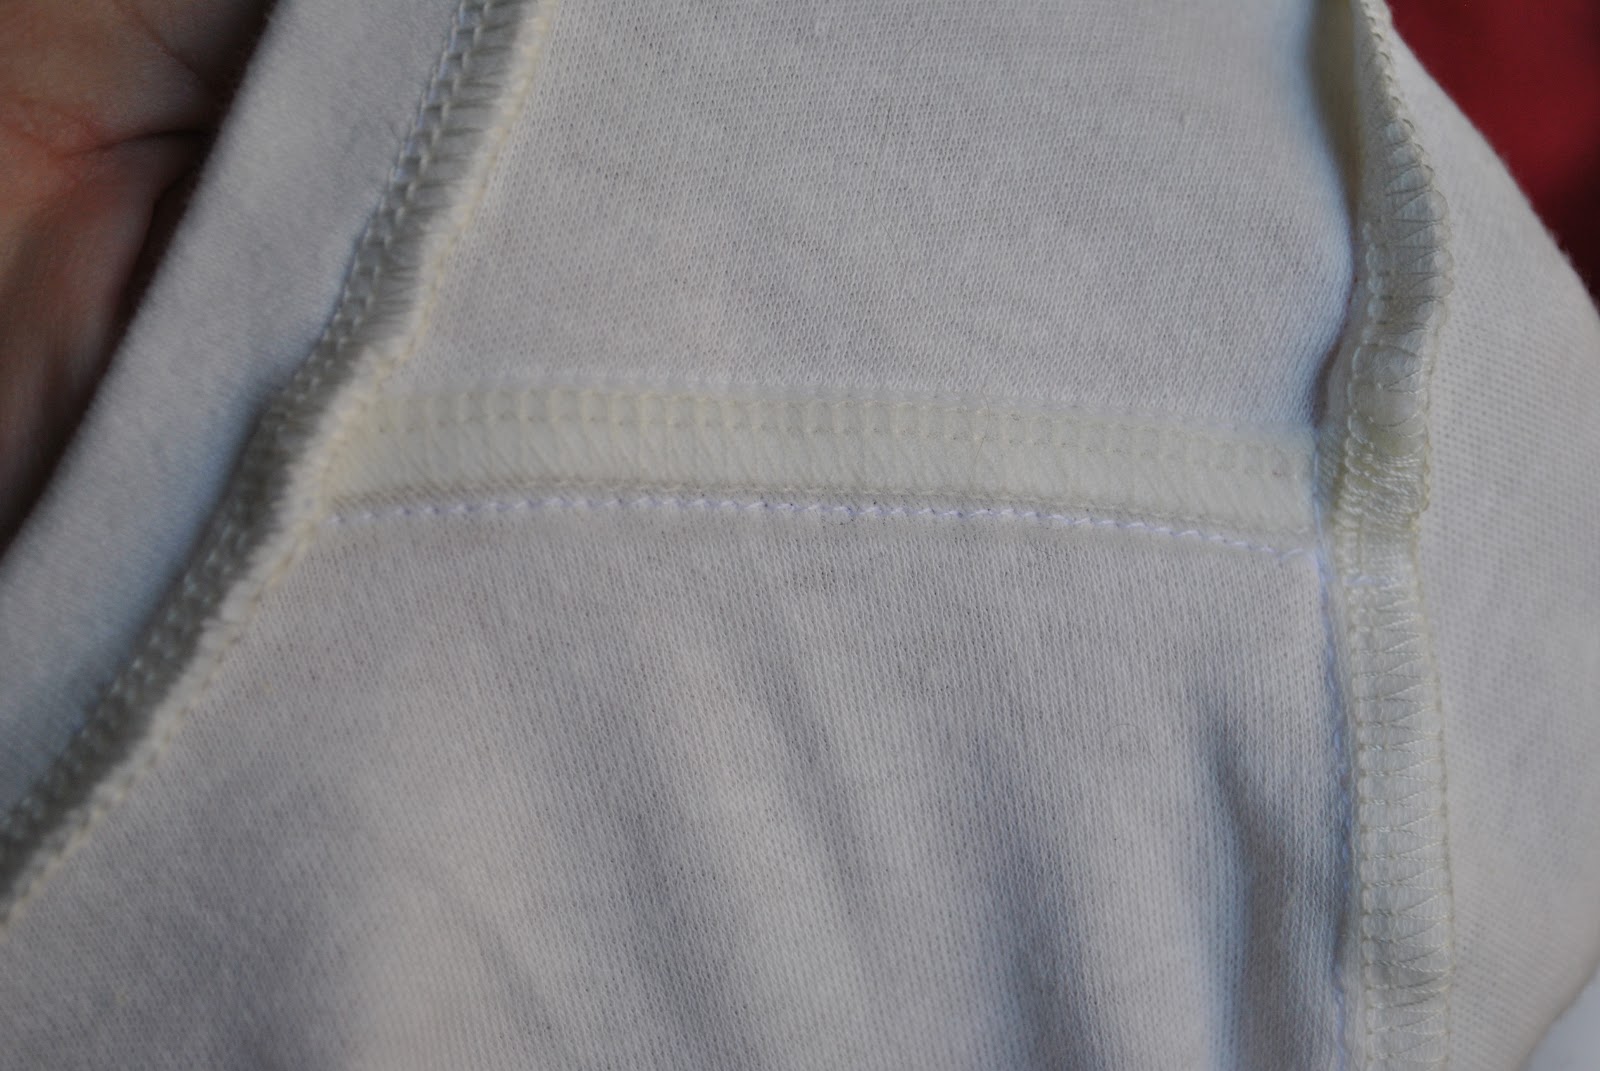
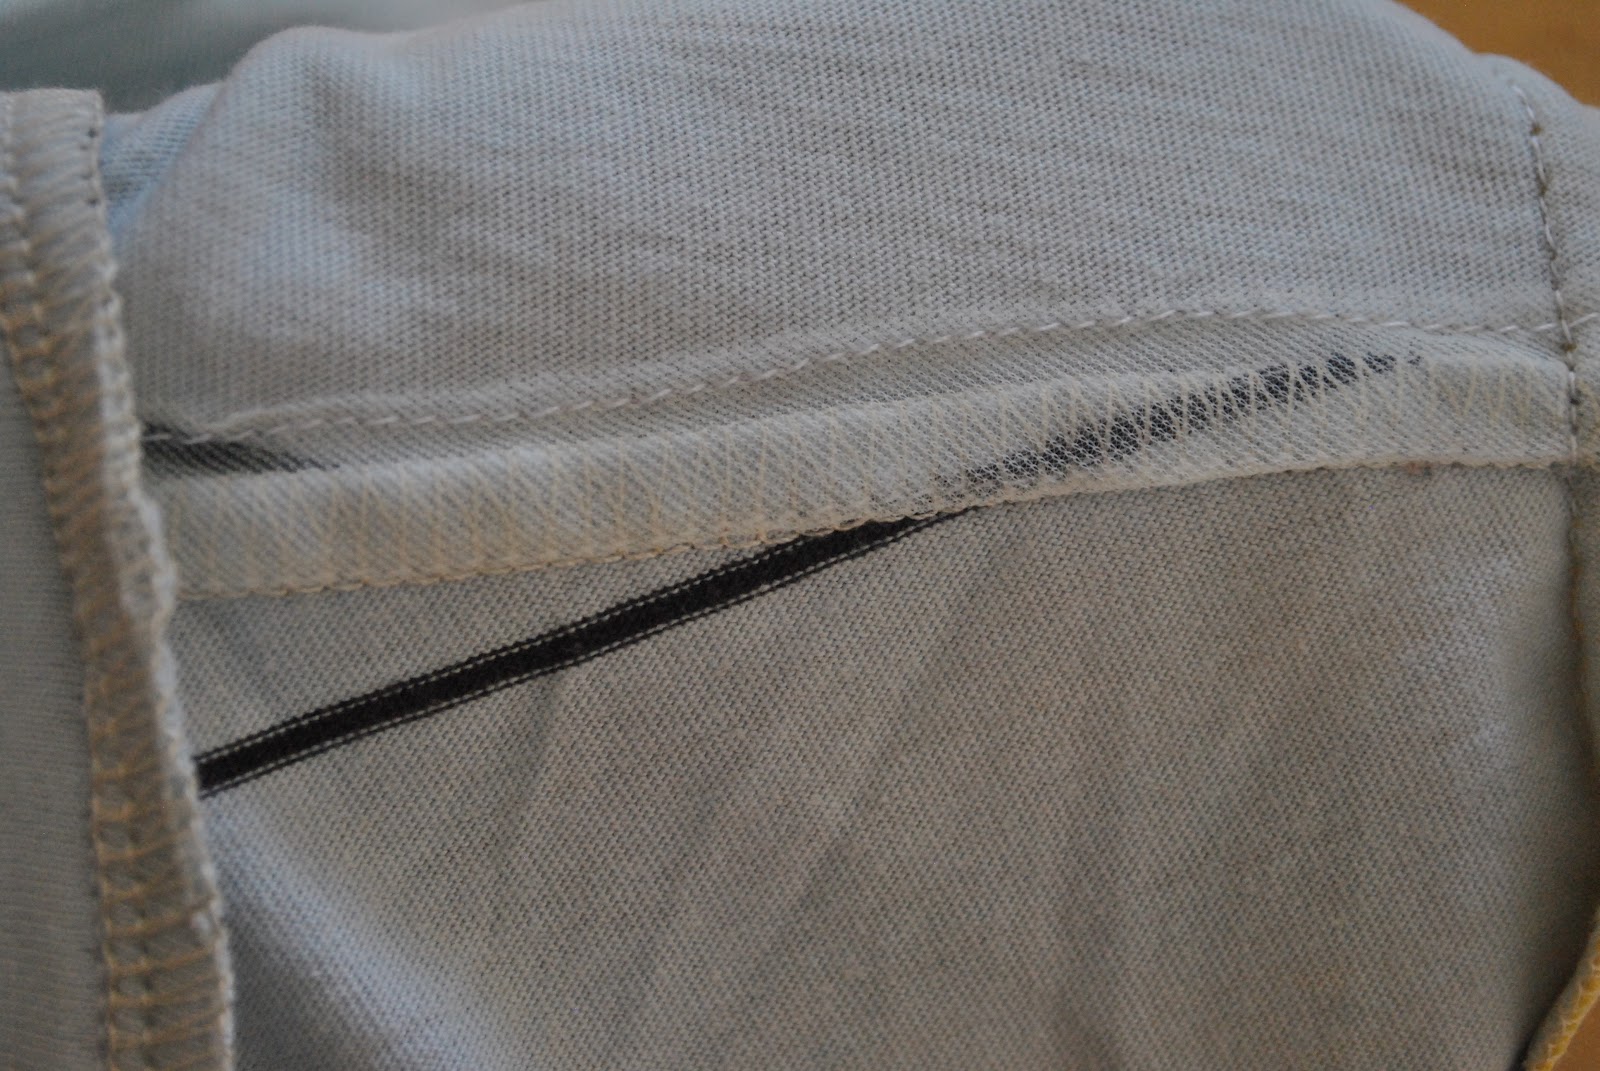
The only special thing
about these new Tshirts is that I stabilized the shoulder seams with Seams
Great. This was a gift from
the kind and clever velosewer; thank you so much velosewer! This gossamer thin tape is new-to-me, and I am thrilled with how unobtrusive and tidy it
looks sewn over those shoulder seams!
about these new Tshirts is that I stabilized the shoulder seams with Seams
Great. This was a gift from
the kind and clever velosewer; thank you so much velosewer! This gossamer thin tape is new-to-me, and I am thrilled with how unobtrusive and tidy it
looks sewn over those shoulder seams!
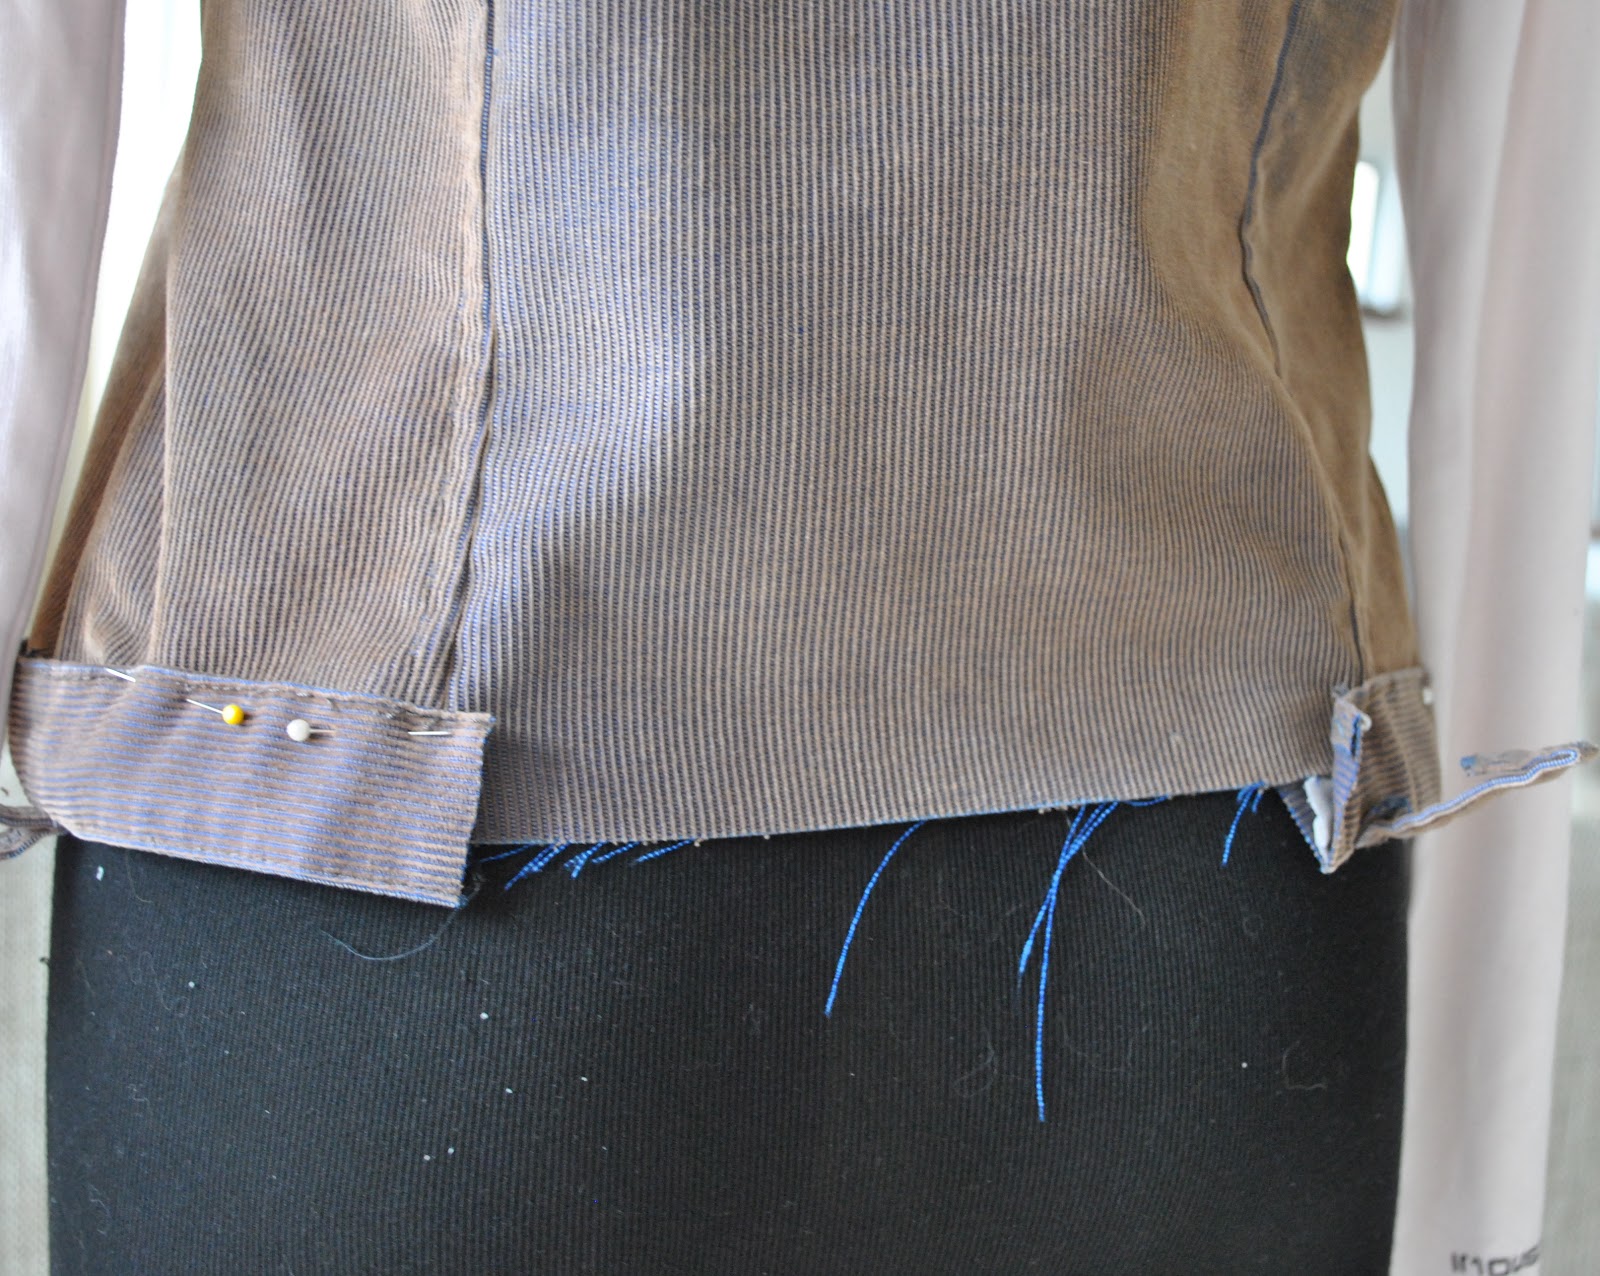
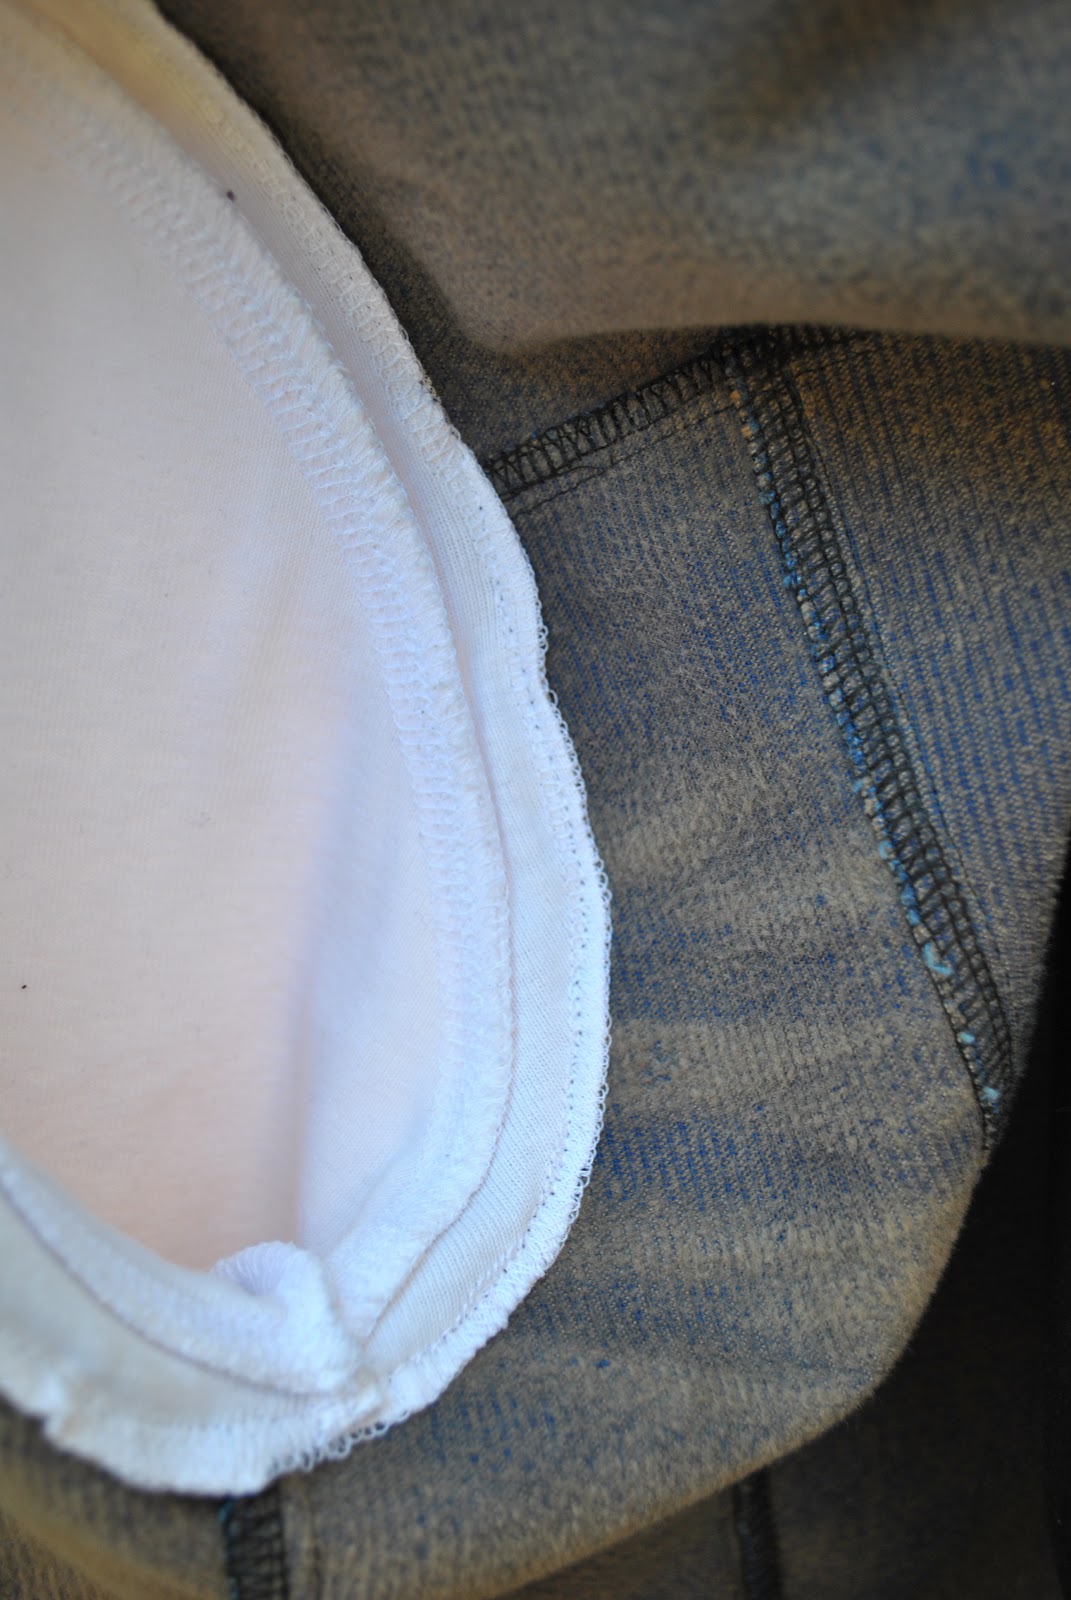
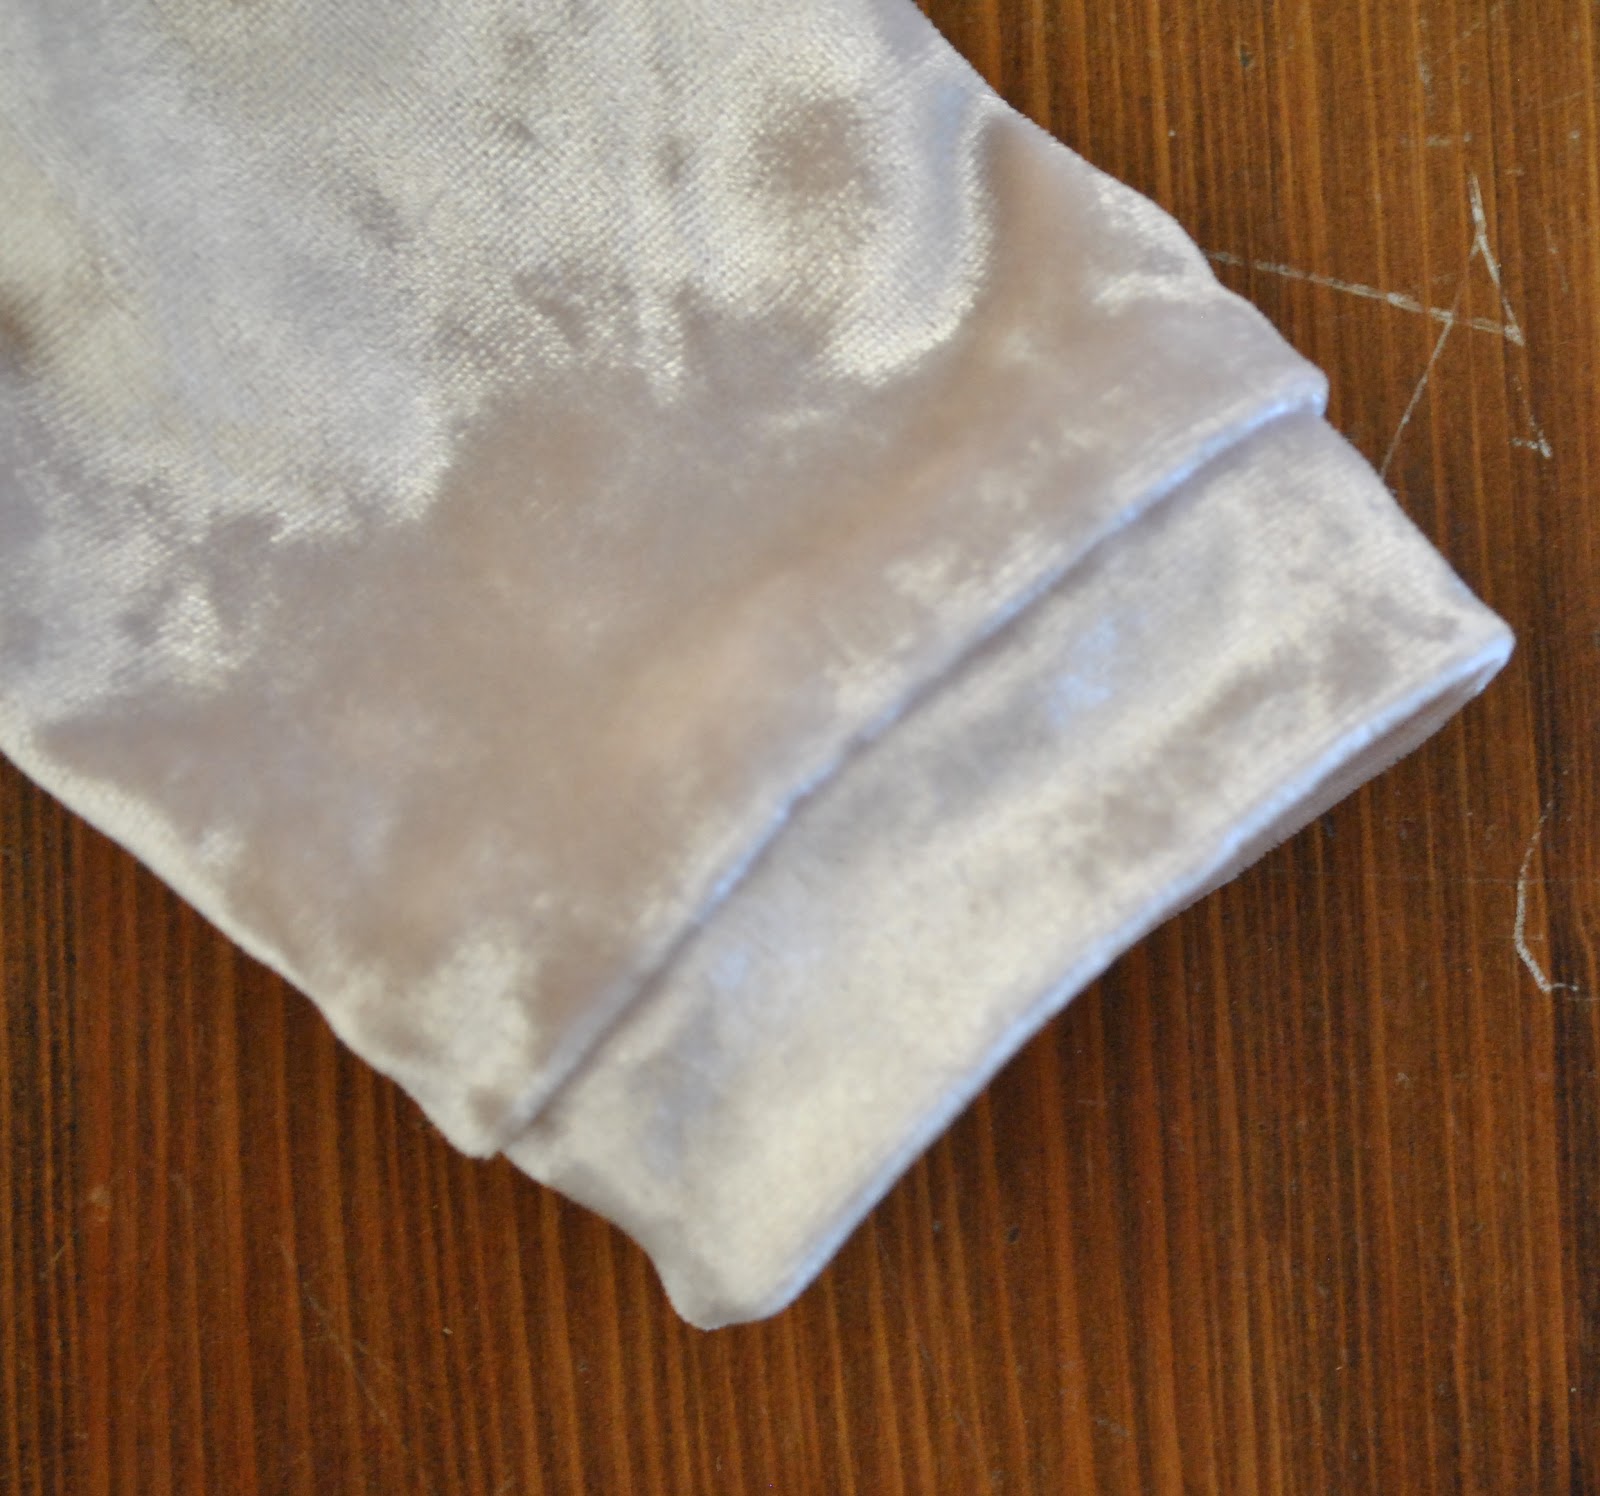
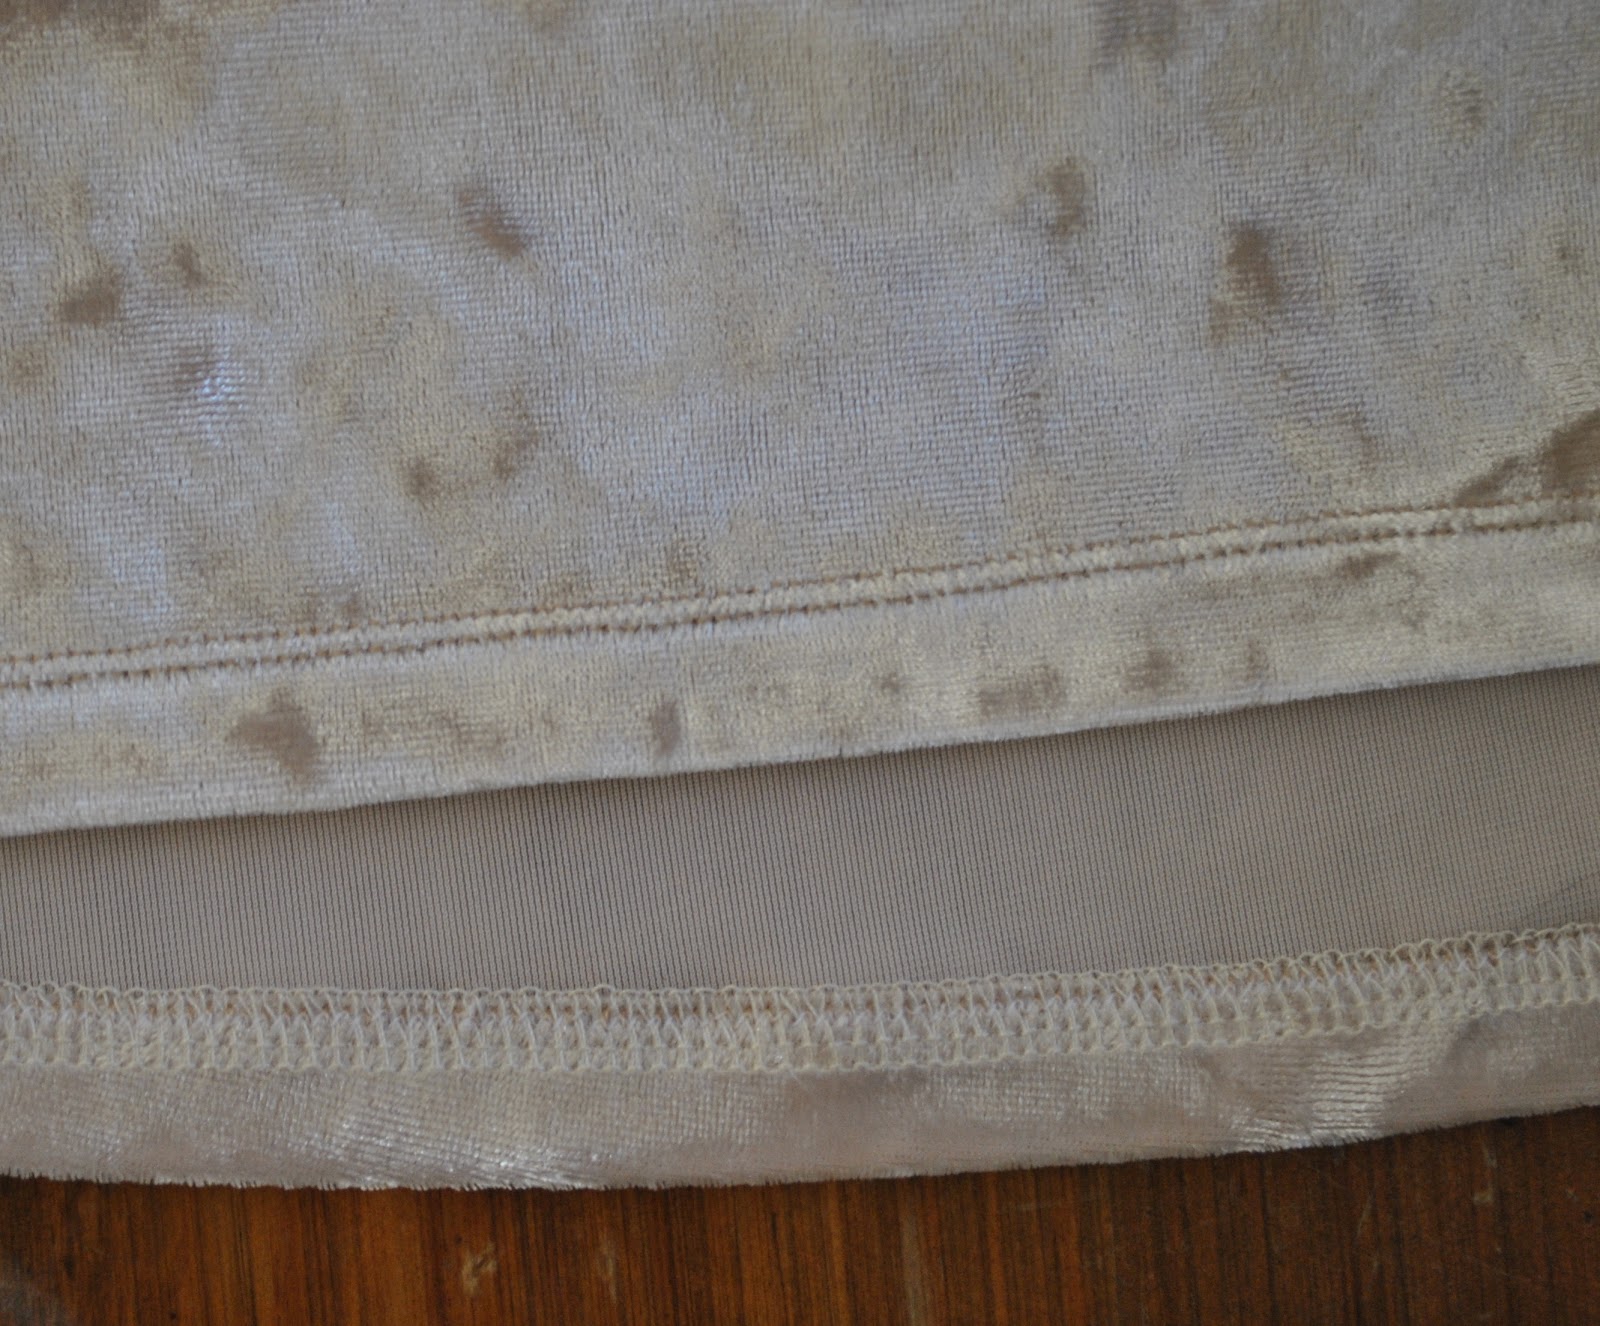
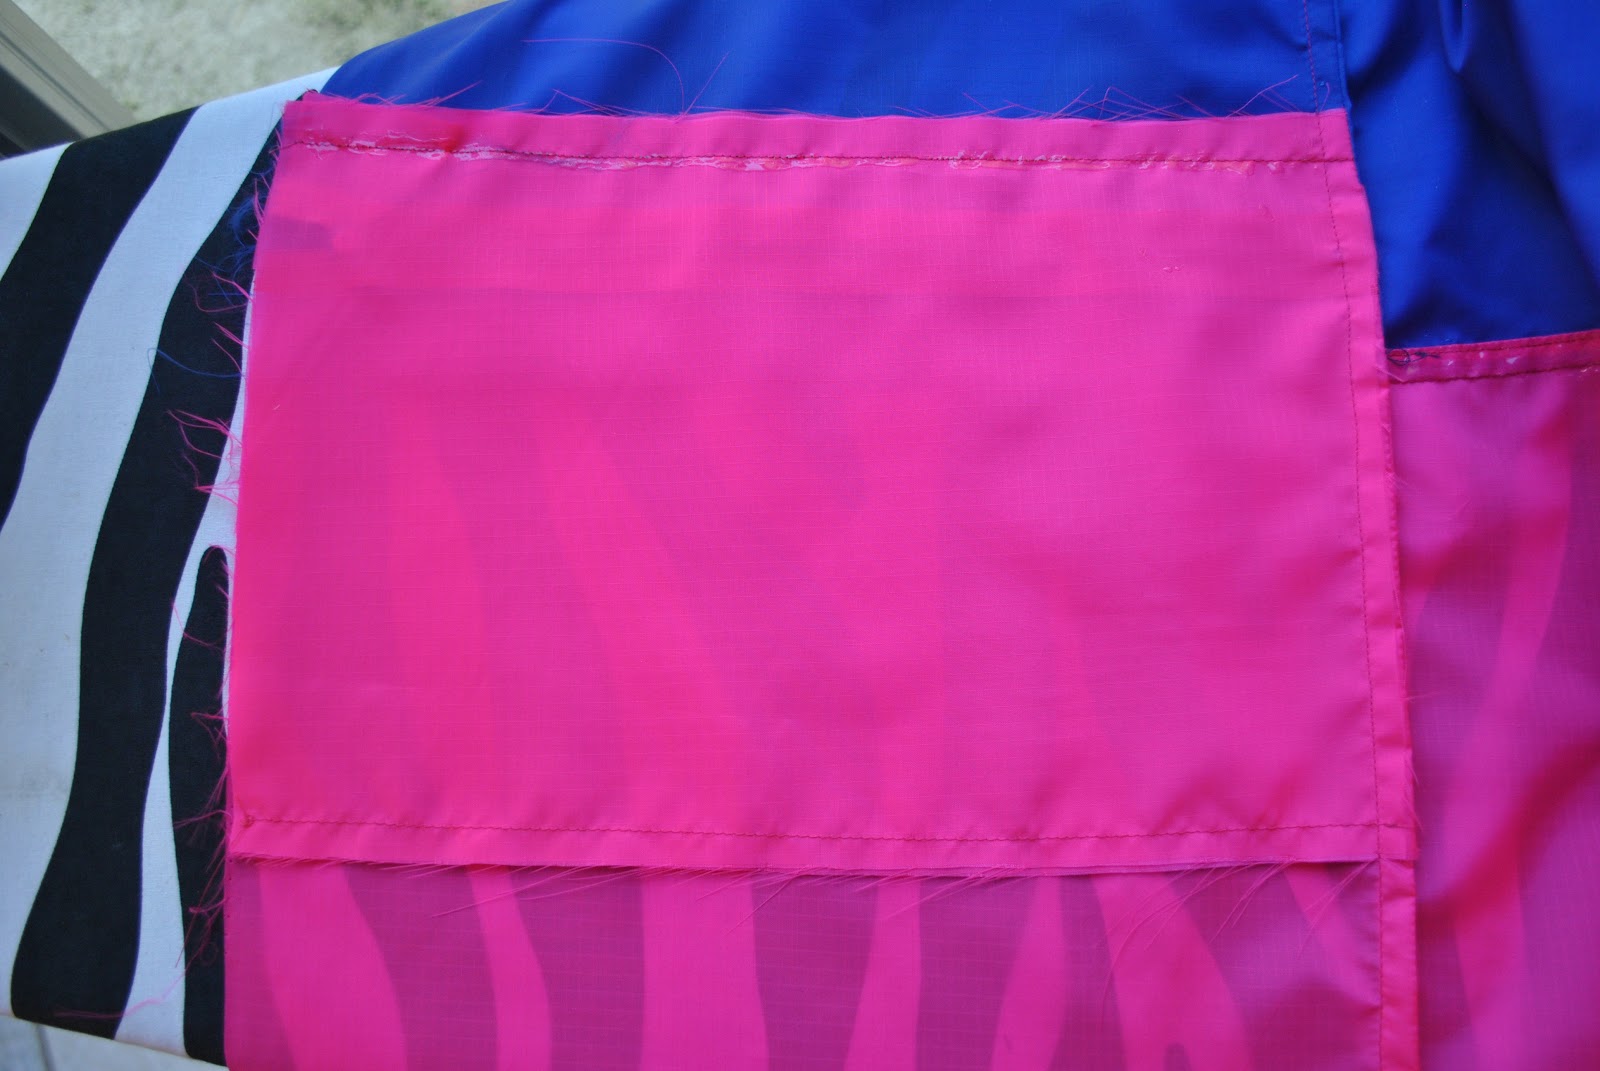
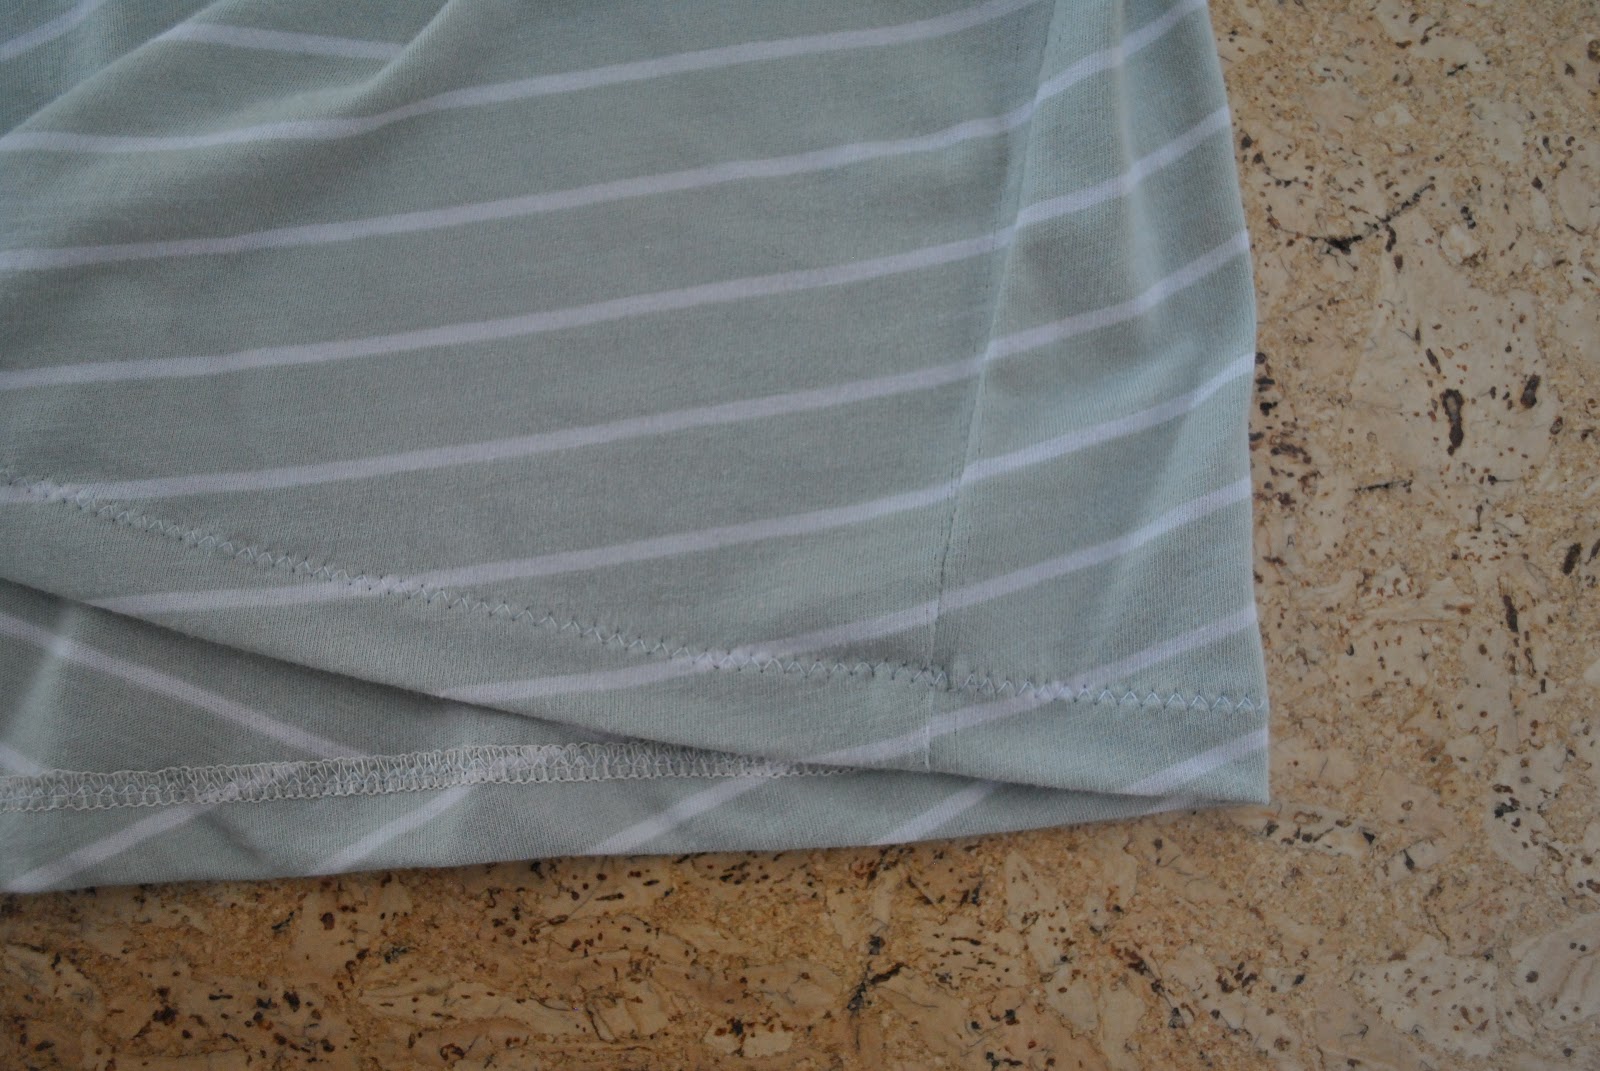
The lower hems of the two
white Tshirts were finished with a twin needle blahdy blah, but for the striped Tshirt I
just decided on a whim to go with a simple zig-zag. Man, but I’m just one crazy rebel, sometimes 😉 If it goes wave-y or funny I can always re-do it with a twin
needle, properly.
white Tshirts were finished with a twin needle blahdy blah, but for the striped Tshirt I
just decided on a whim to go with a simple zig-zag. Man, but I’m just one crazy rebel, sometimes 😉 If it goes wave-y or funny I can always re-do it with a twin
needle, properly.
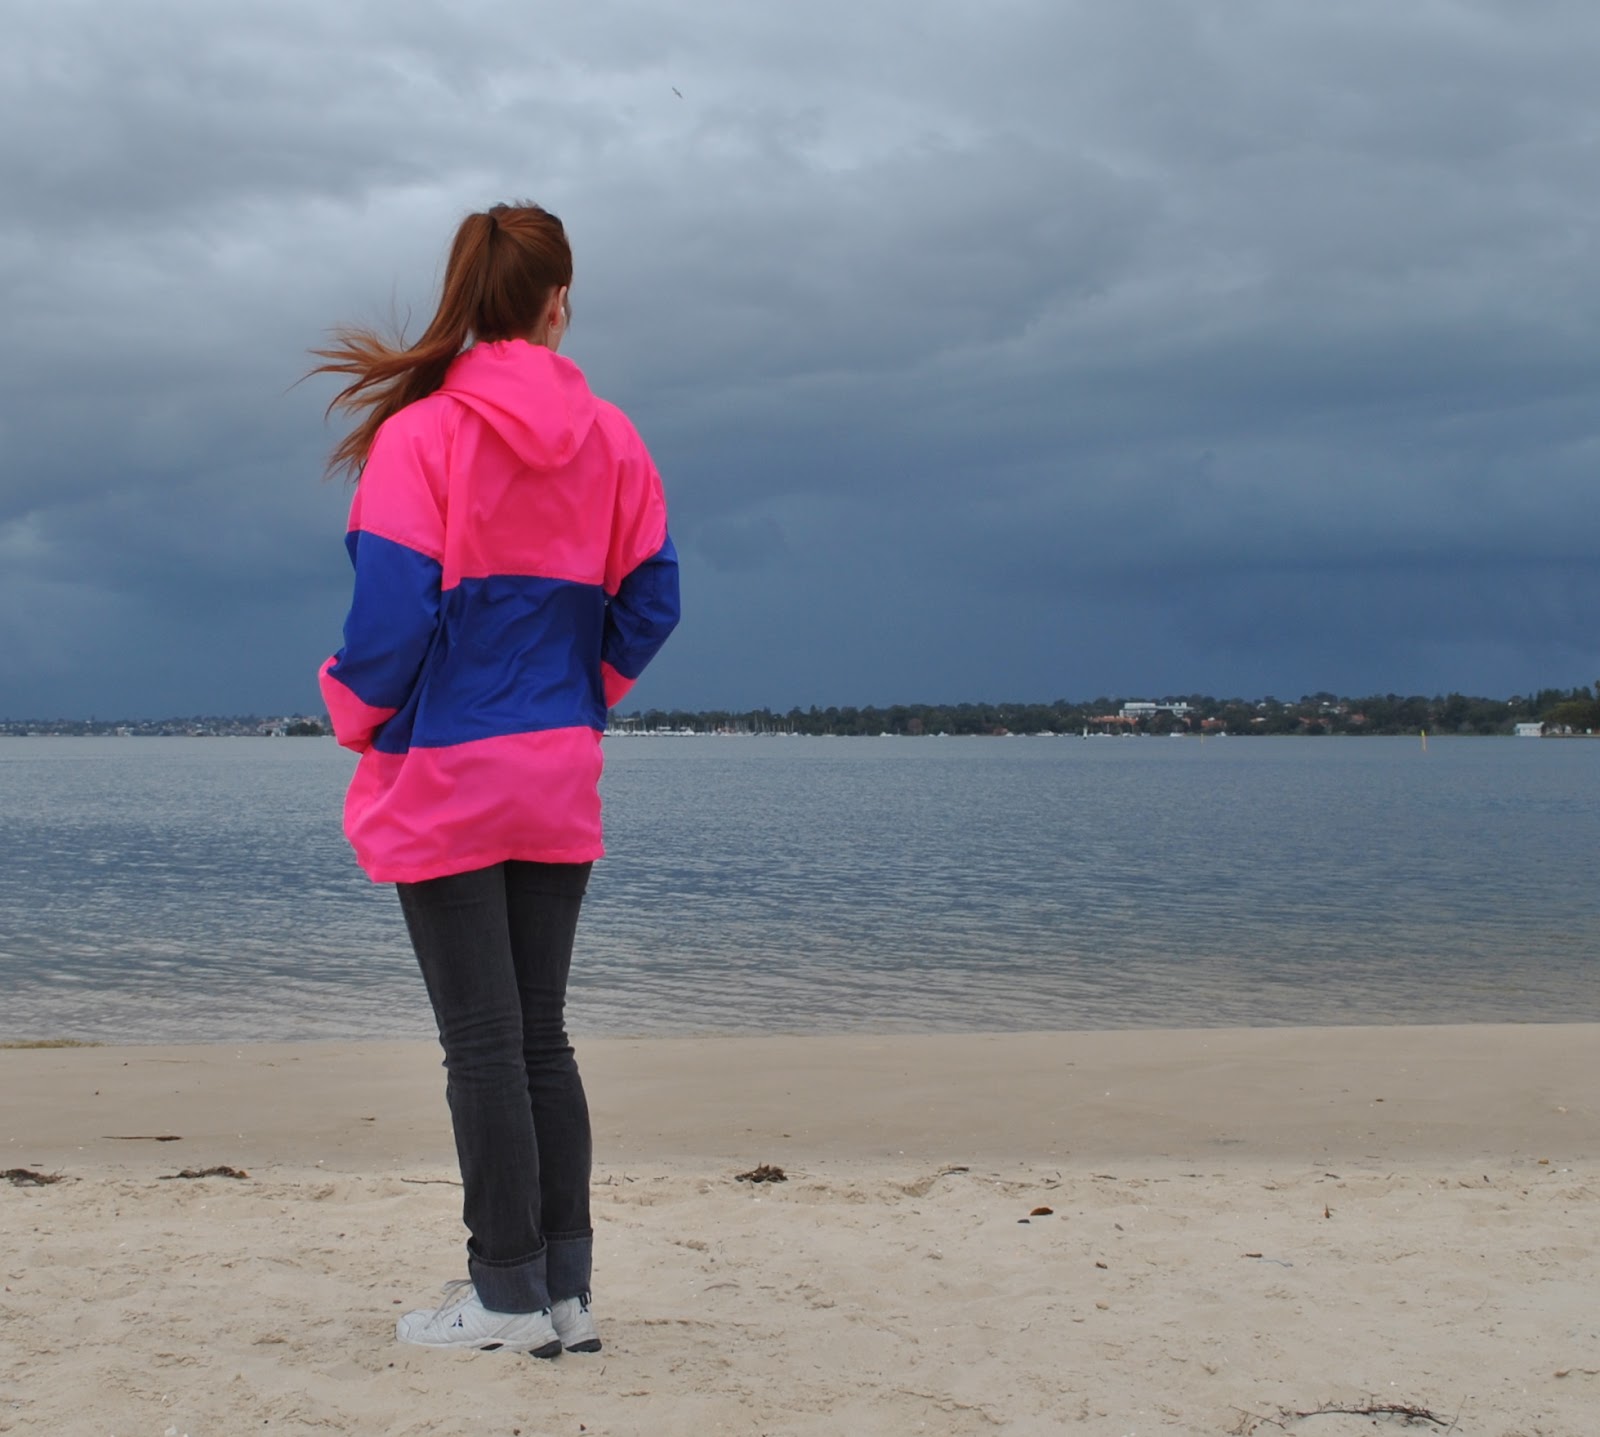
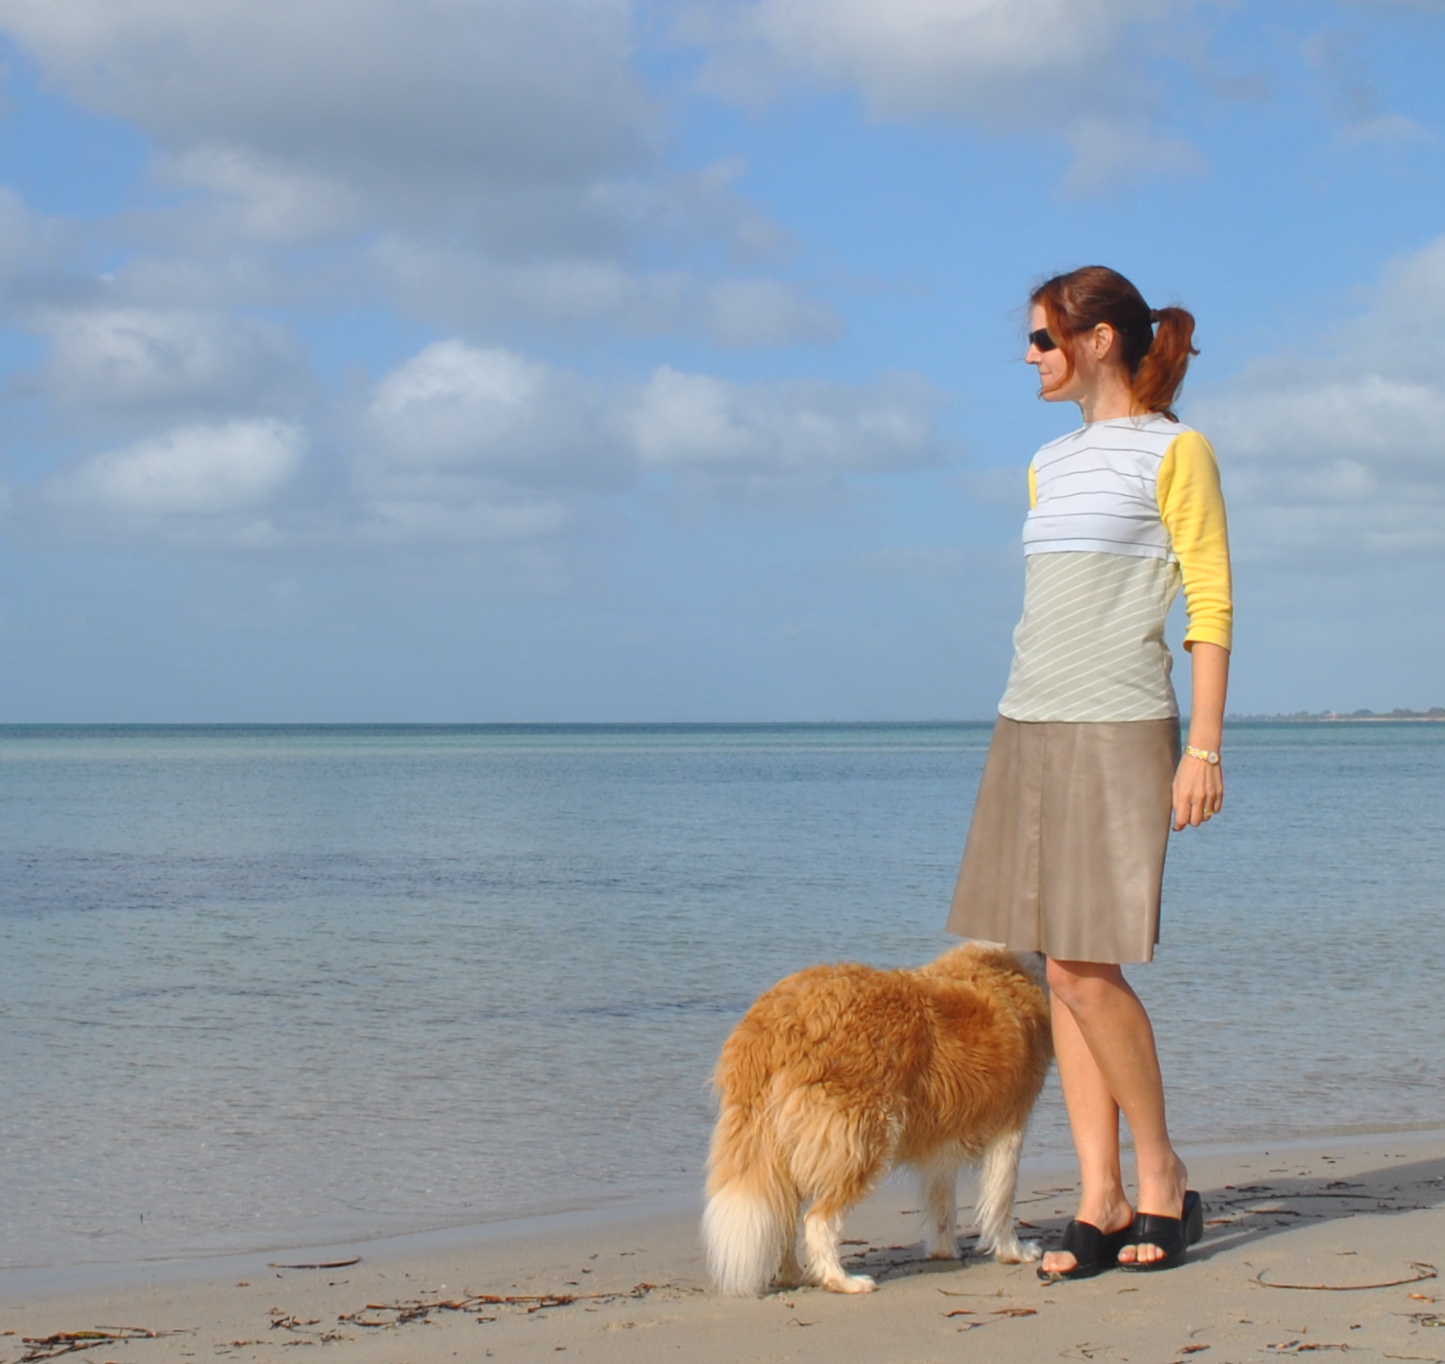
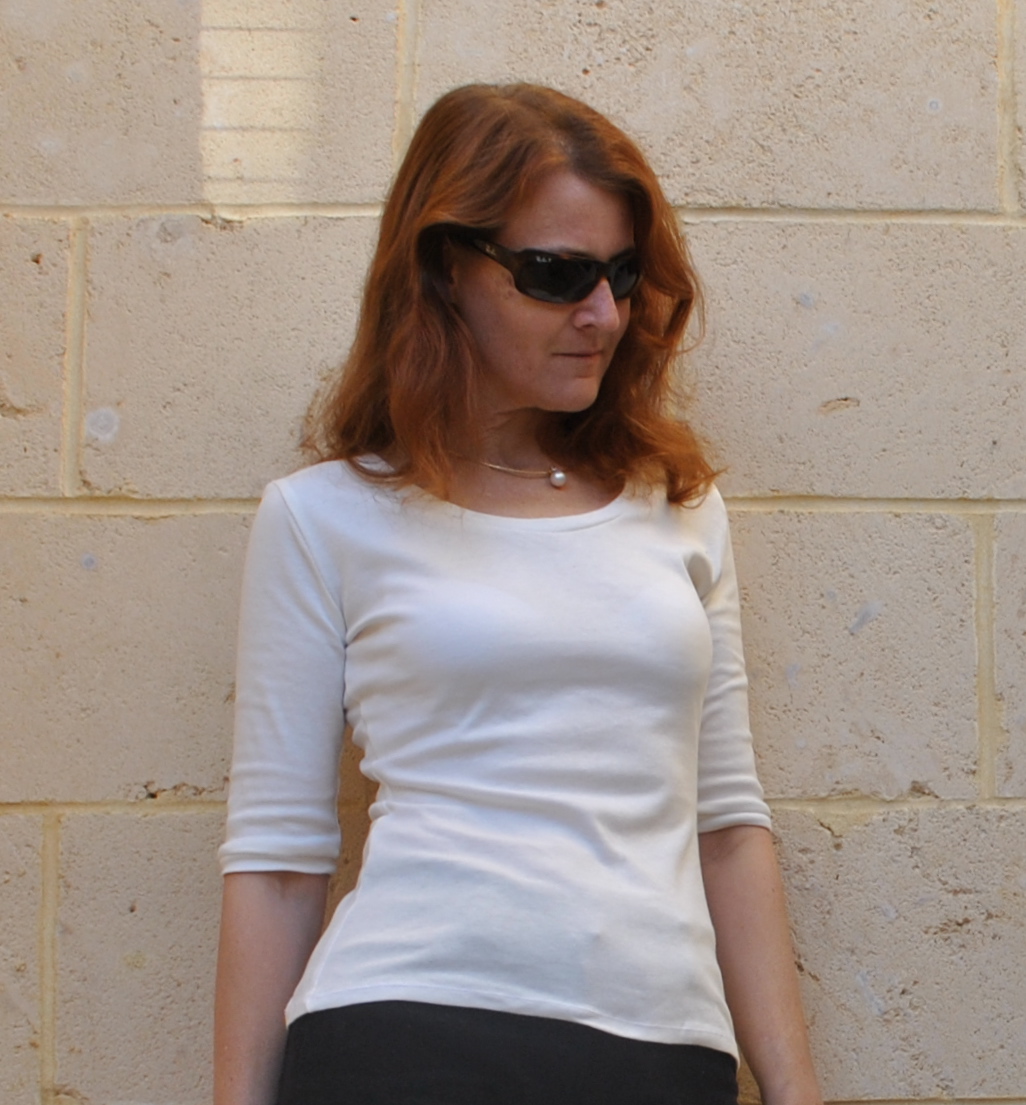
Details:
Tshirt; self-drafted, from
a mix of old and leftover cotton knits
a mix of old and leftover cotton knits
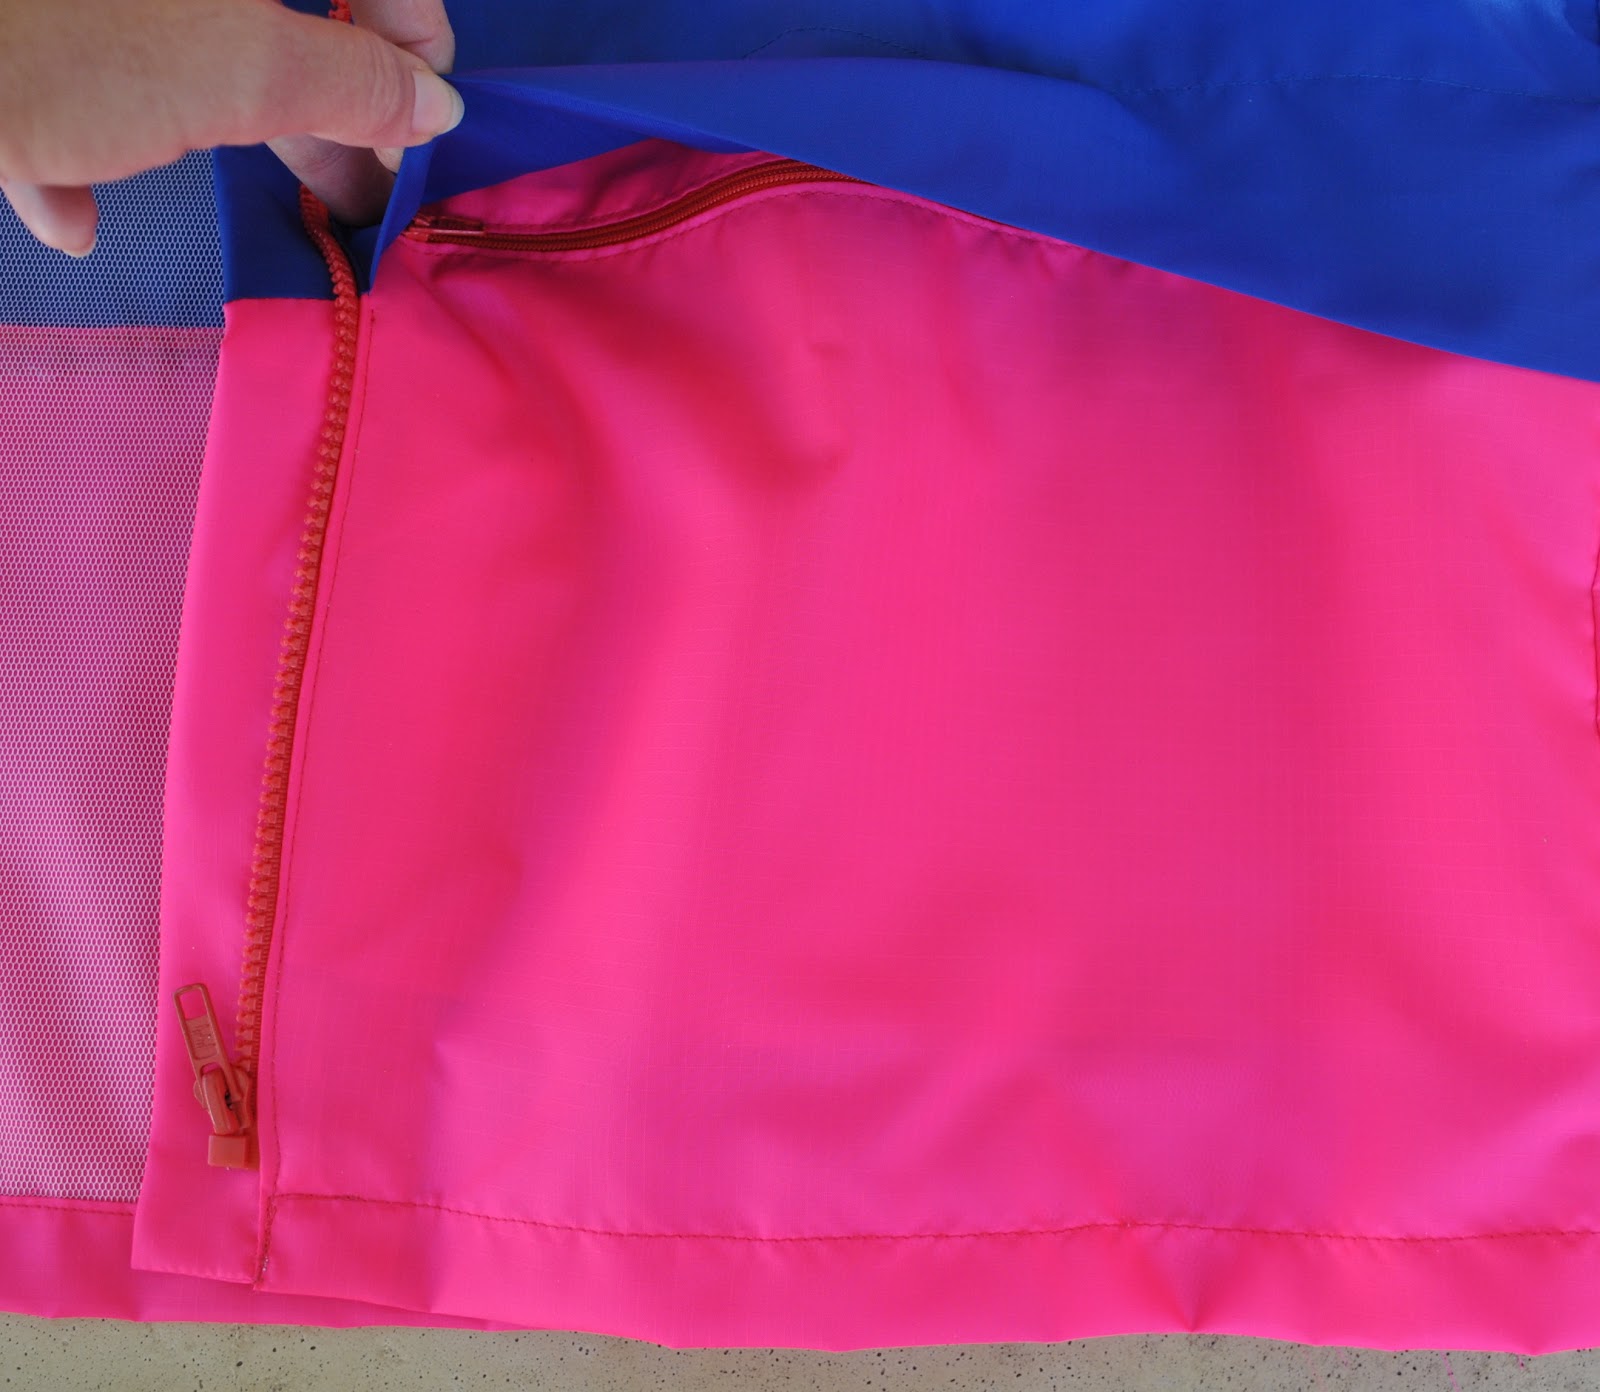
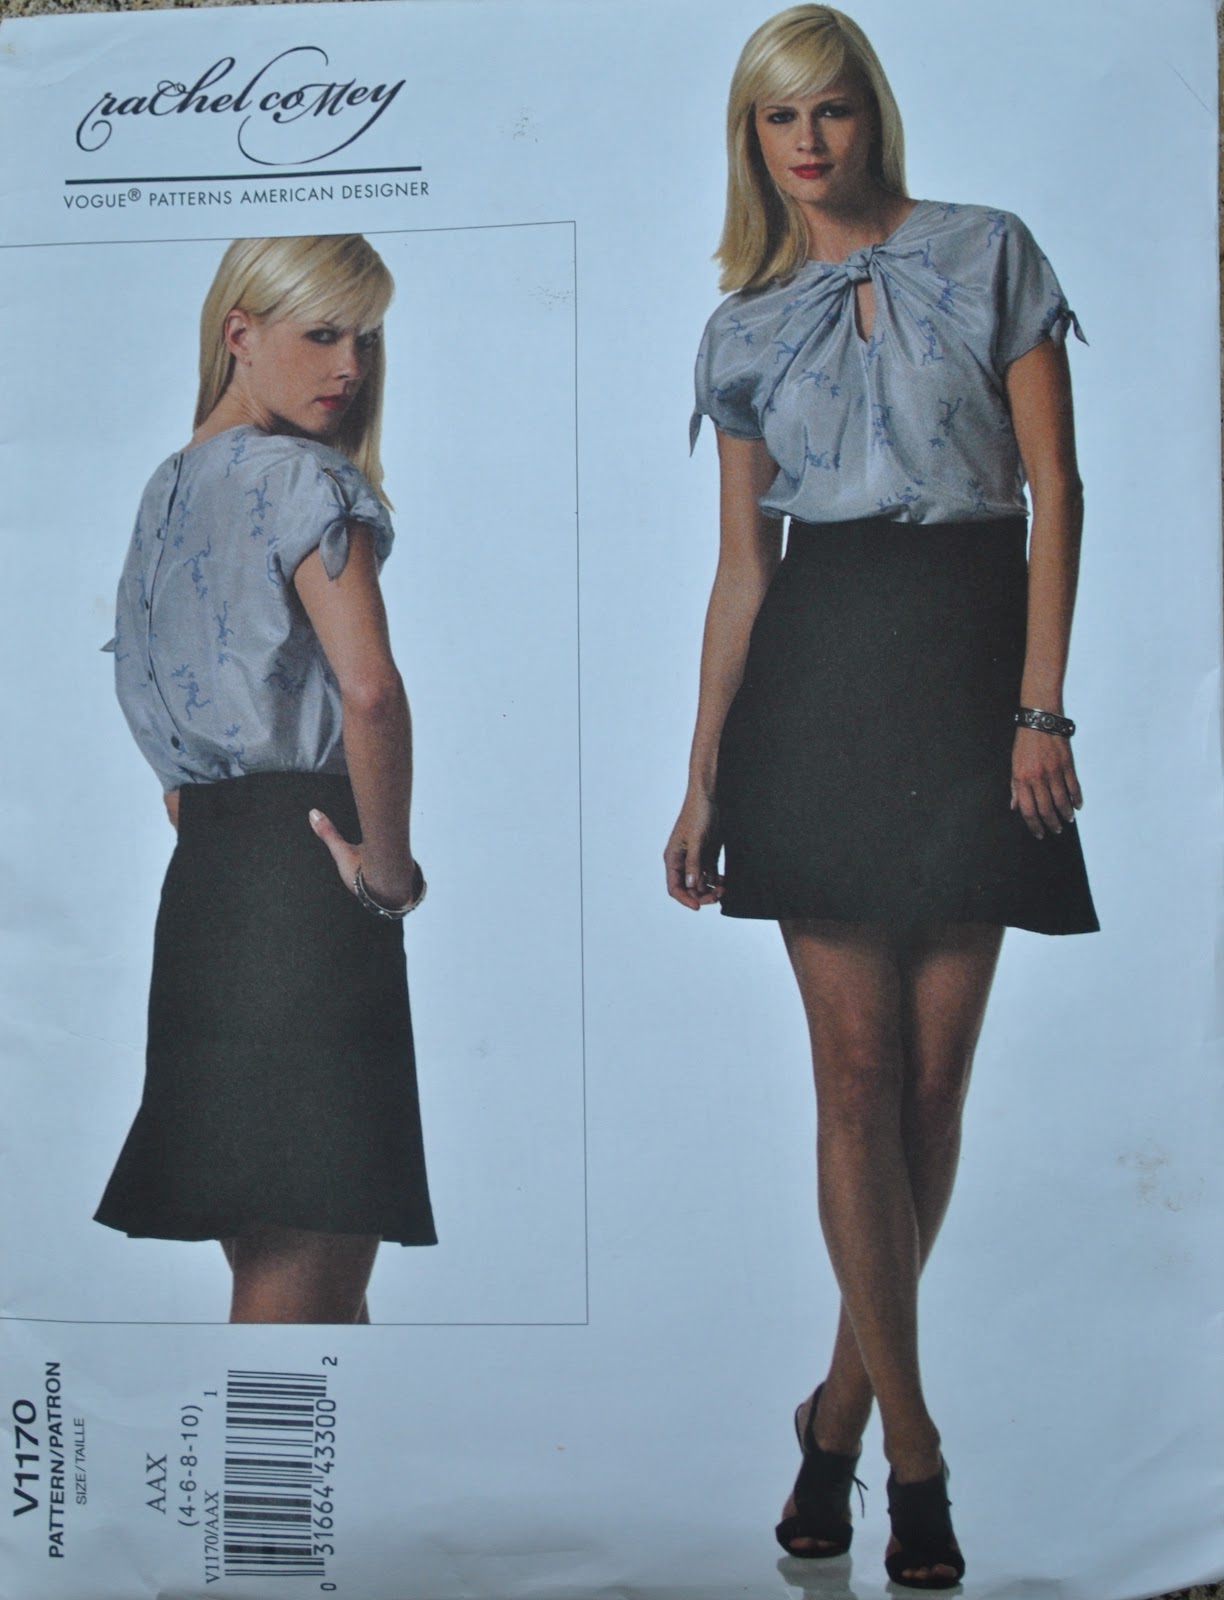
Skirt; Vogue 1170, PU
laminate, details and my review of this pattern here
laminate, details and my review of this pattern here
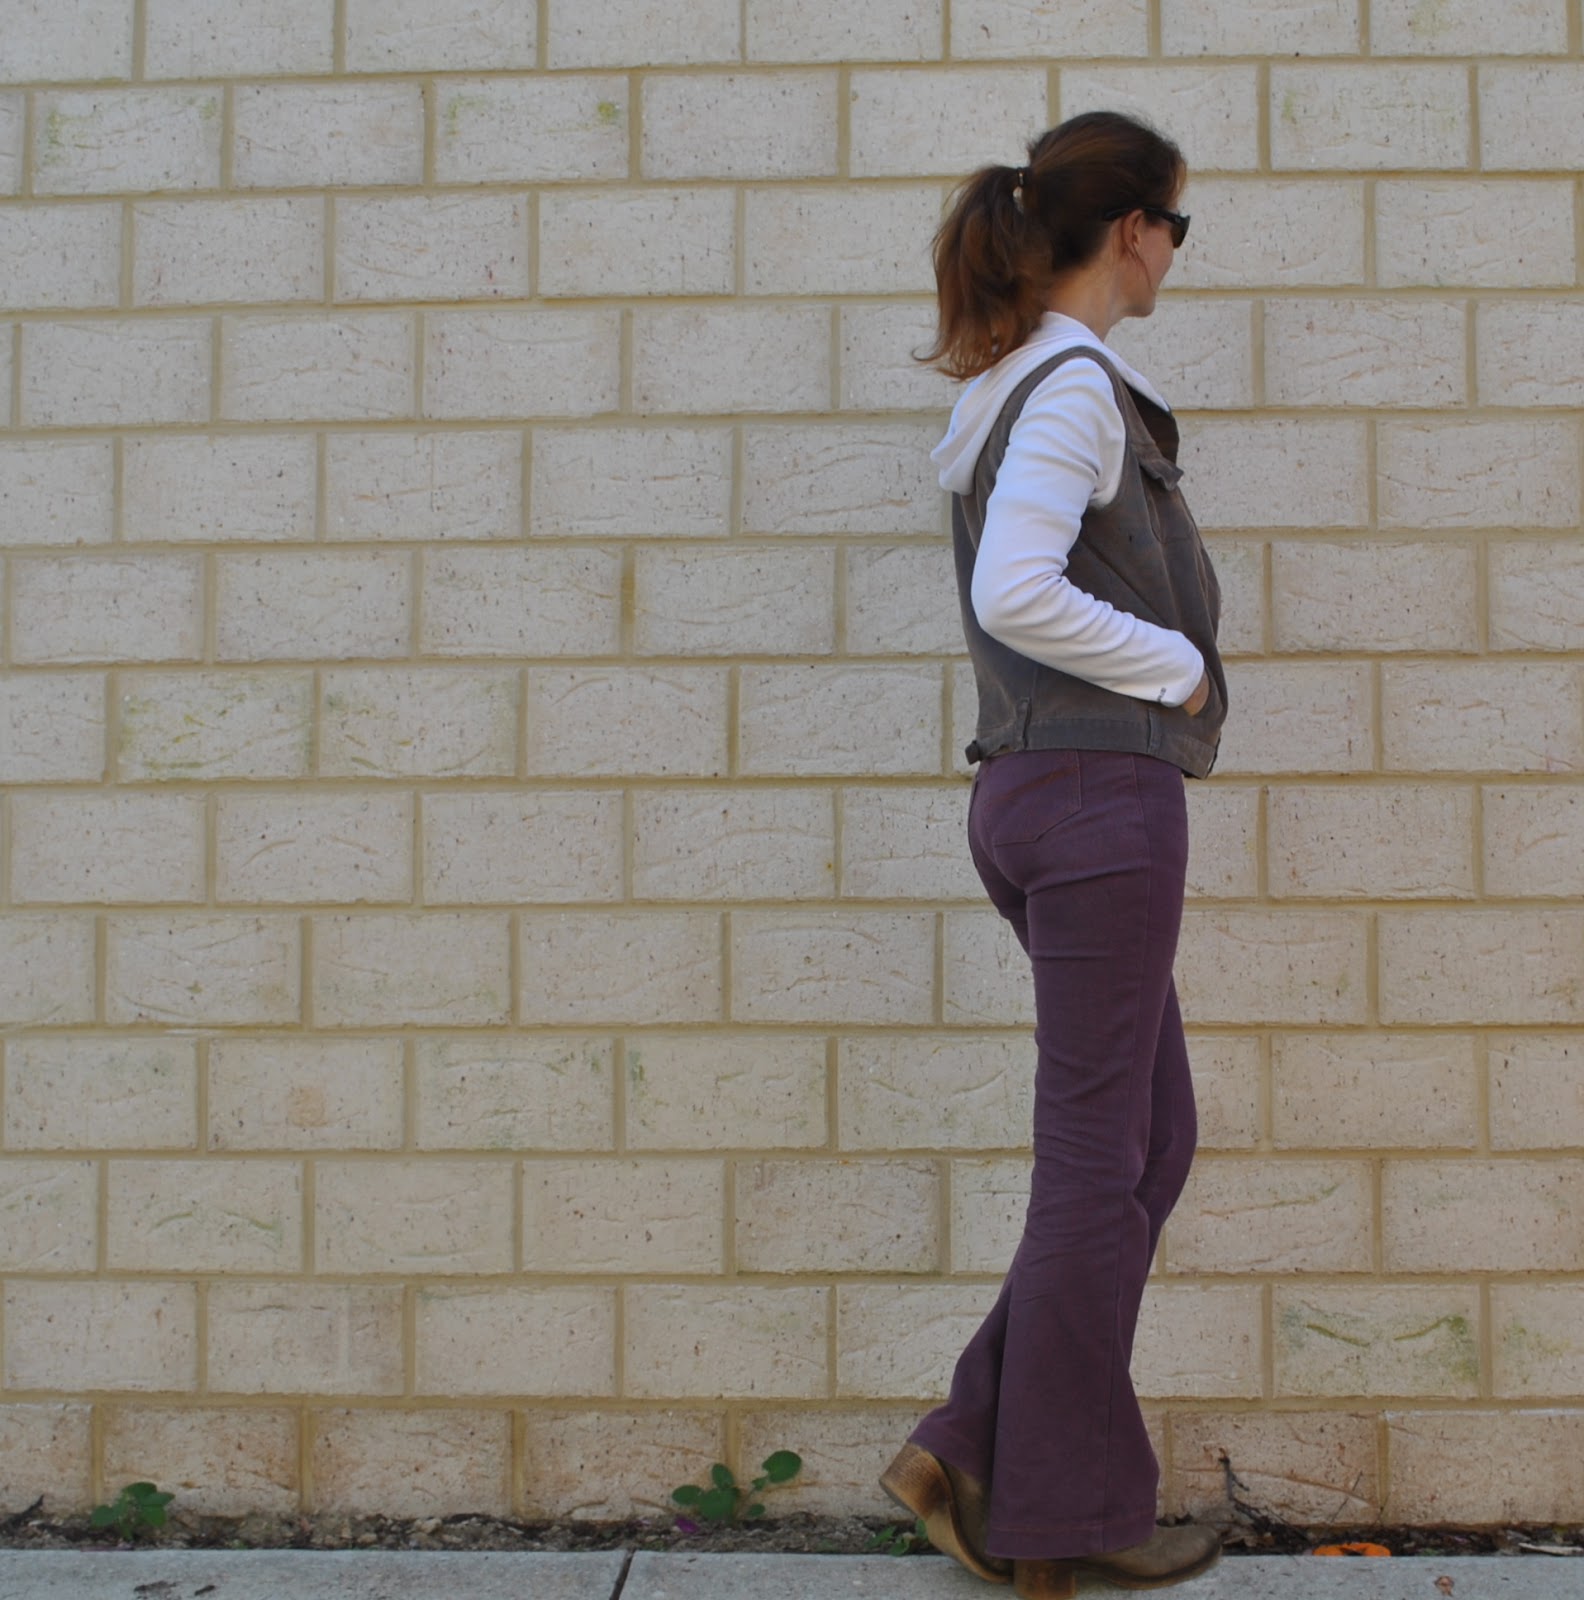
Shoes; Perrini, had these
for donkey’s years
for donkey’s years