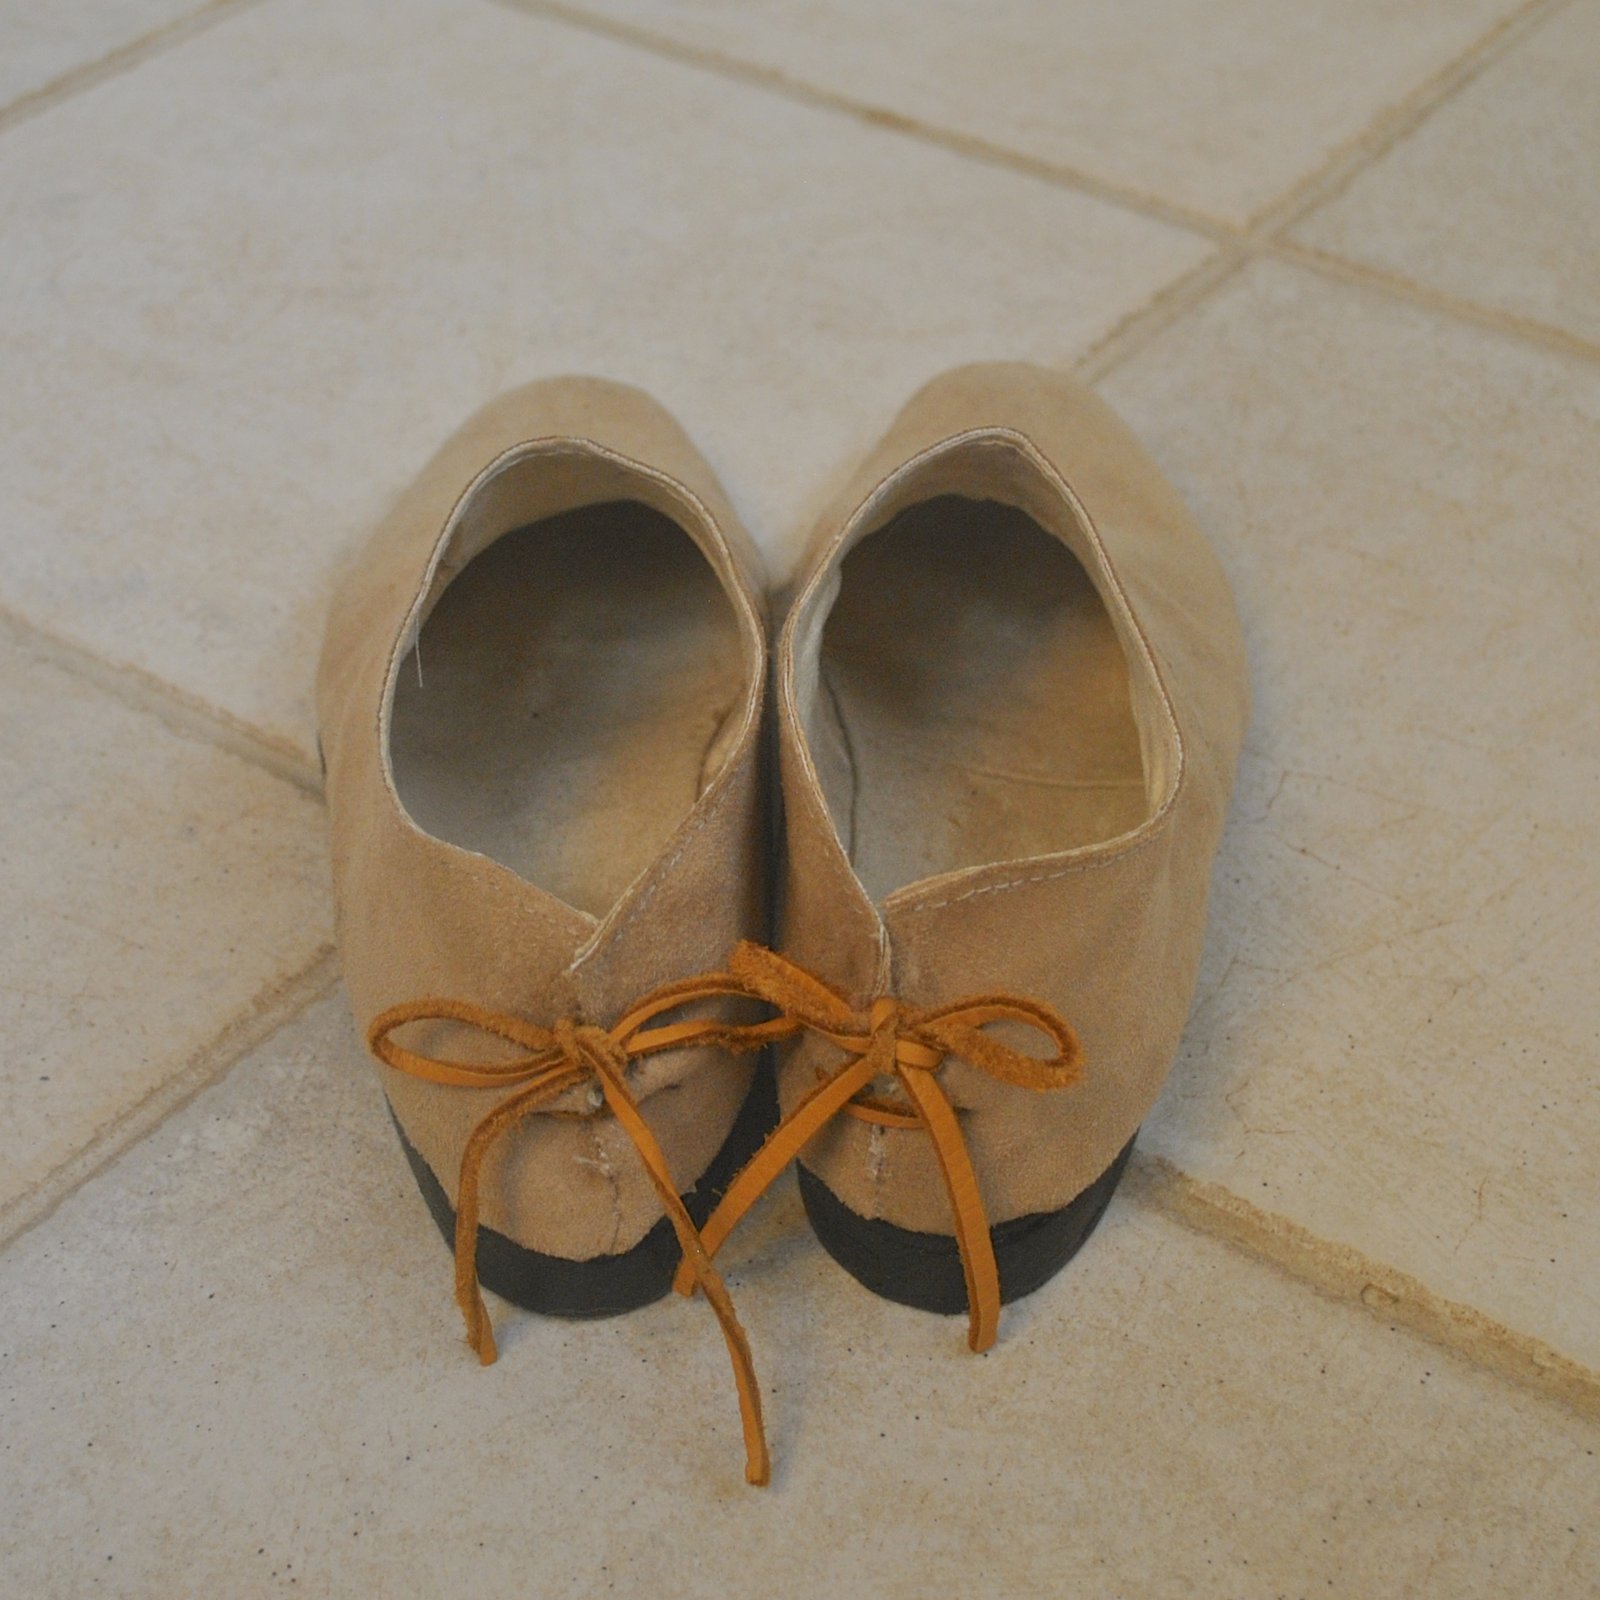
I’ve made some new shoes… 🙂
A kind of shoe I reaaaaaaaallly like to wear in spring/summer, heck and autumn too, let’s be honest; is a pair of little white sandshoes/sneakers. I reckon they look really cute worn with… well, just about everything. And they’re white, so they’re positively screaming summer.
*screams* “SUMMAAAAAAAAAH!”
 So I set out to make a pair of ersatz “little white sandshoes” And this is the result! Hmmm, maybe, not all that close to the typical things you think of when you think “sandshoes” but a pretty ok substitute I reckon. I really love them, so I’m happy!
 The inner soles are covered with some beige checked cotton flannelette. It’s some of the leftovers from some of my old winter pyjamas, hehe Looks pretty cute, huh?

For the laces, I tried out some leather strips, but they were surprisingly and disappointingly meh…, so I looked around about for something else. I wanted something very simple, unobtrusive, pale in colour so as to blend in with the shoe, and visually fitting in with the slightly distressed, shabby chic vibe that I reckon the shoes have. Then I thought of kitchen string. You can hardly get more humble than that! and I kind of love how it looks! It’s actually a purely decorative feature really, since I can slip the shoes on and off without untying the laces.

The shoes themselves are actually made from the exact same fabric as my previous pair of shoes; beige upholstery suedette, a leftover length given to me by my friend A. I cut out my pieces, using my own oxford pattern; and spray-painted them loosely and a little blotchily with Squirts flat white enamel (Bunnings). I just like stuff a little blotchy
Then just made up the shoes, same as per usual. They are lined with pale yellow lightweight suedette (Spotlight) the same as used previously in these and these shoes. When I stretched the uppers over my lasts, the enamel paint crackled and crazed a bit, which produced a rather charming effect, in my opinion. I love it! However, while I’m thrilled with the look of painted suedette, it was quite a bit harder to handle than un-painted suedette, which I used for my previous shoes. It came up quite stiff and “crackly” and it was actually quite a struggle moulding it around the last. Every time I’ve made a pair of shoes has been a different experience, each and every material that you choose has the potential to throw you into new territory, and will potentially be a game-changer…

Because little white sandshoes are always white all over; I found some white rubber (Clarks Rubber) for the soles and I cut and stacked it for the heels, just like I’ve done with all previous pairs of shoes, and using contact adhesive. However, again… I found this white rubber to be very very different from the black rubber I usually use!! like as in, vastly so… It is very tough, less pliable and very firm, for one thing, and the glossy surface was much much MUCH harder to sand down. There’s some serious hard yakka gone into these. I started off with sanding with super rough sandpaper, and finished off the roughing up of the surface with a big ol’ rasp and muchos elbow grease. Accidentally rasping my own hands in the process every now and again, ooochywawa. I don’t think I’m a natural handyman, ahem…. these soles and heels represent some serious application and more than a little muscle and looooads of patience! I decided upon a heel height with just four layers of rubber, and then to get a bit of extra padding I put a fifth layer inside the shoe. I skived the straight edge of this layer to taper down… not that my foot will probably detect this very minor, and very difficult to implement, improvement. So, goodness knows why I bothered. I cut myself doing this bit too! See that bandaid? yeah
showing the extra rubber heel bit, and how the shoes are nailed to the heels from inside.

After constructing the heels and sanding them down all nice and smooth, I gave them a coat of the same white enamel paint, which finished them very nicely, and also covered up a few stray smears of the adhesive that were difficult to get off with turps. There’s a good chance those heels will get pretty marked and dirty in no time, so I’m just going to keep that white spray paint handy for touchups. Gonna keep everything looking pristinely white and clean all summer!
Now I’m just wishing it was spring, so I can wear them… I’m so sick of winter! and I’m soooooo ready for some divinely warm weather!


 I’ve made a new dress using a bunch of my kids’ old jeans that I have
  been saving for this very purpose… and please note; yes, I am wearing
 Materials; obviously, all blue denim jeans. I used three pairs of children’s jeans, one pair of child’s long shorts and one pair of adult jeans. The adult jeans turned out to be necessary when I realised that the full-length panels at the back would look pretty terrible if pieced at the waist; it’s a very much piecemeal kind of a design anyway, and to have that nice long smooth length of fabric at the back is just a nice visual anchor in amongst all that busy patchworking, in my opinion. I decided it would be best to retain it; fortunately I had one pair of Craig’s old jeans in my refashioning bag and could cut the long back pieces from those.
 My vision for this dress has always been to have lots of the existing jeans’ details retained in it, like the pockets with their decorative top-stitching, the coin pockets and belt loops and so forth; HOWEVER when it came down to it I retained very little of all that! The design was just so… busy; I ended up removing a lot of the little details I was going to put in. There’s still plenty of the jeans bits and pieces left in, I reckon just the right amount to keep that definite “jeans flavour” to it. There are a few original topstitched seams here and there, and the portion of a pocket left on the bodice. I also added tonnes of new topstitching in terracotta upholstery thread, in fact every seam is topstitched down in some cases doubly so.
 Something I’ve managed to forget to blog about each time I’ve written about this dress… like all Vogue patterns, for a fitted design it’s a little blouse-y in the boob-al region for my figure; however the princess seamed bodice makes this a very easy fix. I simply pin and stitch to shave a bit off the inner curve of the central bodice piece (above), and this solves the problem for me. A very very easy small bust adjustment, and one I usually end up using for pretty much every fitted Vogue bodice with princess-seaming. I don’t have the same issues with Burda, but always with Vogue. I guess their “blocks” are a little different.

 One pair of jeans, the very pale blue pair, was practically threadbare in places, but I still really wanted to have that pale blue as part of the lovely indigo-y mix… these pieces I reinforced with lightweight iron-on interfacing to the back to stabilise and strengthen these areas (below). Don’t want my new dress ripping in its first wear now, do I?!


 Hello! just a few quick items for today… I’ve actually been sewing a few things for other people! Scary stuff, huh. I mean, it’s one thing that I can see all my own flaws in things I make for myself, and on a daily basis! but that’s kinda the rough with the smooth, you accept that because it’s all your own doing, all your own fault and you can tell yourself you’re “learning” and going to do better next time haha…. but to subject another person to those flaws … well that’s really exposing yourself. ok, you know what I mean…
 Sure, they’re all near identical, but still. What’s not to love about that.
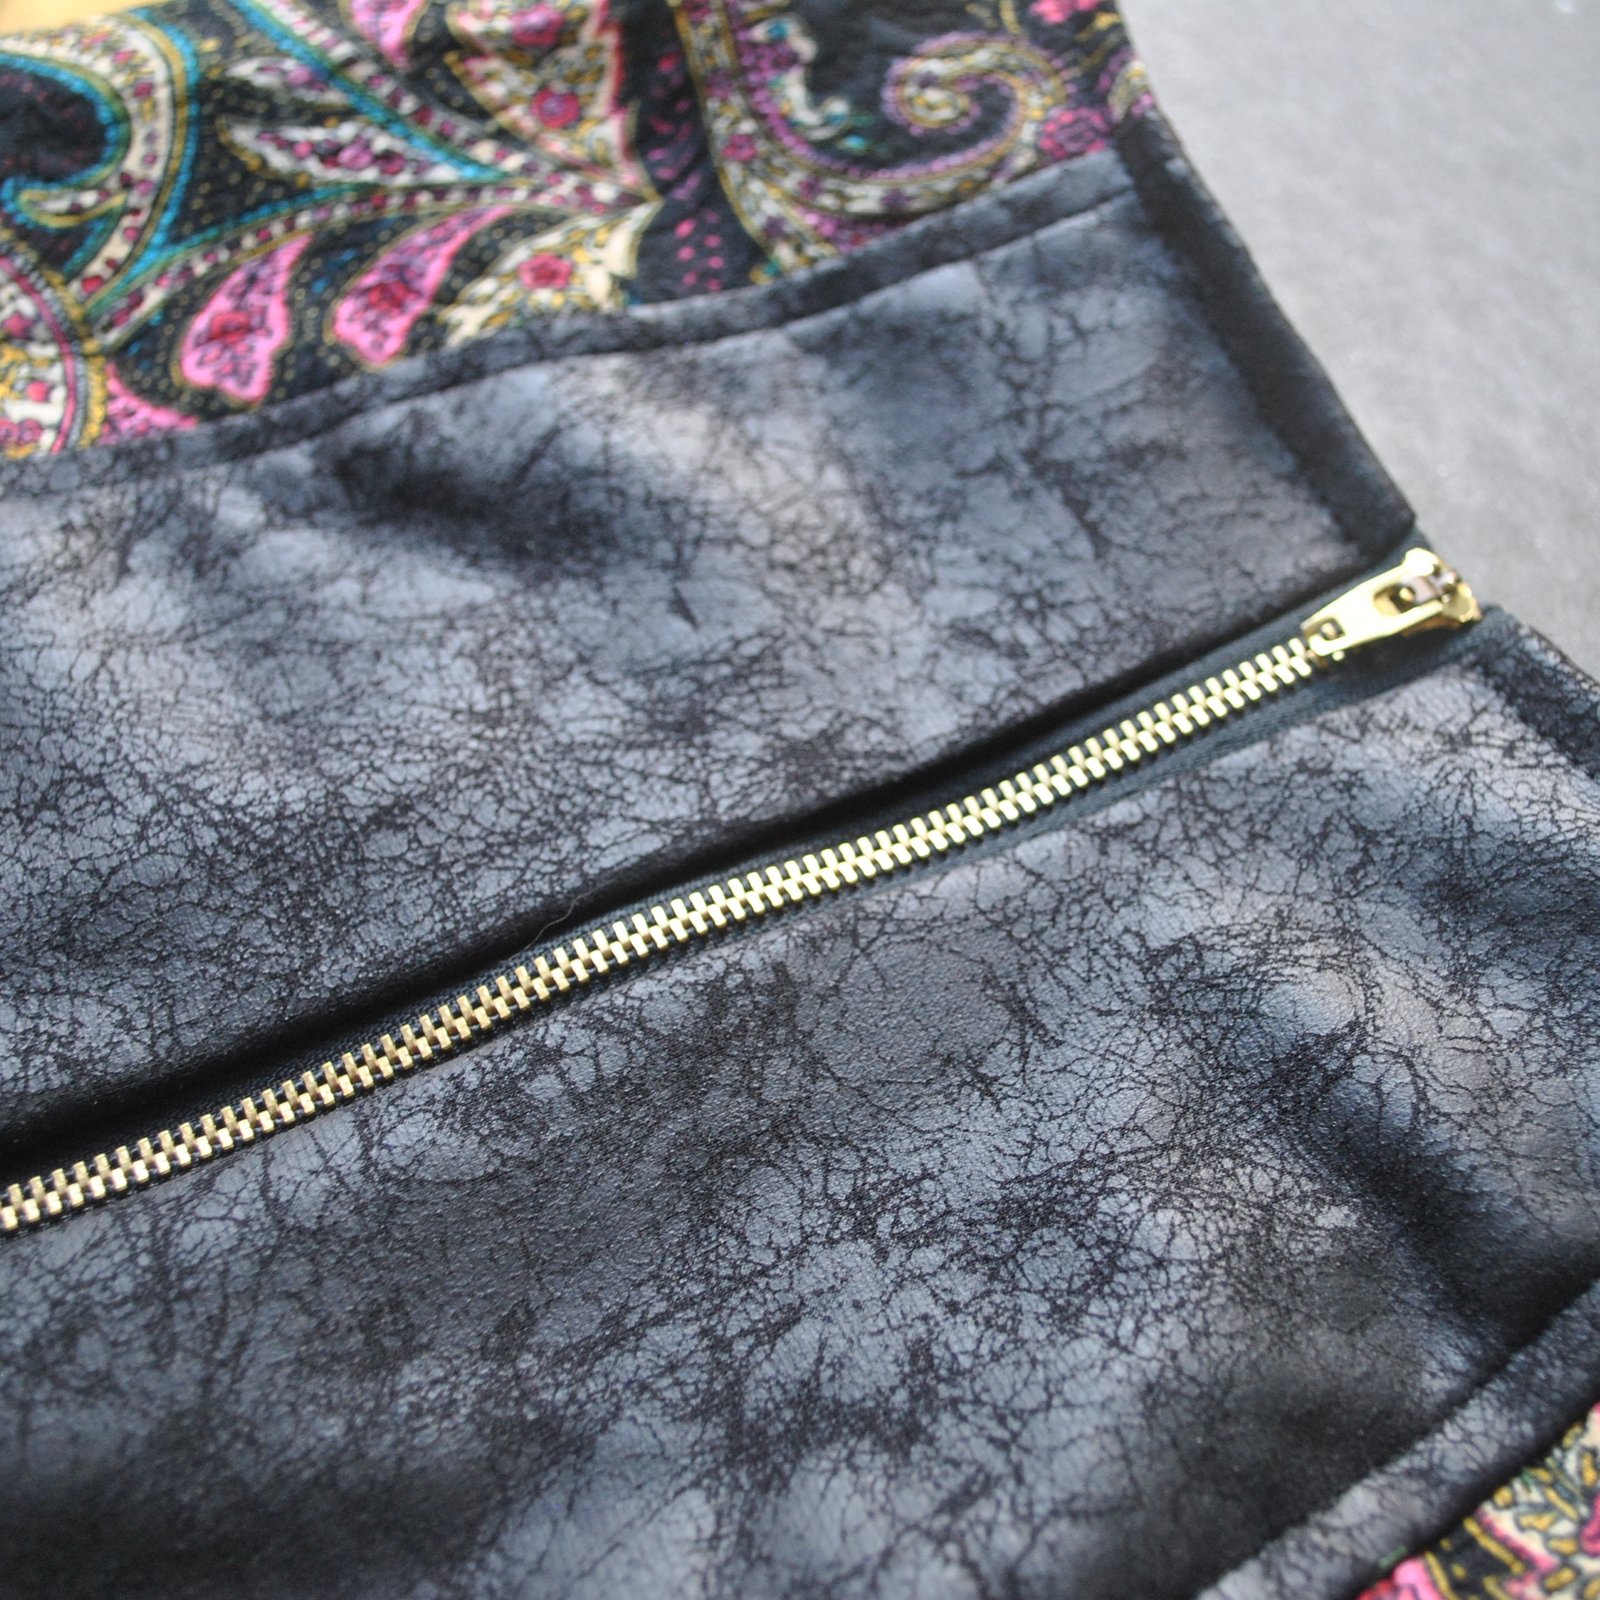 This is the first time I’ve put an exposed zip in a skirt with lining, and wasn’t totally sure how to do it; I put the zip in similarly to how you’d do a welt pocket, and then hand-stitched the lining to the zip tape on the inside. I cut the bottom edge of the pleather clean and straight with my rotary cutter and left it unhemmed; and hemmed the paisley portions in a deep 4cm hem by hand. The skirt is fully lined with raspberry polyacetate, itself a leftover from

 Item number two; a hoodie for my son’s girlfriend. I had made


 Hello!
 I just adore jackets with tonnes of hardware and detailing, like zips and lots of different bits and bobs and interesting pockets. So set about planning for this one to be chockablock with loads of that sort of thing. I considered using the same Burda pattern I used for the previous one, but I had to make lots of additions/adjustments to that in order to make it the complex, feature-laden army-style jacket that I wanted, which is fine! but since making that one, lots of great patterns have popped up with all those features already incorporated into the pattern. Eventually I settled upon the


 There is tonnes of topstitching all over, so satisfied that part of me that adores precision sewing. I’m that weirdo that LOVES topstitching! and am pretty much totally and blissfully happy when I’m hunched over the machine, chugging along; churning out lines upon lines of precise, neatly and evenly spaced, stitching. The wonderful thing about this ripstop is that the little squares in the weave of the fabric make precision stitching and lining up pieces to be perfectly square very very easy.




 So; like, we were going to this 80’s themed party, and, like, EVERYONE in this particular group always dresses up to the max! Not dressing the part would be heinous! and of course I had to be fully self-made, ‘cos of my challenge. Also, like, I had to be warm. It’s like the middle of flipping’ winter! Like, duh!


 Ello ello ello!
 I made some new shoes! and they lace up at the back of the heel.

 I lined the shoes with some very thin, pale gold suedette from Spotlight, the same type of stuff I’ve lined all my other shoes with, and the exact same stuff as