
 Mum and I went shopping together on my birthday; her for my birthday present, and me for her birthday present! yes, our birthdays are just a few days apart so this is a bit of a tradition. We went to Fabulous Fabrics. Haha… well how unexpected! *wink*
After much lengthy and highly enjoyable hunting, comparisons and consultations with each other, Mum chose this really beautiful fabric for me. it is thick but very light and airy, has a nubbly, ultra slubby texture and is as pure white as the driven snow. I absolutely adore it, in fact I’d been salivating over it whenever I saw it, ever since it came in. Getting a little bit to give me is extra thoughtful of Mum when you take into account that she doesn’t think white really suits me at all. I kind of agree with her up to a point… however! I still totally adore it, because I’m a dreadfully contrary soul… no not really, I just have this thing for white clothing, particularly for summer, I love it with a fierce and burning passion…even a white-hot passion! Mum knows I do, so I thought it pretty sweet that she overrode her feelings to give me something I really love.

Pattern is the Named patterns Inari tee dress. This is my “real” Inari, for which I ran up my previously blogged red striped “muslin”! though of course they are both wearable since I found I needed to make only minor changes to the pattern for it to be perfect.

Something I mentioned in my red-striped inari post, the dress made as per the pattern rides up a bit when you lift your arms, so for this version I made the following simple modification to the sleeves to help reduce the problem:
What I’m doing here is adding width to and reducing the height of the sleeve cap slightly, and doing so without altering the armscye. Diddling about with both the sleeve and the armscye is possible if you really know what you’re doing #idonot; however can be quite complicated and so I tend to not go there… I would prefer to substitute an entirely different, tried-and-true sleeve cap and armscye from another pattern if it came to that!!
 from L to R, top to bottom:
1) Trace the sleeve, and draw a line from the shoulder seam junction mark near the apex of the sleeve cap down to the lower edge, parallel to the grain line.
2) Cut from the lower edge up, leaving a scant few mm at the upper edge still attached. Pivot the two halves open; I allowed a gap of 4cm (2″) in width, although you could stand to go a little wider, if desired.
3) Tape a piece of paper to fill and fix the gap
4) redraw that lower hem to curve smoothly in a similar line to how the sleeve was previously, and trim
5) Original sleeve and new sleeve, juxtaposed. You can see how the sleeve is wider; and not seen, but the height of the sleeve cap has been reduced by 2.5cm (1″).
6) Very important!!! remember to measure the length of the new lower edge and cut the sleeve cuffs accordingly! They’ll be a bit longer than the sum of the original width and the width of the gap created in step 2.
Demonstration of results (below); The dress does still ride up a little bit however not nearly as much as previously, at right. To lessen the ride-up even more, you could go even further with widening the sleeve and “flattening” the curve of the sleeve cap even more. Or alternatively of course, you could always substitute an armscye and sleeve cap from another pattern, at a pinch!
I’m pretty happy with this though 🙂

Finishing details:
I still didn’t use the neckline facing, but turned in the seam allowance and finished with a piece of bias-cut white linen. Similarly at the lower hemline, the raw edge inside is bound with bias-cut white linen and then handstitched, this looks nice if anyone happens to catch a glimpse of that back hem inside.. which lets face it, is quite possible because of that low-hanging back edge, and also eliminates the bulk that you’d get if you turned the fabric under twice.


Bonus picture, photobombing daughter…

Fun fact, she made the dress she is wearing here; it is a cute and interesting tank dress with tucking up one side and side split detail on the other, made in blue marl jersey that she bought in Japan. She’s wearing it over the skirt that I made for her, here. Honestly, she makes the most lovely things, but doesn’t really share them on any social media. Occasionally I persuade her to pose in something she’s made, like the time she made this really divinely beautiful ivory cut-out lace top…

Gorgeous, isn’t it?
Details:
Dress; Inari tee dress by Named patterns, white slubby cotton mix
Shoes; designed and made by me, details here
Sandals in top picture;designed and made by me here. this picture taken on Cable Beach during our recent holiday
and hmmmm, I’m sorry that I’m closing with my dress here… bit of an anticlimax after Cassie’s top!!


 Uppers: this particular vinyl has that very rubbery texture which sticks to the presser foot, leading to horribly uneven stitches. I usually use a strip of tissue paper to facilitate the vinyl going evenly through the machine; but these strips are really really skinny, wonky stitching would stand out a mile and I wanted to get the topstitching perfectly even in appearance, and you can’t see through tissue paper so it just wasn’t going to cut it this time. I found though, that by turning the vinyl upside down it all worked out quite smooth and fairly easy to sew.
 A bit of faffing about with strips and I finally settled upon a nice simple, multi-strapped design, cut a denim “inner sole” piece and zigzagged all the strips to this underneath the echo-panel layer, to anchor them securely into position inside the sandal. This denim inner sole is sandwiched between, and securely glued to the echo-panel above and the cork sole below. So it’s not visible in the final sandal, also, none of those strips is in danger of pulling out!
 I toyed with the idea of leaving the echo-panel showing on the edge, but its woolliness actually picks up every stray hair and twig, and the white shows like every smudge, and I decided a smooth, dark edge would be less of a headache. More sensible, hides the dirt, you know. I cut and glued on a nice evenly cut strip of dark denim to the outside edge, pinning in a few strategic places where the denim didn’t instantly stick to the inner curves of the sole. Those pins can just be seen in the picture below; I sort of thought they would be a temporary measure until the glue dried, however they got pretty firmly glued in themselves and proved impossible to get out! so I’ve left them in there. After this picture was taken I went back and touched them all up with a dob of black paint so now they’re invisible. And, then they were further sealed in with several coats of varnish over the denim, so they’re pretty secure. I don’t think I have to worry that they’ll ever come out 🙂


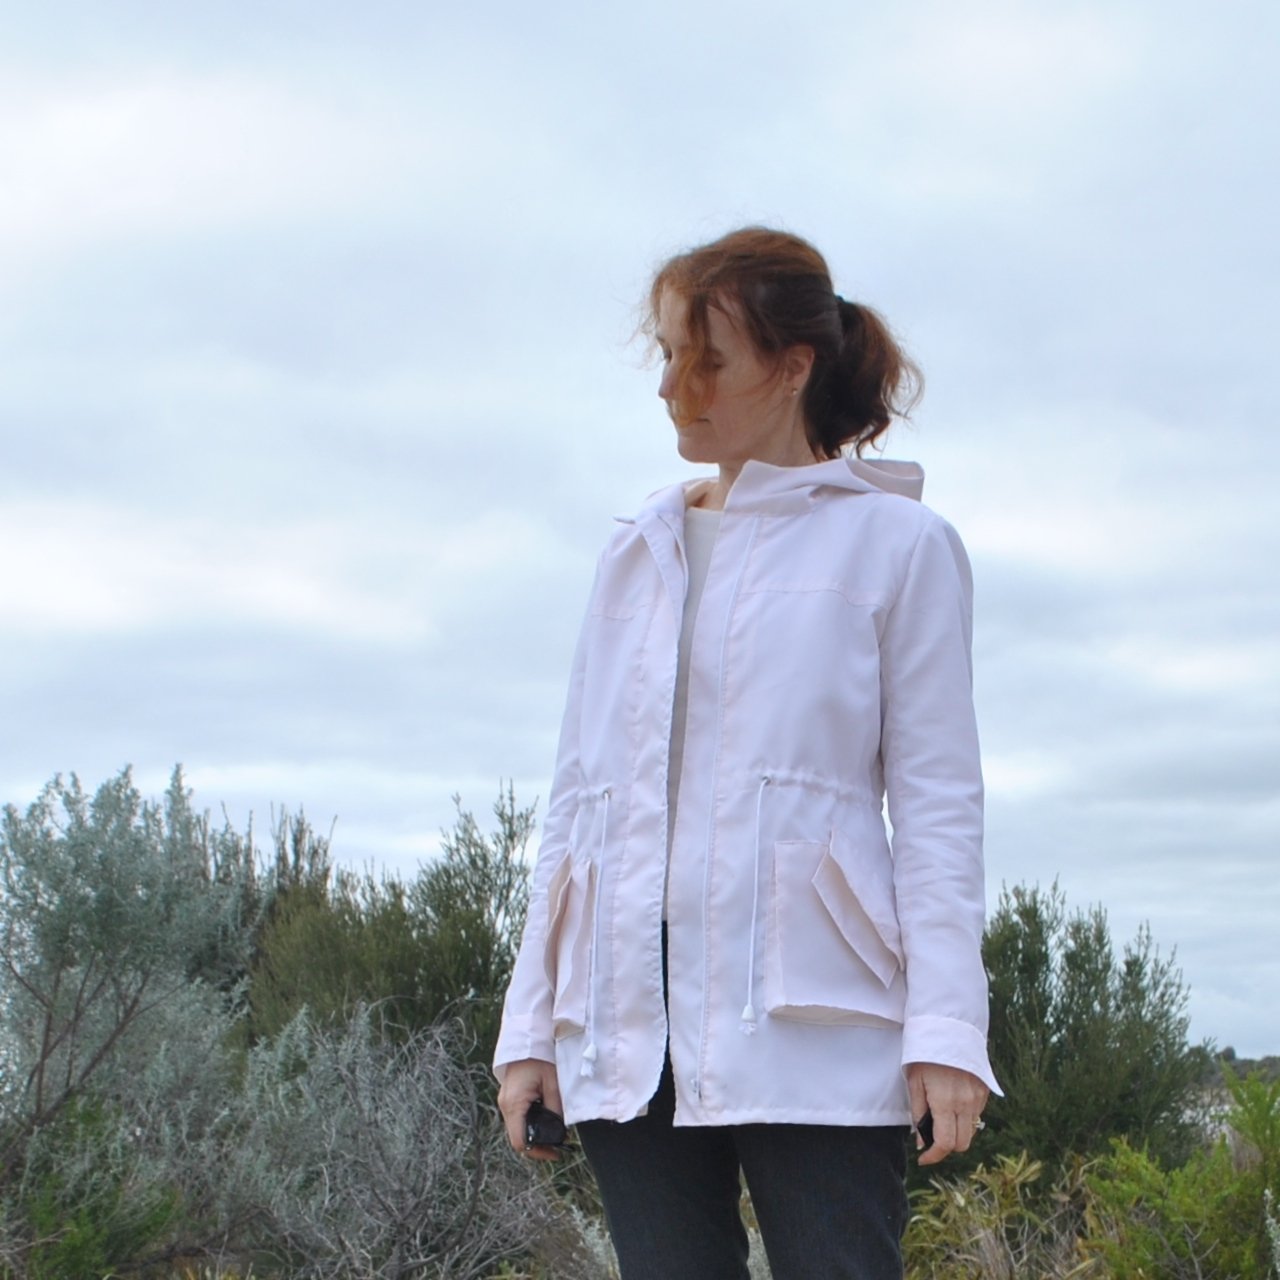
 O hey-a! After finishing my own Kelly anorak and having it admired to the nth degree by family members, I made a few more! a pale grey one for Cassie, and I also made a deep cobalt blue one for Tim’s girlfriend Kelly. Well, it seemed only right that she should have a “Kelly” too!
 I quickly snapped that top picture of an unsuspecting Cassie waiting to meet up with me in town before she noticed me heading towards her… I know it’s a bit blurry and not very posed to show off the anorak to modelly perfection, but I just really like it nonetheless… to me it attests that she’s been wearing it a tonne, in fact every single occasion that I’ve seen her in the past three weeks since I finished it and gave it to her she has been wearing it. There’s no greater compliment to a seamster than that! as well as a testament to the pattern being an absolute style winner. Kelly’s worn hers each time I’ve seen her since I gave it to her too, but I’ve not taken any pictures of her in it.. will update if she sends me one 🙂
 Both the anoraks are in a nice weight cotton drill from Spotlight, in fact, all the other bits and pieces are from Spotlight too. In both anoraks, I added a few inches to the length of the body and modified the pockets to have separate pocket flaps so as to close the pockets; otherwise these are both made up exactly to the pattern.
 This picture below of Kelly’s anorak has been my most “liked” picture on instagram ever! far more than anything I have ever made for myself! Interesting, no? Well, I think it is, anyway 😉 I don’t know what that “says”, if anything at all, but maybe something. Social media is such a funny phenomenon. Something else also interesting to me is how a person, any person, can have a certain number of followers and the number of “likes” never ever reaches anywhere close to that number. Honestly, I have no idea about how or why this is so, but it’s just a curious thing.
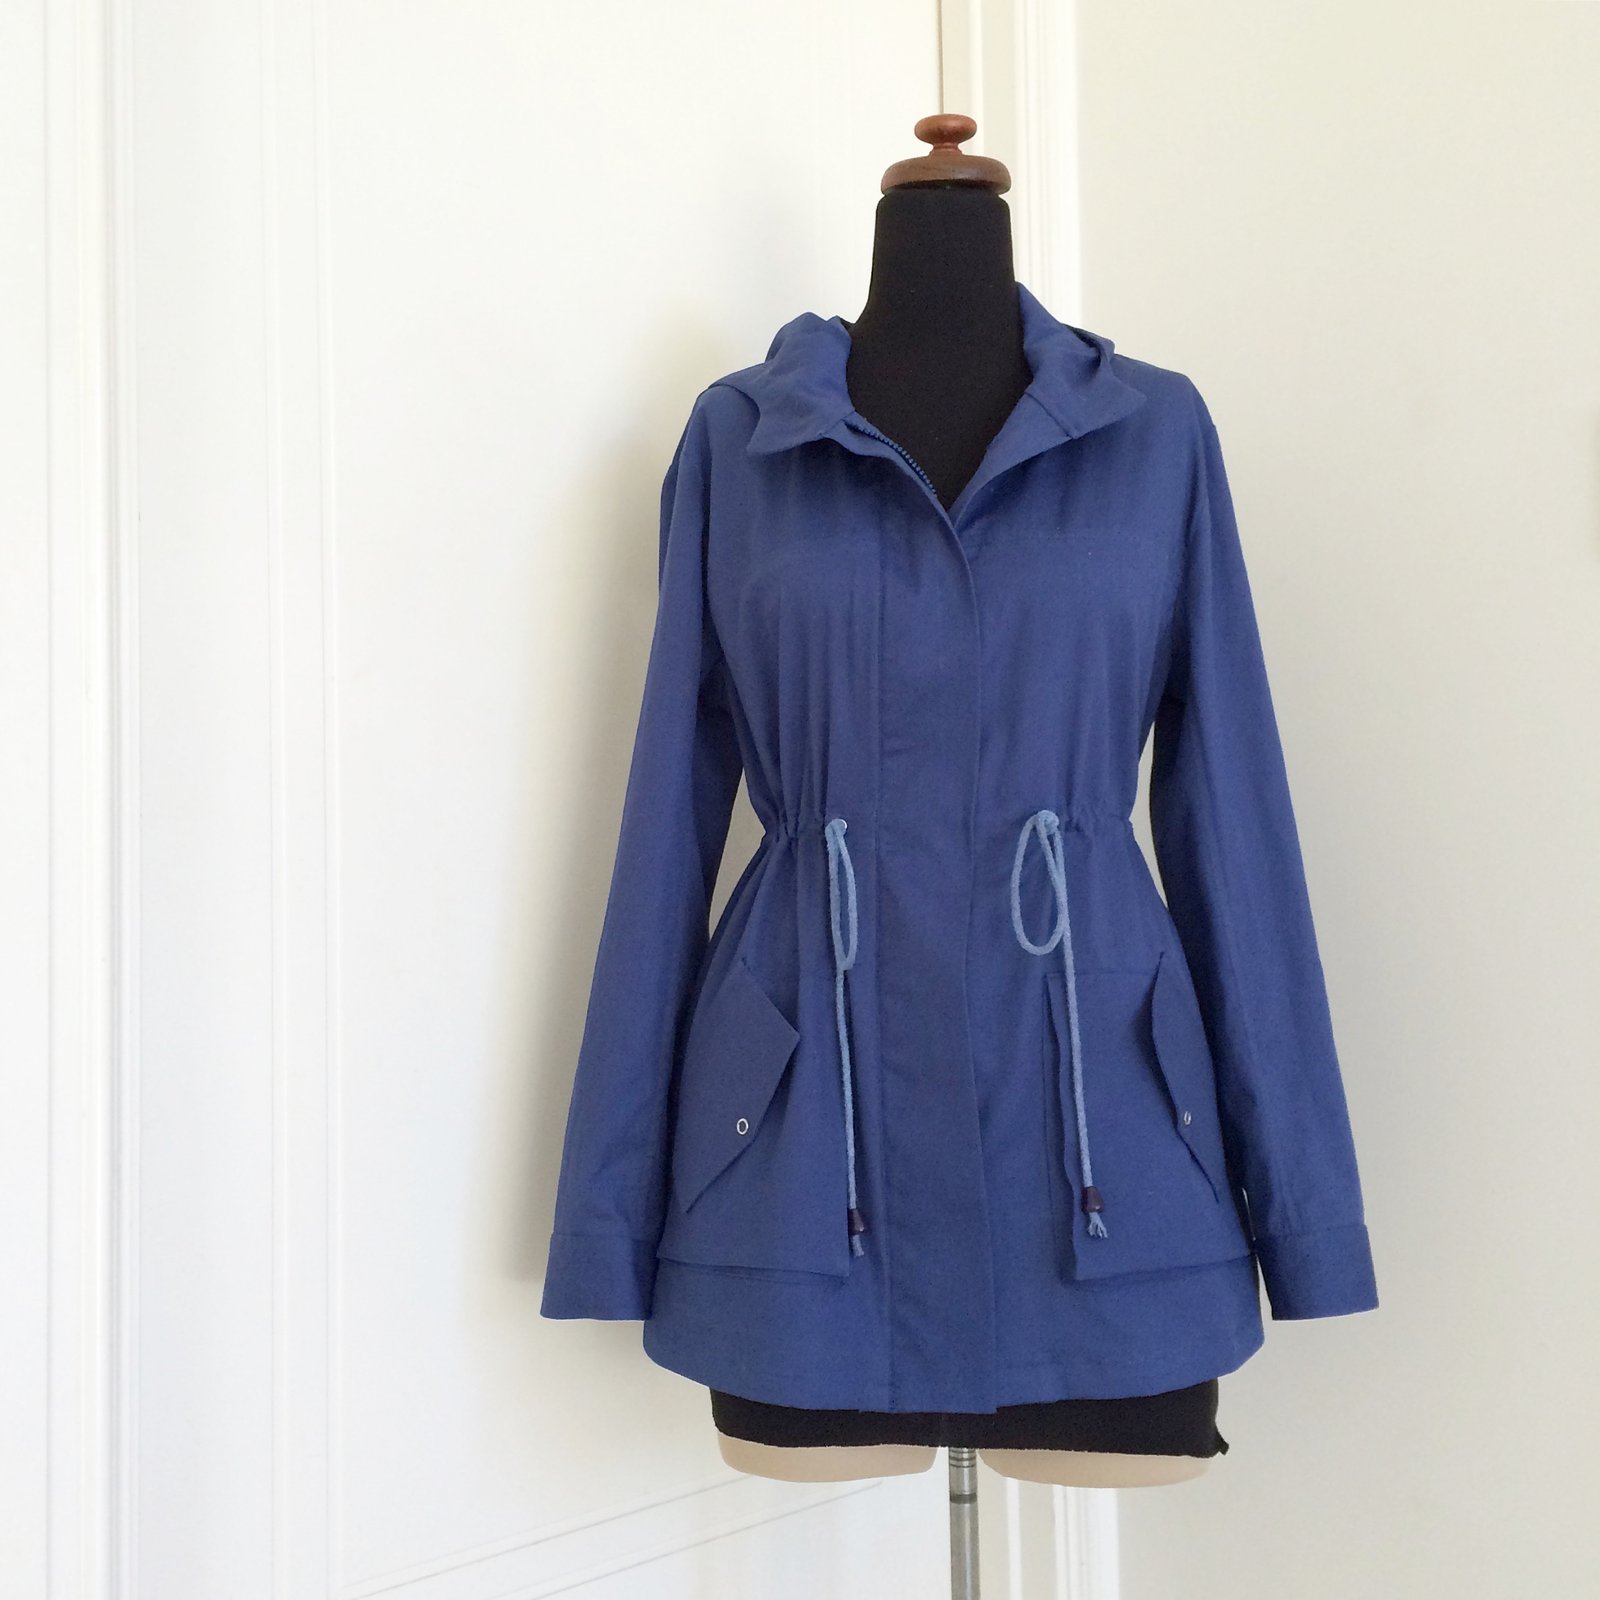 I’d got enough of the same white cord for Kelly’s anorak , but since I’d found a nice, perfectly colour-matched blue zip for hers’, and used blue thread for all topstitching and there was no other white anywhere in the jacket; the white cord looked all wrong. And naturally there’s no such thing as blue cord in the whole of Perth! so I just had to dye it. And, when your regular dye-pot is HUGE and there’s just one little length of cord what’s a mad maker to do? but of course, improvise.


 Details:


 The soles are cut from rubber sheeting, from Bunnings. I made my own stacked heels, as usual, glued them all together with contact adhesive, and sanded them all off nice and smooth before giving them a blacking, and finally a coat of satin varnish. On some of my shoes I’ve started to varnish underneath the soles too, like I saw






































