Category Archives: Sewing

ivory madou

I made a new jacket  🙂

I love making and wearing jackets, and this one was … um, fun? to make?  Haha, no really.  I used this beautiful ivory/vanilla wide wale corduroy that I bought years ago, from Potters Textiles… it’s one of those quite lovely luxe fabrics in such a perfect “white” for my complexion that I’ve been saving for all this time… just waiting for that perfect pea coat pattern.  Although maybe it’s not quite a pea coat in the end, maybe more of a cropped shacket…?  Honestly I don’t understand all the in or even relevant terms for clothing a lot of the time but it’s a jacket and very comfy and fun to wear, and I LOVE it!  Phew what a crazy sentence!  I’m sorry!

So, launching into the pattern deets: this is the FibreMood Madou jacket pattern, from the latest magazine/pattern release.  It’s quite boxy and intended to be a bit longer that my version here.  I cut mine  bit short; partly because I thought this was a better length, and partly because by doing so I have enough leftovers to scrape a little mini skirt for winter too.  Ha!  It has huge breast pockets, which may well be mostly decorative in the long run because honestly, can you actually put anything bulkier than a credit card in a breast pocket?? but they look pretty cool, I think.  However, there are also huge hip pockets, thus satisfying my die-hard little pocket loving heart.  *happiness*

I added one of my circa 2022 labels.  Still love these!

Now, why was it *inverted commas* fun? to make, as expressed above?  well, being wide wale corduroy, and also being really gorgeous fabric that I absolutely could not ruin; any wobbly wales in the corduroy were going to drive me absolutely crazy and I quickly realised I could not tolerate any of that …  I ended up hand-basting the central back seam; cursing myself the whole time for not ignoring the pattern and cutting it on a fold instead NO! actually I remember now, I DID cut it on a fold, and thought I’d just cut the edges off and avoid that centre back seam… and then I thought; no, I’ll follow the pattern as it should be and have a centre back seam.  So I sliced up up the middle thus condemning myself to handstitching the seam.  However!  I have to admit I love the look of the centre back seam now; it’s perfect as far as the wales looking lovely and even, and it does make the back look a little more interesting than if there was no seam.

Same goes for the front button band stitching, and putting on the patch pockets; I was super super careful in the pressing, the lining up, and the stitching of each of these components.  And am very happy with the results too!

The underneath of the collar, and the front bit of the hip pockets are cut from a perfectly colour-matched pice of heavy natural calico; that I bought from Calico and Ivy years ago.  I did have enough fabric to cut these things, but am determined to get that matching mini skirt!

I used some dark copper jeans buttons for the buttons; from stash.  My supply of these is very low now and I will need to buy more in the near future.  It feels good to be using my stash though!  I love finding exactly what I need, already in my possession.  Reminds me, I can update my #use 30 stats; I had 2m of the corduroy, and I still plan to make a little skirt from the leftovers, so I think I can claim 1.5m for this latest creation.  Bringing up my total to 18.5m for the year so far.  11.5m to go!!

pinterestmail

pretty pink and lace simone

Here’s something I made recently… a rather lovely, if I say so myself – slip dress that I feel is perhaps almost too pretty to even wear!

This is the new Simone slip dress pattern by Closet Core patterns, I was lucky to be picked as a tester and I also luckily had a short length of pink satin in my stash already, plus a very short length of cream coloured lace that was fortuitously the exact and perfect length for the project…  one of those projects where it was all just very lucky and fell happily into place.

I initially wasn’t going to post pictures of my actual self wearing the slip, these are the fitting pictures I sent off to Closet Core for pattern feedback… but I think they’re ok really.  One of my all-time goals with this blog in the first place was to get over my awkward attitude towards photos of myself, so I shouldn’t revert now, hmmm?

The slip was of course quite easy and fun to make; I love testing patterns and trying to make things carefully.  I was very careful in lining up the edges of fabric to my table before cutting out and I measured the bias with scrupulous care; and I think that paid off.  However, despite great care in stay-stitching the back top edge; I must have stretched that bit out just a bit because it flips out against my back, so *shrug*

Anyway, it’s certainly turned out quite lovely in my opinion  🙂 and of course the satin is beautiful to wear; so I’m very happy with this useful edition to my wardrobe.  I’ve already worn it a couple of times underneath other things; which feels like a very swish thing to do!  I always feel like this when I wear my ivory Ruby slip too….  maybe I should make a few more!

I finished off the bottom edges with a skinny triple-stitched hem, and the side seams using french seams.  btw, I just love this (above) picture! these finishes look so lovely in satin. The stronger pink colour in the close-up pictures is much closer to its real colour than the slightly washed out colours in my modelled shots, I don’t know why it’s like that!

Oh! my #use30 pledge came into play again, hip hip hooray!  I managed to polish off another 1.5m with this here lovely bit of frippery; so I’m up to 17m down, and with 13m to go!

I’m back on track!

pinterestmail

millennial holiday

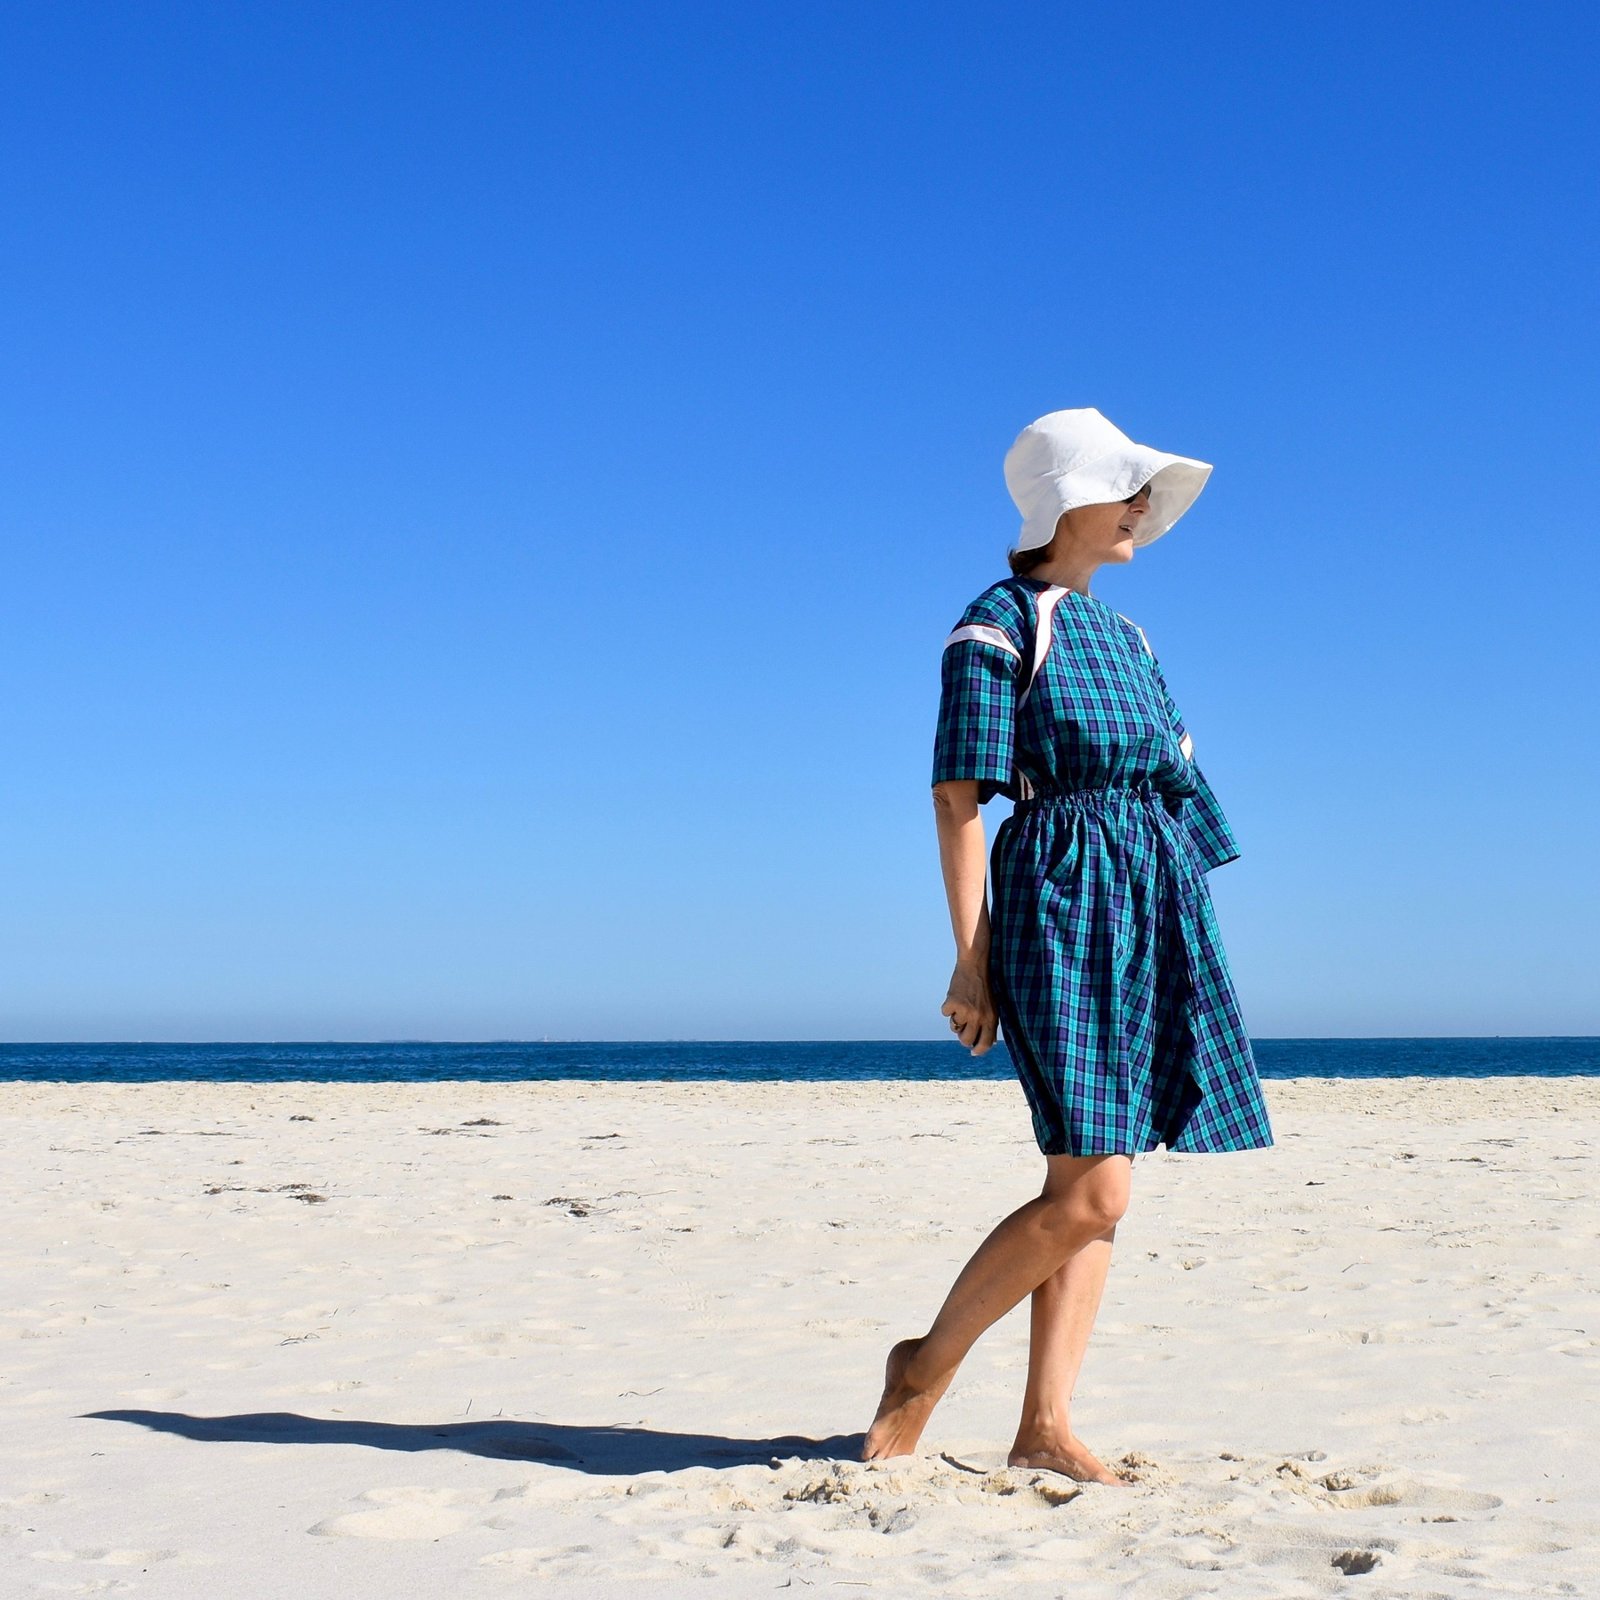
I made a new dress for myself.. using this super cute cotton … it’s called Millennial Holiday, which I have to confess gave me a real laugh!  But isn’t it beautiful.. those happy, sunny and joyful colours, gorgeous girls wandering about under palm trees in their trend-tastic outfits, walking their dogs, drinks in hand… such a fun and happy print!

It’s another Nerida Hansen fabric – and yes, I’ve been extremely naughty adding new fabrics to my stash whilst not having “consumed” the promised 30m from my stash yet.  I just don’t feel like getting upset with myself over it though.


The pattern is also another Nerida Hansen one; the Half Sleeve Dress… by the way, the links above lead to the products but they are not affiliate links and I am not getting paid for these posts.  I wish! haha.

I did a slight modification that I that I thought gave it a nice little extra visual interest… the sleeve hem is finished with a facing; I cut 4 of these and made a “cuff” for each sleeve instead of putting the facing invisibly inside.  The cuff has the seam inside between the sleeve and the cuff, and I hand stitched the cuff to the sleeve in a few spots to secure it in place.  I love how this looks!

I used my circa 2022 on the sleeve this time, because it seemed like a better spot than the back of the neck I’d used for my previous 2022 makes.  I felt like it would be a bit invisible in that location, in this print.

I’m very happy with this super sweet and cheerful dress!  As well as the fact that the colours are absolutely gorgeous, the girls make me smile, and the shape and style is so perfectly suited to my current beach/dogwalking lifestyle.  What more could one hope for in a dress  🙂

I’ve got several things to blog here, immediately, because I’ve been shamefully neglectful of my poor little blog.  Life has just got so busy lately, I know I know…  I hate excuses too; however, the thing is I’m babysitting my two beautiful grandchildren (separately) on two, sometimes three days a week, while Cassie and Kelly work; which is absolutely lovely although also quite tiring.  But I want to catch up  here too… time to embark upon a blogging onslaught.  You have been warned!

pinterestmail

butterflies

I made this exceptionally pretty – I think! – new lingerie set…

Cassie bought this beautiful kit for me for Christmas last year; it’s stunningly lovely, with black bits and pieces; and a really lovely minty-coloured tulle embroidered with iridescent pink/blue/violet embroidered butterflies; from Emerald Erin.  I’ve linked to the kit, it is not an affiliate link.

I decided to use my MakeBra pattern DL03 to make a padded, underwired bra, plus the Cloth Habit Watson pattern to make two pairs of matching knickers.  I love my unpadded Watson bras dearly, but leading into winter I need some of the padded ones.  They just look better under the tight merino sweater tees that I like to wear in winter.

The tulle lace is, of course, completely sheer, so I decided to underline it with some cream stretch stuff from my stash; I bought quite a lot of this from Spotlight years ago and it’s proved incredibly useful in my lingerie making.  I’ll need to get some more when it’s gone!

I also used some black stretch cotton jersey also from my stash, for the backs of the knickers.  The fronts of both knickers is the lace, cut on the bias, backed with the cream stretch.  I had enough of the black fold-over elastic to do one knickers waist and legs completely, and the legs of the second pair.  The waistline of the second pair is finished with regular picot elastic.  I wish I’d had enough of the foldover to do both pairs, but c’est la vie!

I wanted to minimise slicing the butterflies in half on the bra cup pieces, so cut around some of the motifs that would have been too obvious in this aspect, and hand stitched them over the seams.  This wasn’t possible with all of them, but just this little bit is an improvement, I think.  You can probably just see it barely in this picture, but I always hand stitch the fabric to the foam cups “in the ditch” to keep everything in place nicely.

The kit is a really beautiful quality, with everything needed to finish my bra except for the aforementioned foam and cream and black stretch.  ANDO ALSO EXCEPT, it contained only half a metre of strap elastic, which is about half the amount I need to make this bra.  I’m not sure how the black beauty bra pattern works… there was quite a lot of foldover elastic for just one bra, so I wonder if that was supposed to be used for the bra straps somehow?  Or the twill tape? which I used for the decorative bows.  Strange… anyway, fortunately I had some black strap elastic already that did the trick. .  I had no choice really; since I’d basically finished the bra by this point.  If decided to buy another kit from this seller I might have to buy the black beauty pattern as well and see how it all works together.


Anyway, I’m super happy with this very beautiful set.

I just love the sharp contrast between black and white on the inside of the bra.  I love it so much I might attempt a bra with this kind of look on the outside, someday  🙂

In #use30 chat, I did use some of my stash to finish, probably about half a metre of black and cream stretch all up; so I can legitimately claim this little bit off my #use30 pledge for the year.  Well hey, each little bit counts!

My total for the year so far is up to 15.5m; and I have 14.5m to go, yay!


pinterestmail

a fabulous Mr Fox

Hello !  I’ve just finished making this cute little fox for Theo. And he has a nice little outfit too.  A reversible waistcoat and a pair of smart trousers, no less.   Quite dapper little chappy, no?


I was recently the lucky winner of the James Fox pattern from a giveaway run over on instagram by his designer Lisa of A Sewing Life, along with the patterns for his trousers and waistcoat.  So I thought since I made a bunny for Arthur not that long ago, I should make some sort of an animal for Theo too.

I couldn’t find any appropriately coloured felt in the shops here, so I ordered some.  I ended up getting some hand-dyed wool felt from Indigo Inspirations; this is the Rust colourway, and I ordered some plain white from the same shop at the same time, for his chest and the other white detailing.  His gloves and boots are dark chocolate brown cotton corduroy, leftover from my recently made brown skirt, originally from Tessuti, in Melbourne? I think?  It was a gift from Cassie..  Buttons are old stash.

I redid his nose several times until I was totally happy.  Faces can be tricky and I’m very happy with how his turned out in the end!

His trousers have POCKETS… oh my gosh how gorgeous is that?!  Of course I had to pose him with his paws shoved insouciantly down into them.  He looks exceptionally debonair like  so, in my humble opinion…

hide and seek…

He has fully articulated limbs, which make it lots of fun to pose him.  He doesn’t really stand up by himself very well; in fact he topples over at the drop of a hat.  I’m not sure if I overstuffed his head, making it too heavy? but I do know from experience that you have to stuff a doll’s head very firmly in order for it to look any good at all.  So I don’t know how the instability could be avoided?  Anyway, he props against a wall very well.

“paint me like one of your French girls…”

Achieving the aforementioned articulation was a little fiddly, because of the difficulty of manipulating a needle through two buttons inside half-stuffed arms and body, but it turned out ok in the end, I think.  My first go at stitching up the backs of his fully stuffed arms wasn’t very neat, and it’s an area that’s really on show on the finished fox. Before giving him away, I unpicked my previous stitching and carefully redid it to be a lot neater.

All his clothes are made from some of Craig’s old shirts; which I always keep for the buttons as well as for the (usually) beautiful quality fabrics.

I hope Theo enjoys his new fox, and I can’t wait to see him played with!  I wonder what his name will be?

pinterestmail

hand drawn check

Isn’t this fabric totally gorgeous?!!  I love it so much!  I still have a huge affinity to pink, despite that I’m not “supposed” to wear it, whatever that means.. well, if it makes you happy!  And this little group of colours really does.

This is the Hand Drawn check by Nerida Hansen fabrics, colourway Navy Pink  – yes of course they had me at “navy” plus “pink”; one of my all time favourite colour combinations!  and I used one of their patterns, the Summer dress to make this too!  btw way, yes those are direct links to the things, but rest assured they are not affiliate links  🙂


goes so nicely with my teal clogs!!  #bonus

and yes I made those too… details here

I’m totally over the moon with the gorgeously pretty and floaty result… it’s a really lovely combination, if I say so myself  🙂   The design is very simple; it just slips over your head with no closure needed, my favourite sort of thing to wear, especially in summer  😉 and the beautiful cool slipperiness of the tencel linen sliding over your body as it goes is an absolute delight.

The Summer dress design has massive pockets, ahem; not that that is in any way important, of course!  😉 and a slight oversized-ness that feels happily up-to-the-minute in the fashion stakes.  I wasn’t sure if I should go down a size, but in the end decided to trust the size chart.  And actually I’m in love with the loose fit.  I really like the midi length.  It’s not a length that I’ve been wearing a lot over the last few years but I feel it sneaking back into my list of “wants”; as in things that my mind feels lately are all of flattering, comfortable, and a little bit of a refreshing change.  They say that hemline lengths are the barometer of the fashion world? well who knows, I often just think that anything goes in fashion right now, but it is nice to have a variety of things to choose from in the wardrobe.

I was careful to match up the checks at the side as best I could; even though I sometimes rail against the rigidity of this mindset, and I feel like it can sometimes lead to more fabric wastage too… I still do it myself most of the time!  It does look a lot nicer when you go to the effort of making sure the print is nice and consistent all around.  As it turned out; the skirt length was just about perfect that there was almost no wastage through pattern matching; which was a nice outcome.  And I managed to cut the huge deep pockets from the sides, so I actually have a small amount of leftovers for … something.


Of course I fell in love with that print first and foremost, but actually the quality is superb as well.  It sewed up beautifully; very soft and supple, but has a very nice amount of body too.

I cut some of the leftovers into bias strips and made bias binding; which I used to bind the front and back facing.  I love the look of this! and of course it’s a much more comfortable finish to wear than if you just whizz it around on the overlocker; which can be scratchy. Of course I also added a circa 2022 label.  These are so cute! and the novelty has not worn off at all for me  🙂  Probably going to put one of these on each and every thing I make for myself this year!

And I made a mask.  As you do.  However, just something about the print – which I love! – well in a mask I felt like it turned out a little bit … Hannibel Lector-ish?  Yeah, I know; once you see it…  The dress itself doesn’t trigger that for me at all… but in a mask? hmmm!

Why yes, I did indeed made my hat too.  One of my all-time most worn garments!  Details here

Now I have to confess this fabric was new to me this year, so I can’t really count it in my #use30 metres fr0m stash.  In the process of testing our new pattern lately I have used another 4m of fabric from my stash, but I really should ADD the 2m I used for this gorgeous dress in there to be fair!  So; I think I can subtract the balance of 2m off my tally; bringing me up to 15m used, and 15m to go? sounds kinda about right?  I know; it’s getting a bit dodgy in the accounting department but honestly I have zero regrets.  I absolutely love this fabric and it makes me very happy, so I’m definitely not beating myself up over the whole thing.  I will use 30m from the standing stash in the end, however long it takes, and I’m content with that.


pinterestmail

brown

Yes, it is still extremely hot here.  And I am dying a little bit in these photos.  But what can I say?  I found all of these coordinating fabrics in my stash -mostly leftovers! – and each one was the perfect size to cut out the individual pieces for the skirt.  Win!  And I also had the acorn brown merino, that I’d bought last year during a sale from the Fabric Store.  So I feel like this is a totally seasonally inappropriate outfit that was nevertheless just crying out to be 🙂

The skirt pattern is the new FibreMood Crystal skirt… with some alterations, of course!  Let me explain… the pattern is very simple really; the front and back are the same except mirror images, and the waistband is straight.  Very uncomplicated.  I’ve made several skirts like this in the past and they’ve usually been fine.  However, nowadays I have higher expectations of my skirts, and I really really want for all my skirts to have pockets.  I know pockets can sometimes be a bit of a hot-button topic.. I’ve been seeing sewing peeps on instagram lately saying that they usually leave off pockets?! and that they hate them?!  amazing! but well to each their own.  This is why we make our own clothes, yes? not someone else’s.  I personally, love to have pockets, so I set about plotting how I could add them to the skirt.

I cut my waistband at my regular size, but cut the skirt pieces a size bigger than I would normally go for to allow for hands in pockets. I also cut and put in slanted pockets, and added darts to the skirt front and back to bring in that extra width to the waistband.  Instead of a zip, I made the skirt closure to be part of the pockets, as per this side-opening-over-a-pocket tutorial that I published previously here.  It’s quite a good method for adding pockets to a skirt actually  🙂

Added bonus is that my skirt fits really well now too, thanks to the darts!

I bound the edges of the pockets with some other brown cotton from my stash, which appears mysteriously to be grey in these pictures, but honestly it’s a deep black/brown.  I used the same brown cotton to bind the hemline.

My top is, of course, my usual modified Closet Core patterns Nettie.  This time I used my twin needle to finish the sleeves and hem, instead of bands.  I used thread from stash also rather than go shopping just for new thread, and the close-ups show how it doesn’t really match very perfectly… but honestly, the difference doesn’t show up quite that much!  Actually, all the close-ups here make the different browns look shockingly different, far more so than they are in real life!

Of course I added some of my new date-stamp labels.  Love these!


the caramel corduroy at the top of the skirt was leftover from these jeans, and the two middle cotton canvases were leftover from my Blanca flight dress and my Issey Miyake trousers… the dark brown, lightweight cotton corduroy that I used for the frill at the bottom was not a leftover, but one that Cassie had bought for me from Tessuti during a trip she took to Melbourne one year.  And, as mentioned, I bought this acorn merino last year.

Taking into account that I do have some leftovers still; these two pieces used up about 3m of fabric from my stash…  meaning this outfit brings me up to 13m for the year!  17m to go!

pinterestmail

nani Iro Encounter dress

Hello!  I’ve made a new rather beachy little dress!

I bought this beautiful fabric over two years ago, the last time we were in Japan and Yoshimi took us to her favourite craft store; Yuzawaya in Kichijoji, it’s quite close to the Studio Ghibli museum and we popped in on our way.  It is a nani Iro double cotton gauze”Encounter”; and it’s so pretty! but in a sparse, painterly way that I think it’s not too pretty for me.

I used a pattern from the Stylish Dress Book by Yoshiko Tsukiori; dress F which I have made several times before.  It’s my favourite from the book, because it is so subtly stylish in a very quiet and cute way without tipping into too cute (for me).  My favourite thing about it is the shaped, open sleeve design, with little ties.  I squeezed in seam side pockets, of course;  and actually used up practically every scrap of my 2m of fabric.  I have enough left for a face mask but didn’t get around to making that yet.

I’ve been dreaming about finally wearing this beautiful fabric for so long, finally cutting into it and making something that I know I am going to love was a joy; I almost feel like I’m cheating on my “use30” pledge?!  But of course it’s not really cheating.  Adding this 2m to my current tally of 8; and I’m up to 10m for the year… 20m to go!!

For the facing, in the past I’ve just tended to overlock the edges of a facing like this… however I’ve often found an overlocked, interfaced edge to be quite irritating when it’s rubbing against soft skin all day long.  So this time I went to the effort of finishing off the facing with a strip of self bias-binding.  I can already attest that this tiny little innovation is a huge improvement!

I also added a fun new label, that I bought to treat myself at the beginning of this year…  the idea of a time stamp on my clothes just took my fancy!  Yes, I am indeedy a bit of a nerd about things being orderly and documented/tallied in a well organised fashion – obviously! What is this blog if not just a further manifestation of my obsession?! These cute labels are from Kylie and the Machine; the coolest of cool label makers out there. I don’t mind being cool occasionally, if it fits my current fancy.

This is the first outfit in my “make 12”.  It’s a bit quick and casual, but I’m so happy I finally cut into this precious, very loved fabric; plus it could not be more perfectly suited to my current lifestyle, so all is good.  I hope to be making more exciting and involved things for future contenders.

pinterestmail
Switch to mobile version
↓


























