Category Archives: Sewing

a bit green about the gills

I made a green dress… this is a dress that I’ve been meaning to make for ages! and have been quietly gathering suitable green fabrics as I see or unearth them.  It’s actually been a very long term work in progress! since I identified what I thought could be the first suitable fabric about four years ago.  I know, right?!

You can actually see it right here; it’s the leftovers from this little bag that I made for Mum, for her birthday back in 2018… this is what I think of as the “jade” green colour centre front of the skirt part… it was harvested from a pair of silk trousers that Mum had let go years ago.  The “yellow” green raw silk was from the remnant bin at Fabulous Fabrics; as was also the “grey” green silk suiting remnant… although they were trophies from separate hunting trips… and the darkest forest green cotton corduroy was leftover from these paper-bag waist trousers, and originally from Minerva.

So obviously I love this pattern a lot, it’s the sixth time I’ve made it up!  Here’s a little collage of all the V1316’s I’ve made… from left to right, top to bottom they are:

1; made from four pairs of old corduroy trousers; black, brown, grey and cream…I describe how I add pockets to the design in this post too.

2; made from blue corduroy, that I pre-overdyed with different dyes to be four different shades of blue… this one is probably my own personal favourite…

3; made from four different colours of cotton corduroy.  I later overdyed the whole dress crimson for a more cohesive look

4; made using old denim jeans.  This was the first one I did not line, and it is perfectly fine of course!  This one is probably an equal favourite for me too!  🙂

5; made using yellow cotton canvas, leftover from the covers I made for Clara’s dog beds.  The seams are defined with blue bias cut cotton.  This seems to be everyone else’s favourite over on instagram!

6; my new one!

I’m extremely happy with my newest one! and I made a few slight mods, has well as the usual addition of pockets!  Of course!  I simply CANNOT live without pockets nowadays, sorry.  I know this is a very well-worn lament that perhaps should go without mentioning yet again, and yet this is a sewing blog and so I guess it really needs to be mentioned.  Sorry.

I lined the dress fully with light jade green lining fabric, and instead of using the same lining fabric to cut the shoulder pieces, like the pattern suggests and which I have obeyed for versions 1,2 and 3 in the past; I cut them from the dark green cotton corduroy,  I also cut an extra centre front bodice piece and stitched it to the neckline of the dress lining… these help to keep the lining “invisible” because I’ve always found in the past that the lining has a tendency to peep out on this dress, no matter how carefully you understitch the armhole and neckline edges.  This is such a simple fix and I’m glad it finally occurred to me!

Still pretty chuffed with these circa 2022 labels!  The challenge with each garment is to find a good spot to put it!

pinterestmail

the Booragoon skirt and Booragoon top


phew… I’m beyond exhausted, but also absolutely thrilled to announce the release of our latest two patterns… the Booragoon skirt and the Booragoon top!

So; here’s the story -yes, there’s always a story.  That’s what a blog is for, right?!

For our niece’s 21st last year, for which I made this bumblebee cake; Cassie made a self-designed skirt for herself.  It was a seriously cool skirt and brought forth many oohs and aahs and the inability to keep oneself from checking it out.  Fortunately, not only did Cassie welcome the checking out part, but also excitedly declared on the spot that we should most definitely make it a pattern.  So the horses were out of the gate and we were off!  Of course, it did not proceed as swiftly as hoped; not only did work get in the way like a great big ol’ nuisance (not like it pays the bills or anything) but Cassie also returned to work after maternity leave was over, which slowed things down a little too.

And while Cassie’s skirt was beautifully made; she had done a massive amount of hand stitching to make the zip insertion and design lines work; which I knew would have be worked on before we could even think of releasing it.

See; the top tier of the skirt has a sharp edged, right-angle panel encircling the waist; very architectural in its genesis; that incorporates the waistband and a front panel.  The front panel folds down to hide a zip closure; and the waistband has an attached, very long and skinny tie to further pull it all together.  Sounds interesting?  It is!

It took a bit of experimentation and fiddling, but I eventually worked out the zip insertion; so you could do it all by machine.

The top is one I’ve made for Cassie many times before; and we both decided the top really complemented the skirt very well; so we decided to release the patterns as a set.  But of course you can always buy them separately as well.  Actually; while I would rate the little jersey top as an Advanced Beginner level of pattern, the skirt really veers into Intermediate-Advanced level, thanks to the difficulty in mastering those nice sharp angles..  I would never tell anyone not to give it a go, however,  Honestly; if I’d been scared off by Advanced ratings in my early sewing days I reckon I never would have got anywhere!  I’m a big believer that’s it’s a good thing to push yourself.  At the same time, the skill level thing is there for a reason!

We are offering a special, release day sale on the new patterns; the Booragoon Top, the Booragoon Skirt, and the Booragoon Top & Skirt are all 20 % off for the first 5 days, starting today.  You even get a little special, and permanent discount for buying the set of patterns, as opposed to separately.

All three options re listed for sale in our Etsy store; here.

Is this a good time to mention that the skirt has a pocket?  It’s just big enough for a phone and some small things, and it’s surprisingly unobtrusive.  I’ve got my phonon my pocket for all my photos and it can’t be seen at all!

My lovely daughter-in-law Lainey agreed to model for us again; and the set I made for her is an all-in-one colour set; so it gives more of a dress vibe: for this one; I bought cotton from Spotlight for the skirt, and the cotton jersey for the top was a lucky match from Mum’s stash.

This next set is one of my earlier attempts; it was not particularly well made because I was still working out the zip at this point; but I really liked the skirt-over-a-dress look of it so saved the idea for my “real” one, above!  Cream cotton jersey inherited from Mum’s stash, brown gabardine leftover from a long-gone pair of jeans/trousers I made for myself years ago.

And this set is playing with a dress-over-a-skirt look, just for fun.  Both fabrics inherited from Mum’s stash.

All these different looks are achieved simply by different combinations of self and contrasting fabrics, and I really love this kind of versatility in a pattern!

Working on this pattern also contributed substantially to my #use30 challenge, for which I am quite grateful too, hehe.  Thanks for that, Booragoon skirt and top!

Oh, the name?  Booragoon is a local suburb here in Perth, and the location for a very popular shopping mall, which was actually both mine and Cassie’s introduction to department store shopping, for me dating back to my childhood years.  Well, for Cassie too; but I mention for me in particular just to illustrate how long the mall has been there.  It is also where my Dad had his practise for many many years; so when we went shopping we were always popping in to visit him while he was there.  So “Booragoon” just has sentimental memories for us both; being a place “to shop” if you like.  And we thought the Booragoon skirt and top was that kind of outfit that you might put on in order to sally forth for a day of genteel shopping and maybe a cup of tea and piece of cake to fortify yourself during the ordeal.  Aaah, memories!

pinterestmail

a vanilla skirt, a periwinkle robe and an adorable little onesie

I’ve been making things!  btw I have to apologise profusely for my terrible blogging lately, I feel like I’m neglecting my poor little blog so badly.. the thing is that Cassie and I are working like mad on our newest pattern and we are so so close now that I can taste it!!  well, ok I did nibble experimentally at a corner and it tasted just like paper… but you know what I mean.  It is going to taste a billion times sweeter when it is finally out in the world!

I’ll discuss that a bit more in a minute, but in the meantime I’ve made a few things other than samples….

item 1:

a little skirt, to match this jacket I made fairly recently… I had a scant 50cm or so of leftovers, just enough for a little mini.  The fabric is the wide wale cotton corduroy in colour vanilla, bought in Potters Textiles a few years ago.  I utilised my skirt block, and a closure method that I wrote a tute for once before on my blog; a button closure over a pocket so you don’t need to do a zip.

And this time I got creative and added a full lining too.  Bias binding to hem because of the severe shortness of the skirt otherwise!  You may or may not recognise the bias binding as being cut from the last leftovers to this robe I made recently…

It’s not perfect on the inside but I’m pretty confident I can polish up the method to be very neat and tidy for the next time.  I’m also quietly working on this one as a pattern for our company too.. shhhh!

item 2:

a sweet little onesie for a new baby; our friends L & L welcomed their darling new little baby, and of course I had to make something sweet… I used my  own pattern, developed for my own grandchildren, and a short length of cotton jersey from Spotlight.  It’s beautiful stuff, isn’t it?

item 3:

a robe, for my dear sister in law for her recent birthday.  This lovely periwinkle raw silk was in my stash, I’m about 80% sure it was from Mum when she cleaned out her stash; but honestly when and where I got some of my older fabrics is sometimes a bit of a blur.  Anyway, I washed it up, measured it and had just enough for another Closet Core patterns Veronik robe.. I just had to run into Officeworks to print up a new pattern in her size.  I gave it to her just before the long weekend, and she seemed very pleased!

So where am I with the whole #use30 challenge….?  Well, the little vanilla skirt used 50cm of corduroy, plus another 50cm of lining; the onesie was about 50cm, and the length of periwinkle silk was 3m, and I used every single scrap.  That’s 4.5m of fabric.

And guess what?!  That’s my 30m of stash fabric… DONE and DUSTED!!! Actually 32m!  As per my own rules for the challenge, I am now “allowed” to buy new fabric if I want to… but now I’ve started down that path I really want to sew up as much of my older stash as I possibly can.   And actually; I did fail a bit, since I bought a small amount of souvenir fabric when we were in Melbourne recently.  Whoops!!!  But I HAD TO! It’s Melbourne.  Yes, ok I am a little upset with myself for “failing”, but not too much.   At least I did use up that 30m eventually, even if I jumped the gun on my “reward” a bit early.

One thing I’m relieved is that I can (legally) buy new fabrics to sew up the samples for our new pattern though!  I thought I’d mention a little more about our newest pattern, since we’re this close!  It’s a skirt and top… the skirt is one Cassie designed, and wore; to her cousin’s 21st birthday last year.  The one I made a cake for here, and I made a dress for myself for the occasion too… well Cassie’s skirt was so lovely we both decided it had to be a pattern.  And it has a matching top, one that I’ve already made several for Cassie, that have all appeared here on my blog before; plus a few for myself that have not yet appeared here on my blog yet!  The skirt and top look really nice together, so we’re releasing them at the same time as each other, but they can be bought separately, to add a bit of flexibility and choice to our customers.  I’m so excited that they are about to get out into the world, and cannot wait to share more very soon!

pinterestmail

a punnet of raspberries

I recently made a whole bunch of raspberry things … three, to be precise.  One of the large pieces of fabric that Mum tossed my way when she cleared out her stash was a length of raspberry stretchy stuff.  three and a half metres!!  I have vague memories of the particular pattern she had planned to make with this and I’m almost certain that she bought way too much, but anyway that’s a moot point.  I was even with her when she bought it in Fabulous Fabrics, and remember it quite well.  Mum has always been in the habit of buying too much “just in case”.  Not something I’ve ever been guilty myself, of course, ahem!!

Anyway, I set to and used it all up; and usefully, I think!

Item one, a pair of leggings.  I was planning to make tights, but realised the fabric didn’t really have enough stretch to be successful as tights.  Even leggings is pushing it a bit, to be honest!  but I love the colour and was determined to make it work.  Pretty simple, and just using my self-drafted pattern, just with the feet lopped off.  This picture is pretty bad, sorry, the light was not good at the time.  If I get enthusiastic, I’ll take another photo in better lighting conditions.  We’ll see!

Item two; a little cardigan with a built-in scarf that is an extension of the collar.  I’ve made a few of these in my time; three actually and none the same.  Al utilised slightly different construction techniques, and this latest, version four was yet another.  I made a slight boo-boo when I attached the bottom band to the inside of the cardigan, and then slip-stitched it closed on the outside, but it’s only something you’d notice if you looked really closely.  I think my hand-stitching is pretty neat nowadays, if I say so myself!

still love these labels… I’m going to need to buy more!

I really love this cardigan and already know I’m going to wear it a tonne.

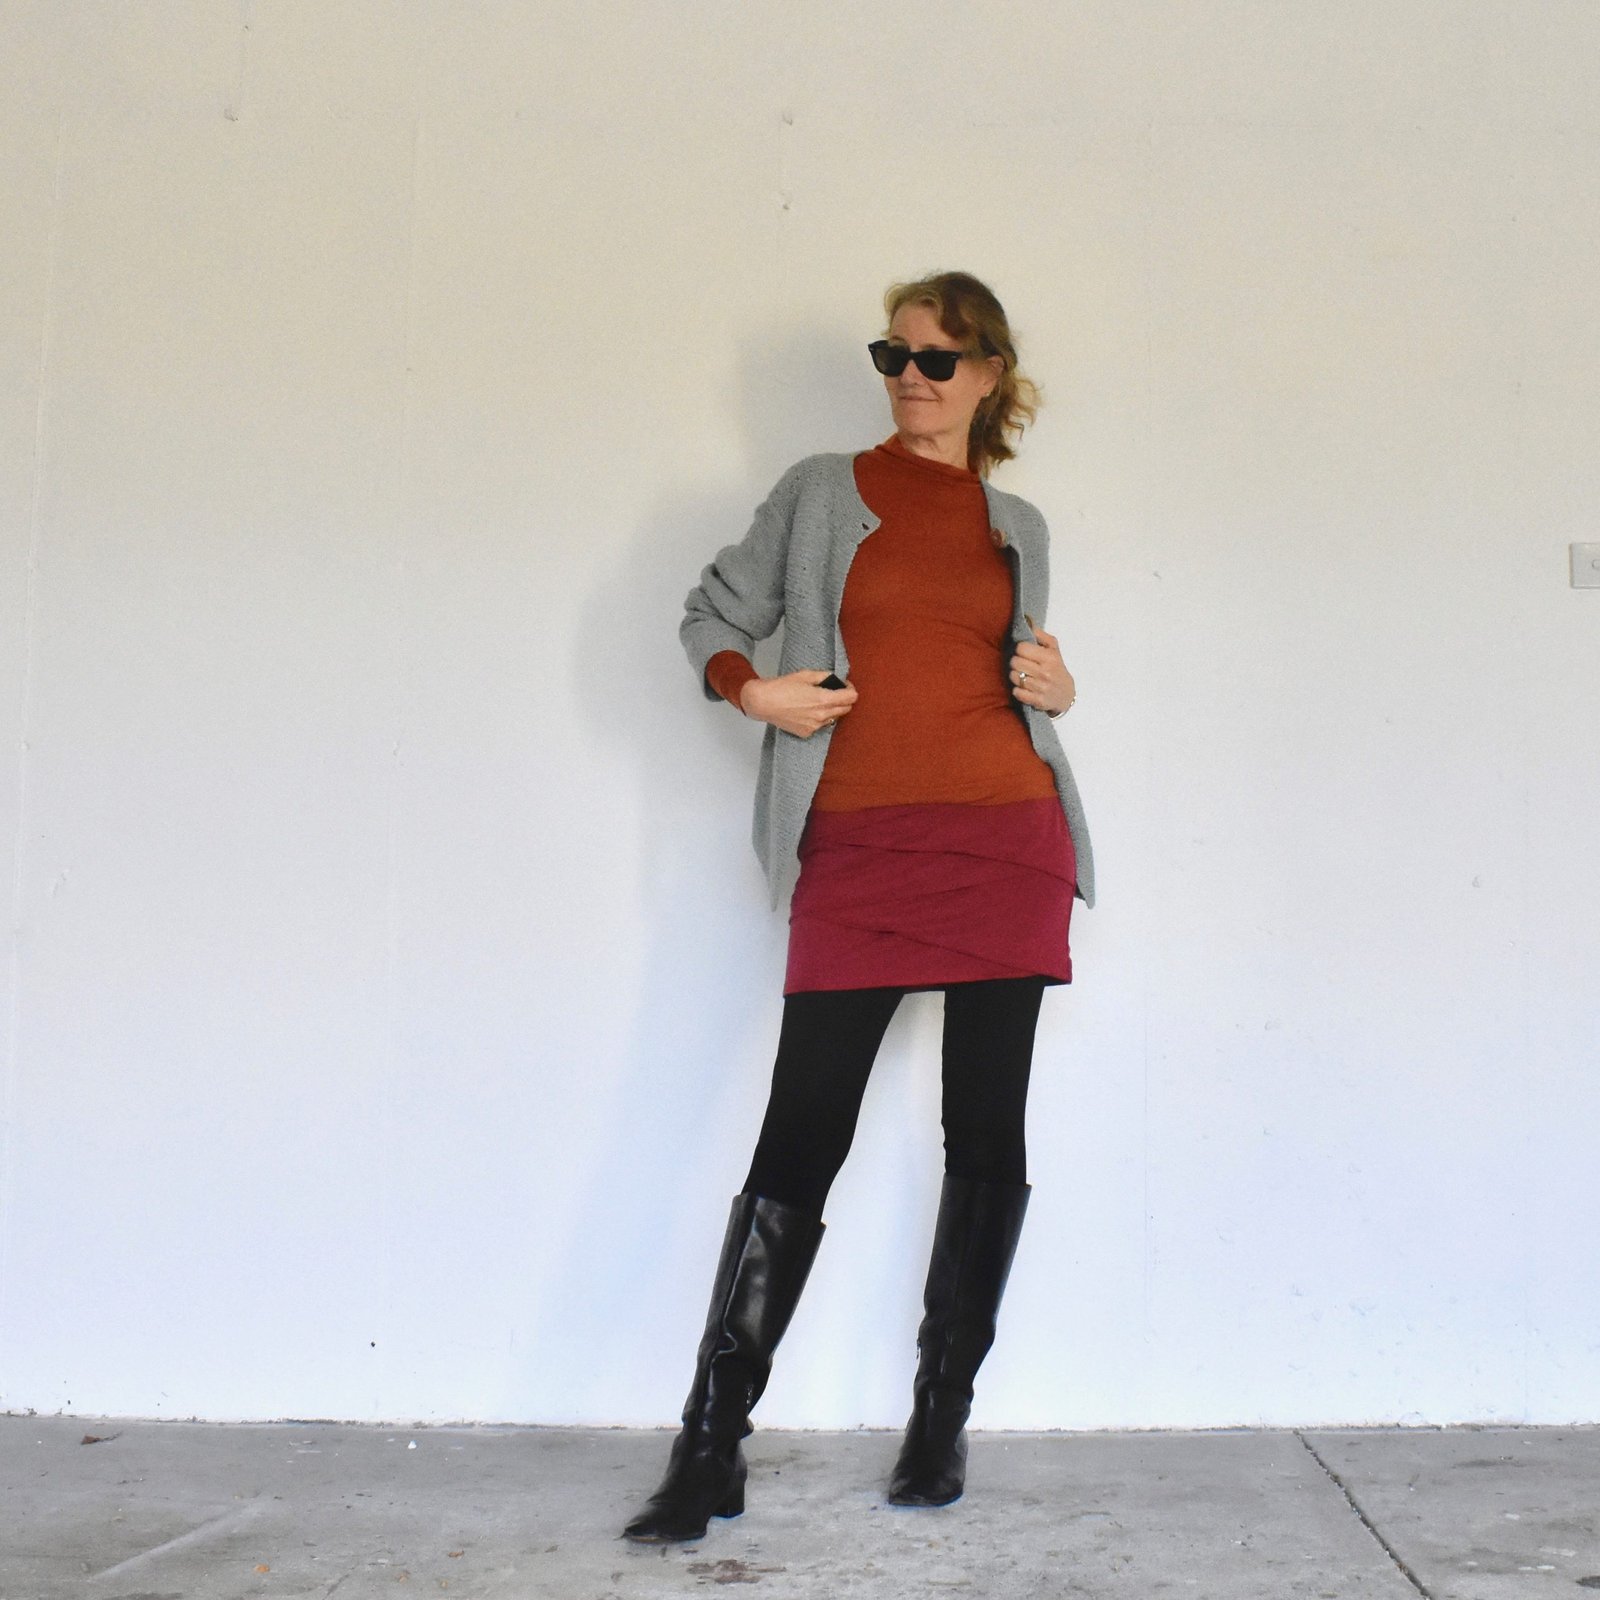
Item three; a little mini skirt for winter.  This is an old favourite pattern; the Paprika pattern Jade skirt.  I think I make one of these every year?!  This one has no zip at the back, and this time I fitted it quite carefully to myself first, removing a good two inches of width at the waistband from each side.  This means I have to squeeze into it head first, but that’s ok!

I have decided a pocket is absolutely necessary for my life nowadays too… really it doesn’t have to be fancy.  It just has to be there! and only big enough for my phone and a credit card.  Because I had the Claremont pattern out already to make my yellow shopping tote, I just used the phone pocket piece from that, and attached it to the waistband inside.  I know this sounds like a weird way to put a pocket in but actually it is surprisingly unobtrusive and I wore it with my phone it in all day, quite comfortably.

Very very happy with how this turned out! and I am sure this too will get worn to death this winter!

I’m also very happy with how much this has taken off my #use30 challenge!  three and a half metres brings up my total to 27.5m!  I only have 2.5m to go, and I already have enough things halfway done already that is going to be knocked off in no time!

HURRAYYYYYYYY!!!!!

pinterestmail

regarding lingerie and shopping totes

I made some pretty new underwear… I bought this super cute Snugglepot and Cuddlepie cotton jersey from Spotlight at the very end of last year.  Such a beautiful print, yes?  Slice of my childhood, right there,  I just could not resist!

I am in need of padded underwired bras during winter, because I tend to favour merino T-shirts at this time… thus I made another one.  This brings my bra numbers back up to a respectable number so that I don’t have to hunt around looking for enough things to go into a wash every few days!  Honestly, when the kids leave home, that’s something you don’t take into account!

I used my old favourite, MakeBra DL 03 again.  Although I lately bought the Emerald Erin Black Beauty pattern and am aiming to run up a trial run of it sometime soon, when I get the time for that sort of thing again.  Right now, I only have the time for a tried and true.

The two set of matching knickers are once again the cloth habit Watson briefs.  Sorry to be so predictable!

The neon yellow picot elastic was also surprisingly from Spotlight; i say surprising because it’s pretty unusual for them to stock something so…. not-basic.  Ribbon, also from Spotlight.  The pale green strap elastic was from Homecraft Textiles, of course.  I would have LOVED to find neon yellow strap elastic too, but beggars cannot be choosers around these parts!

While I had the yellow raincoat leftovers from Theo’s raincoat (previous post) I also cut out a Claremont shopping tote for myself, thus using up the very last scraps, which felt awesome.  I’ve been needing a new shopping tote for quite a while, since my older one is pretty shabby now.  I did have to piece the bottom bit due to lack of fabric but that’s ok, I double flat-felled all seams for extra strength so I’m confident it will all hold up well.  I also didn’t have enough fabric for the facing, so just finished the edge with some mustard poplin from my stash, and the yellow zip is an inherited oldie from stash.

in situ in Coles, awaiting the grocery haul

mission accomplished… 

Hurray! I’m really ripping through the stash lately!  Feels so good!

obligatory pocket photos…


In my #use30 challenge update, the lingerie used 0.5m, and the bag also used about 0.5m… bringing my total up to 24m used, and just 6m to go.  I’m so stoked at that number, it feels truly reachable at last!

pinterestmail

a sweet little raincoat

I made a cute little raincoat for my grandson Theo; and I think he looks so adorable in it!

I used the leftover remnants of Waterproof Oxford from my own Mundaring raincoat, originally bought from the Remnant Warehouse; and borrowed one of his hoodies to gauge the size he would need…

I actually based the design on our Mundaring raincoat pattern too! just a much simplified version with a zip up front, sans plackets; the hood has a self facing rather than a separate one, and I just put simple patch pockets on the front rather than the more complicated, weatherproof zipped ones on our Mundaring pattern.  Also, his has no weather flap on the back, just a straight back.  The length was determined by the length of the zip!



I sealed the seams using a wet-weather gear sealing wax stick, sourced at BCF.

It is fully lined with a soft white cotton jersey, for comfort and warmth, and added a white linen hanging loop.  All the raw edges and seams are hidden neatly away between the shell and lining layers.

It was so cute when he put it on! he toddled off to his toy box and retrieved a little wooden elephant puzzle piece, and we spent the next fifteen minutes putting it into a pocket and taking it out again.  As it turns out, pockets are utterly fascinating!

I estimate it used around 0.5m of the leftover raincoat fabric plus about the same of the white cotton jersey too.  Or 1m in total …   So in my dumb little #use30 challenge; I’ve used 23m of my stash.  Just 7m to go!

pinterestmail

sky blue Veronik robe

Hi!  Here’s another thing I made fairly recently; a summery linen robe.

I used the new Veronik pattern by Closet Core patterns, and a really lovely (I think) sky blue and white pinstriped linen, inherited from Mum’s stash.  It’s really beautiful, though not my colour really, and then when the idea came to me to make a robe for a friend for her birthday I rummaged through my stash and realised this colour was actually perfect for her.  I only just managed to get the pieces for the Veronik robe out from my 3m of fabric, the pattern recommends you need a lot more than that.

Ok, I just checked, and you need just 3.4m, but still!  My honest feeling is that even that is cutting it quite close!

I took my time and made it as carefully and as beautifully as I could; doing flat-felled seams throughout including the armscye.  The long neckline/collar is stitched down invisibly by hand stitching on the inside.

I really loved using this pattern and will definitely be making more in the future.  I think it makes a gorgeous gift for a lady!  I hope my lovely recipient enjoys wearing it!

#use30 update: 22m down, 8m to do!

pinterestmail

dp studio dress with sporty details

O hello!  I made a new dress… this is a pattern that I’ve had for years, and have only just got around to finally giving it a whirl.  It’s the dp studio Le 905, or “dress with sporty details” and it’s pretty fun I think!  Quite unique in all its details, and you really don’t see many of them in the sewing community.  Since a major reason I sew is to have a unique wardrobe then I further reasoned that it was a good choice.

The gorgeous main fabric is this cotton plaid in the colour jade/red from Minerva.  I really enjoyed sewing with this crisp, strong and sturdy and yet lightweight fabric… t was really easy to work with, which is always a joy!  The design has curved panels in the front bodice and also panels in the armscye seam; I did not have enough plaid to cut the panels as well, so cut these from plain white cotton.  At some point I thought the white panels were going to look a little stark against the plaid, so I edged them with strips of bias-cut red cotton, leftovers from this dress… this is the method I used for this.

I really love how this looks in the end! reminds me a little of the sort of racing stripes you get with sportswear like tracksuits, stripes going up the sides of the legs etc; and I’m very happy this plays into the “sporty details” that the dress is named for.

Some other details of the dress:  the skirt is cut in two huge, identical pieces, unusually with a centre front and centre back seam.  Of course I obsessively plaid matched along these seams… 😀 Actually, I also had to cut the back bodice in two pieces and join them, because of not enough fabric.  I stitched my circa 2022 label to the back this time.

The design allows for no pockets, so I added some slanted single welt pockets in the appropriate location.  Due again to lack of plaid fabric I cut the pocket bags are cut from the same red cotton as the decorative strips, I had just enough plaid to cut the welts and a strip to edge the pocket bags… so you don’t get blasted with red if you happen to peek inside the pockets!

The above picture also shows the neckline facing edged with red bias; I prefer necklines finished thus nowadays, since it’s softer and less irritating against the skin.  Honestly, overlocking itches and irritates and drives me mad sometimes.

The above pictures also shows the sleeves and hemline finished with a facing,  I cut these from an irridiscent teal blue/pink taffeta that I had already in my stash.  So perfectly matched! it’s like it was meant to be.  The casing was a heavy-ish white cotton chosen for its strength.


The sleeves are supposed to be gathered into the armscye… I initially did this, but decided the puffy sleeves were just too fussy for my tastes.  Quite honestly, can puffy sleeves ever be considered “sporty” anyway?   Anyway I unpicked my sleeves and took 13cm from each sleeve at the sleeve seams; so the sleeves could be inserted into the armscye without gathering.  Much nicer in my opinion!

As pictured above, the waistline has a casing attached inside the dress with twin casings for twin drawstrings, both feeding out of two eyelets.  This took me quite a bit of time  threading them through, and also arranging them each time I put on the dress takes a little bit of time too; and so I’m not sure I’m 100% happy with the outcome.  If I was going to make this design again I would do a single casing for just a single drawstring, I think.  The two of them together don’t always draw up as equally/evenly as I would like, so arranging them neatly just seems a bit fussy.

Oh, one last thing; someone on instagram asked me about the dp studio instructions, and I would have to honestly say they are minimal, at the best!  If you have been sewing for a while and do not need exact and unambiguous direction then you’ll be fine.  Otherwise, maybe not!


pinterestmail
Switch to mobile version
↓