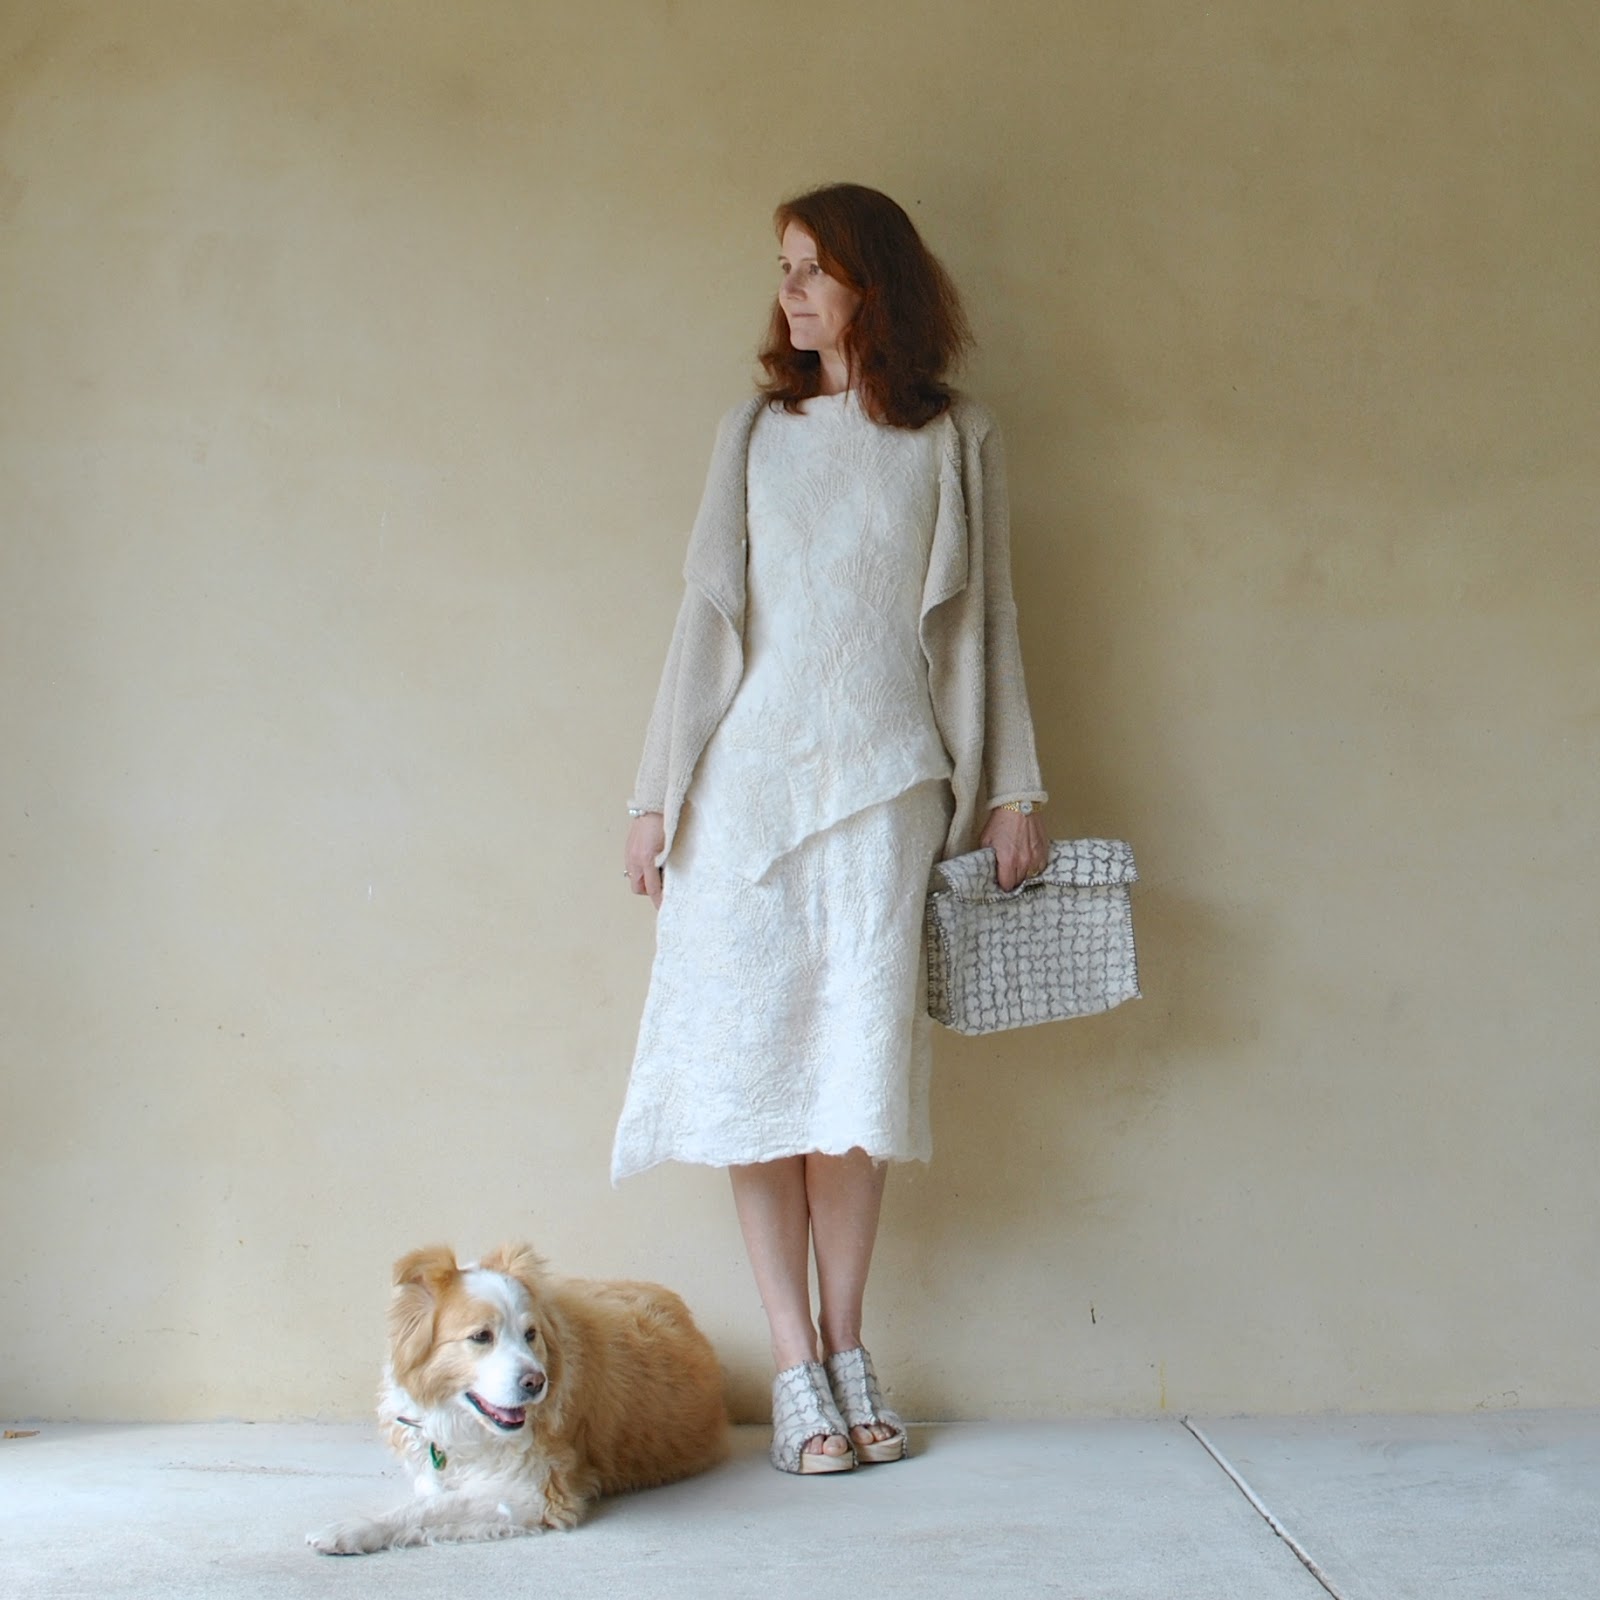
I’ve made another Yoshimi dress 🙂
Pattern: Vogue 2900. This pattern will always be in my head the
 “Yoshimi dress” since her versions are all very inspiring to me, and as well, the lovely Yoshimi herself personally recommended it for me, so there you go.
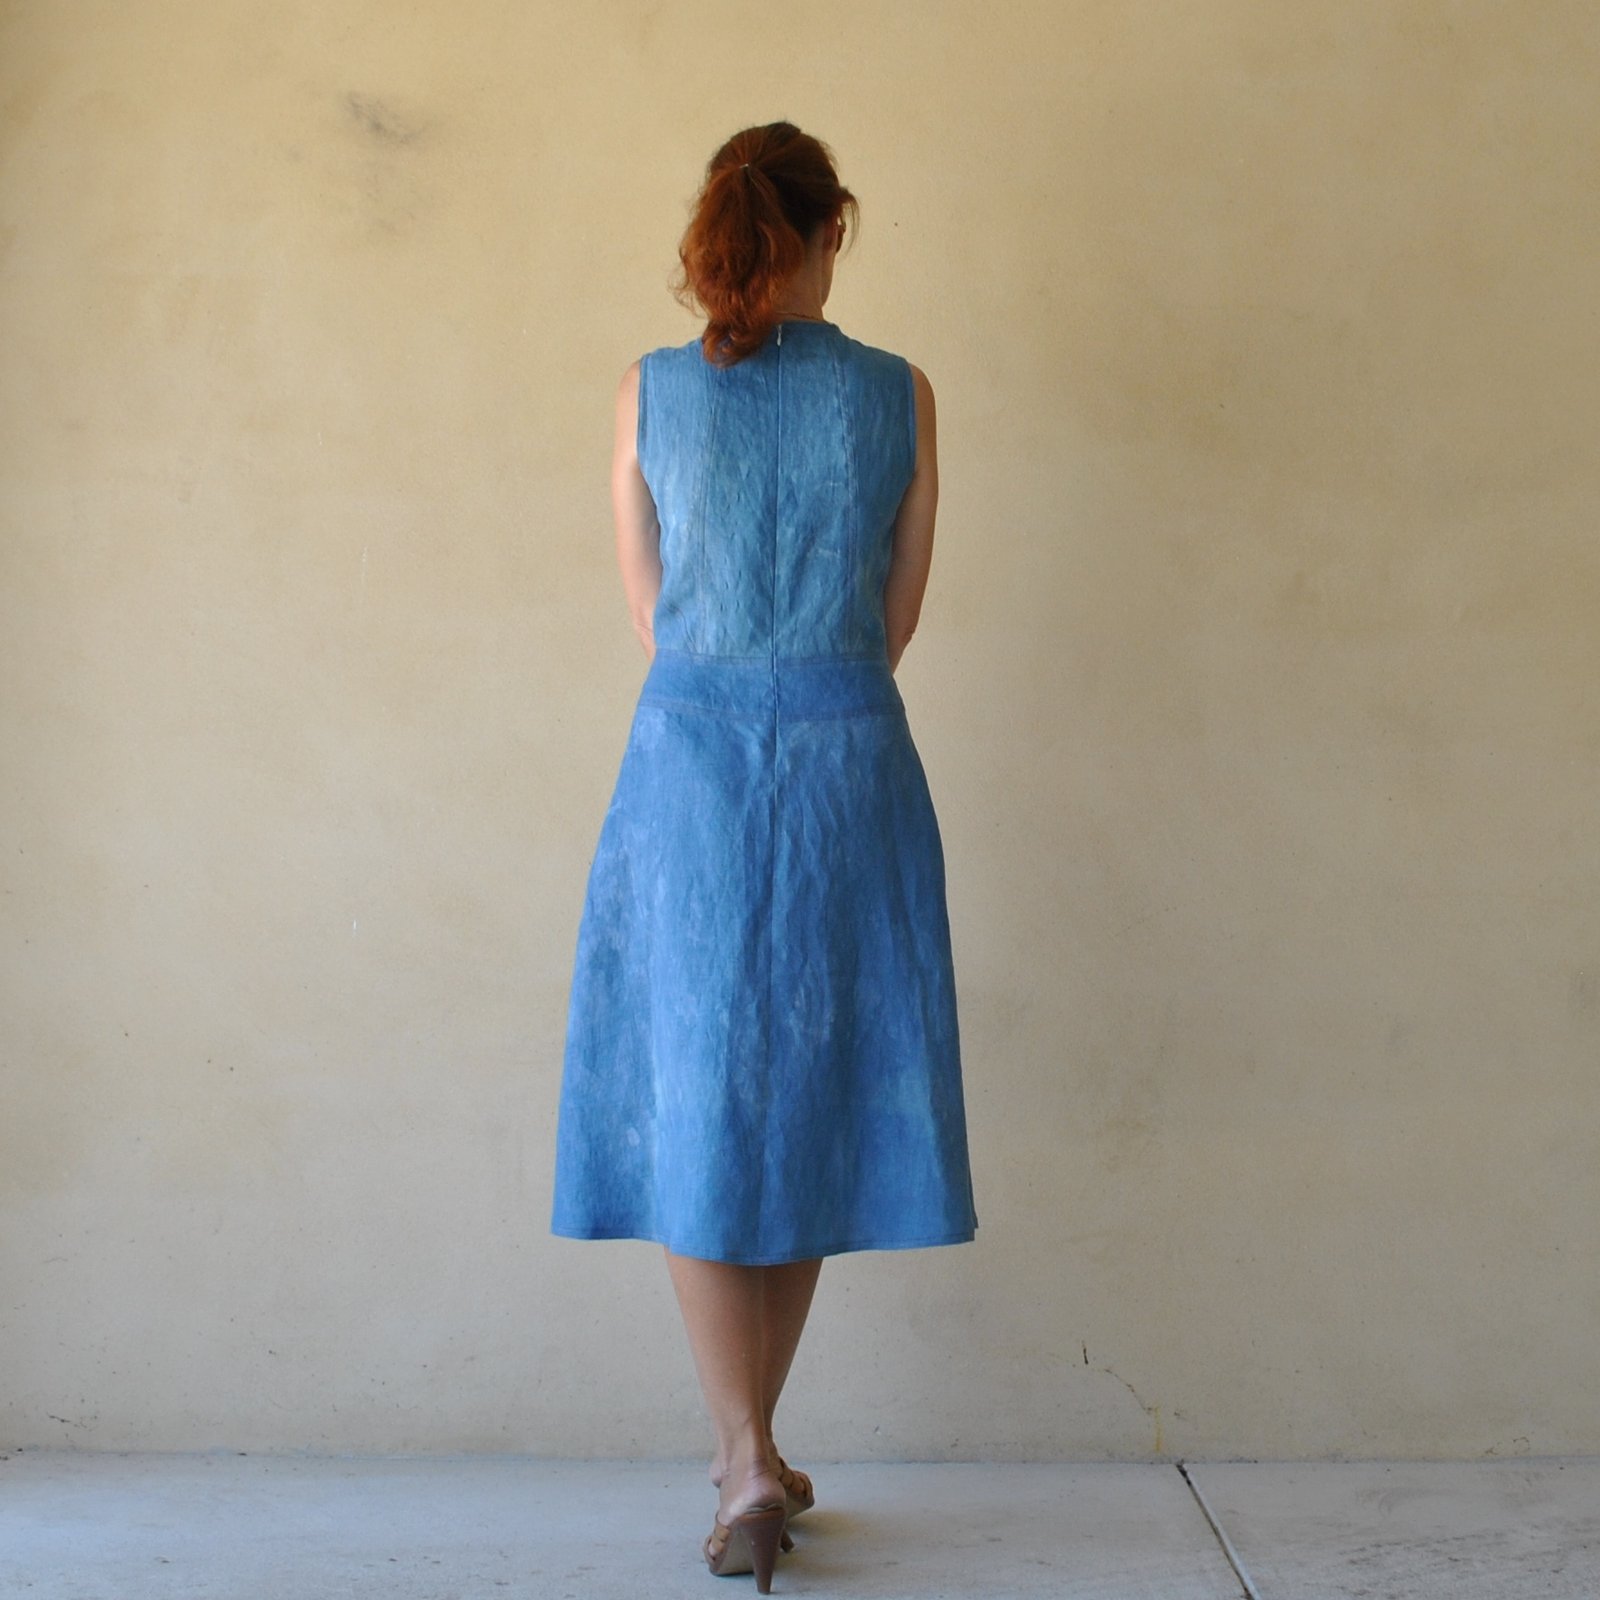
Fabric; linen, which I bought as plain white from Potters Textiles and then dyed real indigo, by which I mean using a real live, actual Japanese indigo plant-based dye pot! Yup, how awesome is that? I feel so very fortunate to have been given the chance to use Japanese indigo dye, since it’s quite a rare beast in WA. Growing the plant itself is very difficult here, and yes, I have tried and experienced a personal fail myself in that area… *represses sob*
Anyway, a few months ago, Nicki got together a group of us Perth girlies to go on a fun day out… and what constitutes a fun day out for the likes of us self-dressmakers more that a sartorially related, hands-on, “doing” thing! And what’s more hands-on than dyeing your own fabric in a real indigo dye vat?! This dye-vat is the work of the ultra talented and creative Trudi Pollard of Pollard Design Studio. Visiting Trudi’s studio in Bedfordale and viewing her many amazing creations is quite the inspiring and very humbling experience. Some of her exquisite textile art can be viewed at the studio’s site here.


I pre-washed my linen twice before the day but was hoping/aiming for just a touch-but-not-too-much blotchiness/unevenness; that lovely natural patina, you know. It worked out just spot-on how I wanted!
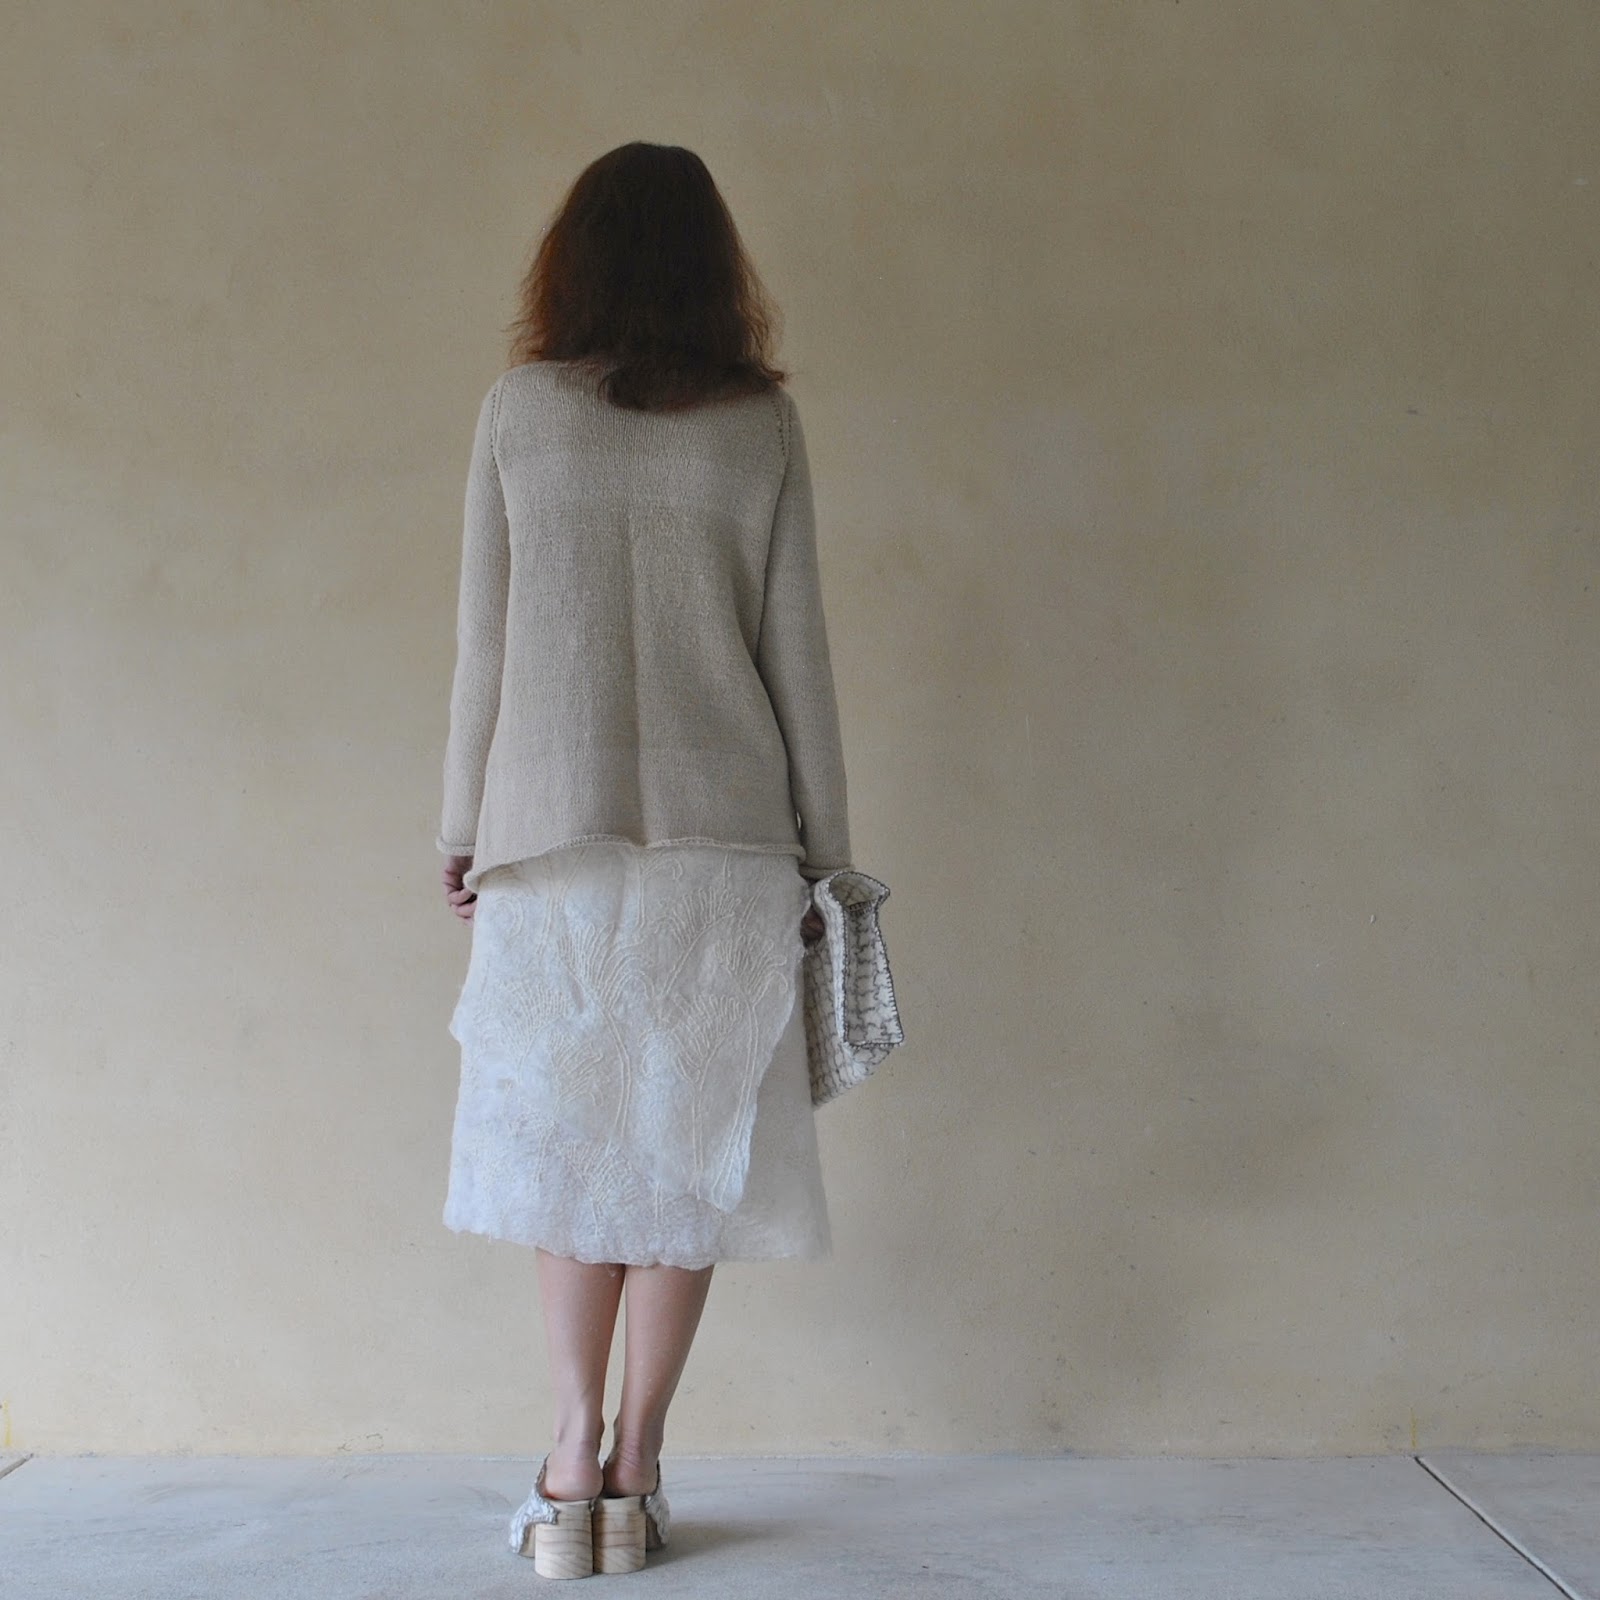
Construction notes: the seam lines in this pattern are lovely and interesting to my eyes and I wanted to highlight them somehow… the first time I made it up I made black cotton edging strips and this time I wanted to do something a bit different, to differentiate it from that dress in my wardrobe. Now, what does one think of when you think of indigo cotton? well for me Levi jeans are pretty high on the list. And Levi jeans have that very distinctive double orange topstitching allover, so I went with that as inspiration. It’s a lot more visually subtle than the black edging, but it’s there, and I really like it!
I had a look online to learn more about the origin of that orange topstitching, and interestingly enough, the reason for it was to go with the copper rivets that were used to strengthen jeans! Hmmm no copper rivets on my dress, whoops. Oh well!
I took great care to make sure those diagonal seam lines ended on the exact point and also put in a few little orange bar tacks on other random sewing junctions, for fun. I know, you can barely see them on the far-away pictures, but up close and personal I think they add a bit of interest to the dress.


The invisible zip saga… to sum it up, there was not a colour match even halfway acceptable! I chose a light blue and after inserting, just very carefully touched up the more visible bits of the zip tape with a felt-tip pen. This may or may not wash out over time, in which case I can always just touch it up again.

Then the pale blue zip pull was still too glaringly pale for my liking too; so I painted it coppery-orange with nail varnish, custom mixed using a few different colours from the small army of nail varnish bottles that live in my bathroom drawer. I knew all those funny colours would come in handy again some day!


Insides; all raw edges were overlocked with white thread, and I used white thread in the bobbin too, for continuity. I know; it’s not like anyone will ever see inside the dress, but to have it all looking cohesive is still a very satisfying sight to me.

So, that’s it, done and dusted! Now to continue with the small mountain of Christmas-related tasks I’ve lined up for myself and been busily and secretively working away on like a squirrel. I feel like I’ve been racing around like a crazy scatterbrained whirlwind lately. Crisis point not yet reached, but getting there…
Later dudes!
Details:
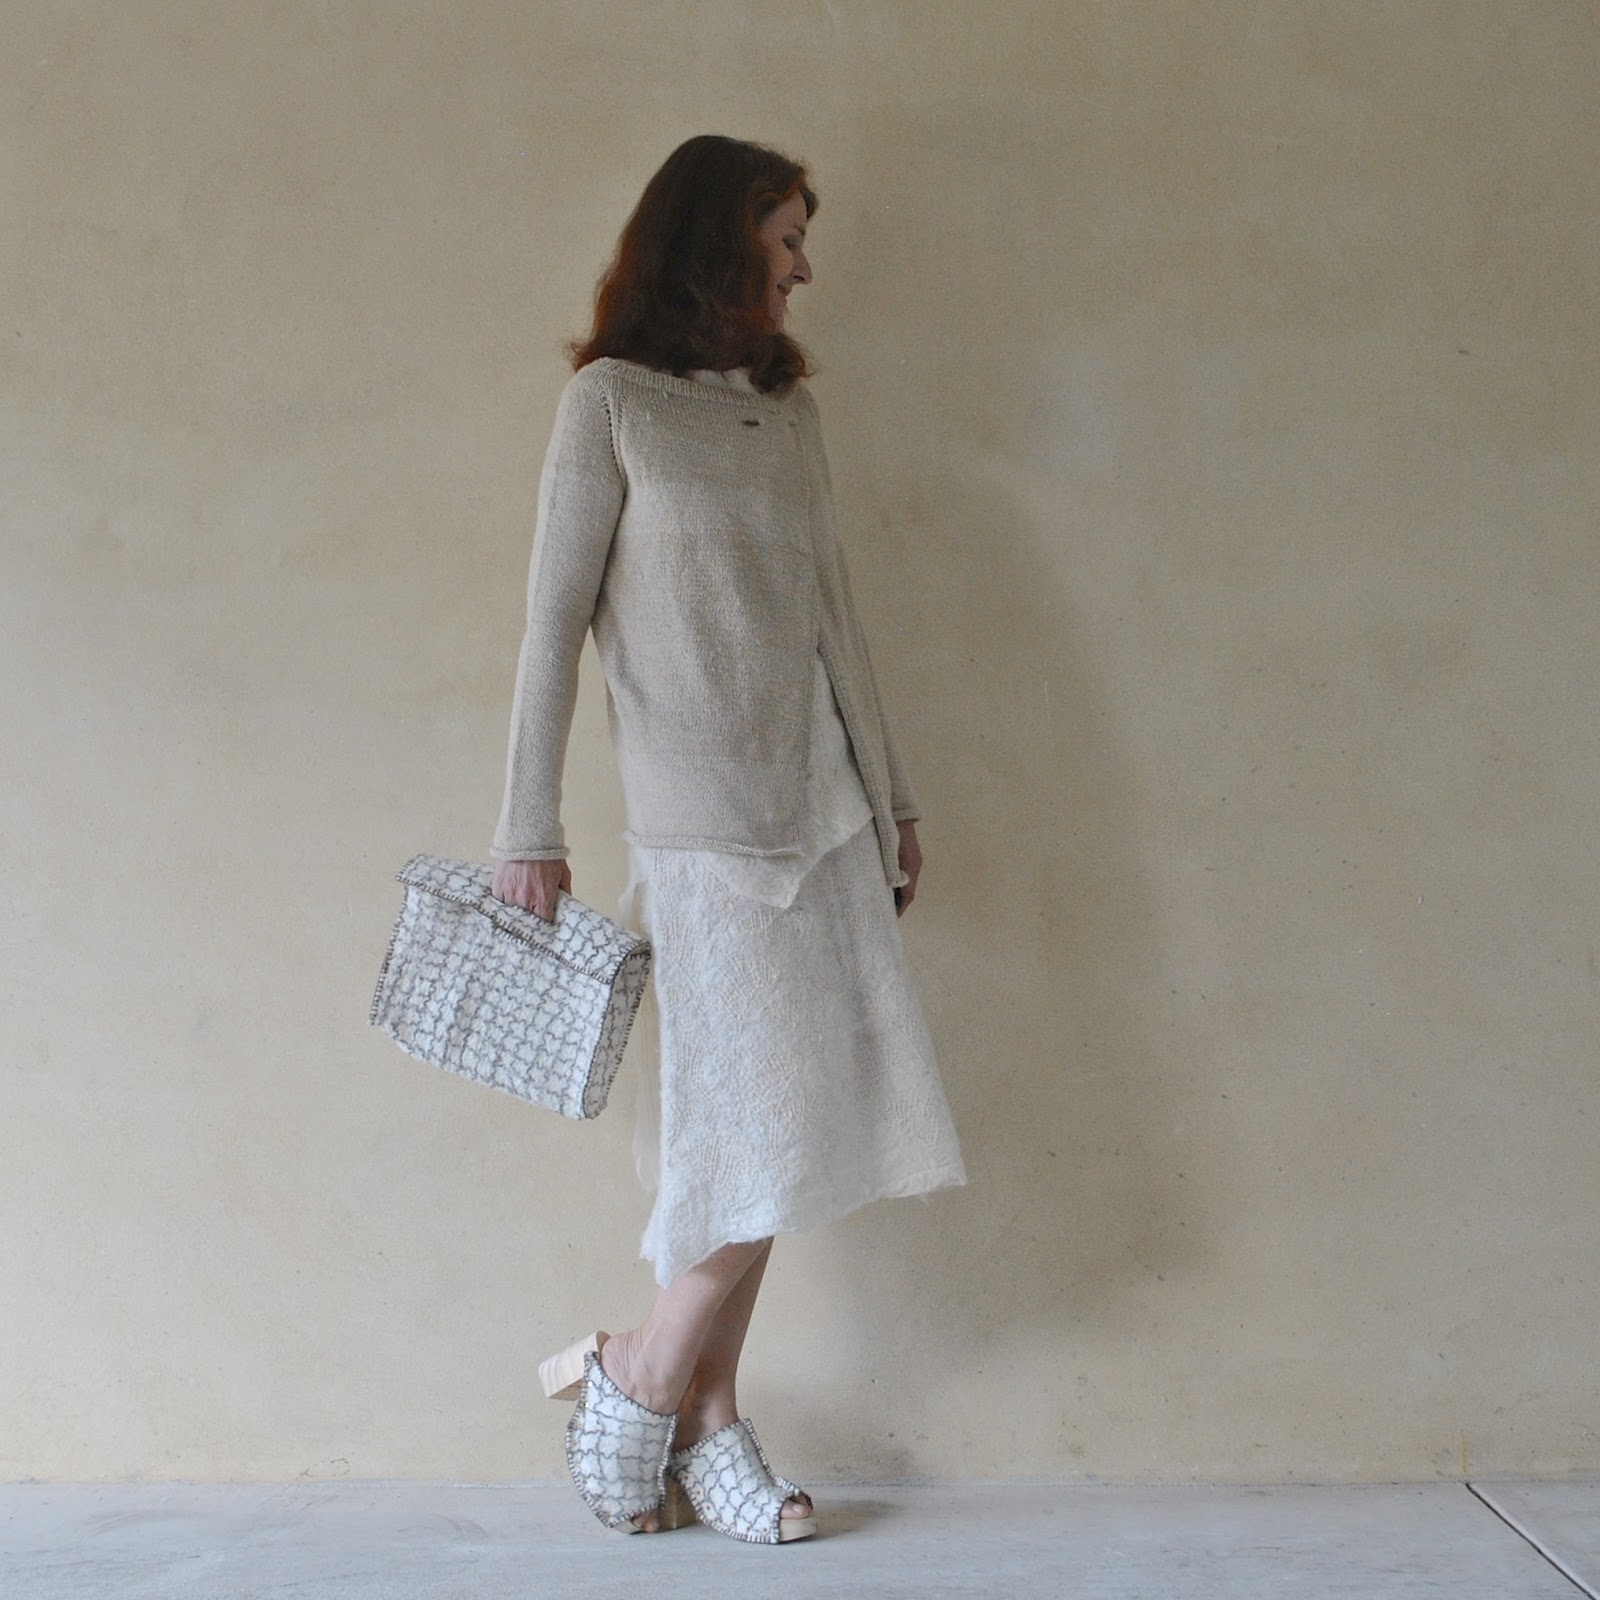
Dress; Vogue 2900, in indigo dyed linen, with orange top-stitching
Dress; Vogue 2900, in indigo dyed linen, with orange top-stitching
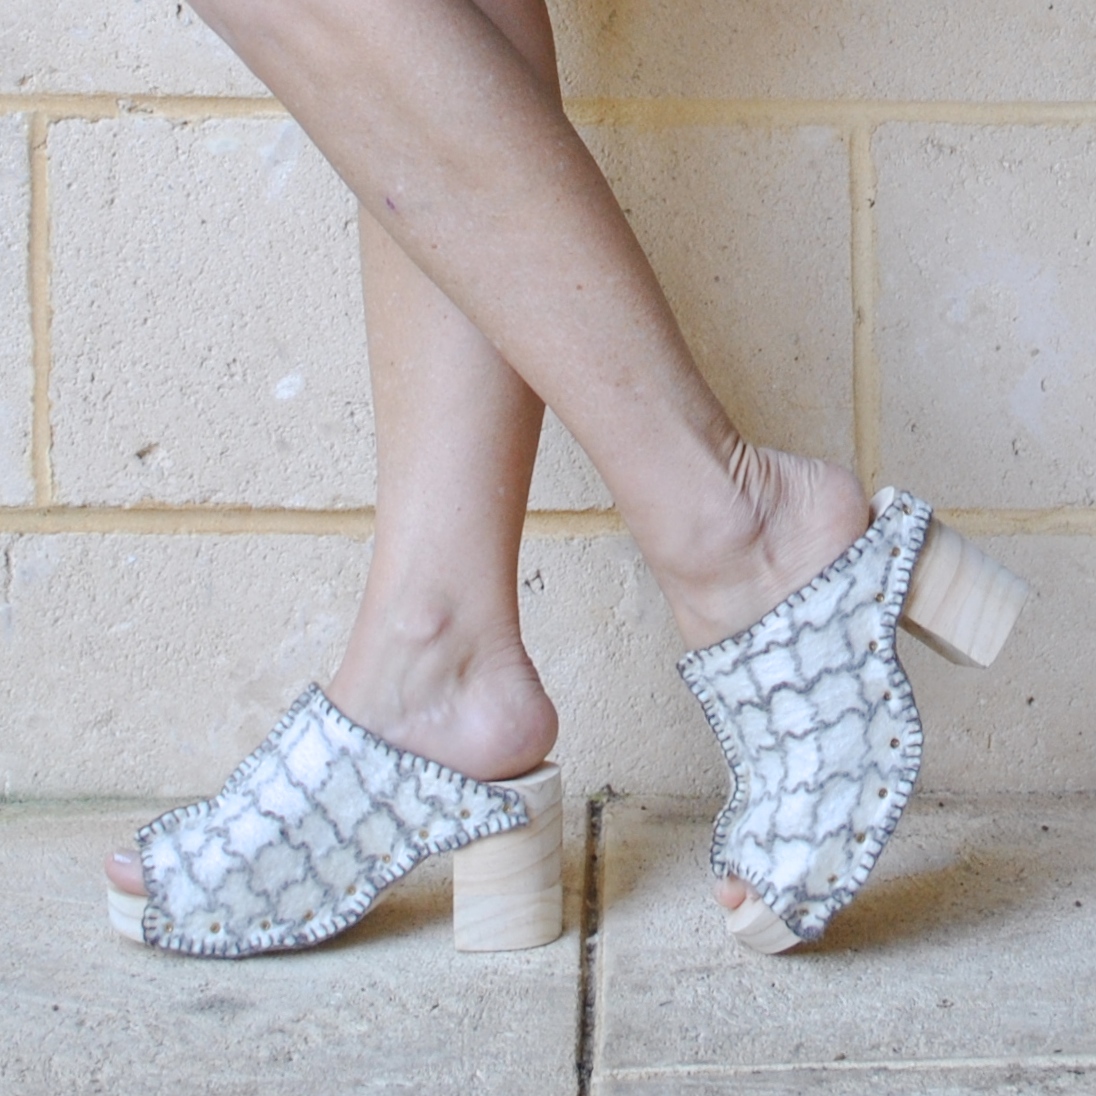
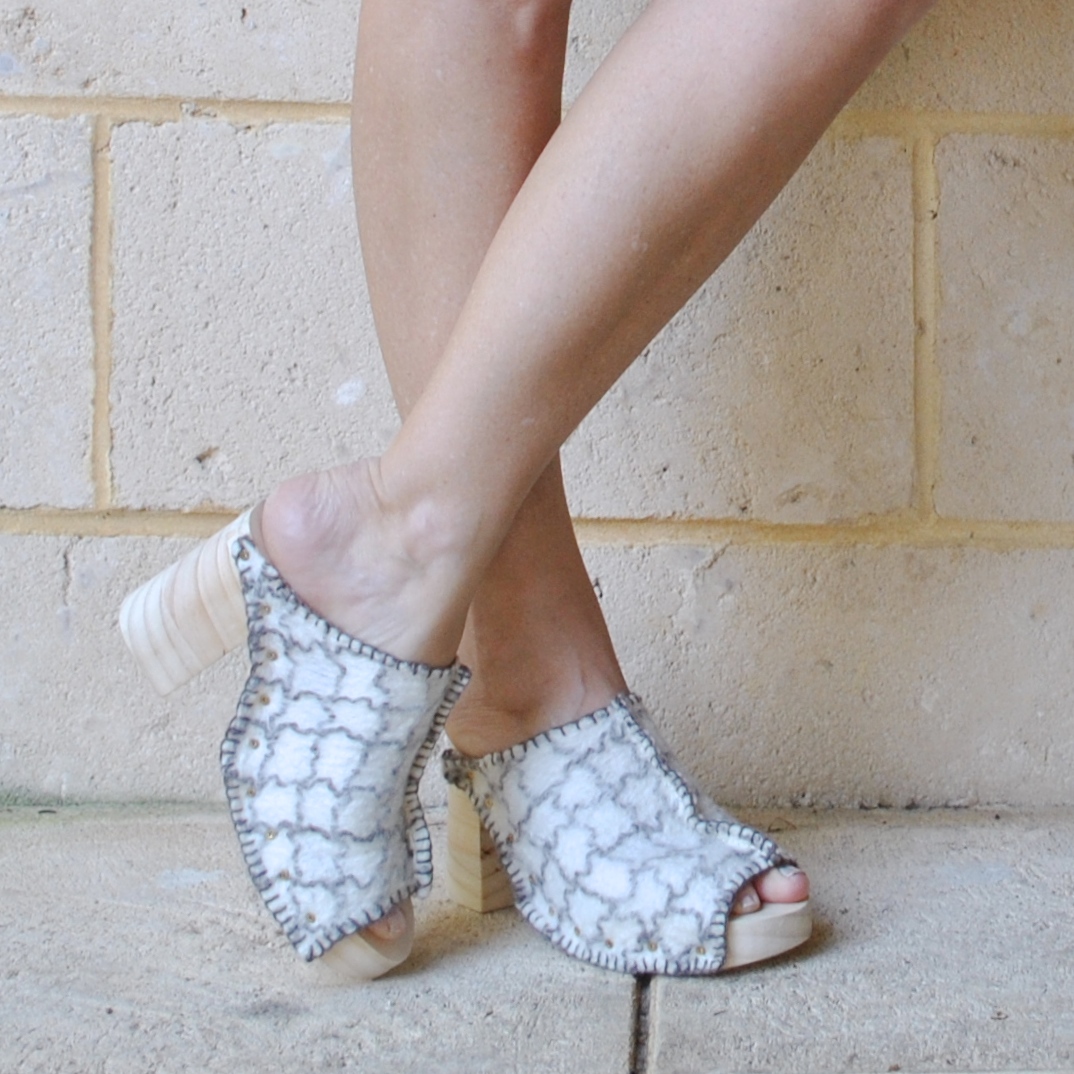
Sandals; from the oppie, yonks ago
Sunnies; ma RayBan wayfarers
in twirlerrific action