Category Archives: Uncategorized

A pretty silk blouse

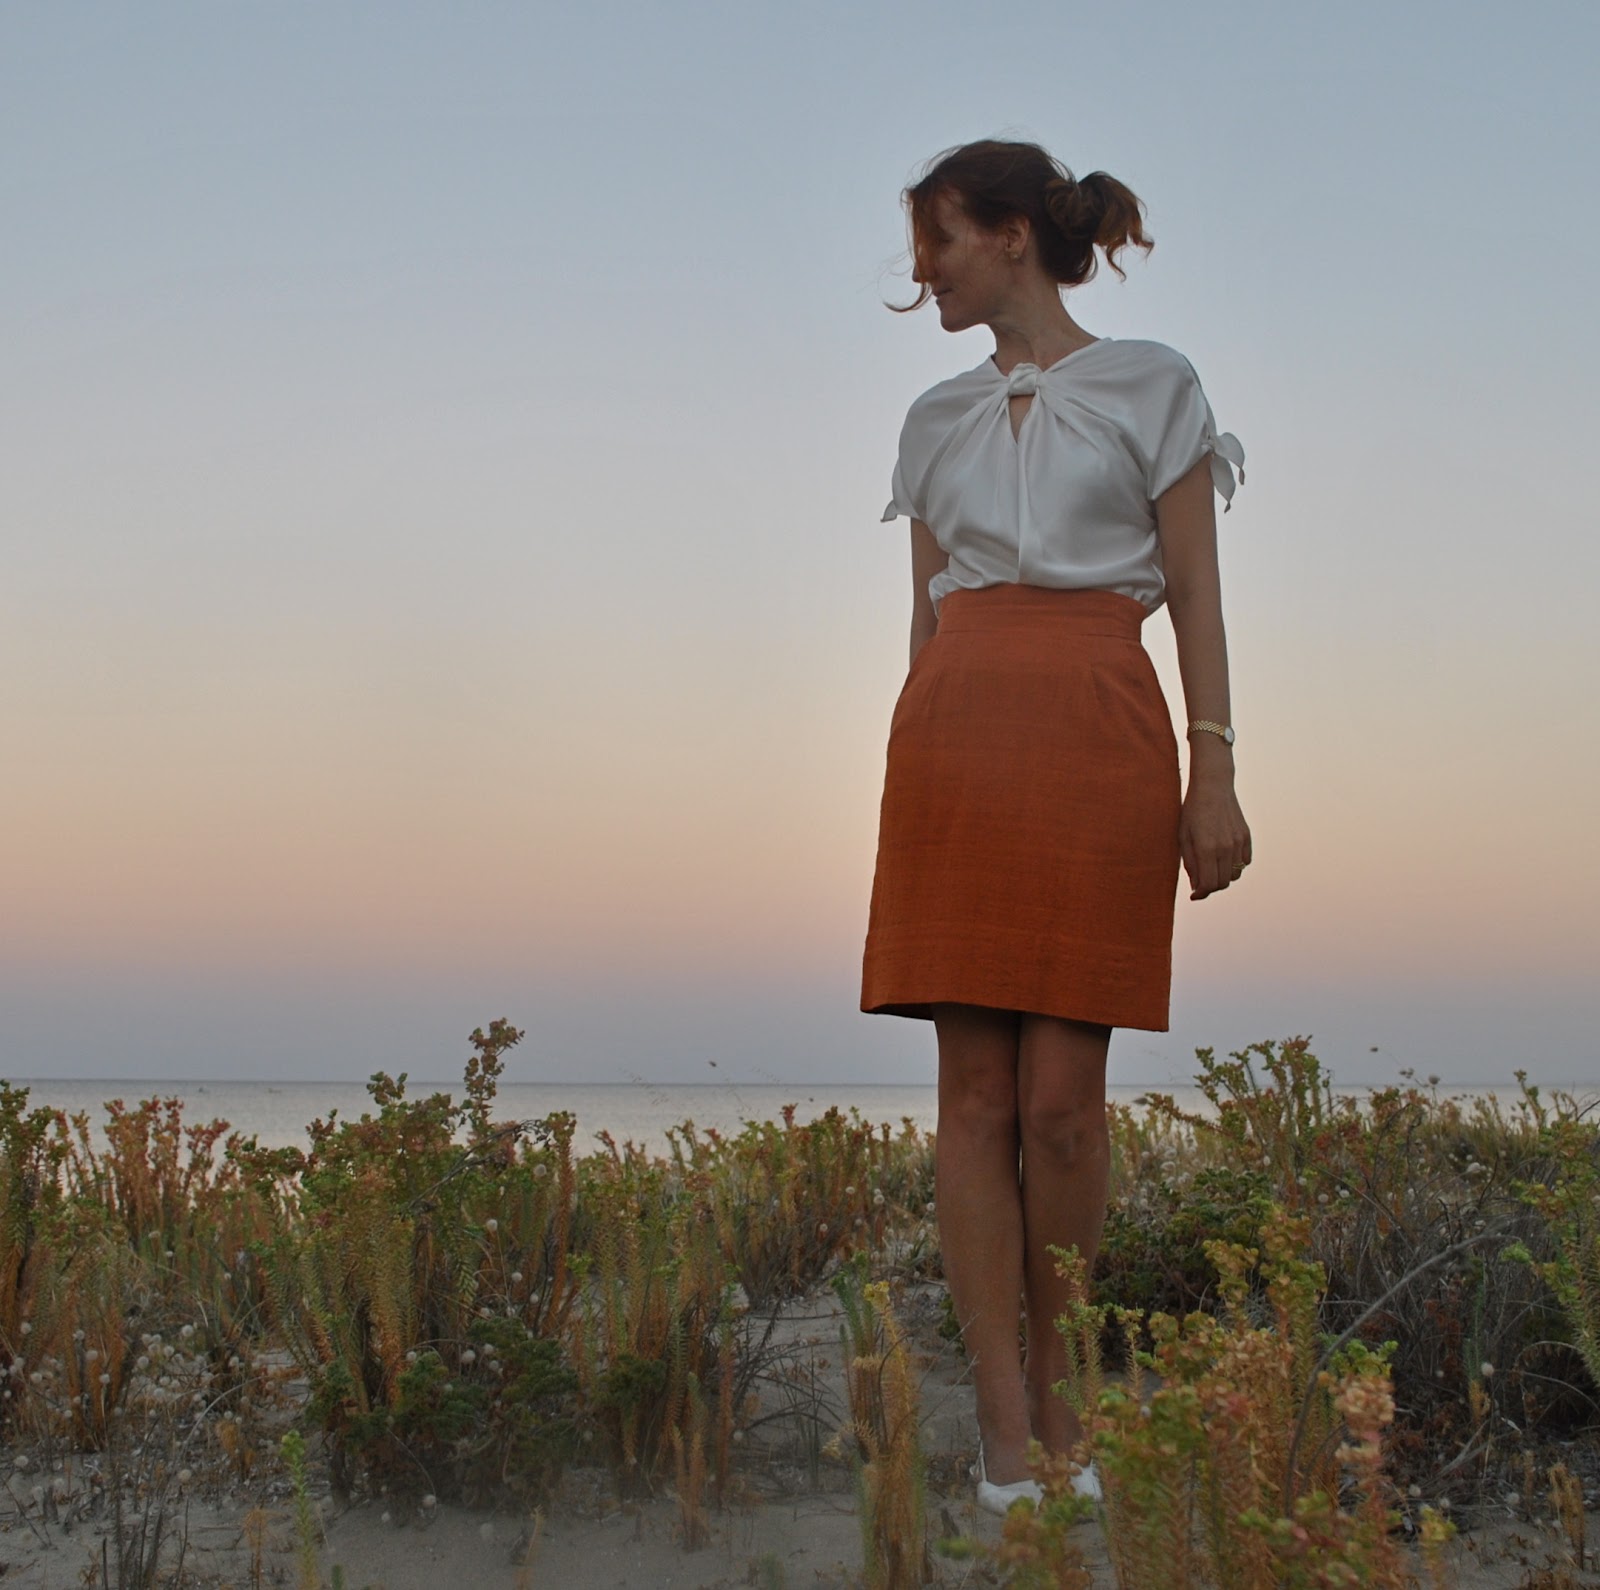
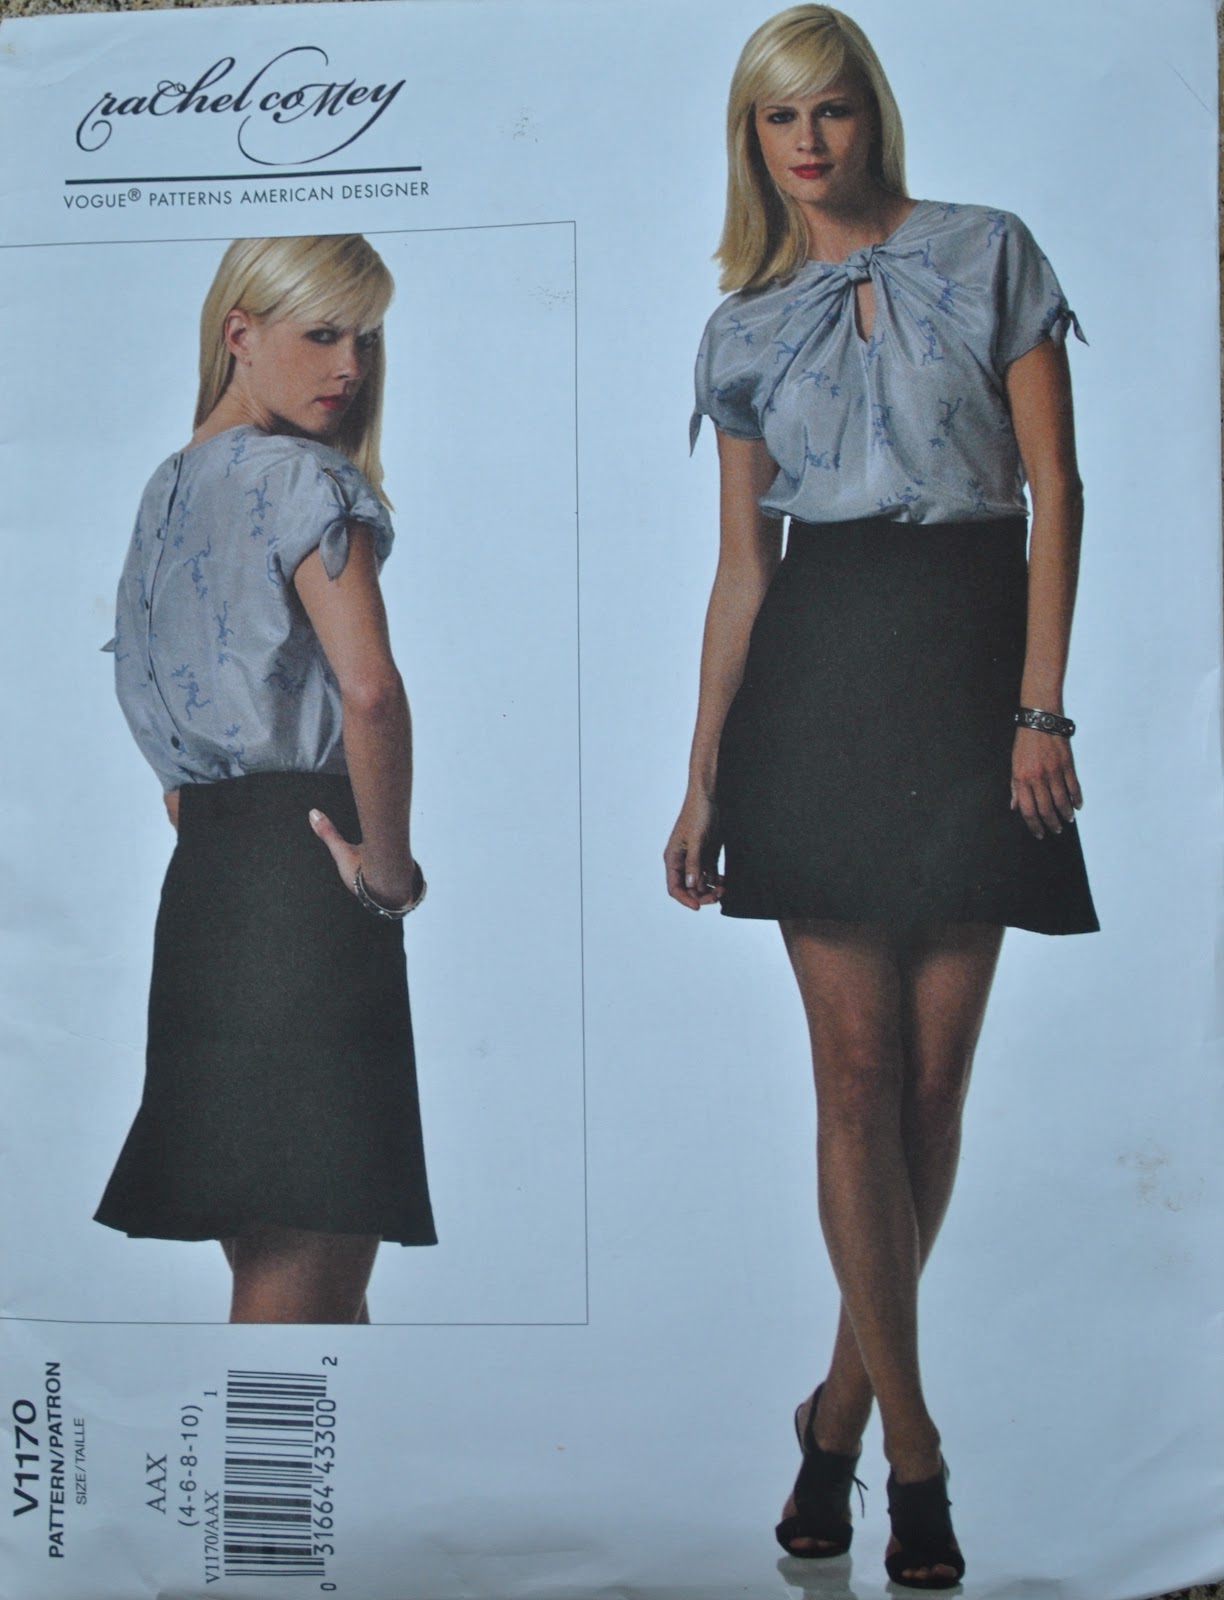
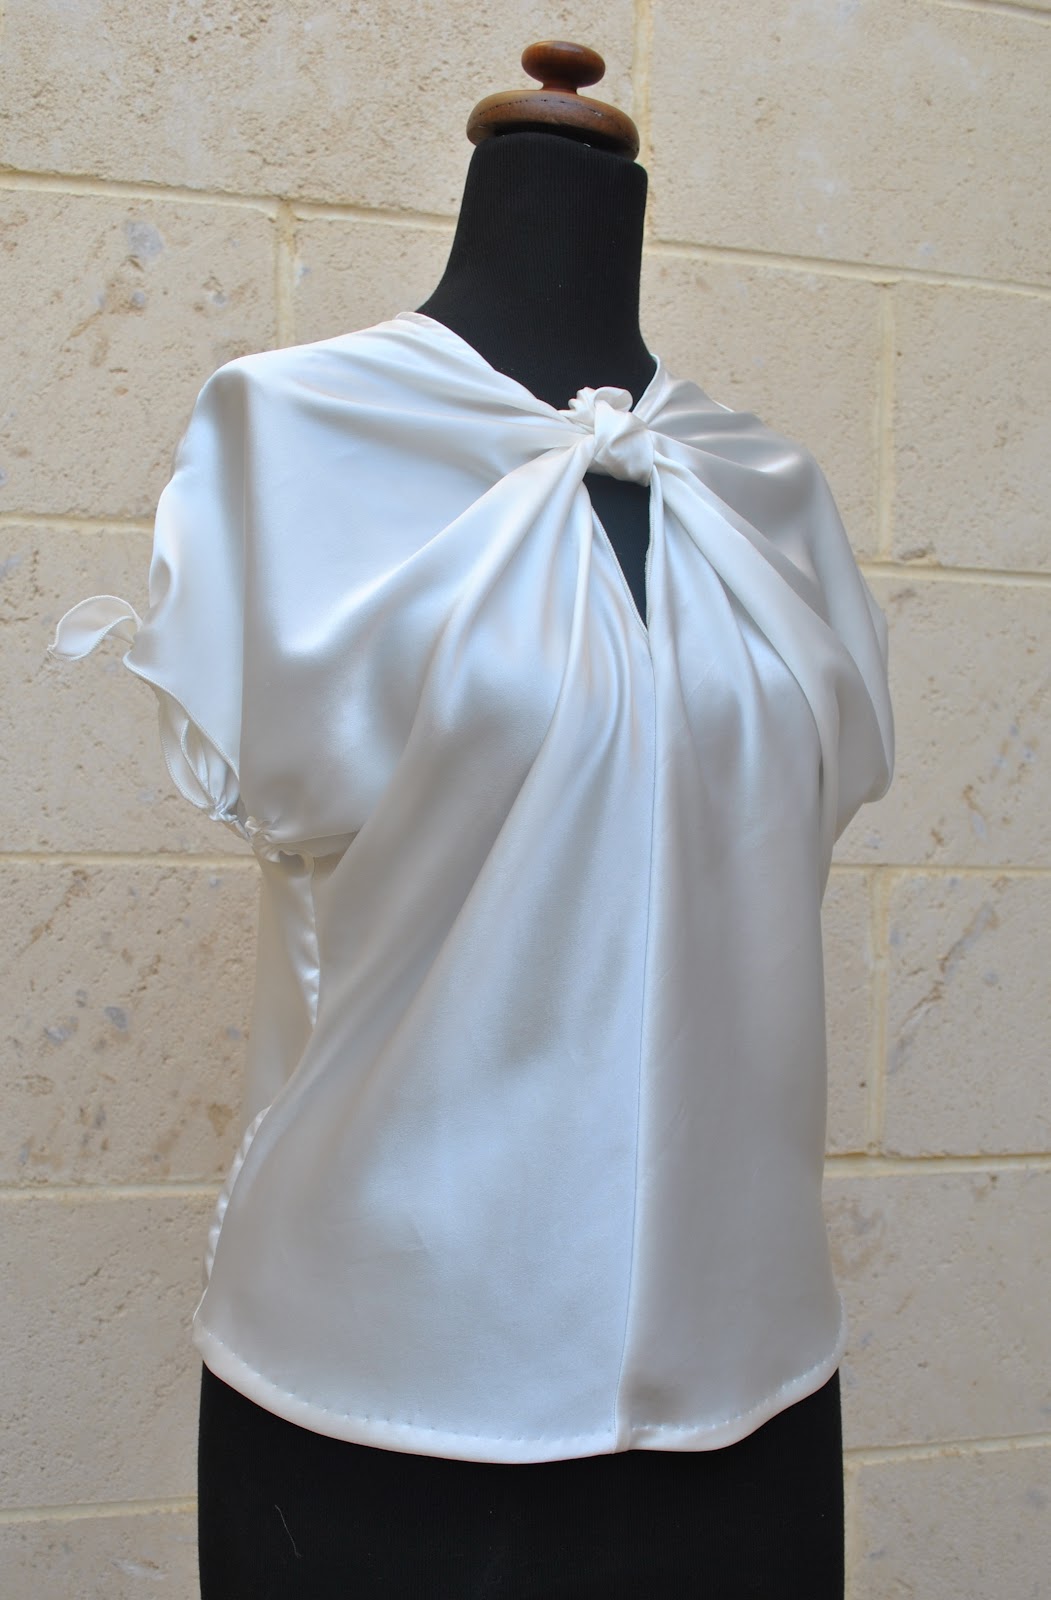
I’ve made a blouse!  And it turned out raaather lovely, if I say so myself…  I used Vogue 1170, one of the patterns given to me by my children for a Christmas present.  I am super pleased with it! 
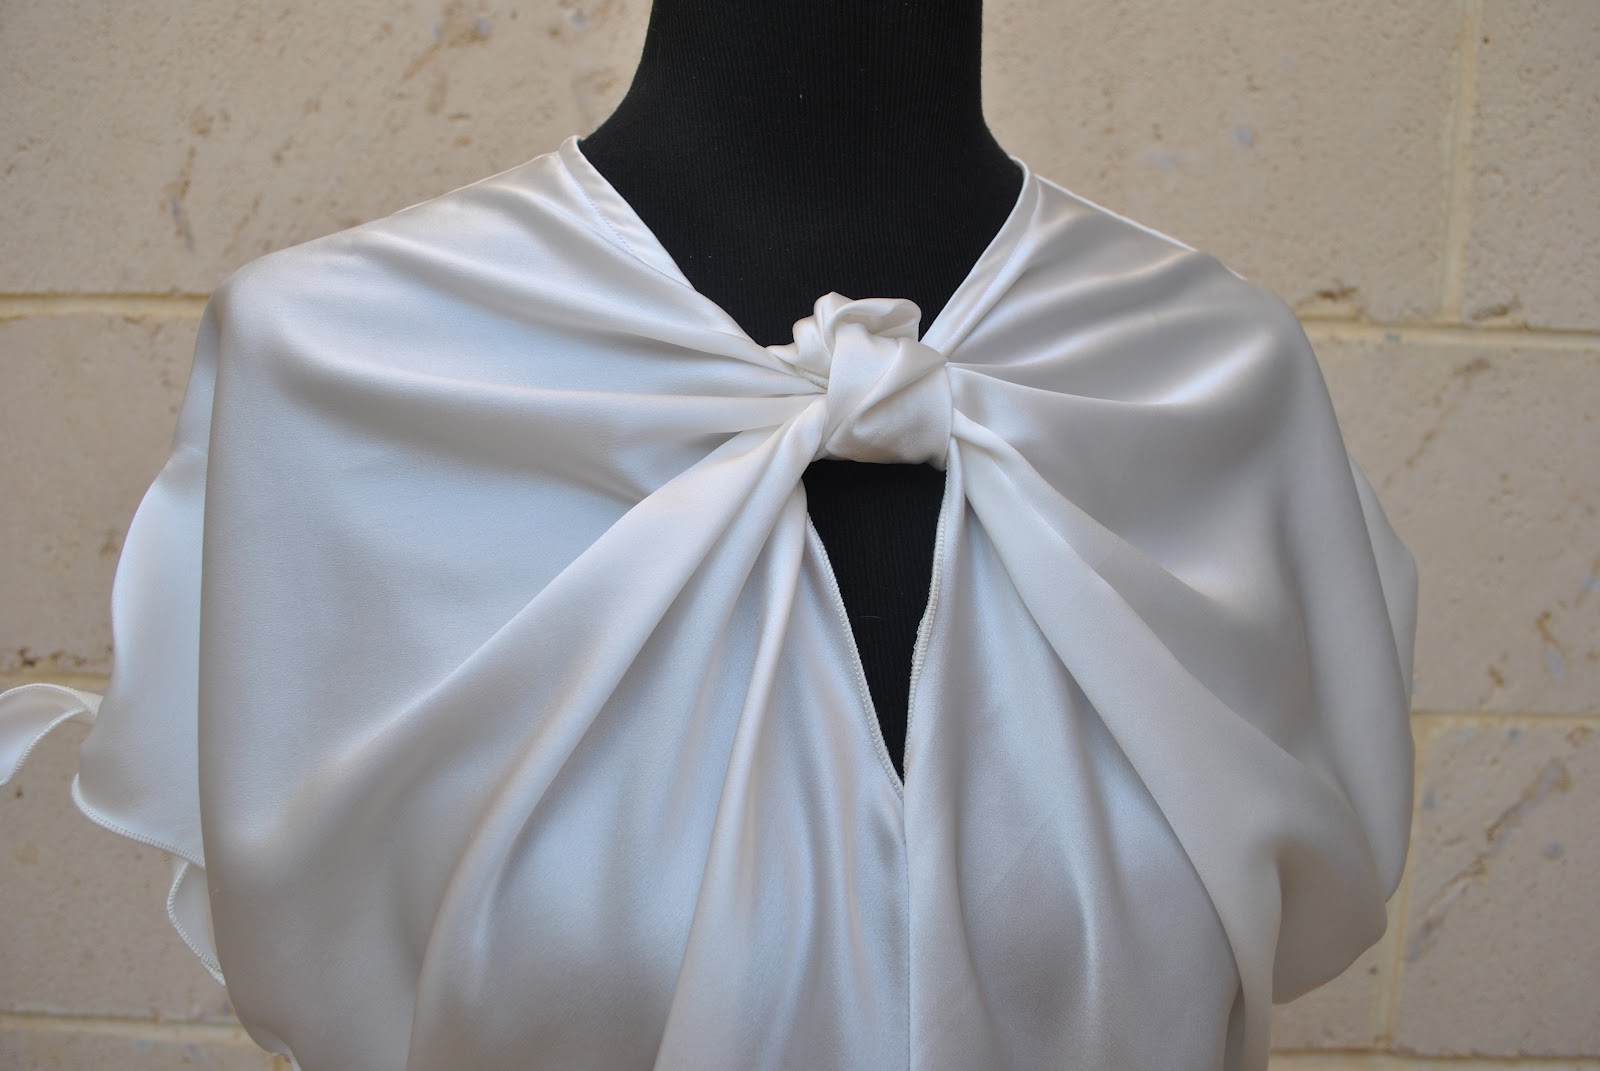
It is of very luxurious and quite expensive ivory silk charmeuse, with the exact same colour and the same classy, softly subtle sheen of a beautiful and perfect pearl.  It feels so luxe, and like the story of the magic cloak I immediately feel extra ladylike and elegant simply by the act of slipping it on!  
I felt uncharacteristically hesitant and nervous about cutting this out.  Mostly because, although I was excited about the idea of this blouse, and out of this completely divine fabric, I was still a weeny bit unsure that it would work out, and/or even suit me!  It is just such a very very feminine, pretty and super-sweet style, and I was worried that I could not carry this look off.  Trying it on during the making of it didn’t even assuage my fears.  I continued to be doubtful right up until the time I tried the finished thing on, finally.  And was relieved that I did actually still love it, even on me!  It is quite formal, I think; so I will be keeping it for smart and dressy occasions.  Although it does feel sooo nice against the skin, perhaps I should allow myself to wear it just whenever??  Hmmmm.   We shall just have to see about that one  ðŸ˜‰  anyway, tonight I wore it out for a special dinner at a swisho restaurant; and I felt perfectly chic.
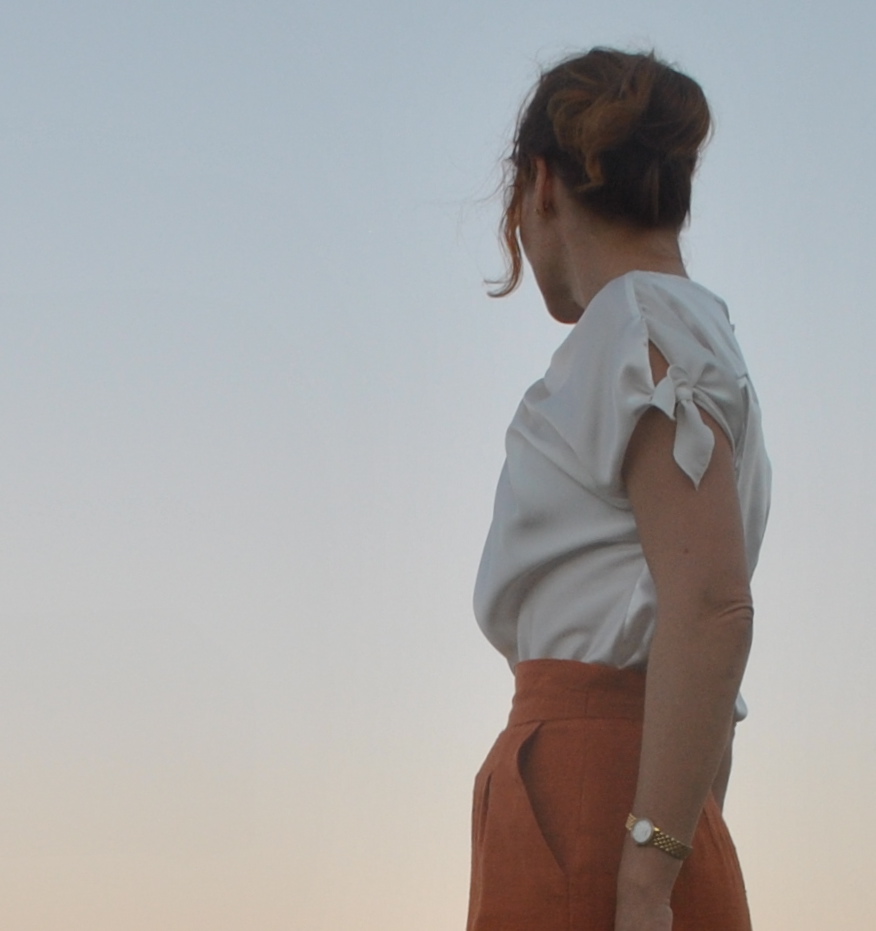
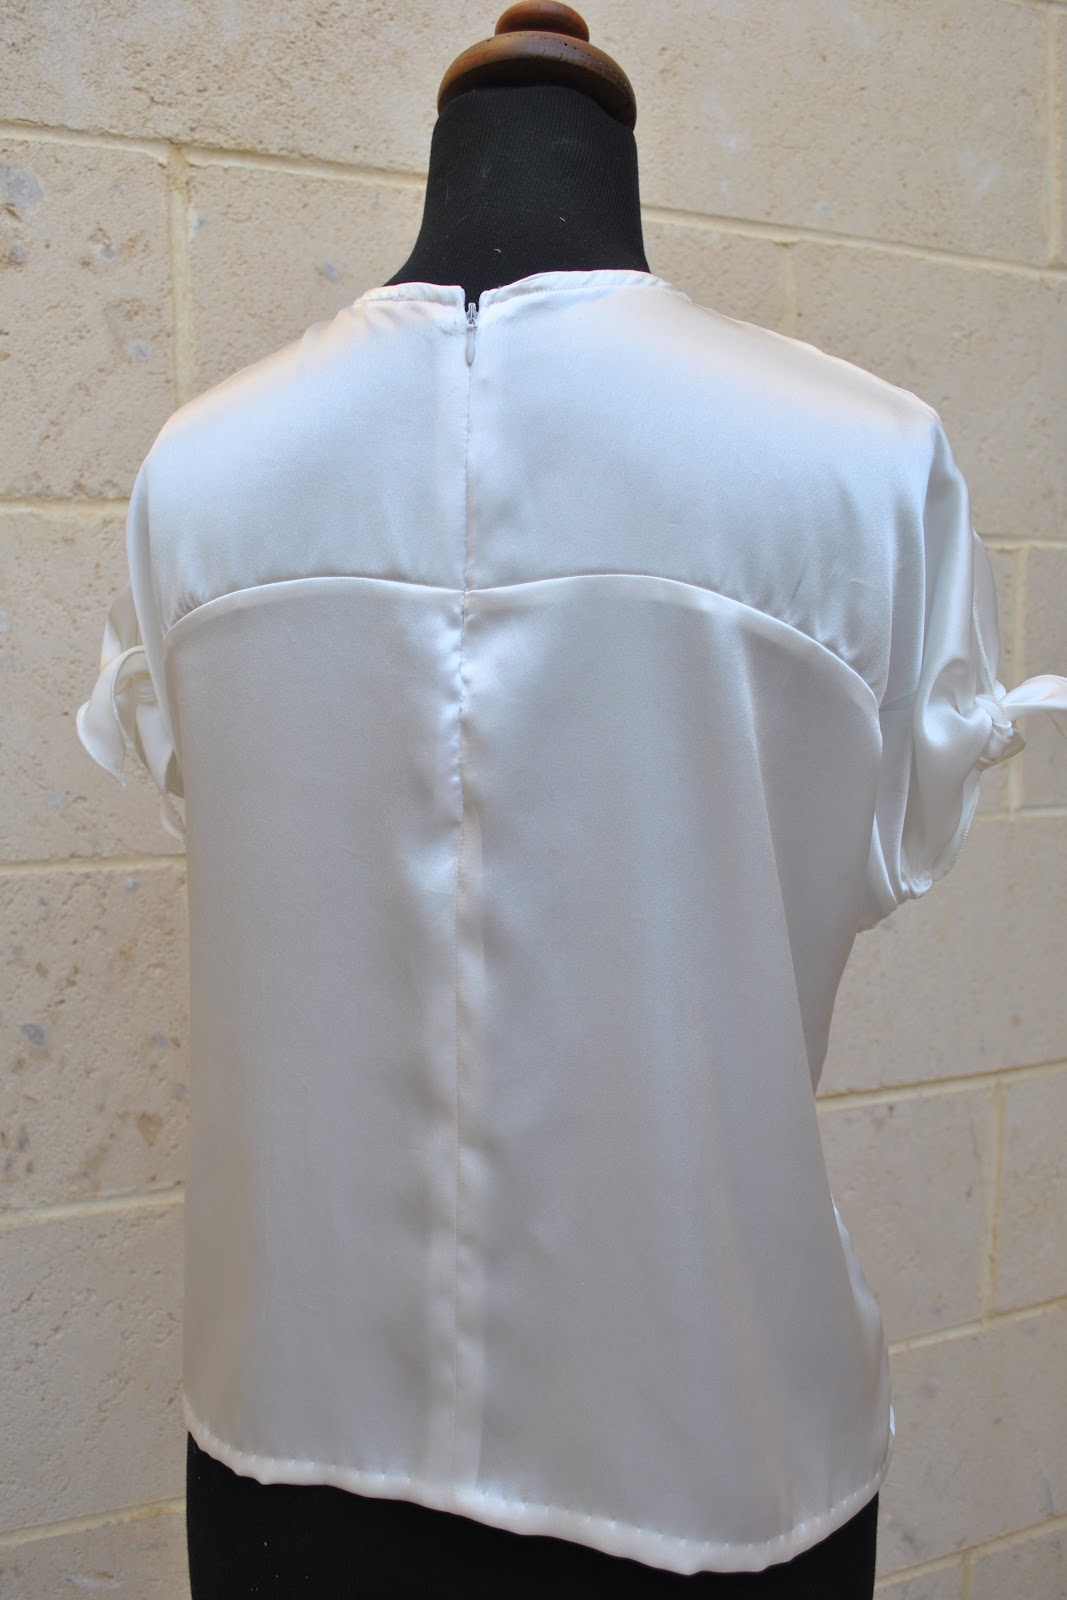
This pattern stipulates a button band in the centre back, which I didn’t think is a particularly classy finish, especially for the quite formal blouse I envisioned.  So I sewed up most of the centre back seam, and inserted a short invisible zip at the top for closure, instead.  This does look quite good, but now I wish I had made a little faced slit instead and sewed on a few pearl buttons with skinny loops for closure.  I think now that would have looked much nicer!

Details:
Blouse; Vogue 1170, ivory silk charmeuse
Skirt; Vogue 8363 with modifications, of burnt orange raw silk, details here, my review of this pattern here, and see this skirt styled in 6 different ways here
Shoes; Sandler, I’ve had these for donkey’s years and they match the blouse perfectly….

Pattern Description:
Very loose-fitting top has front keyhole opening with knot, back yoke, back band extended sleeves tied into knots and back button opening.
Pattern Sizing:
4-10; I made the size 10
Did it look like the photo/drawing on the pattern envelope once you had finished sewing it?
Yes
Were the instructions easy to follow?
Yes
What did you particularly like or dislike about the pattern?
I thought it looked fantastic on the pattern cover, and I love the little knot and how the fabric falls in these beautifully draped folds across the front.  The little ties on the sleeves are really lovely.  The blouse is just so elegant and feminine.  A tad on the formal side for my everyday tastes, but a girl needs a few pretty dressed up tops too!
What don’t I like about this pattern… The instruction to hand gather the underarm seam seems like an uninspired finish, especially considering one has gone to the trouble to apply French seams throughout otherwise.  After hand-gathering mine I thought it looked shoddy.  I tried going over it with the machine but my fabric is very densely woven as well as slippery and the gathers are quite tight and I was terrified of ruining the (almost finished) top.  So I let it be, as partly a hand-gathered seam and partly machine-finished.  But I’m not completely happy with this bit.
I thought the back button band too casual a feature on what is quite a dressy little number, so I did something different on my version.
Fabric Used:
Silk charmeuse
Pattern alterations or any design changes you made:
Instead of the button band down the centre back I substituted an invisible zip and sewed up the back seam.  But I wish now though I had left a short opening and used a couple of pearly buttons and skinny button loops for closure, I think that would have looked a lot nicer and neater.
I considered doing those narrow hems on the neckline and the sleeve ties as per the instructions.  Briefly.  But my fabric is exceedingly slippery dippery stuff; and so decided instead to use the rolled hem attachment on my overlocker for these edges.  This gives a much neater and more consistent finish for this fabric.  Trust me, I’m speaking from experience here…!
I finished the lower hem by hand.
Would you sew it again? Would you recommend it to others?
Probably not, but one should never say never!  Maybe I will want another one of these one day, but will first have to think of some better way to finish off that underarm seam! 
I highly recommend this pattern for a very pretty and very feminine evening top.  It gets muchos compliments!
 Conclusion:

I’m very happy with my blouse now, but my fabric was very difficult to sew.  It didn’t want to be French seamed, and even less did it want to be narrow hemmed and then gathered and oversewn, as in the underarm bit.  Silk charmeuse is tricky at the best of times and in the simplest garments, and forcing it into curved French seams is not an easy ask.  But I am glad I persevered with this fabric, since I absolutely adore the pearlescent sheen of this luscious and luxurious fabric and it feels simply divine against the skin!!  And the end result is a very pretty and chic blouse, one that I will be very pleased to pluck out of the wardrobe for semi-formal events.

pinterestmail

Purple dress; 6 different ways

I think this little purple shot rayon dress, made using Burdastyle magazine 06/2011, 102 and seen first here will be one of those winning dresses with year round capabilities.  I have been wearing it a tonne this summer;  being a natural fibre and with its flow-y loose design it is beautifully light and so cool on even the hottest day. And I think that come the cooler weather that I will still be able to wear it to, thanks to its sludgy winter-y colour.  It’s amazing to me that I was a little doubtful of this dress at first… since I can’t imagine now how I did without something just like this before!
At left; being such an easy casual design with no zips, buttons or other bits and bobs, makes it a perfect throw-on over the bathers, as a beach cover-up or if you just want to pop out for a few groceries.  I have worn it on over my bathers like this lots of times this summer already!  I also love this colour combination of bright yellow against that sludgy purple colour too; colour wheel opposites.  At right; I have a big collection of light summer scarves to dress up a plain dress like this one.  And y’know what? it is amazing, all of my scarves are showcased beautifully against this very blank canvas of a dress.  This scarf, a gift from my parents from their trip to Italy, is one of my favourites.

purple1
At left; with a loose-fitting blouse over it, it masquerades as a skirt.  I don’t often go for the dress-as-a-skirt look, but the loose nature of both these pieces allow the combination to work really well.  At right; the simple but elegant style can be dressed up for a more formal party or dinner on a summer’s evening, with all hot-pink accessories.  I wore this outfit to Cassie’s birthday party.
purple2
Now for some cool weather ensembles, and I am looking forward when I will be wearing more nuanced outfits with a few layers such as these!  At left; purple is a great base colour for an autumn wardrobe, and I love it against warm rich autumnal colours, such as raspberry red.  Add a creamy scarf, and I’m all ready for a casz day.  At right; worn as a tunic top, and layered up with neutral and similarly sludge-y hued accessories for winter…  I would wear this when I wanted to look smart, like meeting my husband or friends out for lunch, or going out to dinner.  Fyi? best not to try wearing either of these outfits on a 38C day.  That would be just plain silly, yes?  😀
purple3
What am I wearing today?  Well I am wearing the second outfit, with the lovely colourful scarf… it was perfect for a pretty hot summer day.  I had morning tea out with some friends and then ran a few errands.
So which of these outfits would be your favourite?
pinterestmail

Billowy white shirt

I’ve made a shirt… and the twist is that this was until recently a pair of trousers.  Yes really!
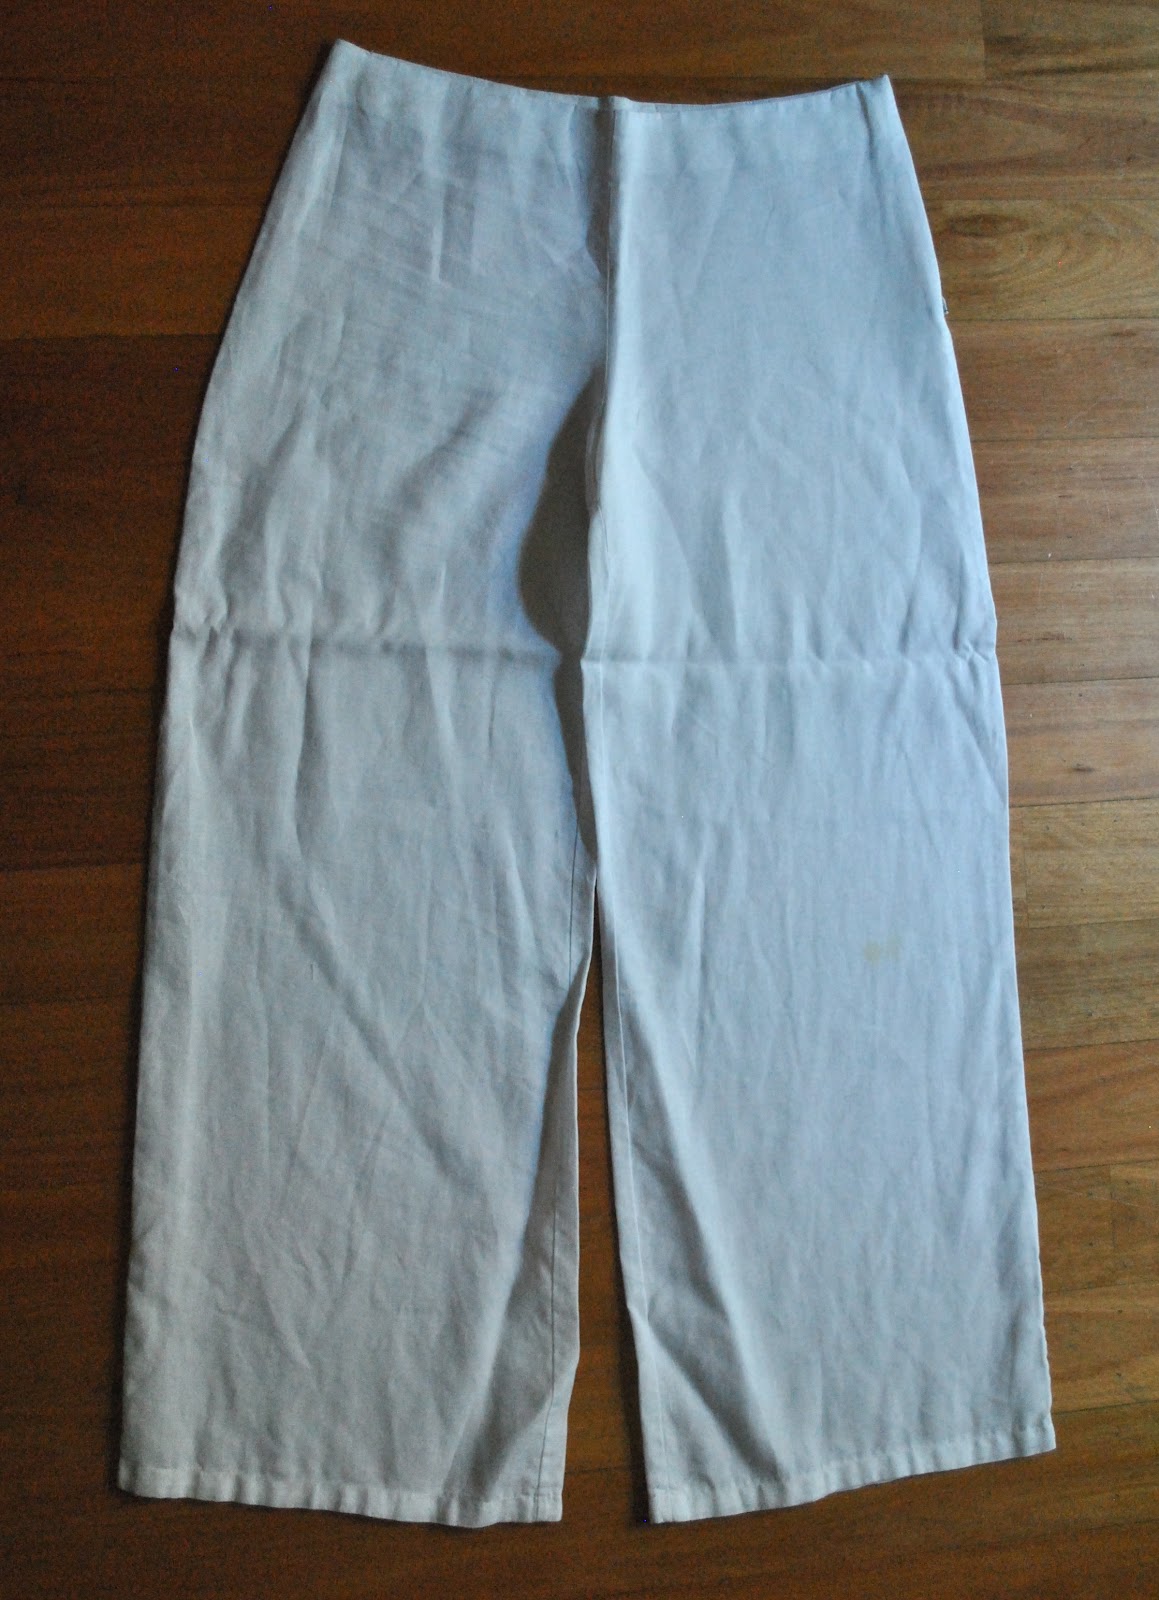
Before; as wide-legged trousers.  They were very low-rise in the style of about five years ago.   I could literally pull these trousers on and off without undoing the zip.  The last time I wore them was about two years ago (in this top right outfit) and even then I had the zip un-zipped and the sides lapped over and hoinked together with a big safety pin so they wouldn’t fall down.

However the linen was such beautiful quality! and I did not want to let it go to waste…
so I did not.  ðŸ™‚
I have been toying with a particular concept for a shirt-from-pants for a while in my head.  I’ve had a very firm picture of how it was going to go together.  Naturally my nebulous “idea” didn’t work out quite the way I had planned and I realised at some point that I needed more fabric, and in very different shapes, to what I actually had.  I had to pin, stitch, unpick, re-pin, re-stitch, re-unpick over several times before I dared to actually cut into any of the leg pieces… and there was a lot of this before I ended up with a design I was happy with.  No, I don’t do muslins very often.  I consider them a waste of fabric.
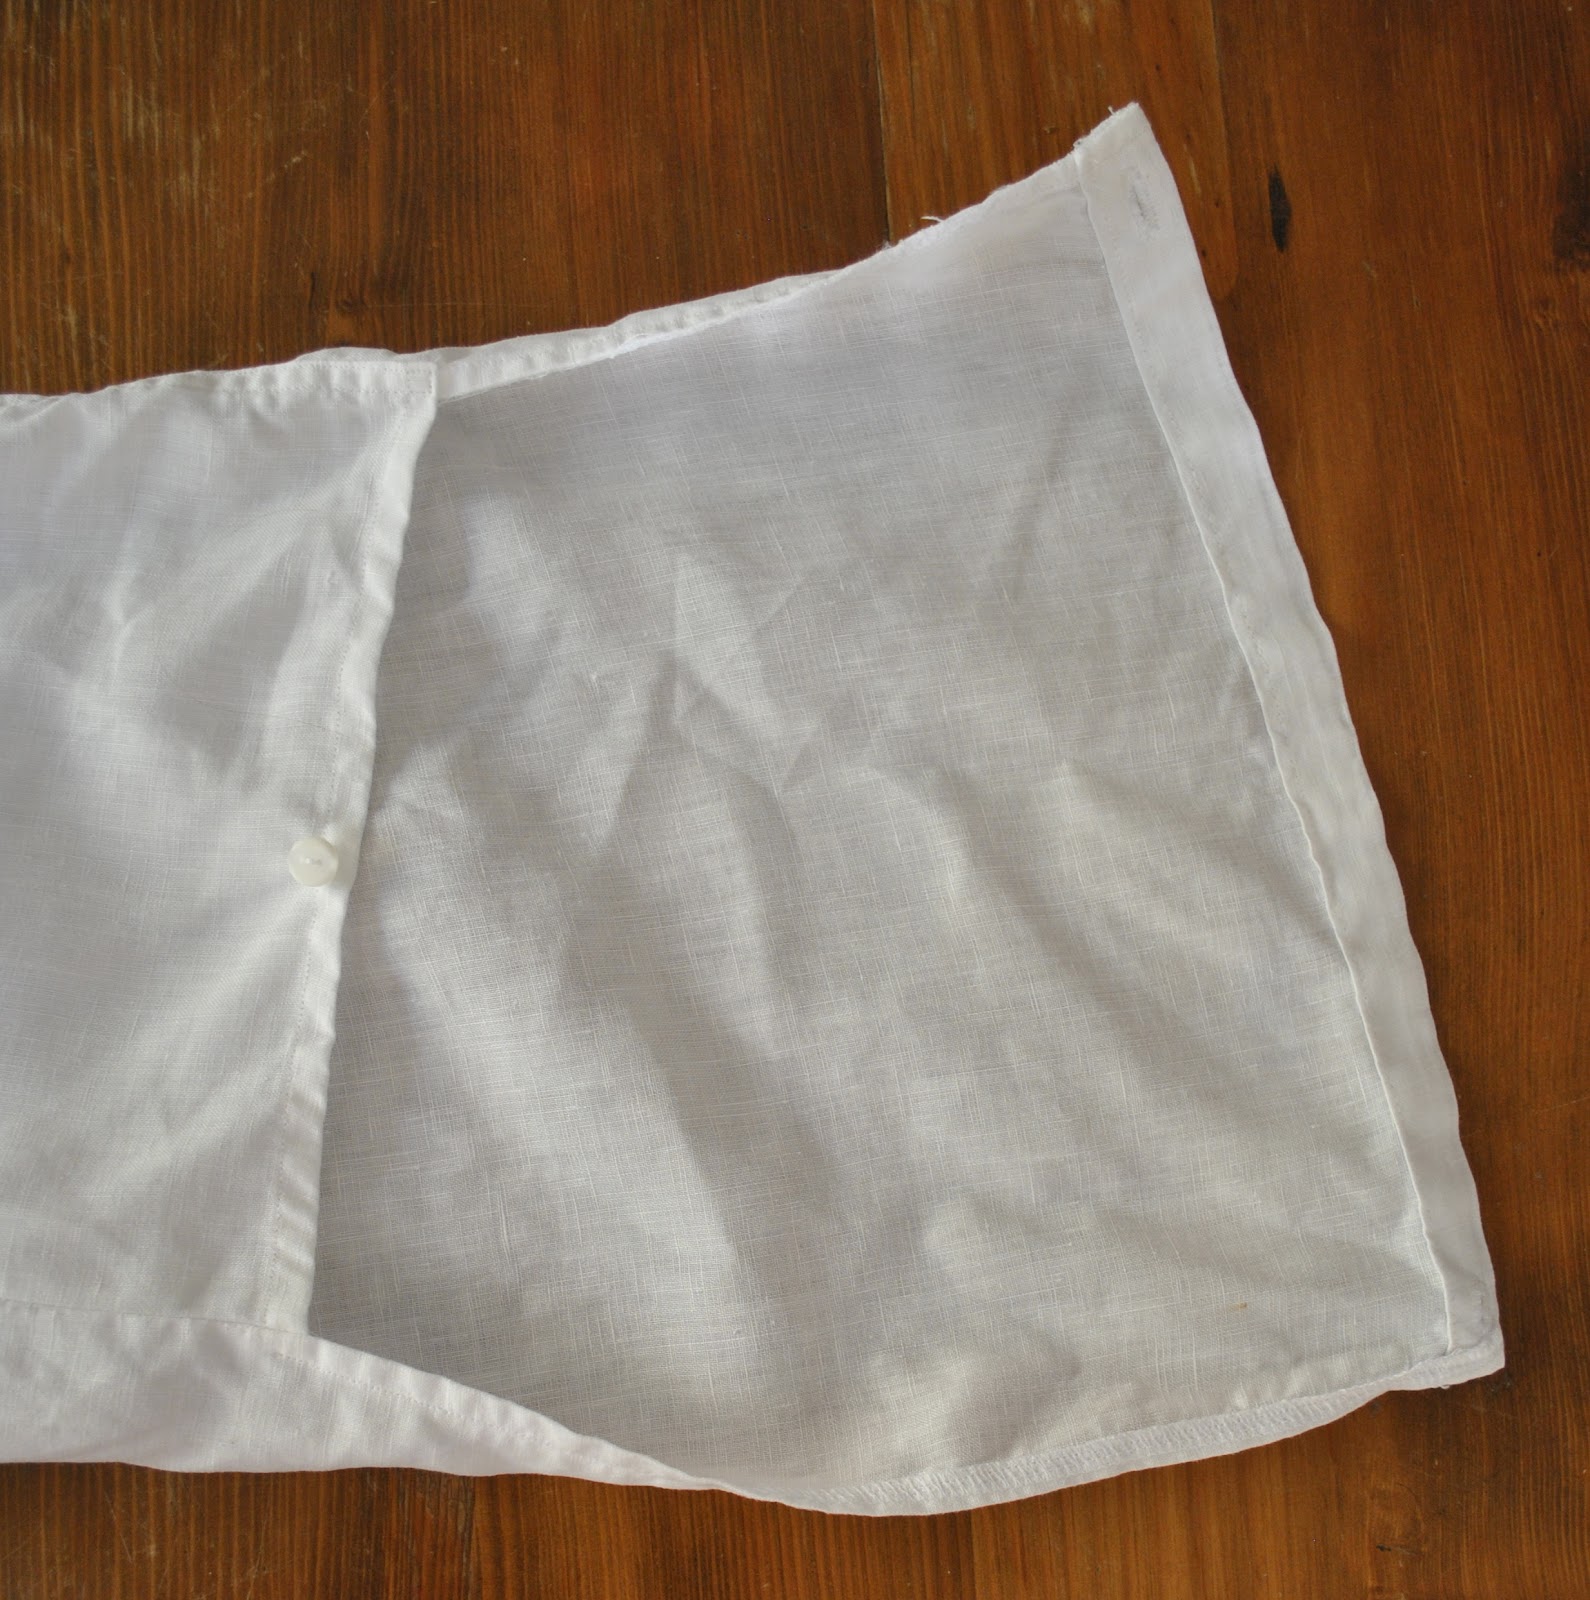
The construction… well, don’t ask me to go into great detail…  it was quite complex.  The long extended front bands, starting at the shoulders and extending down the fronts, and continuing around to meet at the centre lower back are from my original shirt plan, the one I had to abandon.  I liked how they looked, hanging in space like that, so I left them there.  To cover the join at the back, which by necessity in the design finished inside out with the seam showing, I made a little decorative button tab.

The shirt has two fronts, and the back has a two pieced yoke extending into the sleeve backs, and two lower backs joined centrally.
The back of the shirt has four corners of fabric joining together at a centre point.  I pressed the vertical seam allowances of the upper and lower backs to either side to reduce bulk in the long horizontal back seam joining them.  This is double top-stitched down.  Actually this shirt contains an eclectic mix of sometimes double top-stitching, sometimes single top-stitching and sometimes no top-stitching.  I applied these at whim.  It seems to work well with the casual and slightly avant-garde Japanese style of the shirt.
My favourite design detail is the sleeves and their closure.  The front sleeve is shorter, and almost a square.  The back yoke/sleeve piece has a distinct curve-and-flare in it, tapering off to one side, this was part of the original shape of the leg back pieces, and after lots of pinning the sleeve seams and trying-on multiple times I situated part of the existing curve to fall at the natural outer elbow. It looks very strange when the sleeve is laid flat, but the flare and curve actually accommodates the curve of the elbow very well.  It took a bit of experimenting, but I’m so happy with how this bit turned out!  It was a very serendipitous discovery!

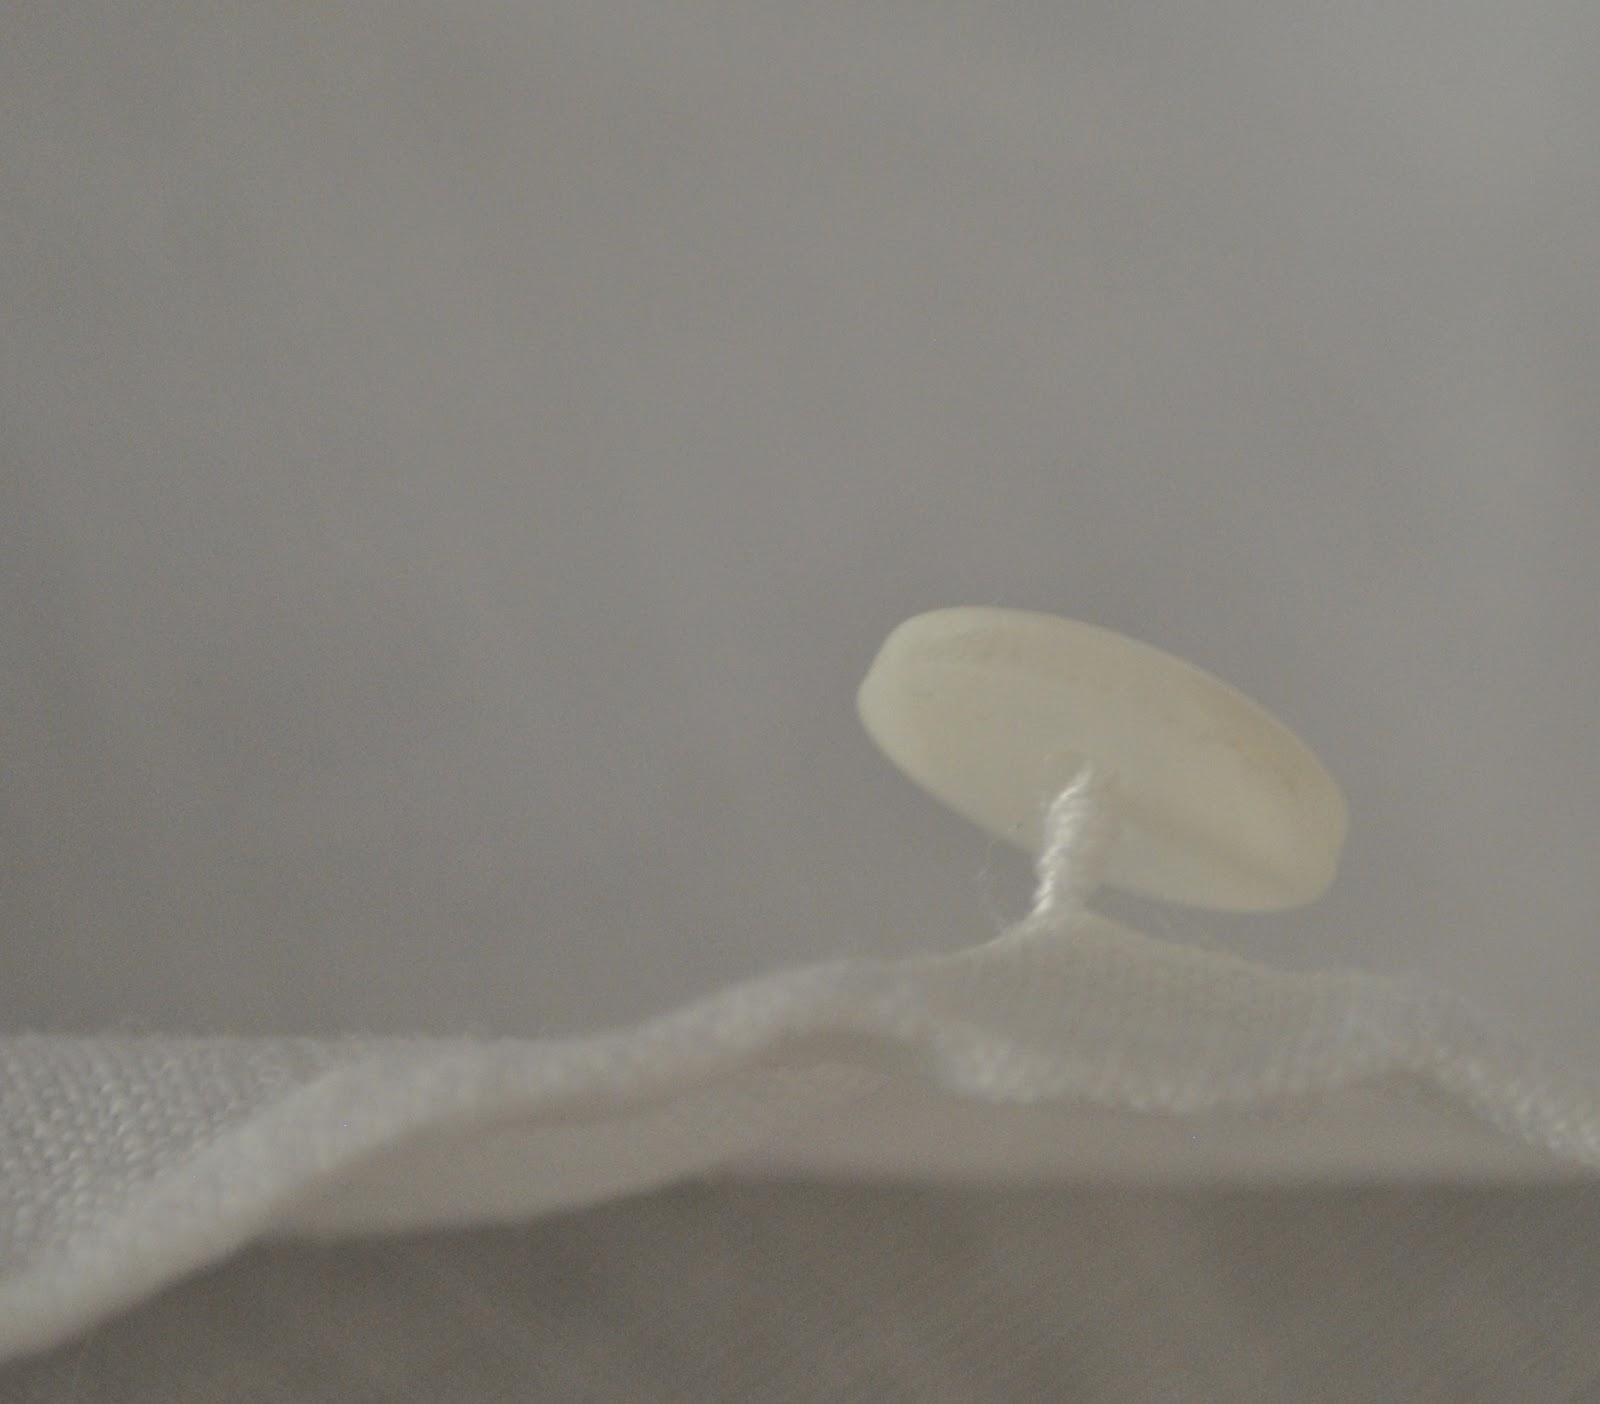
Both points of the longer back yoke/sleeve piece have a buttonhole, and they both button down over a single button on the centre of the sleeve front hem.  To enable the button to cope with this amount of fabric, I sewed it to have quite a high and a very well reinforced shank.

So I’m super happy with how my shirt turned out!  There was almost zero leftovers, just a few shavings, the zip and the facings, and a few other miscellaneous small bits.  The 6 buttons were leftovers from this shirt.  Beautiful buttons, their only downside is that they are not for individual purchase, but only available on cards of nine.  Luckily I have a lot of use for little white buttons  ðŸ™‚
And I still have my original shirt idea in my head for another time…

Details:
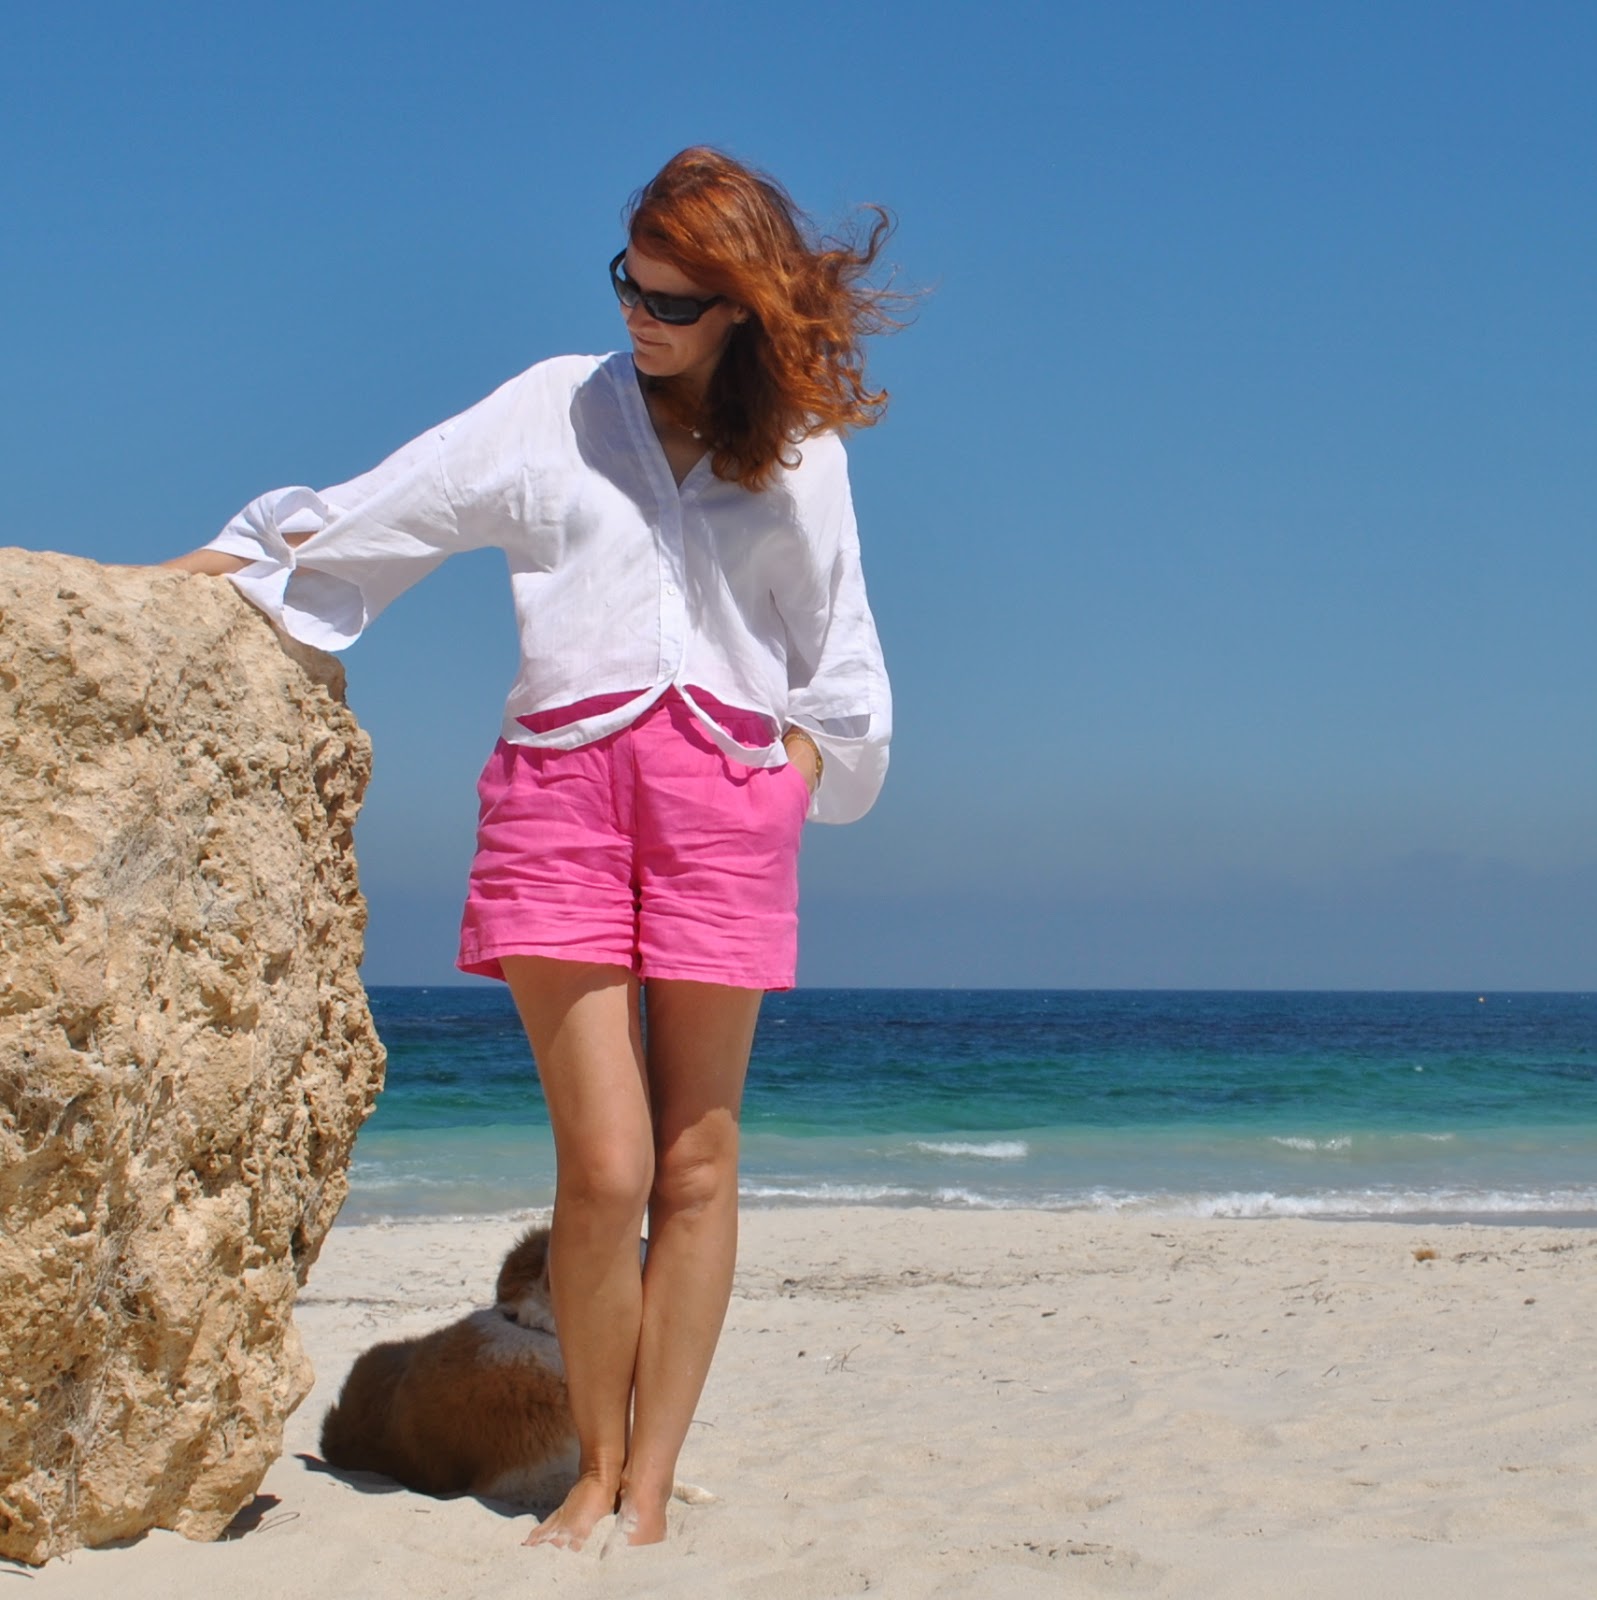
Shirt; my own design, re-fashioned from a pair of wide-legged trousers, fine white linen
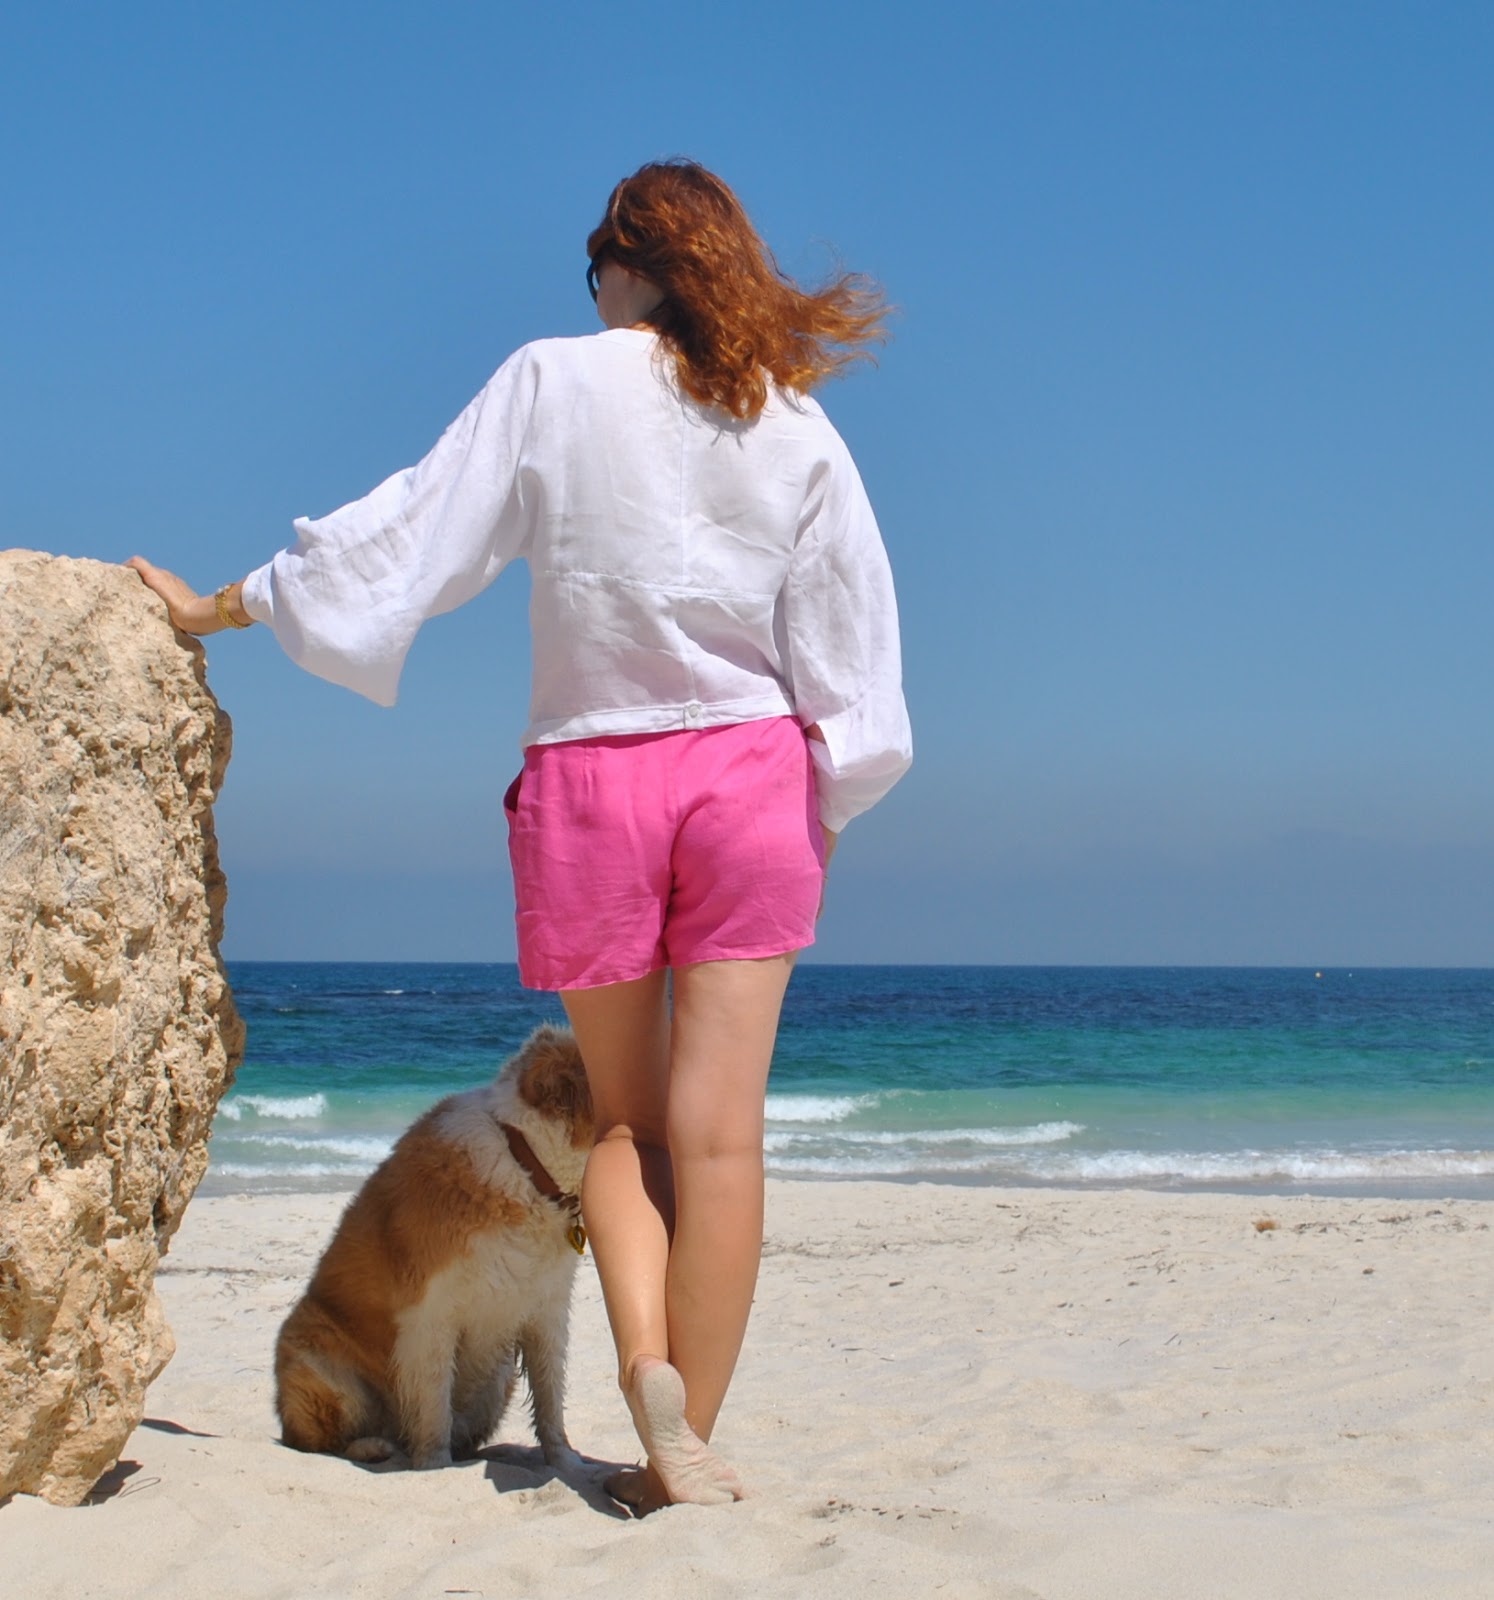
Shorts; Burda 7723, hot pink linen, details here, and to see these in 6 different ways go here.  My review of this pattern here

Later edit: the shirt has had a mini-revamp and it now looks like this:


pinterestmail

Valentine’s Day…

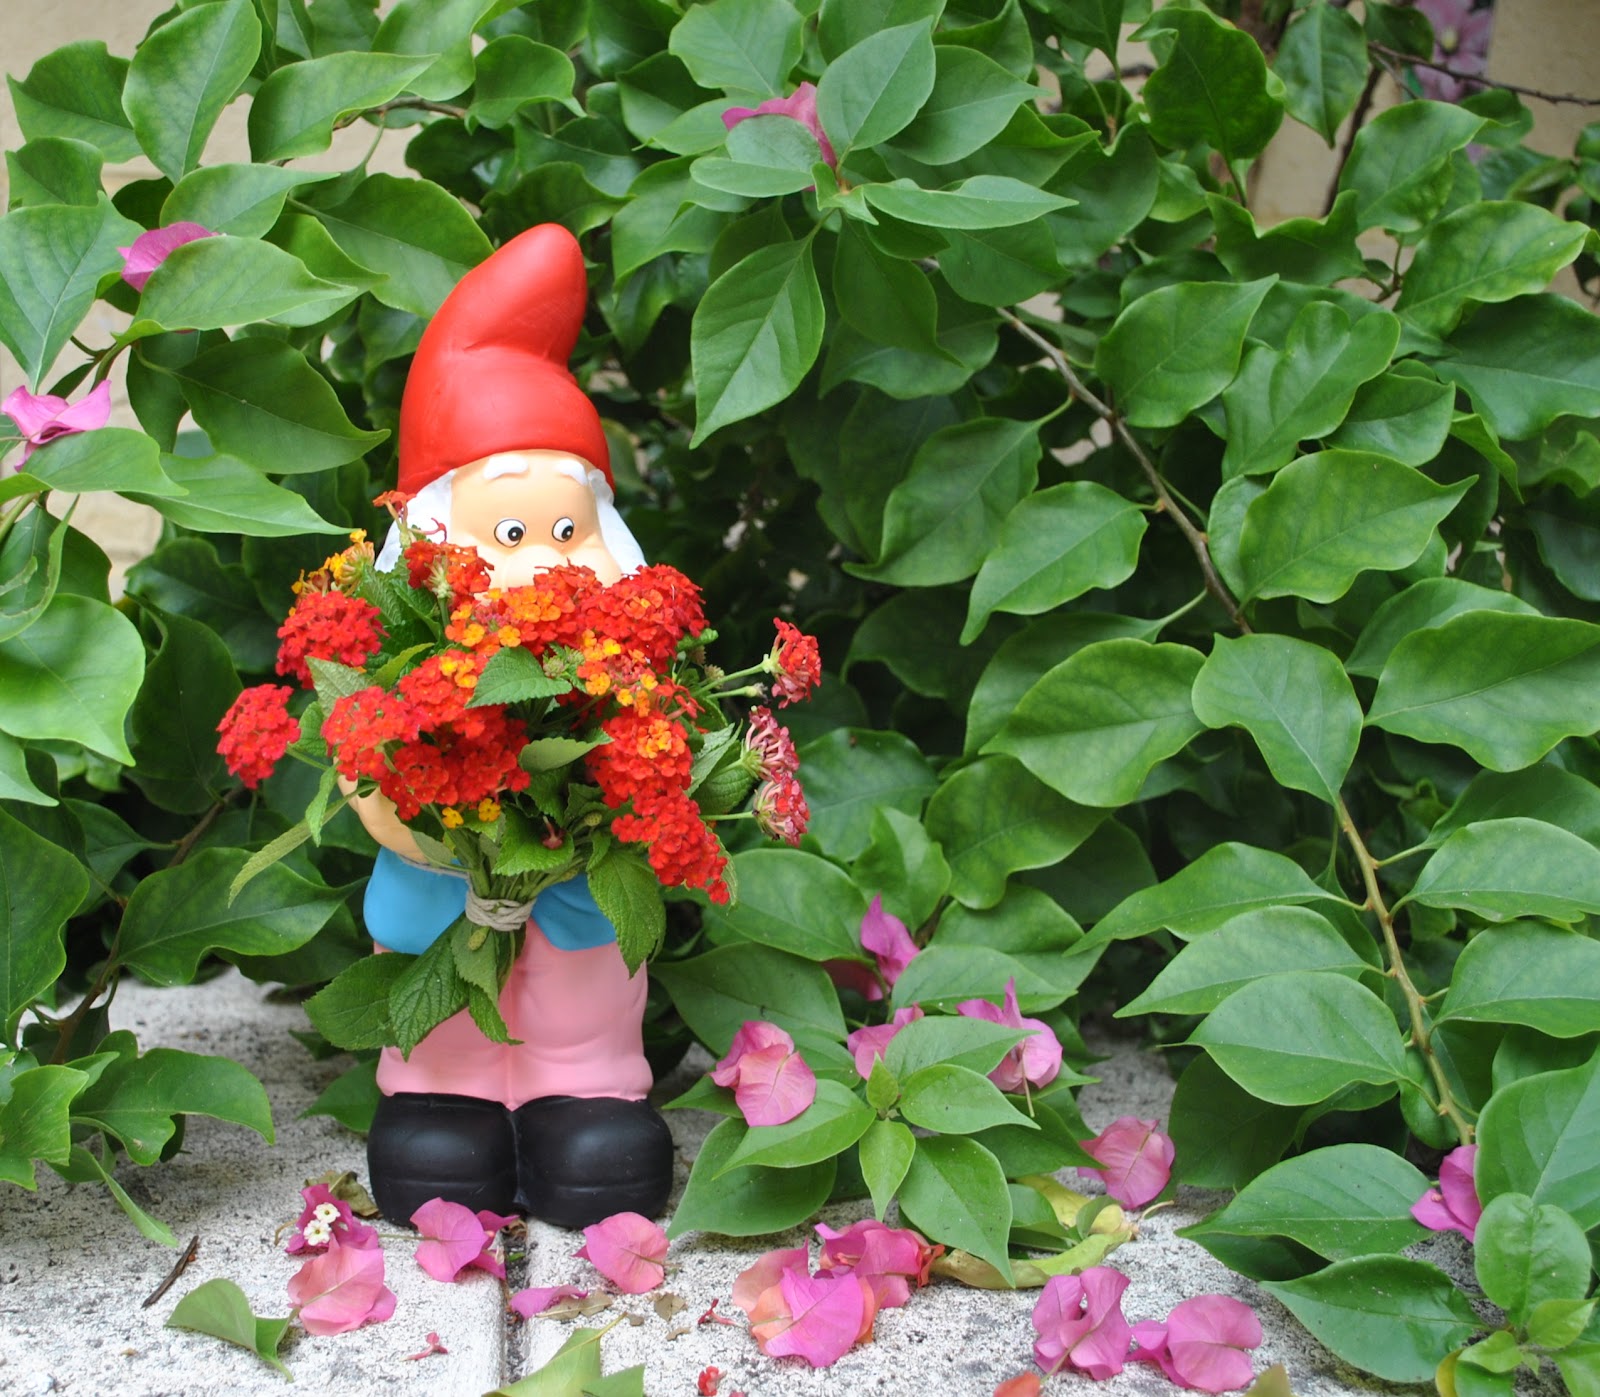
…. and Fabio says it with flowers.
Wishing everyone a perfectly love-ly day!

pinterestmail

Curtains…

I have been sewing curtains!
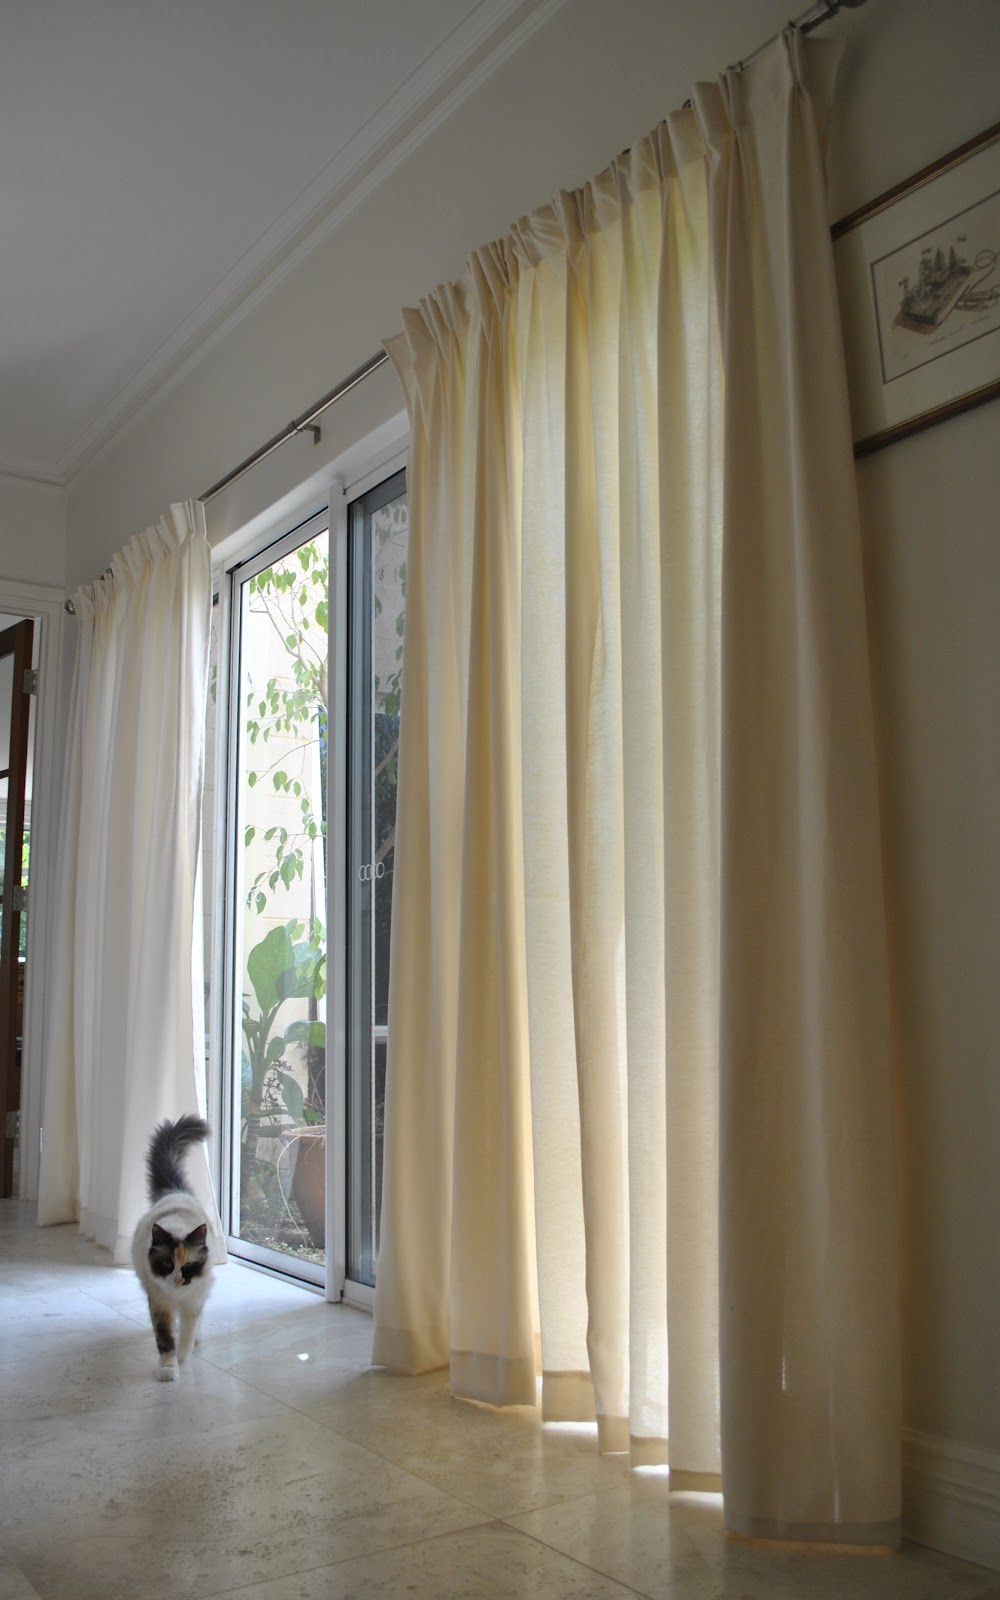
This is our central hallway, an area that has been curtain-less since… well, since ever.  It has a very big and long window, which is fabulous for getting plenty of natural light inside.  But it did need something insulative for these really hot hot days of summer.  And we have no carpets in the house, which is perfect for keeping the place cool, but also means that soft furnishings are even more essential to soak up noise and add softness visually to the architecture.
Luckily our taste in home furnishings runs to very unfussy, plain and minimalist.  Even so, I have been steadily and craftily procrastinating for yonks, devising lame reasons as to why I could not get on with it.  High up on my list of excuses was the lack of a curtain rail.  Then about a year ago, my husband put up a curtain rail.  A quietly guilty period followed.  Occasional pleas for curtains were deftly fended off.  I had to be imaginative in this respect, you understand; had to think on my feet.  A lack of fabric was not the problem, since in a whimsically optimistic moment during a Spotlight sale ages ago I had actually purchased enough curtaining fabric for the entire house.  It has been sitting in a big roll underneath the stairs, taunting and mocking me with its whole still-unmade-into-curtains state.
Sewing home wares is not a joy to me, and particularly curtains.  Mostly because they are unwieldy and I have to commandeer the dining room, kick everybody else off and out and carry my machines over and set up on the dining room table since my little bench in the laundry where I usually sew could not possibly cope with the massive swathes of fabric.  Also, curtains are boring.  But while sewing together massively big rectangles in straight seams might seem easy and without any challenges doesn’t mean one should get blase about it… I had a wake-up call when I was distractedly overlocking the fluffy selvedge edge off a vertical joining seam, not paying enough attention, and on checking it later noticed to my horror that, underneath, I had overlocked a massive tuck of curtain into the seam…..  noooo!  But I was incredibly lucky…  The tuck was a narrow one and the fabric in it had avoided being sliced by the overlocker’s knife by a scant millimetre…. seriously!!  I unpicked the tuck and all was well….. phew!  That was a warning… and I sat up and took much better care from then on….!
The curtains are not super fabulous.  They are OK.  I think you can tell by looking at them they were not made with much love…  The best thing about them??? they are finished.

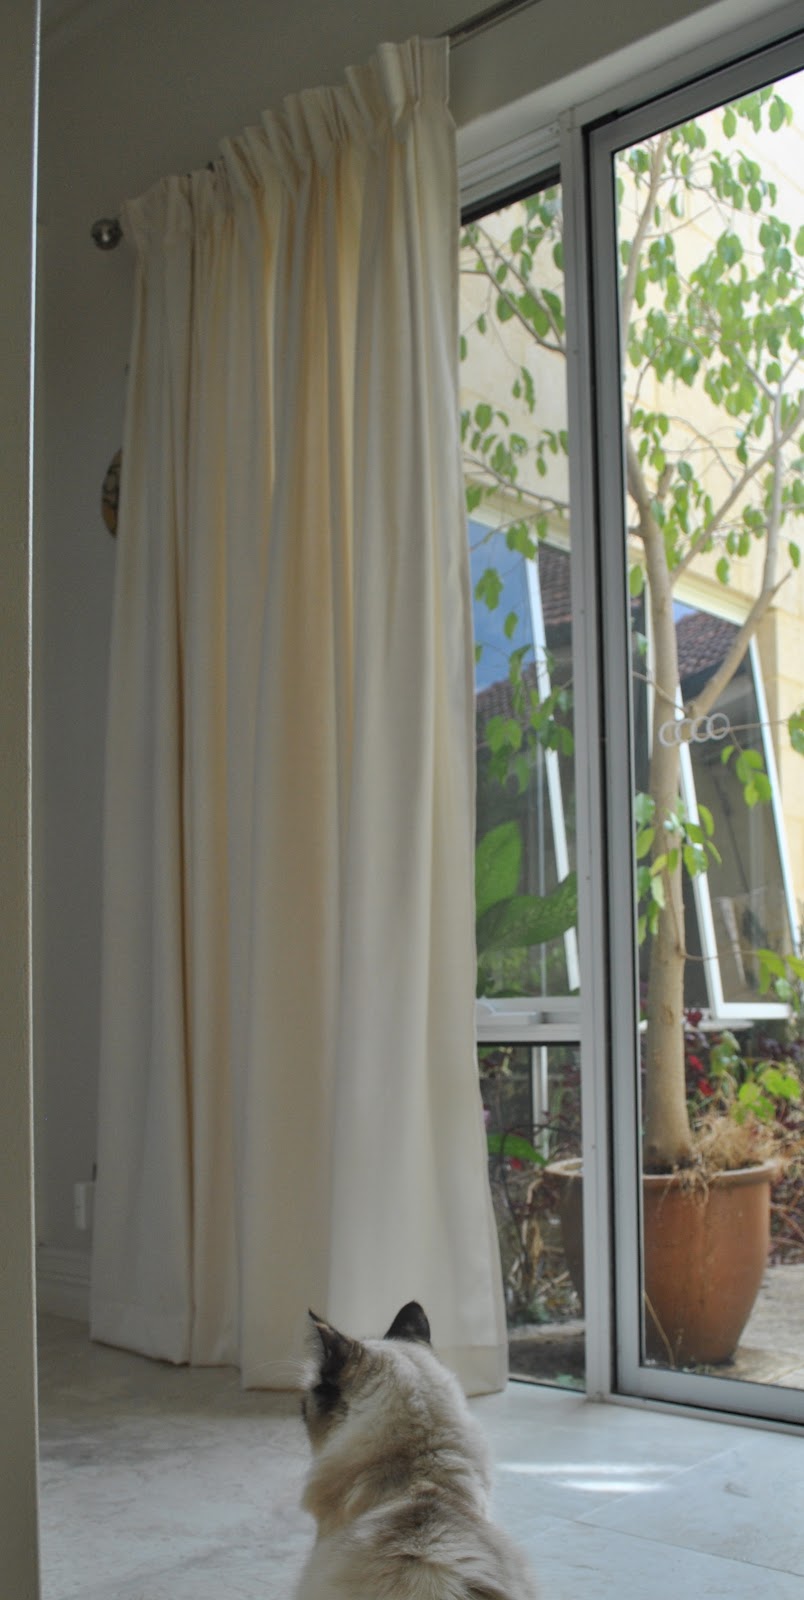
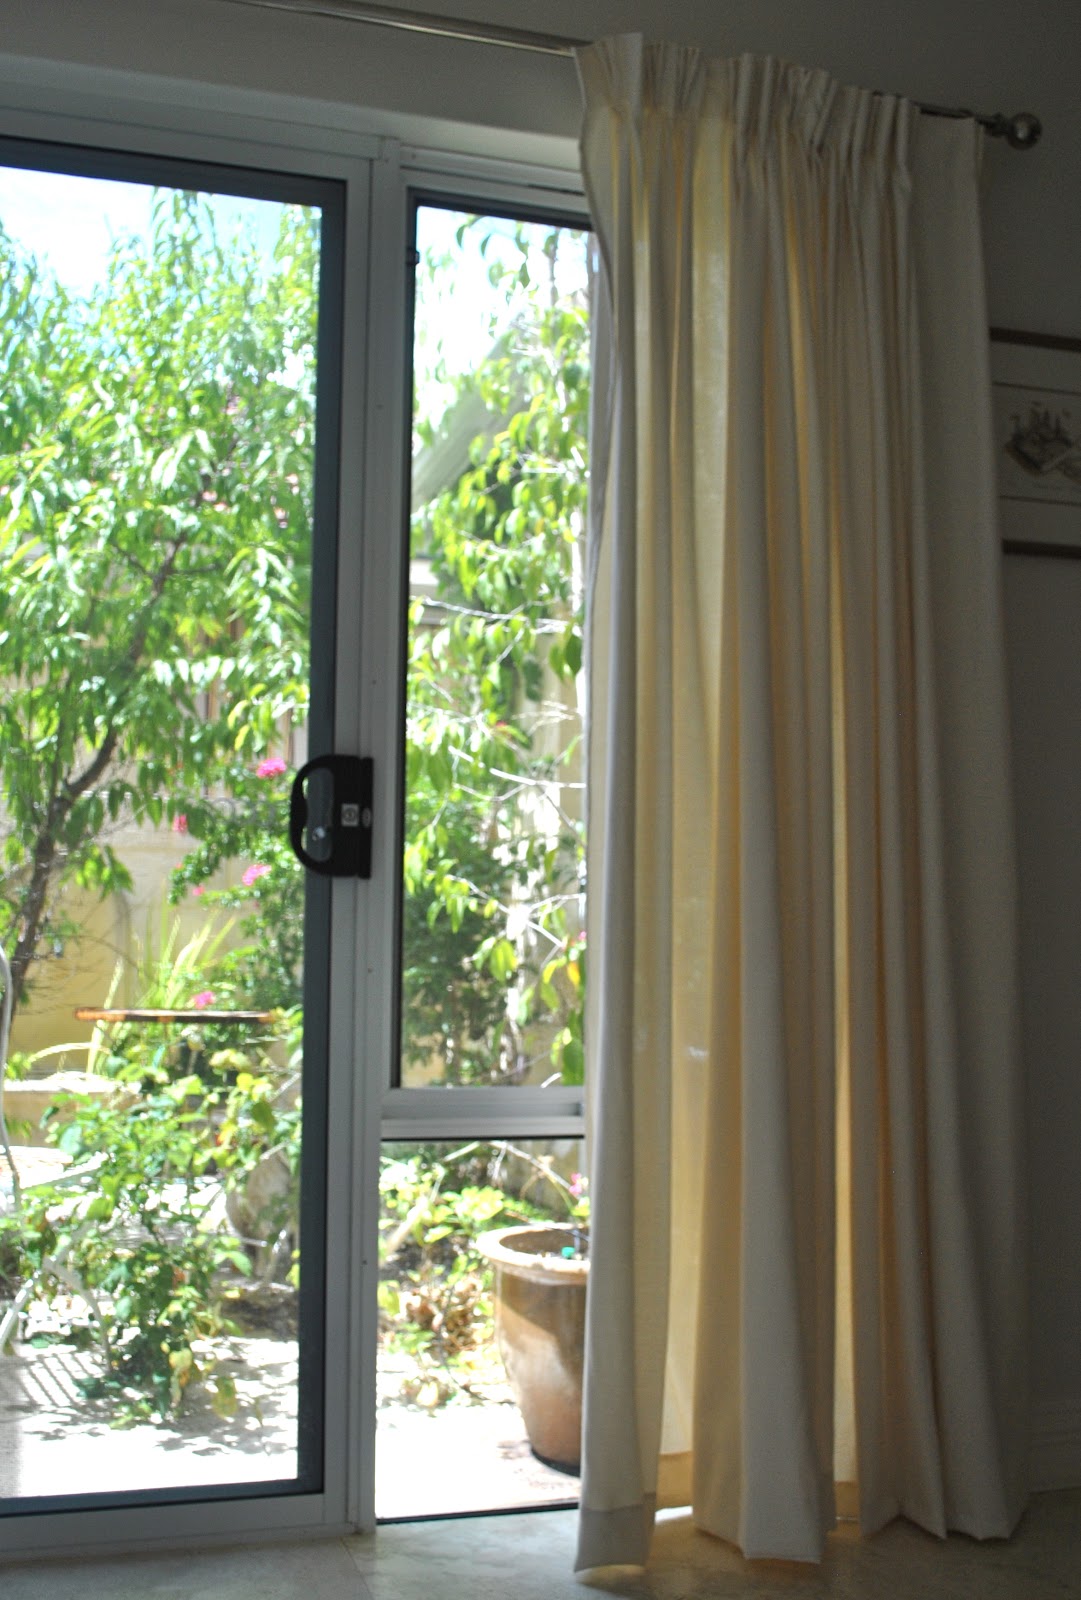
Oh, technical details; each side has two and a half drops of fabric, hems are 10cm and the top is triple pleated…. and no, I did not pose the pussycat.  She happened come over at the right time and I took advantage of the fact that she matched the decor….
pinterestmail

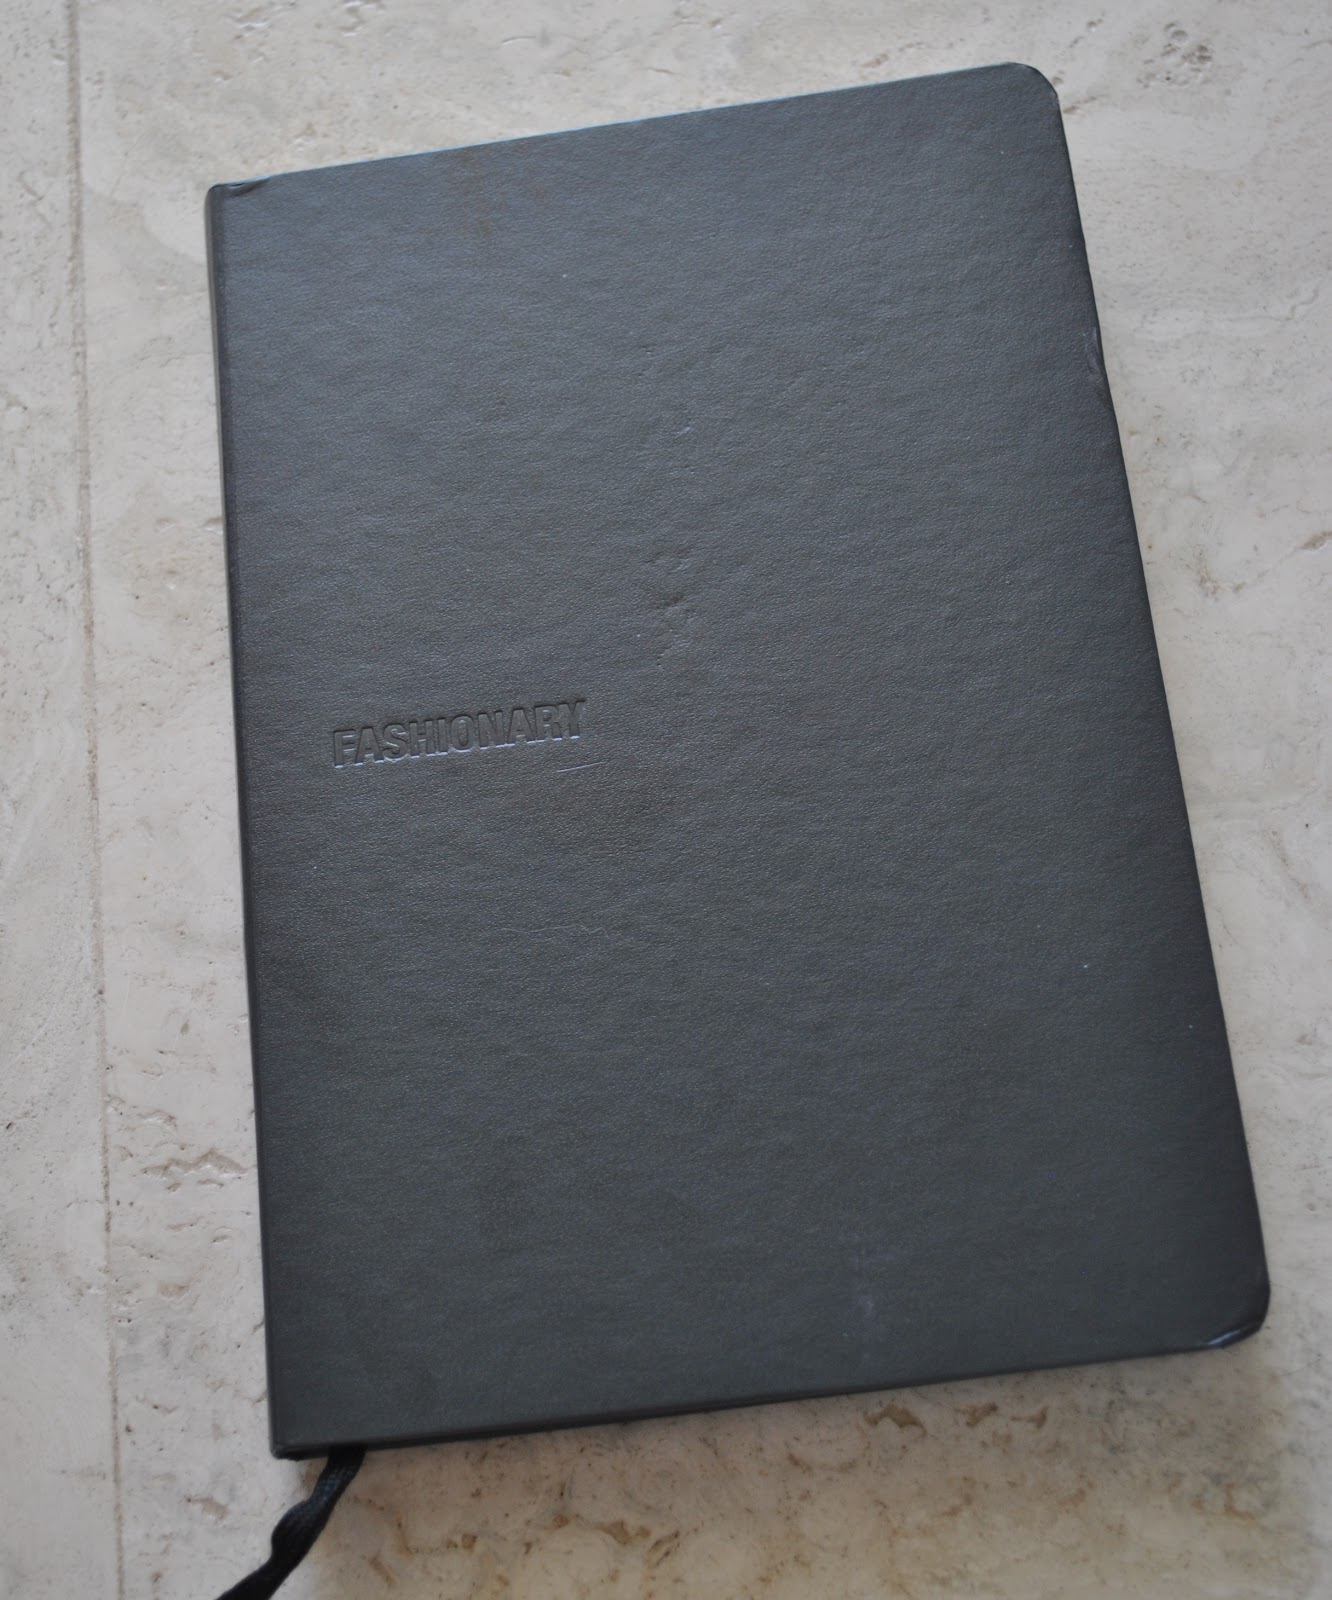
Fashionary

Thank you for those compliments on my sketch in the previous post; but I have to own up right now that I’m not really much of an artist…  I cheated!  ðŸ™‚
My “artistry” is all thanks to the Fashionary….

I first heard of the Fashionary about two years ago and immediately got one for myself and one for Cassie that Christmas (and posted about here).  I bought them here; and if you click on that link you can see how other truly artistic people are producing absolutely beautiful fashion drawings like mini works of art in their Fashionarys, compared to my very basic sketches depicting my prosaic little sewing plans in a practical manner without frills nor spills.  That is pretty much why I do not usually post my pictures of my own rather ordinary sketches up here….
But I still use it to mock up most of my ideas before they get made, and I looove to play with it!
Why?
well first and foremost, it is fun!  It’s like being in kindergarten all over again, except in a grown-up and (ahem) acceptably adult format….  It caters to that wannabe fashion designer inside of me, yet dispenses with that pesky requirement to have any actual drawing talent…  
Since it is so easy!  Just like doing dot-to-dot drawings when you were a teeny kiddy…
Most of the notebook comprises pages of these templates of figures; 3 to each single page.  You can get a female one or a male one.  They are drawn in with very faint red dots; like so…
and since I realise they are very faintly drawn in and you might not be able to see them very well, I have pencilled one in to show it off better…

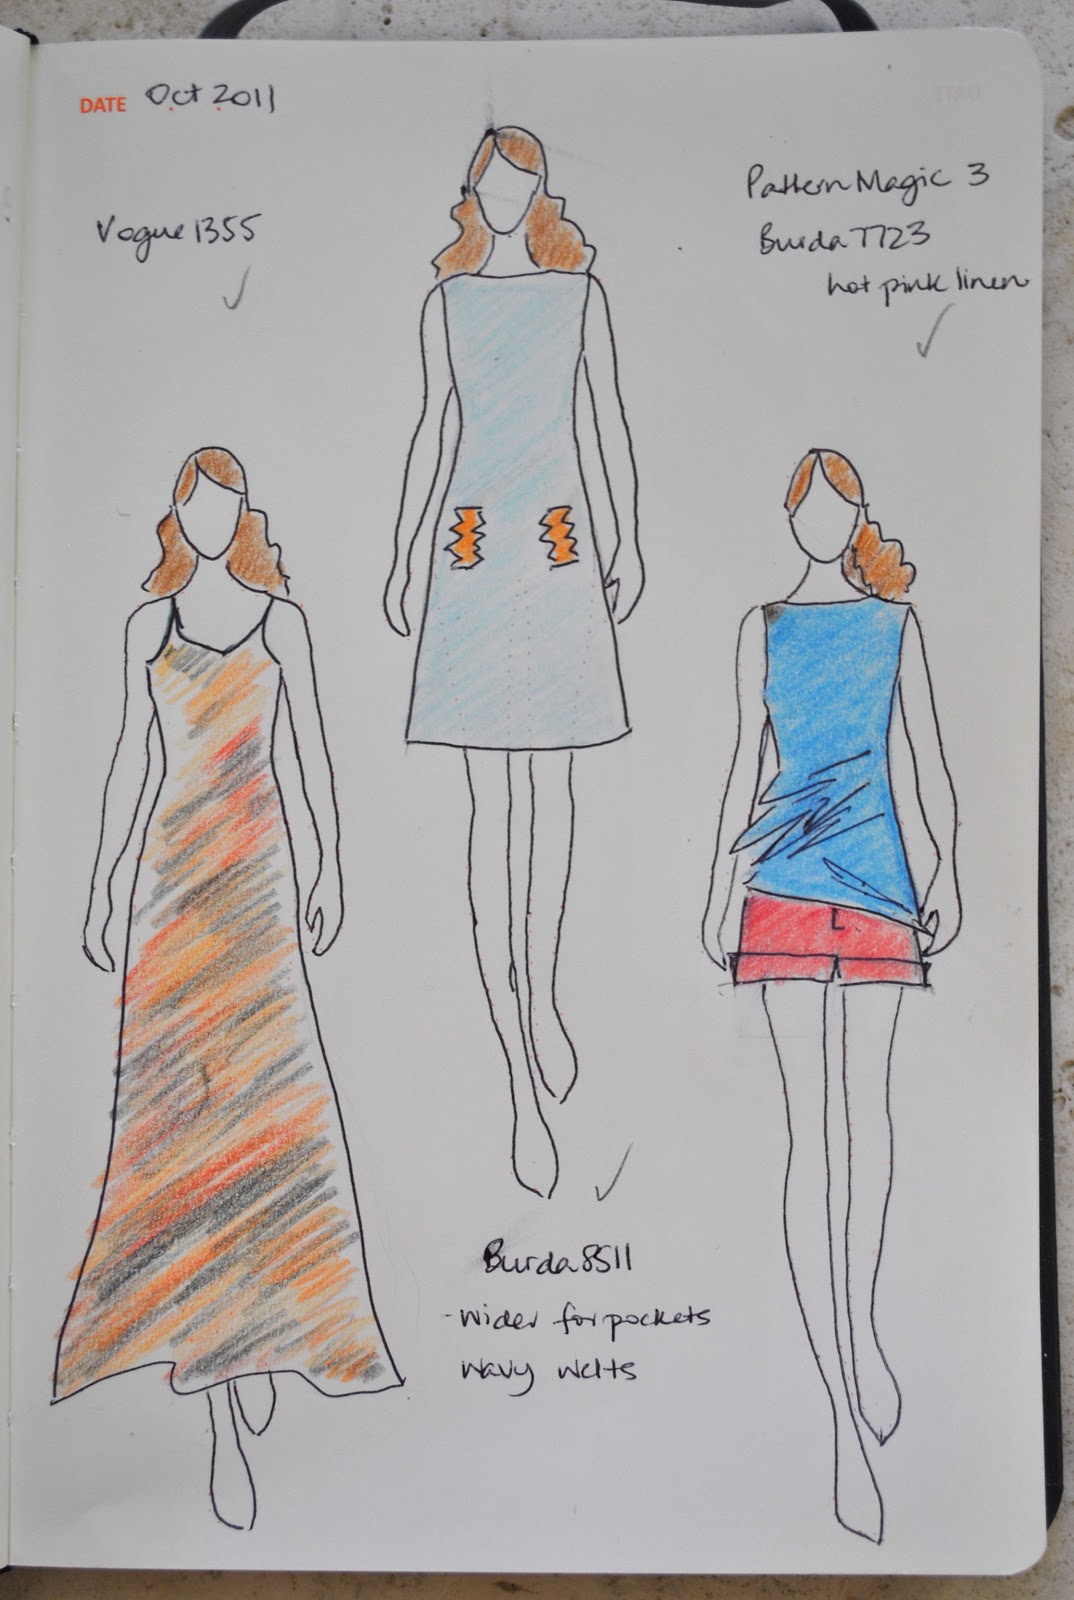
When a new sewing plan or outfit or something starts to transpire in my head, or maybe if I am toying with ideas, then it is sketching time, and even better; colouring-in time…
Here’s one I prepared earlier  ðŸ™‚  (it’s unrecognisable, but the one on the left is supposed to be my Sunset maxi-dress, lol!)

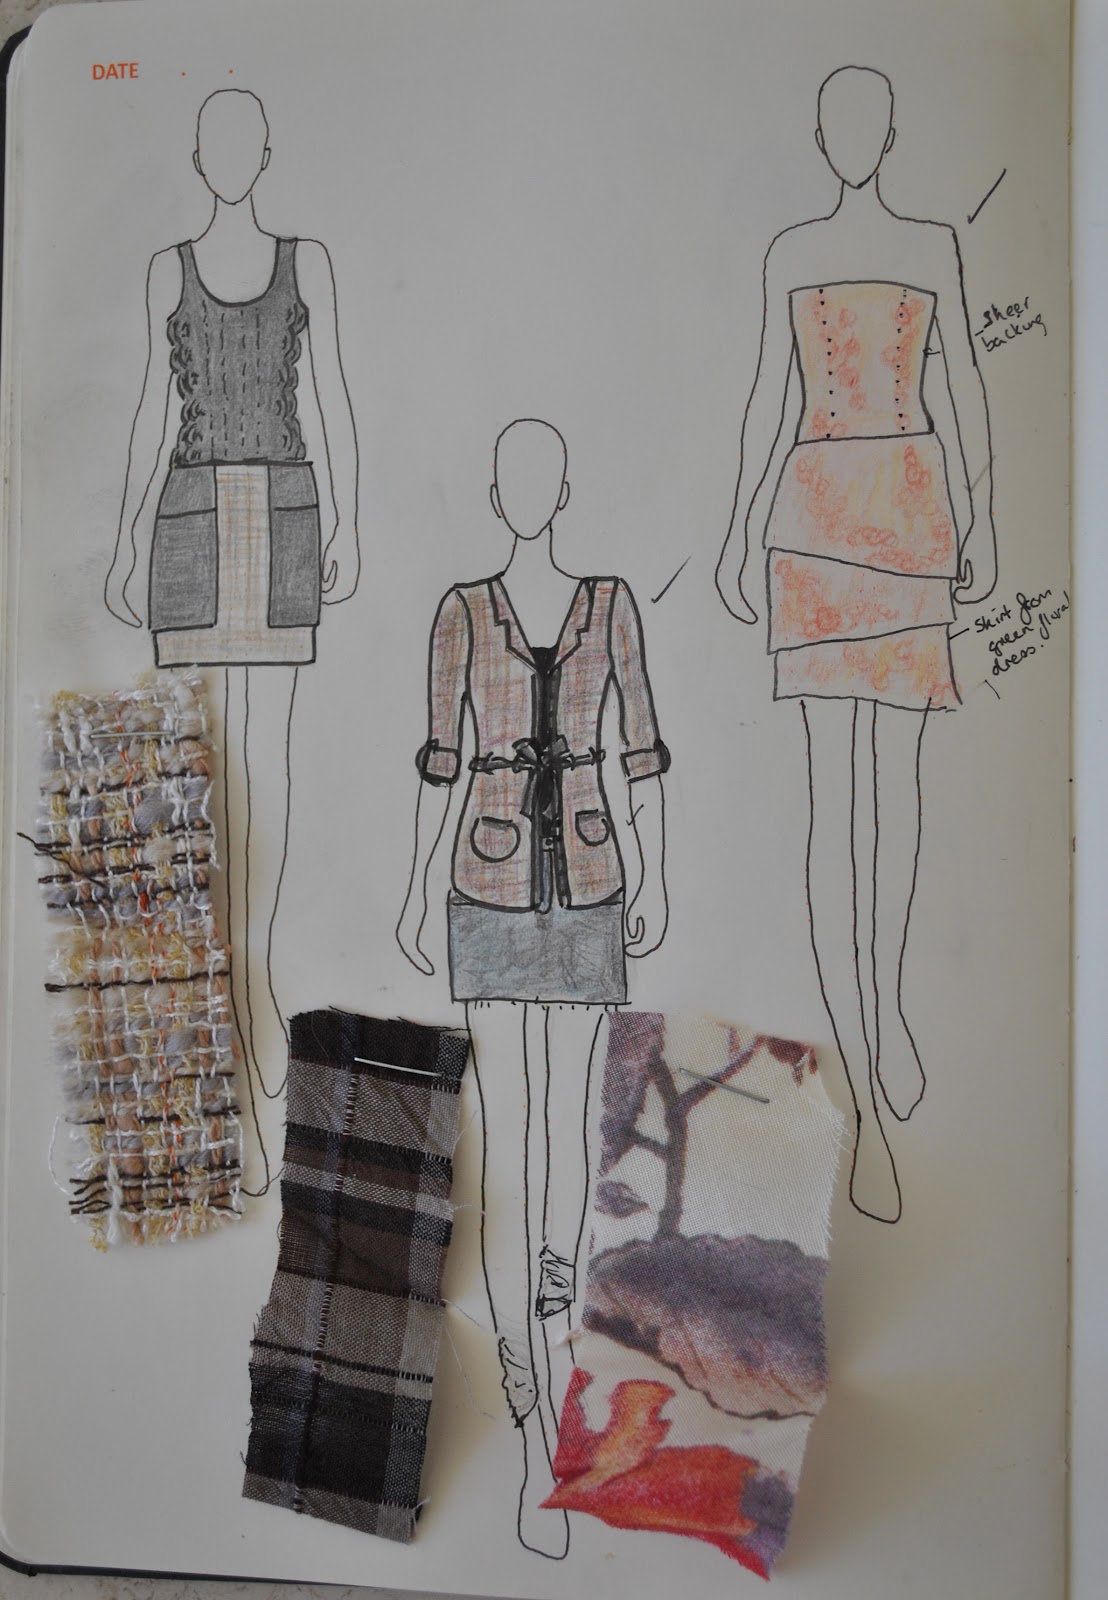
And a hint of autumnal things to come  ðŸ˜‰

Cassie, a far more well-organised person than her mother, also keeps samples of the fabrics along with her sketches, and actually remembers to take it shopping with her.  This is an excellent idea that I really must adopt too… would take the guesswork out of thread and button matching…

I find my Fashionary useful to keep me on the straight and narrow, to keep me to my fabric and sewing “promises” to myself if you like.  The act of drawing up my design sort of commits me to it.  Like, there it is all drawn up and coloured in, now I have to make it happen!
Once I’ve completed sewing the garment I put a little tick beside it, thus satisfying my list-keeping-and-ticking-things-off tendencies.
And, did I mention it is fun?

pinterestmail

White, with a navy grid

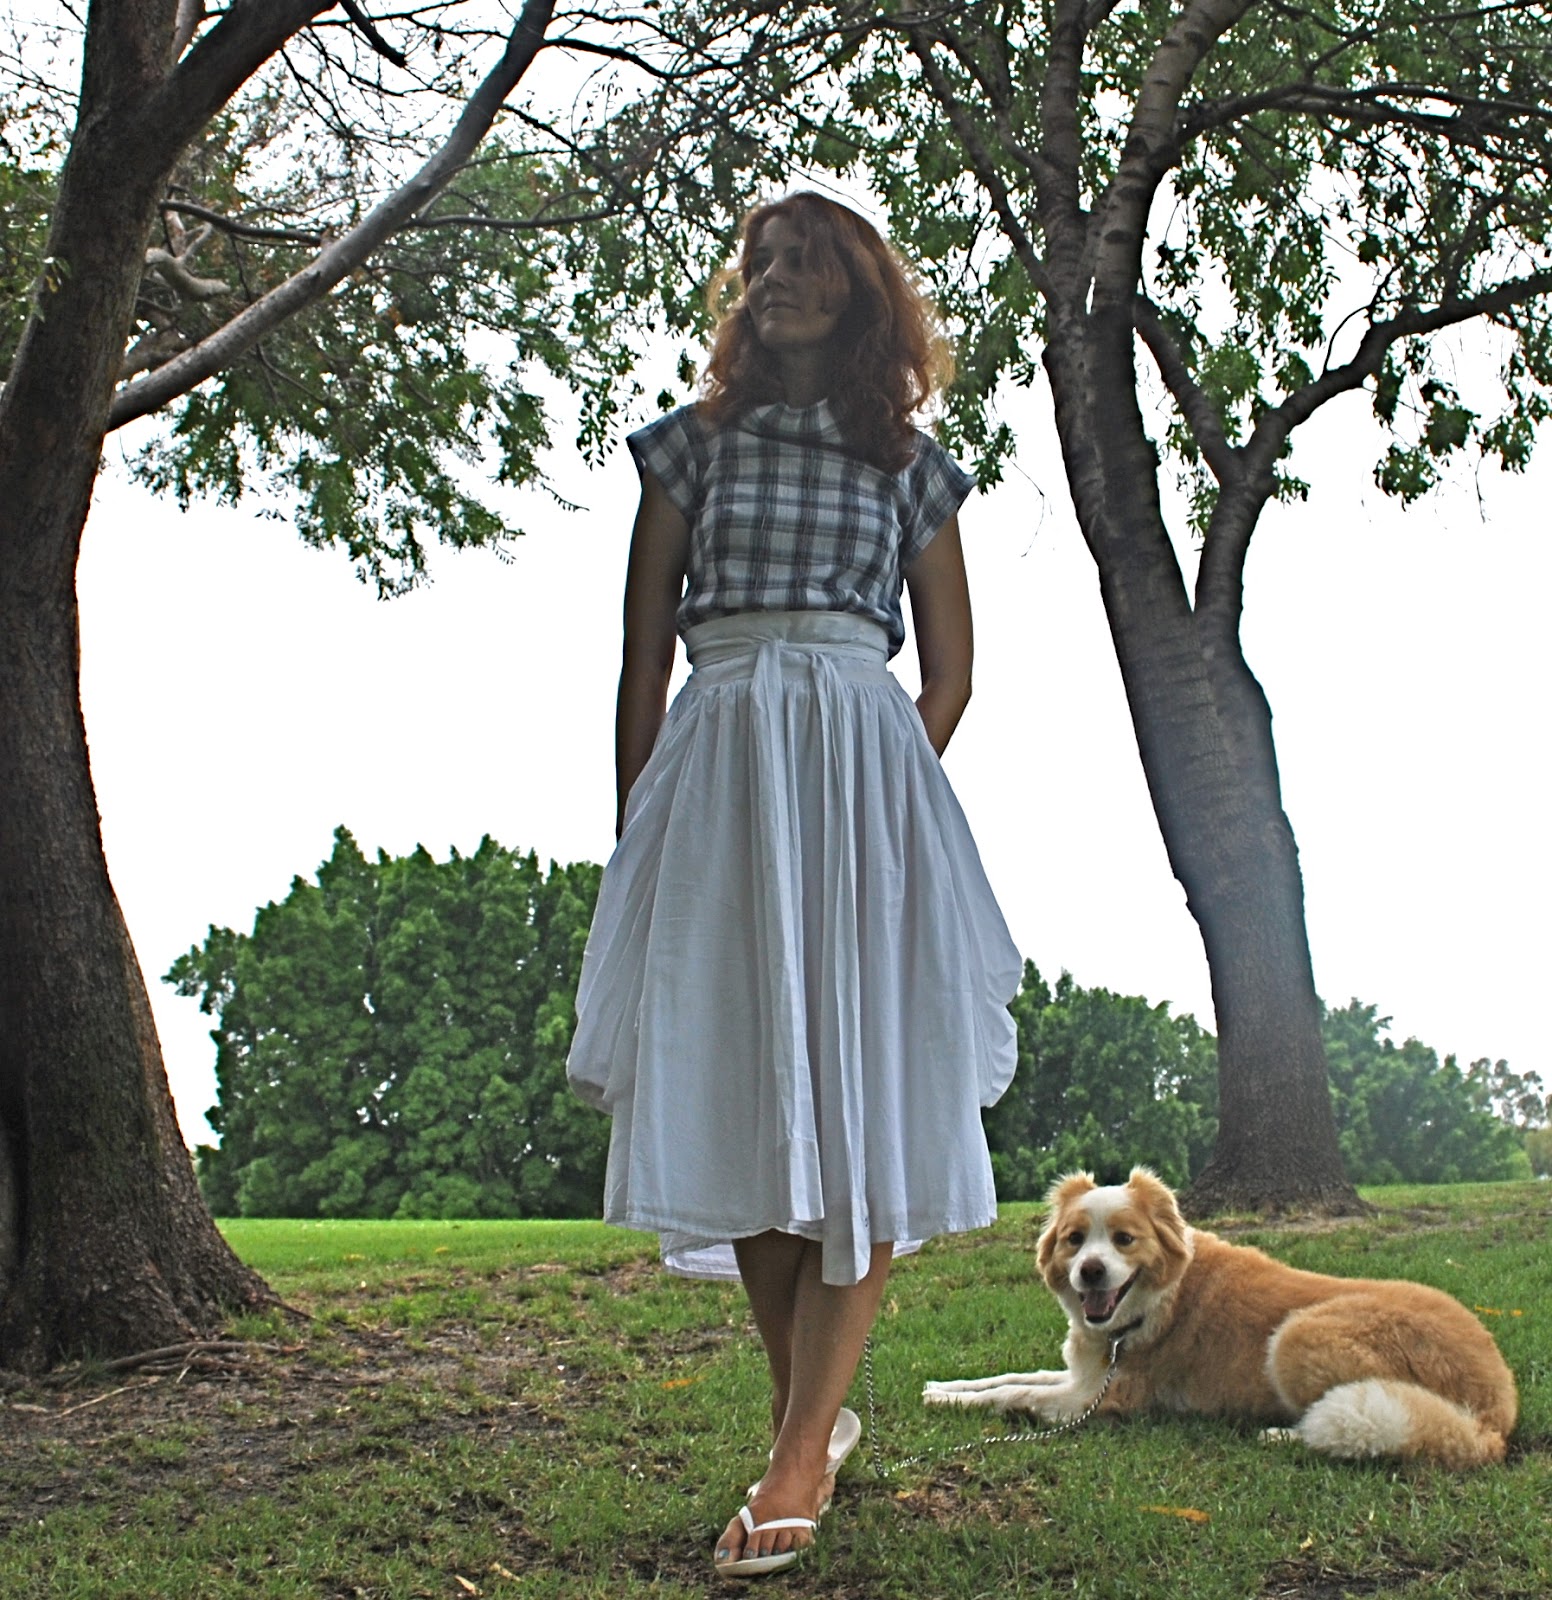
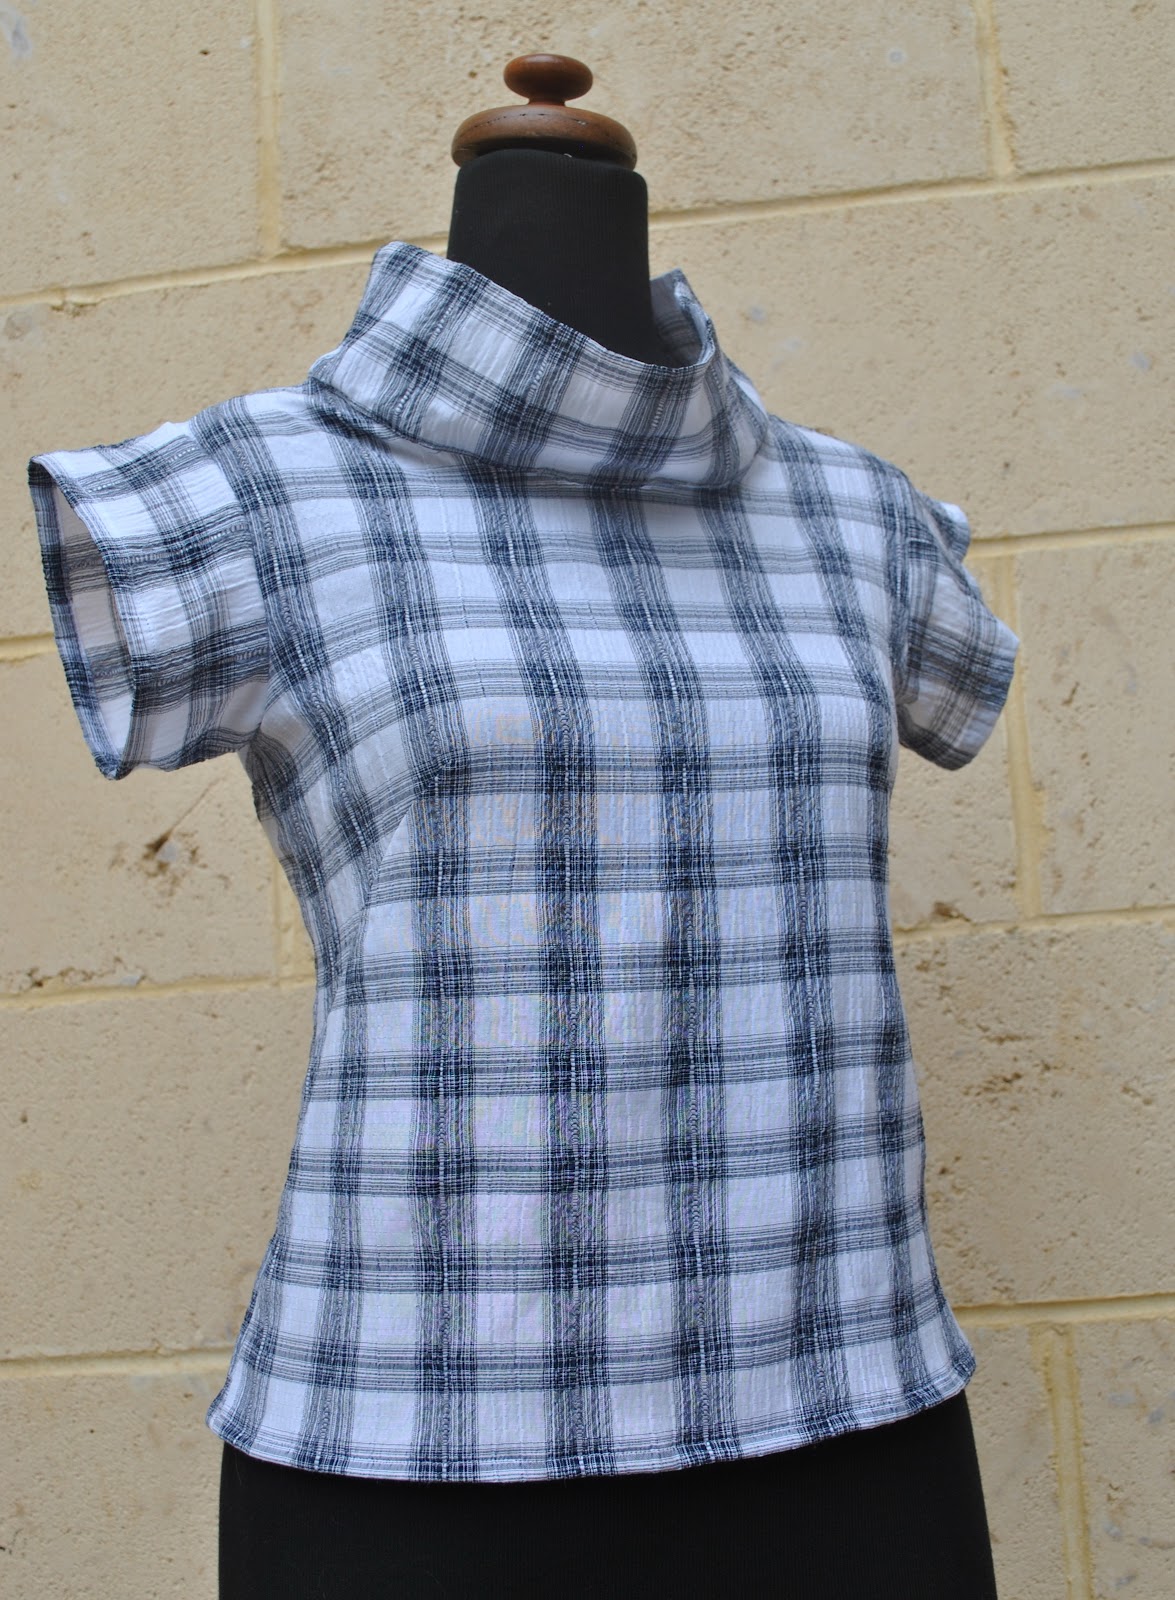
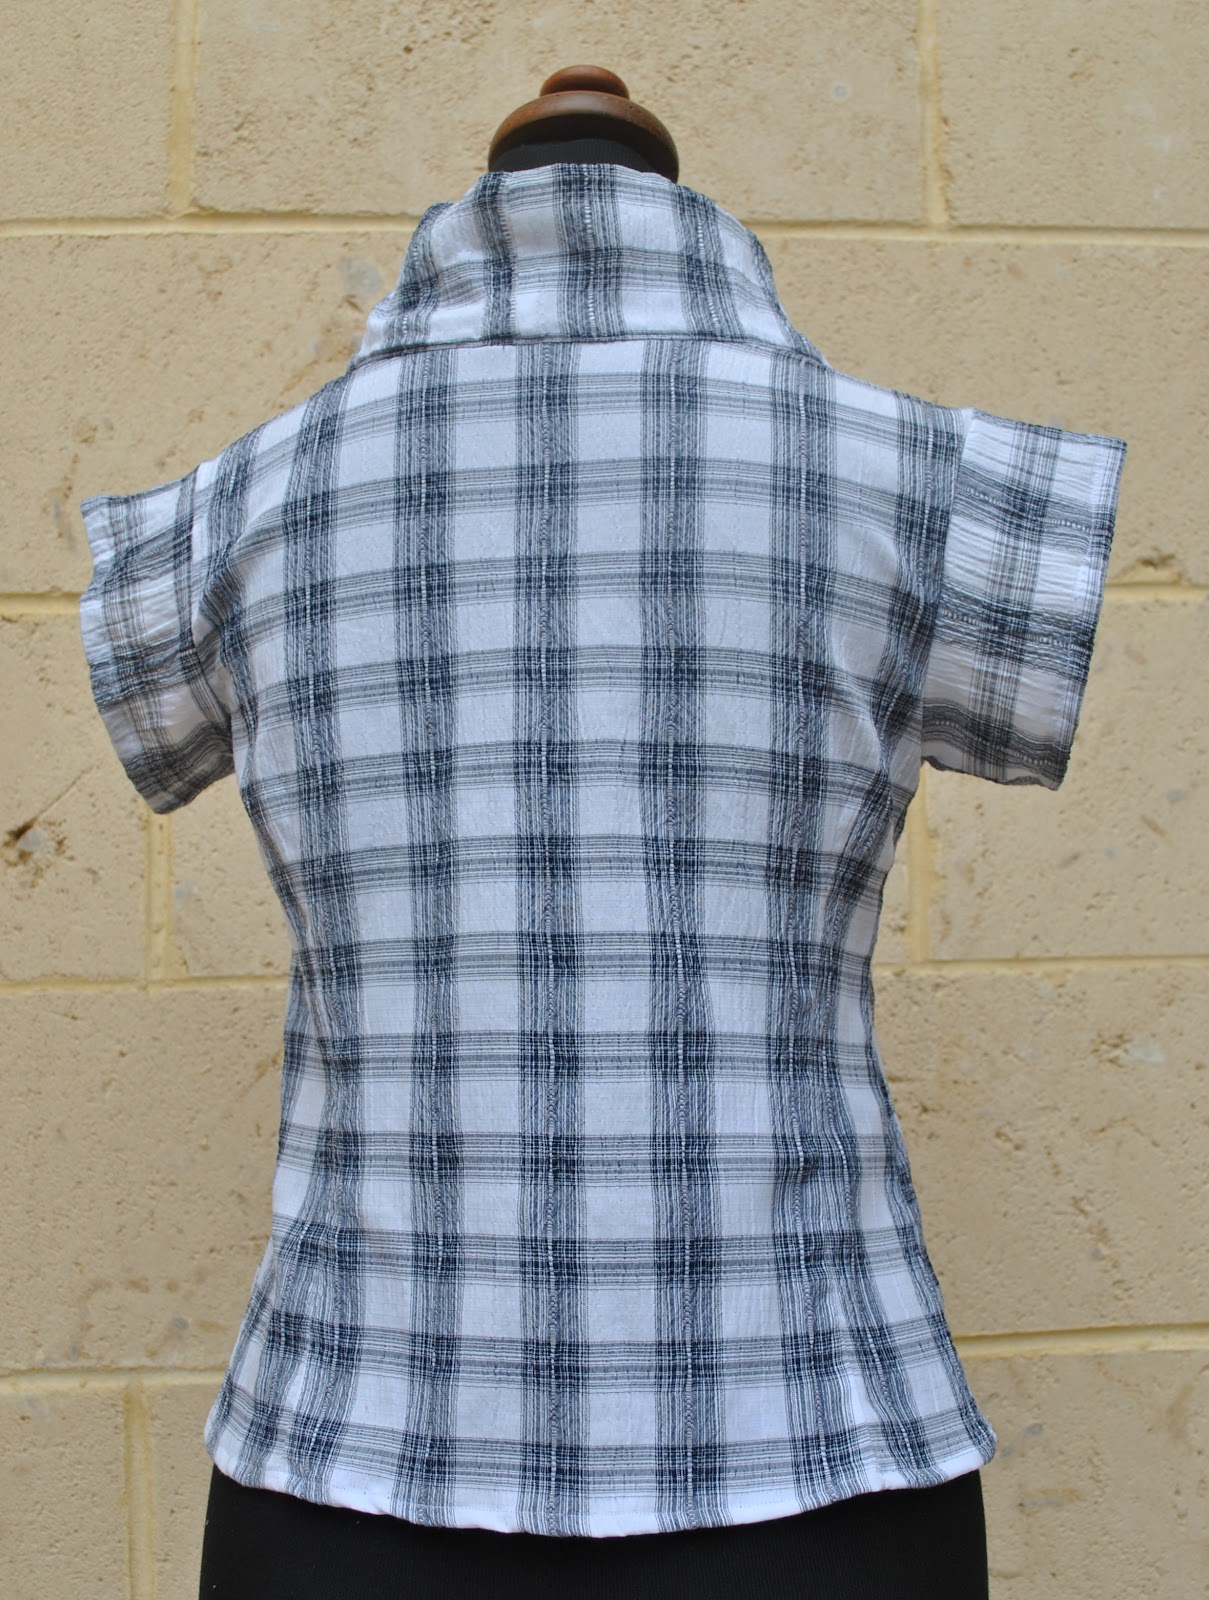
I’ve made a new little top….   well, just a summer version of a T-shirt really, from scraps, the leftovers from this shirt.  Constructively finishing off another small wad of fabric from my stash.  Smug self back-patting ensues.
This stuff is pretty good top/blouse/shirt fabric.  It is uncrushable and beautifully light.  Sam has been wearing his shirt stacks.  And luckily has no neuroses about his mother having a garment in the same fabric, although for both our sakes I have undertaken to only wear it if he’s not wearing his.
We do have some pride.  ðŸ™‚
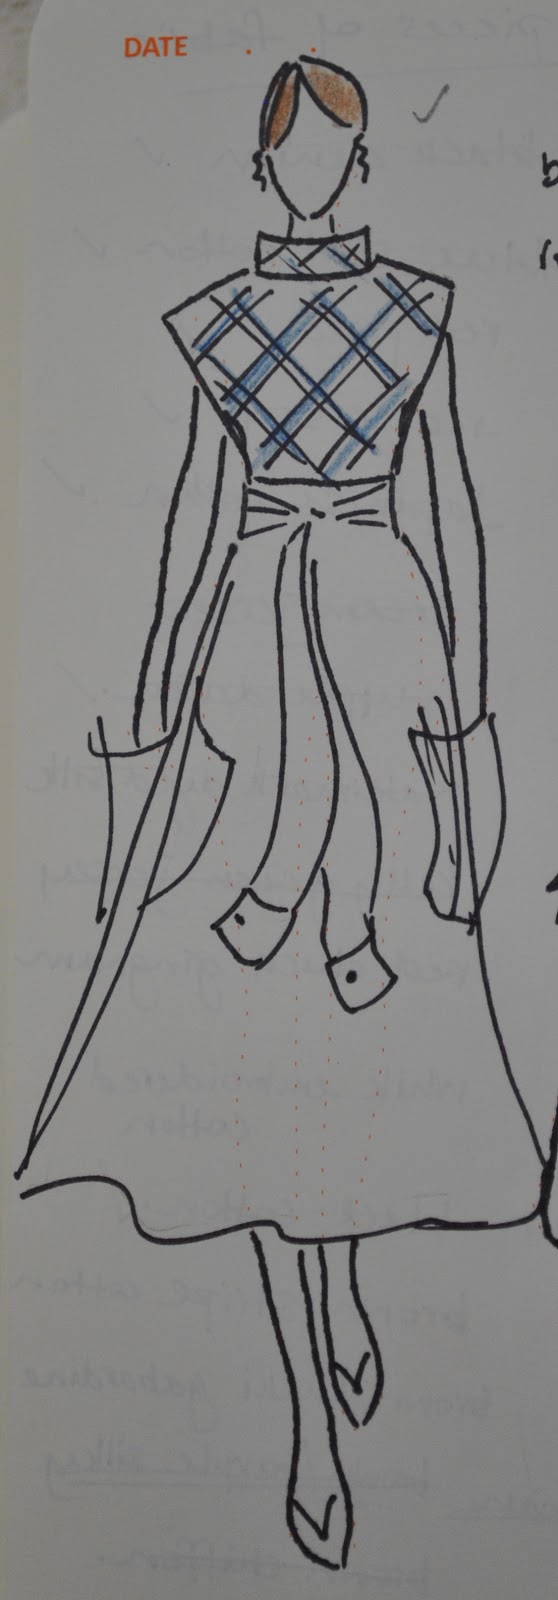
I had dreamed that this top would be cut on the bias, with those gridlines laying diagonally across the design, and to have little kimono/cap sleeves, like my preliminary sketch below.  I thought it would look pretty cool like that, and had been thinking about it long enough that my heart was virtually set on it.  But cutting on the bias is such a fabric hog, demanding way more than I actually had and so my plans were sadly not to be….  Visiting the fabric store to purchase just a leeettle bit more to indulge myself was pretty tempting as the fabric was not price-y, and still plentifully stocked.  But I had to admit that doing so would utterly defeat any aspirations to green-dom.  sigh
So …
I used the pattern for top “a” from Unique Clothes Any Way You Like, by Natsuno Hiraiwa, a very simple design that really does use a very tiny amount of fabric.  In its simplest pared-back form this is a fab basic little top pattern.  I grudgingly economically cut the pieces out on the straight…. which might not look as cool as my original idea, but is very effective for stash busting  ðŸ™‚  And it is a good useful and casz little summer top.
The seams are all French seams.  It doesn’t have any closure but can just be pulled on over my head.  I left off the stipulated bias finish to the armholes and neckline, and instead made three sort of tubes or funnels to finish the apertures off.  The sleeve tubes are just single fabric width, and sewn into the armholes and finished with a little hem, and the neckline tube is doubled over, and slipstitched invisibly down on the inside. 

Details:
Top; modified top “a” from Unique Clothes Any Way You Like by Natsuno Hiraiwa, in navy and white check stuff.  I have made this pattern up twice before, here and here….
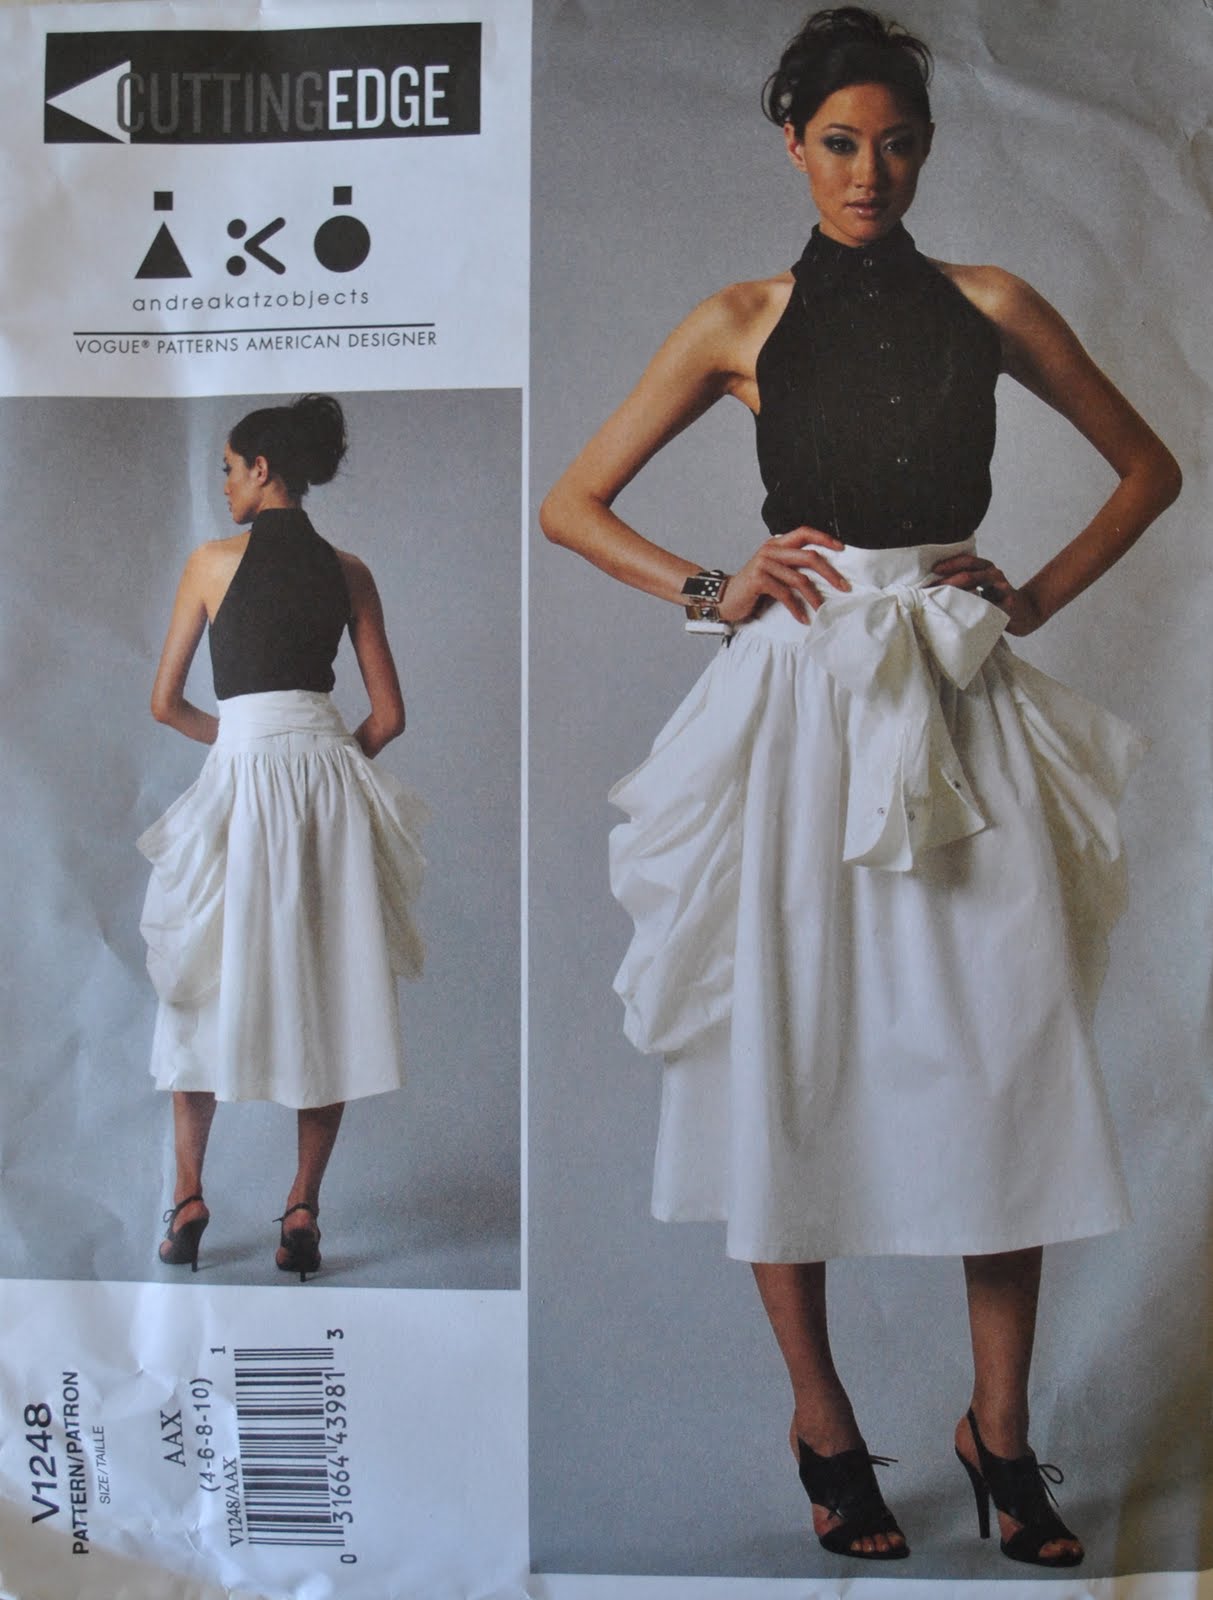
Skirt; Vogue 1248, white cotton voile, details and my review of this pattern here
Thongs; Mountain Design

pinterestmail

An casual edging for knits

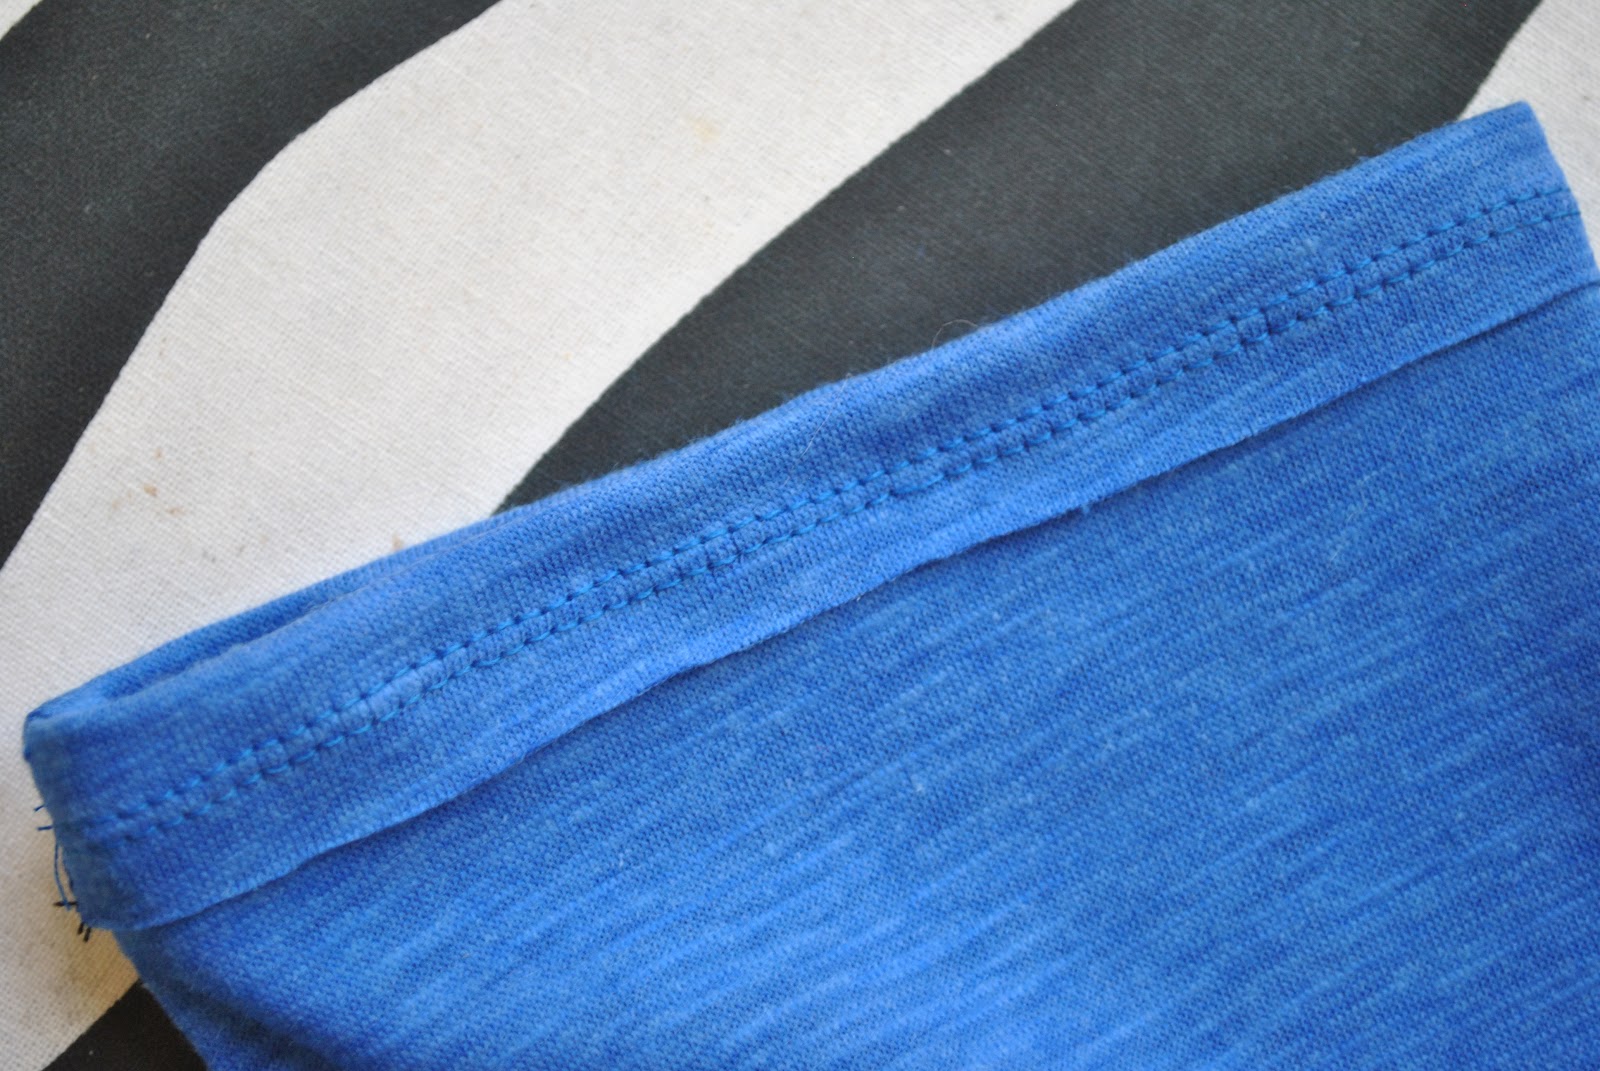
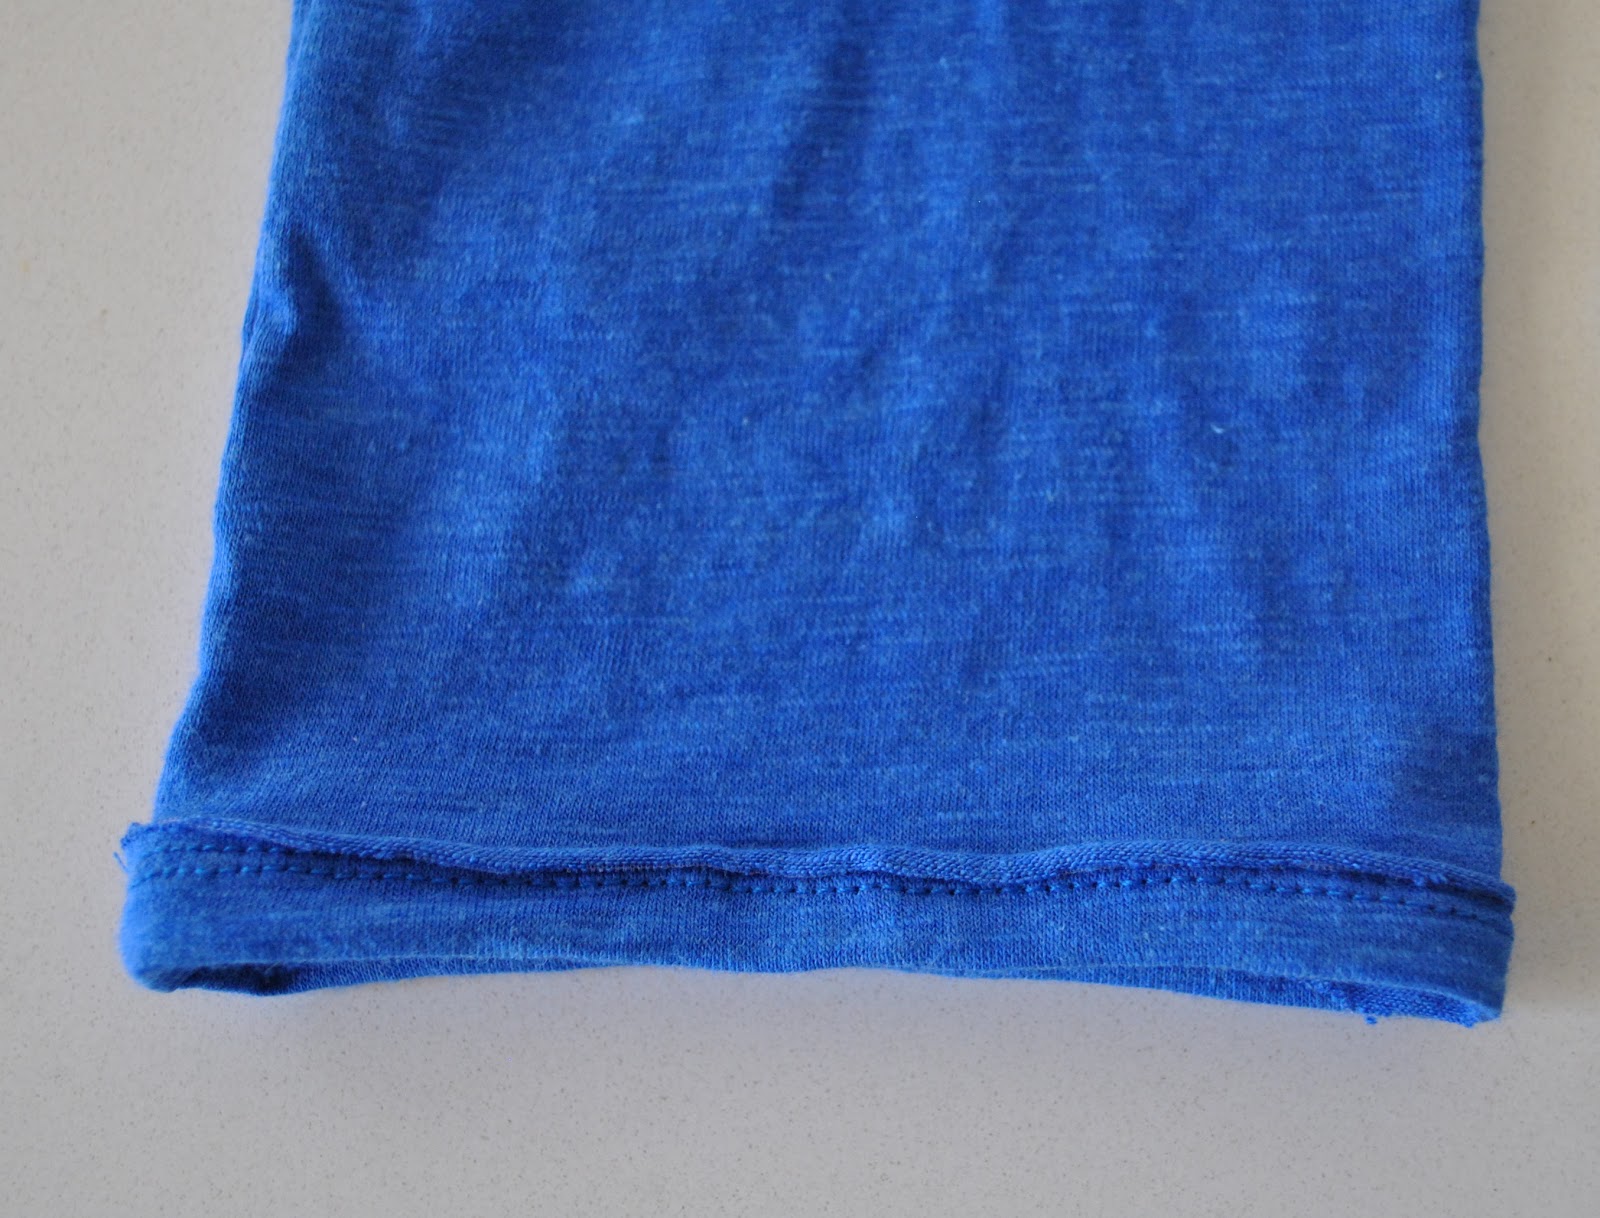
I used this great edging for some of my latest T-shirts.  This is a nice casual look for thin floppy knits that don’t fray very much.  It works really well on those fabrics that want to curl up spontaneously… and it’s always a good idea to listen to what the fabric wants to do and work with it rather than struggling to force it into submission…
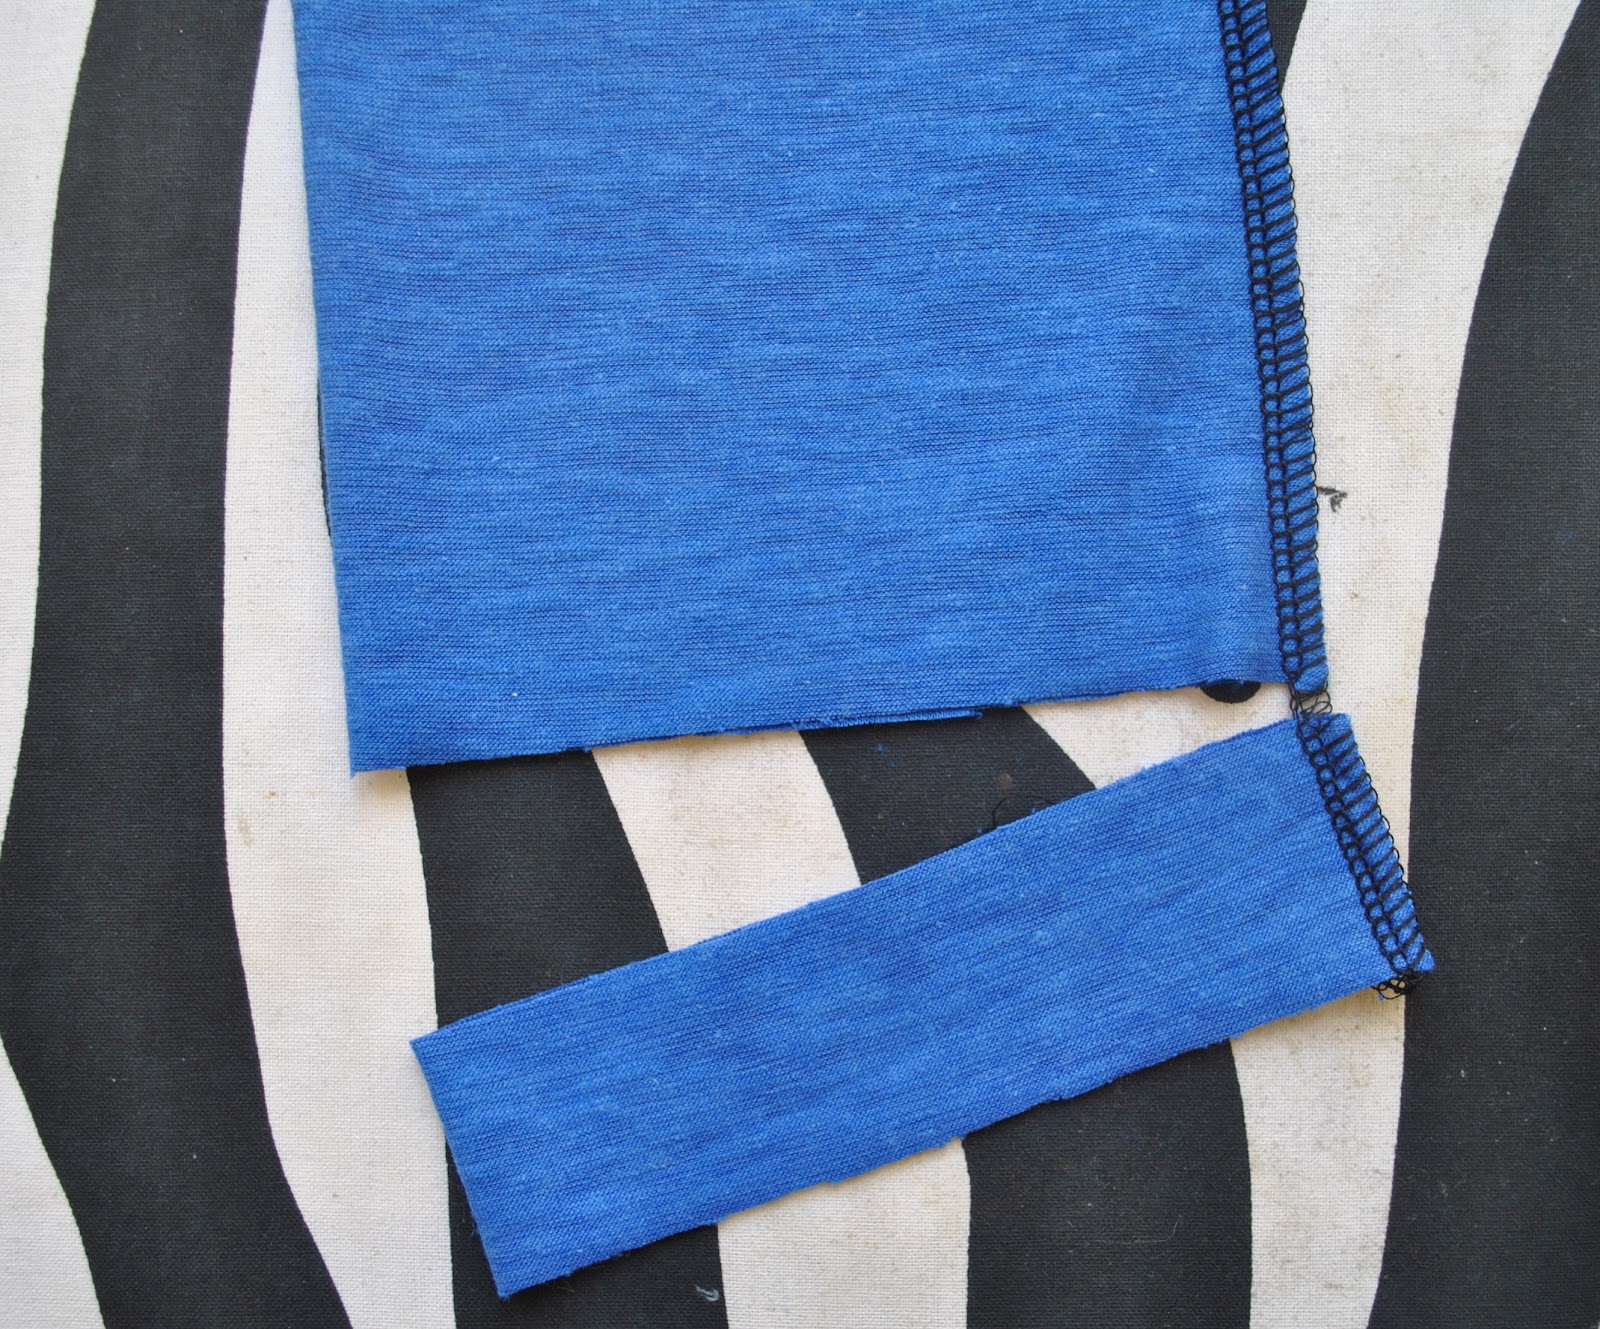
Firstly, when you cut out the sleeves, cut them about 2.5cm longer than you want, and then slice off this extra length.  
(Oh, for the neckline, you have to measure the finished length of the edge of your neckline, and cut out a 2.5cm width strip (with the length going the stretchy way, natch) the same length, plus 2cm for seaming.  I didn’t take any photos of the neckline finishing, sorry…. maybe next time 🙂 but it’s essentially the same process from here on)

With right sides together, sew the sleeve seam, and the seam of the strip to form a ring.

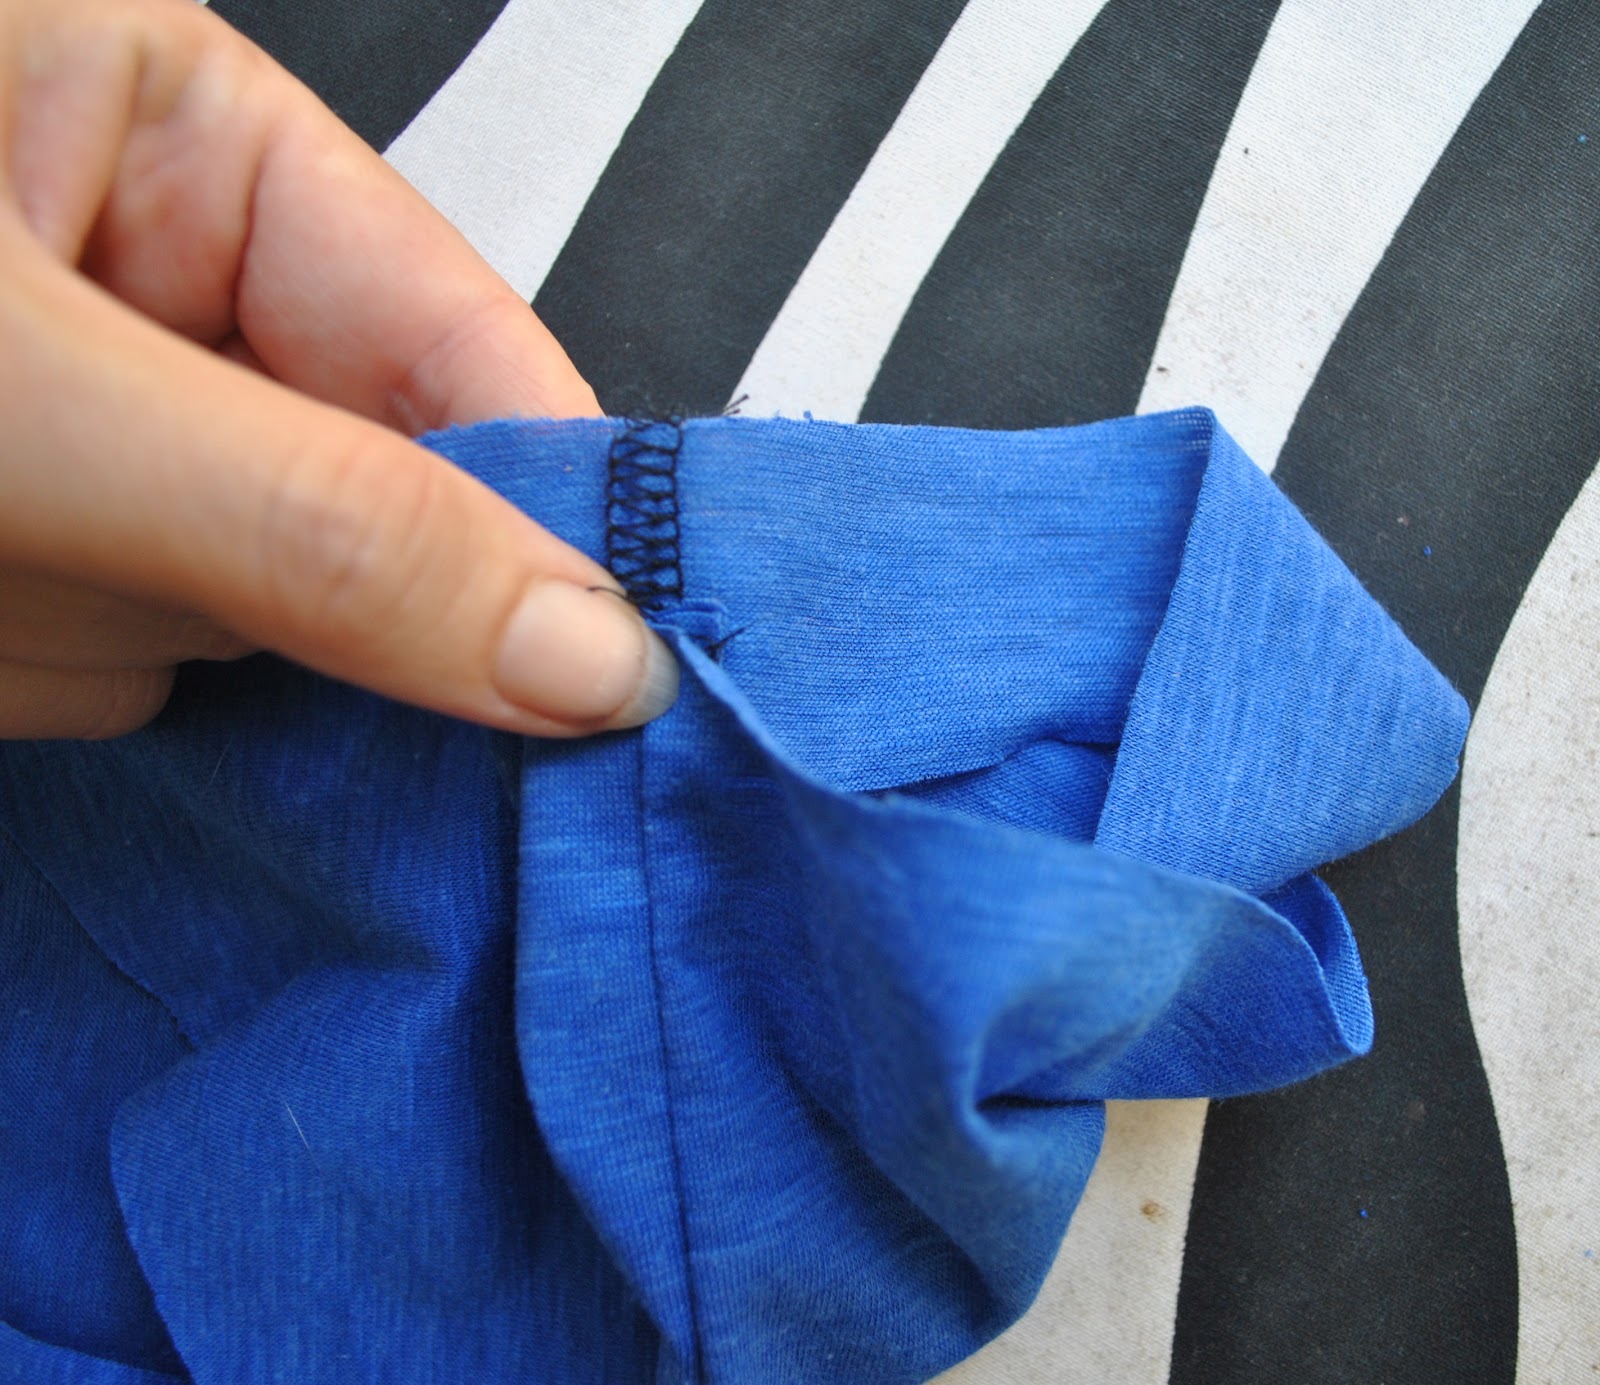
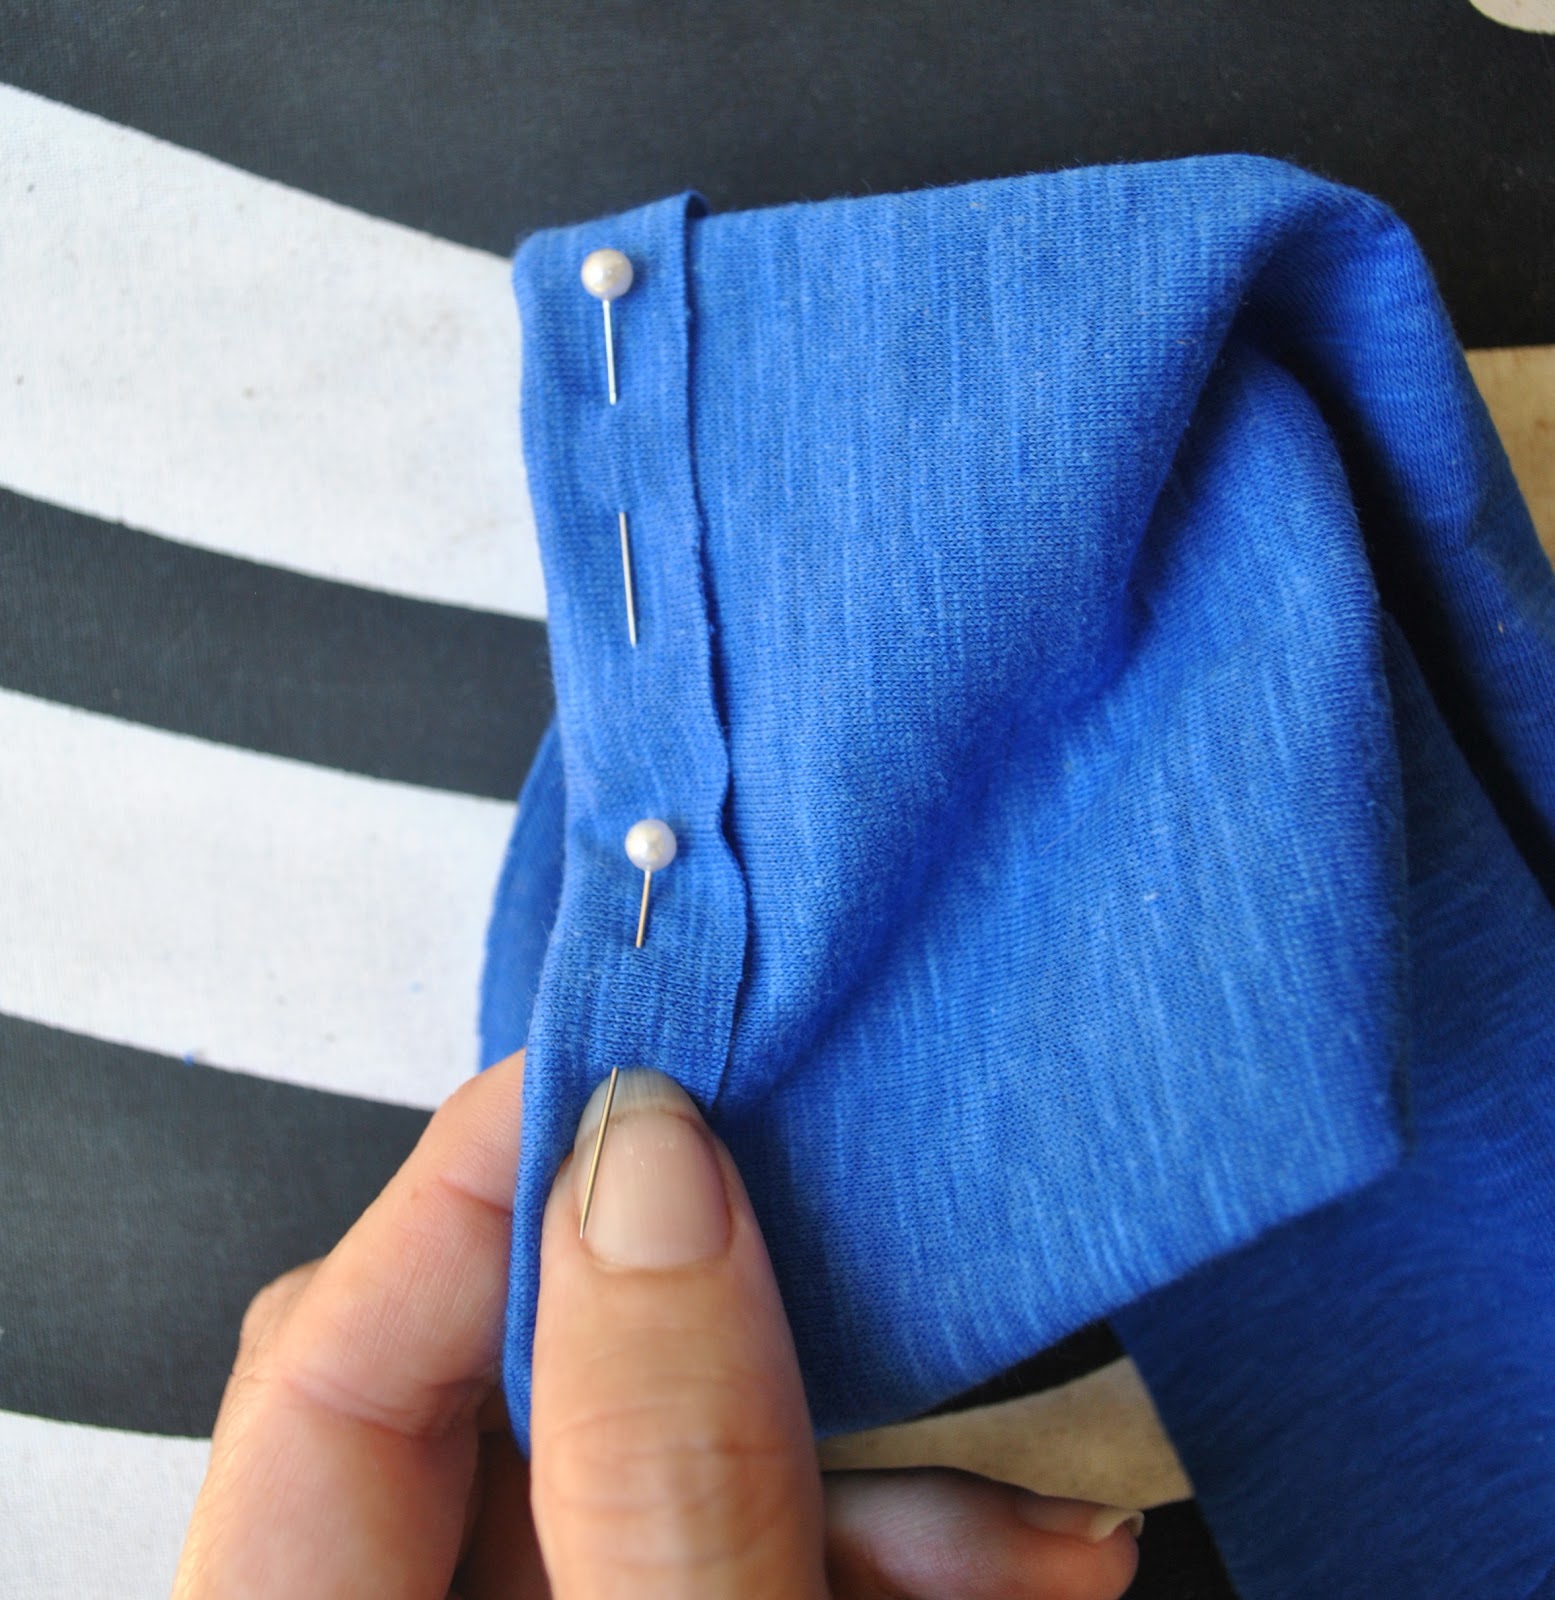
Take your sleeve edge strip and fold it wrong sides together in half along its long length, over and enclosing the raw lower edge of the sleeve.

Pin in place.

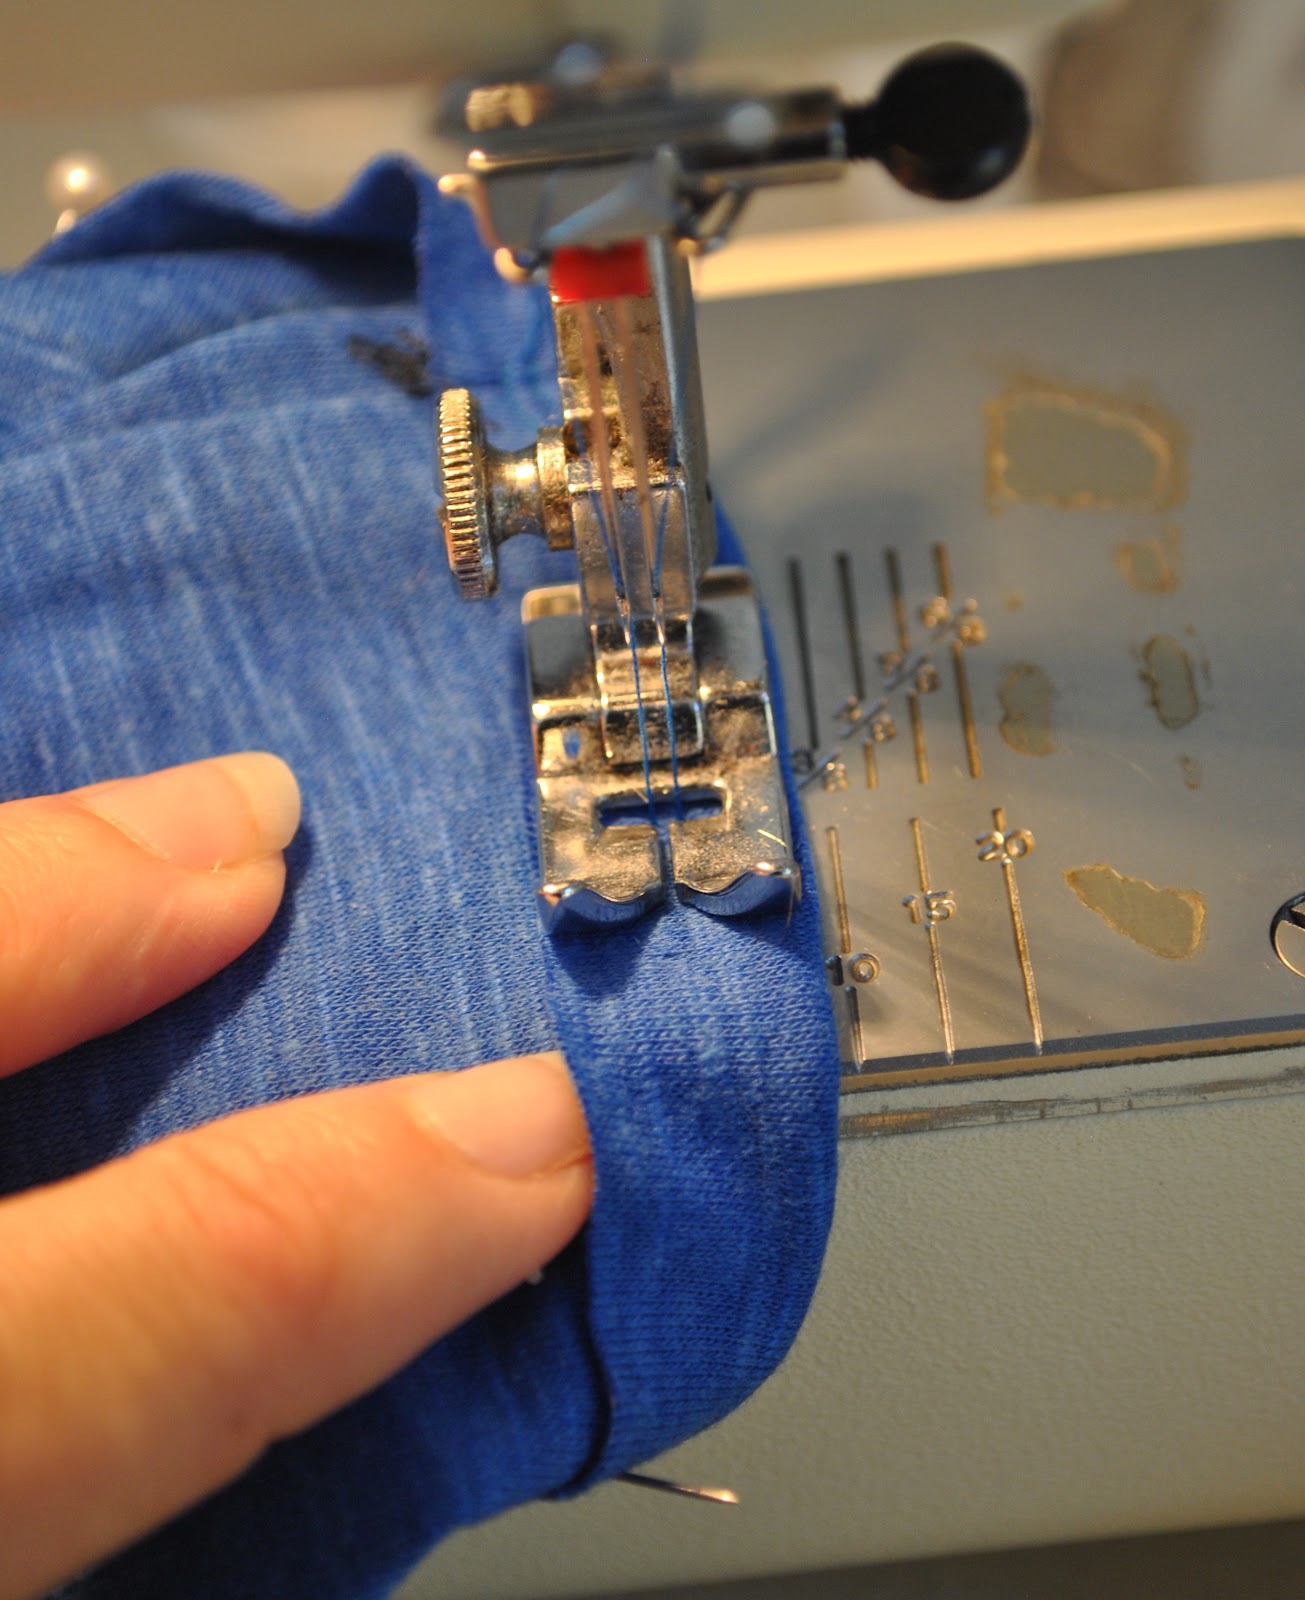
Using a twin needle on your machine, stitch the strip down, keeping the stitching a perfectly even length from the folded edge.

So, you end up with this, which doesn’t look particularly… wow.  In its ironed, just-been-neatly-sewn state.  But wait…

…after washing, the raw edge of the knit will curl up nicely, creating a tight little ridge over the stitching.

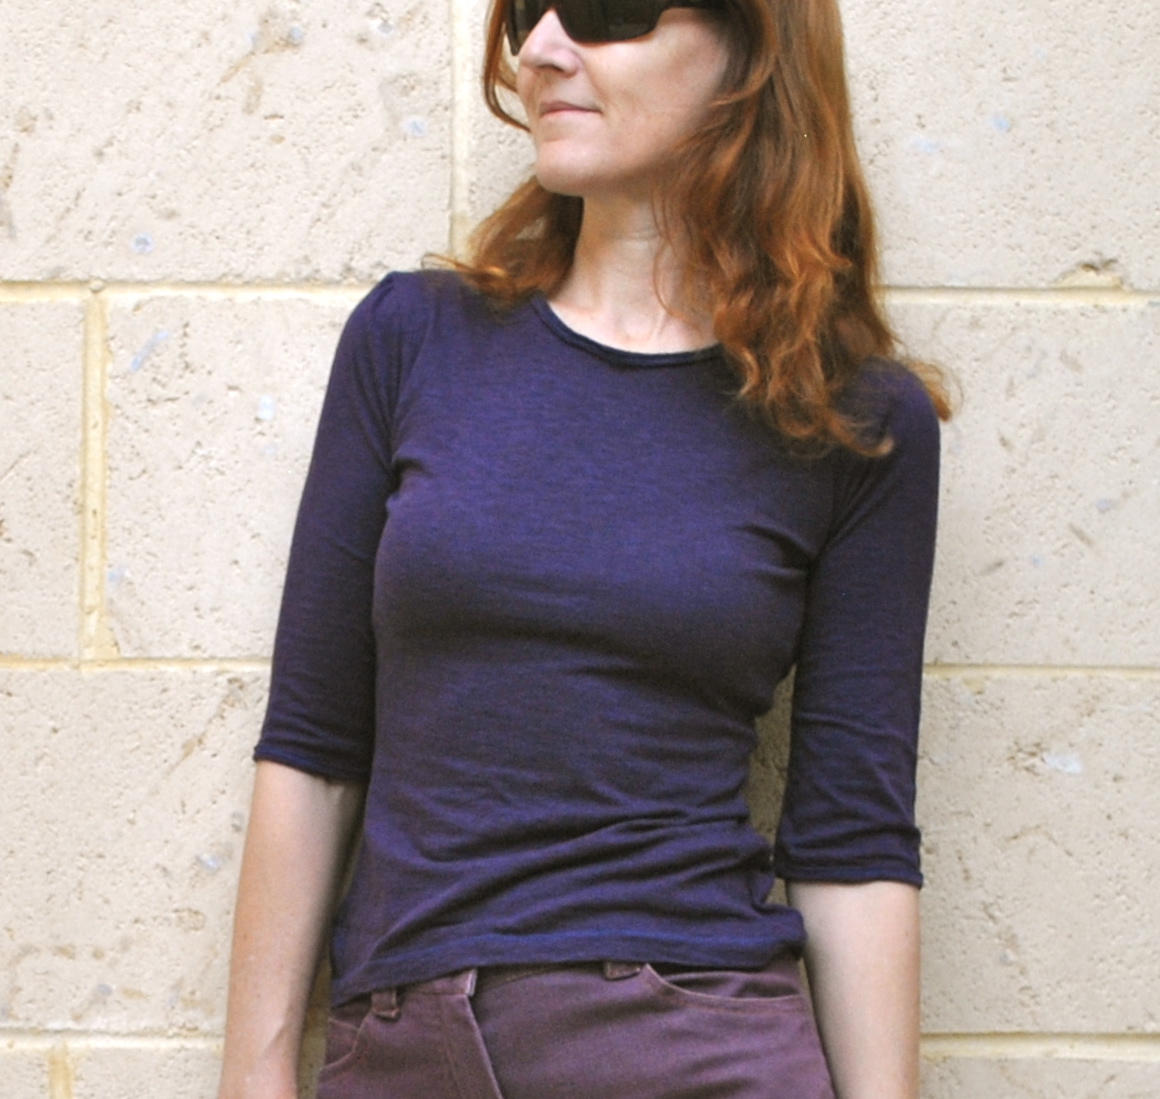
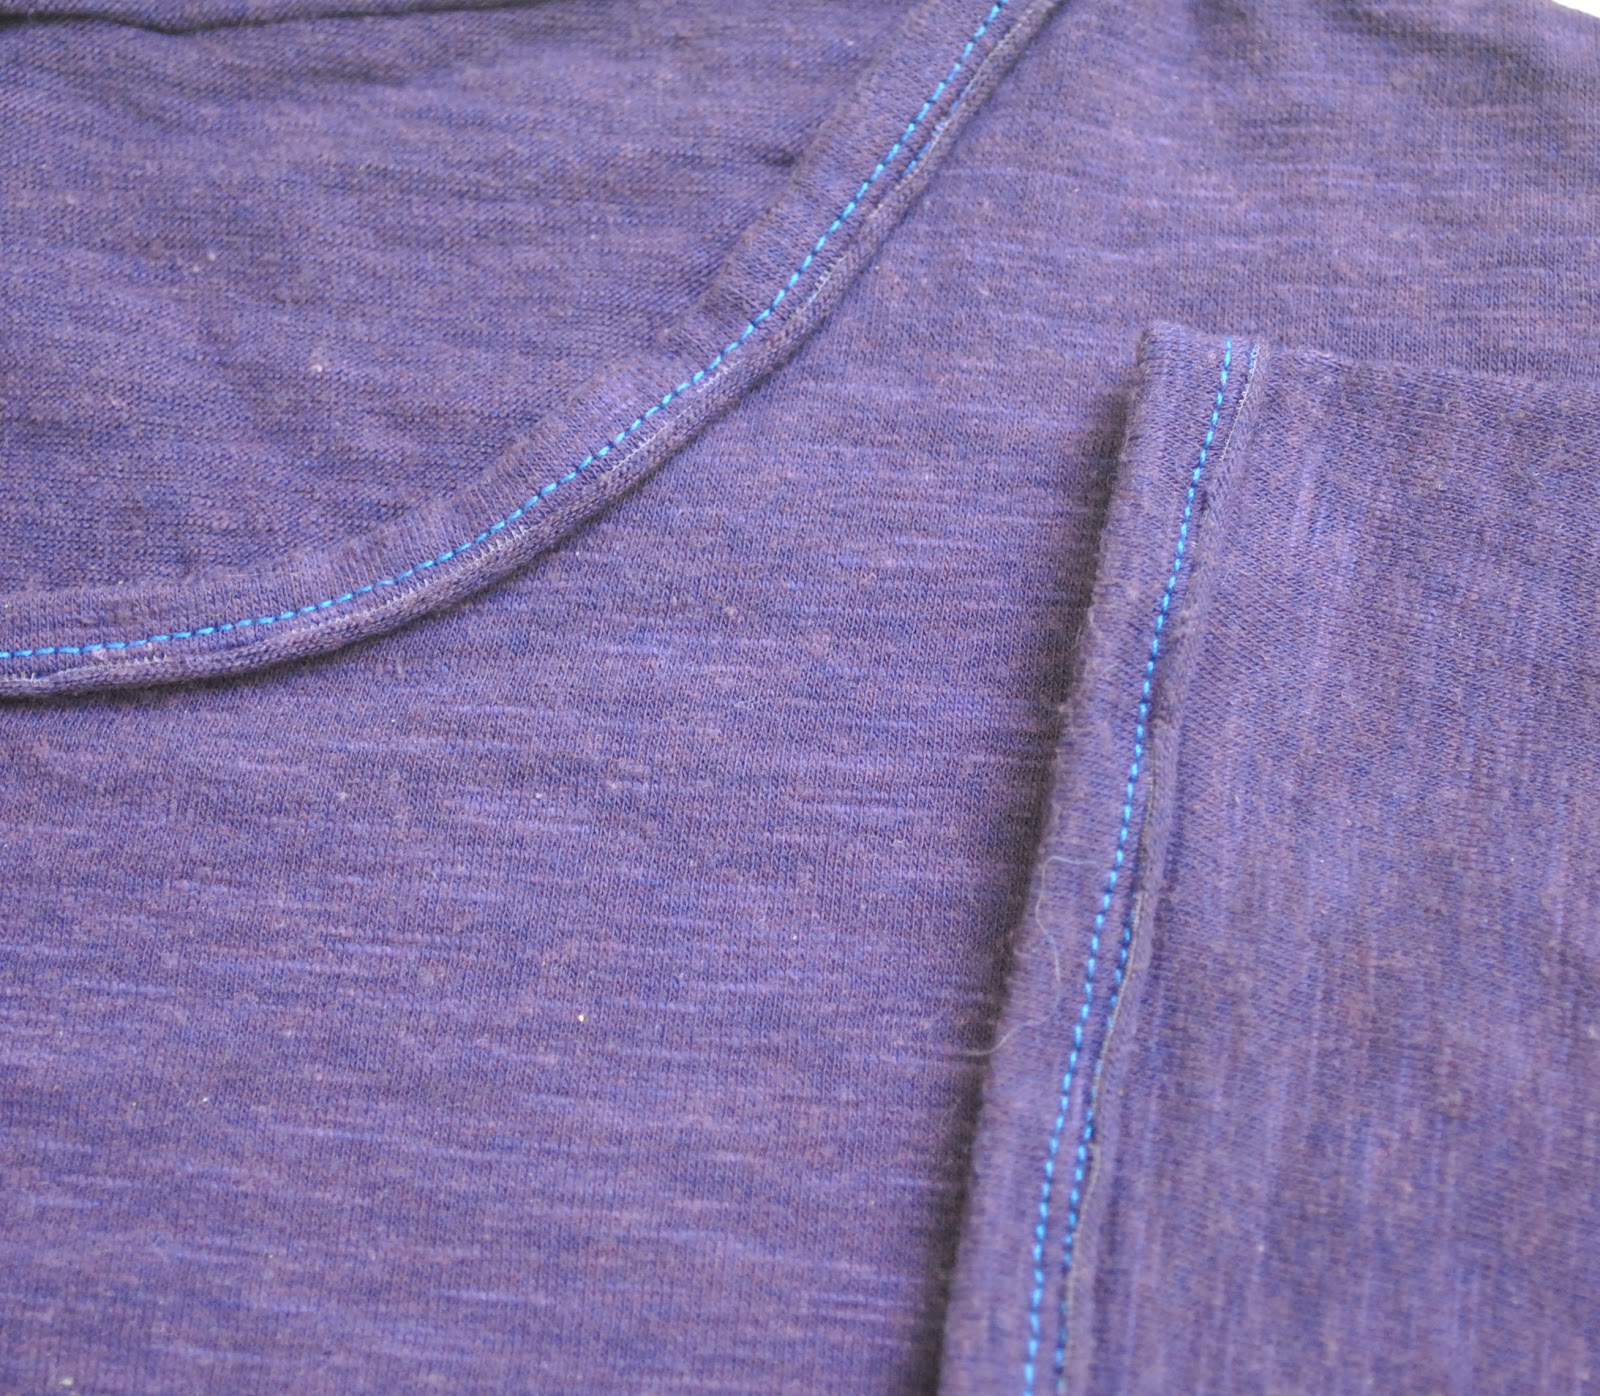
Then I dyed the T-shirt using iDye in Crimson, which throws the blue stitching into focus.  Of course, if you don’t want contrasting top-stitching to show up as a feature on your garment; you must choose a thread colour that is going to blend in with your final colour after dyeing, as I did for my “bat” shirt.  In that case, I top-stitched with a black thread, since in that design I wanted the top-stitching to blend in, and the shirt was going to become a deep deep brown.  But in this case I like the tiny accent of blue on an otherwise very plain shirt.  And the way the raw edge of the edging has curled up and over the lower row of stitching is very pleasing.  I think it looks a little bit like piping.

pinterestmail
Switch to mobile version
↓