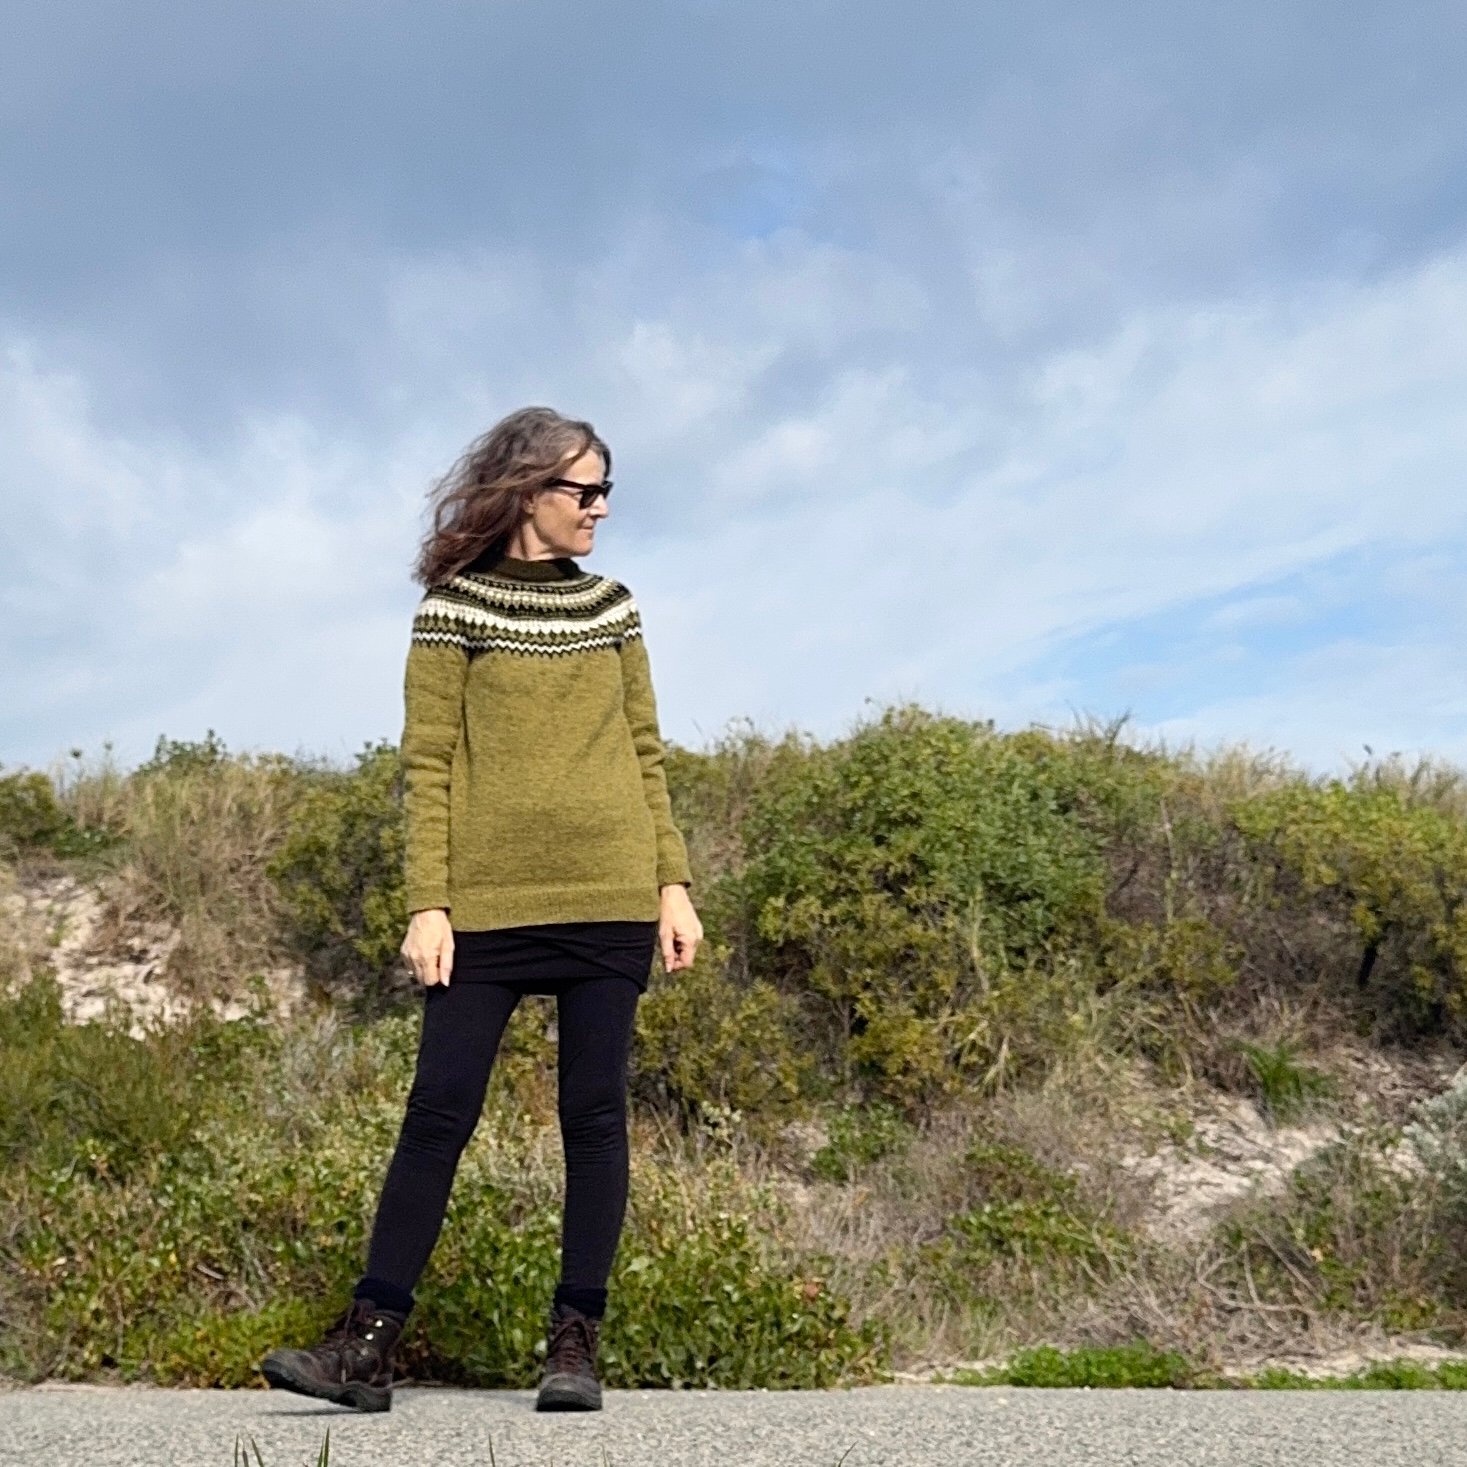

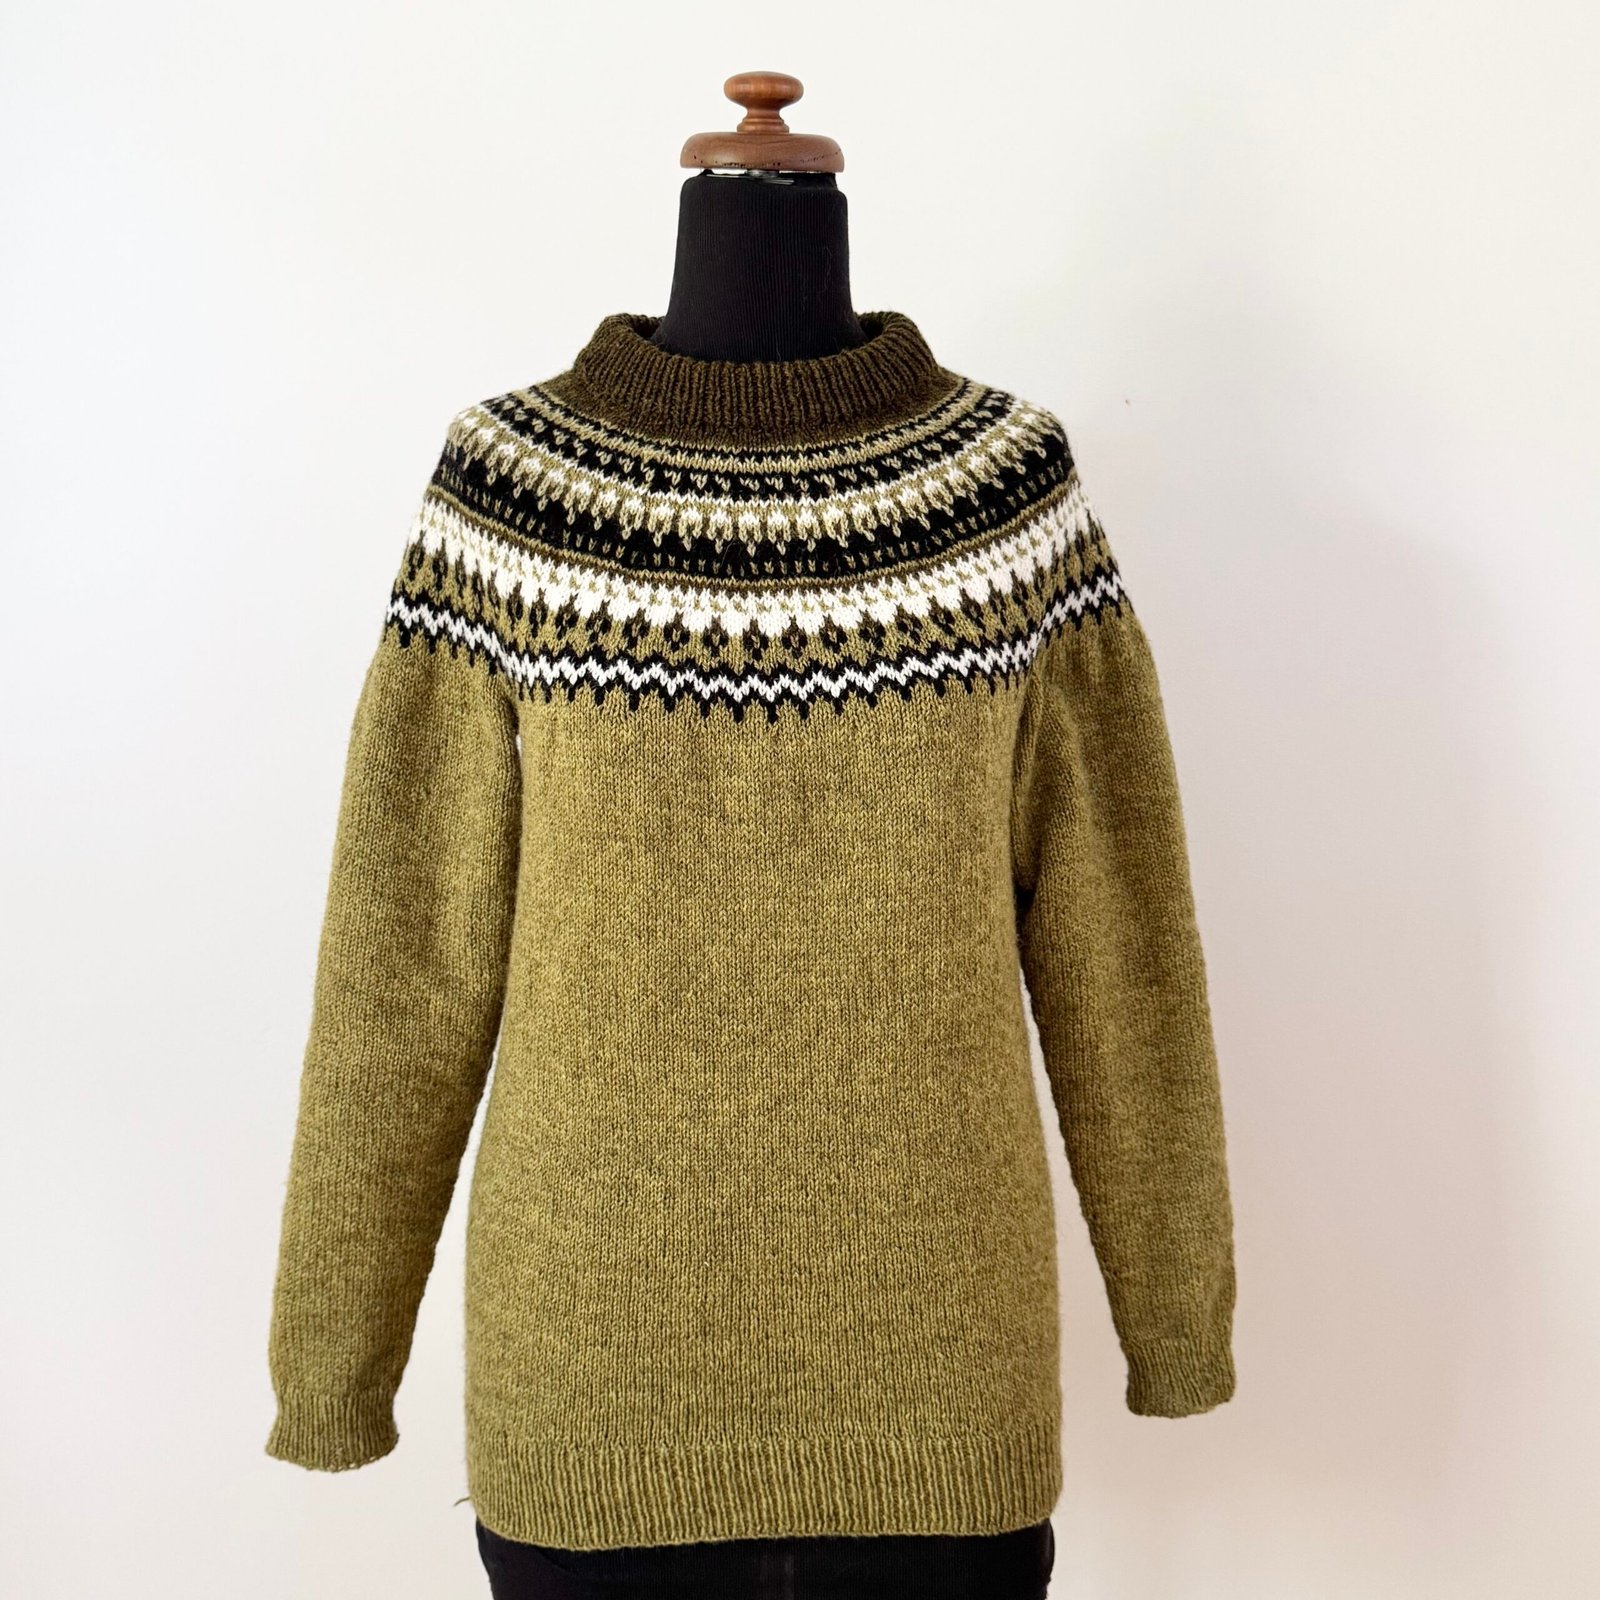
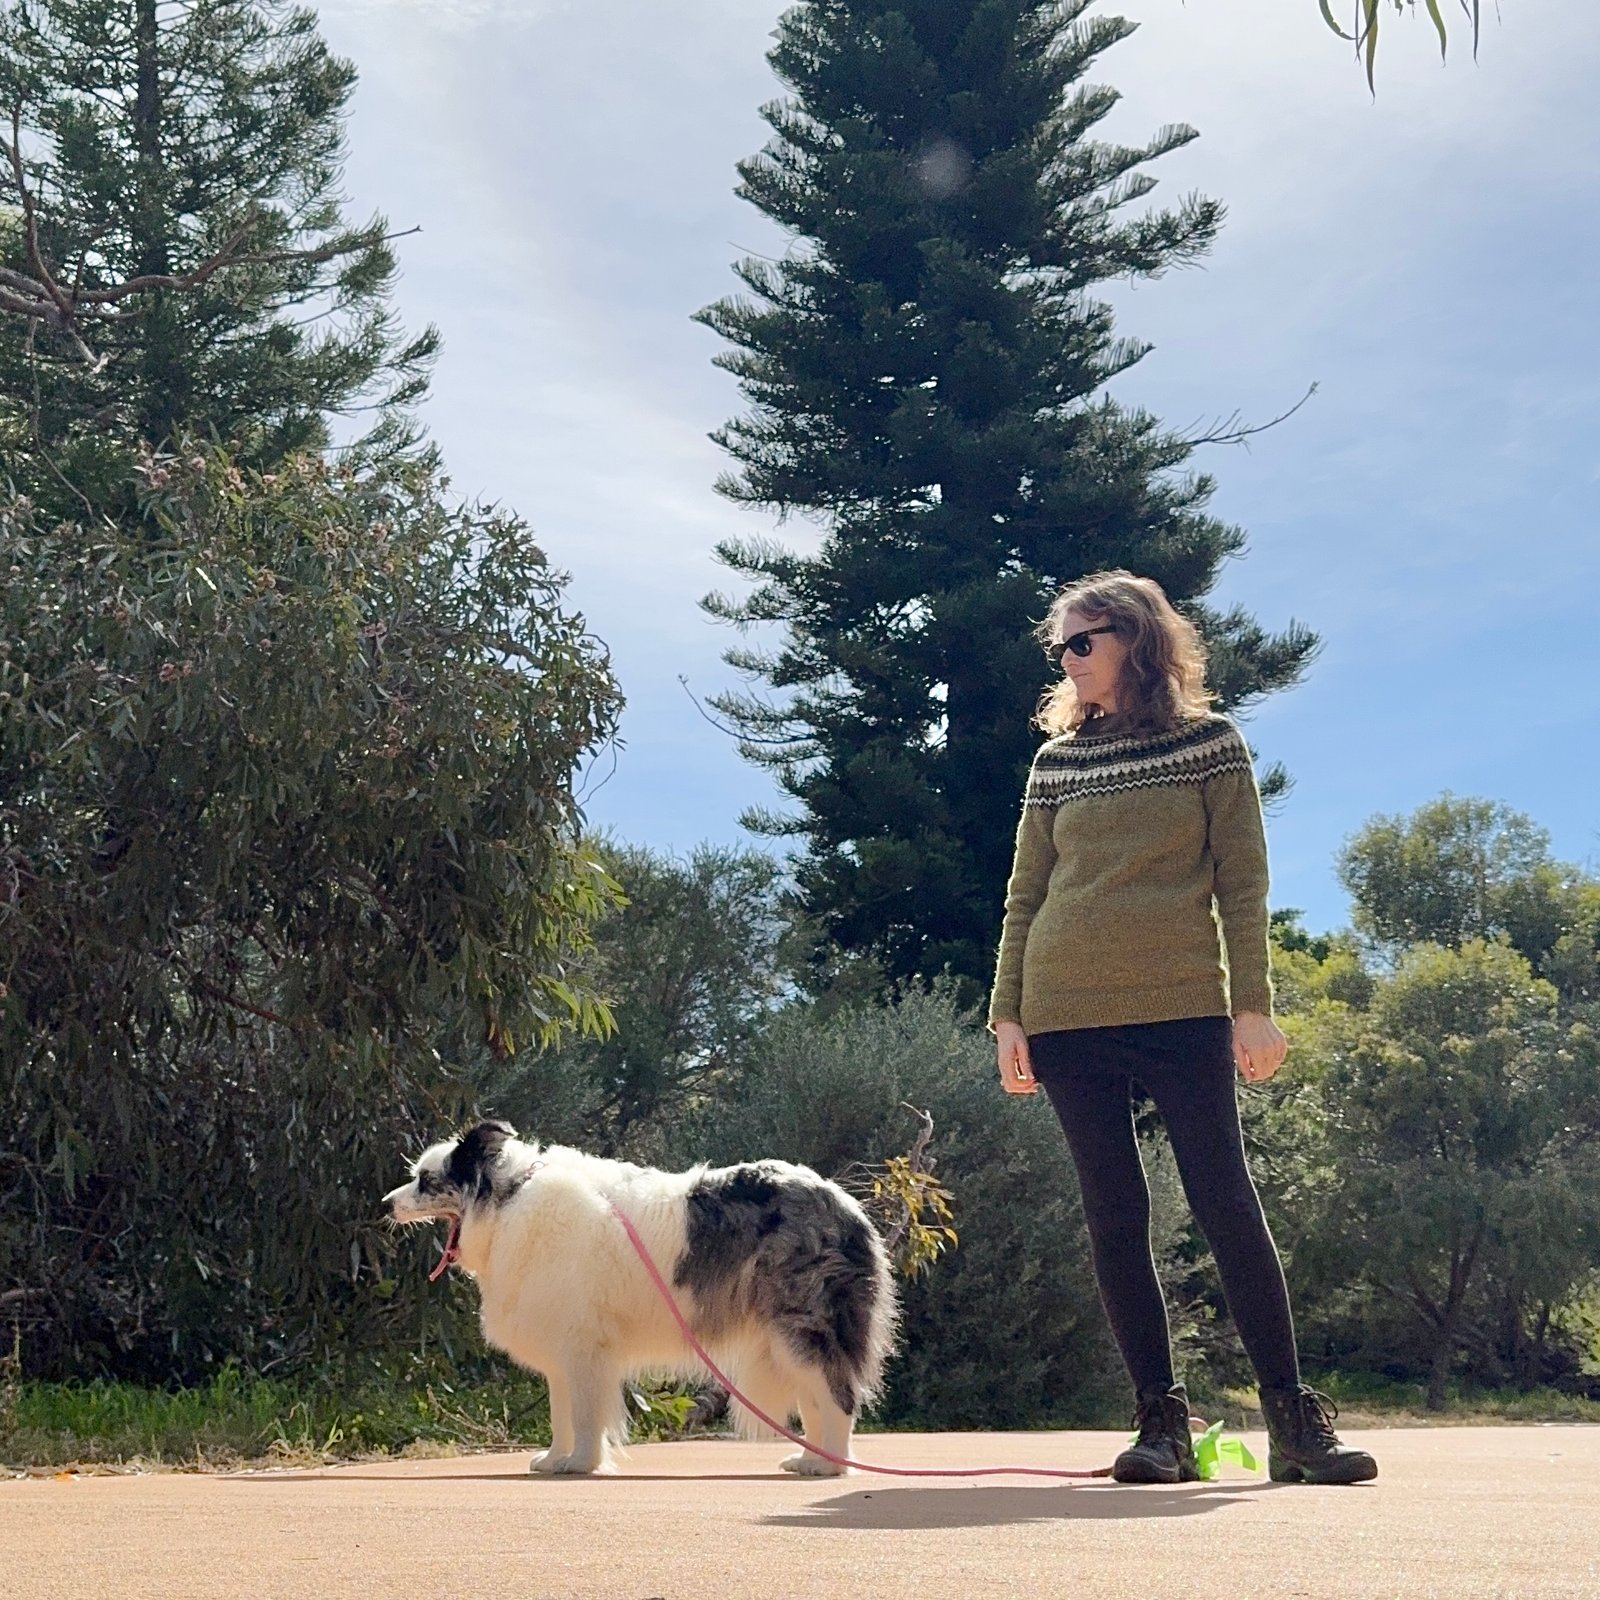
Hello! I’ve been making new things, including this new jumper that I knitting using wool bought during our holiday in Norway last year… I posted about the wool purchase during my travel wardrobe post here, and finished it about four months ago. And finally, I took some pictures!
(I must apologise… it’s been a really long time since I wrote anything here. A series of separate and unrelated things have happened in mine and my family’s lives, mostly not good. It’s not worth going into all the details because none of them are things I want to dwell on. However I have actually managed to make a few things since I last blogged, and I’ll try to document them all bit by bit. My camera stopped working last year too, and since cameras are like dinosaurs nowadays I probably won’t replace it but just rely on my phone camera. I hope it’s good enough!)
One very good thing that has happened is this adorable little thing…
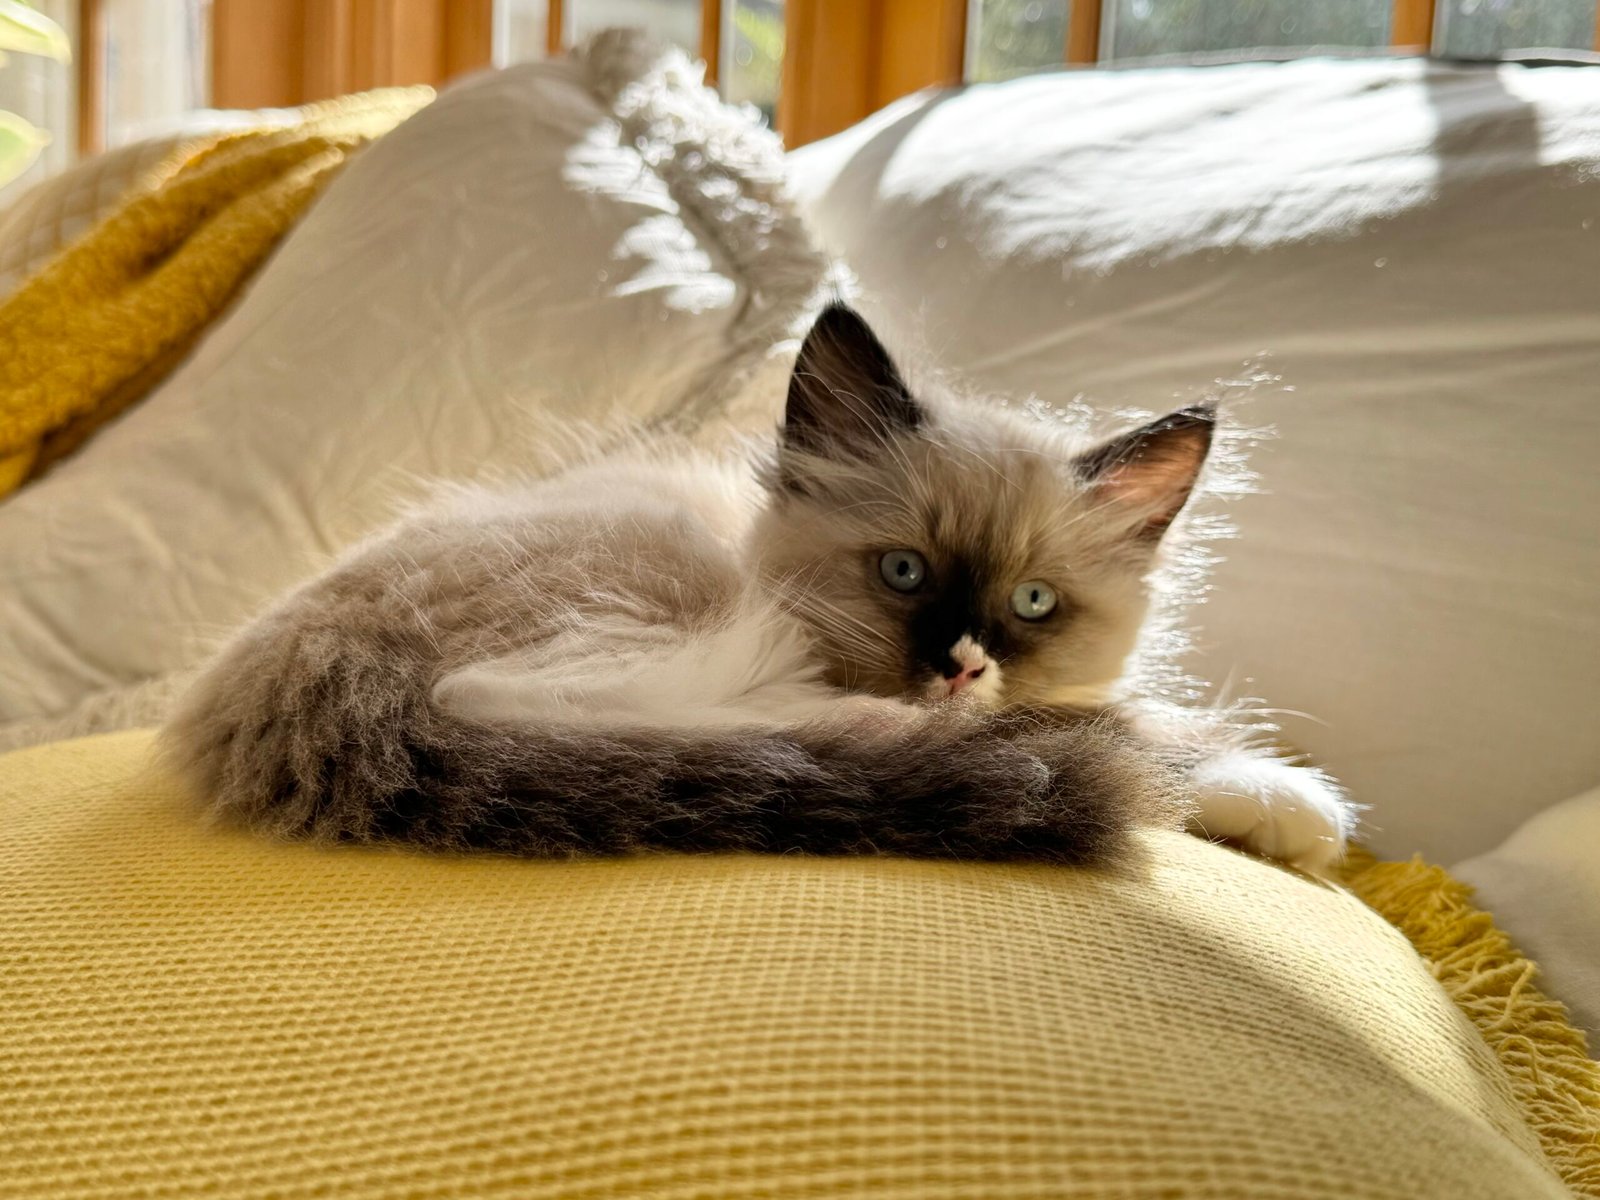
please say hi to Wendy…
Anyway… sewing/knitting updates, let’s go! Last June/July, my husband and I went on a long hiking holiday through Italy and later Norway, and I bought some wool in Oslo with a view to knitting a Norwegian jumper for myself.
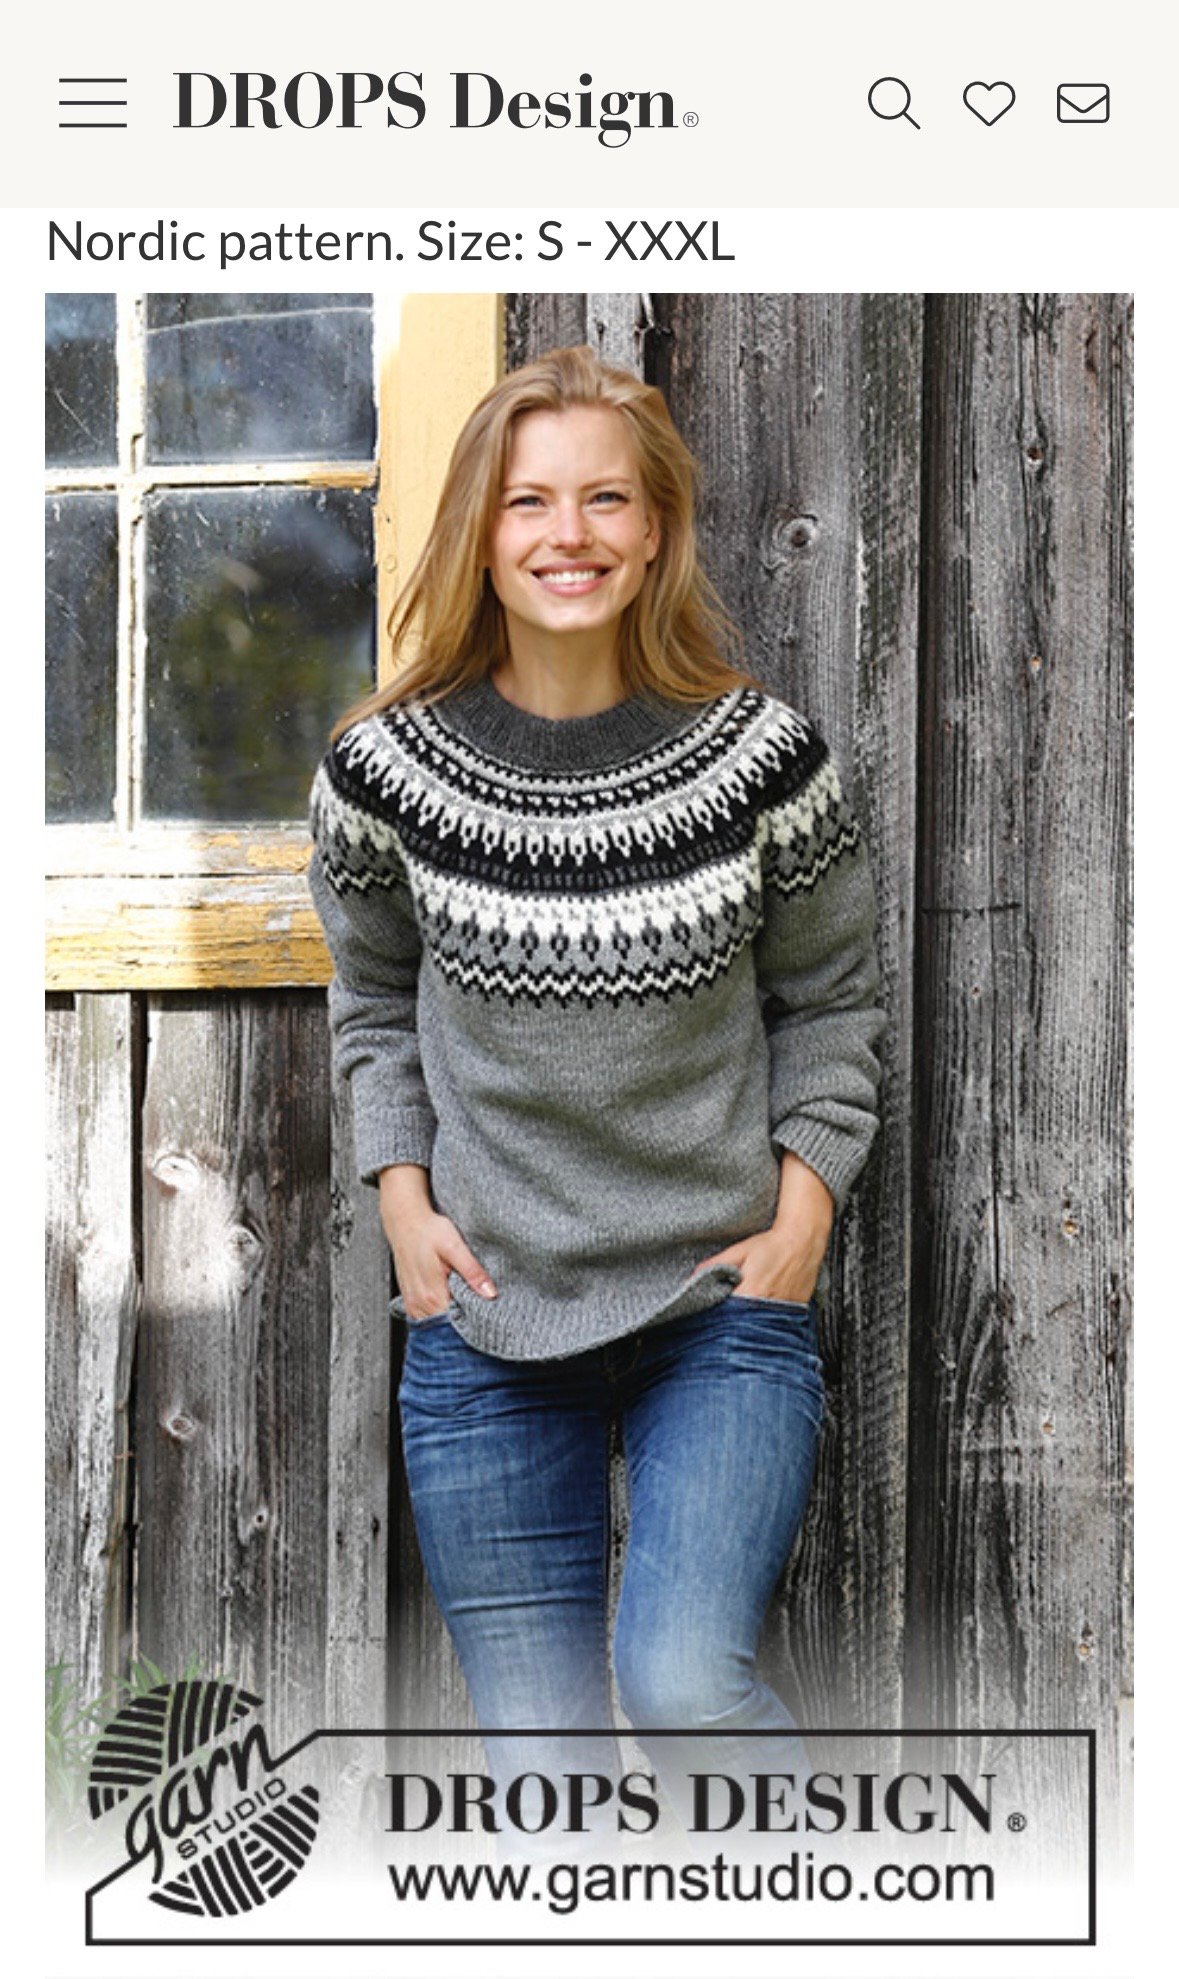
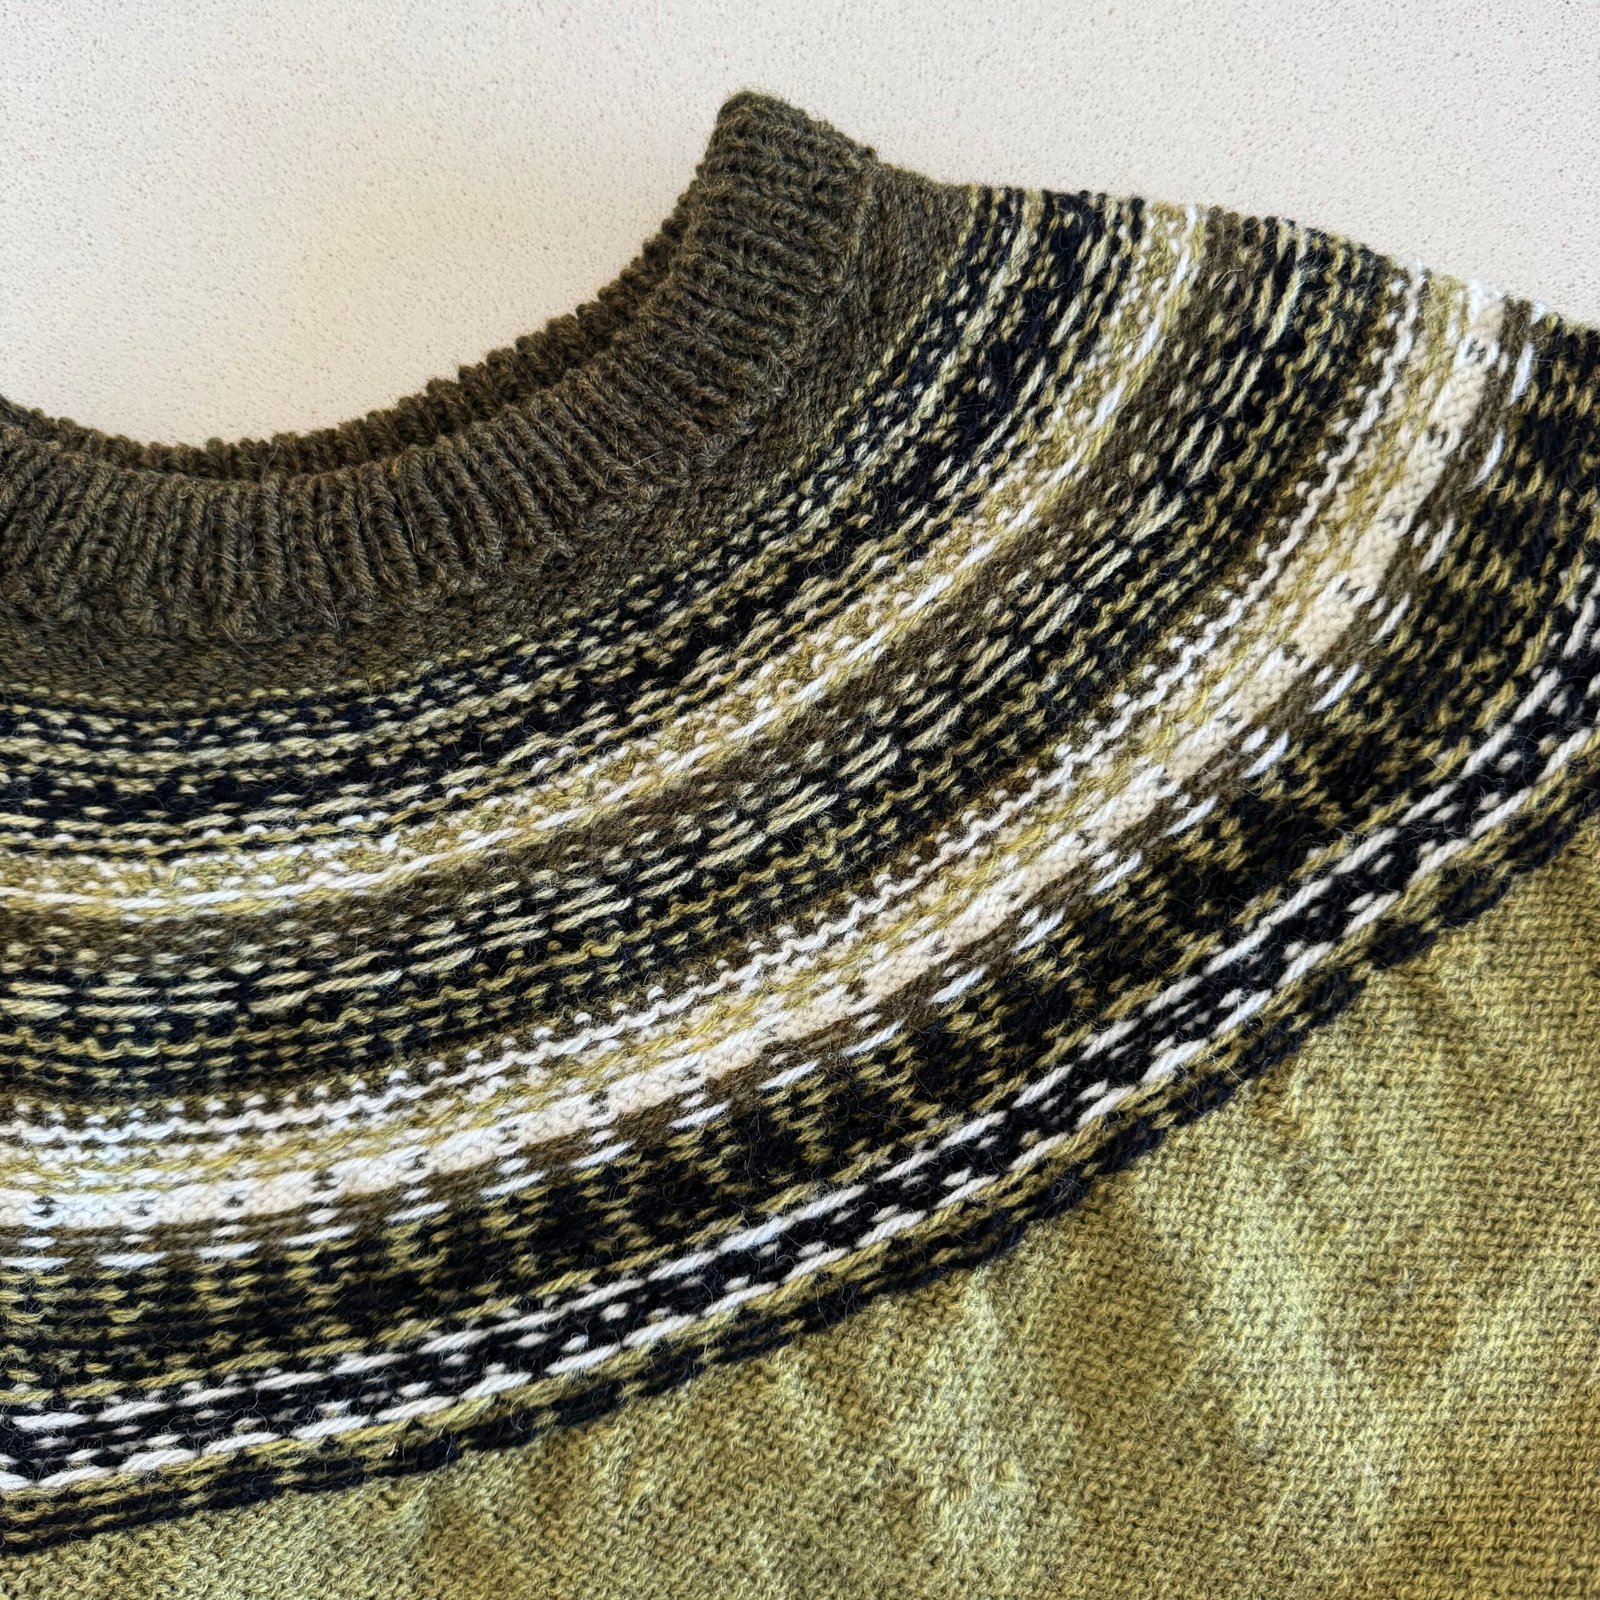
 I’d researched patterns for Norwegian jumpers and chosen this one … Night Shades (Drops 195-19 by Drops Design, a currently free pattern. I also researched yarn stores and visited several of them in Oslo. I found the above yarn in Fru Kvist, and Craig was so patient while I spent hours looking through all the offerings to find what was needed for the pattern! In the end, this particular yarn is actually Danish, Isager by Jensen yarn, but we won’t worry about that… I BOUGHT it in Norway and I’m just calling myself satisfied with that. The colours are 40S (heathered yellow-green) 0 (natural white), 82 (dark yellow green) 29S (light yellow green), 30 (black).
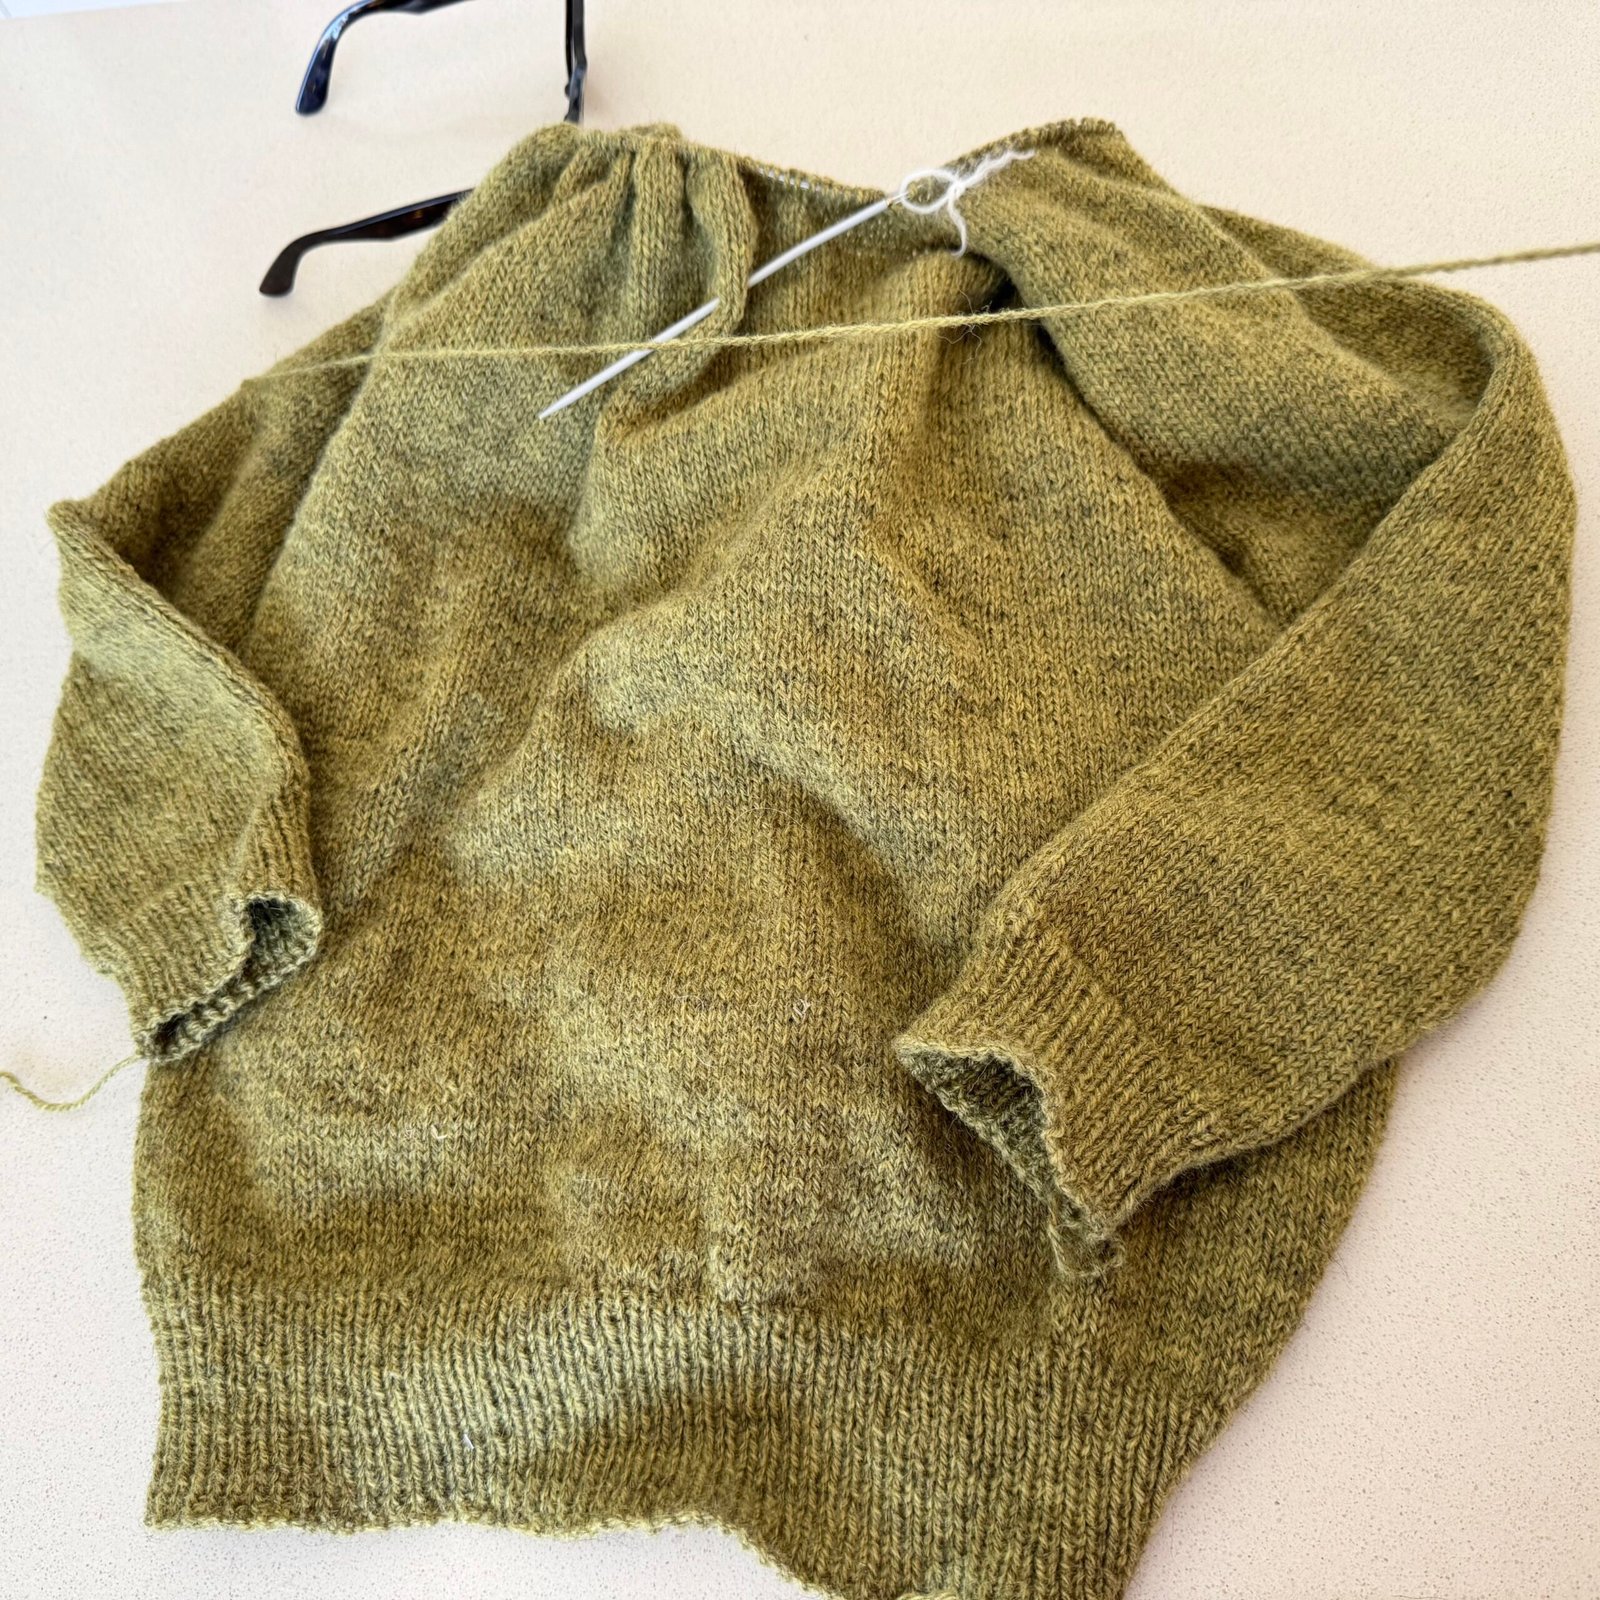
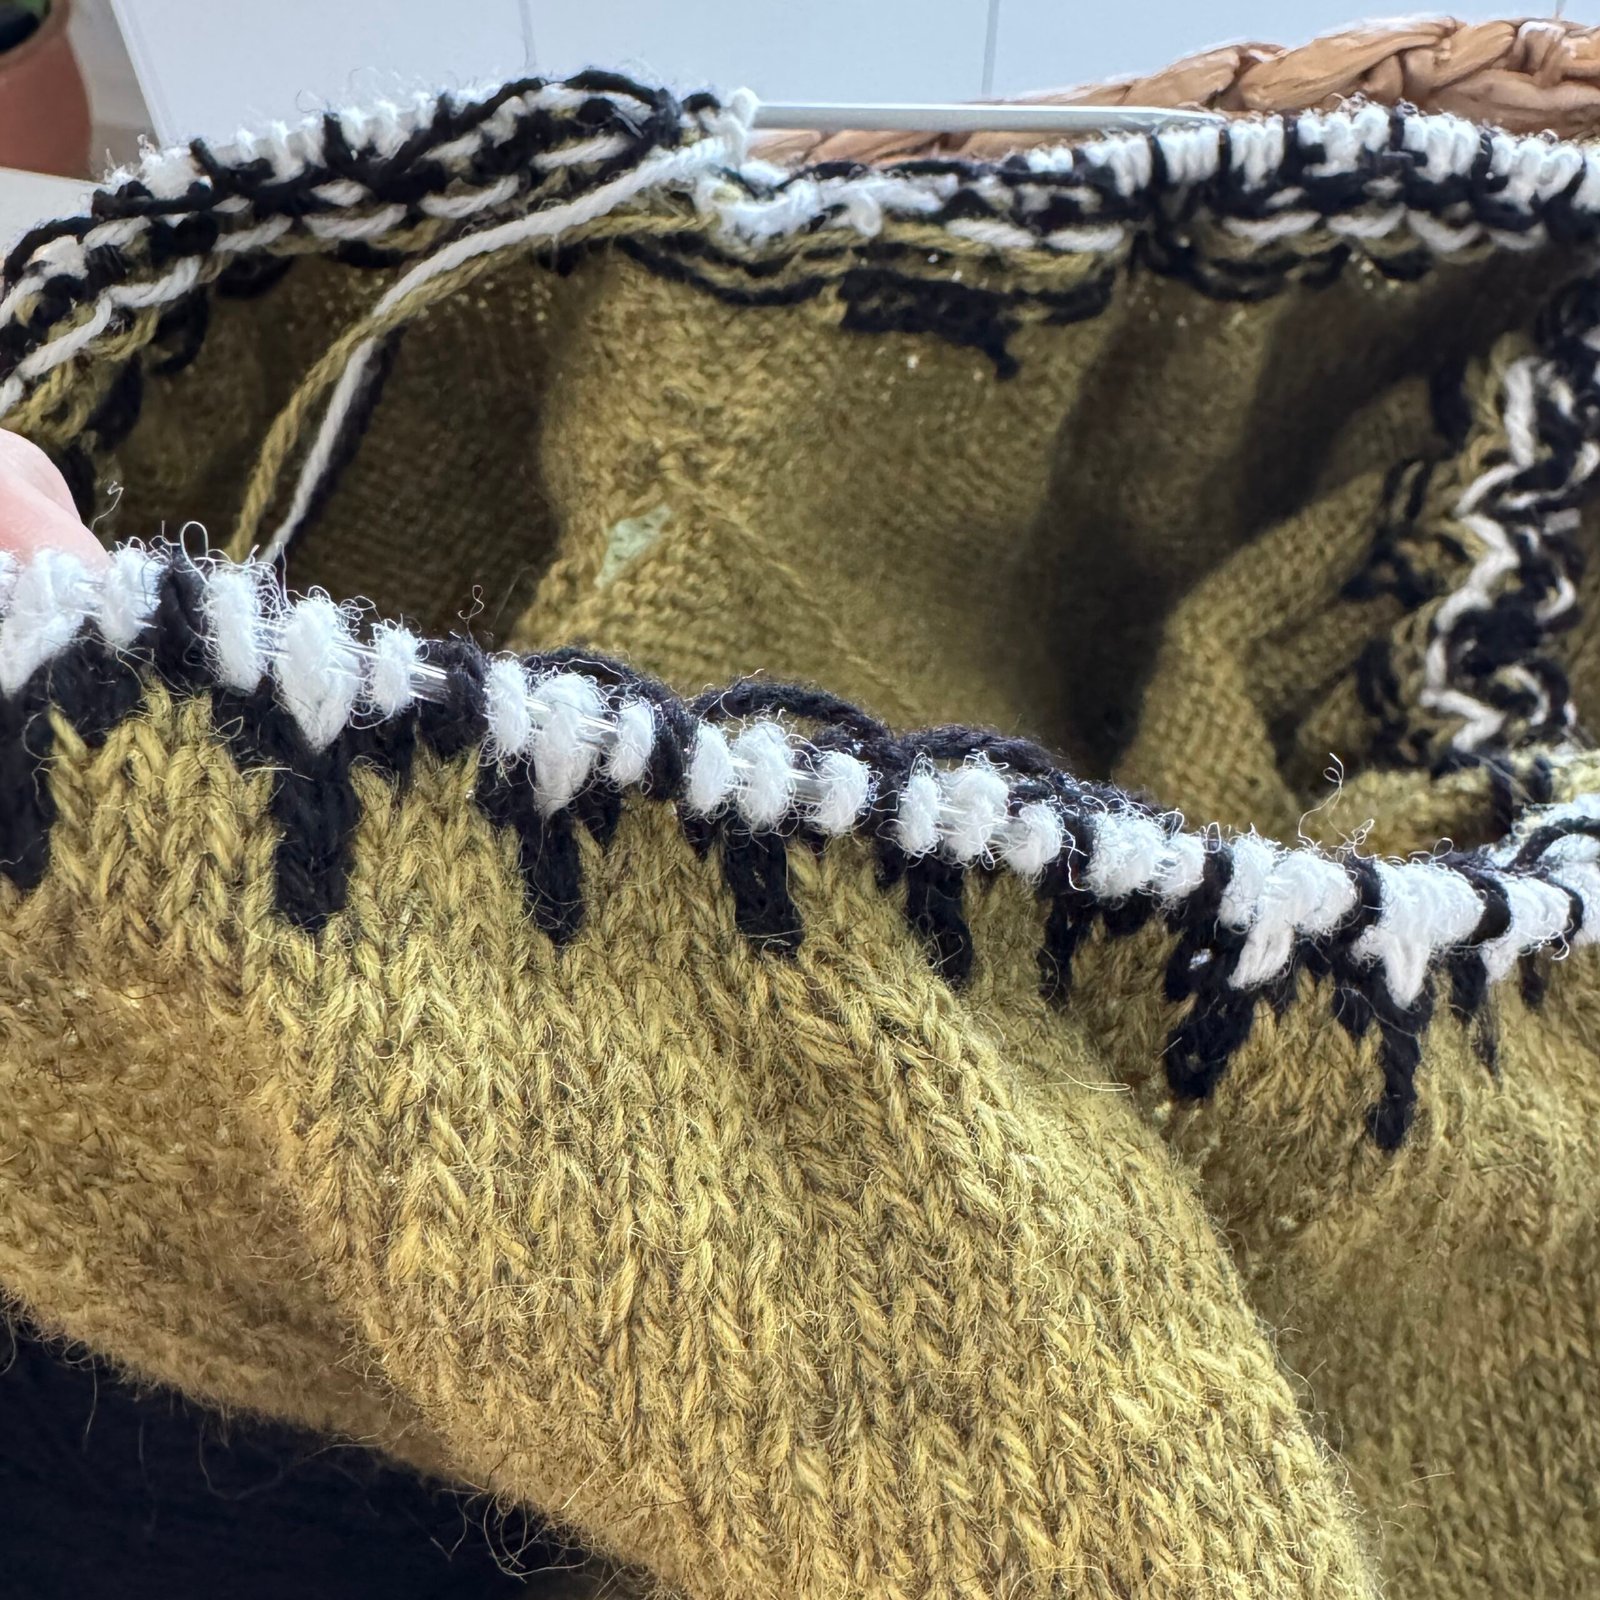
I took precisely two progress photos, whoops… Most of the main colour is one dye-lot, and a smaller ball of another dye-lot made up the required amount. I actually couldn’t tell the difference in colour, although the lady in the yarn store was quite concerned. My solution; I stitched alternate rows in the two colour ways for the torso until I’d used up all the second dye-lot, and then continued in the main dye-lot for the remainder. I know this is a lengthy explanation for something that seems kinda insignificant, but knitters are usually quite strongly opinionated about this sort of thing so I thought it necessary to mention, at least.
I knitted the body and both arms right up to the pattern yoke with some enthusiasm, and then kinda abandoned it for a few months. Silly, because the yoke is the interesting bit! Then my friend started messaging me with progress on baby blankets she was knitting for her expected twin grandchildren… and it inspired me to pick up my own knitting project again too. Of course the yoke was easy and fun to knit and I finished it pretty quickly after that!
The pattern is good, but I had to alter the body part a bit. Mine is considerably longer in the torso and arms. The yoke is pretty identical though. The front and the back at the neckline have short rows to make the back a higher fit, which I really like.
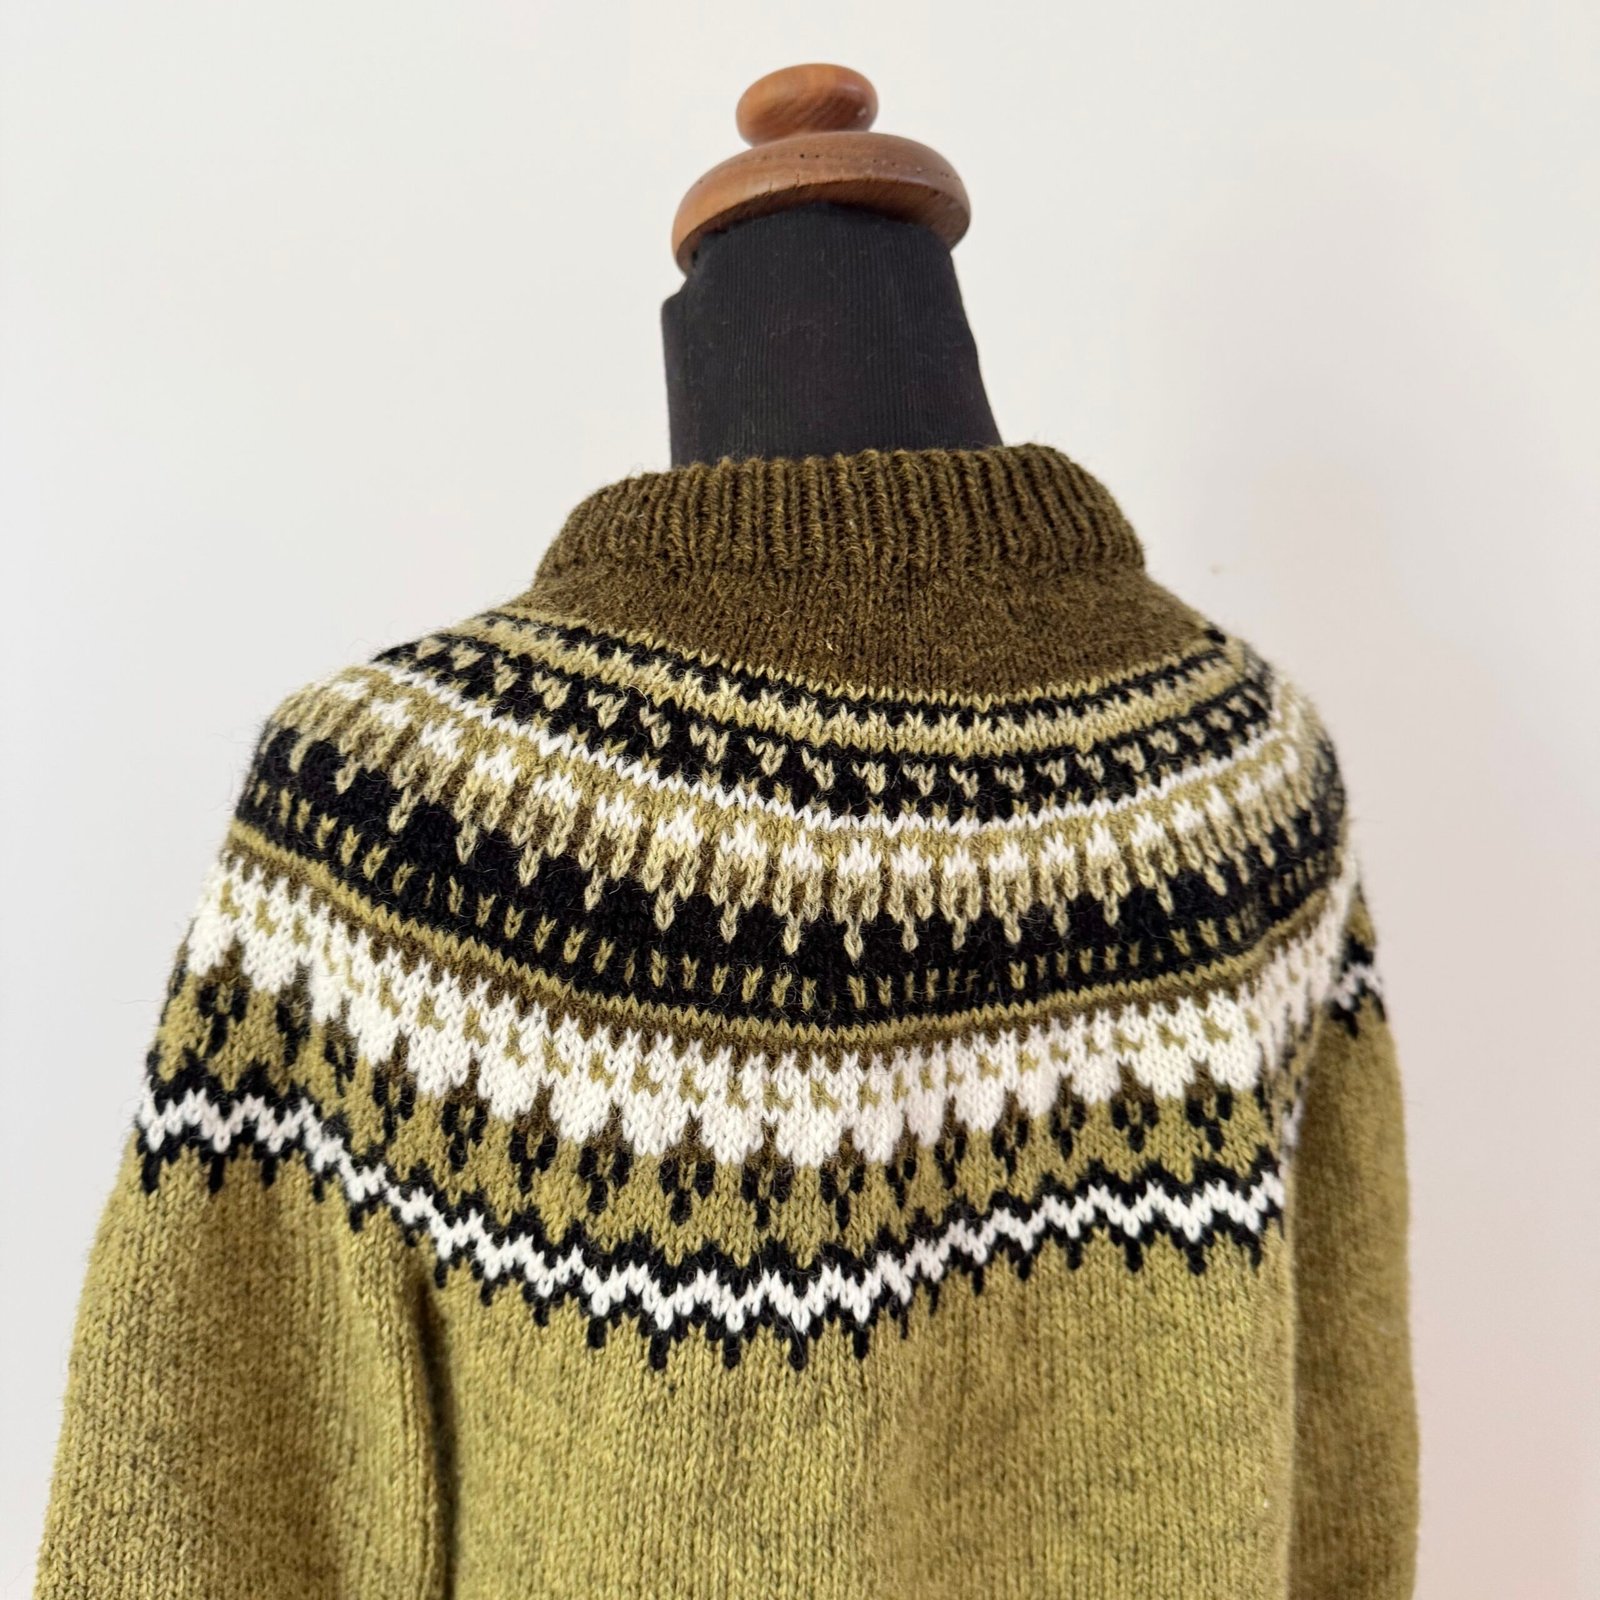
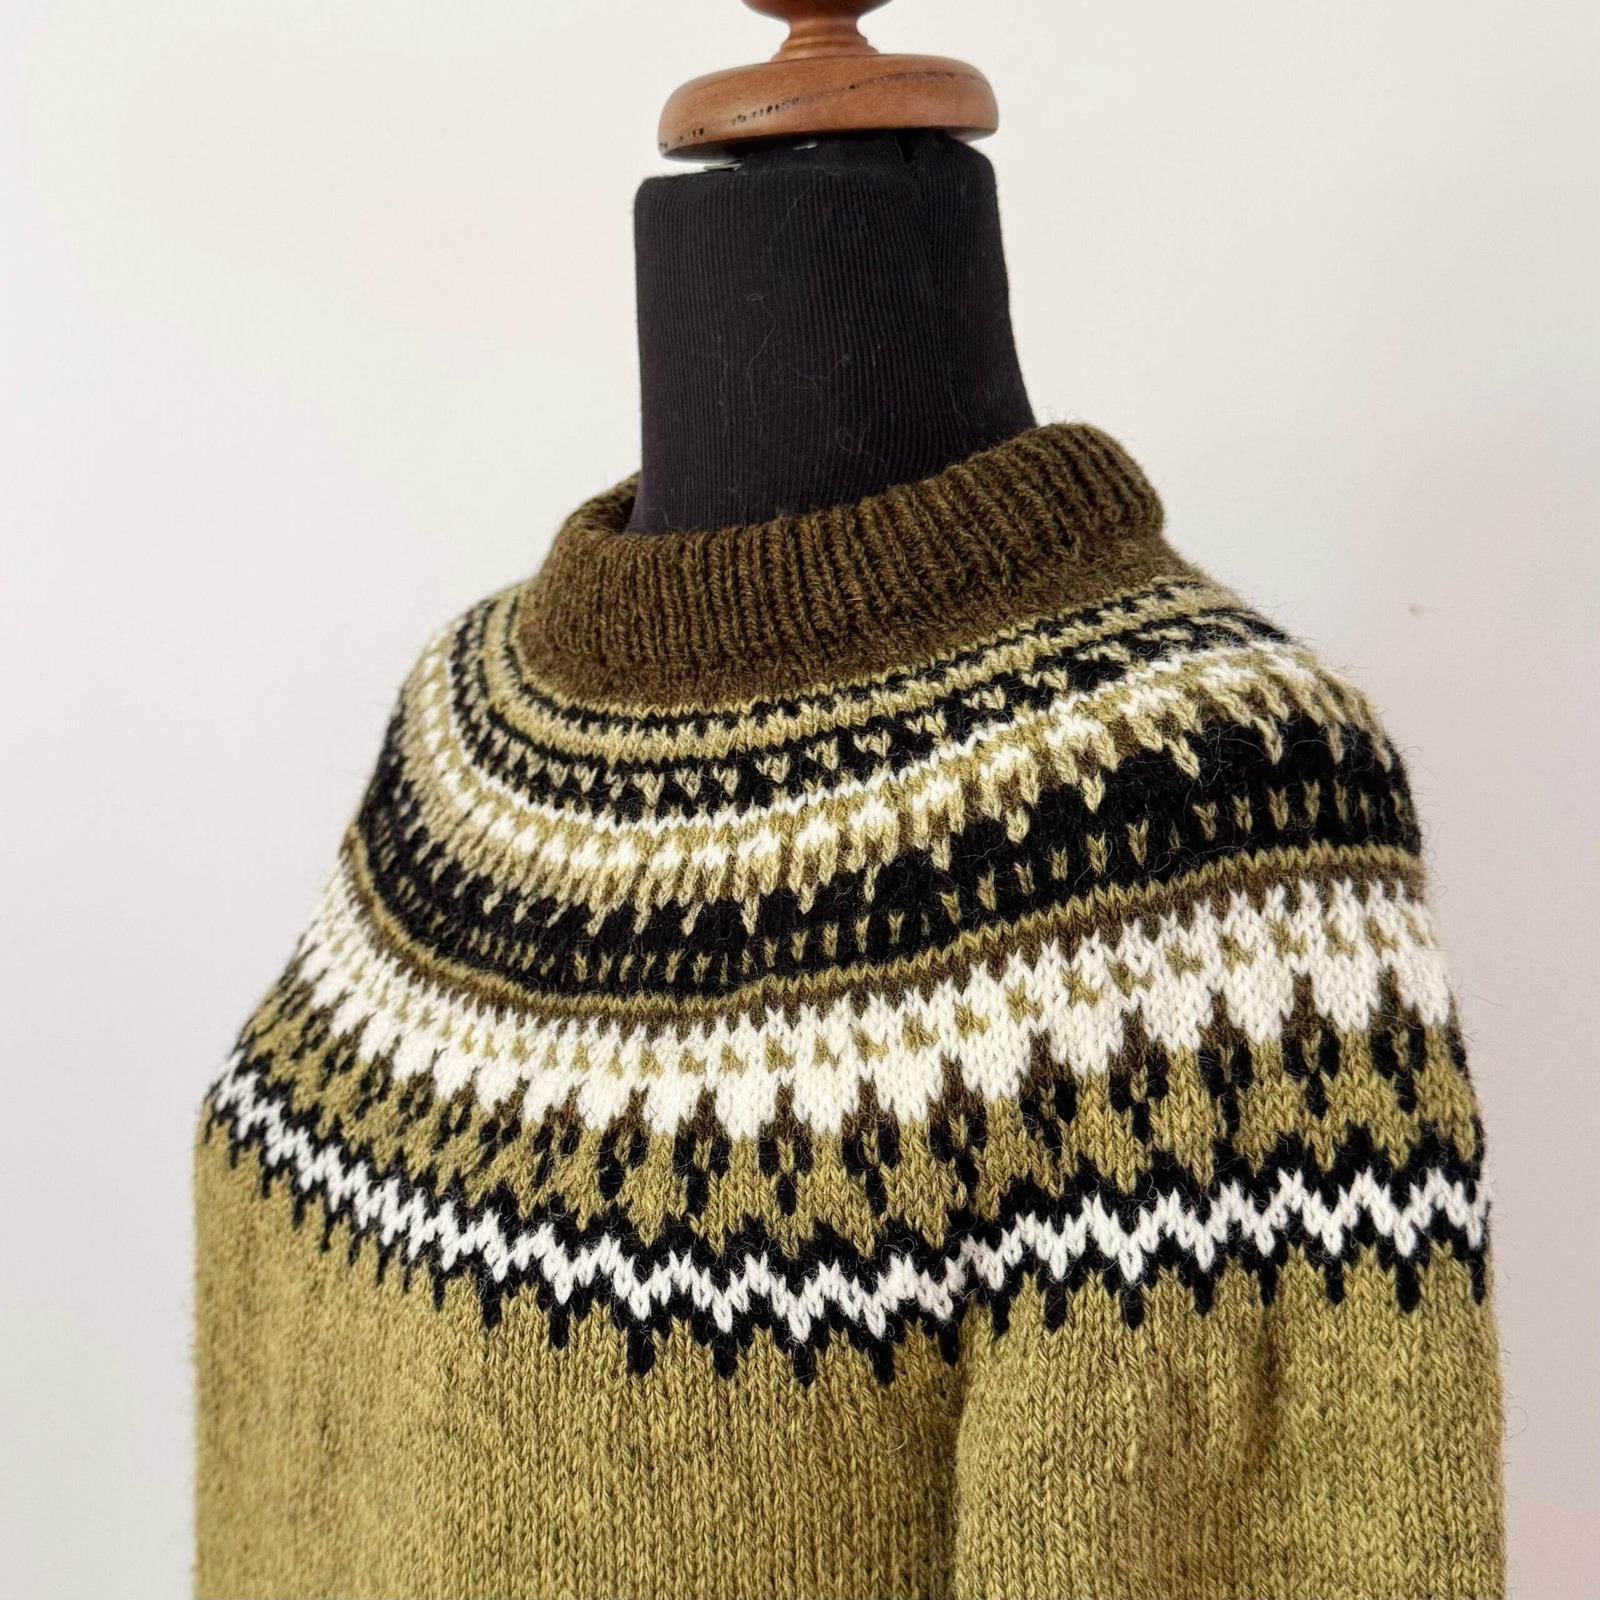 Pictures of the wrong side… just because
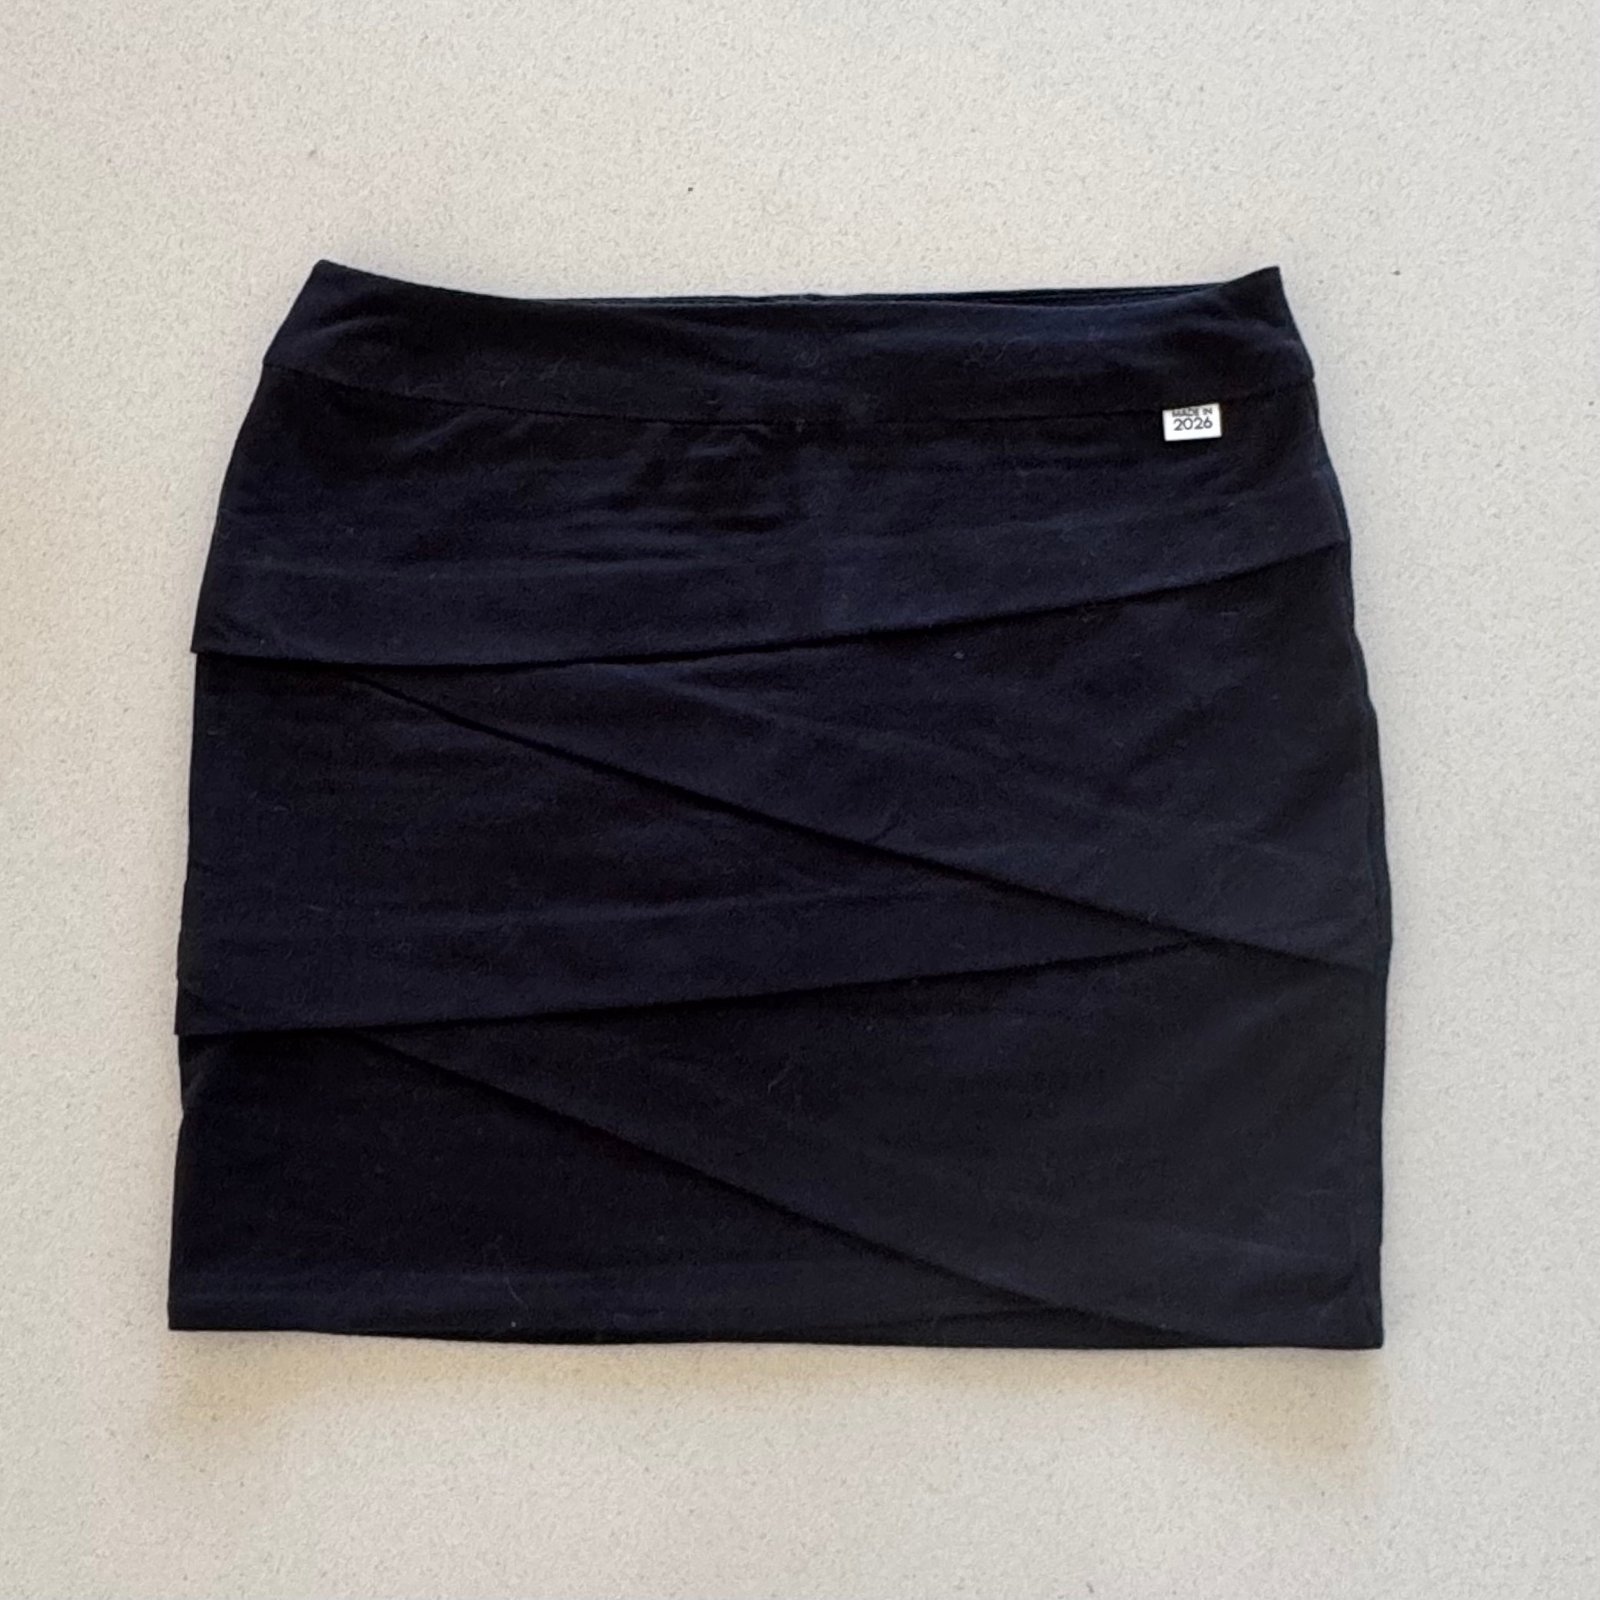
 I thought what this jumper needed was a little black mini skirt to go with it, so whipped one up! The advantages of sewing your own clothes is that you can just make something you need without having to search the shops for that one perfect thing! This is made using one of my favourite mini skirt patterns, the Jade mini skirt by Paprika Patterns. Black cotton jersey an old resident from my stash.
I’ve worn this outfit multiple times and really love it!
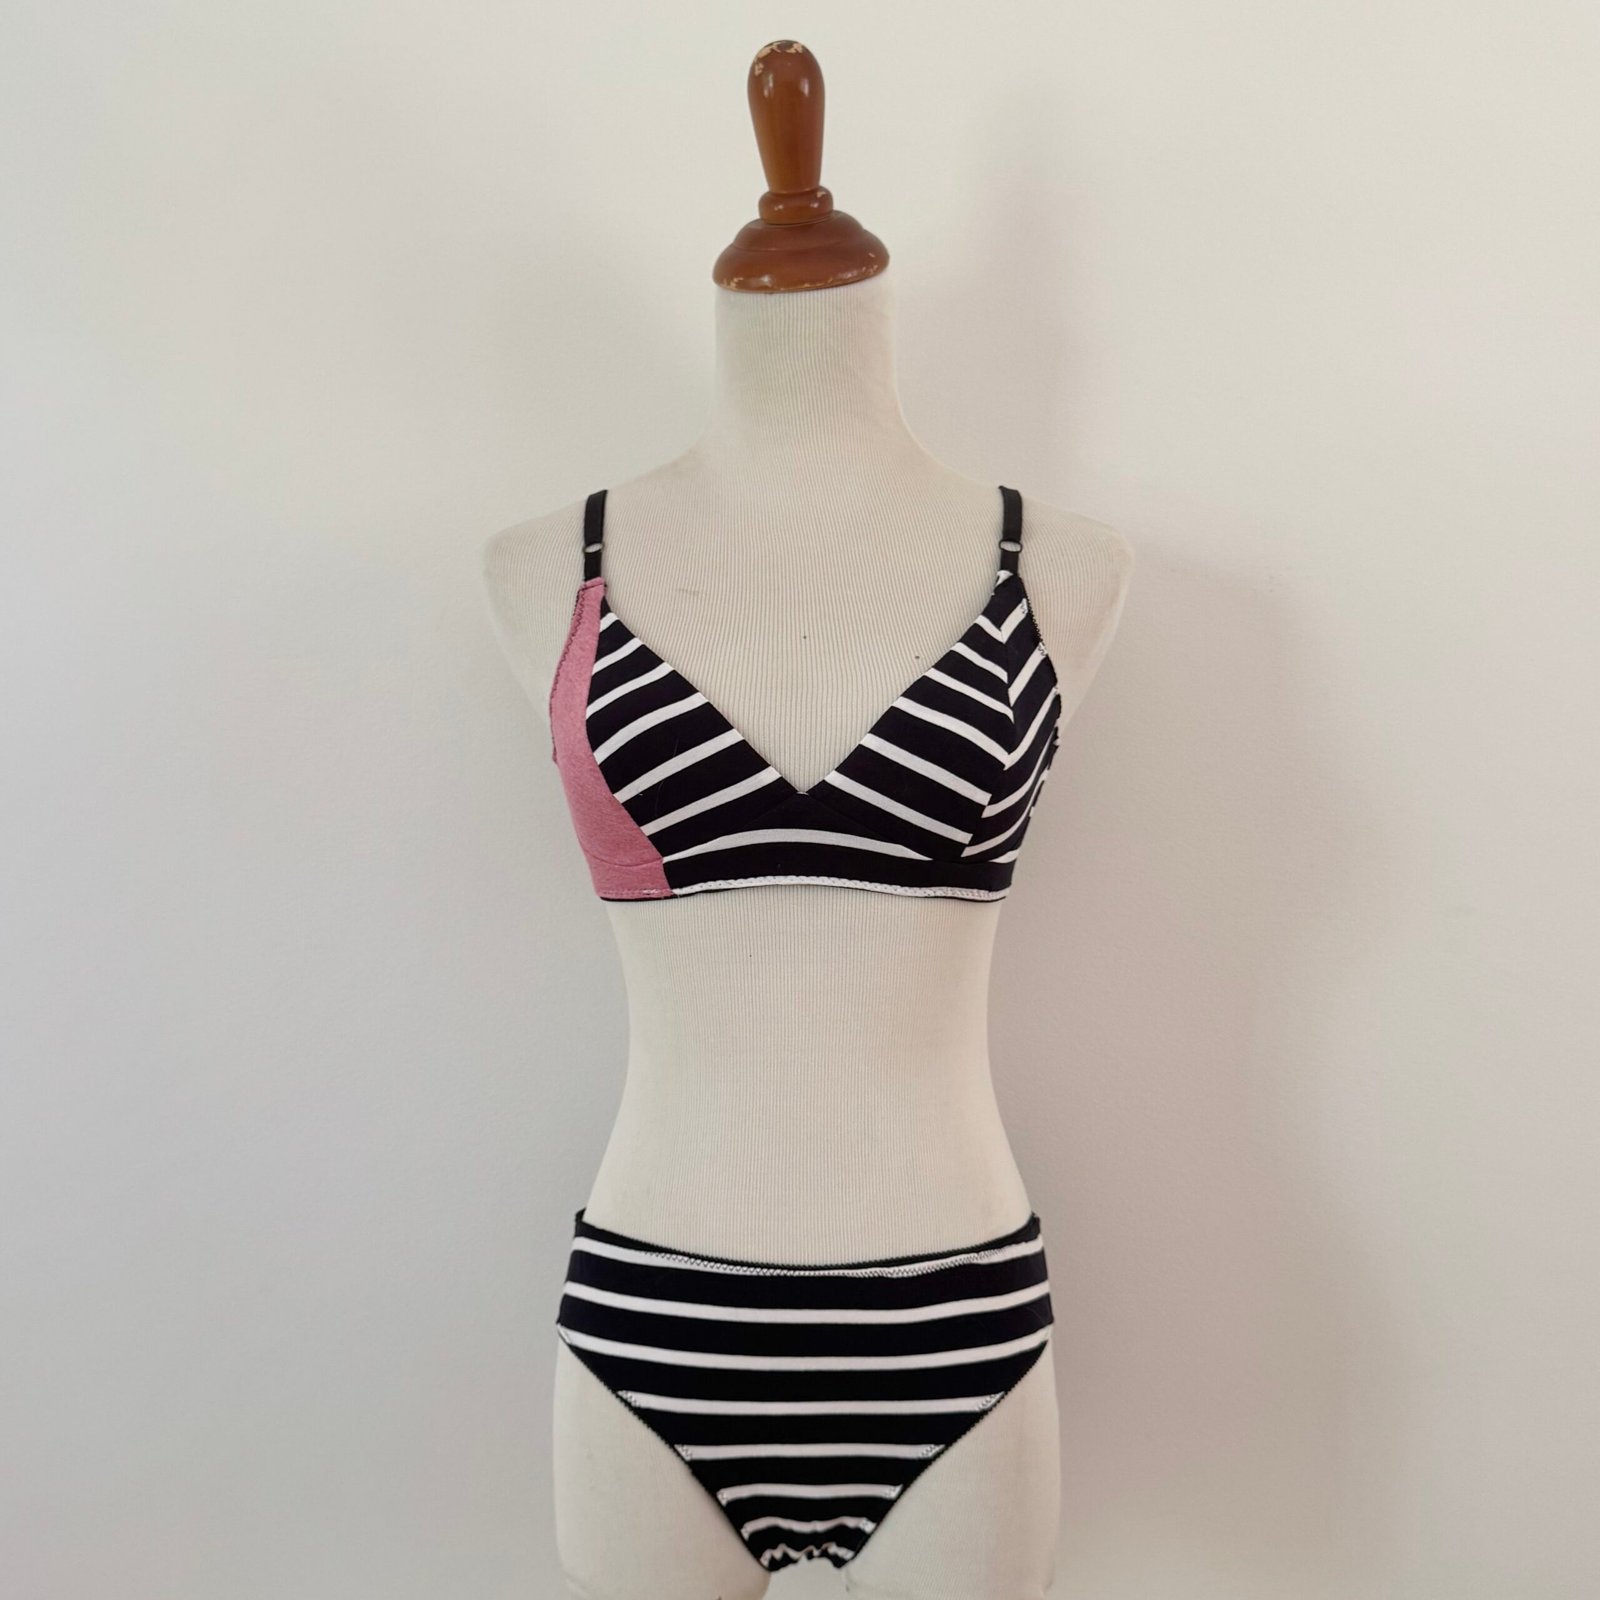
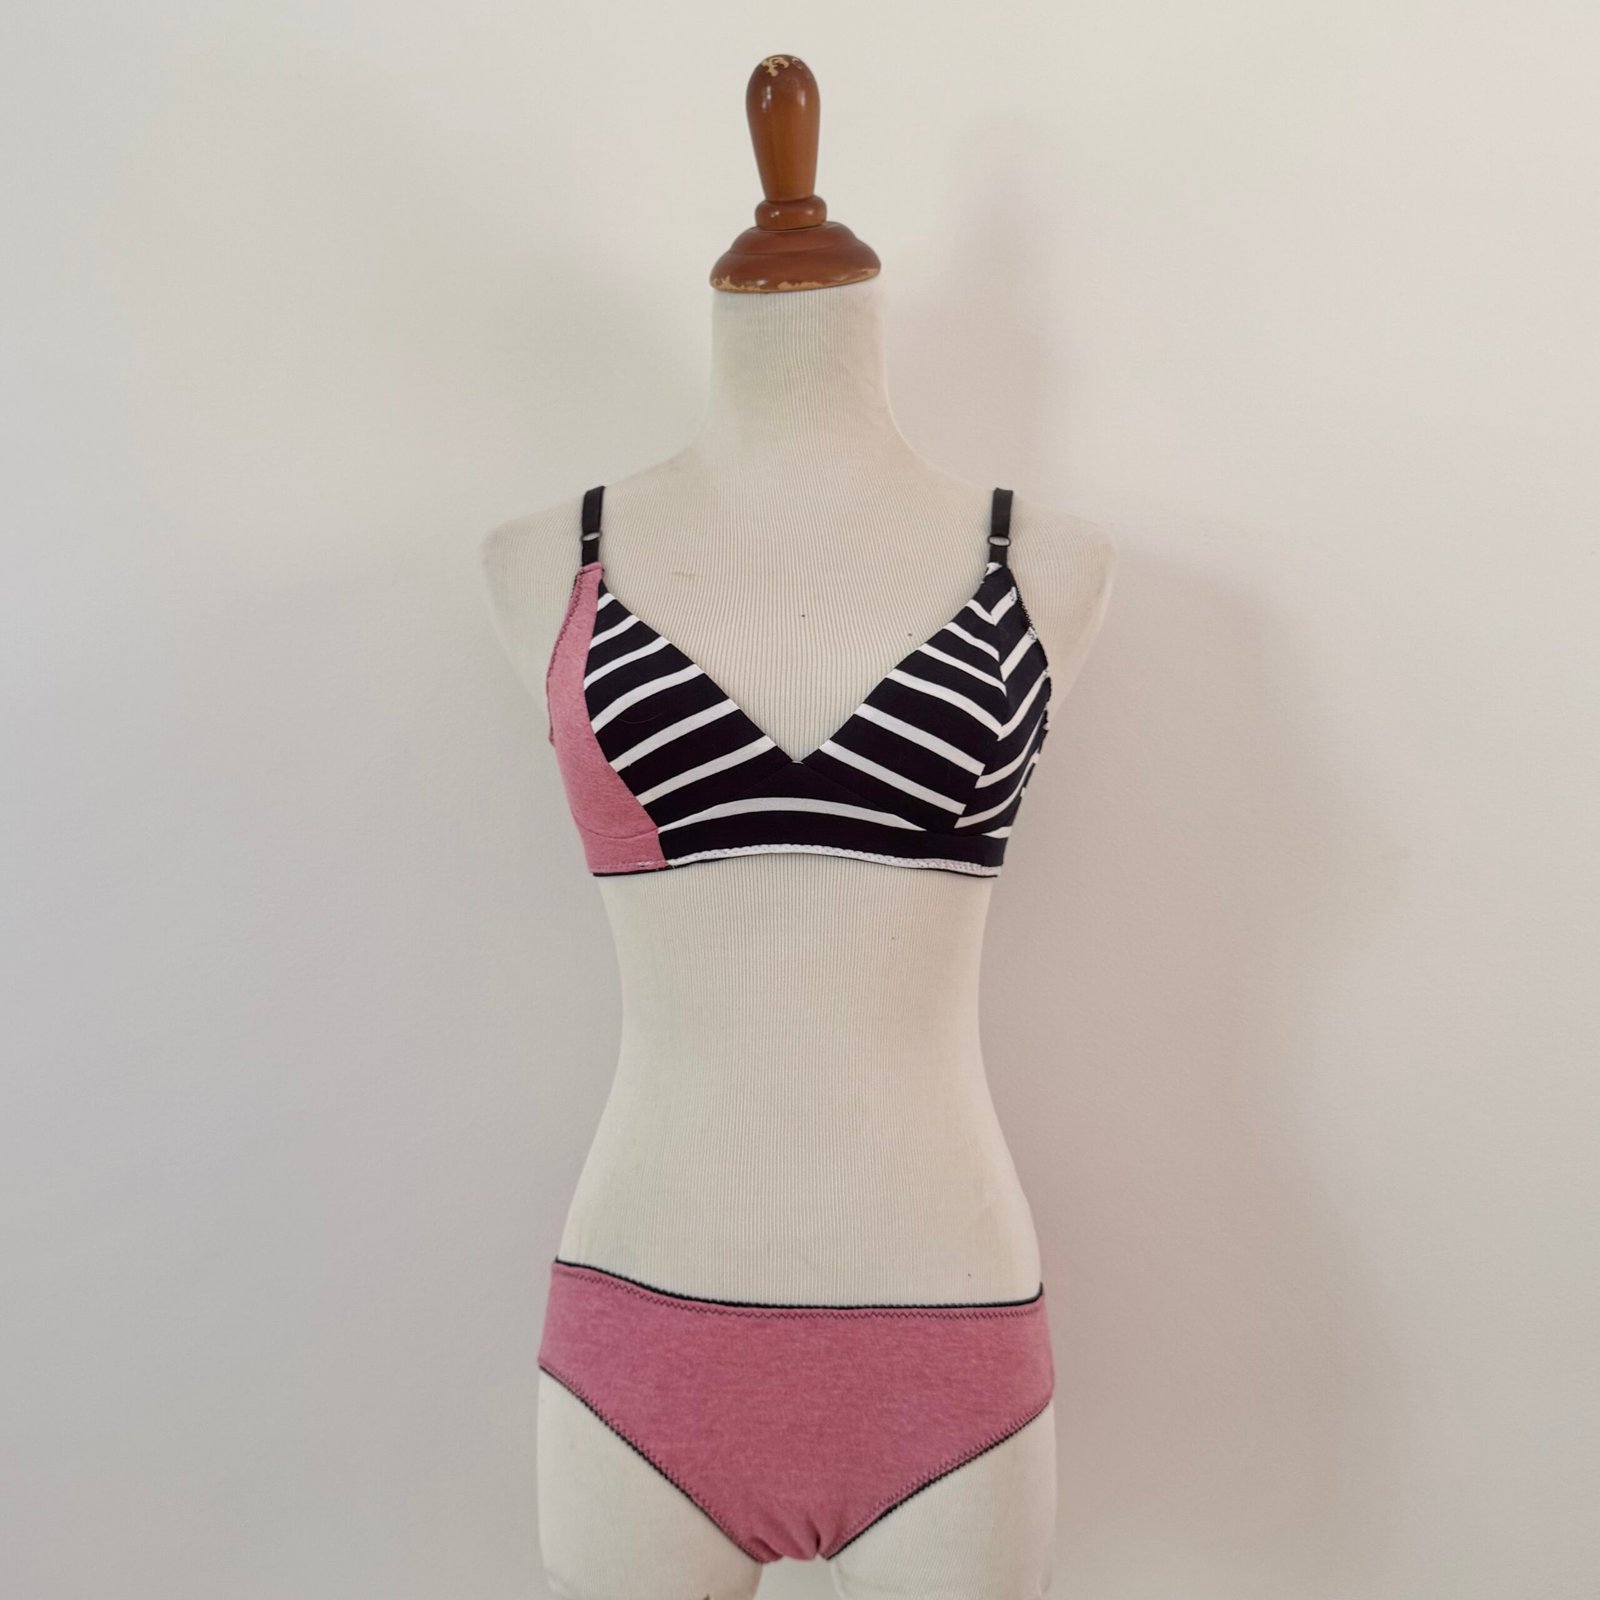
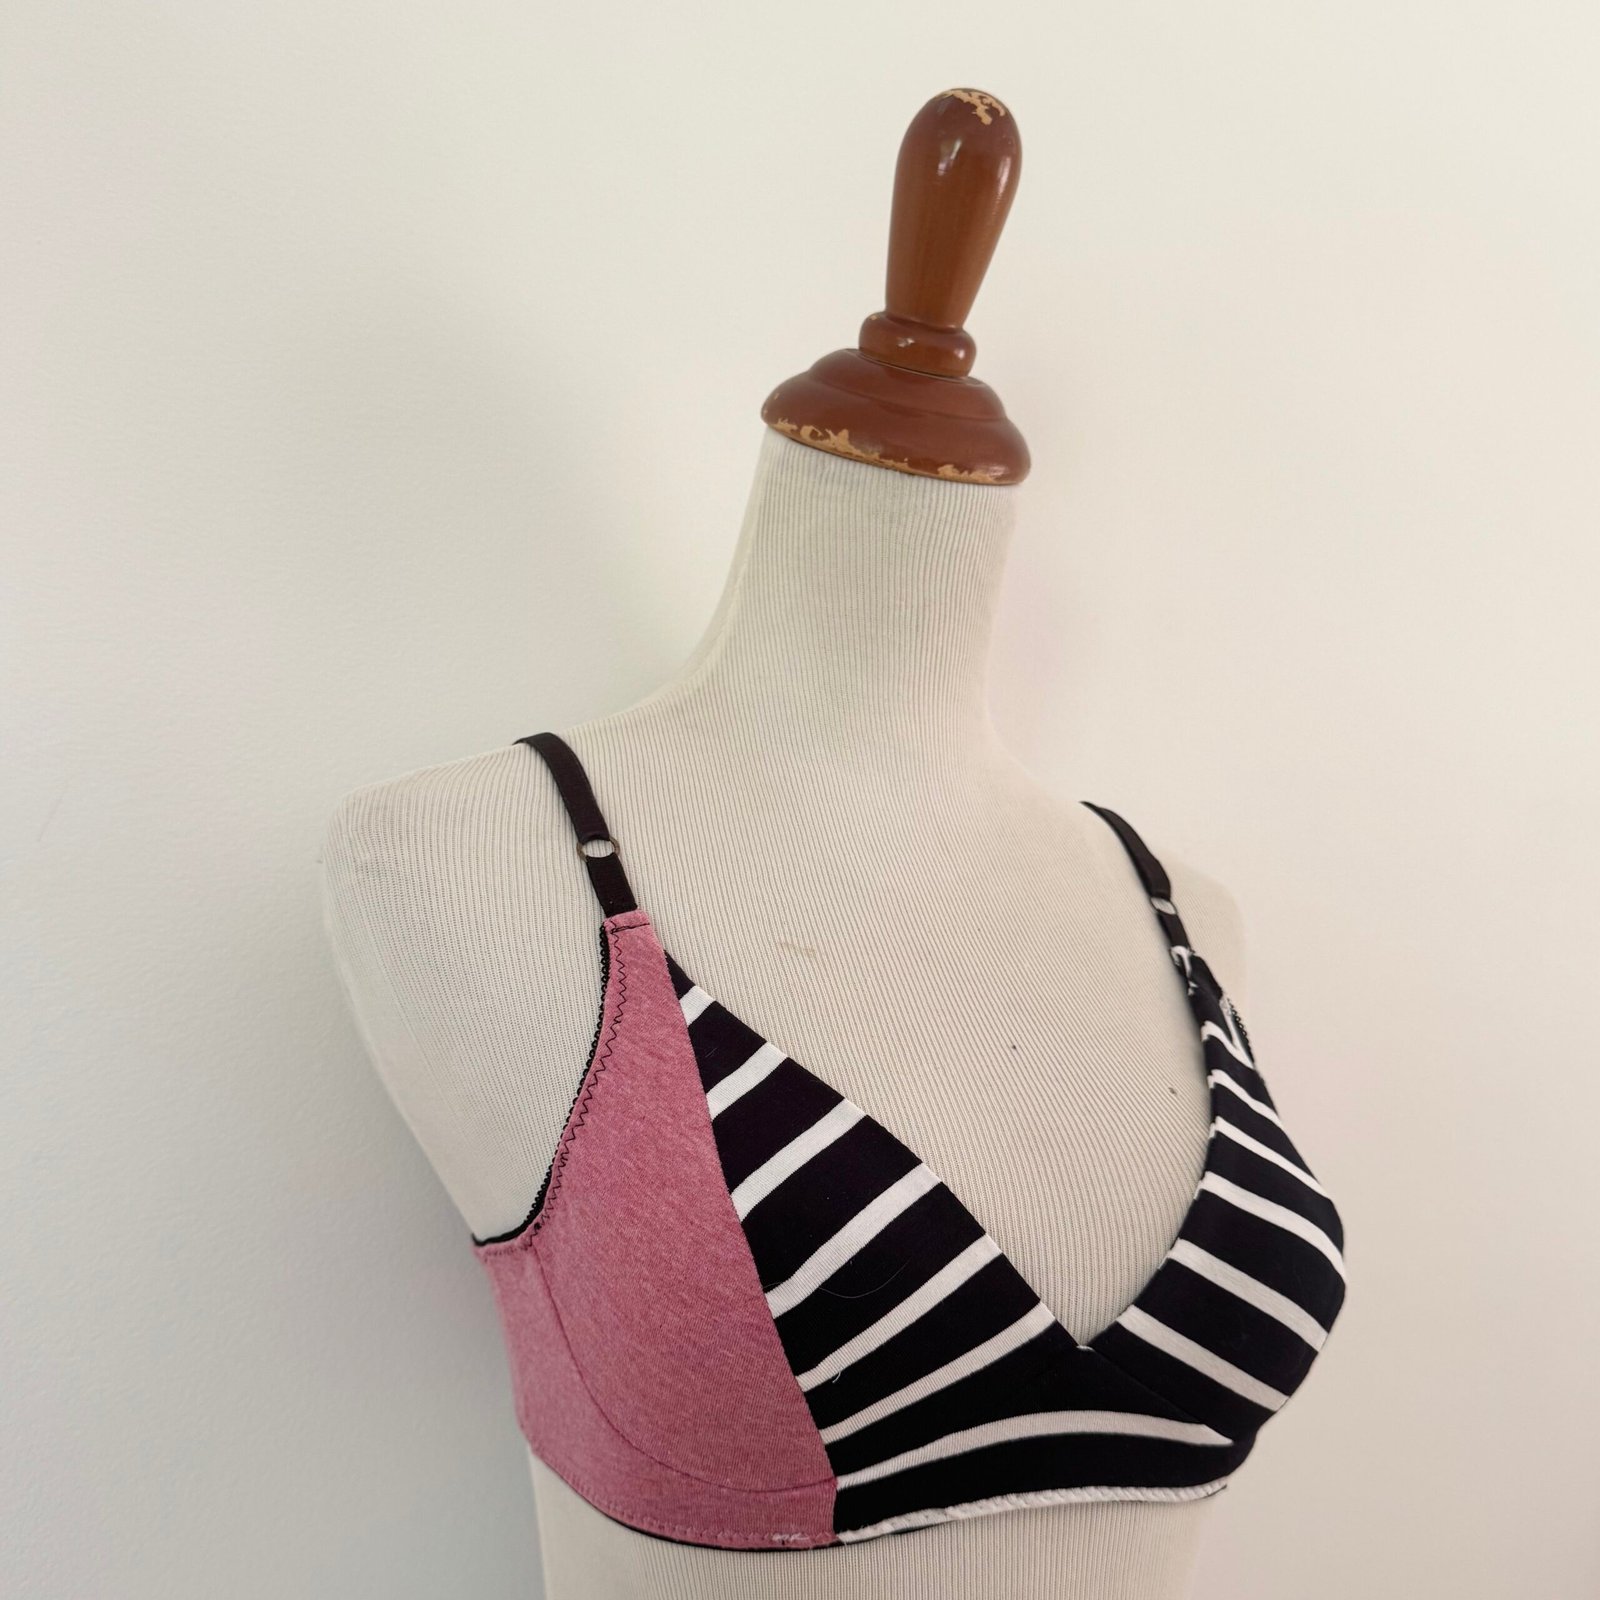
Also made at some point during the past months; a new set of underwear, made using the Cloth Habit Watson pattern and old cotton jerseys left over from previous projects. Everything from stash.
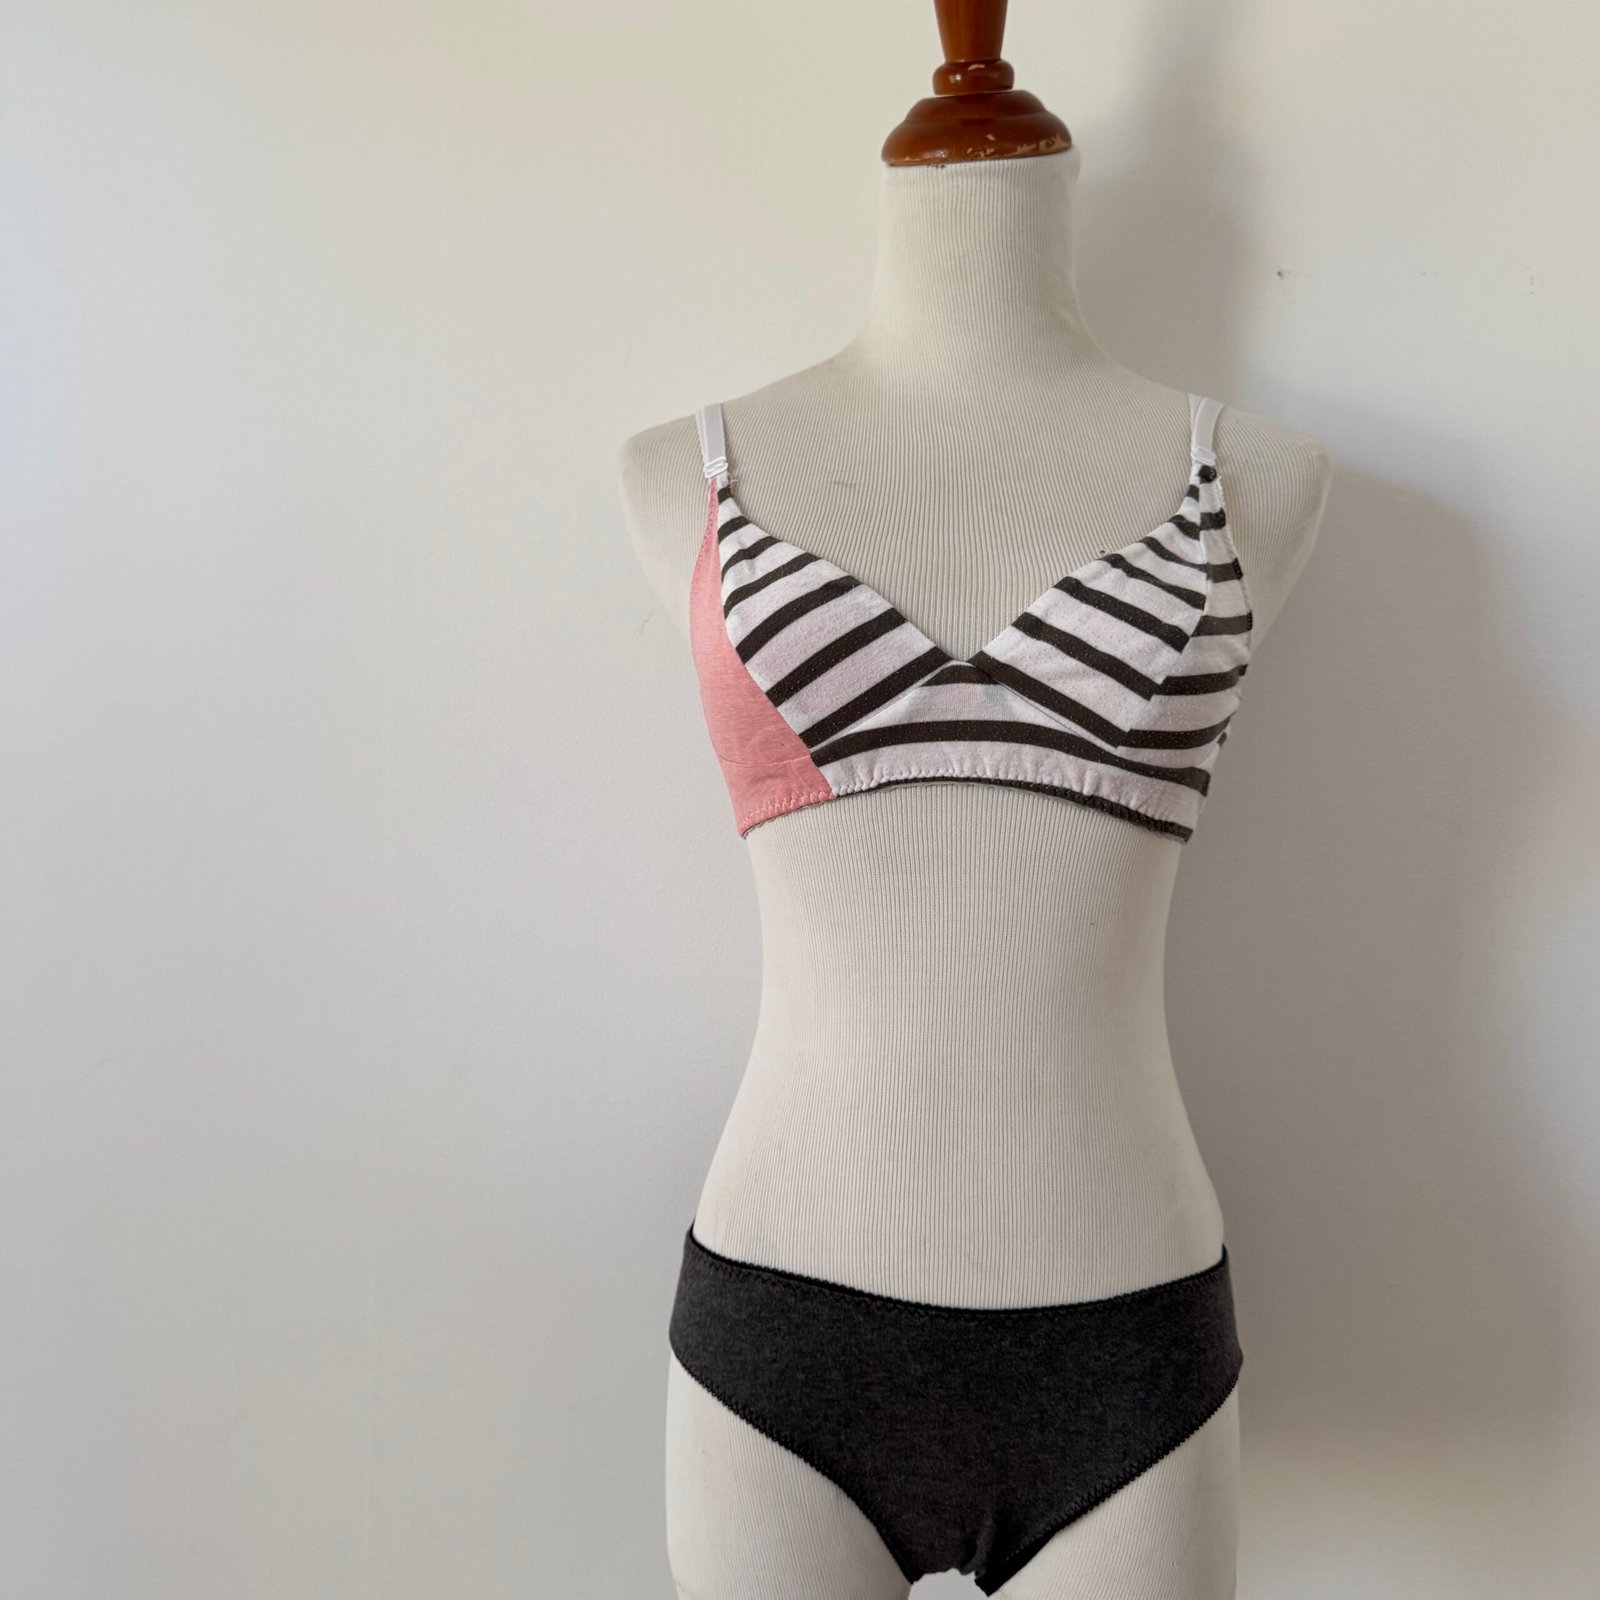
 Also using the same pattern, several new pairs of plain charcoal grey undies to replace some older undies whose matching bra is still going strong….
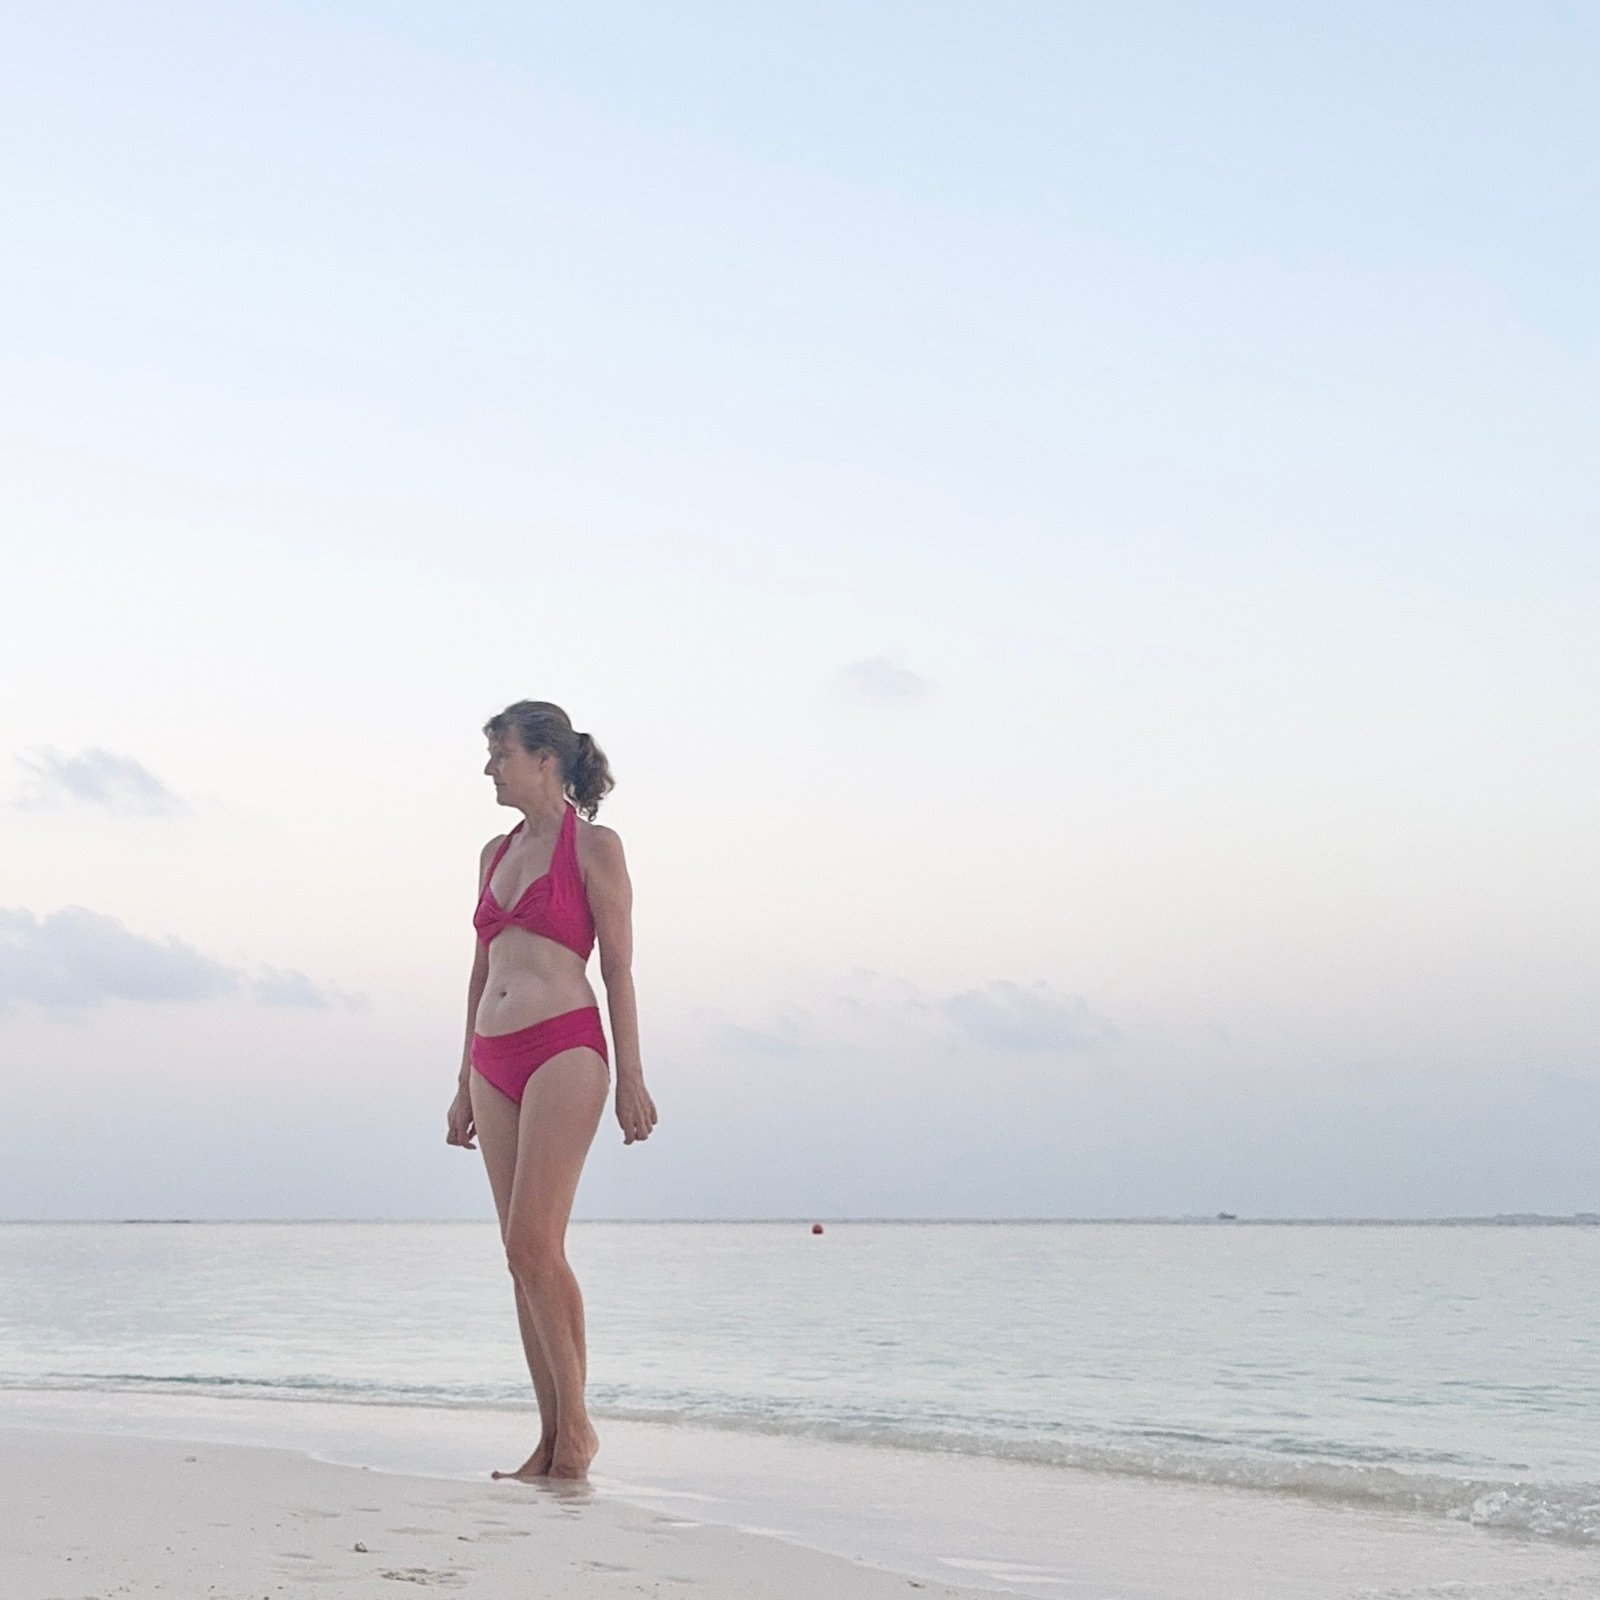
Also made back in February; we were going away and since I now swim daily I wanted an extra pair of bathers. I used my old standby McCalls 2772 and a length of Barbie pink stretch poly that I actually found in the stash… and, what was I thinking when I bought this? I honestly don’t know. They’re not the best finished things ever but I made them during a low point went I wasn’t really caring about gorgeousness very much and was just more focused on getting something… anything… done. I think I recovered from that now. Although I like the bikini style less that the tankini style, I’ve found them more convenient for swimming! and so I’ve gone on to wear these literally every single day for my early morning swim. The fabric was never ideal in the first place and also I really don’t take care of my bathers at all, so they’re now pretty worn out, seams failing, and ready to be replaced pretty soon.
 I’ve made several other things too, not photographed or blogged yet, and I’ll get onto them very soon!


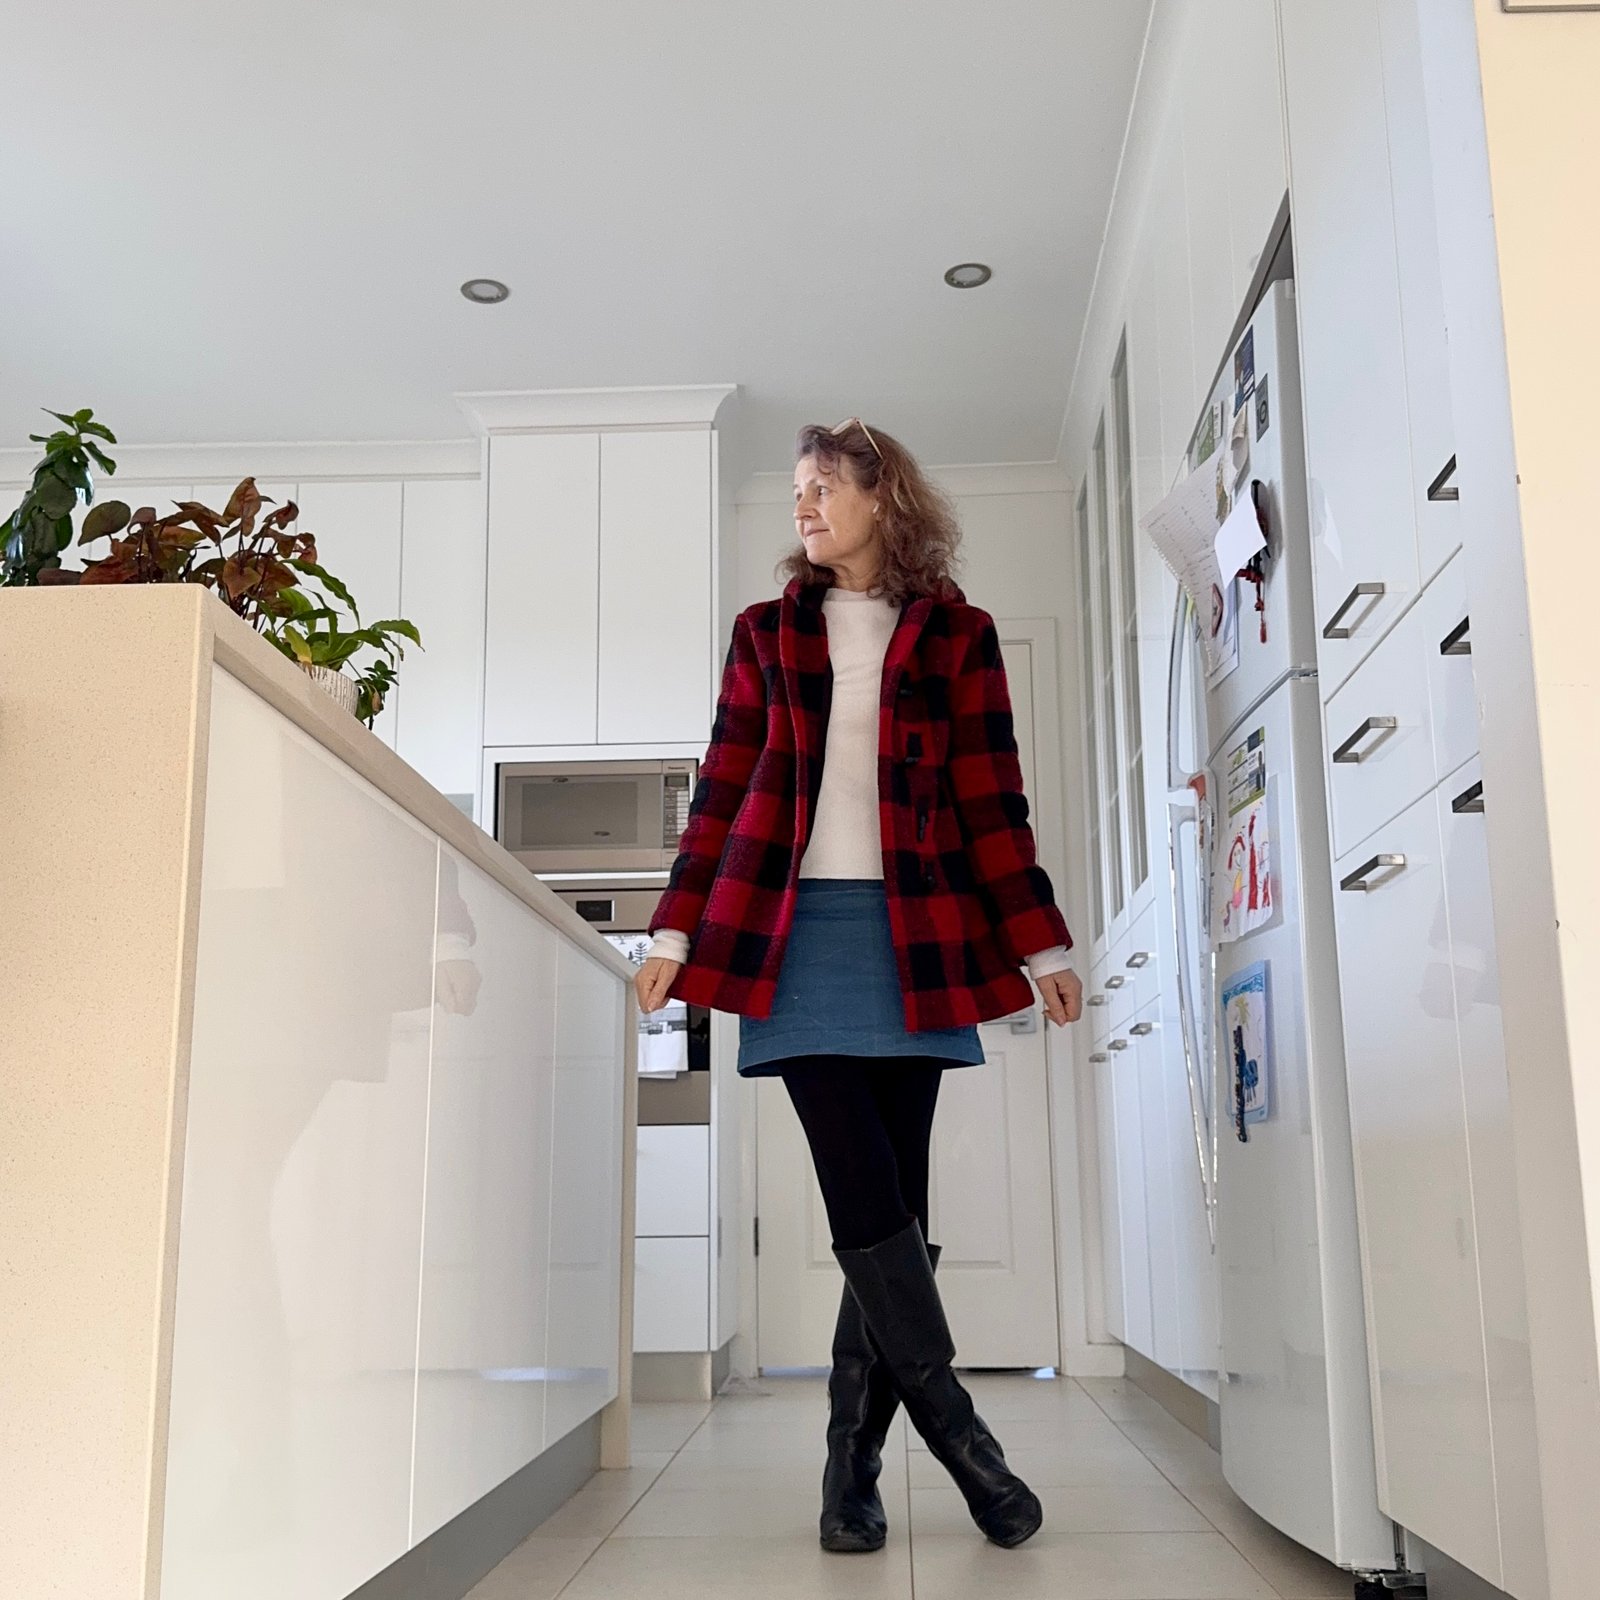

 I’ve made a few more things to wear this winter/early spring….
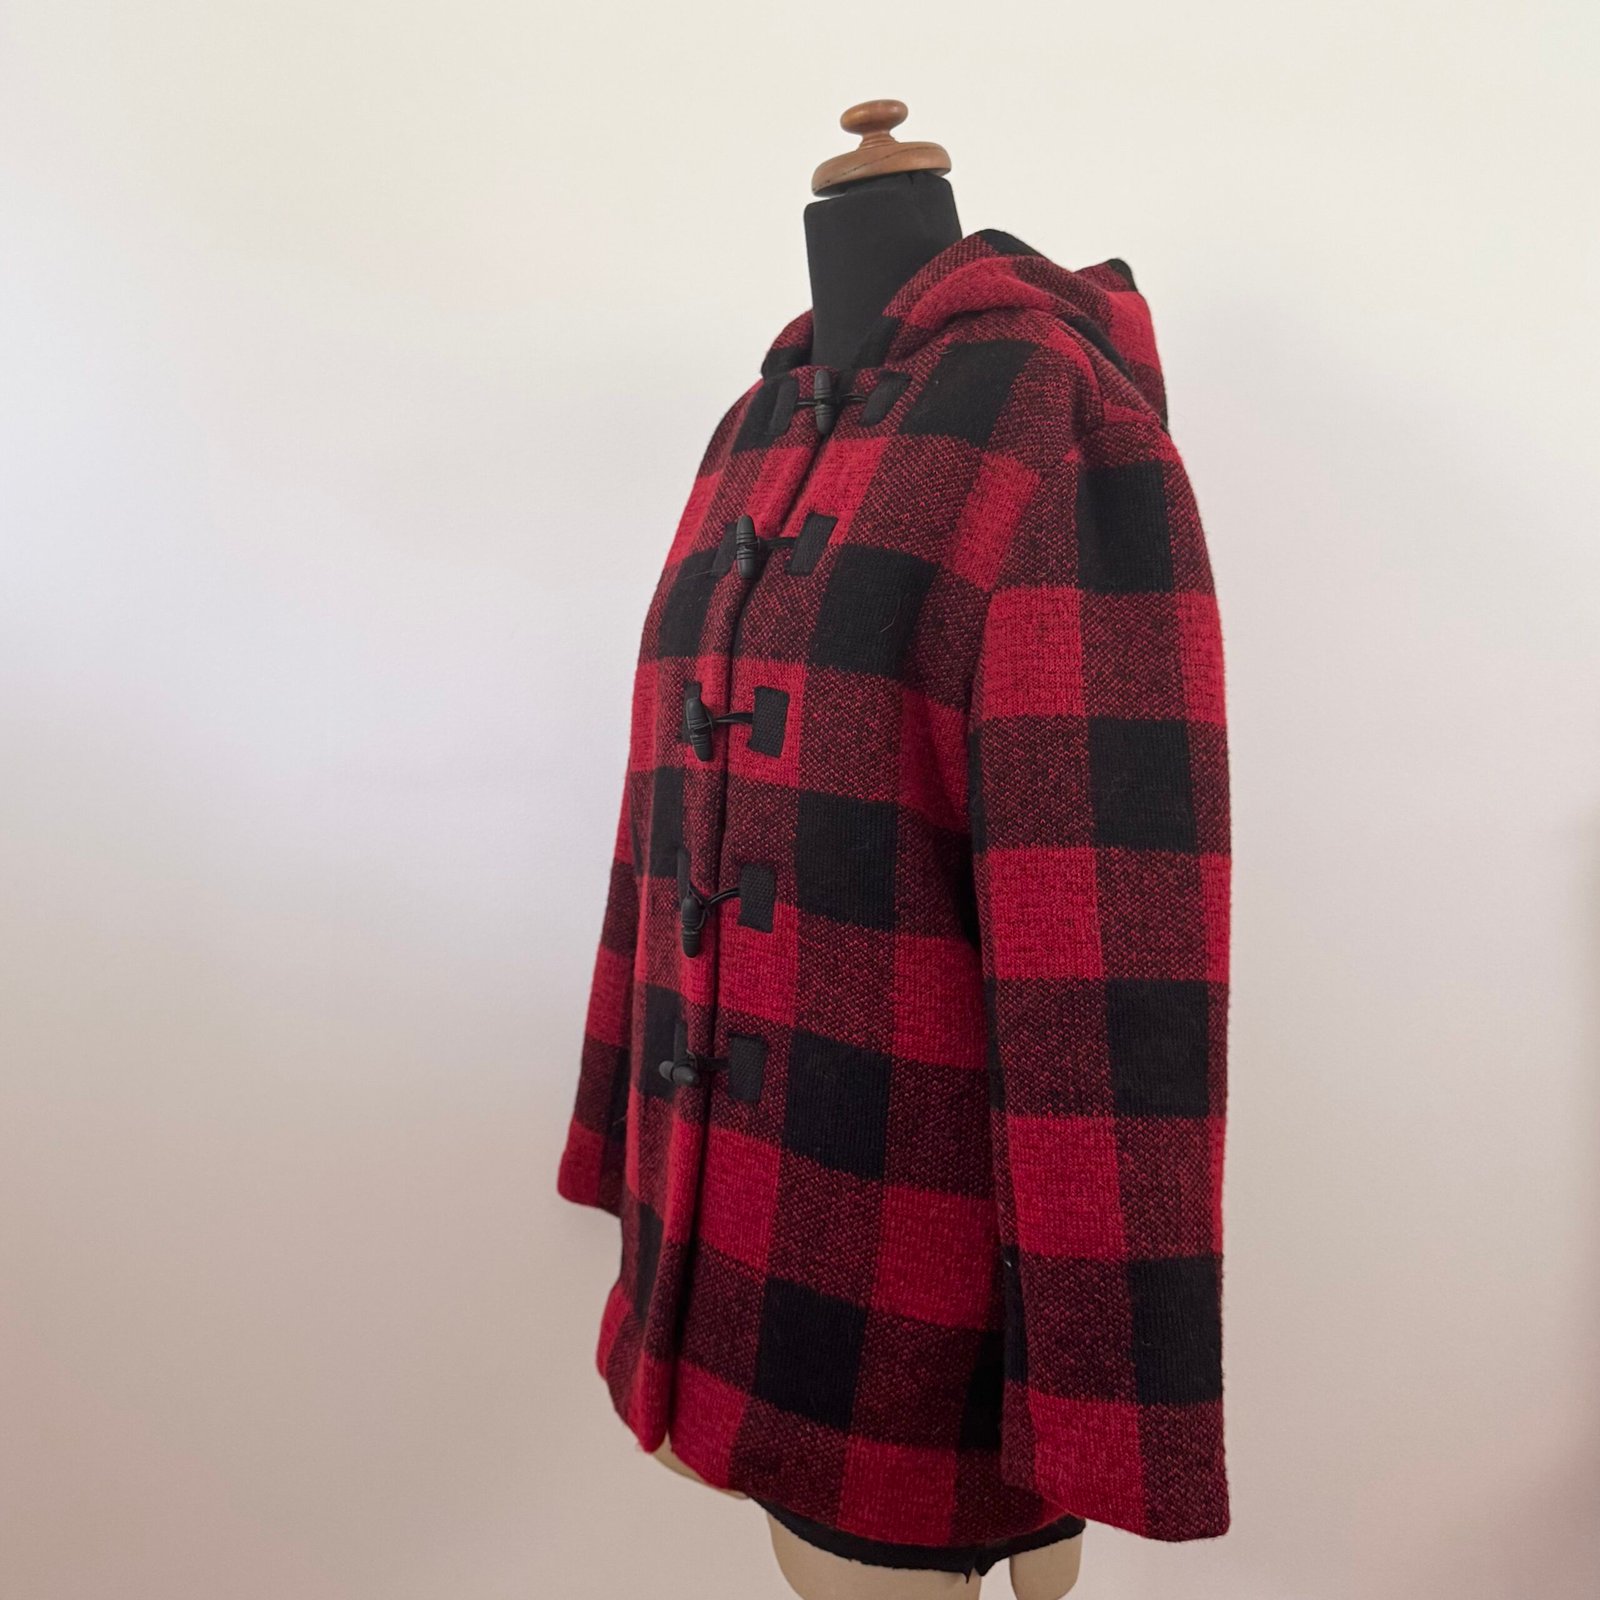 I used the Closet Core Sienna jacket pattern again, cutting the jacket style of my imagination which kind of blended all three views. I gave it inseam side pockets, fully lined it (kind of silky stuff from a Morrison clothing remnant sale) and added two inner patch breast pockets to the lining.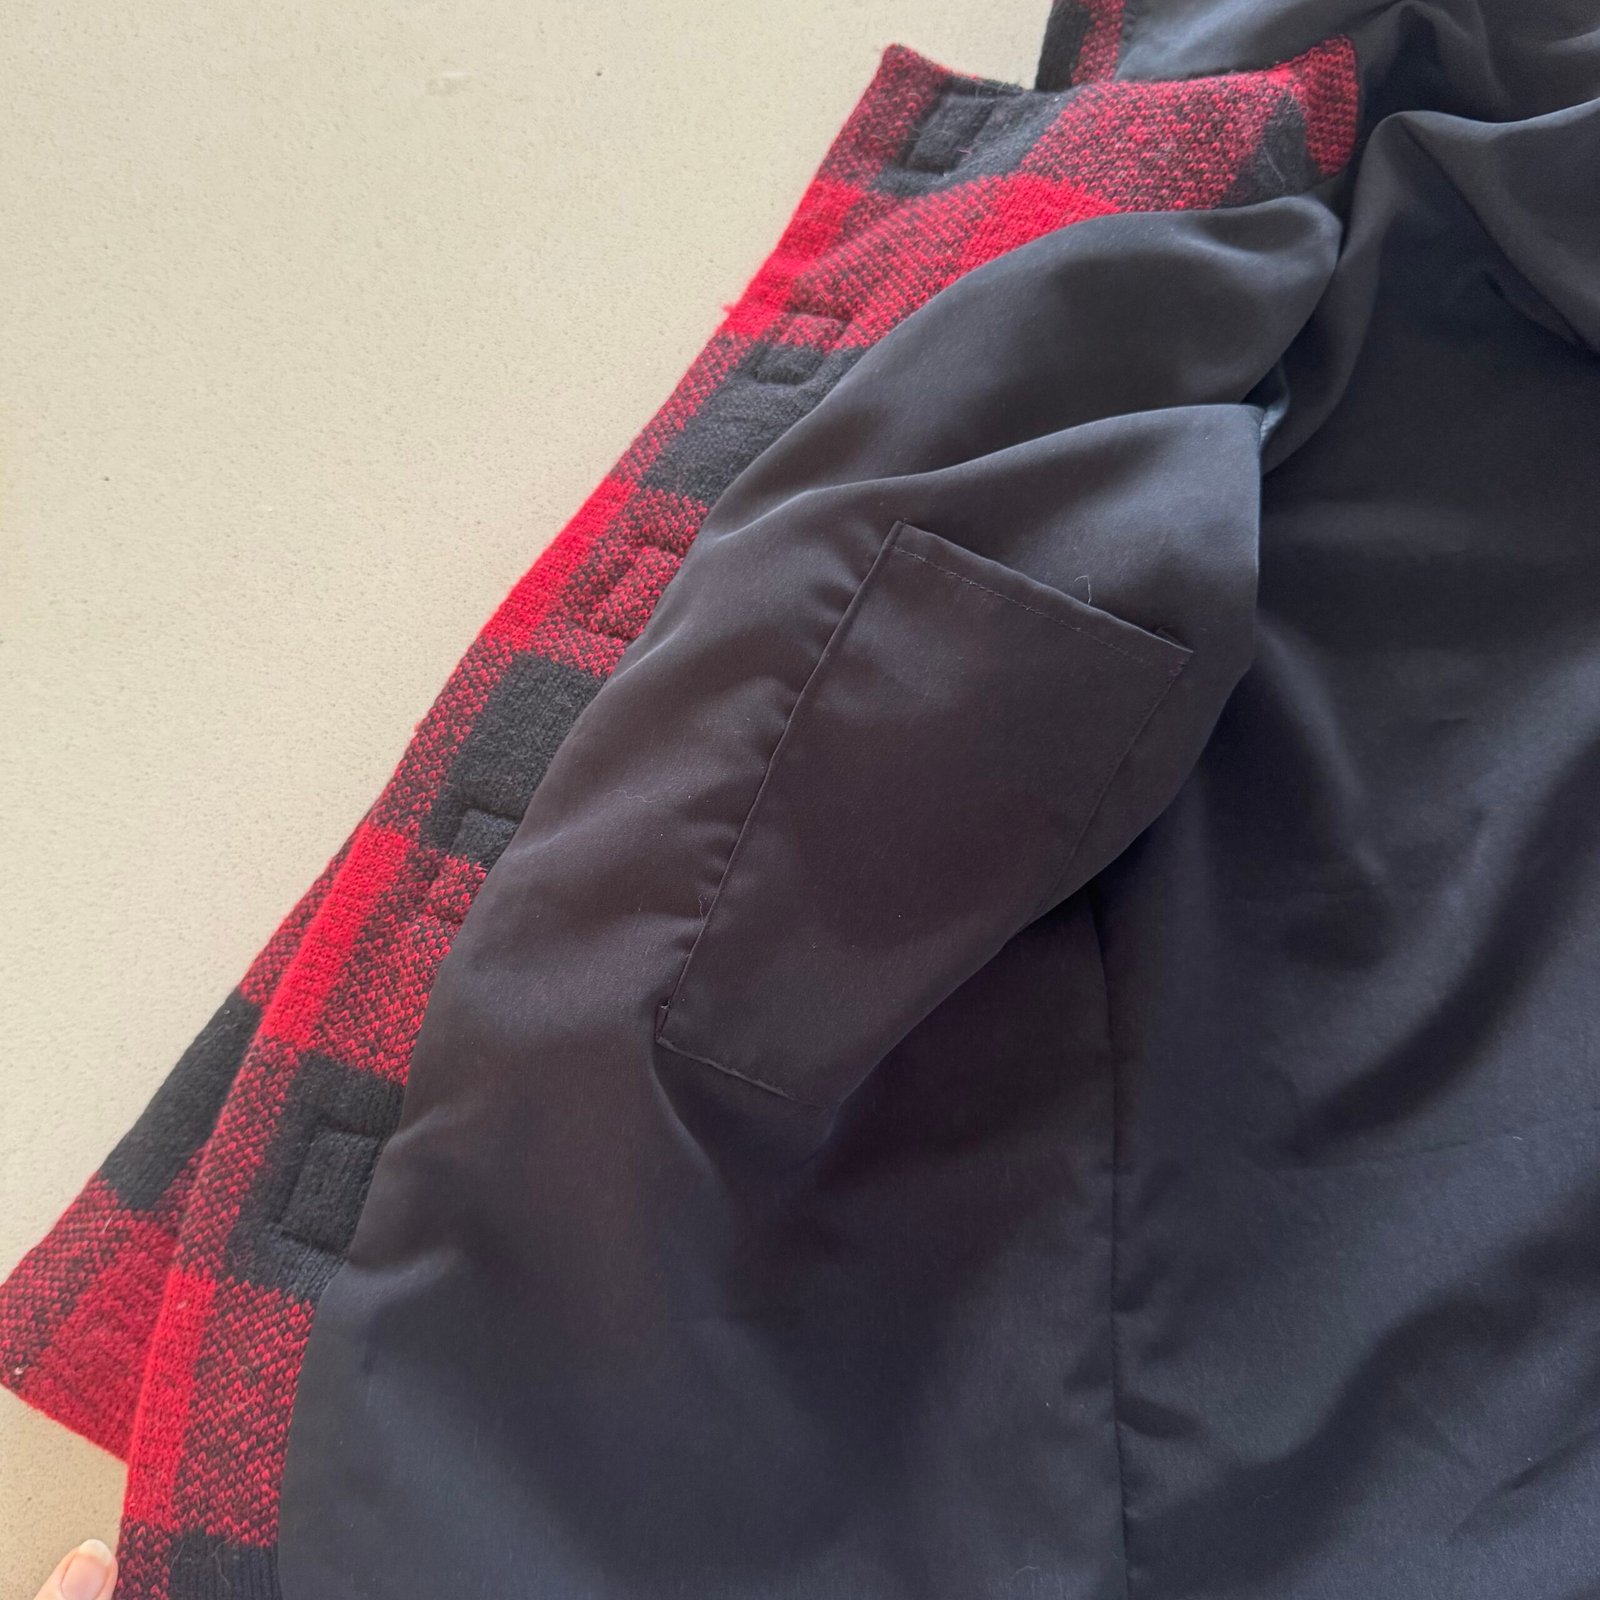
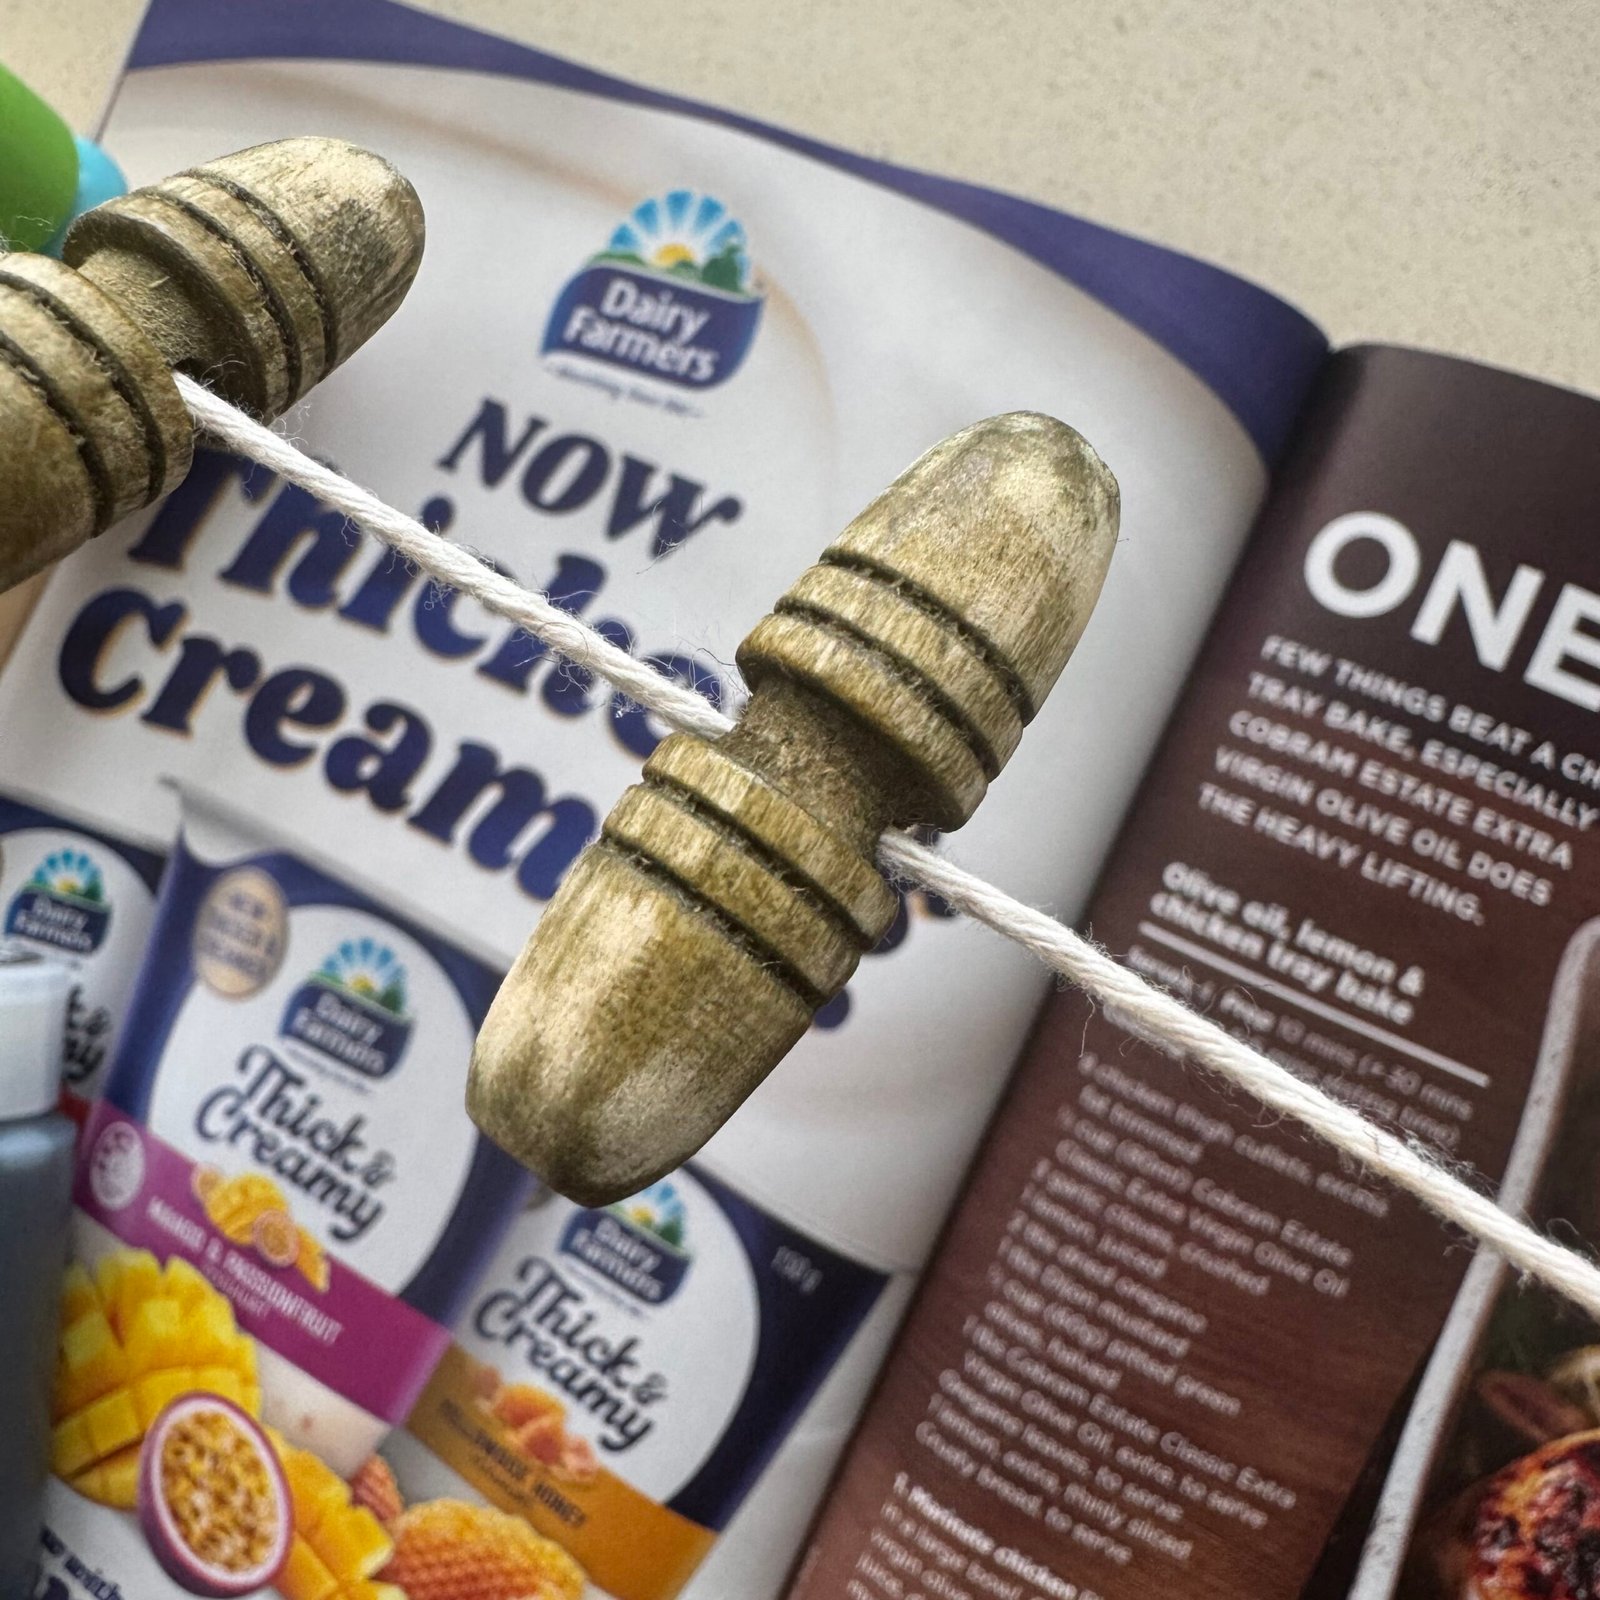
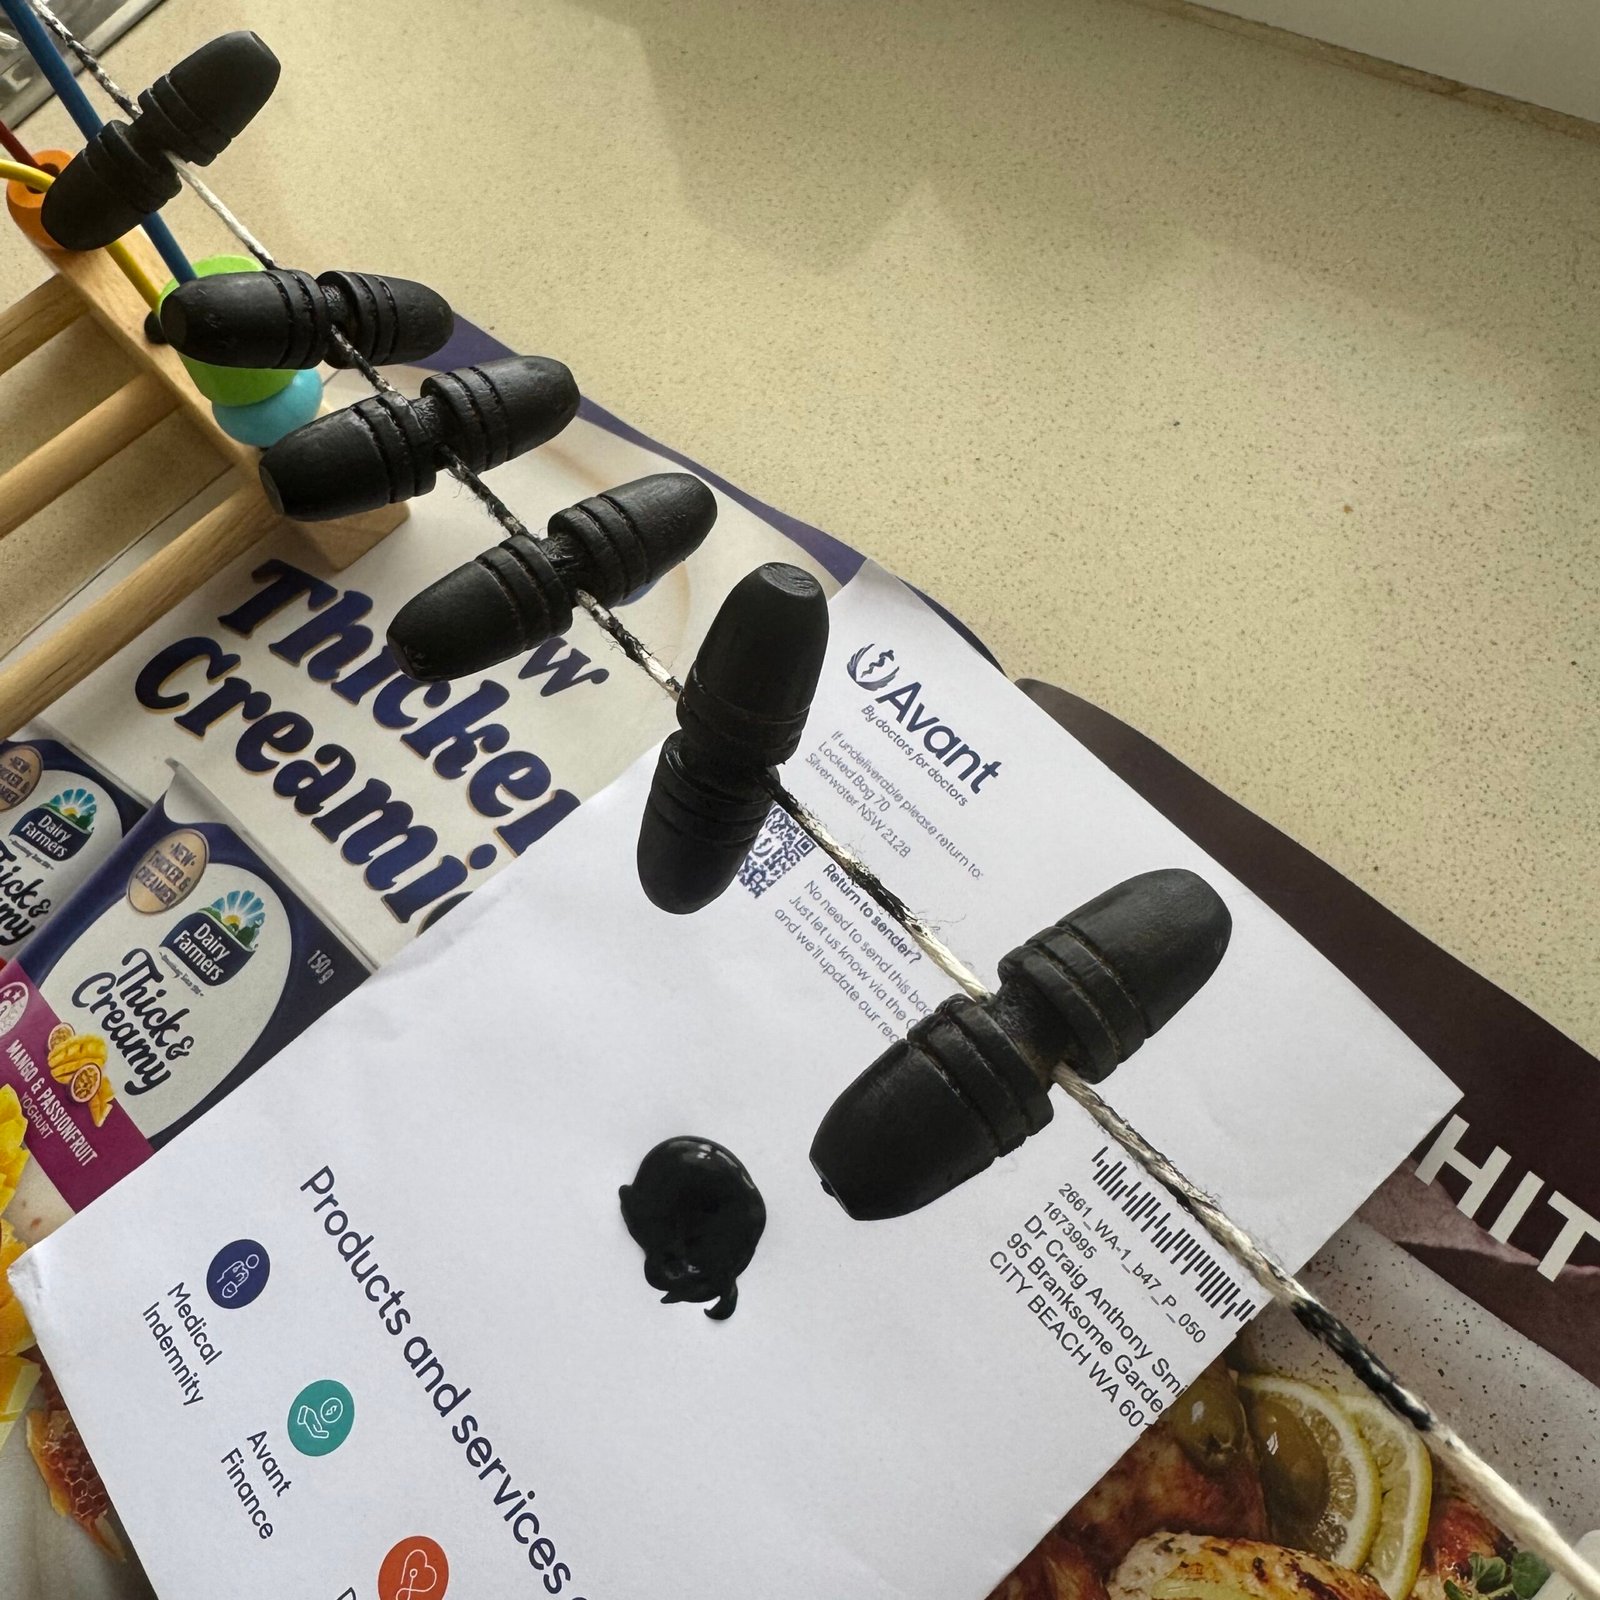
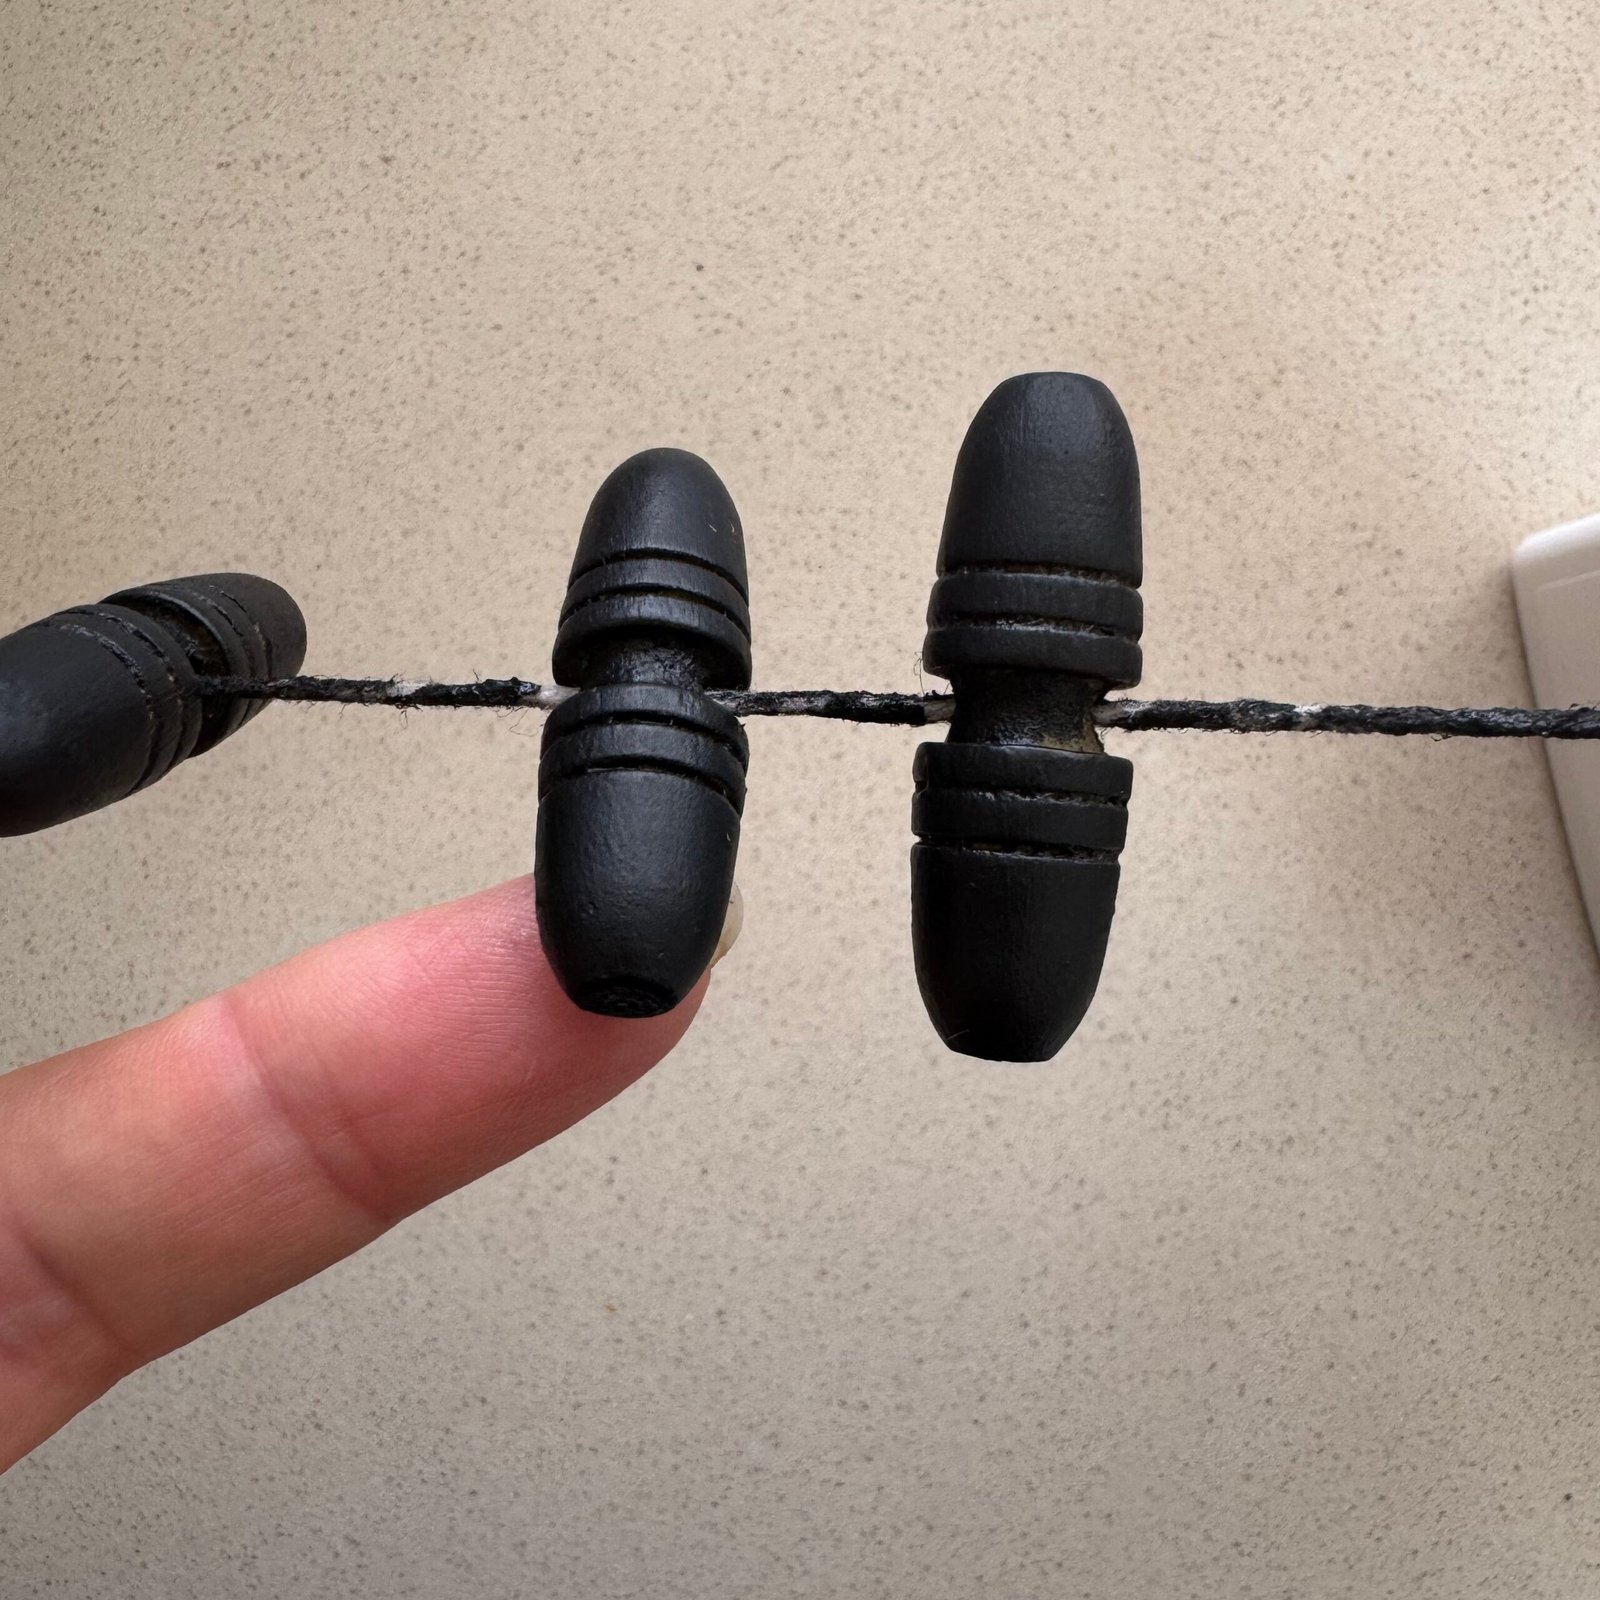
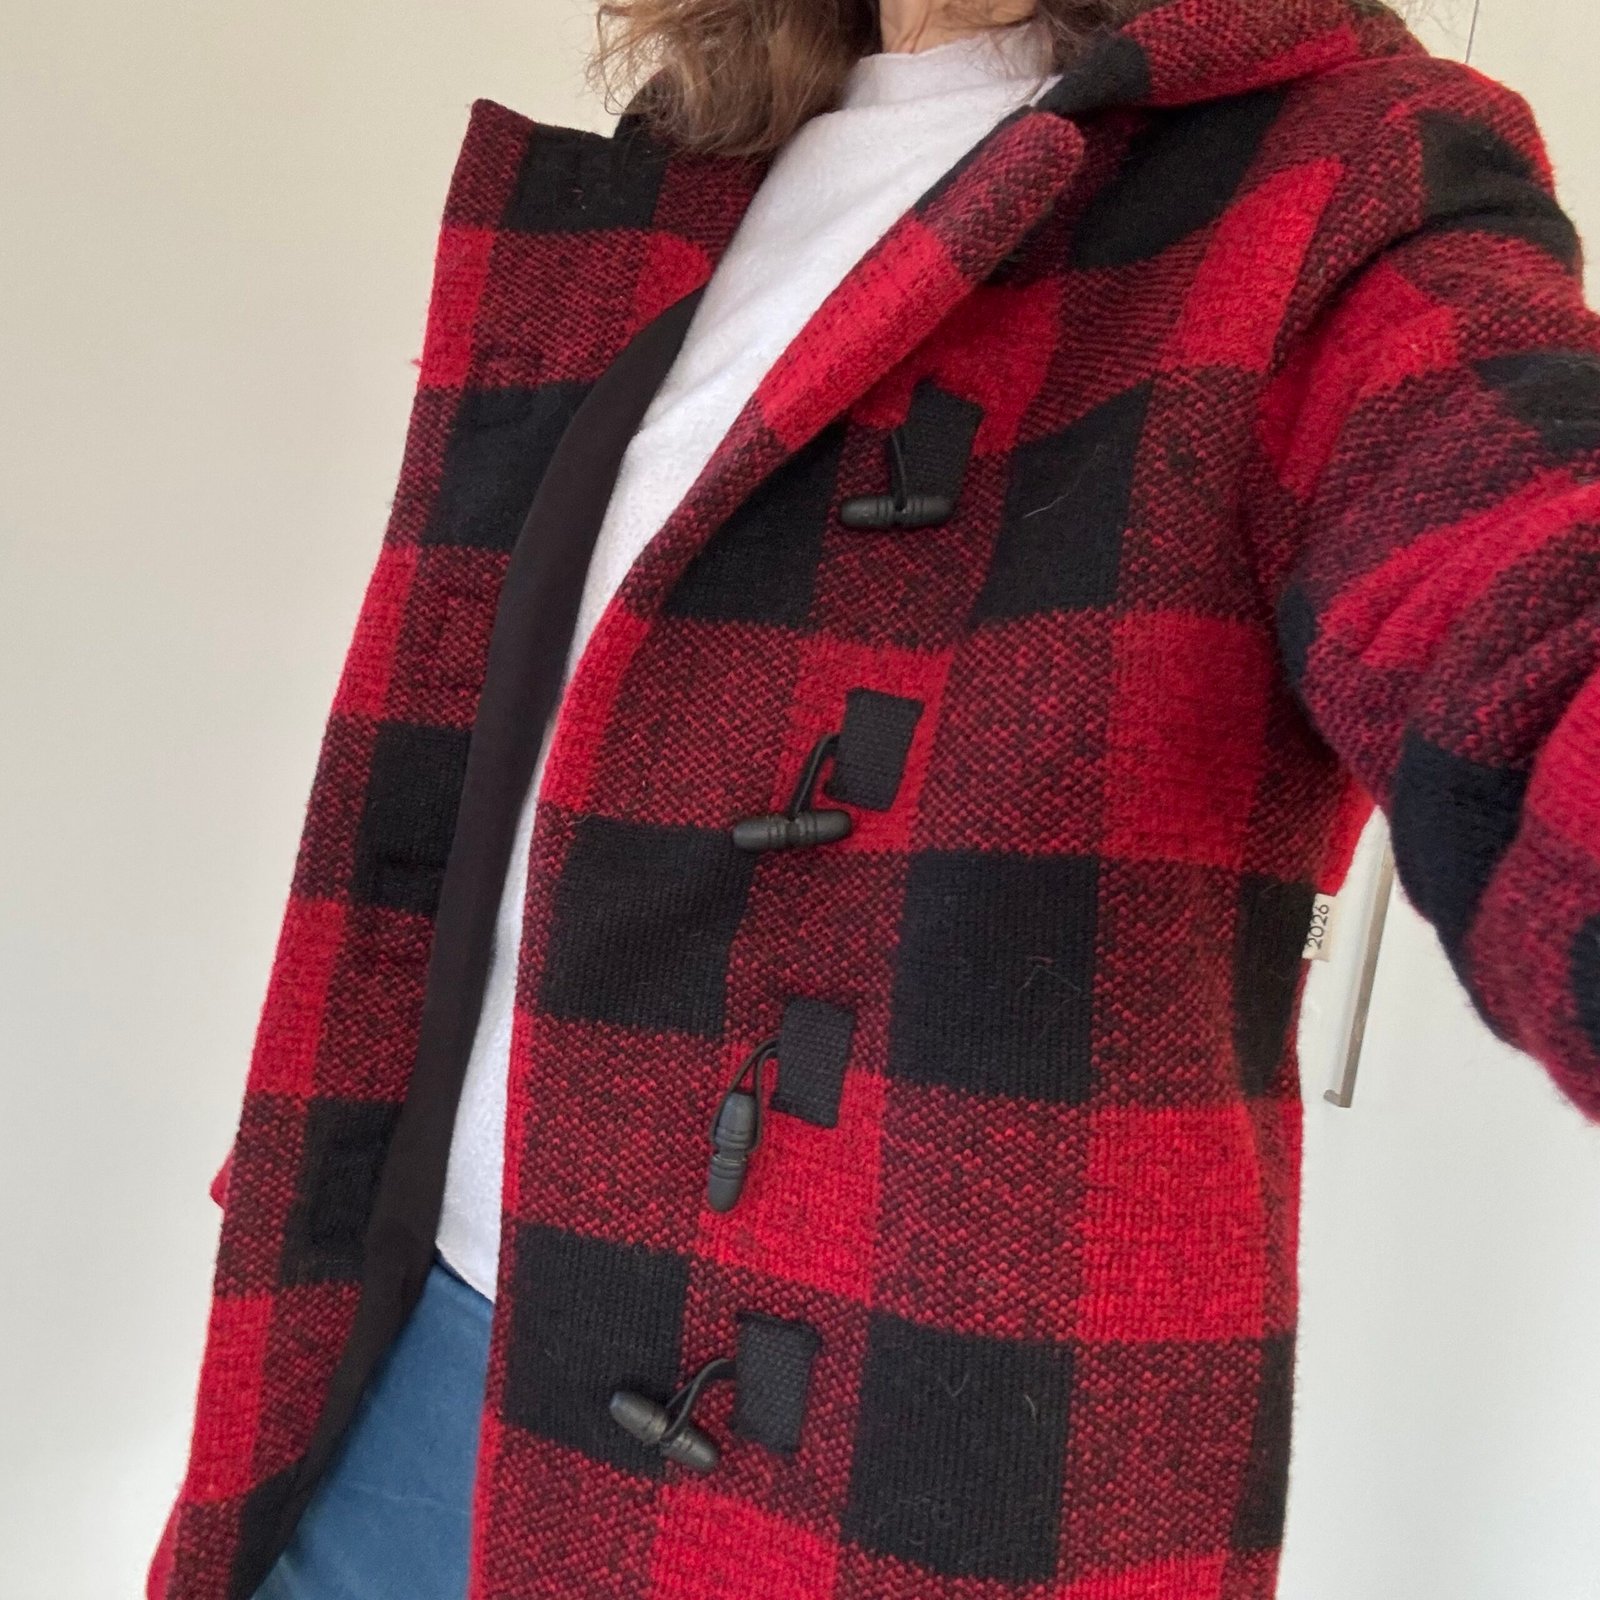

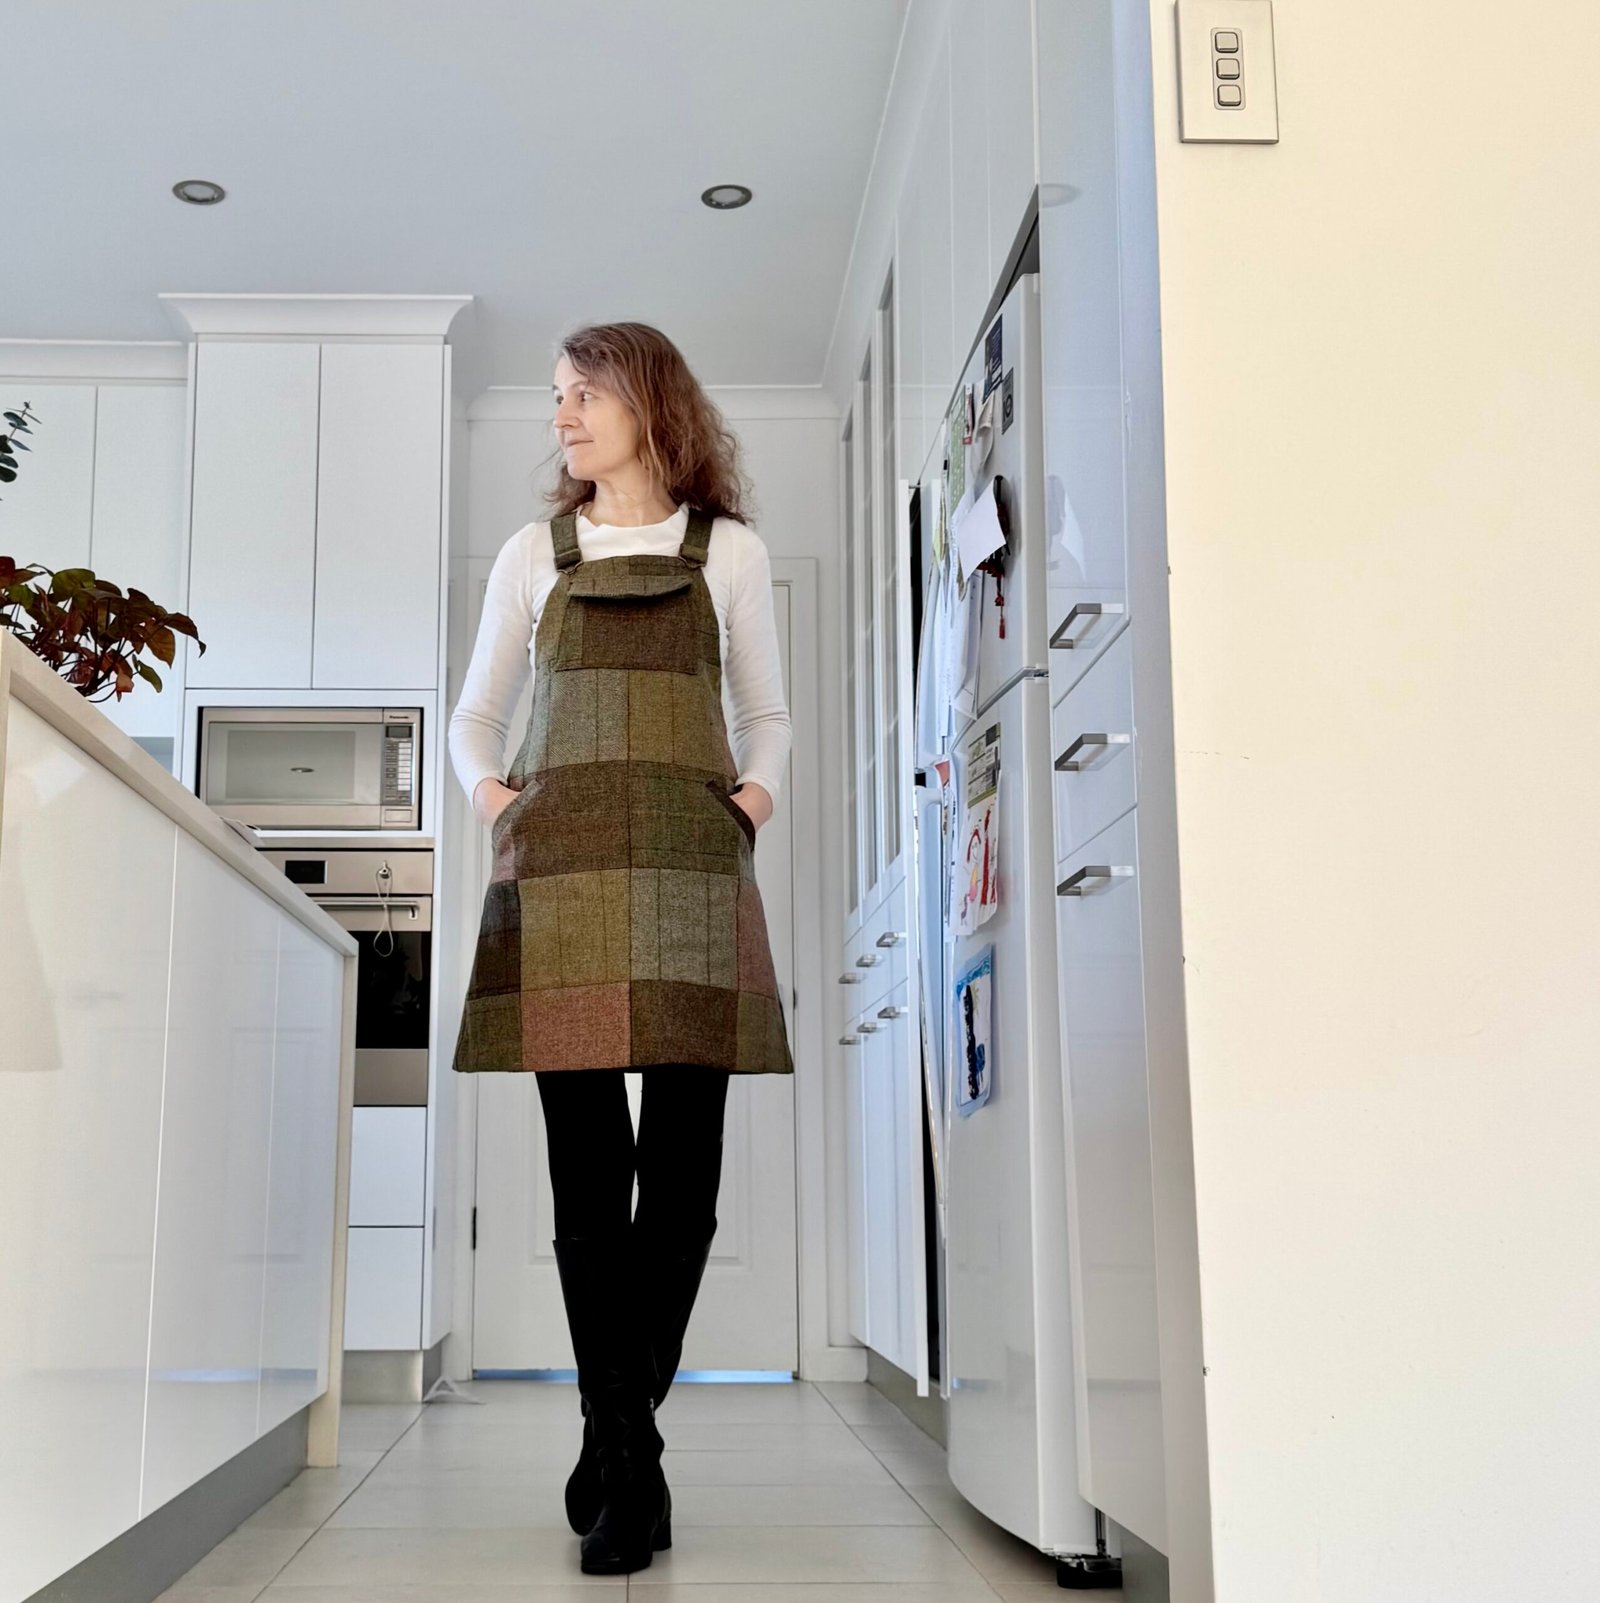
 1) Finished only yesterday is this new patchwork pinafore…. Mum bought a little bundle of Irish tweed cut-offs during a visit to the UK years ago.
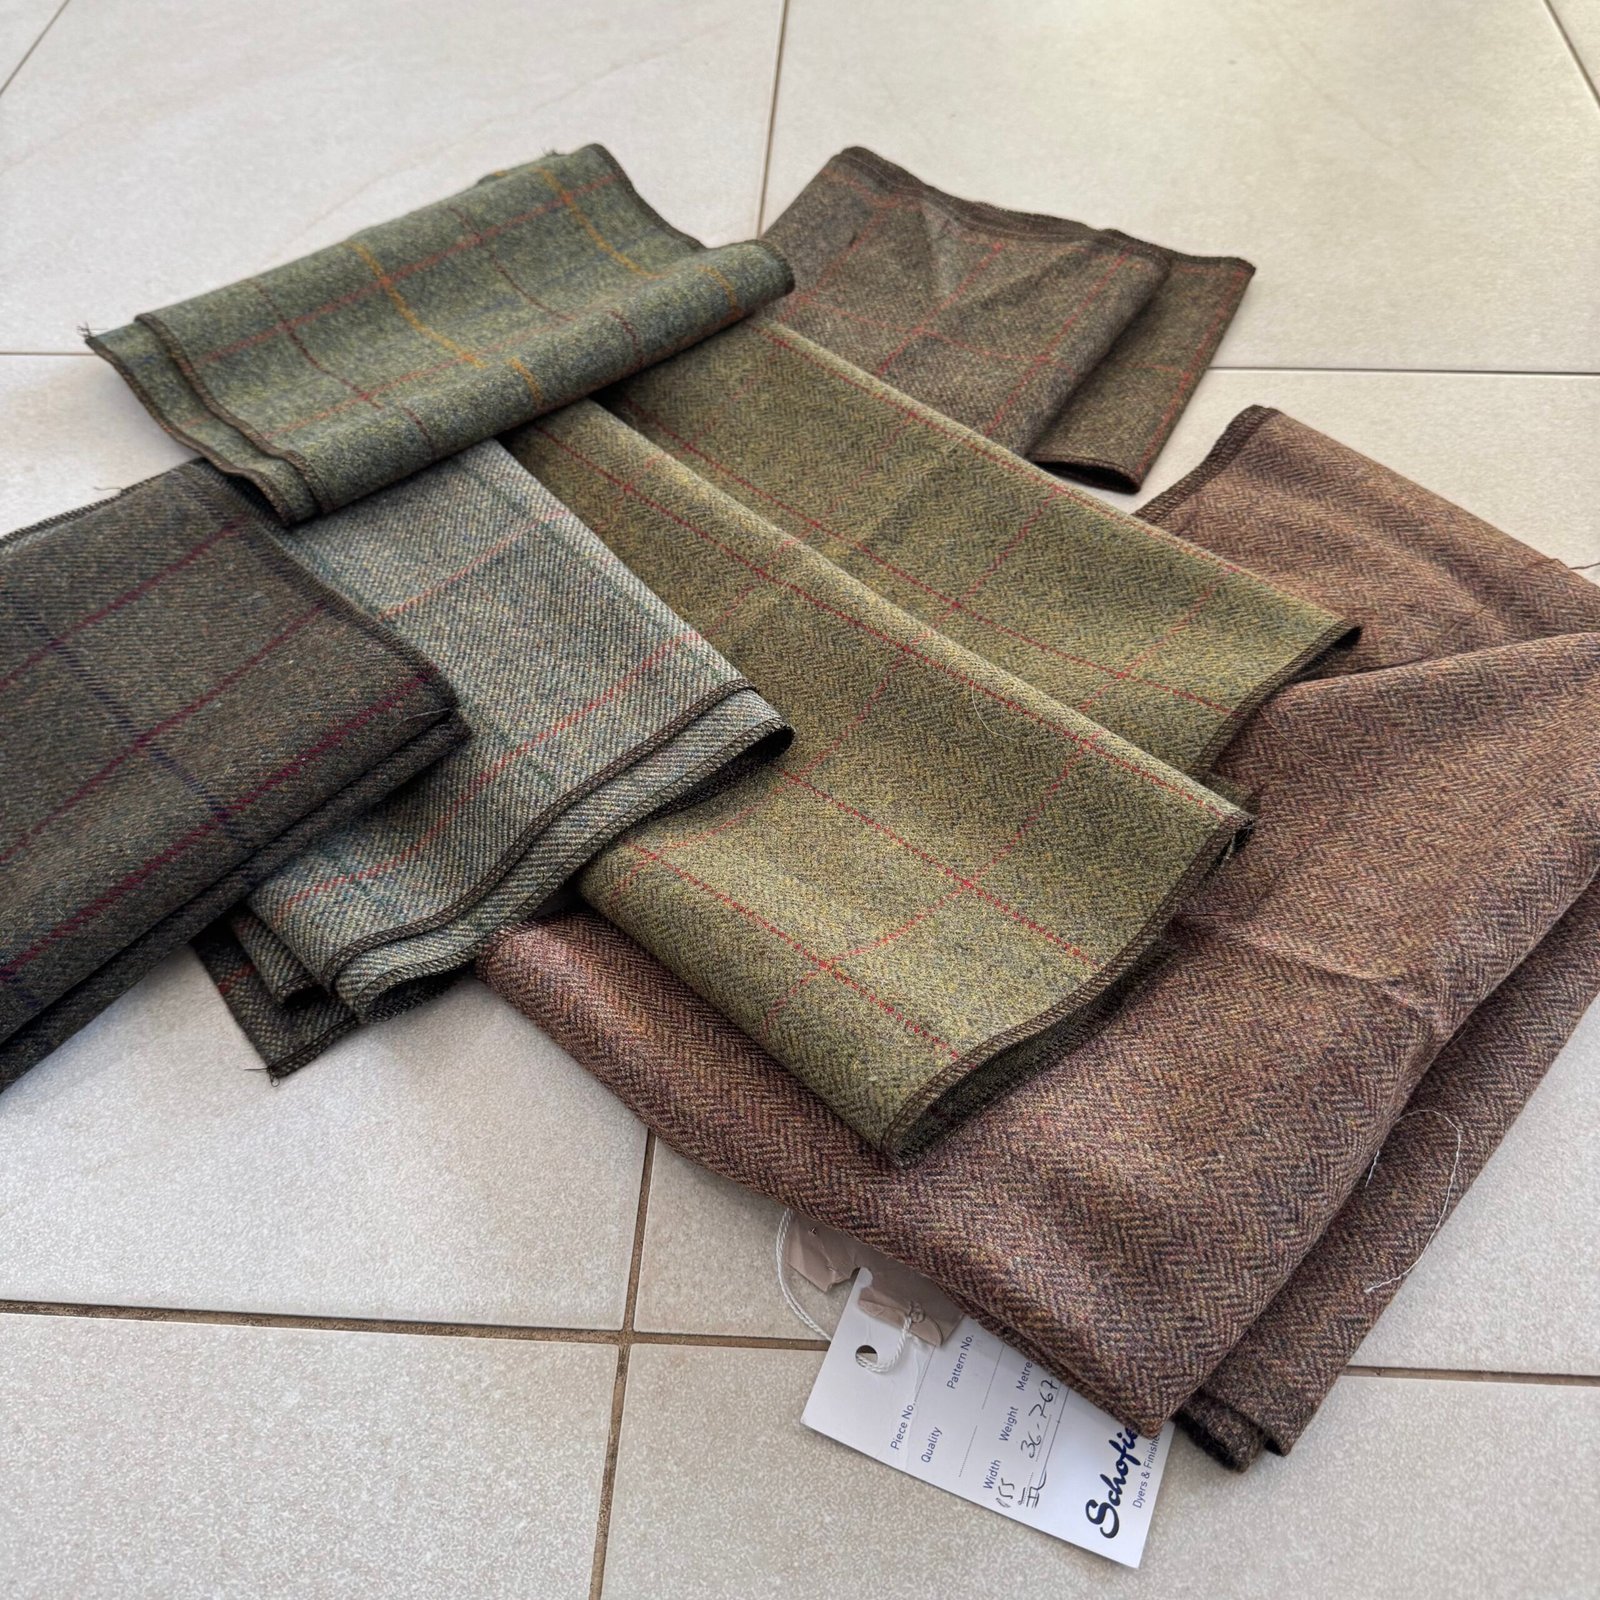 I admit to being quite intimidated by this lovely stuff for a long time! but as my policy for the past few years is to sew my stash completely, the time came to step up, get brave and cut into it. I used a pattern partly based upon the Pauline Alice Turia dungarees pattern, but as I’ve unfortunately thrown out my copy I made a new pattern by laying down my pink pinafore and tracing around it.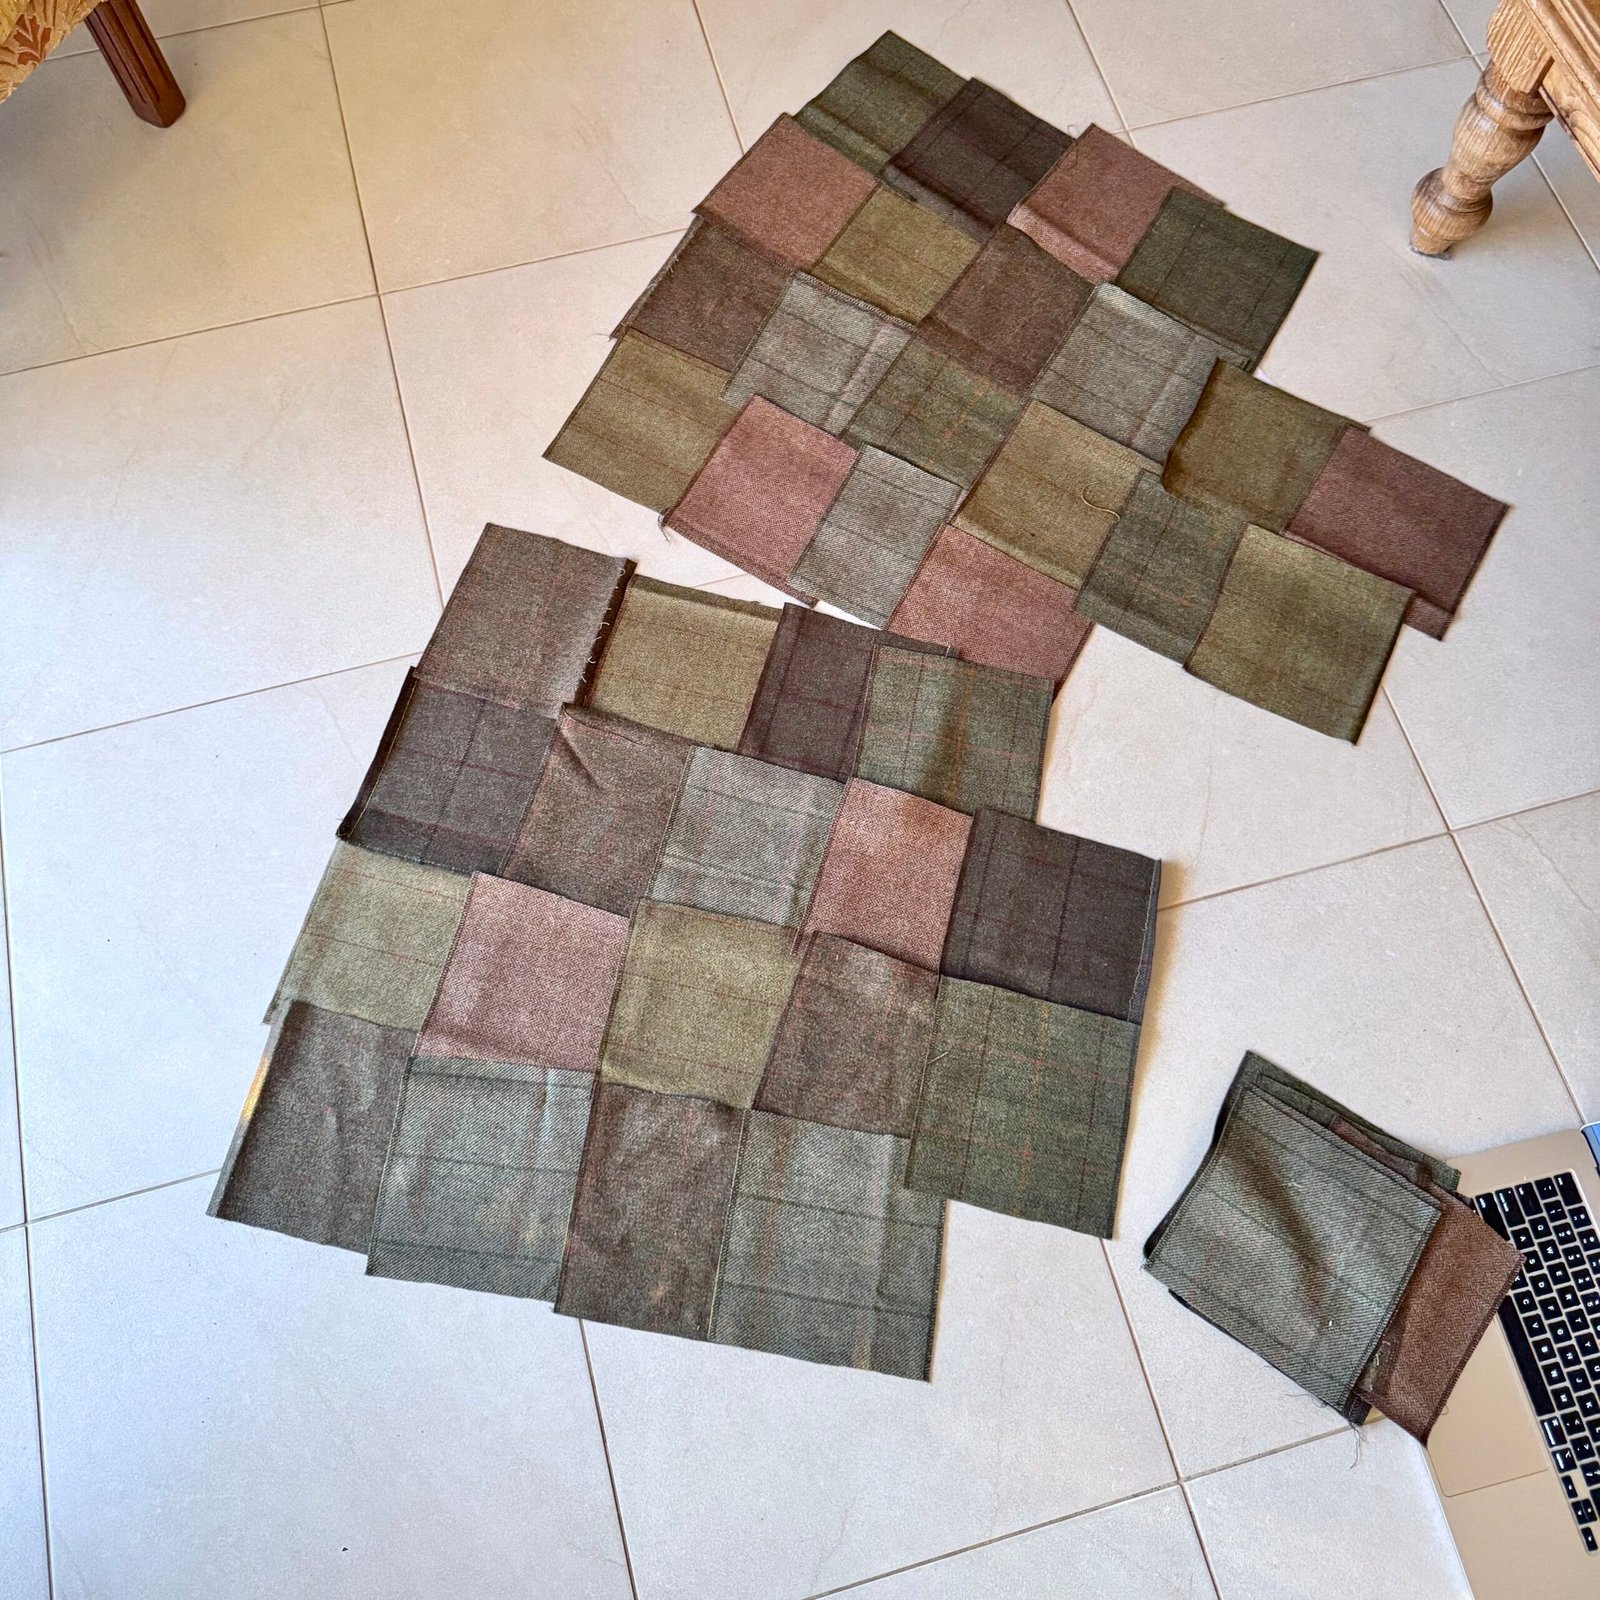
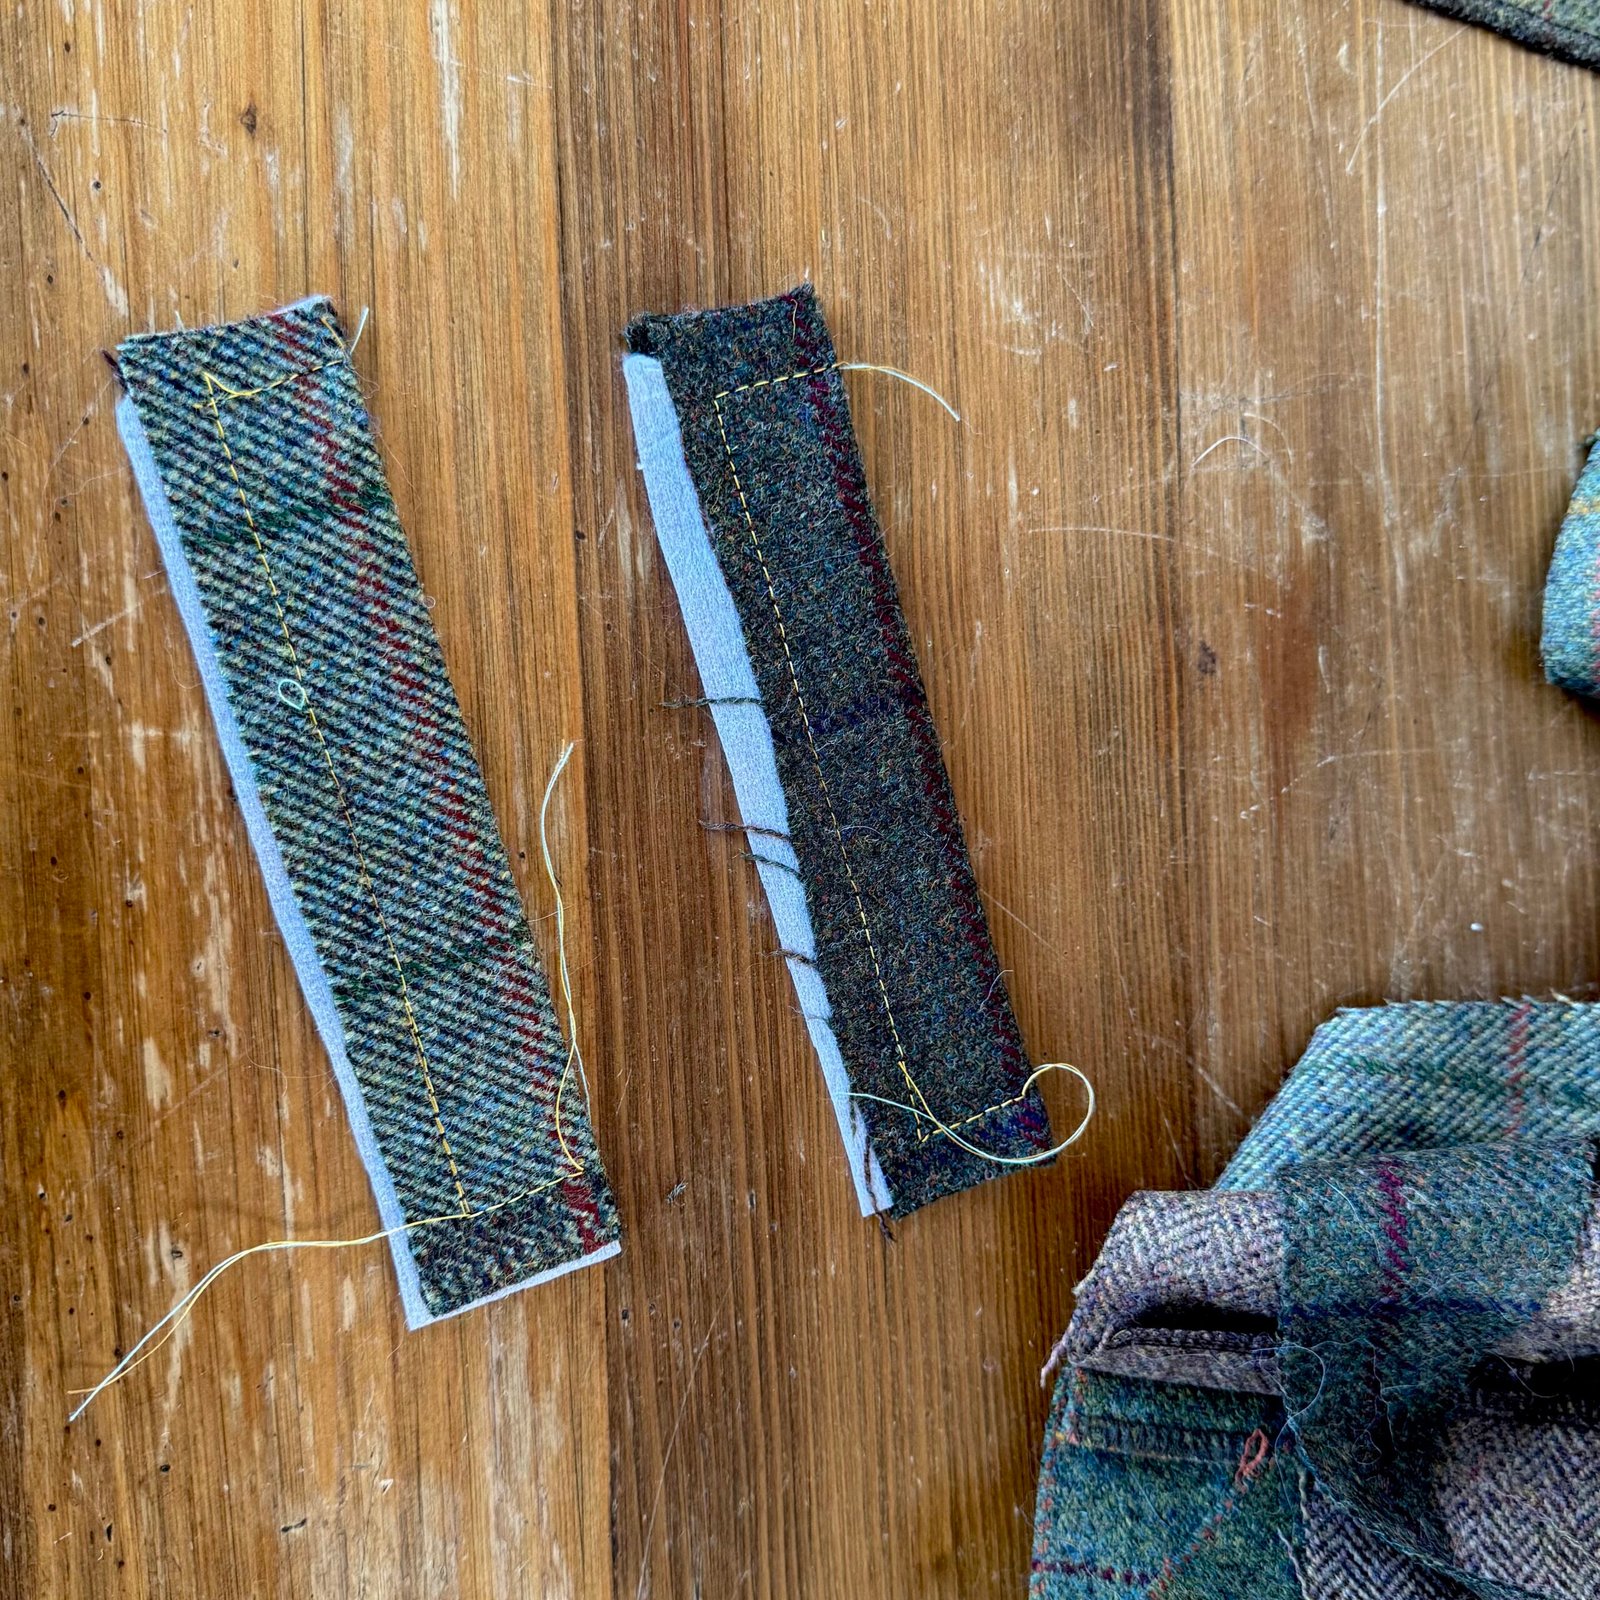
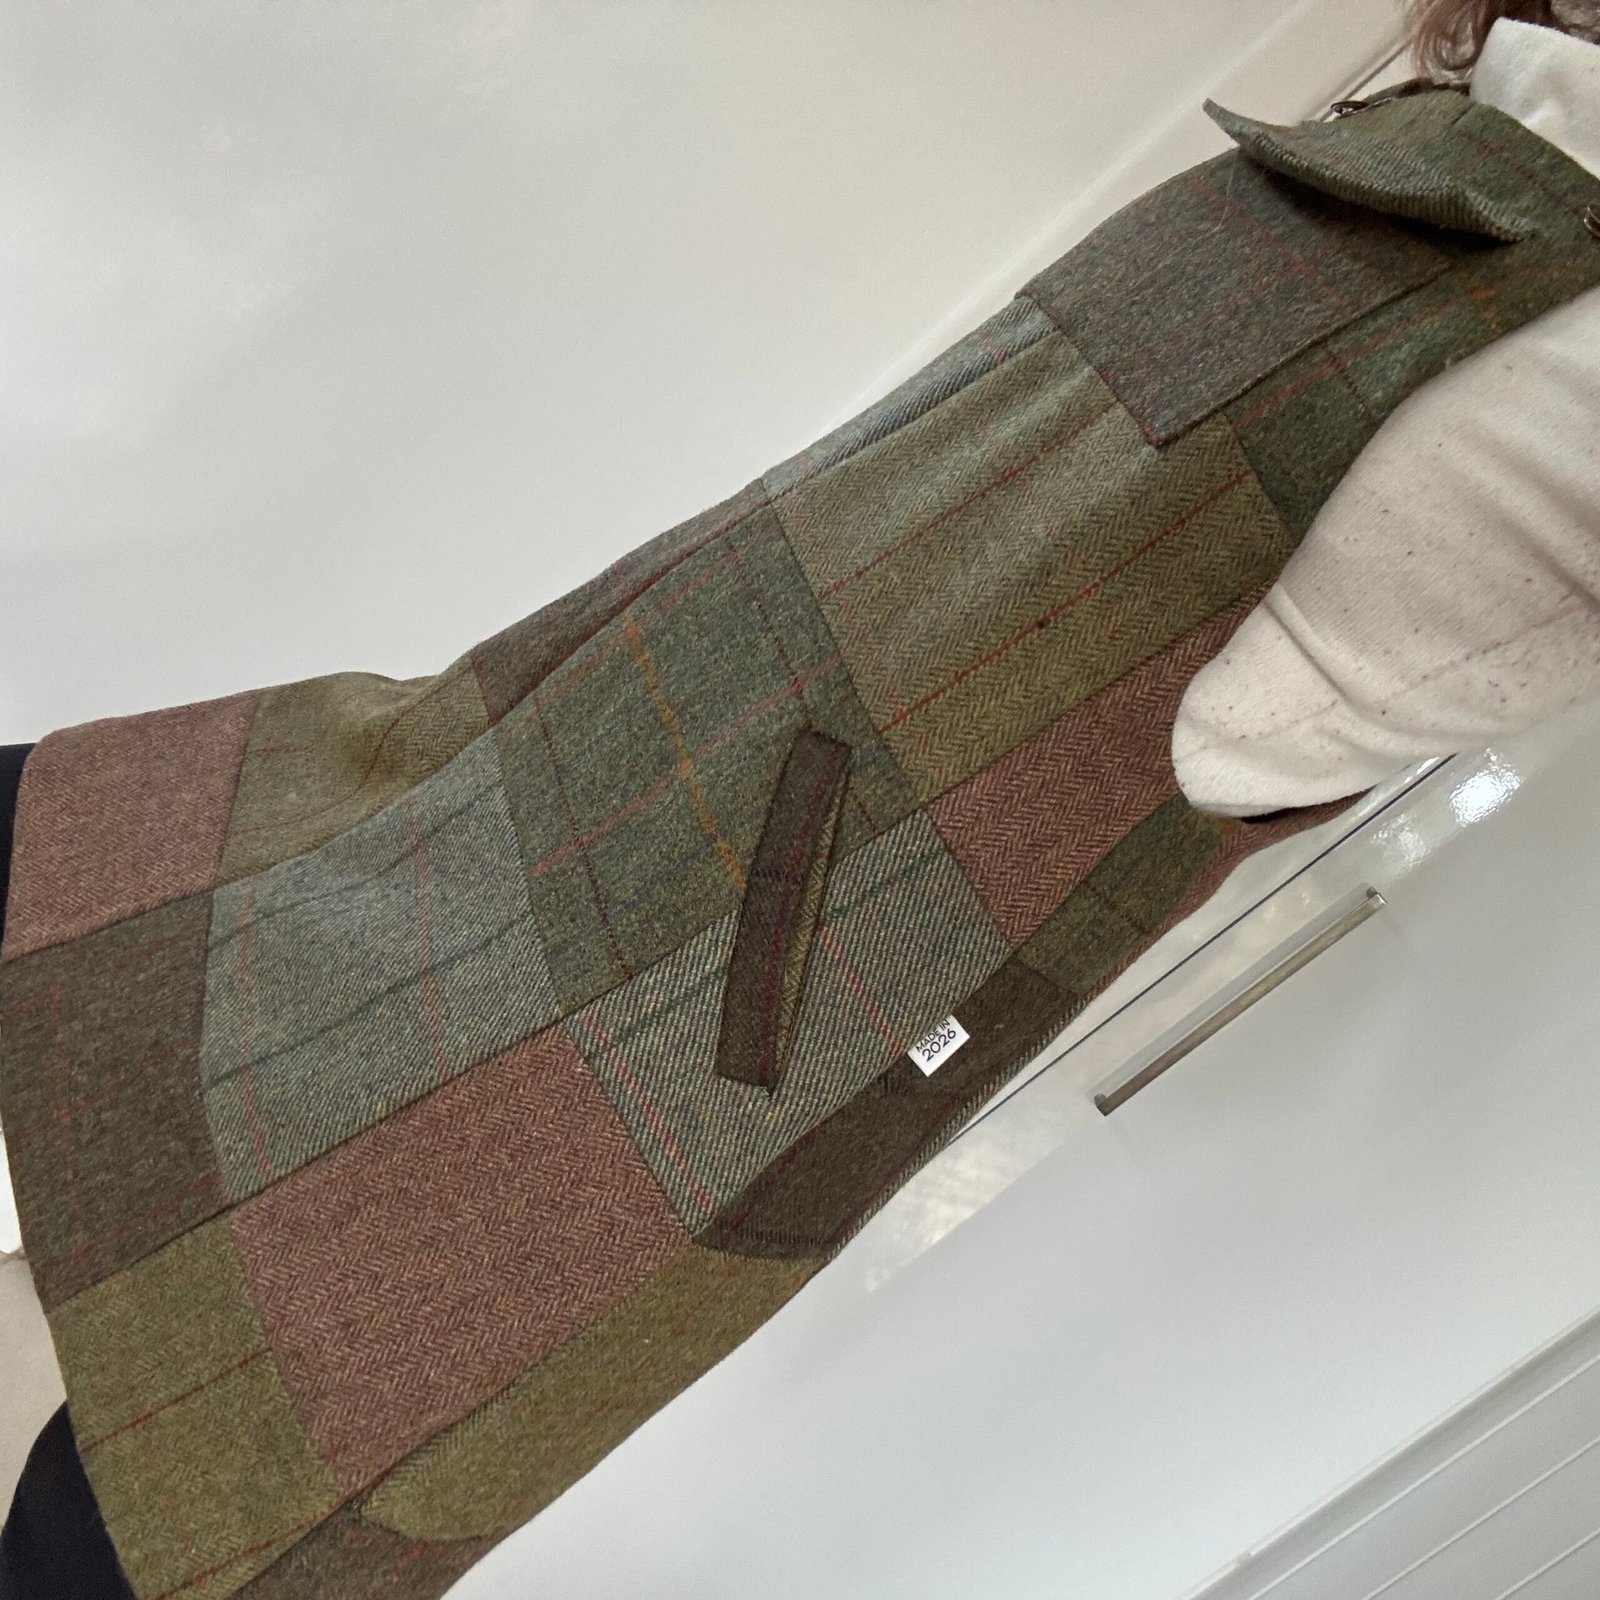
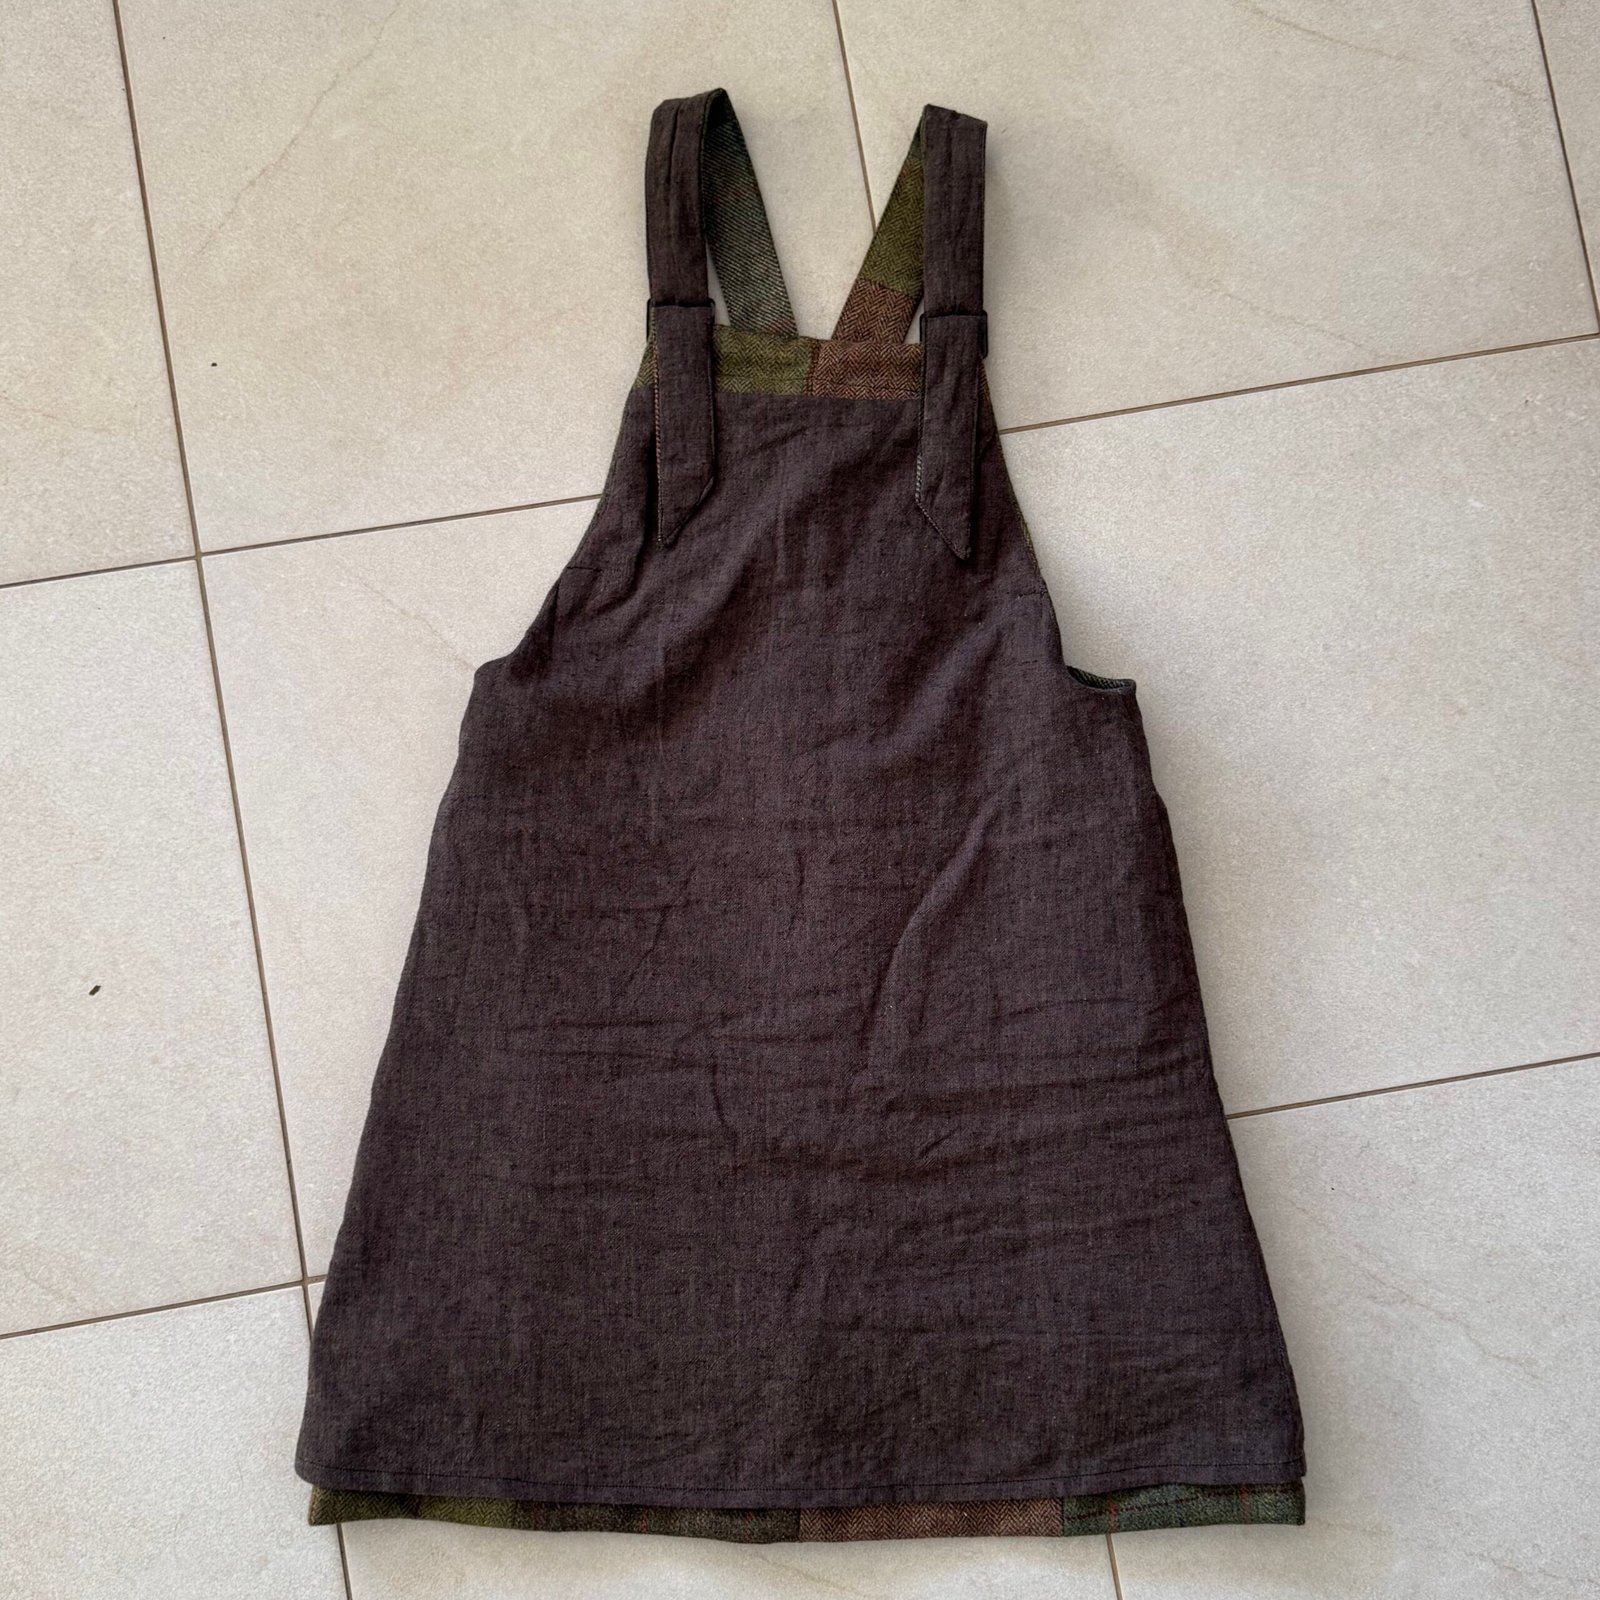
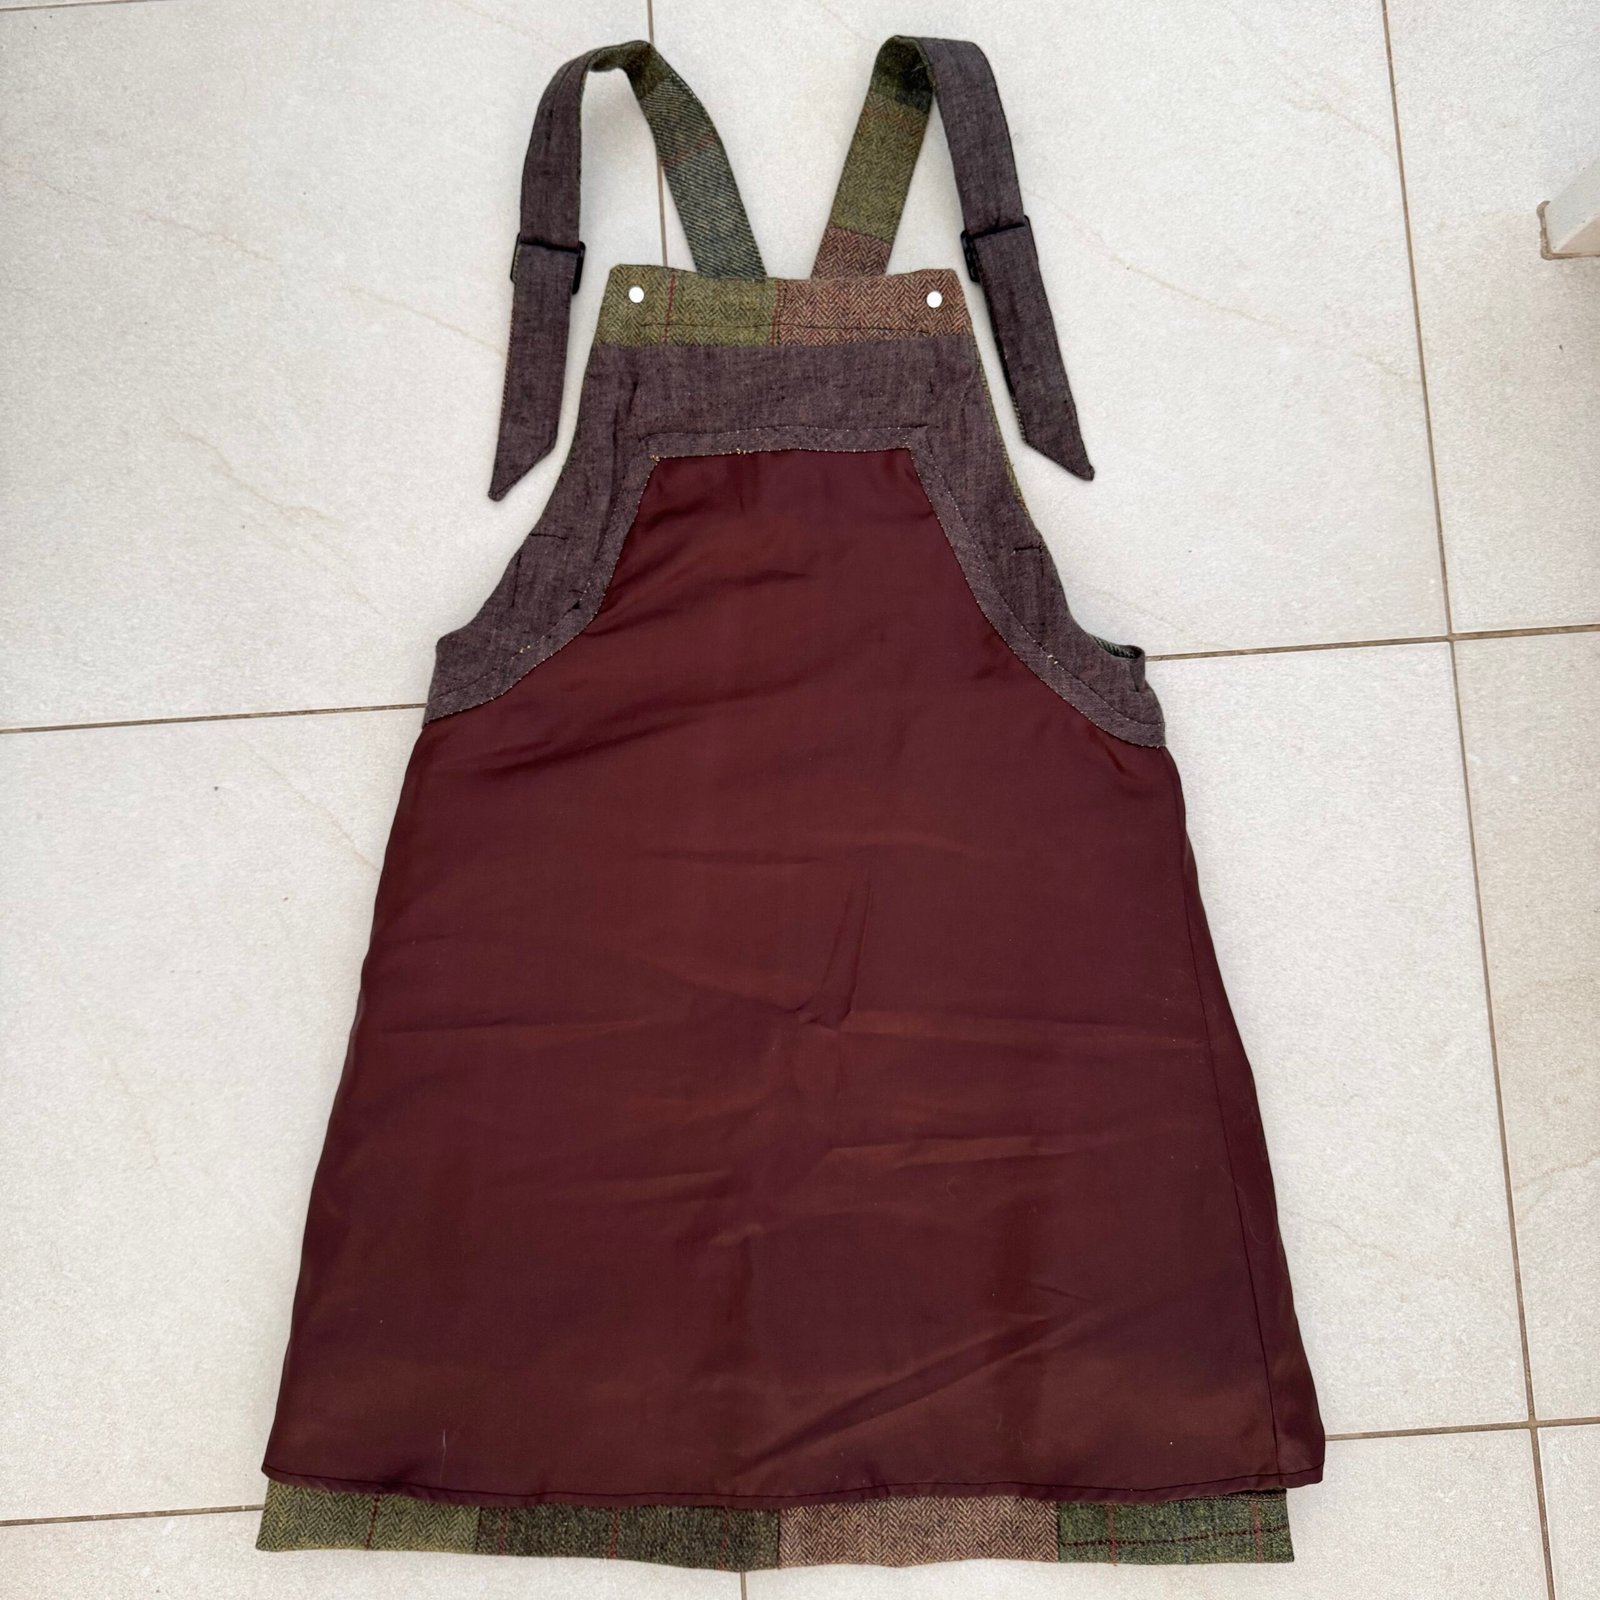
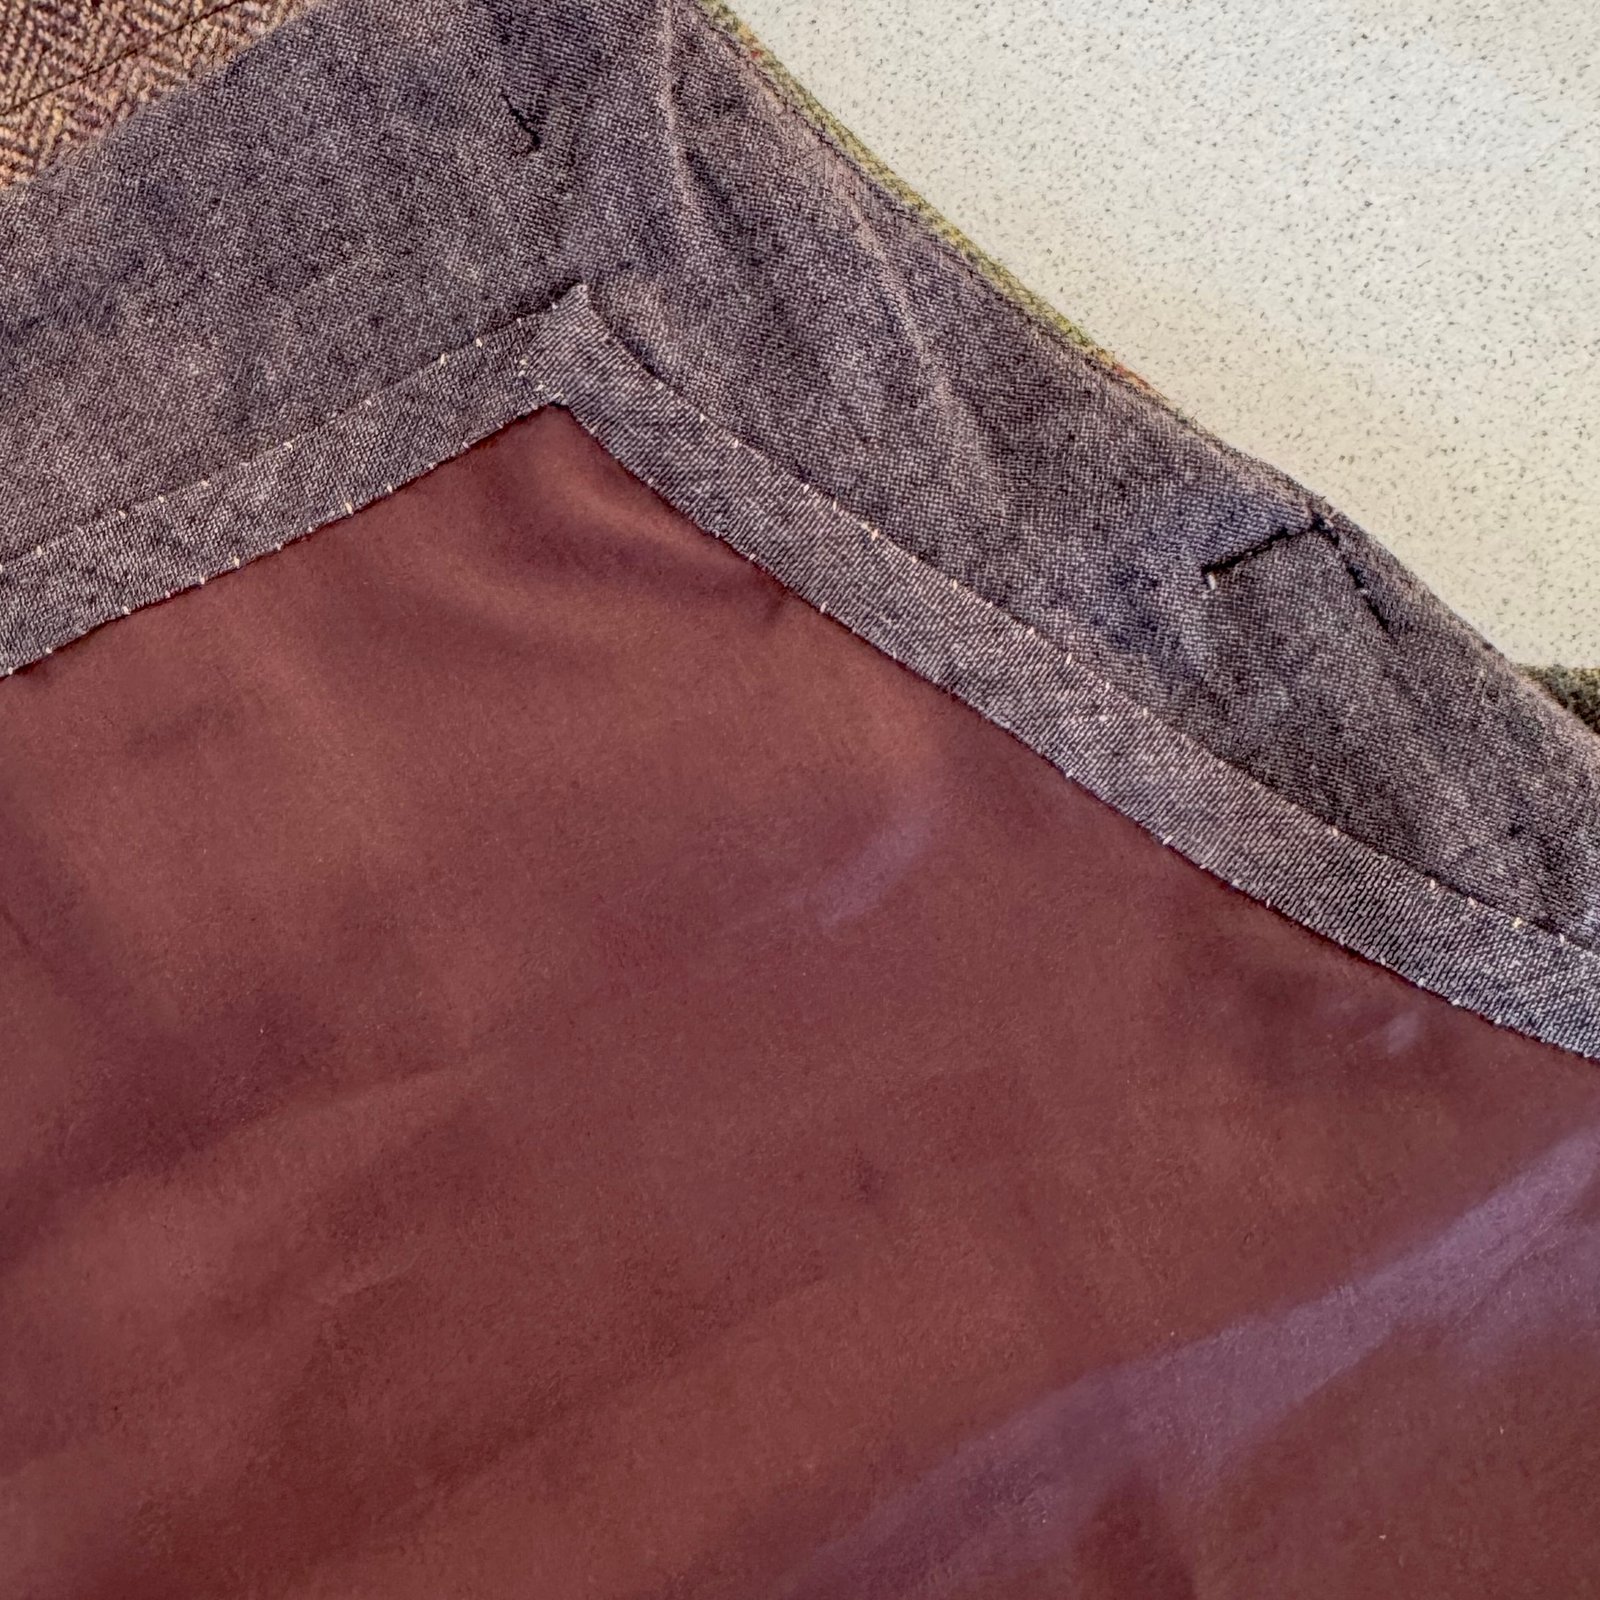
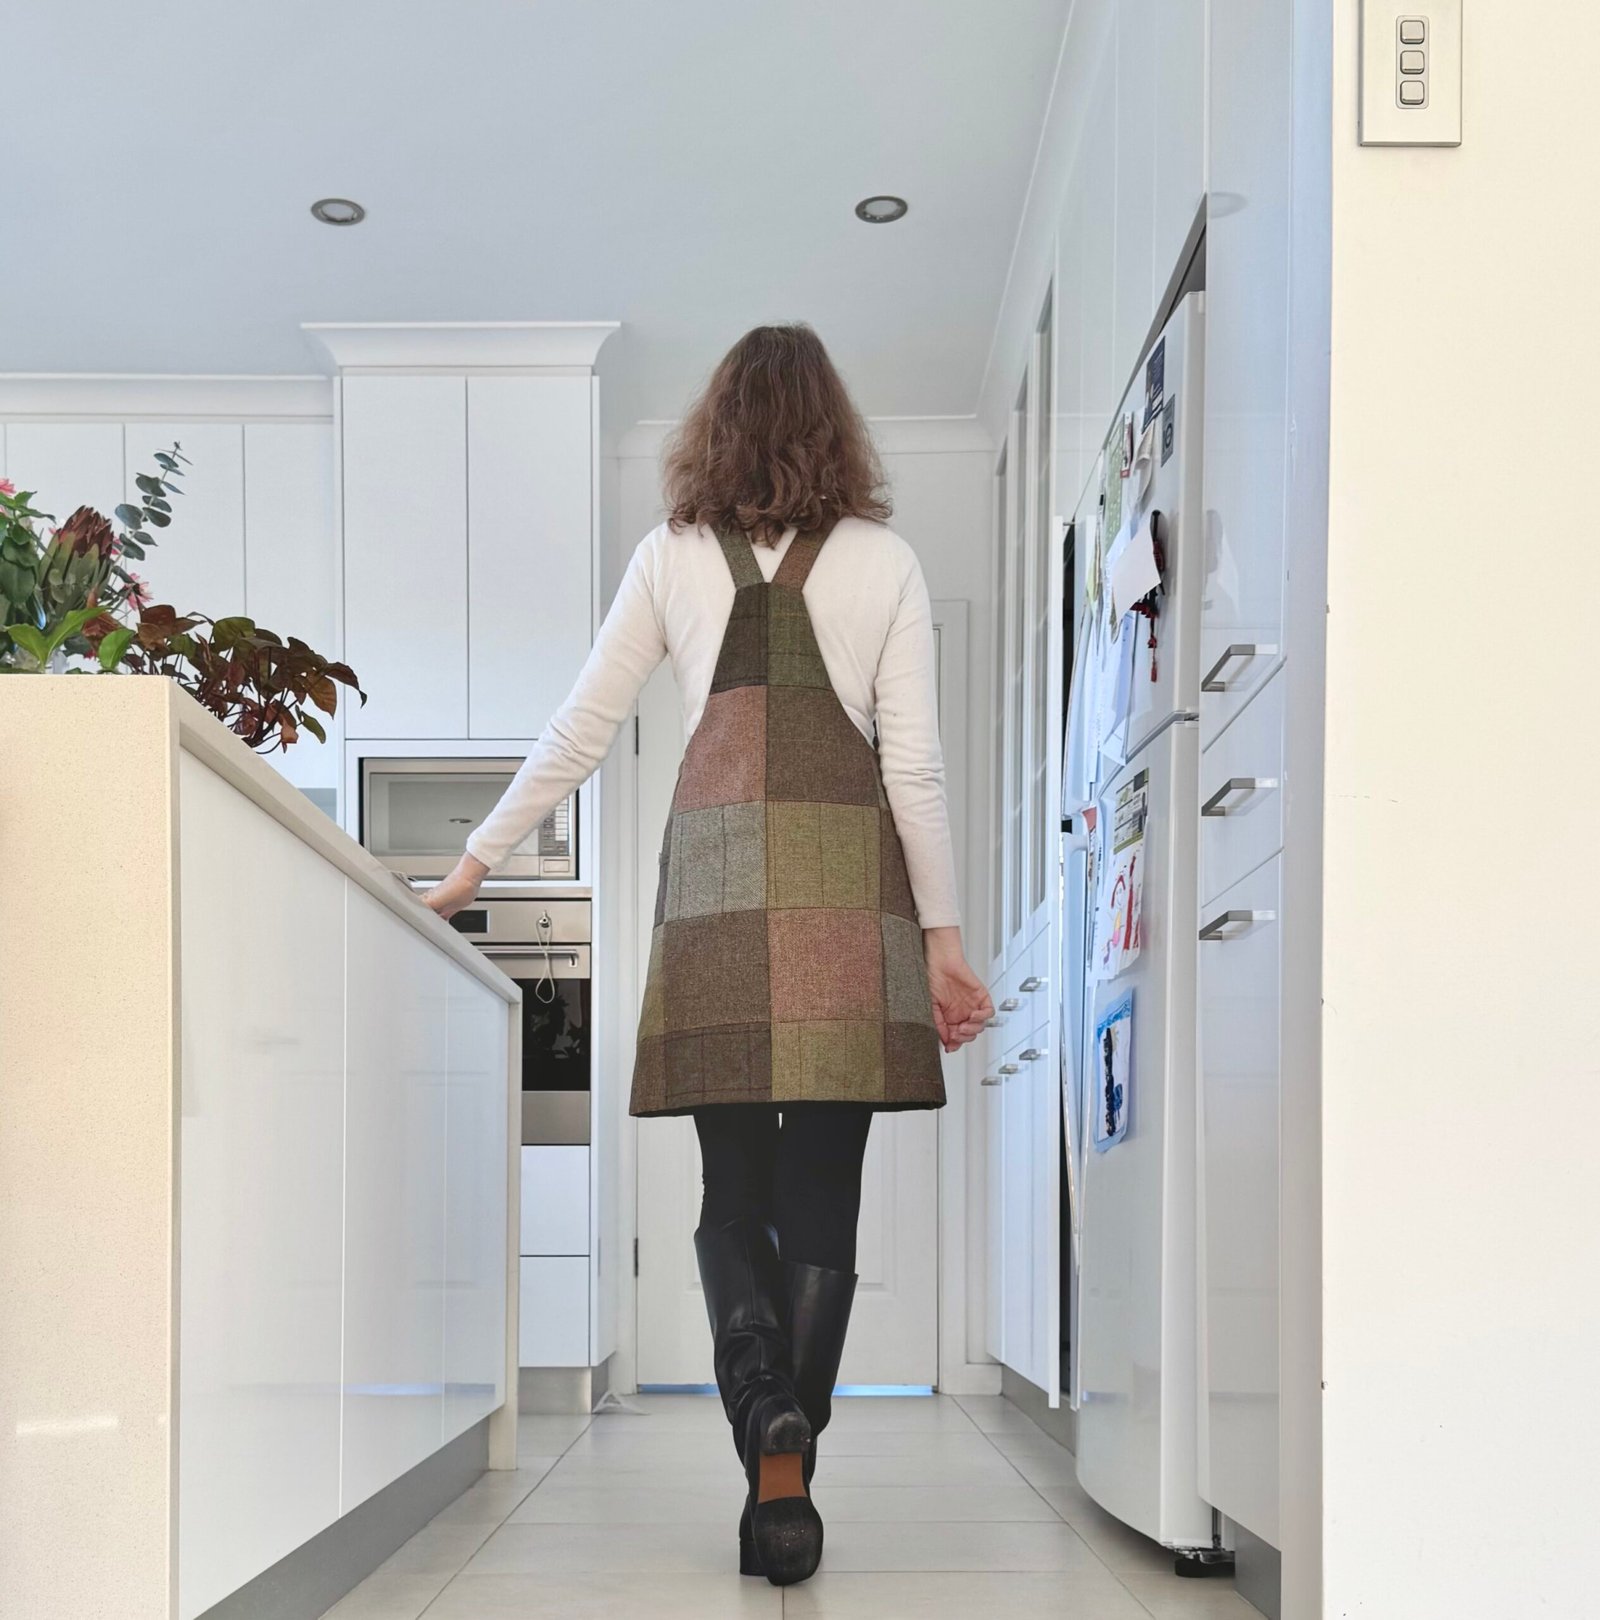
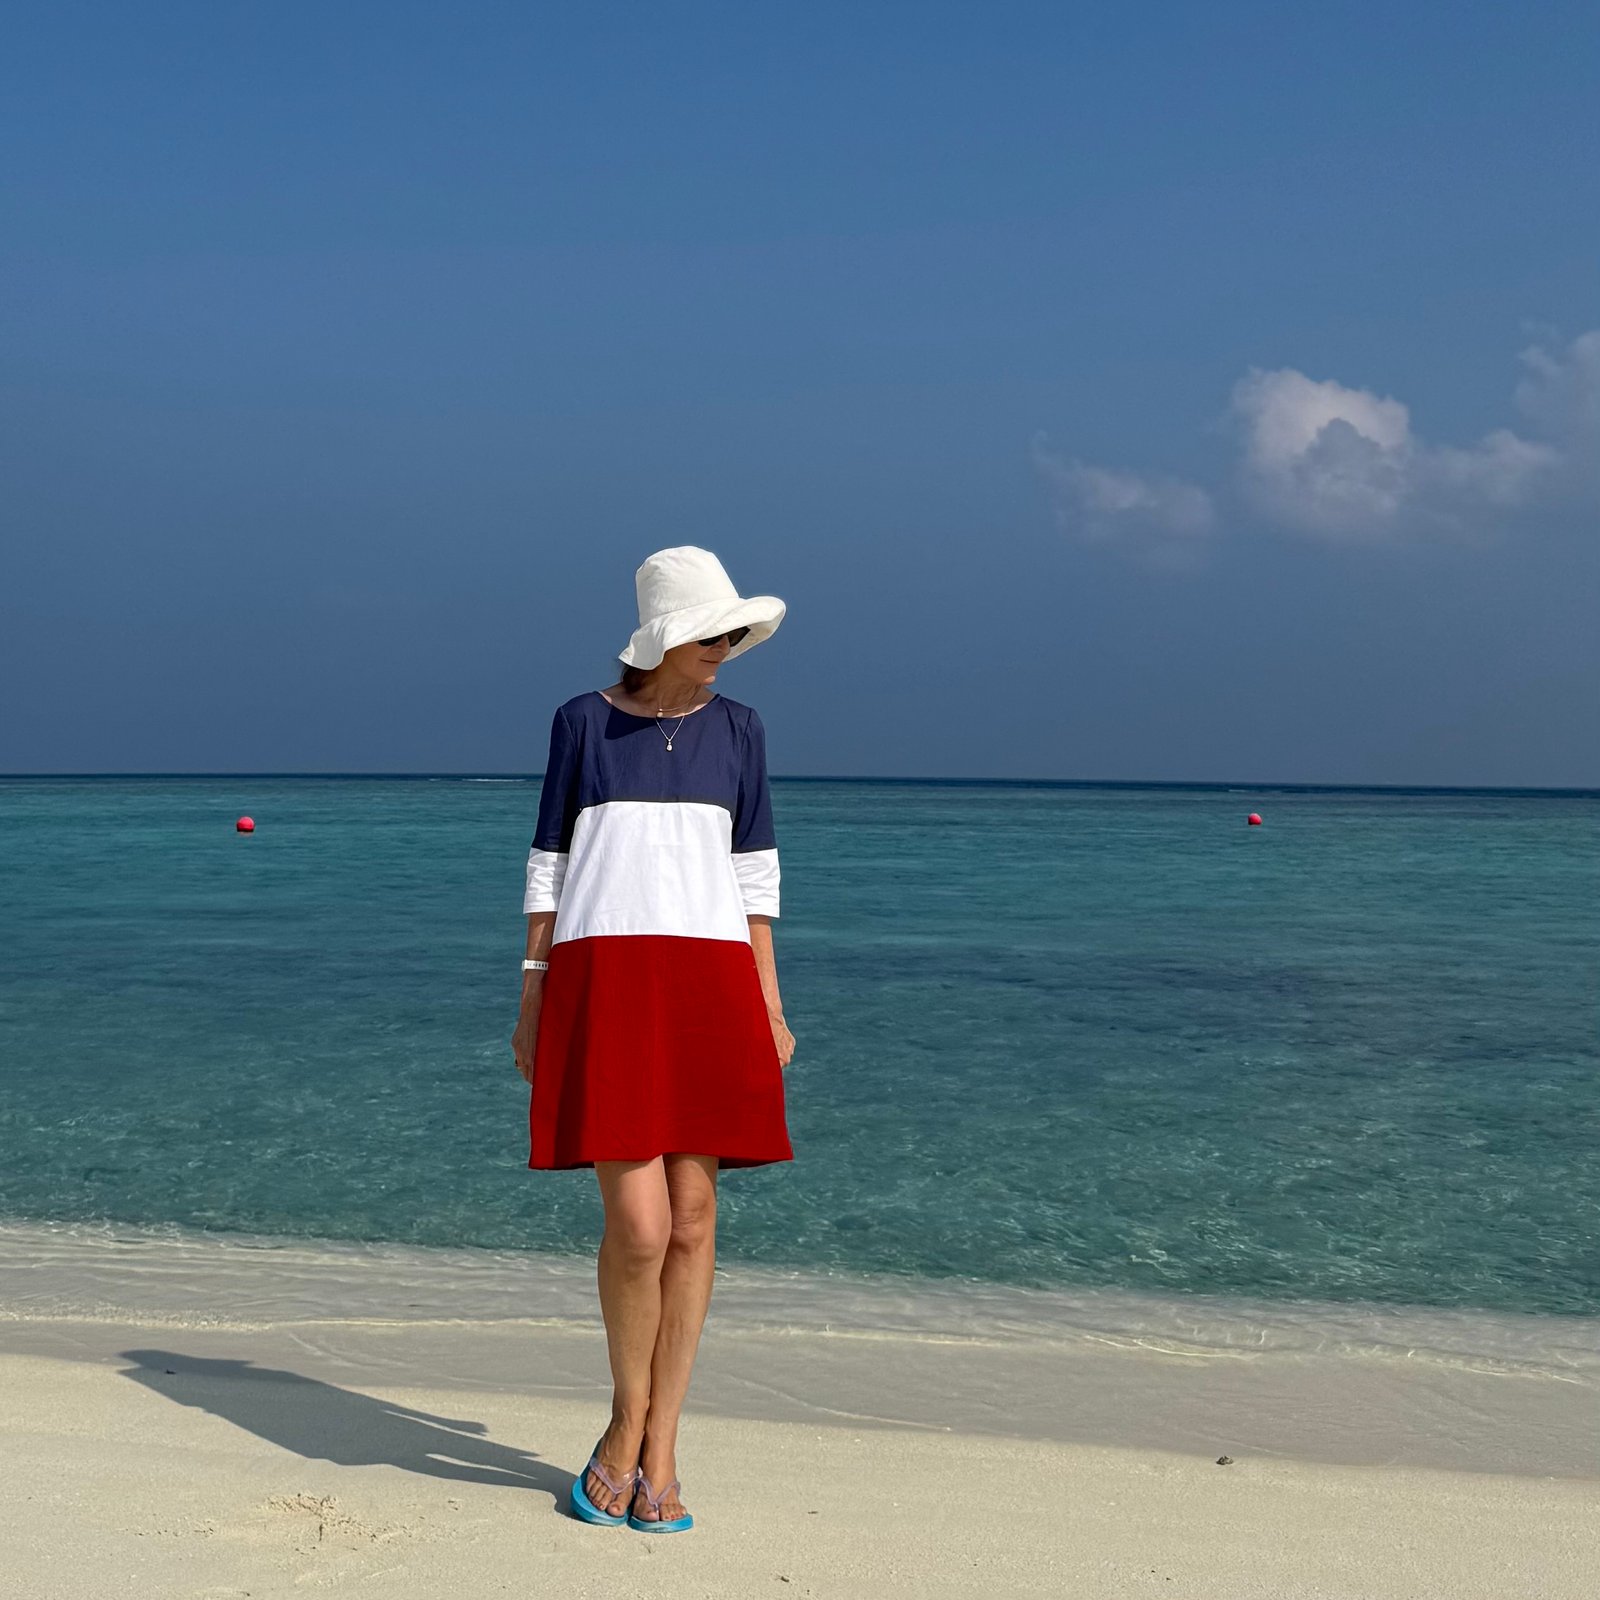
 The seams look like straight lines, but in reality none of them are because of the weird shapes of the fabric scraps I was using! All the horizontal seams are curved to differing degrees. It was a little tricky to get a good neat result but I was actually very pleased with myself how cohesive it all looks in the end! Of course this is a fun and cool, airy little dress to wear and I am extremely happy with it. I’m looking forward to summer so I can get back into it again!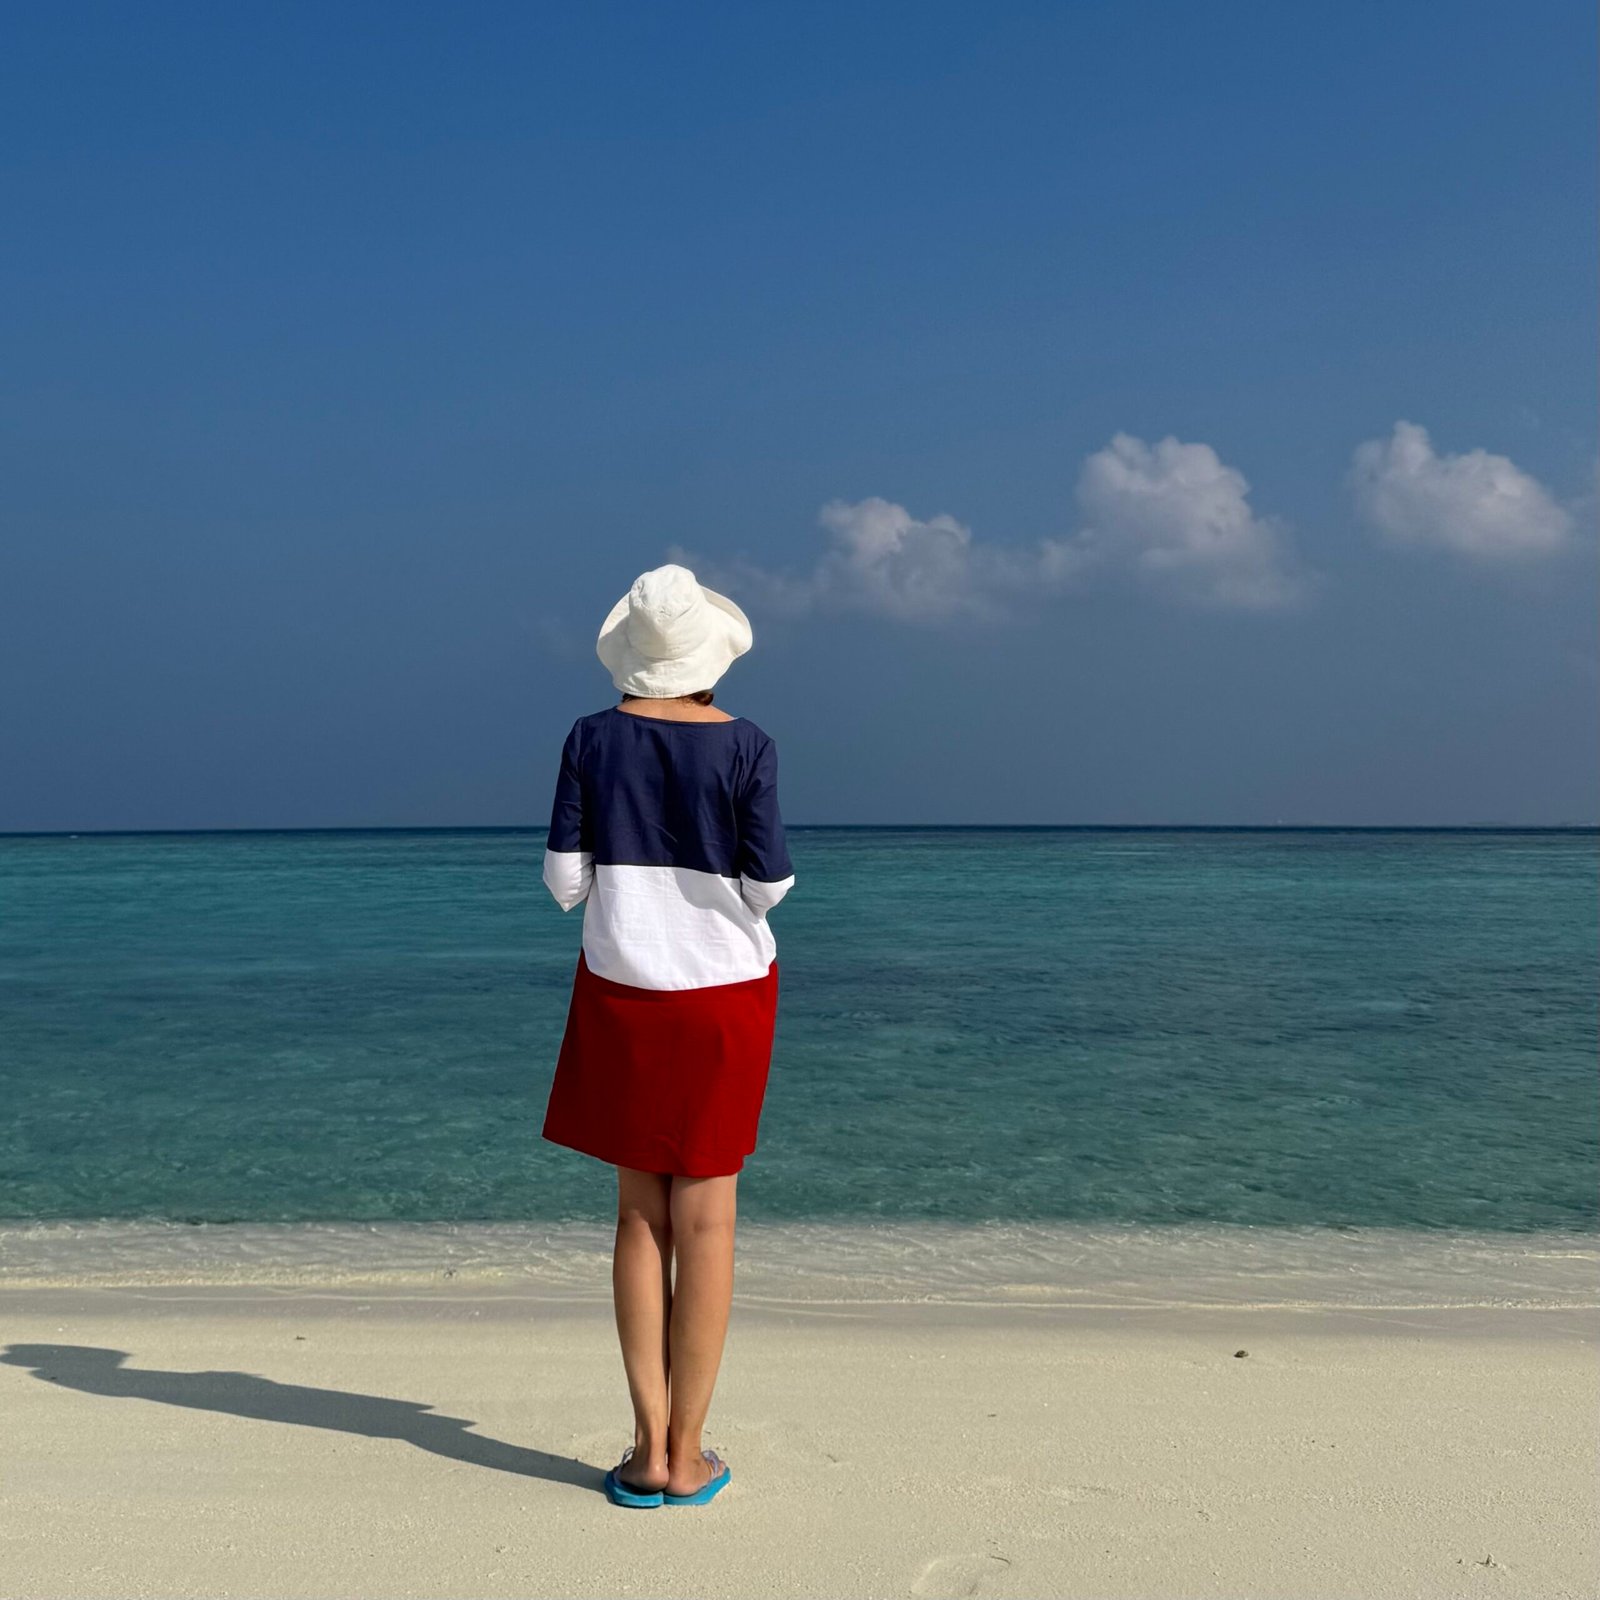
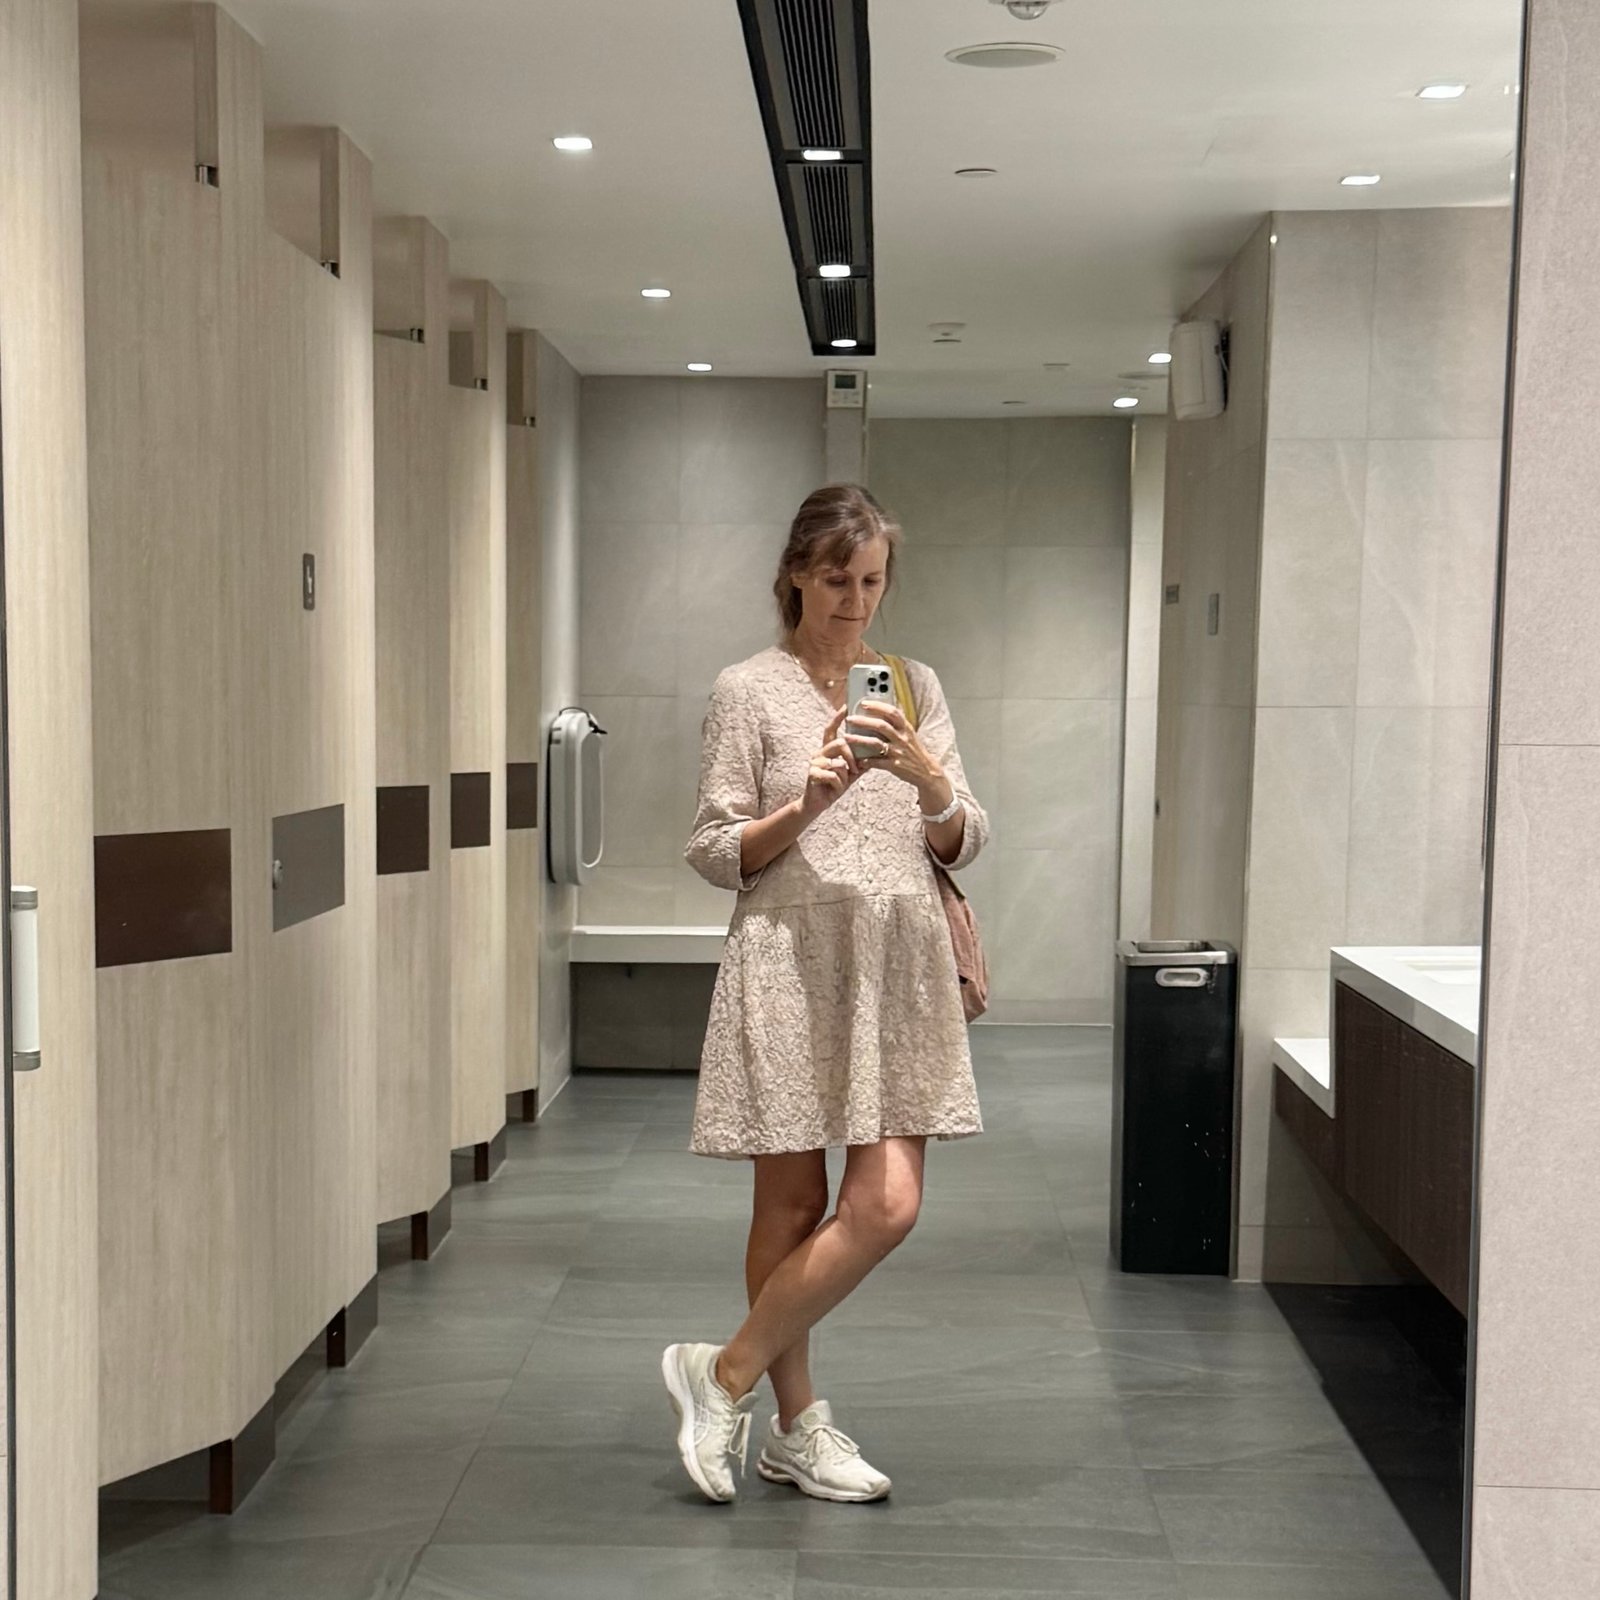
 3) Also during last summer I also made this little lace dress using the Fibremood Lennox pattern and a pale “greige” lace originally from Fabulous Fabrics from many years ago. I underlined all pieces completely with a cream coloured muslin, also bought many years ago, I think from a Morrison remnant sale. The buttons are actually some leftovers from the covered buttons that I made for Kelly’s wedding dress, back here! This is also all from stash, and although I’ve worn this a tonne since I made it I took only one picture of myself wearing it… this rather terrible one, sorry. I’m trying to get back to photographing and documenting things better.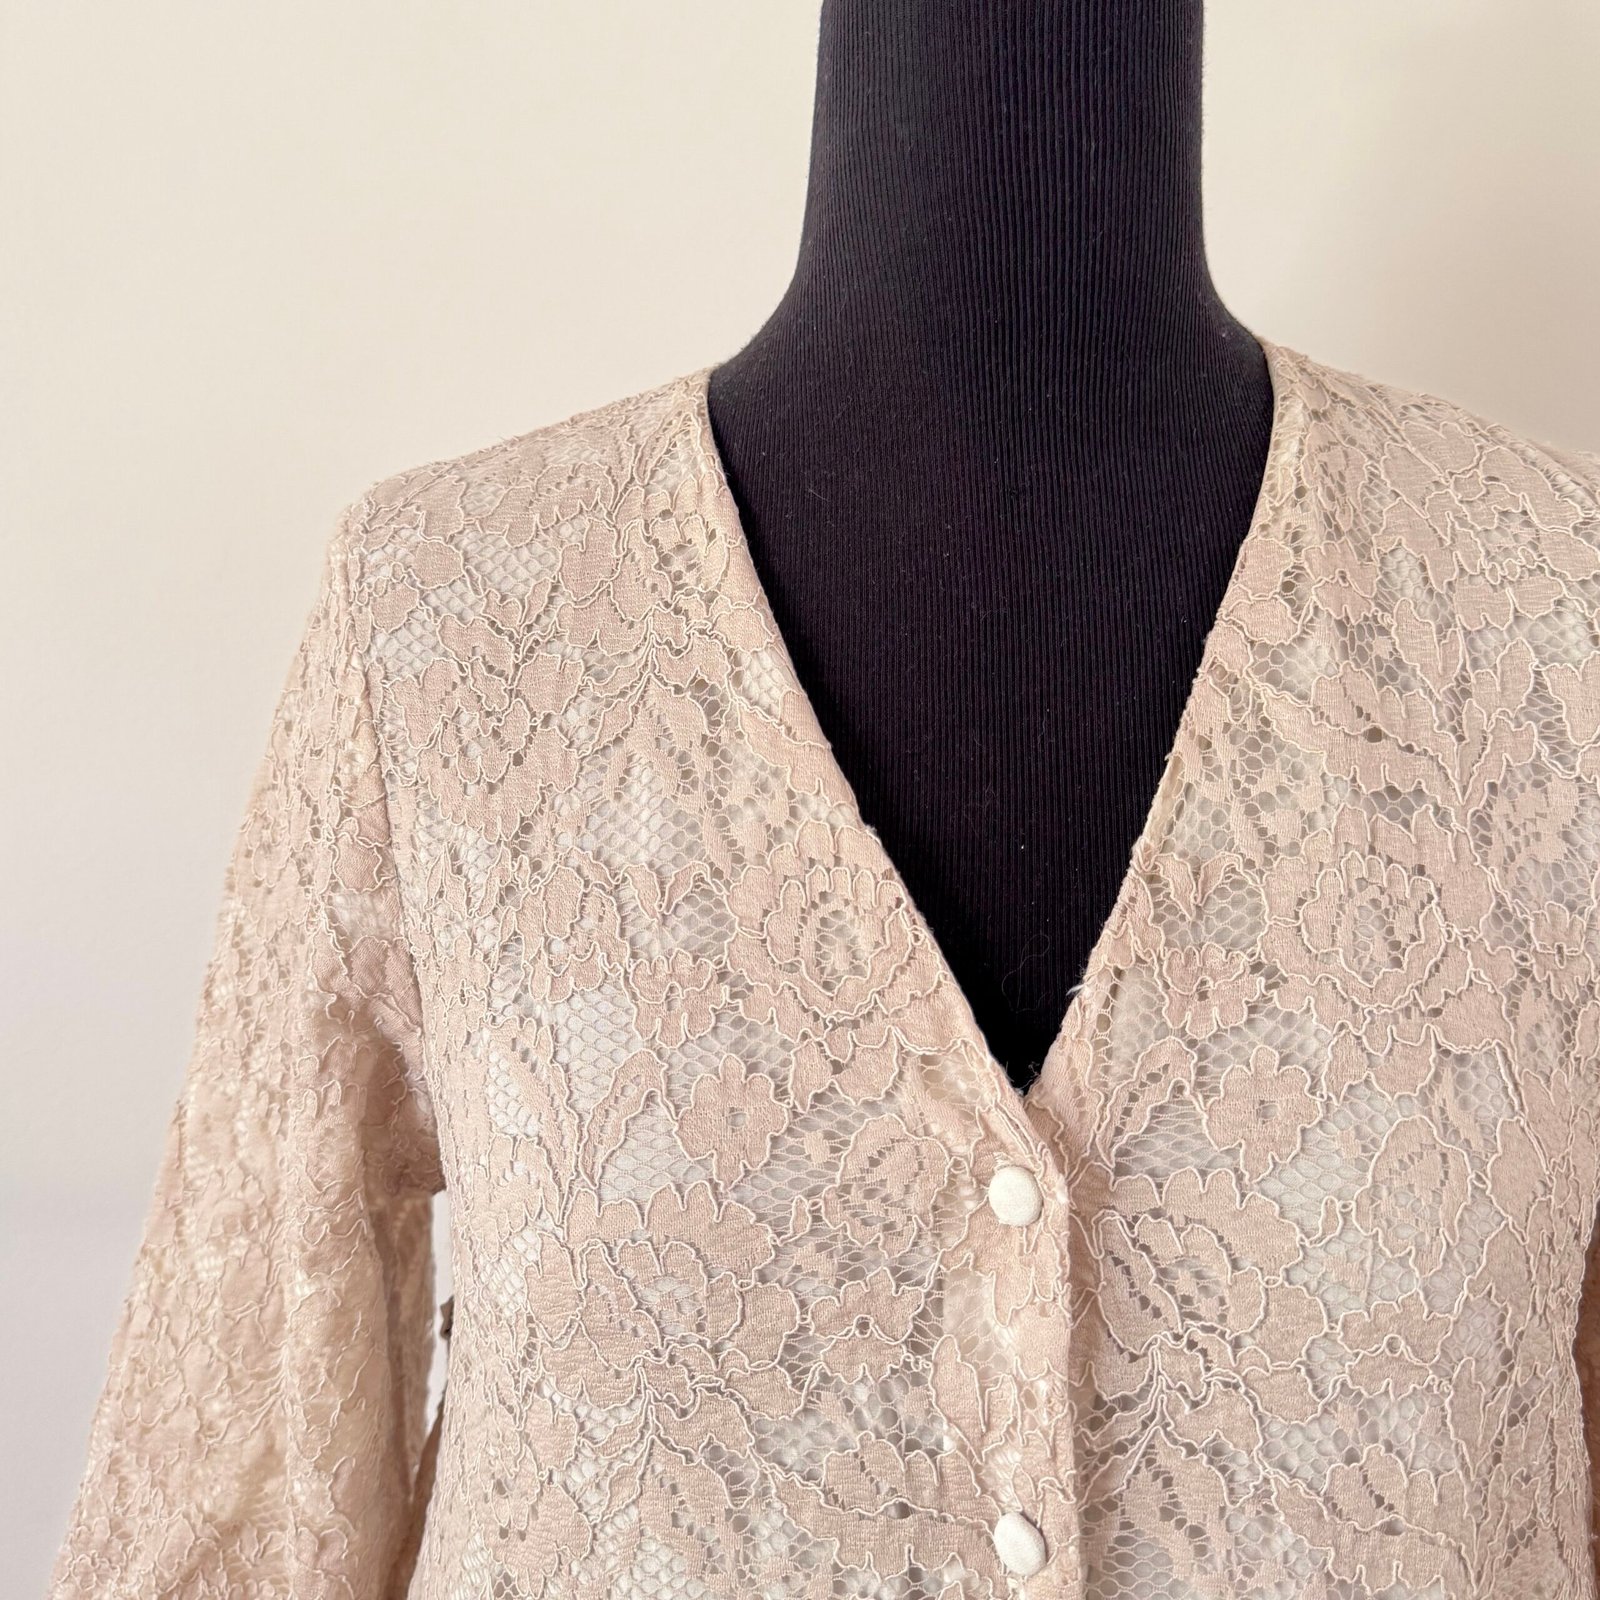


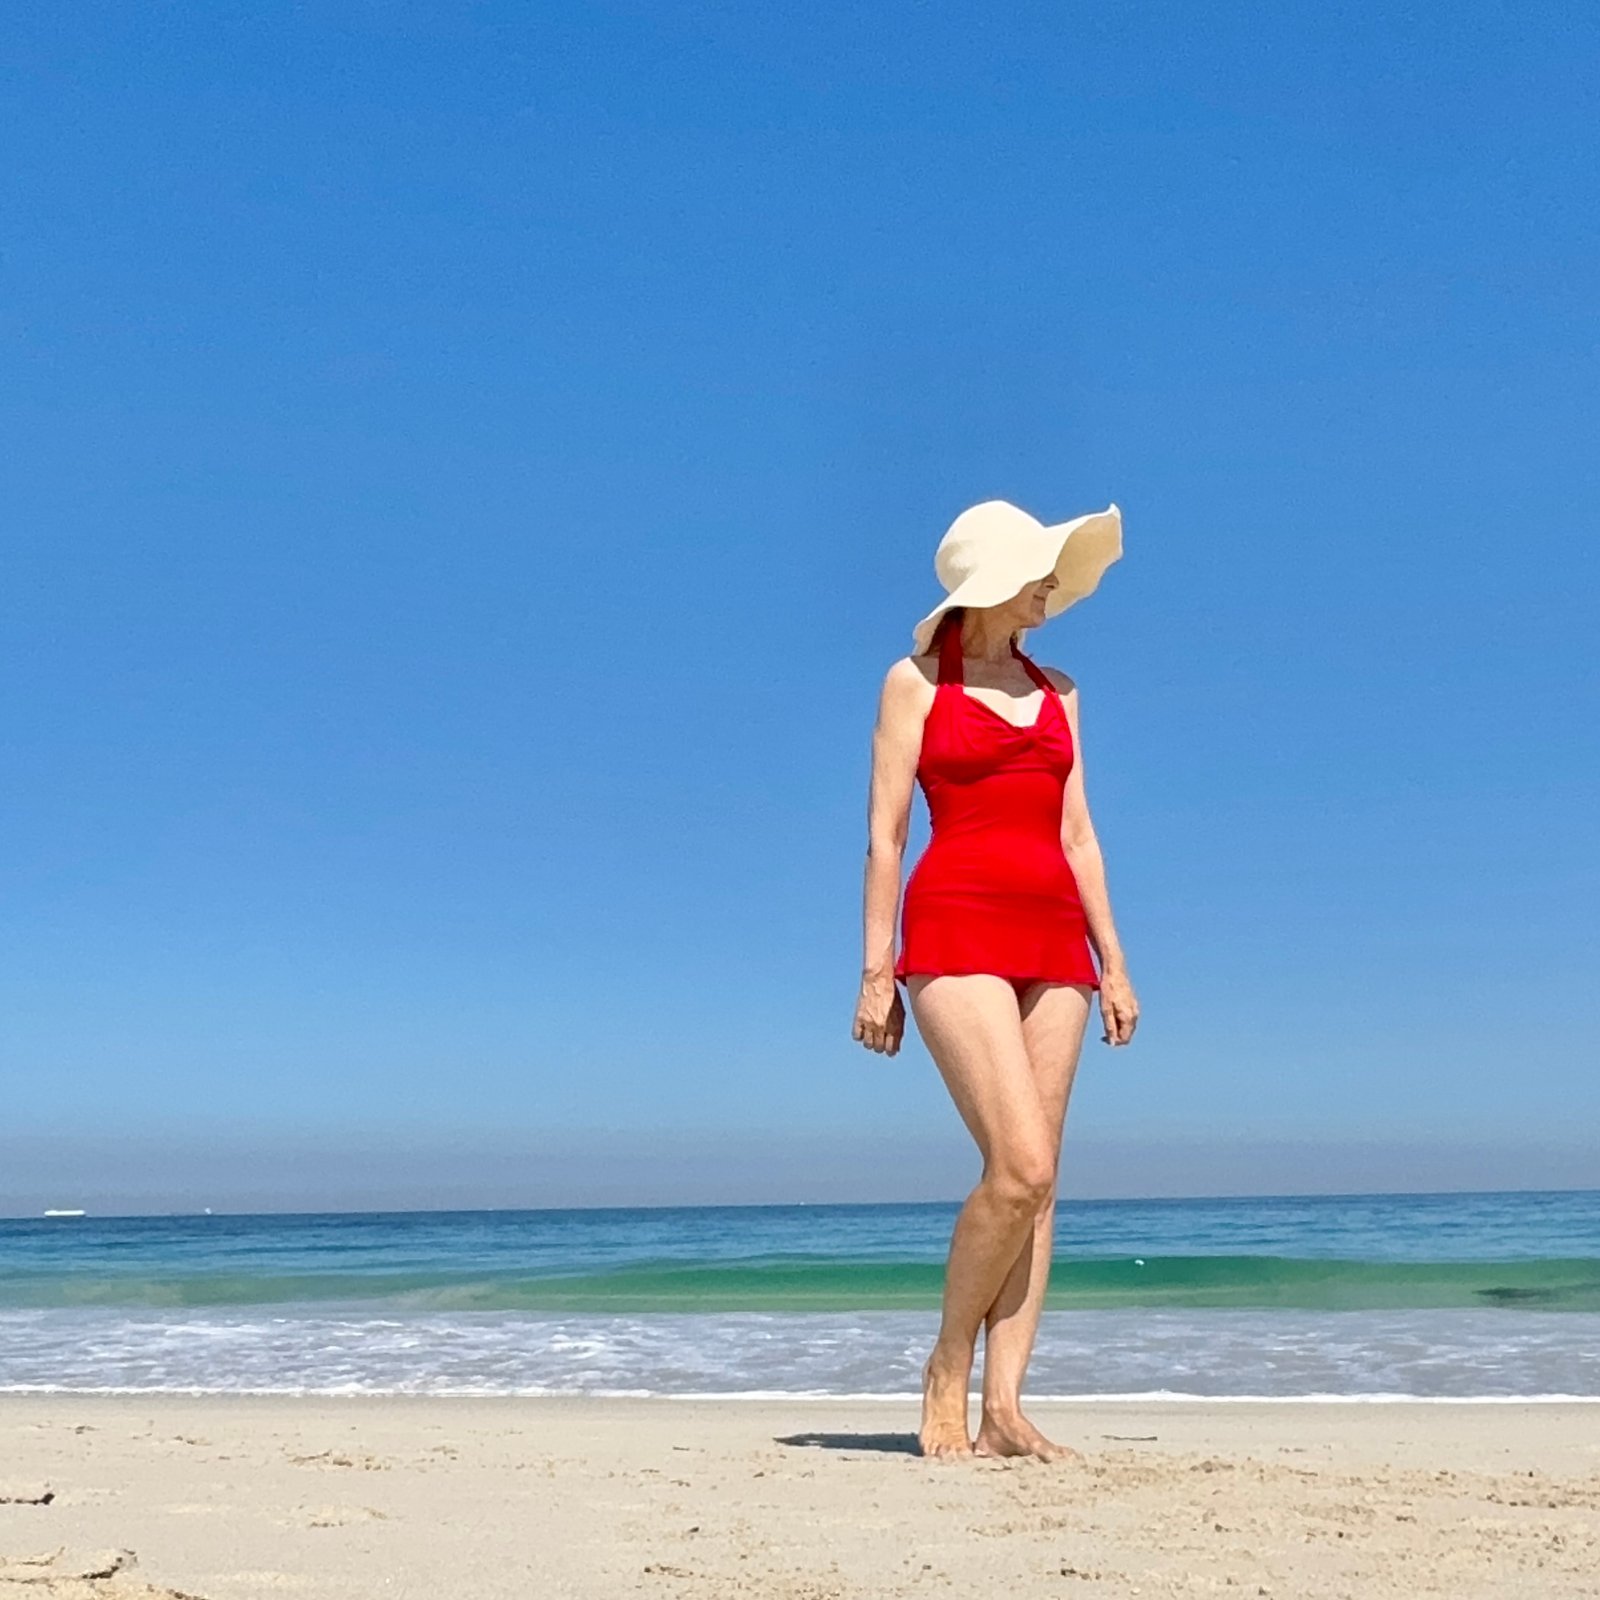
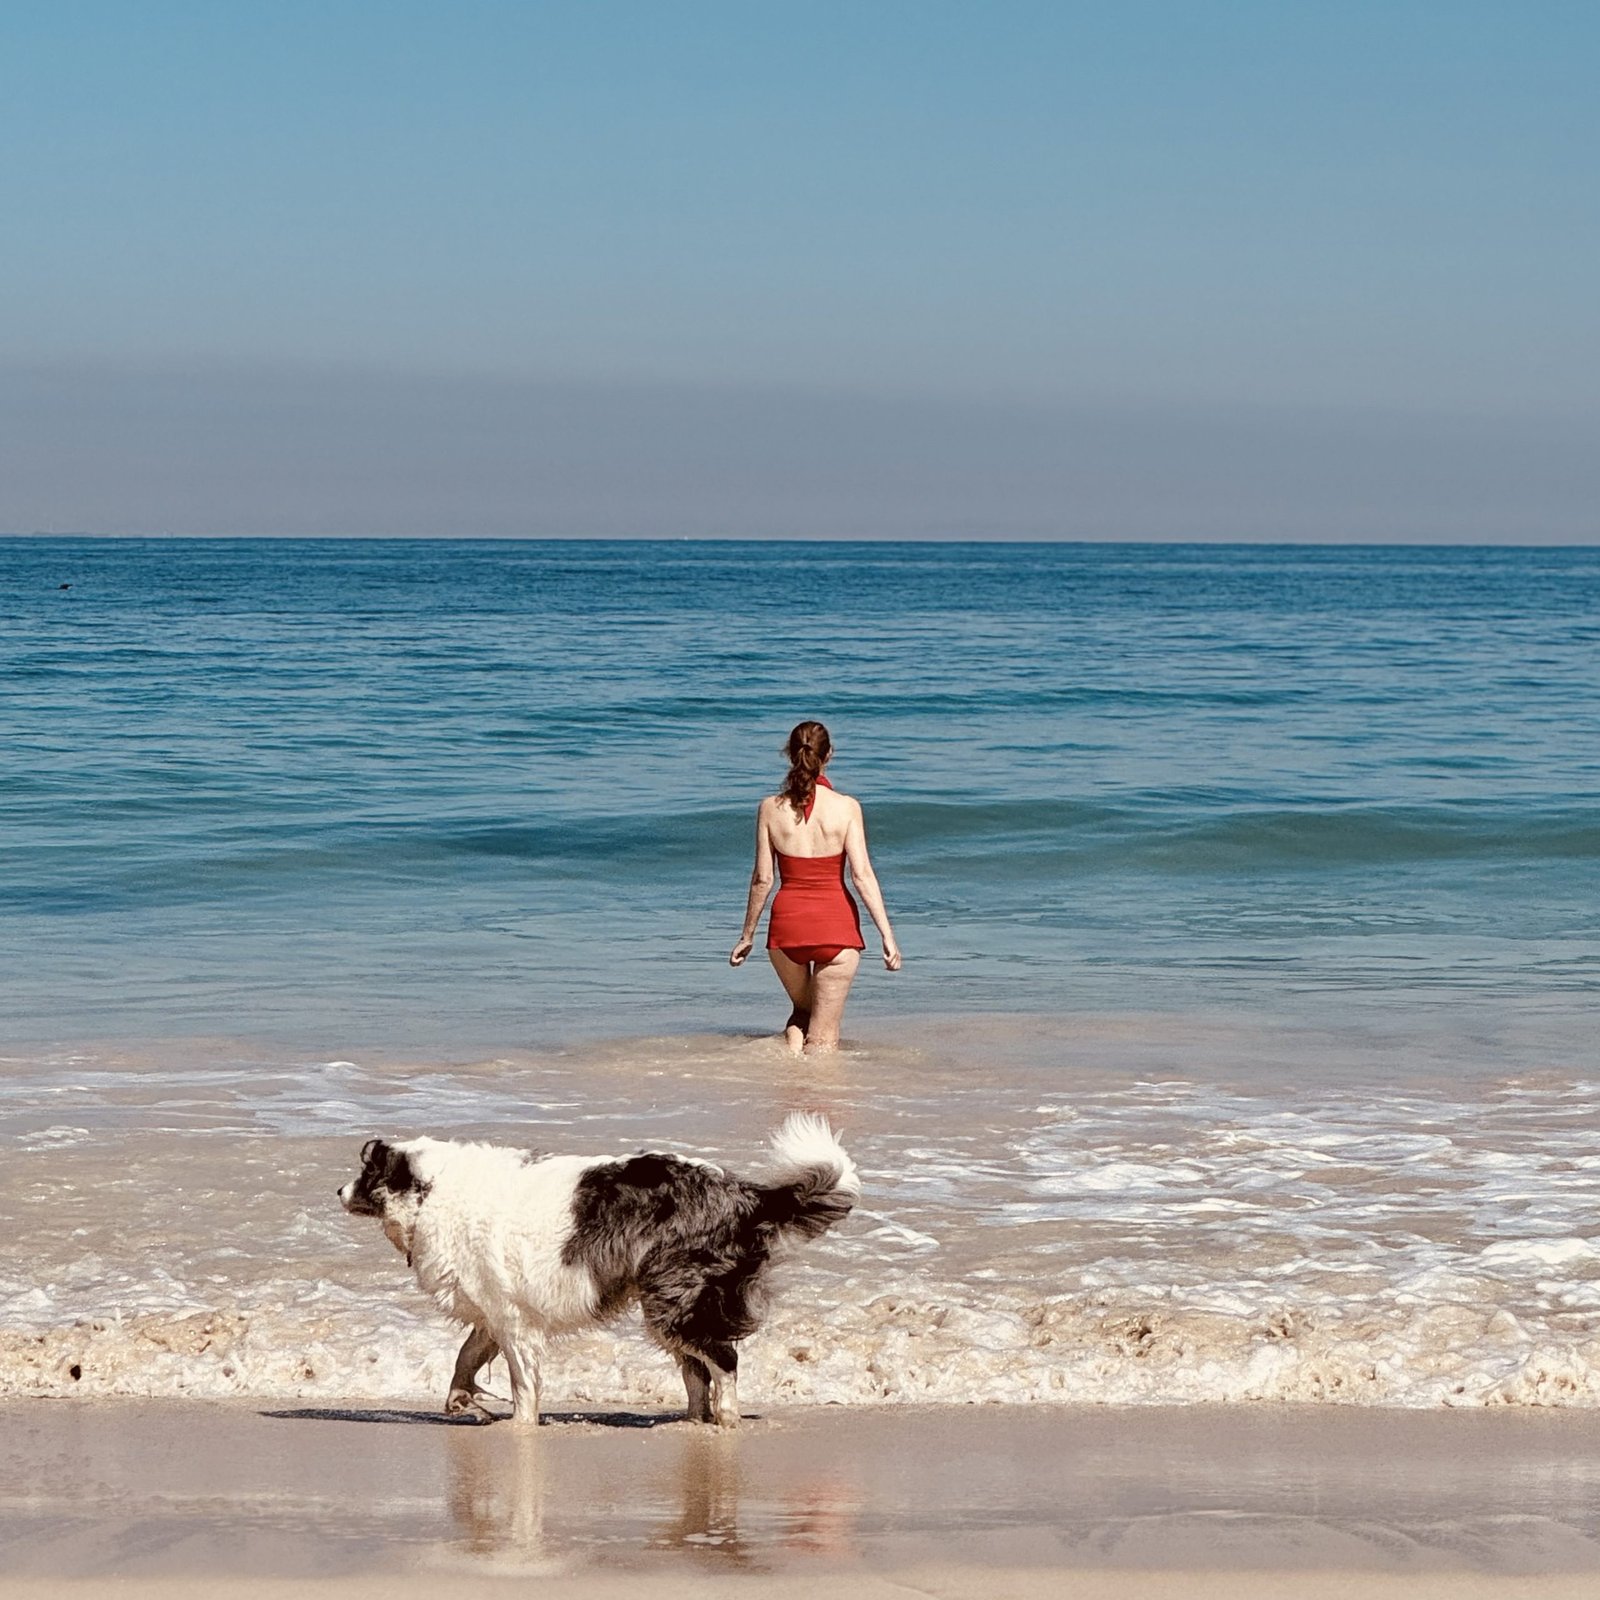
 Hello! I made a new pair of bathers for myself… and I’m chuckling to myself that I’ve gone kinda Bay Watch this year. Is Bay Watch even a part of the collective consciousness any more? hmmm I could be aging myself a bit with that reference?!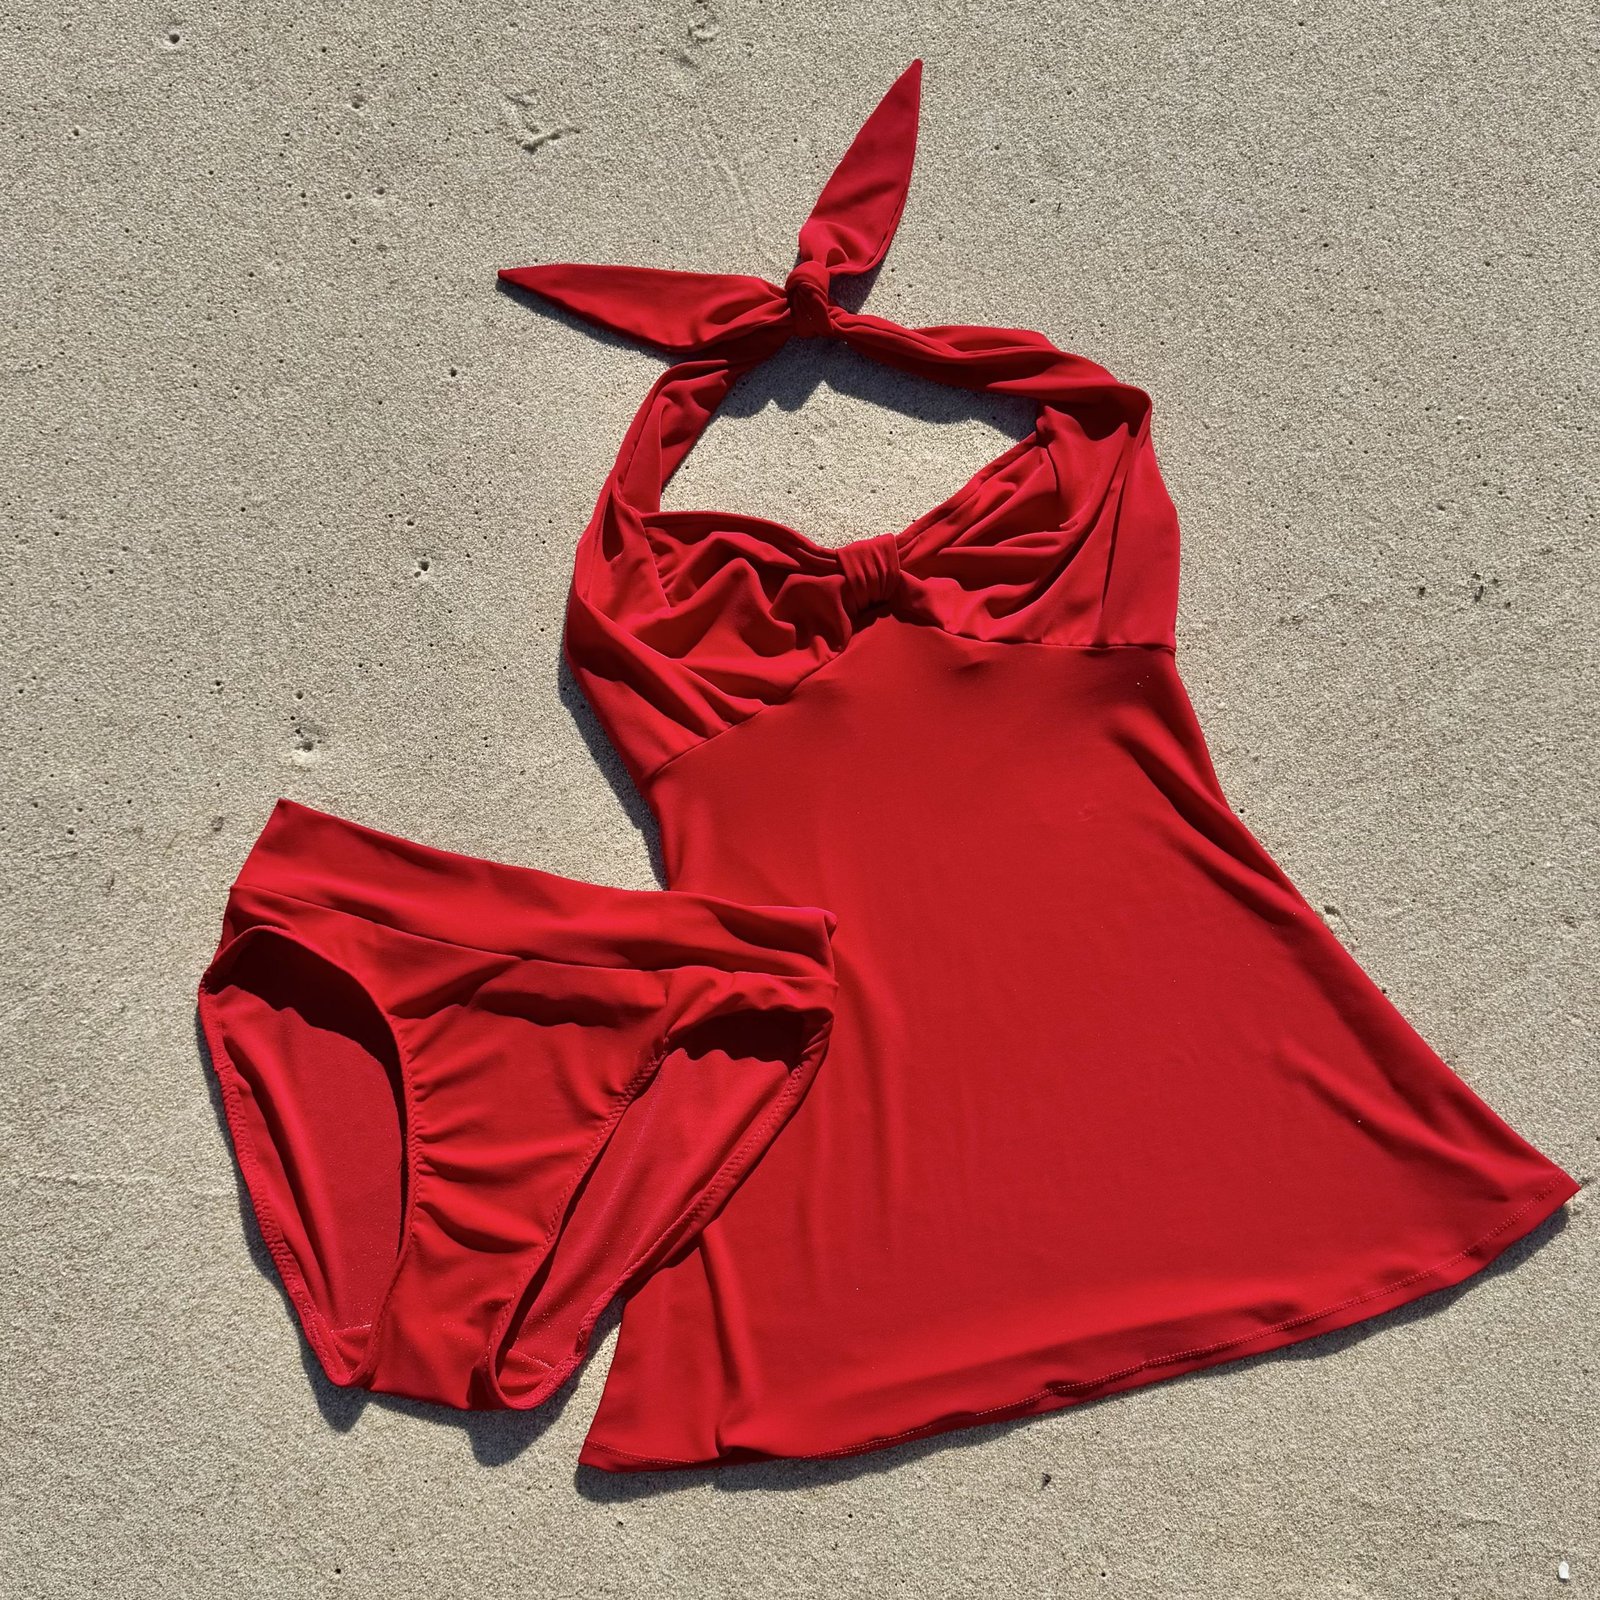


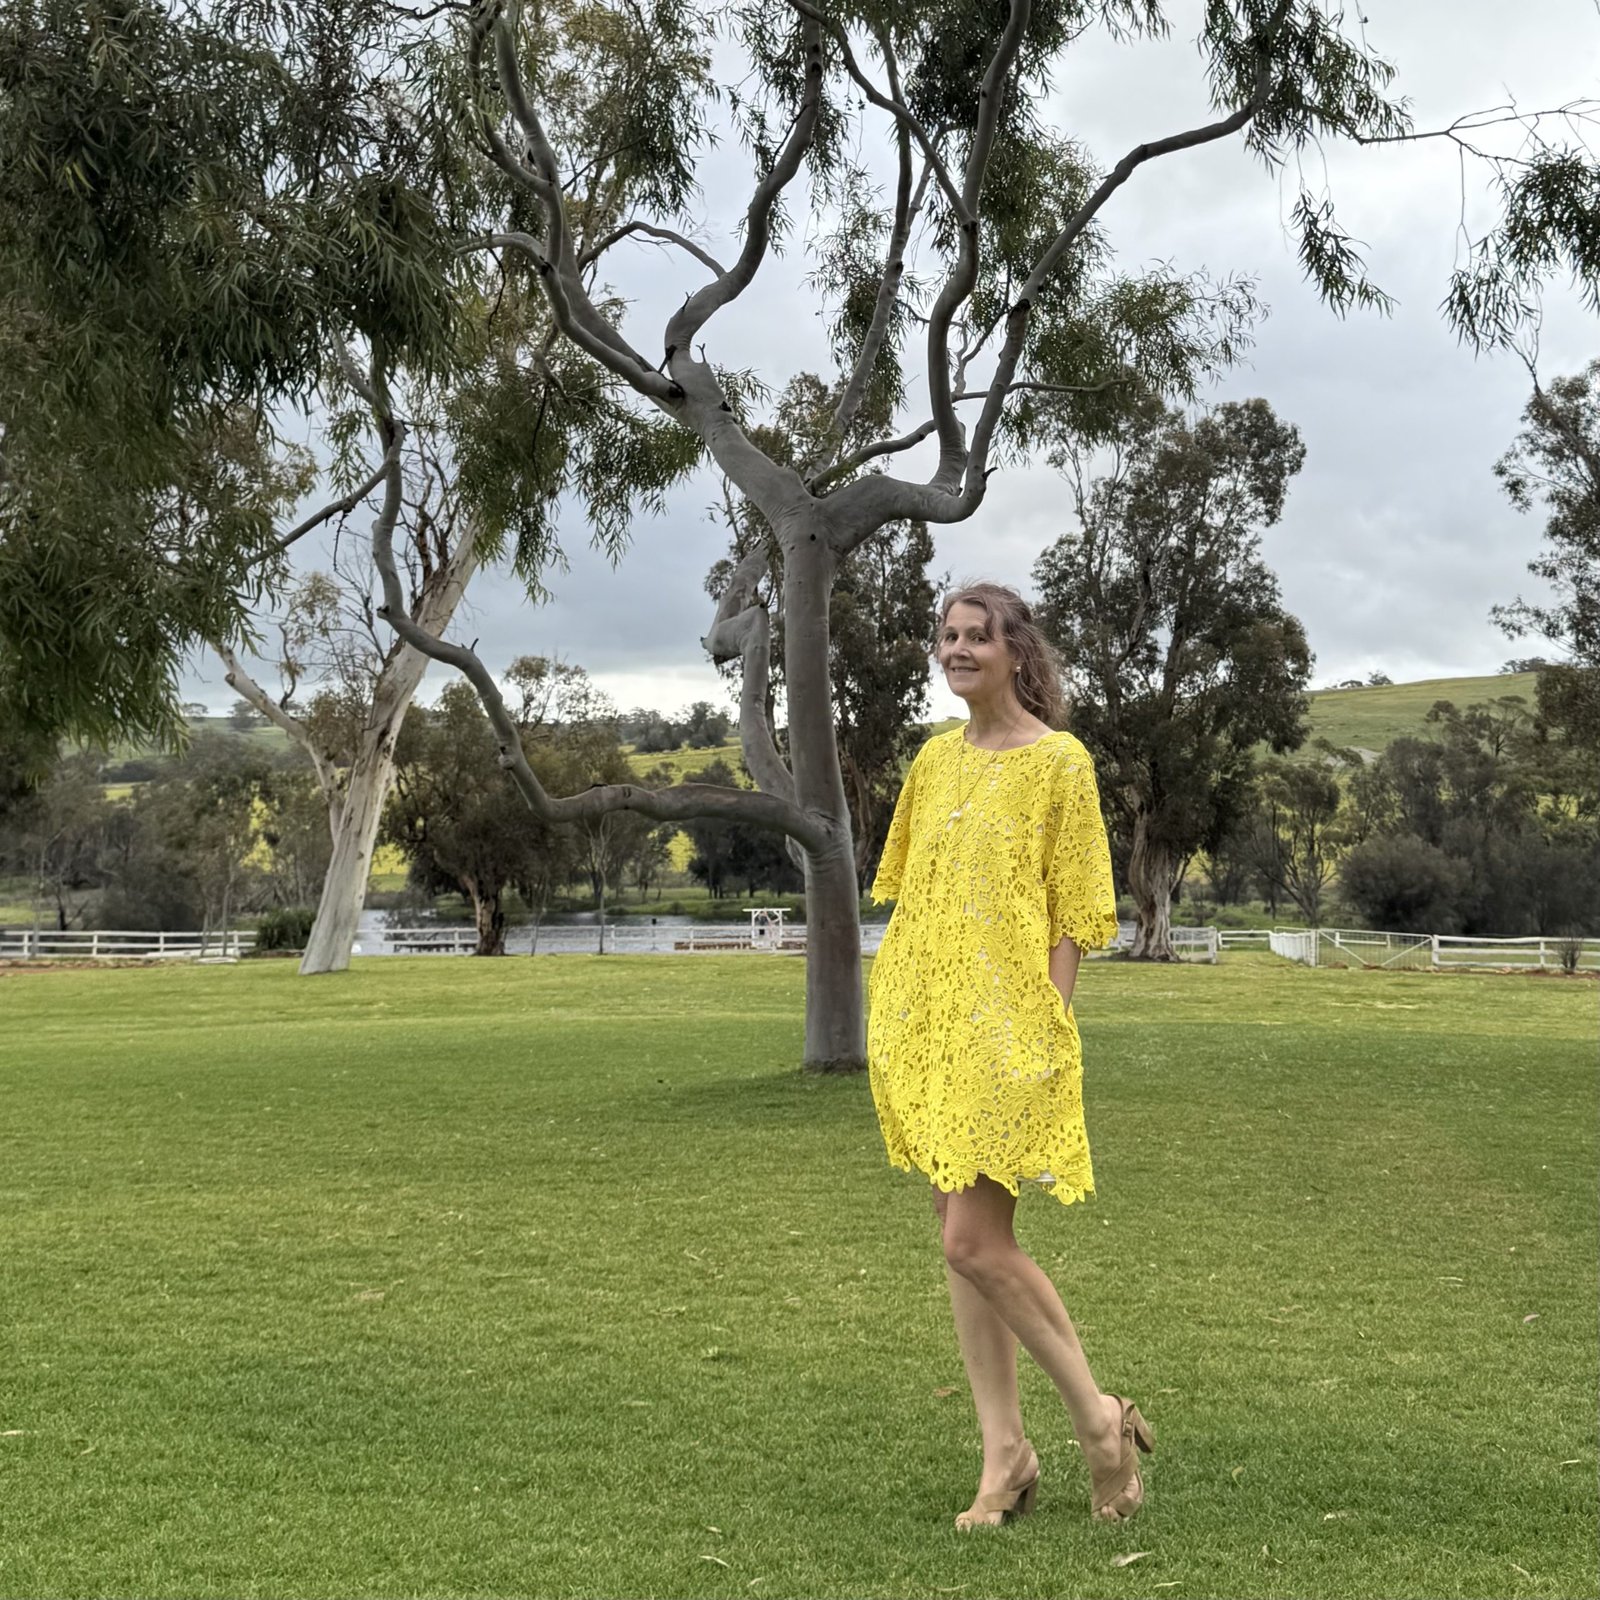
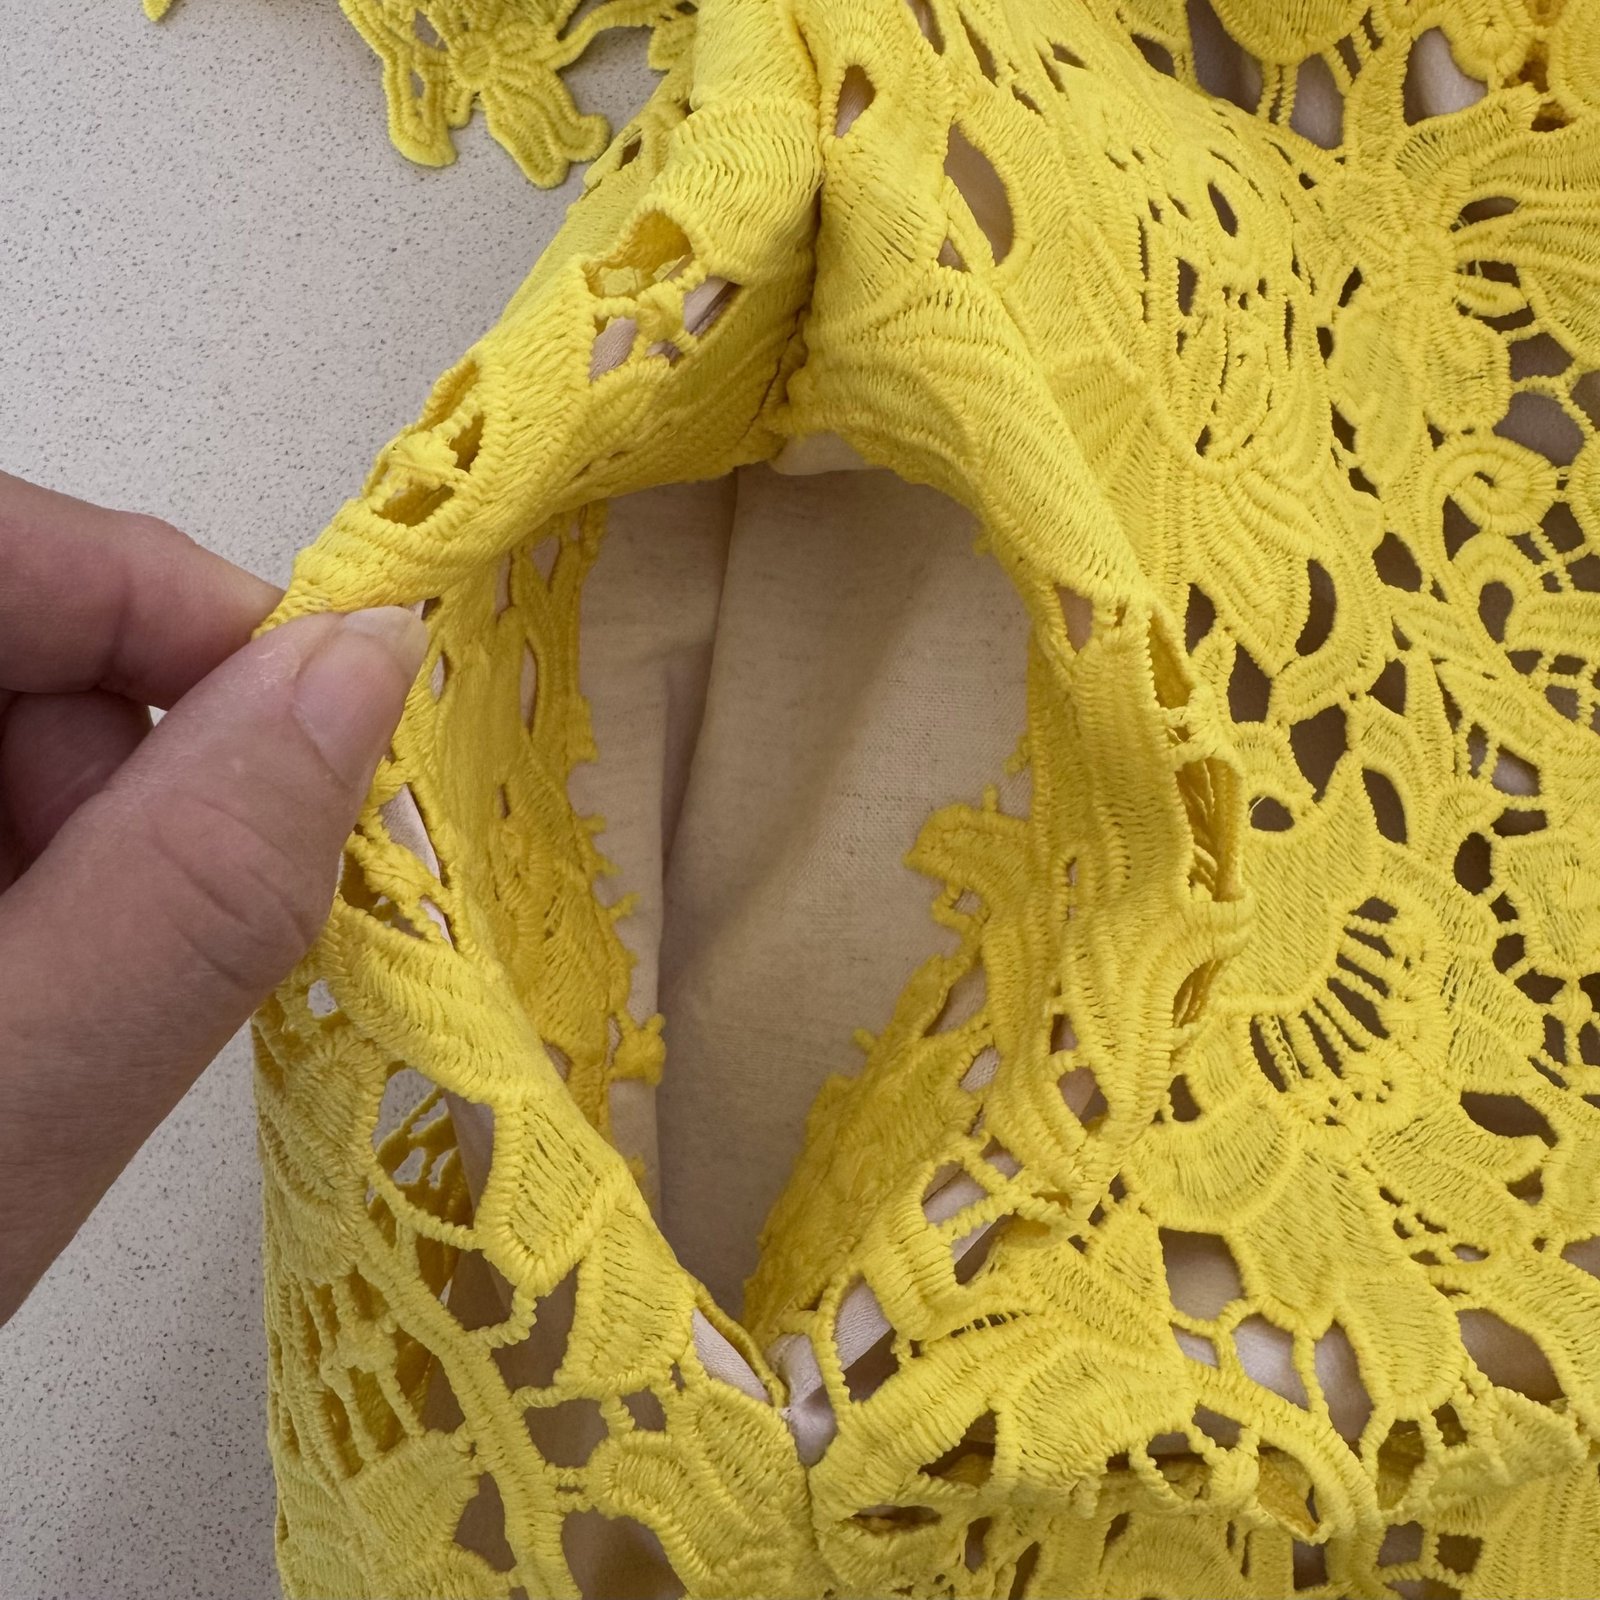
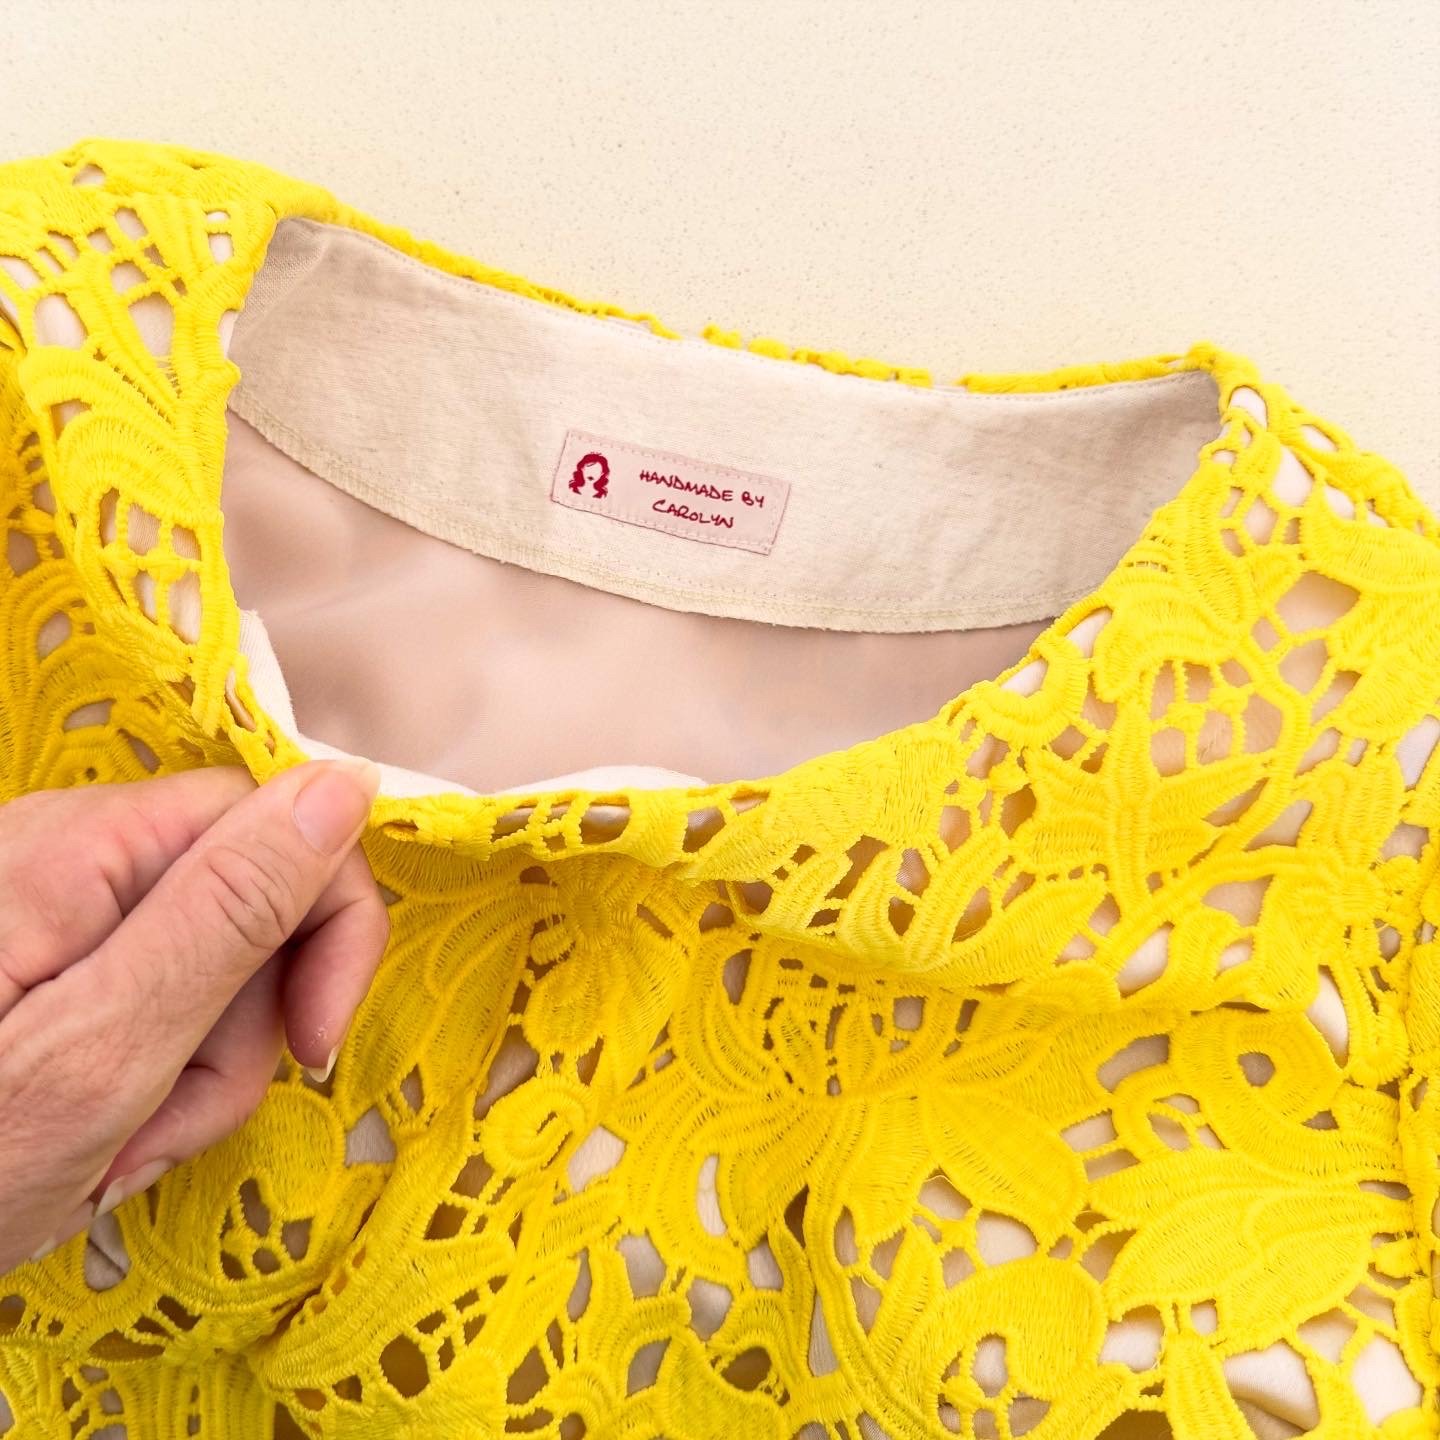
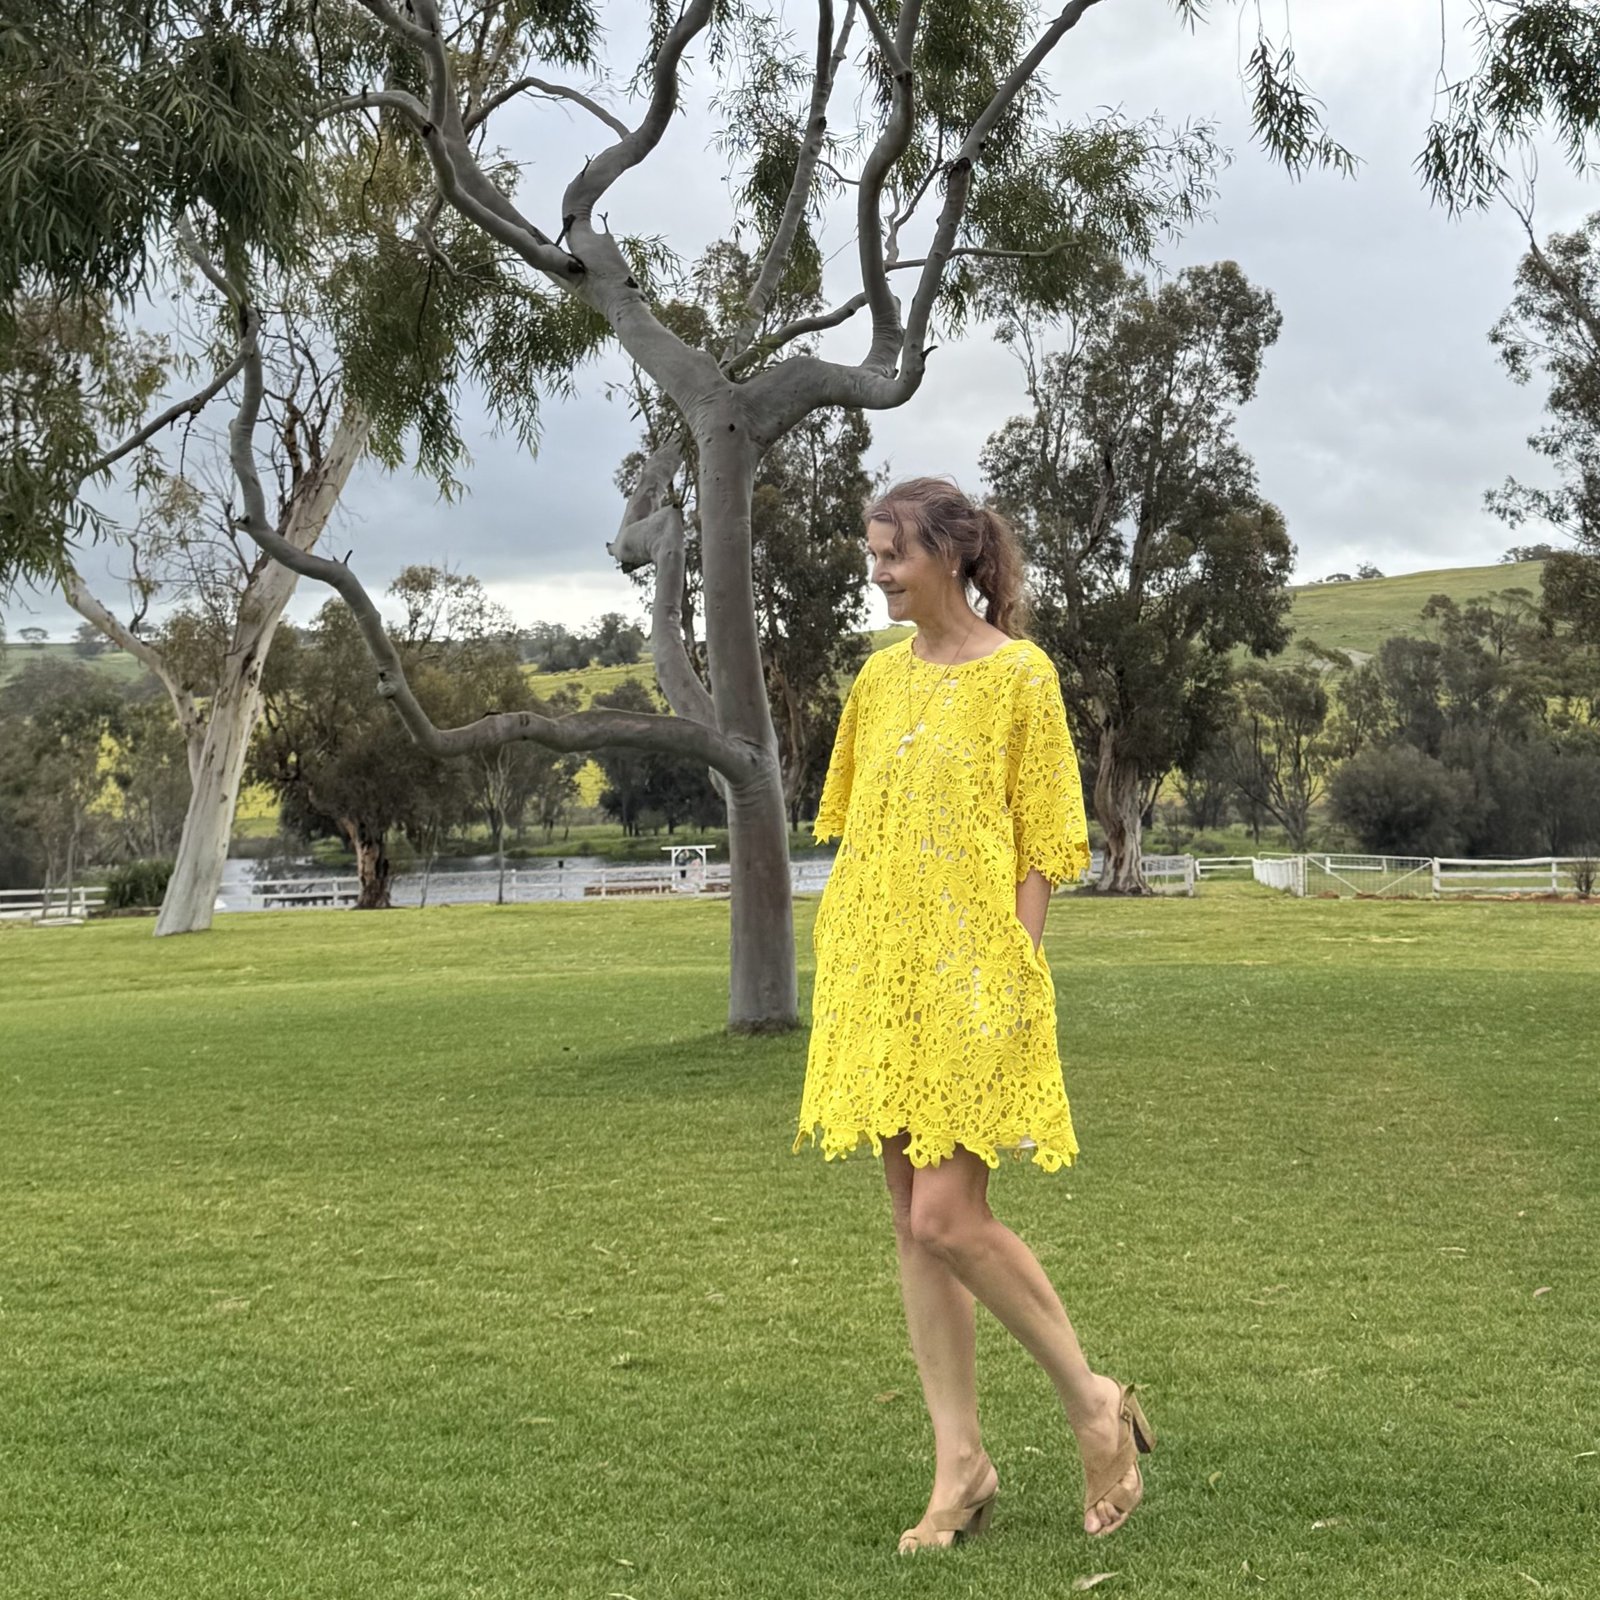
 hello! Recently my lovely niece J married her long-time man and so of course I had to make a new dress for myself for the occasion… I was vaguely toying with the idea of shopping for fabric before I remembered two things: 1. as everyone in our family knows, J’s favourite colour is famously yellow, and 2. I have a piece of very yellow, and happily wedding worthy fabric in my stash already!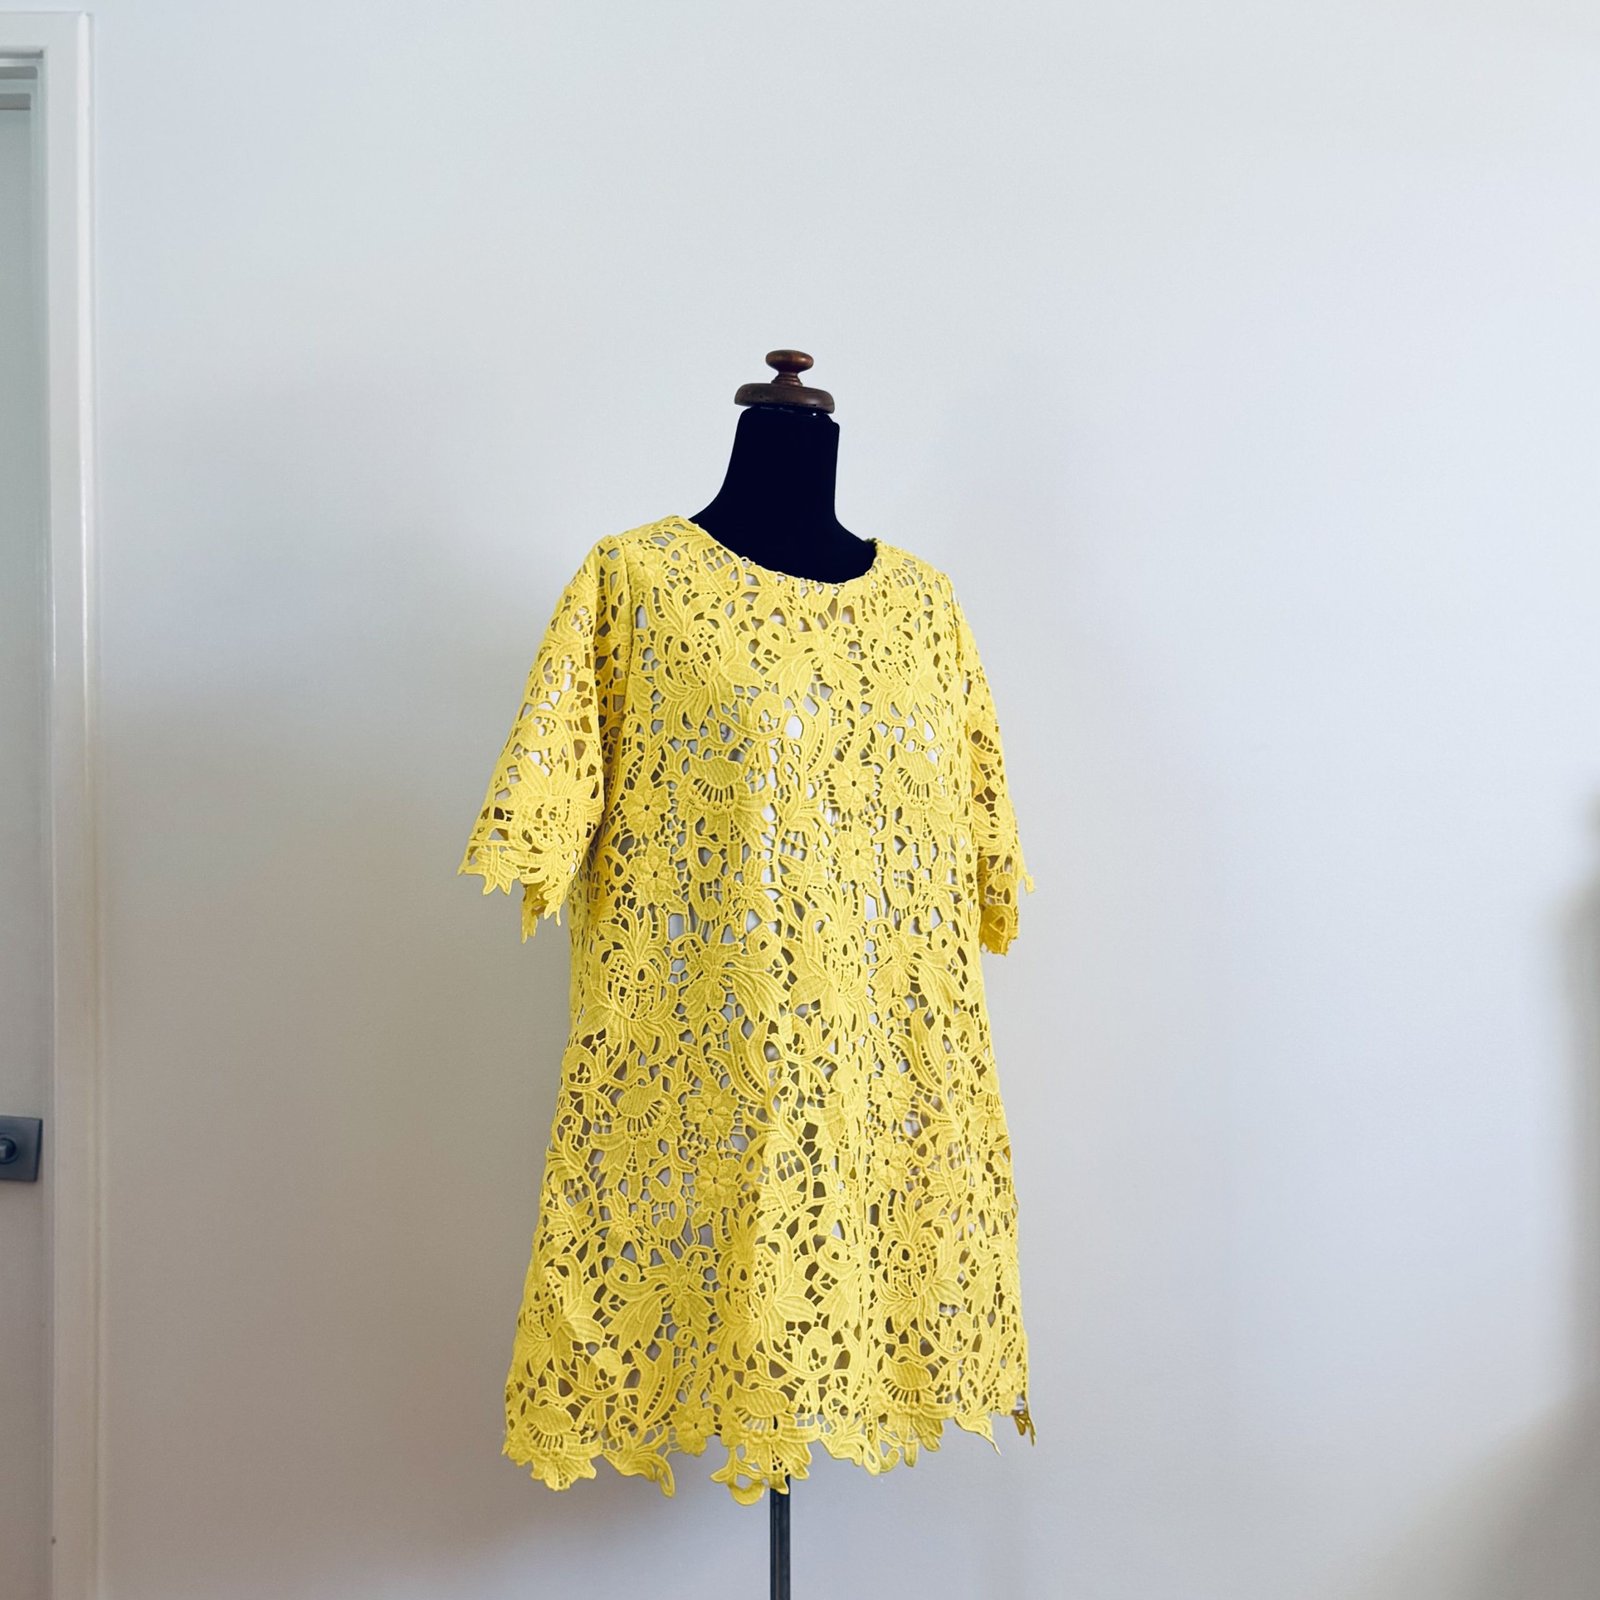
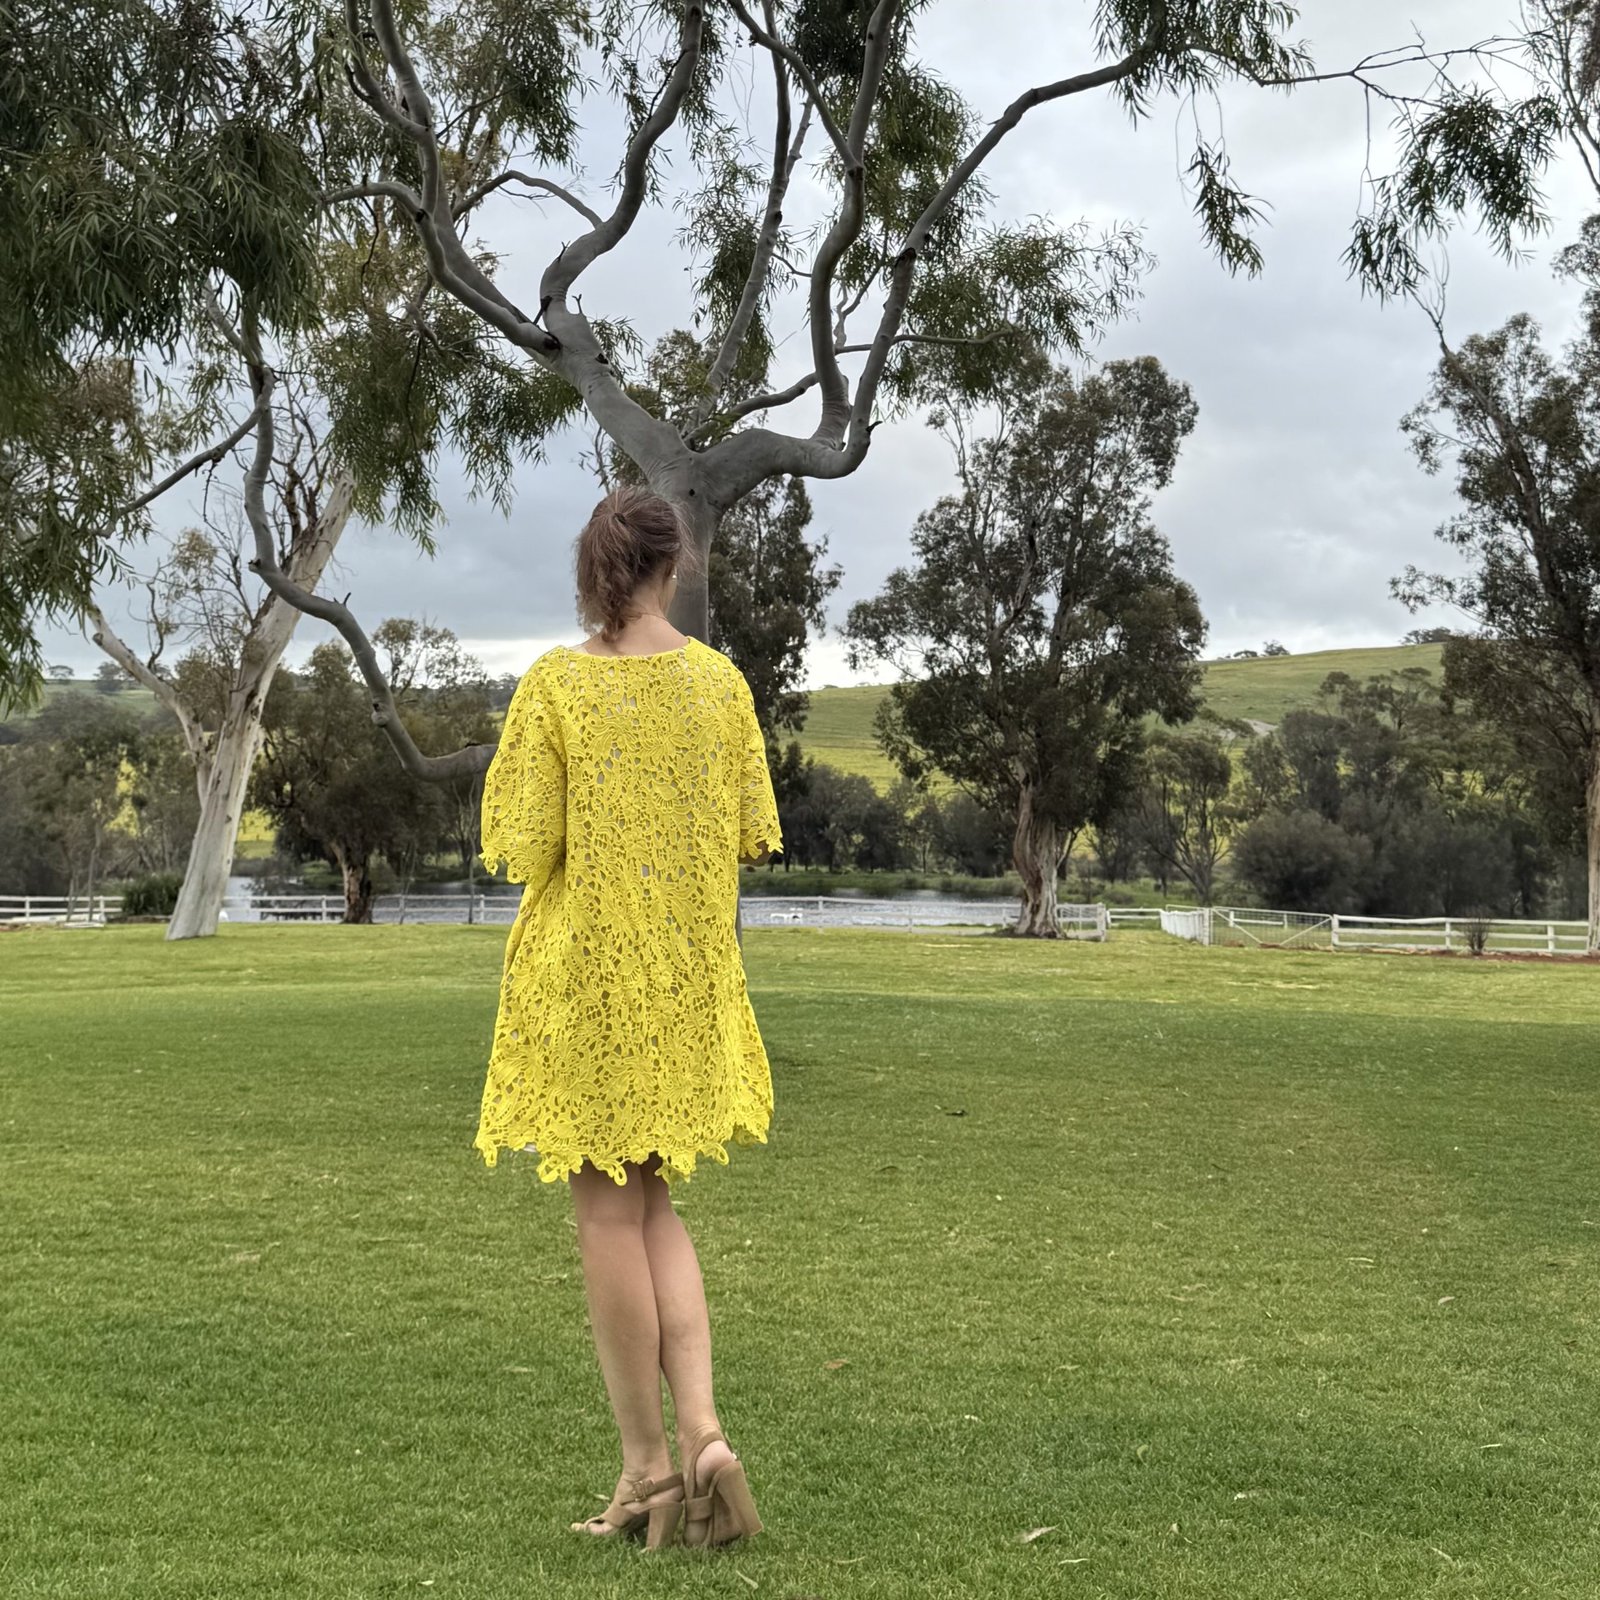
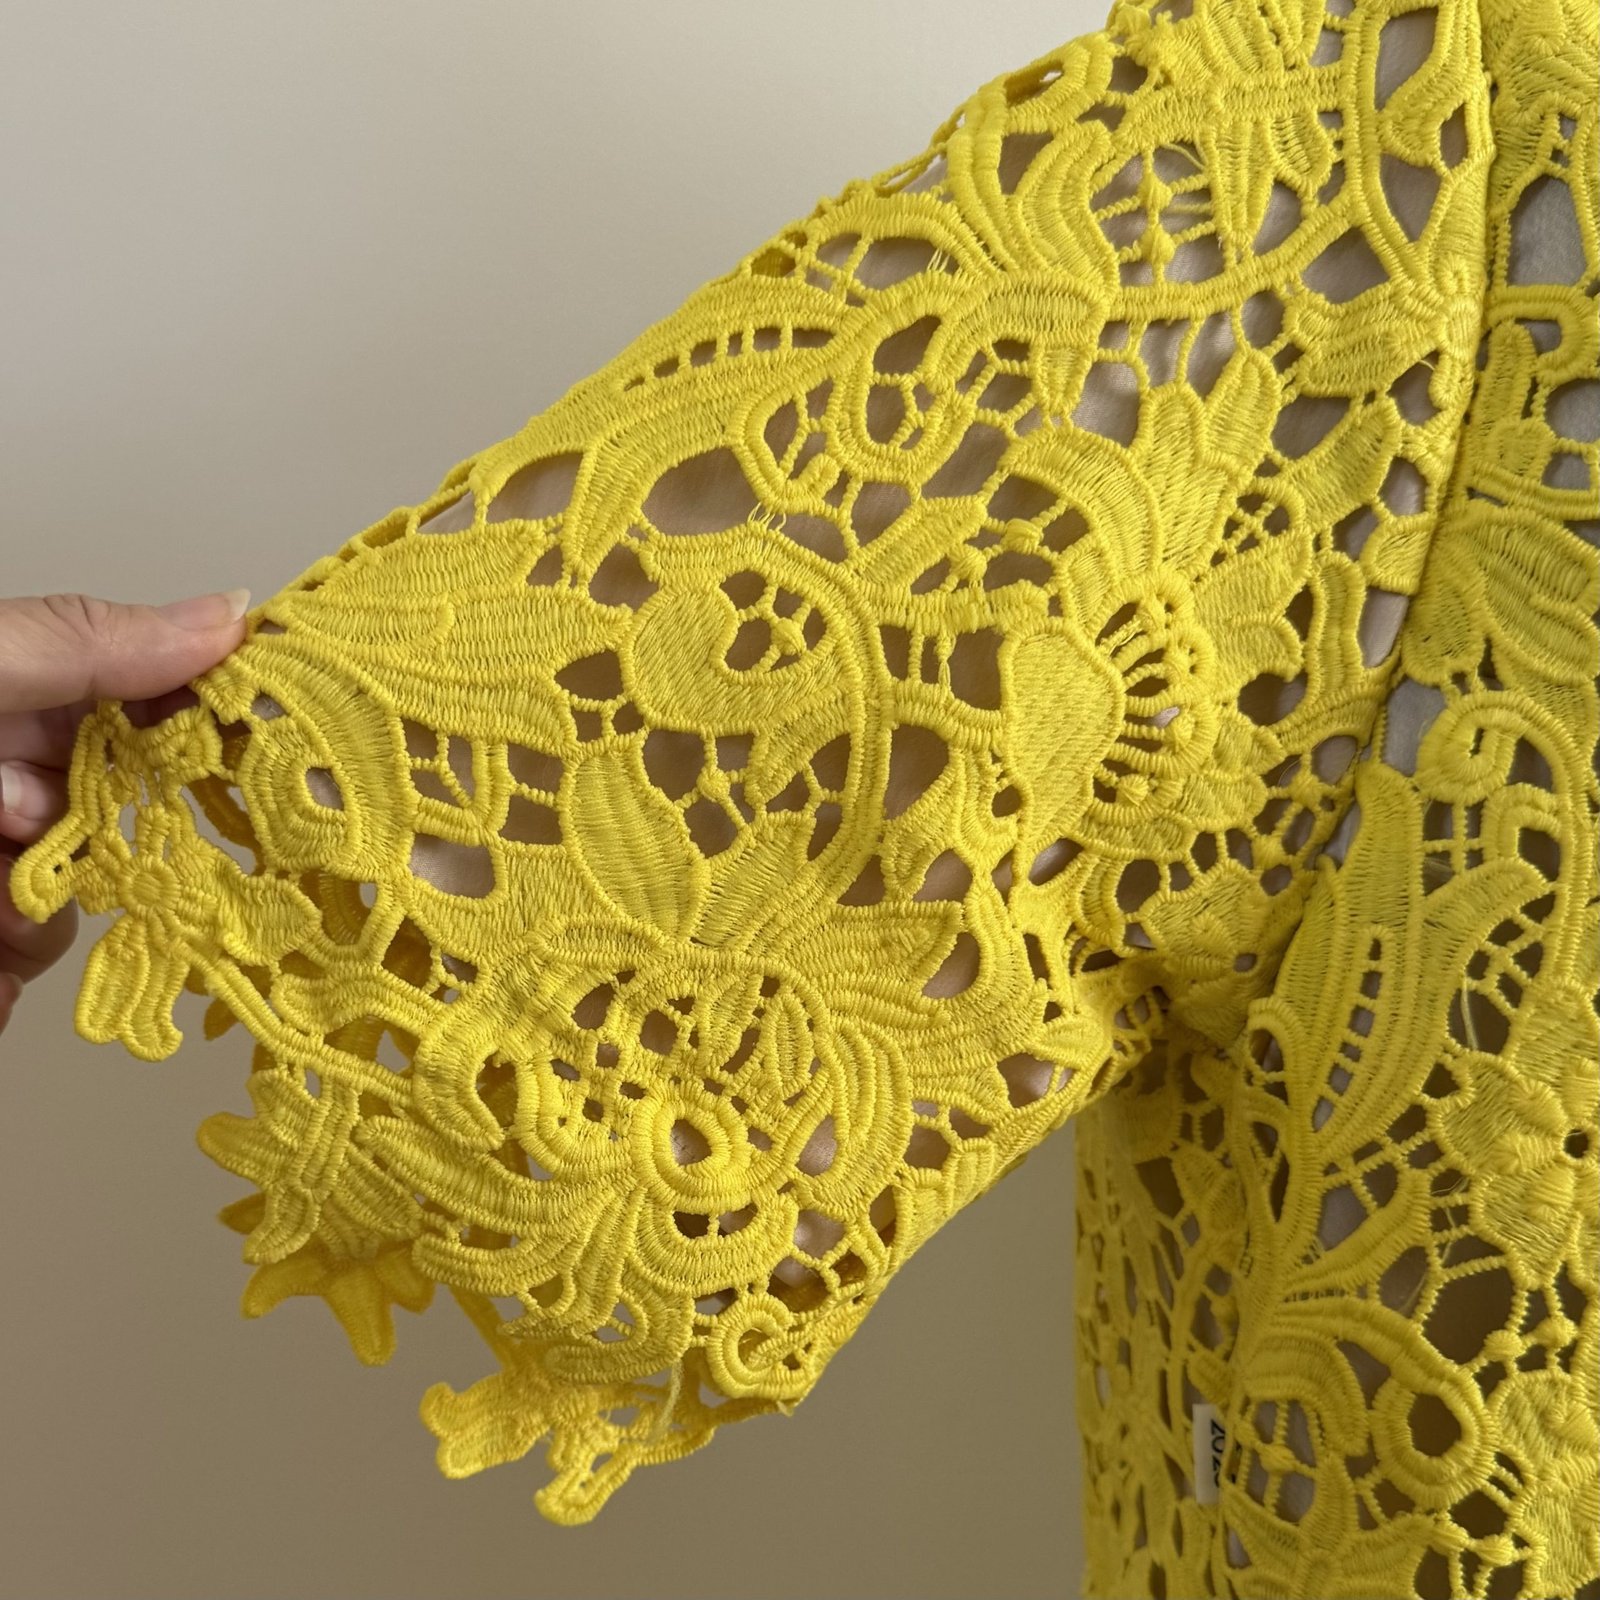
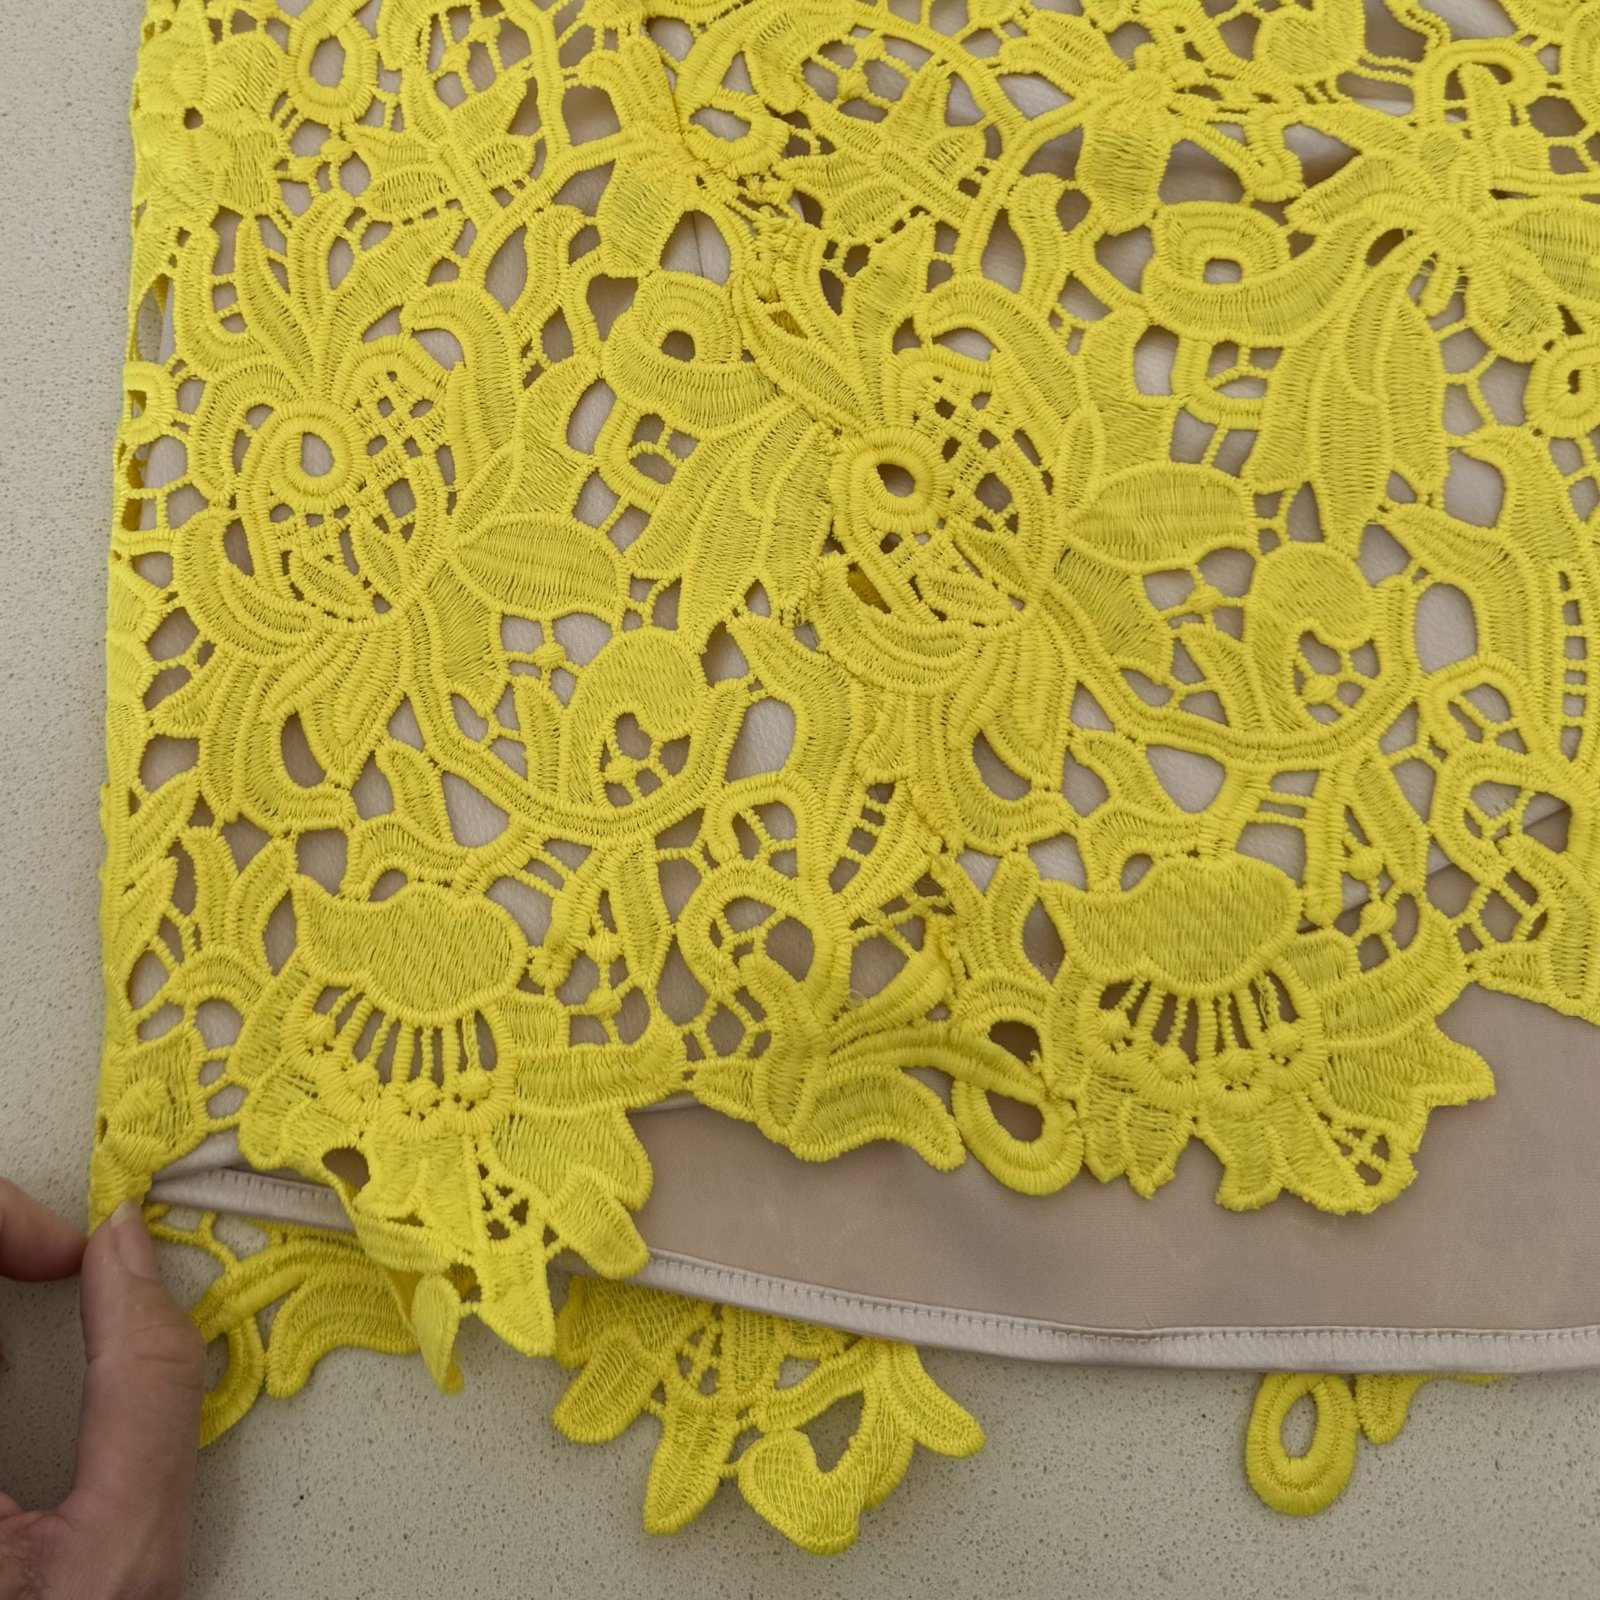 I cut the pockets and neckline facings from a natural cotton linen that I’ve had in the stash for years, saved specifically for this same sort of purpose.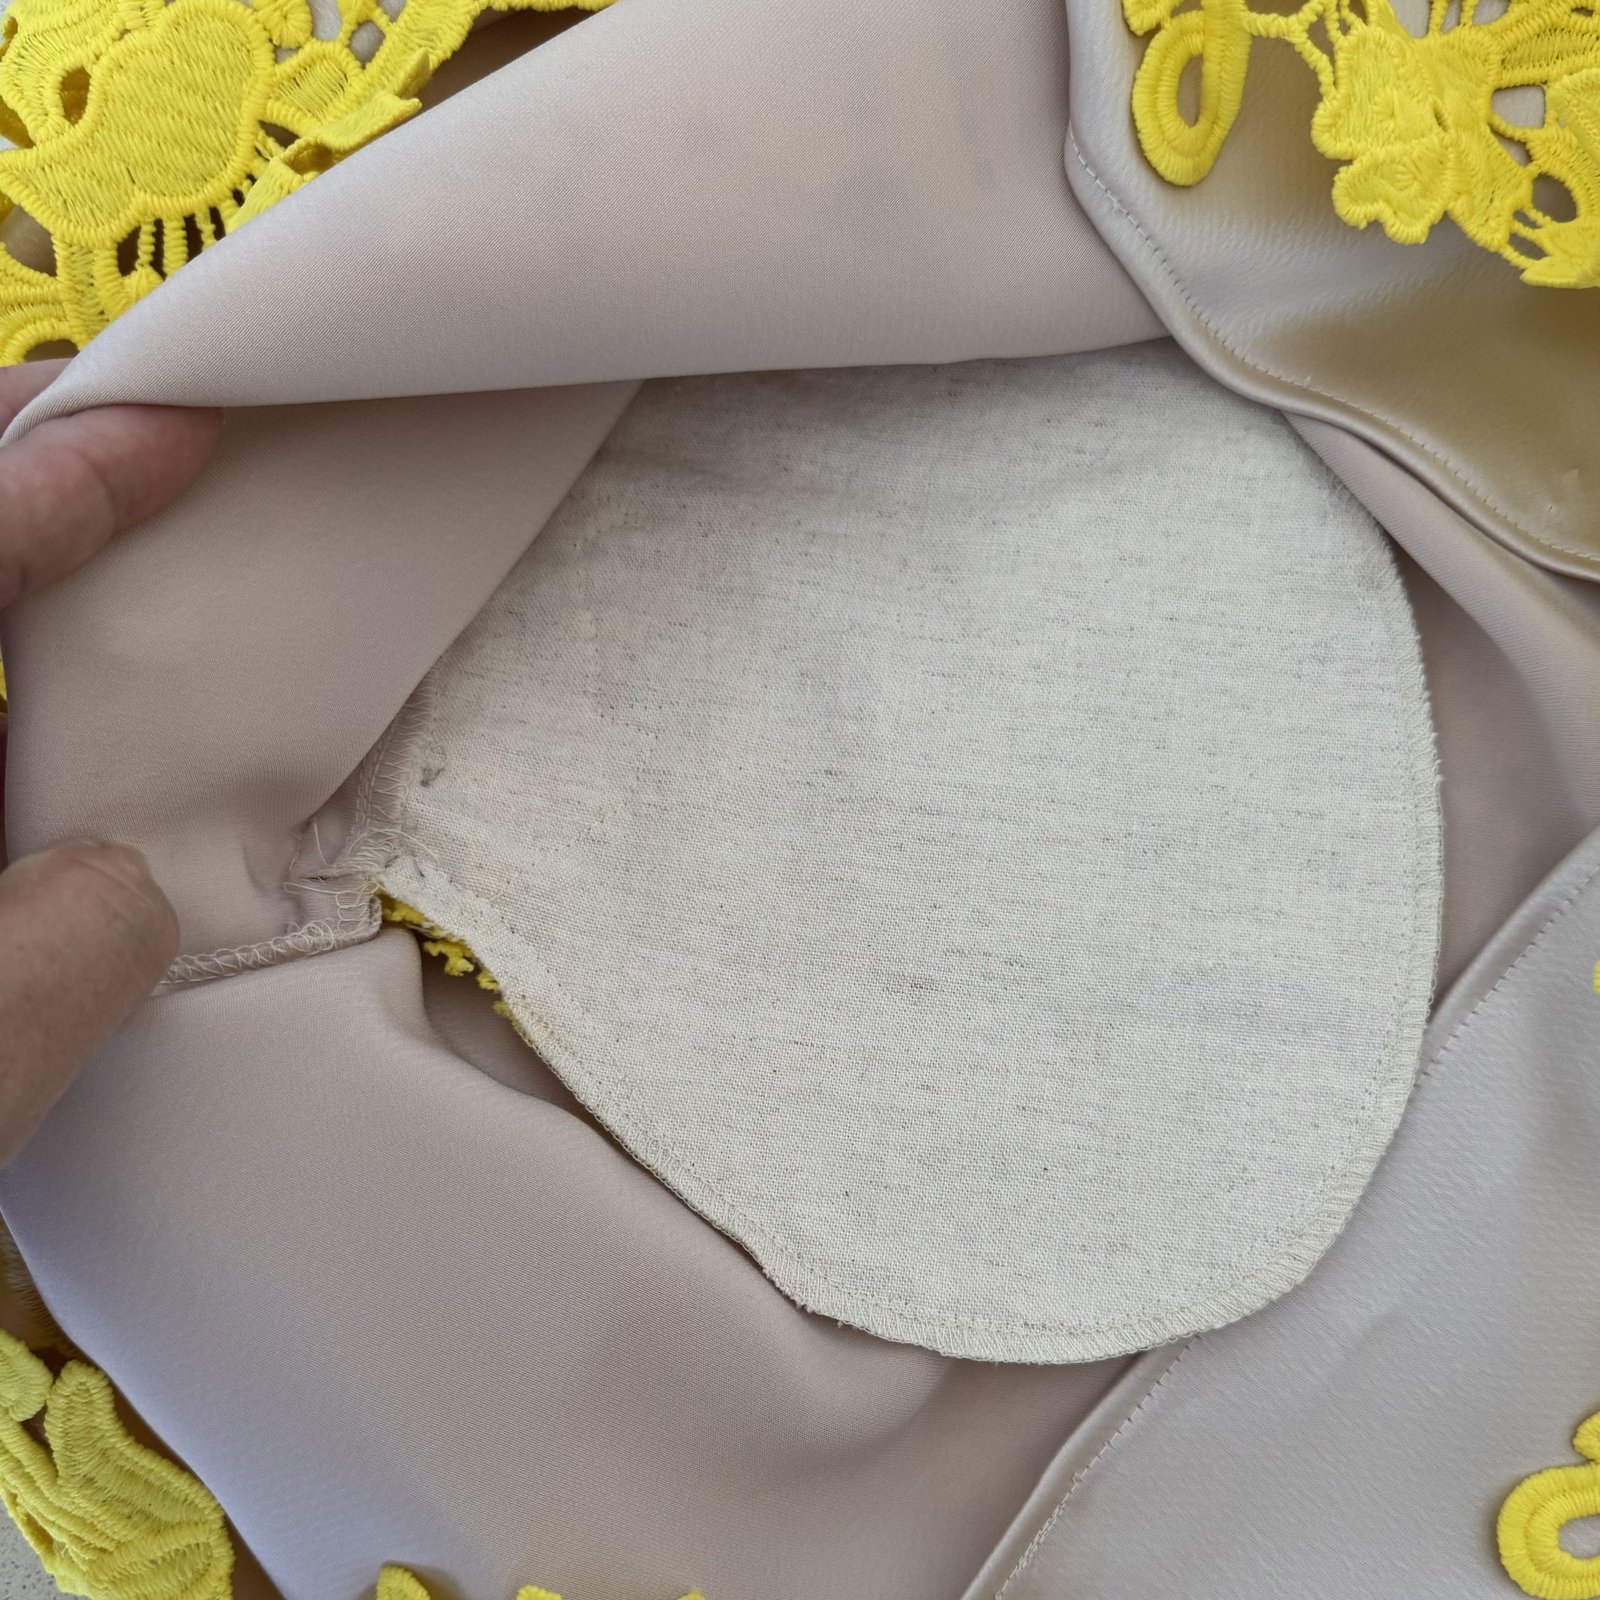
 I’m including a picture of the happy couple because, although I did not make the dress, I did alter it to fit her and also did some minor repairs. This took three separate fittings and I took precisely zero photos of the process or anything. My only excuse is that I was also working on my own dress and stressing a little bit that I wasn’t going to get it all done on time.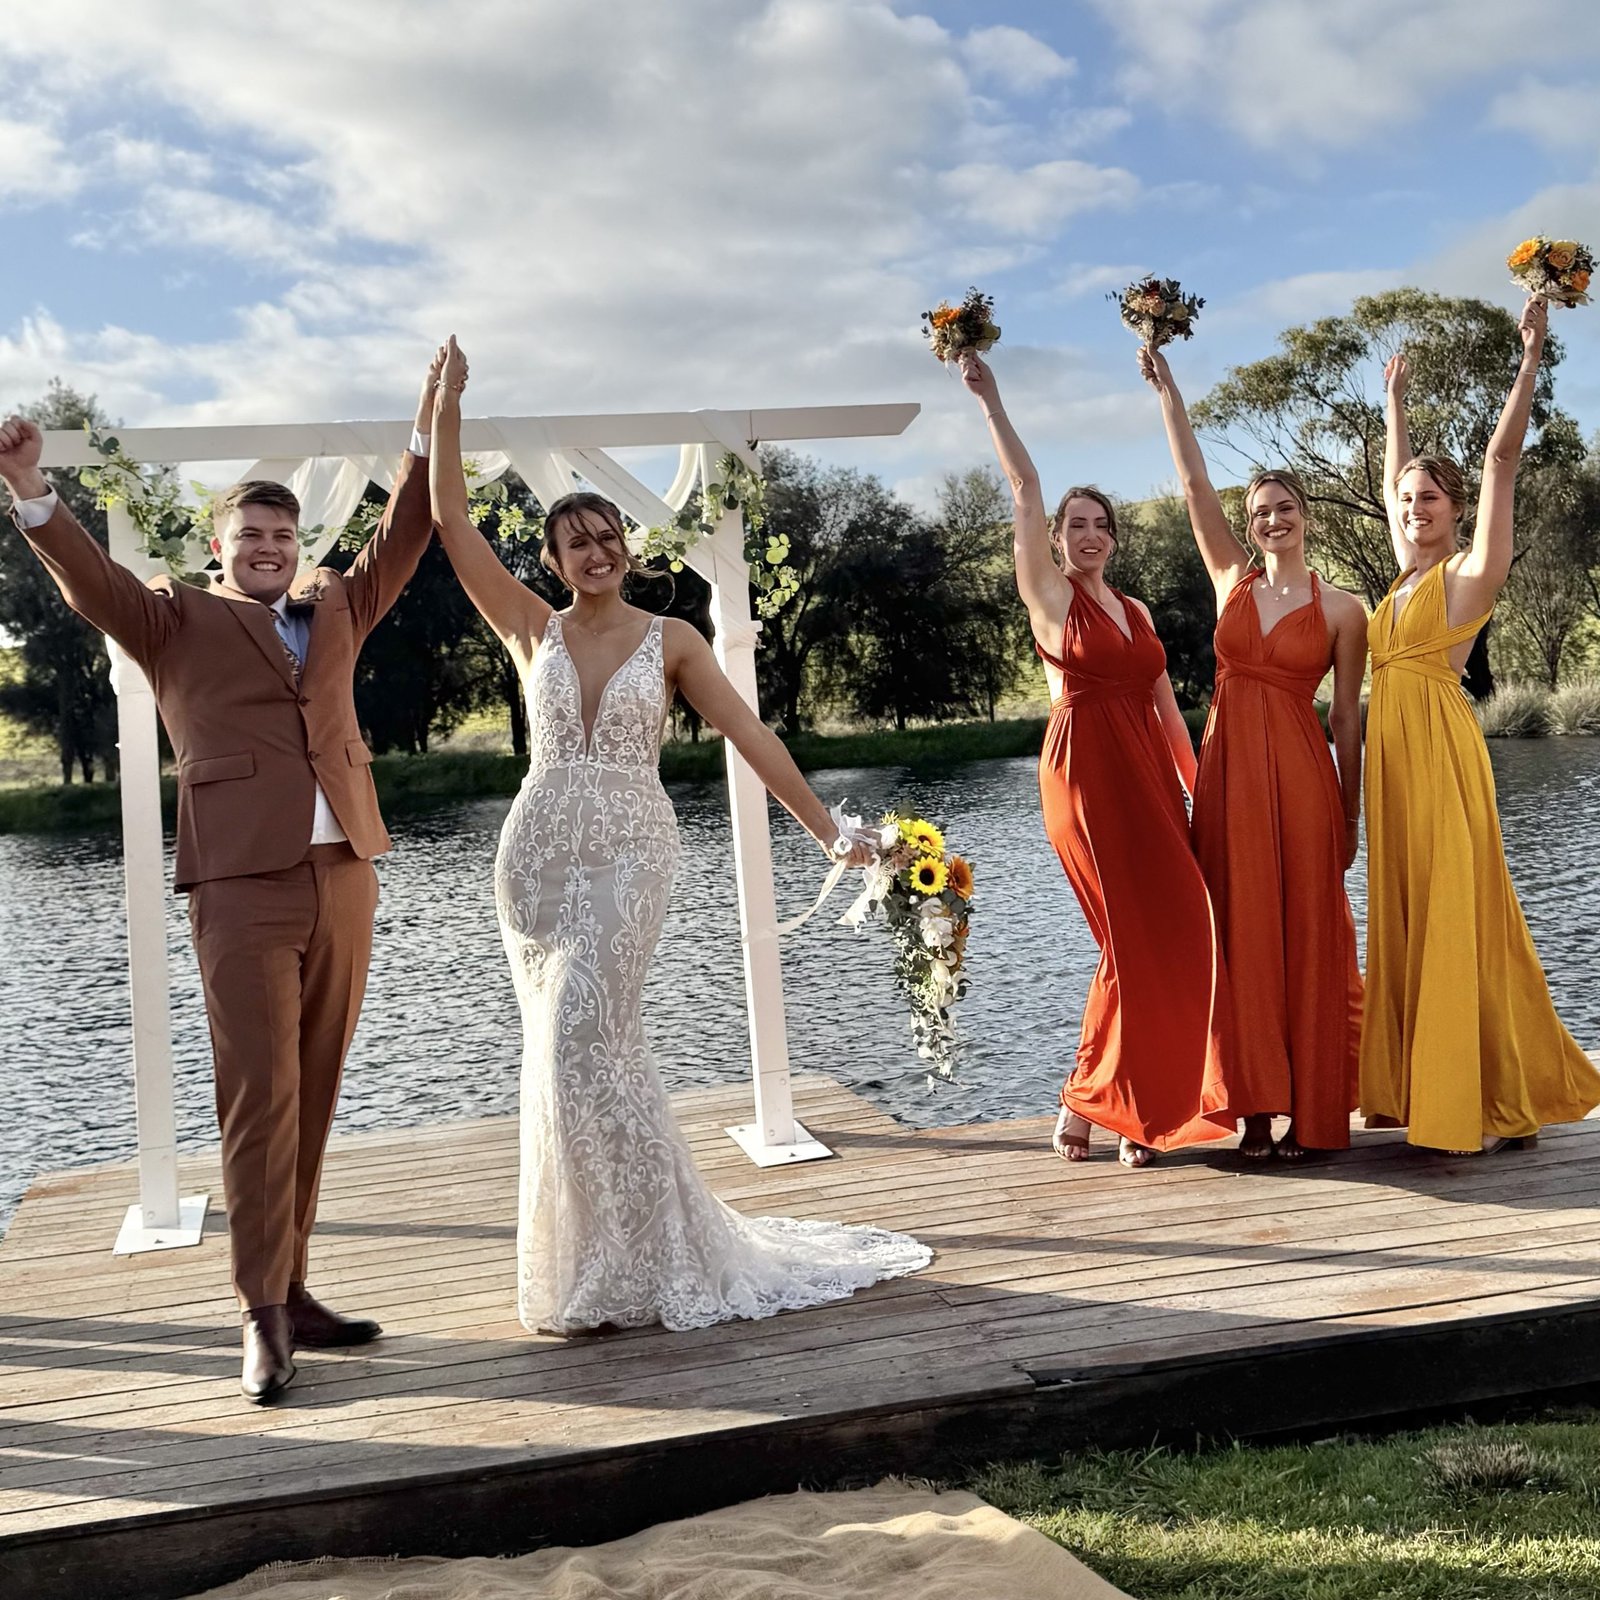


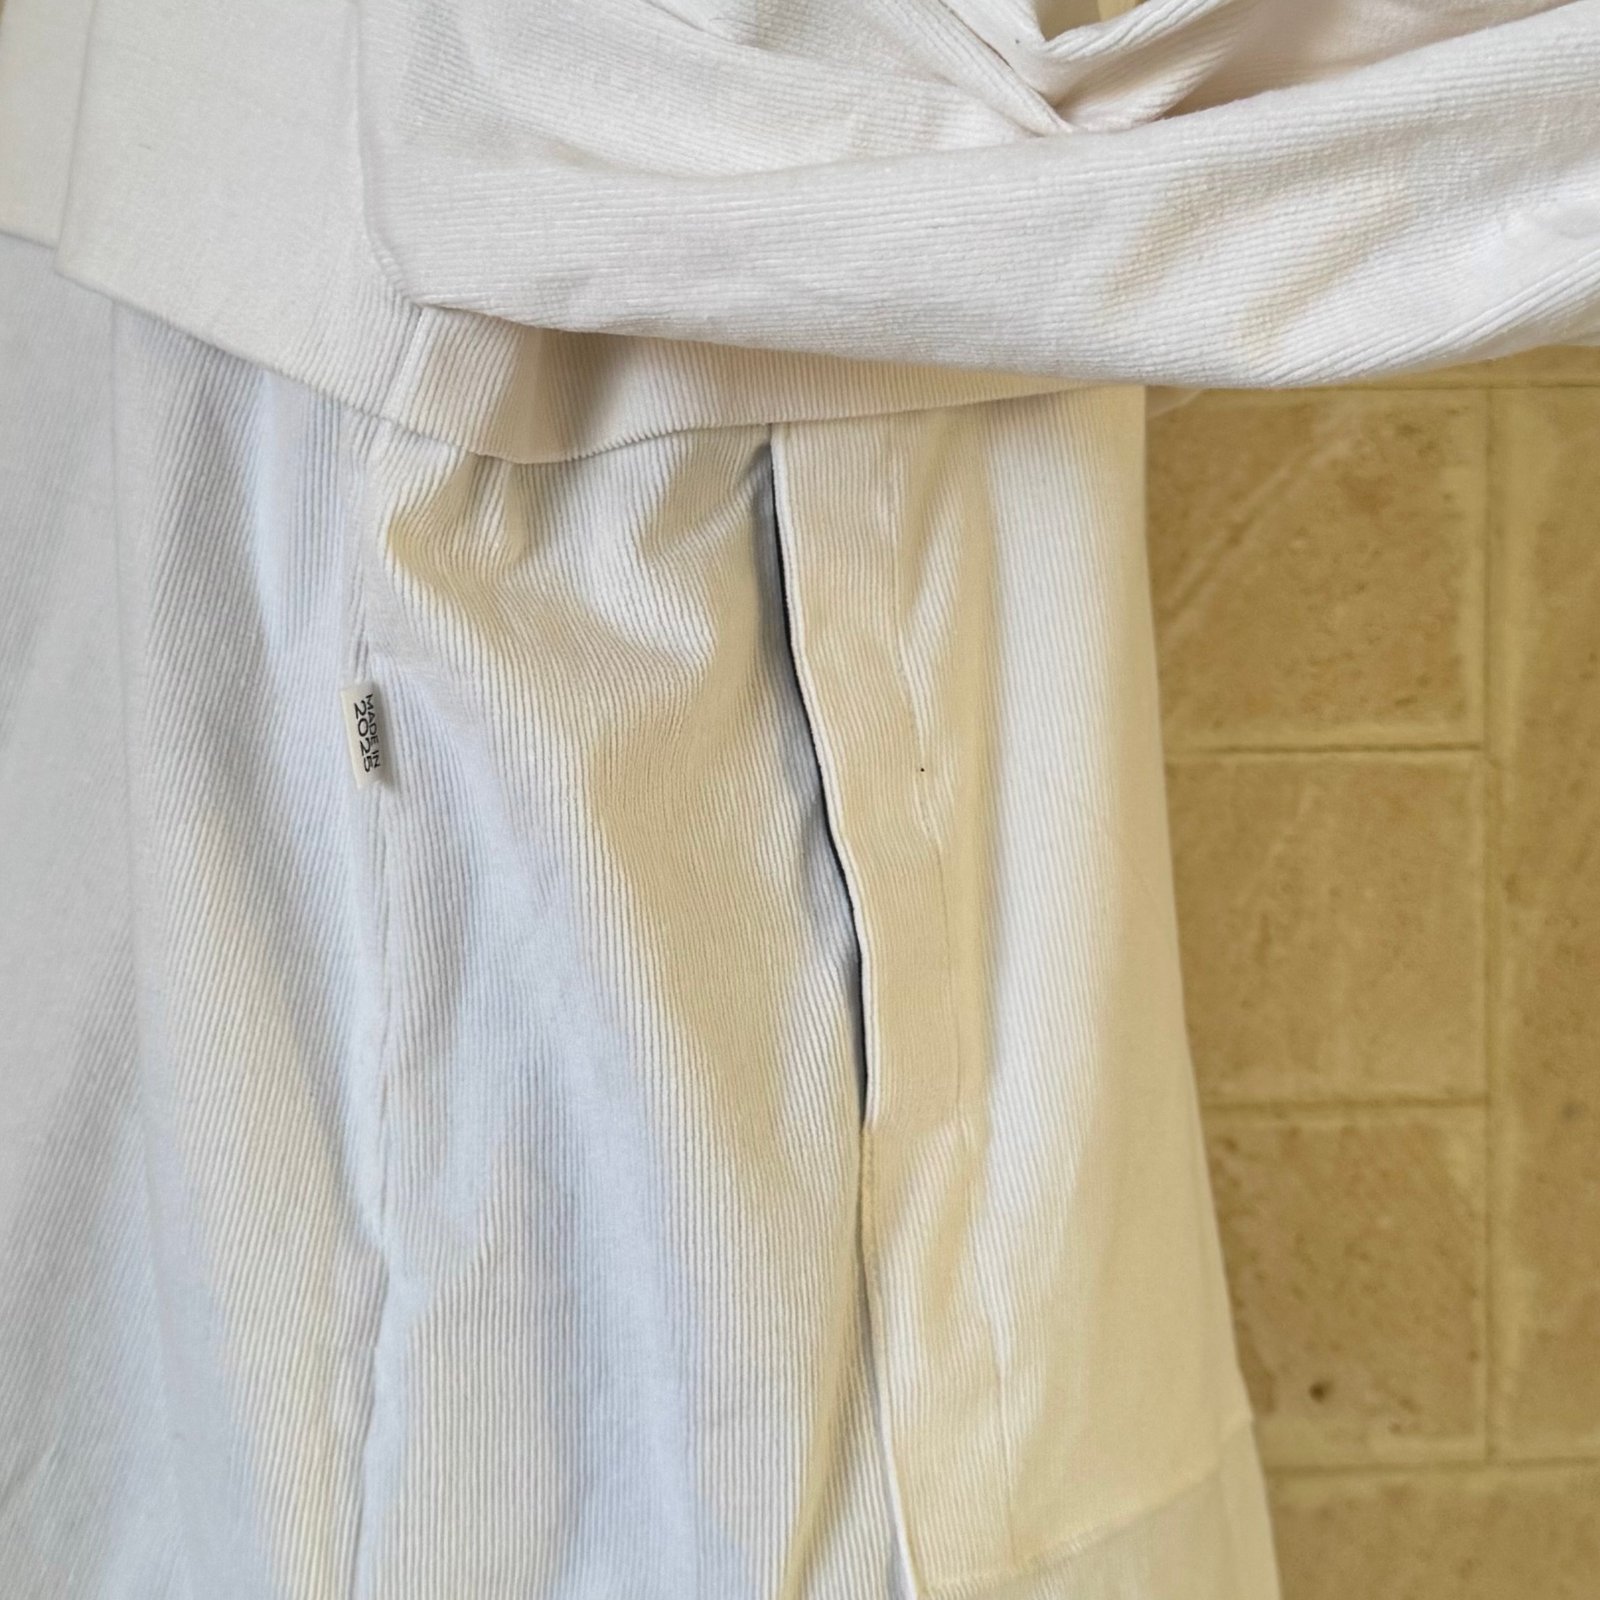
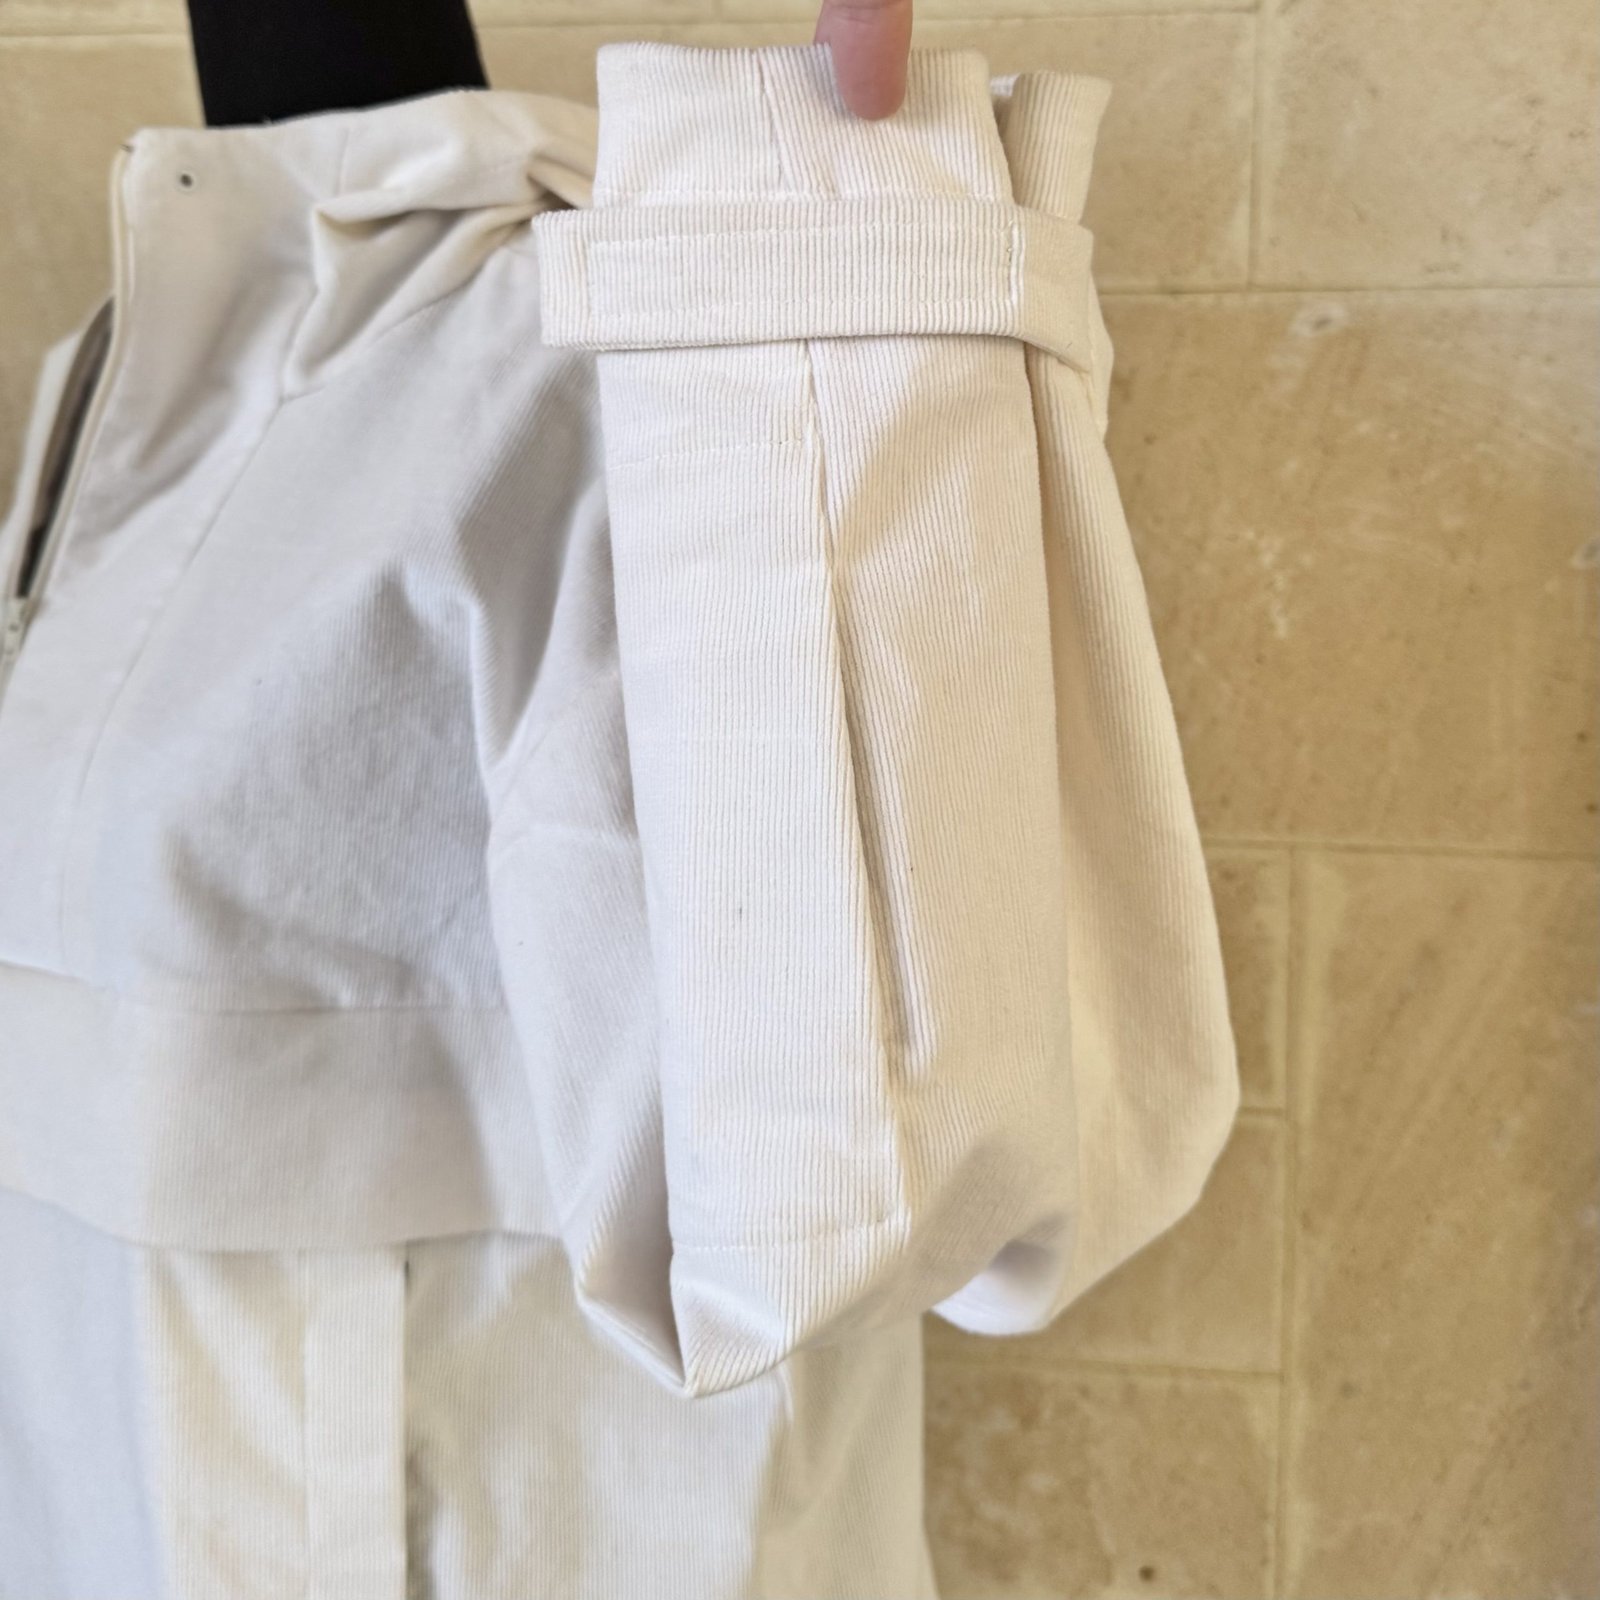
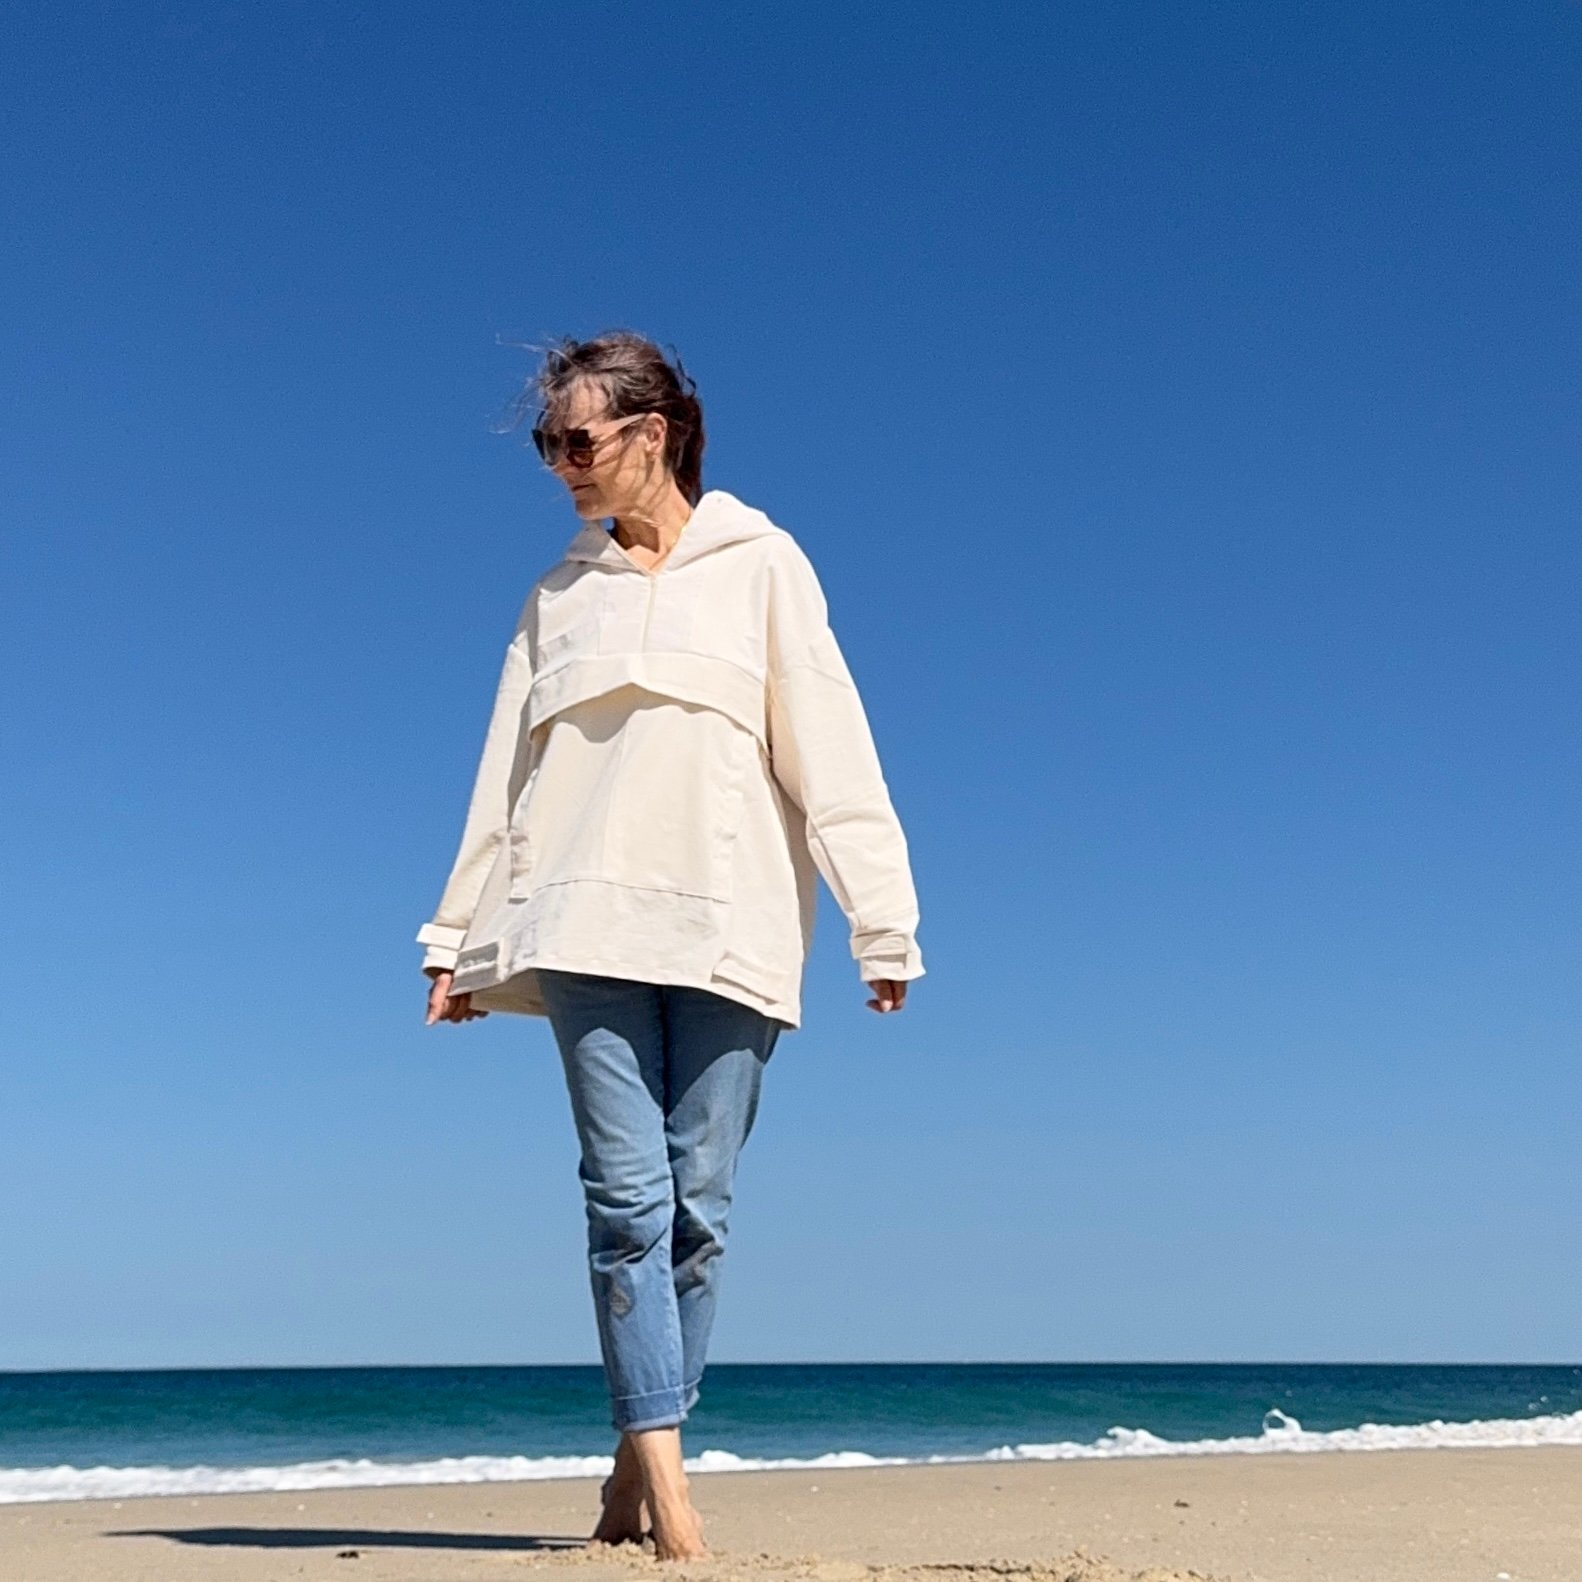
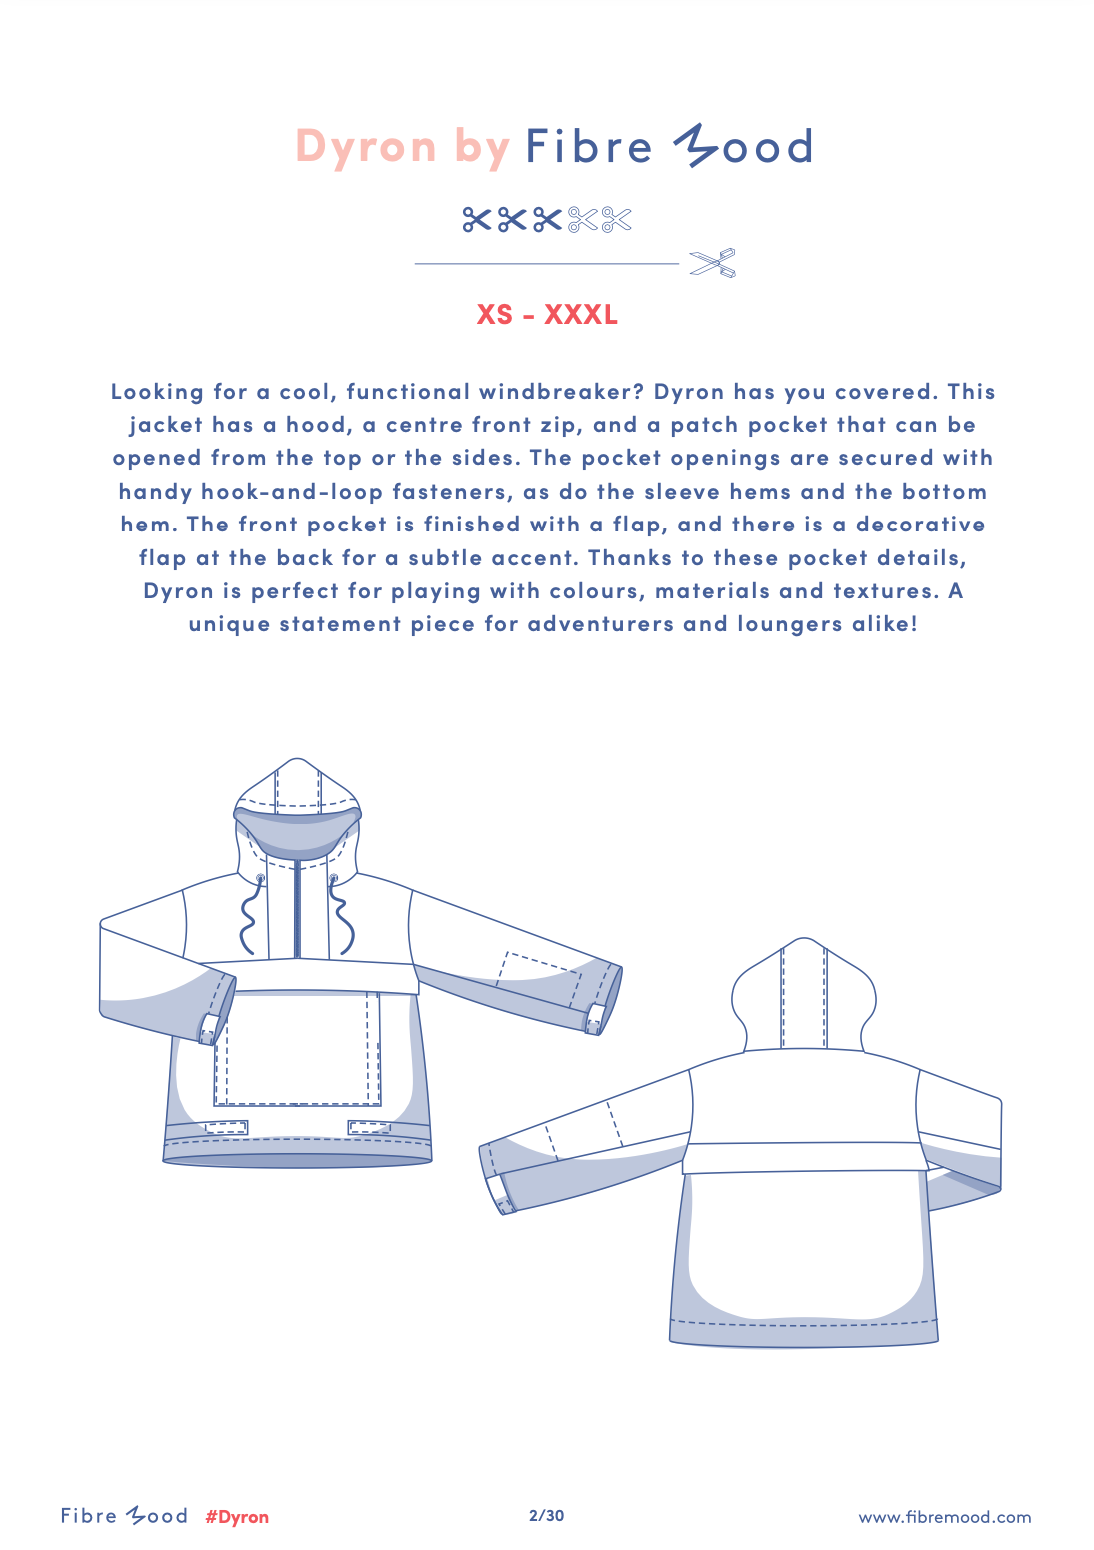 Hello! I’ve made a new hoodie for myself, and think it’s rather beautiful if I say so myself. Many years ago, when I started this blog, I would sometimes berate myself for being scared of wearing colourful clothing. I tried to break away from making too many white things. I think I’ve succeeded in training myself to wear more colourful clothing, but actually my love for plain white things, or really, ivory things, hasn’t gone away. I still have quite a lot of cream, white or ivory fabrics in the stash! When the new Fibremood Dyron hoodie pattern landed in my inbox I got out some of my hoodie-weight fabrics and found I had enough of this lovely winter-white corduroy to cut out the hoodie. I’ve been hoarding this corduroy for a looooooooooong time so it feels really good to enjoy it, at last!
 I made a size small, haha. Yes, it’s huge.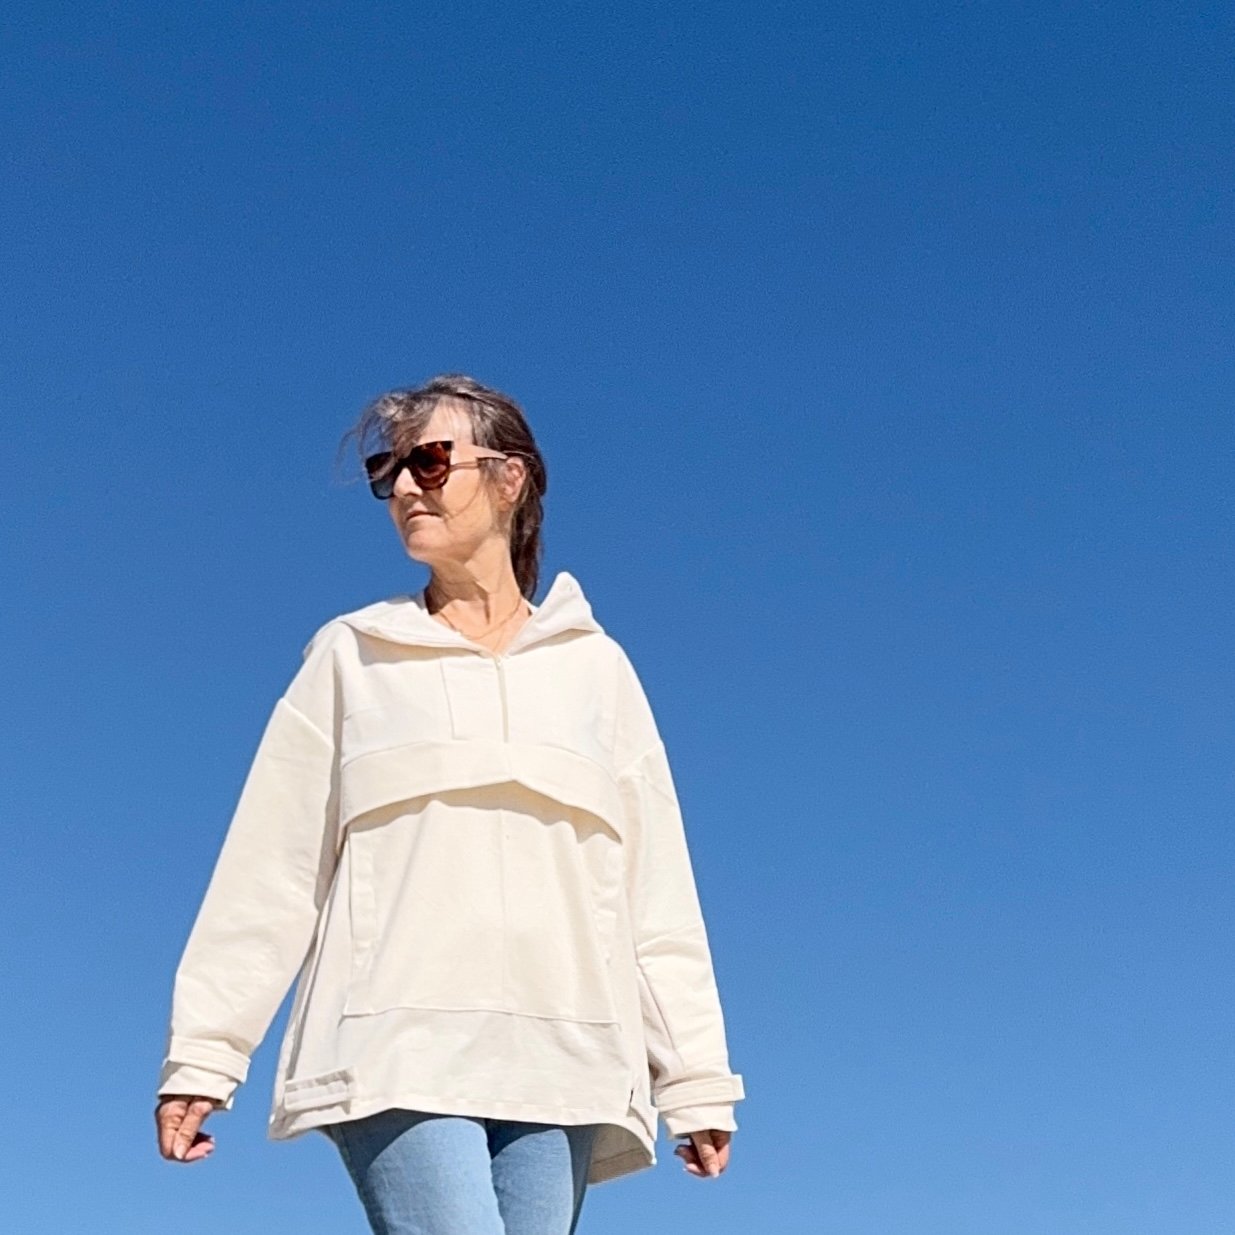


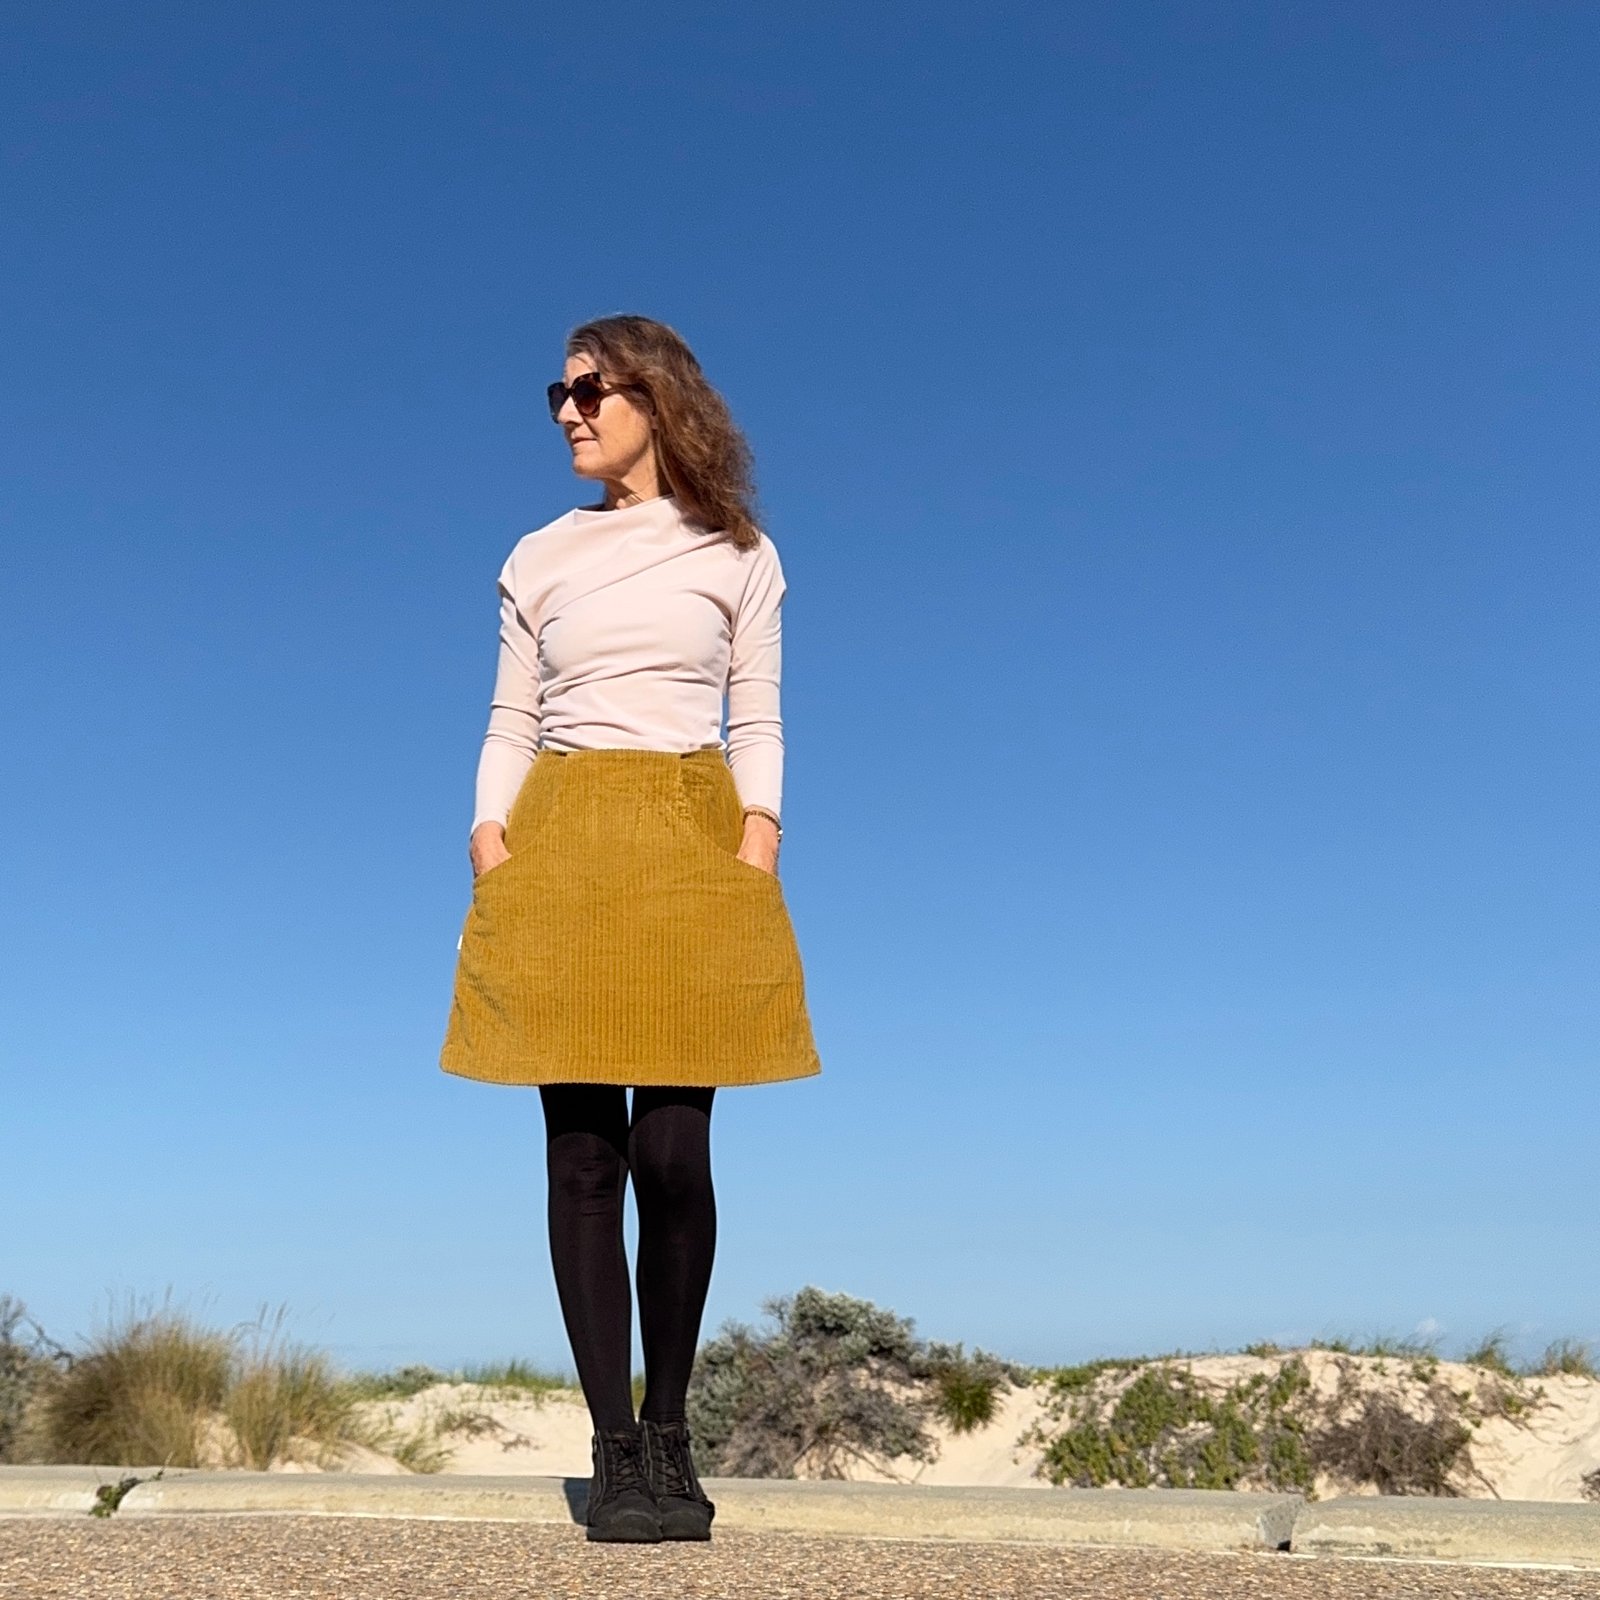
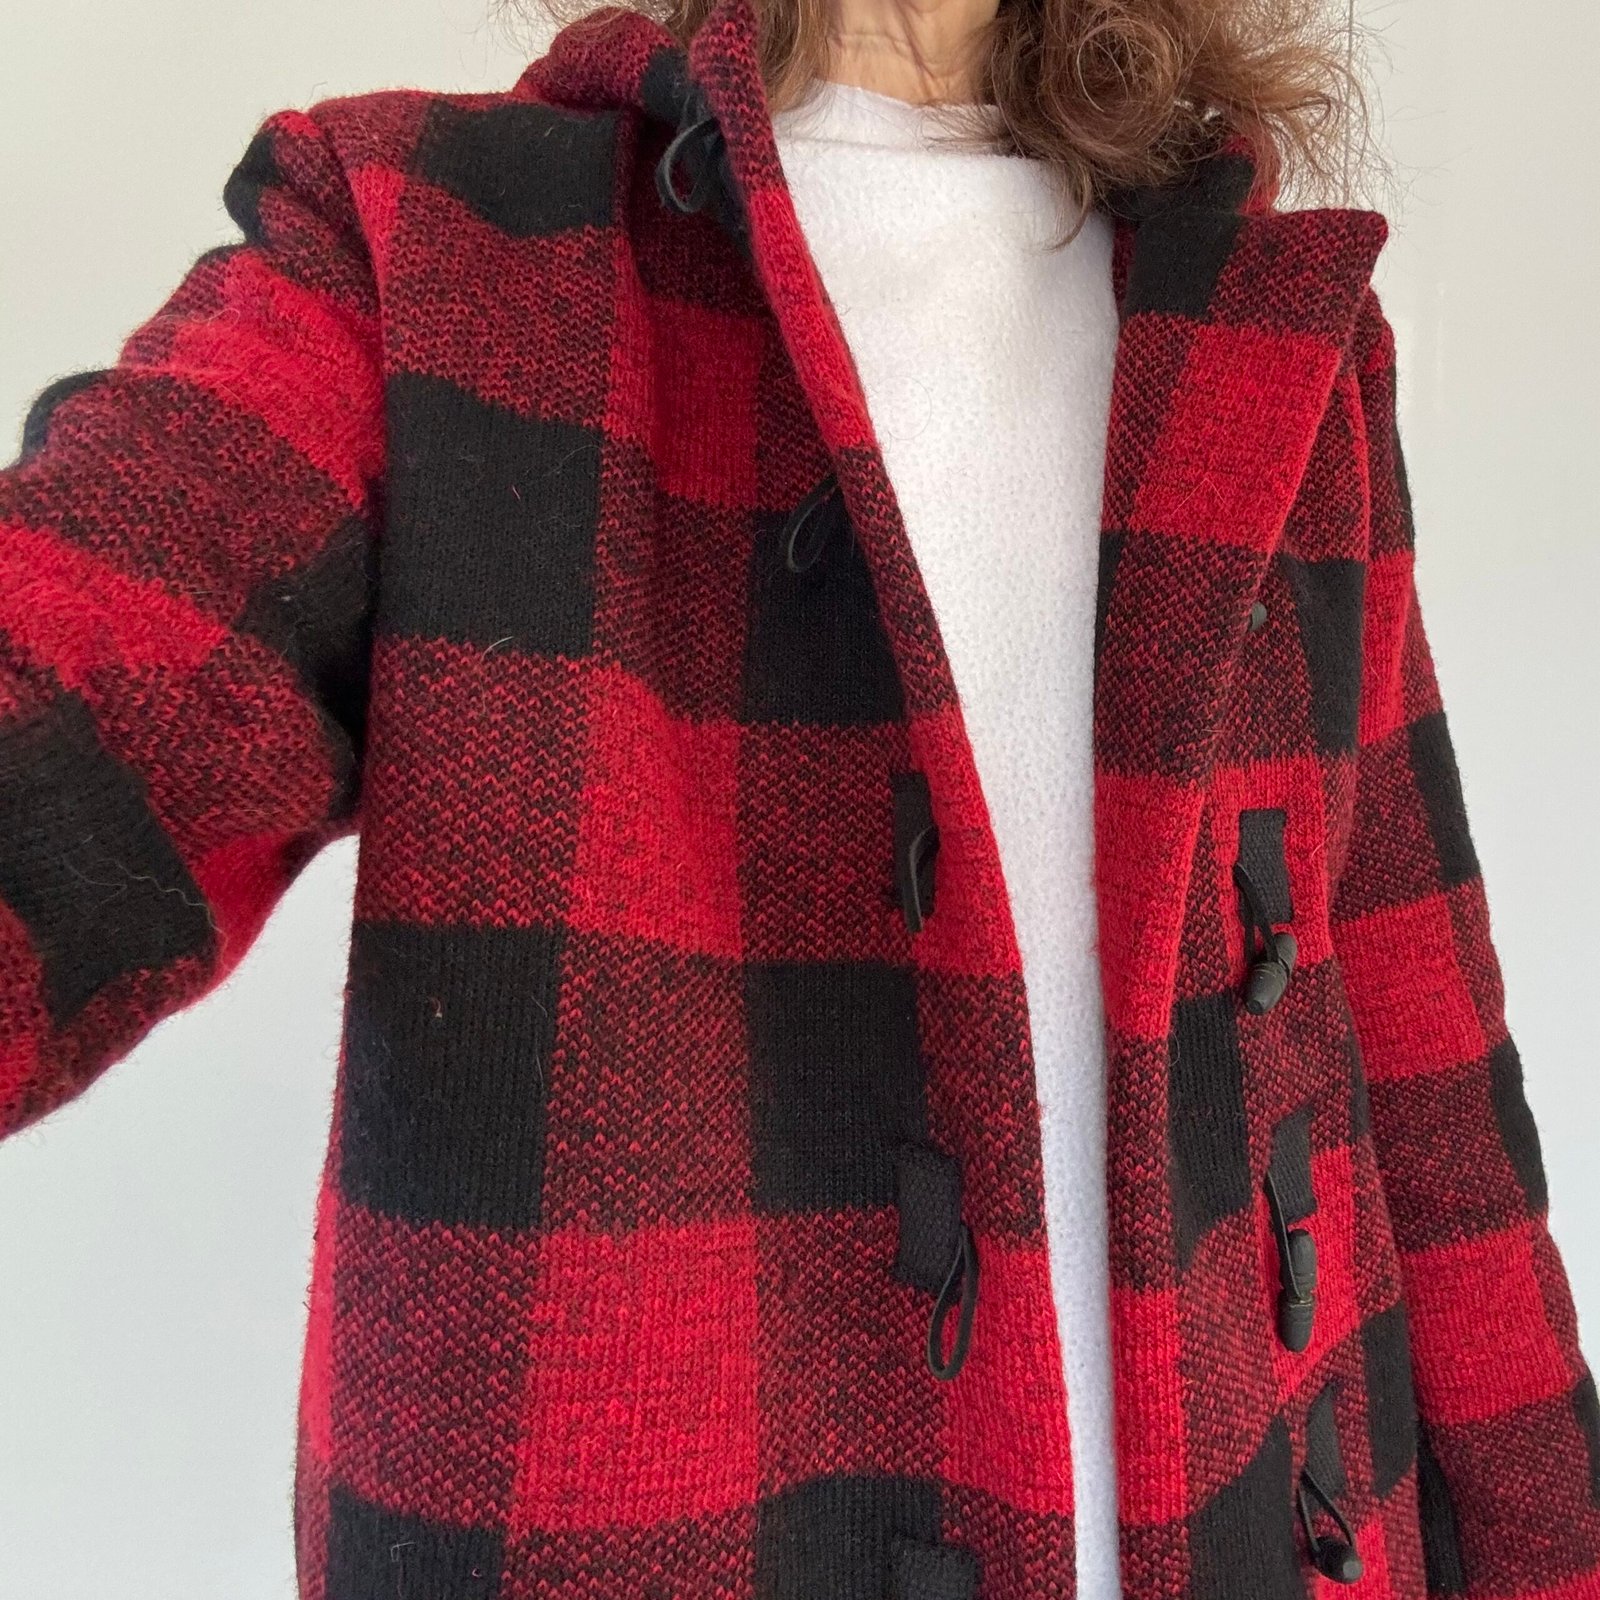
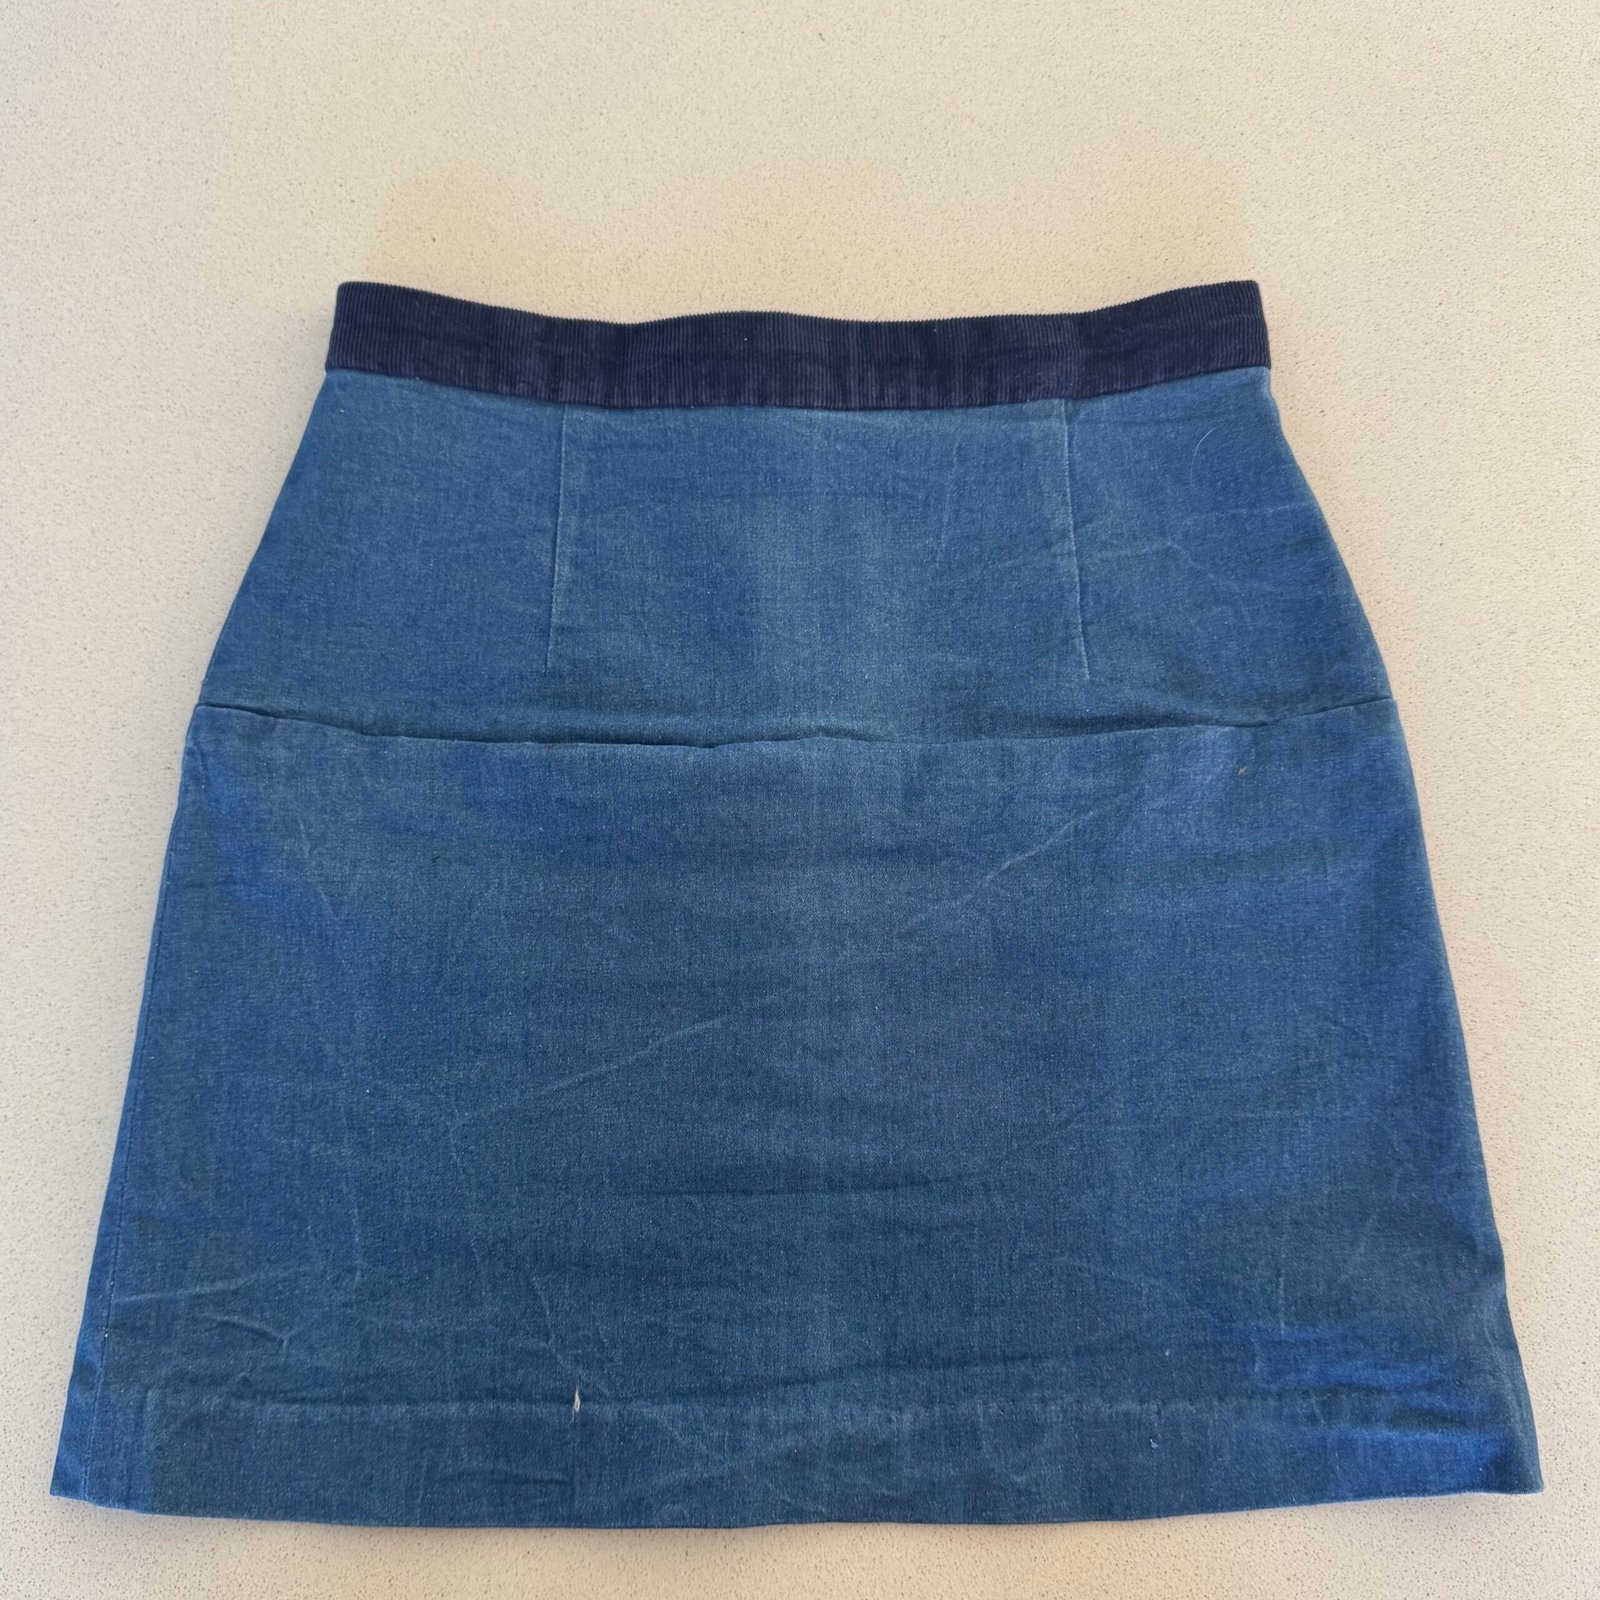
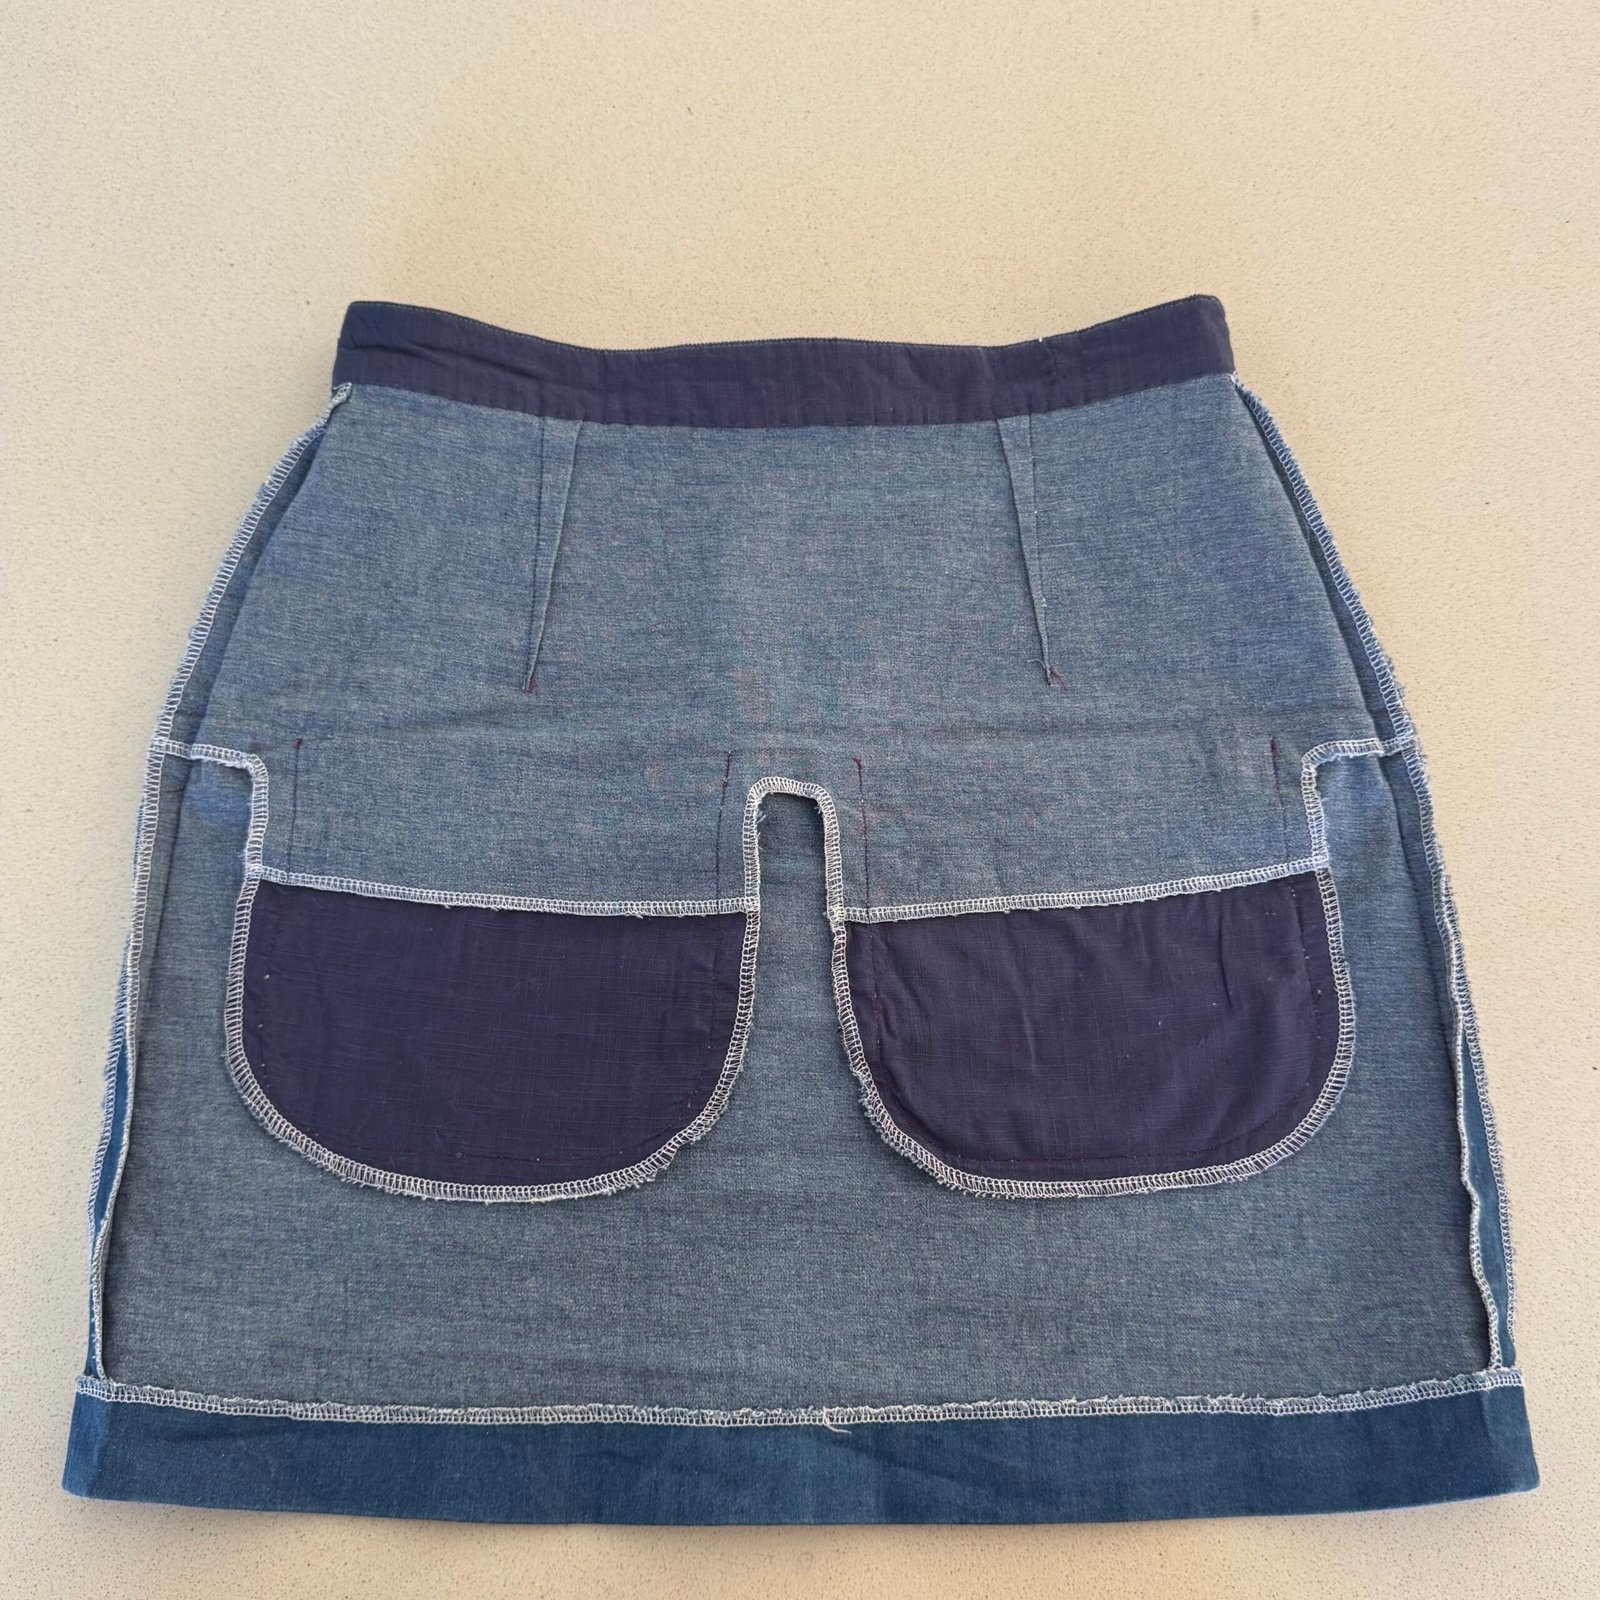
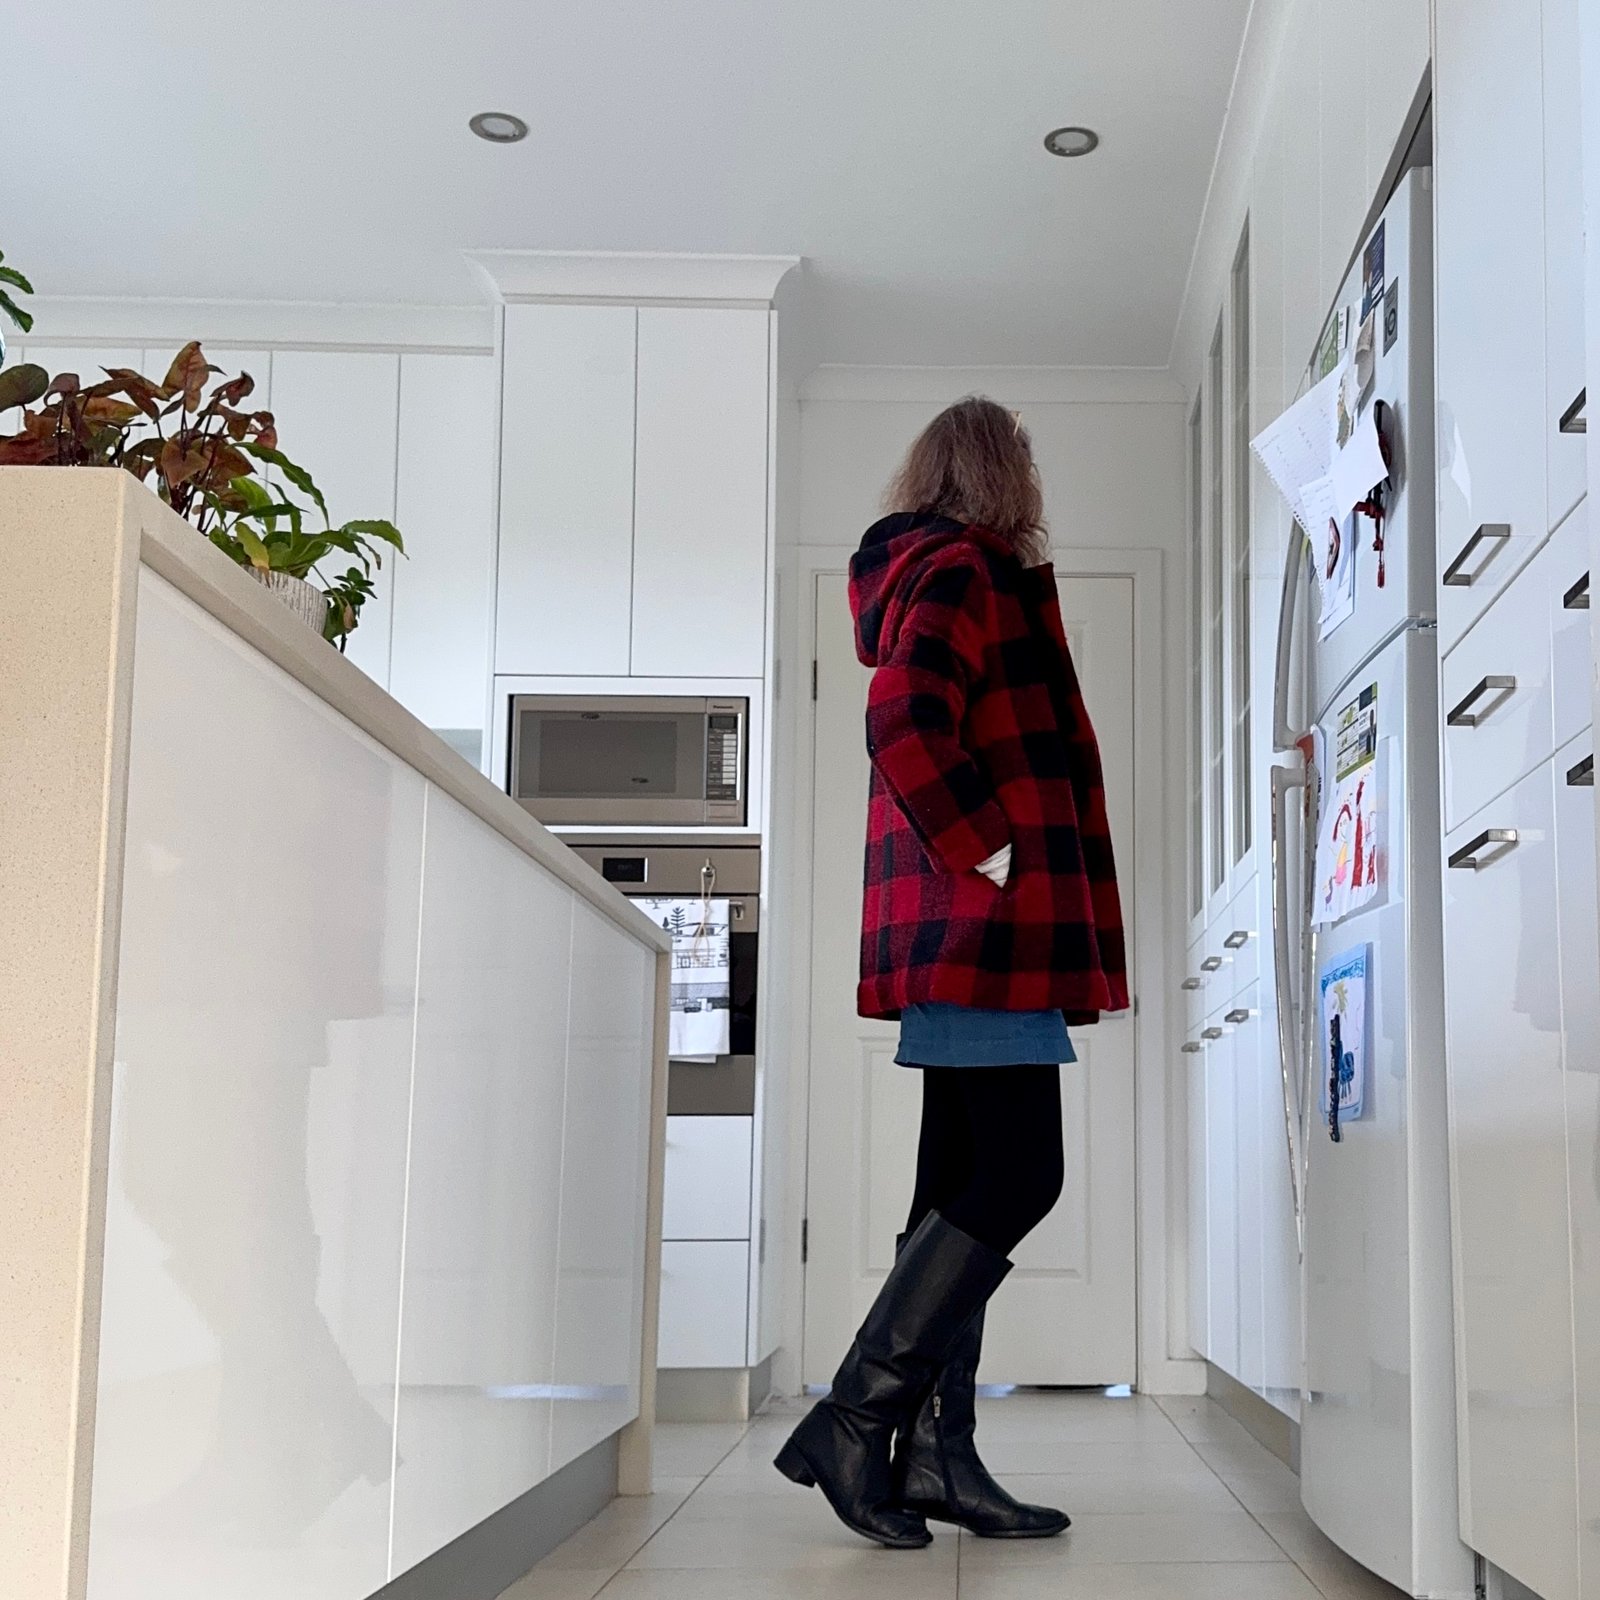
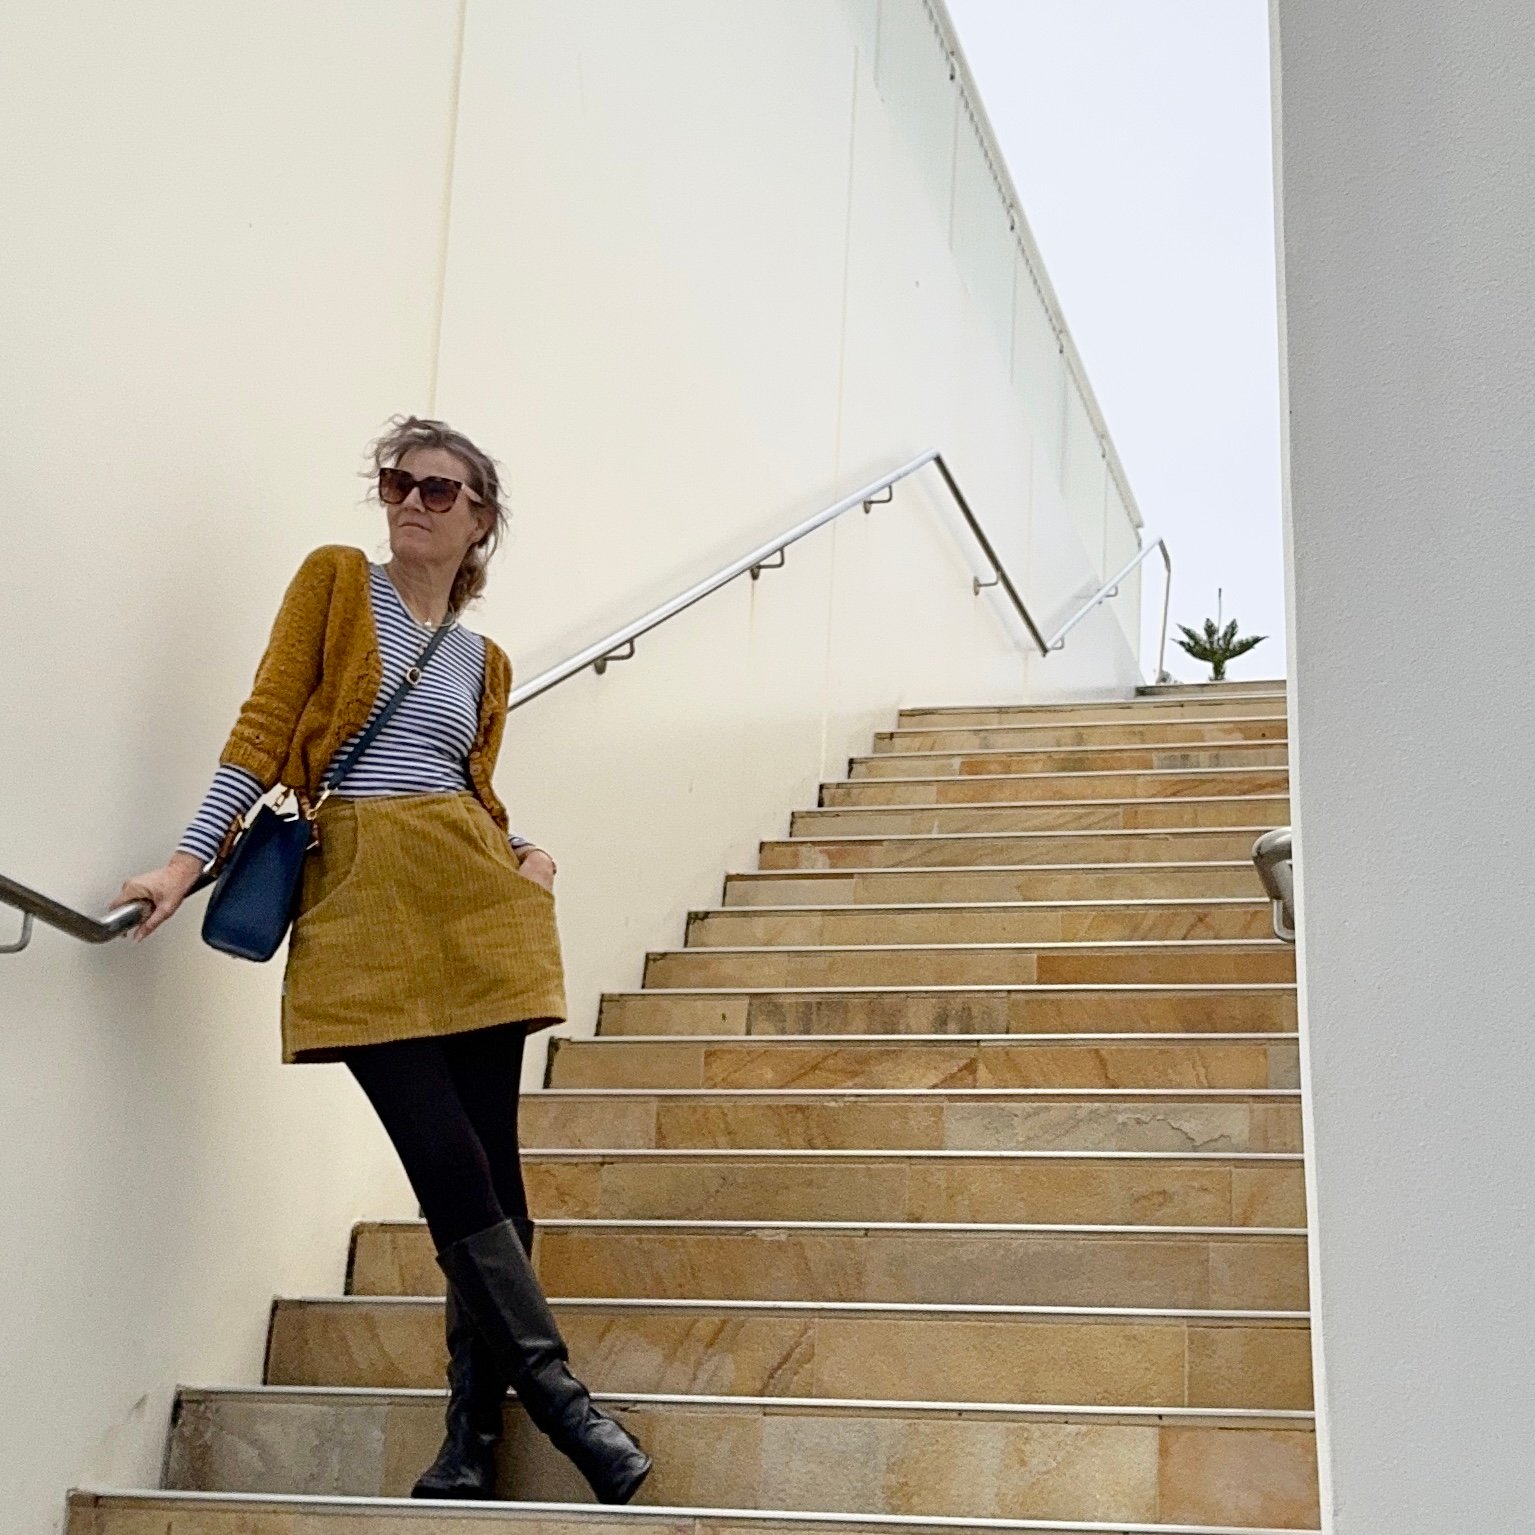
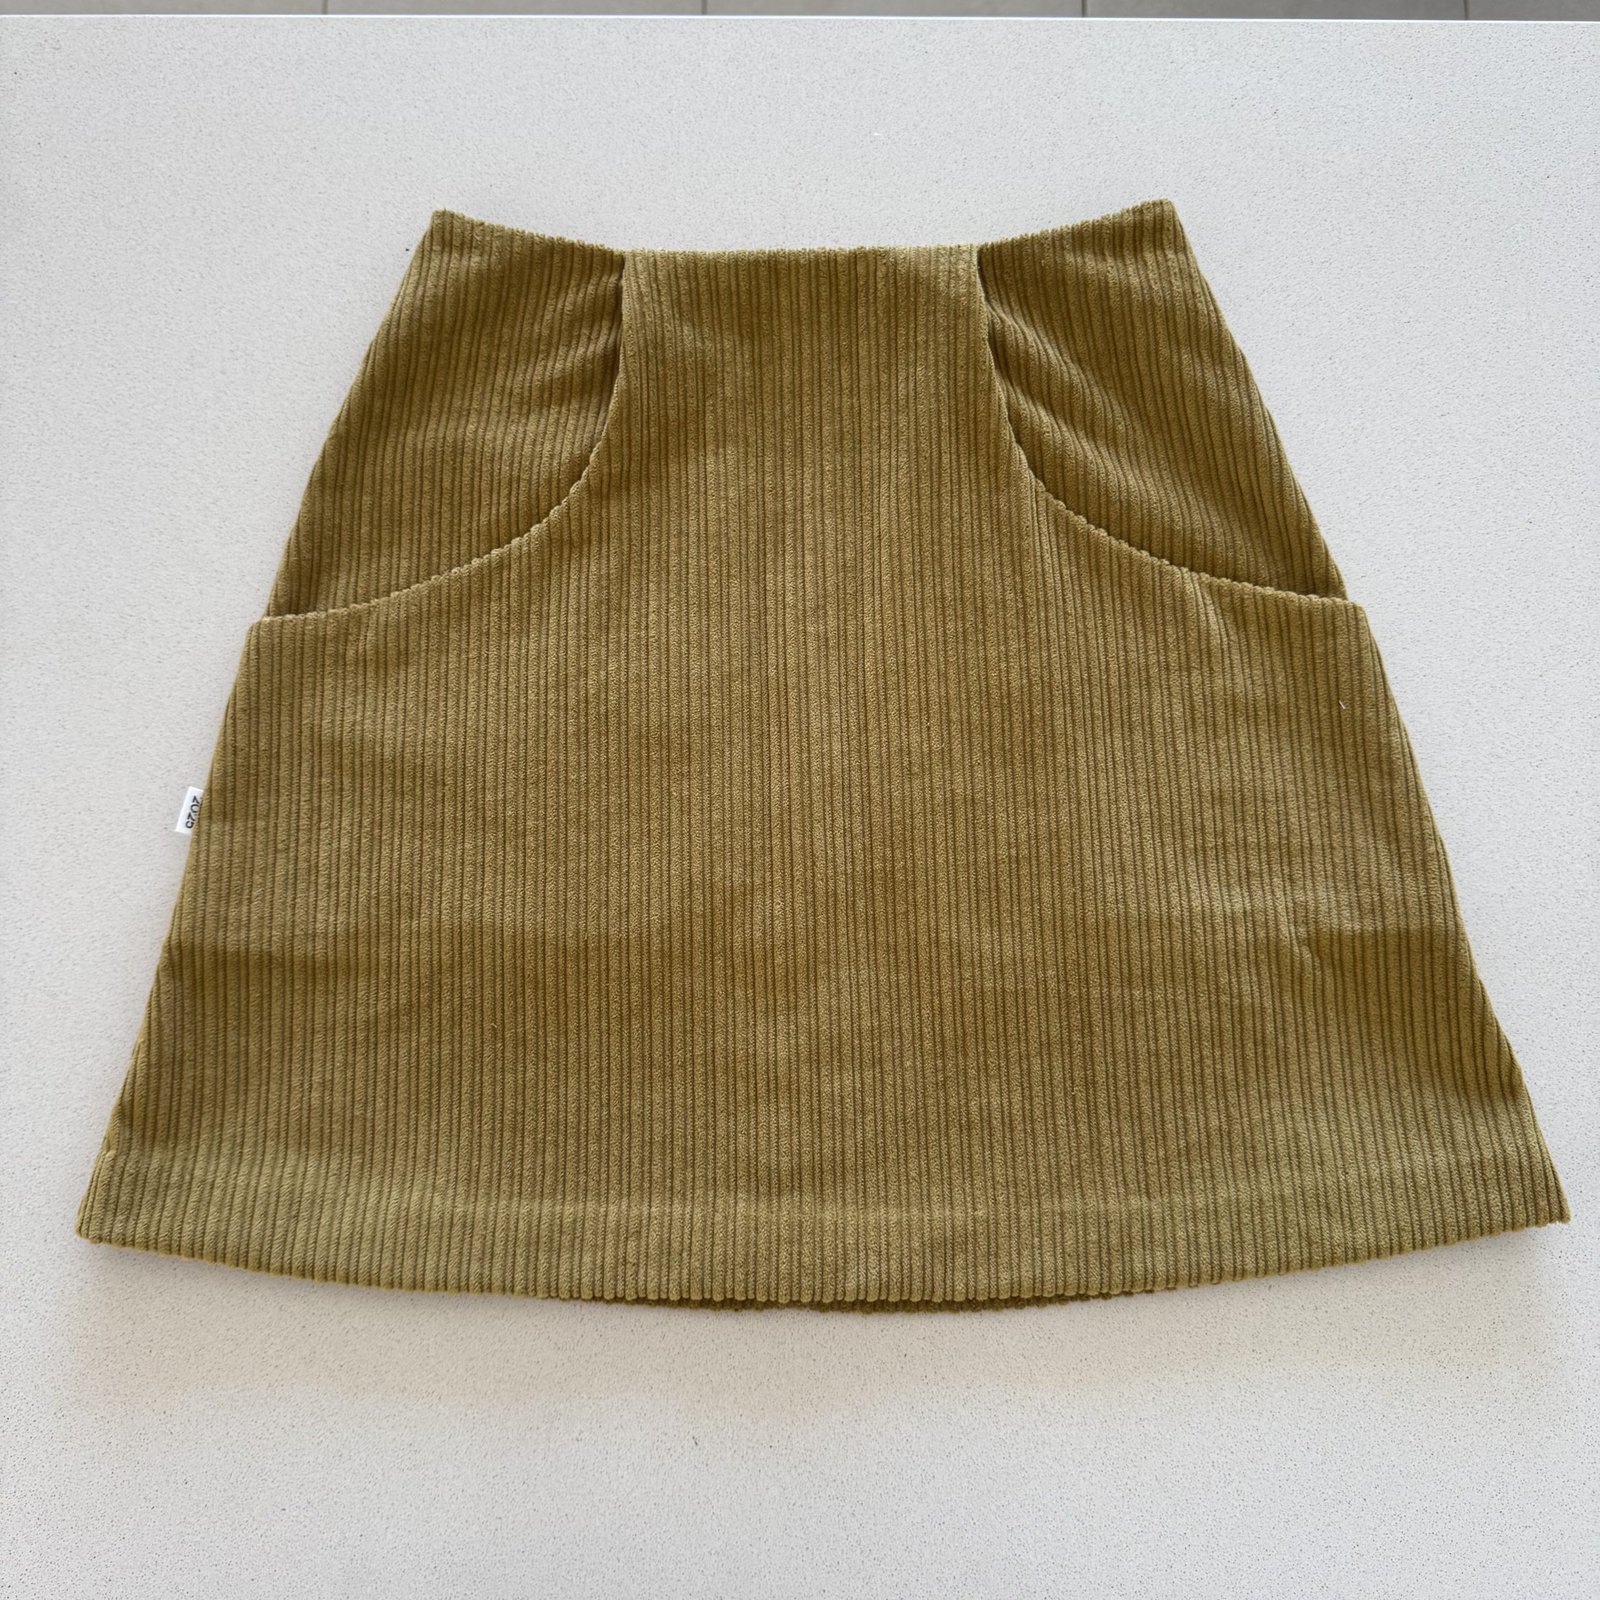
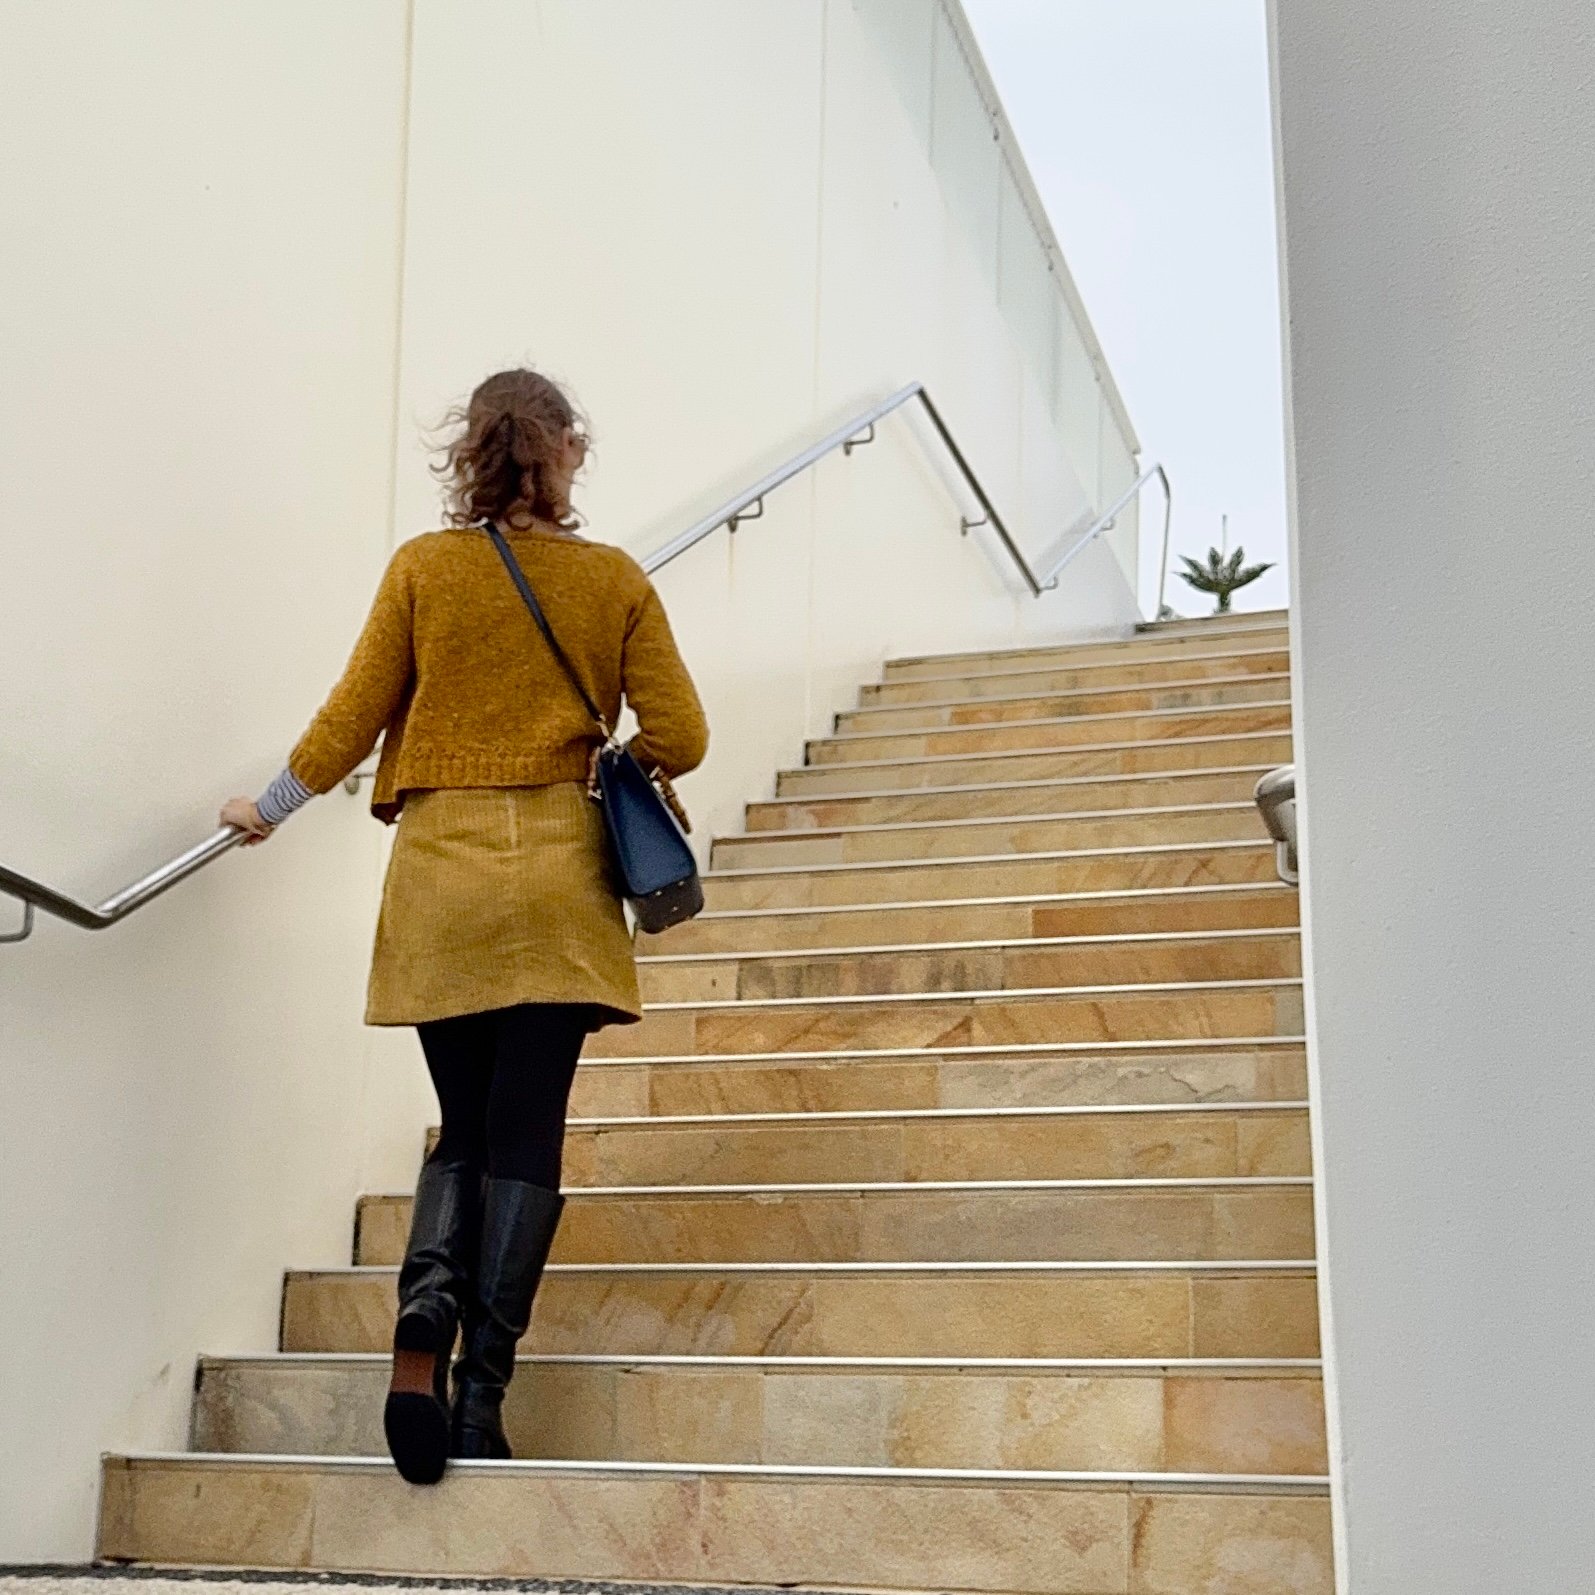
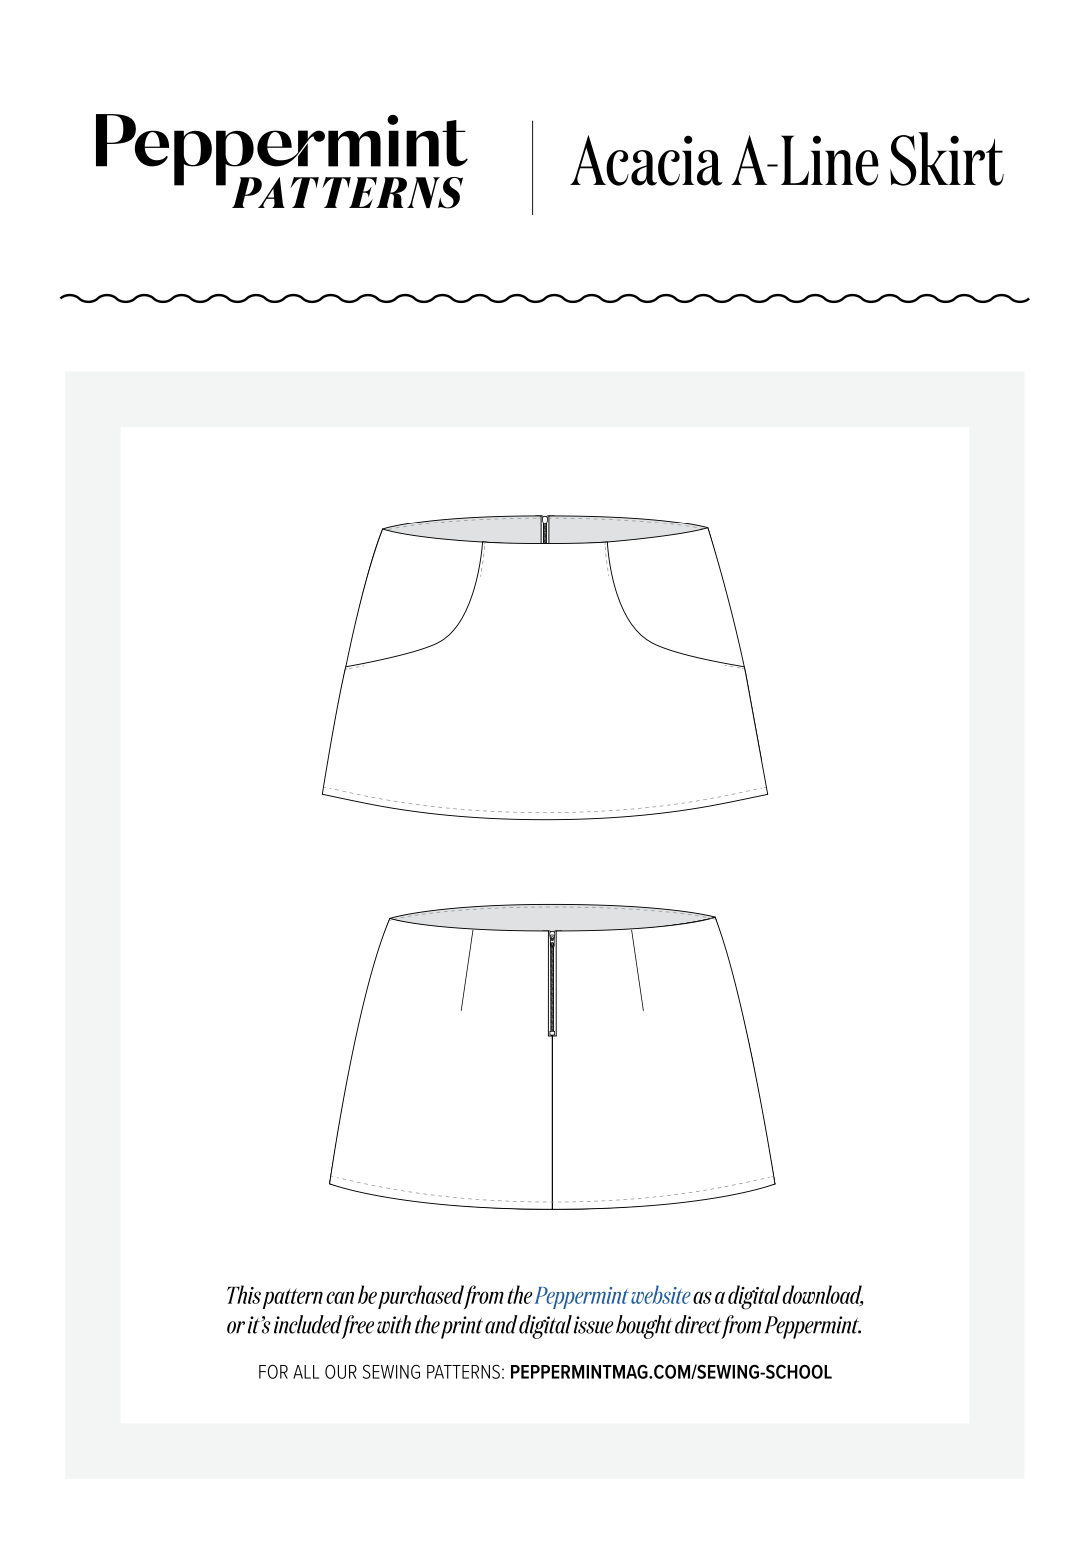 hello! I made a few new skirts, using a new pattern, the Acacia skirt. The pattern is a Peppermint magazine and Warp and Weft collaboration… available in the magazine for free, or as a pdf pattern from their website. It’s a cute little A-line miniskirt with deep deep pockets and a central back zip closure. Of course I’m always going to be interested in a winter miniskirt pattern with pockets! I couldn’t wait to try it out!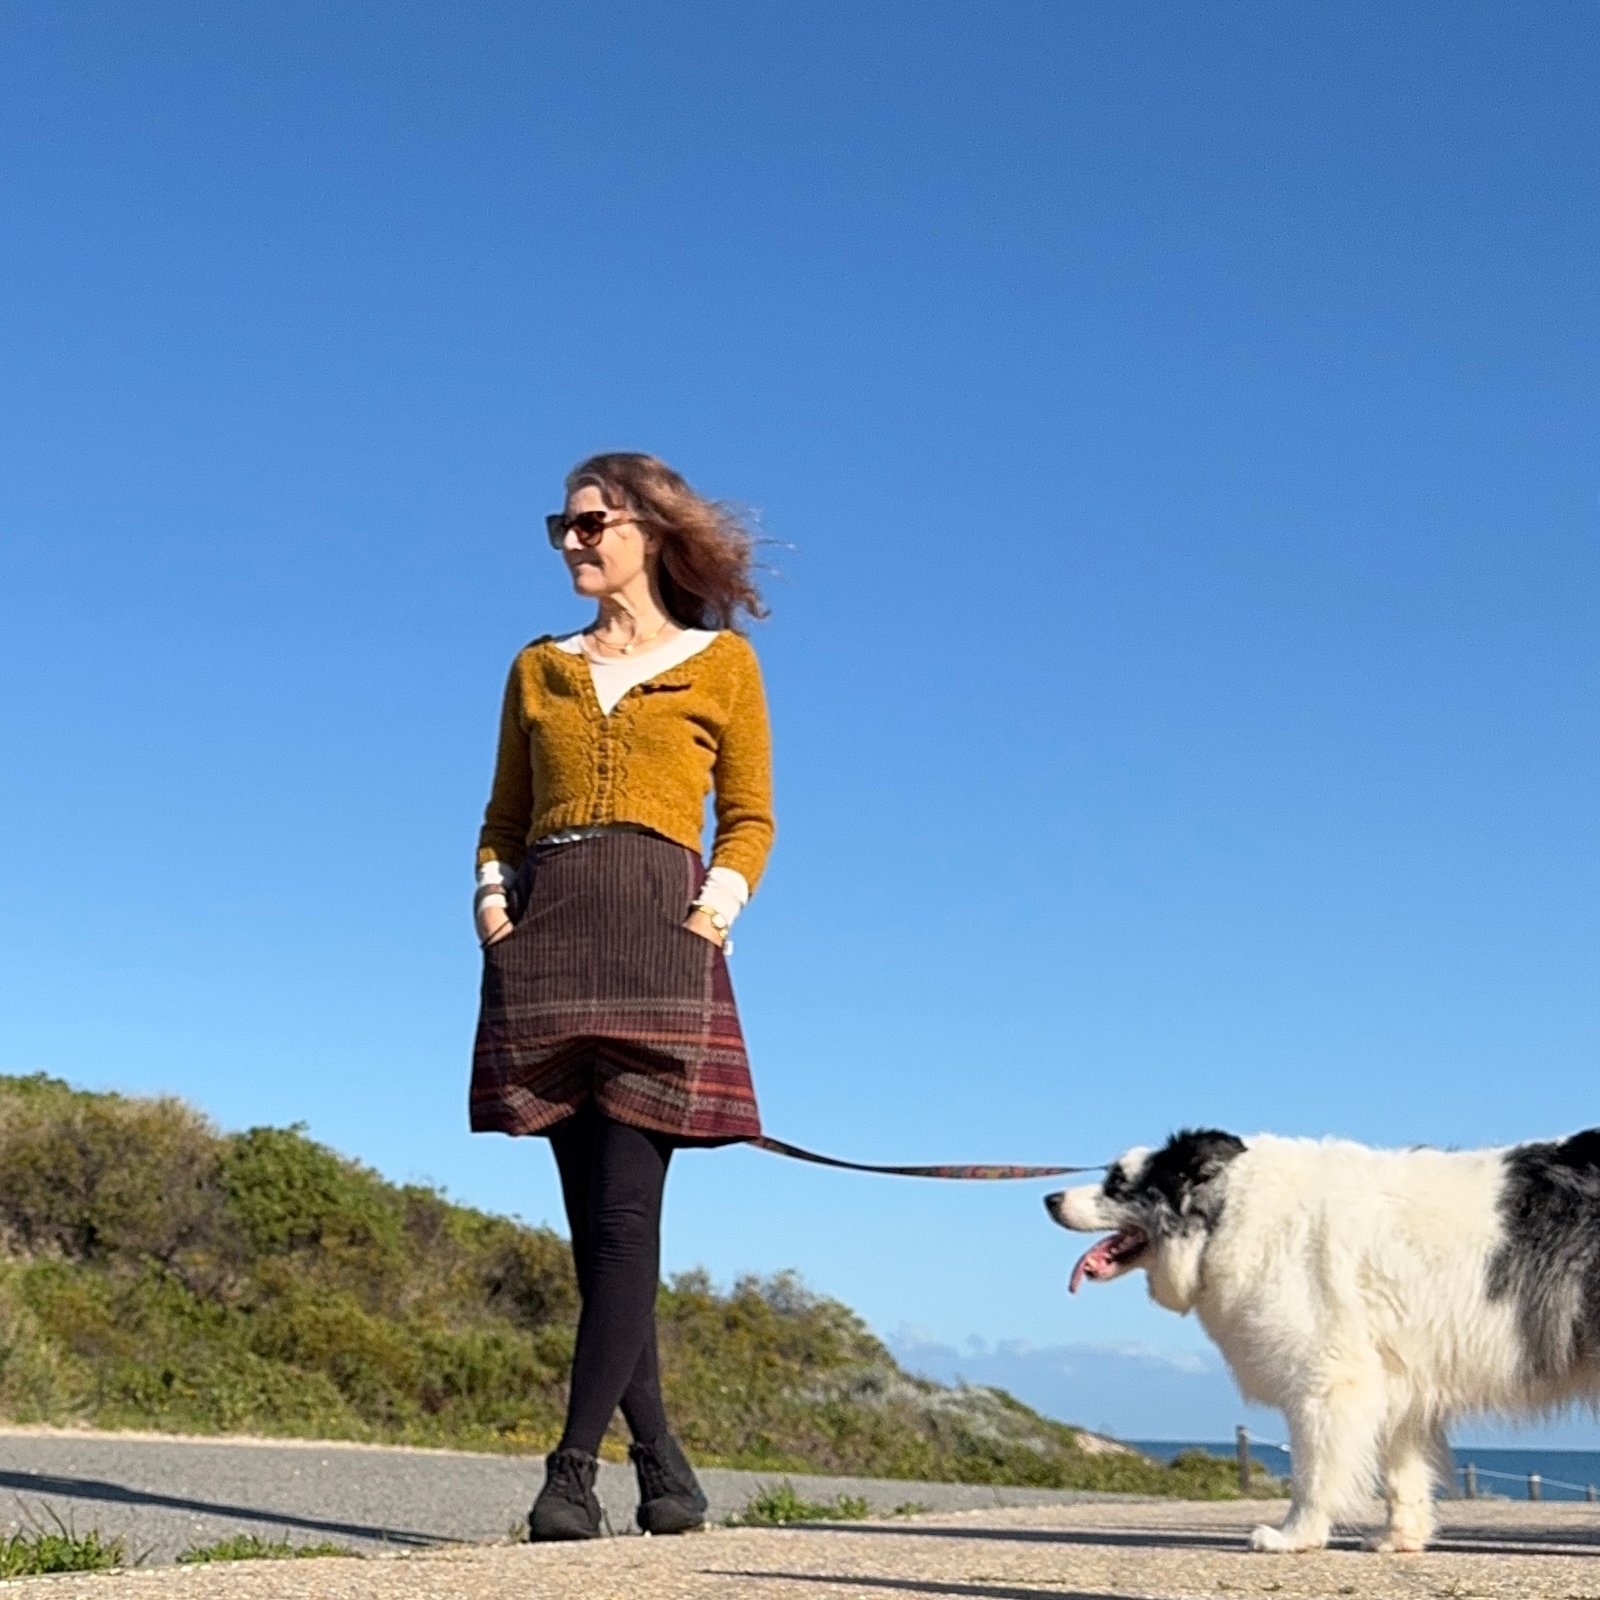
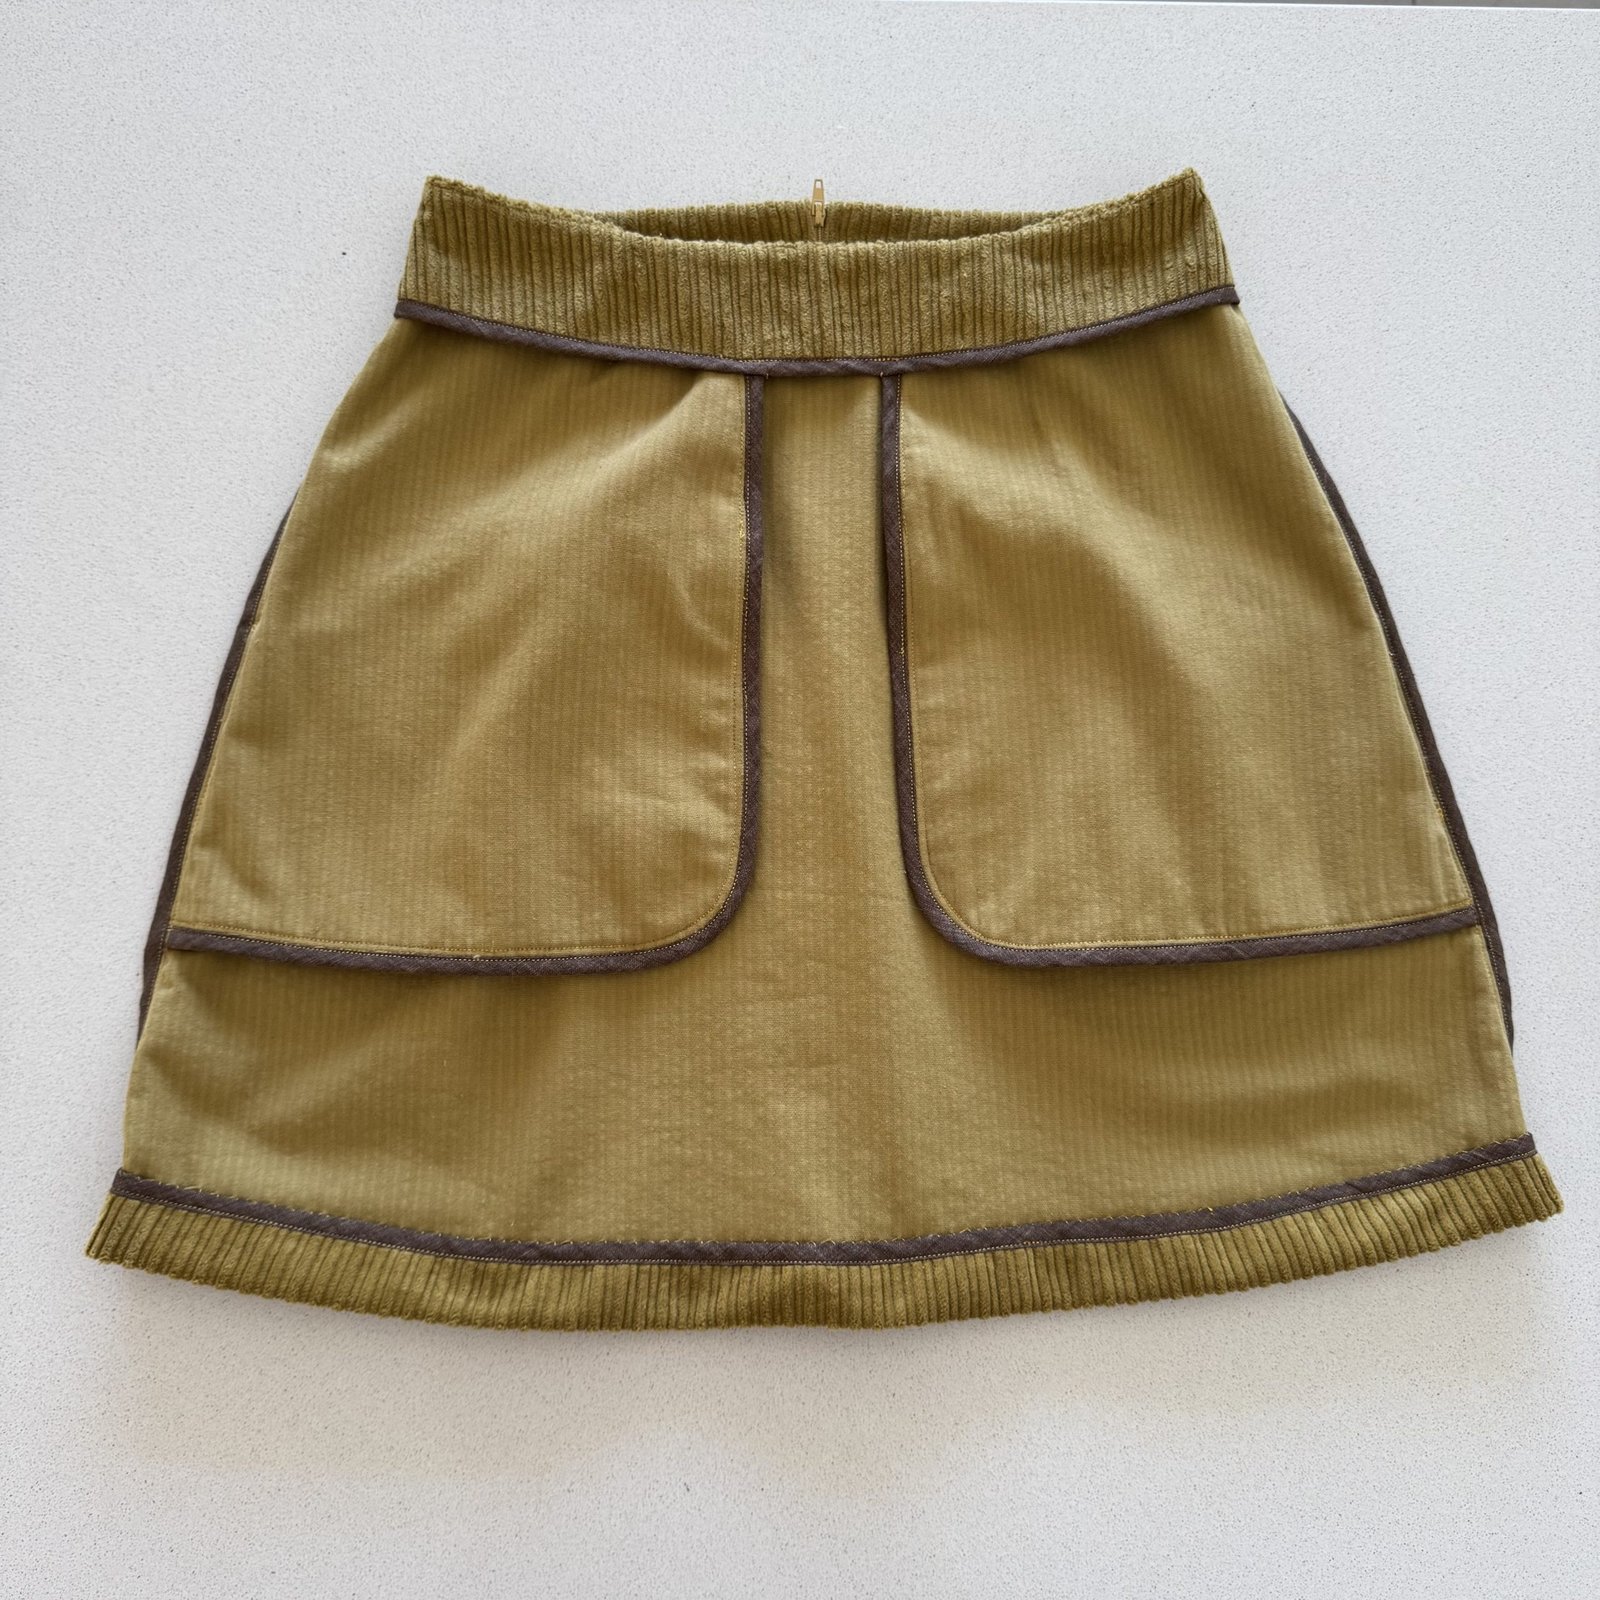 The wide wale corduroy I used for the “real” skirt is is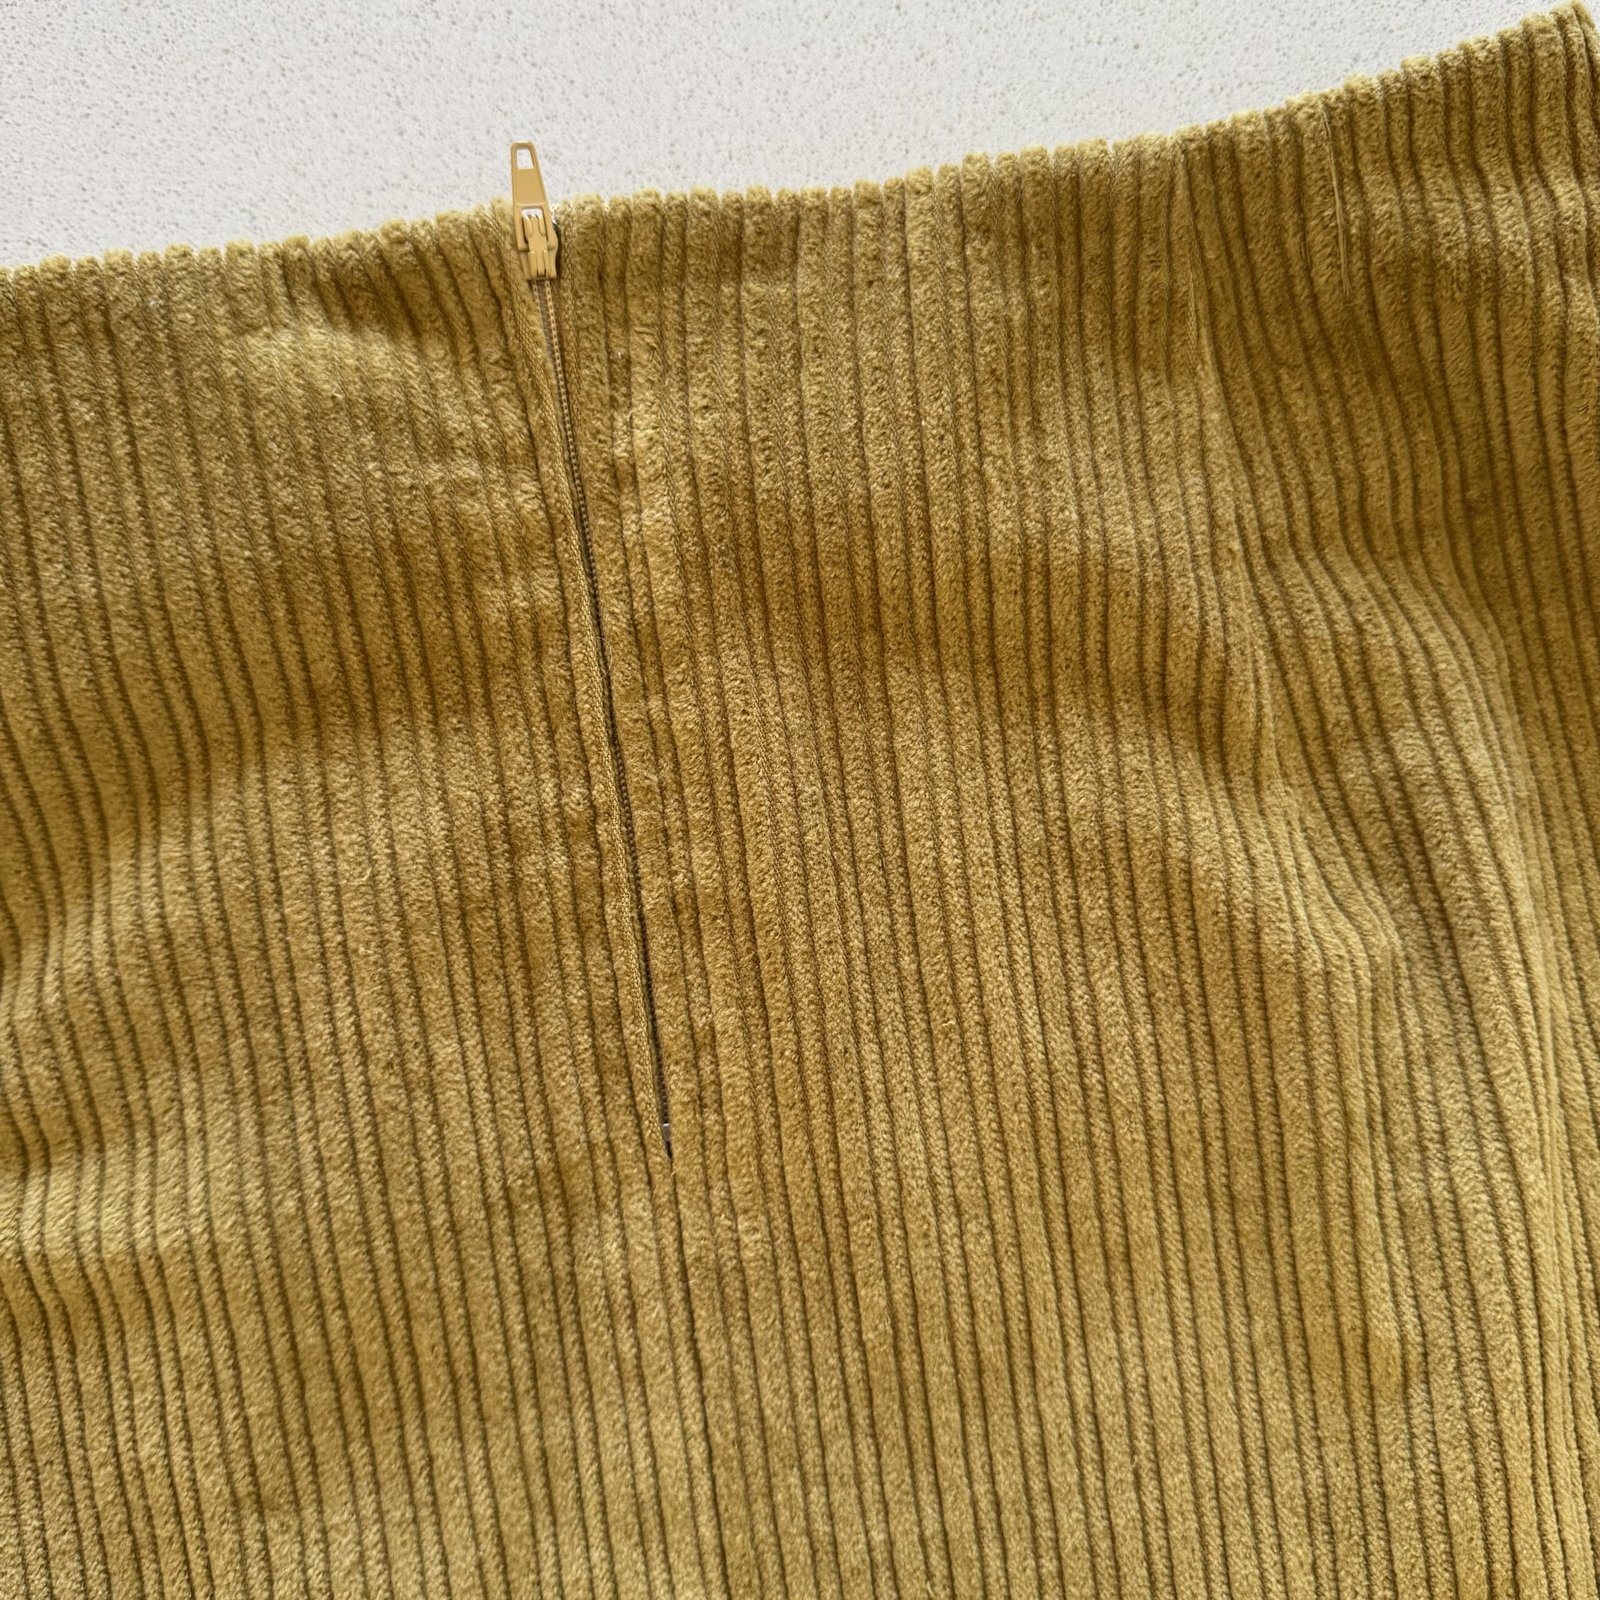


 My mother gave me a length of bottle green, sparkly stretch velvet for my birthday last year… and I wanted to make something nice with it before my next birthday rolled around. This is fast approaching so I needed to get cracking!


 I had a little leftover velvet, just enough to cut a new set of underwear, my usual combination of one bra plus two sets of undies






































