hello! We have very recently returned from a long hiking holiday, which involved some clever packing of seasonal extremes into a small suitcase with a 15kg limit. Challenge accepted! I shall now proceed to discuss my travel wardrobe and analyse its success. Or not.
Time away: 31 days
Where to: Italy and Norway. More specifically: Venice, followed by a week of hiking through the Dolomites and staying in Cortina, San Cassian, Colfosco and Campitello, followed by short stays in Verona and Milan. Then we travelled on to Norway, staying in Oslo, then another week of hiking around Geilo, Finse, Flam, Aurland and then a short stay in Bergen.
Season: early to mid summer, lol. I can only laugh here because we actually experienced the full gamut of weather from 0C and freezing hail, right up to blistering 40C days hiking in full sun.
Expected activities: lots of hiking! plus a few rest days in cities, specifically Venice, Verona, Milan, Oslo and Bergen
Colour scheme: I’ve found choosing a colour scheme as the very first step has made packing so much easier so this is integral to my packing strategy nowadays! I went with navy/denim blue, red and pink.
What I packed:

from left to right, top to bottom; all items are linked to their original construction post. The number of days I wore each thing is in brackets alongside it.
linen shirt (5), red merino tee (7) , blue striped cotton tee (4), pink merino tee (3), navy merino tee (3), chambray top (3)
floral/black corduroy dress (7), pink twist top (4), navy cardigan (4), lightweight red cardigan (3), chocolate hiking pants (3)
yellow raincoat (4), pink miniskirt (7), red velvet skirt (5), navy shorts (7)
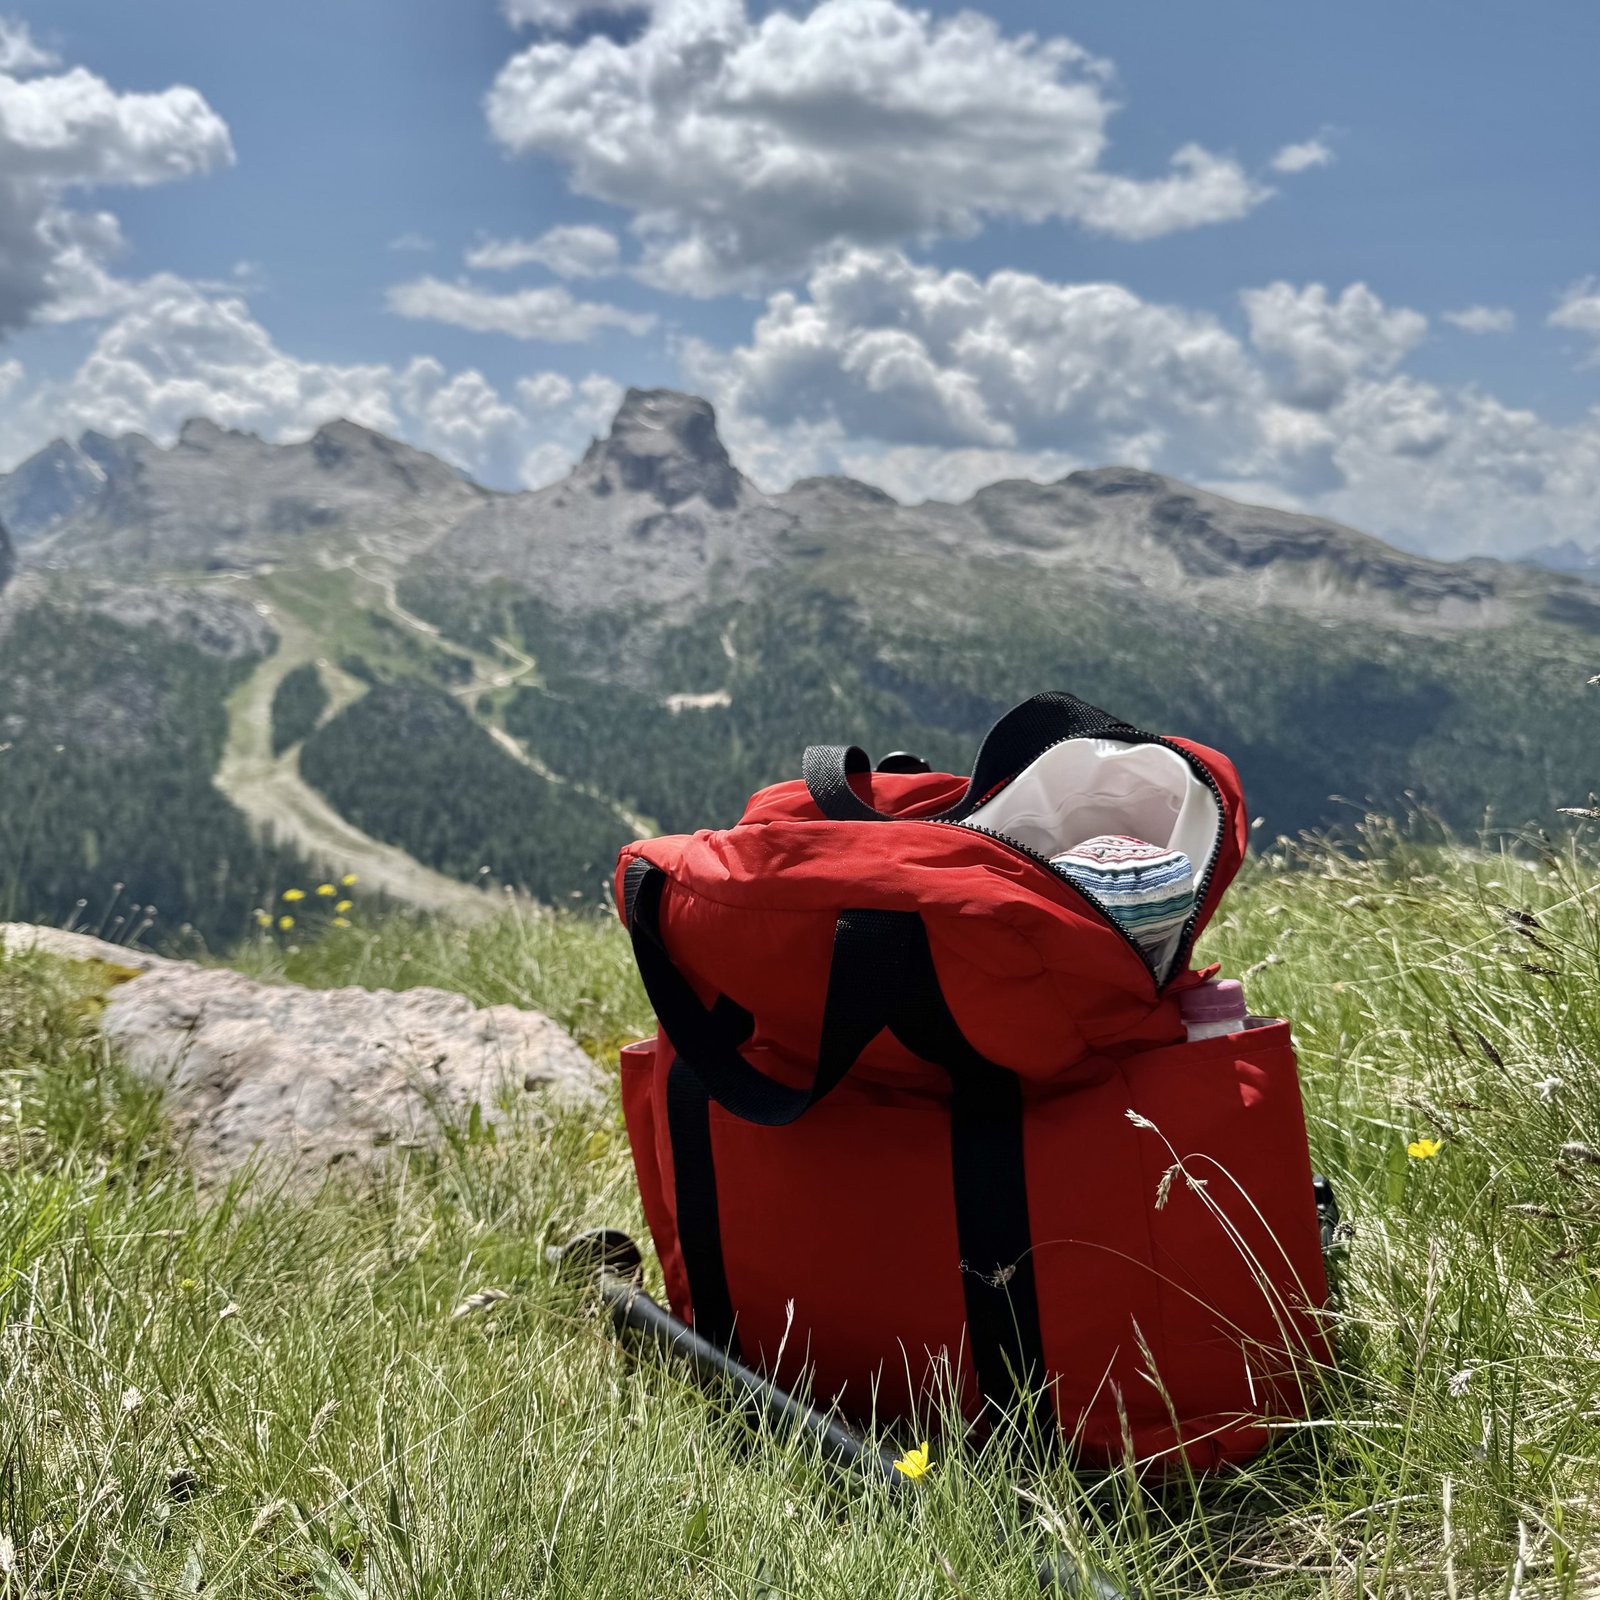
bathers (5), hiking boots (16), pink handwarmers (5), 4x tights (14), scarf (knitted by my Mum) (5), blue thongs (9), booties (5), red backpack (everyday), striped hat (11)
What I wore:
Italy

Norway

Thoughts: This was a loooong trip – one of our longest ever actually – with no opportunities for washing at all apart from the usual undies in the hotel room each night! So I packed as much as I could, always leaving just a little bit of room for shopping of course, and managed a different outfit every day! I really love this kind of outcome, satisfies the lover of outfit-variety that lurks within me. Fortunately this selection turned out to be an excellent one that covered all possibilities. Having said that:
- We did not anticipate that Italy would experience an intense heat wave so early in the season, with unseasonal temperatures of at least 36C from 8am up until 10pm each day. It was extremely hot which made hiking a lot more challenging… and at the end of each day everything was a sweaty mess and had to be aired overnight. I found my hiking pants were only bearable if I rolled them right up above the knee,. My shorts were absolutely fabulous, though!
- I never ever thought I would be wearing that pink miniskirt without tights, worrying that it was just too short for someone my age… however, needs must and I found that if it’s hot enough then anything’s possible! It was perfectly fine to wear it without tights in the city, in fact a lot of other people were wearing mini skirts in both Italy and Norway too so I fitted right in.
- I neglected to bring a sunhat! doh! so I bought that striped hat in Torchello, Venice. It was chosen purely because it fitted in nicely with my colour scheme, and I wore it most sunny hiking days. Did not regret this purchase at all!
- It’s funny, I always toss in my bathers and a pair of thongs “just in case” and quite often never wear them. This trip I needed both! For a start thongs were the only bearable footwear for city wear on the very hot days … and I wore the bathers multiple times when our accomodation had either a pool or a sauna.
- Footwear always takes up the most suitcase space; so you have to balance needing a variety of footwear for different situations, against how much room you can spare in your suitcase for these space-hogging things. I’d bought new hiking boots and these took up a good quarter of my suitcase. Obviously these were a necessity though. I even decided to wear them on the trip home to free up the suitcase for some of my purchases. During the trip I often wished I had just one more pair of shoes; 3 is quite frugal for a trip this long. But I managed so it’s all fine really.
- If I had to point to something surplus, it would probably be the lightweight red cardigan. I wore it several times, but could have easily gone without it. I was grateful for every single other piece that I had.
- One exception to the no outfit-repeat is the corduroy dress … it did get worn on the plane in basically the same way with the red merino underneath each time, but I did try to mix it up a little otherwise! I wore it with the linen shirt underneath on one of the last days and absolutely loved this, will definitely wear this combo again. Most of the photos of this dress away on the trip are featured in my previous post, dedicated to the making of this dress.

- I dug out a lot of older makes for this trip that I’d made many years ago. and rediscovered a love for some of those old things. Specifically the red velvet skirt, the chambray top and the pink twist top. I always try to wear all the new things I make fairly and completely, but I do also hang onto old things that I particularly love and occasionally take them out for a spin. Some things, while old, are just amazing and you cannot get rid of them, you know what I mean?


What did I see other people wearing: ahem, I’m going too split this up into Hiking Attire, and City Attire, since these are obviously very different things…
Italy, Hiking Attire: you can’t escape the fact that Italians love brightly coloured hiking gear and it seems to be just the tourists who opt for neutral colours. I saw lots of Italians biking and walking on the trail wearing gorgeous intense colours like bright orange, mustard, turquoise and cobalt outdoor gear, and it looks absolute fabulous too.
Italy, City Attire: women in the city are wearing elegant midi-length shirt dresses, big-skirted and belted at the waist; in white, lovely florals and blue/white chintz prints, along with white and raffia sandals, and big sunhats. Absolutely beautiful! Also the other extreme, mini skirts! with either oversized white T-shirts, blouses or tank tops, and white sneakers.
a good example… I took this picture because I want to copy that top sometime…

Norway, Hiking Attire: kind of the same as Australians, as in simple subdued neutrals like khaki, navy, black, grey and white.
Norway, City Attire; Norwegians are, like Italians, into the extremes of either long midi skirts in plains or florals mostly, or alternatively short skirts or shorts, and nearly always with white sneakers. They do seem to prefer a more subdued colour scheme overall, with neutrals like grey, cream, white, and stripes predominating. Aside from this, there’s a definite trend to wear denim separates, like a denim shirt and skirt, or ¾ jeans together. This is interesting to me since there’s a budding trend here in Australia for that same look right now.
this doesn’t represent daily wear obviously, I just took it because I think Norwegian national costume is so beautiful…

Purchases: I’m determined to knit a Norwegian jumper, so purchased some wool with that in mind. This is not actually Norwegian wool, but I’ve made my peace with that. There were tonnes of wool shops in Norway – it was amazing! – but I struggled to find something appropriate for the pattern I’d prepared before our trip … anyway, I felt lucky to eventually find enough colours and skeins in this Jensen yarn from Denmark. I’m holding myself to finishing this as quickly as I’m able! I have already cast on so off to a good start. 🙂
random holiday snaps:
Venice


we had gelato nearly every day!
hiking in the Dolomites


the best apple strudel I’ve ever eaten! we had it at the chalet in the above picture

this amazing apartment building in Verona famously has a flock live flamingoes living in the garden… so pretty!

wading in the Oslofjord, it was surprisingly hot in Oslo too


hiking out of Finse, Norway


between Myrdal and Flam

Sognefjord … yes, we climbed up to this spot too! below was our last hike out of Aurland, we got to a tiny cafe run by a goat farm that made their own cheeses, perched high up the side of the fjord… of course we had a cheese platter!


 hello! I’ve made a new/old blouse for myself… I’ve always enjoyed the challenge of using old textiles PLUS I’ve also always loved patchwork and mixed-prints in clothing so obviously this new blouse is certain to become a favourite! why? because the fabric is salvaged from three well-loved old shirts of my husband’s… I really liked each of these shirts when he was wearing them, so when he decided they were too worn to be worn any more (hehe) I packed them away to be refashioned one day.


 I’m wearing my new shirt in the above pictures with a pieced denim skirt I made last year using old jeans and our own Meelup skirt pattern, plus a number of superfluous pockets, making this outfit a wholly recycled-fabric ensemble. I really love this skirt too! it used to be quite a bit paler in colour and I overdyed it blue while I was dying something else one day. Oh, I remember it was this skirt...


 hello!
 This one is a little different from the previous pink one, as well as being different from the pattern… I cut the front so as to have a straight edge and to have the front facing integral with the front. I also left off the collar and made a hood instead. I love hoodies and don’t have enough in my wardrobe! Honestly if I’d had enough fabric I definitely would have made my pink Sienna to have a hood too.
 for the hood, I turned under a seam and lined the hood completely with a black, sorta silky but not-silk stuff that is thin but nice and soft. I cut the back neckline facing from the same fabric. The hood edging is turned over the edge of the hood lining and simply topstitched in place. After stitching, I trimmed the hood edging inside close to the stitching.
 Similarly, the pocket flaps were made by laying the two flap pieces wrong sides together, and stitching together as normal; then trimming the seam allowances off neatly close to the stitching.


 I fully expect by September it will be just too hot for it… really I should have made it at the beginning of winter! In any case, it feels great to have taken the fabric from out of the stash, and into the wardrobe!


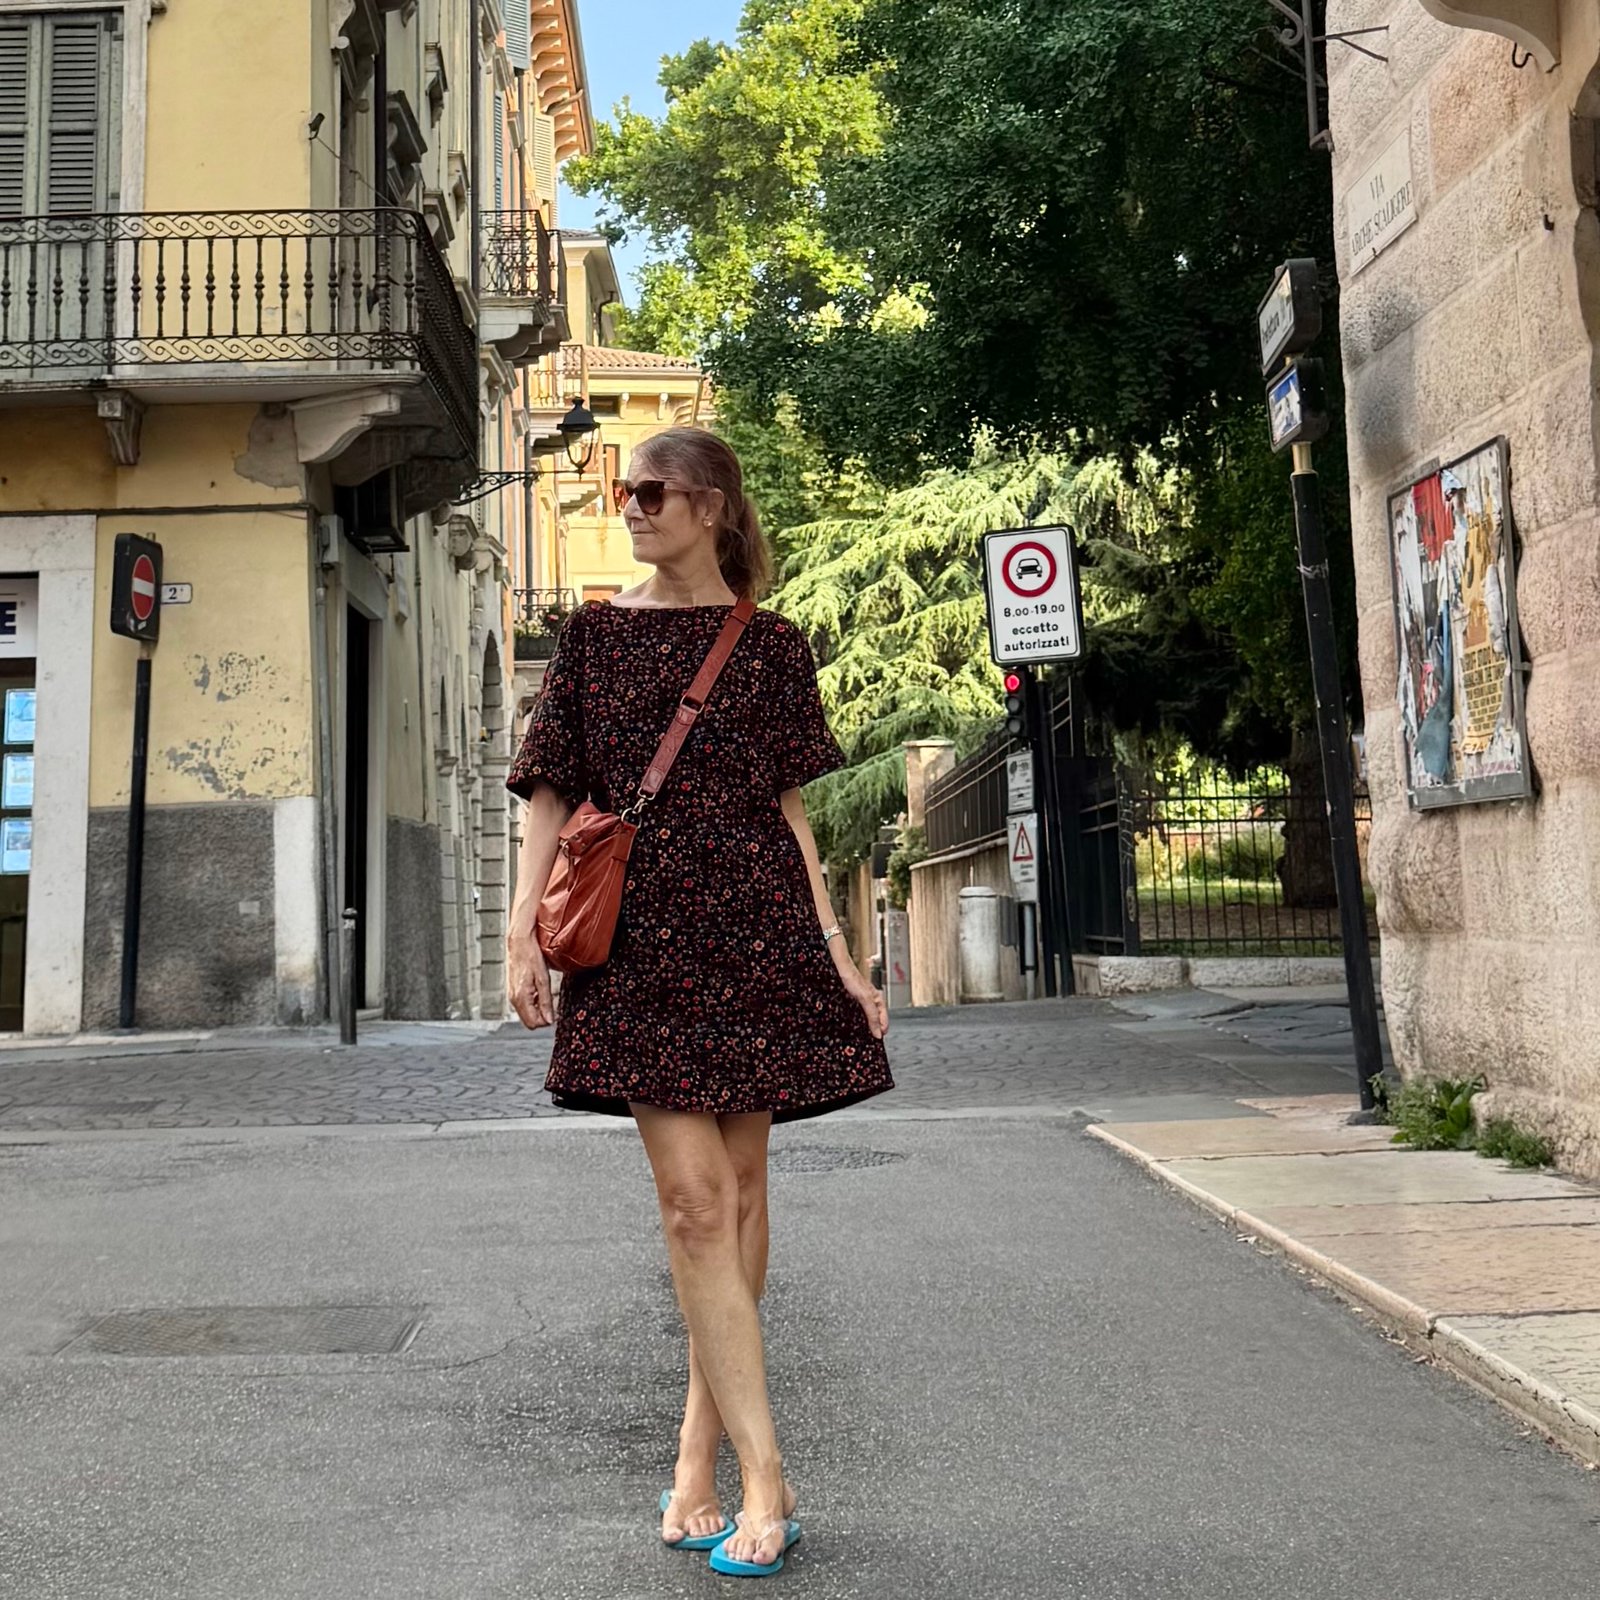

 It’s such an easy to make design there’s really not much to say. The neckline is finished with a bias cut strip and the pattern includes a lovely deep hemline facing, which I edged with the same orange linen bias binding. I think this looks so pretty. Designwise, it has deep side pockets and sleeve cuffs. Hmm, that’s it, really…




 hello! I’ve made a whole new outfit recently… it’s not so often that I can present a new, head-to-toe handmade outfit like this!
 I settled on this cotton hessian with a multi coloured print of overlapping ovals. I loved this combination of colours; violet, duck-egg blue, teal blue, navy blue, lemon yellow and apricot. I thought it fitted in very nicely with my personal colour palette of true- to deep autumn.


 hello! I’ve made some new things recently… firstly, some new winter pyjamas. 🙂


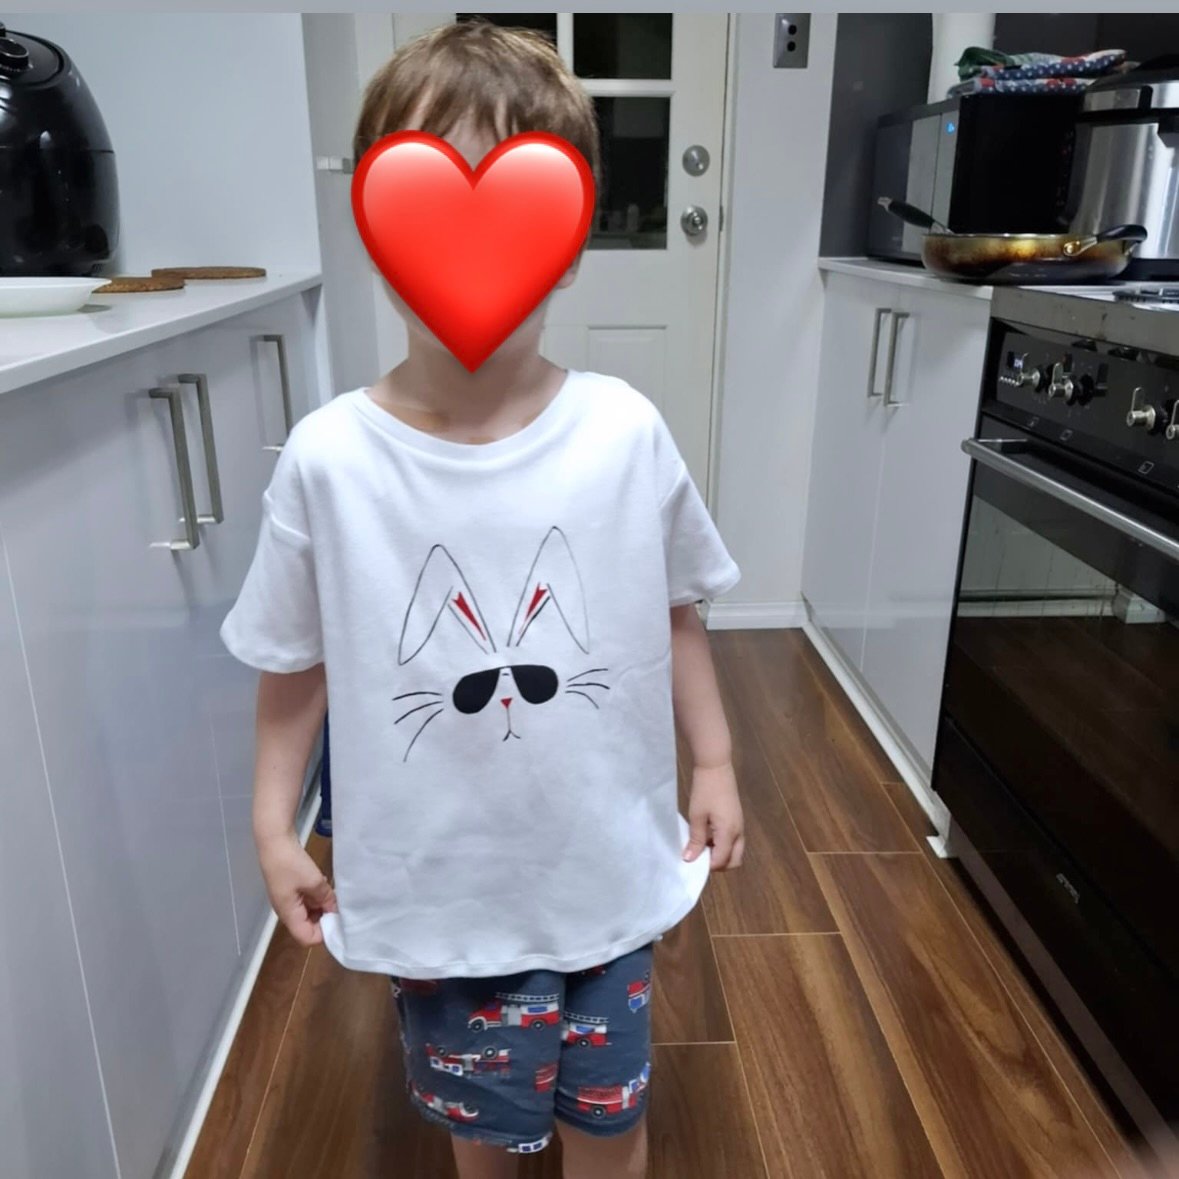
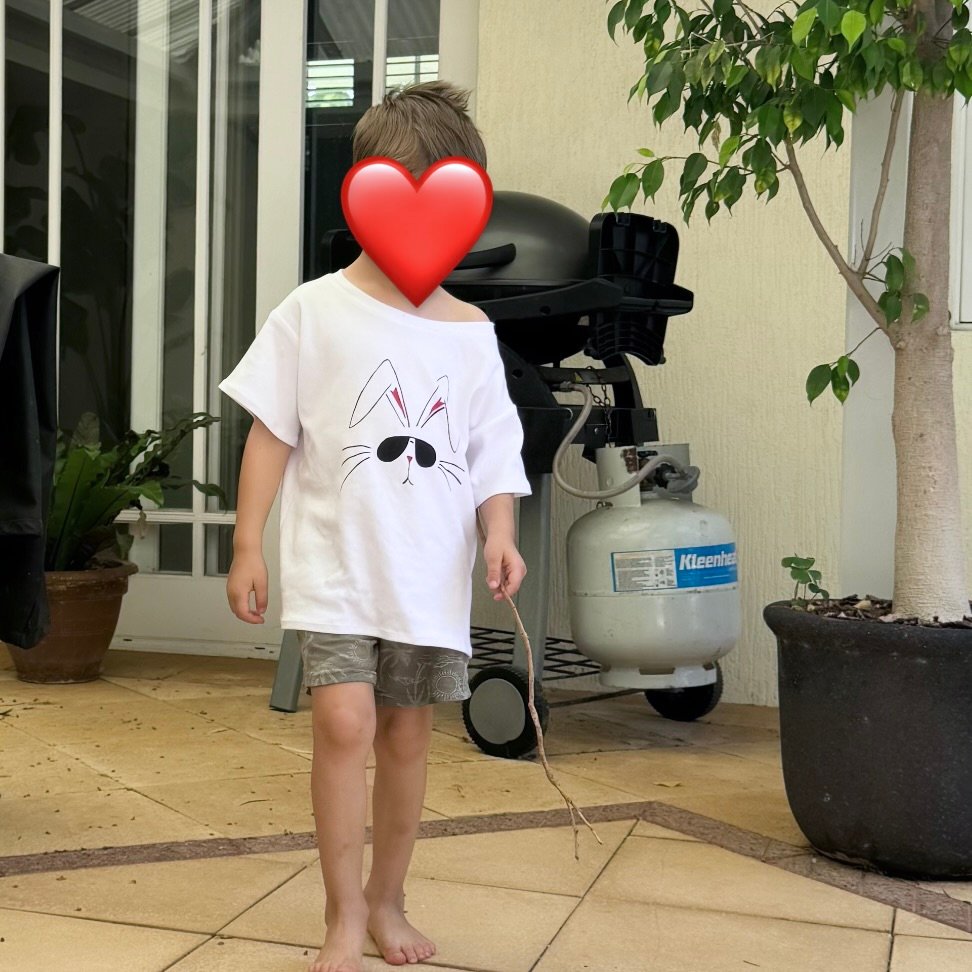
 Hello! For the Easter just gone by I wanted to give something to my three little grandsons… chocolate has been ruled out by the parents and so I had to think of something else. I decided upon this! As a teen, my eldest Tim used to have a pink T-shirt with a “cool bunny” printed on it which he absolutely loved. It was actually a very different print from this one, but with this in mind I googled “cool bunny” and something like this was one of the millions that came up. I thought it was really cute!
 I hand-drew the design on tracing paper in lead pencil, then transferred the designs to equally sized pieces of wrapping paper.


 First print done!
 Second print!


 and this one did not. If you can’t see it straight away, just look at the red, inside-the-ears bit, and you can see how skewiff it is compared the the others. I’ve still got this fabric, and may use it for something else in the future.
 Heat set the prints, and then I sewed up the T-shirts.