Yearly Archives: 2017

You are browsing the site archives by year.

Jungle-y underdaks

Can you even see my latest creations…?  Not really?  Well, that’s because it’s all so perfectly and beautifully camouflaged in the deepest, darkest, greenest depths of my garden I mean… the jungle, of course!!

So it’s January, and I’d begun to notice a few jungle-y things popping up on my IG feed… oh, it’s that time again…? well alrighty then!!!  hurrah!  Jungle January!  the brainchild of Anne of Pretty Grievances  I LOVE sewing challenges!

I’m continuing on with my tradition of making a new set of bra plus undies for my thing.  The last two years I’ve taken the humble frog as my inspiration, firstly here and secondly here… this time I wanted something different, and by that I meant a creature other than a frog.  I had a few different ideas…  but nothing jumped out at me… finally I just thought; I’m going to google “jungle” and select the top rating picture as my inspiration, no further argument.  I did, it, held my breathe, what creature was I going to have to “interpret”…?  and this is what came up…

source, kingofwallpapers.com/jungle

THE JUNGLE ITSELF.  OF COURSE!!!  #facepalm

Truly magnificent, yes?  Nature at its most glorious.

First impression; well, just GREEN.  How extravagantly, intensely, and totally green it was.  Fabricwise, I was immediately reminded of a length of stretch stuff that Mum had tossed out and that I had immediately squirrelled away, it has a random painterly print on it; predominantly green with some blobs of other colours subtly melting all together; I think it was originally from Fabulous Fabrics.  I dug it out, positioned my pattern pieces on it strategically so as to include as much of the greenery bits as possible, emphasise the “jungle-y” parts of it as much as I was able.

There are even a few, almost snake-scale-y bits, ranging from mossy, yellow-y green…

right though to an almost aqua green

…and can you almost imagine here the golden sunlight breaking through the high-up leafy canopy, and maybe a bright scarlet flash of parrot’s wings, or a single jungle bloom…?


Patterns; my old favourite MakeBra bra pattern, and the two pairs of matching briefs are both cloth habit Watson.  I used the makeBra instructional video on how to make a foam-lined bra to make mine; it’s a brilliant video, completely foolproof.  Some of my materials like the foam and some of the elastics are from the MakeBra basic kits that I bought last year, though the underbust bra elastic is from Homecraft Textiles because the stuff in the MakeBra kit is not such good quality this time, unfortunately.  The lingerie elastic on the undies is from Spotlight.  I bought up a huge amount of this during a sale one time and am still using it up!


pinterestmail

white Issey Miyake shirt

Self-explanatory, really.  #endblogpost  😉
Pattern; Vogue 1384.  It’s a vintage pattern, hailing from 1984, sorry. Yeah, it’s annoying when people make things in vintage patterns that you can’t get a hold of anymore.  But I’m sure this is not particularly aspirational actually, it’s a little weird in that 80’s way.  That high, slightly floppy collar combined with a billowing pirate-y blousiness is giving me serious Duran Duran vibes.  That’s sort of a good thing btw HUGE Duran Duran fan, once upon a time… only you know, dating myself here  #woops  On a side note; watching that clip again, wow I think I’ve suddenly identified the genesis of my lifelong white shirt obsession…   Also, haha, I totally dance just exactly like that, to this day still, lol.

I’d actually vaguely planned to make this shirt for quite a while, then Anna of blogless Anna proposed an IG #sewjapaneseinjanuary sewing challenge; prompting a jump to the top of my queue… sewing challenges are such fun!

I’ve previously made the skirt from this pattern too; here.  That now resides in Cassie’s wardrobe.  Thing is; the pretty floaty pink-ness, while lovely, I’ve decided is just not really ME.  Not to mention that she put it on one day and obviously it looked only like about 999999 times better on her than it ever did me (sob)   I’ve got to stop giving her my clothes to try on!!   Just kidding; I wore it a few times but tired of it quite quickly and I don’t miss it, not one little bit.  Though I do still really like that design and am thinking of making it up again, just in a more me-friendly fabric and colour.

Fabric; a thin, sparsely-dotted swiss cotton voile with ever so faint and equally sparse paisley embroidery on it in bits.  Very very subtle.  I bought it in Potters Textiles a few years ago, when it was in its other location.

The top looks at its best when it’s either tucked in or belted-n-blousy, and while I have a small collection of self-made belts… like, four maybe?  none of them looked very right with this sheer-ish white top, so I quickly whipped up a thin white one in the same fabric to wear with it.  Kt-chaaaaaaa!! *whip-crack sound effect*  Sorry, I simply cannot read “whipped something up” with regards to sewing without hearing a crack o’ the whip sound in my head.  Craaa-aack that whip!  *  (Devo, and a warning, do not click that link unless you WANT to be subjected to some really random and classic 80’s, madness.  Yep, I was a fan of that too, *blush*)

The belt is basically just a waistband really.  A poor, bereft and lonely little waistband, with no skirt to call home…  *sad violins*  It’s exactly the same deal as the one I made for my tartan dress.  Just two buttonholes, and one button, and you wear it so the button is on the inside.

Also, interesting pocket tab/flap detail.  You can’t really see it on the outside, which defeats the purpose a bit really, but oh well.  It’s kinda cute when you notice it!

I flat-felled all seams throughout, as usual.  Btw, you CAN flat-fell all sleeve and armscye seams too… my tutorial for flat felling the armscye seam is here… and the sleeve seam itself can be flat felled by starting from the middle of the seam and stitching OUT.  Be sure to have the sleeve RIGHT SIDE OUT, so that you are sewing inside the sleeve… this will ensure that you are in no danger of stitching down the other side of the sleeve underneath…

In the case of this shirt; I stitched the sleeves to the shirt, and flat-felled that armscye seam before stitching up the sleeve and side seams…
First, stitch the sleeve and side seams in one fell swoop.  Press seam open and trim one side.  If you are flat-felling the seam towards the back of the garment, trim the back edge of the seam.

Press the front edge back over the back edge, turn under the raw edge, and press in a neat even width.

Turn sleeve RIGHT SIDE OUT  (v. important) and from the wrist end of the sleeve; bundle the tube of the sleeve up to locate a point roughly midway up the sleeve.  Position the bundled up sleeve tube behind your machine and pull the wrist end of the tube through until this midway point is under the needle.  Take it nice and slow, and stitch the flat-felled seam from here out to the wrist.

To complete the seam; just repeat the same process as above only bundling up the sleeve from the armscye side… locate that same midway point of the sleeve, and stitch the seam from there, to the underarm, and keep going in one long continuous seam down the side seams to the bottom hem of the shirt.

Done!

Details:

Blouse; Vogue 1384, white swiss voile
Skirt; Vogue 1247, striped stuff, details here and my original review of this pattern here
Sandals (above): my own design, made by me, all details here


Denim shoes (below); my own design, made by me, all details here
location at top: Preston St overpass, Como, Western Australia

Replicating the 80’s pattern envelope pose,  just because…. the 80’s.

pinterestmail

the year of handmade, 11

above are just a small selection of some of my favourite outfits for the last month, the entire collection for the year so far can be viewed in my Year of Handmade flickr album, here

So, a mere 30 days to go…   Wooooooweeeee!

Honestly, I’m now just like, yeah, whatever no biggie.  Coasting.  Yep, counting down the days; One.  At.  A.  Time… but y’know, otherwise pretty chill  ;P

All my clothes are of course holding up perfectly fine, clothes are a piece of cake.  Obviously I’m going to keep on wearing my self-made wardrobe, forever probably.  Can’t see that changing, in the foreseeable future anyway.  Shoes-wise, gawd… definitely counting down the days there…  my white thongs; well I have to admit I’m quite looking forward to hurling  them off a 1000ft cliff with great force  I mean, gracefully retire them as soon as I possibly can.  These have been my summertime walking shoes all last summer and this one too, they’ve done haaaaard duty and are looking pretty rough.  Those snowy-white straps are not so snowy now, I can tell you!  But unfortunately they are essential to my wardrobe, mostly because they are kinda rough now.  In my lifestyle where I do a lot of walking/gardening/spending time in the country; I really need rough-and-tumble, grunge-y footwear.  I was fairly devastated when we were at our beach house recently doing a weekend of heavy duty gardening (as seen here), and some of the cork underneath finally wore through and one wing of one thong pulled through.. aaaagh!  I still need those tacky things!!  So, a few blobs of liquid nails and new heels made of furniture felt later – it’s all I had! – and they’re mcgyver-ed together enough to see out the last month.  They look awful but I just don’t care…  I’m sure my walking friend E thinks I’m completely bonkers, persisting in wearing them whenever we get together for a walk.

Not going to complain now; it’s summer, I LOVE summer… dressing for summer is easy, and making summer sandals is very easy.  I have actually been toying with the idea of making a new pair.  It’s funny, the end is in sight, and I’m actually dreaming of making new shoes!!  I must be crazy, boom! proof right there…

pinterestmail

rows of little white cottages

I’ve made another skirt and top set for Cassie  :


Patterns; the Tshirt is the Named patterns Inari tee, and the skirt is Vogue 1170.  I’ve made several of these skirts now, and quite a few are now owned by Cassie.  The only alteration I made was to lengthen it by about 5cm, and leave off the pockets.  Oh, I also made a few fitting alterations… even though I’ve made the pattern several times and I really like it; however the fit is actually not very good.  Fortunately though it’s an easy fix, taking in each of the side/back seams… my alterations to the skirt seams are pictured with my original review of the pattern here, and basically I have to make very similar alterations for Cassie

Fabrics; both from Spotlight..  I spotted this cute cotton jersey with its wonky rows of houses during Christmas shopping, and while I’d already bought her Christmas fabrics I just couldn’t resist! Cheerful, cherry red background, and those cute little white cottages with pink and teal rooves! And by the way, what’s with me and pink and teal this year??  I’ve made four things so far this year and they have all been deep blue and/or pink.  Weird!  Anyway, the print is cute and young and fun and just right for her colouring, all round just perfect … and I knew she has lots of skirts and jeans that would be perfect with it…
Then I vaguely thought maybe a navy  blue skirt would make it a nicely complete set, and she desperately needs skirts for work too … and lo and behold what should be lounging languidly about in the very next aisle but this teal blue suedette, which is a PERFECT colour match for the rooves.  BAM!  DECISION MADE.  Lugged them both to the counter without a second thought, brought them home, tossed into the washing machine.

About this time, I saw that happylat had also made a Tshirt from this very same fabric. What can I say, but great minds think alike!

I lined the waistband with some of the house fabric… not because I had run out of suedette or anything, but I just thought it was cute and I wanted to tie the two pieces together!

this is on grain, I promise!! the print is just naturally, and charmingly wonky

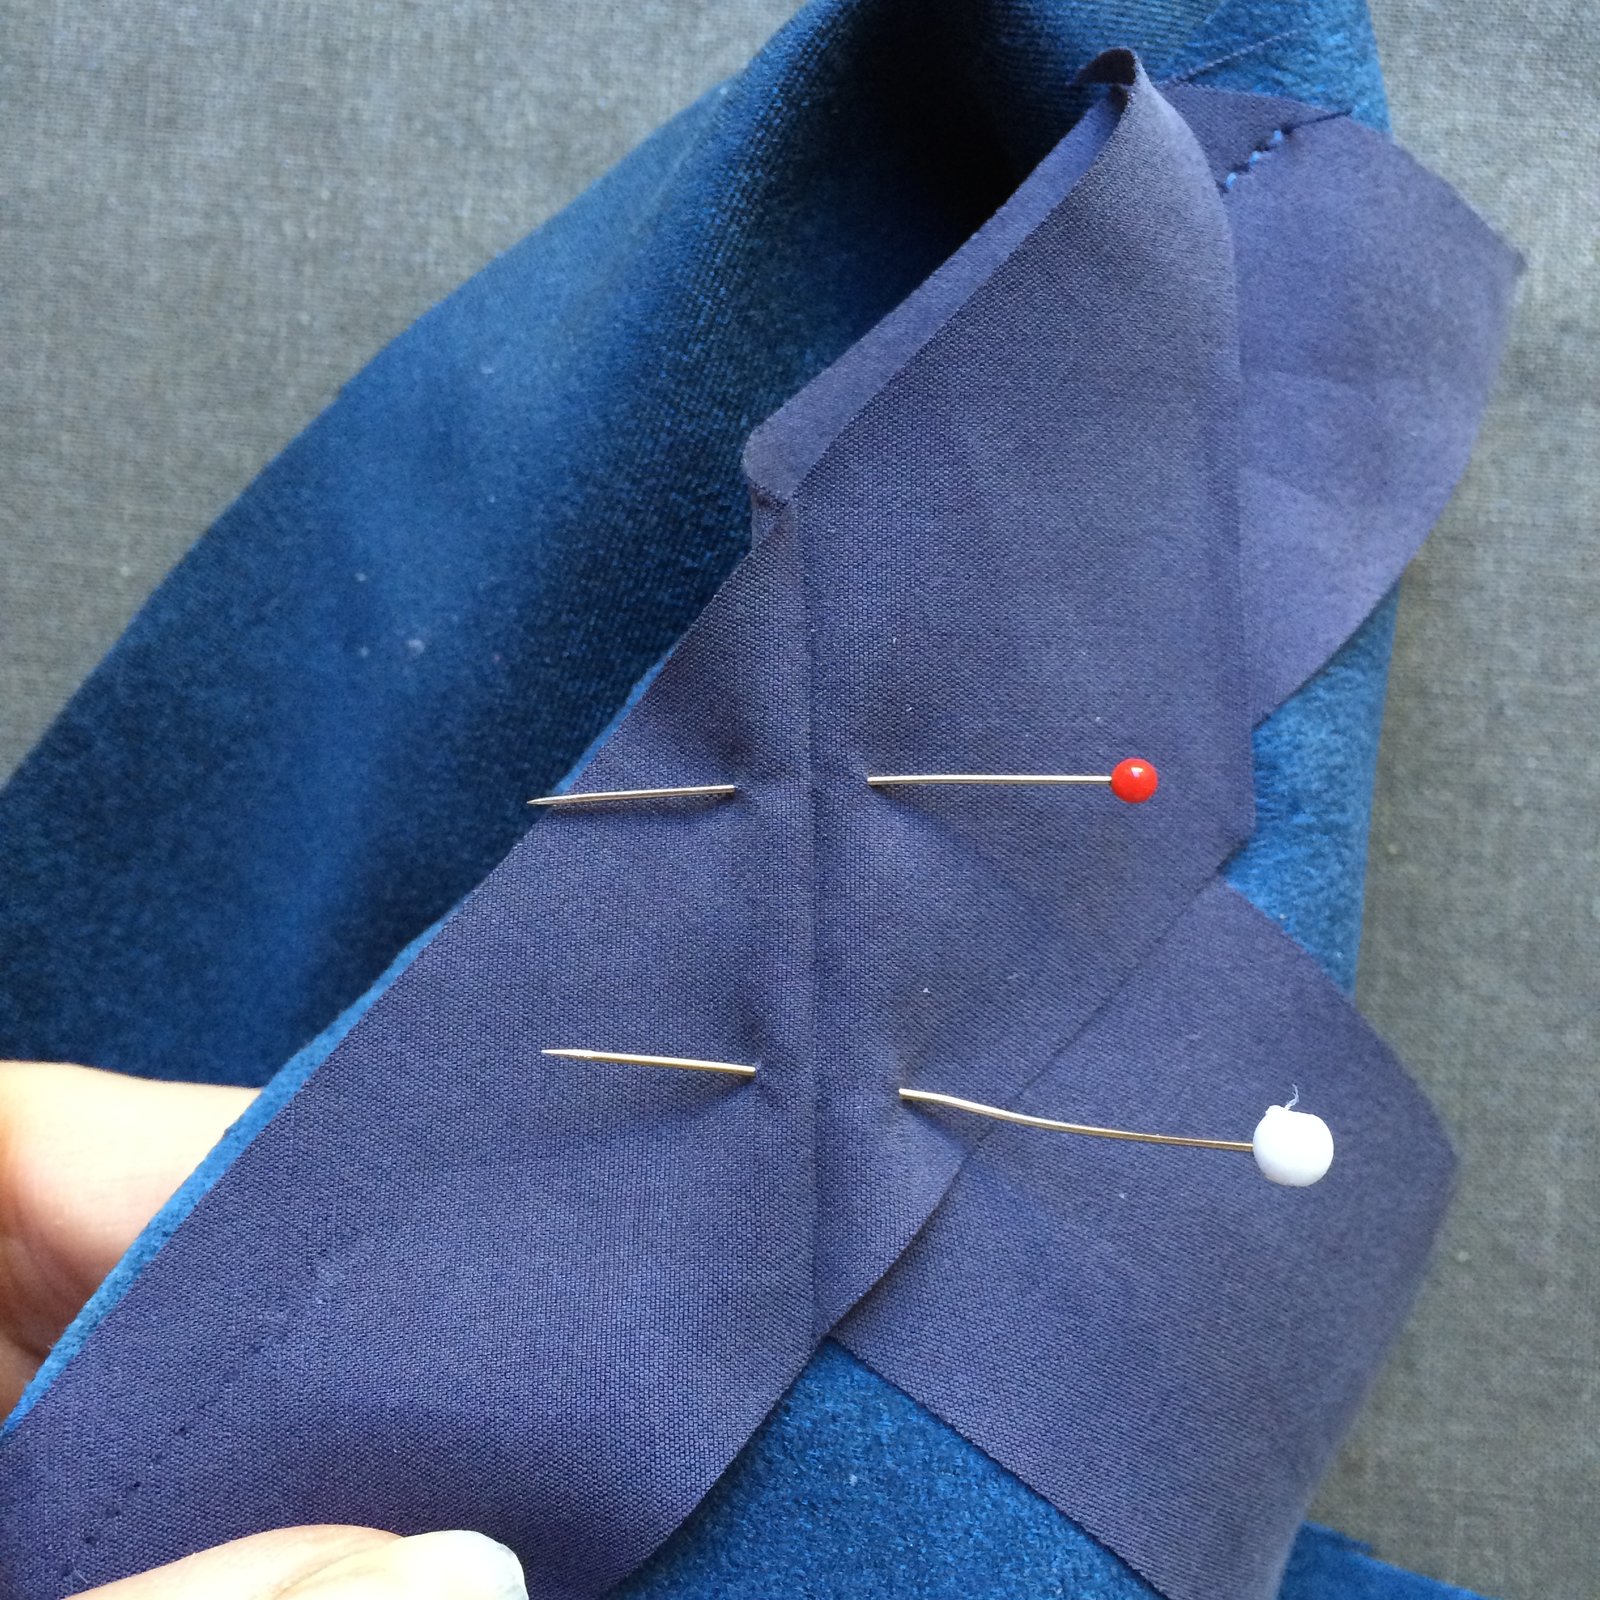
The suedette “looks” nice and perfectly suede-y, but it frays like billy-o.  I finished all the raw edges on the overlocker, and the lower hem with a bias cut binding cut from a scrap of purple/blue micro fibre.  tutorial for this bias finish is here

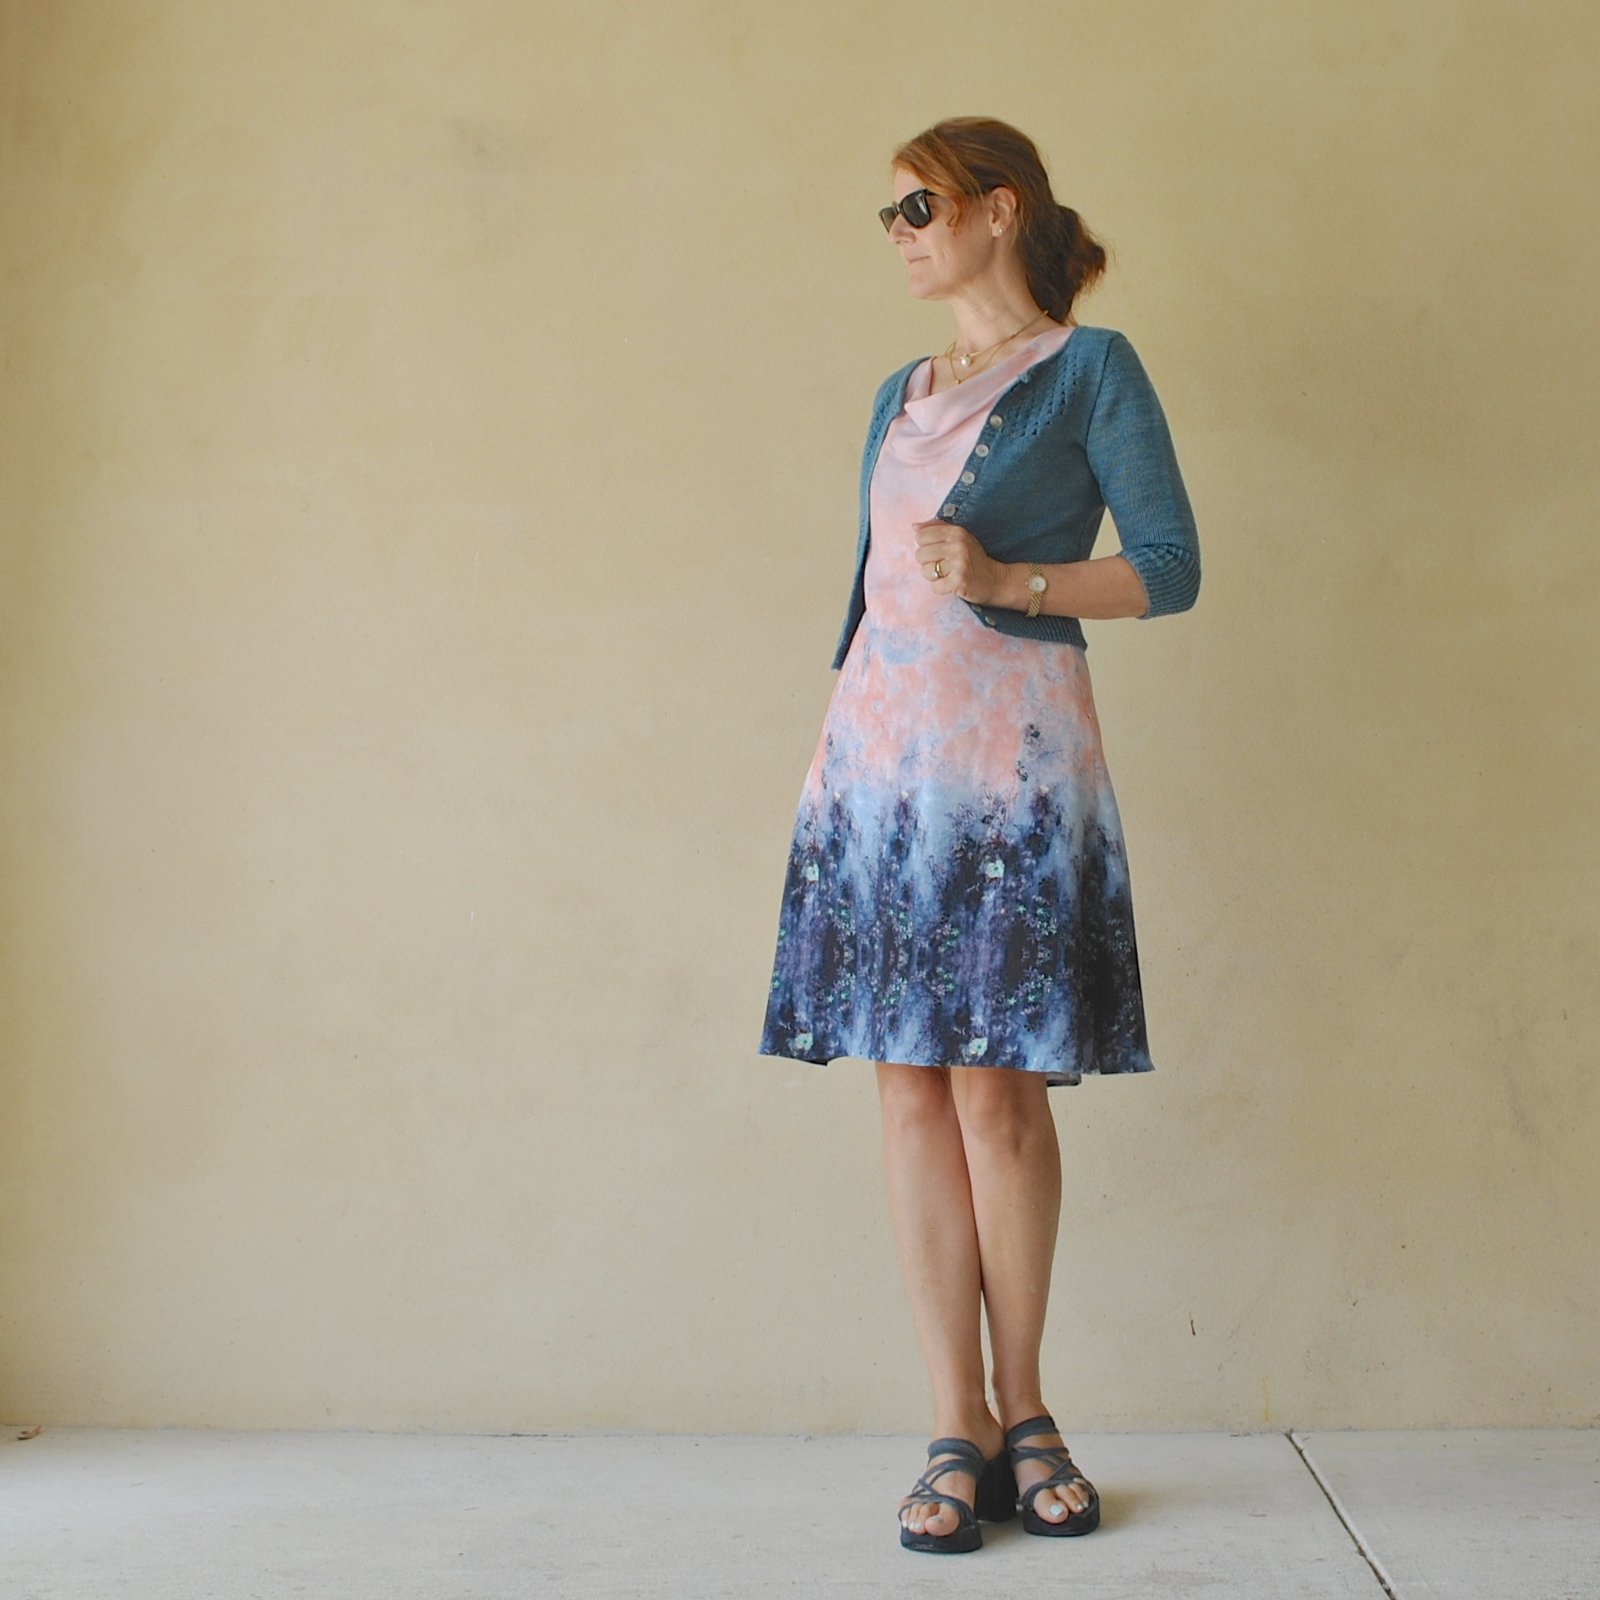
The Tshirt is made up just like the pattern, except for the neckline… I’m lazy with my Inari necklines and have pretty much finished them all off like this!  Just overlocked the raw edge, turned it under and topstitched from the right side.  Since it’s quite a wide neckline and doesn’t stretch out when you put the Tshirt on and take it off, the stitches won’t snap and this kind of finish works perfectly well.

The lower hem is finished with my twin needle.  Lisa asked about channelling with a twin needle.. all I can say is that I’ve never had channelling and what’s more I have no idea how I’ve avoided it so far either!!  Only thing I can think of: I always finish the raw edge on my overlocker, then topstitch with the twin needle, and that’s it!  Maybe the overlocked edge stabilises the fabric and that’s what stops a channel forming?  That’s the only reason I can think of anyway.  🙂
red threads on top, white in the bobbin; white overlocker thread

So! New outfit for her.  I think it makes a really cute ensemble and will get lots of wear, both together, and also separately a lot too, probably.  See, in my experience deep blue skirts are just about the most useful things a girl can have in the wardrobe… and she practically squealed when I brought out the Tshirt! so I knew that was a winner too.  Truly, she’s happy, therefore I am too  🙂

Later edit; at the time of making, she was pretty adamant that she didn’t want it lined so it would be cooler to wear in summer… however! the suedette is a little clingy! so, to give her the option, at least, I quickly ran up a simple little half-slip for her to wear underneath.  Vogue 1247 with the pieces spliced to simplify it as much as possible, navy blue, polyacetate lining fabric. .  A skinny 1cm finished width, uninterfaced waistband, a finished slit at CB and no zip, and with one small snap for closure.  Easy peasy!


Details:

Top, Inari tee by Named patterns, cotton jersey
Skirt; Vogue 1170, lengthened, suedette
Petticoat; Vogue 1247, pattern pieces spliced, navy blue polyacetate lining fabric
Shoes; Melissa


pinterestmail

finishing an edge with bias binding

Now, I promised to write this tutorial to show my Mum how I applied this finish to her top… and others expressed an interest too; thank you so much to everyone else who did… I finally did it, yay  😉

Mostly I would use this finish for a neckline that is wide enough to need no zip or button opening, as pictured above. Another example of its use is for a hemline such as the skirt demonstrated here.  I’m making this in a totally inflexible fabric with about zero give, PLUS the design has such a sharp curvature around the bottom edge a regular turned-up-twice hem is quite difficult to execute neatly.  The bias binding finish is a good solution for this 🙂   It results in a clean, banded finish on the inside of the garment, with one row of 1cm (3/8″) topstitching visible on the outside of the garment.

This method is just one of several ways of doing this kind of finish, I prefer this way because I find it the quickest and easiest, results in minimal fabric bulk, and minimal mucking around.

Firstly, make a strip of 2.5cm (1″) wide bias cut fabric long enough to fit the opening to be finished, plus at least 20cm (8″) extra.  Best fabrics to use are something woven that is very thin, fine and lightweight, like cotton voile, silk or handkerchief linen; in an unobtrusive colour toning in with the fabric.  For Mum’s cotton top above I used the self-fabric because it is quite light; for the blue suedette skirt I used a scrap of leftover silk-like microfibre.

Right sides together, pin around the edge to be finished, and stitch in a 6mm (1/4″) seam, leaving a gap between start and finish of around 15cm (6″) and ideally tails of at least 20cm (8″) 

Fold and press the strips to meet together on the bias.  I find it best to leave a very tiny gap, like 1-2mm or so, between the pressed edges.  Don’t have any explanation for this, just that it works better when it can stretch into it just a touch.  Keeping everything straight and right sides together, pin along the folds, stitch, and trim.  Press seam open.

Stitch up the gap to complete the bias strip attachment to the edge.  Press the bias strip, bias strip seam allowance, and garment seam allowance away from the garment.  Understitch these three layers together close to the seam line, keeping just the garment layer free.

Turn the garment wrong side up and press the bias strip back onto the garment, keeping the seam line just inside the pressed edge.

Turn under a 6mm (1/4″) seam allowance on the bias strip, press and pin in place.  Topstitch 1cm (3/8″) in from the garment edge.  Done! and the nice thing is that you won’t ever be able to see where the strip starts and ends  🙂

pinterestmail

pink/navy DKNY dress

Terrible post title, I know.  Every now and then, inspiration strikes and a fabulously perfect Word that describes my new “thing” to a T springs to mind instantly.  Other times I just plump for the obvious.    Today, inspiration was like a wispy breathe of smoke in a dark shadow of the night.  Barely present, fleeting and rapidly lost amongst the dusty cobwebs in ye olde brain.
But, enough of that… wot abart the dress eh??

Pattern; Vogue 1351; bought aaaaaaaages ago. With the intention of making it up immediately, funnily enough! but more on that later…

Fabric; a slightly stretchy crepe from Fabulous Fabrics.  Also bought aaaaaaaages ago with the intention of making it up immediately, sigh.  The aqua and indigo, sorta-floral/sorta-galaxy border print runs along one selvedge of the fabric, so to retain that I cut out the pieces across the grain, rather than on the bias as recommended in the pattern.  I just really love the colours in this fabric… but! I know pink doesn’t suit me, in fact I’m already anticipating that my Mum will have A Few Words to Say just as soon as she sets eyes on me in this sick-making, blemish-enhancing shade of pink.  What can I say? I agree, but sometimes I just can’t help myself, I just LOOOOOOVVVEEE pink and navy together, and like a lemming I occasionally toss myself over that cliff.  It’s one of my favourite colour combinations, with a lovely and natural yin/yang balance.    Frivolous and girly; pitched against sombre and slightly masculine.  Like a perfect summer sunrise over the ocean.  It speaks to me.

Anyway, no doubt drawn to that; at some point about mumblemumble years ago I spotted it, oohed and aahed, and naughtily bought some.  And cut out the pieces for Vogue 1351 that I’d recently bought in a club bmv sale.  Honestly, I barely remember doing any of these things, but obviously I did and it’s been folded up and tucked neatly away in my fabric cupboard ever since.  Then about a week ago I “found” it, and just set to, whipped it up.  Whipped it, I say!  Kt-chaaaaaaaaa!  … that’s a whip-cracking sound effect there by the way, just in case it’s not immediately obvious, hehe.

Alterations; downsized the bodice.  Hey, it’s Vogue,  and something of this kind is an always-requirement for me in Vogue.  Their patterns are designed for a more busty lady than I; but you know, I still want to use their patterns!  Often I handle this by shaving something off princess seam curves, or doing some other variation of small bust adjustment.  In this case, the bodice is one-piece with that draped neckline being the only feature, actually it’s the only feature of the whole dress…! So to avoid having to diddle around with that and possibly lose something essential to the neckline, the easiest thing to do is simply downsize.

I lined my dress fully with pale pink, polyacetate lining fabric, also from Fabulous Fabrics.  The design of the lining is quite clever, the way it’s a little fitted around the décolletage and with a nice smooth joining seams still allows the drape to spill out over the top.  It’s impossible for the lining to flip up or peek out in any way.  Very clever.  I love Donna Karan’s aesthetic, and am quite sad that we will no longer see her designs for Vogue patterns.  She really knows how to flatter a woman.

Also! can I just say with regards to the issue of those of us with Autumnal colouring wearing Pink = A Really Bad Idea thing…  see below how I’ve deviously dealt with it, by wearing it with my little teal cardigan.  Whammo! instantly counteracting and negating the death-warmed-up effect.  I think the pink actually looks quite OK on me like this!

Details:

Dress; Vogue 1351, printed crepe
Cardigan; Audrey in Unst, knitted by me, all details here
Wedge sandals, made by me, all details here


out in the wild…  I wore it out to lunch with my friend J today  🙂
location; South Perth foreshore, Western Australia

pinterestmail

french navy, french navy orla

Partly because of the colour.  And partly because the designer is also French Navy.  Truly!

So, recently I discovered Sarah of french navy .. she has a chic, pared back style; easy, casual, uncluttered, slightly sporty, one that I love and very much can relate to; and it was exciting to see that she has lately decided to dabble in a little pattern designing.  Her first pattern, the Orla dress, is a free pattern,  I decided to give it a whirl; stat!  hied myself over to her site, printed it out… and boom! Made it!
Fabric; a piece of thin, lightweight cotton drill given to me by my friend L when she was doing a big clean out out of her garage and “discovered” a large stash of fabric…  I was so thrilled that she offered it to me! #insanefabricaddict  Don’t you just LOVE friends like that?!  She’s like, what IS this pile of junk? hey maybe my friend Carolyn would like it…  😉  So my fabric was free too.  Basically, apart from the invisible zip, my dress was fabulously FREEEEEE!!!!!  #miser

The Orla is a super quick and fun little pattern which is exactly what I wanted to cleanse my palate, so to speak, after my mad Christmas making-fest… Featuring a gently fitted bodice, rather pert short sleeves, which I think I would be rather nice in elbow length too; a highish waistline, and with a gathered rectangle skirt.  I think the low scooped neckline is really lovely, it’s my favourite thing about the pattern.  I added 3cm in length to my skirt… just because I thought the gathered skirt gave it a rather young look and I’m.. well, you know. not.  Hehe, to be honest I agonised over the length of this skirt, you don’t want to know for how long.. at least as long as it took to make the whole dress.  I pinned and tried on, contemplated; re-pinned, re-tried on, re-contemplated…  I finally settled upon keeping some extra length that I’d added while cutting out, but I’m still partially tossing up the idea of re-hemming it shorter again.  Man, I am SOOOOOO indecisive sometimes, I drive myself batty… I think I’m going to be ok with this length… FOR NOW, she intones, dramatically.   I may or may not change it up on a whim, whenever.  But maybe not.  Might do, though.

Oh, I added inseam side pockets.  Goes almost without saying, yeah?  Everything’s better with pockets!

The neckline is finished with a bias cut strip, topstitched on the outside, and I added a hook and eye closure at the top.  Normally I’m sloppy about that sort of thing but every once in a while I rouse myself to add these proper little extra touches.

oh HELLO you gorgeous thing..  yes you are a BUNCH more interesting than some old sewing details yes you are you big boo-fful fluffy ol’ booffy booff you…  (cuddles ensue)

Ahem…  So yes; now I have a new, sorta minimalist little frock, to be dressed up or down as the occasion demands.  Knowing my lifestyle, most likely down. hehe.  Seriously, at this time of year I LIVE in easy, just throw-it-on little dresses, and this is a great new colour for my current wardrobe too.   It’s nice to have a few different silhouettes to choose from too and this one is a little different from my current crop of sack-like summer dresses; more fitted, loosely-waisted, with that low scooping neckline, feels a bit more “classic”.  Hey, no judgement, I love my shapeless sacks too! but just that it’s good to have some variety.

And I’m looking forward to seeing what Sarah designs next!


Details:

Dress; the Orla dress by French Navy, in french navy cotton chambray, a free pattern available here
Hat; Vogue 8844, in ivory corduroy, details and my review of this pattern here

location; Eagle Bay, Western Australia

pinterestmail
Switch to mobile version
↓