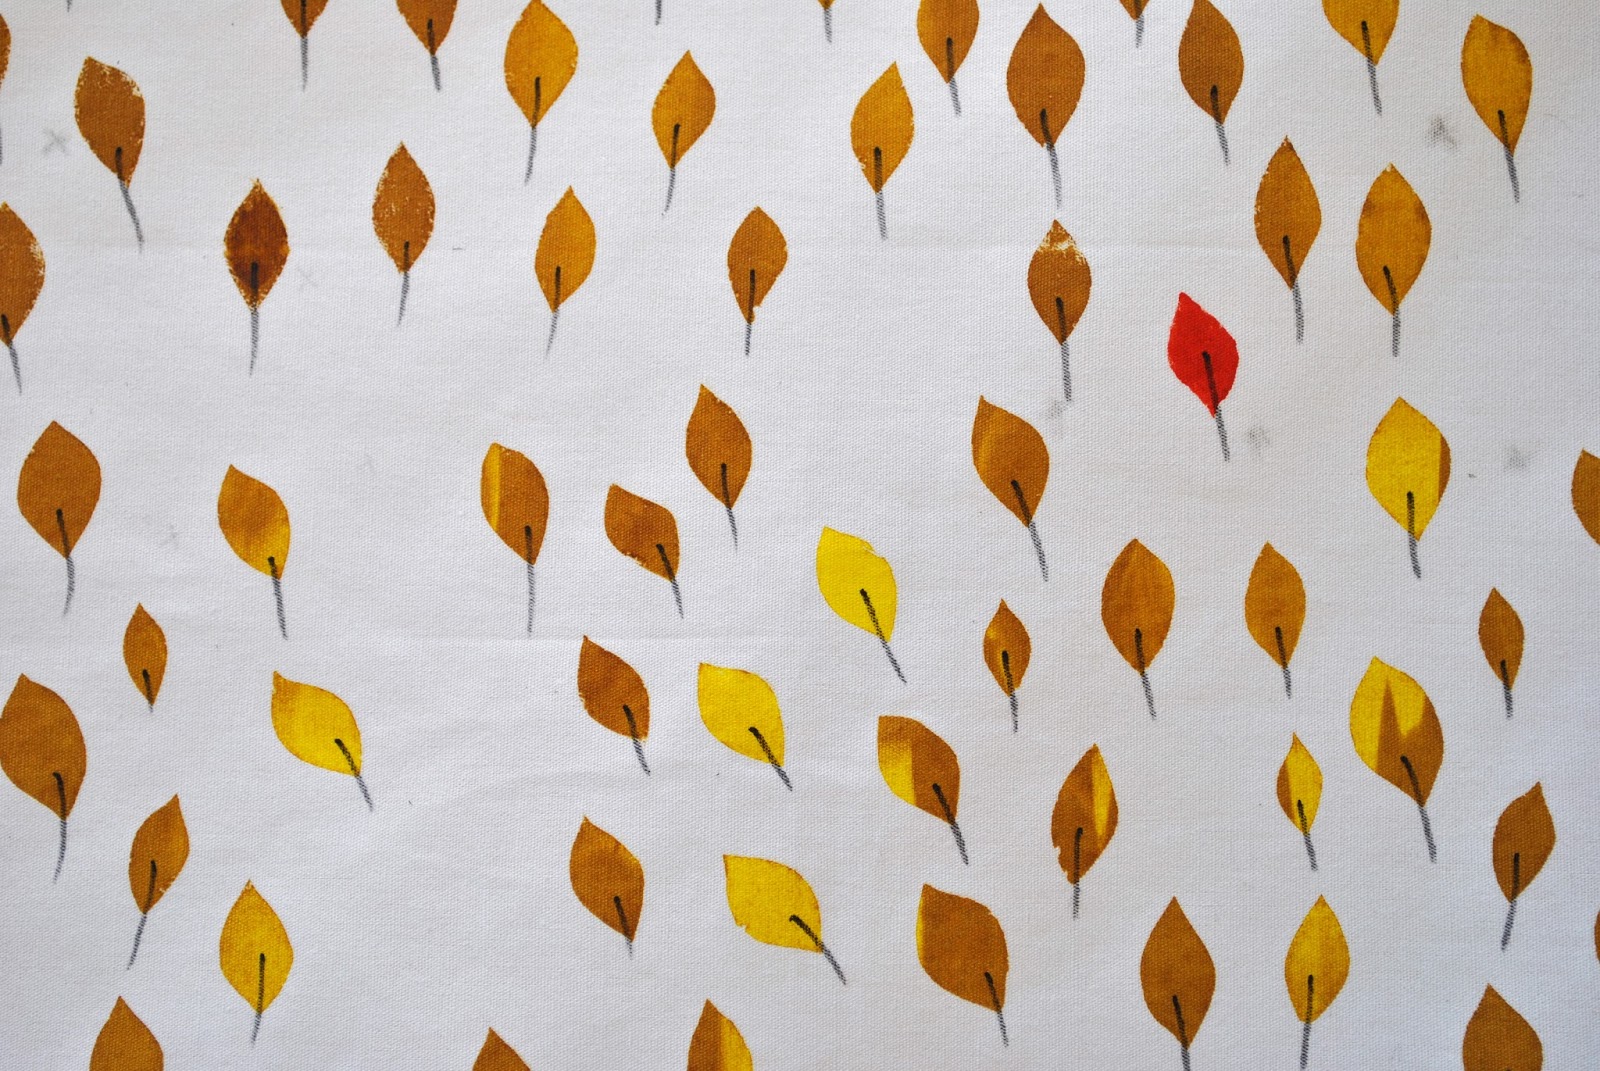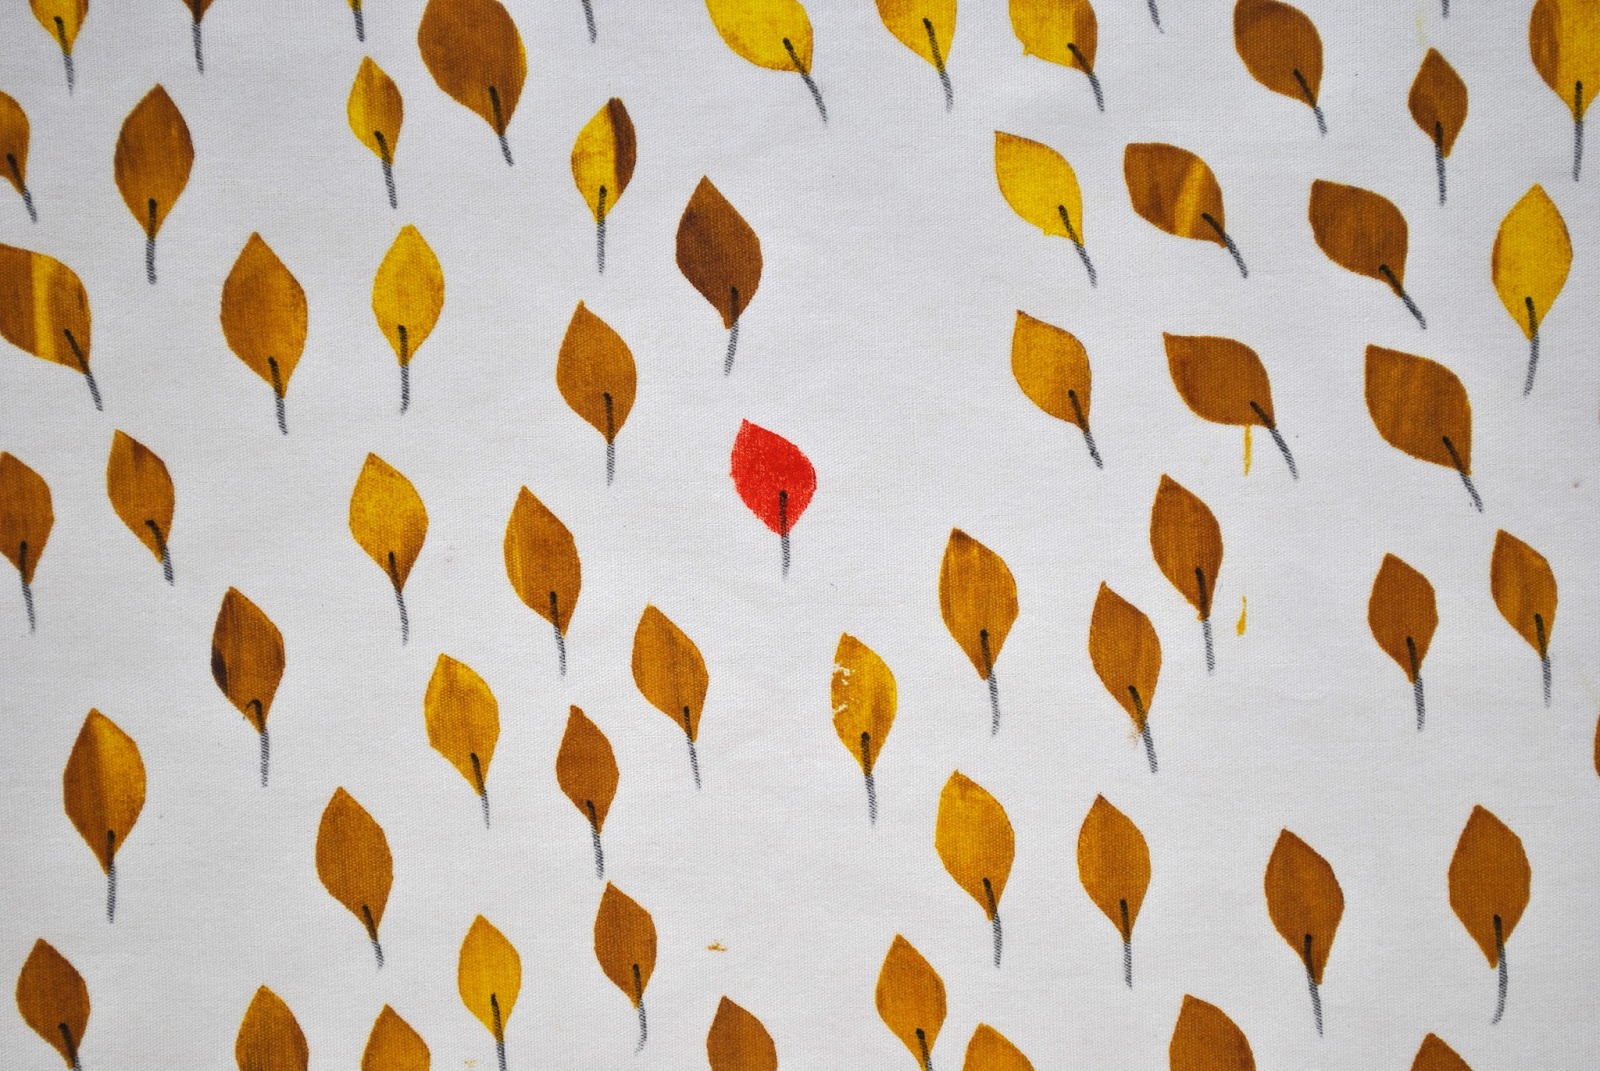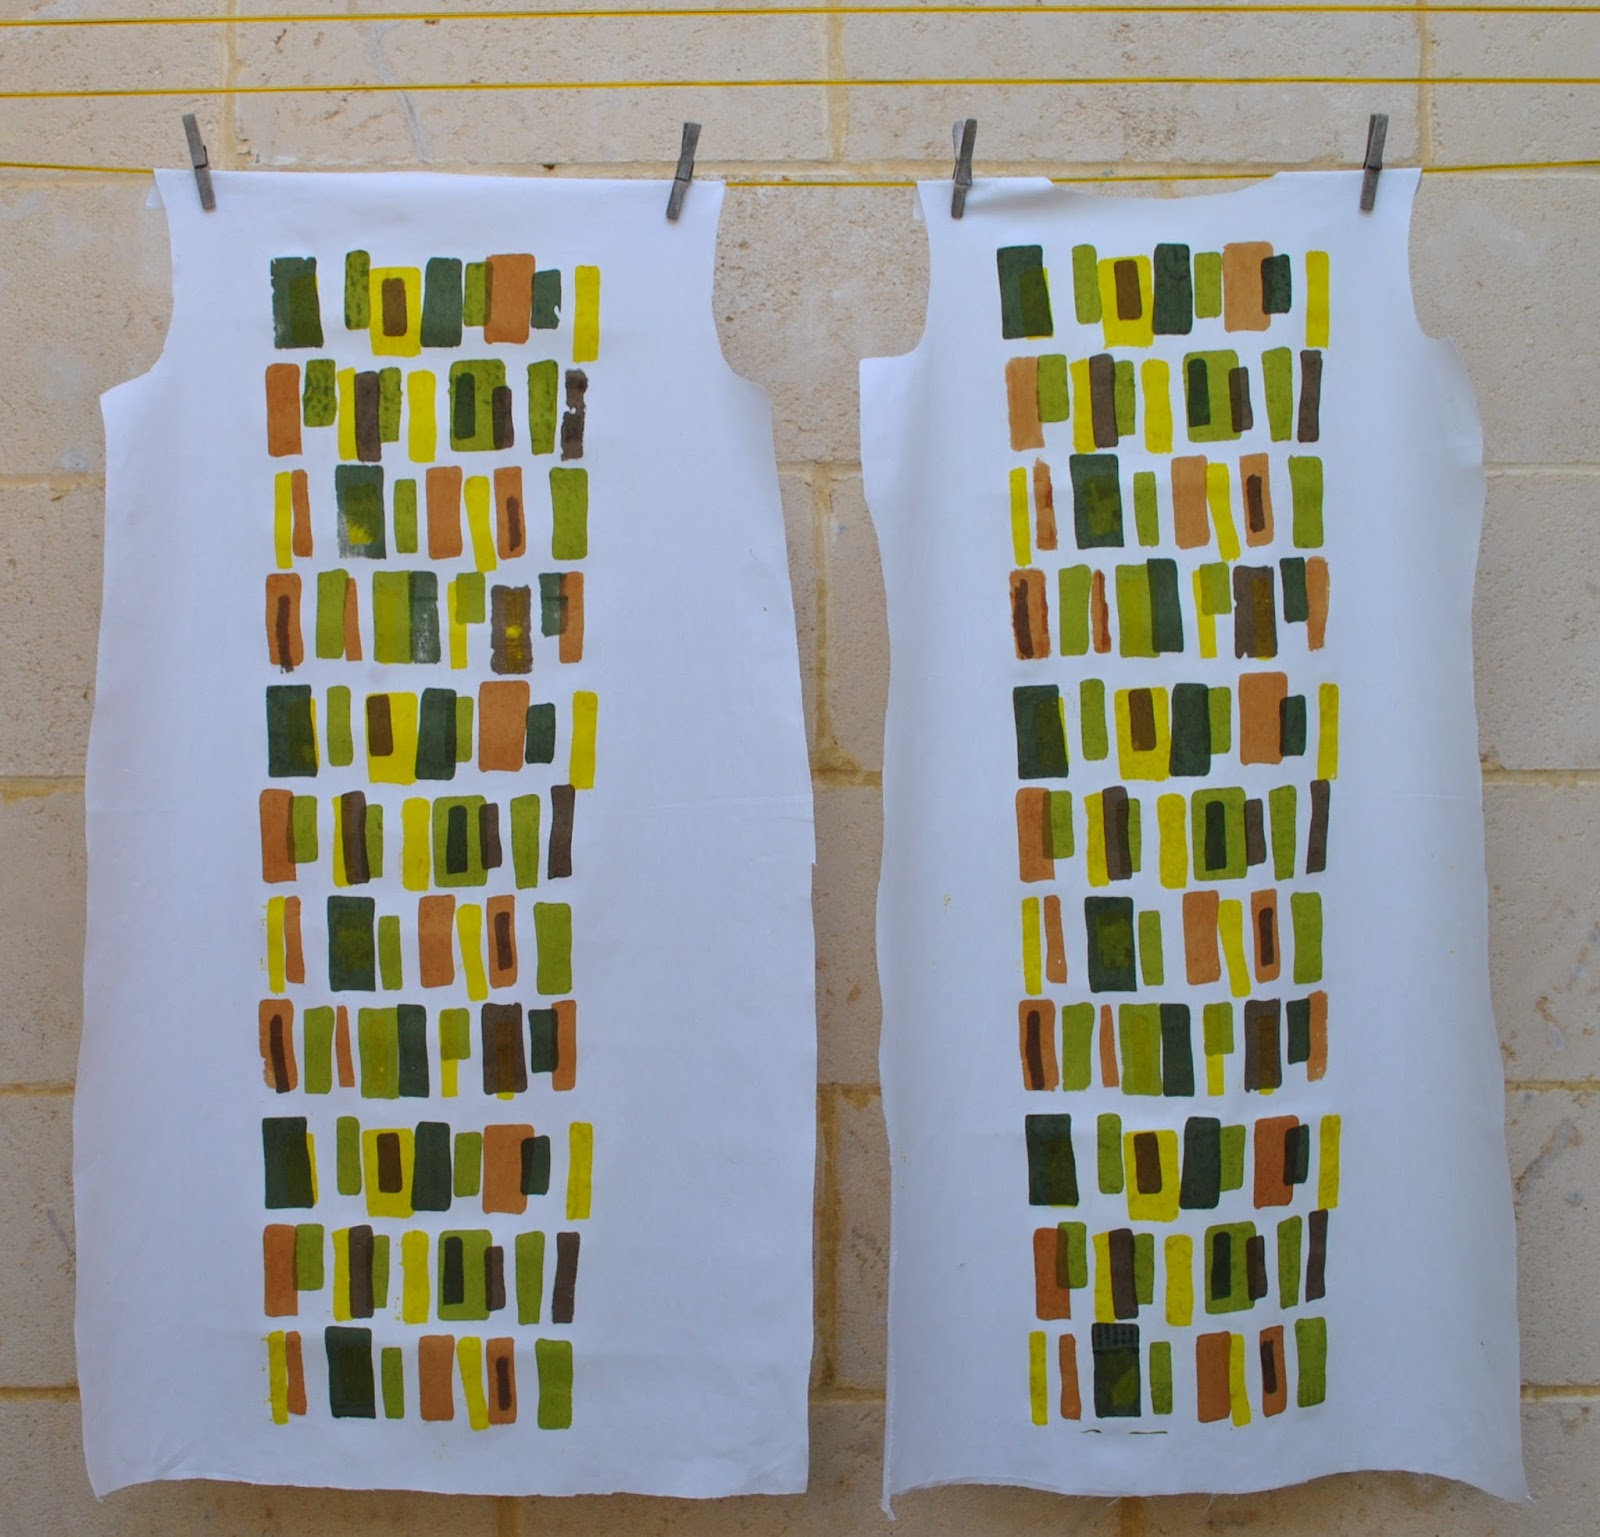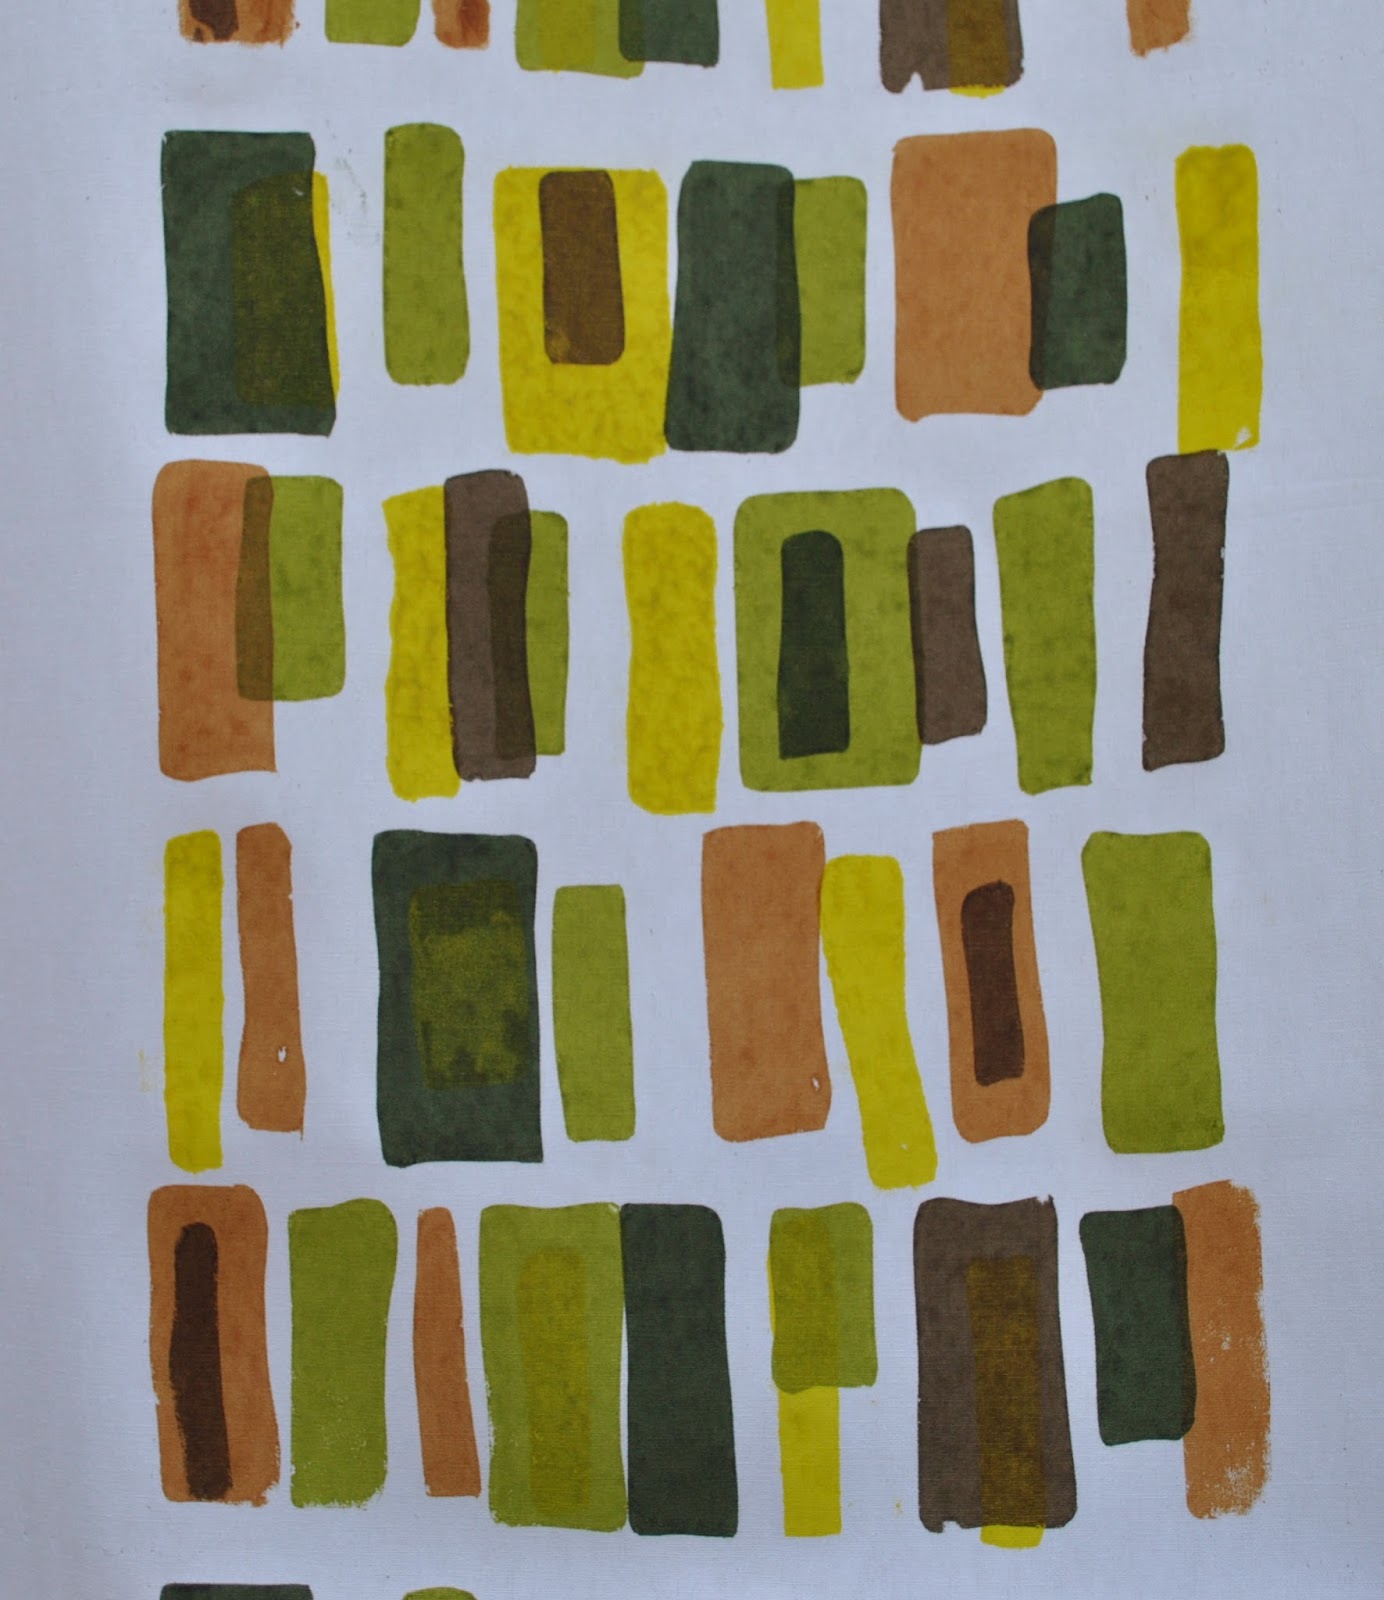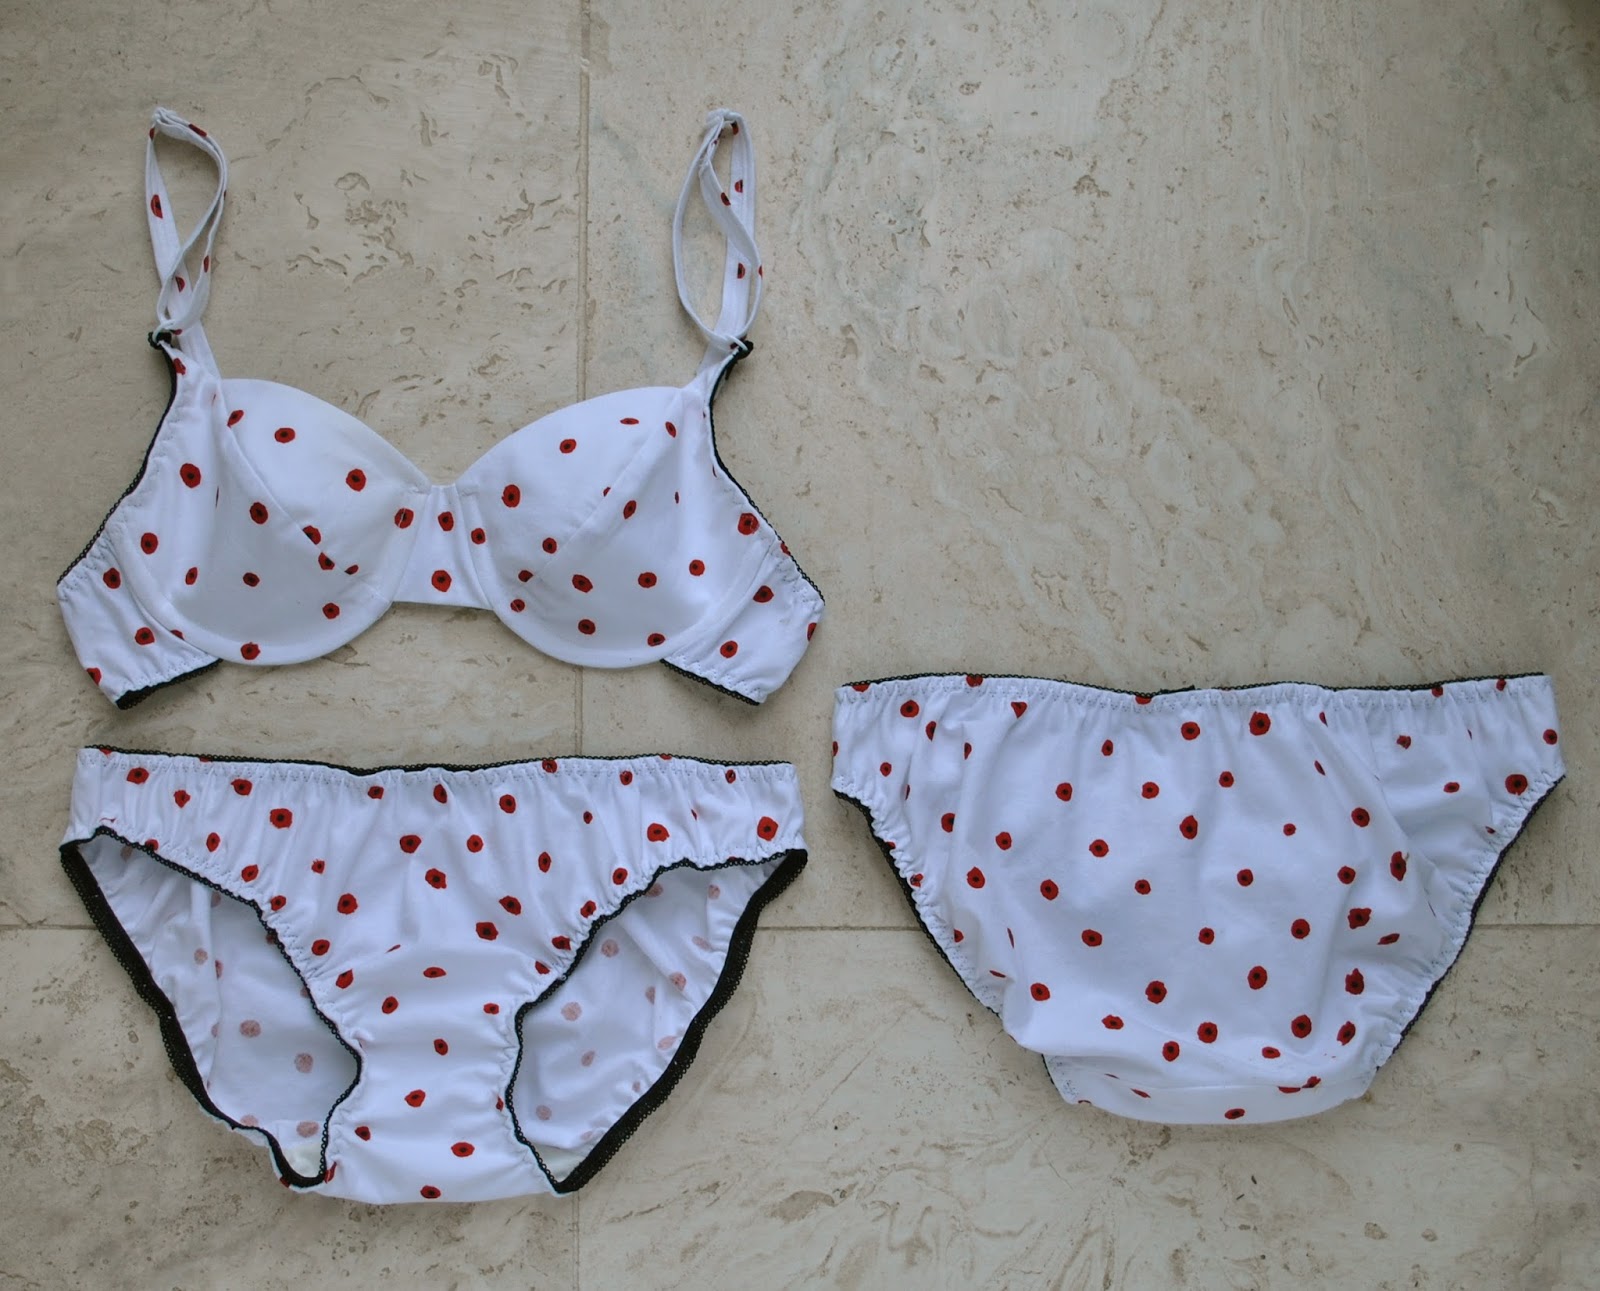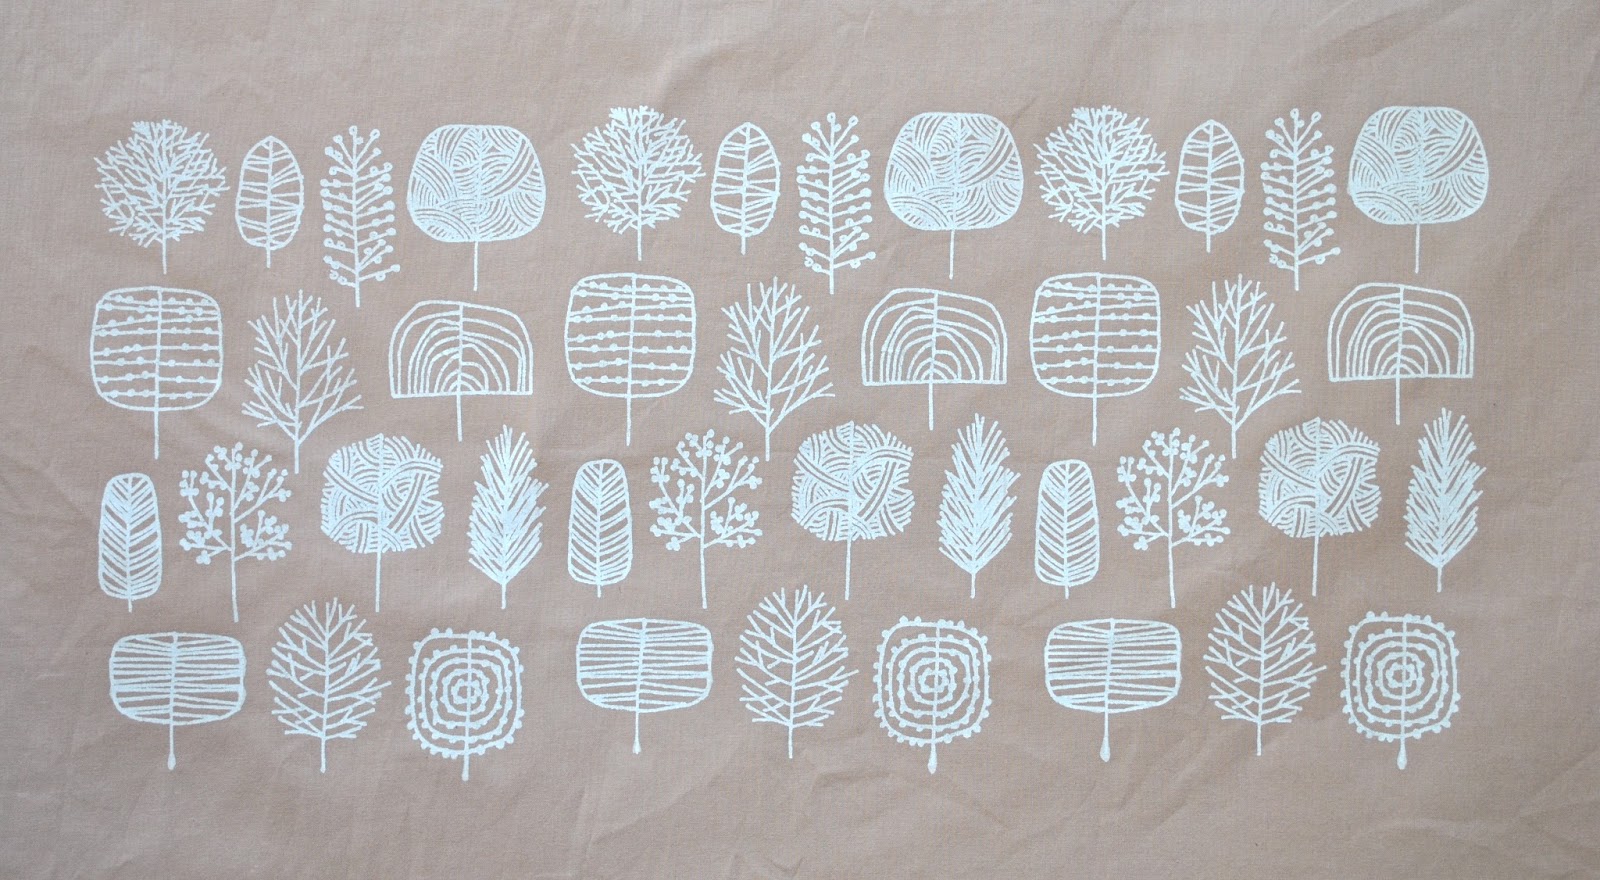
A very simple little print, but finally one with which I am satisfied… maybe because this design is not my own?! This is a design by Eloise Renouf, which I re-drew free-hand to improve the resolution for a screenprint. I
LOVE her designs; and they strongly remind me of the Figgjo crockery that our family used every day while I was growing up. Such stylised naive interpretations of nature really inform my own tastes to this day I think. I’m plunged straight back into my childhood whenever I look at them 🙂
LOVE her designs; and they strongly remind me of the Figgjo crockery that our family used every day while I was growing up. Such stylised naive interpretations of nature really inform my own tastes to this day I think. I’m plunged straight back into my childhood whenever I look at them 🙂
As
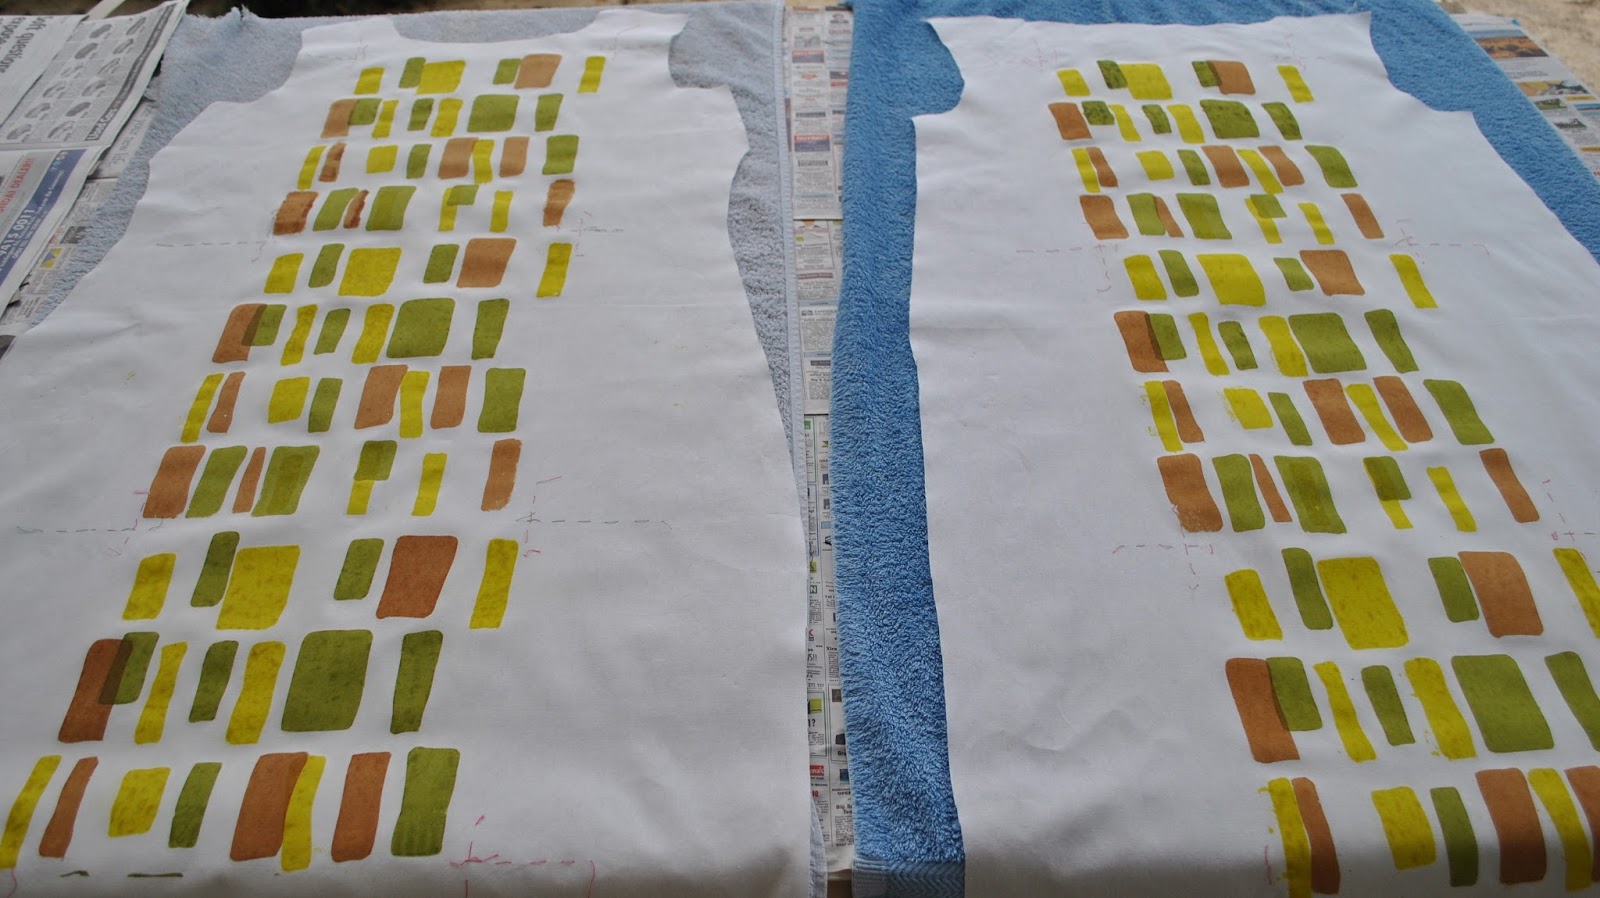
well as the pretty design, my execution went sooo well this time too. No boo-boos! The print is very simple, which helped a lot!
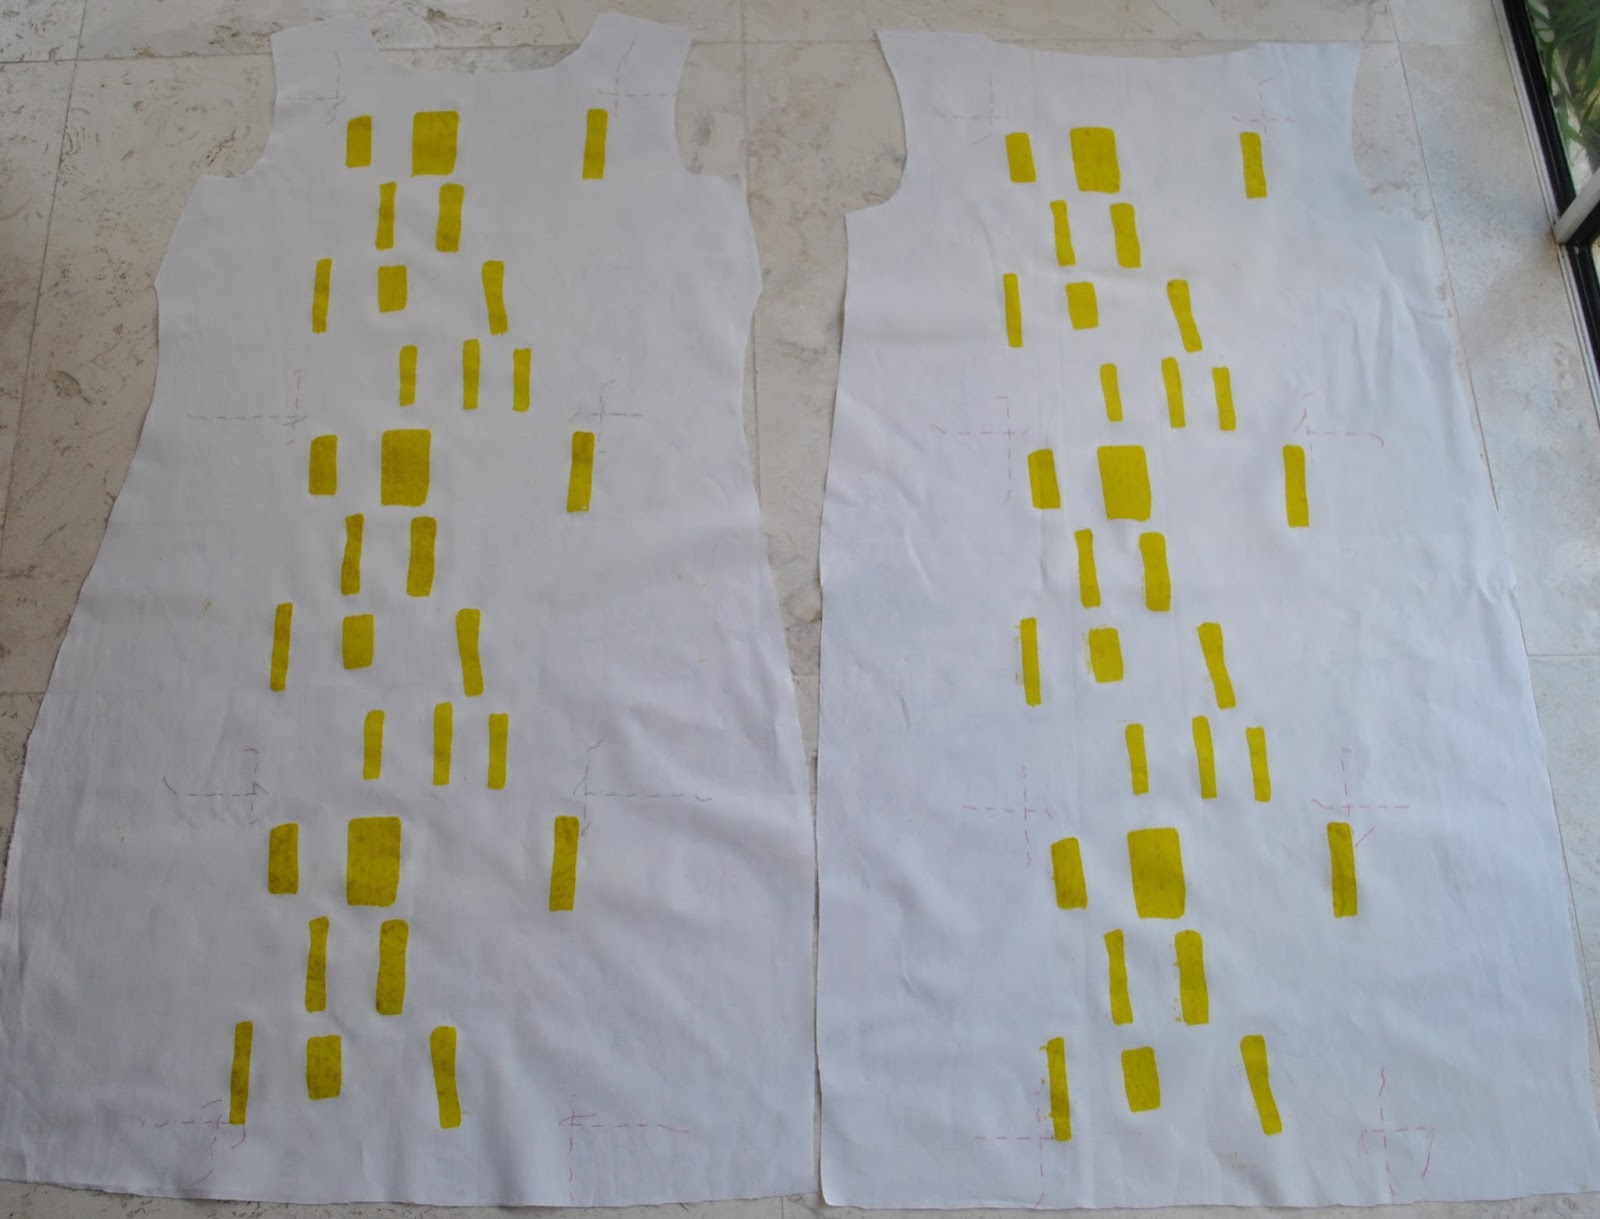
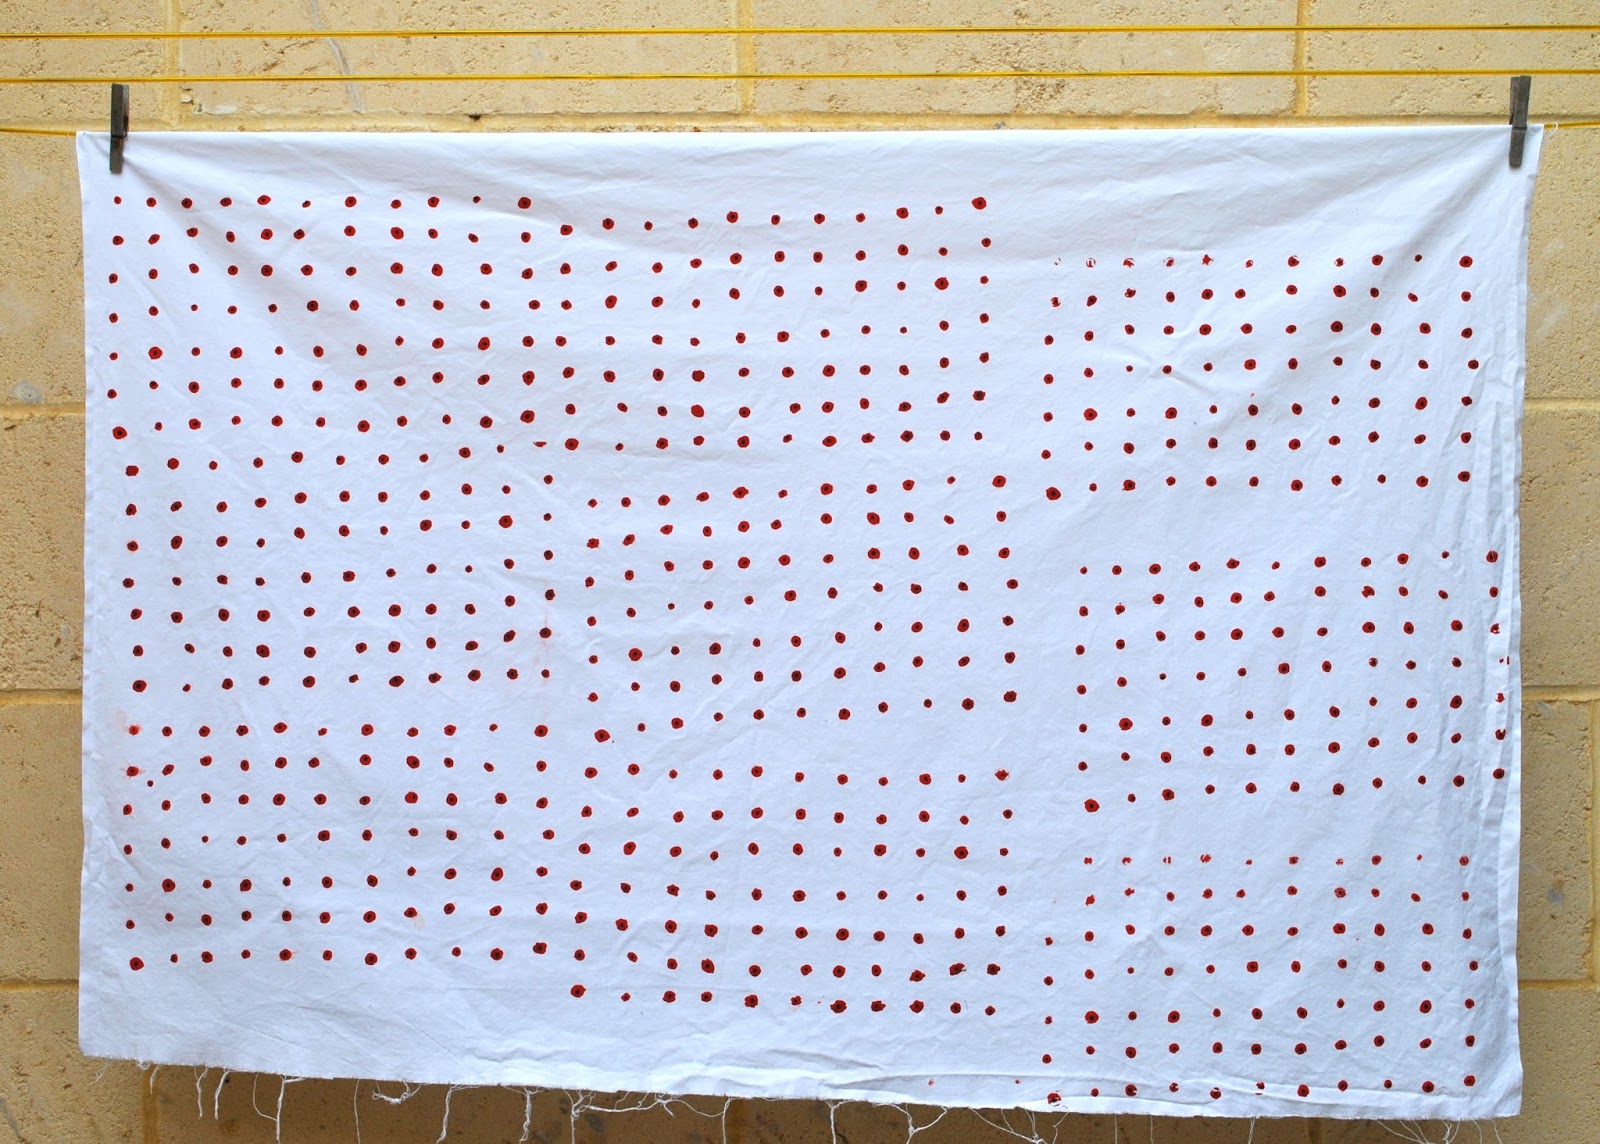
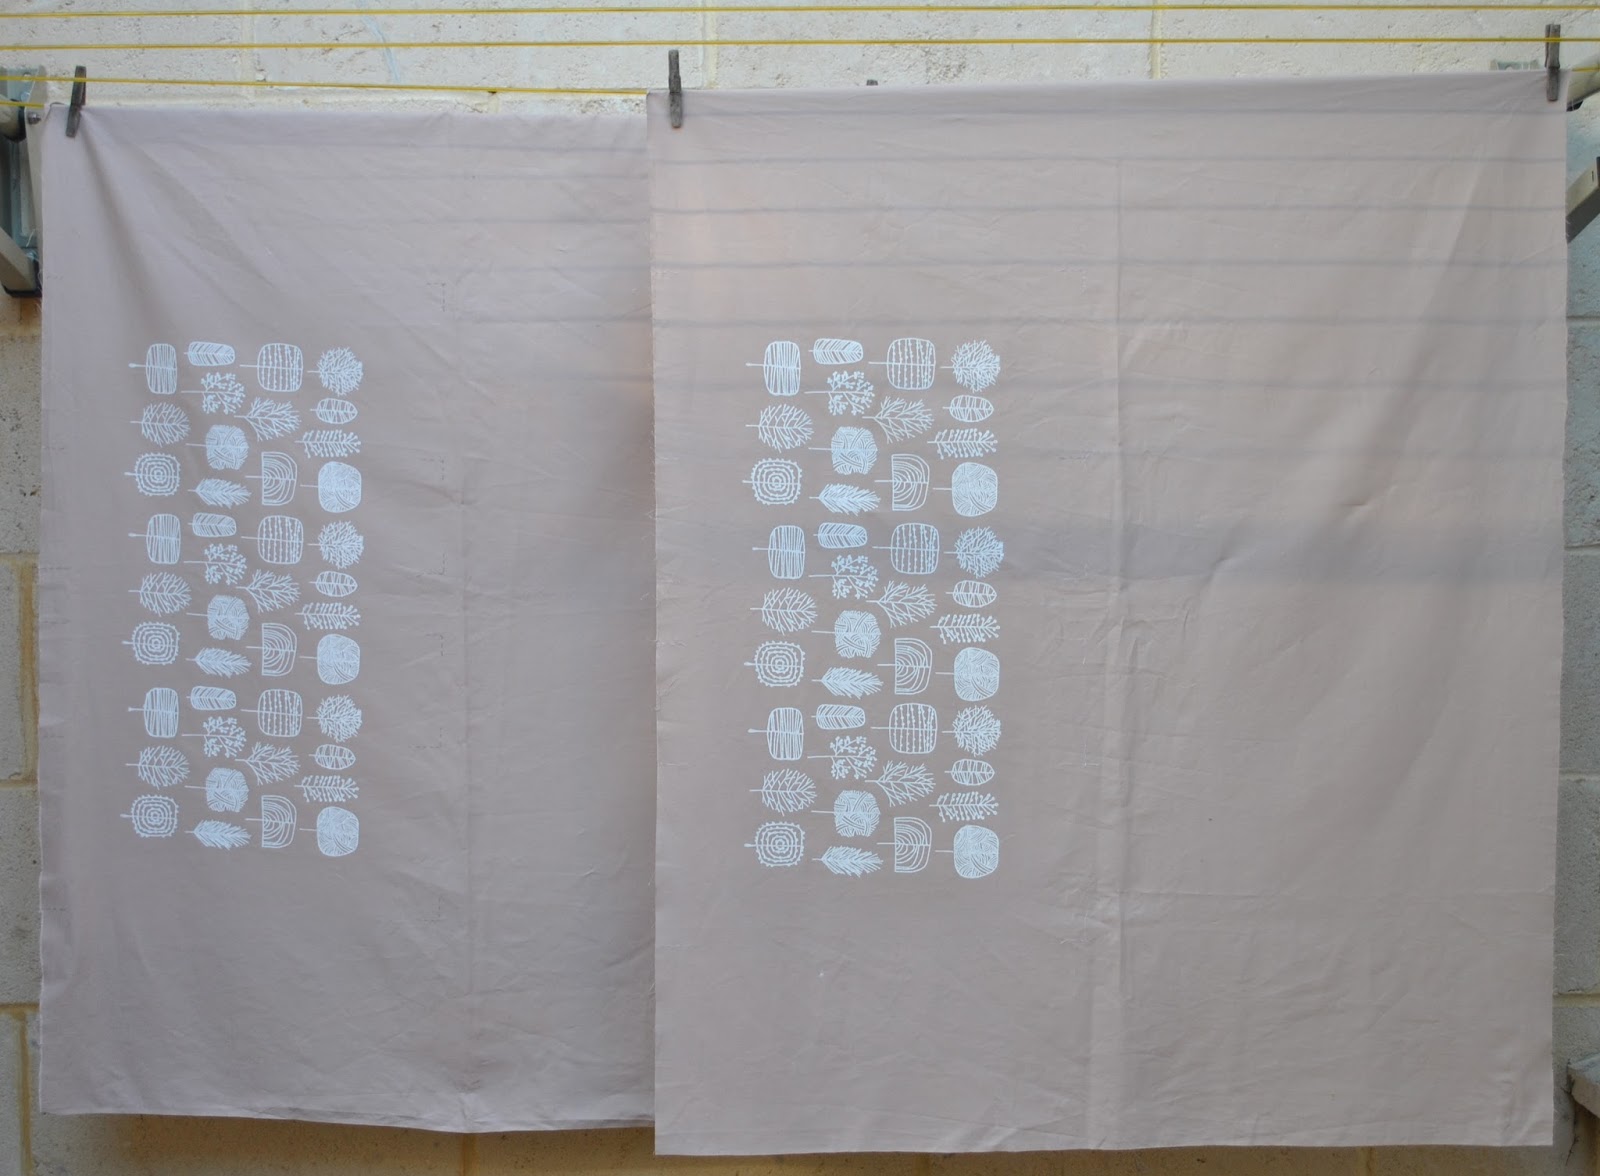
just one colour, with three repeats each on two pieces of fabric.
The fabric is lightweight, cafe au lait cotton broadcloth from Spotlight.
well as the pretty design, my execution went sooo well this time too. No boo-boos! The print is very simple, which helped a lot!
just one colour, with three repeats each on two pieces of fabric.
The fabric is lightweight, cafe au lait cotton broadcloth from Spotlight.
I
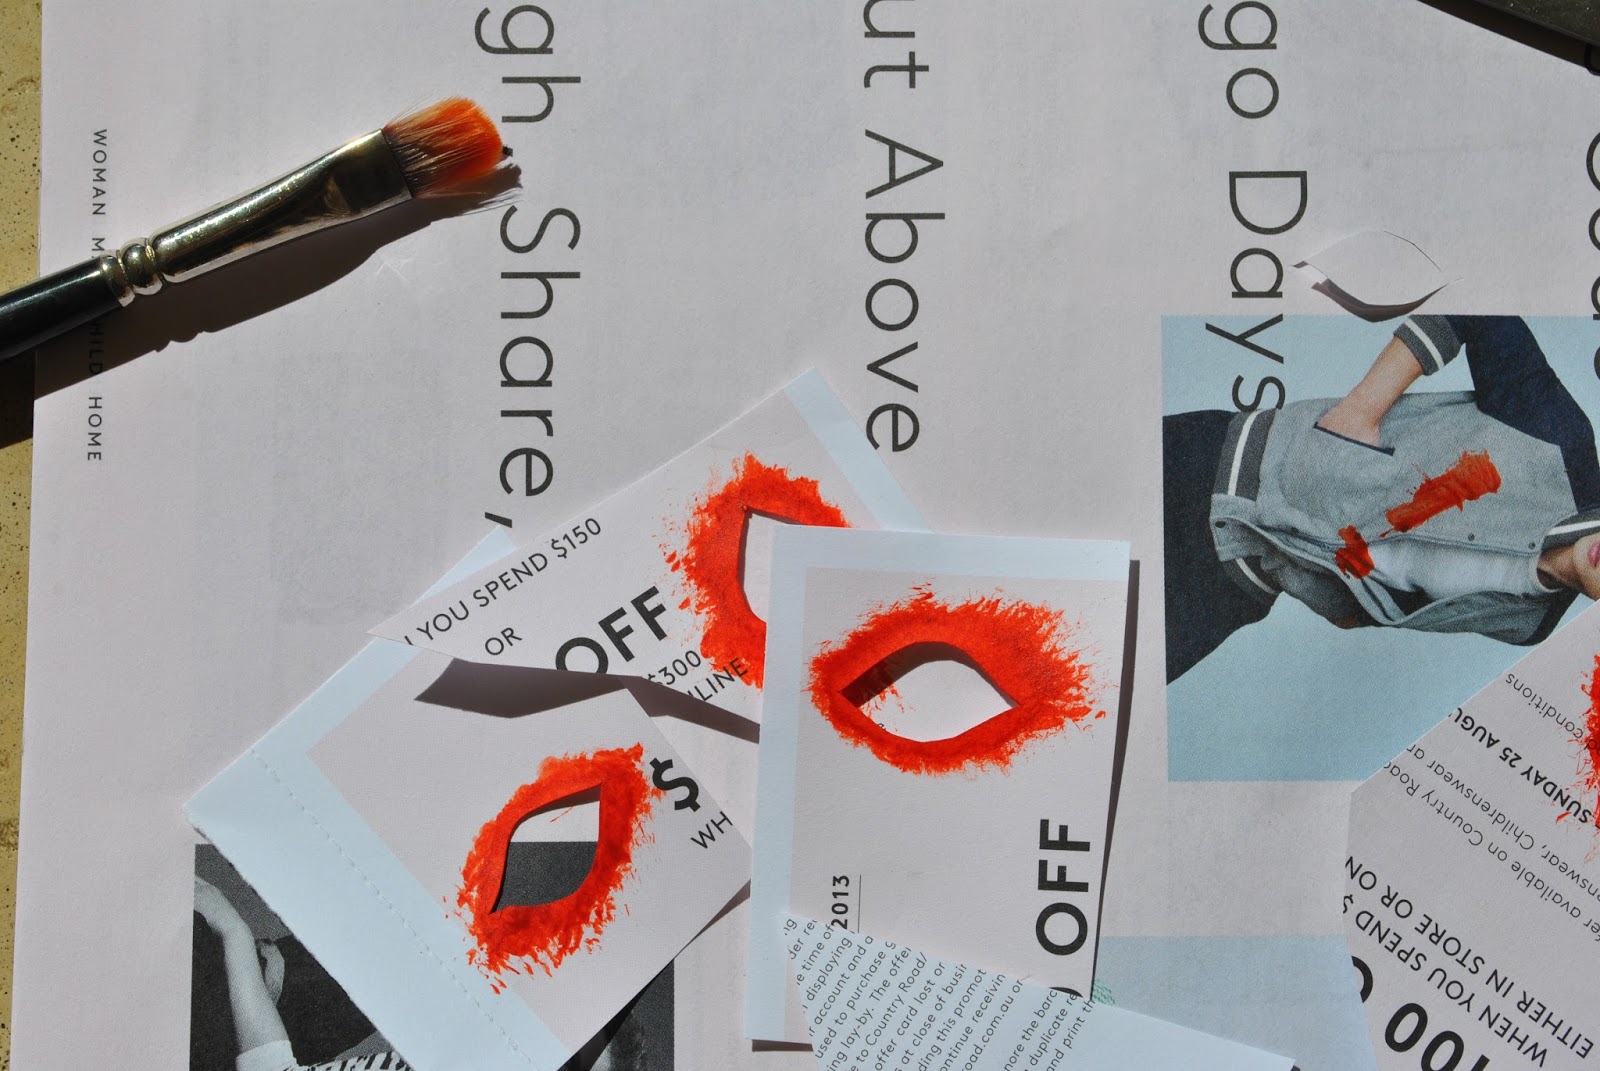
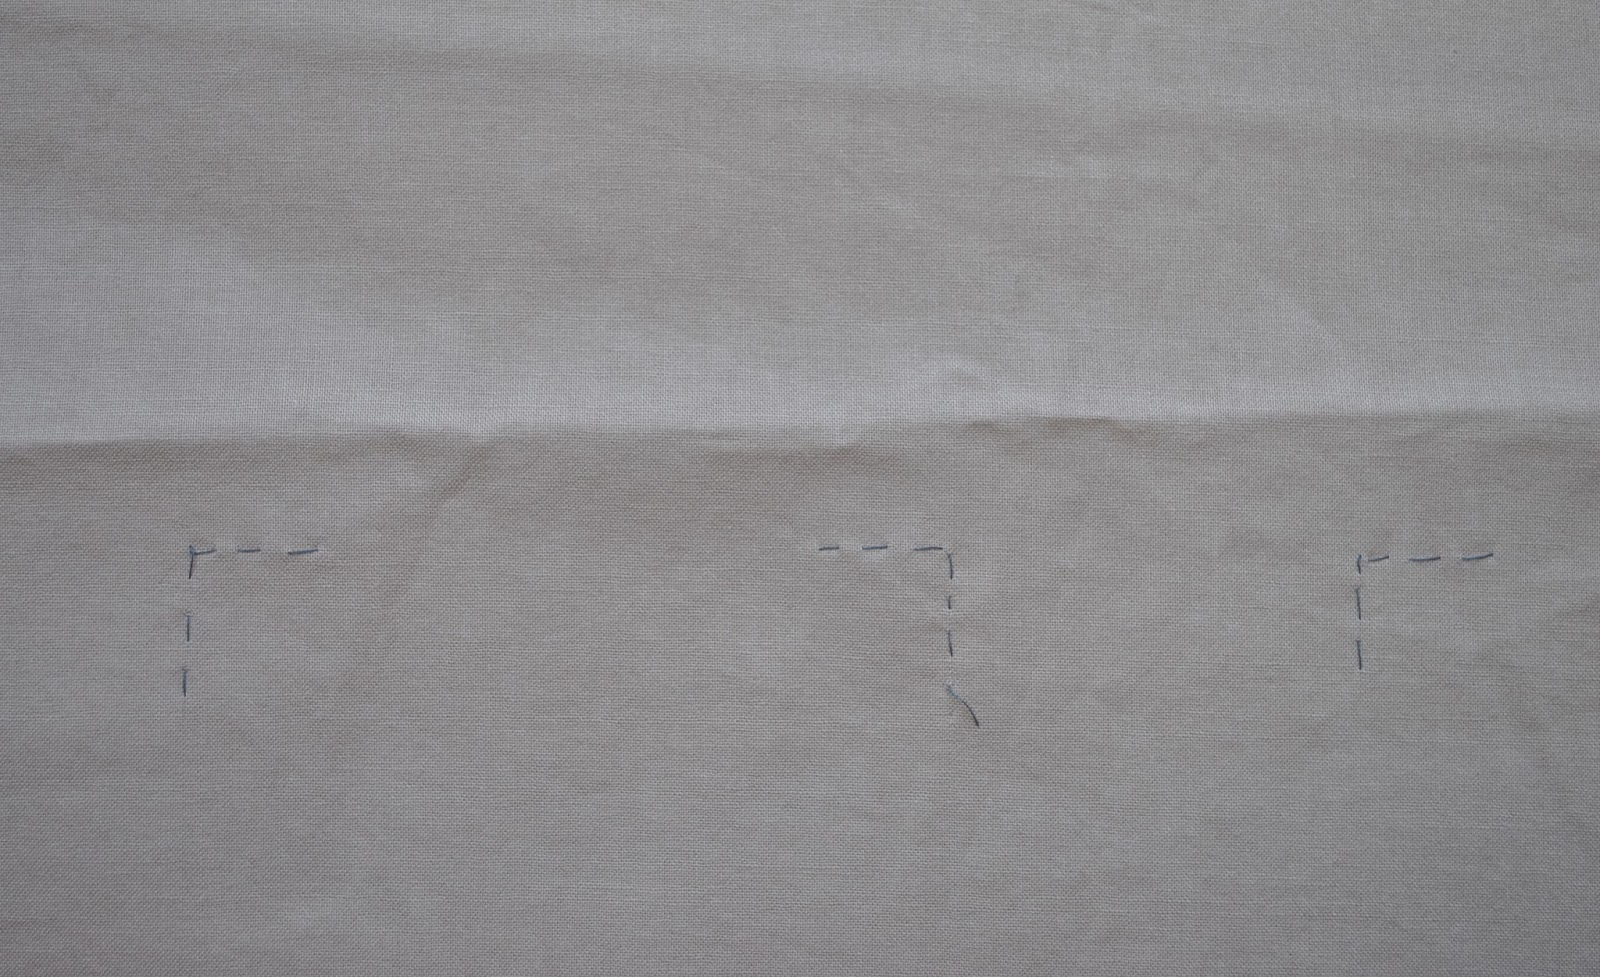
was super careful about marking for the repeats this time; I went down the same path as for the murky blocks design and tacked thread-lines at the corners of
each screen placement, and this paid off big-tiiime! with very easy and stress free placement. It may take a bit of
extra time and planning, but doing this is well worth the effort and I will not
ever ever shirk doing this properly ever again. With my previous design, the autumn leaves, I was really pushed
for time in the class and just quickly marked the corners with lightly pencilled-in crosses, but
this was a pretty lazy and slapdash method really.
The sameness of them, and the proximity of different crosses for
different placements to each other was confusing and I was a bit disappointed
with how the registration turned out. Note to
self: do NOT try to save time on marking the placement spots. In fact, spend the MOST time on this bit. Srsly!!!
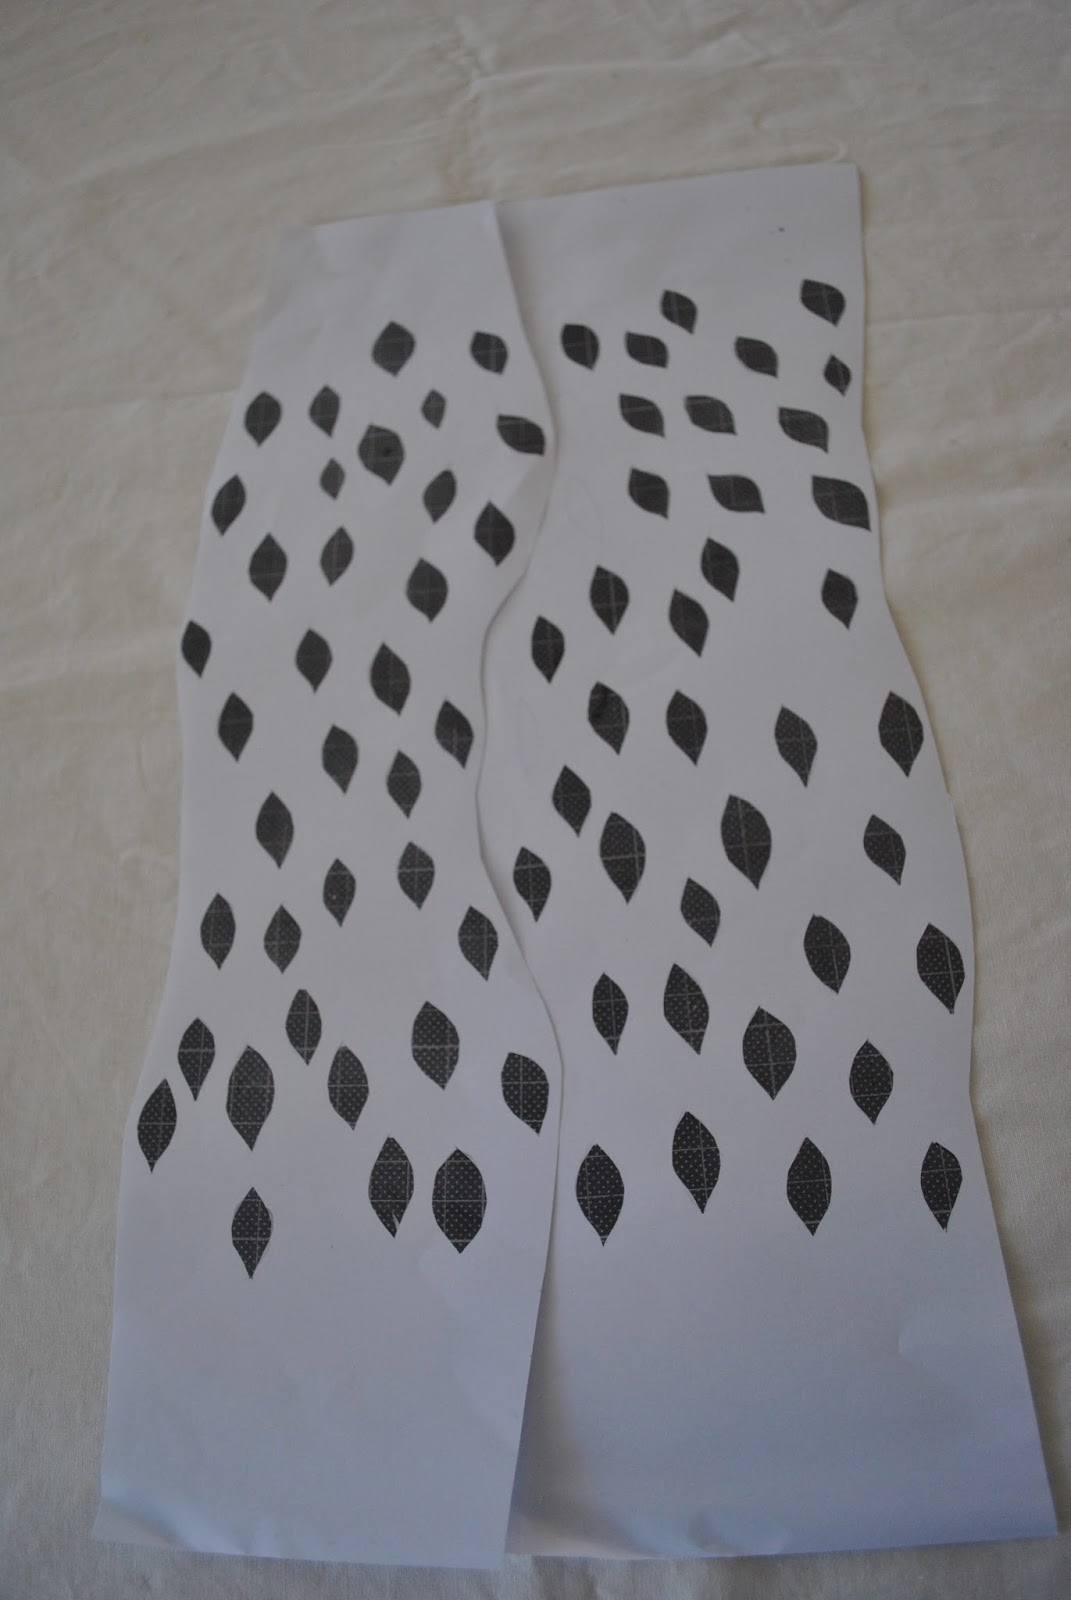
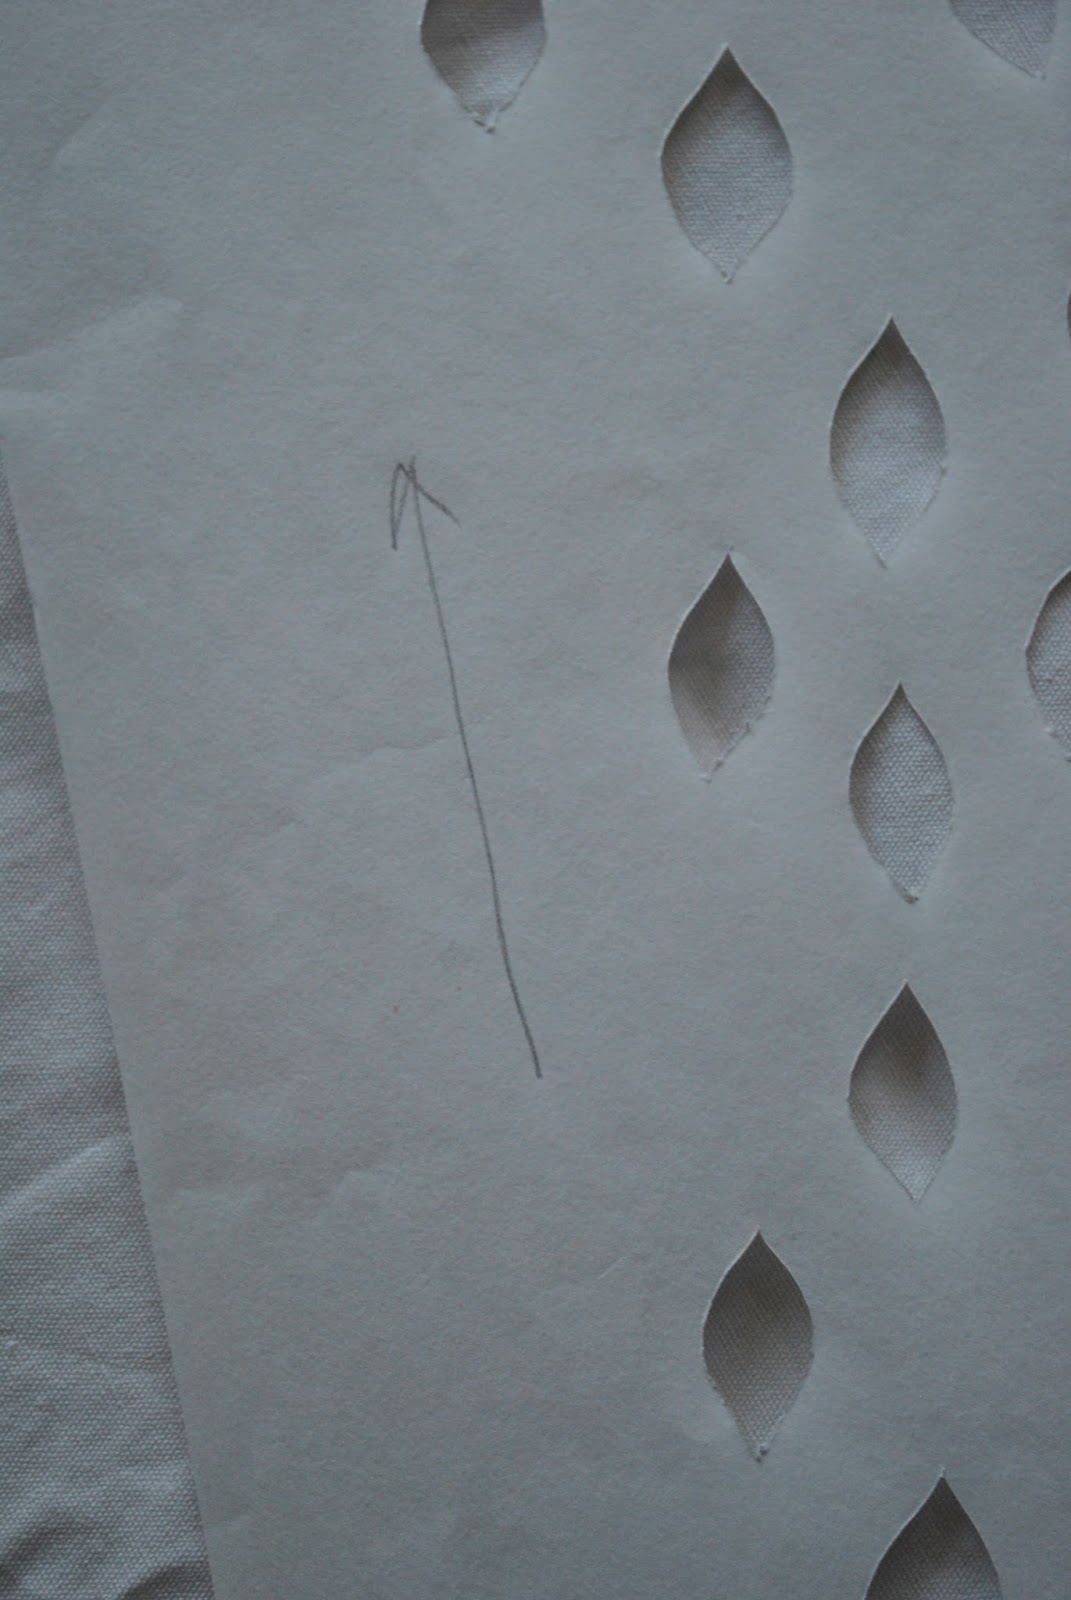
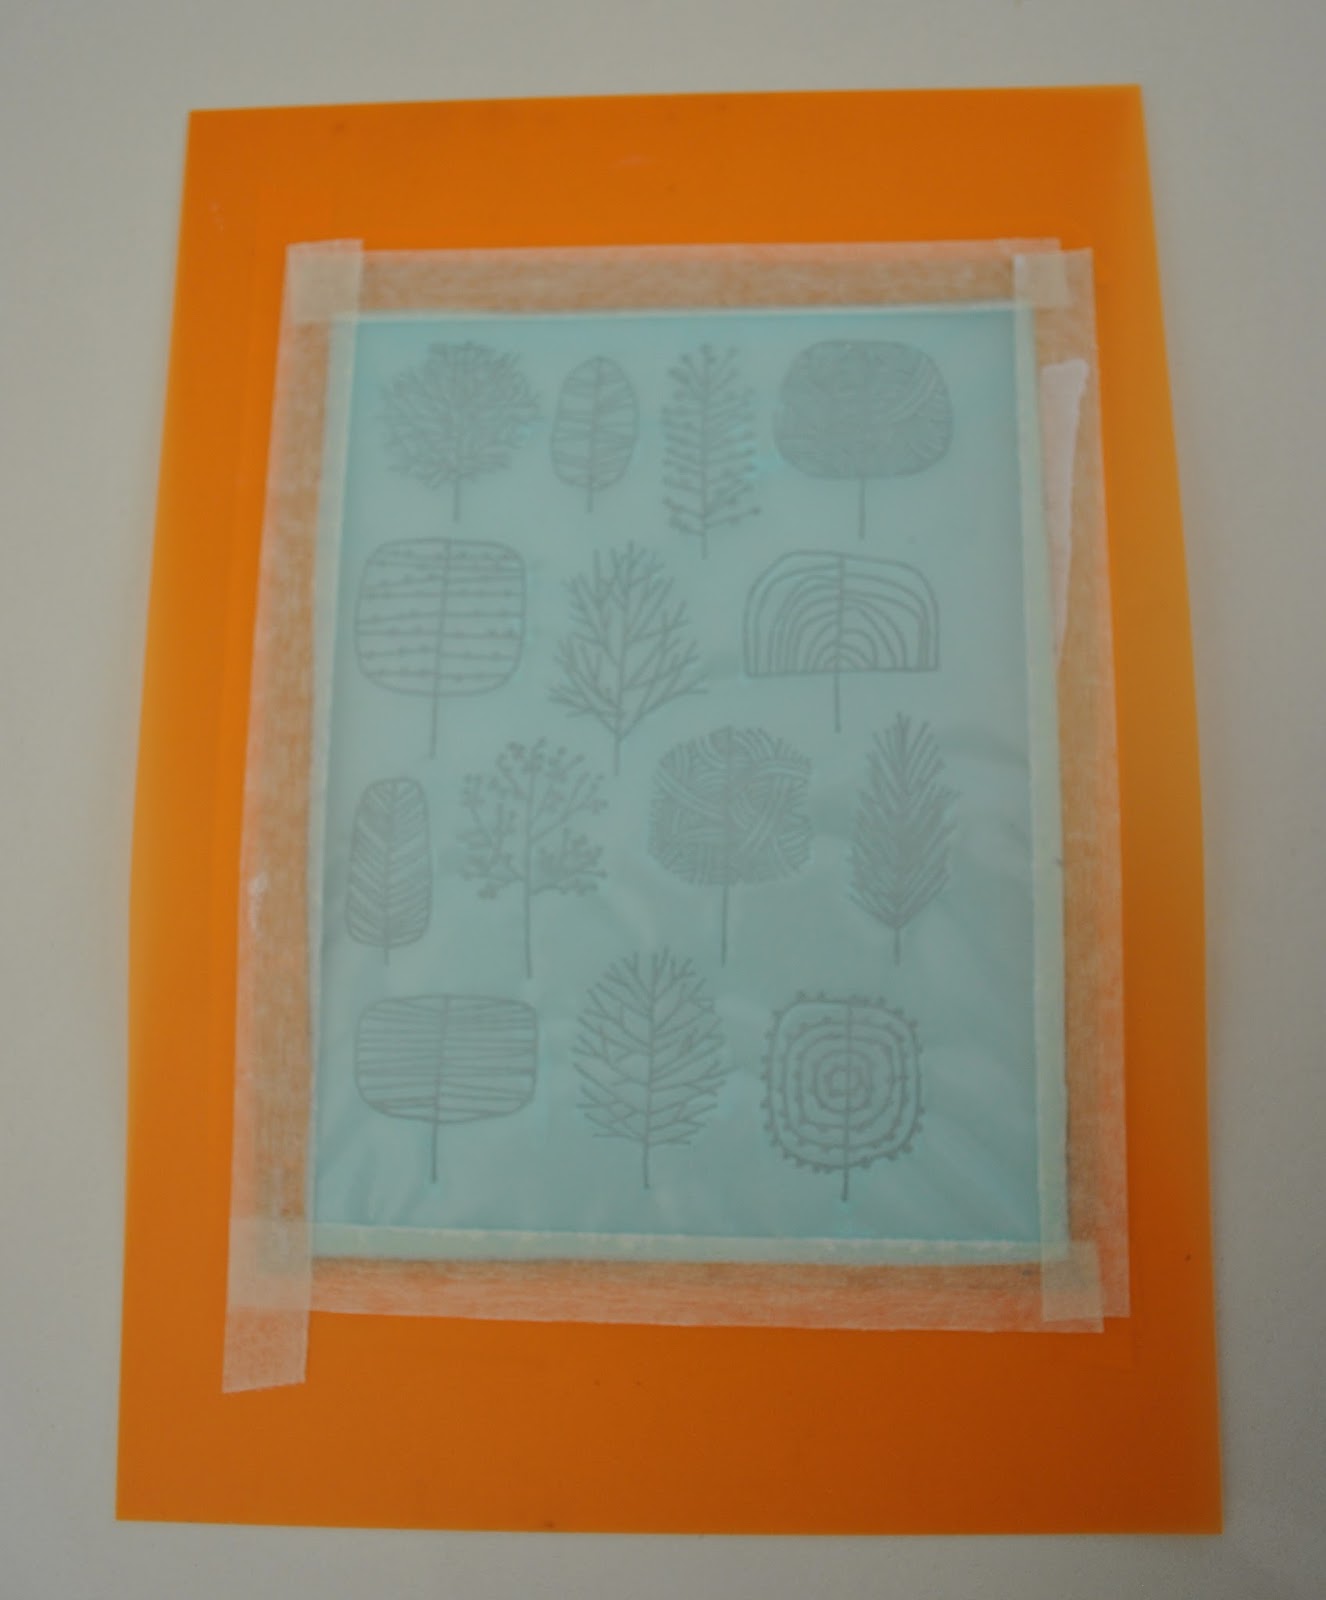
Unlike
my previous stencils, which have all been paper stencils hand-cut by moi with a
craft knife, this time my drawing was scanned and transferred to a permanent
bonded stencil. The advantages of this are obvious; it can be used over and over and lasts almost indefinitely, depending how well you look after it, and design-wise you can dispense with the bridges needed to join all the negative spaces in your design so they don’t fall off. Also the stencil and screen are all in
one, bonded together, so you don’t even need a separate screen.
Downside; it costs more.
It’s
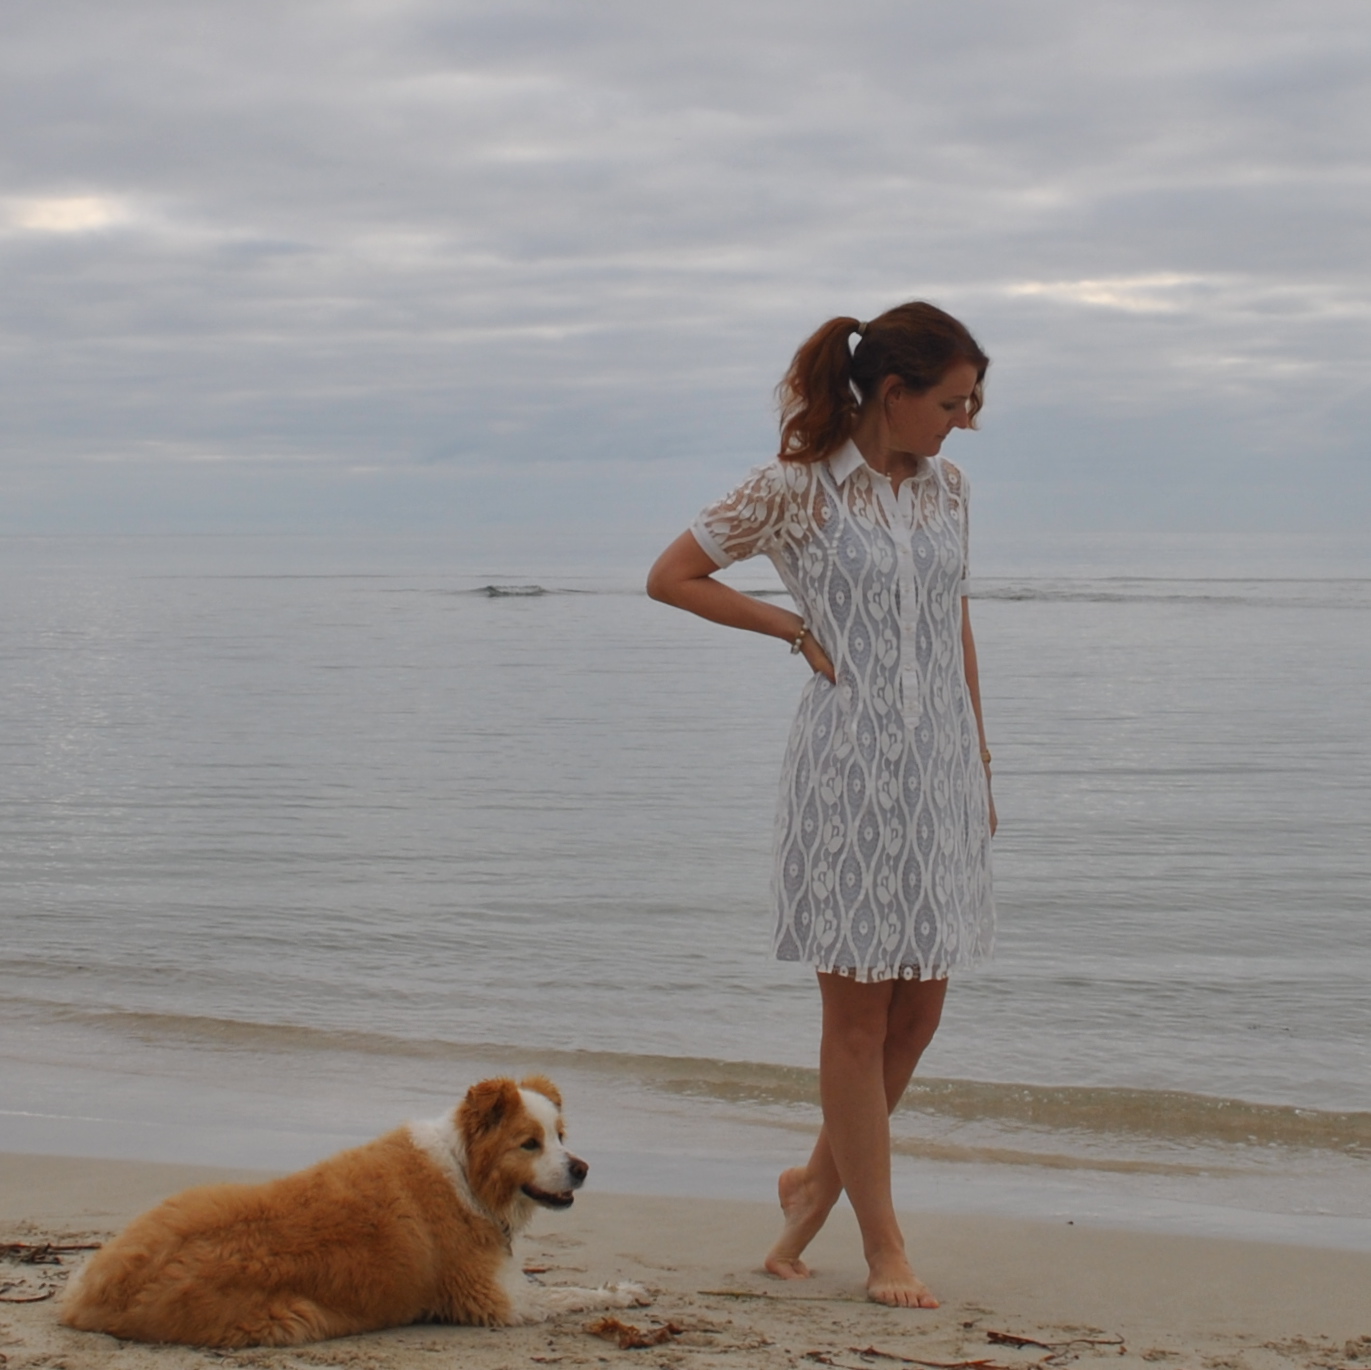
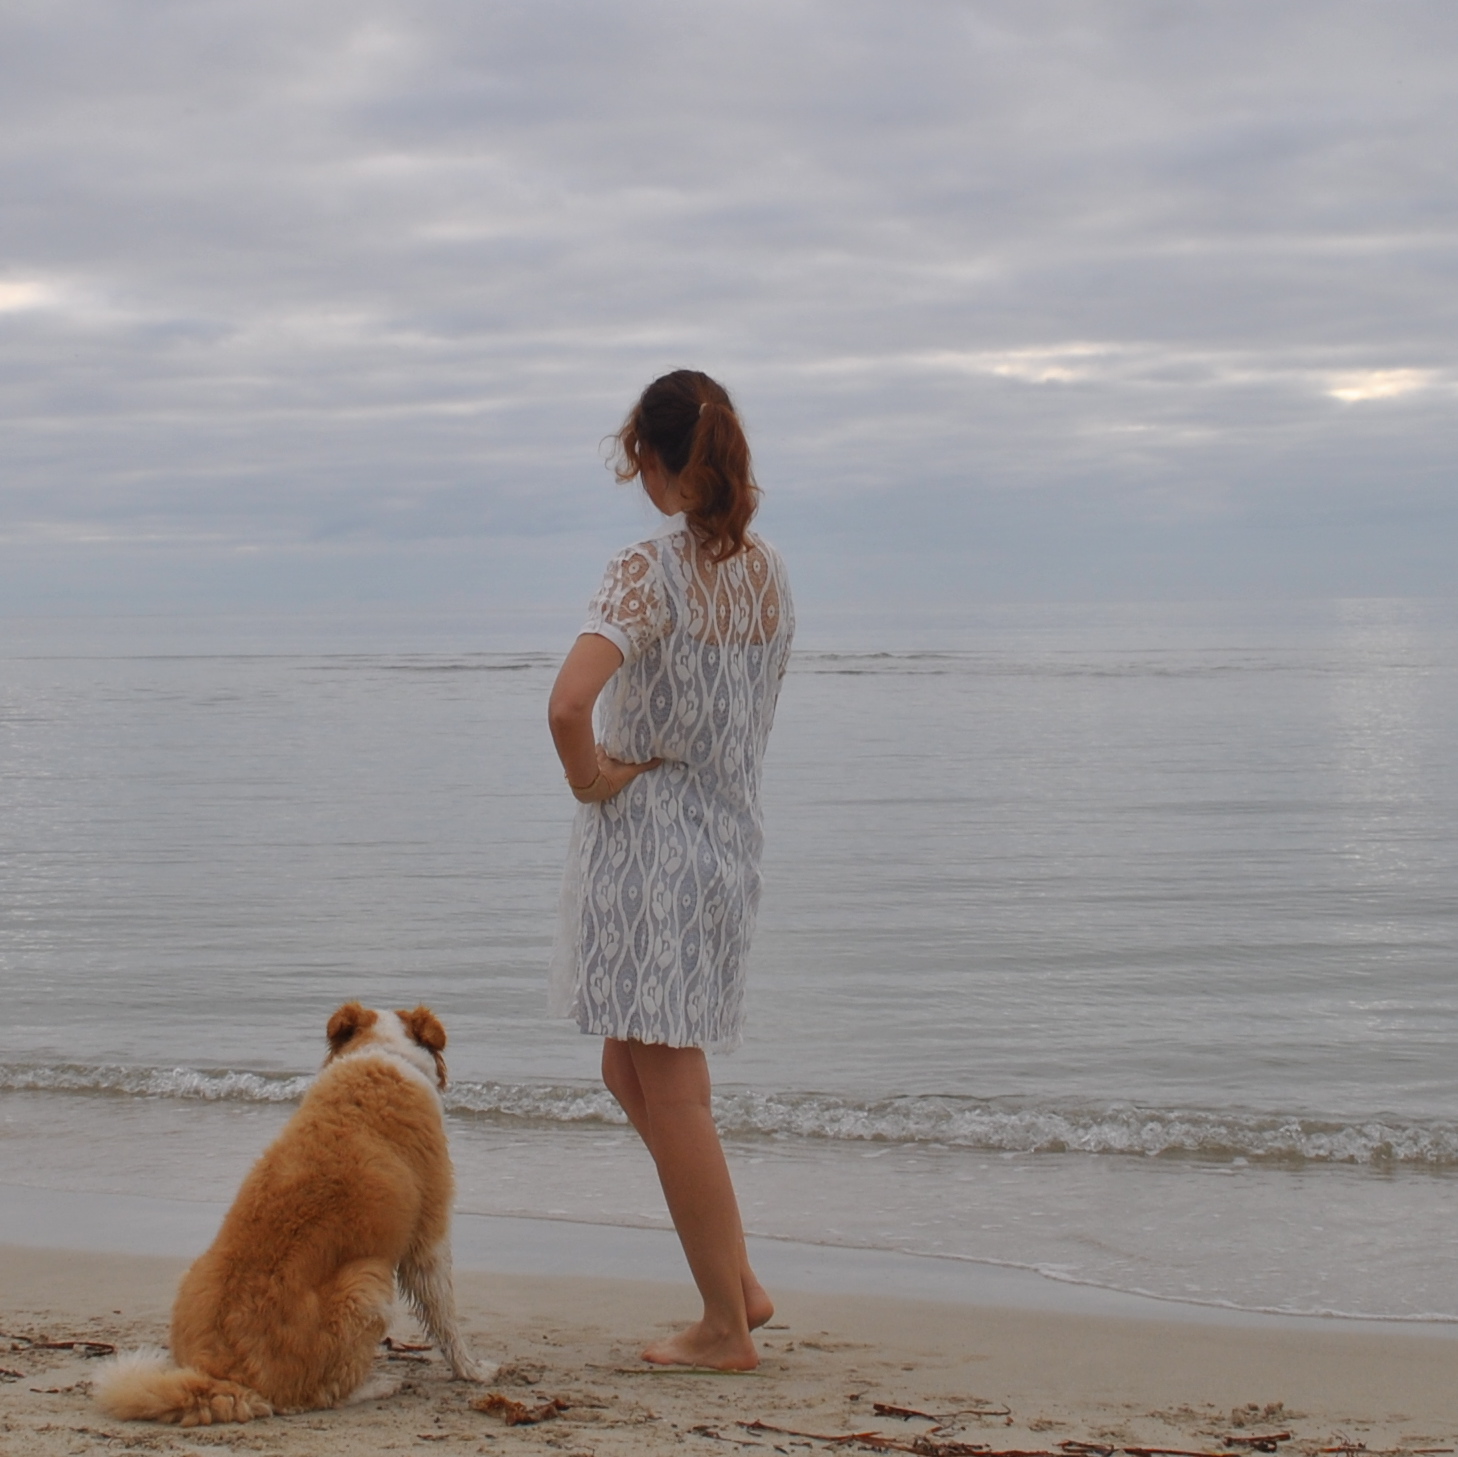
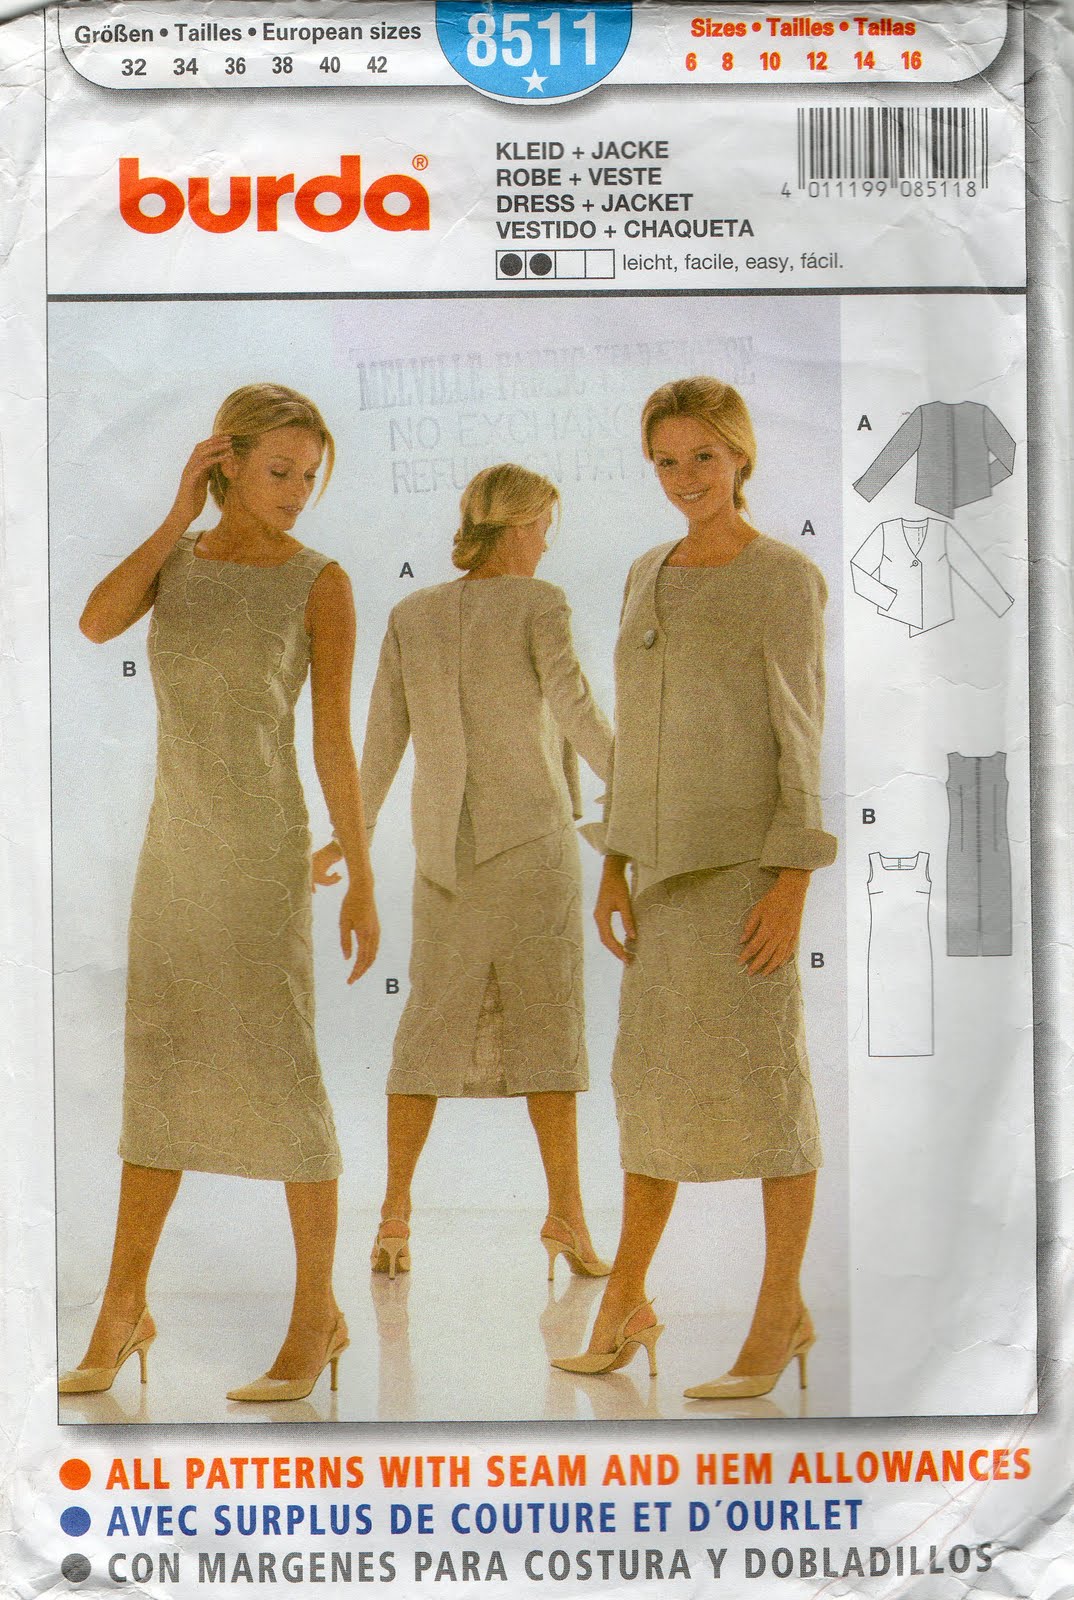
probably pretty easy to see that my print is a border. A border for a mysterious… something, hehehe. Something summery, of course! I do have a plan…. which will appear here soon, when I can
get around to both making it, and then wearing it, and photographing it. Lately, I’ve been zooming along supersonically with the first task on that list, and lagging behind with the
third… since I have a little queue of finished new spring projects just waiting to be worn and pictured.