My khaki army-style jacket has been my go-to coat/jacket this winter. I made it two years ago, completely inspired by all the fabulously cool examples I had seen out and about in Tokyo. I got home and pretty much immediately set about gathering all the bits and pieces to make one for myself, adapting a jacket pattern from Burdastyle magazine so the features matched the ones I had seen in Tokyo.
Australia often marches to the beat of its own drum, fashion-wise; and looks that are IN! overseas may or may not take off over here. You can never tell…. but anyhow, this winter army jackets were IN! here and I remembered that I had made one (o serendipitous moment!) pulled it out and have been wearing it pretty solidly since. It is sooo warm!
Now, you might think it could only been worn as a casual thing, but being such an on-trend item I’ve found it incredibly useful and the deep olive colour goes with everything I have in the wardrobe. I also made an attachable fur-lined hood to go with it but obviously such a thing is pretty irrelevent to our climate and so I’ve never attached it. Maybe one day I will visit a snowy climate soon and can happily button on the hood without looking ridiculous? A girl can but dream…. but in the meantime these are some of my favourite combos with it from this winter.
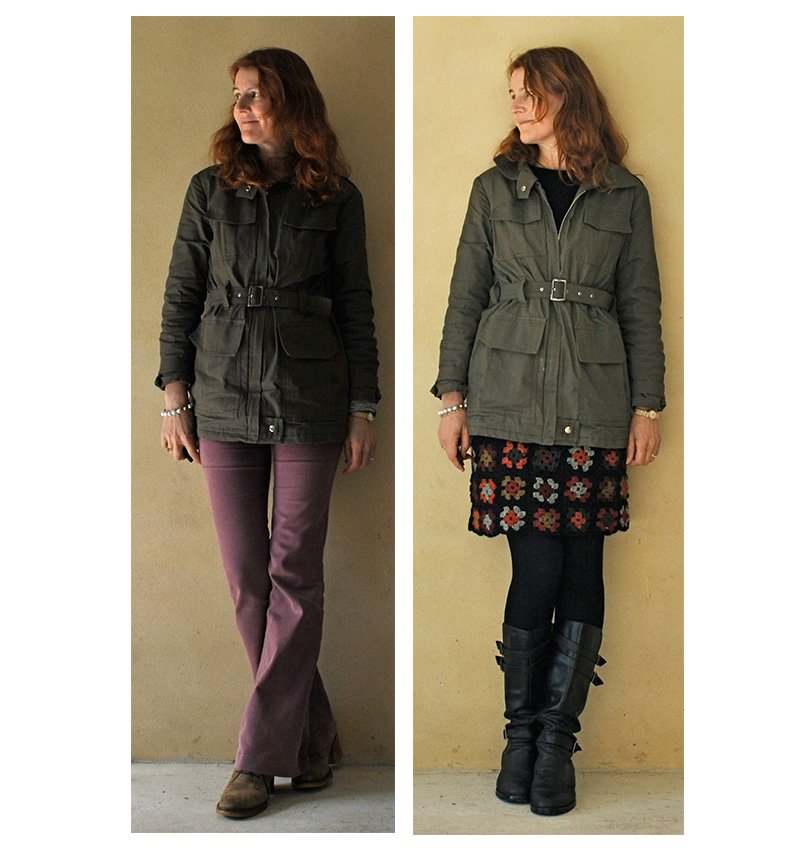
Below: at left; casual to the max, worn with my purple flared jeans. Funny thing, I’ve kind of gone off jeans completely lately and don’t want to wear them at all. I’ve semi-tossed these ones out now… they’re on probation…. At right; the jacket kept me toastily, snug-as-a-bug warm on our coldest day (15C) along with my crocheted Granny squares skirt, a black Tshirt, black woollen tights and biker boots. I had my knitted gloves on for part of that day too, but not for the picture… brrrr!
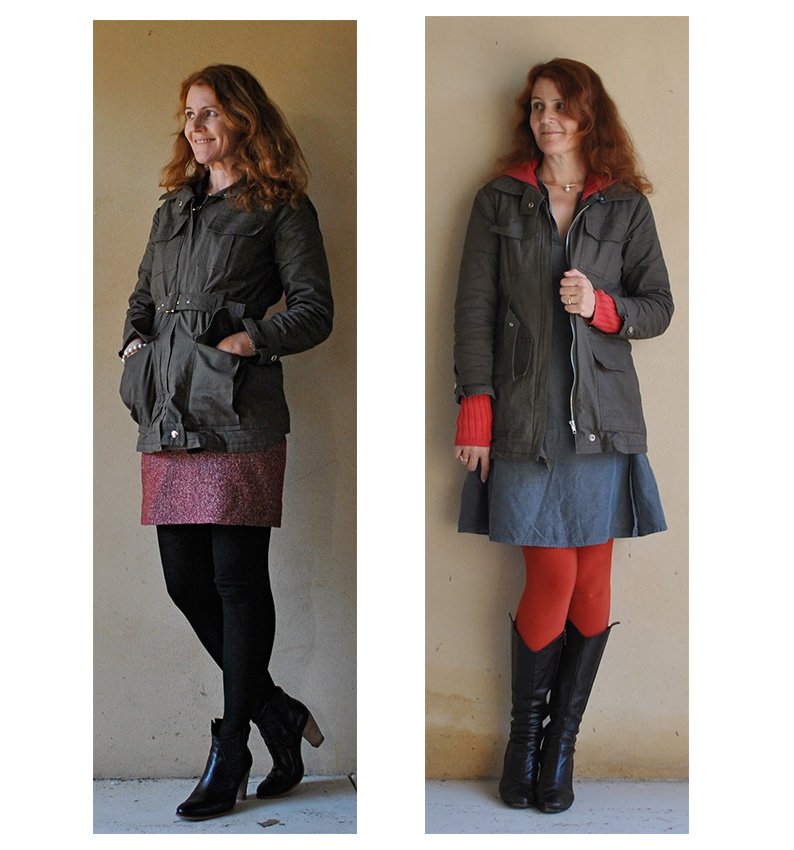
At left; I’ve seen sequins combined with utilitarian khaki in a gazillion gorgeous street-style photos, and loved the craziness of the look, so I wore the jacket over my own silver sequinned skirt, a drapey white top, and with black suede pumps to a dinner with friends, and felt like an ultra trend-ite, for once! At right; sporting a symphony of satisfyingly subtle sludgy goodness, worn with my khaki linen shirt, my sludgy little skirt (incidentally, the same fabric as my purple jeans in the photo above, dyed brown), my olive leggings, and olive knitted socks (not really showing here) A bit drab maybe? but then again drab is my middle name. Seriously, you should see the looks I get when I fill in forms.
(10pts to anyone who can pinpoint that quote….)

So, the weather is warming up gradually, in fits and starts, and soon I’ll stop reaching for this jacket but I’ve sure appreciated and enjoyed its cosy comforting warmth and its easy-going style. Hopefully the trend will stick around for a few more winters to come!