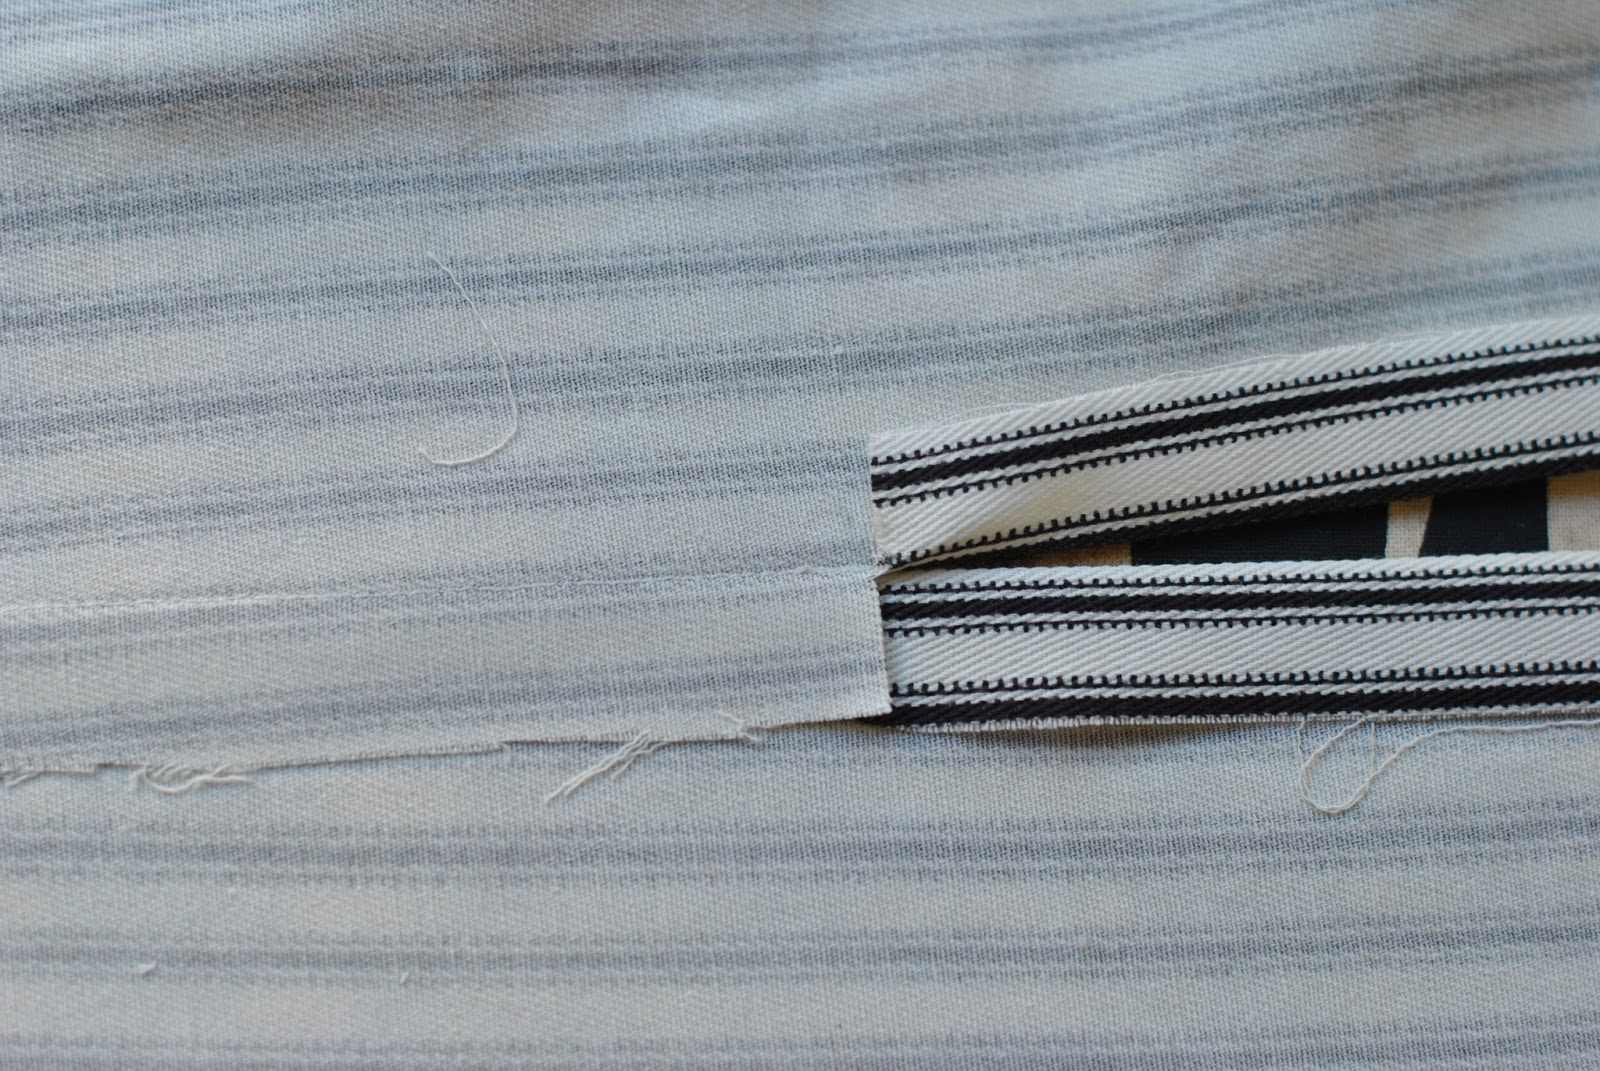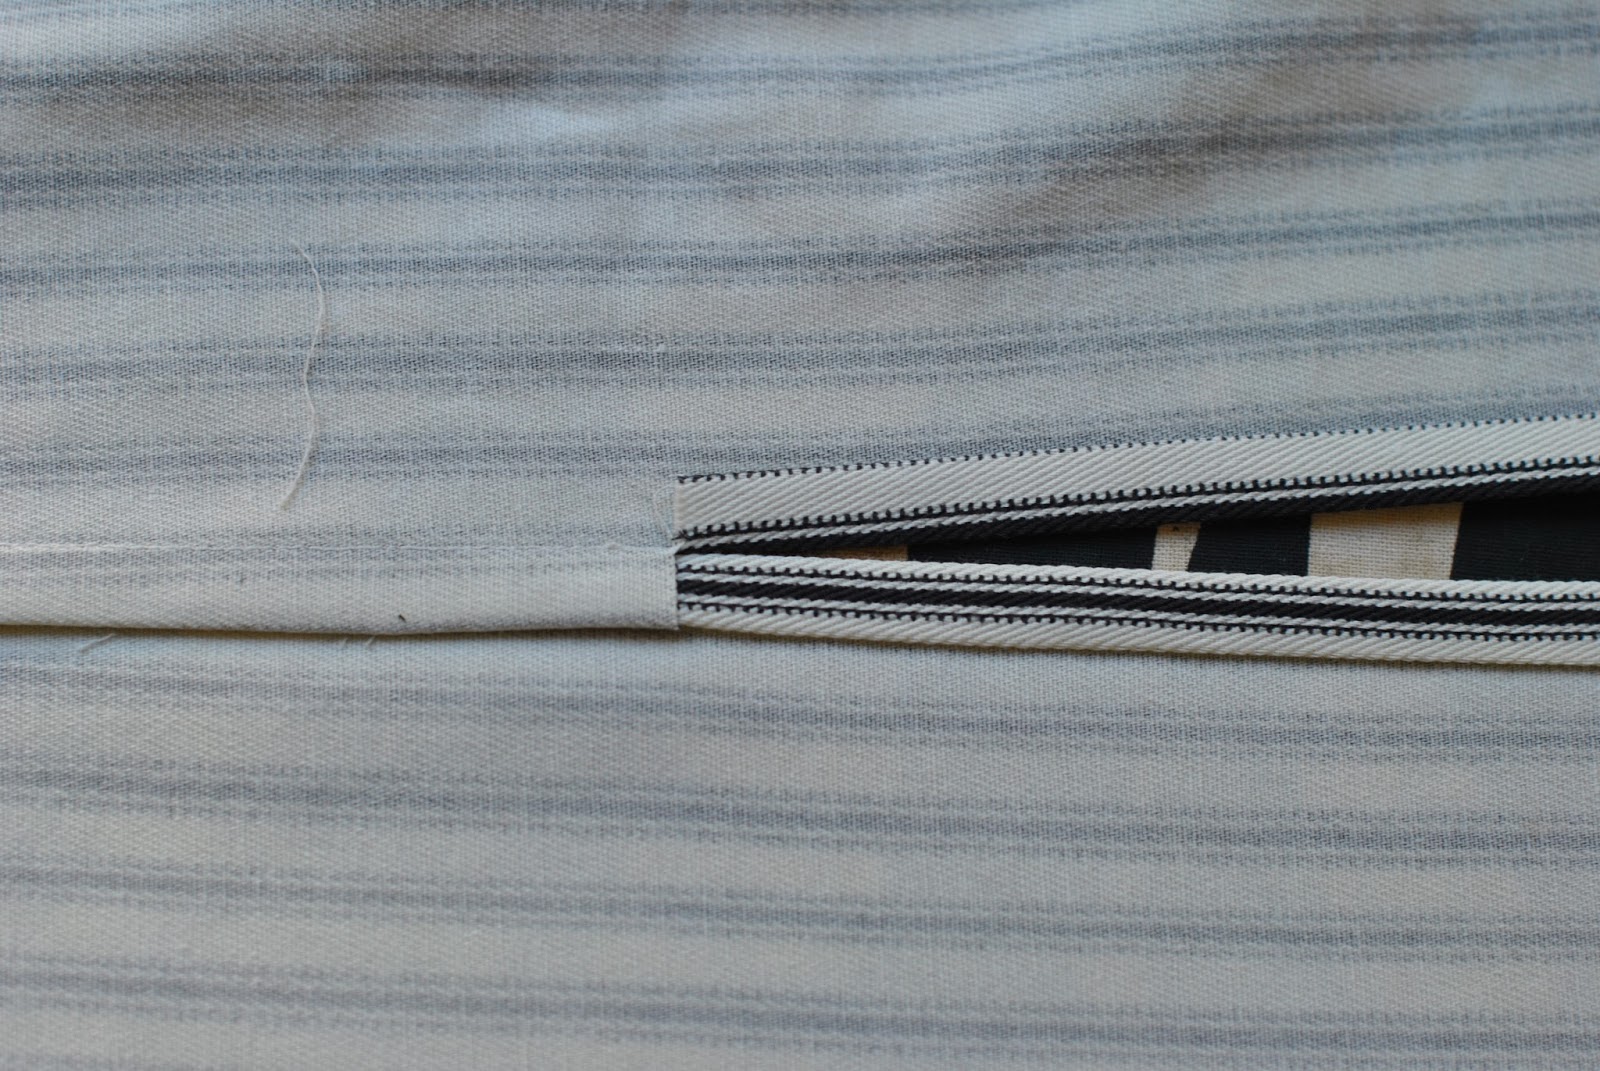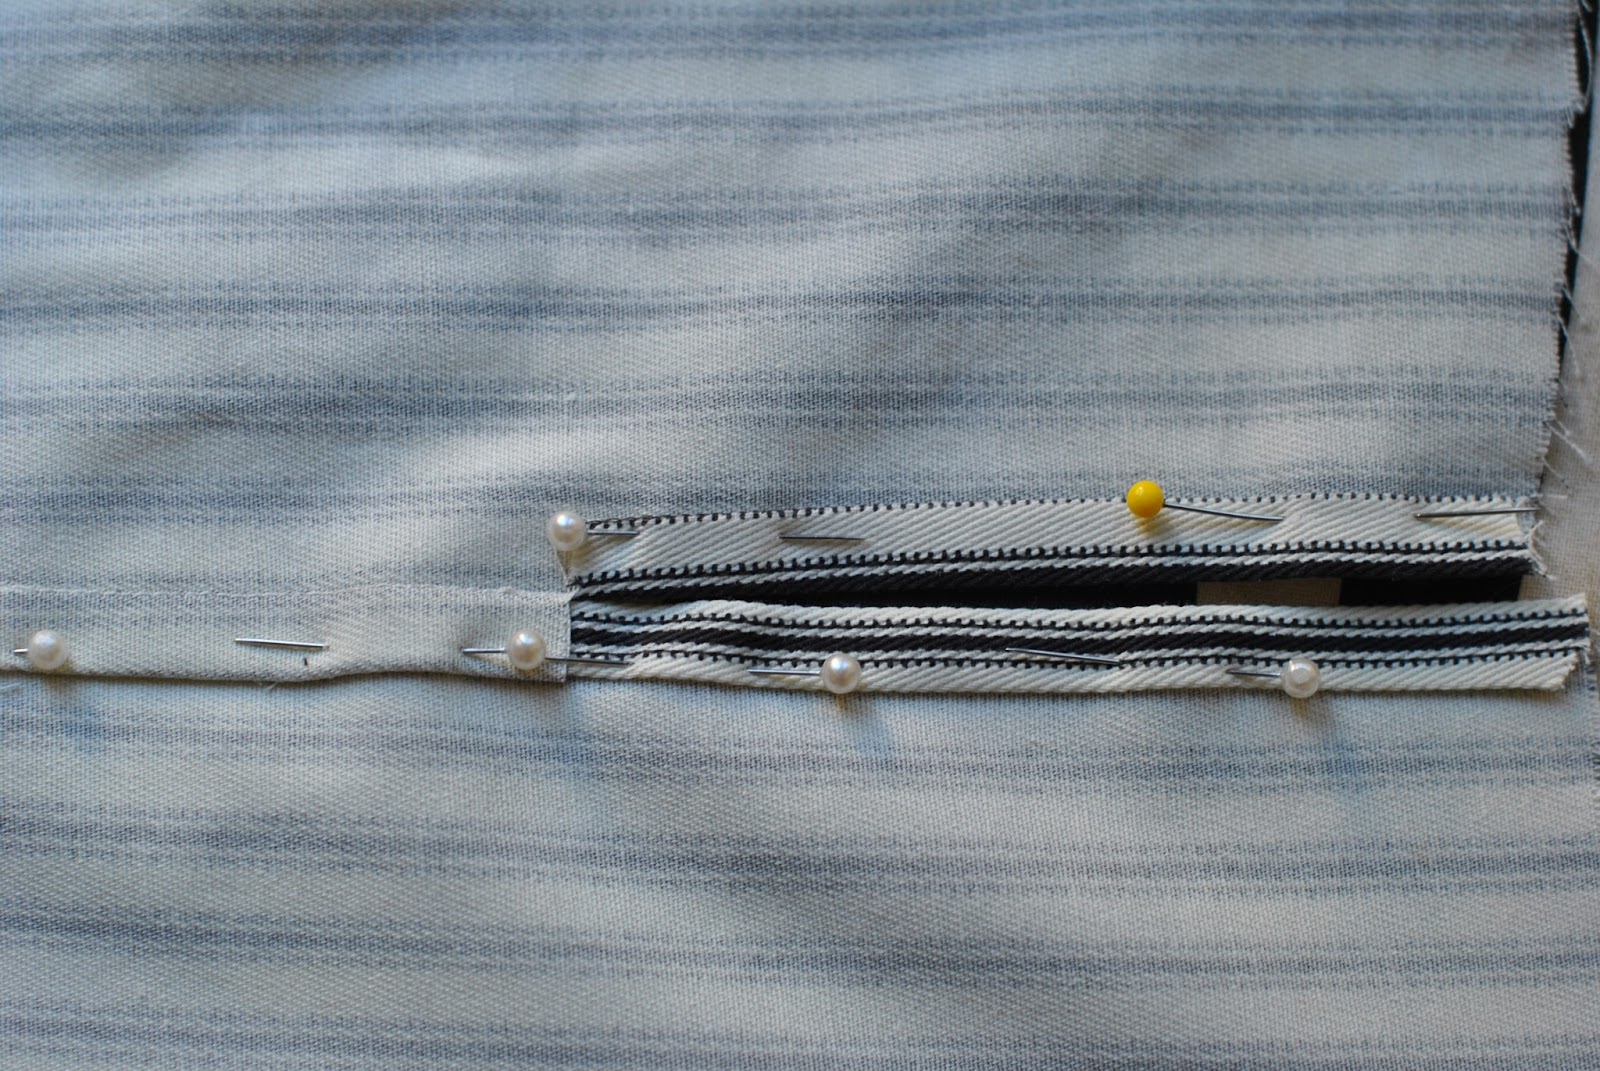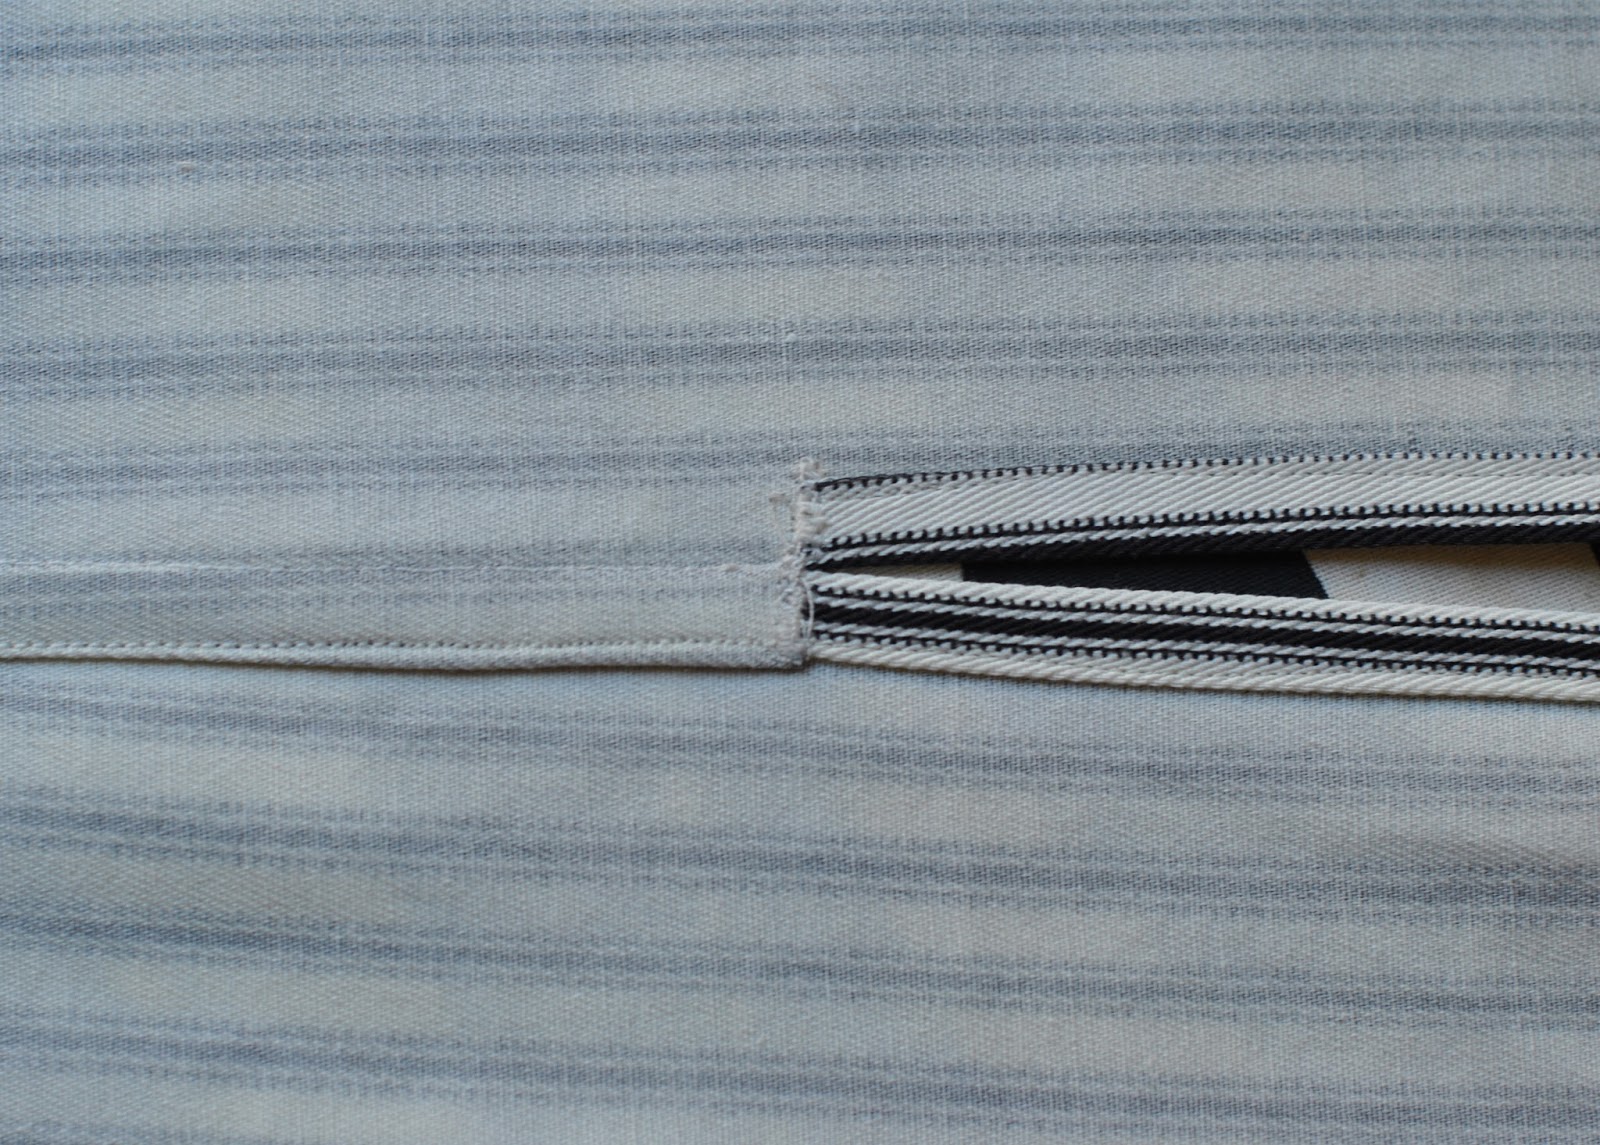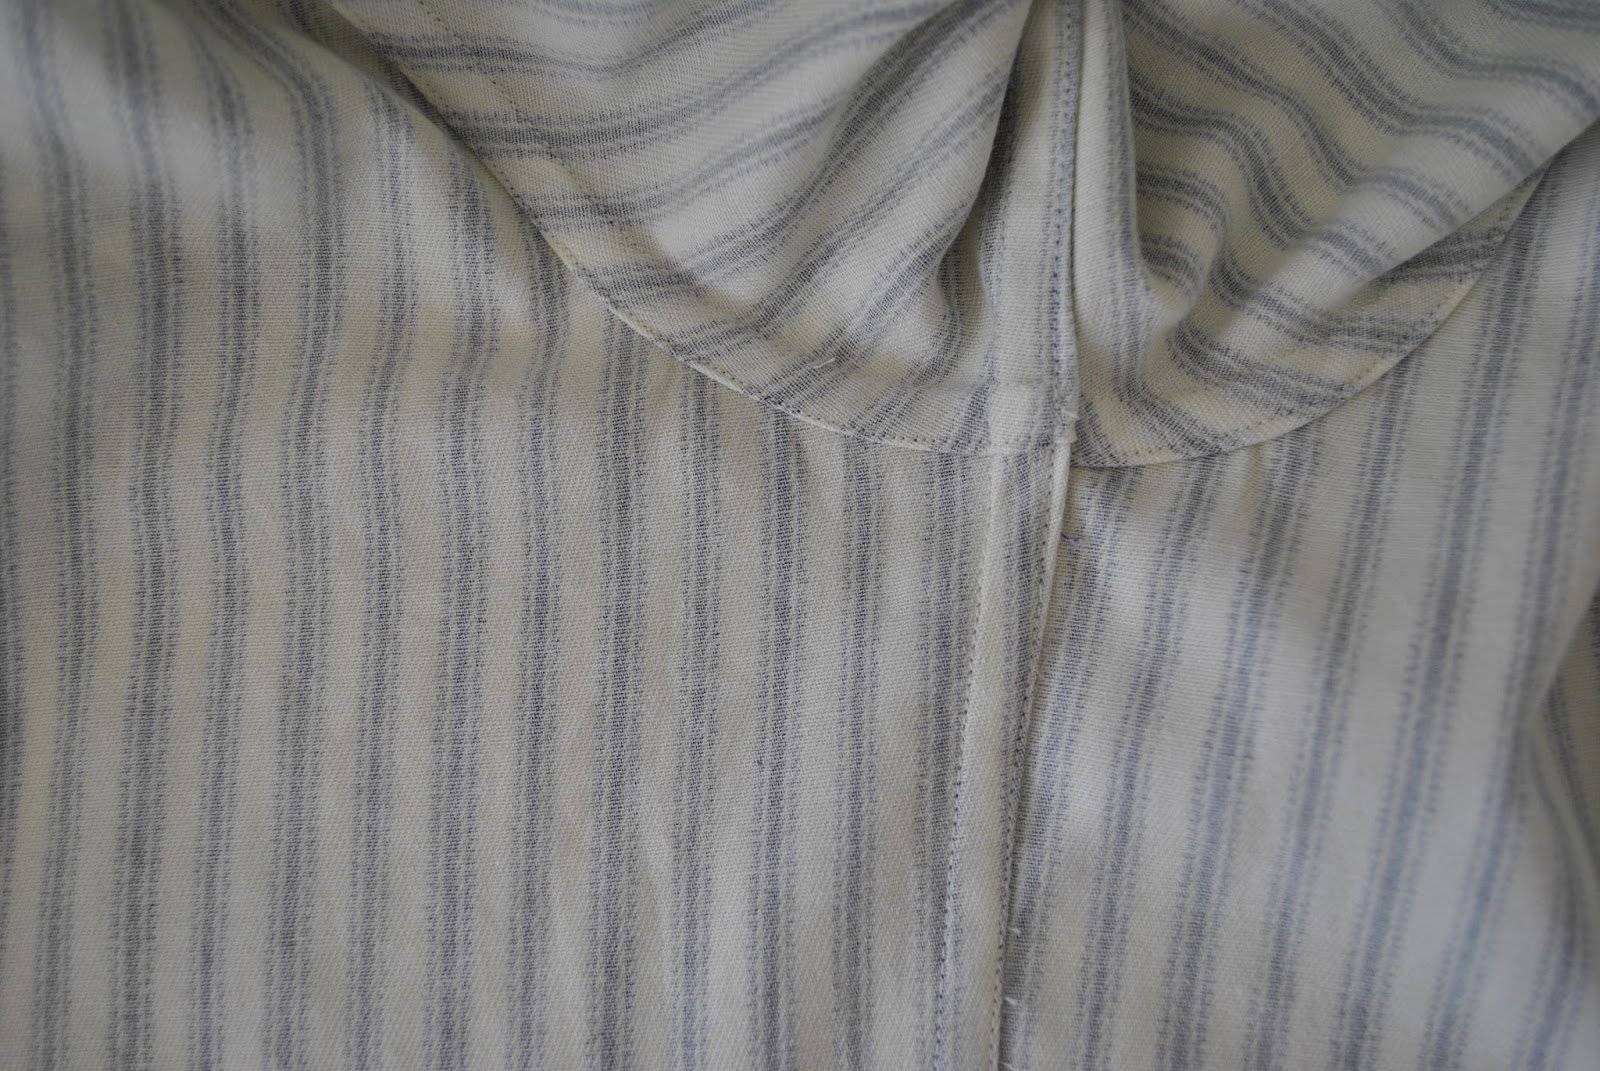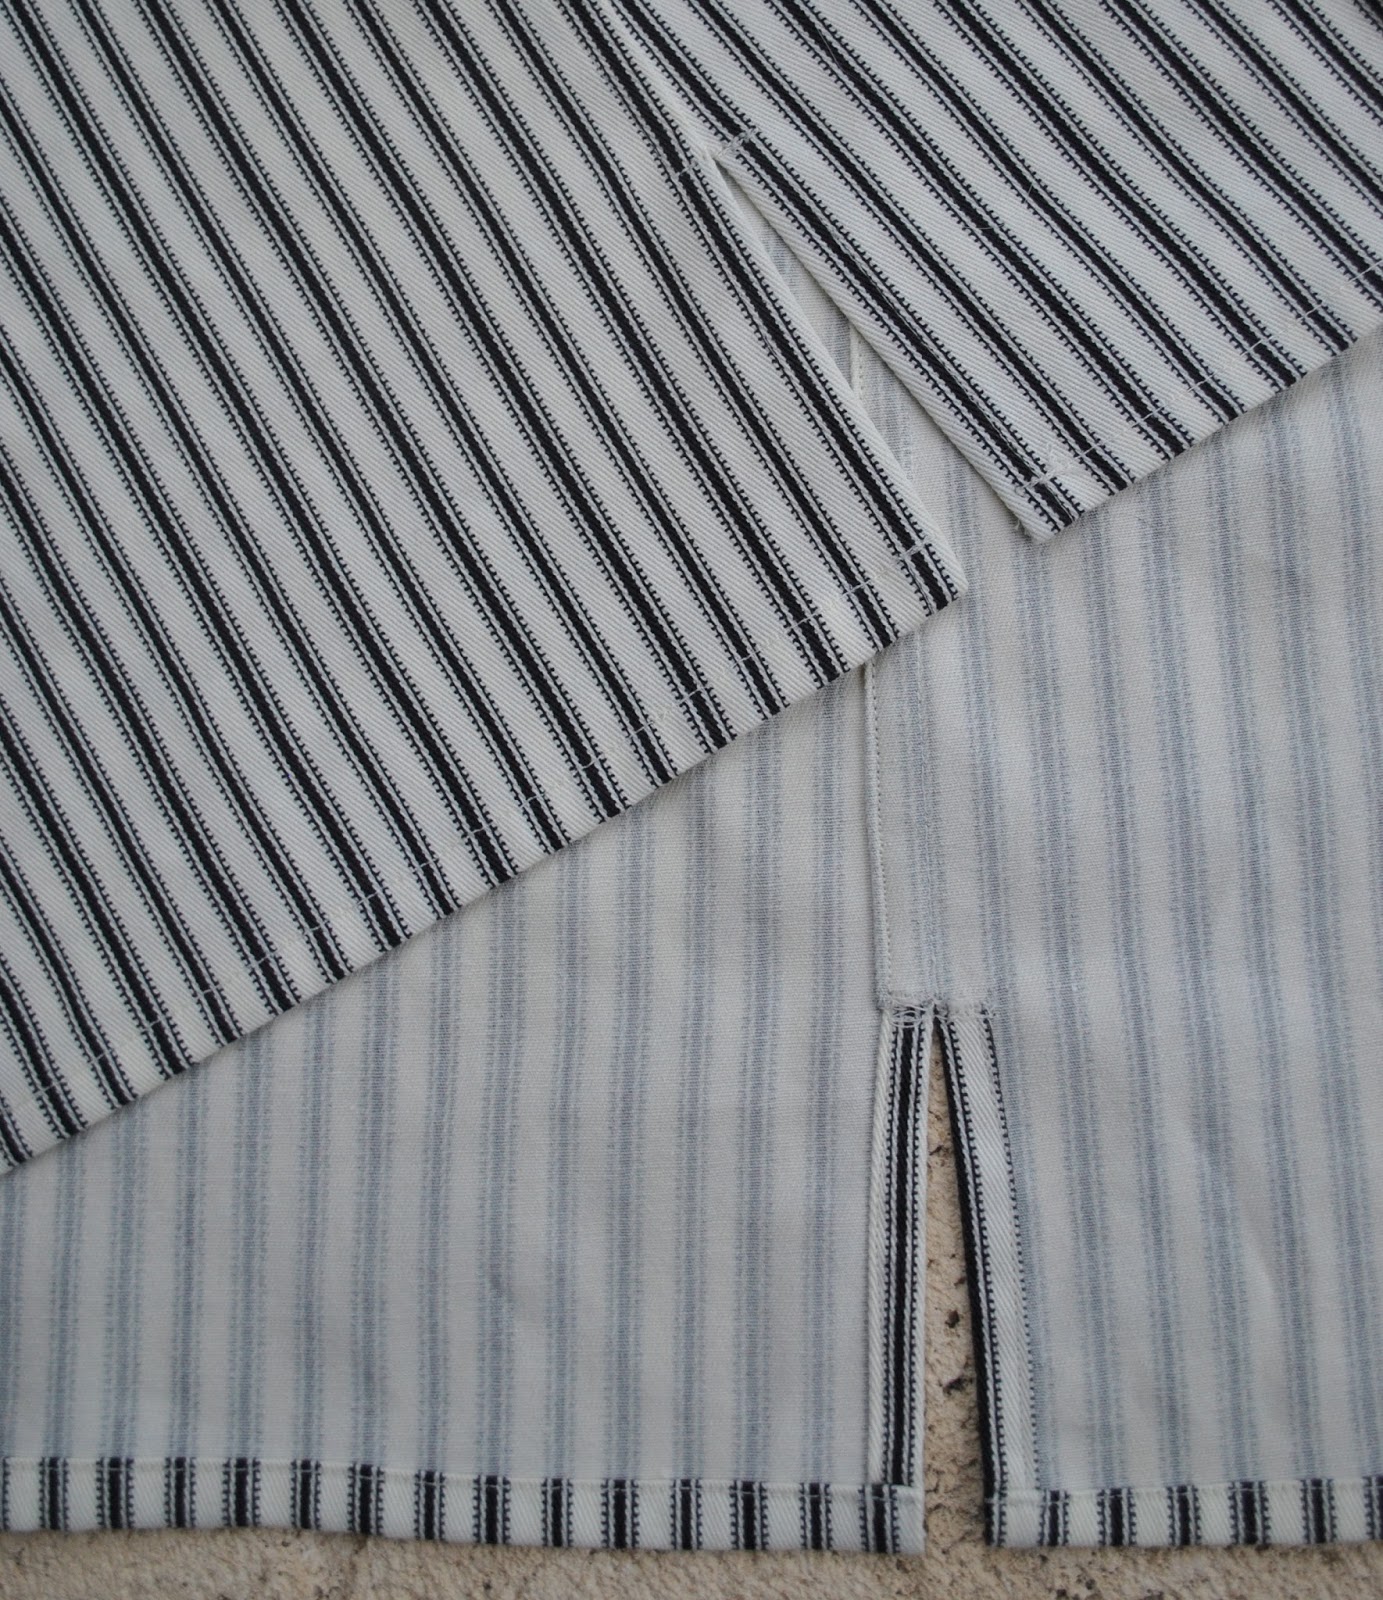
One way to sew a flat-felled and split seam

A split side seam is a nice feature that adds a bit of visual interest as well as some wearing ease to a straight-hemmed garment, and flat-felling is a smooth and clean finishing technique for seams; but how to manage the awkward joining point between the two?
Marie Coffin and knj09705 both asked about the transition between the flat-felled seam and the split side seam on Sam’s shirt…  thanks for showing an interest!  and since I happened to making another shirt hot on the heels of the previous one I snapped a few pictures to demonstrate how I did it…
btw: I’ve checked out some of the better rtw menswear shirts and there’s a choice of finishing methods.  So the following is not the only way to construct this feature, but this is the way I chose this time.  I wonder… is there even a “right” way?
Stitch the seam down to the point at which the slit is to start.  I left an unfinished length of 10cm for the side seam splits on both of these shirts…
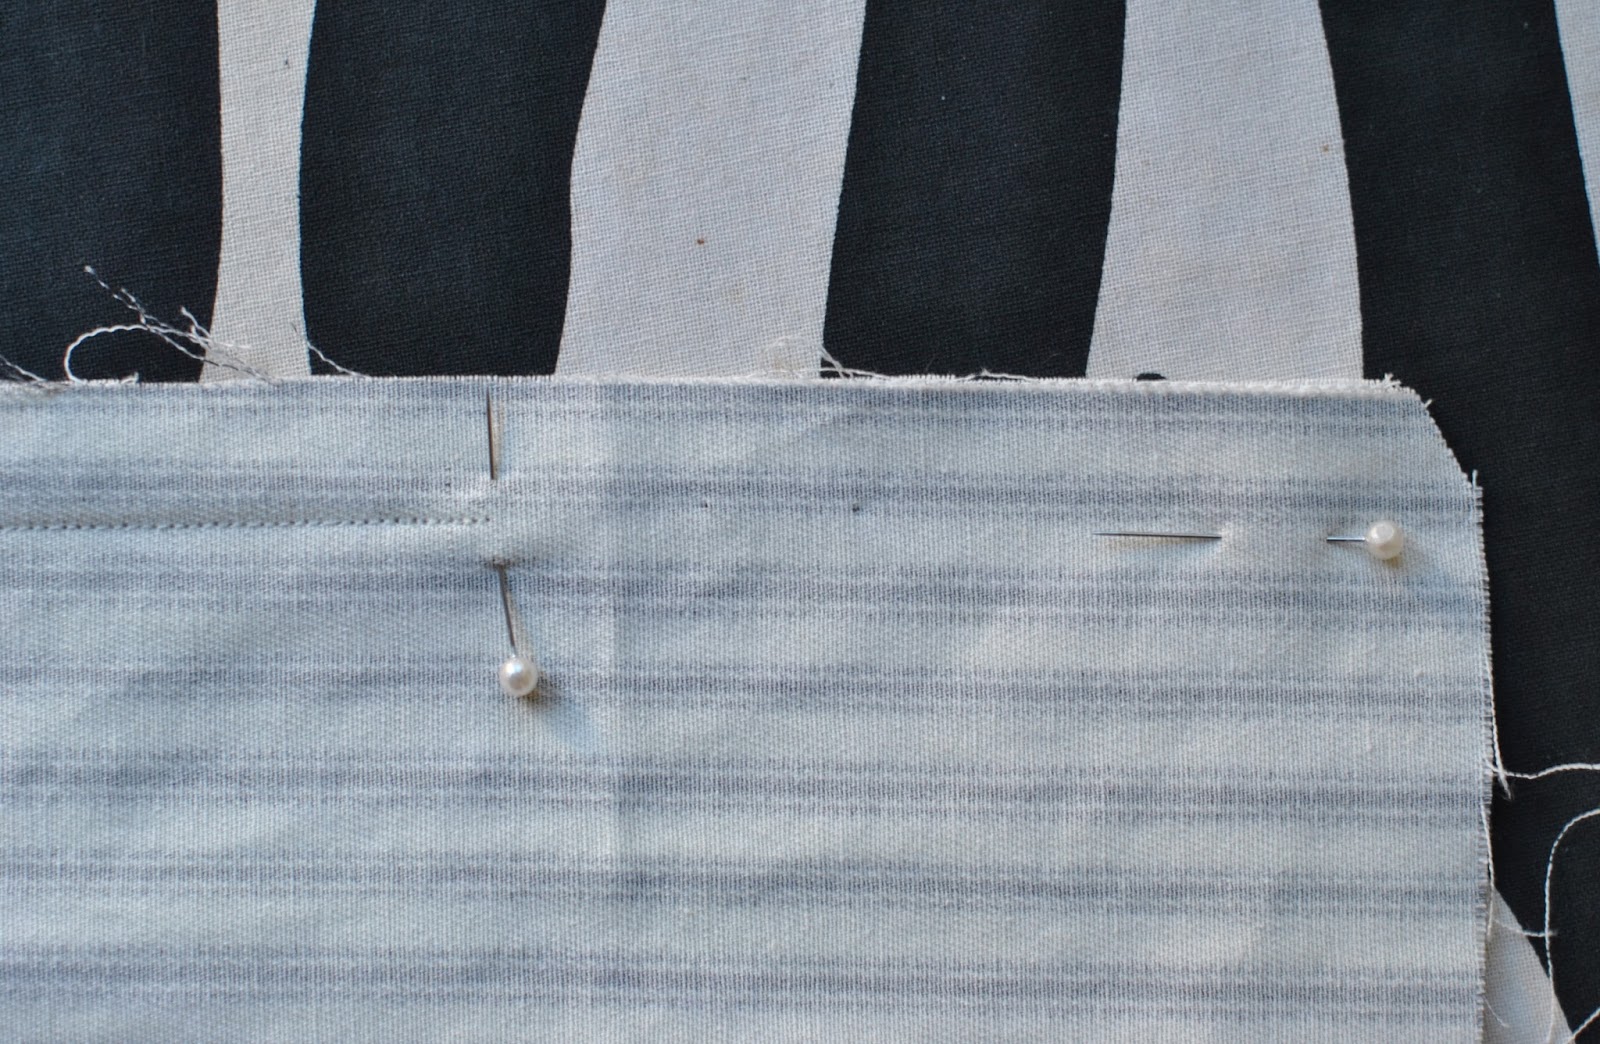
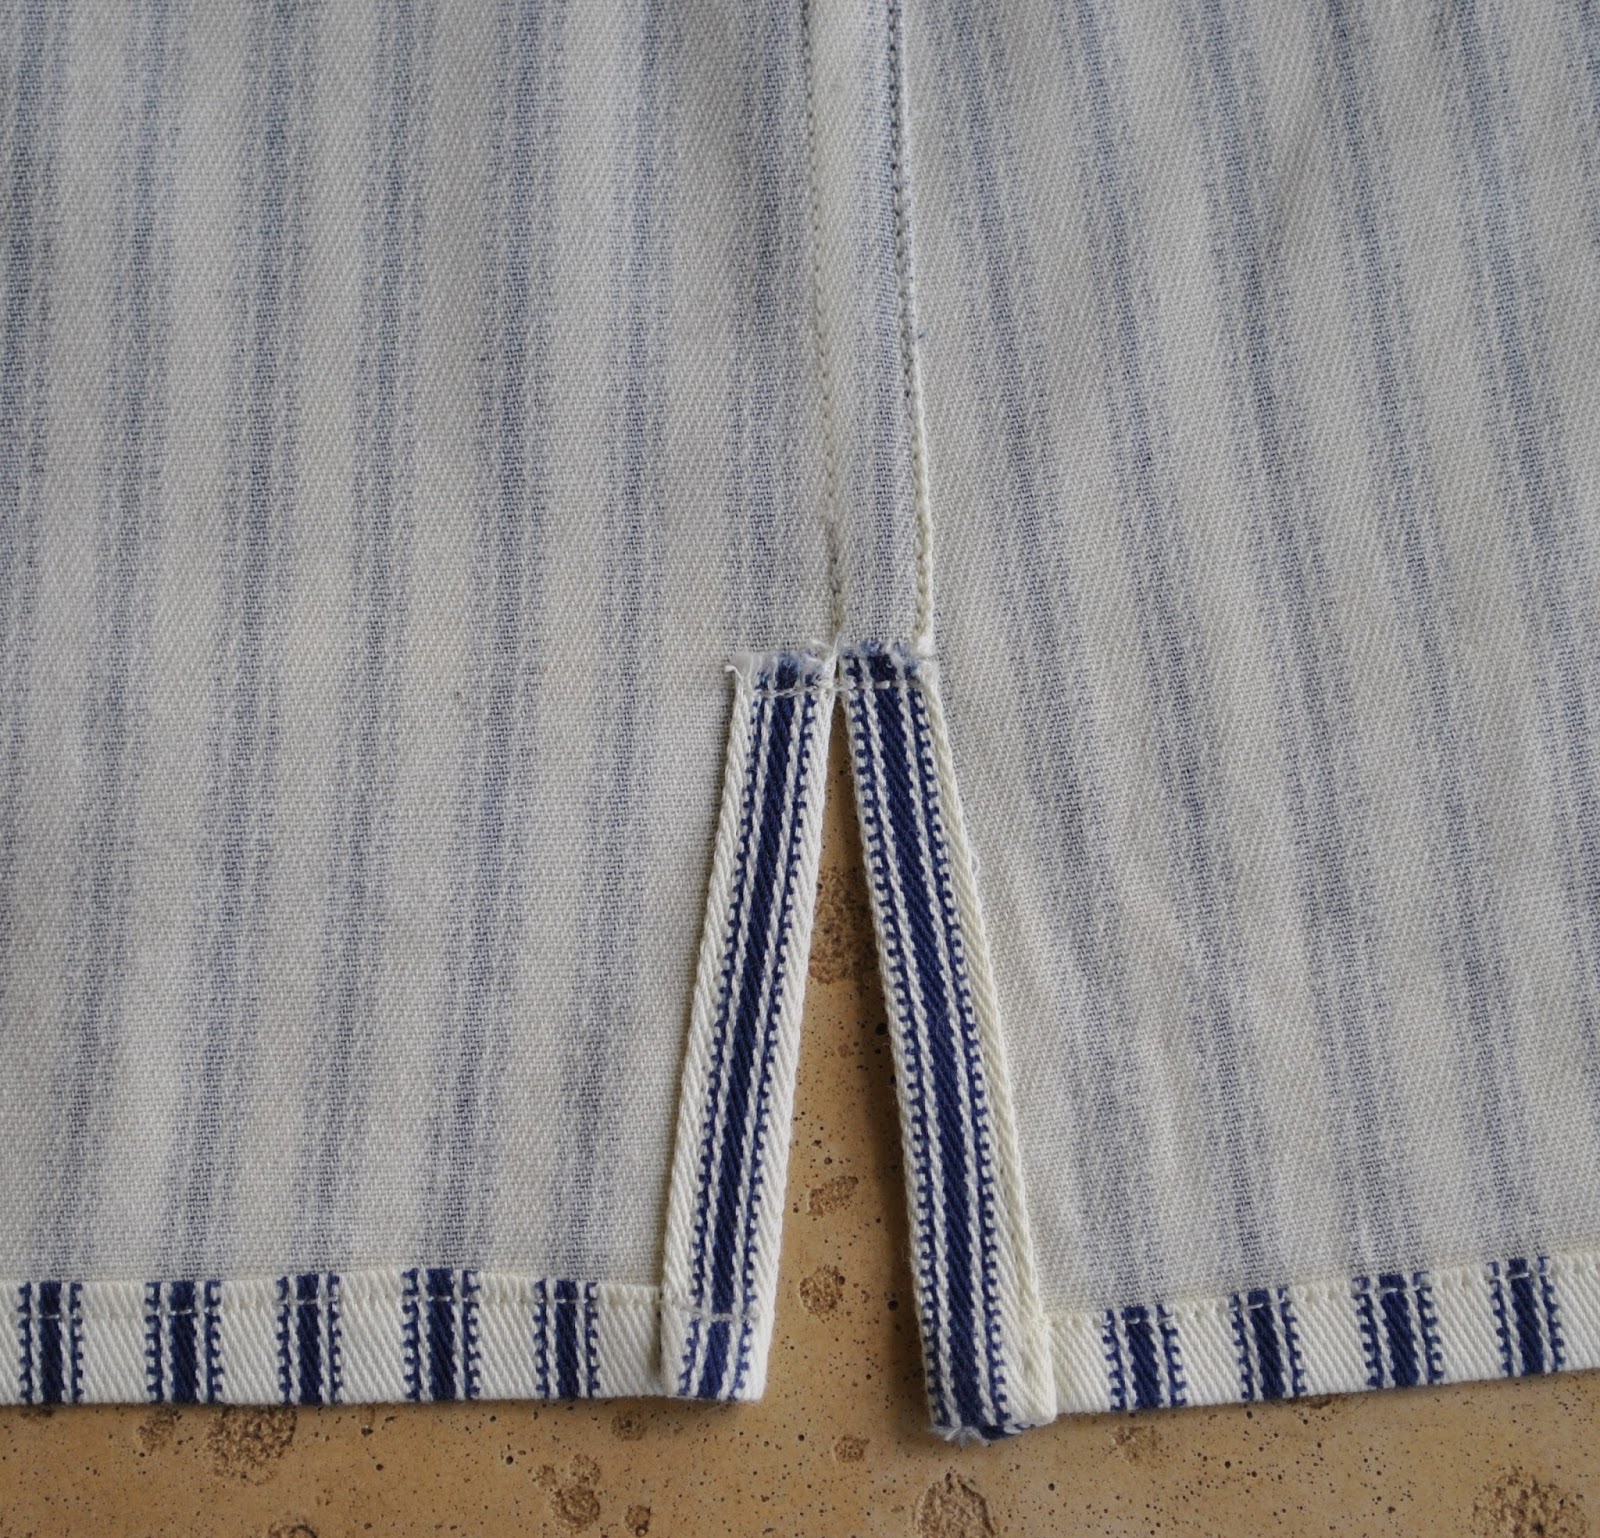
Press the seam open, and and the seam allowances of the split.
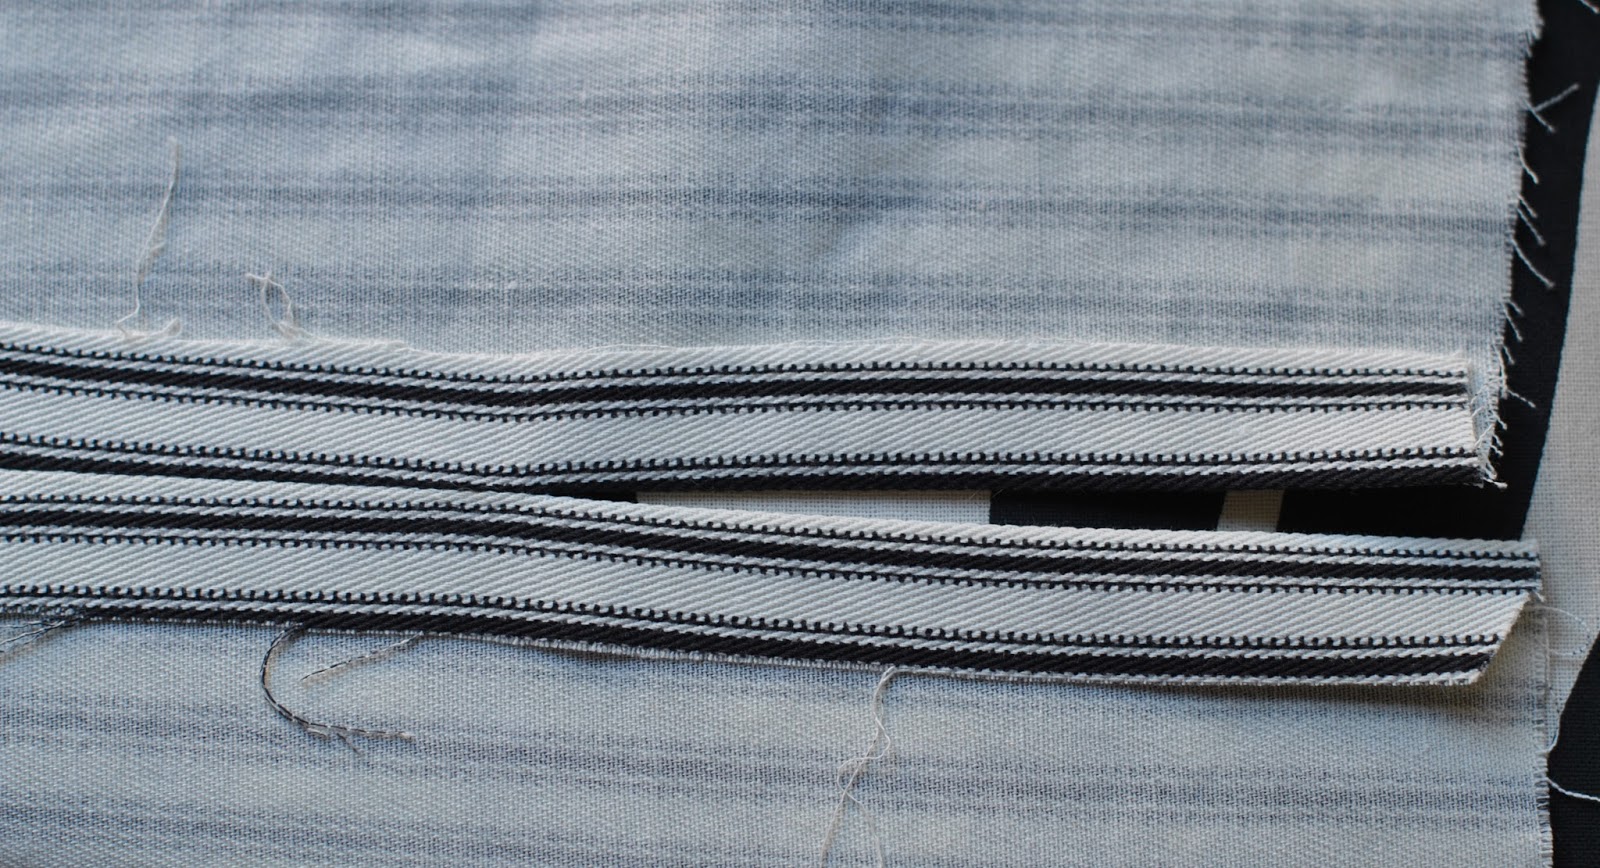
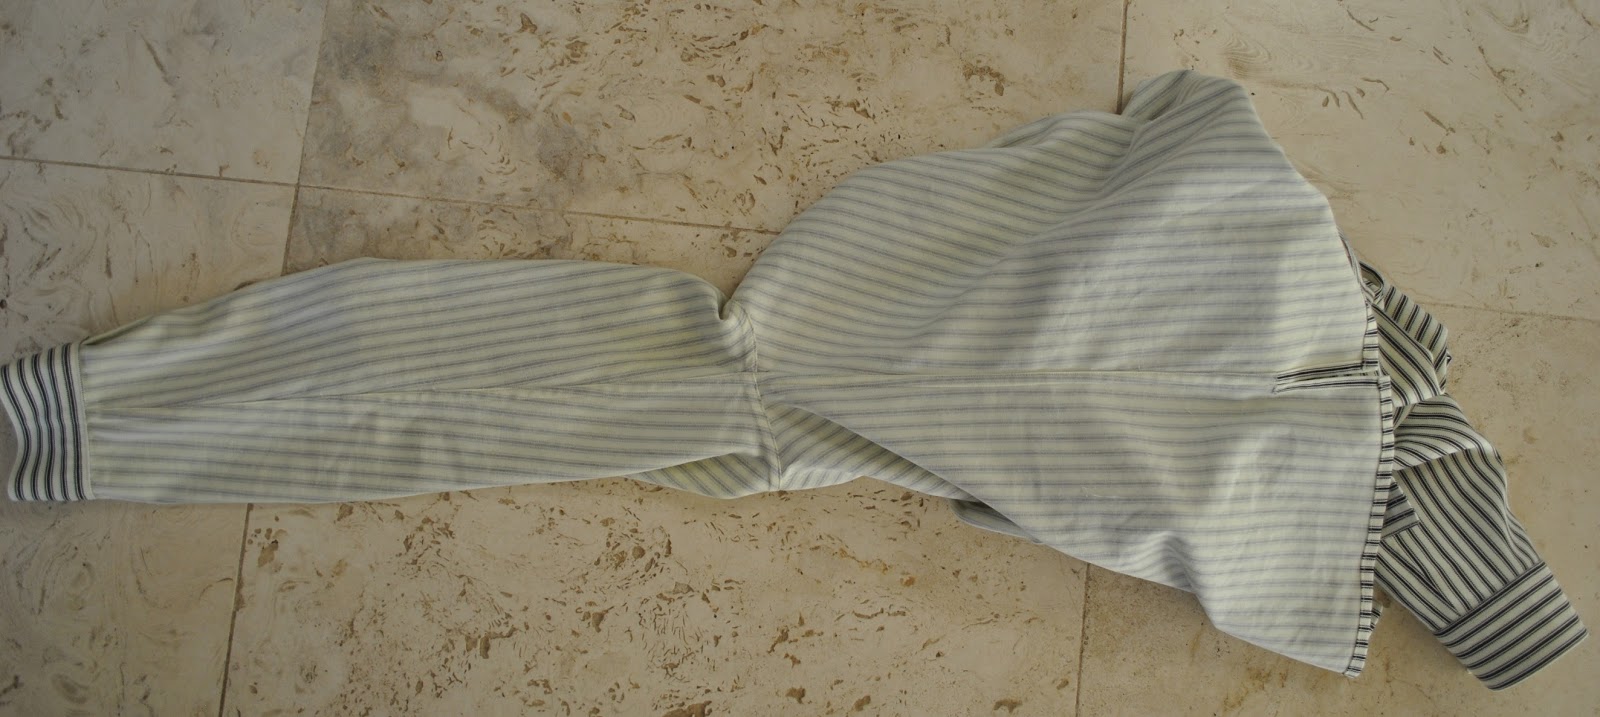
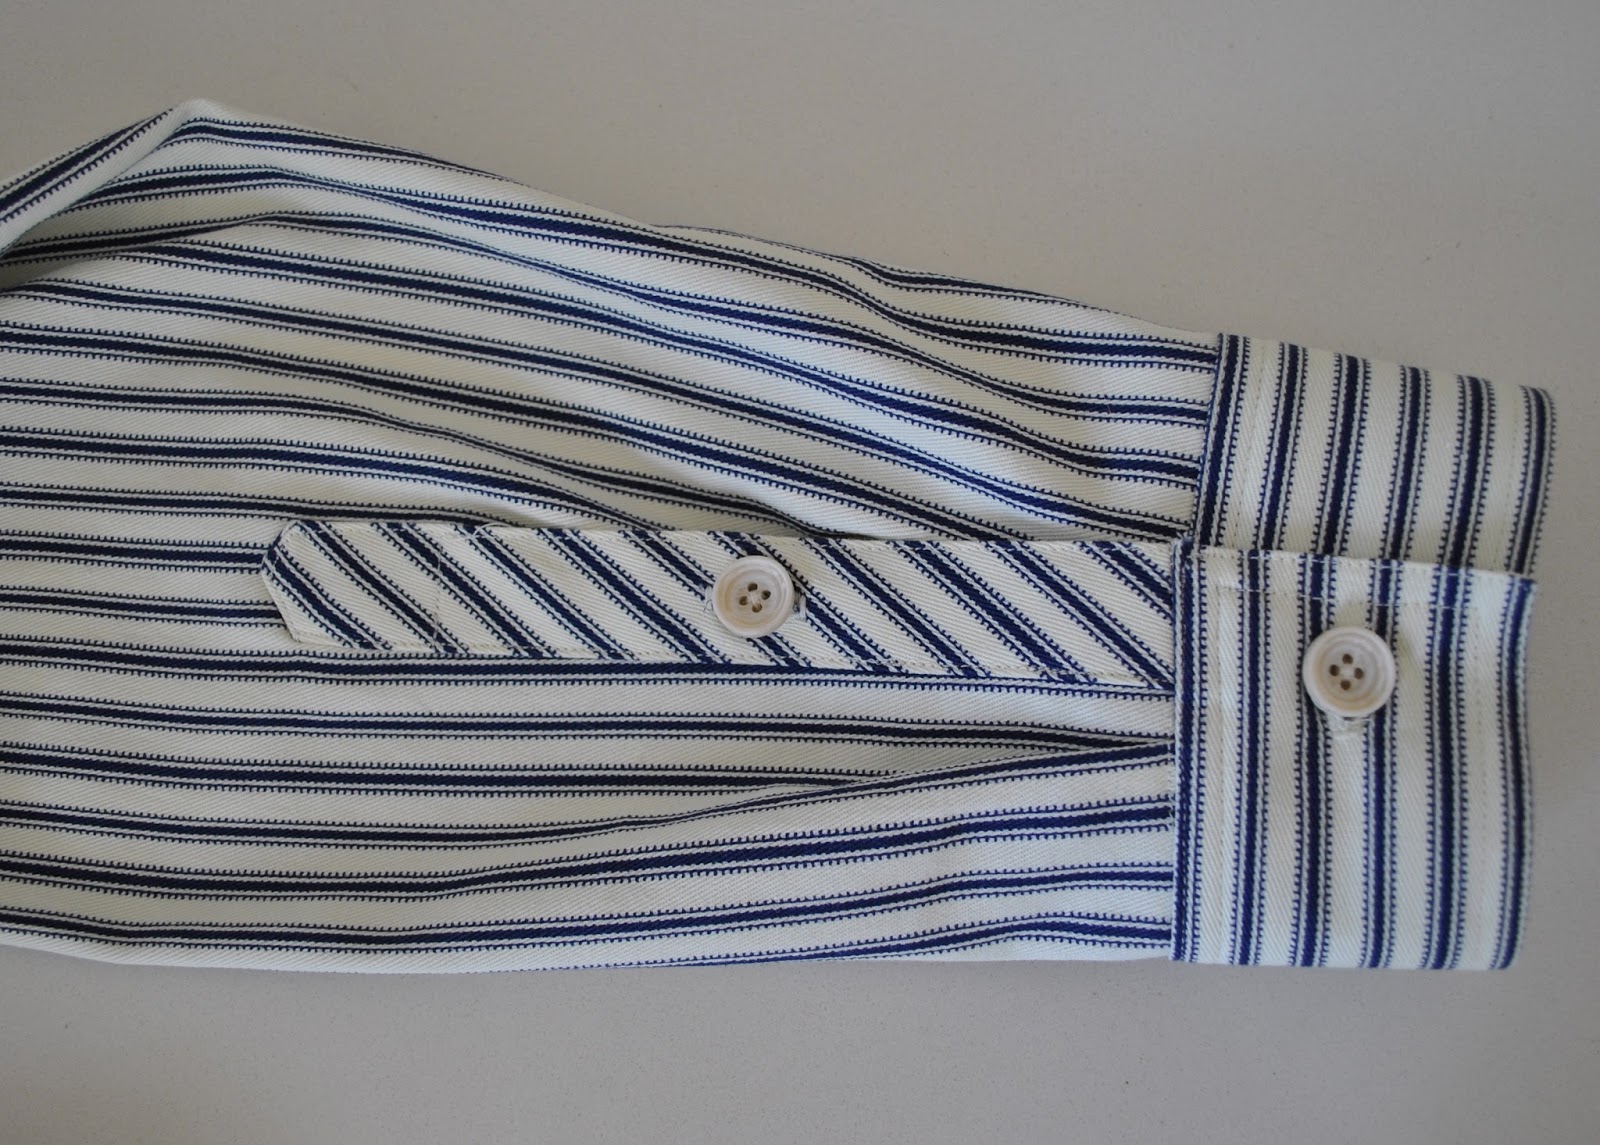
So in this case, the flat felled seam of this shirt is continuing from the split, right up the side seam and continuing right down the length of the sleeve to the wrist opening.  The rather weird picture below is attempting to show the side seam and sleeve seam allowances pressed open all in one continuous length; correspondingly, the seam allowance will be flat-felled all the way along this seam as one continuous length.
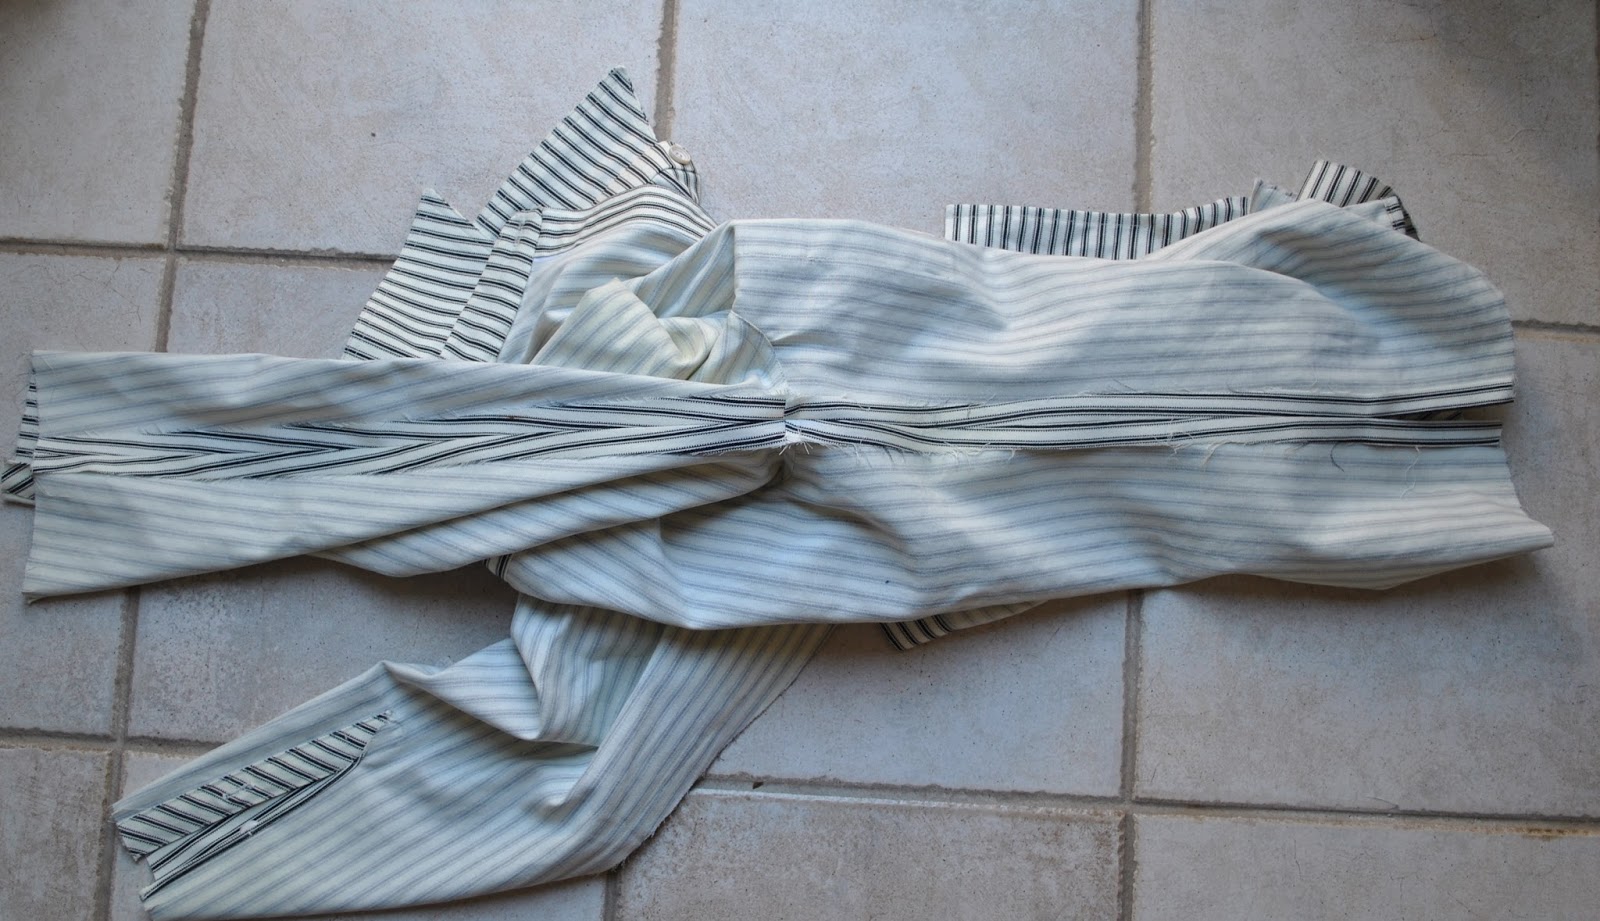
Decide which side of the seam allowance the seam will be flat-felled onto; again, after checking out rtw menswear shirts I’ve noticed there doesn’t seem to be an accepted convention here.  I’ve randomly decided for the seam allowances to lie against the shirt back.  
Trim this seam allowance to half its current width, with the trimming tapering off for the last couple of centimetres to the level of the slit.  Also, snip into the seam allowance of the other side to the endpoint of the side seam (pictured below).  Leave both slit seam allowances untrimmed.  
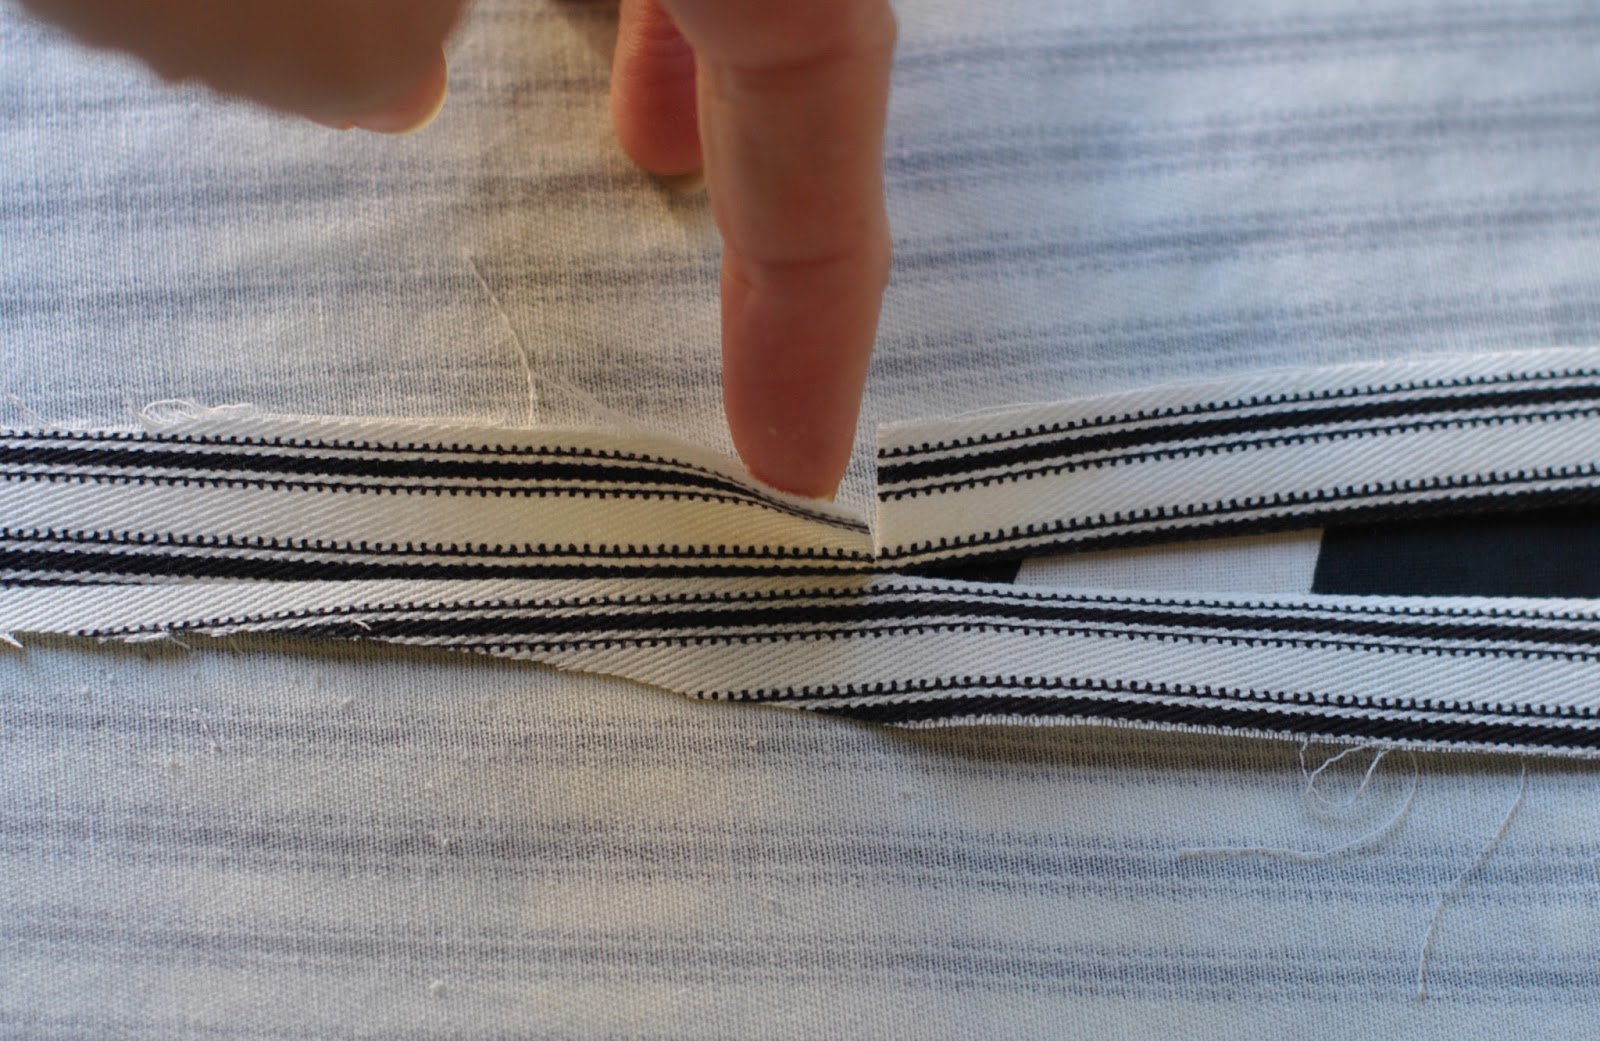
Now press the untrimmed seam allowance back over the trimmed seam allowance.
Turn the top allowance under, tucking it below the trimmed seam allowance underneath to encase it, and press.  Also, turn under the seam allowances of the split seam on both sides, and press.  Pin.
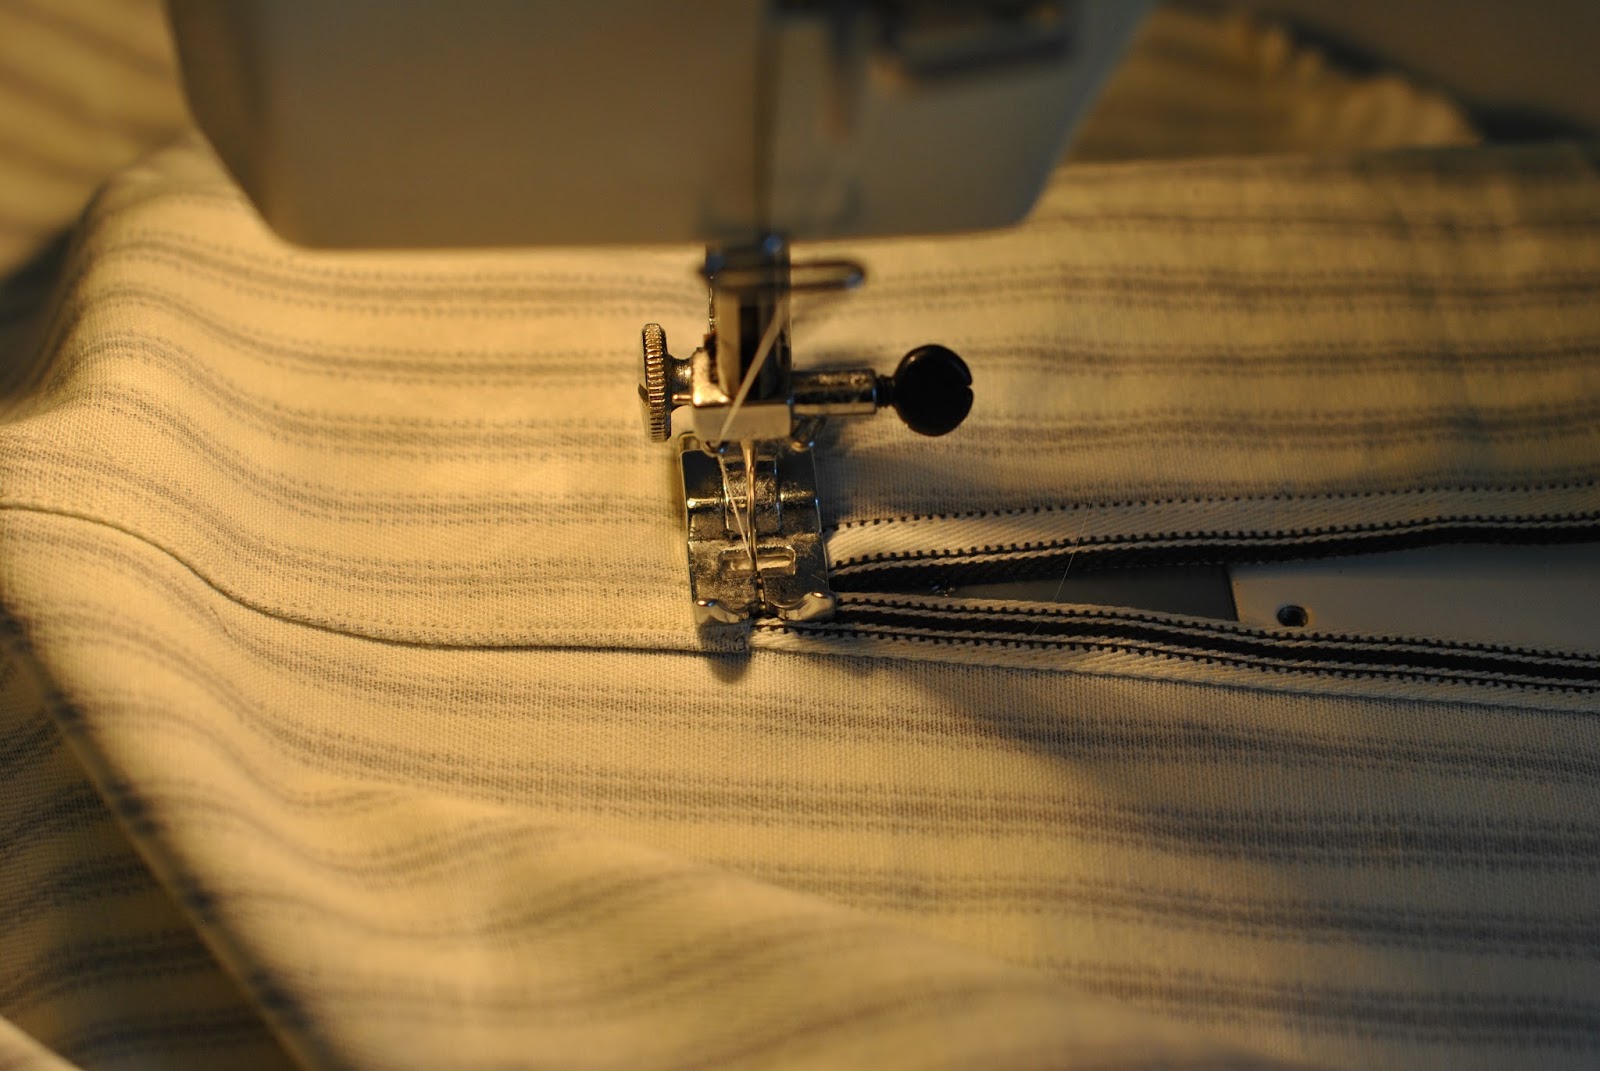
Stitch the seam allowances down, close to the pressed edge.  Stitch the short split seam allowance down separately.  
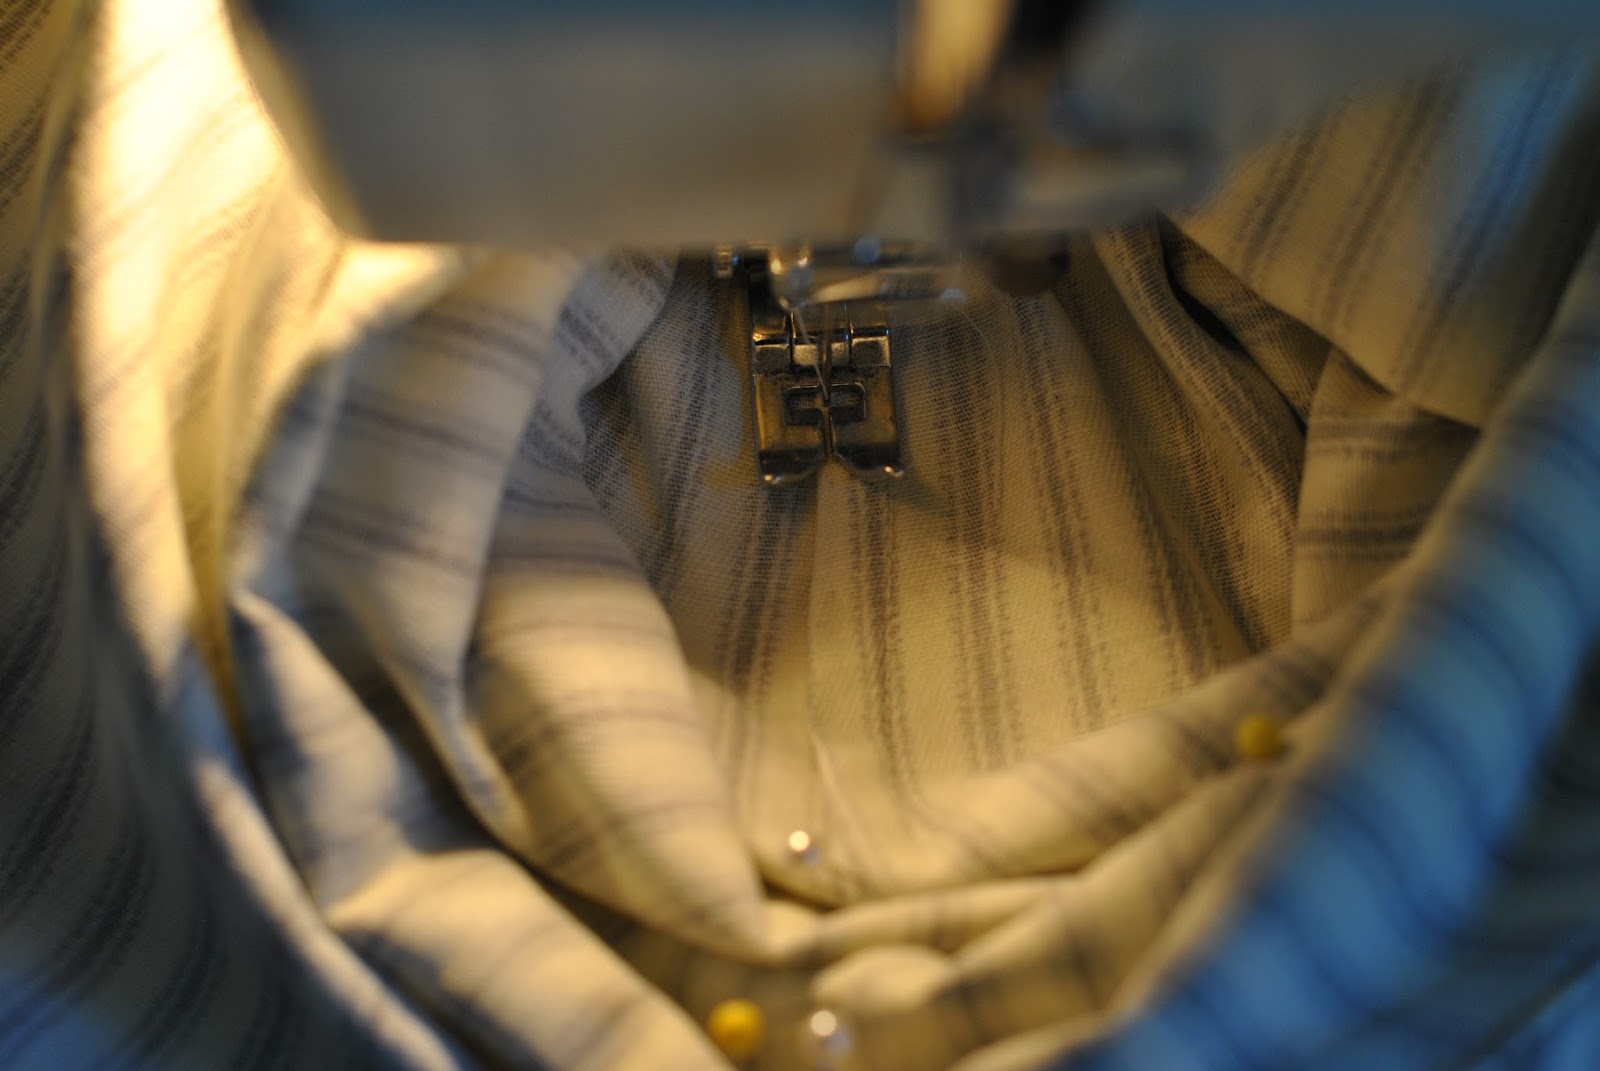
For flat-felling the sleeve seam allowance: while stitching longitudinally along a tube-like structure such as a sleeve; ALWAYS stitch from INSIDE the tube.  This eliminates the possibility of inadvertently catching down the other side of the tube by mistake.  And yes, with my machine I always have to stitch a tube seam in two stages, from the middle, out to each end!
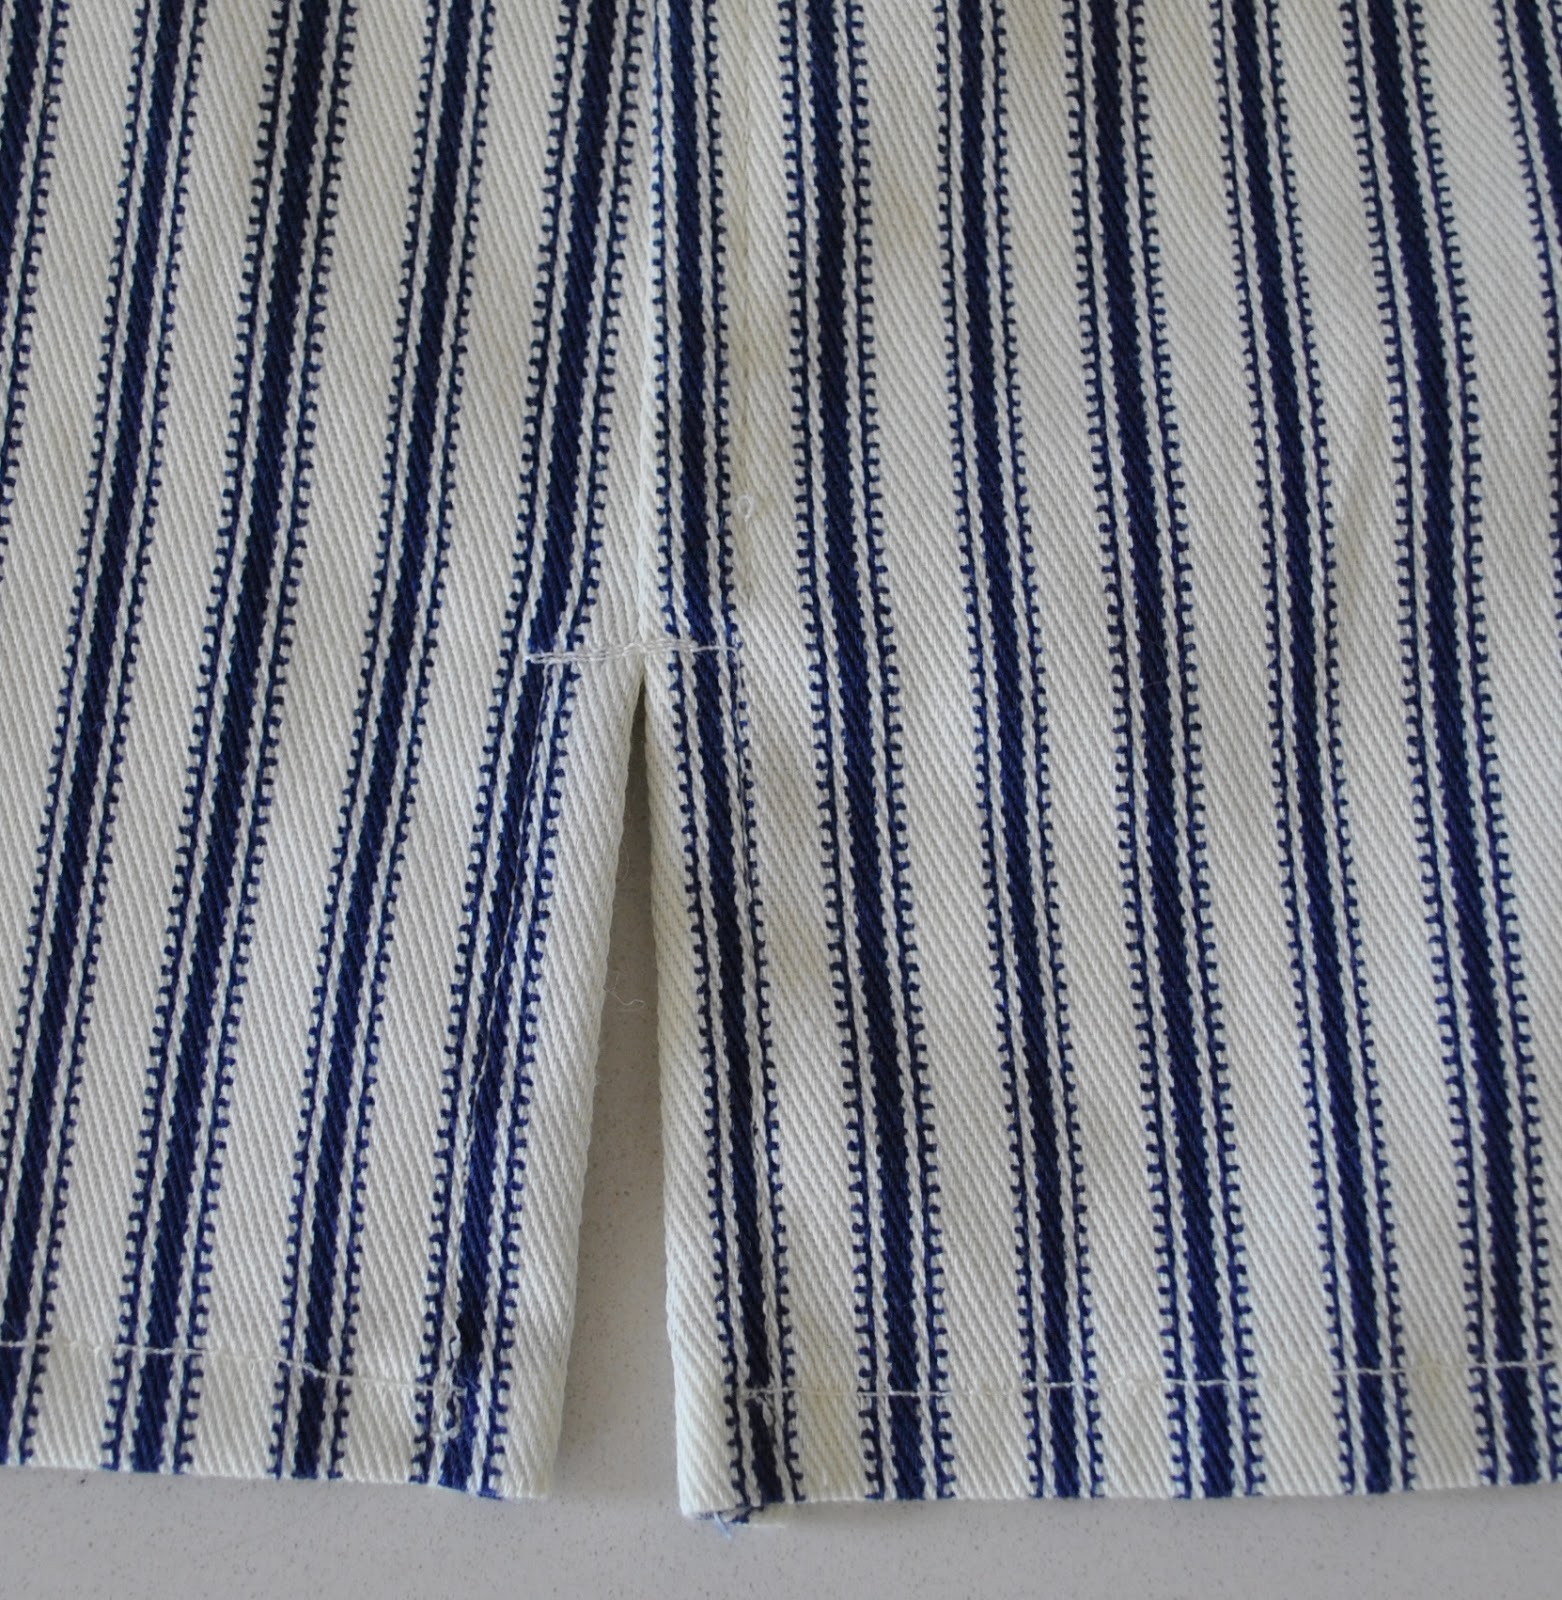
Lastly, stitch across the top of the split seam to stabilise and strengthen the top of the split.  You could stitch a bar tack by narrow zig-zagging, or alternatively run a few forward-and-reverse passes of stitching.
Attempting to show the finished flat-felled sleeve and side seam in entirety.  Not much to see at all, really … but that’s the whole idea!  Nice and neat and tidy  ðŸ™‚

pinterestmail

I dye…

…  literally.  I’m dyeing heaps of stuff lately.
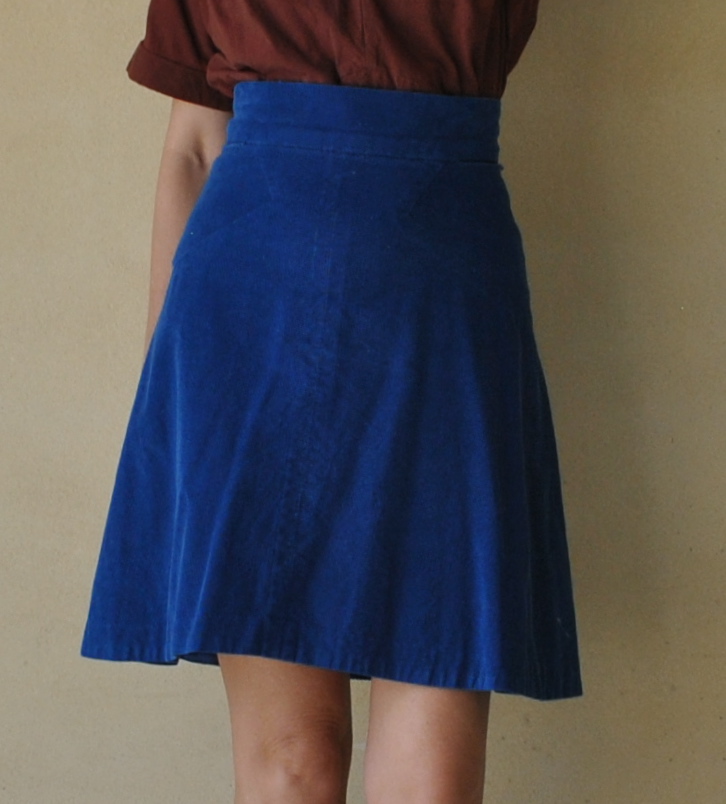
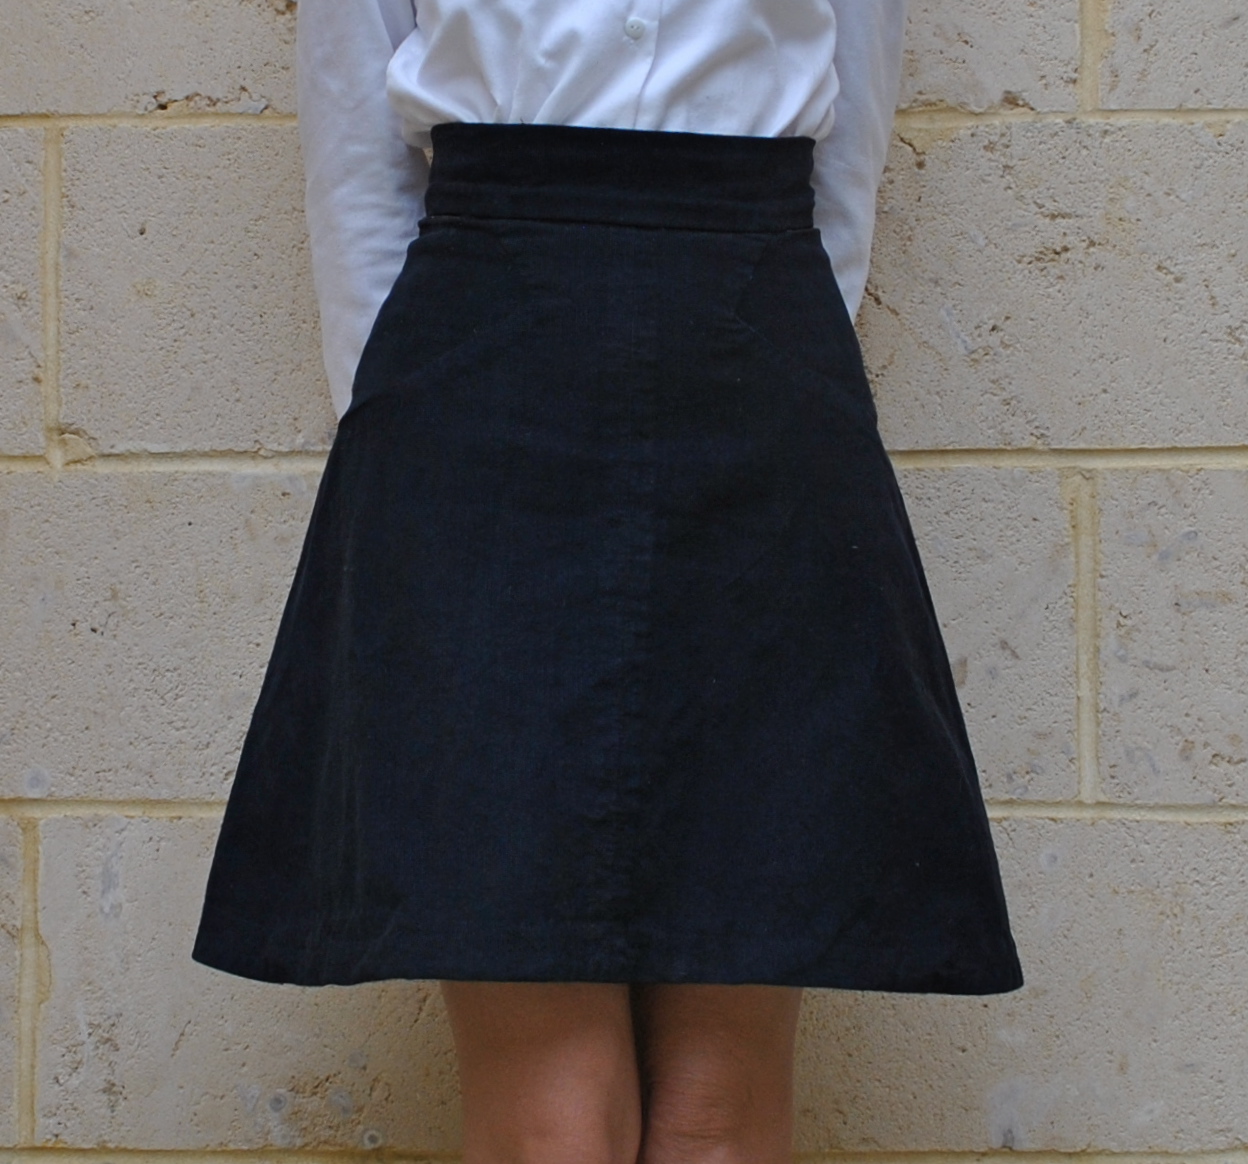
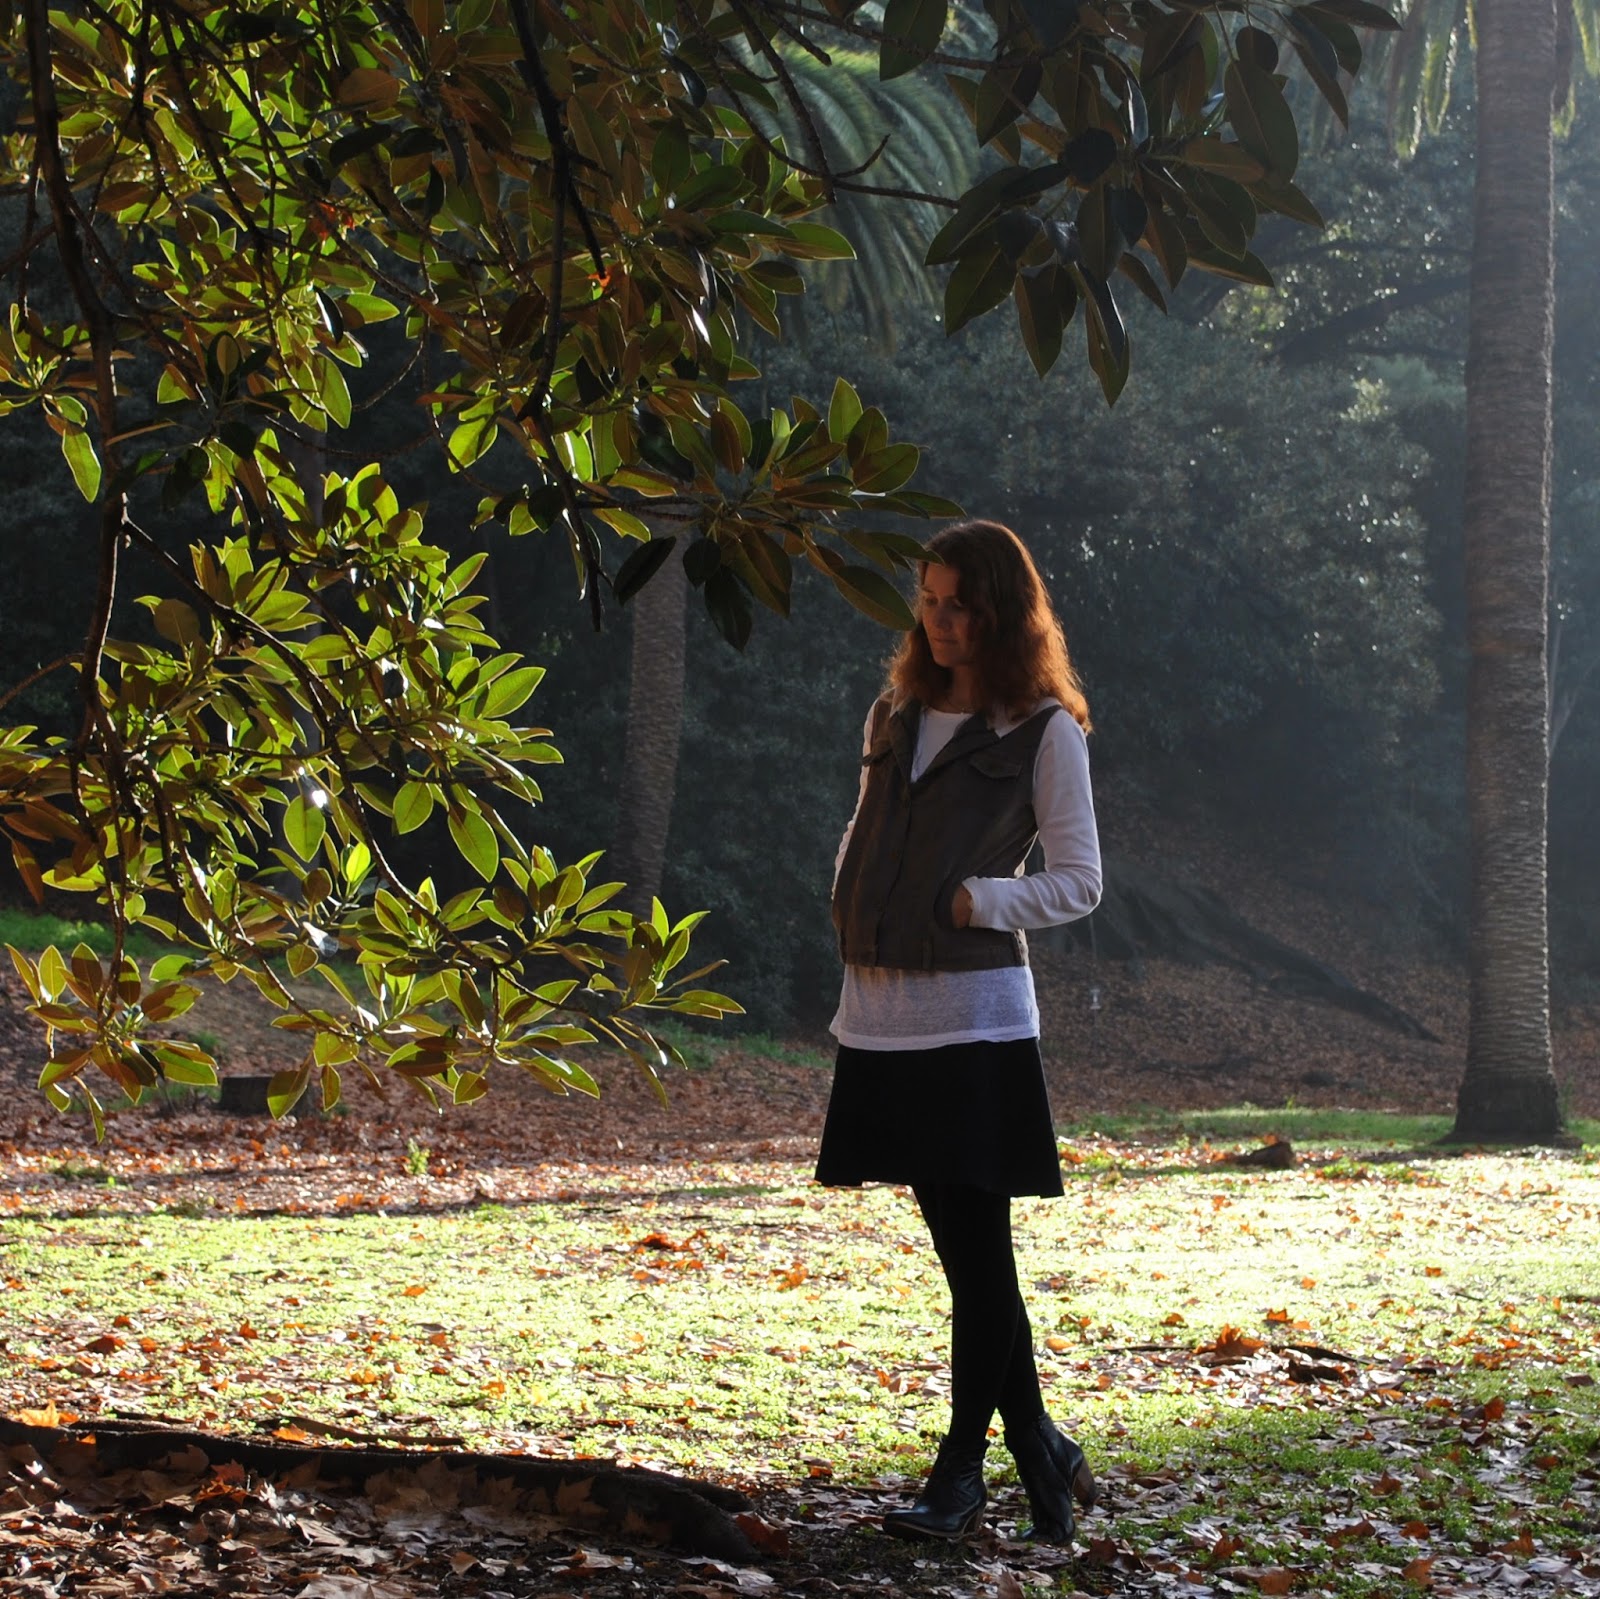
My ultramarine corduroy skirt.  I was bored with it, and didn’t wear it at all during me-made May even though it was season appropriate.  That is A Sign.  I dunno, I’d gone off the colour; the brightness of it felt a bit passe, a bit garish, not serious enough for winter.
So…. to the dye pot!   Plunging your clothes into a pot of dye feels so adventurous, and a little bit dangerous.  Like a thrilling, reckless and risky thing to do.  Yeah?  Man, I need to get out more.
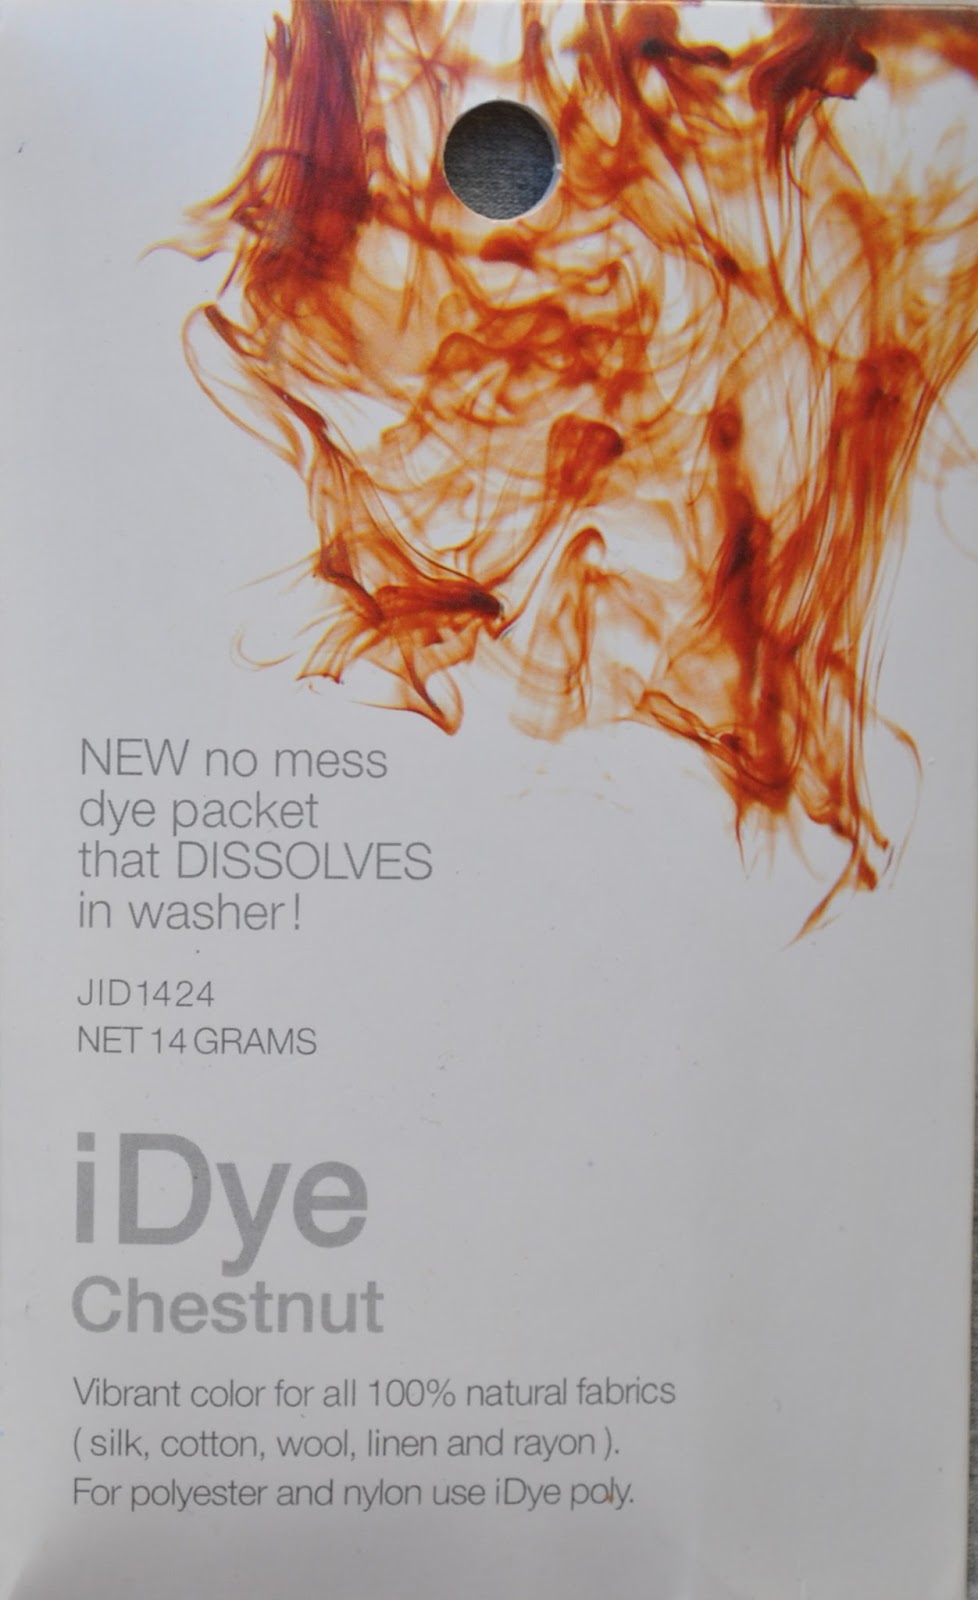
This was dyed with iDye in Chestnut.
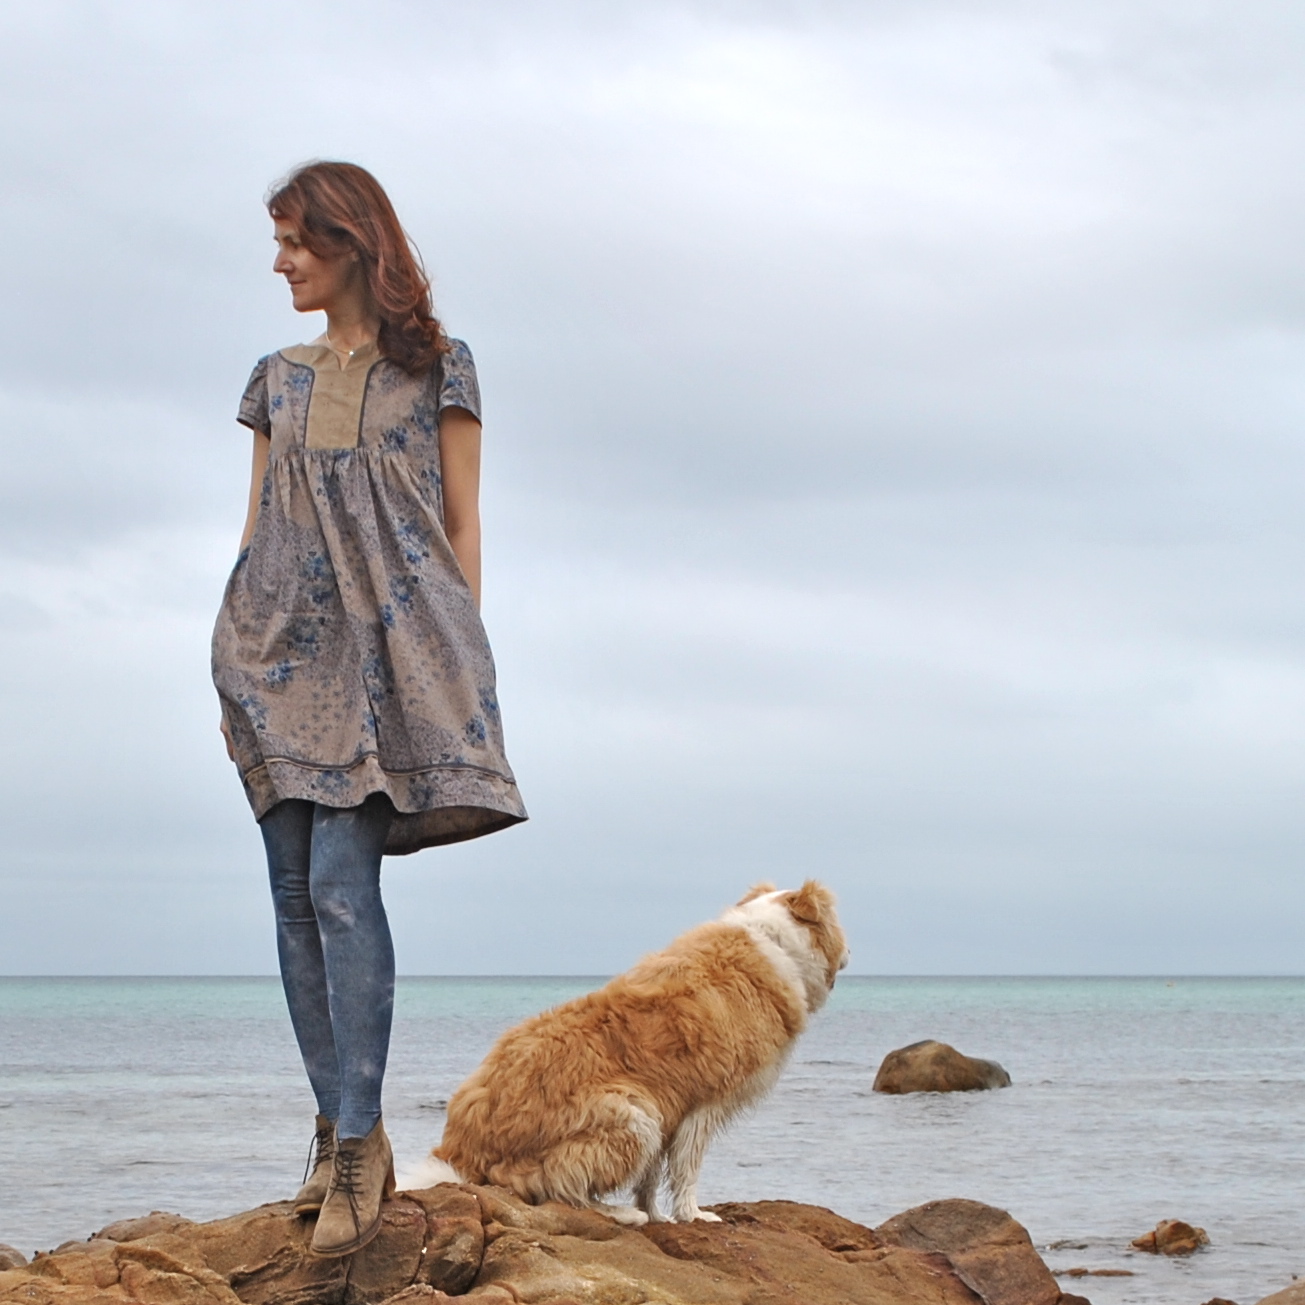
It did come out a lot less brown than I thought it would.  I thought, bright blue mixed with orange-y brown would maybe beget a chocolate-y offspring, or a deeper version of the corduroy in my hoodie jacket I am wearing above.  The new colour reads like deep dark petrol, a dirty midnight blue and I like it all over again now.  I’m super happy with the nuovo neutral-ness of it.  Feels like an actual new skirt, yay.

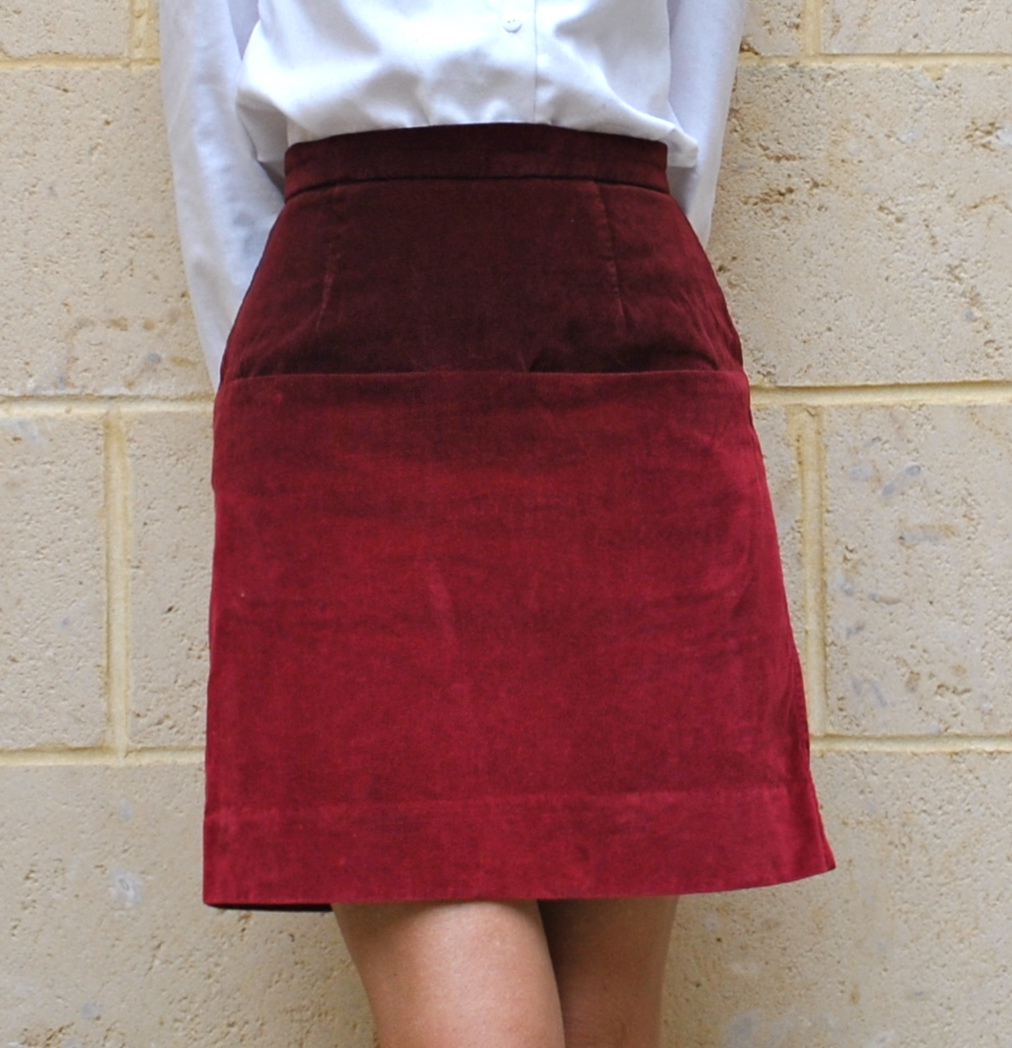
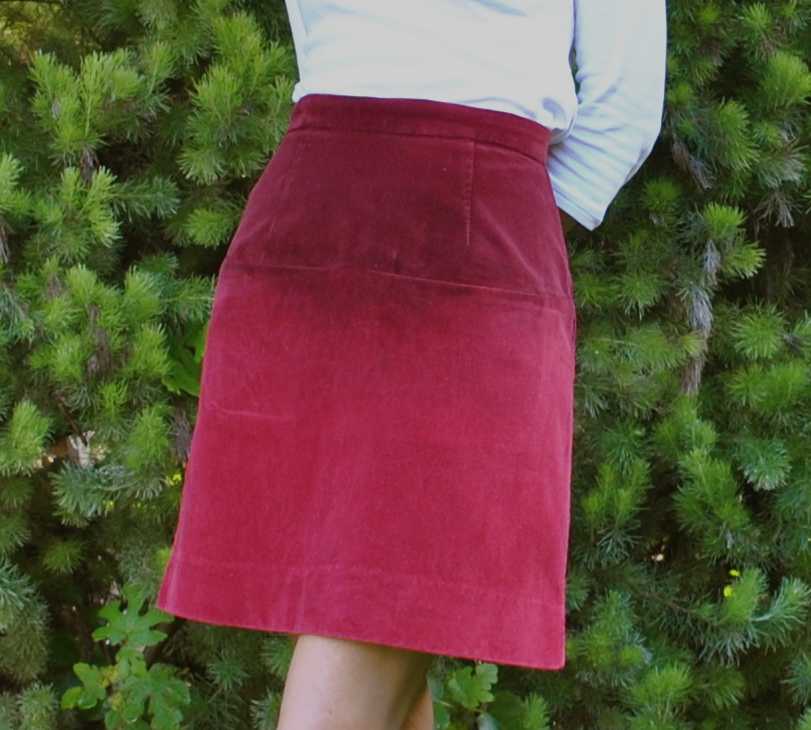
Then I turned to my ombre-d red velveteen skirt.  I did this only last week, but when I compared it to my original version, I realised that my re-ombre-ing efforts had been pretty darn pathetic.  So I re-ombred the re-ombred skirt in iDye in Brown.  So now it has been re-re-ombred.  Ha!
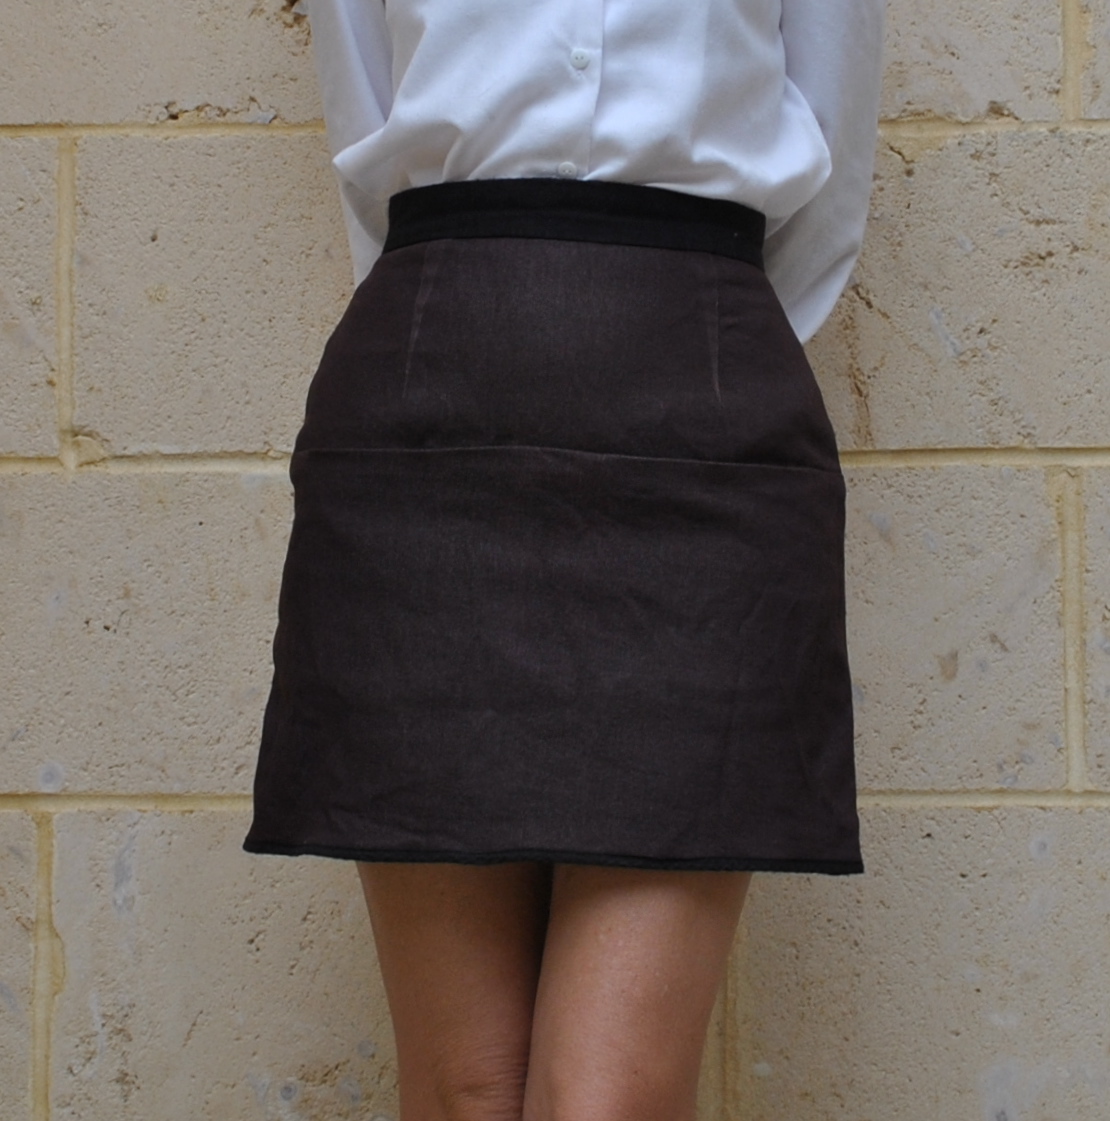
And my sludgy little skirt had lost some of its sludge, so it got a fresh dunking and a soaking in the leftovers.
Re-sludge-ing, accomplished.
Details:
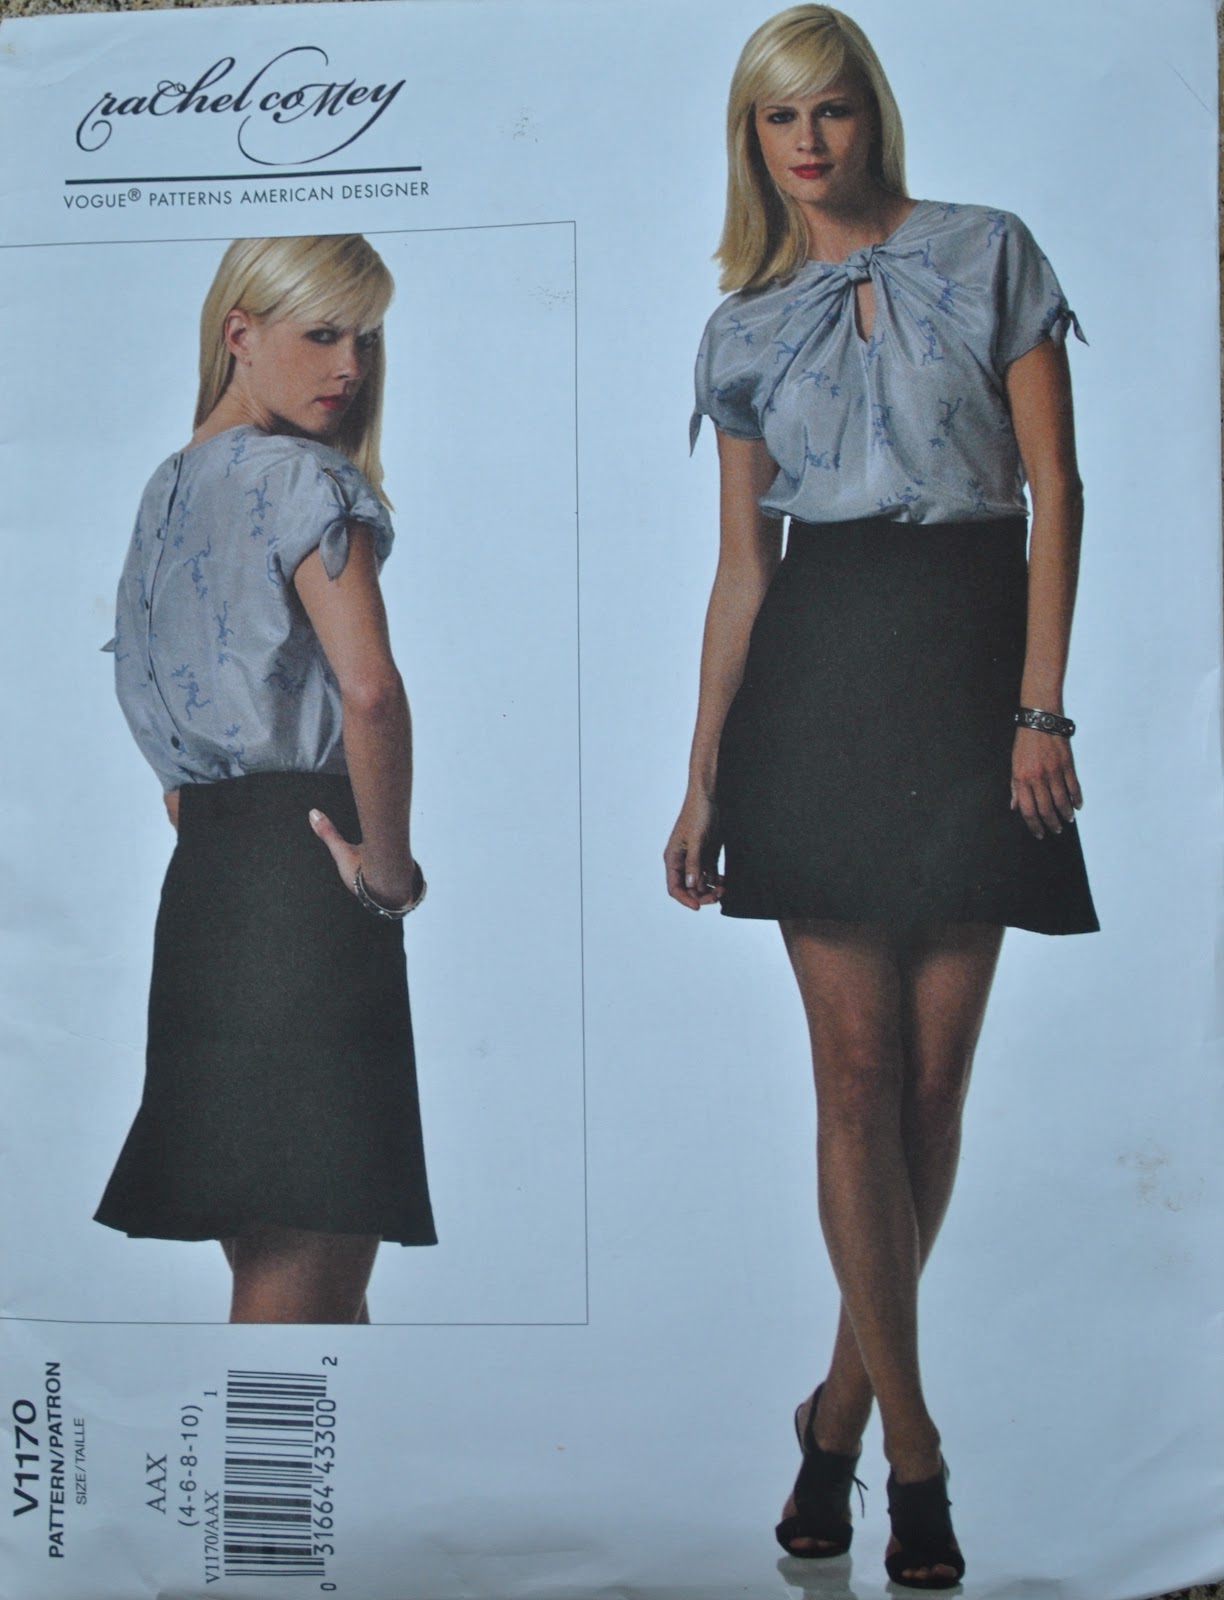
Skirt; Vogue 1170, blue corduroy dyed chestnut, original details here and my review of this pattern here
Top (under); the loose drape top from drape drape, white cotton, details here
Hoodie; self-drafted, made from a pair of old corduroy jeans and long sleeved Tshirt, details here
Tights; self-drafted, black merino wool fabric, details here
Boots; nylon, from Zomp shoes

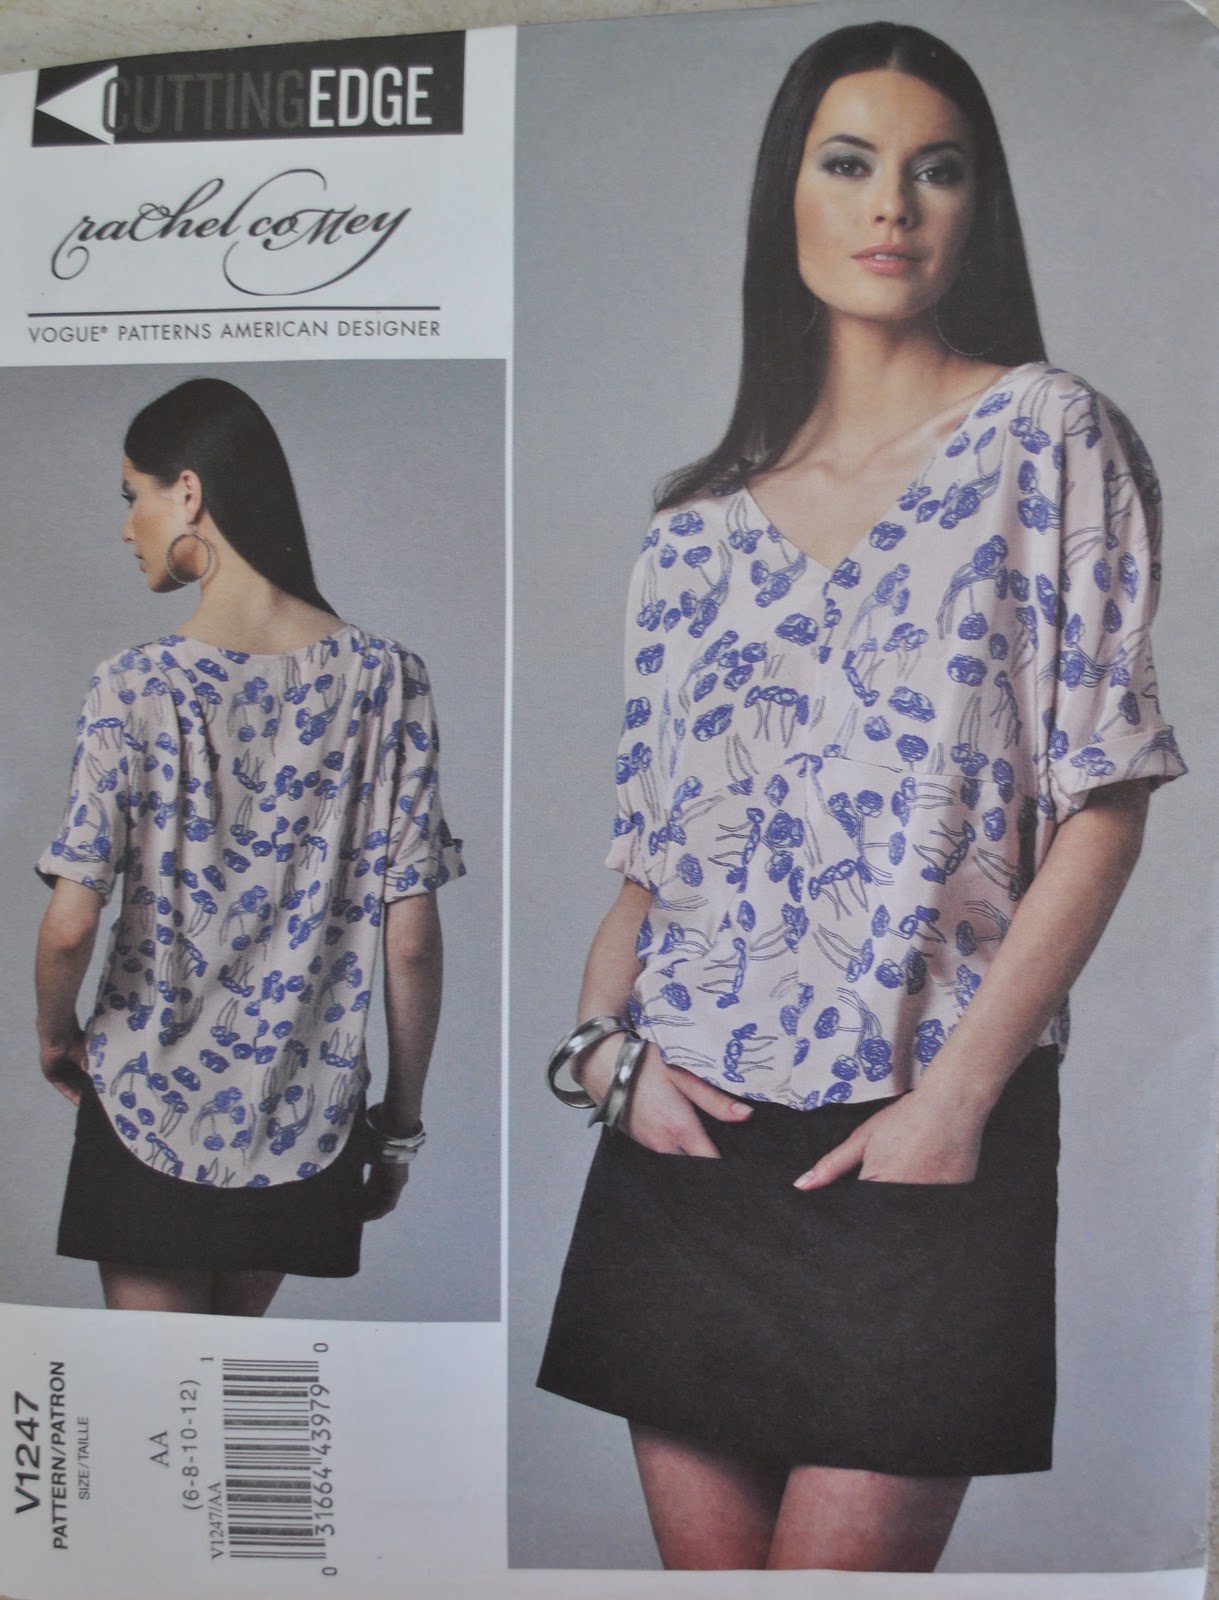
Red skirt; Vogue 1247, red cotton velveteen ombre dyed brown at the top, details here

Brown skirt; Vogue 1247, purple denim dyed brown, details and my review of this pattern here.
pinterestmail

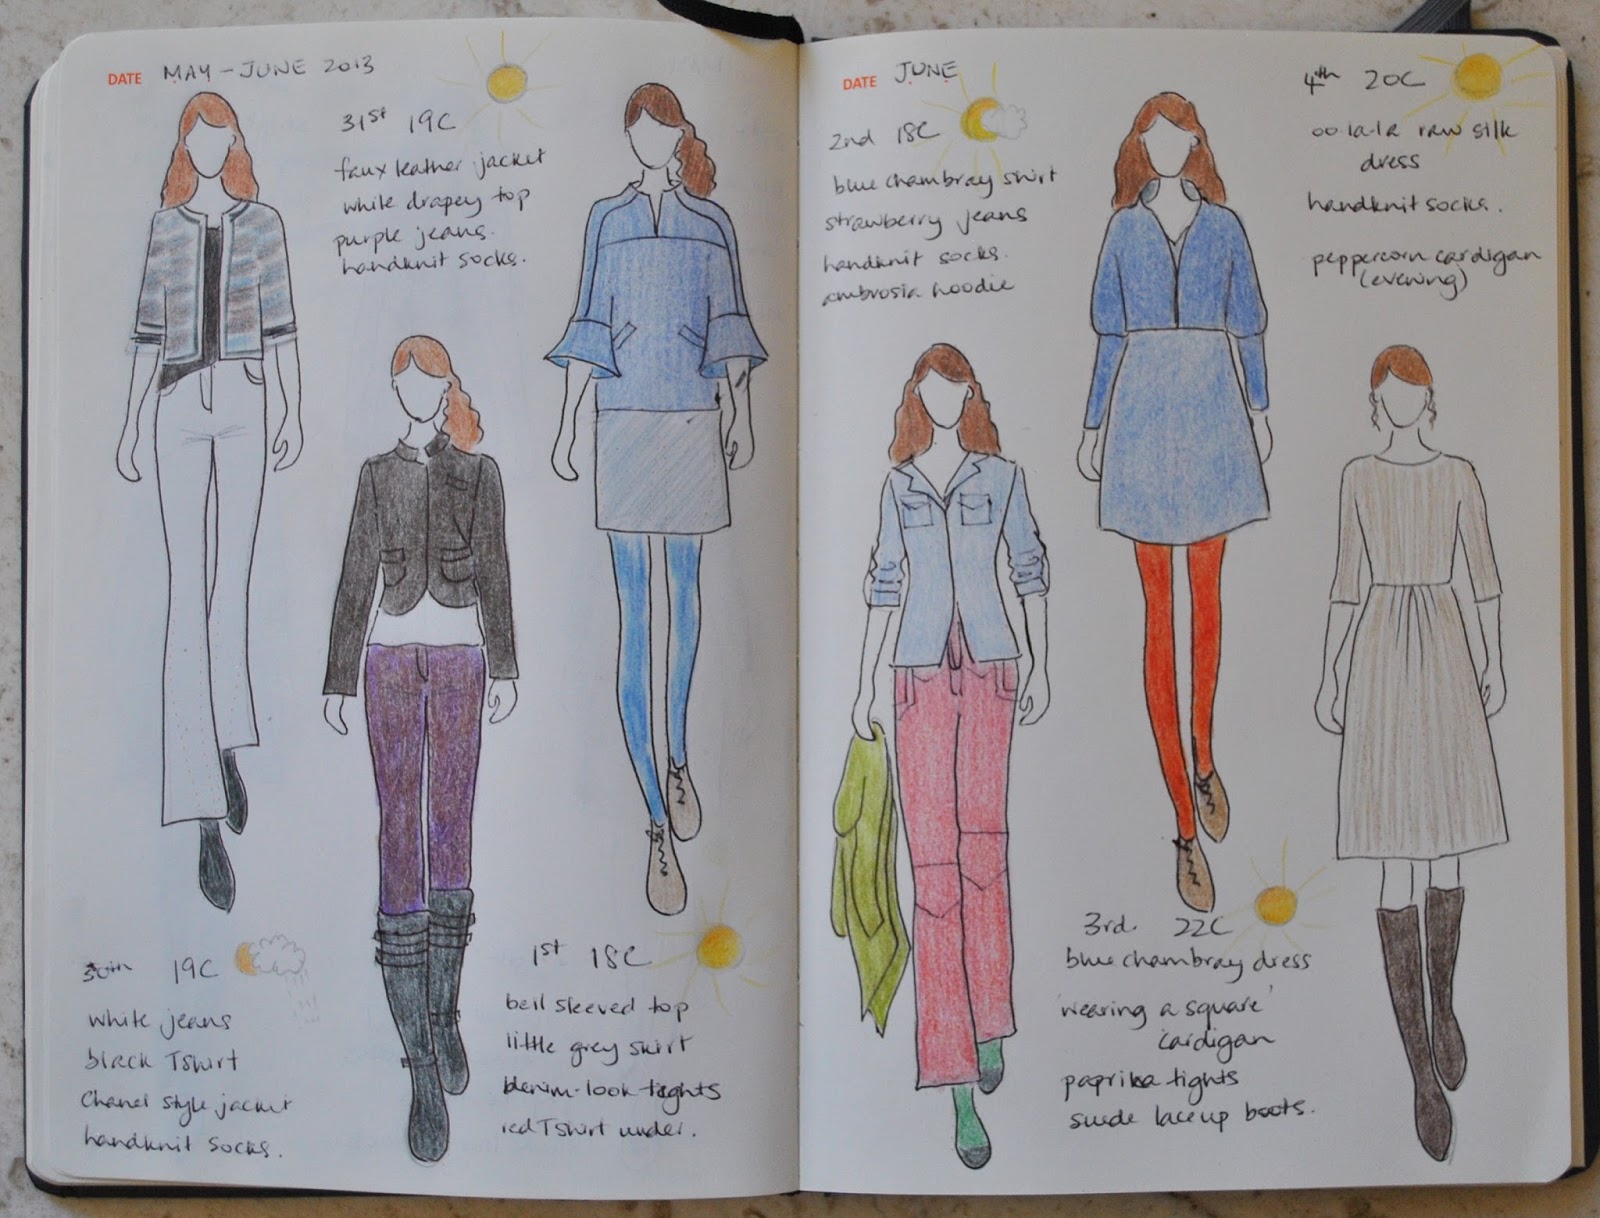
the paper doll project

(I’ve pledged to wear only clothes handmade by me this year and to sketch my daily outfits in my Fashionary.  I’m calling this the paper doll project)

30th May-4th June
from left:
ivory jeans, black Tshirt, Chanel style jacket, handknit socks
f-leather jacket, white drape-y Tshirt, purple jeans, hand-knit socks
white Tshirt, bell-sleeved top, little grey skirt, denim-look tights
blue denim shirt, strawberry jeans, hand-knit socks, ambrosial hoodie
blue denim dress, wearing a triangle cardigan, paprika tights
oo-la-la dress, hand-knit socks

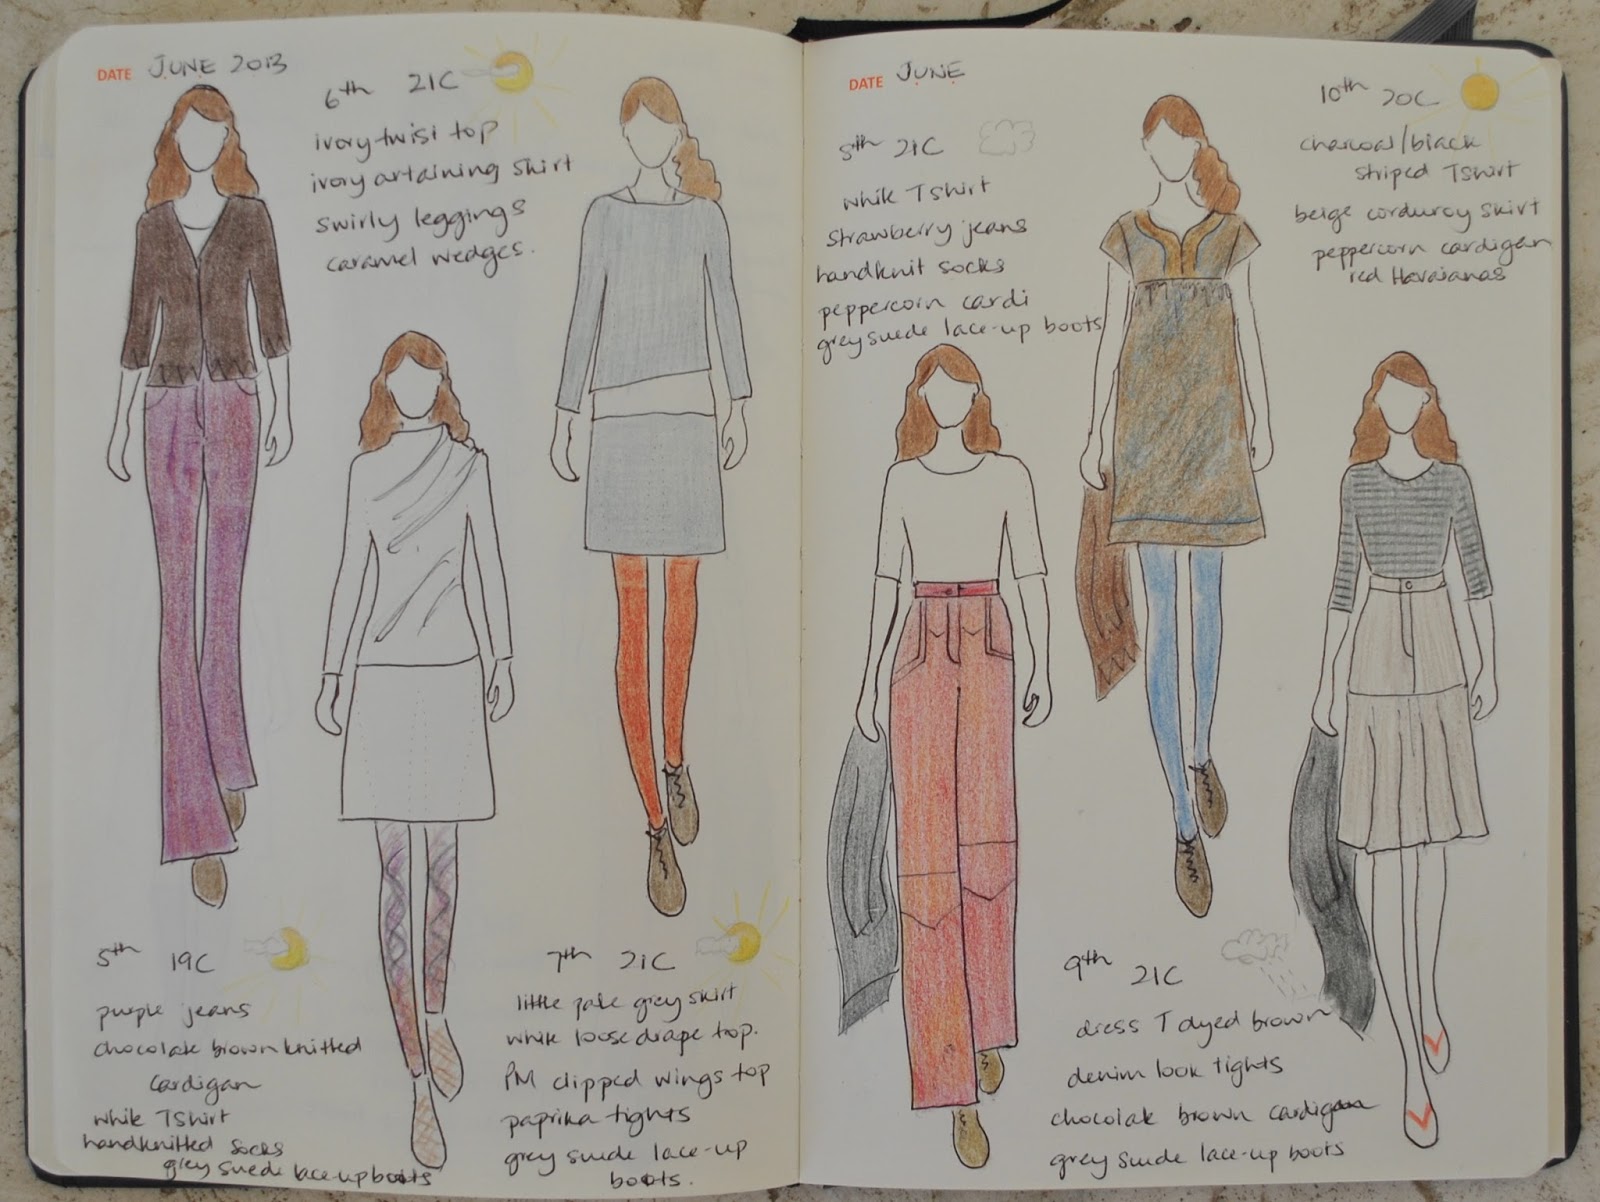
5th-10th June
from left:

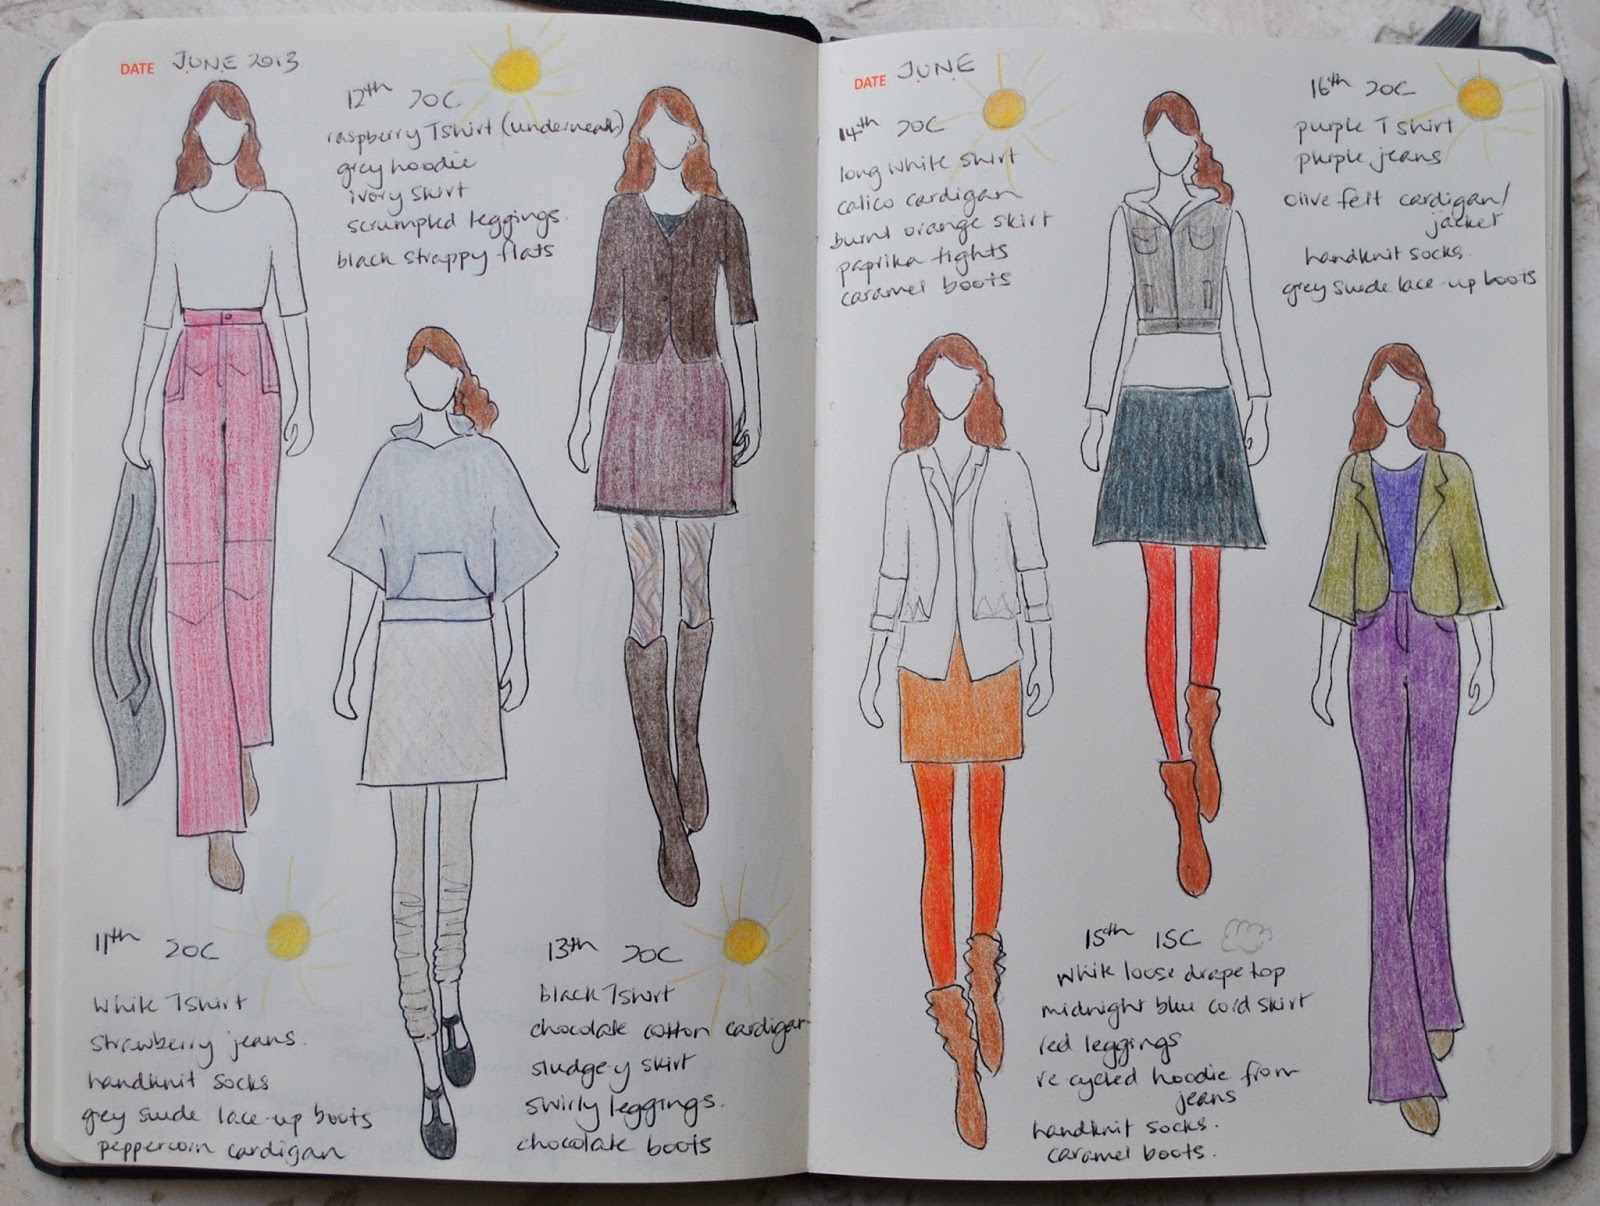
11th-16th June
from left:
pinterestmail

Navy stripes

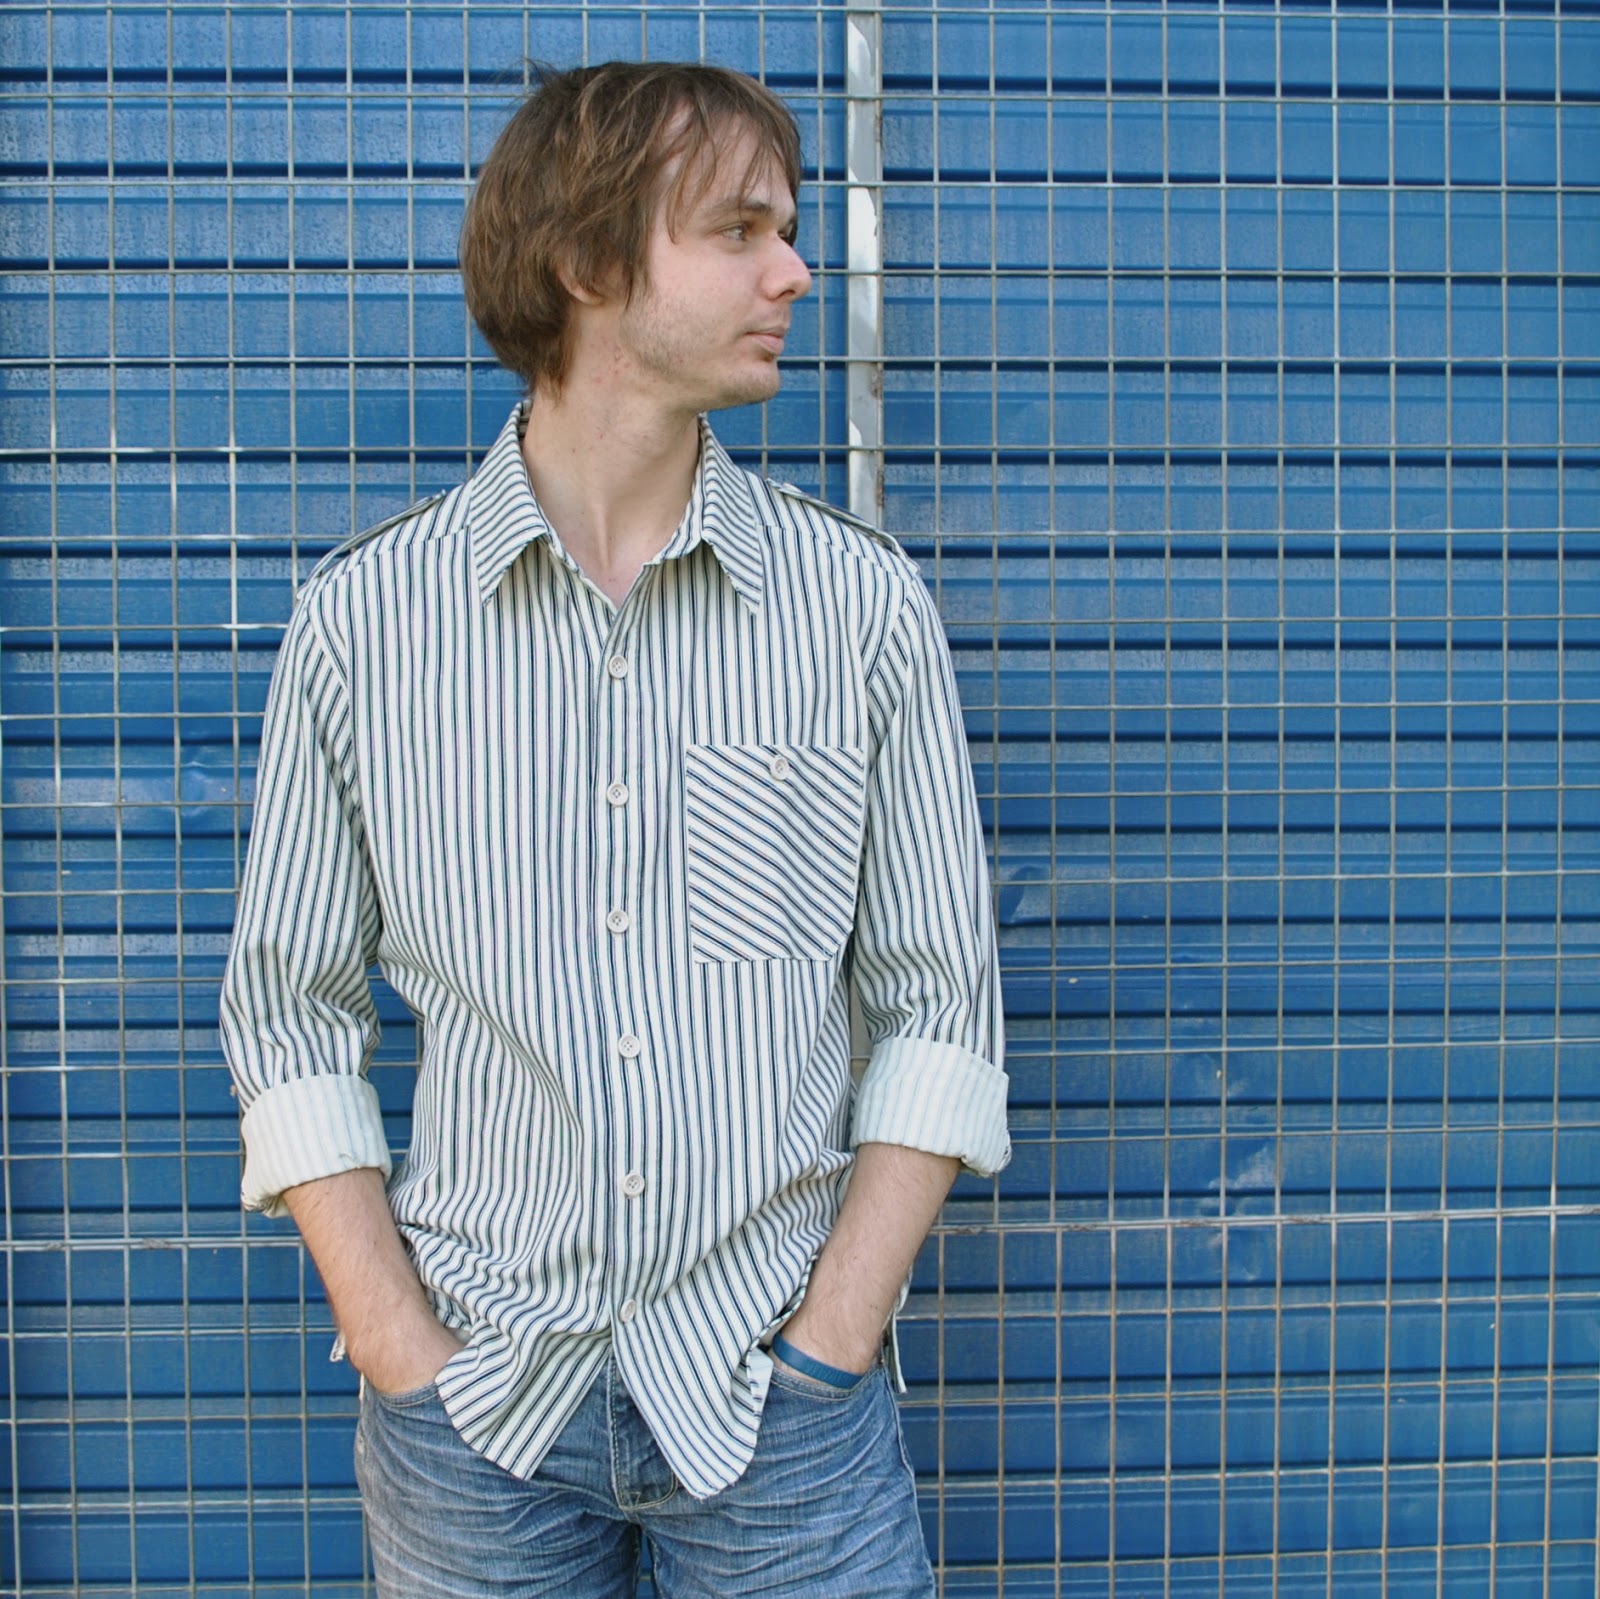
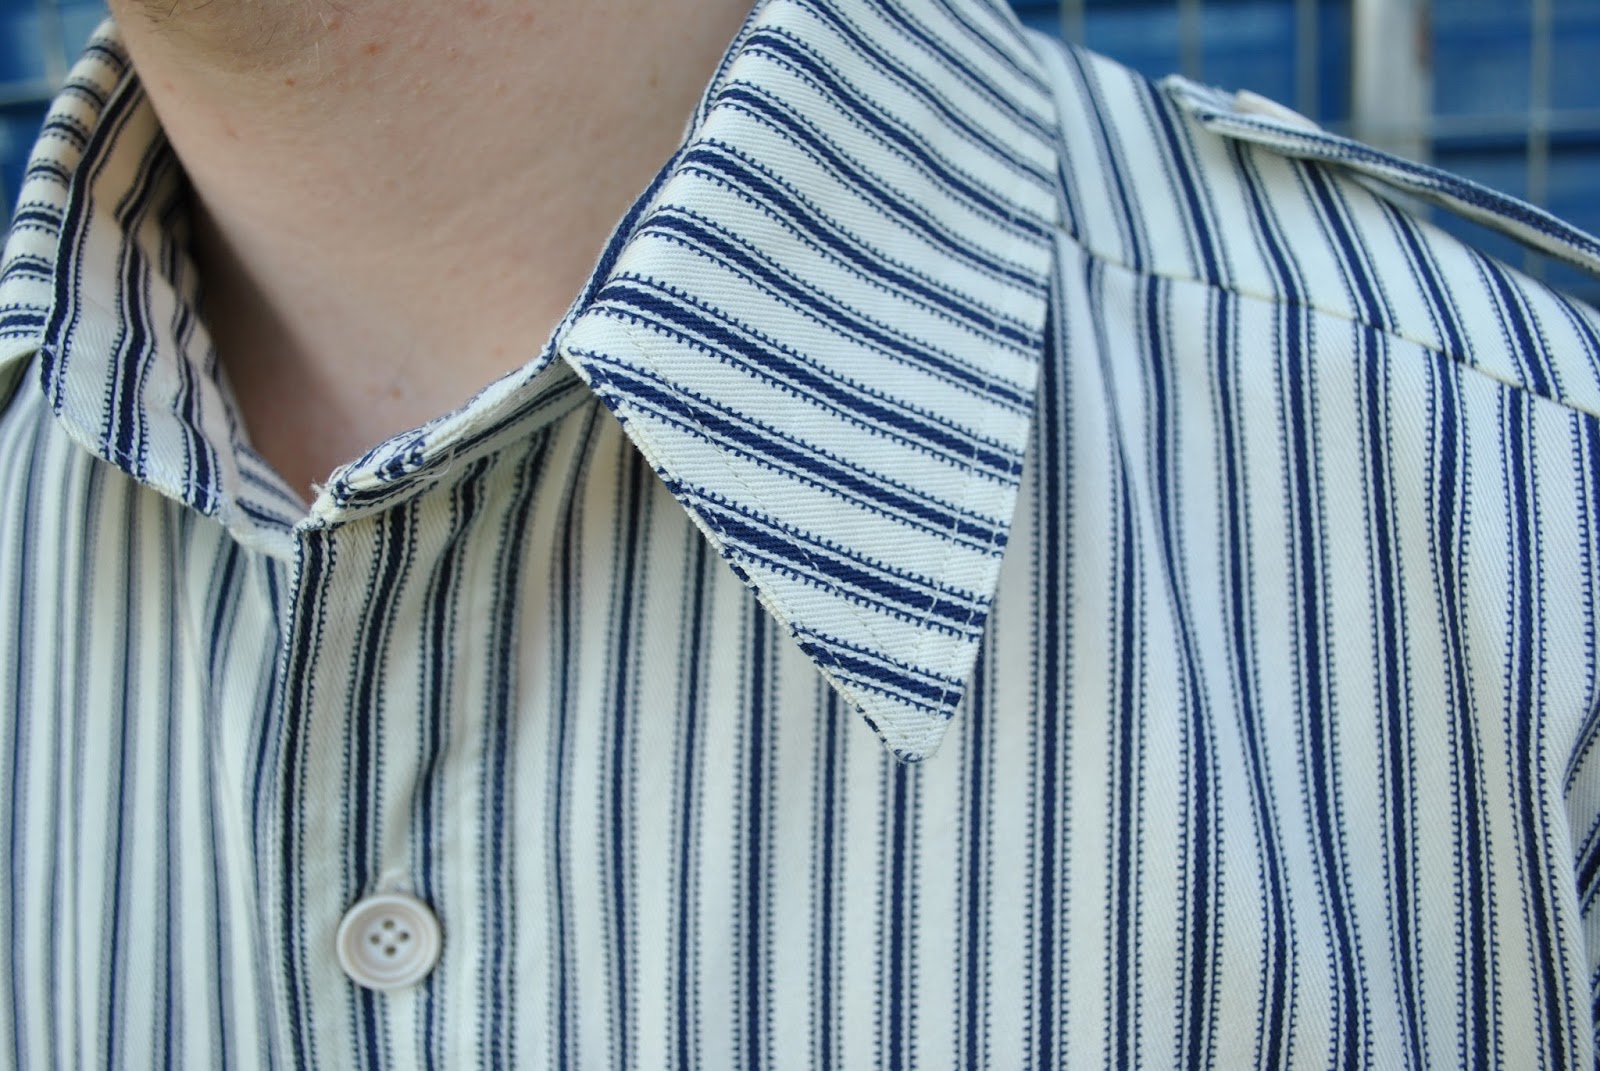
It was Sam’s birthday a few days back and I made a shirt for him. 

The fabric is from Spotlight, a medium-weight cotton twill in a heavy cream colour with navy blue stripes.  Ahem, stripes again, I know; but hey.  It’s so hard to find different and nice mens’ shirting fabric.  Seriously hard.  Fortunately, Sam loves stripes, so our quest to stockpile the world’s largest, handmade, striped men’s shirt collection is going great guns, thanks.

Buttons; a light bone colour, also from Spotlight.  Y’know, Spotlight gets a lot of flack for the hit and miss nature of their stuff.  And then every now and again, just when you’re about to throw up your hands in despair, you find some gems.  So I’m eating my words right now.  These buttons, and this fabric?  Awesome-sauce!
So, do I have any new revelations about tailoring a man’s shirt?  No.  Am I being mind-numbingly repetitive.  Um, probably!  I used the same ol’ pattern too.  I reeeeeeally should get some new patterns, honestly.  And no; it wasn’t really a huge birthday surprise, since for one, he did actually request it.  But I still wrapped it up so he could unwrap it on the day!
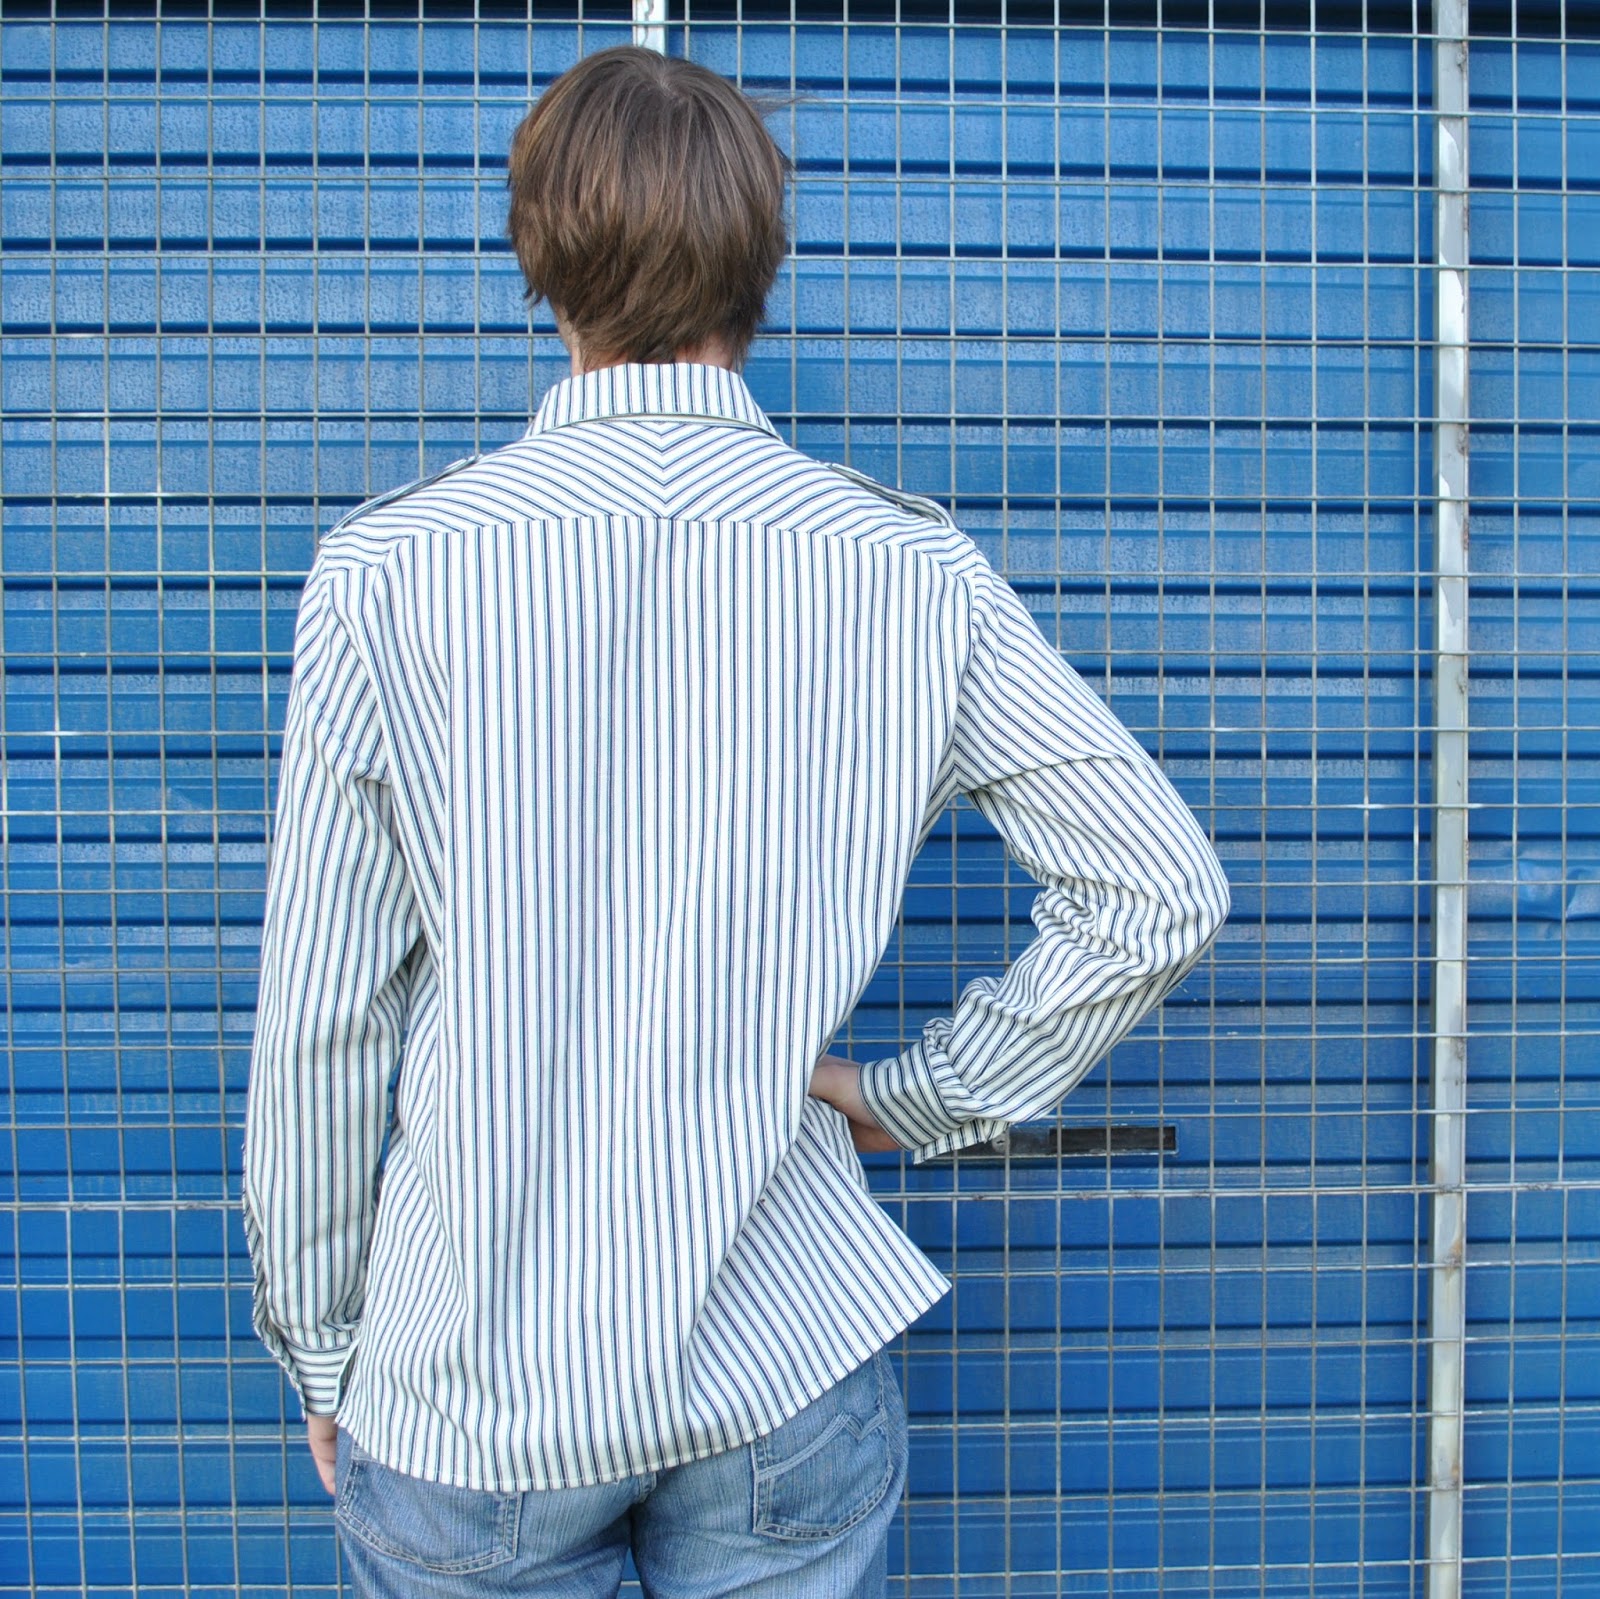
It’s made to his fit preference; loose and boxy enough to wear open over Tshirts and hoodies, if he so desires, which he frequently does. 
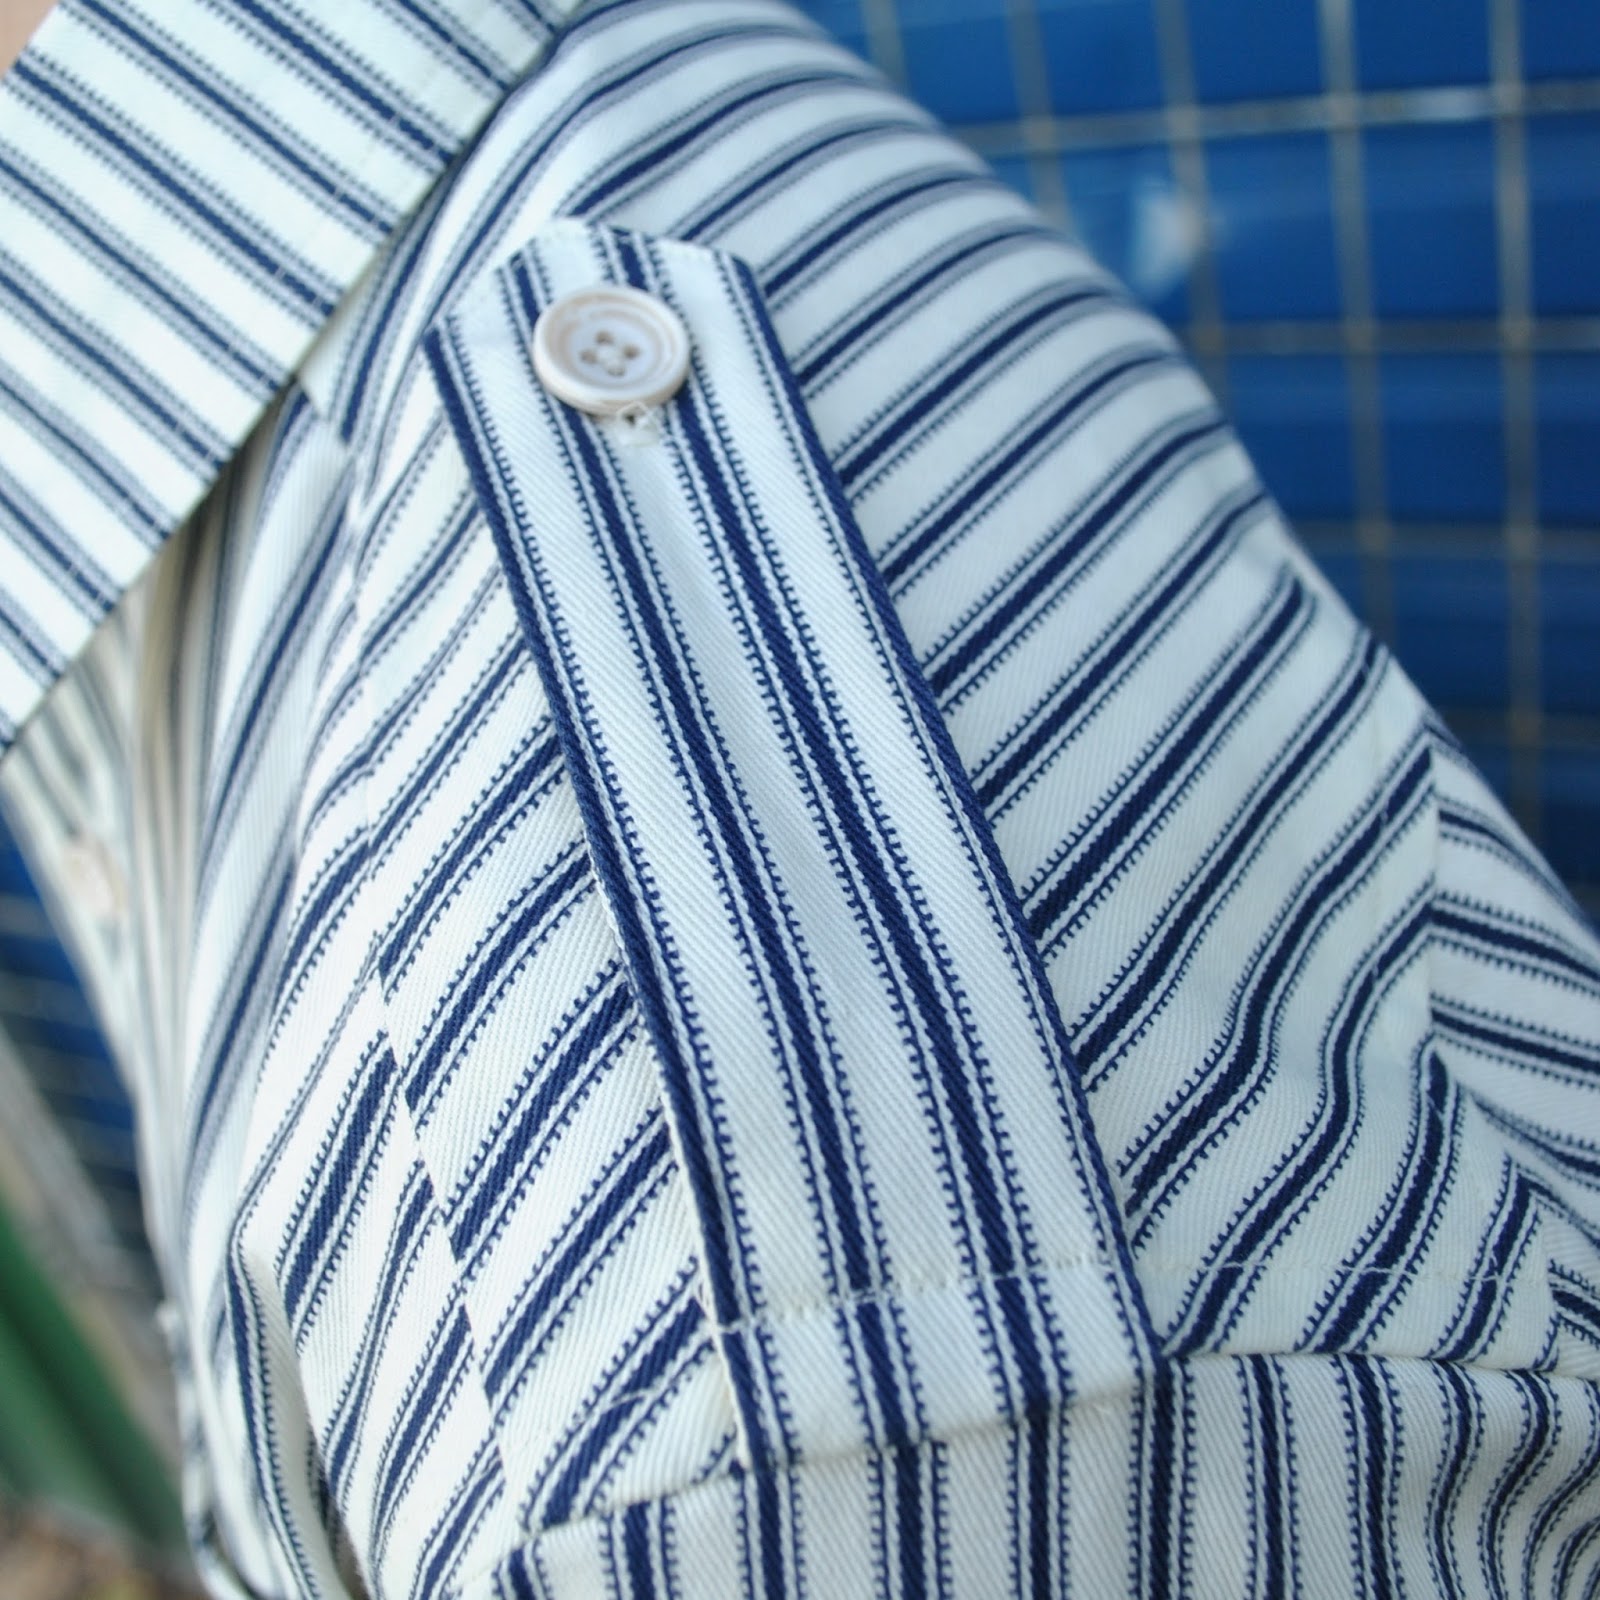
Features…  Epaulettes.  

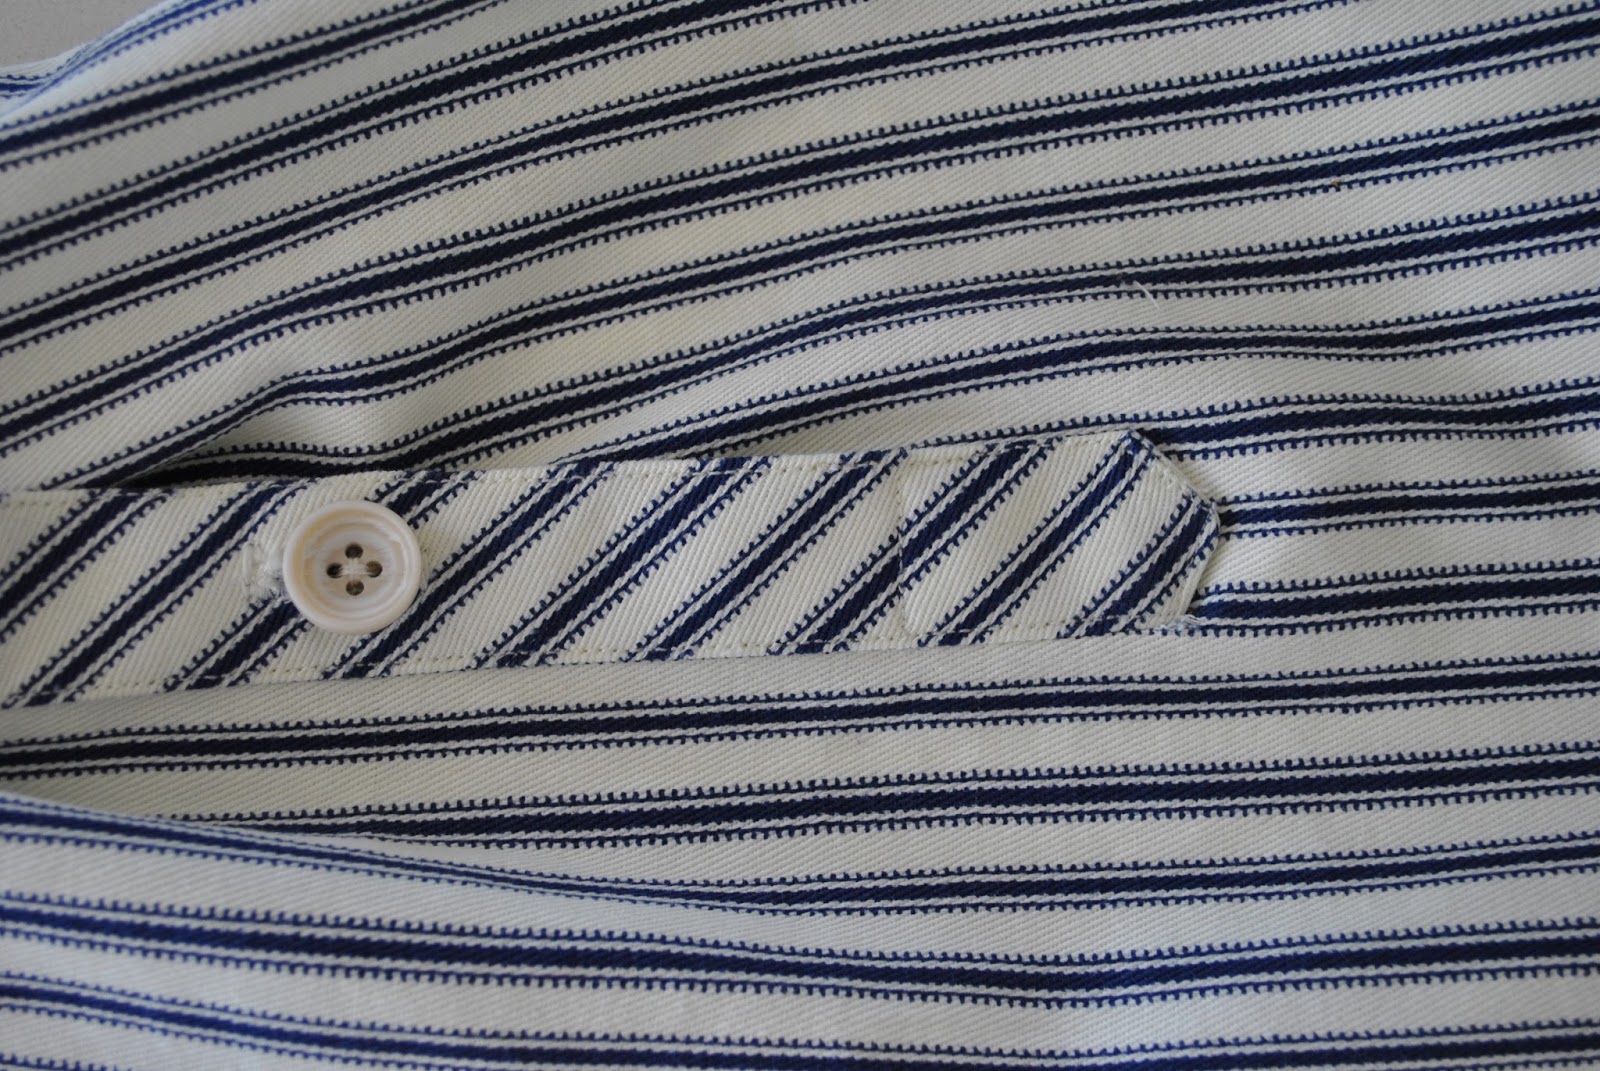
There are one or two bias details, for some visual interest.  Pocket on the bias, with a pen compartment.  Sleeve plackets cut on the bias, and I loooove how this looks!  Plus, it was heaps easier having no stripe matching to worry about here  ðŸ˜‰

Straight hem, with split side seams.
ETA: at right, showing the inside view where the flat-felled seam allowance meets the split side seam… (I will do a small tute on how I do my take on this, if anyone is interested?)

The collar is cut with much smaller, less pointy wings than the pattern piece.

I’ve been accustomed lately to flat-felling the armscye seam allowances, and French-seaming the sleeve and side seams.  Then I read an opinion somewhere that French seams were “feminine” and not suitable for a men’s shirt at all… that flat-felled seaming throughout is the only acceptable finish to a man’s shirt.  O rly??  Well, that burst my bubble.
So I felt sufficiently shamed into going with flat felled seams throughout.  Doing this up inside the sleeves of a shirt is not exactly easy.  I got a pretty nice finish, but it was fiddly business.

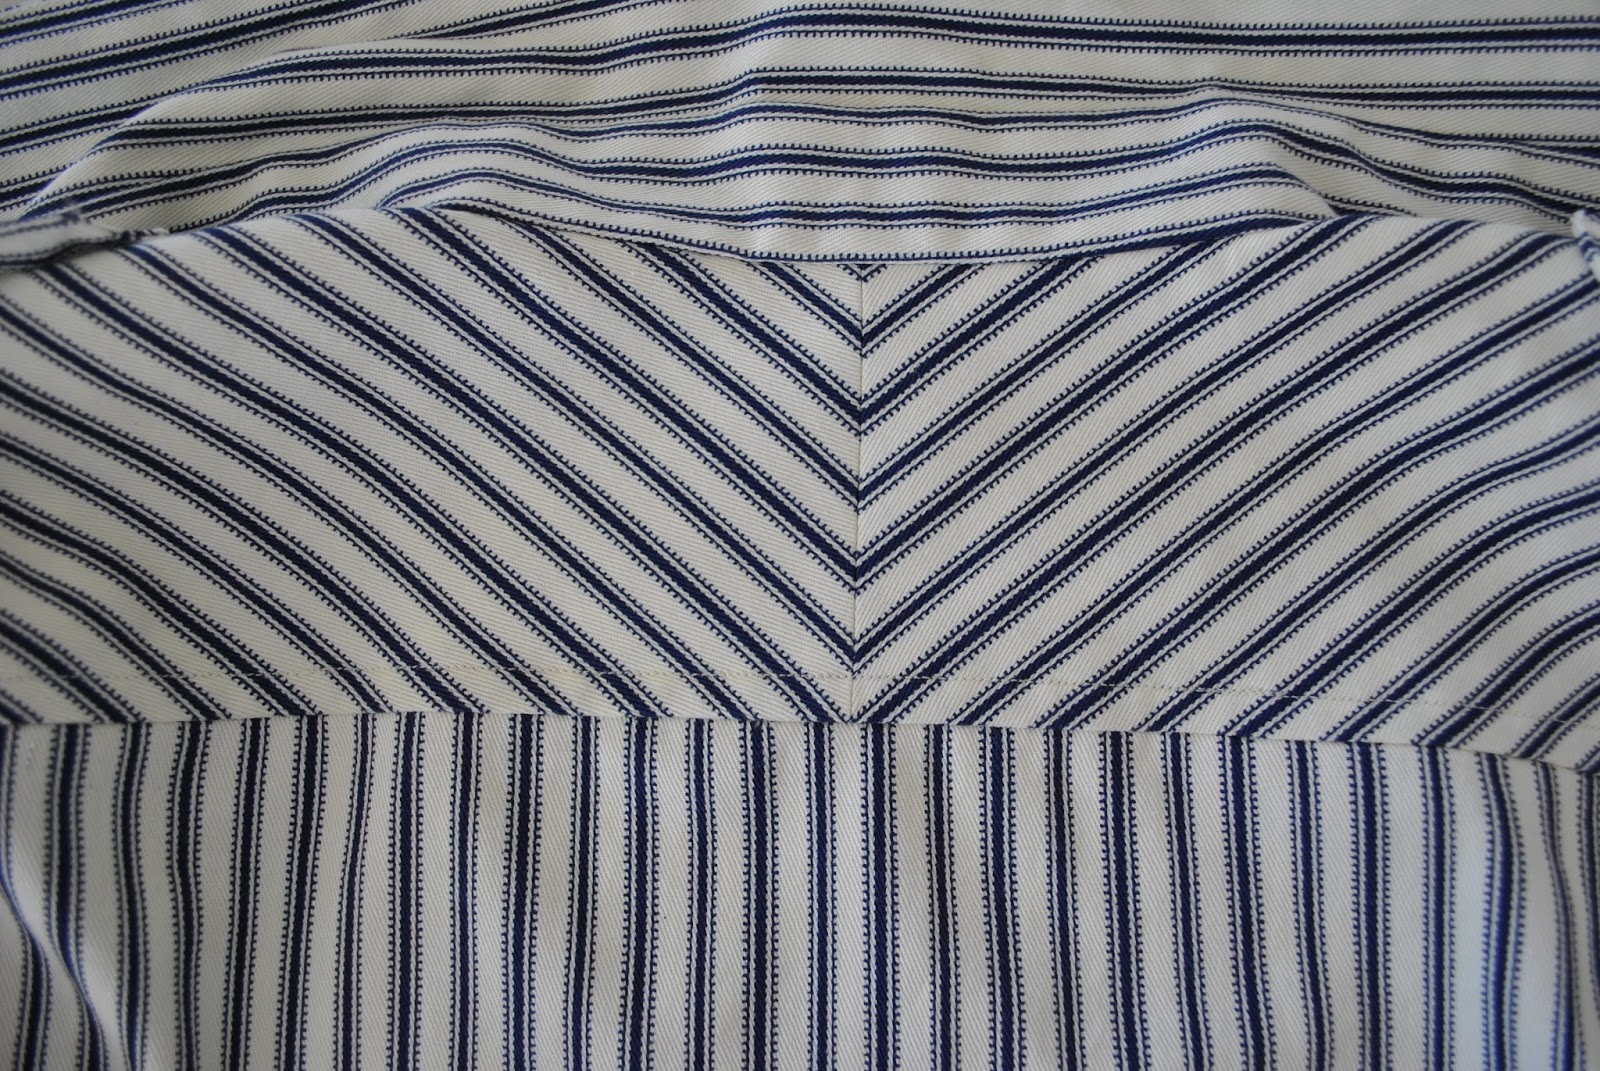
The yoke.  
Drastic fabric shortages   an inspired creative decision dictated that I cut it as two halves on the bias.  The yoke facing is a regular, on-grain, single piece of fabric for stability, cut from plain white cotton.

Shirt; Burda 7767 modified, navy and cream striped cotton twill.  My review of this pattern is here, and my previous Burda 7767 makes are here and here.

pinterestmail

Browning a couple of things

Remember my Sew Bossy dress, below?  It was very… sweet, wasn’t it?
 I mean, I wish I could wear really pretty things like that, but I think I cannot!  But
I thought it had promise, it just needed de-twee-ing.

before
I lopped off
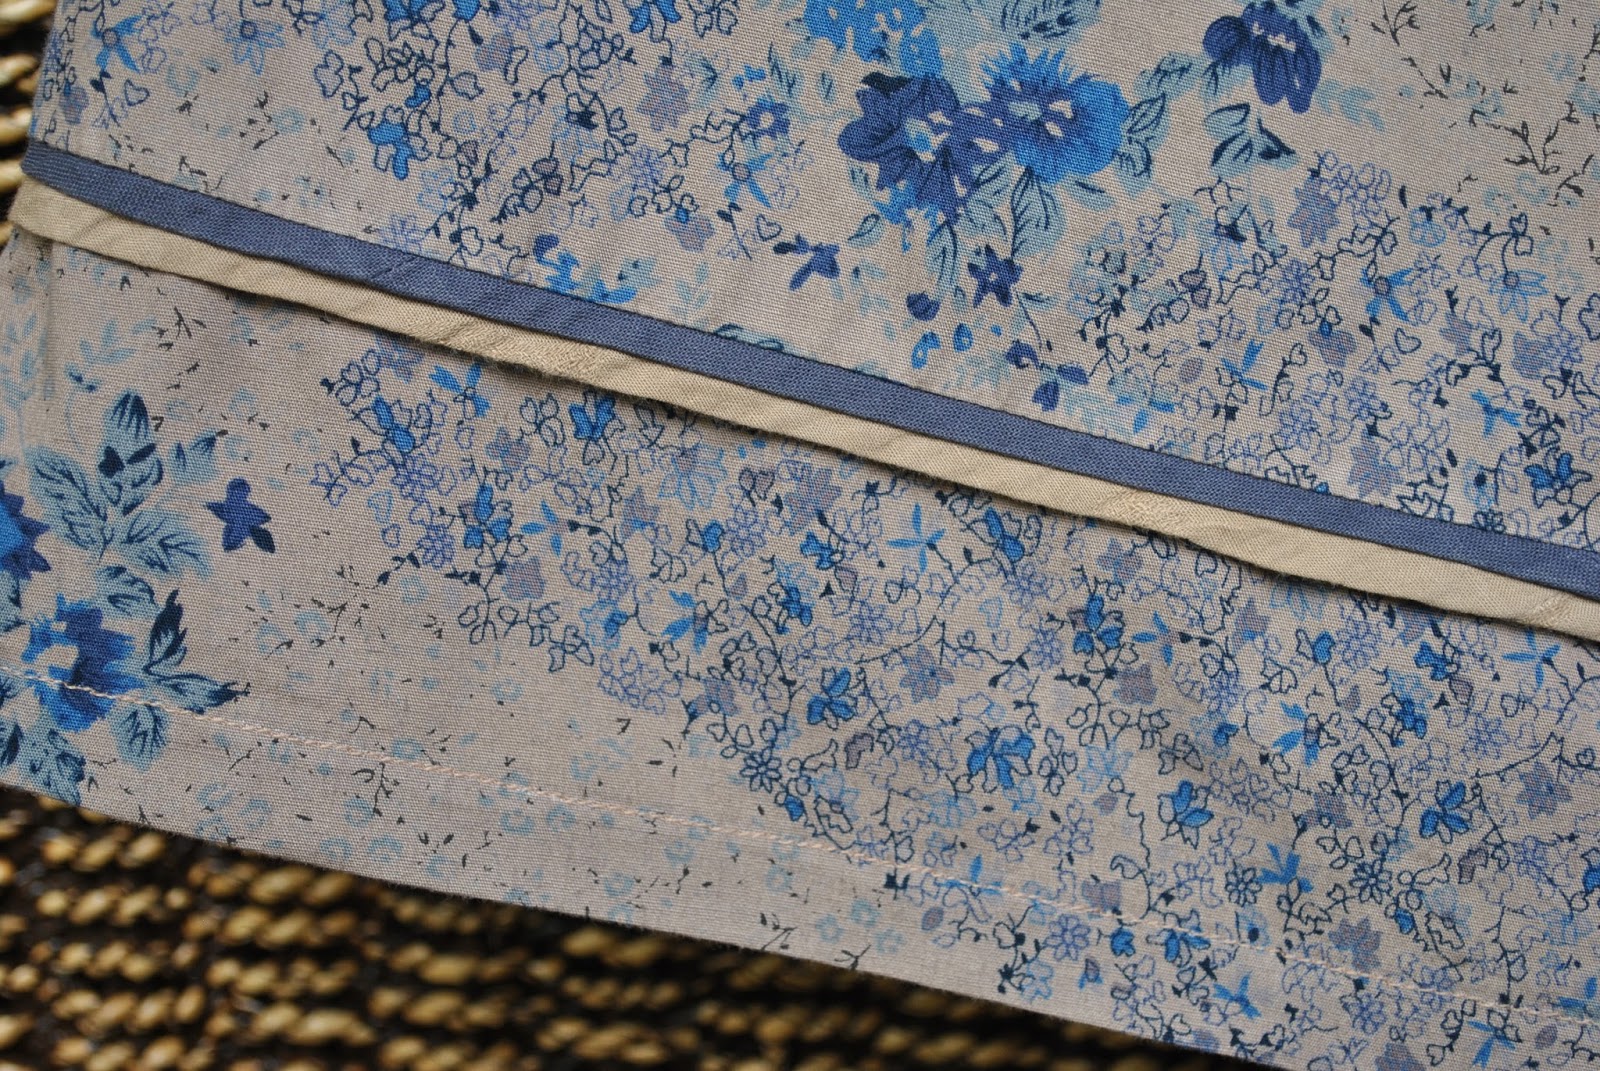
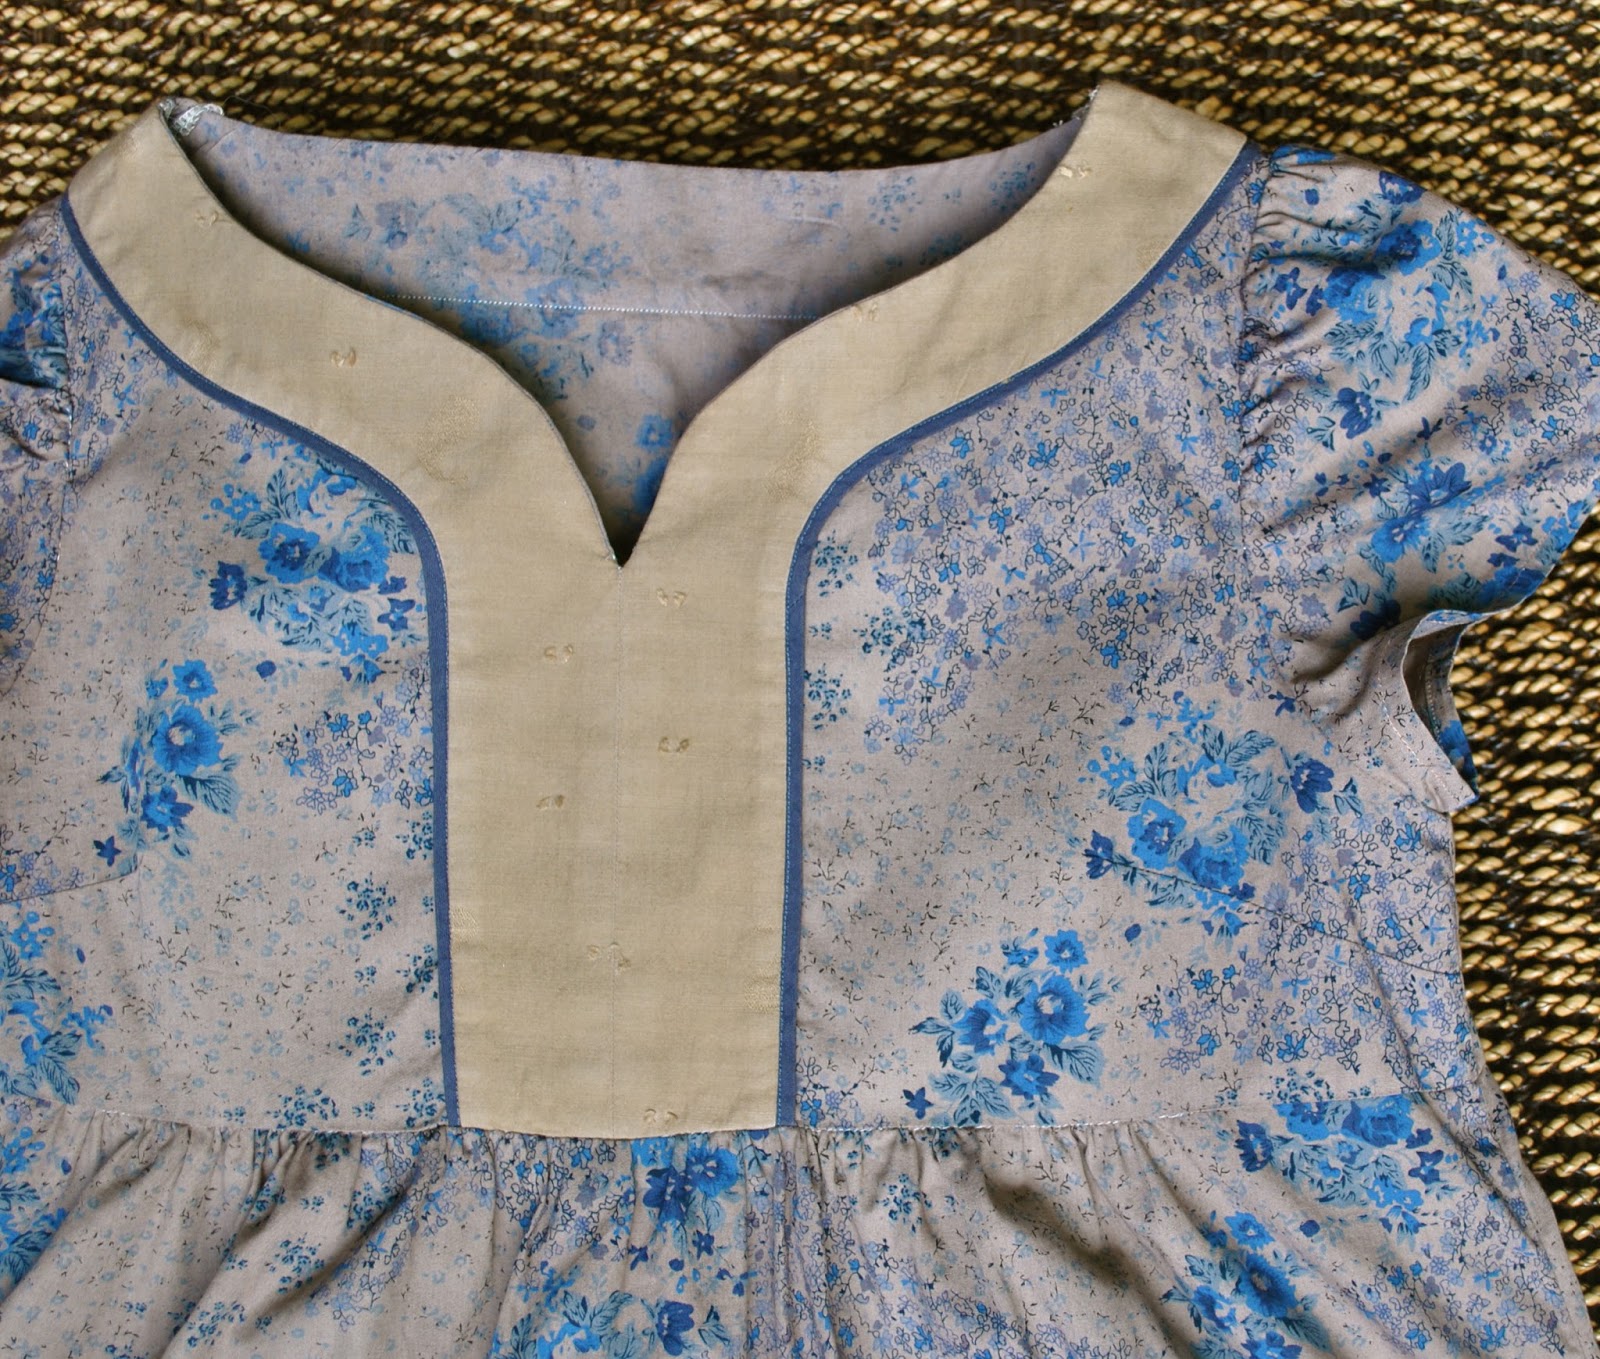
the sleeves, so now they are plain little cap sleeves; and then dyed the whole thing
brown, using iDye, colour Brown. 
So, I didn’t do very much, but it’s definitely made a ginormous
difference to my resolve to actually wear it!  I kinda love its new look, still with an old-fashioned charm, but in a less cute and more prosaic way, reminiscent of peeling sepia-d wallpaper in a decaying old farmhouse, or something.
Since I had used ivory
coloured polyester thread to sew the entire dress, after dyeing the hem
stitching really stood out and looked awful.  I unpicked all the visible ivory top-stitching and re-stitched
using coffee coloured thread.
The little quirk of
dyeing is that you cannot always predict exactly what your results are going to
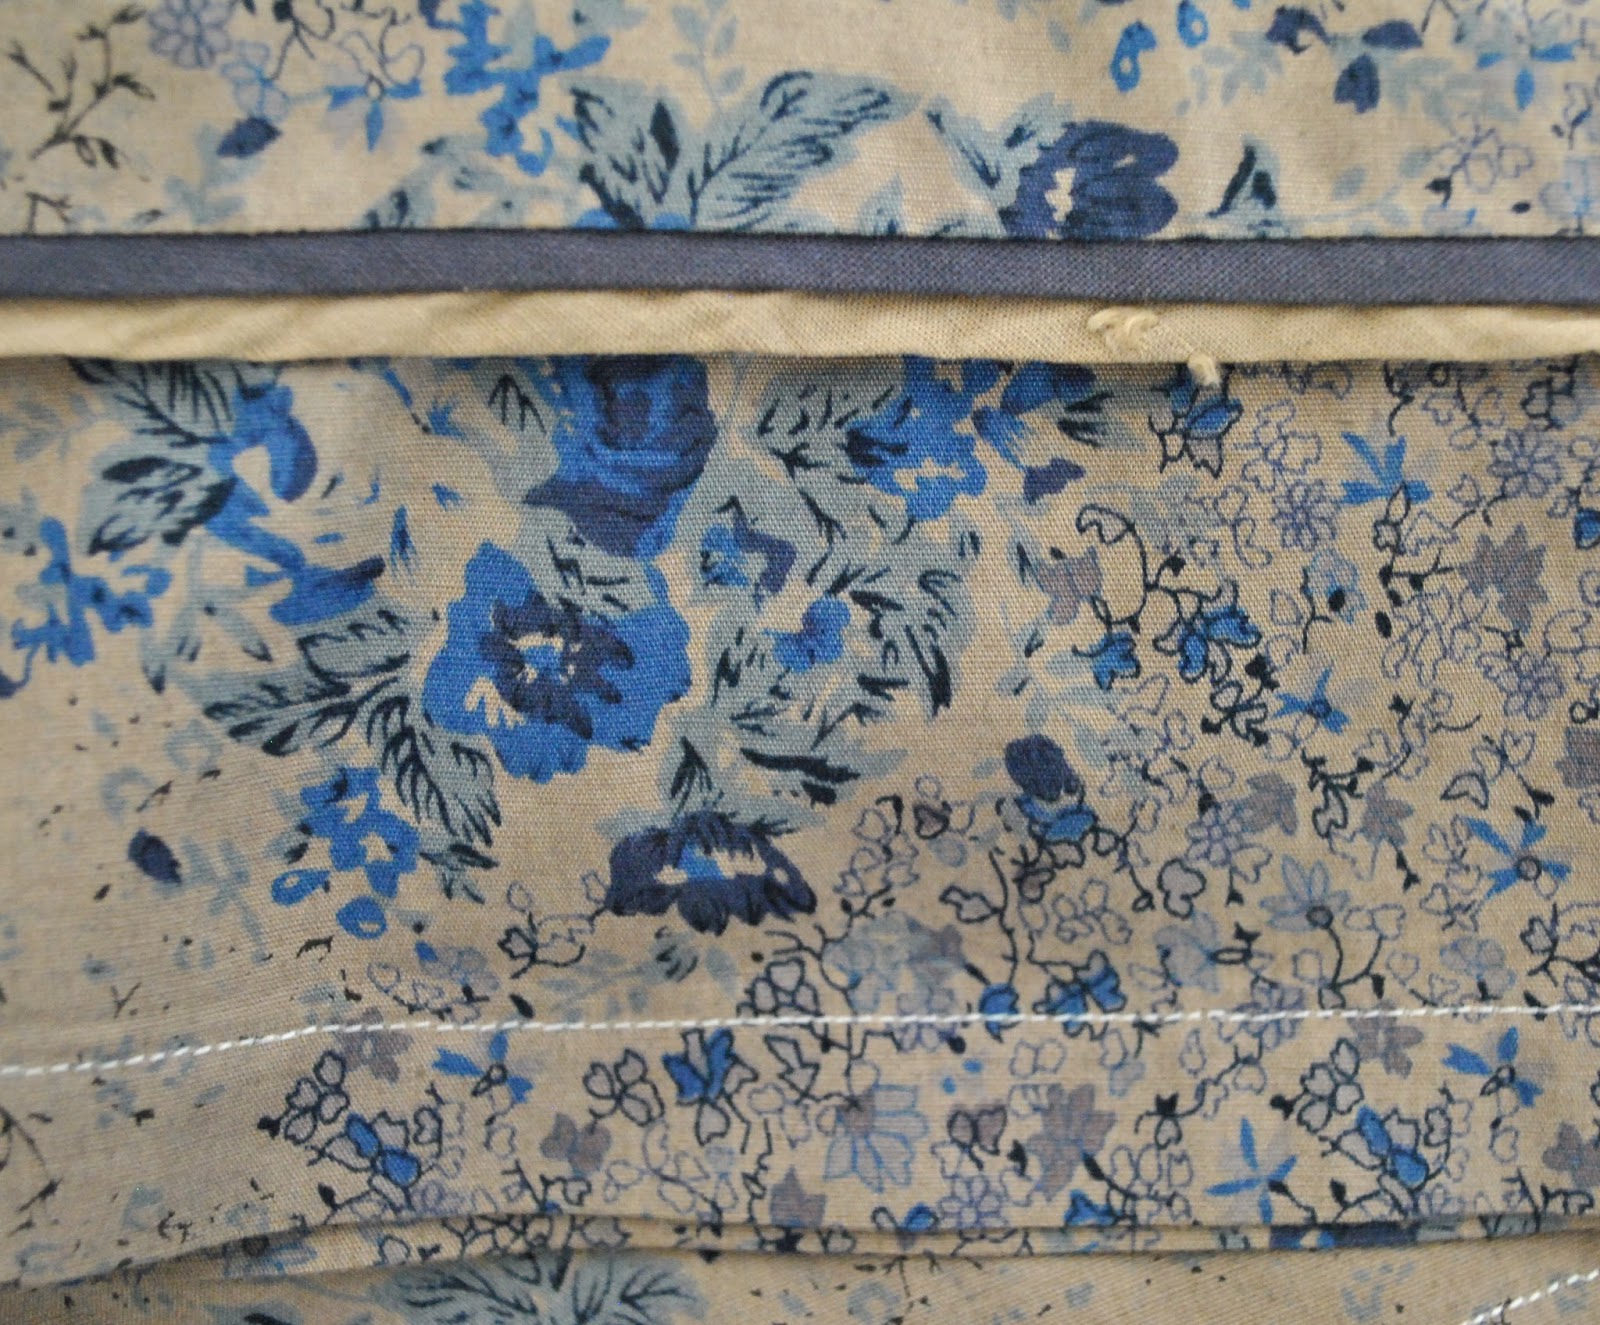
be.  I found it interesting that
the ivory based print has come out a slightly purple-y shade of brown, while the
white cotton I used for the neckband and hemline piping has come out more of a
yellow-y, coffee colour.  Aaah, the lucky
dip that is dyeing!
And while I had the dye pot and
dye out I also re-ombred the top of my red velveteen skirt, which had lost a bit of its intensity
since I first dyed it a year ago. 
 I’m a big believer in the transformative powers of brown dye.  Such wonderful stuff.

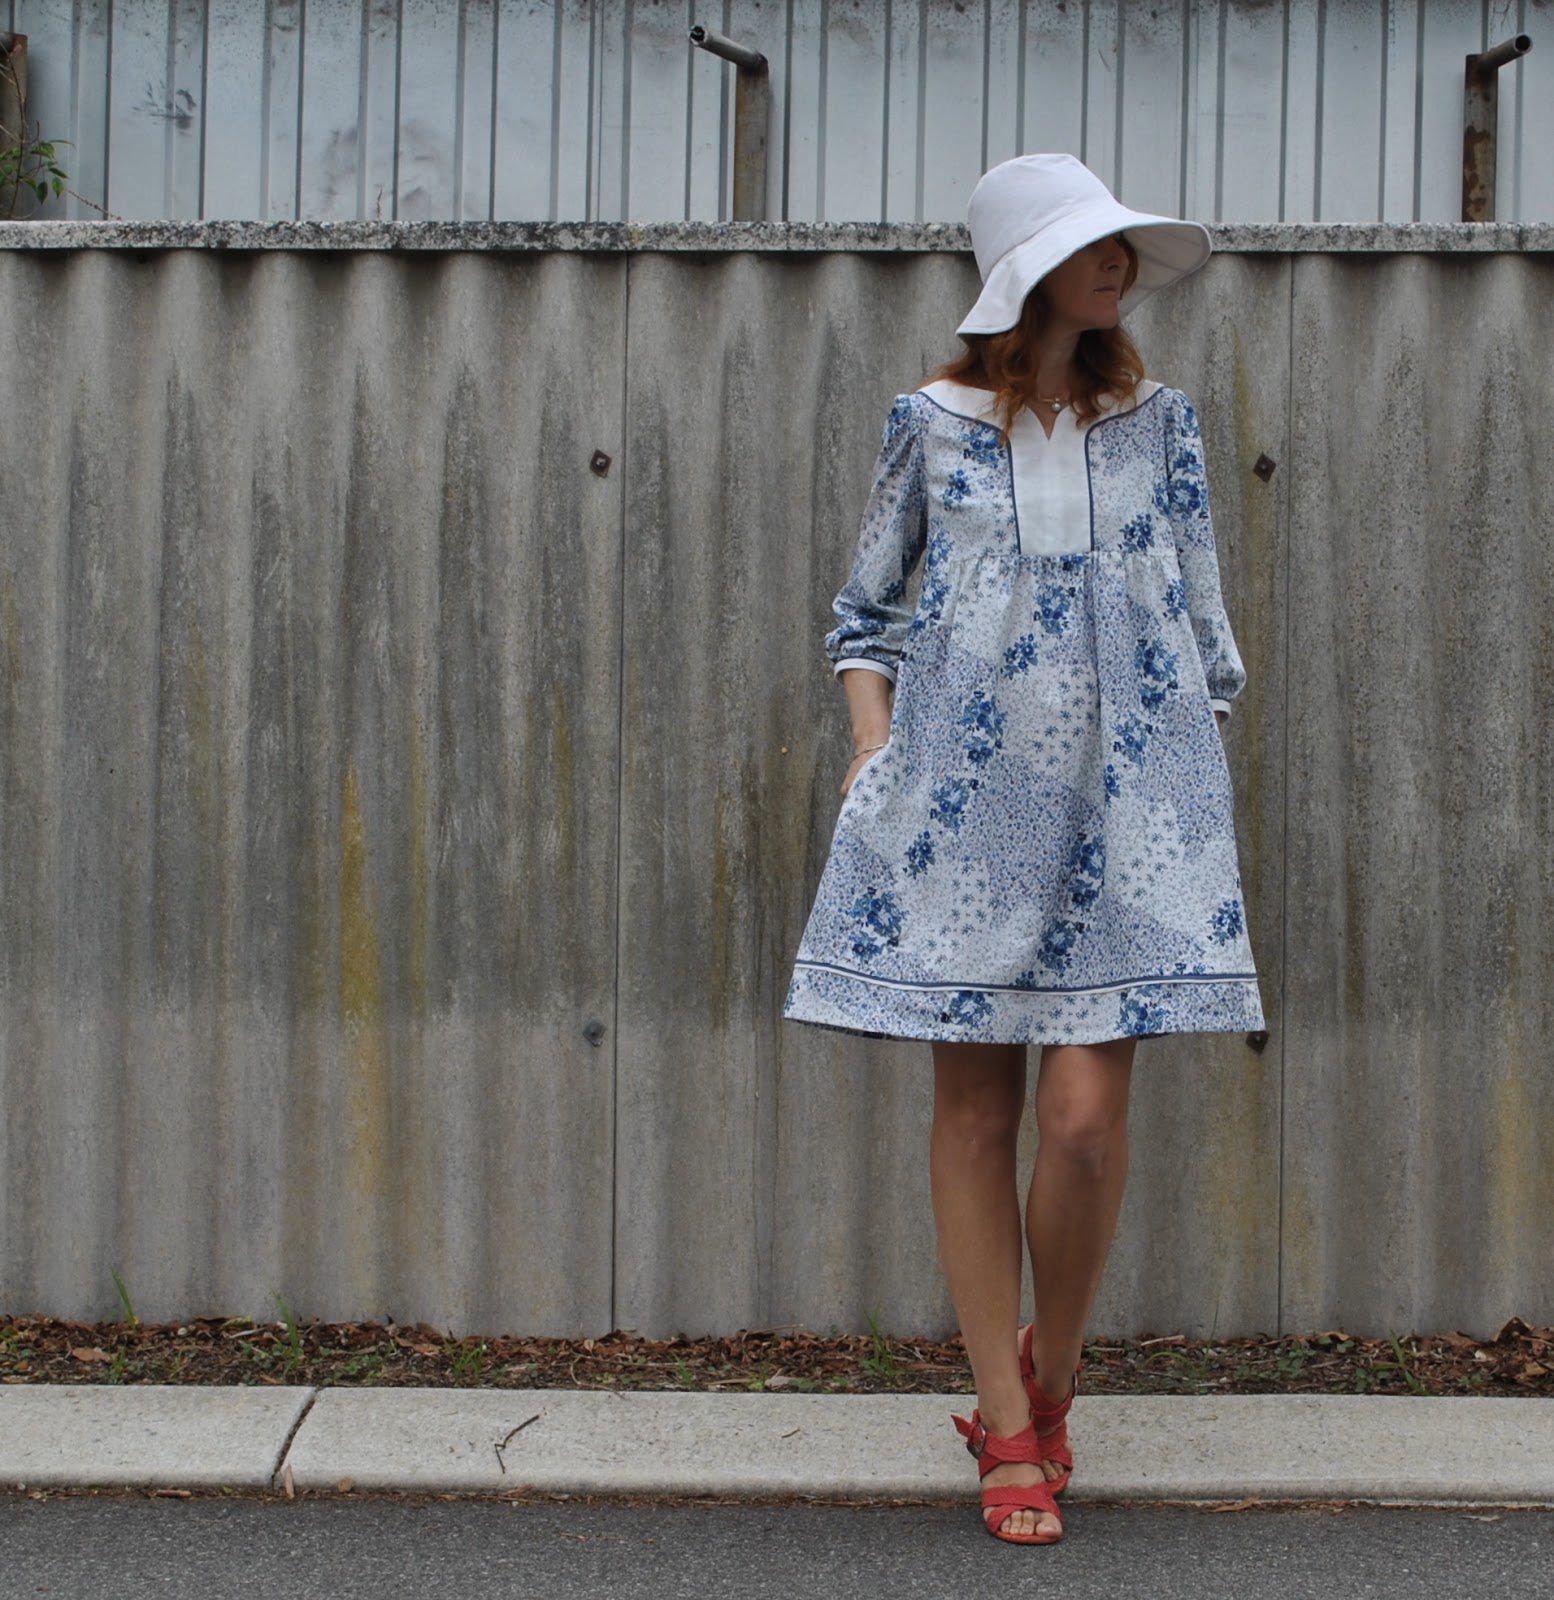
Details:
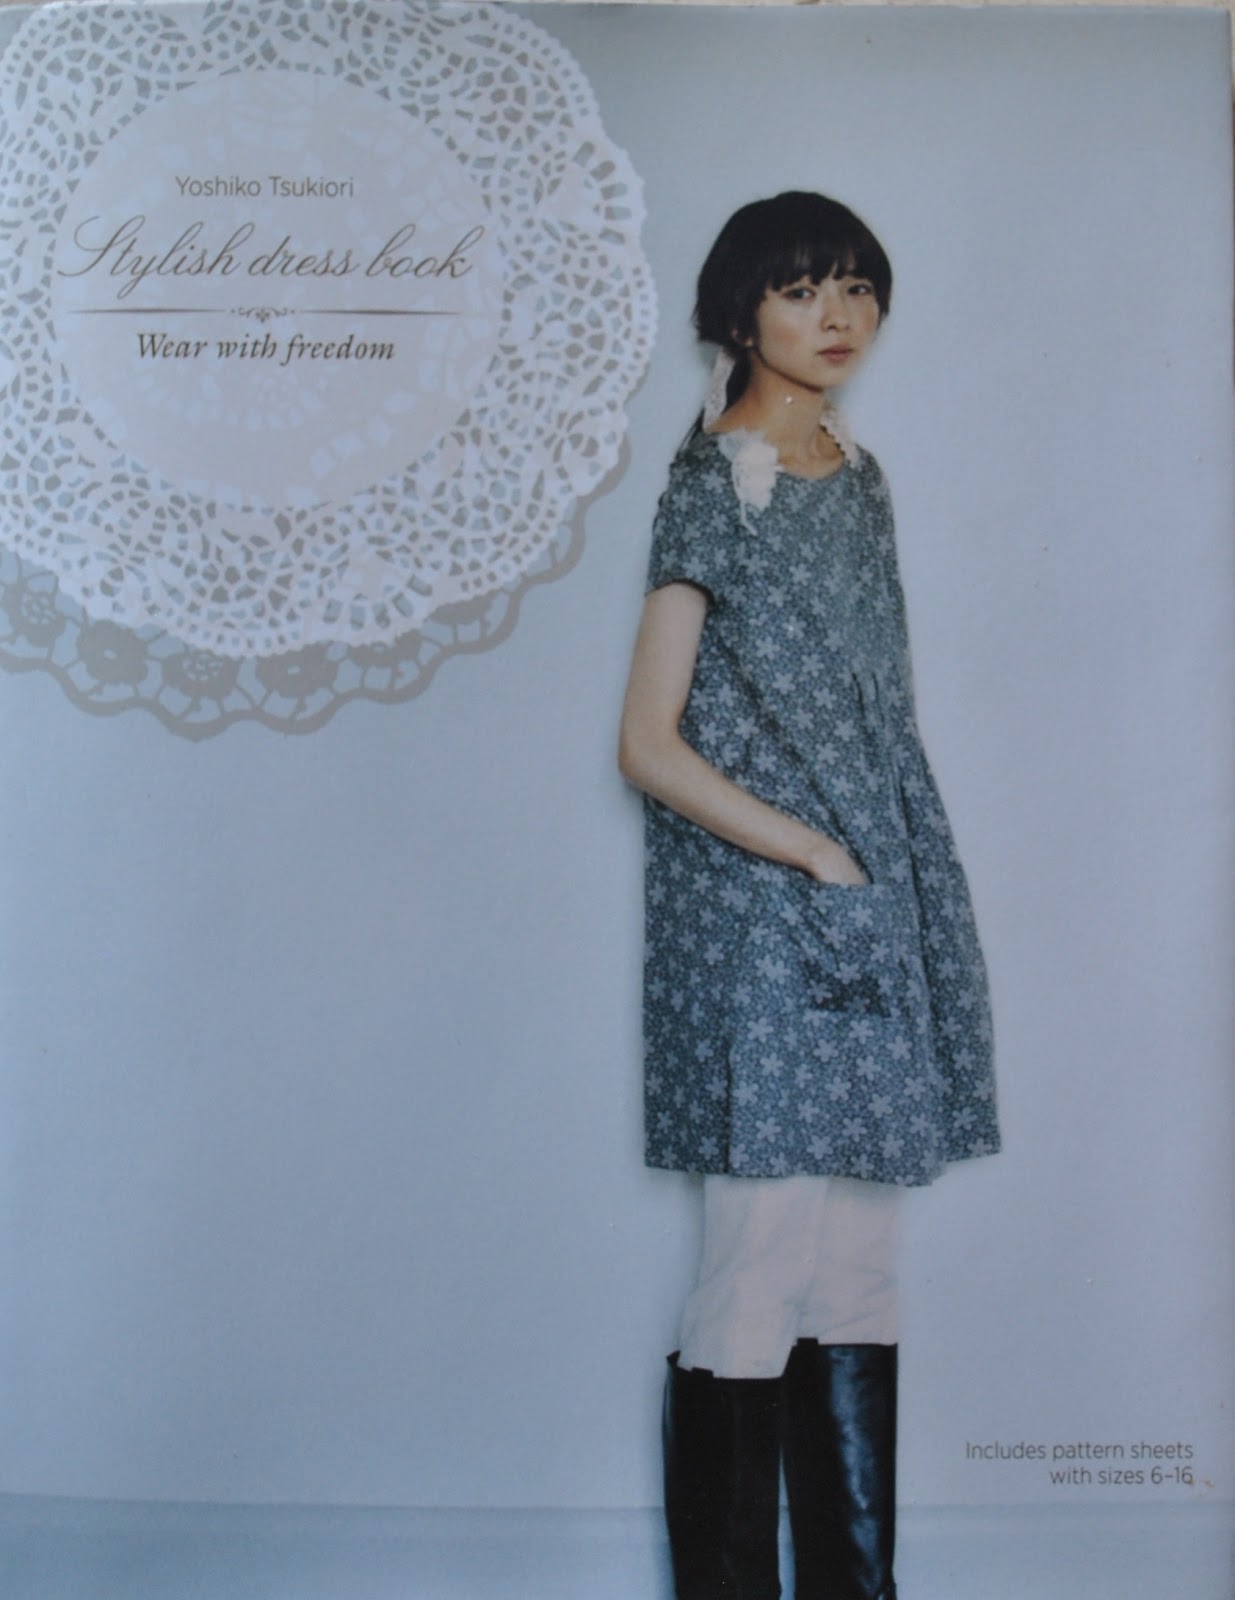
Dress; dress “T’ from the
Stylish dress book by Yoshiko Tsukiori, original post here; with short sleeves, blue sprigged cotton dyed brown.  My tutorial for basic one colour dyeing is here.
Tights; self-drafted, of
denim look jersey knit, details and my tutorial for making your own custom fit tights here
Shoes; Francesco
Morichetti, from Zomp shoes

Skirt; Vogue 1247, red
cotton velveteen dip-dyed with iDye in Brown, details here.  My tutorial for dip-dyeing is here.
pinterestmail

White Bombshell

G’day beach babes!  OK so I admit it is winter here in Australia now.  I can explain…
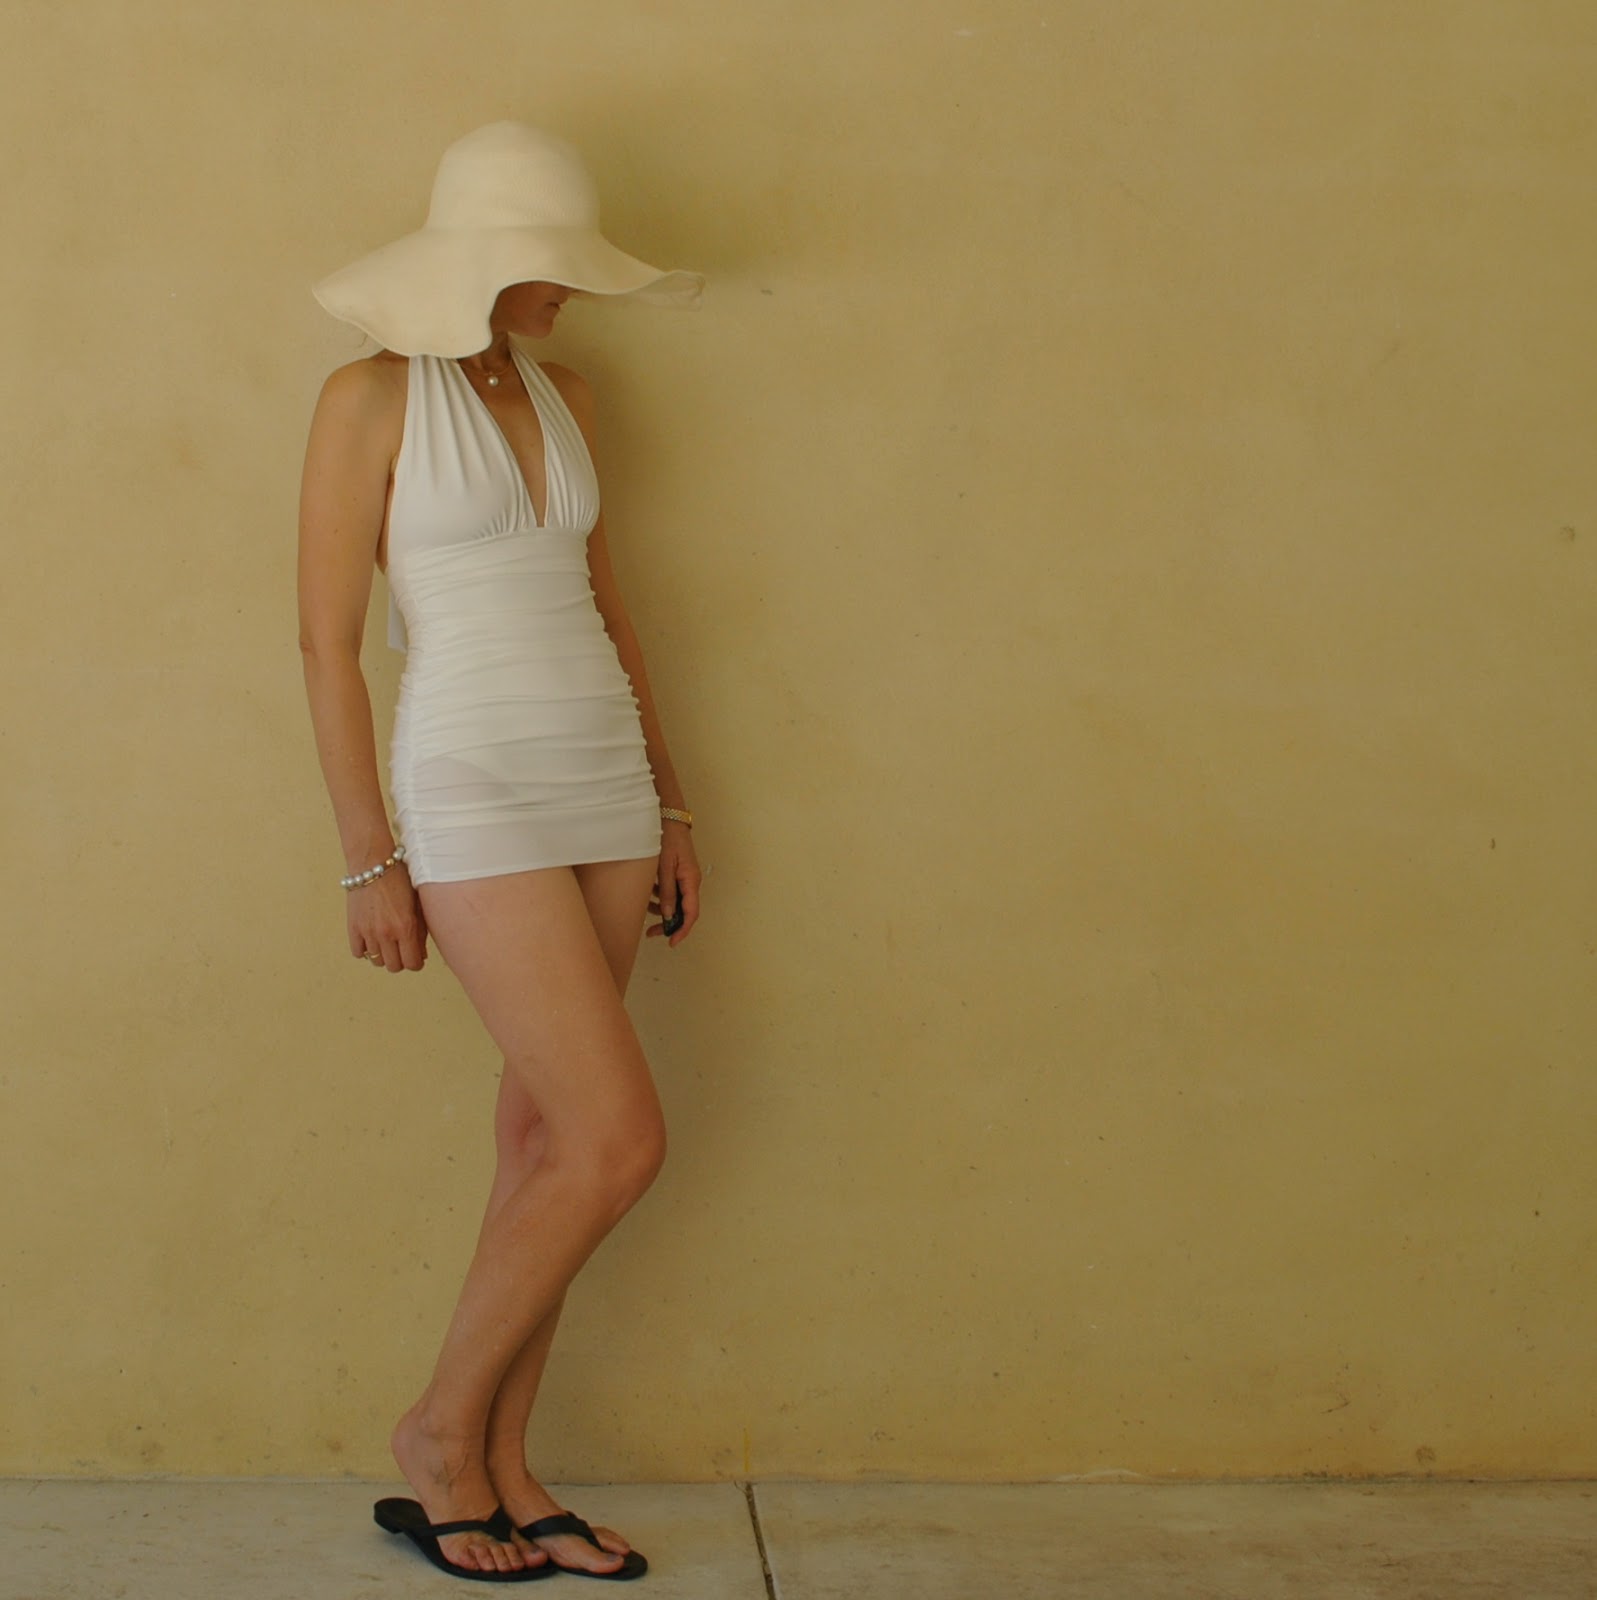
The very clever Heather of Closet Case Files has dropped a literal Bombshell on the sewing world with  this, her inaugural swimsuit pattern, and I was honoured that she asked me to be a pattern tester, woot!!  So thrilling!  This is the first time evah I have been asked to test a pattern, so that was pretty exciting for me!  Thanks Heather!
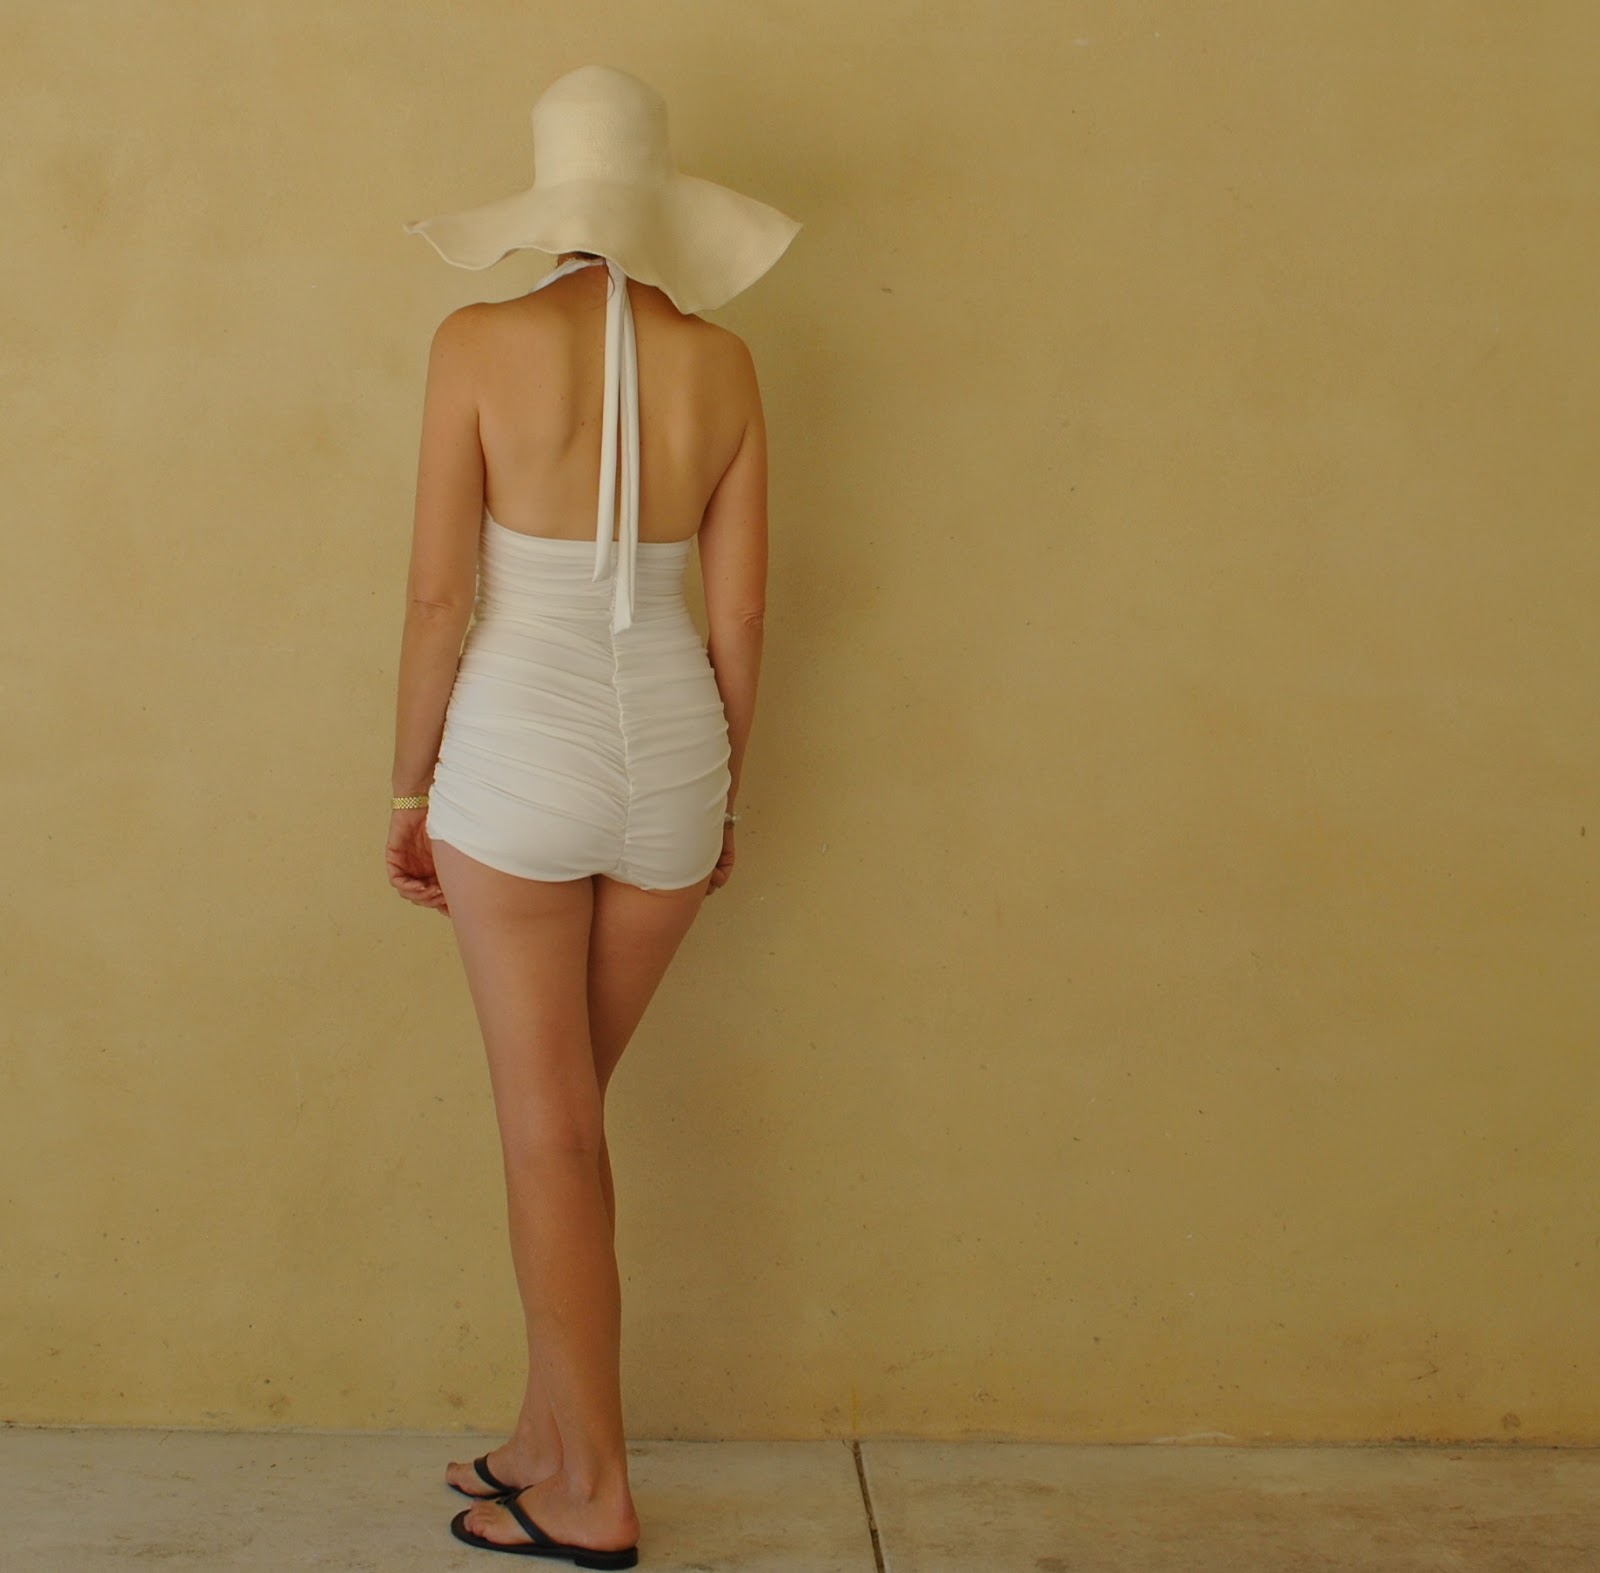
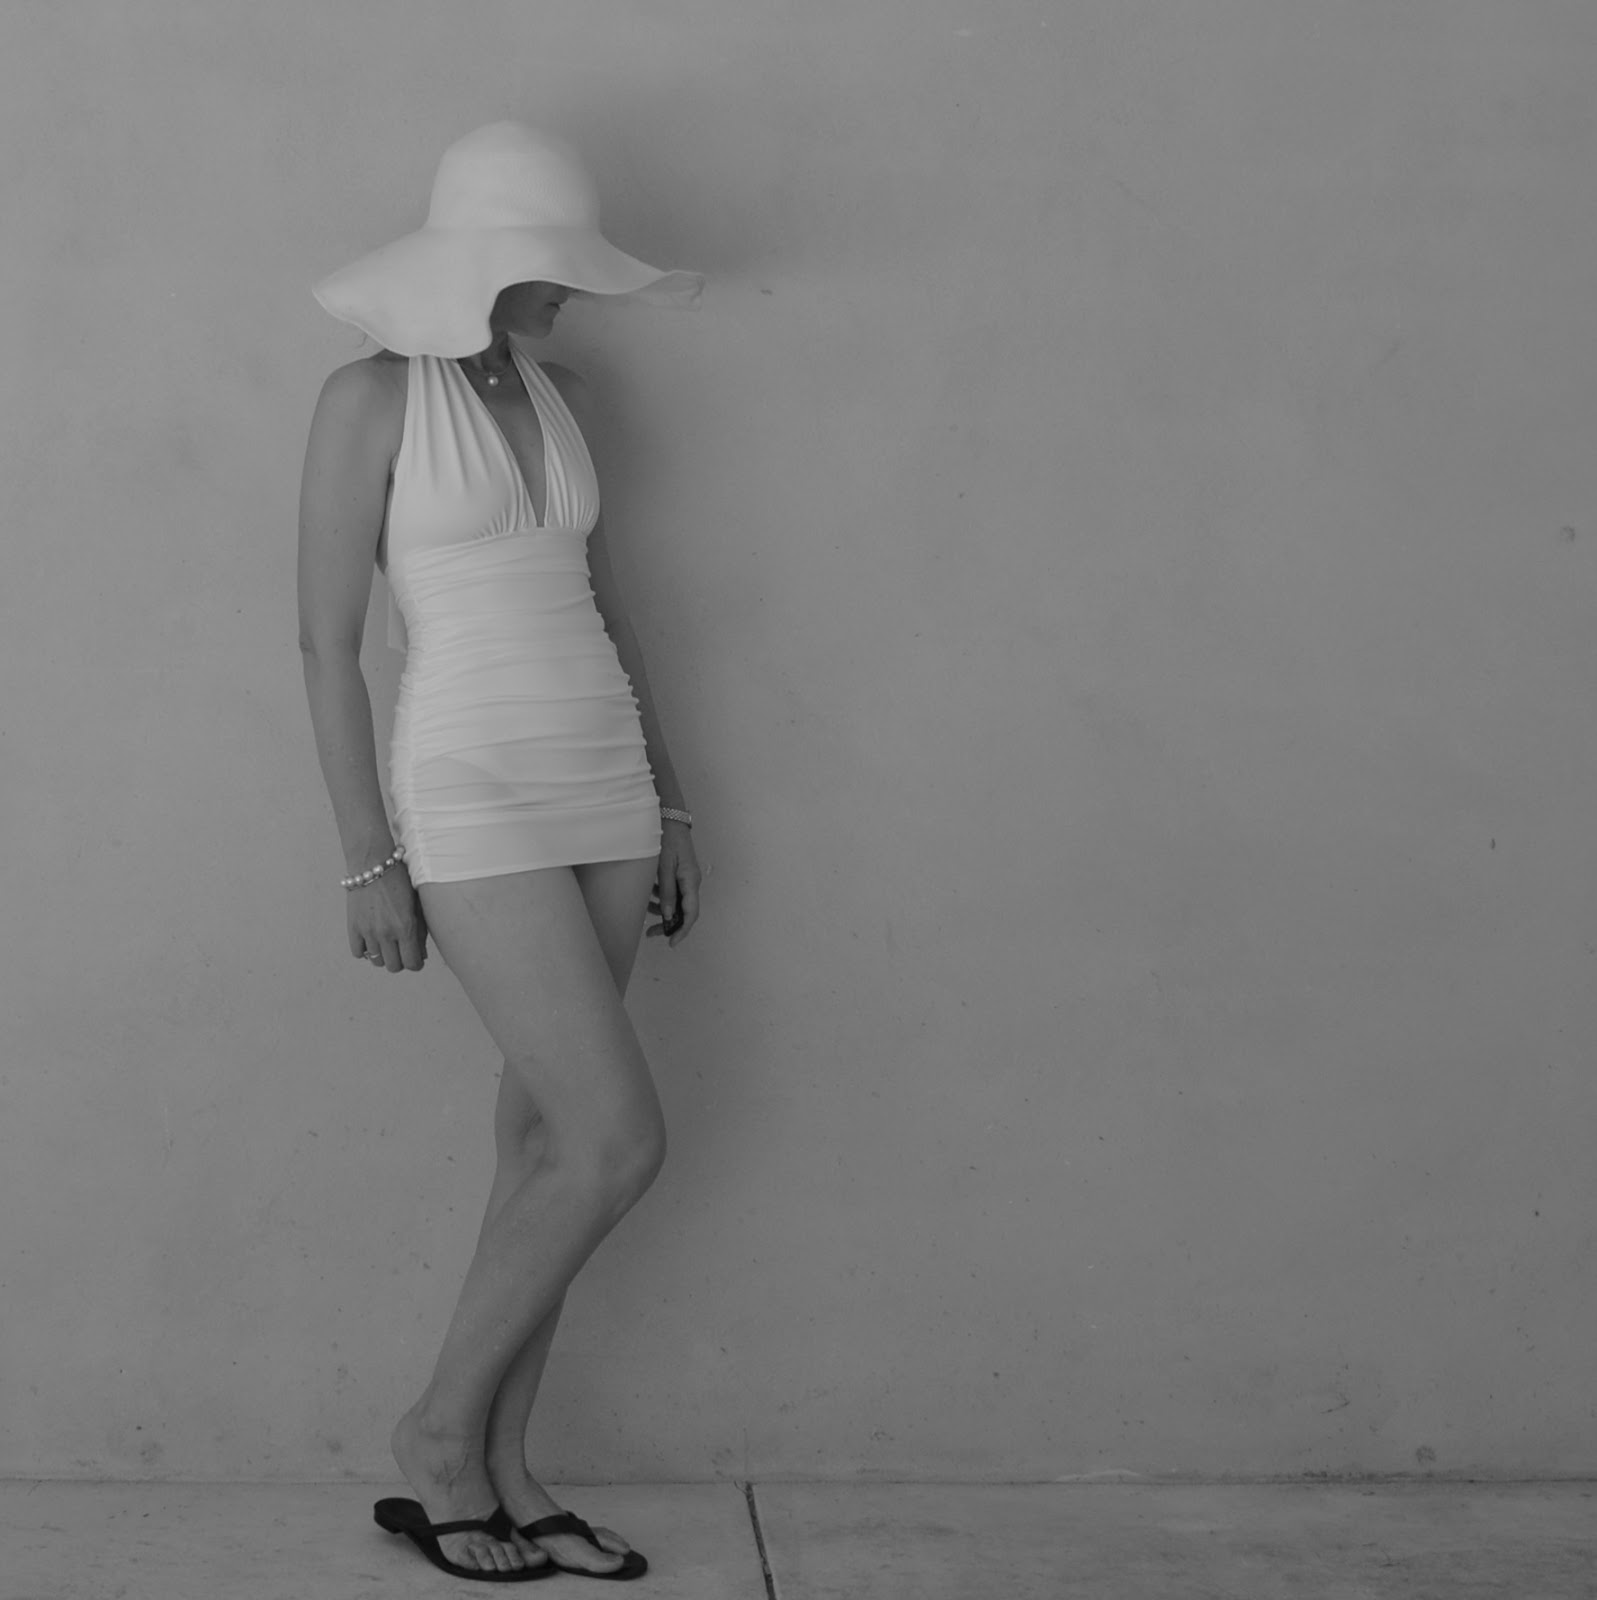
The pattern for the Bombshell swimsuit is available here.  So how ultra glamorous is this style, huh?  Honestly, I think that this is like the most flattering swimsuit I have ever owned… including RTW.  I even bravely turned my back to the camera, to show the rear view… yikes!  Normally I would be waaay too terrified to model the rear view of a swimsuit, on the internet.  But you know what? the back of this swimsuit is actually very flattering to the be-hind, and even looks… dare I say it! quite lovely?  Believe me, I would not be turning my back to the camera in just any old swimsuit!  The sides and back come down far enough to modestly covers one’s entire bottom, which is very nice.
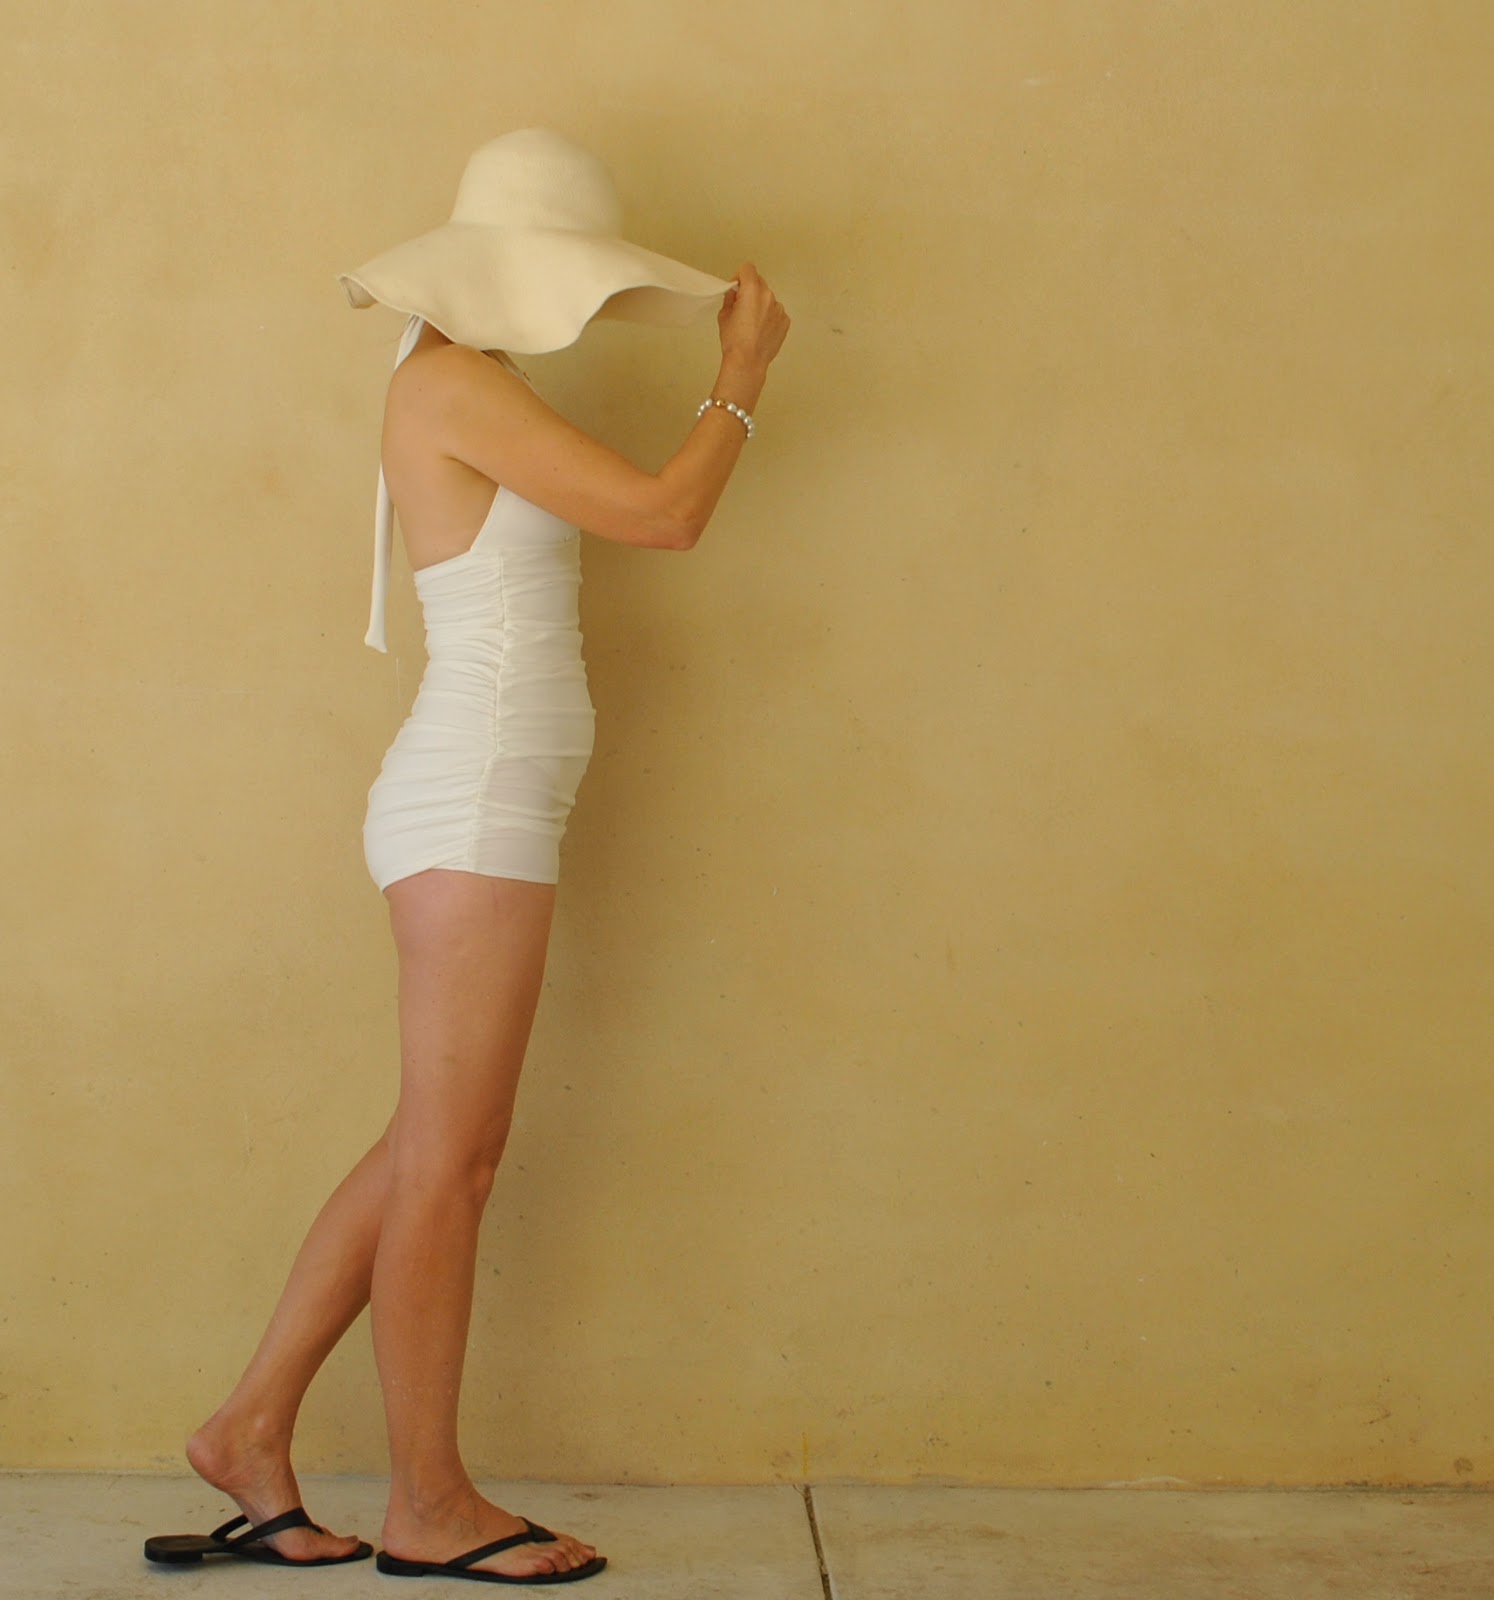
In fact, not just the bottom but the whole style is very demure and sweetly retro.  The full-body ruching and straight boy-leg cut is reminiscent of the 50’s.  Heather has designed three styles; style A has a gathered bust with a wide-set strap, style B is a halter neck, which can also be constructed as a pair of high-waisted bikini bottoms (style C)  See Heather’s gorgeous versions of styles A and B here.
This is style B, and I used a white polyester knit from Fabulous Fabrics.  White swimwear can be scarily see-through when wet, but in this design both front and back has two layers of fabric, and with the outer layer heavily ruched, meaning you have pretty much two and a half layers of fabric covering your body.  So I think it’ll be pretty modest in the water  ðŸ™‚
Do you like this swimsuit? if so then I have very good news!
Heather is generously giving away a copy of the pattern to one lucky reader of my blog…  so for a chance to win then please leave a comment on this post before Monday 10th June.  If you have never made a swimsuit before and are nervous about the techniques involved then never fear; Heather has that base covered.  She will be running a Bombshell sewalong on Closet Case Files, commencing on Monday 17th June.

Later edit: Thank you all for those lovely compliments!  the pattern recipient has been notified.

Details:
Bathers; Closet Case Files Bombshell, white polyester knit
Hat; Country Road
Sandals; Misano
pinterestmail

Navy and white striped Tshirt; 6 different ways

A striped Tshirt seems to be the wardrobe staple of a certain kind of girl, a very stylish and chic kind of girl, that I think is not very like me.  I mean, I like to think of myself as a non-conformist, but sometimes you find yourself latching on to a current trend almost without noticing!  The striped Tshirt is being touted as a “classic”, but I reckon it is a more accurately described as an ultra-fashionable item, that ipso facto will probably go out of fashion in a few years, like everything else.  Whichevs, for the moment it is IN.  And I found myself making one.  And wore it and wore it!
I looked back through my old photos to find these pictures of different outfits incorporating my navy and white striped Tshirt.  It has appeared in a supporting role in plenty of other outfits too, but these ones are all “new” to a 6 different ways post.  Five of these outfits are from previous me-made or self-stitched months; the first photo is a portion of one I used as my profile pic for a year!
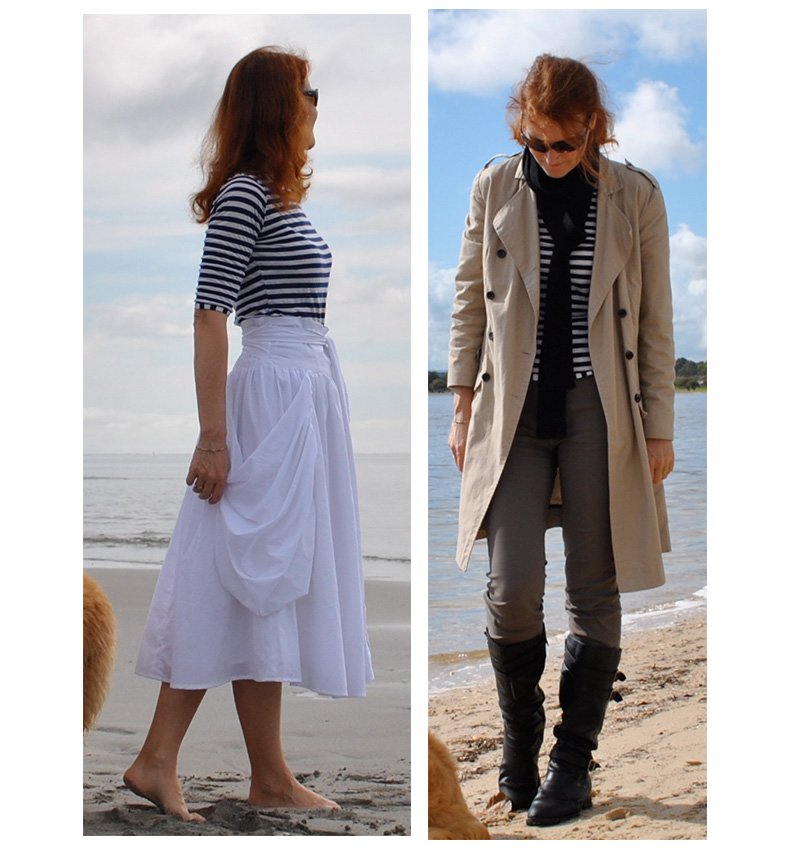
Below: at left; the plain practical lines of the Tshirt play off well against the overblown silhouette of a pouffy white skirt, and at right; this is probably the “trendiest” out of all the outfits here…. worn with a beige trench coat, a long skinny knitted black scarf, and with khaki skinny jeans tucked into bikie boots.
stripe1a
Below at left; the Tshirt’s first appearance here on my blog, worn with greige corduroy jeans, a jersey scarf and hand-knitted socks, and at right; worn pinafore-style underneath my favourite charcoal grey pattern magic dress, with matching navy blue tights.
stripe2a
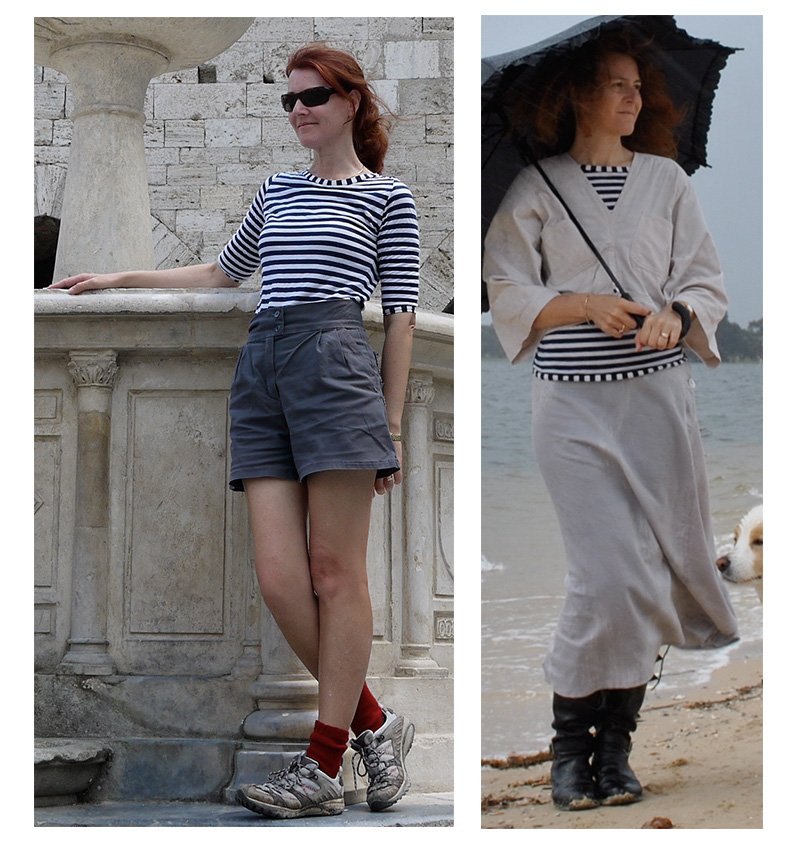
Below left; grunged down for a day of sweaty cross-country hiking with charcoal grey shorts and hand-knitted socks, at right, for a rainy winter’s day, the stripes stand out against the pale colours of a light grey longline skirt and a boxy little ivory jacket
stripe3a
It’s funny really that this Tshirt turned into such a favourite, since it was initially just an afterthought, thrown together using the leftovers of some rather low quality fabric.  My newer striped Tshirt is made with much nicer and meatier fabric, so I am hoping it lasts even longer, at least until the trend fades away!  🙂
pinterestmail

photo maisonette

Hello!
My friend Yoshimi and I have a new venture; photo maisonette, a daily visual diary of our two different lives in our two different worlds in Japan and Australia.  The new blog is inspired by the wonderful site 3191 Miles Apart, a site which has changed a lot since it started, but initially was a wordless site where two friends regularly posted side by side pictures from their two different lives.  I loved the idea! and our blog will be along those same lines… a photo a day, from our two individual perspectives.  We are not collaborating on the ideas for our photos beforehand, nor will we be writing any explanation behind them; but hope that our pictures themselves tell their own complete story and illustrate what our lives are about.
Yoshimi cleverly suggested the name for the blog “photo maisonette” which I think beautifully captures the idea … of course in English a “maisonette” is a small house with one flat on each of two floors, two individual occupants occupying each floor.  So there is an upstairs person, and a downstairs person.  Similarly, our “photo maisonette” will have two stories; the upper story belongs to Yoshimi, and the ground floor is mine.  
We hope you enjoy visiting our new blog.

pinterestmail
Switch to mobile version
↓