
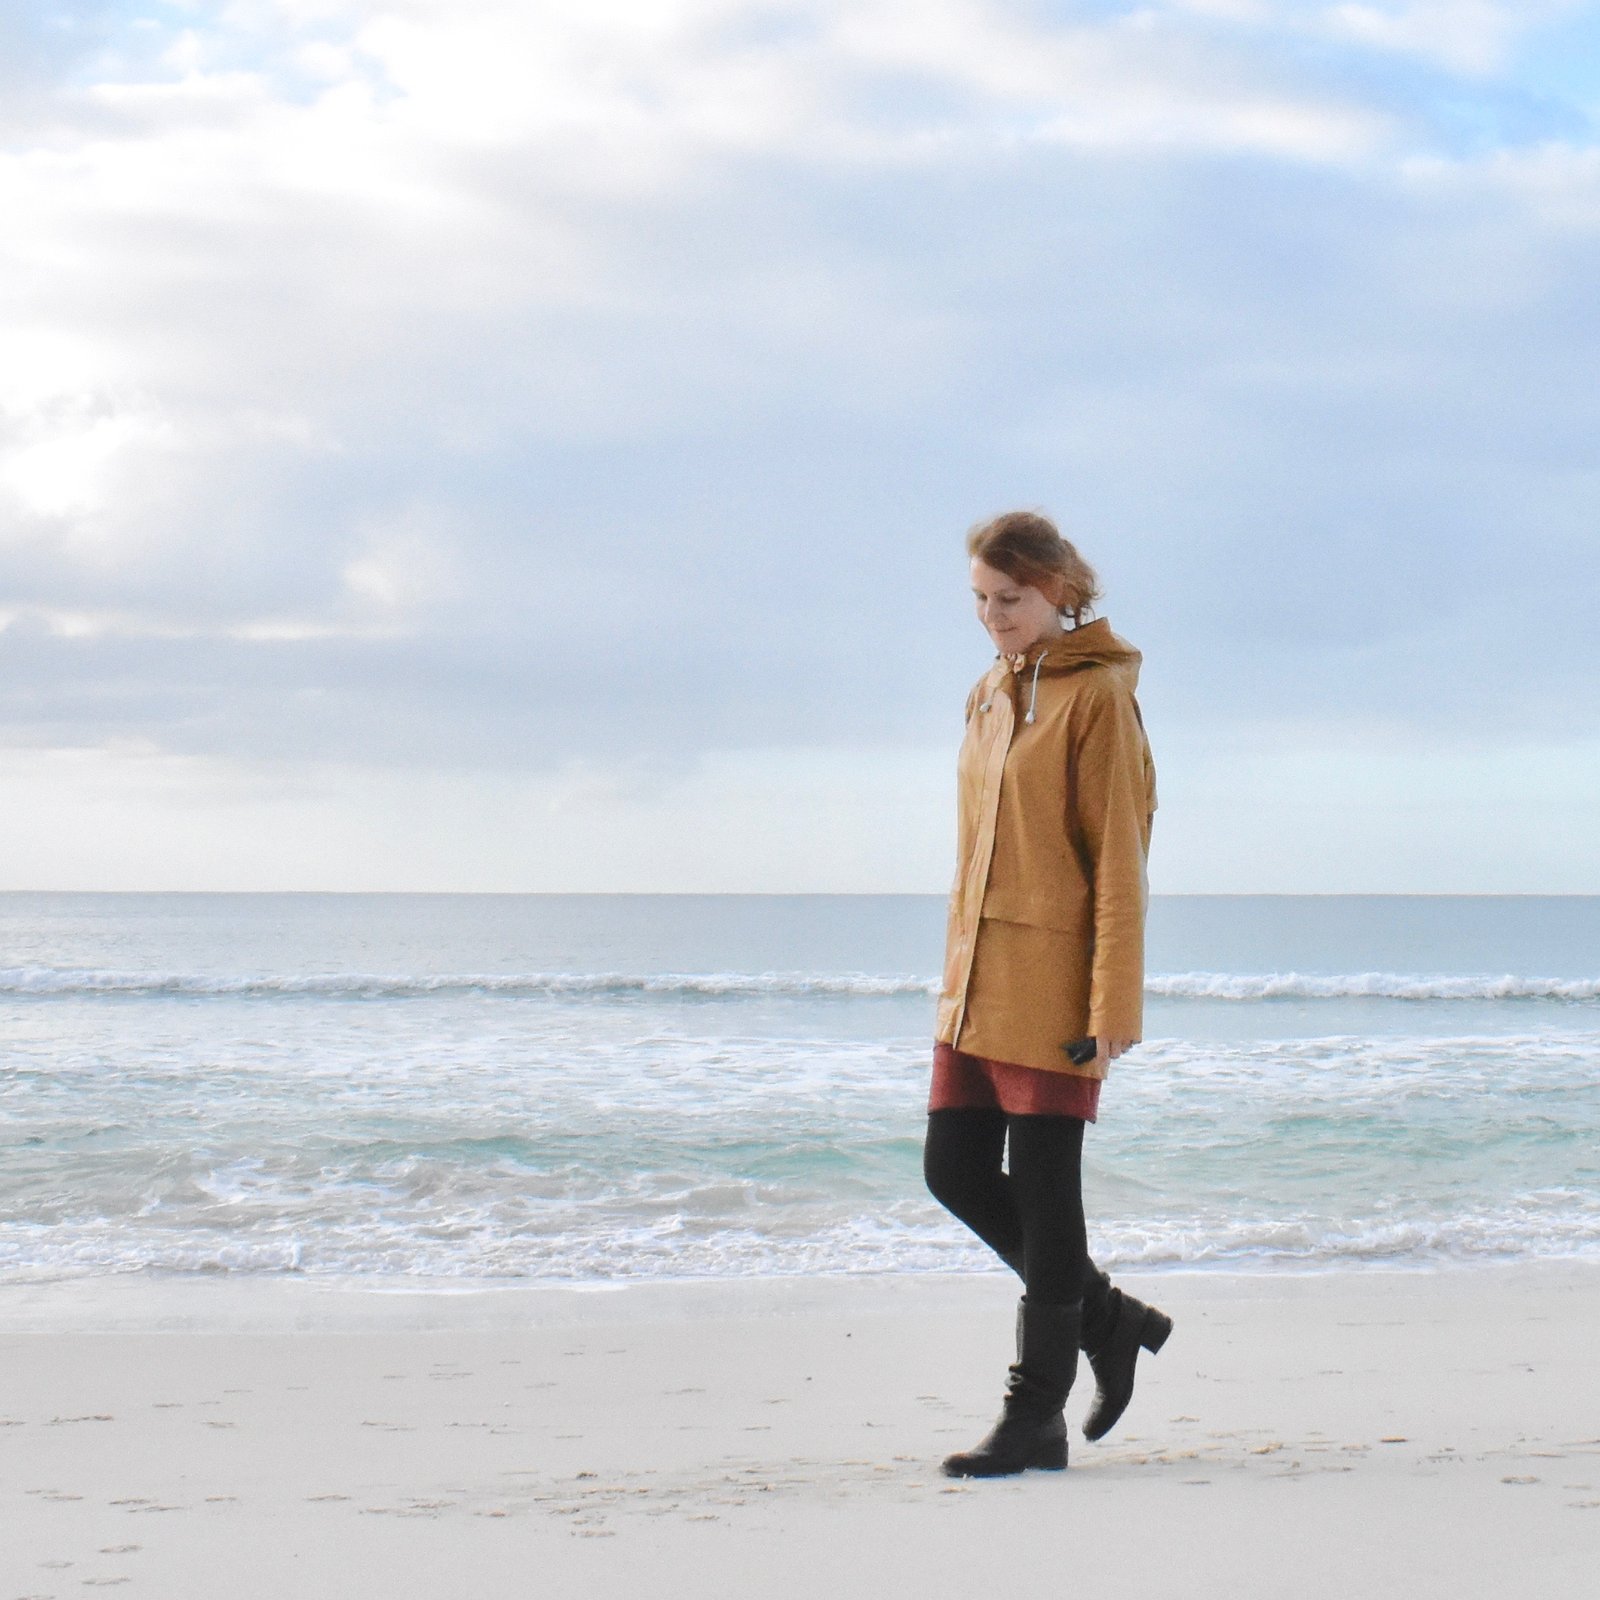
 I’ve made a new trench coat; a riotously floral-tastic, blowsy English rose of a trench coat. As soon as I spotted this print I was smitten! delightfully old-fashioned, vaguely reminiscent of Granny’s china cabinet and a wholly unabashed celebration of spring-time. Because that’s what it finally is now… SPRING!!!
This very thing, by which I mean an over-the-top floral trench coat, is a thing I’ve had percolating in my mental wish-list for aaaages, ever since I first laid eyes on the floral trenches by Burberry from a few years back. I originally bought this paler pink magnolias floral fabric to make the trench coat but got distracted and made that dress instead, obviously! Anyway, a little after I finished that dress, I still really really wanted my imagined floral trench coat, so I bought some more floral sateen. And I’ve finally made it!
 Pattern; McCalls 5525 view E, the view with all the bells and whistles. The only things I left off were the flap thingies over the pockets, because I didn’t have enough buttons for them!


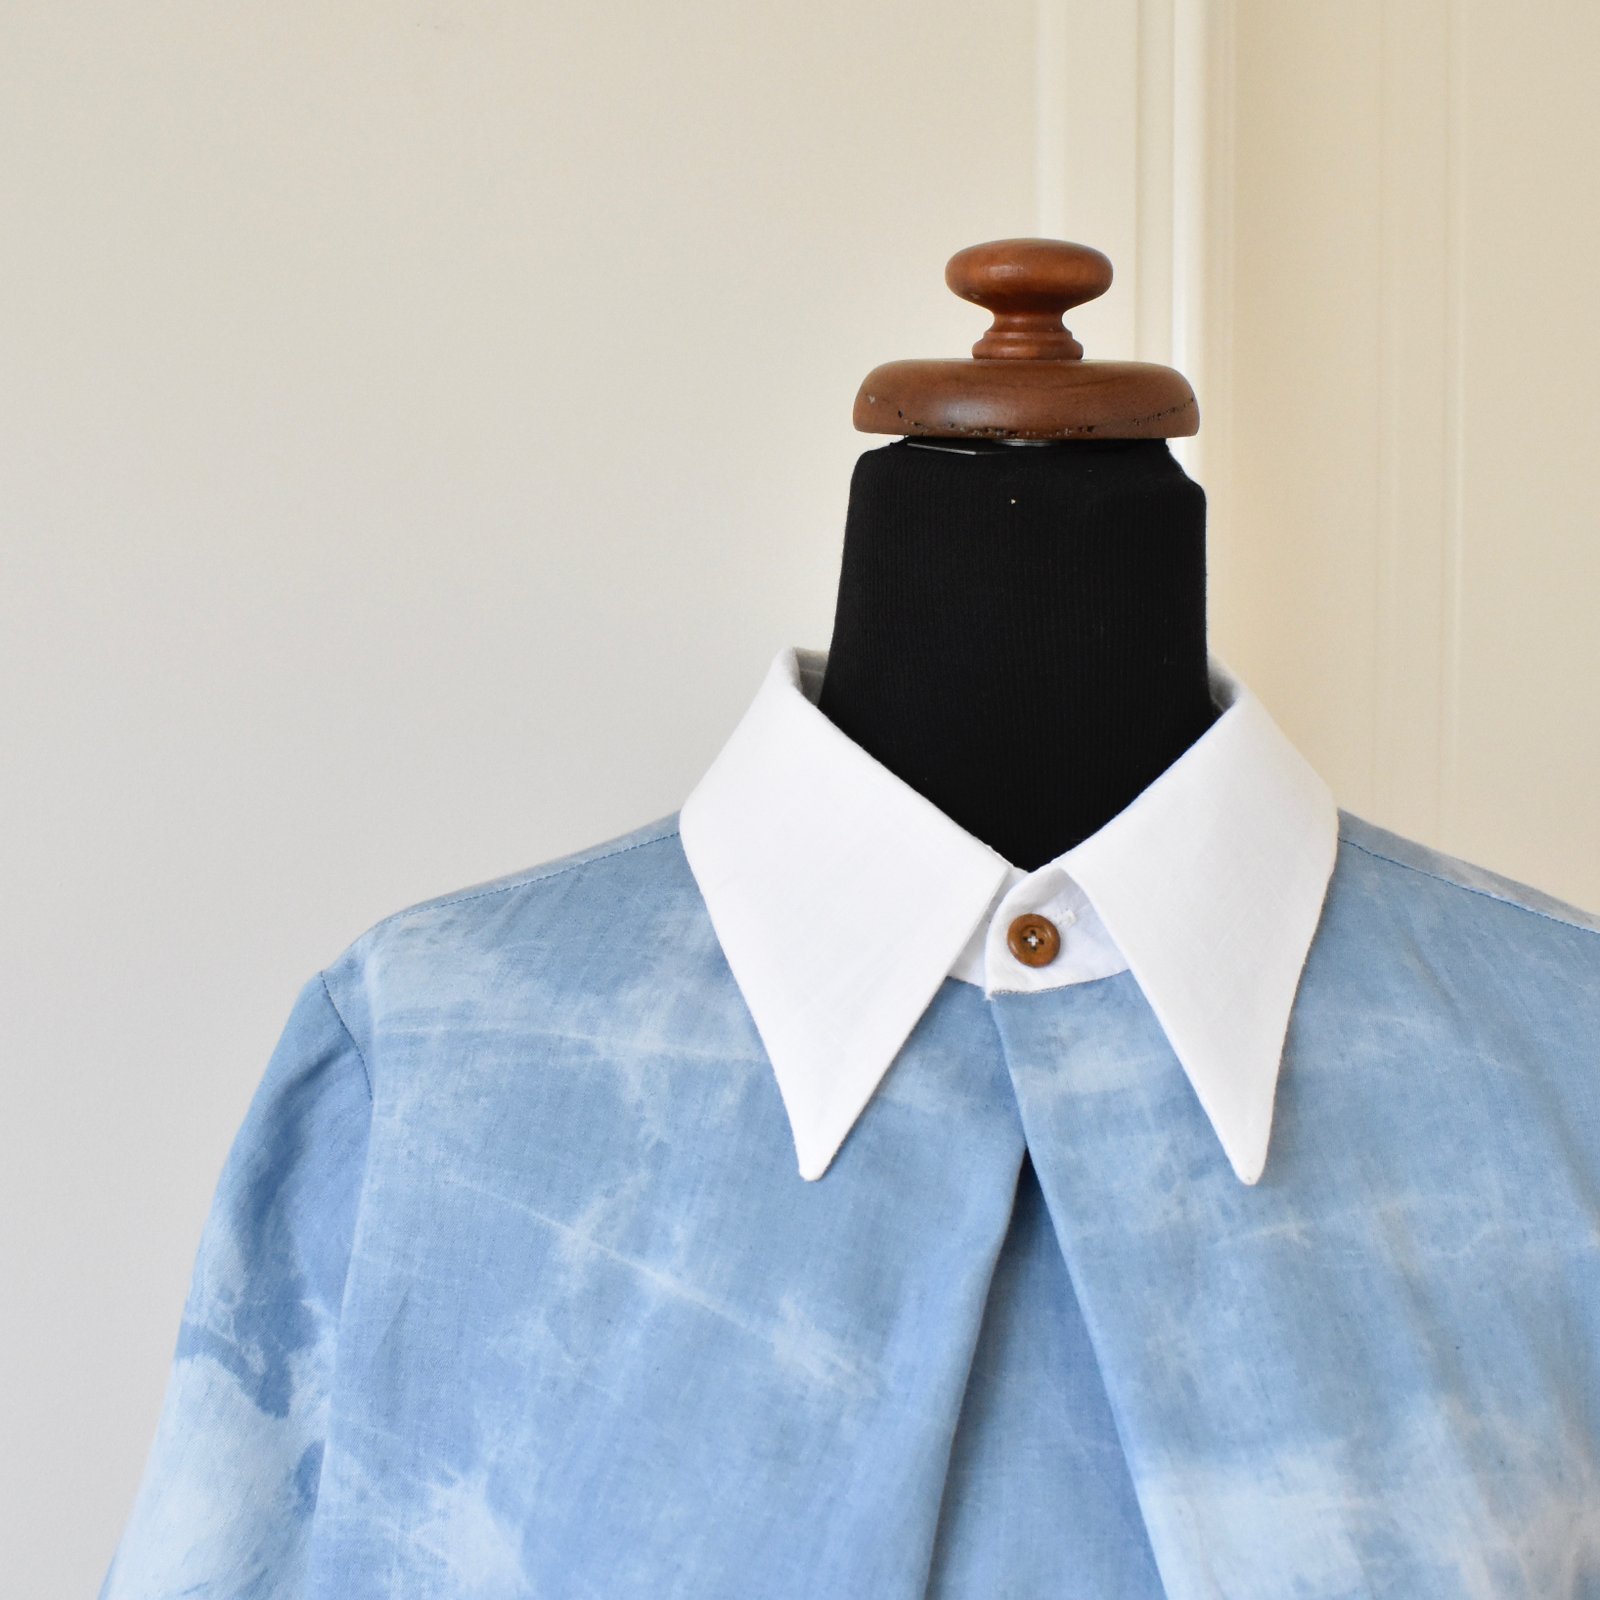
Fabric; a floral cotton sateen, from Spotlight. The trench is fully lined with pure white cotton poplin, also from Spotlight, and the buttons… the buttons! – are totally gorgeous vintage ones that I’ve had for about ten years. I was actually the lucky person to get them in a Secret Santa pressie swap at a very early Burda sewing community meet-up, way back in 2010? I think?

I had only 11; they are a deep bottle green, possibly made from Bakelite or something very similar. I’ve been looking out for yeeeeeers for the the perfect project for them and I thought this trench coat was it… they are in fact a perfect colour match for the deep teal-y/ocean-green of the foliage in the print. However! now they’re all stitched on, I’m not completely sure the fabric was the right choice for them after all? ahhhh, the agony of high, followed by unattained, hopes and expectations! The thing is; the busy busy busy colourful print, while it is really gorgeous and I LOVE it! it really just swallows up the impact of those buttons and at any distance you can hardly see them on there at all. They just disappear. As in, buttons, what buttons? I can’t seen any glorious buttons!! The fact that they are beautifully profiled, and slightly marbled, and vintage, well, you’d never know. So, I’m just thinking, maybe? I should substitute them for some plain buttons, and save my exquisite vintage buttons for another project – another, different trench coat, something in a solid colour where the buttons can really be allowed to shine? Hmmm….
the one under the collar is not one of the original set, it’s a modern, plastic, flatter one…


Making a coat is always an activity that brings me huge amounts of joy and satisfaction, and this one did too, keeping me blissfully pottering away the whole time I was working on it. Constructing all the little bits and bobs that go into a trench coat, like the tabs, the collar, putting in the sleeves and bagging out a lining is enormously fulfilling to me, just about as enjoyable as any project I can think of. I’m totally in zen mode, throughout. As it happens, I’m perfectly happy with all the construction details of this one; all my seams and sleeve insertion and symmetry of the tabs and collar, the walking vent, topstitching, and the neatness of my buttonholes and all that jazz all worked out exactly as I hoped, and I’m very pleased with all this.

for some reason, this arrowhead tab on the collar stand is always an especially pleasing detail to me!
 So that’s all super good and satisfactory. However?! I have to admit to a little frisson of disappointment at the halfway point of making this coat, at about the point when the body was together, and I slung it over Bessie and took a step back to have a first look… and, oh dear. See, I had barely enough fabric to cut out my trench, and in fact several pieces are pieced together! Which ones? oooh, I’ll never tell!!! See if you can see the seams! But that’s not the problem here, after all, piecing is something I’ve done in a lot of garments because of lack of fabric and I’m perfectly ok with doing that when I have to…. The thing is, I really had to be clever about laying out the pattern pieces to have any hope at all of getting the coat cut out, and I did some very premature self back-patting when I managed to lay out the pieces. Because the way the print has turned out on the finished coat is just not good. Specifically; the front is quite a lot “busier” than the back, and I wish I could have been switched-on enough to see that while I was juggling those pattern pieces but sadly, I did not. The front and the back are to my eye almost like two completely different coats, which is very sad-making (please excuse my little Evelyn Waugh-ism there…)

It’s definitely not as obvious when the coat is worn open, like this; which to be honest is how I was planning to wear it most of the time anyway.

I can’t do anything about the unbalanced “busy-ness” of the print; but as far as the button issue goes, well I’m gonna wear it for a while and sleep on it, but button-switching may just happen sometime down the track.

I’ll just see how it goes for a while. The coat is quite lovely to wear, and perfectly comfy, well-fitting, and I did pour myself into making it well. Oh well. I’ll give it a crack! Quite often, early dissatisfactions I have with a project evaporate a little bit down the track when I look at it one day and kinda go, what was I worried about? I adore the overall vibe of my trench coat, how it looks when worn both belted closed and open are both very pleasing to me, and as usual, wearing a coat always makes me feel amaaaaaazing, no matter what! Sometimes, well, very occasionally really, I have a tiny little wish we lived in a climate which was more conducive to coats? But not very often really. Like, hardly ever, to be honest 😉 #devotedtotheaussiesummer

I am mostly planning to wear it casually and glamorously open, like I’m wearing it here with my white Inari tee dress, I’m actually rather thrilled at how super swish this combo looks, and feels! I’m even thinking this could be my Christmas soiree outfit over the upcoming festive season? Maybe!!


Details:
Coat; McCalls 5525, cotton sateen, lined with cotton poplin
Dress; Named patterns Inari tee dress, white stubby cotton, details here
Heels; Zomp, from Zomp boutique
also looks pretty good when accessorised with a dog… mmm? sorry, I couldn’t resist roping her in for just one picture!


 Ohmygawd, wot is this then?? I’m wearing a jumpsuit!

 I lined the bodice with the last remains of this goooooorgeous yellow and white check rayon… love this divine fabric, originally from the Tessuti’s in Melbourne, and I used it to make this top for Cassie, and this little dress for Ms Spring.


 I almost called this new lingerie set “frozen”; which to be honest is more like an accurate description of me, actually, while disrobing for the purposes of trying it on, haha. #comeonsummer But finally, today the last day of winter YAY!!! Around this time is typically a low time of the year for me, when I’m really flagging and running low on zip and zoom, just banking on the promise of warmer weather appearing, any minute now. I know I know; our winters are so mild, what have I got to complain about? Nothing really. And yet…? I do. Sad to say, I do. But I shall stop now. Becaaaaause… *pauses for dramatic effect* I have some new pretties!!!!
 I’m very happy with this new set… I really love to have matching sets, and it’s even more pleasing if I can make the two sets of undies quite different from each other, and at the same time match each other, and the bra. Tick!!


 This much-requested new pattern has felt like a long time coming… I had a lot of requests from ladies wanting our Perth dress/blouse pattern to be made for a larger size range… so ta da! this new version is for sizes 46-54.


 Having said that… it’s not the most wonderful raincoat fabric in the world and I had struggles APLENTY but more on that later.


 Yes, I know; a complete mis-quote of an already mis-quote… *braces oneself for outraged Holmes enthusiasts*


 That’s not a criticism btw, just an observation. I really love my new Sherlock Holmes jacket, and I really loved making it too; but I’ve admit; it was not a particularly easy project. Even given the fact that I complicated things for myself a. dyeing and b. deciding I absolute HAD to have in-seam pockets – which were a big success in the end if I say so myself. I’m so glad I put them in. Actually I can’t imagine a jacket without pockets of some kind.


 So, every now and then I tell myself that I’m not going to make any more winter tees since I have quite a nice little collection, really. And I think I really should be making do with less; wearing what I have, more. I tell this to myself quite firmly. But then also every now and then the fashion-loving side of me is dreaming up some outfit and identifies a few colour gaps, and thinks, if only I had a mustard tee? or a nice navy blue…? And that fashion-loving side can be a terribly convincing wench, especially when I’m standing in the Fabric Store in Melbourne, with Mum and Cassie, fingering the diviiiiiiine merino collection for which the Fabric Store is justifiably famous. On our last trip over, suitably enabled, I bought a few pieces. There may be a few other colours that came home with me and are still lurking in Le stash, too…


 I’m including this picture of the back of the bra; because for a long while now I’ve been putting the rings and sliders in this position, which is back to front from how it’s recommended in the pattern. I’ve tried it with the findings at the front, but found this way uses less elastic, and sits more comfortably for me. Yes, you do have to have the straps adjusted to the right length before you put it on, but I just like it this way, for the moment.
 Now for a brief post-mortem, if you don’t want to read a good whinge, stop now!


