
photo by Shoshana Kruger Photography
Kelly’s hair by Higley’s Hairdressing
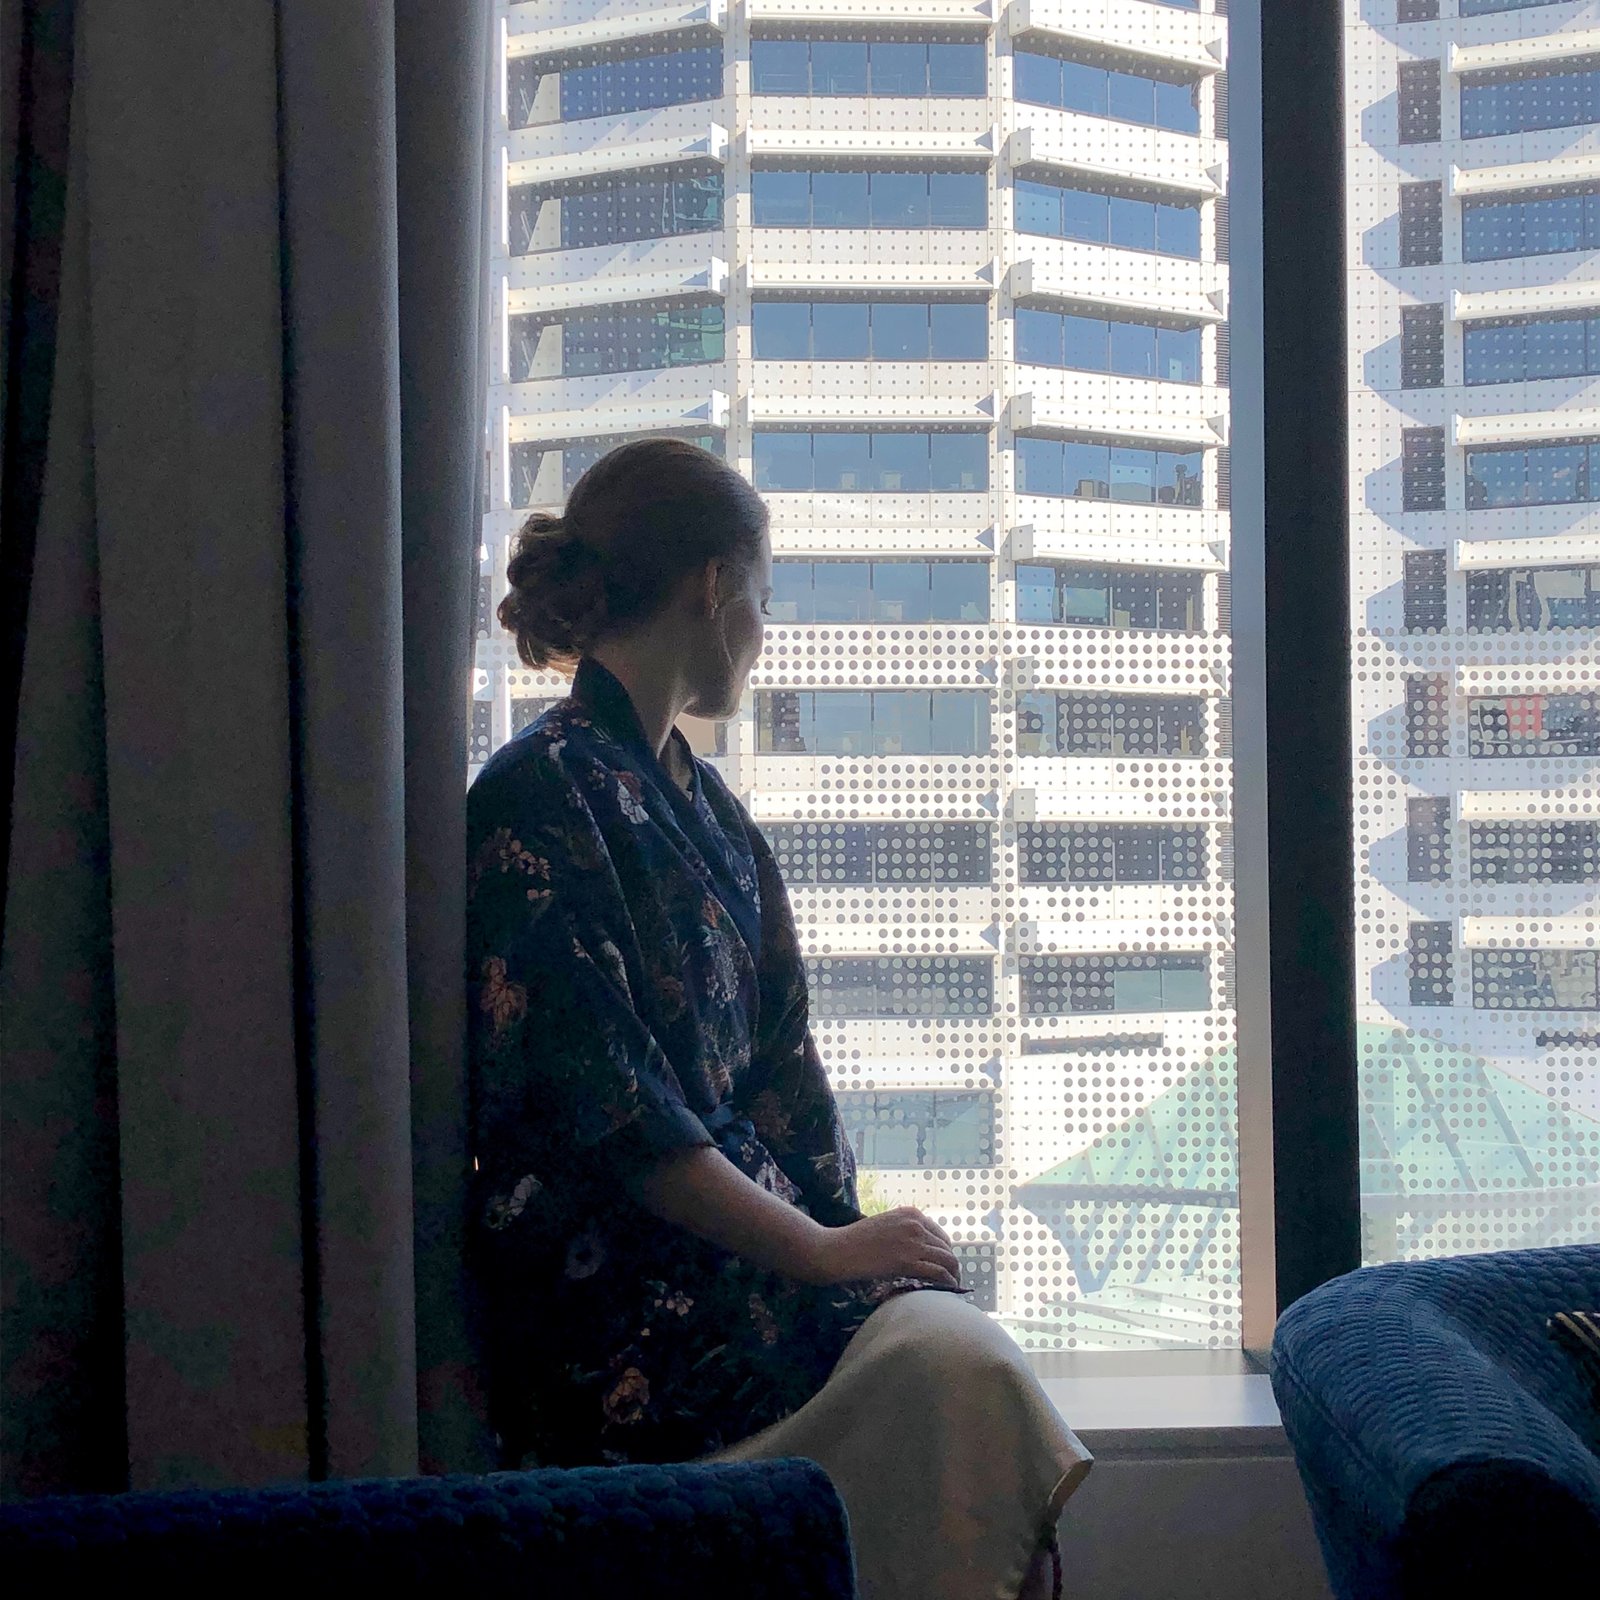
location; the Melbourne Hotel in Perth
dress and veil; made by me!
SO; Tim and Kelly became engaged to be married in January of last year…

and shortly afterwards Kelly asked me to make her dress for her. Of course I was honoured to be asked! Kelly had checked out a few dresses online and pinned a few she liked, and had also tried on a few irl; narrowing down the style and shape that suited her the best. She eventually settled upon having a dress with an ivory crepe skirt and a “nude” illusion style bodice overlaid with random beaded and sequinned lace; the bodice to be very fitting, sleeveless and with a scooped neckline so as to show off the necklace Tim had given to her; and the skirt to skim her body to the hips, then flare out below that into a graceful, gently mermaid-style hemline. And a train!

The bodice was to be lace in an organic, “growing vines” look to it, and the lace would extend down onto the skirt and around to the back. The train was to have lace too, and with have a cut-away insert section so you could see the floor underneath the lace. The border of the skirt was to be edged with lace. In addition, there were to be self-fabric covered buttons down the entire centre back seam of the dress. Okay!!

First things first; we swooped upon Fabulous Fabrics during their yearly sale, perused and selected patterns, and spent ages picking out laces, various silks, nets and crepes, and draping and layering everything over each other, and Kelly. The very definition of girly fun!!!


What did we pick?? In the end, we settled upon two patterns for the dress; Vogue 9239 as a starting point for the bodice, and Vogue 1032 as a starting point for the skirt. I made a first muslin using grey sheets, put it on Kelly and got pinning and drawing lines on the muslin for fit.

Oh my gosh, fit! there was quite a lot of fit customisation. Kelly has a classic hourglass shape; busty with a small waist and flat stomach, and looks absolutely wonderful in her chosen silhouette, imo. We wanted a perfectly fitted bodice, and for the skirt to skim her hips without being tight, nor for there to be any folds about her body from being even little bit loose. Kelly bought a corset, I made measurements and issued strict instructions for her to neither lose, nor gain weight! The pattern I used for the bodice, V9239, is actually brilliant for having different pieces for different cup sizes, which made for a much easier starting point; although my final pieces of course look very different from the starting point! As it is drafted, the pattern is not actually very fitted at all. I also altered the pattern pieces so as to have a straight waistline seam, which Kelly was firm about. The skirt of Vogue 1032 is absolutely lovely; but at the centre back the three seams curve to join up in the middle in a sort of pointed arch-shape; which we all agreed is um, decidedly unattractive. I fixed it so as to have more regular seams, and cut up the grey muslin to use as my pattern for the second muslin…
 Made up the second muslin in white sheets, and the fit and style were given a big thumbs up… perfect! I cut this one up to use as my pattern for the actual dress…
I then got brave and started cutting out the REAL fabric!
early bodice…

Bodice; for the illusion bodice, we’d chosen light coffee coloured silk habotai, overlaid with a beige/pink soft netting… this was for two reasons, firstly because the coffee-coloured silk was quite yellow in tone, too yellow; and the beige/pink net toned it down to be a better colour for Kelly’s skin. Secondly, having a net bodice made a nice background to the lace we’d chosen for the appliquéd bodice, because it had a net background too, obviously; so having net as the default background for the bodice meant that everything blended in nicely together and looked more seamless. So essentially, the bodice was pink/beige net/ underlined with coffee silk habotai, and I made the lining in the coffee silk habotai too. Everything was hand-basted together and double checked for fit before machine-stitching…
skirt fabric…

lining and underlining fabric, doubled up…

The skirt is ivory crepe, underlined with ivory lining fabric, and with the separate lining of ivory lining fabric too. I cut out the skirt and underlining and laid the pieces together, and then hand-basted all together around all edges. MAN!! This alone took me DAYS; literally .
Little story: Craig absolutely insisted that we go down to Eagle Bay one long weekend, grrrr, even though he knew I was flat-chat working on the dress, so I’d bundled all the skirt pieces together and into a bag, and taken them down with me. I spent the entire long weekend standing up at the kitchen counter in our cottage, hand basting the skirt/underlining pieces together, and to each other. Then they were bundled back into a bag to bring home again at the end of the it. Obviously everything was quite crinkled after such treatment and needed pressing again. And pressing them took me over an hour too. NEVER AGAIN! After that, I kept all pieces laid out flat on our spare bed, and once the skirt, and then dress was pieced together, hanging up from a high curtain rod; and absolutely nothing was rolled up in a bag, ever again.
I found a length of turquoise ribbon in my stash, which I snipped in half and then stitched securely to each side seam at the waist through all layers, so as to hang it up and keep everything smooth and wrinkle free.
Also… something blue!

Technical edge finishing bizzo inside the skirt: To lessen seam bulk, because let’s just consider for a minute that there are SIX layers of fabric at each seamline on that skirt, that need to sit as nice and as unobtrusively flat as possible; I treated the edges in the following ways; the skirt edges are pinked, the underlining edges are overlocked, and the seams pressed open. For the skirt lining, I overlocked both seam allowances together, quite close to the stitching. In the bodice, I didn’t actually finish the raw edges at all (gasp) because all that appliqué keeps things pretty secure I think and also obviously a bodice doesn’t face the fraying risks like the skirts.
below: edge finishing deets: pinked skirt and overlocked underlining edging, basting stitches can also be seen here, separate lining seen at top right with the edges overlocked together close to seam stitching

zip and waist stay: so I pride myself on getting seamlines and zip tops and bottoms lining up perfectly on everything I make, and I obviously wanted to achieve that here too…

We also wanted for the waistline to fit Kelly to a tee. At this point, I’m going to mention again that the 3-layered, fairly massive skirt is HEAVY, and that little flimsy bodice is constructed purely of very lightweight silk habotai and net… so I realised there needed to be some fairly substantial internal engineering required. I made a waist stay from grosgrain ribbon and stitched it firmly to the waist seam allowances, in between the outer dress and lining dress. Then, I stitched buttonholes in the lining dress, about 12cm away from the centre back, through which the ribbon could emerge.

At Kelly’s exact waist measurement, I stitched on a metal hook and eye; so this is a “belt” that basically holds up the skirt and prevents too much strain on that lightweight bodice. The last thing I wanted was ripping shoulder seams, or anything like that! Getting the zip inserted at this exact spot, to match the belt, and of course, Kelly’s waist measurement, felt HUGE to me! Its this sort of precision work that no one will ever see, but that is hugely satisfying to get right, that makes projects like this such a rush! I was so proud of myself to get this bit exactly right!
Then for the arguably pretty and frivolous bit; appliquéing the lace. Haha.
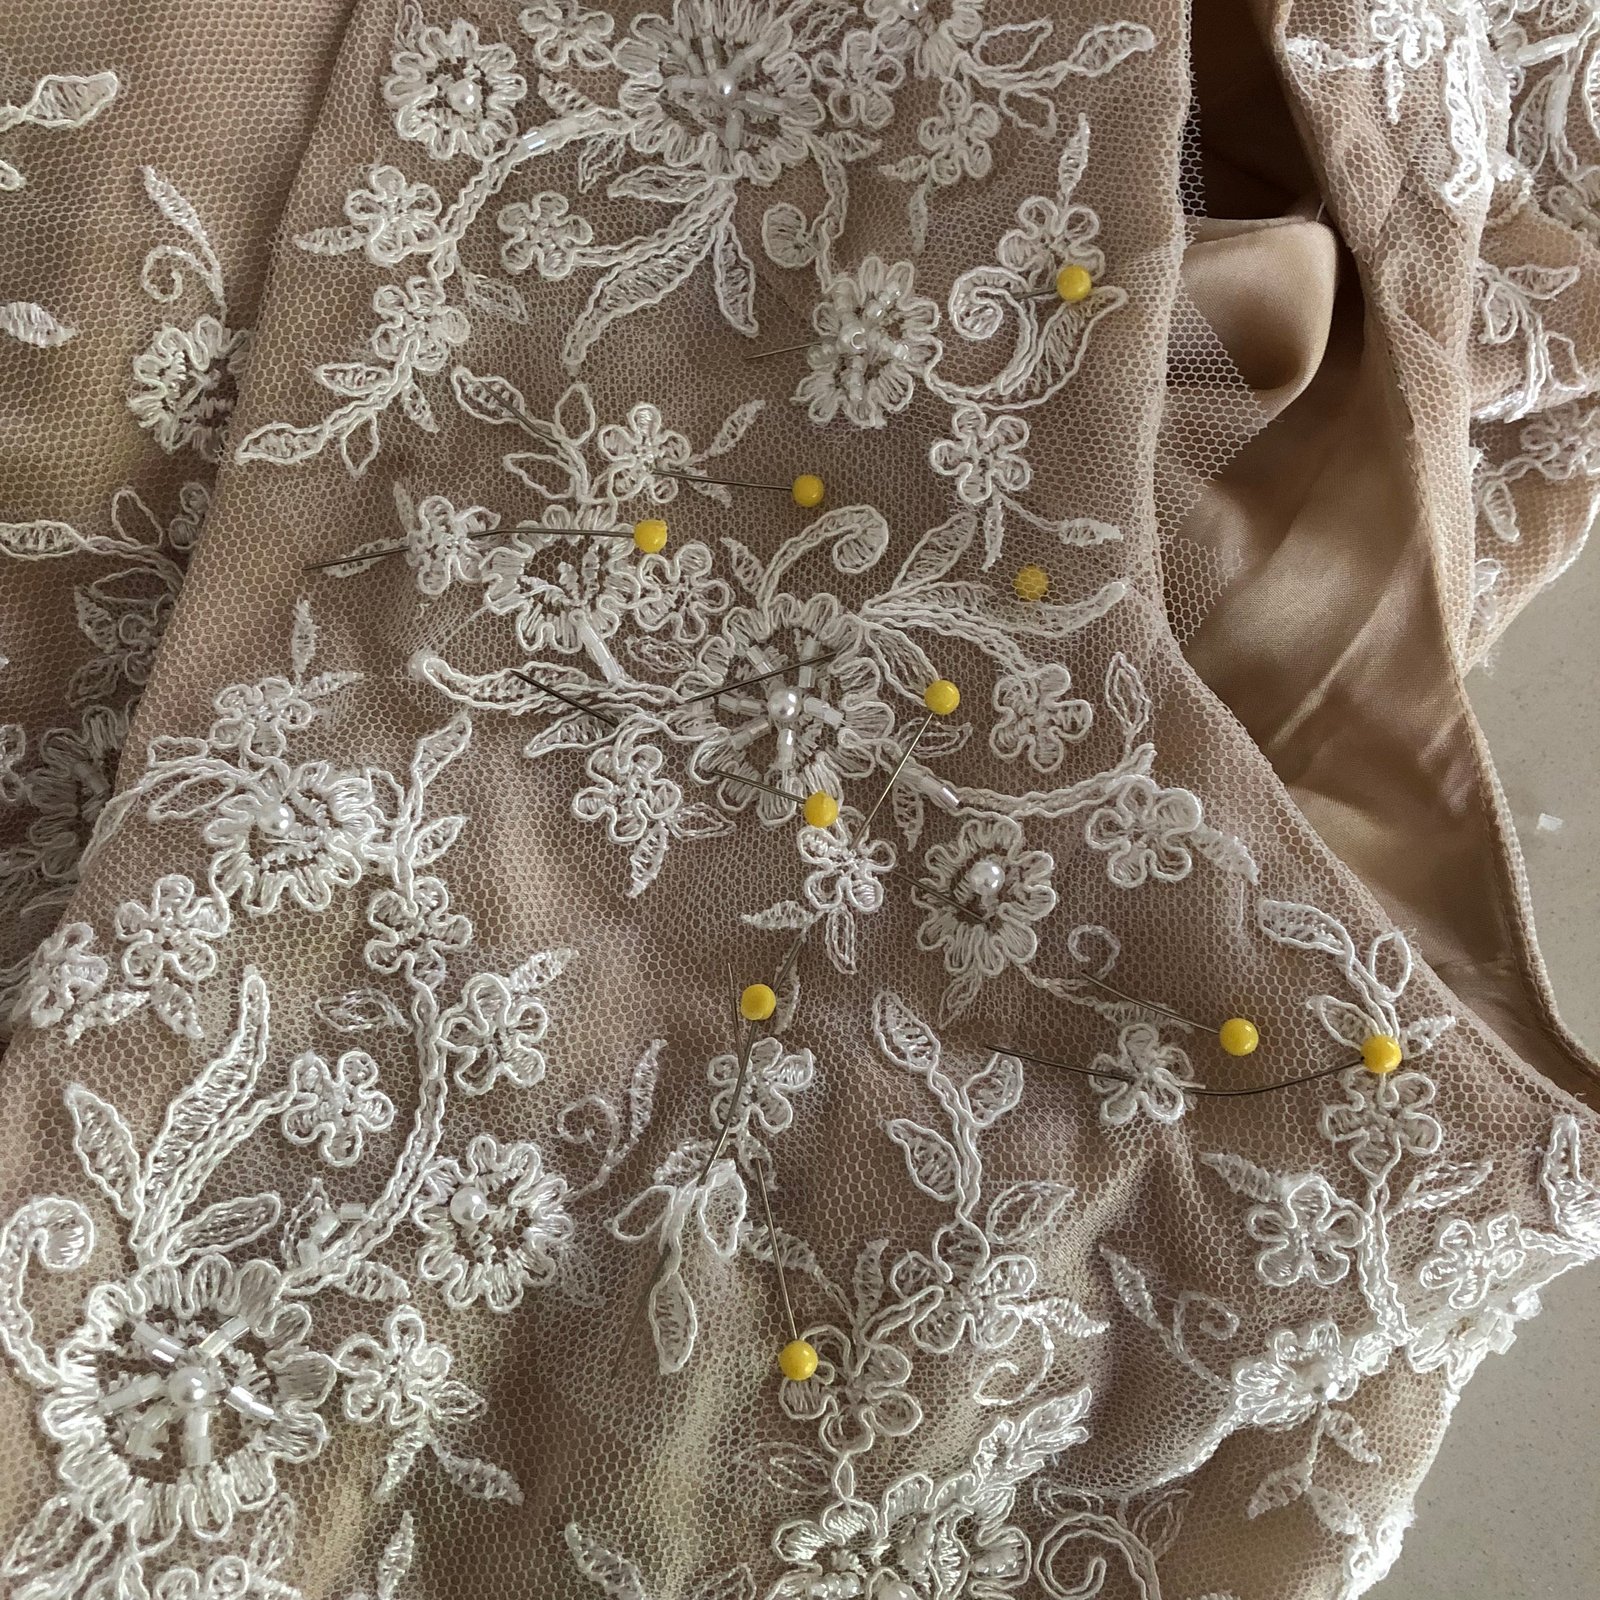
So, to digress for a minute: I realise the order here sounds counter-intuitive, I mean, wouldn’t it be better to appliqué the lace onto that little bodice before attaching it to that huge skirt with its like 20-odd metres of fabric, give or take? And yes, I concede this might have been a good plan, for ease of stitching. However, because the lace extended over both the bodice and the skirt, covering the join, and because the appliqué was very much going to be a 3D thing going all around Kelly’s curves, well I am actually glad I did it this way. I started with the lace at the waistline, so as to place it over the waist seam “just right” and then started cutting motifs and laying them so as to achieve the “organically growing” look we wanted, moving up and over each shoulder.
This is the lace as bought:

snipped down into smaller motifs…

… fitted together like a jigsaw puzzle…
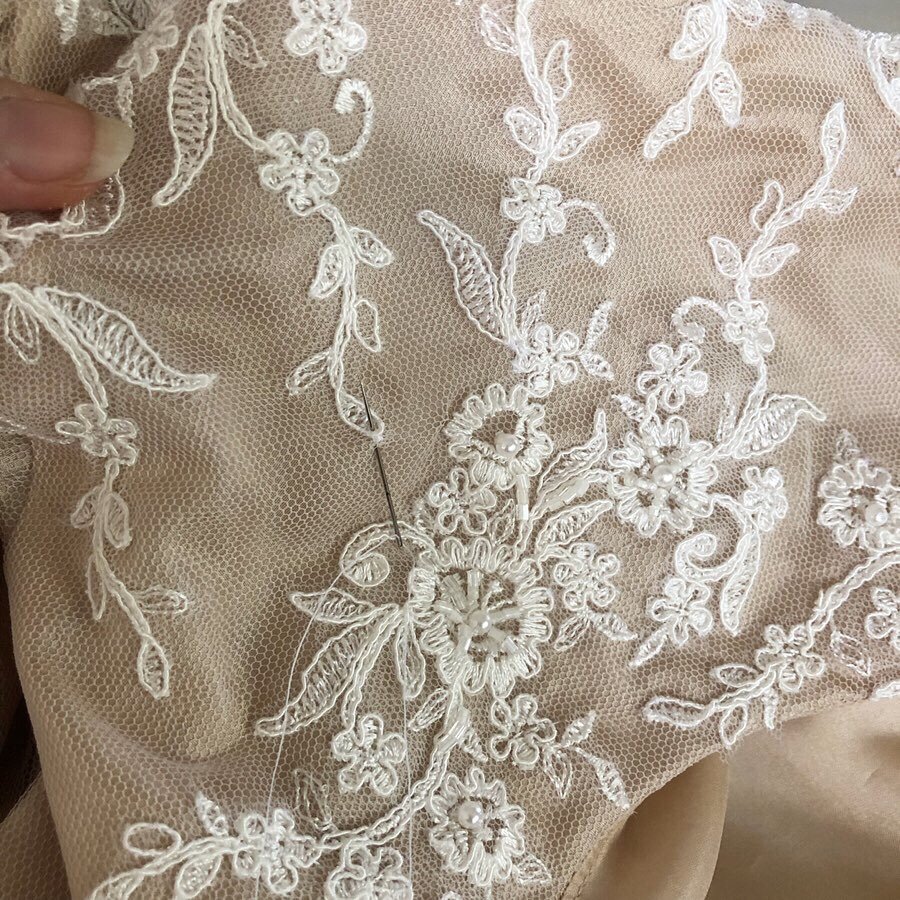

Motifs were cut down to size to fit holes and gaps; and I arranged so as to achieve an even and fully covered look with no overlapping. Kelly also wanted for the motifs to reach the very edges of the bodice but very definitely NOT go over the edge, she hates that look! but at the same time we didn’t want any flowers or leaves to be cut in half, so there was much careful planning and placing going on…. Far from being fluffy and frivolous this part of the process was hands-down of course the most time-consuming part of the whole project.

During our trip to Japan, Yoshimi had given to me the most wonderful pair of magnifying spectacles (Hizumi), which helped enormously to stitch the tiniest, most invisible hand-stitches of lace to bodice I could achieve, and also the white-on-white appliqué on the skirt!

Because of course there is appliqué on the upper part of the skirt. The train is fully covered with lace motifs too, although here I allowed for the motifs to be not so crowded on each other, and for there to be more “skirt” around each one.

All the motifs on the skirt are stitched to the skirt shell only, with the underlining kept free, and all the motifs on the bodice are stitched to the net and habotai shell, and the lining is kept free. The only part where this proved difficult was when I was stitching motifs to the shoulder areas of the bodice… because Kelly wanted the motifs to be placed so as to kiss the edges of the bodice without sticking out and also I didn’t want motifs to be caught in the edges either, I stitched the bodice lining on before adding any motifs, and finished the under stitching etc, fully. So appliquéing on these motifs required sliding my hand up carefully inside and ensuring the needle did not go through the lining layer underneath! A little tricky, but doable, and I really love how the motifs turned out here. The dress lining was hand-stitched to the zip tape inside after I’d finished all the appliqué.
 Sorta funny story… so it was near the end and I’d basically finished the dress, and Kelly was trying it on; Cassie was there and she ever so casually pointed out a slightly bald spot, only about a few cm too big, near the back of one shoulder. Moment of pure shock!! Kelly said she didn’t even notice it, but for me … well obviously I just could NOT unsee again! I just sighed, mentally girded my loins and cut out a new motif, stitched it on. I honestly don’t think anyone would ever have noticed, but I just had to fix it. Also did a ultra careful inspection to see if there were any more bald spots… there were not!

weeks and weeks… that’s all…
Shout out to my wonderful Mum who responded to my stressed-out vibes through the phone, came up for a weekend and spent two days working on lace appliqué while I worked on Georgia’s dress… thank you Mum!! and I’m sorry I was such an exacting taskmaster!!

The lace border to the skirt… this is also a cautionary tale … initially I’d stitched the border onto both the skirt and underlining together. BIG mistake! Because the skirt is crepe, which has a heavy-fish drape to it, and the underlining is polyacetate lining fabric, which has less drape to it; the skirt just “hung” over the border lace, just ever so slightly, in several places, in a most unattractive way. It was subtle, but noticeable. I could not believe my eyes when I hung the dress up on its curtain rod, and noticed it. Moment of utter deep depression; I was going to have to unpick that border lace and re-attach it to just the shell this time. I mean, let’s just speculate for a minute on the length of that skirt border. I reckon it is, oh I dunno; 6m? or more?? I couldn’t bring myself to actually measure… and what’s more, I’d done a really good job sewing on that lace border; nice solid zig-zag stitch, by machine, around each and every in-and-out bit. This was a real low-point for me, where I actually wanted to cry. However I just got out that old seam-ripper, immediately; and like a robot just got straight onto it; otherwise I knew I might actually break down. The border hung perfectly after I’d re-attached it to just the top layer, thank goodness for that.

The lace insert for the train was another moment of “how the heck am I going to do this??” In the end, I made a tissue-paper pattern of the train, in the size and shape that we wanted the lace insert to be, and simply arranged lace motifs in as artistic and “interesting” way as I could. I’d used lots of the lace we’d bought on the bodice by this time and was running low on the bigger pieces, but managed to make it work! Then I stitched them together onto the pattern, ripped the tissue-paper away, and firmly zig-zag stitched the whole thing around its edge to the; as yet still intact, train.


I left cutting away the crepe from underneath until quite late in the whole saga, simply because I was so nervous about this part! The point of no return! What if we didn’t like it?! In the end it was fine and I needn’t have stressed about this. I also cut away the underlining a bit bigger, and carefully overlocked the edges. To keep the underlining in place underneath the skirt and not fold in on itself, or flip underneath the lace insert and show underneath; I joined shell and underlining together all around the lower edge with hand-stitched “tethers” about 1″ long, at about 6″ intervals. This worked really well!


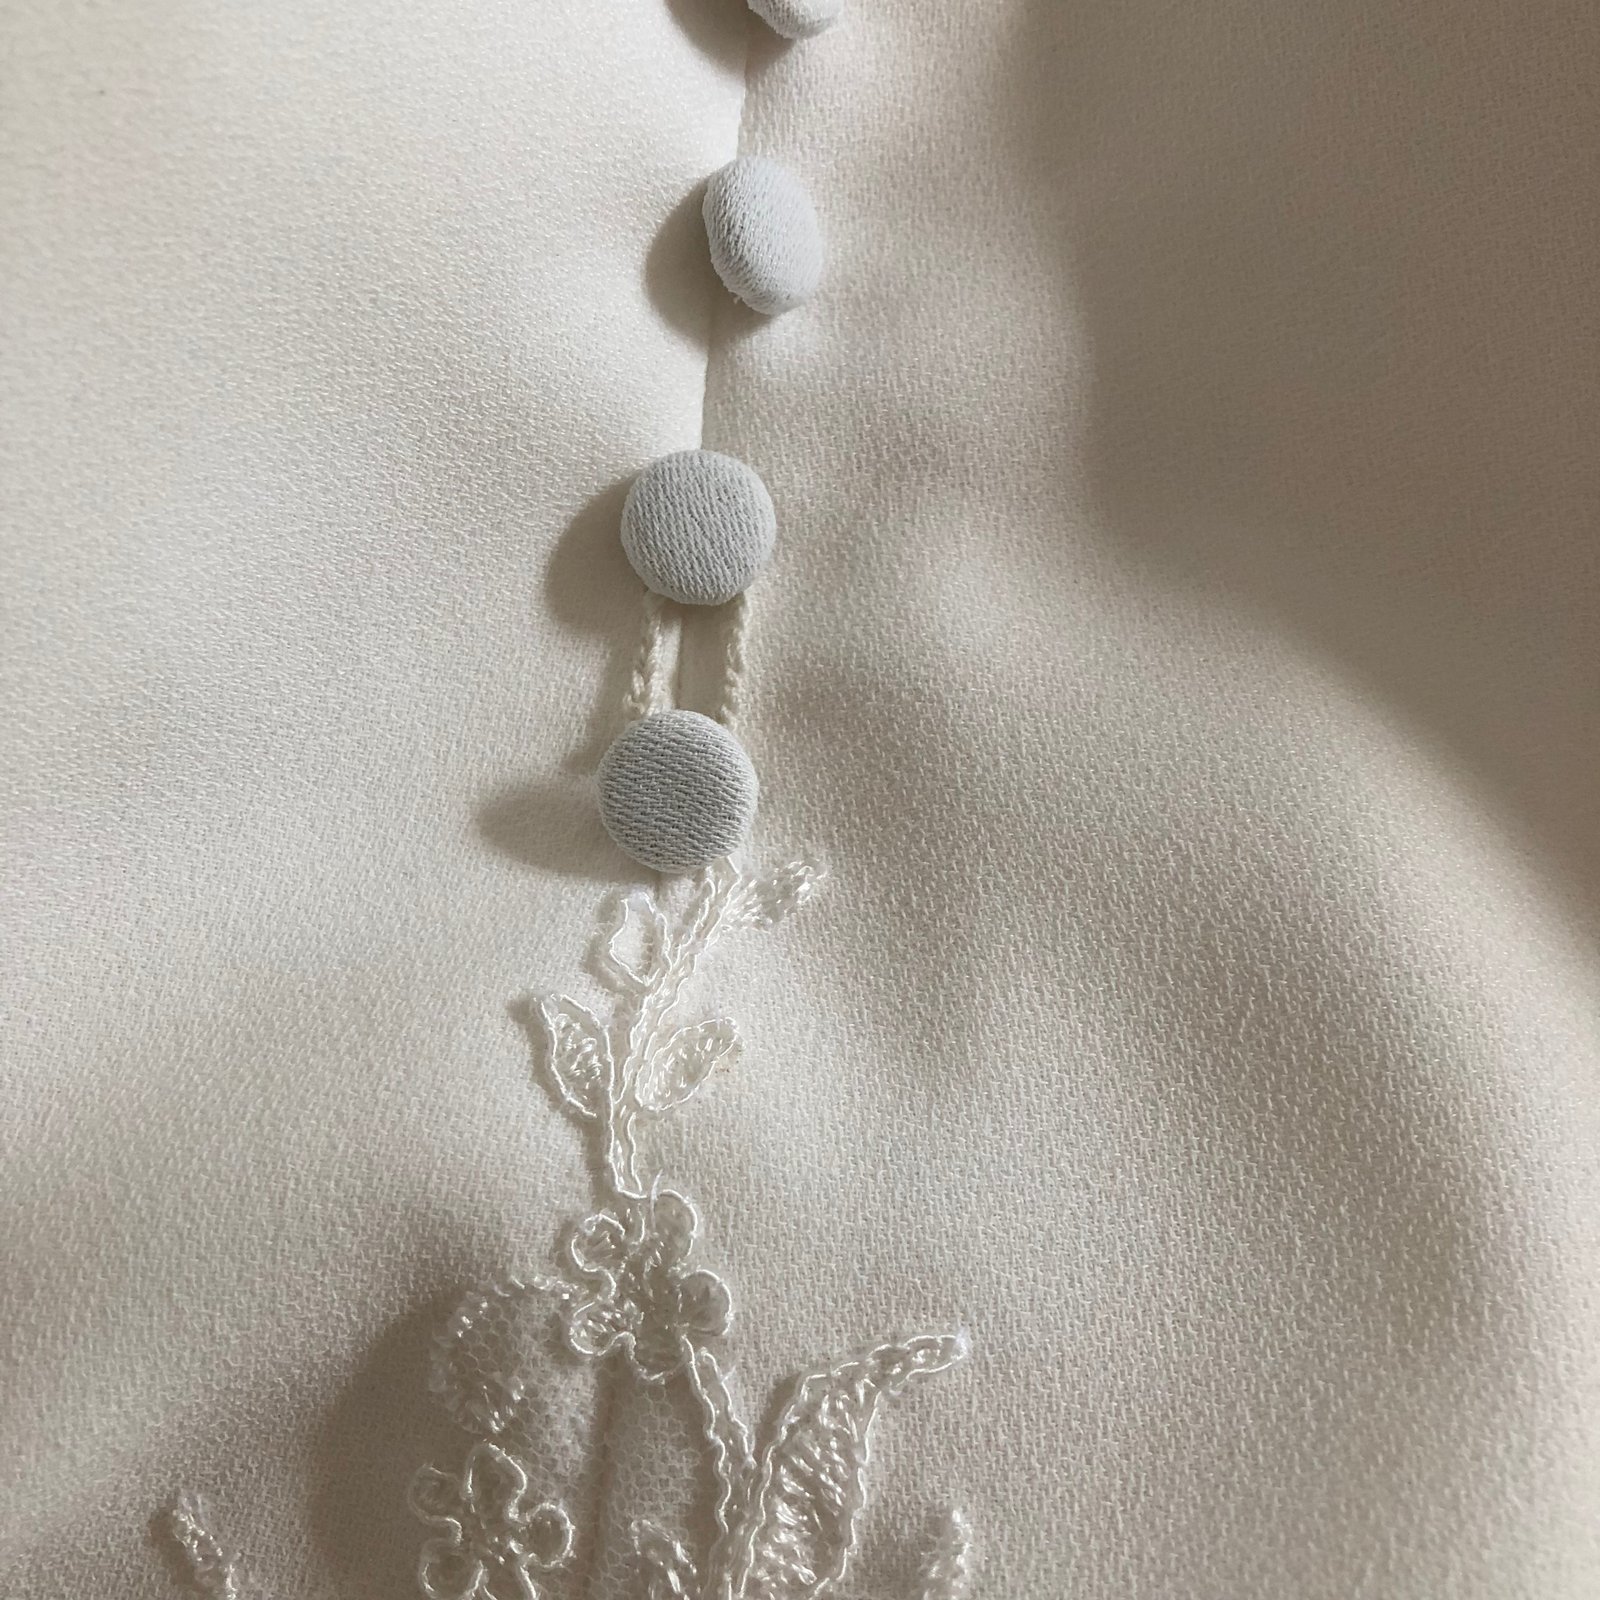
The buttons… So I spent some time investigating and sourcing possible candidates for the self-fabric covered buttons. The ones you get at Spotlight are absolute CRAP, by the way. DO NOT BUY. You can order custom-made self-covered buttons done at Buttonmania in Melbourne, for a price. In the end though, I bought a 100 pack of 11mm self-cover buttons from this etsy store, and was very happy with both the product and the delivery time. Have I written before about the experience of covering them? If so, I am about to repeat myself, because this story illustrates quite clearly how very mad and insanely attention-detail-y I can be, ahem… so the metal buttons are naturally silver, and I covered a few experimentally and for Kelly to see. Both she and I could see that the silver of the buttons was showing through the crepe a little, and making them look noticeably grey in comparison to the dress. Also, being metal and slippery, it was quite difficult to hold the little circle of fabric in place evenly while trying to push the edges in between button and shank-piece. So eventually; I got the remainder of the 100 buttons and lined them up along bamboo skewers that had been set up like train tracks, and spray-painted them all with ivory spray paint, leftover from when I made my Queen Rutela cosplay… the painted surface not only provided a nice “grippy” surface making them a lot easier to cover, but they were also noticeably less grey.


Finicky? yes, but a definite win and worth it in the end. I stitched the buttons down the back seam of the dress at 2.3cm intervals.
 This length chosen because it was visually pleasing, and worked out to be a perfect division of the seam length from the top point down to the bustle point and to the bustle loop point; where I stitched the upper of the train lace motifs.


At the aforementioned bustle points; I stitched plain buttons inside – blue ones, something else blue!! – beneath the outer, decorative ones, stitching them together to the seam allowance through shell and underlining skirt layers.

For the bustle loop, I took 4 strands of Gutermann’s upholstery thread, for strength, and crotched a 4.6cm length to fit perfectly around the button above and back, so the button spacing would be perfectly even even with the bustle done up. The thread ends of the crochet loop passed through the skirt and through the holes of the button underneath, and were then fastened off with multiple, very firm tight knots. The loop is not itself stitched to the skirt, because I worried about the possibility of the skirt ripping if there was any strain placed on it, instead all the strain is placed on the button on the inside. You know what? that train is HEAVY. As it is, in a lot of pictures where the train is bustled up I see, or think I can see, at least, how the weight of it is pulling the back of the dress down quite substantially. I don’t think there’s any way around this, it’s just how it is; but I’m glad I made that crochet loop industrial strength! It held up beautifully. When the train was not bustled up, the loop sat unobtrusively and fairly invisibly looped around the button above, nicely tucked out of the way.
 the veil:

the funny thing is that at first Kelly didn’t even want a veil; but we’d visited a bridal boutique where the girl dressing her just popped one on her head, without being asked. It looked so lovely against her dark hair and Kelly just froze, I could immediately see that a veil had suddenly become a very firm “yes” in her head. The veil was very simple and plain, one soft waterfall of unadorned net, with a comb and one single lace motif. So we bought a metre of net in the right shade of ivory, too.

Now is the time to mention; Kelly also had a piece of her grandmother’s wedding dress that we wanted to incorporate into her dress somehow… it is peach satin; completely lovely, however a very different colour and texture to any of the other fabrics that Kelly had chosen for her dress.
 I’d put a lot of thought into how we could use some of it in her dress, eventually I had the idea of using some to make the padded base for her veil on which to sew the lace motif she wanted… I cut a short piece of batting and hand-covered it with a piece of the peach satin, then stitched this to the metal comb Kelly gave me… the first double pass of stitching I used regular all-purpose thread, then for the second pass of stitching I used ivory Gutermann’s upholstery thread.

I snipped a motif from the wedding dress lace down to a good size/arrangement, but it was quite floppy on its own so I boiled up a solution of cornflour/water to make a homemade starch to stiffen it. A short soak in the starch, then left it to dry overnight… I had intended to use more starch if the lace wasn’t stiff enough however my very helpful husband threw out the starch and washed the saucepan, thinking it was just dirty water!! Fortunately, just one soak in the starch was enough to stiffen it perfectly fine 🙂

I’d lightly tacked the wedding netting on the comb already, and then just stitched the stiffened lace motif to the top… voila!! All I had to do was trim the veil to the right length… I laid it out on the table, measured, measured again, measured a third time!! Then in one clean go, cut a nice even swoop off at the length we’d decided.

I think it looks so understated and beautiful, and perfect for Kelly’s style.

the garter; Kelly had planned to make the garter herself, but with less than a week to go and she was still super busy she emergency-asked if I could please make a garter too? fortunately this is super easy. I used another piece of the precious scrap from her grandmother’s wedding dress, and whipped one up. Along with a tiny lace motif stitched on the join.

The very last touch?! As a secret surprise for Kelly, I embroidered another piece of her grandmother’s wedding satin with Tim and Kelly’s names, and the date of the wedding. I used a water-soluble pen to handwrite as neatly as I could, my own hand-writing; and hand embroidered using embroidery floss. Something else blue!! I stitched this precious patch inside the dress as a final touch. and she did not see this until the very moment she put on the dress on the day of their wedding!
I’m just going to write a story of transportation of the dress to the hotel on the day; because we spent some time worrying how to get it there, perfectly clean and safe from rain, street dirt, or anything like that… the solution; a mattress protector! Yep, Tim went to Bunnings, picked up a single size mattress protector, which is basically a huge plastic bag. I pulled it up over the dress and taped it shut at the top, over the hanger. Hehe, funny story; he initially bought a Queen sized mattress protector, which made for some outraged jokes from Kelly along the lines of “just how big do you think I am, TIM?!!!” Lol!
One other little story; the buttons on Tim’s waistcoat were coming loose so he’d asked me to stitch them on again, so I did. I also took the opportunity to stitch a tiny, subtle little good luck message to the inside. I wondered if he’d even notice it? and he did! The lovely photographer Shosh made sure … 🙂

I just had to include this picture… look at our handsome boy!!!

photograph by Shoshana Kruger Photography; genes by us 😉
So that is that! Easily the biggest and most emotional thing I have ever made so far in my sewing life; I’ve been living and breathing this for like six months and have actually done very little else during that time. However? also one of the most wonderful and rewarding things I have ever done! I am so grateful for the experience, and for the trust placed in me and my abilities by Kelly, entrusting me with the task of making her dream dress. This will forever be one of my most special projects.
And of course she looked absolutely beautiful!! glowing with love, lending her beauty to the dress, making it look amazing!! She was an absolute dream to sew for, not only committed to her original ideas, but also ultra-enthusiastic and infectiously excited about every single step.; it was really wonderful to be buoyed along by such joy and interest in how I was getting along with it every time she came over… also, let it be said, that she had such a very firm vision of how her dress was to be, which certainly made my life happily so much easier when it came to the creative process. She never ever backtracked on her earliest decisions or her vision of the dress, not one little bit, which thank goodness for that! I mean, this is my first experience making a wedding dress, and I can now fully appreciate now how very hard it could be if you had a bride constantly second-guessing or changing their mind half way.
I love this picture of Tim twirling Kelly about…

photograph by Shoshana Kruger Photography
Also of course most importantly of all to mention is that Kelly and I forged even more lovely solid bond of friendship during the process of bringing her special dress to life, which I hope continues to strengthen and grow in the years to come… 🙂

jarrah wedding arch made by Tim himself
flowers by Green Vase Flowers, Perth
photograph by Shoshana Kruger Photography
Kelly’s hair by Higley’s Hairdressing


 I made a new outfit for myself! well actually I thought I was, although as it turns out I had only made half a new outfit for myself. But as halves go, I’m pretty happy! Also, I know it seems like I’ve only just finished wedding sewing, but how does one choose to wind down after a bout of incredibly, stressfully intense, VIS??? btw, that’s Very Important Sewing in case it wasn’t obvious. Well, one dives head-first into a fresh new sewing project, of course!! Ha! and it felt awesome too… because by comparison this is VUS, or Very Unimportant Sewing, and man it sure felt good! I loved every minute of making these new things #youknowyoureobsessedwhen


 What is the other half of the wannabe outfit?? well, I’d downloaded the free, tessuti patterns Monroe turtleneck pattern ages ago, printed it out and had it lying around; and I decided it would be a good one for the honey-coloured knit. In my head my snuggly new sweater was going to look absolute perfect with my new, wide-legged slouchy trousers. I could hardly wait to wear them together! So did things work out just exactly as planned? don’t be silly!
 Some technical sewing deets:


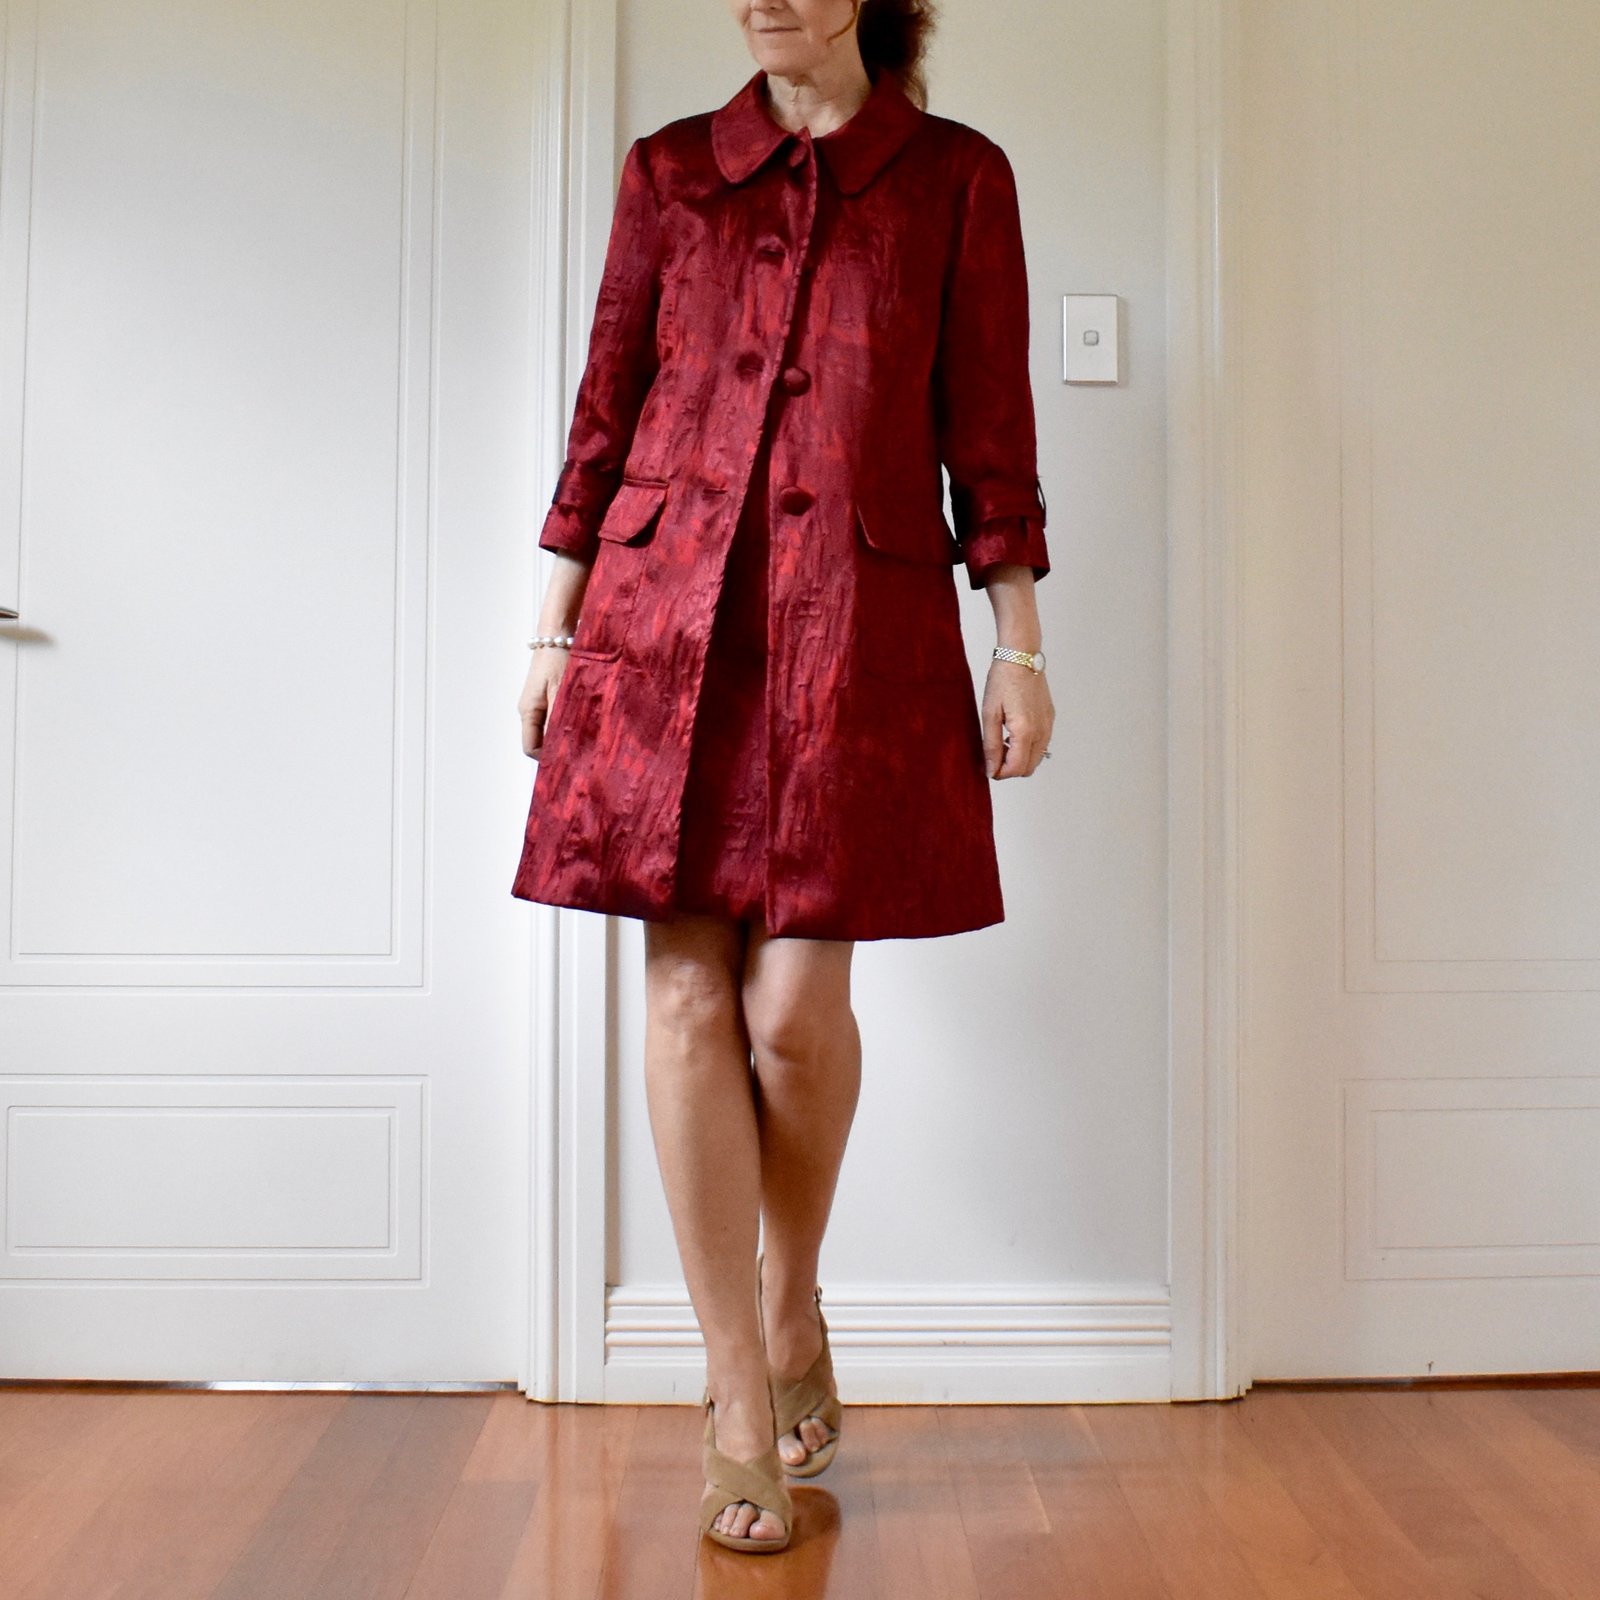
 So, I made my own outfit for Tim and Kelly’s wedding too, of course! I’m posting about this outfit before the wedding dress, partly because I’m waiting for the professional photos … a social media blackout was imposed for the wedding, although of course I was far too occupied chatting to all our friends and relatives to even think about taking out my phone a lot of the time anyway!! I did take a coupla snaps during our getting-ready period, and during the reception, but for about 99% of the day my phone stayed firmly silent, neglected and untouched in my bag. And honestly, that’s the way important celebrations should be done anyway, I think!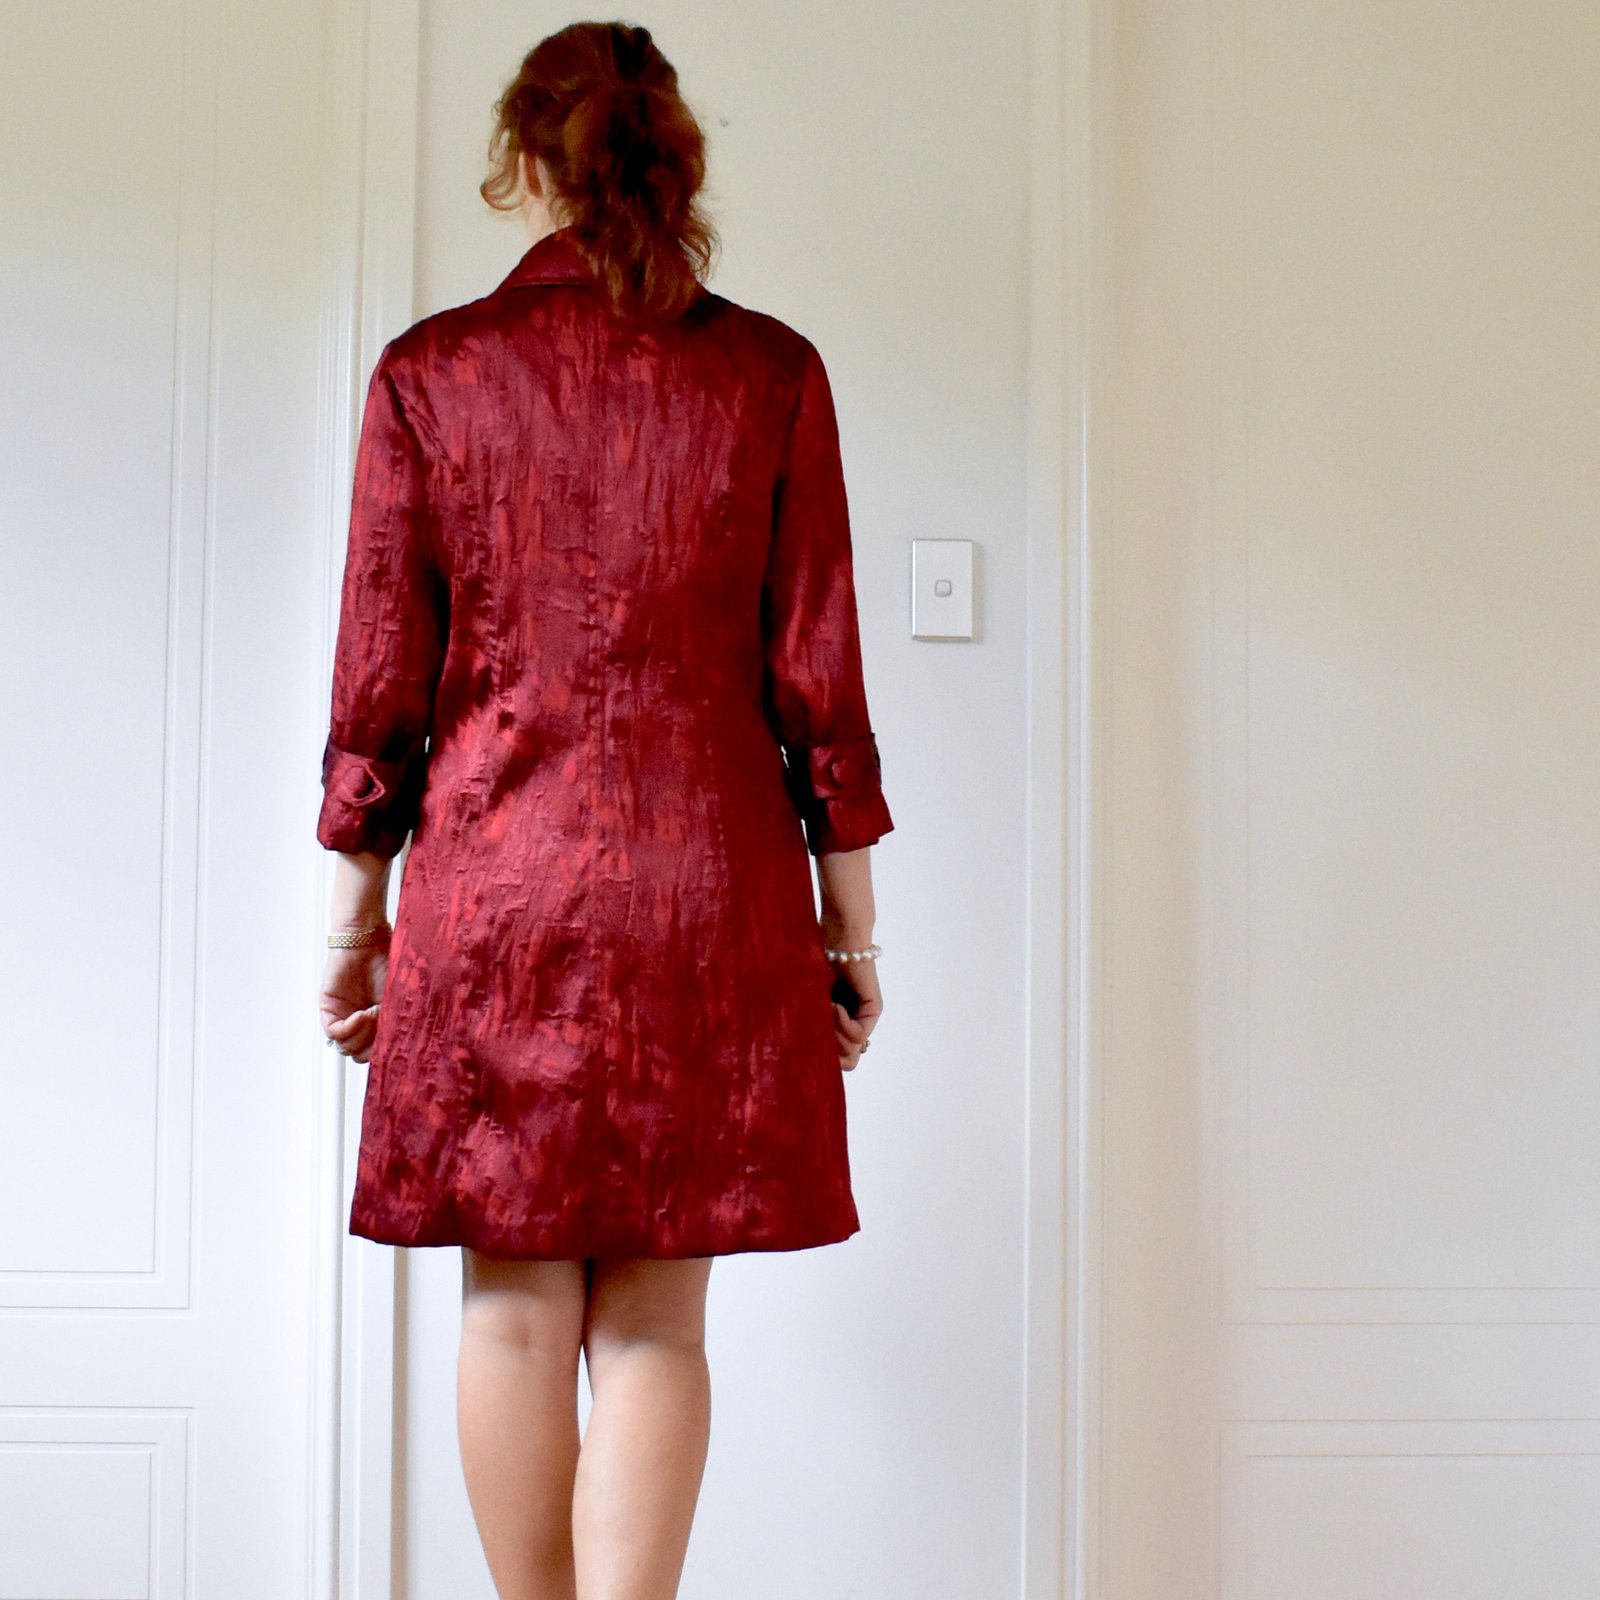


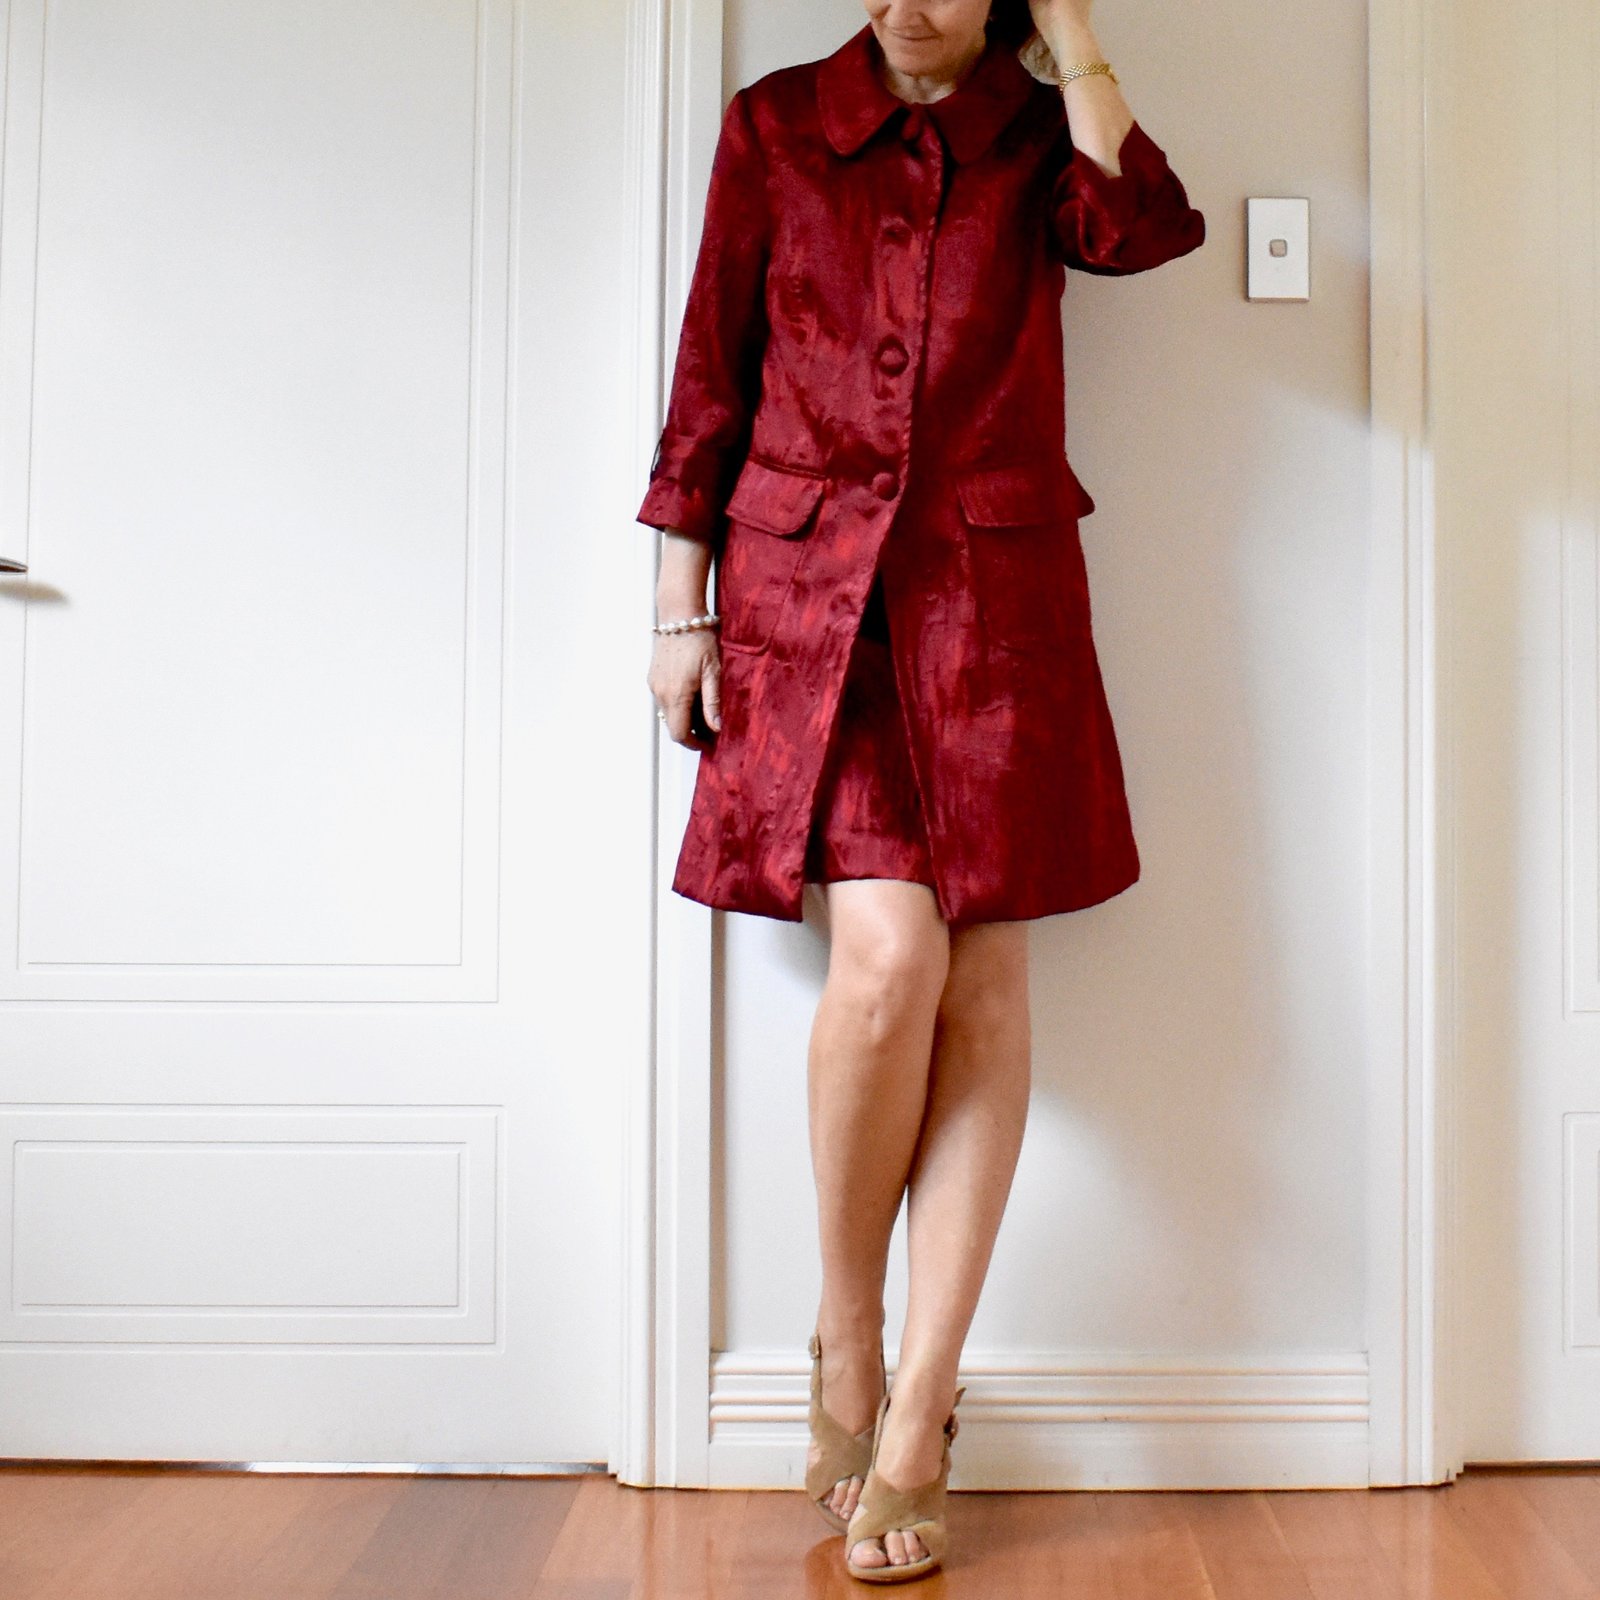

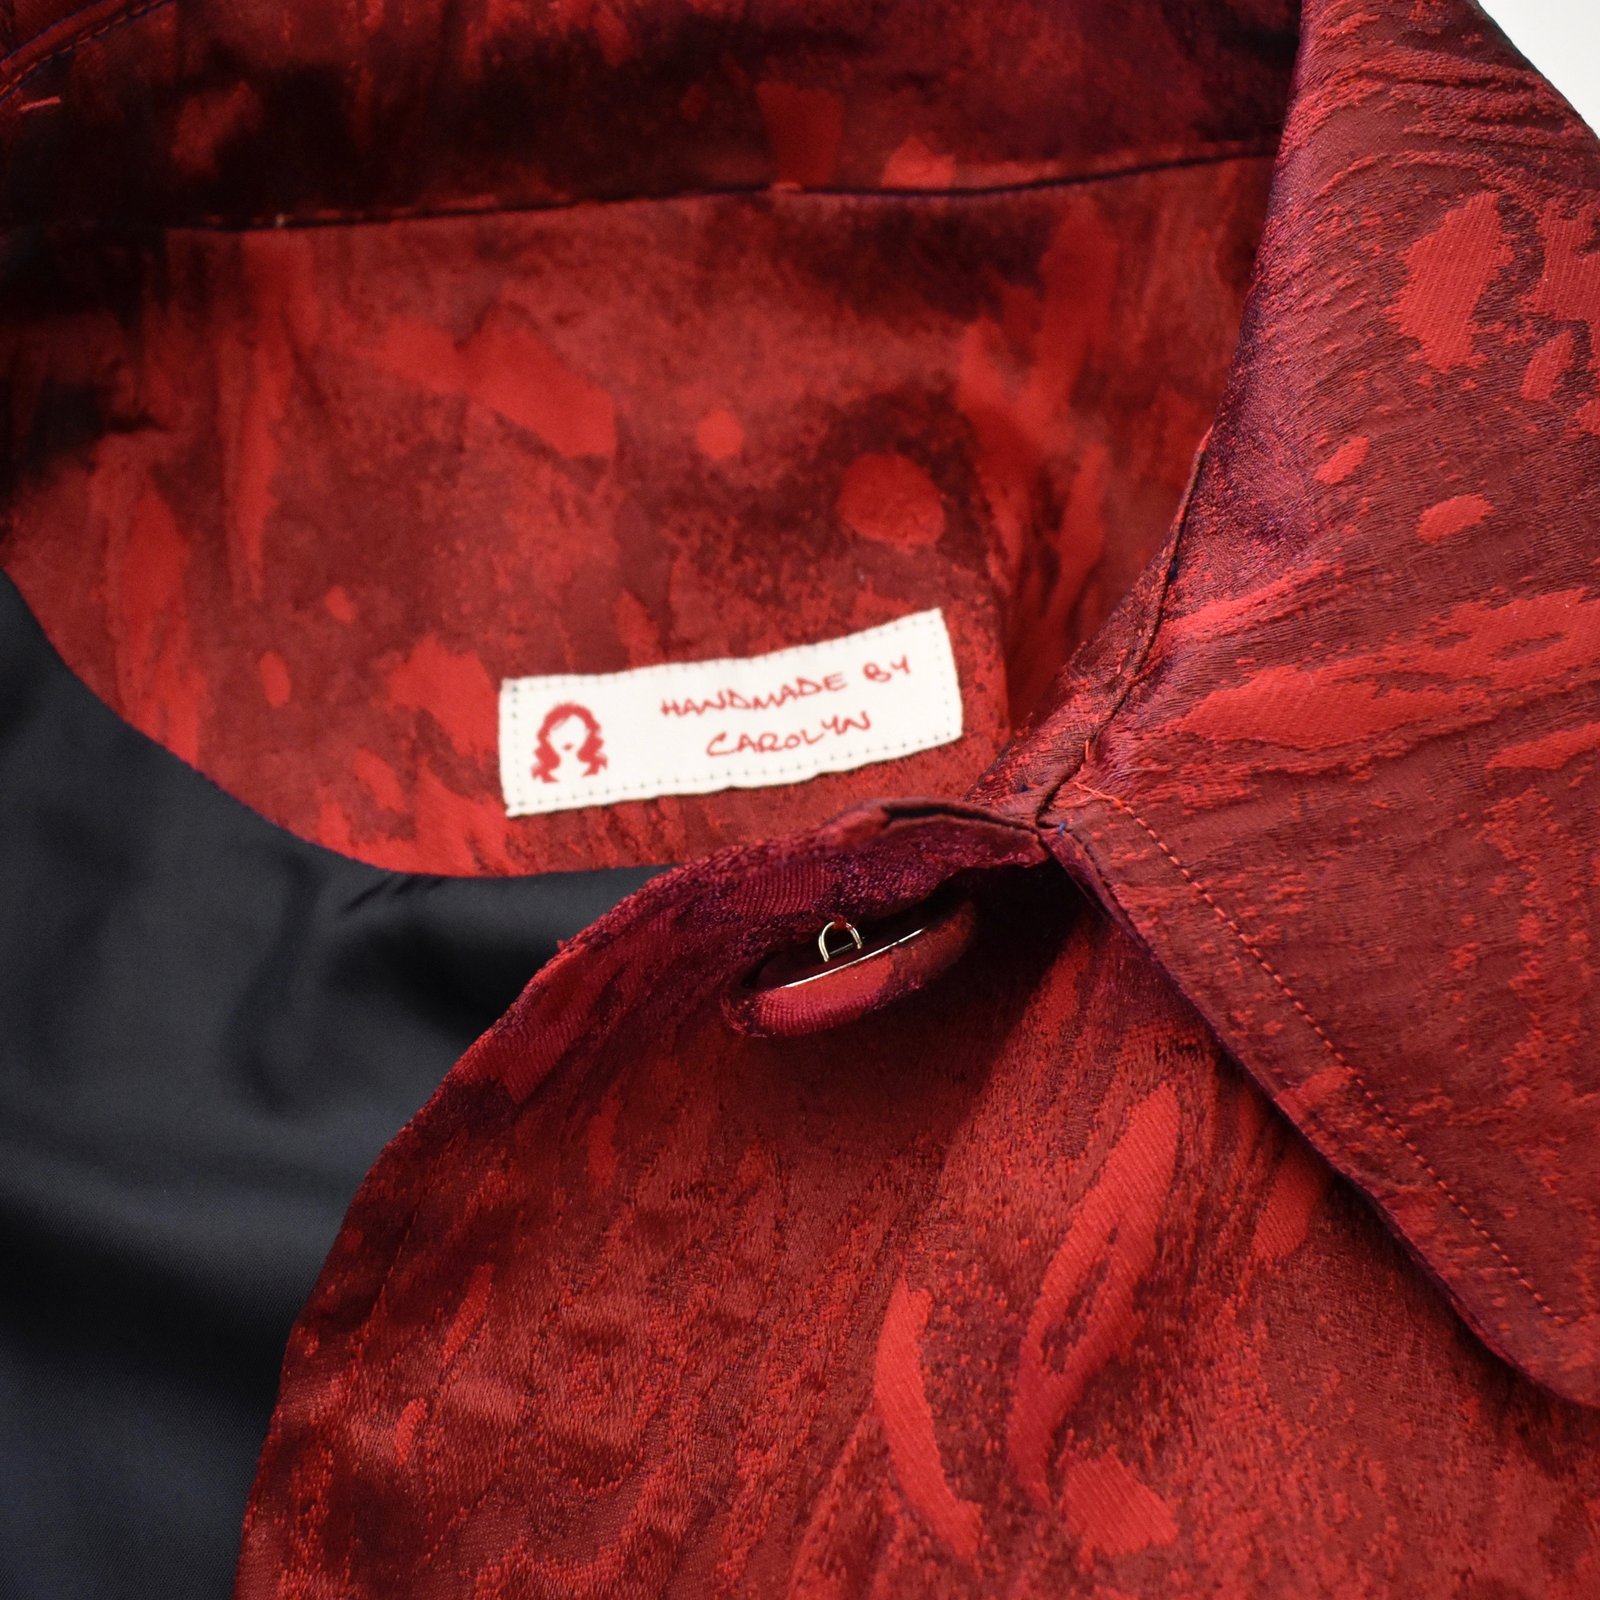

 I went all out with the bound buttonholes…

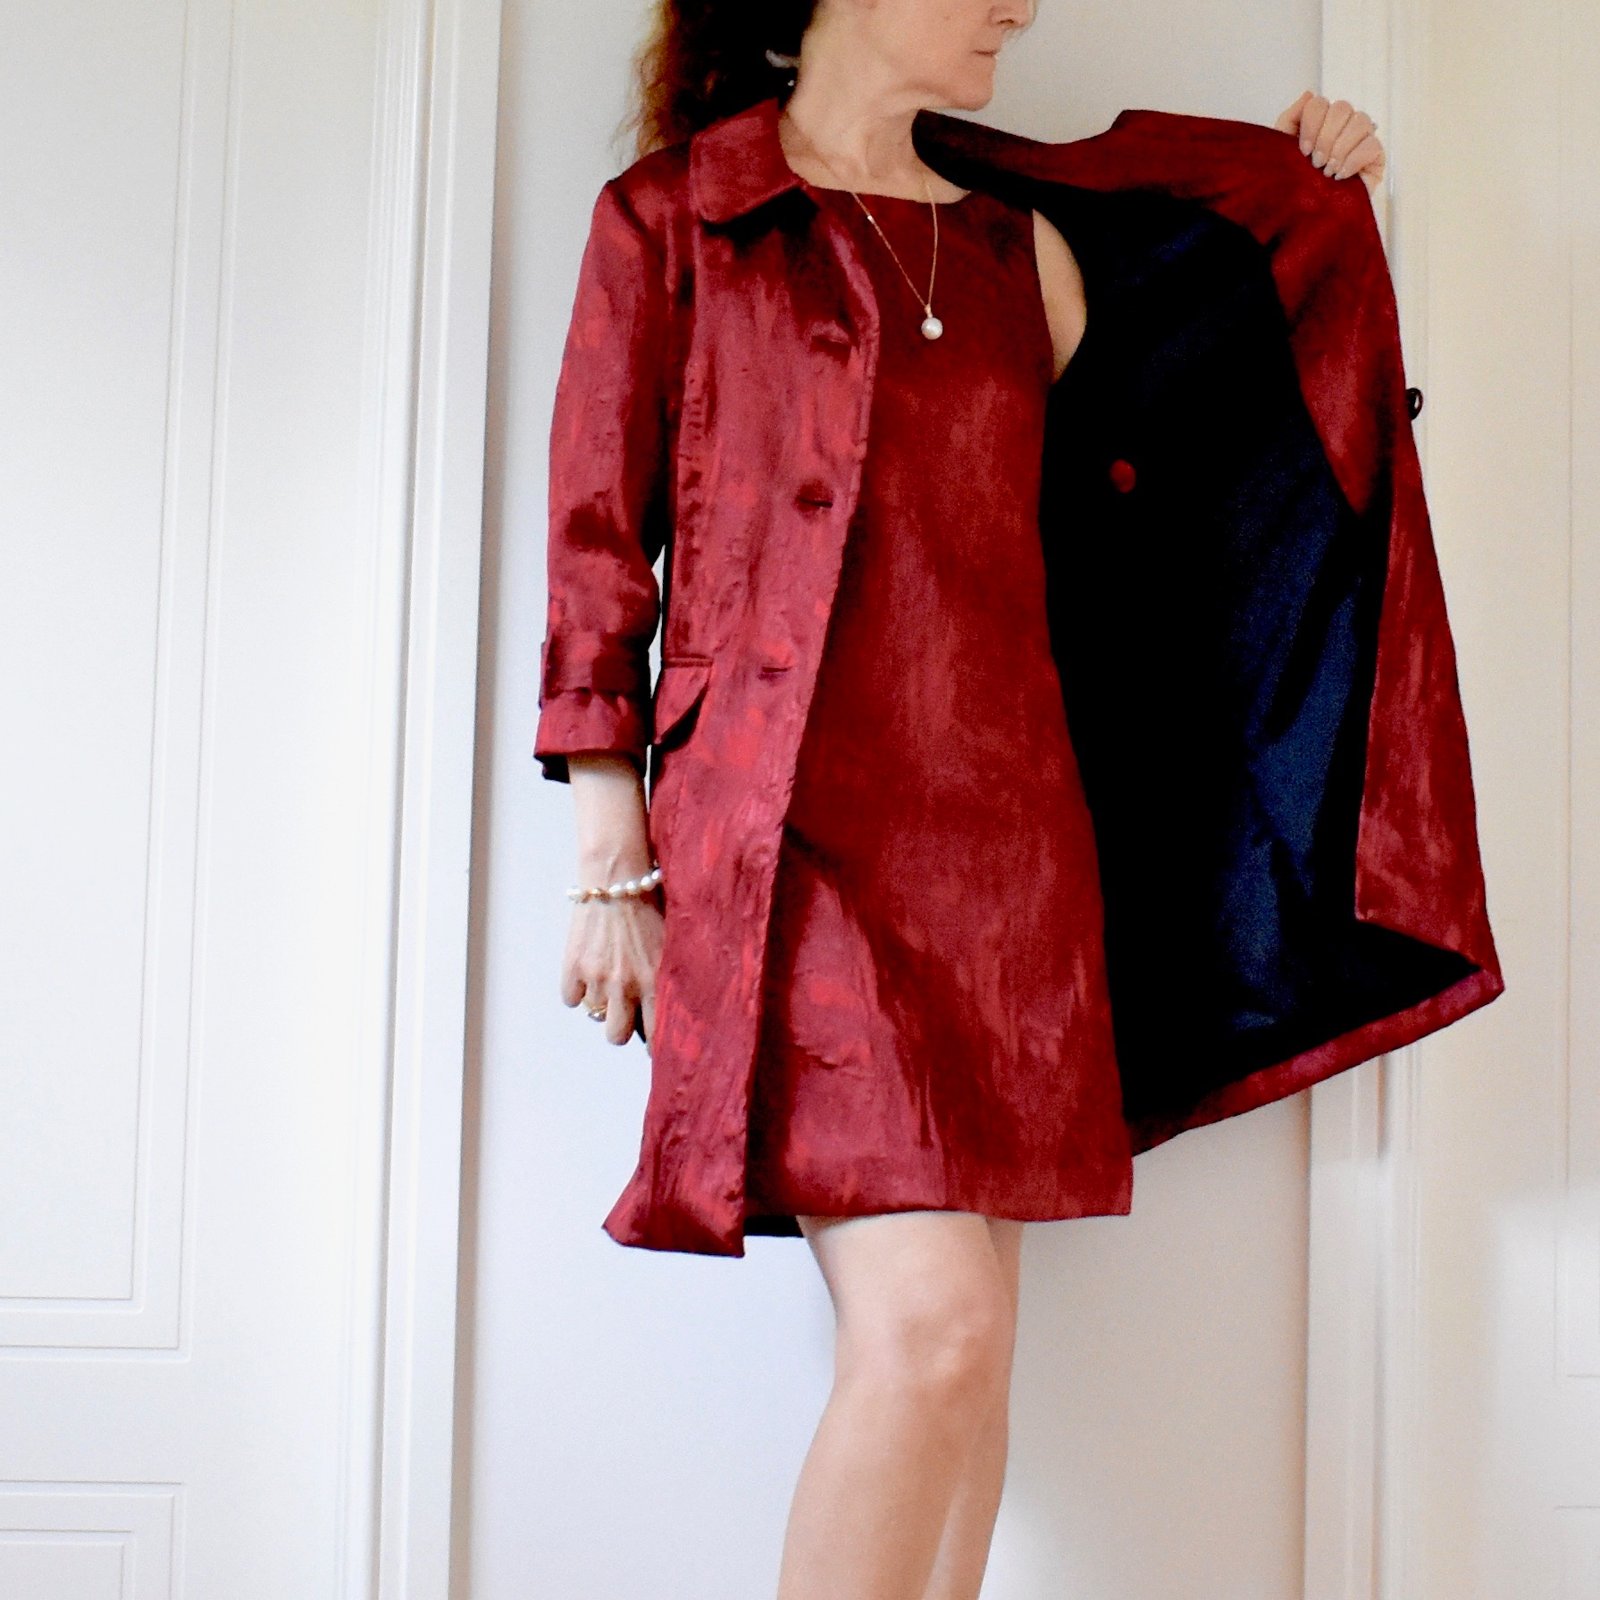 Dressmaking details now, er addressed, haha; the following is story time… please feel free to stop right now if the sewing details are all that is of interest. Fair warning:



 So this yarn is the legendary Opal yarn, that it seems you can buy everywhere in the world except Australia, grrr… the label reads KFS Kesennuma, colour Forest, or KFS108. and is a really beautiful, verdant array of deep teal, bottle free, olive green, bluey-grey green, and through to a springy leaf green and pure ivory… I love the way it knits up to mimic a fair isle design, the repeat is just like the yoke of a Scottish or Scandinavian jumper. It’s my favourite colourway out of all the self-striping sock yarns I bought, because of that clean “evergreen trees in a snowy wintery wonderland” vibe. I can almost smell the pine needles!
 I used my old Patons tried and true basic sock pattern, and carefully arranged the colours to have the heel in all the darks, and cut and spliced so as to have a mostly pure white toe, though just a tiny spray of green at the very end snuck in there too… so pretty!!


 I really only cut out this set so as to have something to work on at the recent Australian Sewing Guild meeting… since I couldn’t really take along any wedding sewing. And I enjoyed it so much, I just had to keep on and finish it immediately. Sooo nice to just make something simple and fun and trivial, just for myself! Honestly, when I’m feeling stressed, or anxious, or just otherwise unhappy, making a set of lingerie… well there’s just something so restorative about it.
 Pattern; the Watson, by cloth habit. My favourite! I did my usual alterations; namely cutting the front and outer crotch piece as one, and constructing the bra front so as to be fully lined and to have all the seam allowances enclosed within the layers


 For patterns; I used the eponymous Carolyn Pyjama pattern by Closet Case patterns for the bottoms of course! and for the top I used a plain Burdastyle T-top pattern I’ve used a few times before, Burda 10/2009;121, with minor modifications – story of my sewing life, hehe.




 So, items in my wardrobe I am currently very much in want, and need, of replenishing, are those that reside in my smalls drawer…. and with our Family Wedding just around the corner I reeeeeeeally wanted a lovely new set of lingerie for the Big Day! And of course, what better than one to tone in/match my wedding outfit?






































