Pink Alabama Chanin T-shirt

I’m very happy and pleased that my Mum agreed to let me photograph her wearing her very recently completed hand-dyed-embroidered-and-stitched creation, and to show the pictures here on my blog …
thank you so much Mum!
This is Mum’s third Alabama Chanin project, and the first completed one… she has very nearly finished a more wintery skirt and top but has put those aside for a little bit in order to make something with the flavour of summer.  She wanted to have something to wear now!

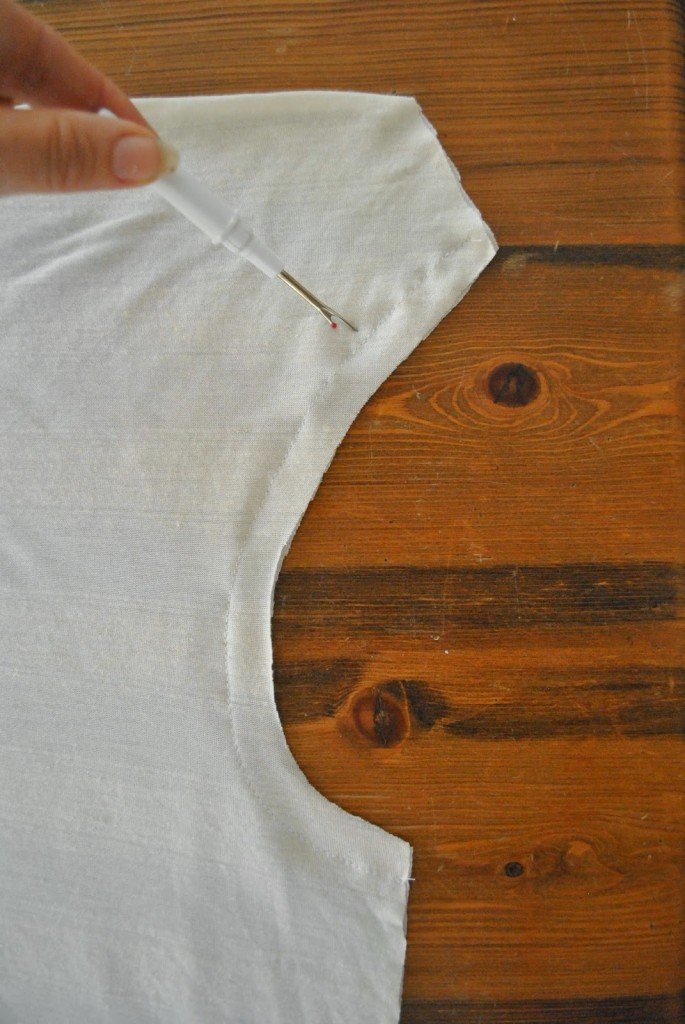
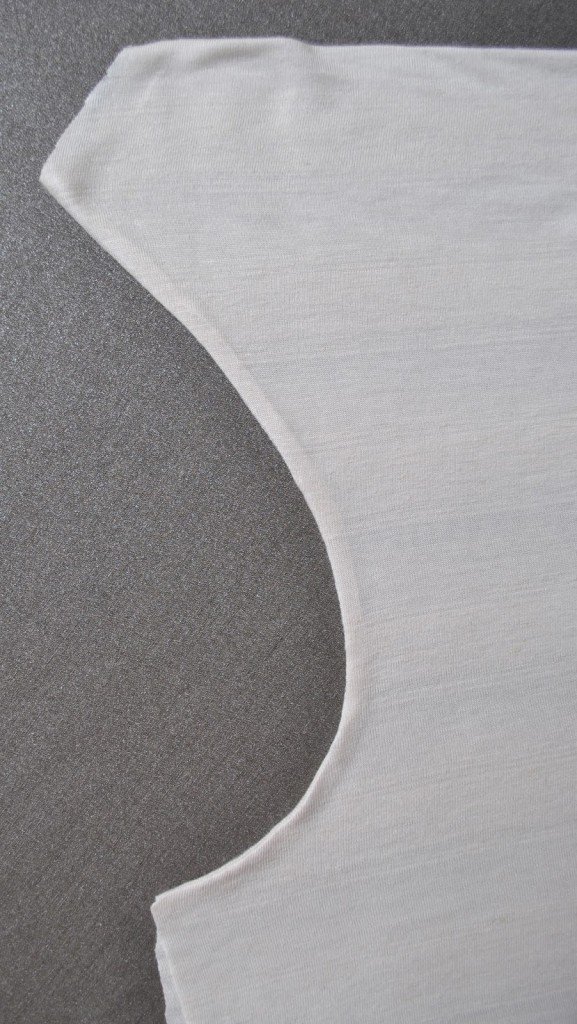
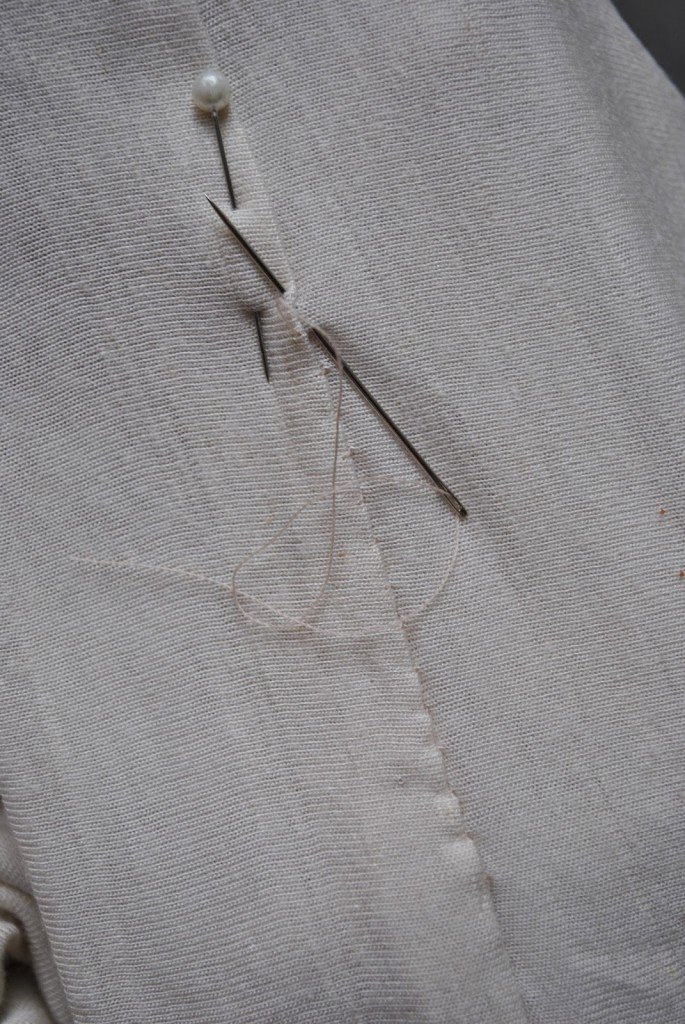
Mum hand-dyed white cotton jersey in three different shades of pink for her top; pale apricot pink for the under layer, a deeper apricot-rose pink for the upper layer, and a true pink- pink for the neckline binding.  The floral design is her own, and she made a stencil using dressmaking paper from Jackson’s but does NOT recommend this; it buckled and was apparently a nightmare.  The design was rollered on to the upper layer in slightly watered down, regular household paint applied with a small roller.  Mum used double thickness Gutermann’s upholstery thread to hand-stitch the floral motifs, all seams and the flat felling of all seams; and pink stranded embroidery cotton for the cretonne stitch to secure the neckline binding.  We had some debate on whether the armscye seams should be stitched down to the sleeves or the body?? a quick recce of the Tshirts in the general vicinity seemed to indicate that there is no convention here but men’s buttoned shirts are to the body so this seemed like a good example to follow.

The pattern is the Tshirt pattern from the book Alabama Studio Sewing + Design, by Natalie Chanin, with the neckline from the tank/dress pattern, and short sleeves.  Before launching into all that time-consuming embroidery Mum wisely tested the pattern and found it necessary to make small adjustments for fit… both of us loathe muslins and generally avoid them like the plague and yeah, it does seem ludicrous for a basic Tshirt in a forgiving stretch knit, but an Alabama Chanin project is kinda exceptional.   It doesn’t take long to run up a test Tshirt on the machine using a long basting stitch, and is well worth the effort.  And could save lives!!  Well; at the very least, a tantrum  ðŸ˜€
Thank you so much Mum!

pinterestmail

Green pleats, please!

Hello!  🙂
So
what’s new here?  Just a colour,
really.  My Issey Miyake pleated top (vogue 1142) used
to be a cheerful daffodil yellow, and now it is a murky-lurky, swampy, toxic-waste shade of
green.  Definitely far more me  😉  Hoorah for dye!
Cassie was doing a wardrobe reno: an apricot cardi
plus some black dye equals a new chocolate cardigan! and asked if I wanted the
used black dye-bath for anything before she chucked it out.  I barely gave it ten seconds of thought, just
grabbed this top.  It’s not that I can’t
bear to waste a teeny bit of dye that might still have some oomph in it.. oh well,
yes, maybe there’s that too.  But I
really liked the top and wanted to get it into circulation more.  Yellow is one of “my colours”, but the
brightness was just not working with many bottoms… and furthermore since
I’ve planned a very subdued autumn/winter wardrobe for myself then the bright yellow
top would just continue to not work.  And
on a psychological note, not that I’m overthinking this or anything!  but I think maybe brights are just too daring
for my personality?  I’m a bit of a mouse and perhaps bright yellow should just
be limited to infrequent miniscule doses in my life.
Ha! I reckon I’ve officially just overthought the
whole thing, which is hilarious considering that I didn’t think at all before
plunging the top into that dye-bath!  Lol!


Anyway, now the main thing is that now it’s going to
go quite well with the ivories, browns and greens of my swap.
Details:
Top; Vogue 1142, yellow silk over-dyed in a weak, already-used bath of iDye in Black, original details and my review of this pattern here
Skirt; my own design modifications to Vogue8363, cream curtaining fabric, details here and my review of this pattern here

below; before…
pinterestmail

enclosing all seams in a double layered top/dress

This is a method for sewing a double layered sleeveless dress or top in such a way that all seam allowances are enclosed within the two layers.  This could be used to create entirely reversible garments as well as simply giving a nice and neat inner appearance.  It is also useful when using sheer fabrics like mesh and very fine translucent knits to make a self-lined garment.

Cut the front and the back pieces with a 4cm hem allowance, and cut a front lining and a back lining, identical except with a 1cm hem allowance each.  This will give a garment with a folded lower edge and the lower hem seam hidden inside 3cm from the fold.  If a different hem allowance is desired then cut accordingly; or if the joining seam is desired to be right on the lower edge of the garment then cut the linings to be the same length as the front and back pieces.

(This particular top pictured has a straight folded edge at the upper neckline; but the method is just the same as if the linings were separate pieces that needed joining all round, since that neckline seam is the very first to be sewn… )

Pin the back to the back lining along the neckline edge right sides together, and stitch.  Trim stitched seam allowances, turn right sides out and press flat.
Pin the front to the front facing around the neckline right sides together in the same manner, and stitch.  Now for the front only! also pin the armhole edges of the front to the front lining and stitch.  Leave the shoulder seam open and unstitched.  Trim stitched seam allowances, turn right side out and press.

 Open the back/back lining piece at the shoulder and wrap it around the front/front lining at the shoulder edge, all right sides together, back piece to front piece, and back lining piece to front lining piece, aligning the neckline seams.   Pin all four layers together, ensuring the front neckline edge is abutted hard up against the neckline edge of the back/back lining.   At the outer shoulder edge continue pinning the back to the back lining down the armhole edge, keeping the front free.

Stitch the shoulder seam, pivot at the outer shoulder edge, and continue stitching the armhole edge of back to back lining.  Trim seam allowances, and pull the front piece out and through, turning the back/back lining piece right sides out and press flat.

 Now open out the pieces; and pin the front to the back and the front lining to the back lining along the side edges; aligning the underarm seam exactly.  Stitch side seams in one long seam; from lower hem to lower hem.  Press seam allowances open.  

Lay the outer layer over the inner layer wrong sides together aligning the side seams together and press again.

Separate the outer layer from the inner layer again and pin the lower edges of the outer to inner layers, right sides together and aligning the side seams.  Stitch, leaving a gap of around 12-15cm, or big enough to stuff your garment through without stretching out the fabric too much.  Use something long, skinny and padded to press the seam allowance down; I know there are proper thingies for the job but I generally use something like a rolled-up flannel.

Turn the garment back right side out through the gap left in the lower hem.

Inside the garment, press down the seam allowance of the outer layer to close the gap in the hem and pin in place.  Slip-stitch the gap closed invisibly by hand, being careful to keep the outer layer free.

Voila!  There are absolutely no seam allowances showing; anywhere!

pinterestmail

some tops

I’ve made a couple of new tops lately  🙂

I’ve made this design once before  so I knew I’d like this new one too. It is a modified version of the
loose draped top from drape drape, by Hisako Sato.  Modified in that A; I removing a
wedge of the width in the neckline drape both front and back, so I could fit both pattern pieces
onto my small-ish piece of fabric, and B; this time I made it as a double layered top, since my fabric is so thin it’s thisclose to sheer.  This was a rayon/linen remnant bought from the
Morrison’s fabric sale, a grey-ish ivory/bone colour with a very subtle, paler, knitted-in stripe which barely shows up at all in the pictures!
It’s a basic; but I think it will be quite good with all three of the busy, feature-laden skirts I have made for my autumn/winter swap.  The thing I’m most pleased with is that I got all the seams of the top enclosed inside the two layers; and only had to hand-stitch one short bit of the hemline closed after turning it all through, right
side out.
I’d made Cassie’s Christmas dress the same way only a few months ago, but I still had to stop and
think step by step, how to do the double-layering! so I took pictures and am writing a little how-to on my method so I don’t forget for next time.  Appearing here soon  🙂

 lingerie straps; essential in this design

The next top above: I’m very meh about this one.   It’s amazingly boring and unprepossessing  given that making it has been a freakin’ saga and a half.  This is version two; I first made it as a very big and very loose tunic-y style top.  Valuable time and energy and a piece of fabric was dedicated to making a rather hideous top.  So I fixed it.  And re-made it into a marginally less hideous top.  Yay!
this is the least revolting “before” picture … 

I think it’s that the fabric, a knit remnant from Potter’s Textiles was just not suited to an oversized silhouette, being both heavy and weirdly clingy at the same time.  The combination as a whole was instantly frumpifying, like a hospital gown; or looking like you had to borrow your man’s ratty Tshirt from his gym bag in the car because you’ve ruined your dress, or something.  The exact opposite of chic.   

In anticipation that some kind people might express approval of the “before” version, please know that these are the very least offensive pictures, and let me point out that any vestiges of appeal are probably due to the fact that my hand is in a pocket/on my waist, giving it an appearance of shape that it did not have.  Other photos where it’s hanging straight and loose had the hospital gown/grotty man’s gym Tshirt vibe.  
So I cut out of it my much more fitted, regular tried-and-true custom fit Tshirt.  It’s still pretty blah but least I don’t unequivocally hate it now.
I’m thinking it will be ok for warmth or whatever during winter.  Heck, another layer’s another layer.  We’ll see how it goes!


Details:
Ivory top; the loose drape top, from the Japanese pattern book drape drape by Hisako Sato, ivory rayon/linen
Chocolate top; ultimately, my custom fit Tshirt pattern, chocolate jersey knit
Shorts; Burda 7723, charcoal stretch gabardine, details here and my review of this pattern here

pinterestmail

Big baggy pockets…

… with bonus skirt.
It is an unusual skirt, admittedly.  That’s OK.  One description could focus on the fact that it is softly creamy in shade, ever-so-slightly crinkly in texture, interestingly layered in construction, and easily breezily comfortably summery as a whole.  Another could point out that it is made of flippin’ curtaining off-cuts for crying out loud, and features ginormous flappy saddlebag things.  Well let’s not over-romanticise, hmmm?  But I like it, nonetheless.  And I don’t mind curtaining fabric; in fact, one of my most useful and reliable favourites is another curtaining skirt..
I started out with Vogue 8363, a plain, waist-banded pencil skirt with simple variations; and altered it to make it a bit more A-line, cutting the side edges like so; both front and back.  And then added my little added designer-y flight of fancy in the form of those big wrap-around bags.

They are basically sacks; like envelopes or pillowslips, that are sewn within long long extensions of the narrow waistband.  These cross over at the centre back, wrap around my hips and tie loosely at the front.  The skirt closure is the regular kind, by invisible zip in the centre back seam.  
I was inspired by this skirt.  Does anyone else have a go at actually doing something with their pins?  I have pinned LOTS of things, but have only followed through on nutting out making a few.  I have big BIG plans for making tonnes of things from my random unbridled pinnings; but the same ol’ story; so much inspiration, so little time.  And there’s only so many clothes that one can in all good conscience add to one’s wardrobe.  Striking a balance is key, my friends, striking a balance.  However I do feel pretty good about this particular skirt since it’s pretty much a freebie; made from the off-cuts of Cassie’s curtains.  I’d found the absolutely perfect thick calico curtains on super special in Spotlight.  Correction; the fabric was perfect but the top had been made as pencil pleat curtains, which I loathe and detest with a fiery passion.  So I bought them too long and cut off the tops, keeping the hemline intact, and re-sewed the top edge with my preferred triple pleat curtain tape, so they match nearly all the other curtains I’ve made for our house.  And was rewarded with a few pieces of leftover fabric… which I have now put to good use  ðŸ˜‰  Double, no… triple win!

Details:
Skirt; a modification of Vogue 8363, thick calico curtaining fabric, my review of this pattern here
Top; the loose drape top slightly modified, from drape drape by Hisako Sato, white crinkly cotton jersey, all details here
Sandals; Franco Burrone, from Marie Claire boutique

pinterestmail

Issey Miyake tucked dress

I’ve made a new dress.  Part of that swap-eroonie…. which does seem like a vague dream from the distant past now; but actually upon which progress has happily been made.    *gasp*  *self back-pat*.
My new dress is from an old Vogue Issey Miyake pattern, Vogue 2438, hailing from maybe the late 90’s? I think? I don’t know for sure.  If someone does then please feel free to enlighten me!  (Later edit; 2001)  I bought it through ebay.  The dress is basically a giant, almost shapeless sack of a dress that achieves shaping with a few darts and two big strategically placed folds held in place with snap tape.  You are supposed to arrange the snaps to make the folds more or less pronounced, as desired.  Pretty cool concept, huh?   This is in the same vein to another Issey Miyake dress I have, of black jersey, and is perfectly representational of my desire to make things that look kinda ordinary on first sight but on closer inspection turn out to be just a touch weird and slightly “off”.  Those of us into clothes often see the link between our fashion choices to our personalities; and I think that description pretty much sums up me in a nutshell too  😉

 it’s asymmetrical so the side views are a bit different
there are also darts down each side from the underarm to the hip

This dress is supposed to be made in stretchy fabric too, but scandalously, it is not.  It is a thickish woven cotton, deep chocolate brown with a cream pin-stripe, bought from the Fabric Store in Melbourne about three years ago.  I was so in love with my vision of this particular dress, in this particular fabric that I was just like; oh, recommended fabrics, pfft.   I know I know, such a rebel, tut tut.  The recommended fabric is generally like a primary tenet of dress-making; that thou shalt ignore at thy peril and risk of permanent exclusion from the hallowed halls of sewing Utopia.
O woopsie.  *blush*
Well ok, I didn’t just gratuitously leap in and go for it helter skelter; I did measure to check feasibility.  I sized up, and also altered the snap tape placement to accommodate my shape; in a little bit in at the waist and out a little bit at the hips.  And it all worked out.  In fact it is pretty much exackertackerly just how I wanted it to be, so I’m happy!
the back tuck is on quite a slanted curve

Details:
Dress; Vogue 2438, chocolate/cream stripe cotton
Shoes; Perrini, had for so long I’ve forgotten where I bought them now.

pinterestmail

Alabama Chanin; a tank top

Fortunately I have managed to finish the matching embroidered tank top to go with my skirt.  Hurrah! for plane trips and the resulting enforced hand-sewing time!  I’m so happy with the full ensemble; I like how it looks like a full dress, and that if I choose I can break it up into the separate components.  The pattern is the fitted top from the  Alabama Studio Sewing + Style book (Natalie Chanin), and is made from the same fabrics as the skirt; a thickish, cafe au lait cotton jersey substratum (KnitWit) with a dark olive, lightweight jersey overlay (Potters Textiles), the latter stencilled with the Anna’s Garden stencil from the same book as outlined here, and top-stitched with Gutermanns topstitching thread.  

I took a slight swayback wedge out of the tank pattern…. looking at the picture below I could possibly have gone further with that, oh well, next time.  Otherwise it has the same width shoulder straps and the same low rise of the back neckline as the original pattern.  The stitching throughout is in exactly the same style as the skirt; with all seams stitched and flat-felled by hand, and the neckline and armhole binding sewn on using herringbone stitch.

My Mum wanted to know if the jersey fabric loses its stretch though being embroidered; it does lose a little, but not all of its stretch.  The fabric also shrinks ever so slightly through the process of quilting the two layers together. Not drastically, but if your muslin is skintight then I reckon this is definitely something to bear in mind.

OH BTW! a little tip I forgot to mention before… when the pattern pieces have been cut out and stencilled, stay-stitched and are awaiting embellishment; the very first thing I did was to tack a scrap of paper to each piece as above, marking the centre front or centre back of each piece, as applicable.  The pattern pieces for both tank and skirt, are actually all so similar to each other that I think this is an essential precaution!

Well, was it was worth all the hours of hand-work?  But of course.  I’m not going say otherwise now, am I?  ðŸ˜‰

Actually, seriously, I totally love my AC pieces and it was no biggie to make the tank top; each pattern piece is quite small and manageable and the embroidery can be knocked off in a couple movies or a short plane trip quite easily.  A little tank top is not really the sewing marathon that the midi skirt is.  I’m even feeling optimistic about taking on another Alabama Chanin project…! (gasp!) um, well… in a while.  Maybe, hehe.  Well, I should really, I bought a whole lot of beads while Mum, Cassie and I were in Melbourne, in a zealous fit of enthusiasm, so hmmm.  (blush)

Details:
Top; the fitted top from the Alabama Studio Sewing + Style book,  hand-embroidered and -stitched cotton jersey knit in two solid colours
Skirt; the midi skirt, same as above, all sewing details here
Sandals; Zomp, from Zomp shoes

pinterestmail

Japan, skiing; a travel wardrobe

Hello! we have just returned from our totally marvellous family holiday to
Japan!  and I’ve had the last few days to thaw out and wash
everything: the washing machine has been going strong 3-4 times a day and now the small mountain on the laundry floor has just about disappeared.
 Yay!  Now… something I like to do is to look back at my
travelling wardrobe and do a little retrospective  “did it or didn’t
it all work out OK?” analysis, so here goes…
Time away:

15
days

Where to:

Japan

Season:

the middle of winter.  The expected
temperature range was from rather cold to Really Cold.
 Snow.  Blizzards, for real!
Expected activities:
Our holiday was divided neatly into two distinct parts requiring two very
different sets of clothing, a City part and a Skiing part.  First, a week
of city-based walkabout and shopping, some rural sightseeing and including one
day of bicycling; for all of which I wanted to look reasonably smart and put
together amongst the fashion savvy people of Japan.  Followed by a week
of skiing and generally hanging out in a snow-laden village;
requiring heavy-duty ski/snow gear.
Colour scheme: a safe and
easily mix n’ matchable collection  of wintery neutrals; greys,
black, chocolate and creamy ivories, with just a few warm and cheerful
colours thrown in there just to lift it all a bit
What I packed: (each
highlighted garment is made by me and linked to its original construction post,
unhighlighted clothes are RTW)

(left to right; top to bottom)
The “smart” city stuff:
lightweight charcoal cardigan, khaki cashmere cardigan
(middle) Noro striped knitted jumper and (below that)
2 “thin” ivory thermal tops
(at left, below coat)  4 LS woollen Tshirts; ivory, burnt orange, dk
red, ivory turtleneck
3
prs hand knit socks; red, dk blue, blue
chocolate leather gloves
(below)
black leather boots (for the city), red thongs
(to wear to and from the hot tub), sandshoes (for the country and cycling)
chocolate leather handbag
blue
bathers
(for the hot tub)
The ski stuff:
red fleece neck-warmer, hot pink head-band, ski goggles, charcoal ski
jacket
4 “thicker” thermal tops, 2 thermal leggings
skiing mittens, 2 prs liner gloves, 3 prs ski socks
snow boots
not pictured; winter jammies, selection of underthings, toiletries bag
Thoughts:
Above is how it looked all packed away; the trip involved several very tight connections ‘twixt trains, buses and planes so I was pleased that it all was quite easily and quickly transportable up and down escalators and staircases and in and around multiple train stations.  On the right is my check-in bag, and I always carried with me my handbag which tucks up under my arm quite securely and unobtrusively, and the other small black bag contained my little travel camera and a sewing/knitting project so I always had something to occupy my hands in any long travelling or waiting situation… and there were plenty of those!
Speaking of my sewing project, it’s very nearly finished…!
Thankfully
the clothing selection worked out extremely well!  I think I packed quite
light but I still felt like I had a little
variety, I liked my outfits  and was warm and comfortable always.   All my daily outfits can be seen on my ootd
blog
(15/1/14-30/1/14).
I
hired ski pants on site so was spared the bulk of those in my bag.  So that was a
bit of a “cheat” since I wore those ski pants continuously during the
second week!  I also never had to pack my grey coat, since I wore it
travelling.  Two pairs of jeans was an indulgence, but it was nice to have
a choice.
Having lots of thin Tshirts and tops was absolutely
brilliant!!
for layering; I always wore two or three layers so I could peel
one off if I got too warm, which happened, um… maybe only once or twice?!  Also an
outer or middle layer could be worn as an inner layer on another day,
minimising the dirty laundry pile.  5 people and laundry facilities only
available in the second week; makes keeping washing to a minimum a Very Good
Thing.
Shoes
are always the bulkiest things; those snow boots!  I stored my 2mm
bamboo knitting needles in them while travelling, to keep them safe from
snapping.  That is, to keep the bamboo needles safe, of course…  I didn’t even wear those thongs once, oh well, they didn’t take up
very much room.
So
there was a little space for souvenirs, including some fabric!
 I bought four pieces of fabric, and a Christian Dior plaid cashmere scarf
from a little secondhand shop in Kyoto.  That’s the first RTW I’ve bought
in years and years! AAAAUGH! but it is secondhand so I’m still within my
wardrobe refashion pledge.
pinterestmail
Switch to mobile version
↓