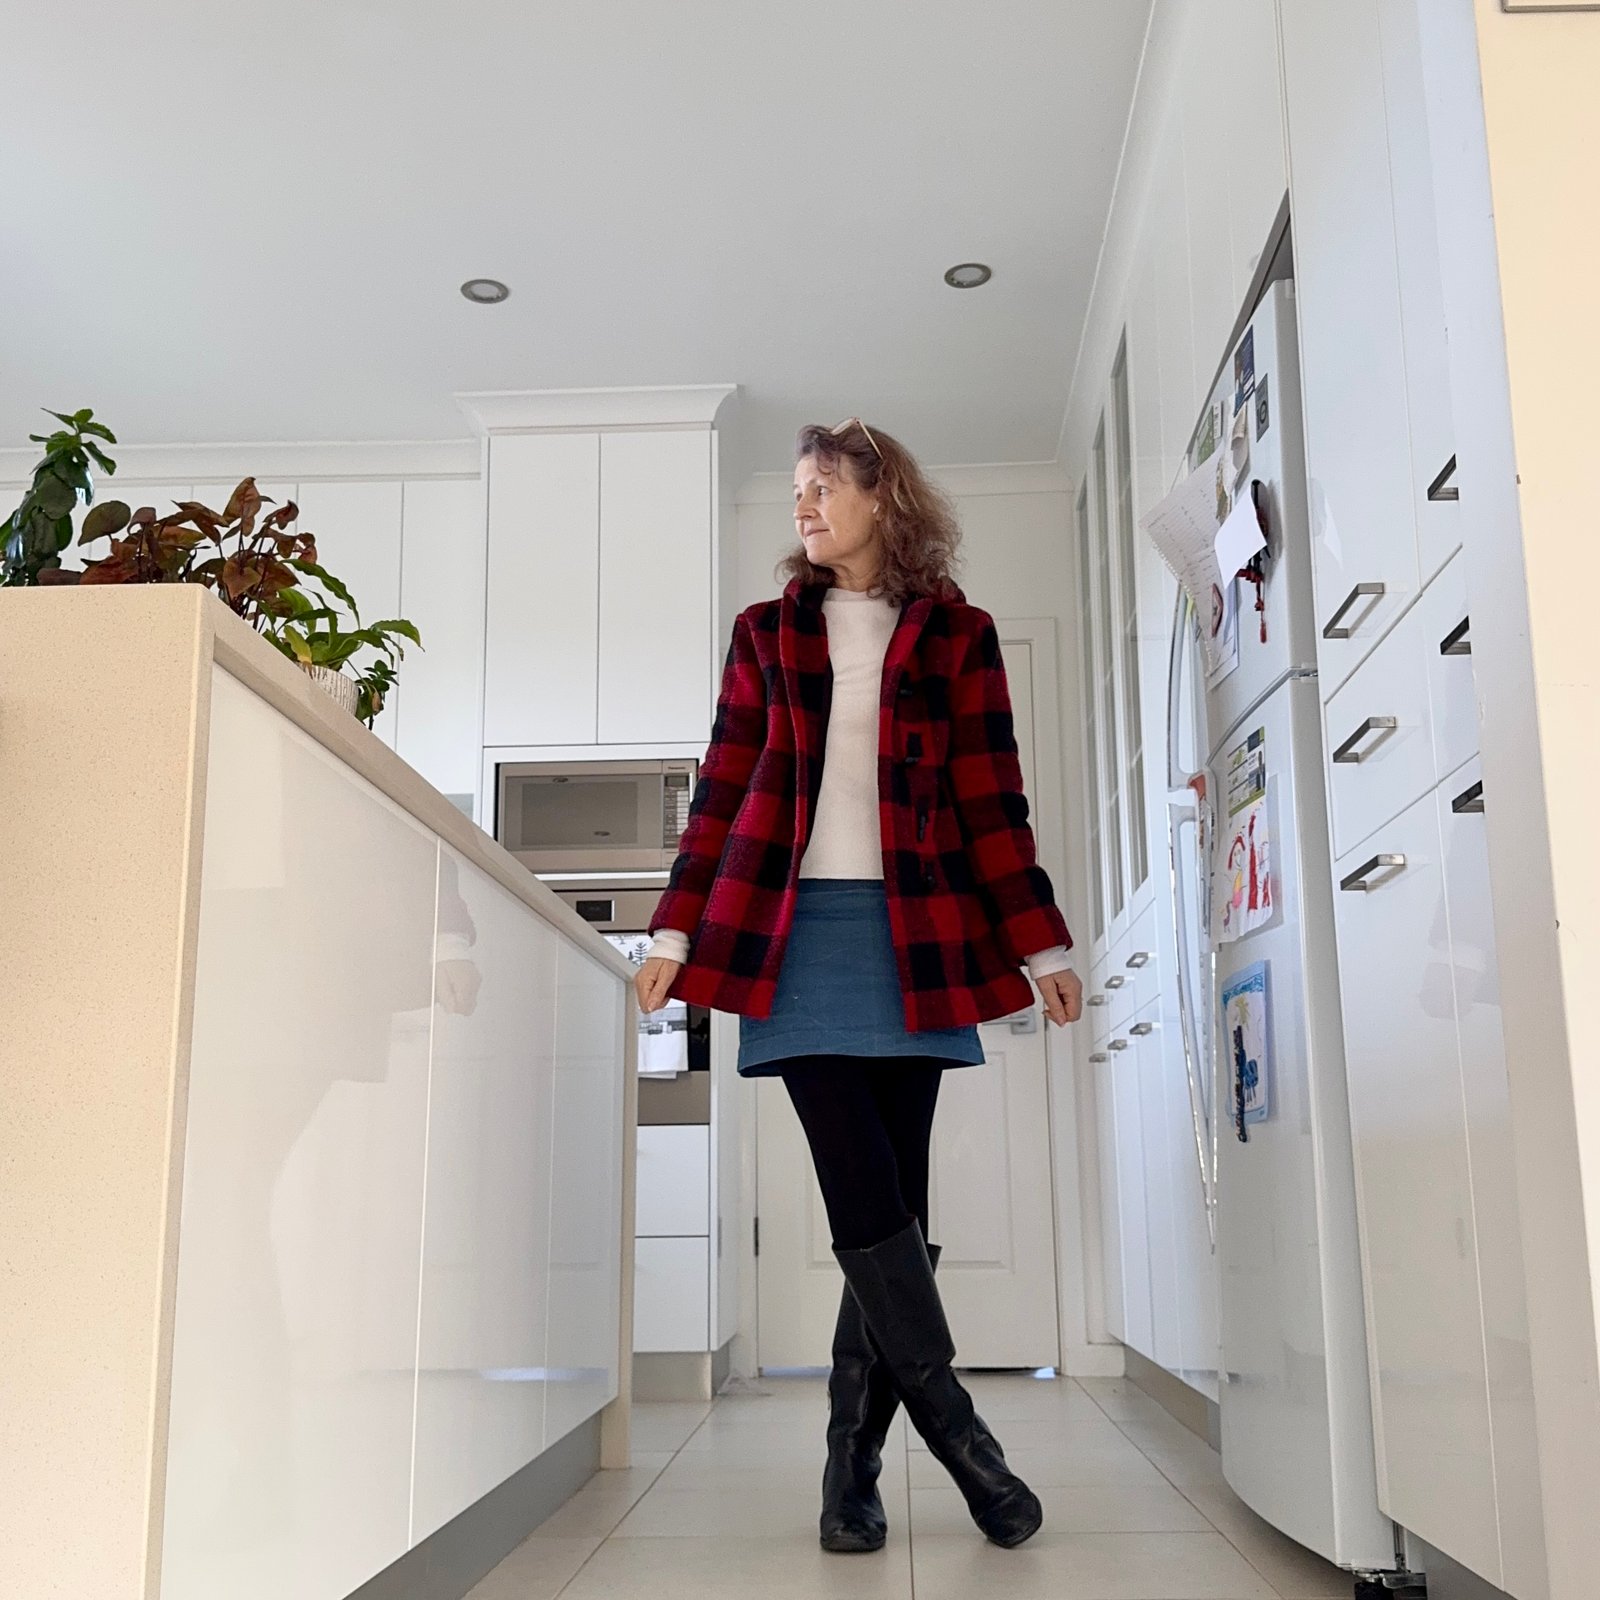

 I’ve made a few more things to wear this winter/early spring….
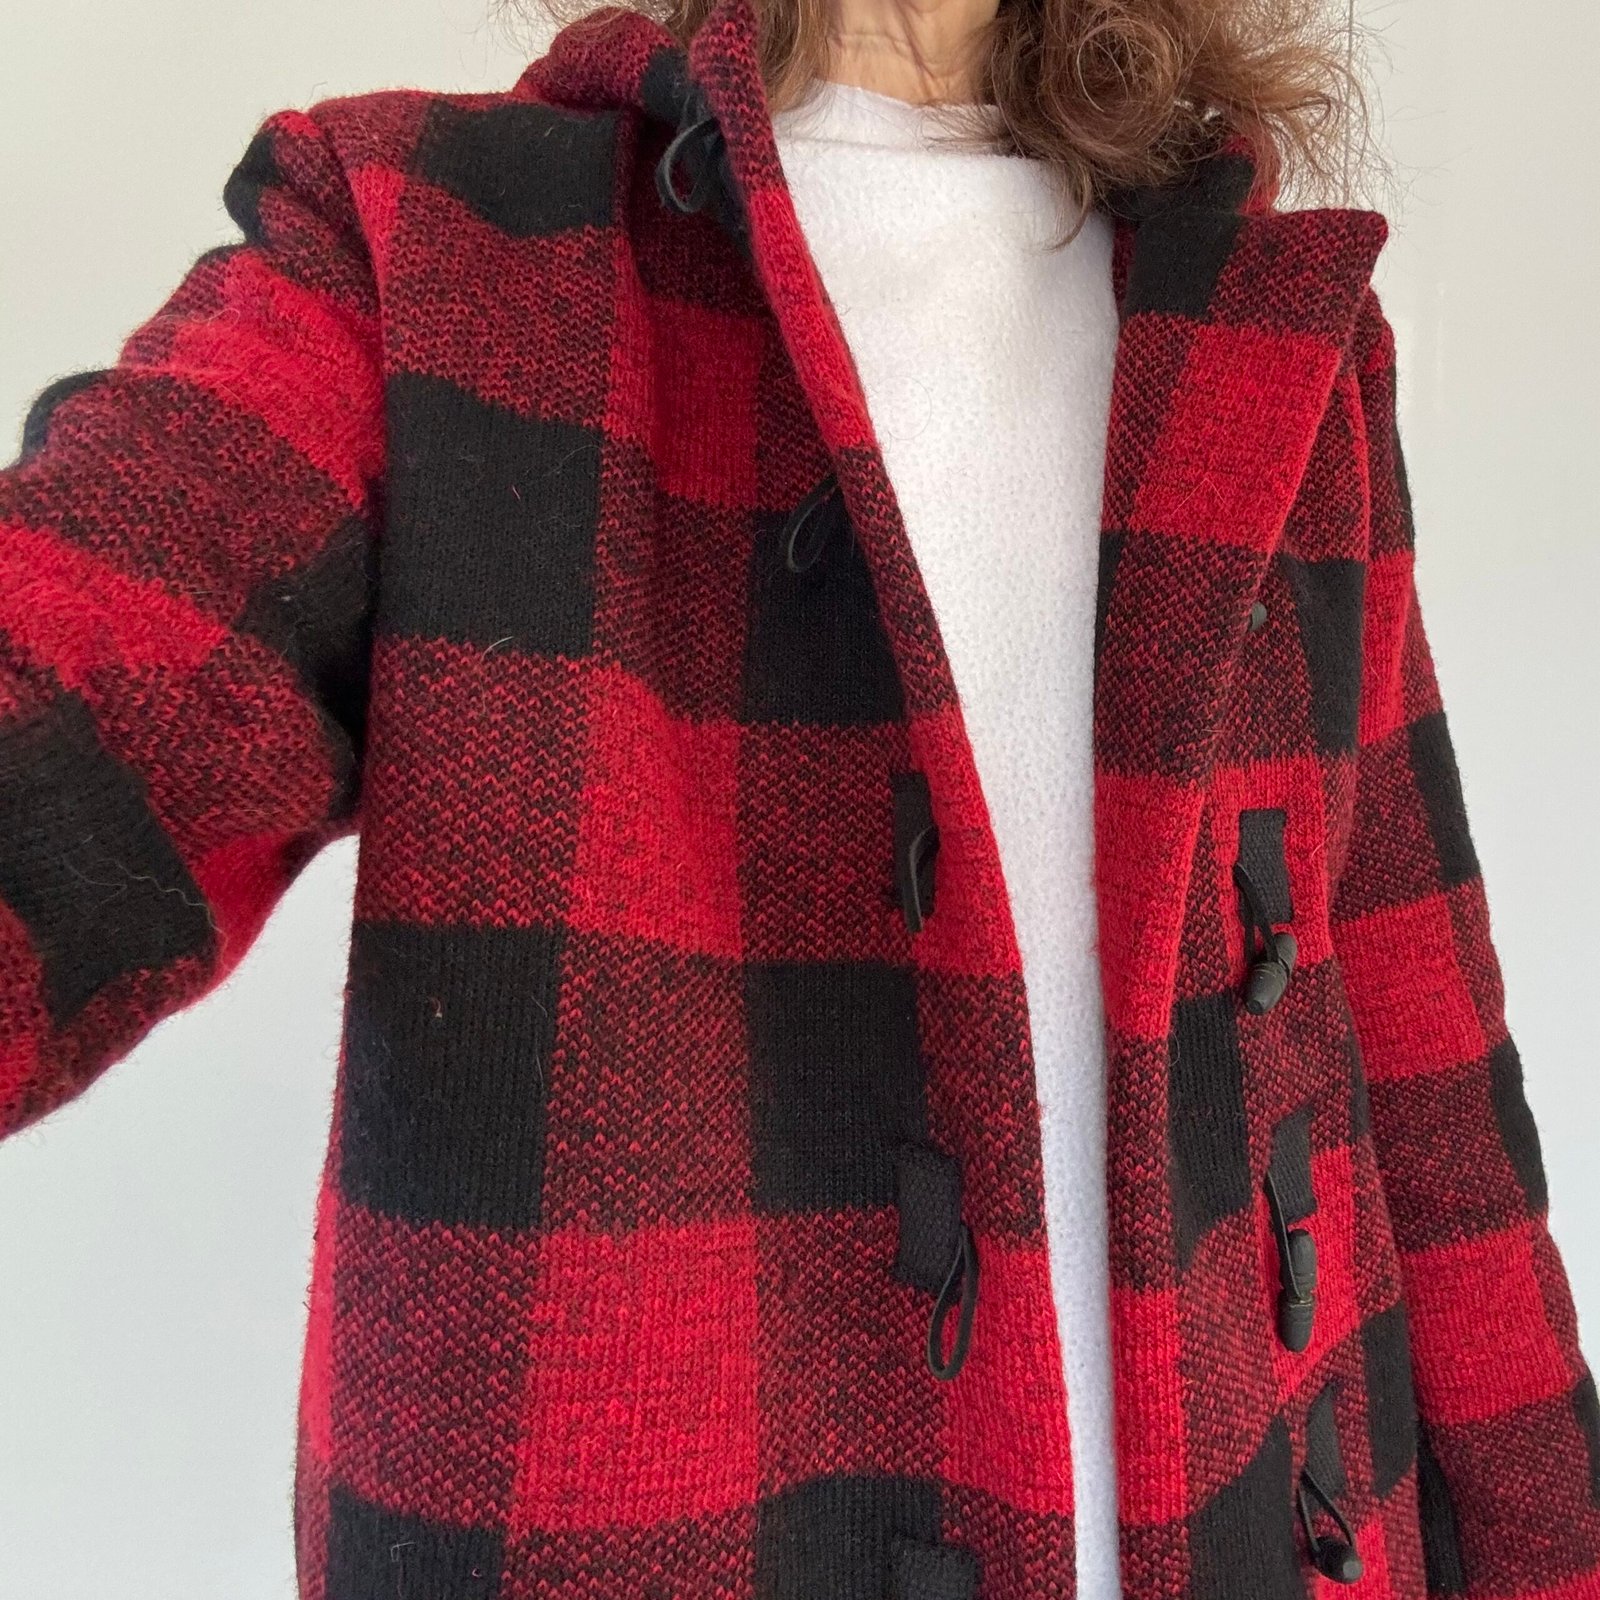
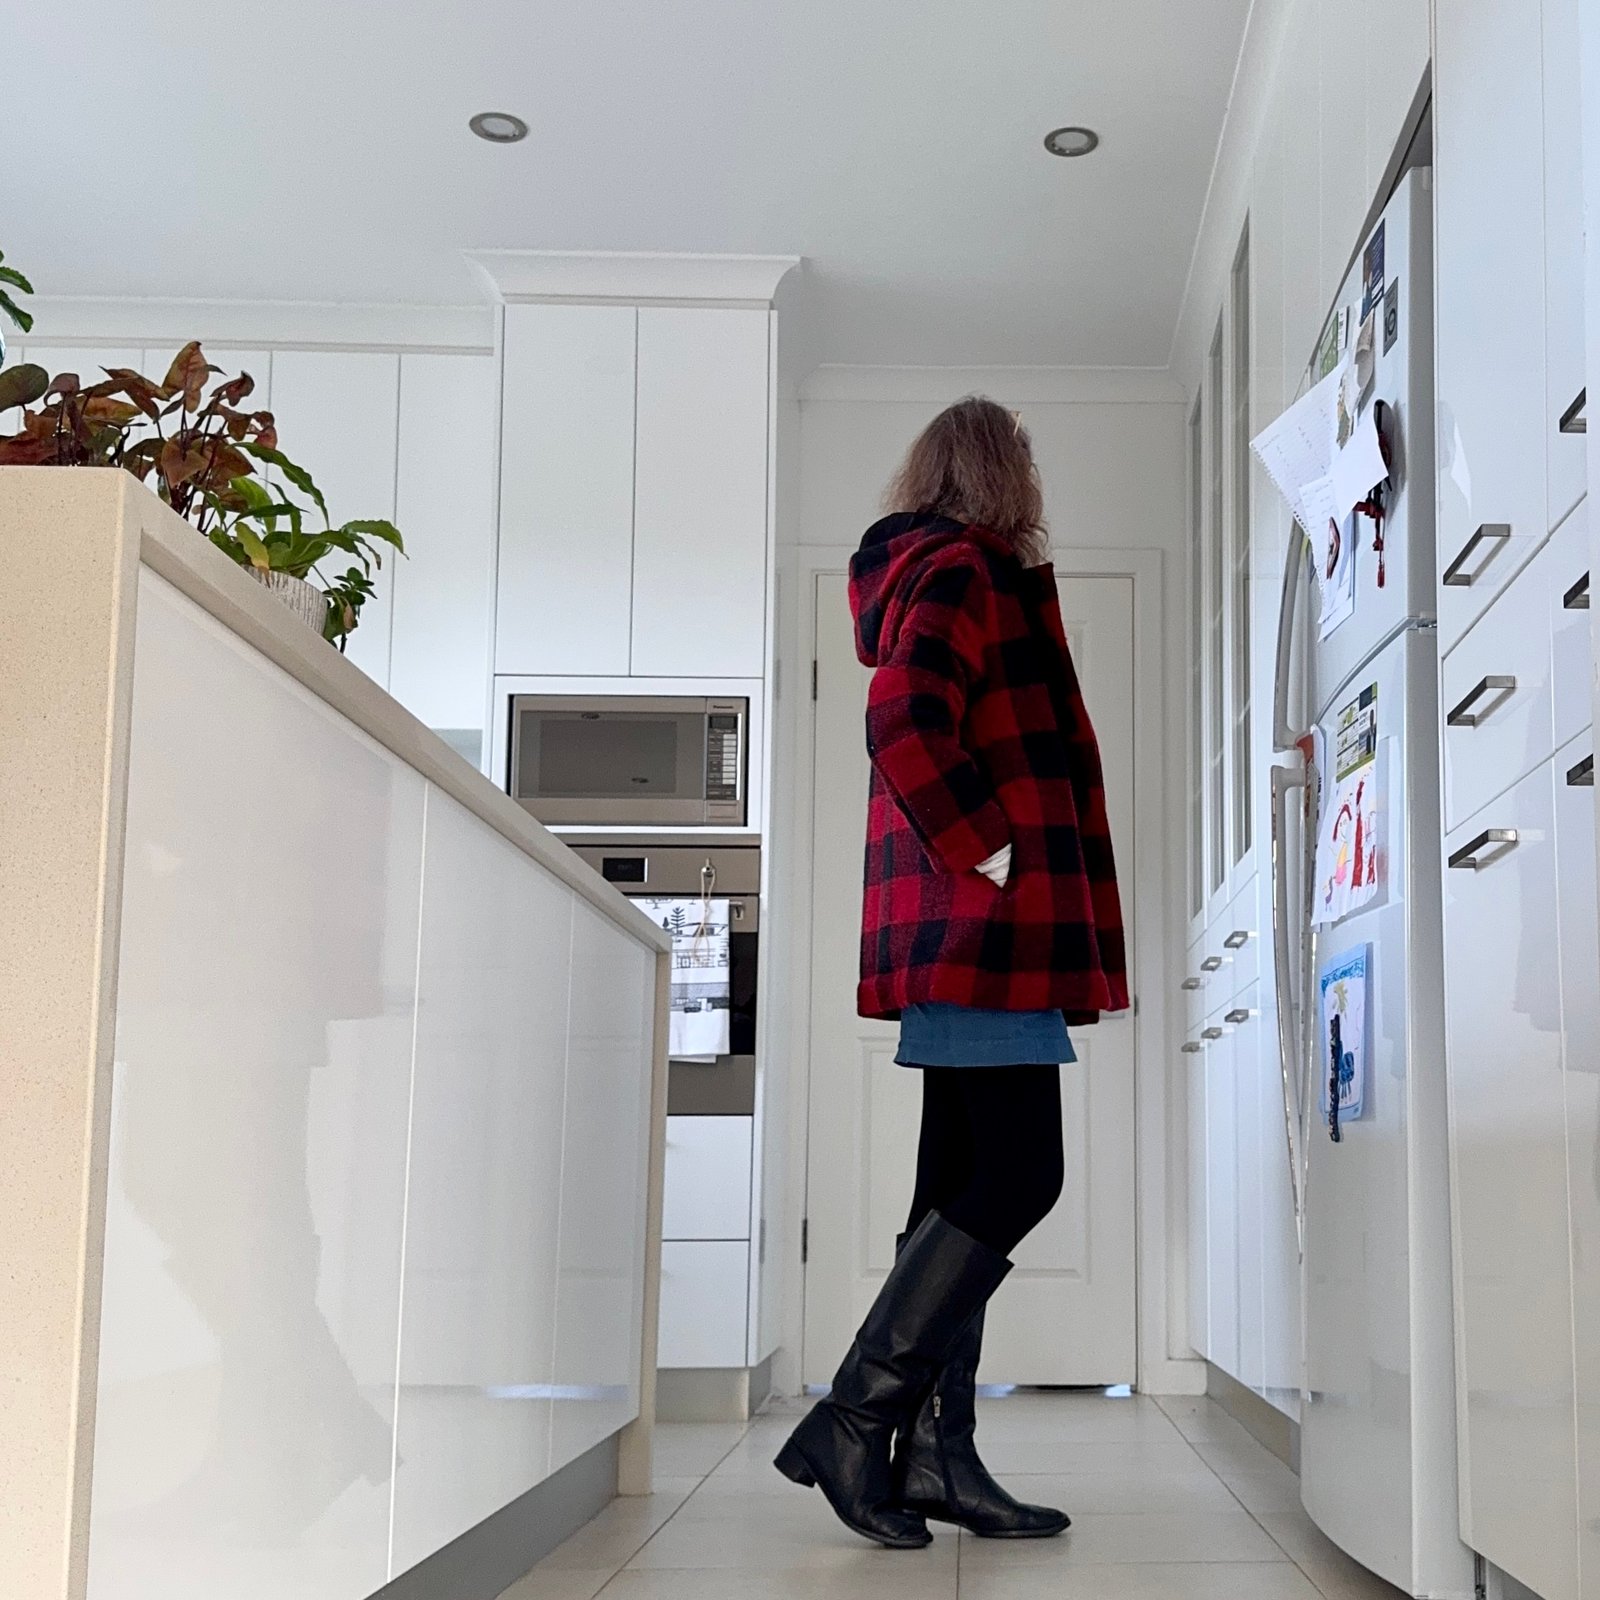
Firstly, a delightfully warm jacket. I bought this buffalo plaid fabric from the remnants table in KnitWit quite a few years ago and hadn’t really known what to do with it ever since. Anyway I finally decided it was next up, time to make something with it, something… ANYTHING. Often with fabric I don’t feel very passionate about, I end up putting a big effort and time and care into making it as nicely and as well as I can, and this is what happened this time too. I carefully aligned all the plaids, was a teeny bit disappointed that I couldn’t make them match down the front opening edge, but apart from that everything lines up A-ok, yay.
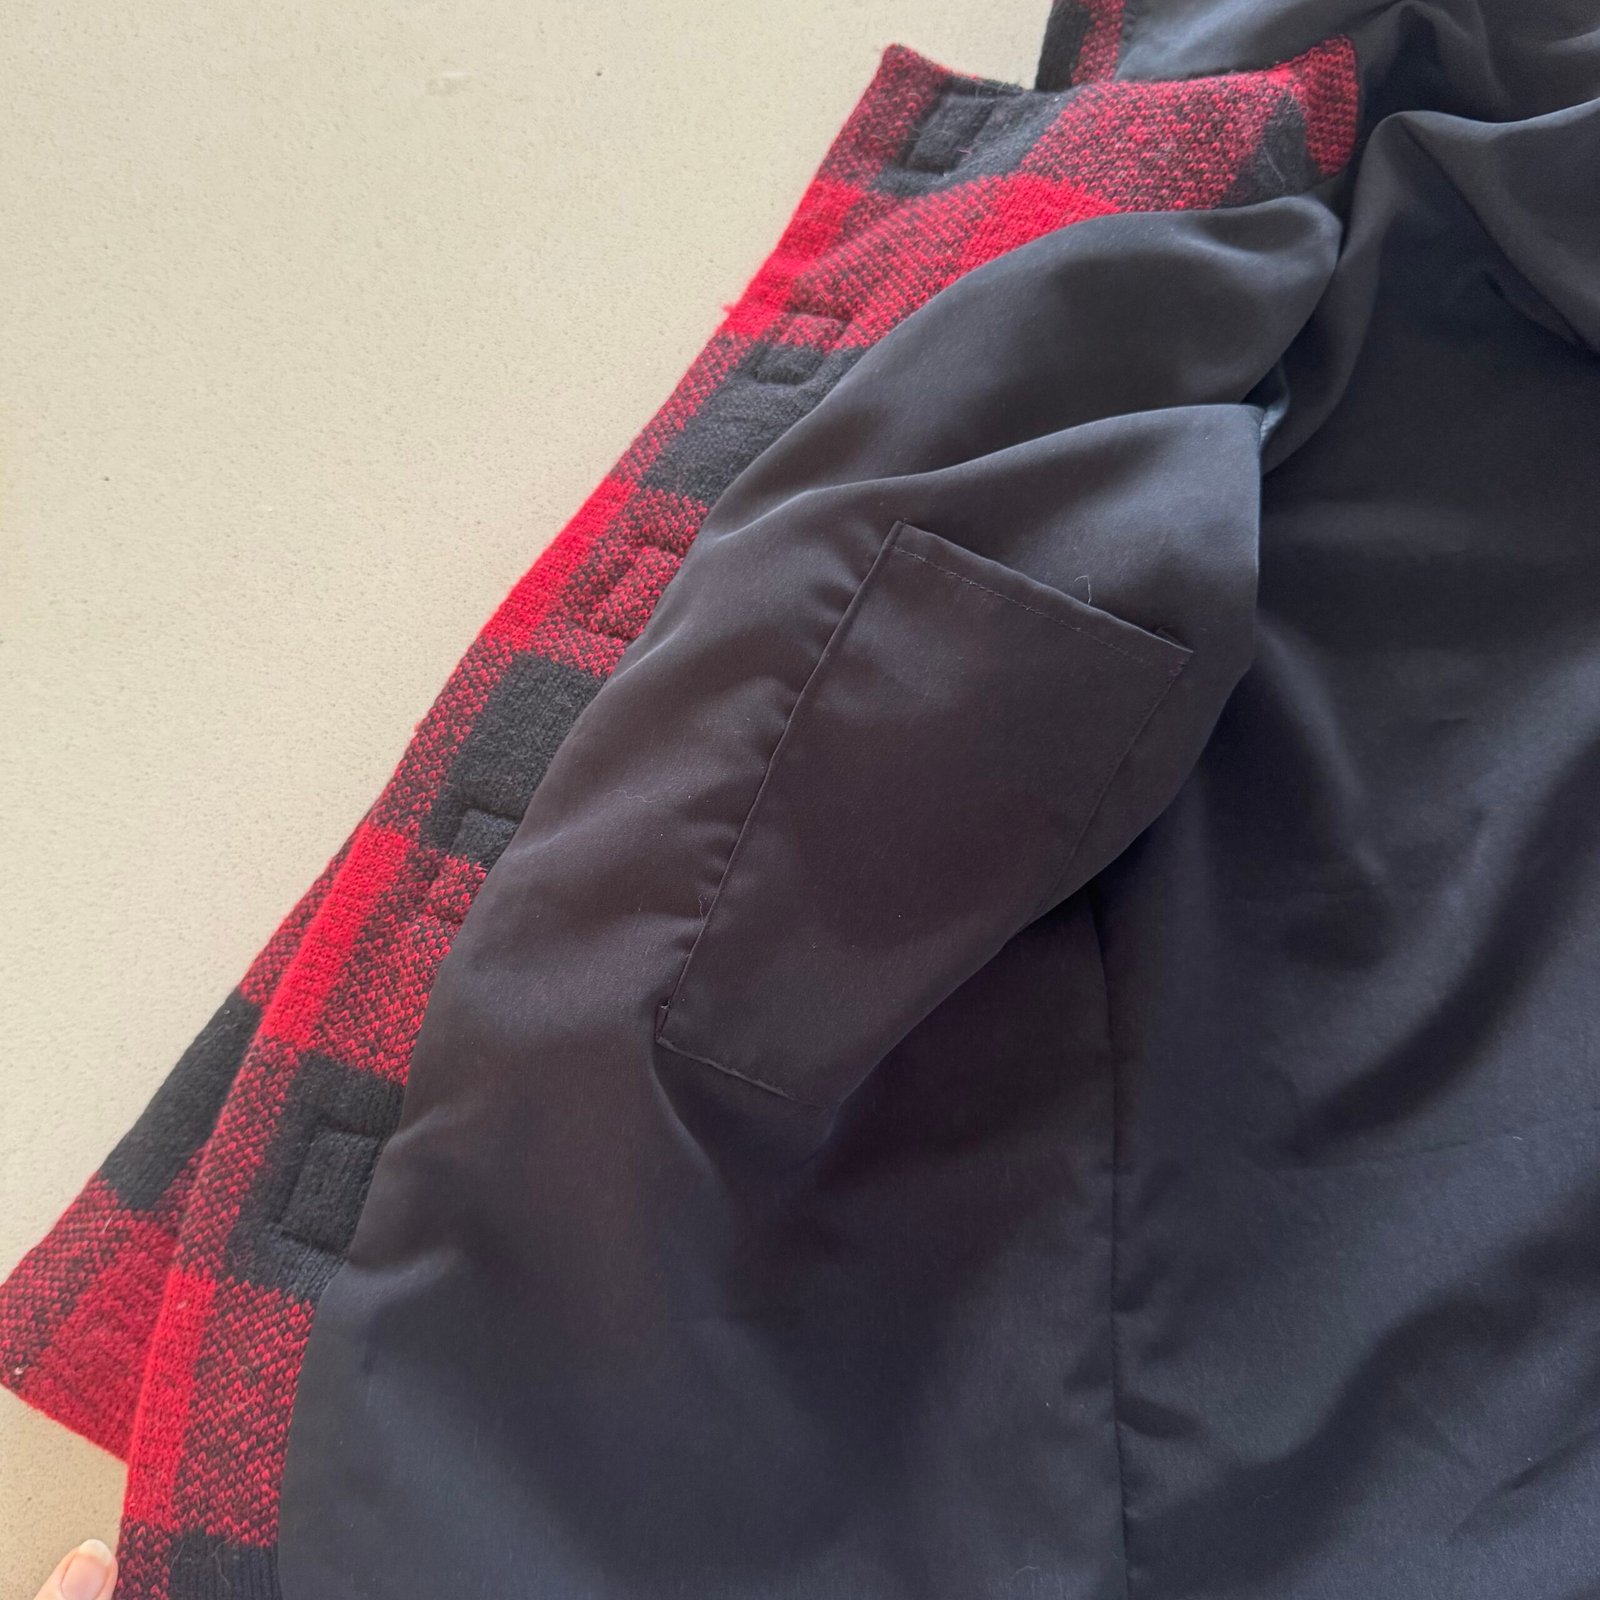
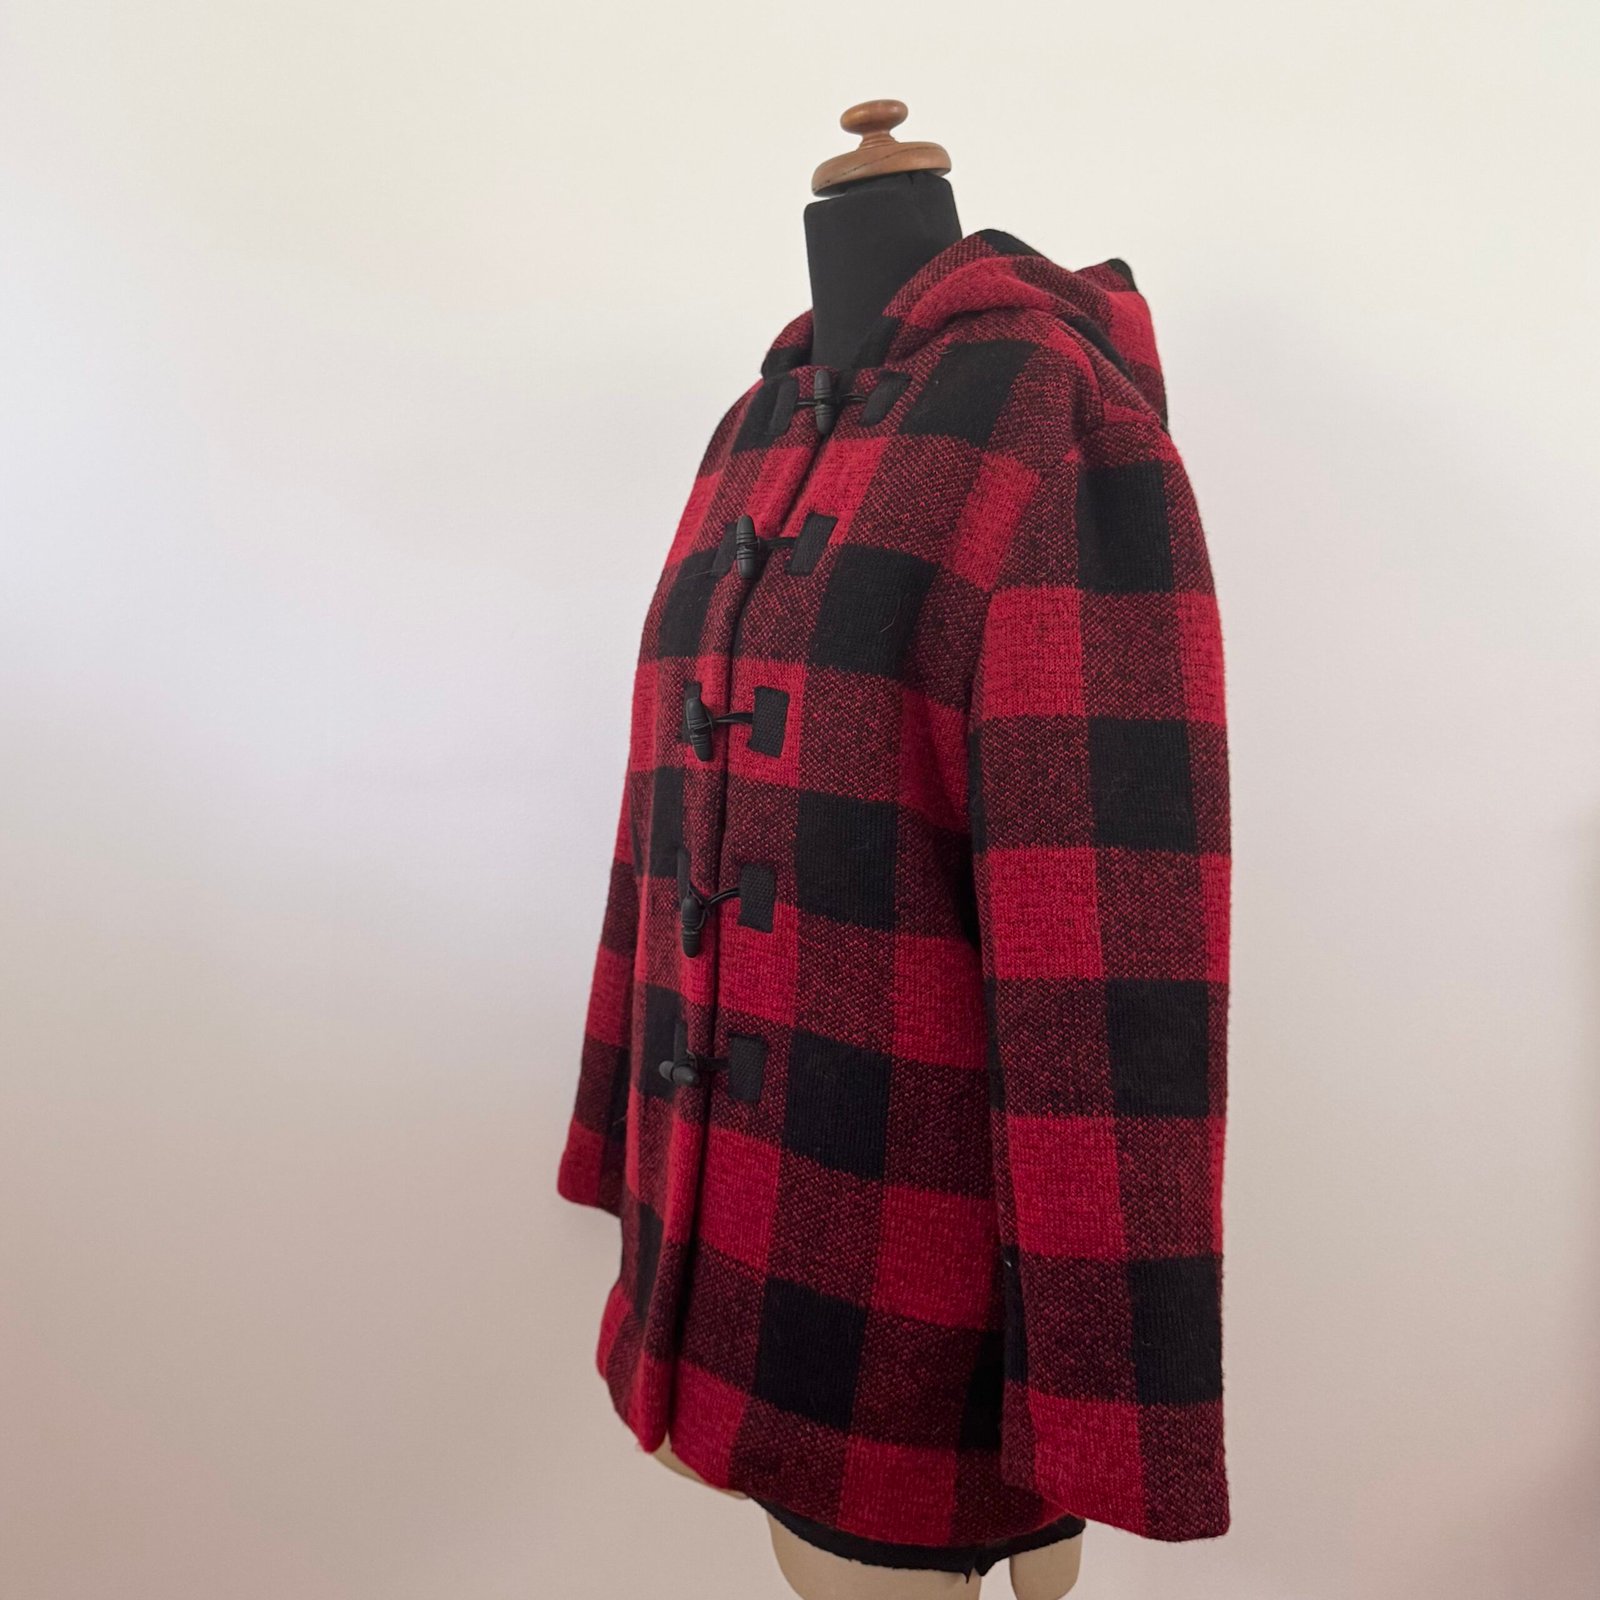 I used the Closet Core Sienna jacket pattern again, cutting the jacket style of my imagination which kind of blended all three views. I gave it inseam side pockets, fully lined it (kind of silky stuff from a Morrison clothing remnant sale) and added two inner patch breast pockets to the lining.
I just cut the fully lined hood, using the joining edge of the collar for the bottom edge, otherwise not using any specific hood pattern. At some point, I decided the obvious choice for closure to be toggles… black ones. Of course Spotlight only had sorta murky-greenish ones. So I bought the requisite, gave them a sand, strung them up like so:
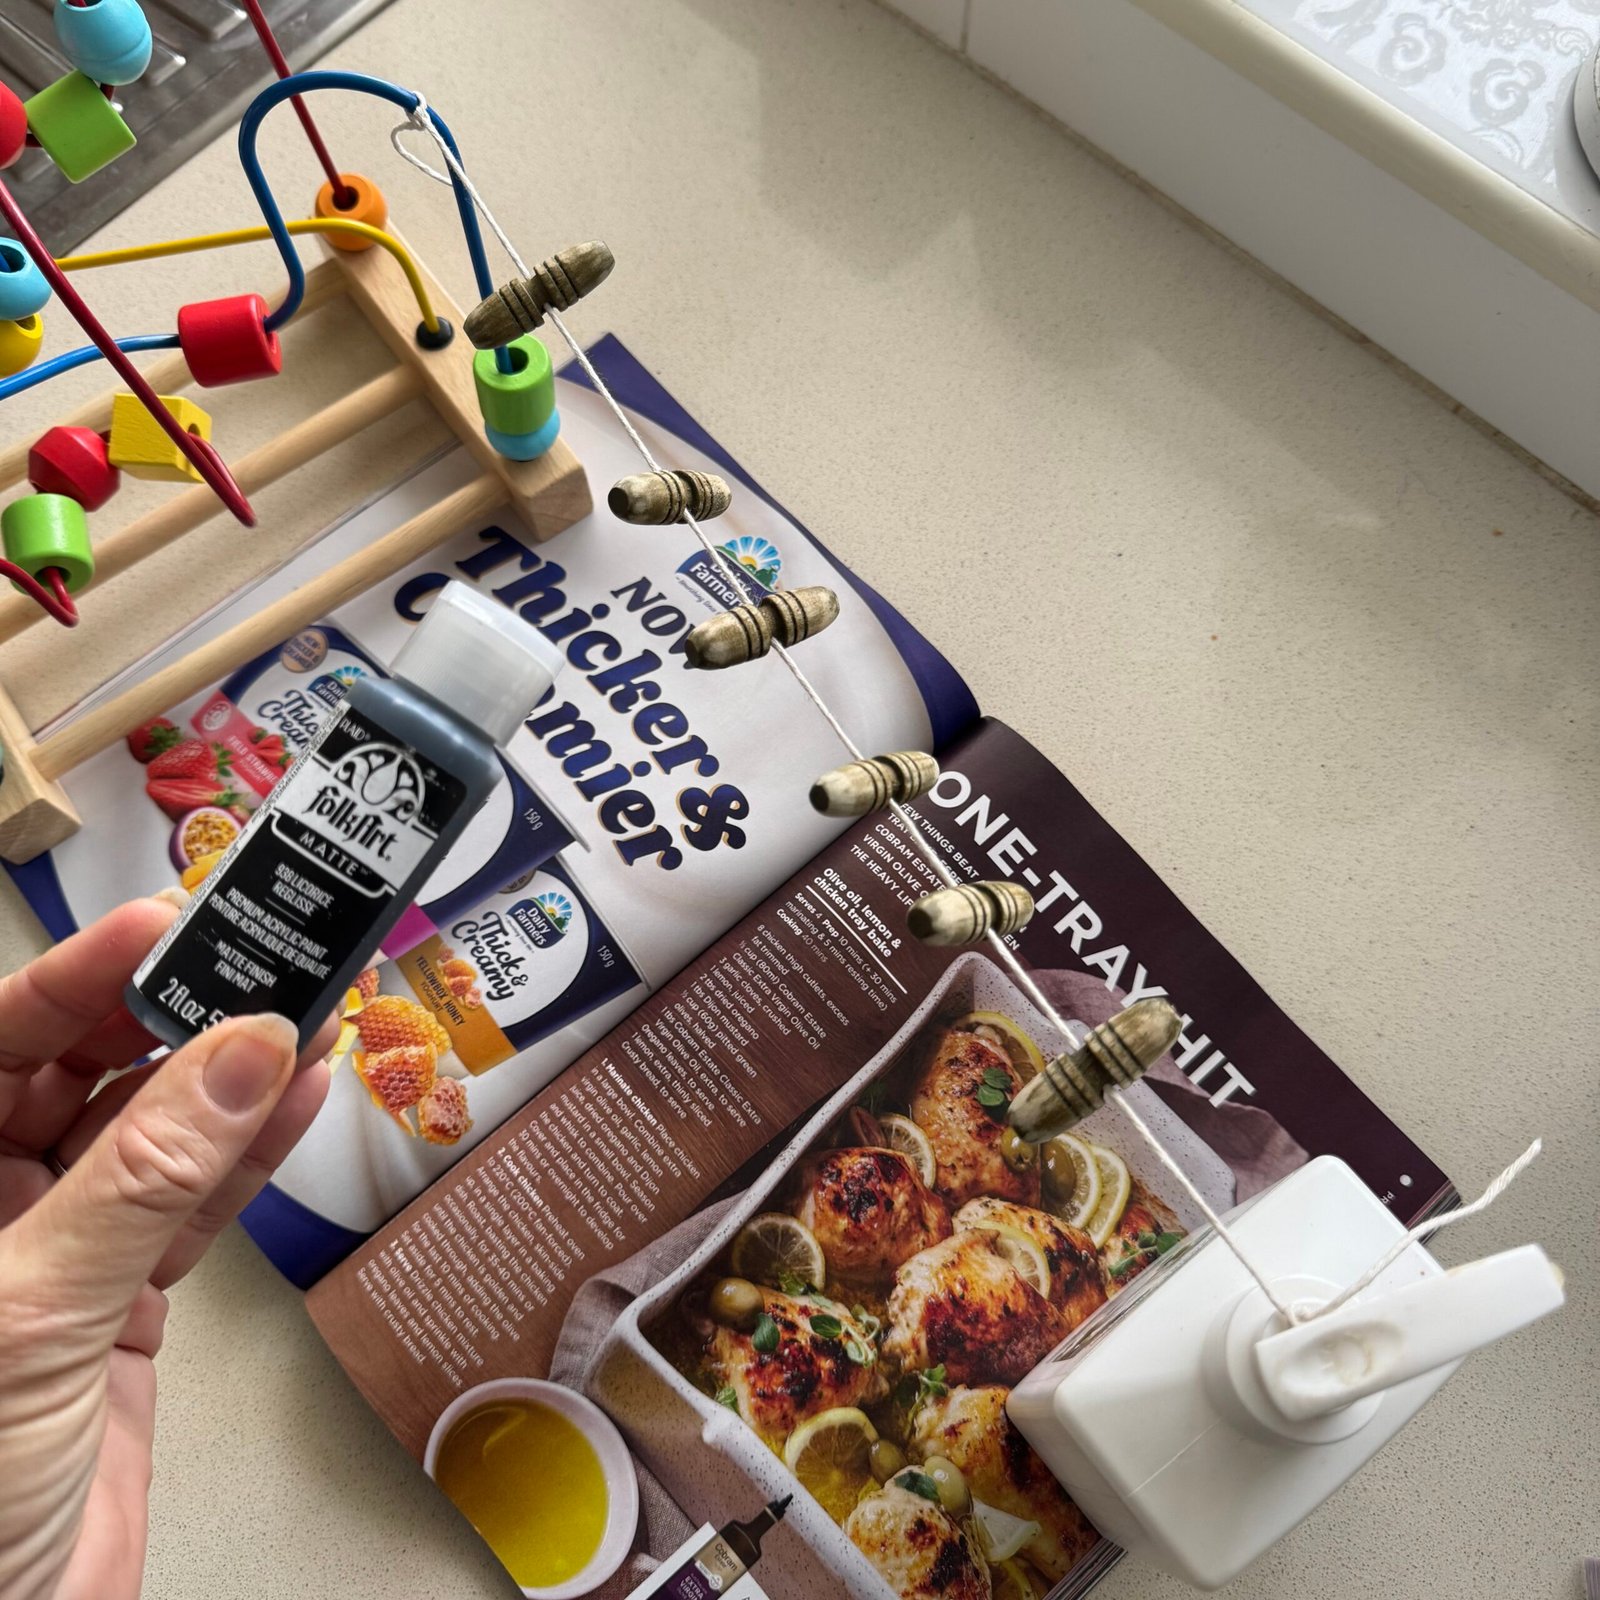
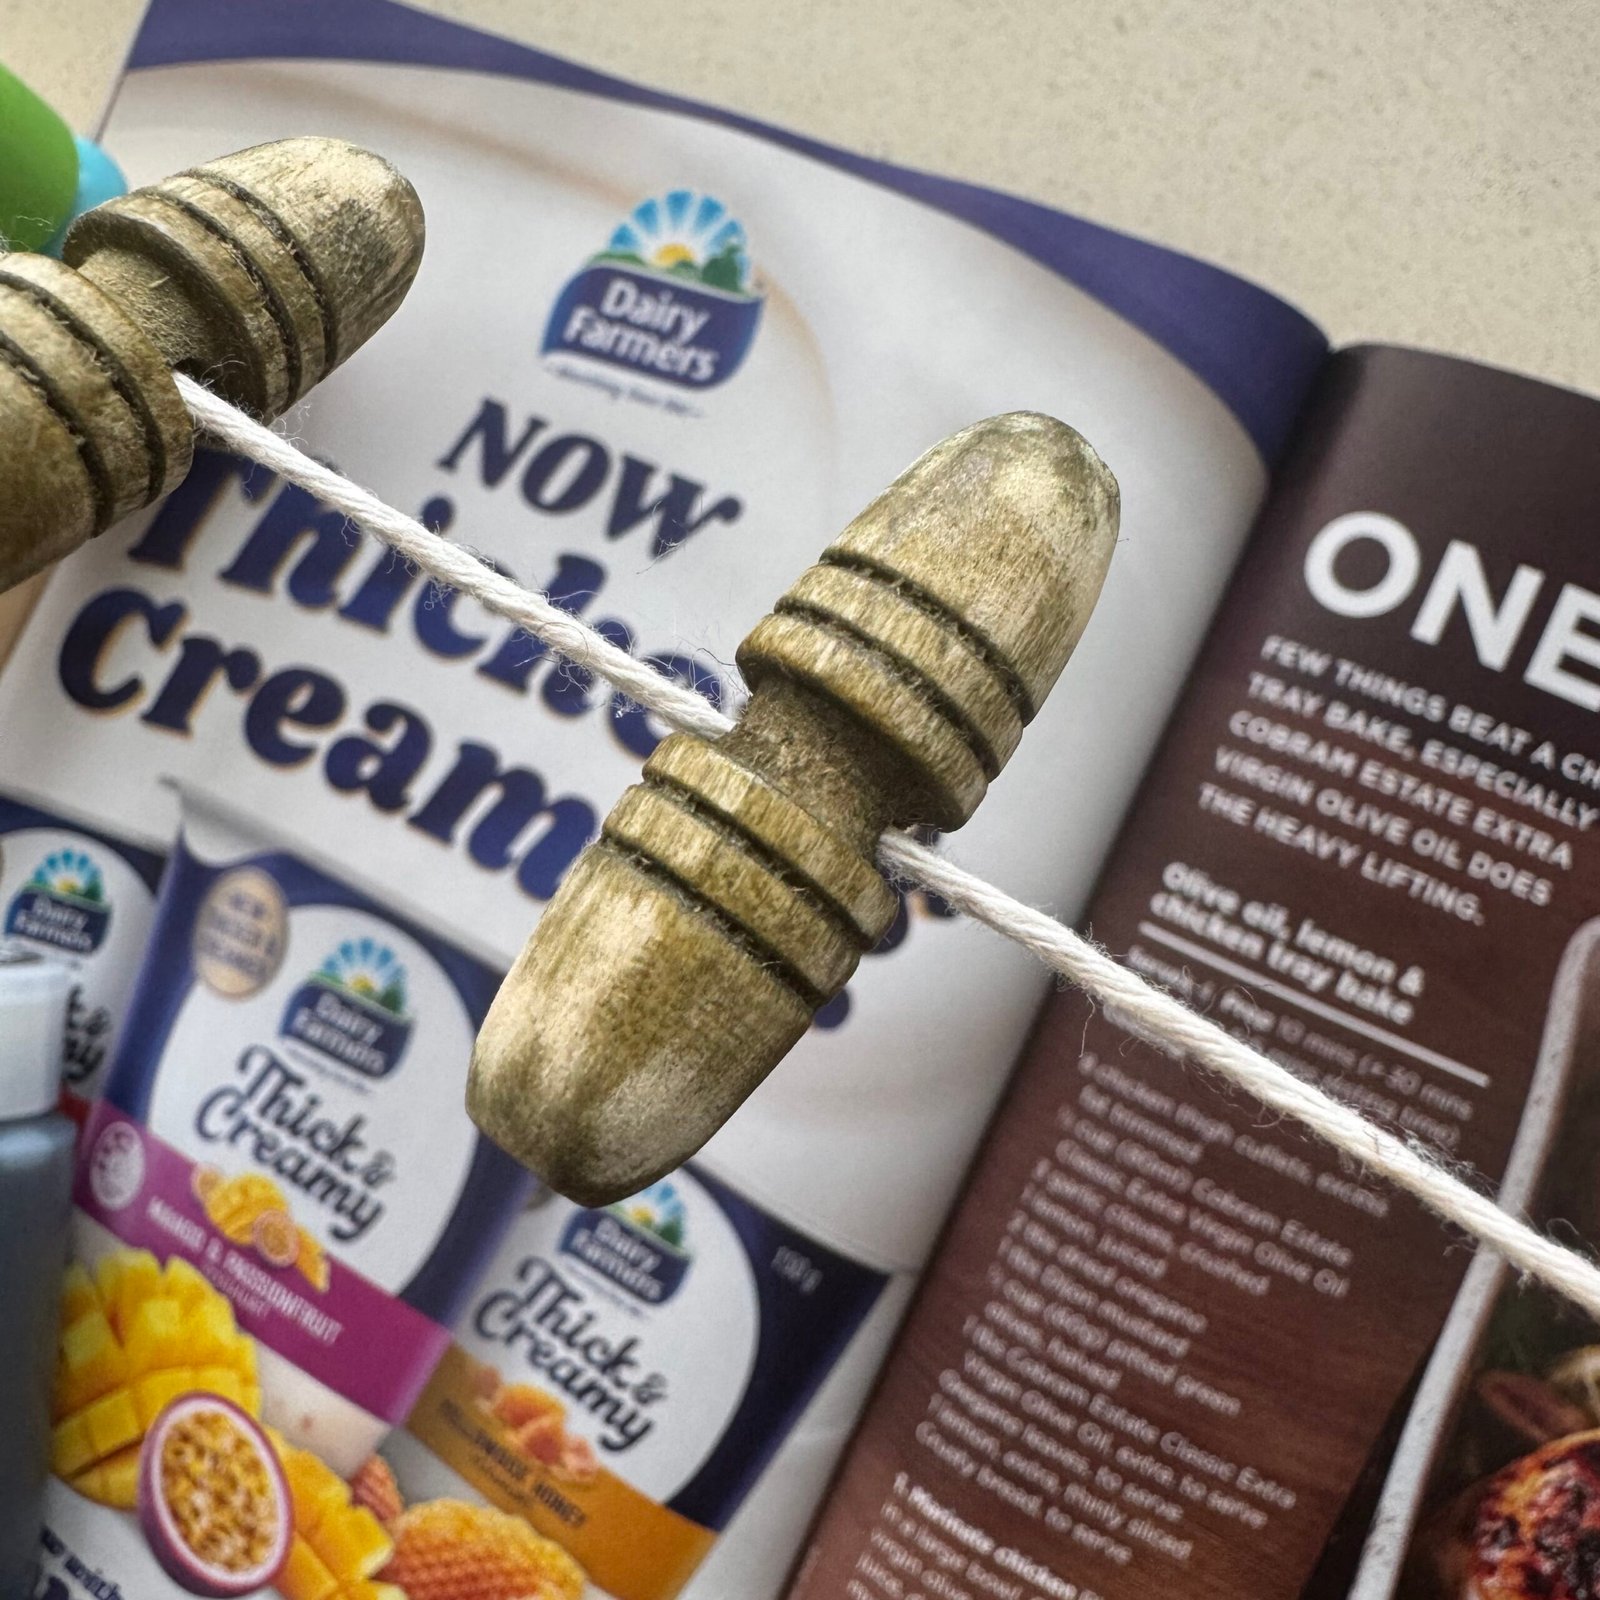
and painted them with three coat of matt black acrylic craft paint, finishing off with a clear matt varnish to protect it.
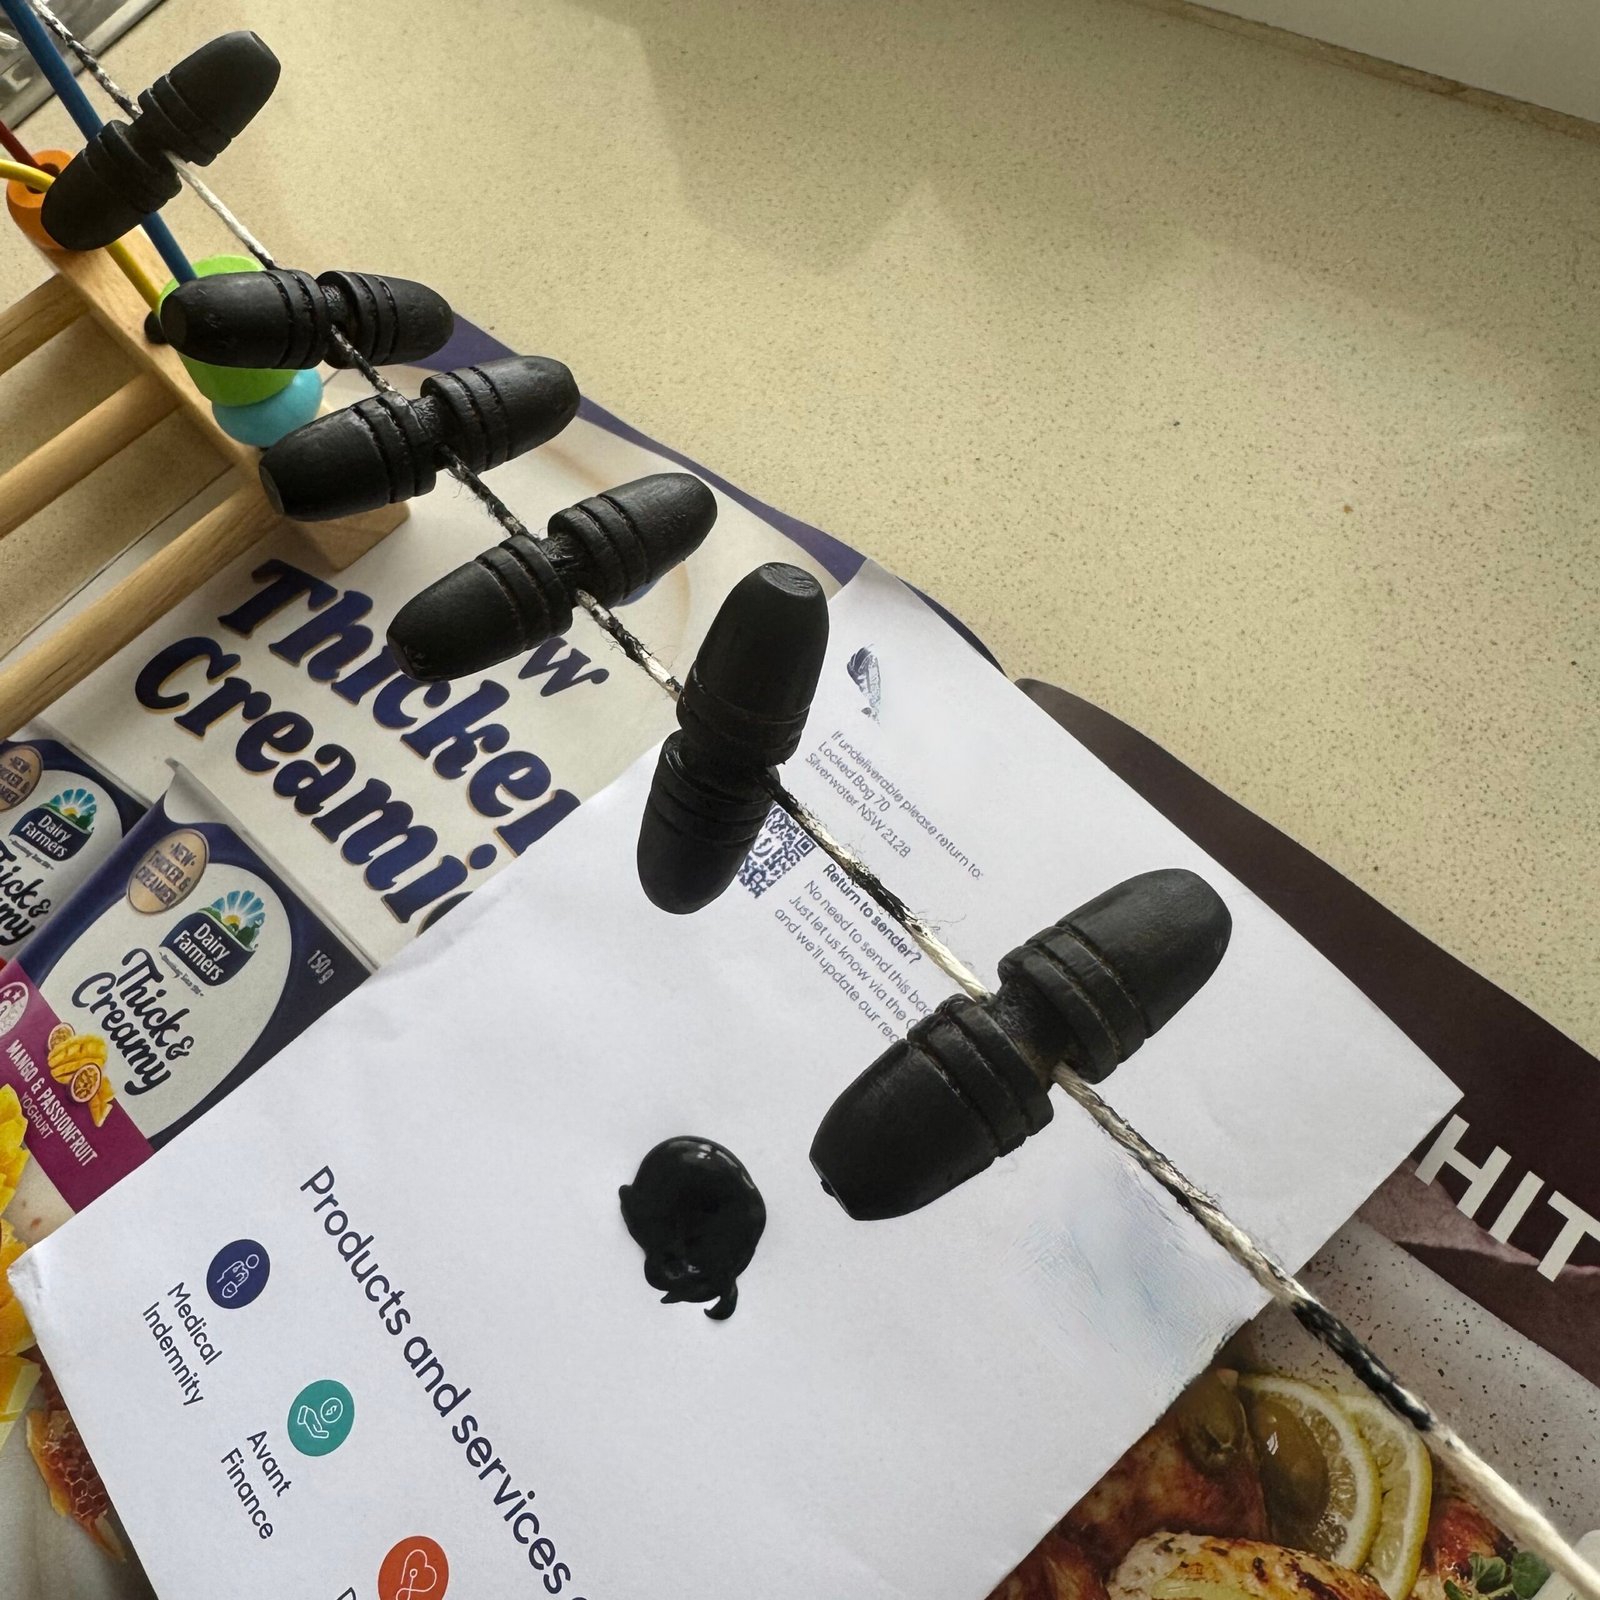
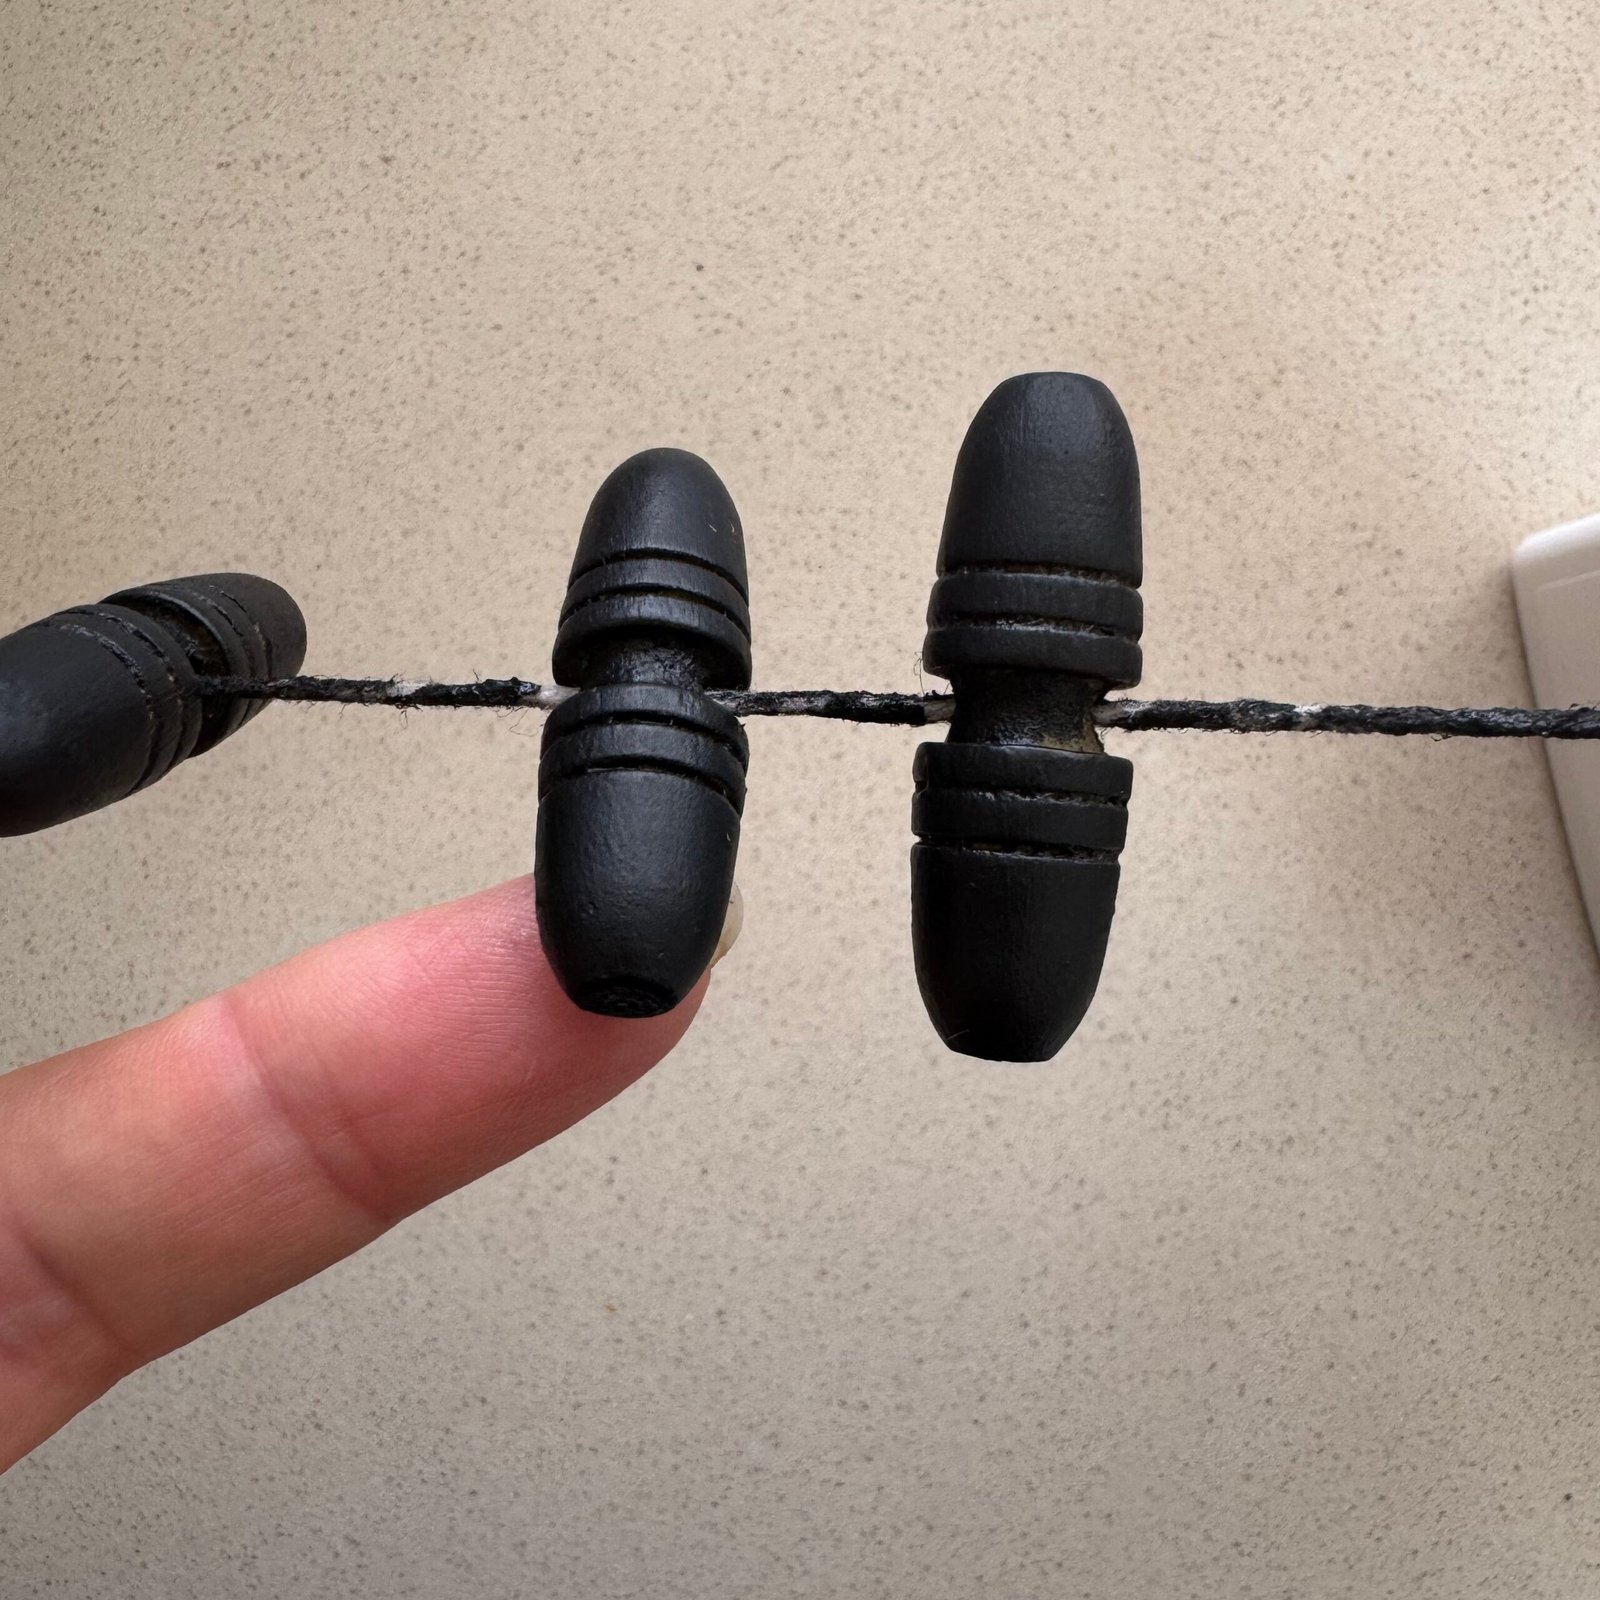
I happened to have a short length of black braid that I could use for the “anchors”, and bought some black leather lacing to attach the toggles and for the closure.
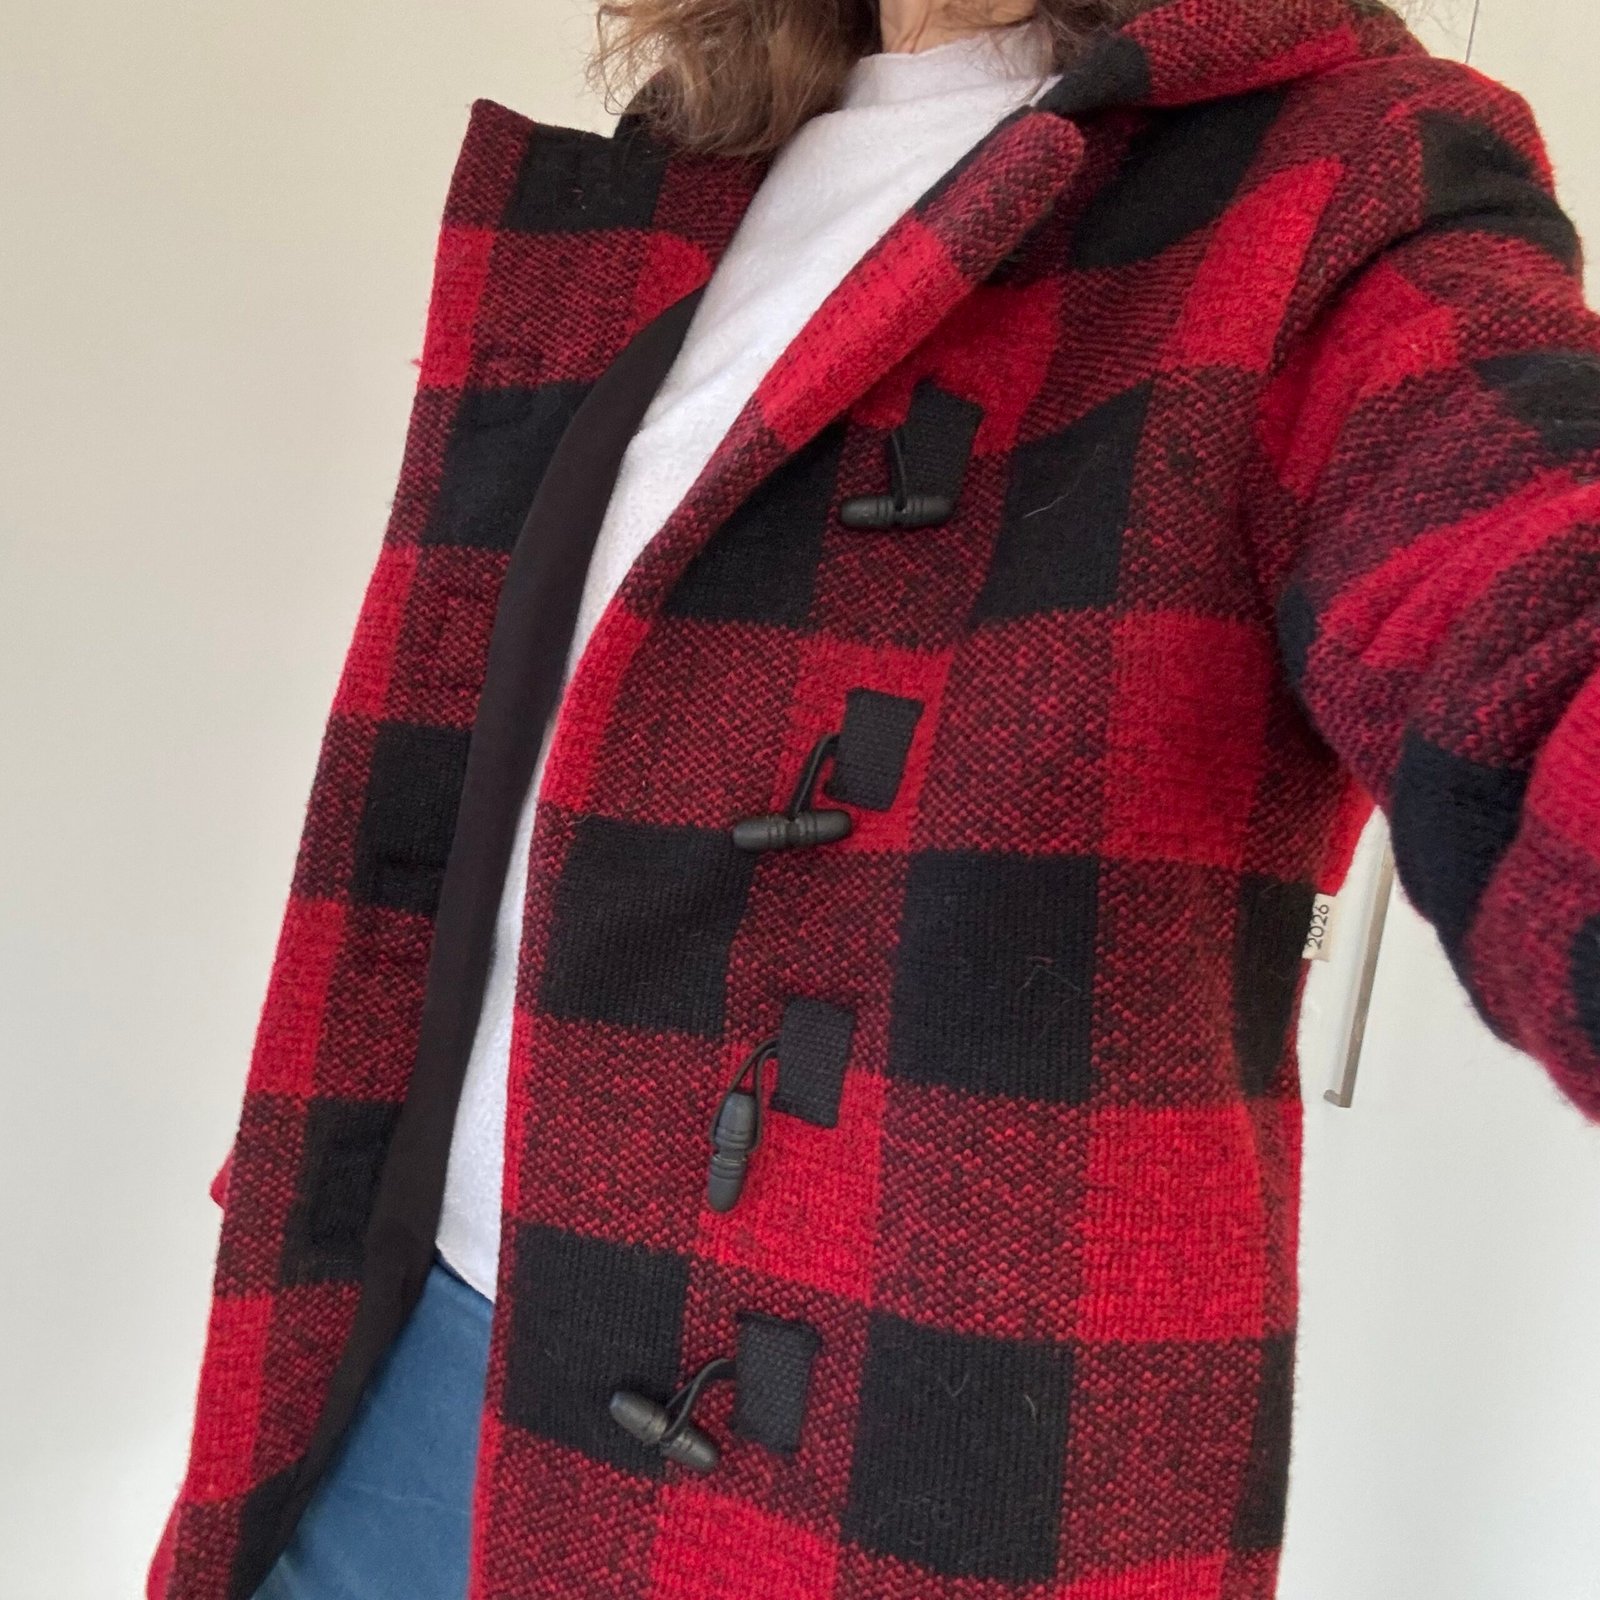
I’m really happy with how these turned out!
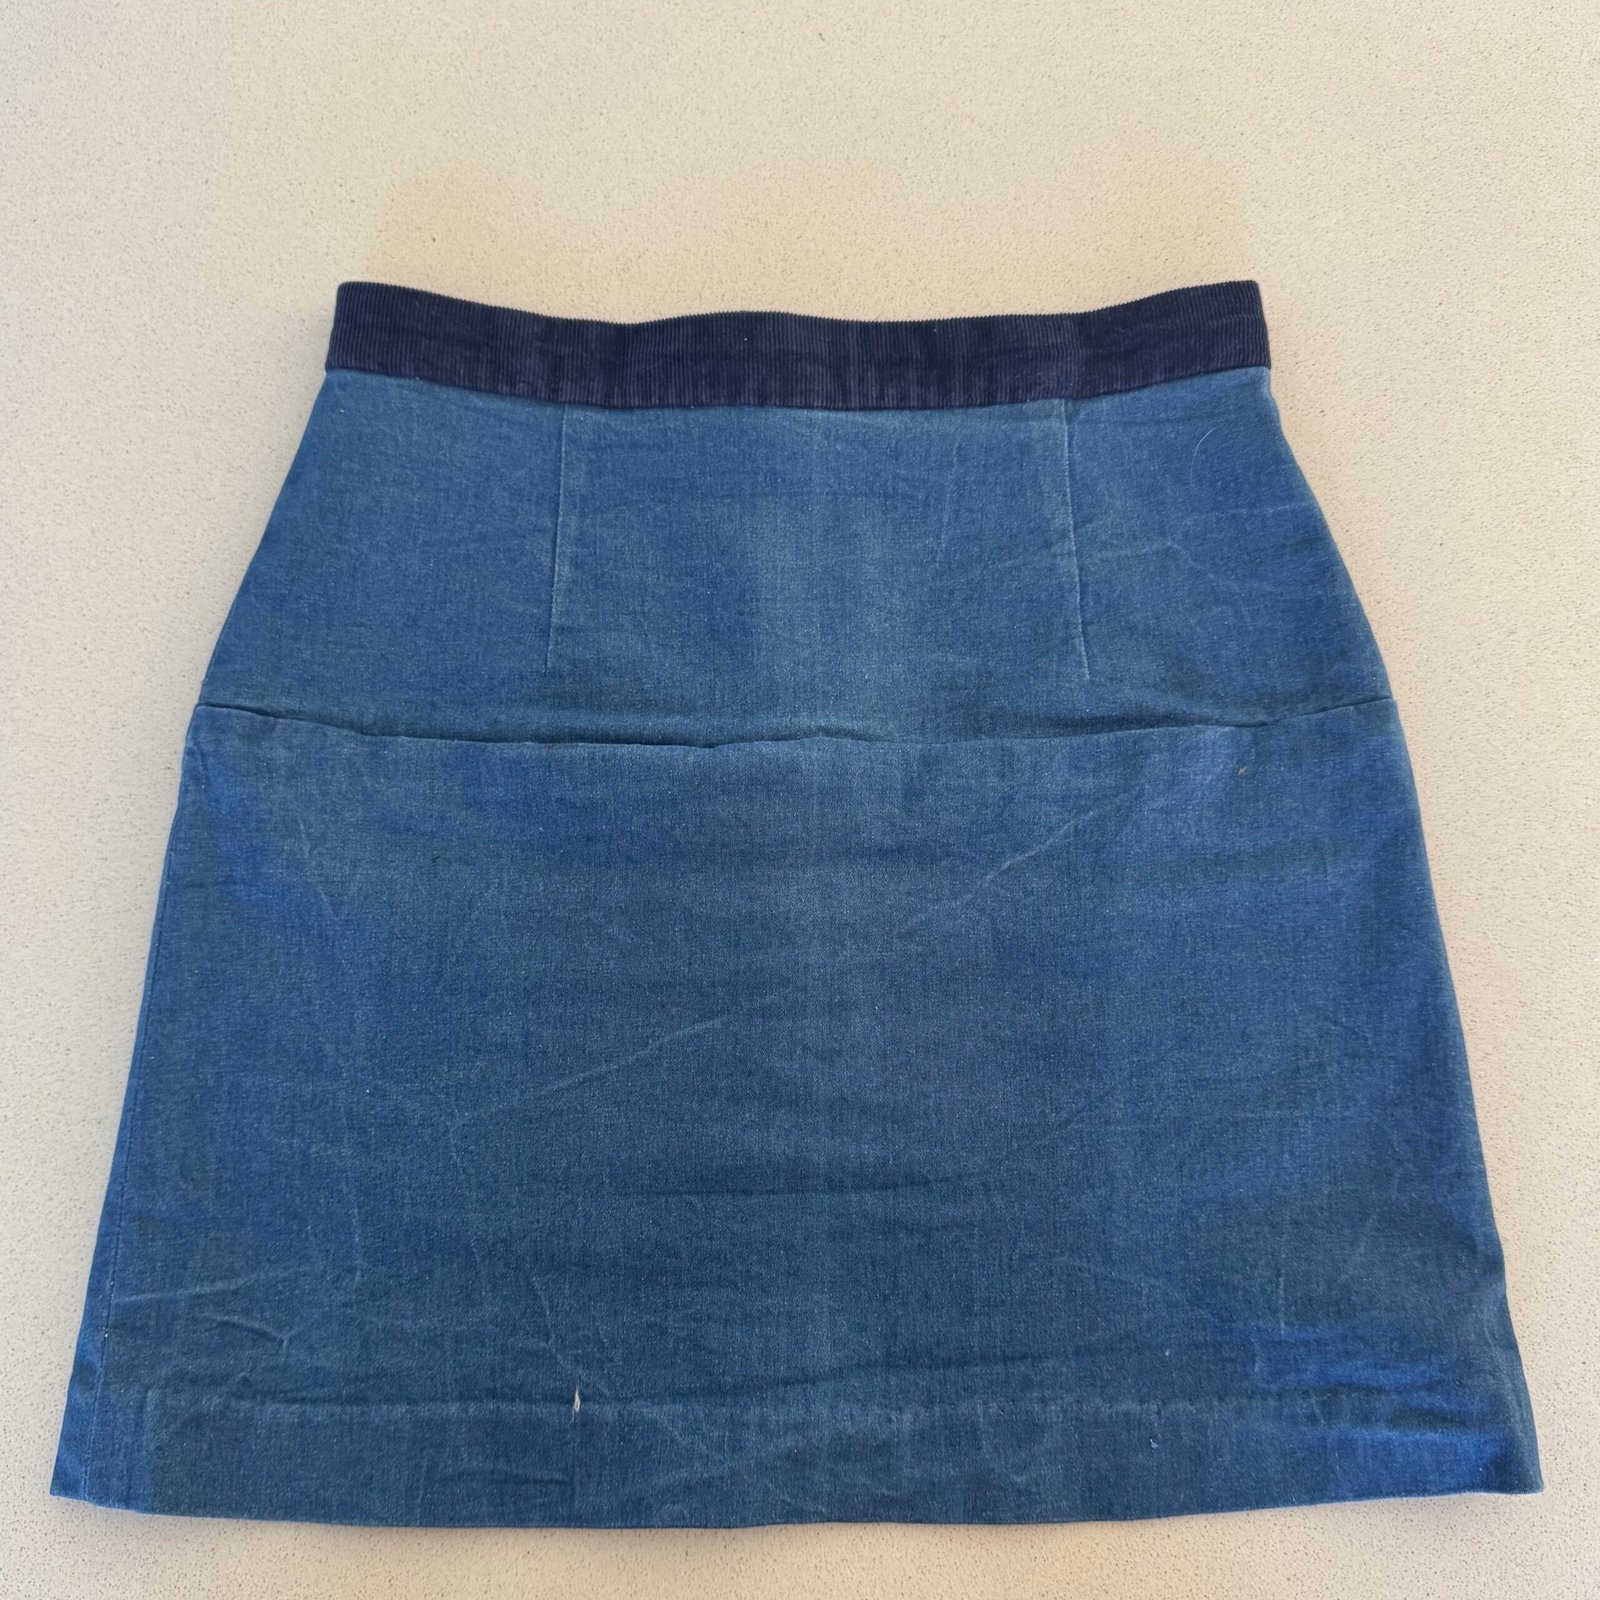
I also made a simple little skirt, the kind of thing I like to wear all winter long. This is from a length of stretchy blue denim, a longterm leftover from a pair of trousers I made once. Because I only had a smallish scrap with oddly shaped pieces I hauled out ye olde favourite V 1247, and added about 10cm.
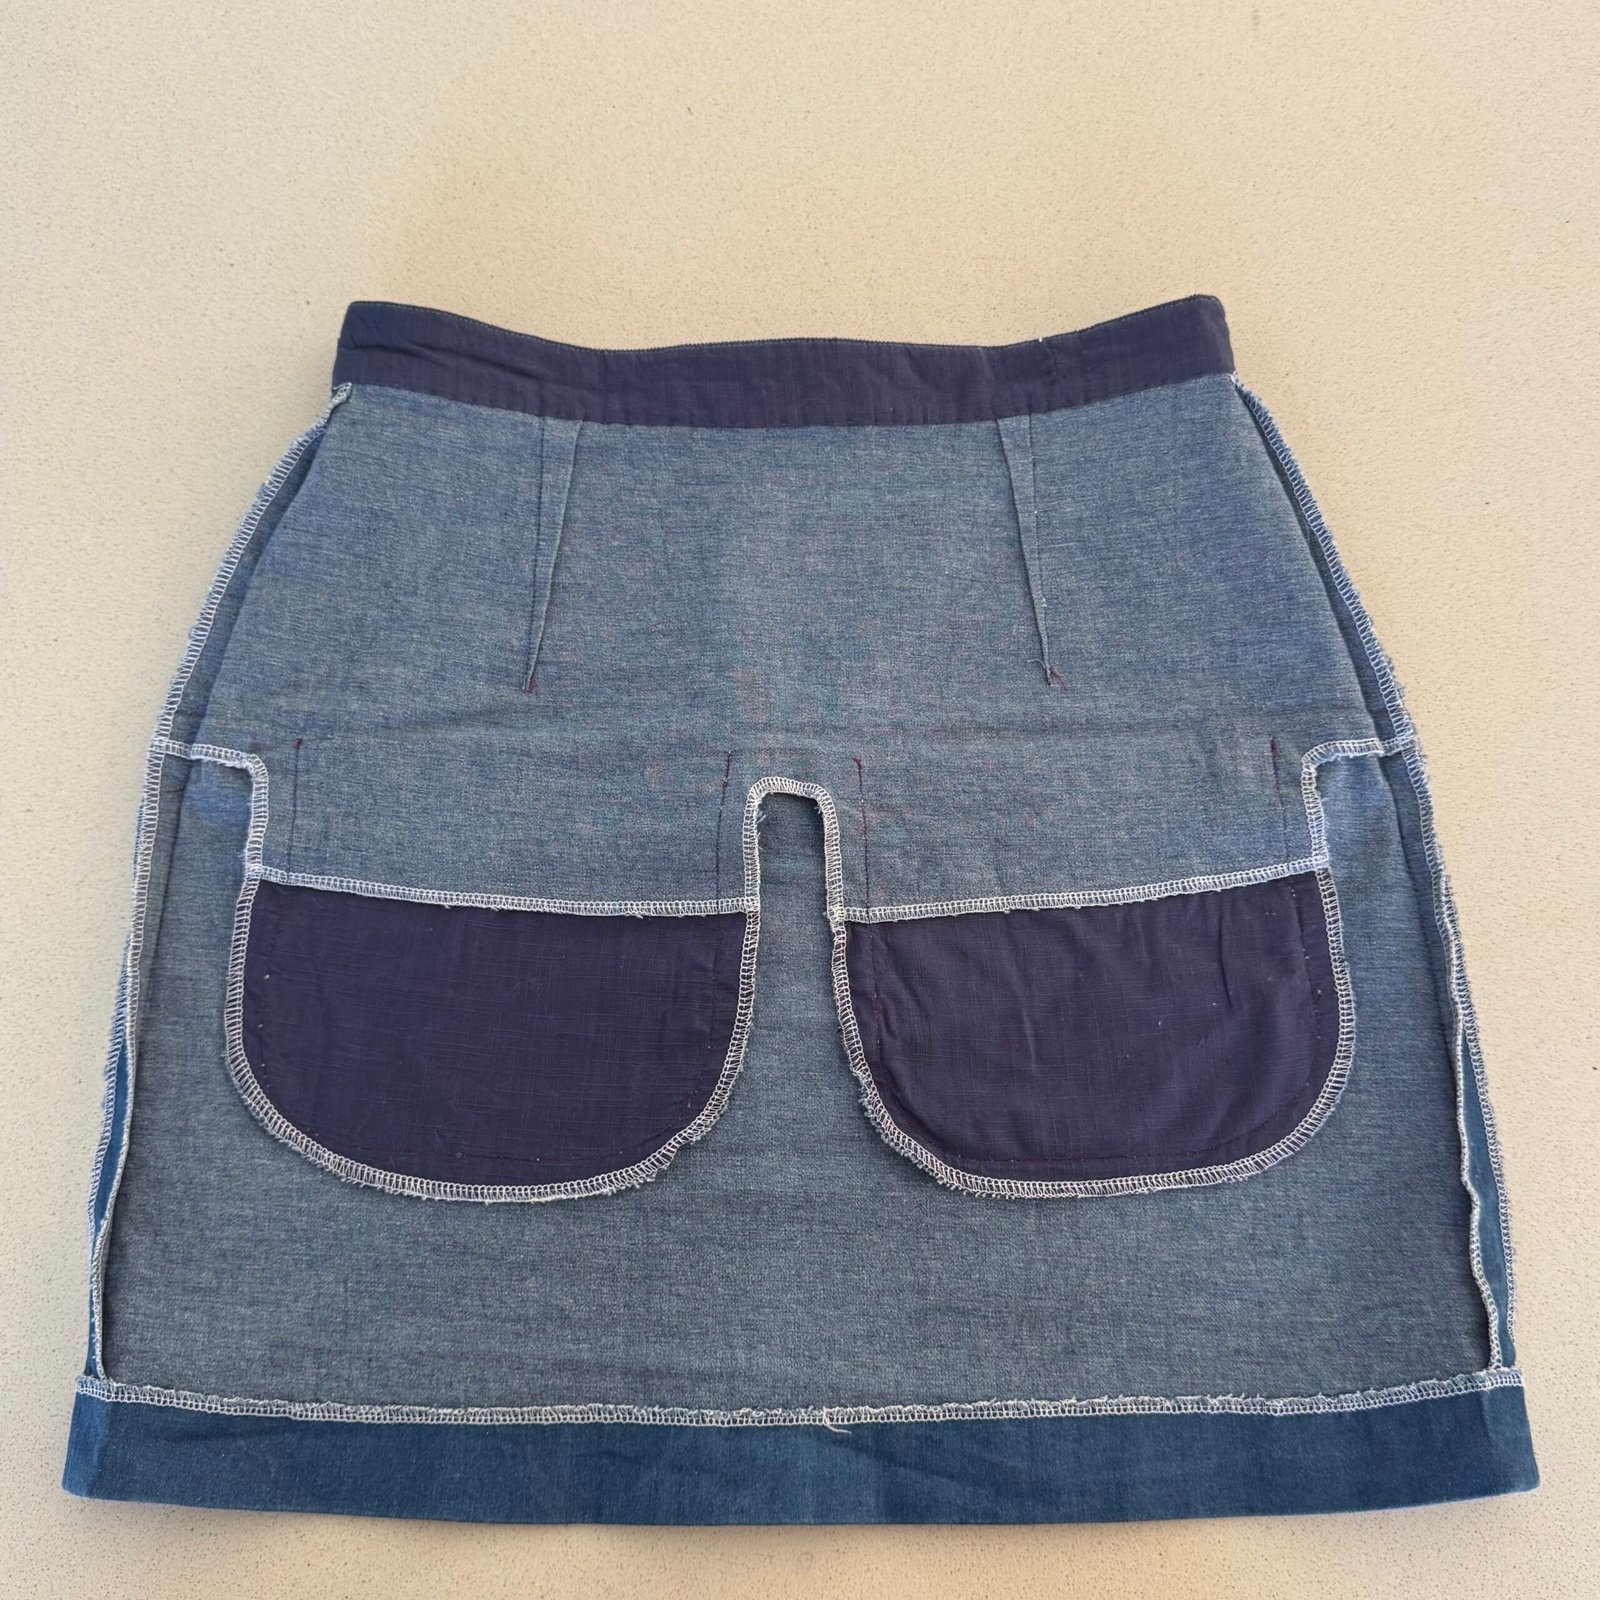
The waistband is navy blue skinny-wale cord (from stash), lined with a blue cotton (also stash) which I also added on to the front yoke to get enough length for the pockets, as pictured. The stash also provided a dress zip.
And thus the remaining stash is lightened just a little further and I have some nice new winter threads. Very happy!


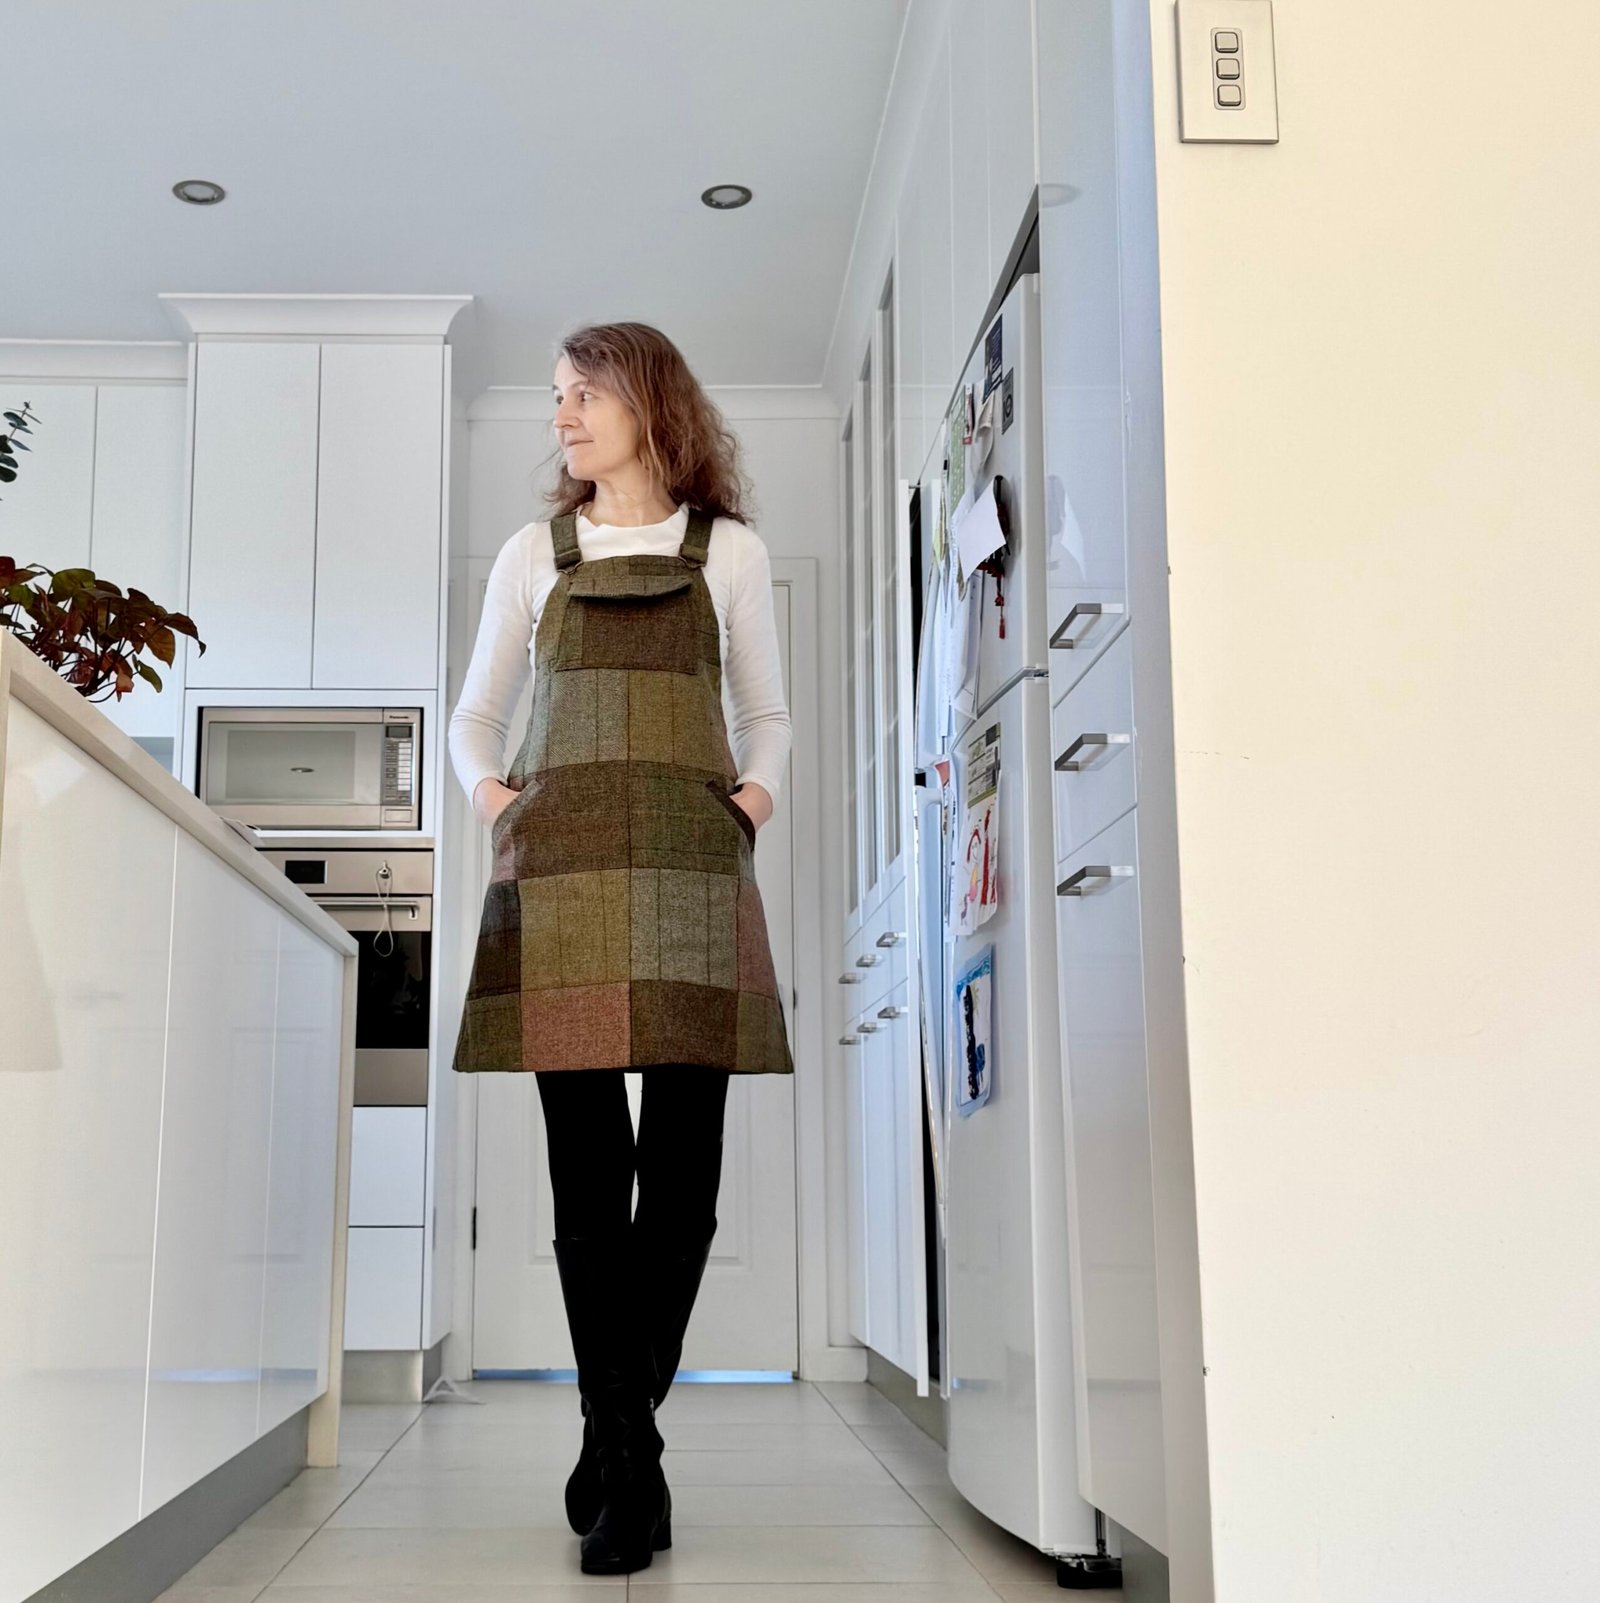
 1) Finished only yesterday is this new patchwork pinafore…. Mum bought a little bundle of Irish tweed cut-offs during a visit to the UK years ago.
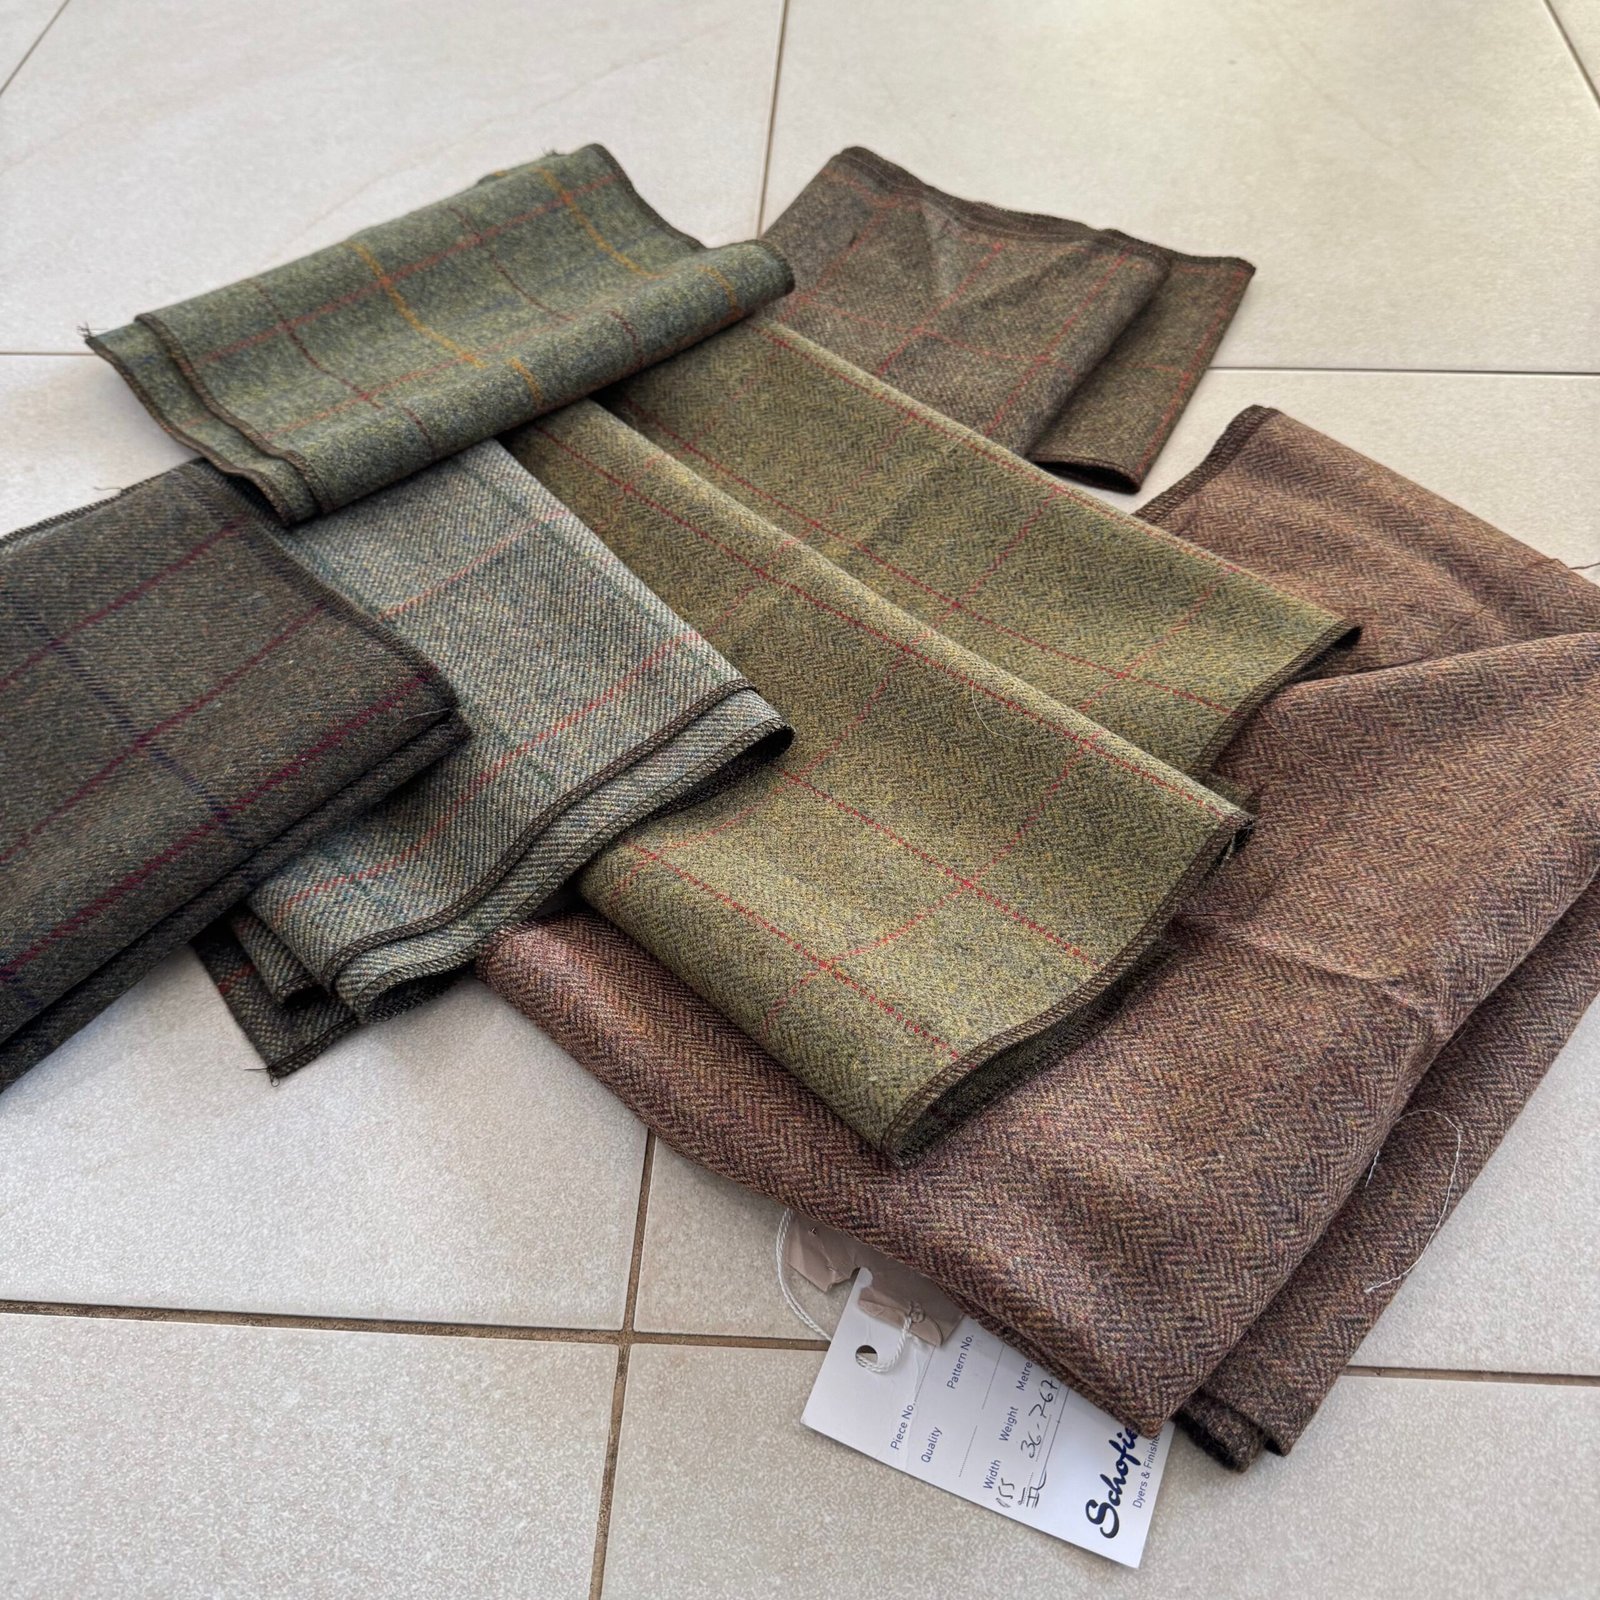 I admit to being quite intimidated by this lovely stuff for a long time! but as my policy for the past few years is to sew my stash completely, the time came to step up, get brave and cut into it. I used a pattern partly based upon the Pauline Alice Turia dungarees pattern, but as I’ve unfortunately thrown out my copy I made a new pattern by laying down my pink pinafore and tracing around it.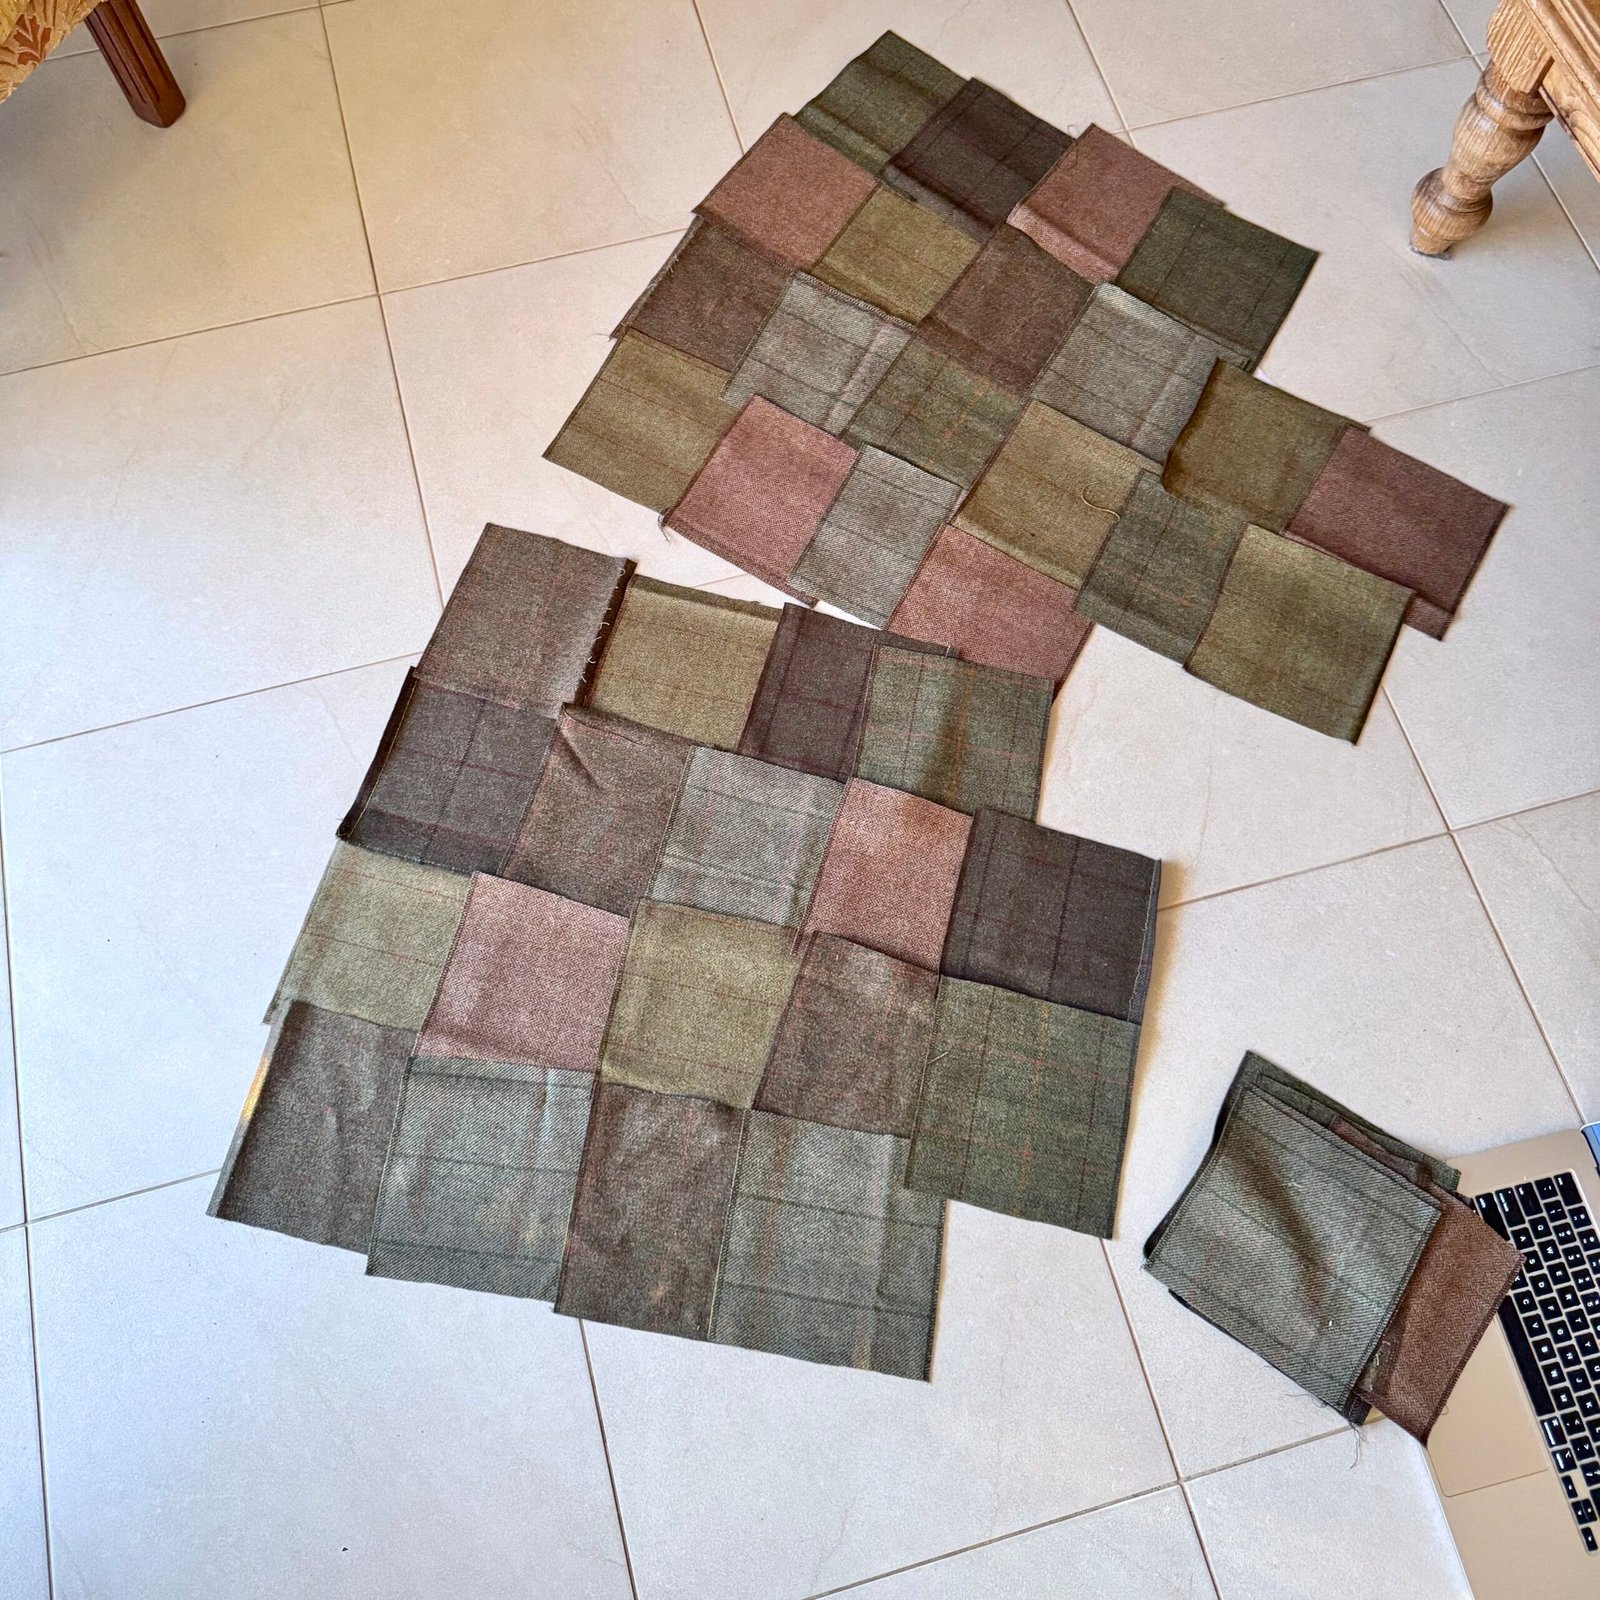
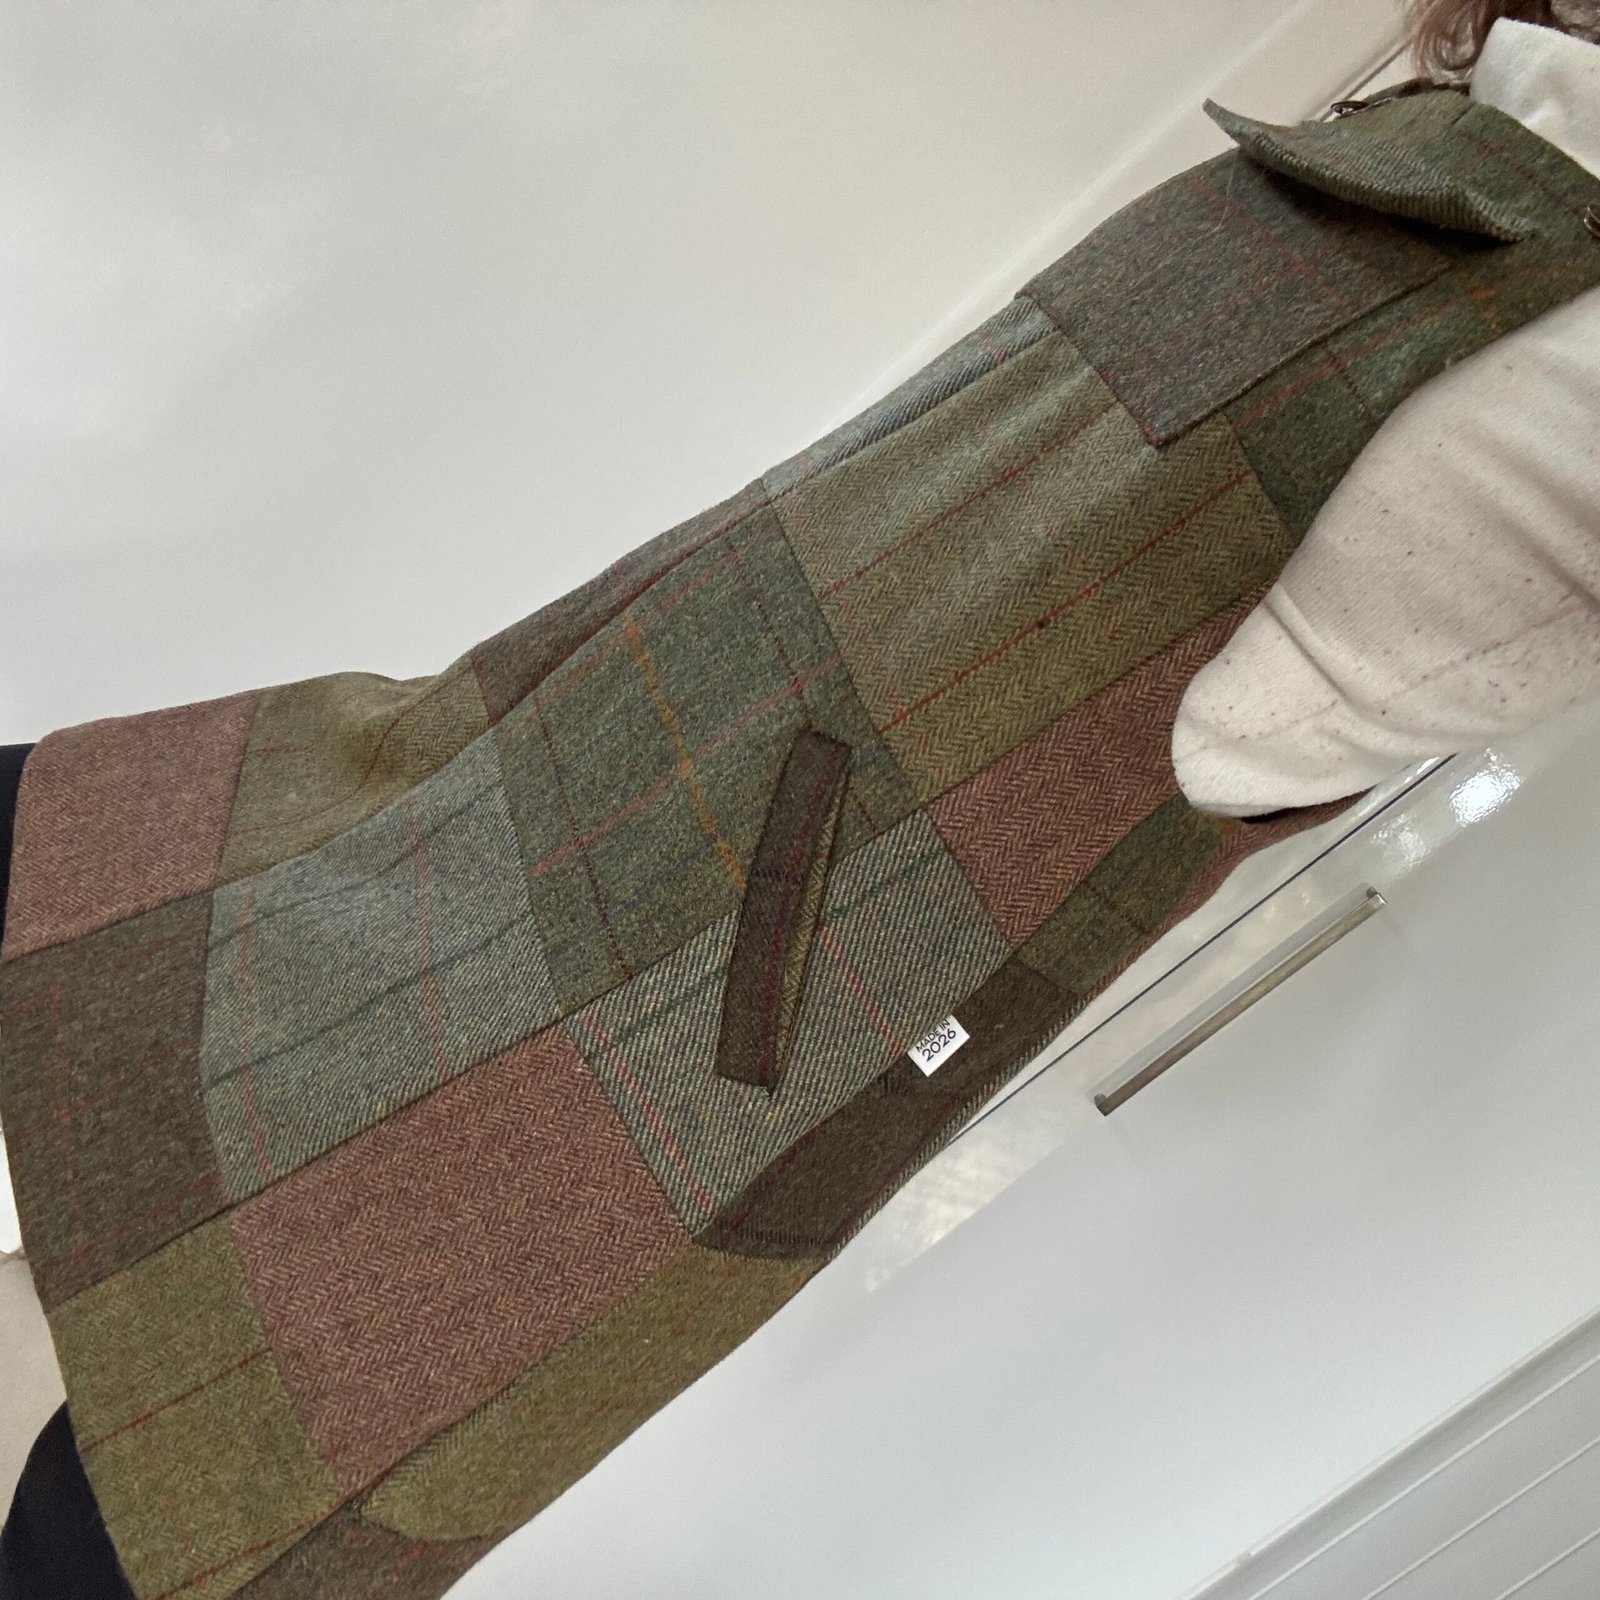
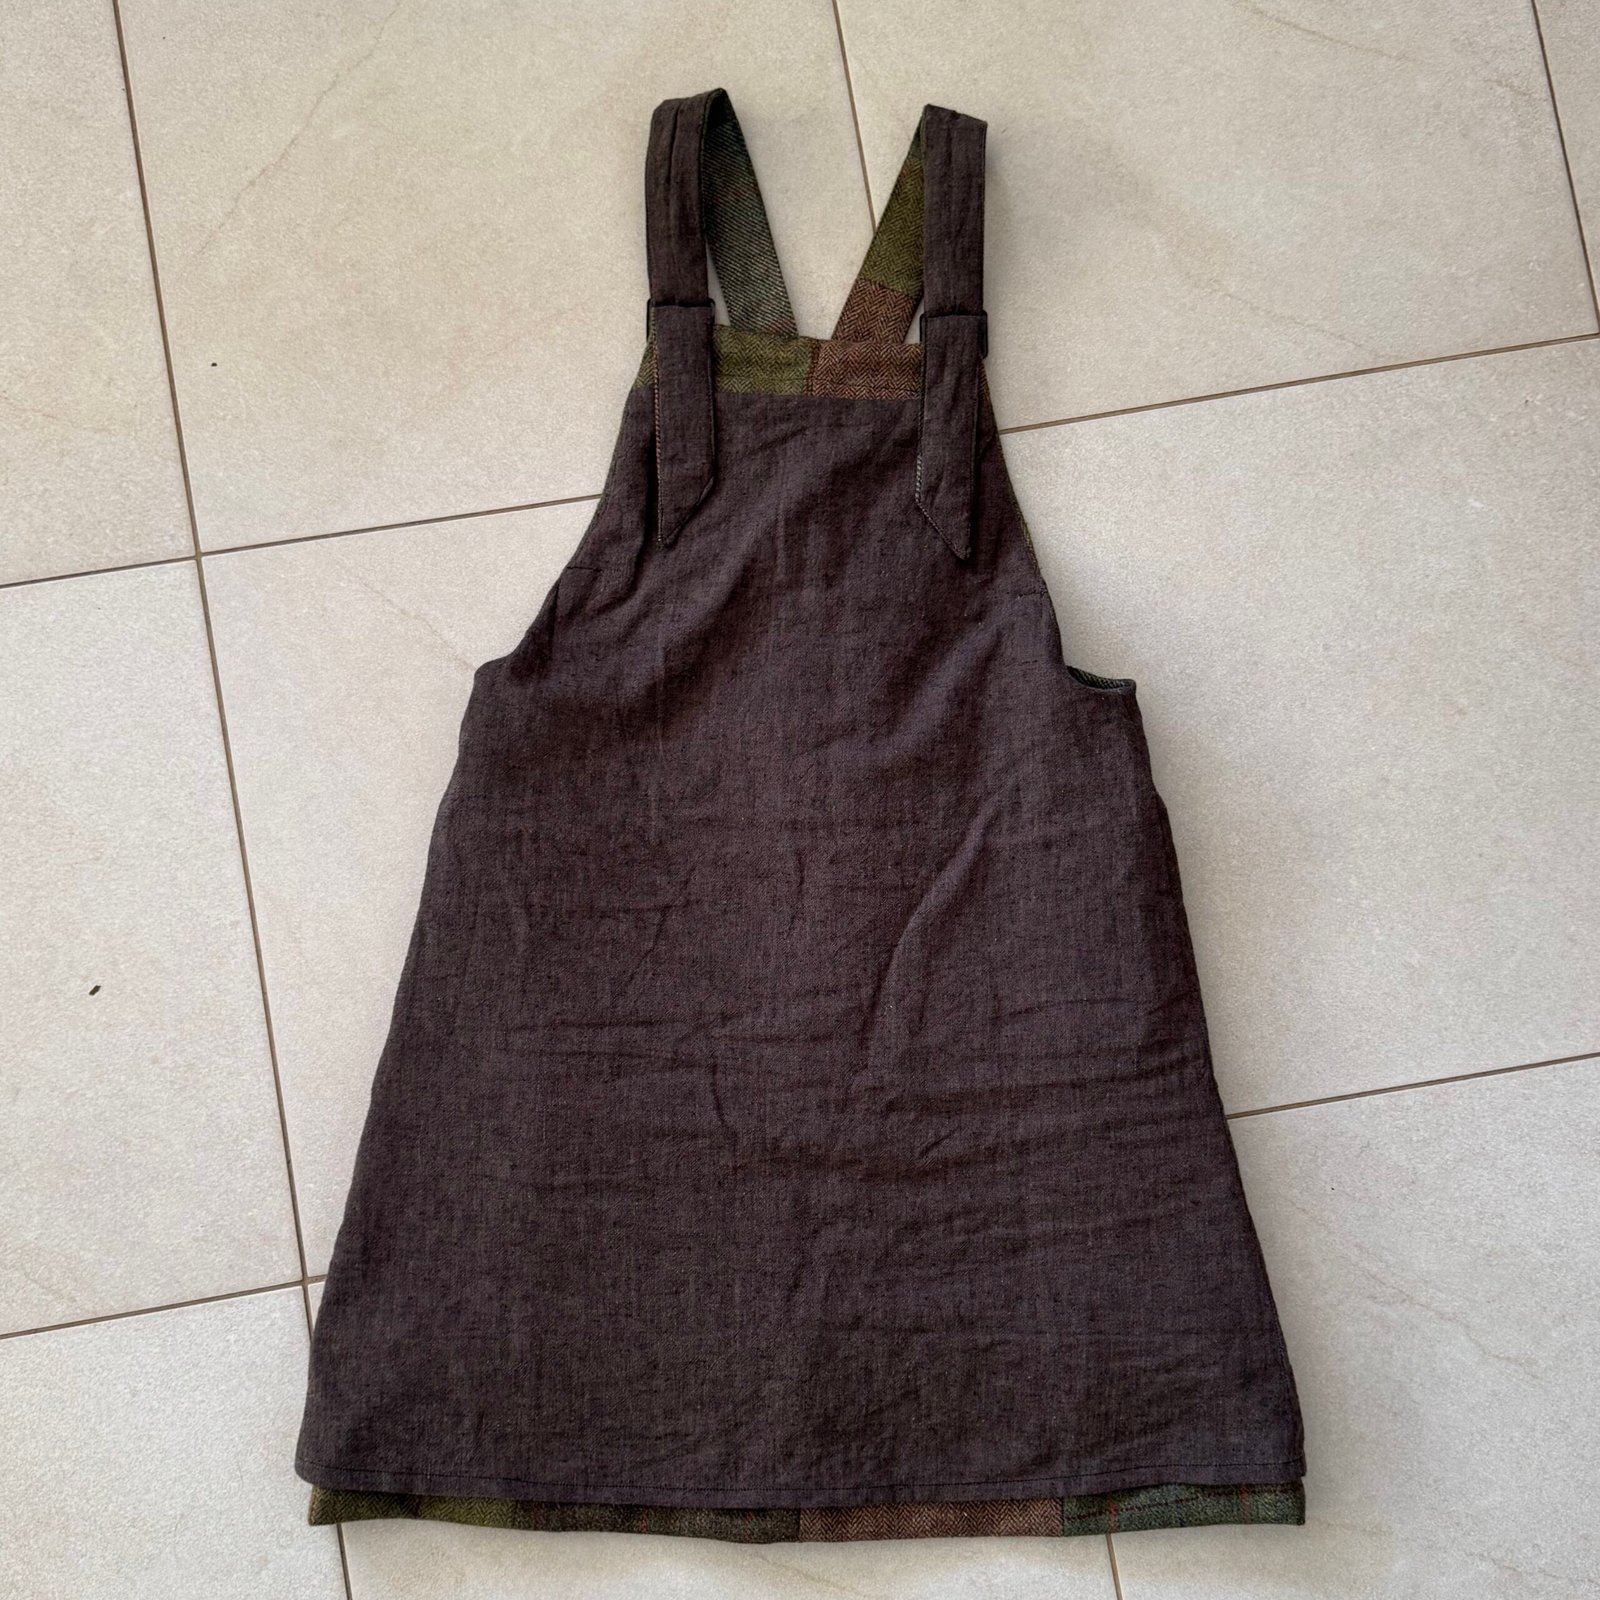
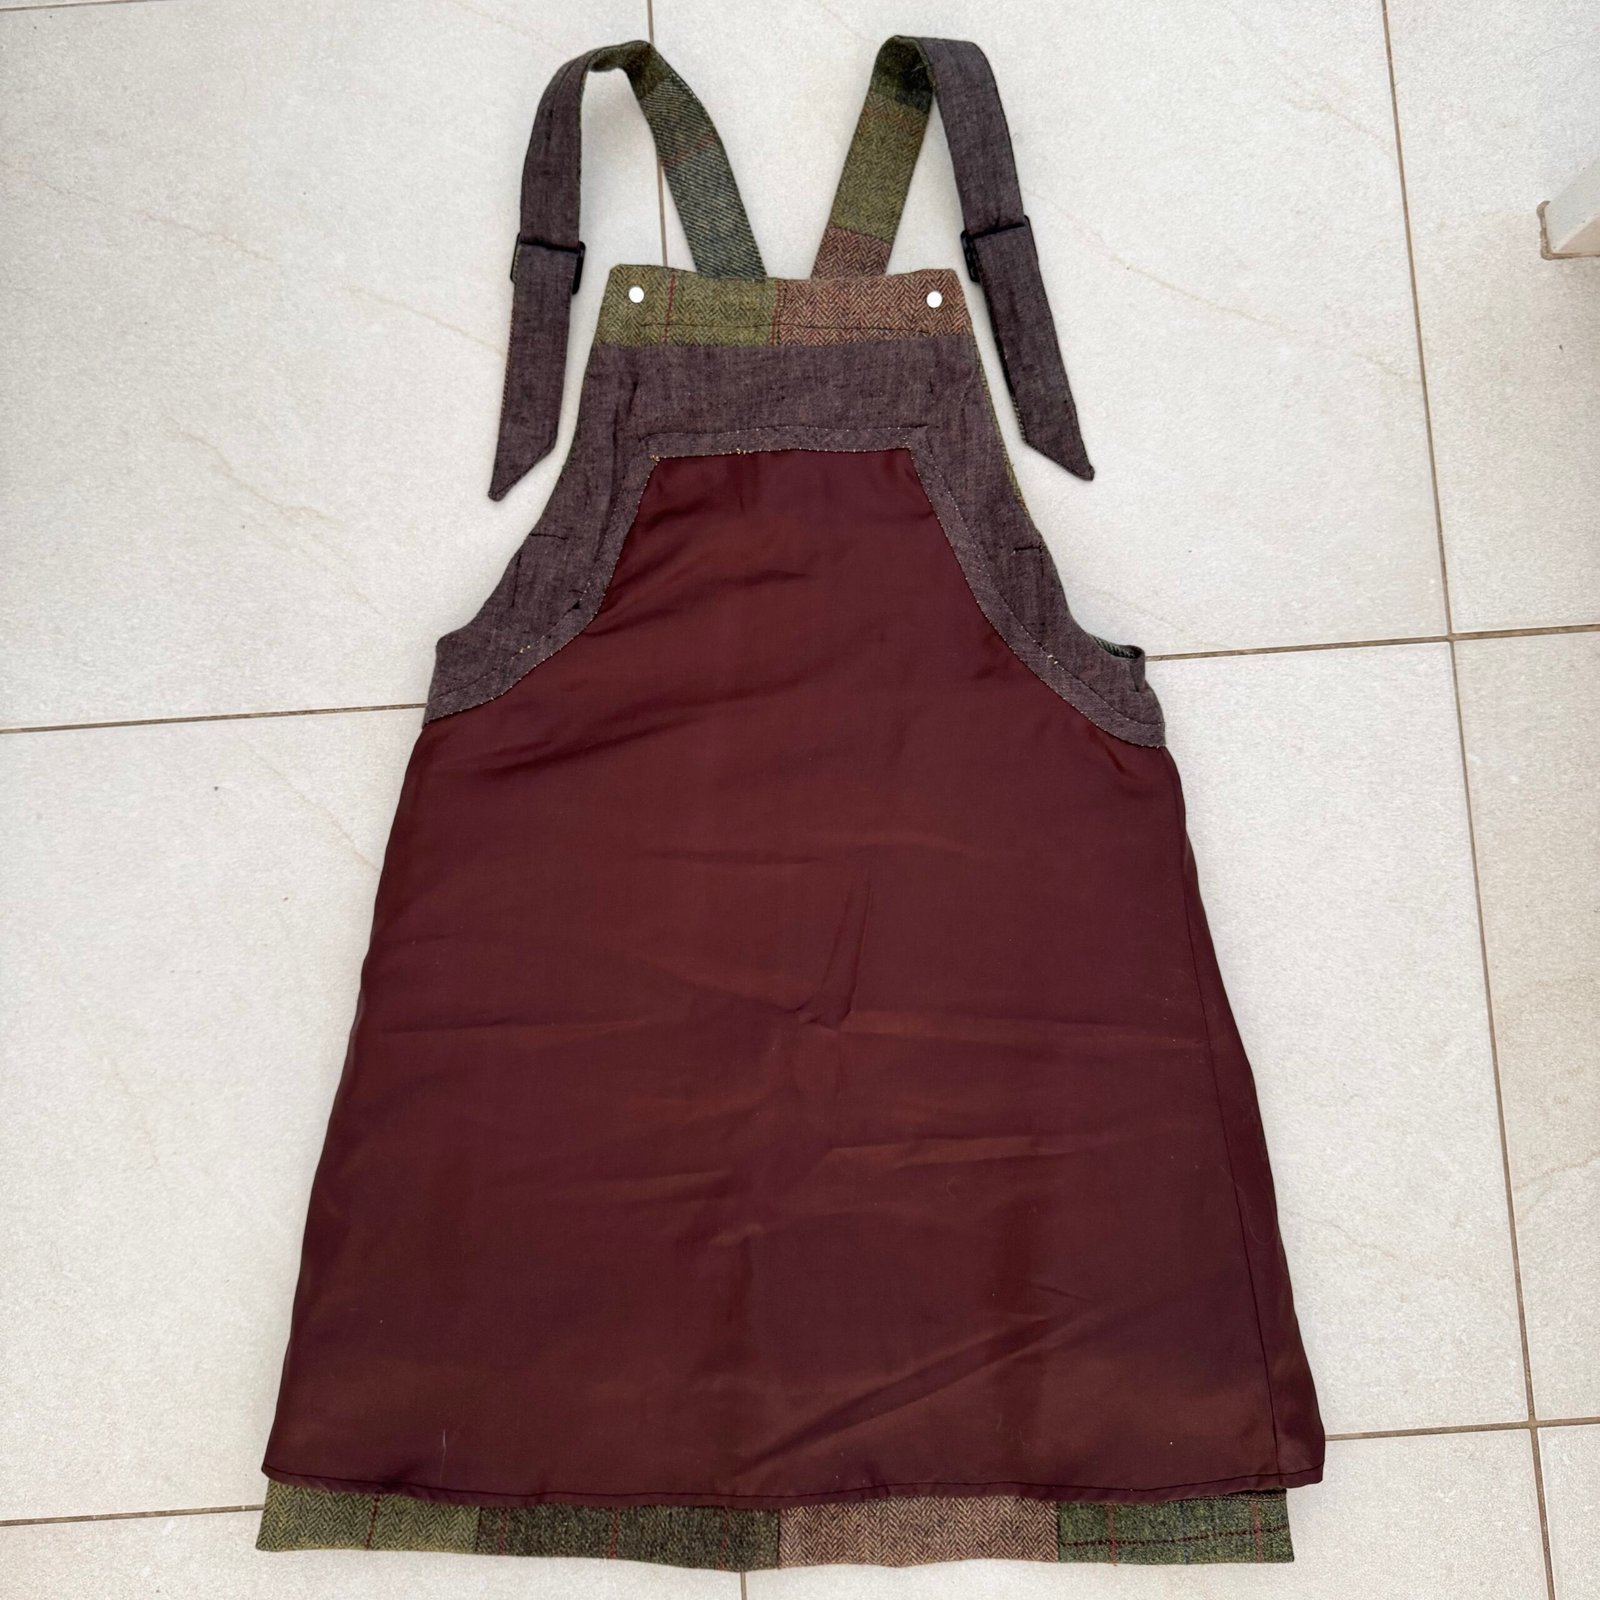
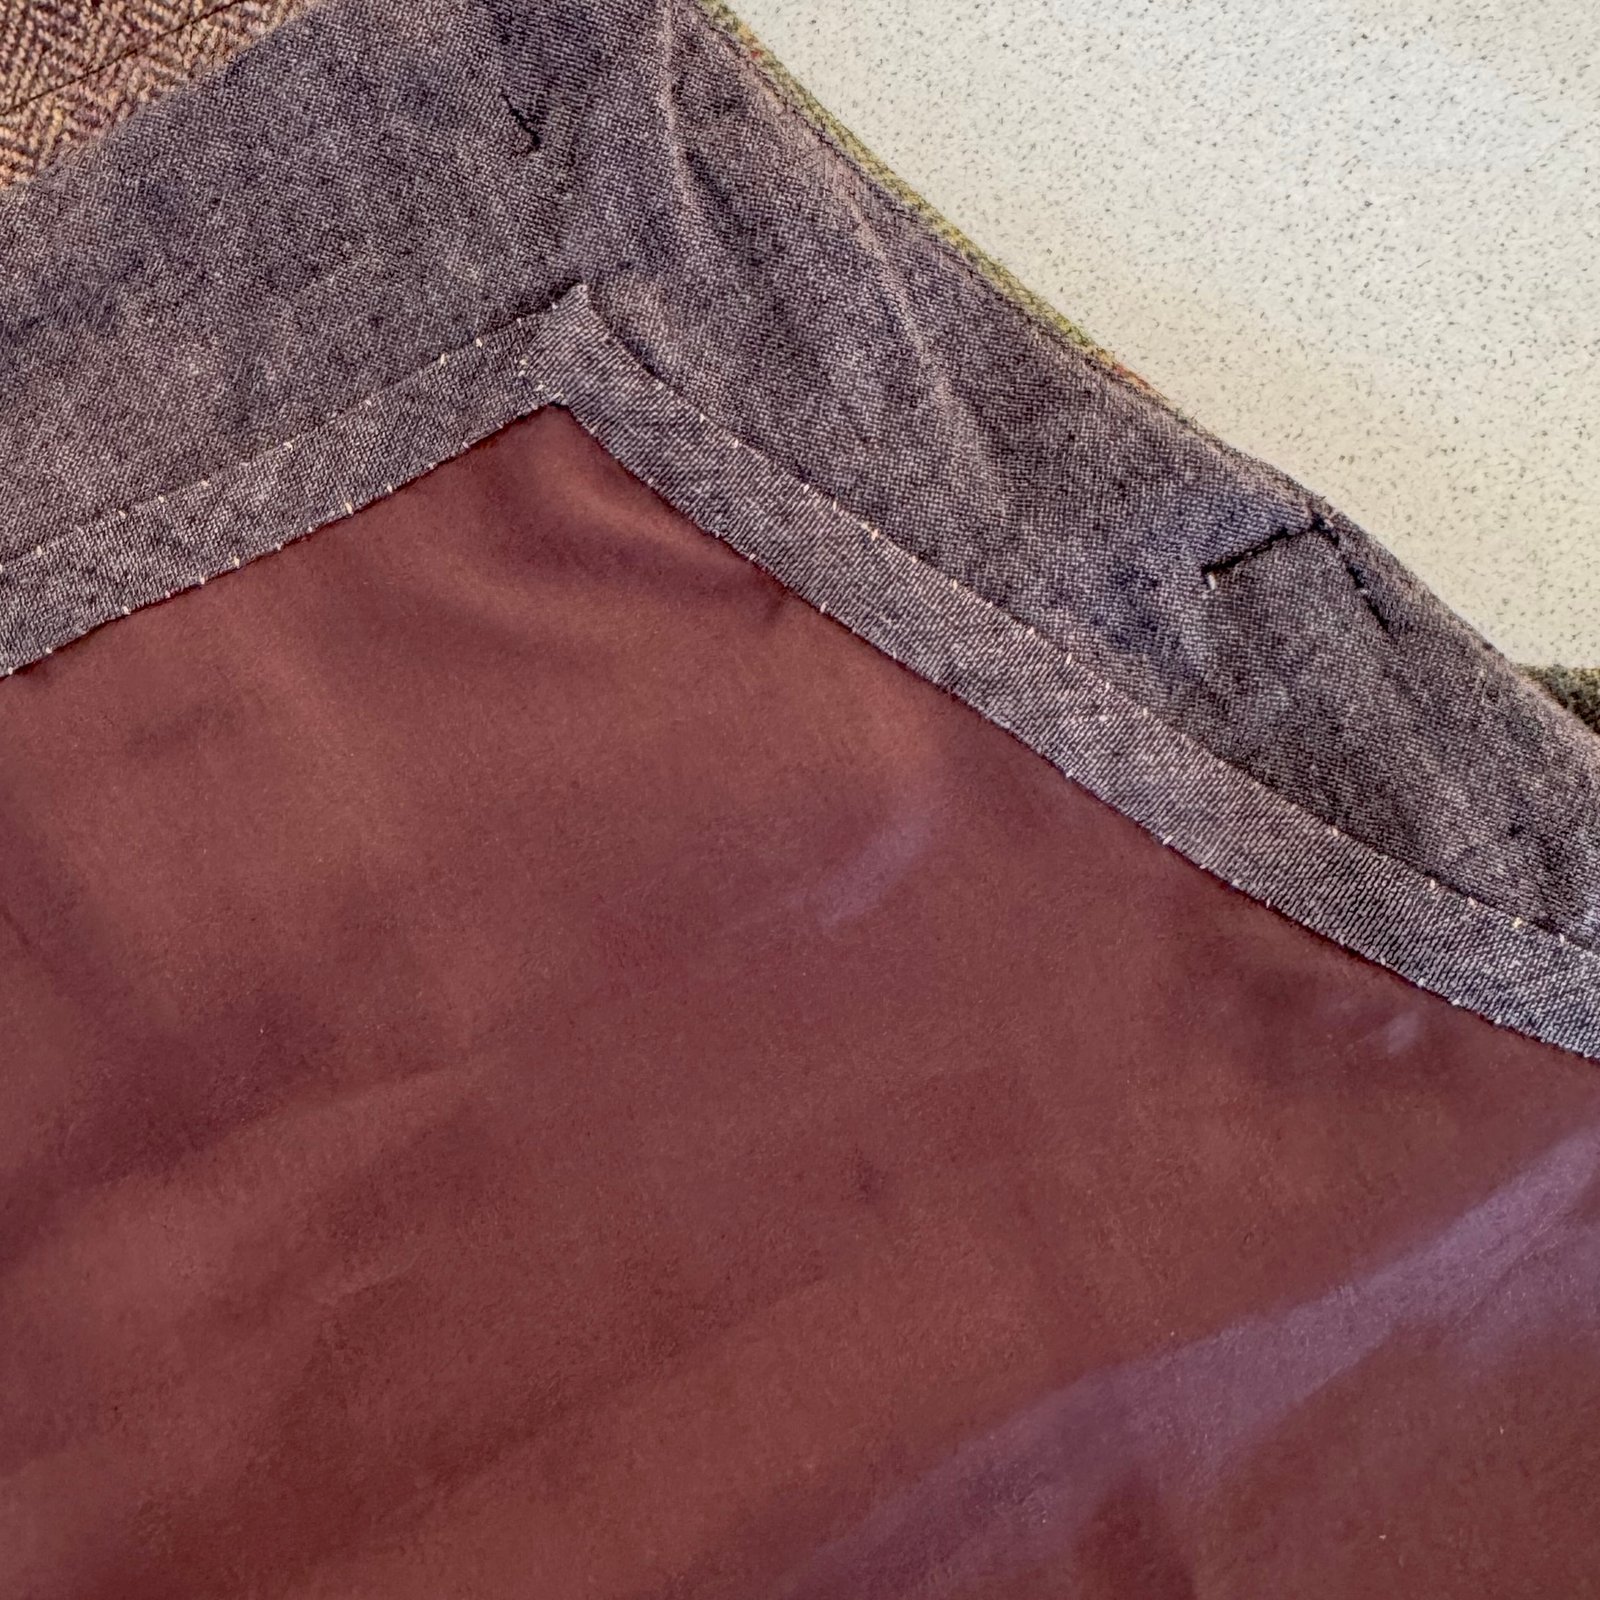
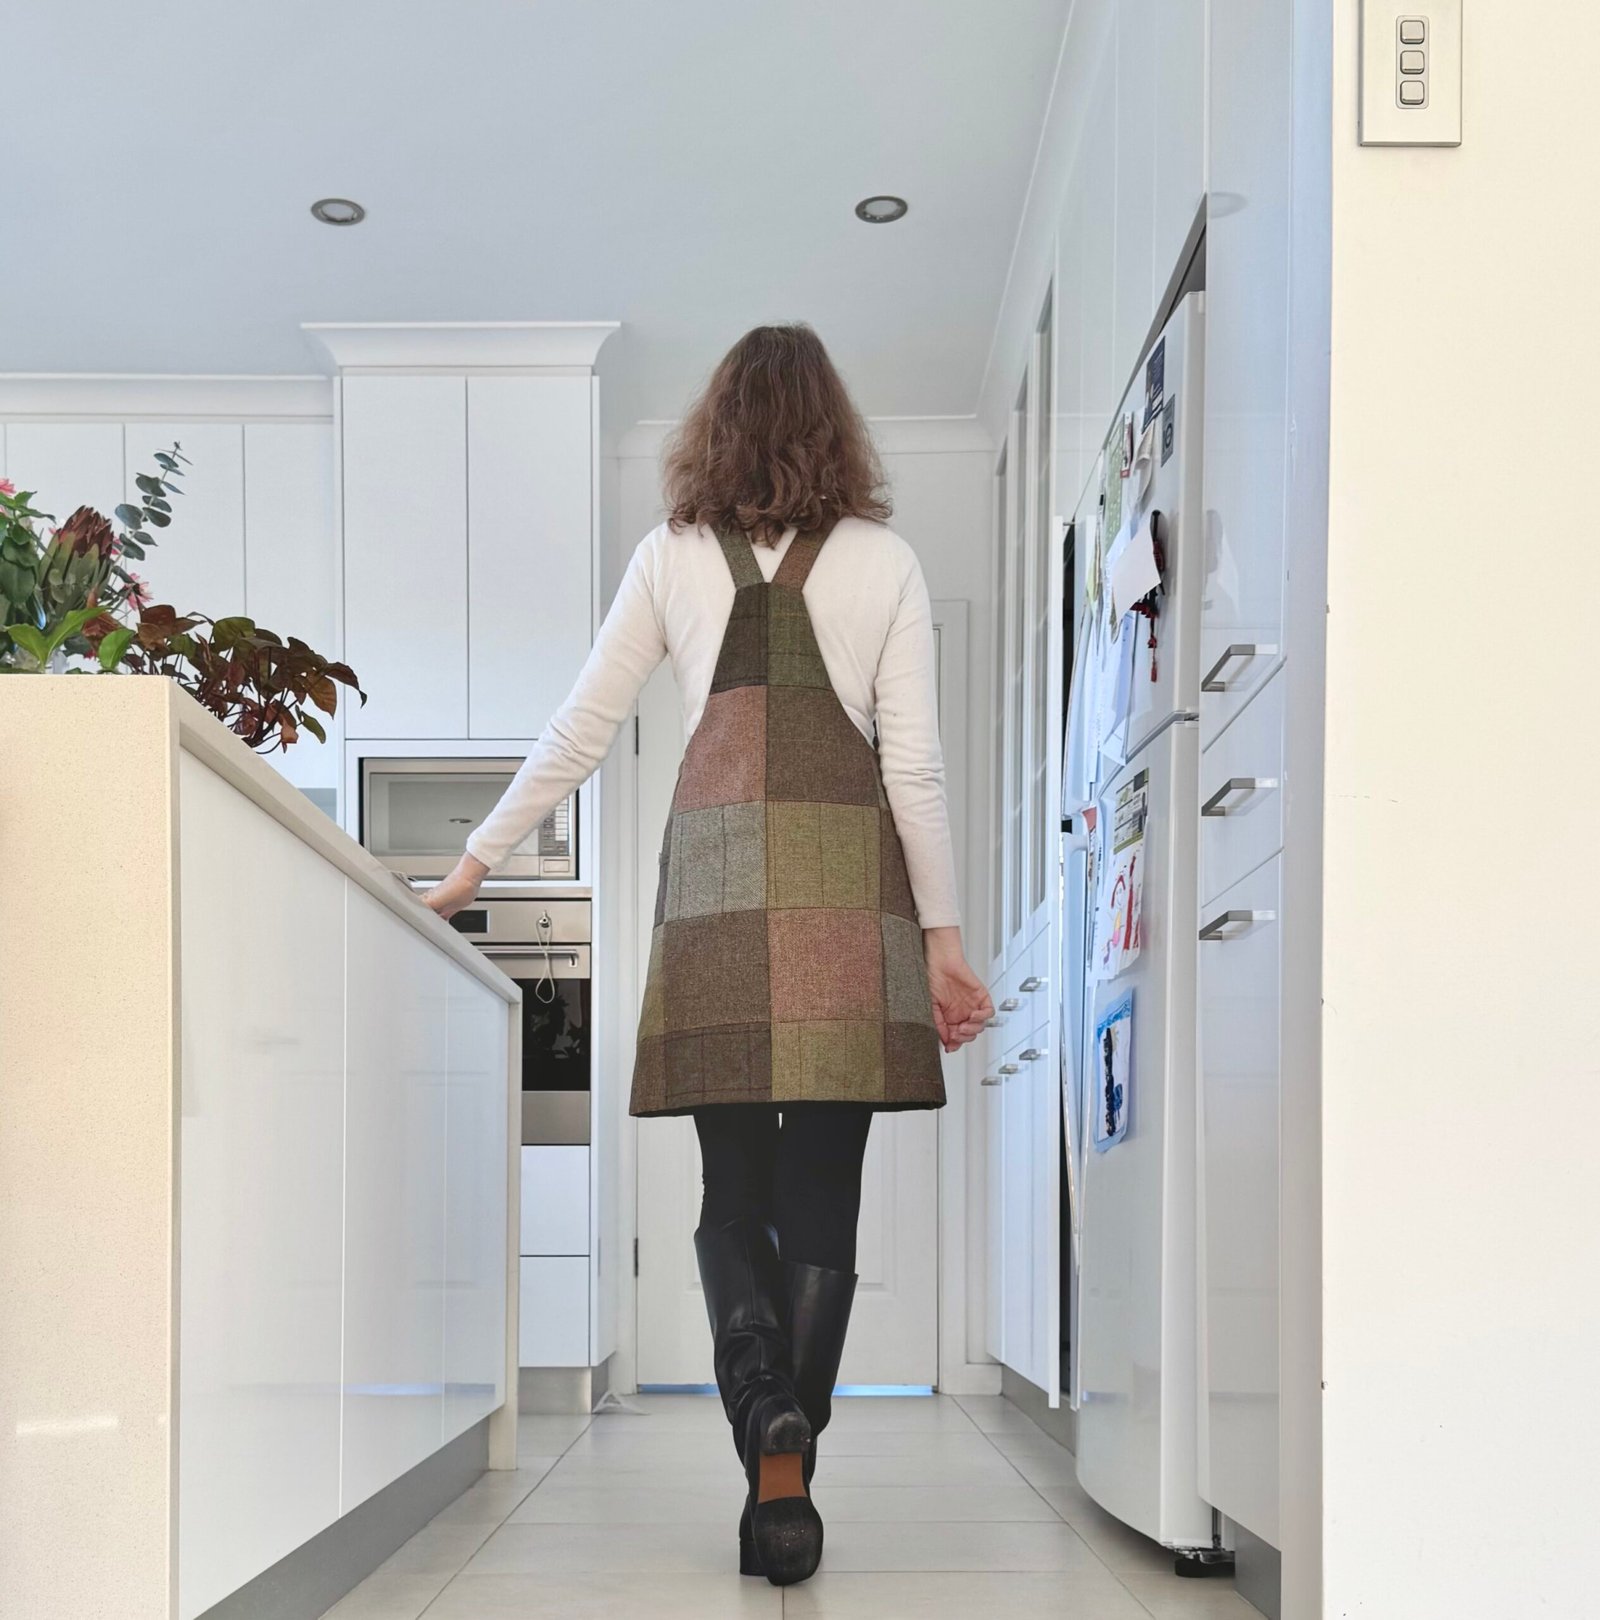

 The seams look like straight lines, but in reality none of them are because of the weird shapes of the fabric scraps I was using! All the horizontal seams are curved to differing degrees. It was a little tricky to get a good neat result but I was actually very pleased with myself how cohesive it all looks in the end! Of course this is a fun and cool, airy little dress to wear and I am extremely happy with it. I’m looking forward to summer so I can get back into it again!
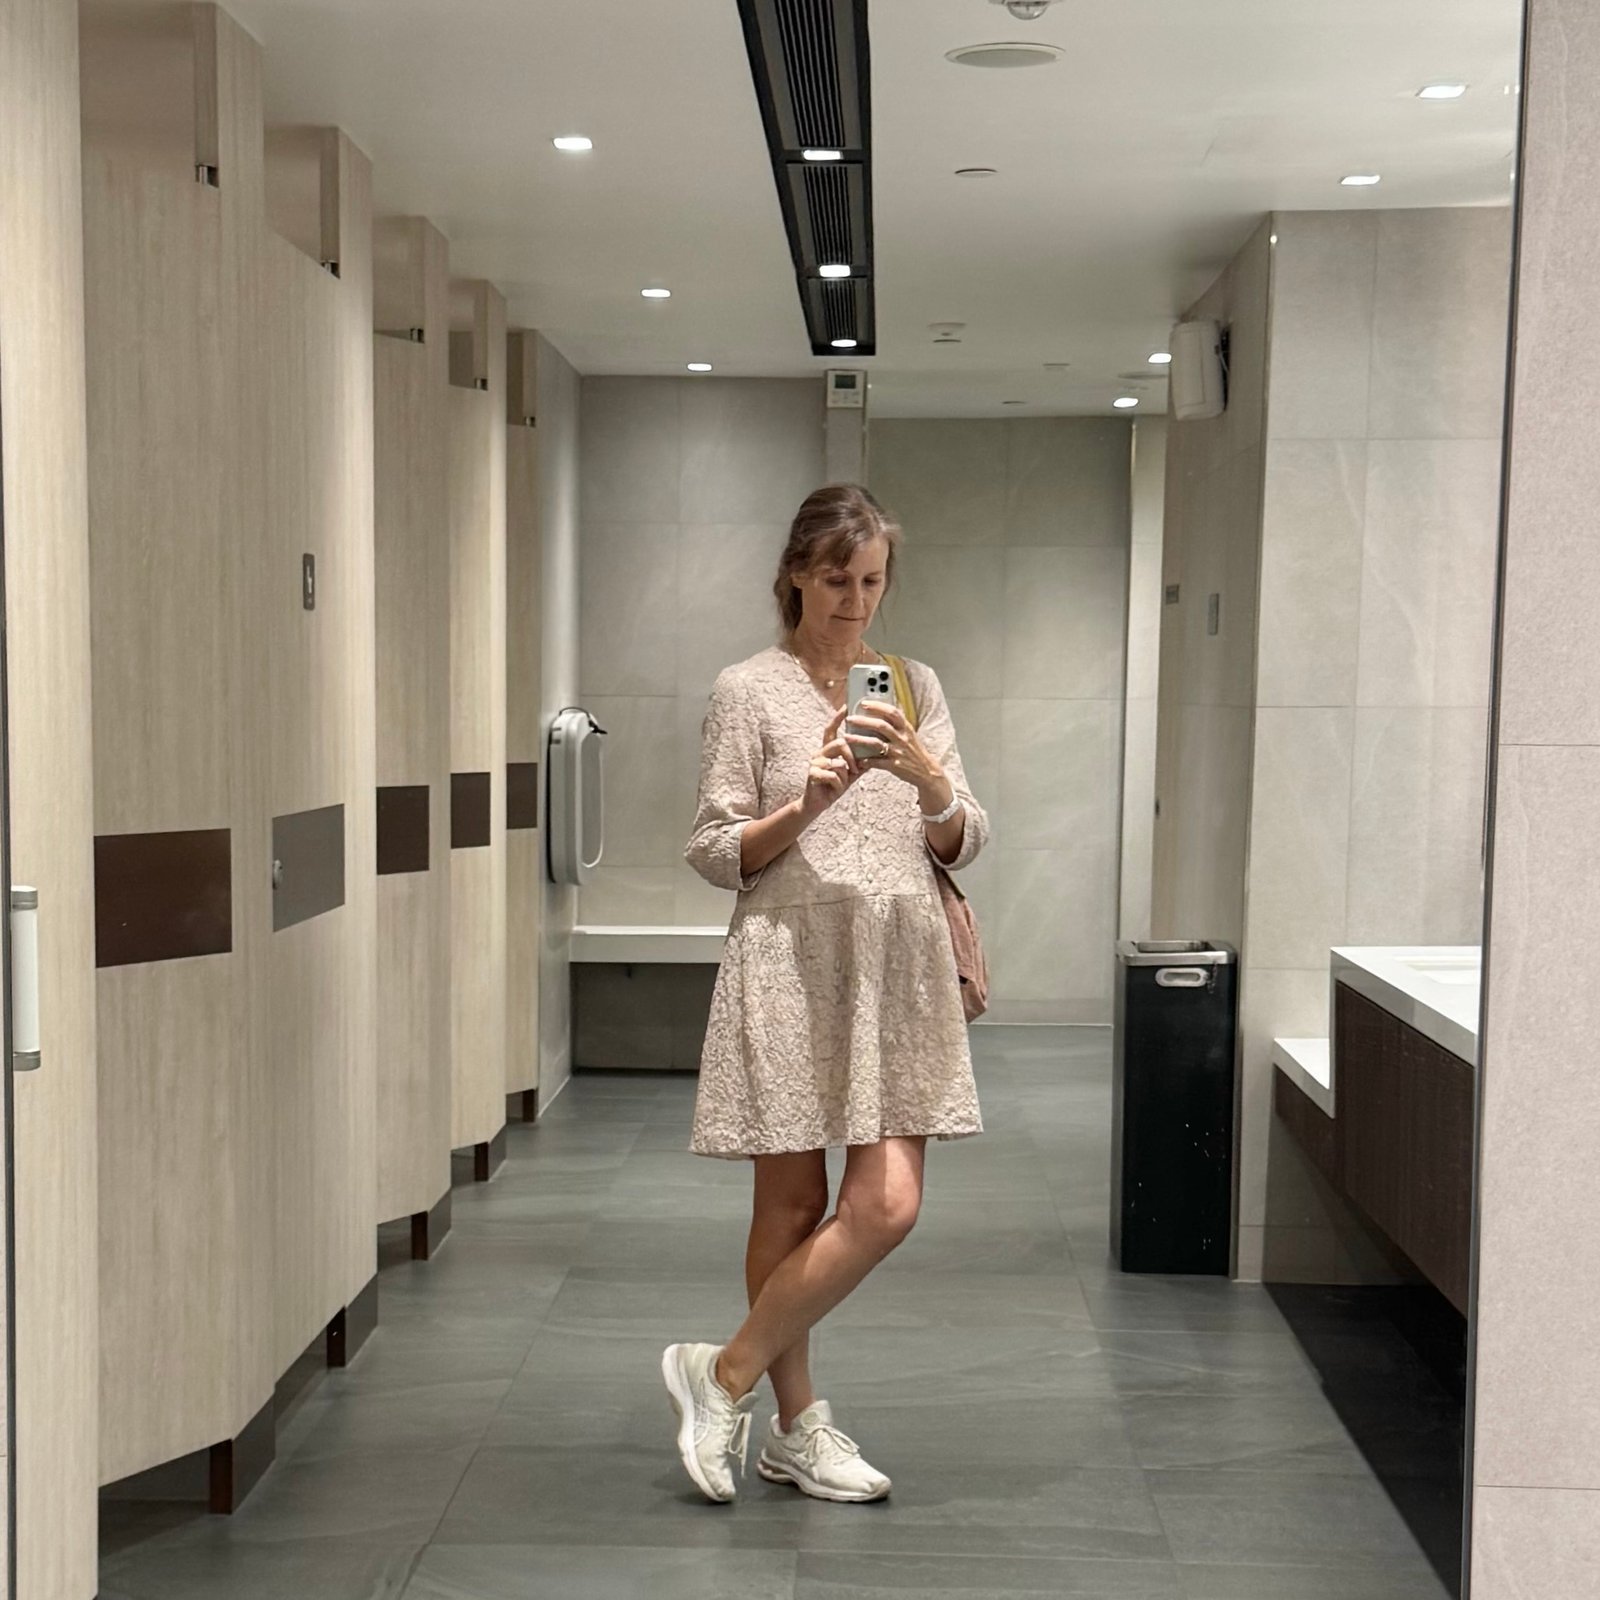
 3) Also during last summer I also made this little lace dress using the Fibremood Lennox pattern and a pale “greige” lace originally from Fabulous Fabrics from many years ago. I underlined all pieces completely with a cream coloured muslin, also bought many years ago, I think from a Morrison remnant sale. The buttons are actually some leftovers from the covered buttons that I made for Kelly’s wedding dress, back here! This is also all from stash, and although I’ve worn this a tonne since I made it I took only one picture of myself wearing it… this rather terrible one, sorry. I’m trying to get back to photographing and documenting things better.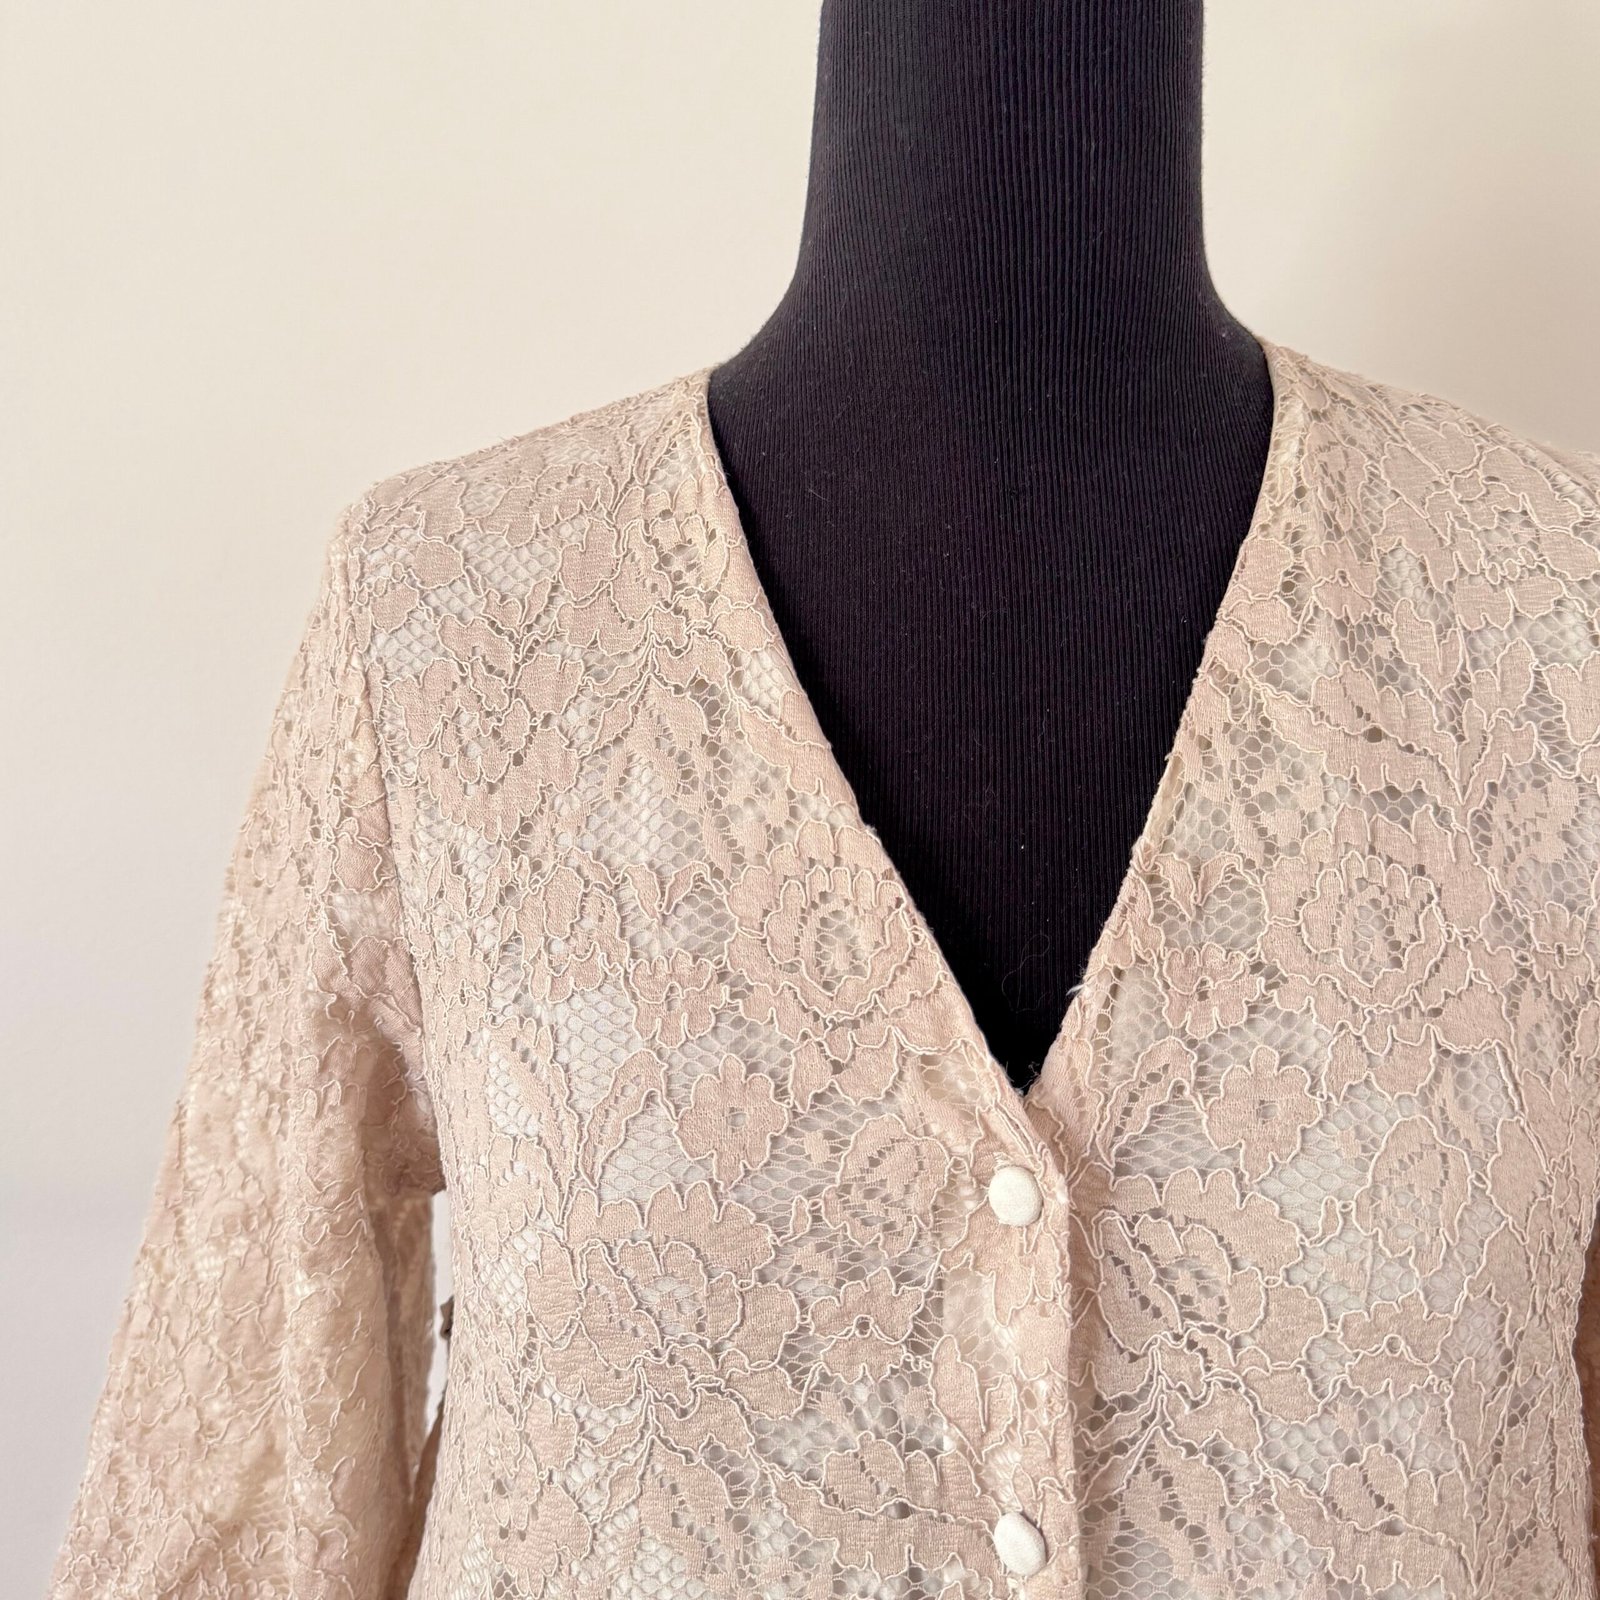

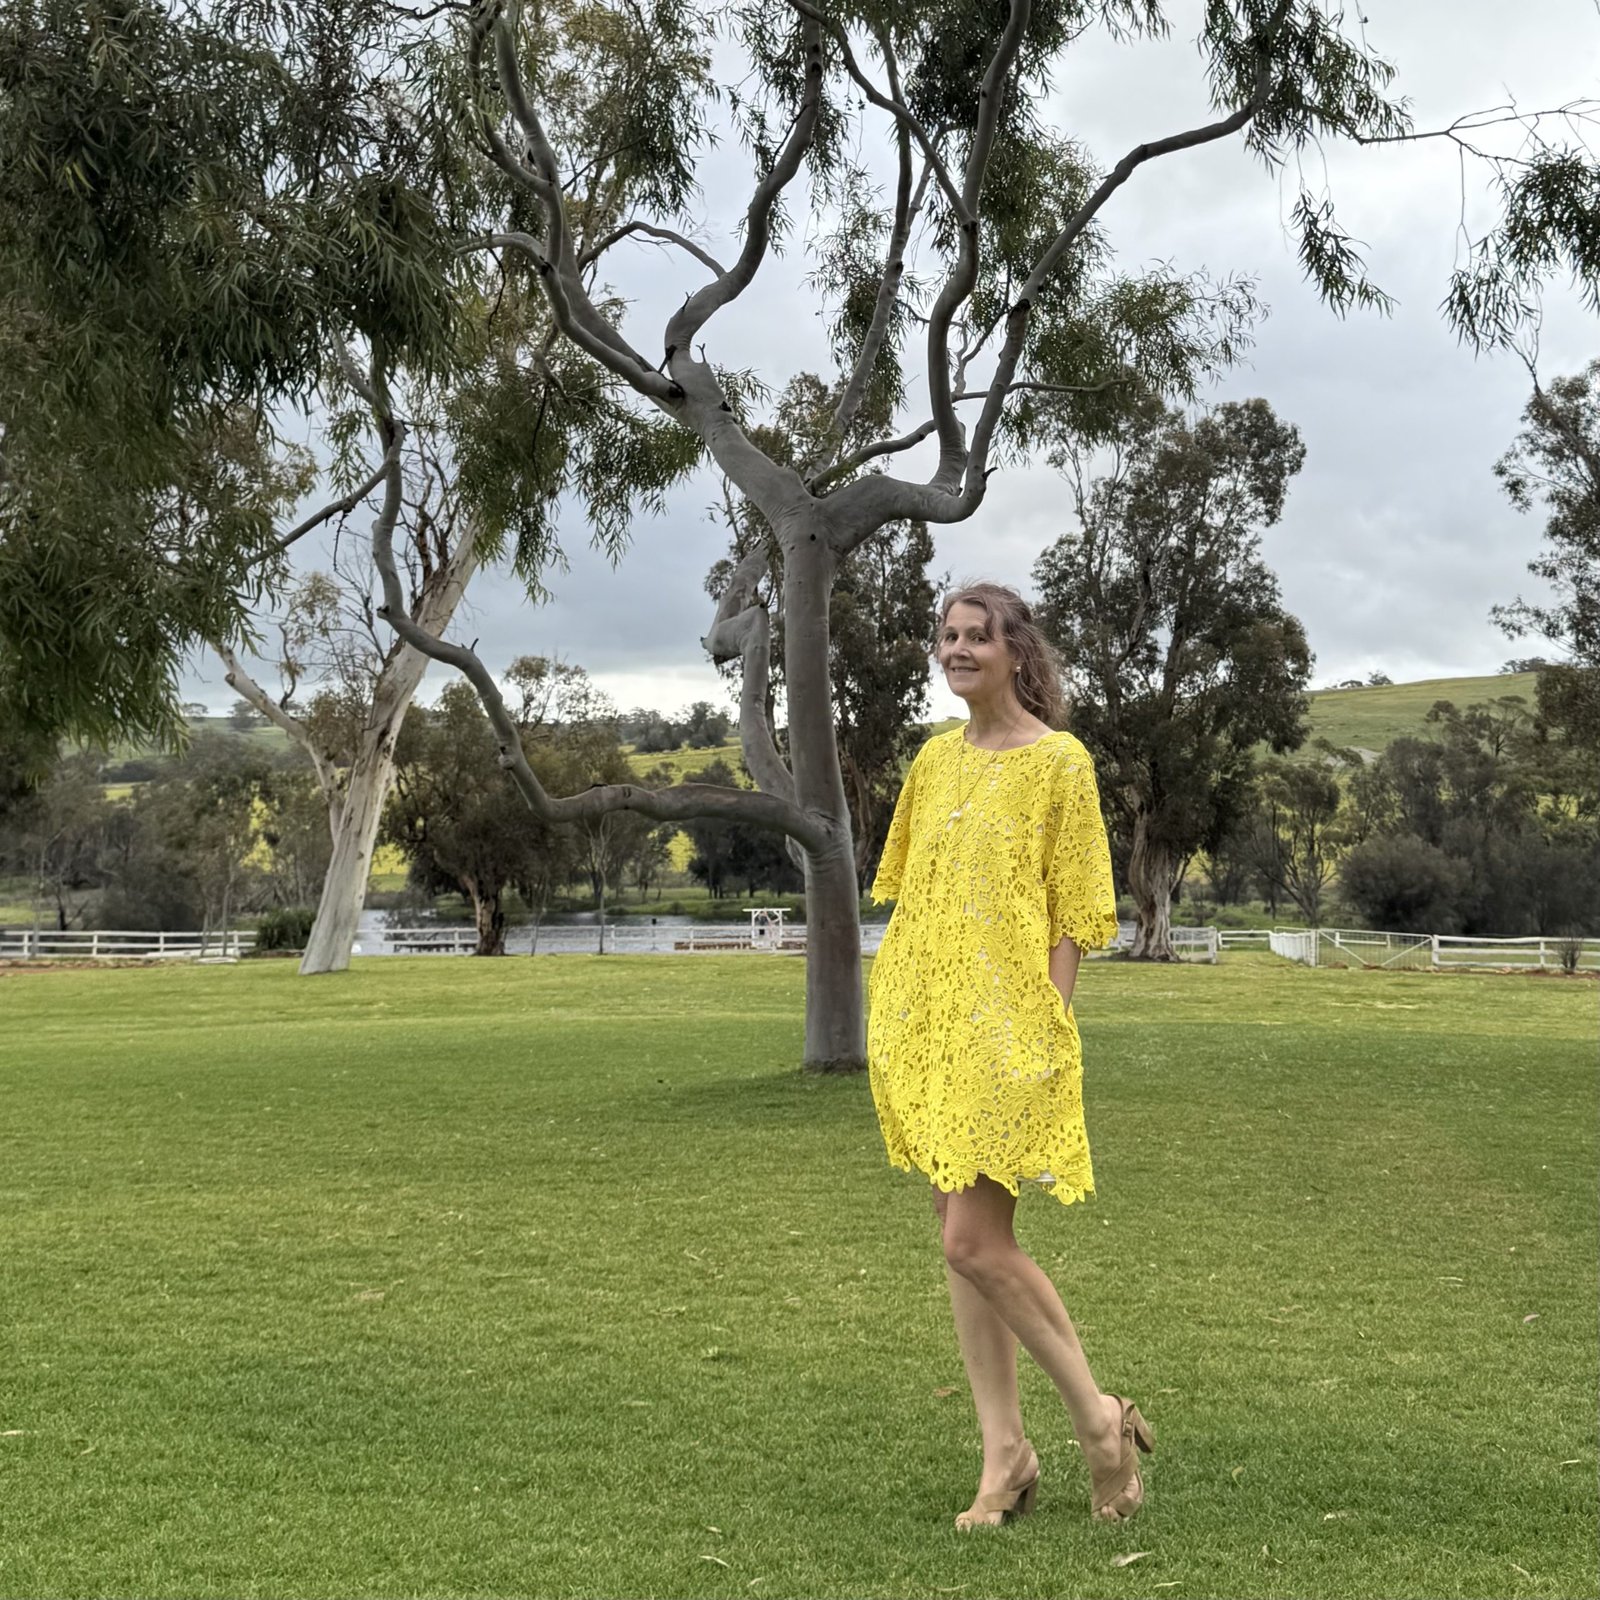
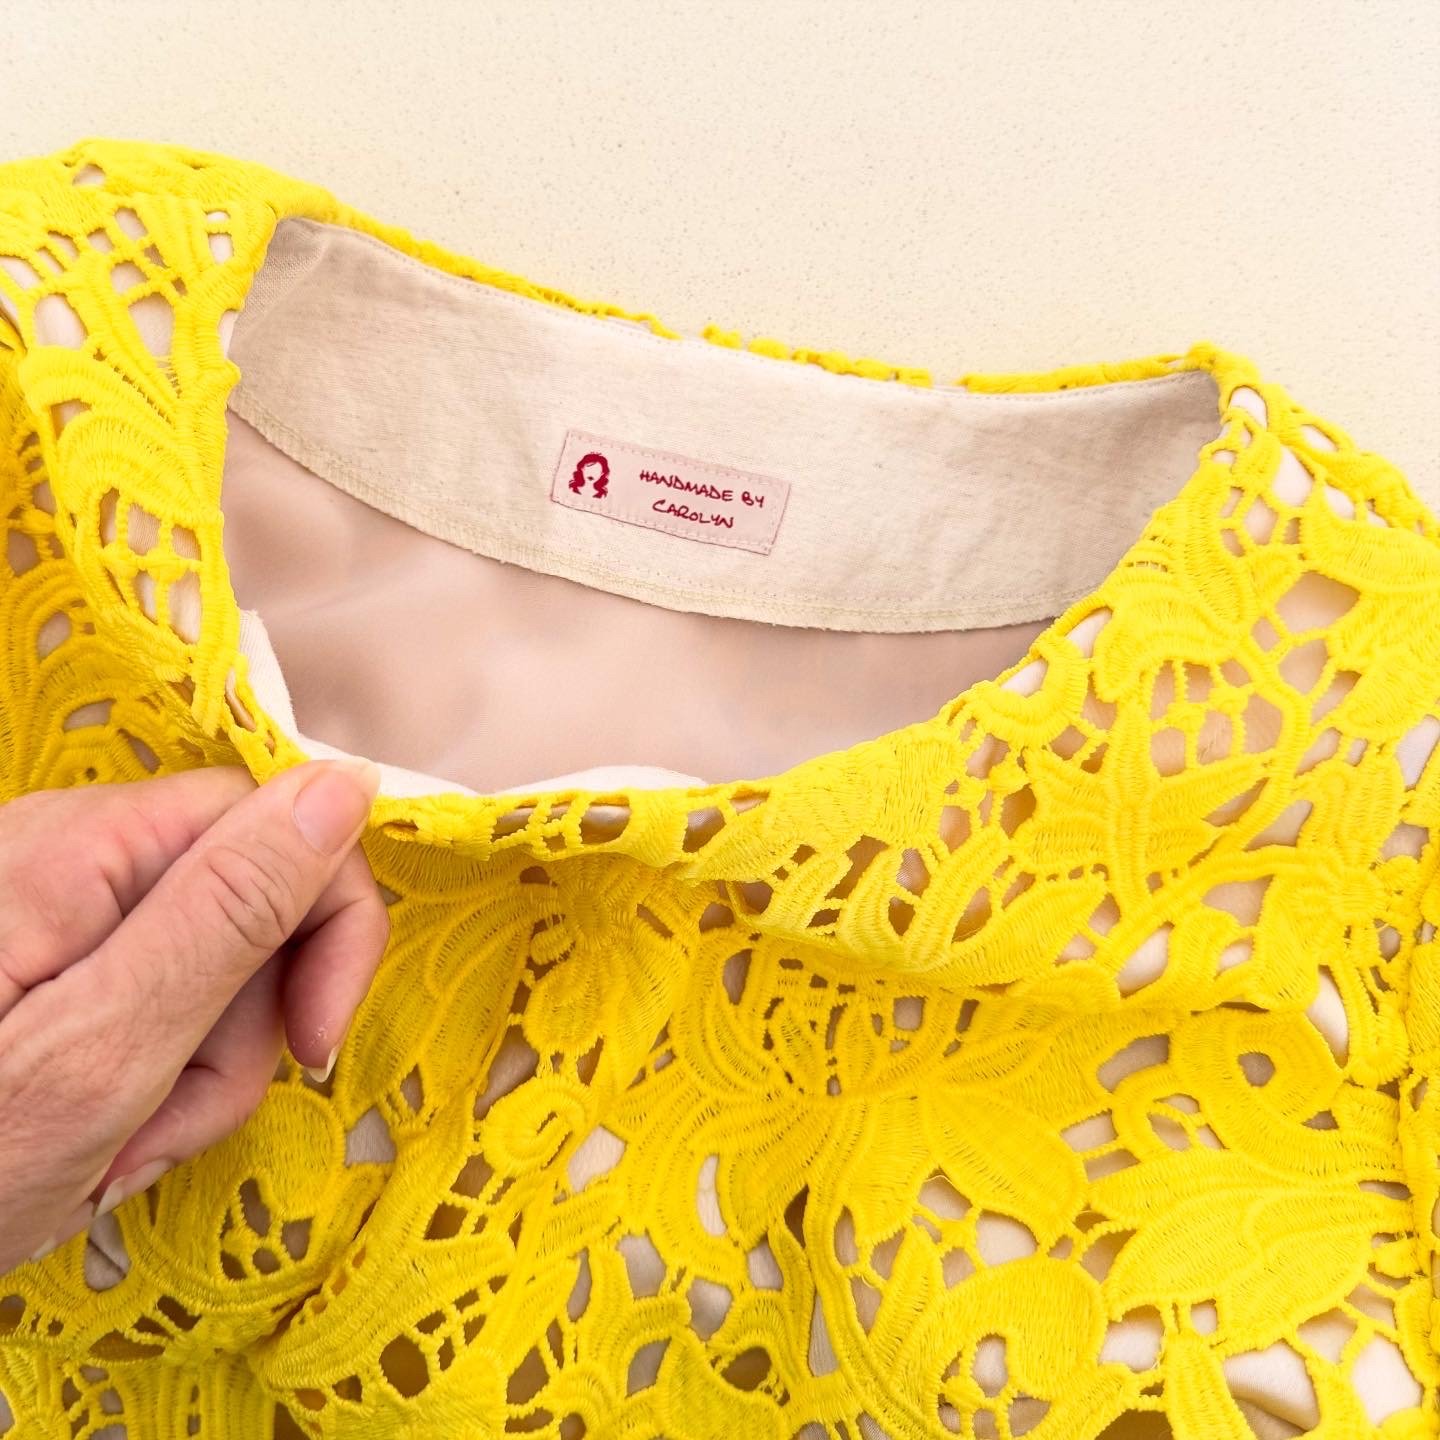
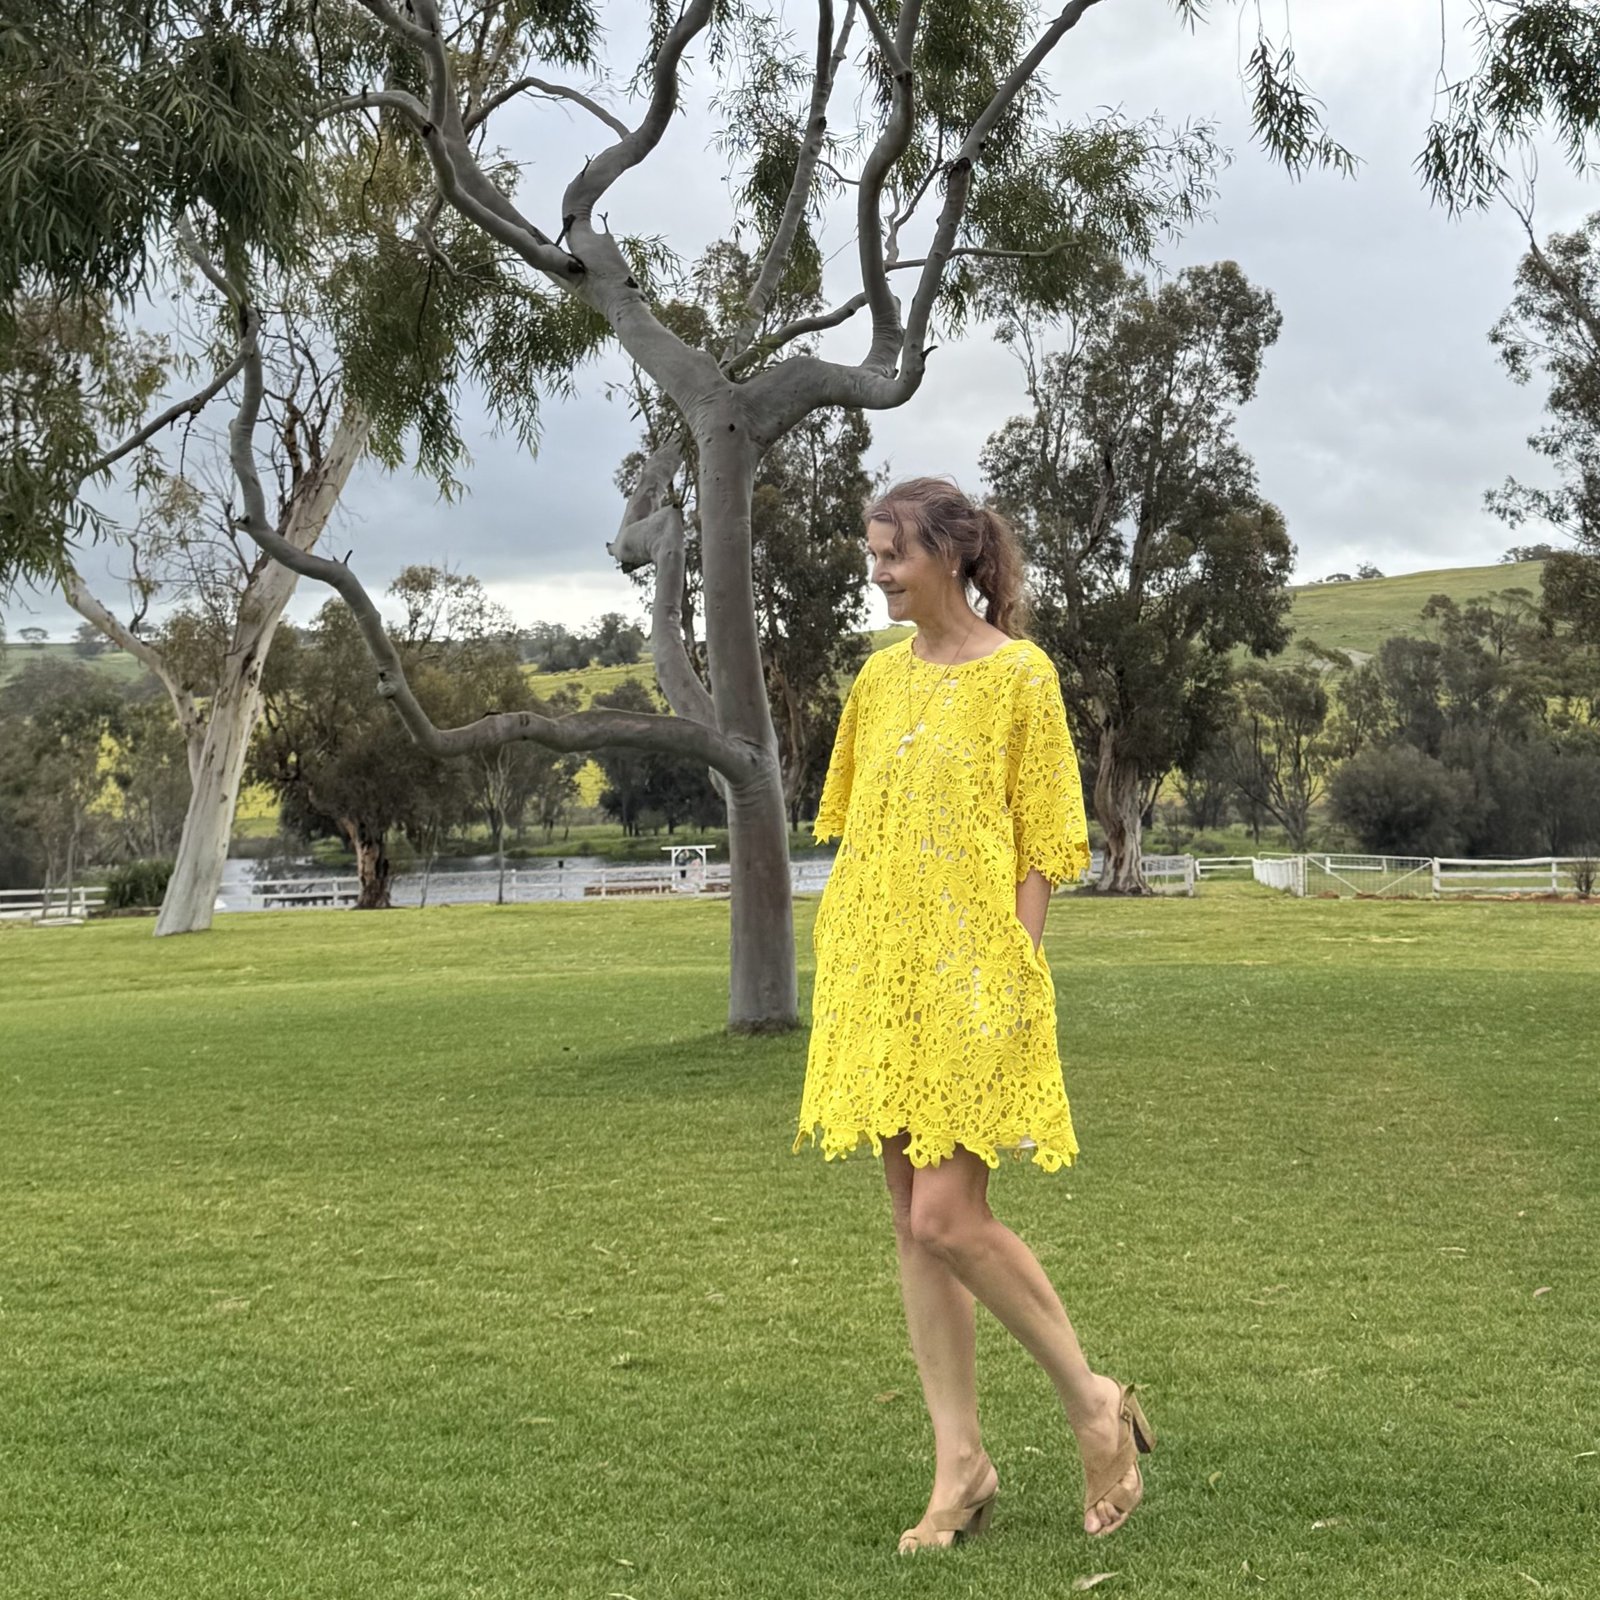
 hello! Recently my lovely niece J married her long-time man and so of course I had to make a new dress for myself for the occasion… I was vaguely toying with the idea of shopping for fabric before I remembered two things: 1. as everyone in our family knows, J’s favourite colour is famously yellow, and 2. I have a piece of very yellow, and happily wedding worthy fabric in my stash already!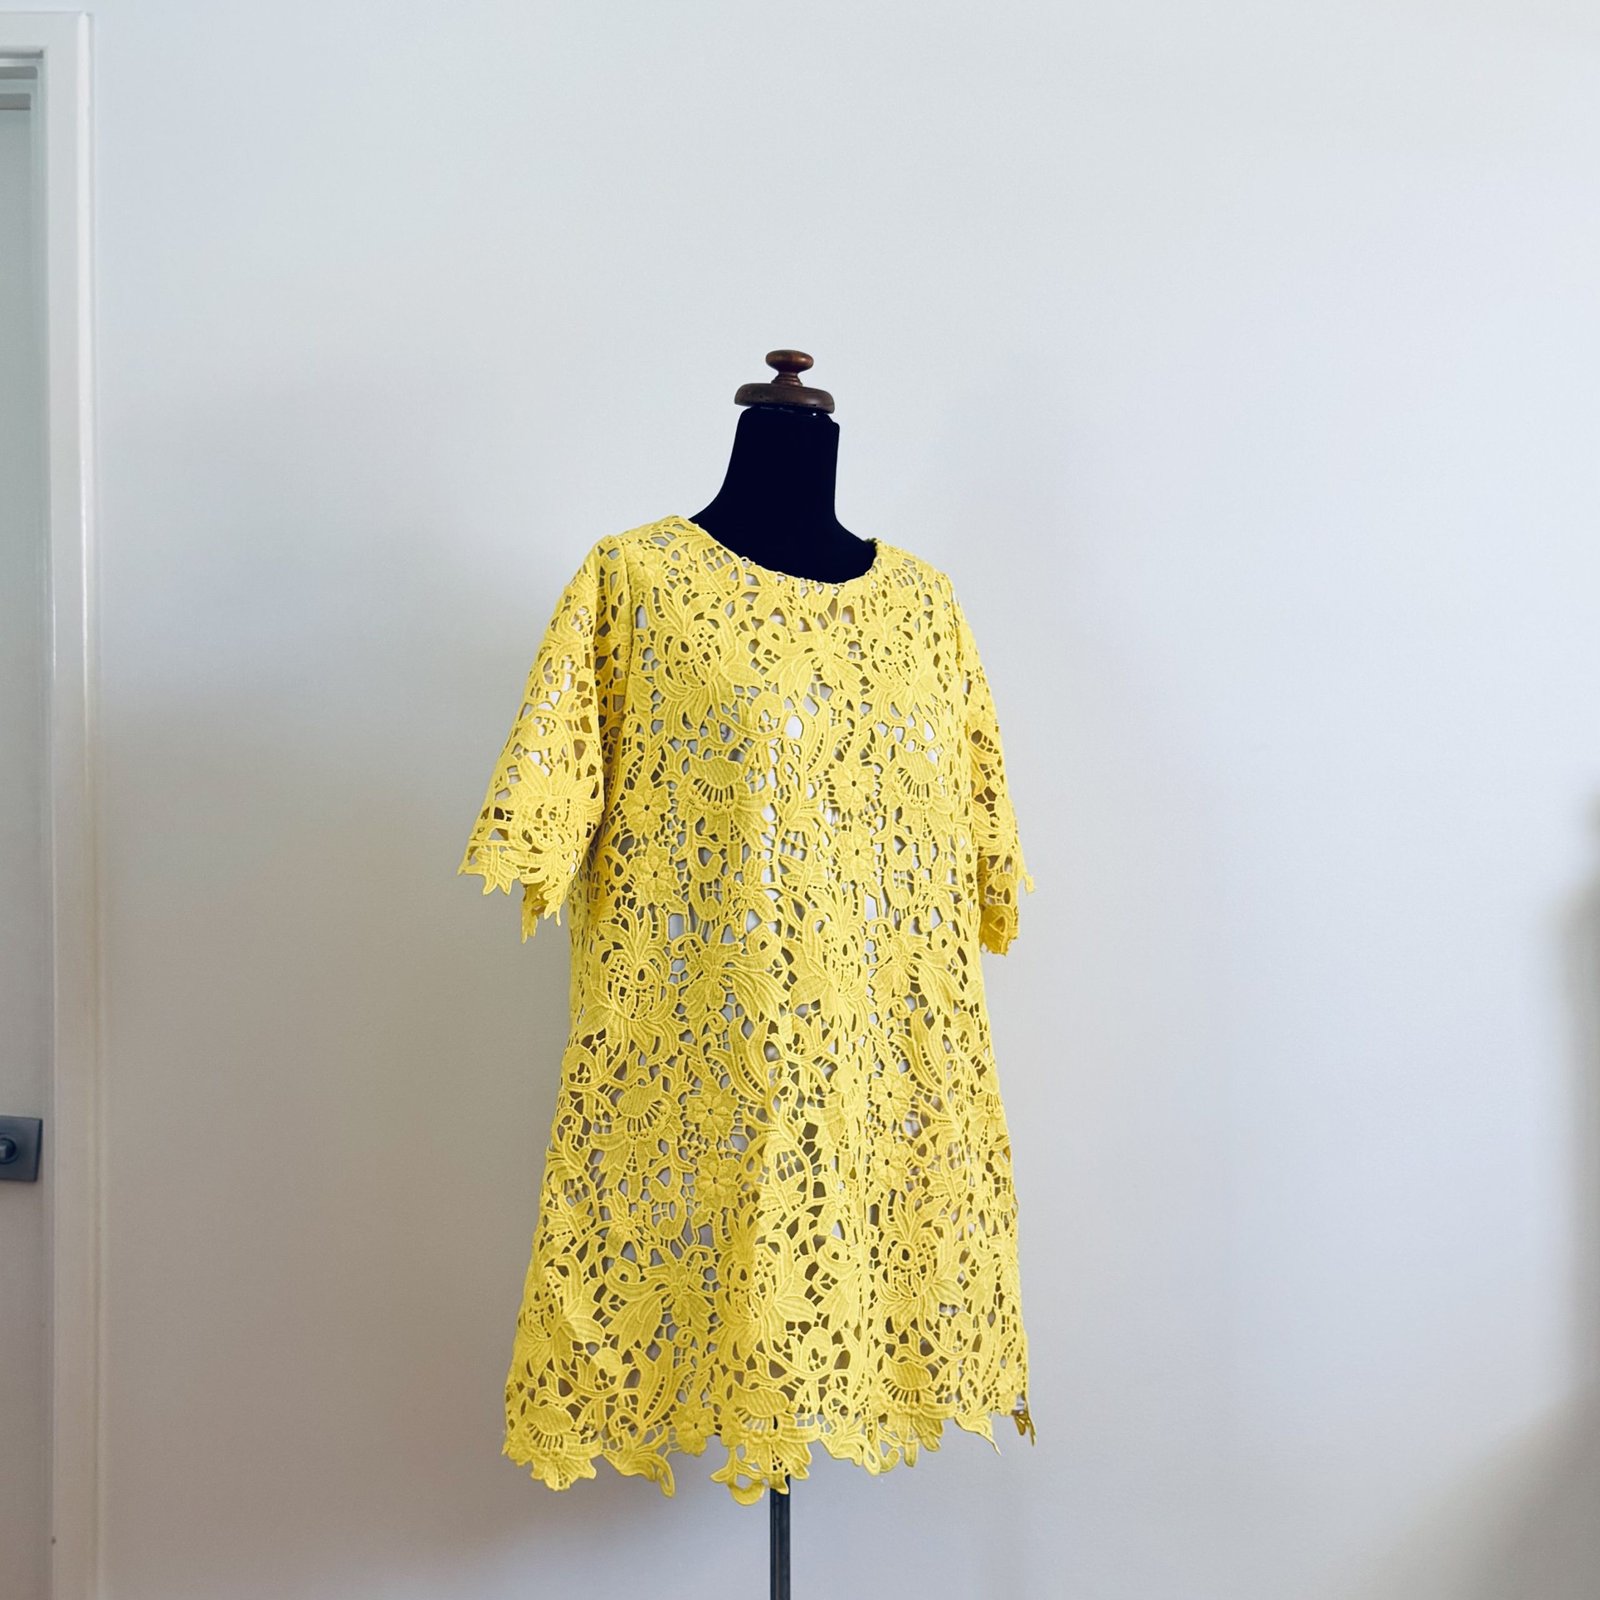
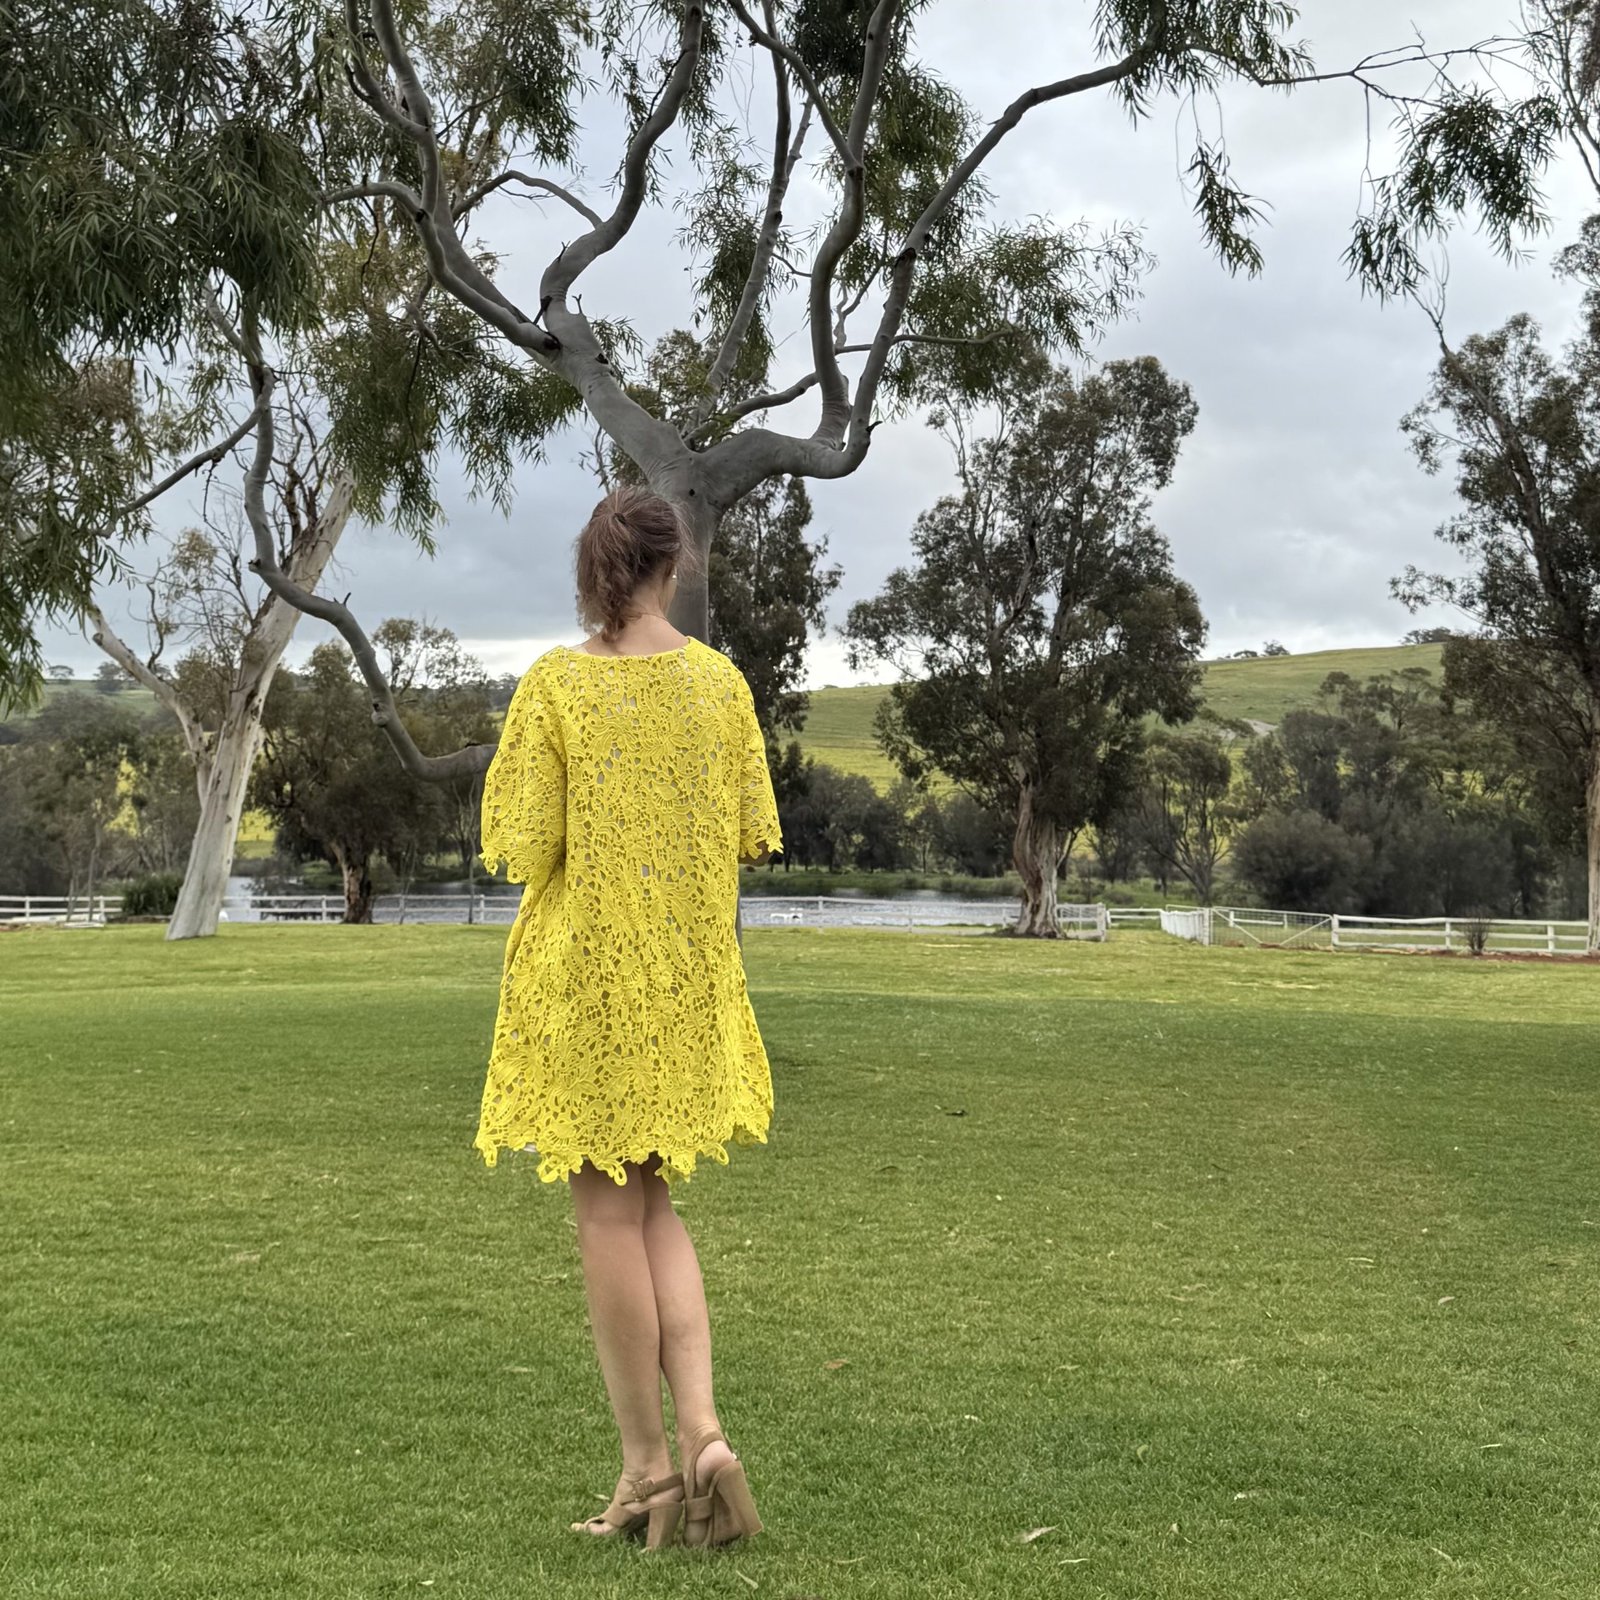
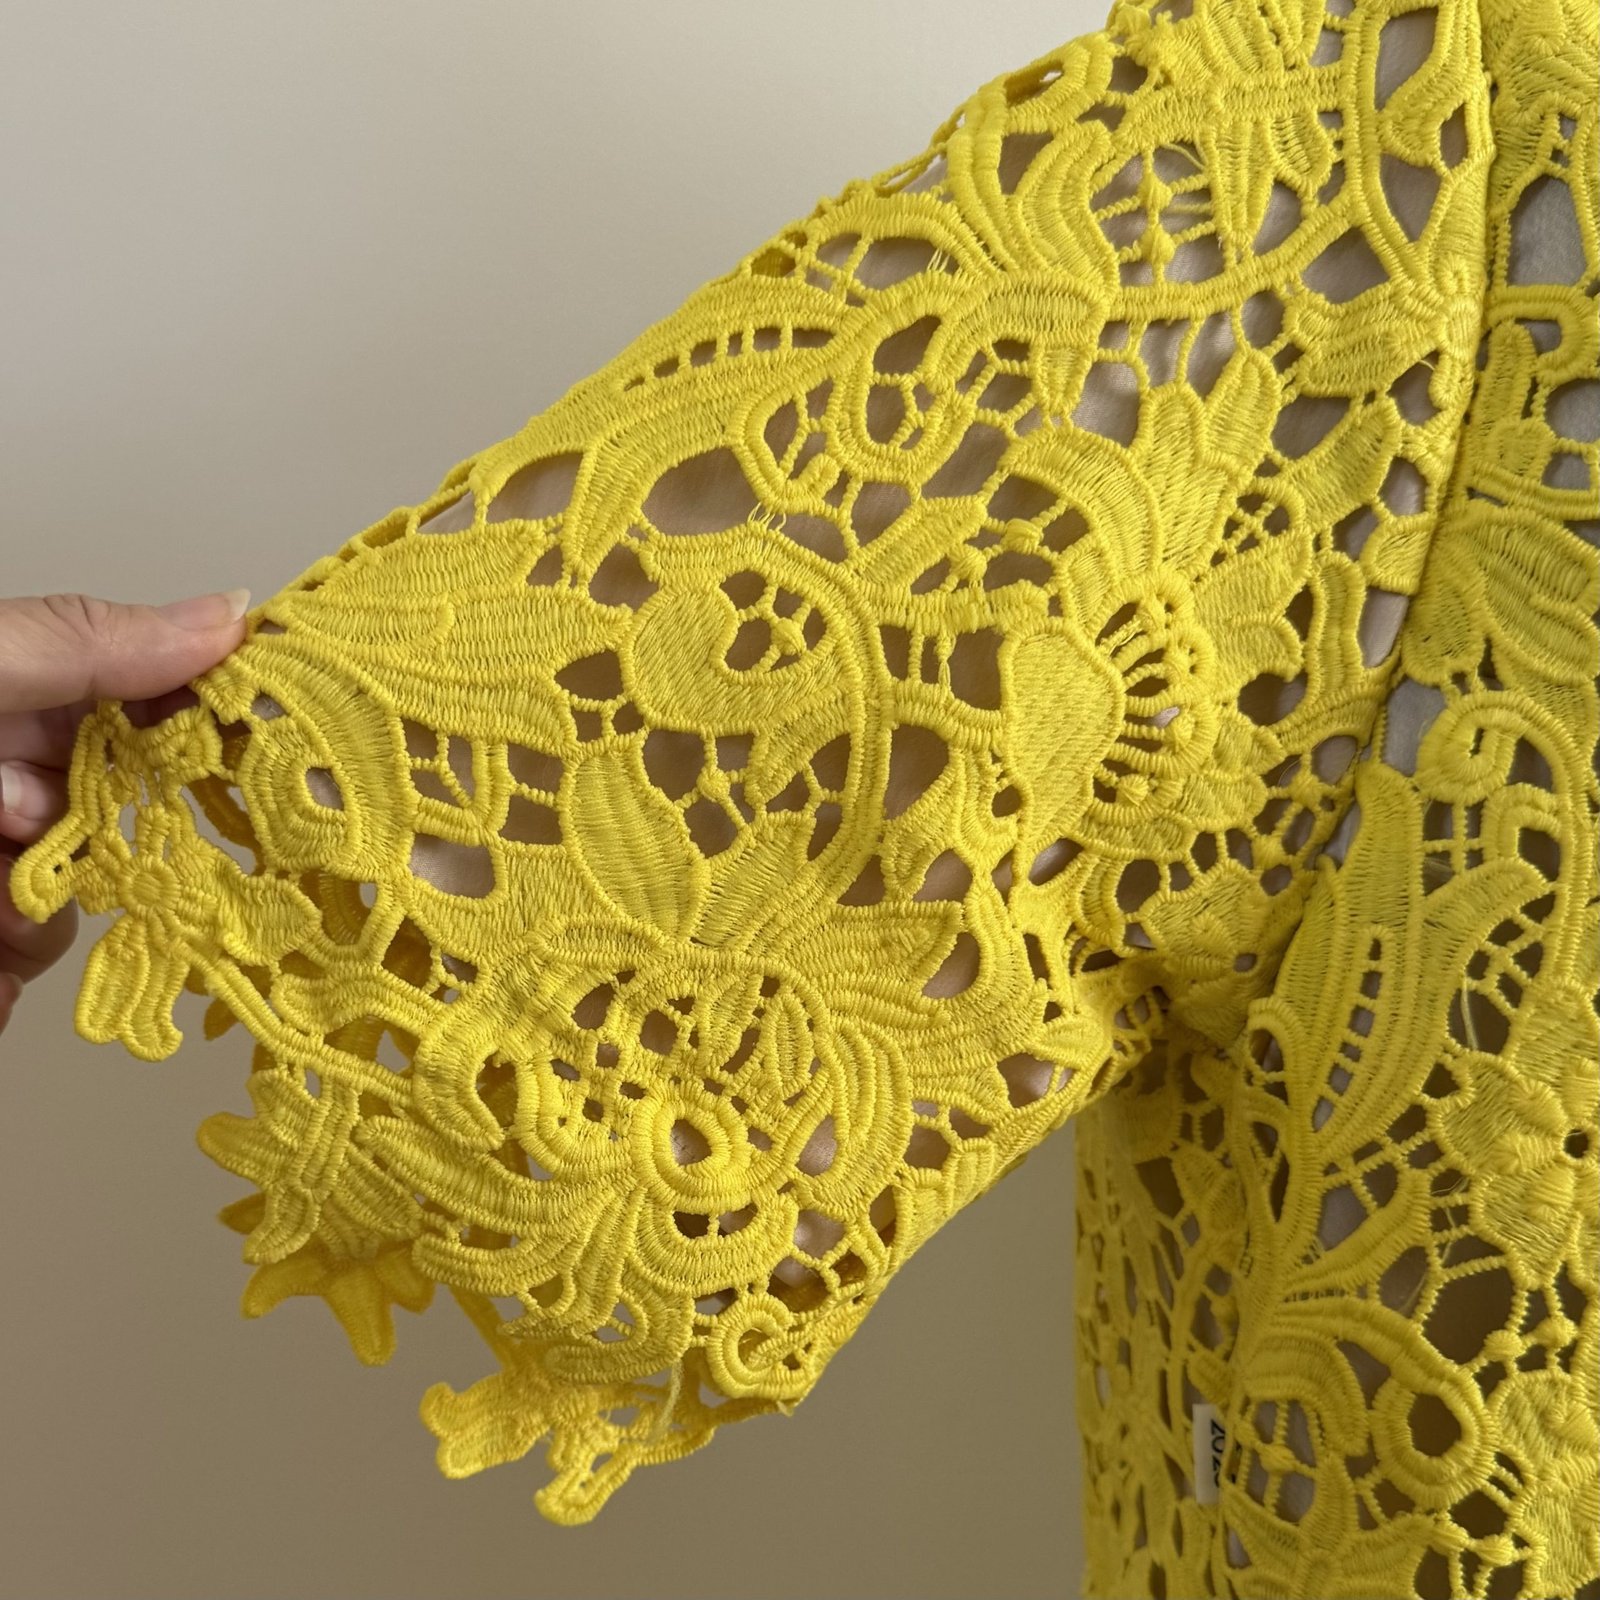
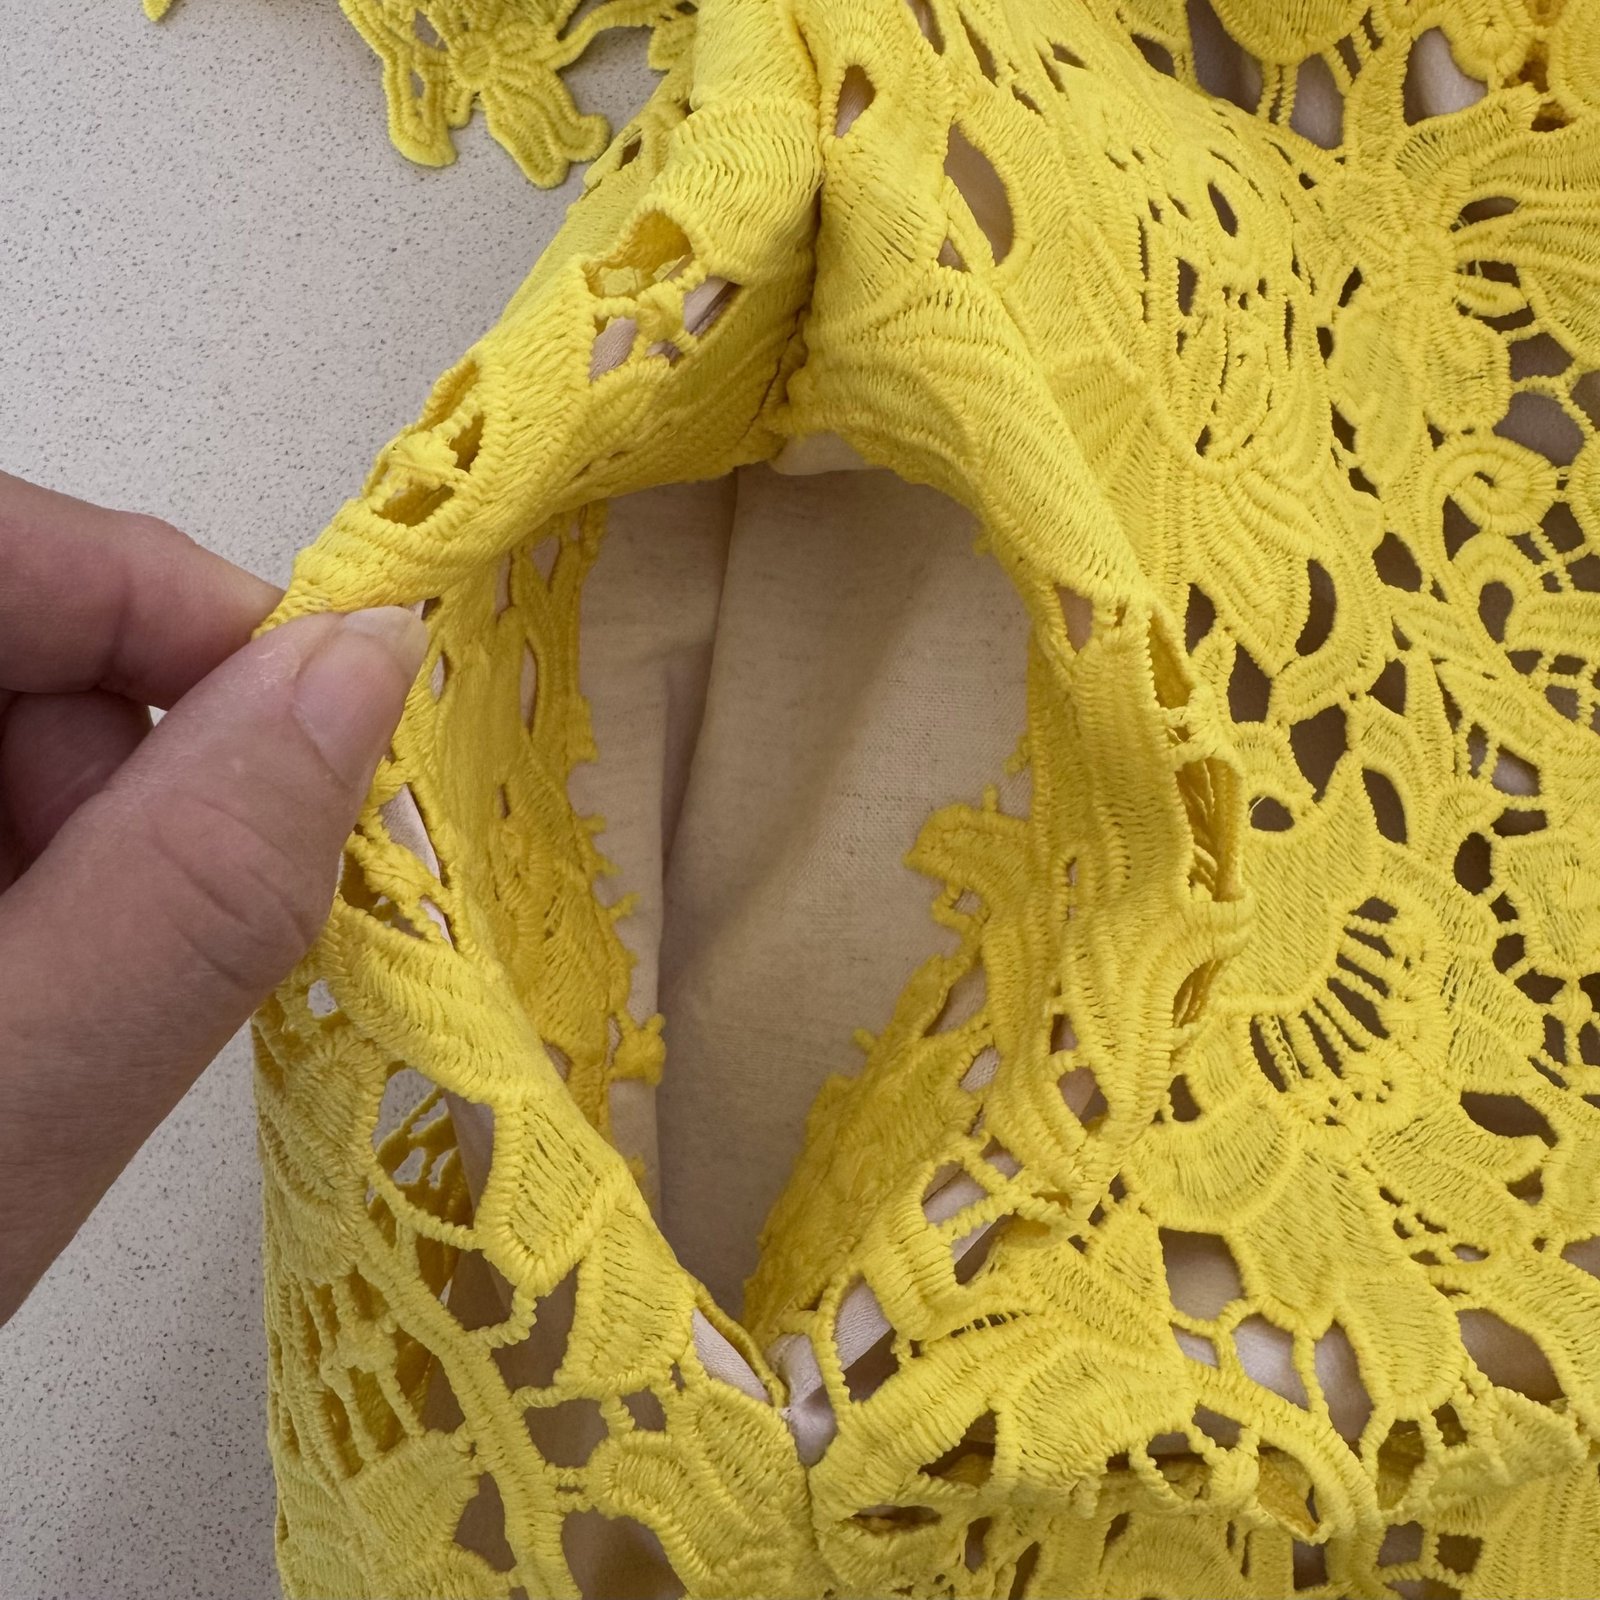
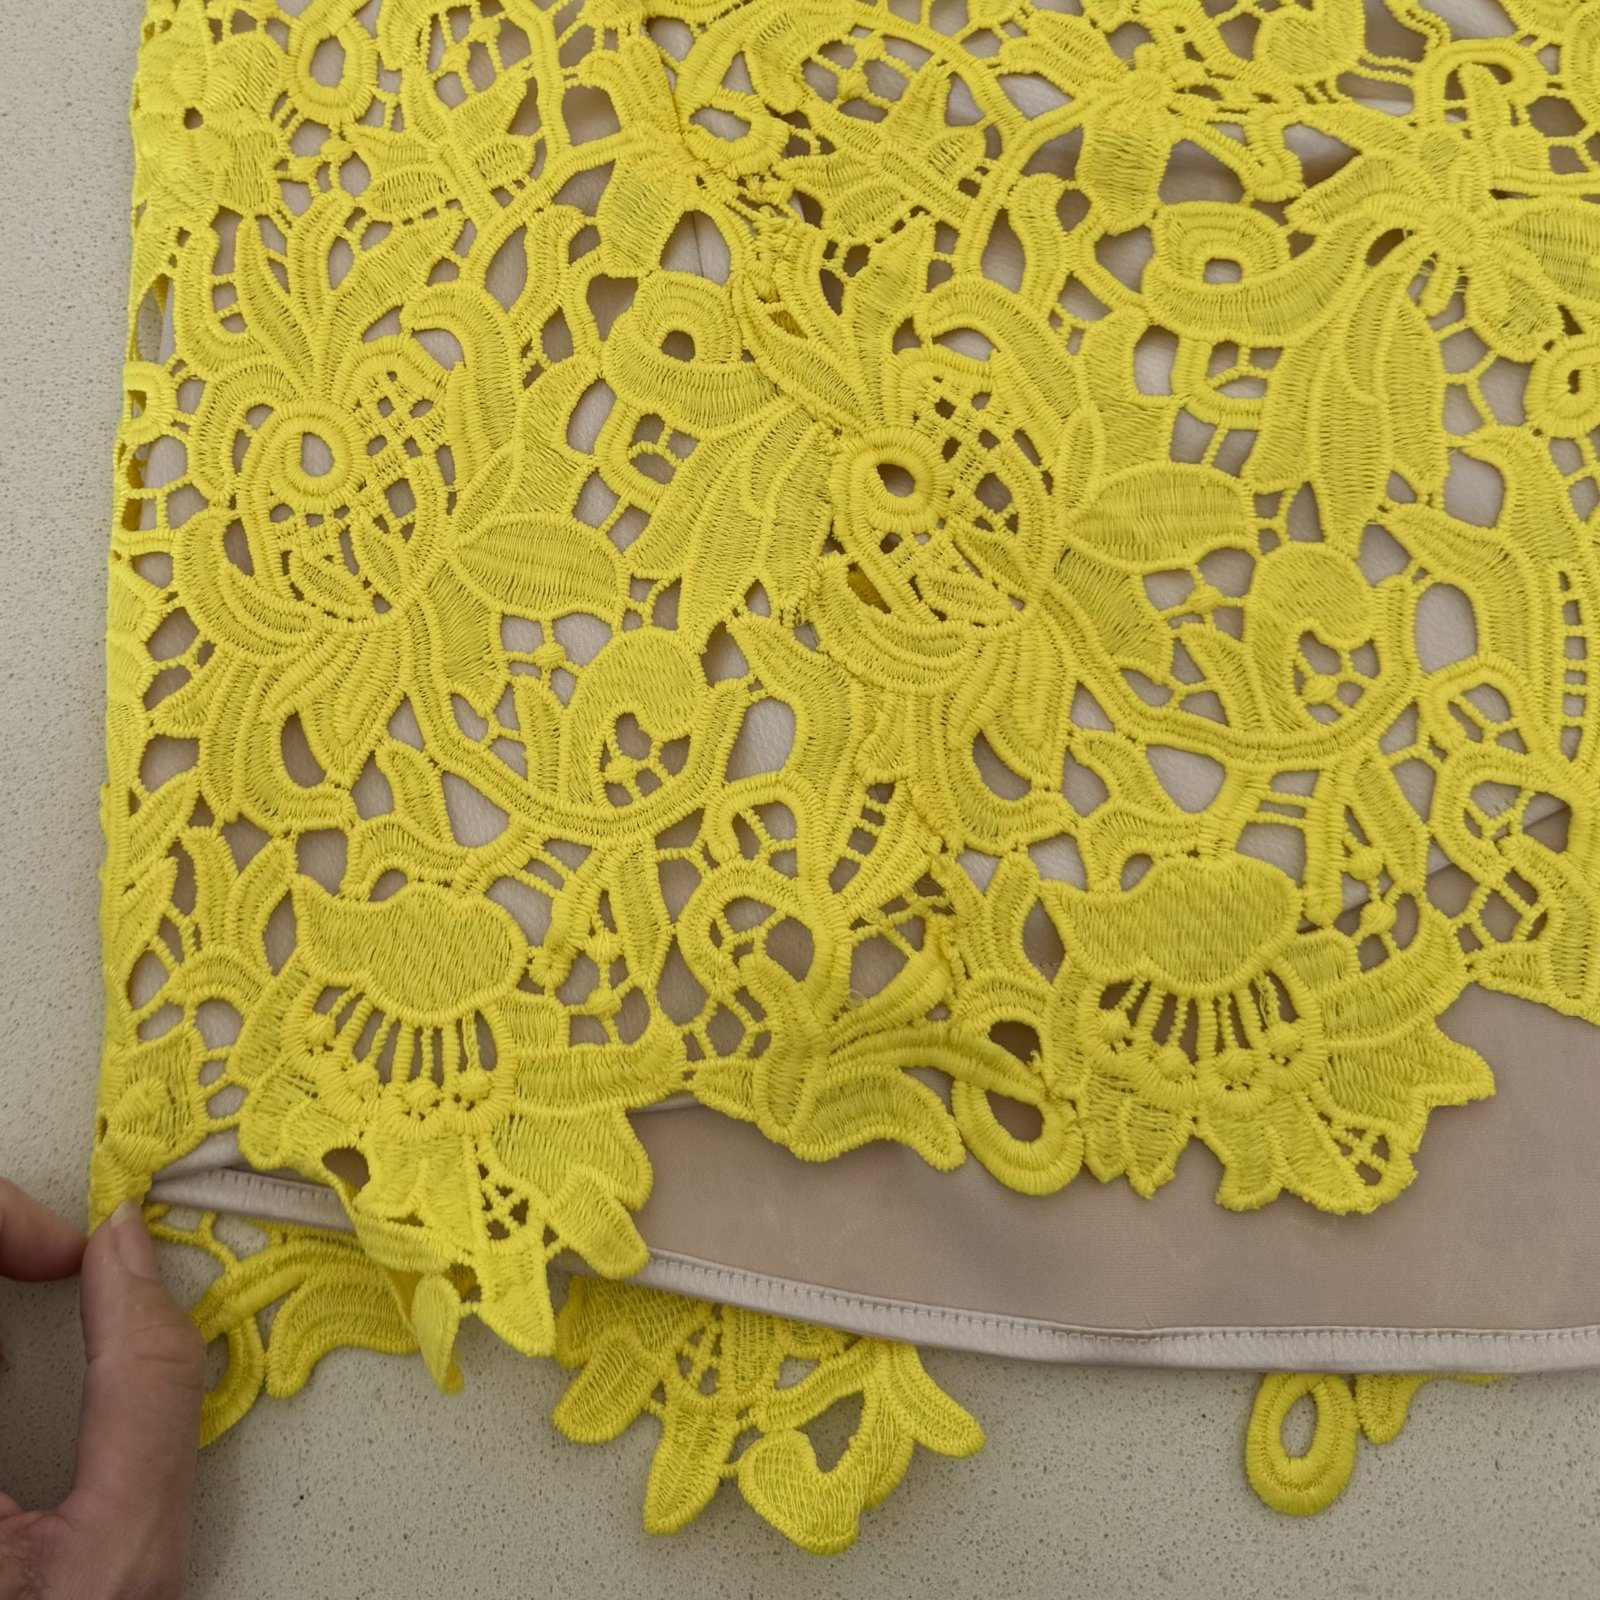 I cut the pockets and neckline facings from a natural cotton linen that I’ve had in the stash for years, saved specifically for this same sort of purpose.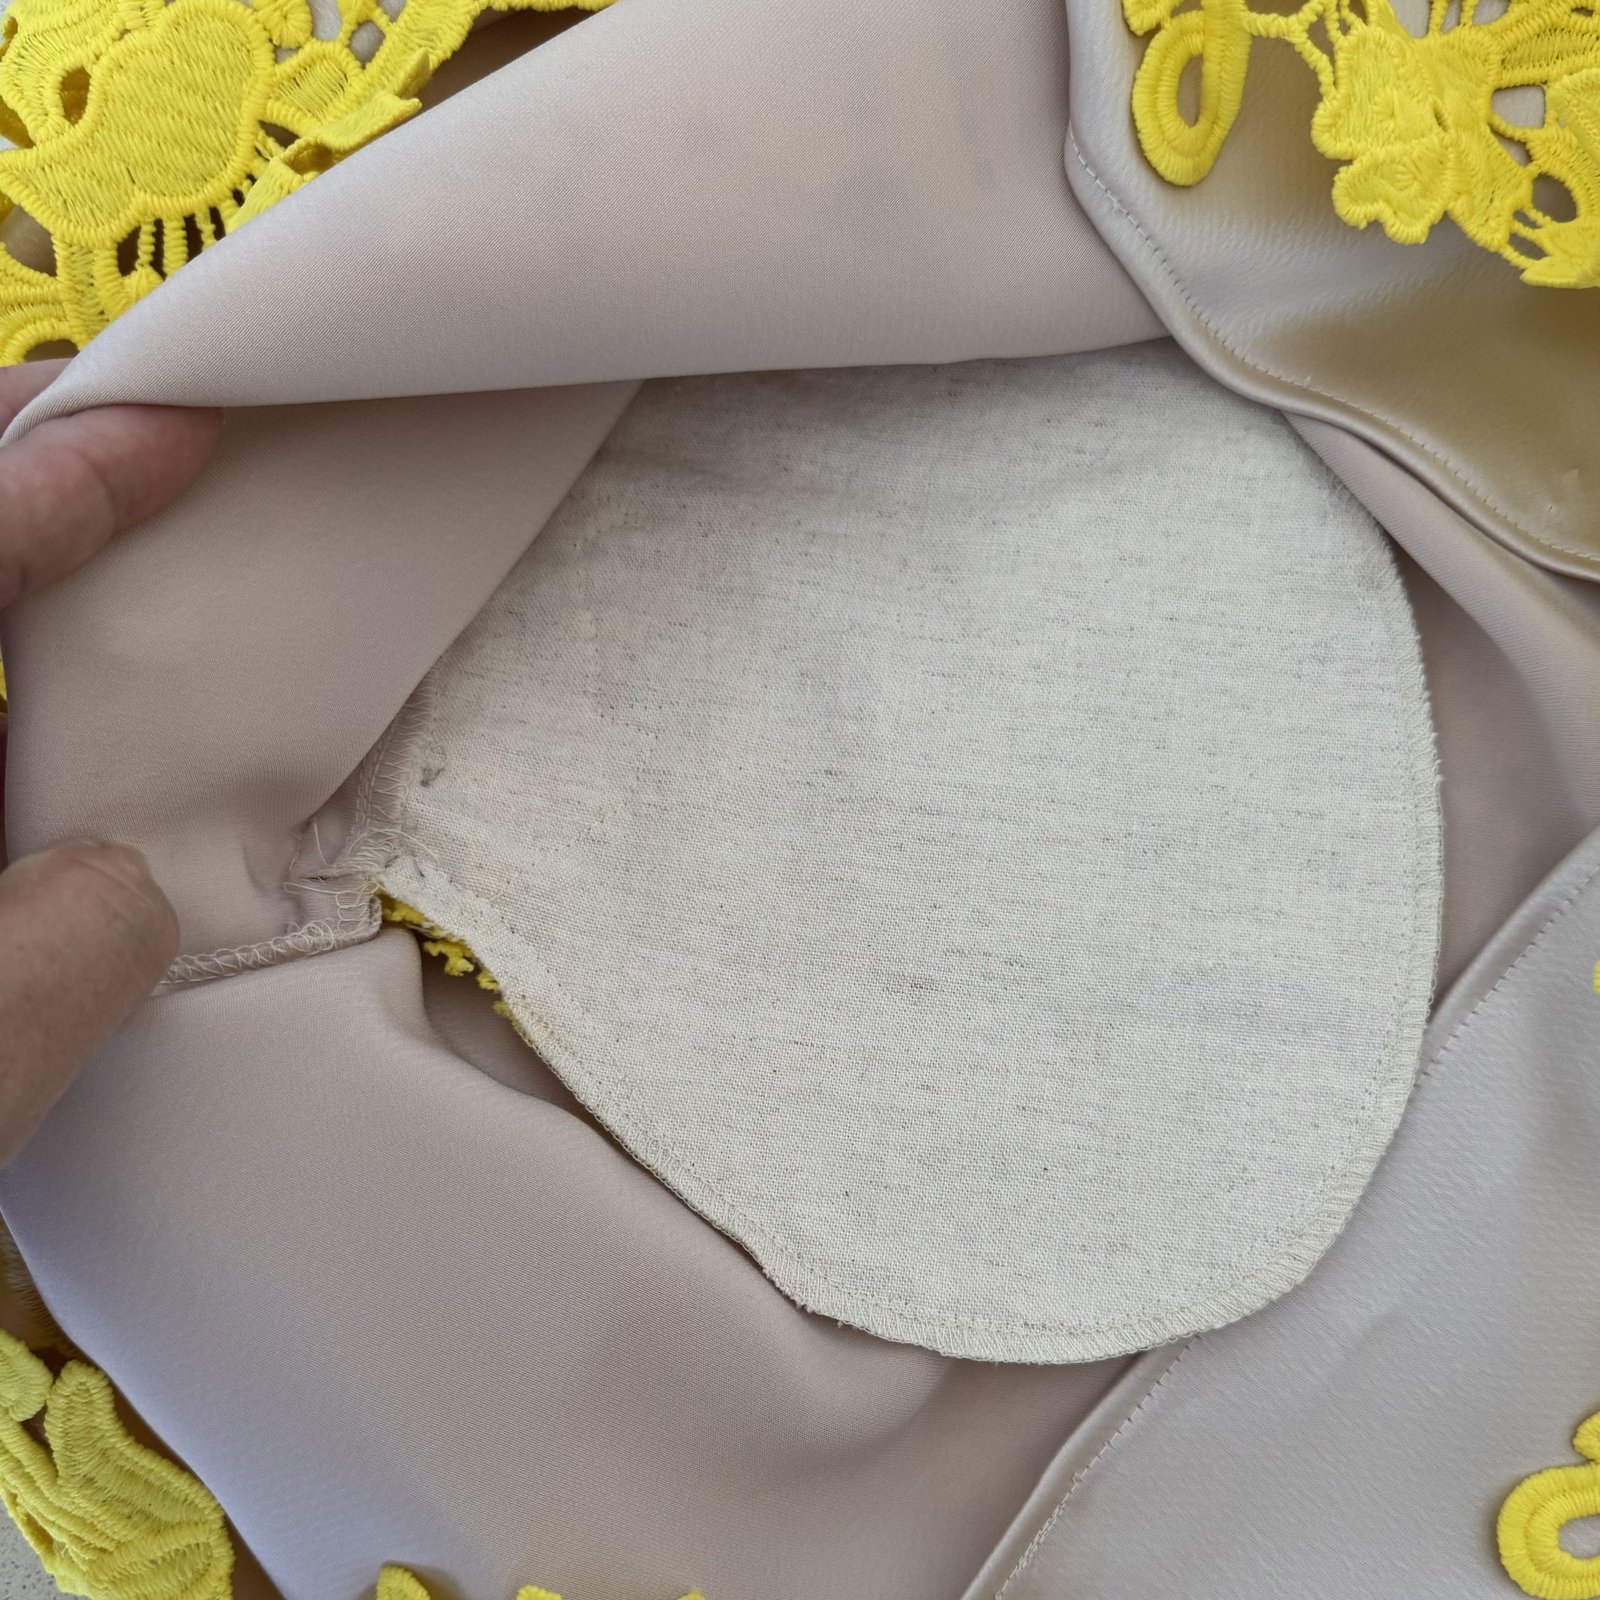
 I’m including a picture of the happy couple because, although I did not make the dress, I did alter it to fit her and also did some minor repairs. This took three separate fittings and I took precisely zero photos of the process or anything. My only excuse is that I was also working on my own dress and stressing a little bit that I wasn’t going to get it all done on time.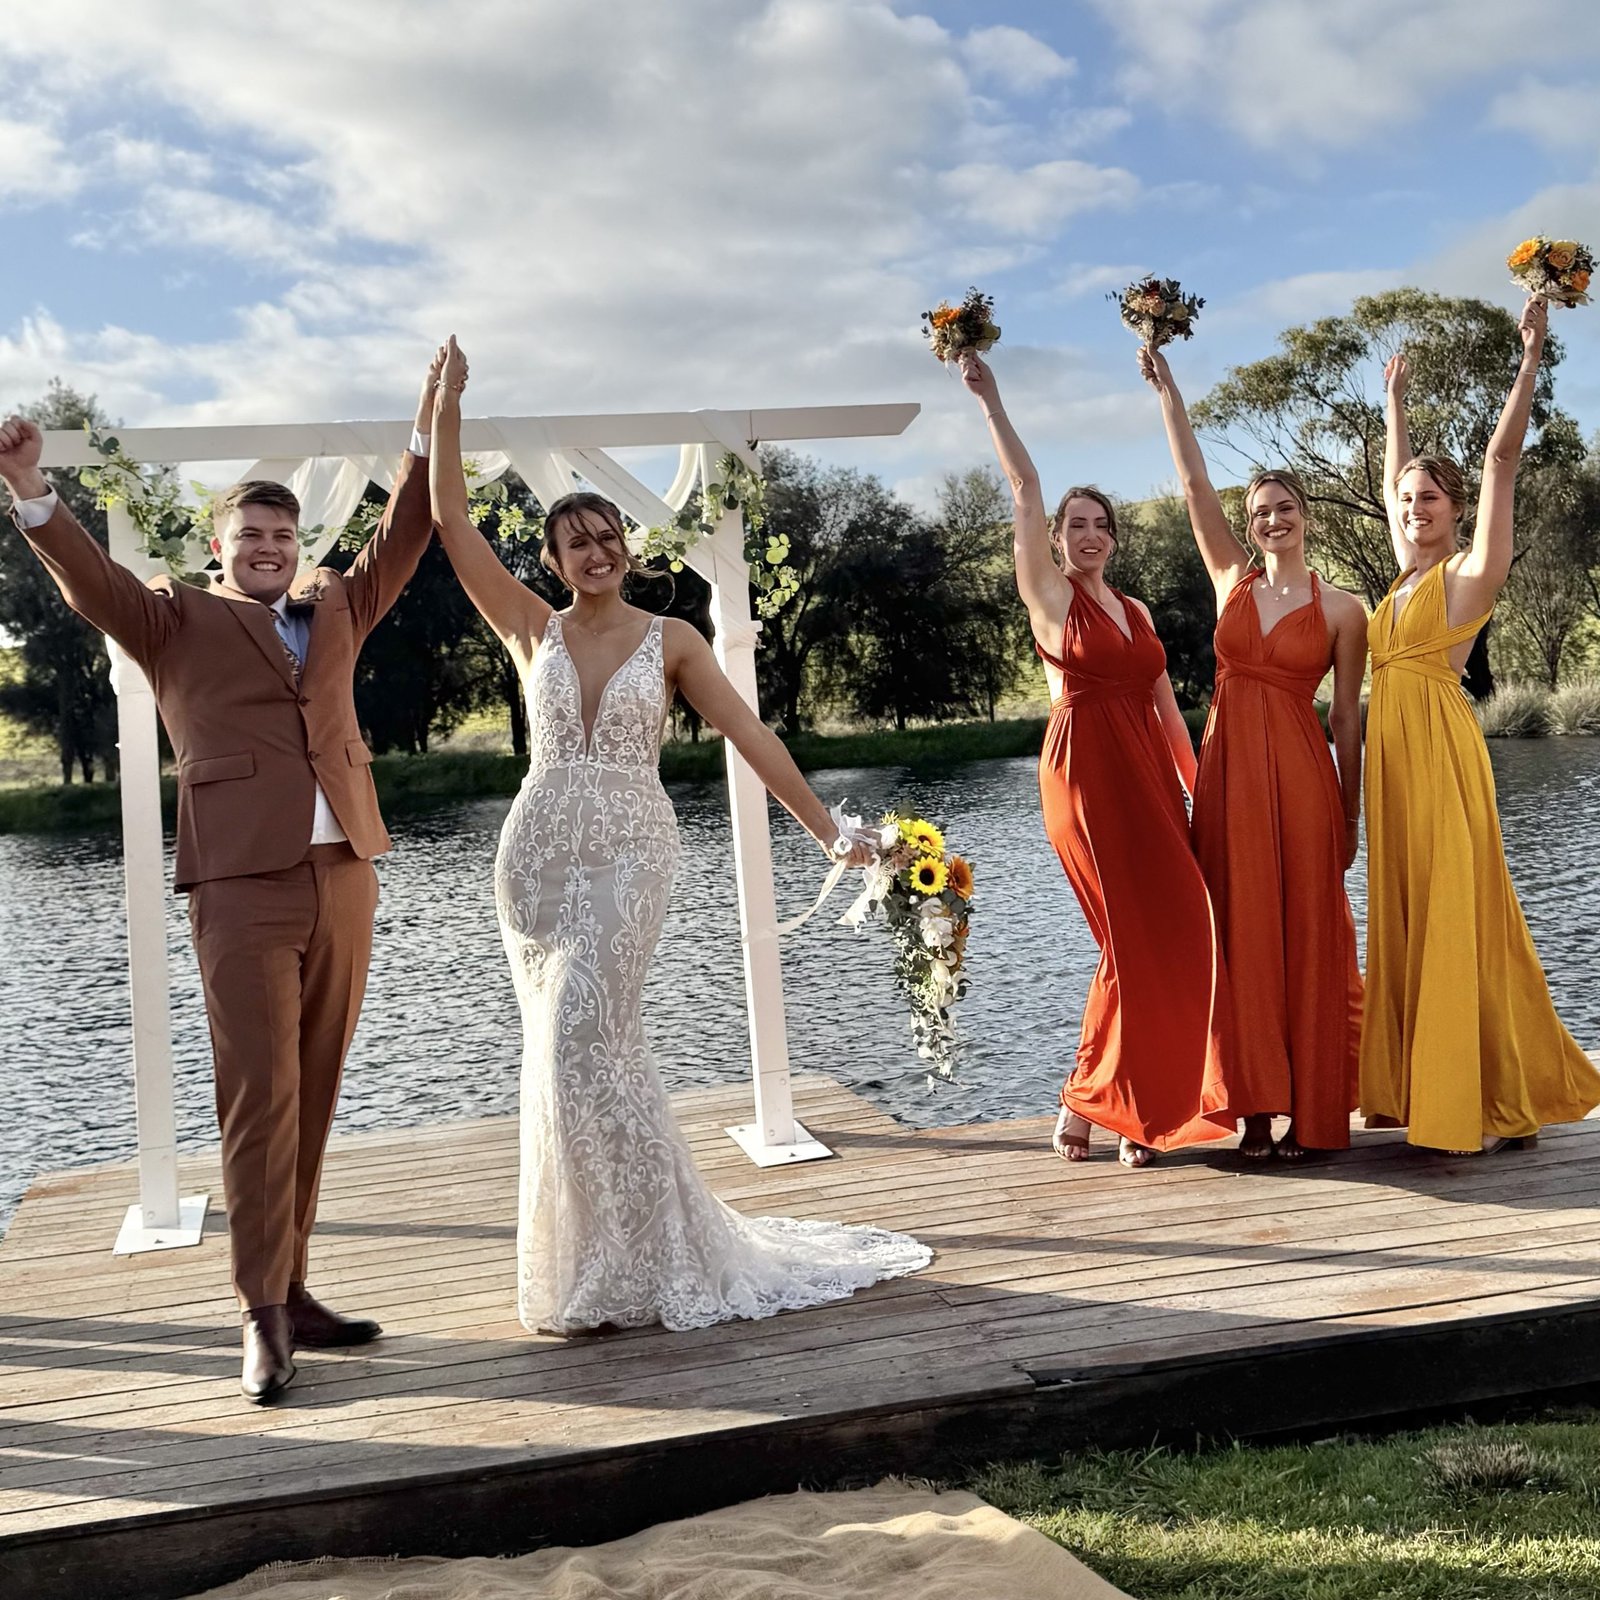


 This one is a little different from the previous pink one, as well as being different from the pattern… I cut the front so as to have a straight edge and to have the front facing integral with the front. I also left off the collar and made a hood instead. I love hoodies and don’t have enough in my wardrobe! Honestly if I’d had enough fabric I definitely would have made my pink Sienna to have a hood too.
 for the hood, I turned under a seam and lined the hood completely with a black, sorta silky but not-silk stuff that is thin but nice and soft. I cut the back neckline facing from the same fabric. The hood edging is turned over the edge of the hood lining and simply topstitched in place. After stitching, I trimmed the hood edging inside close to the stitching.
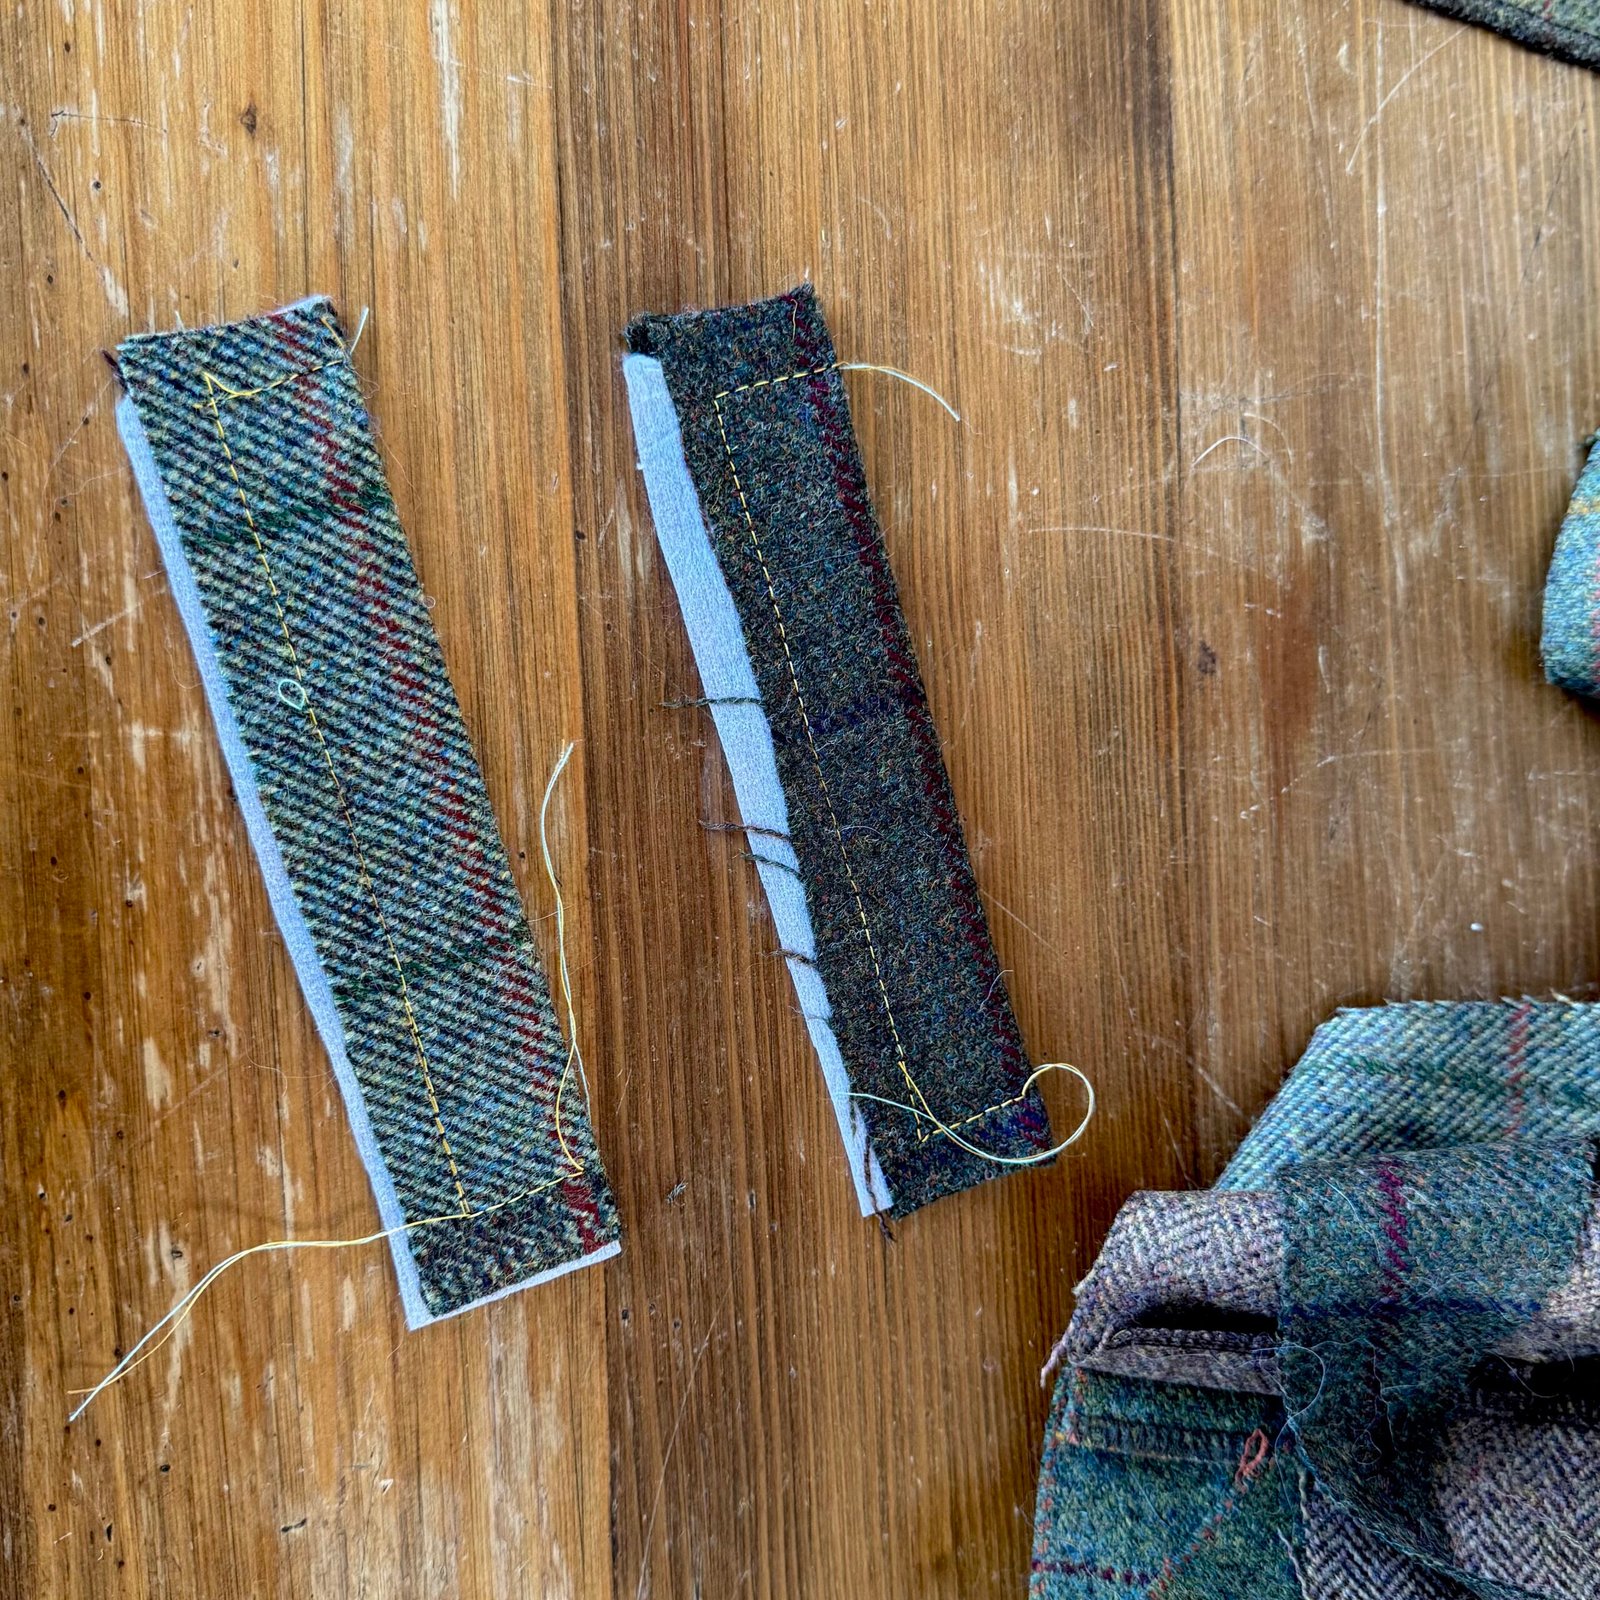
 Similarly, the pocket flaps were made by laying the two flap pieces wrong sides together, and stitching together as normal; then trimming the seam allowances off neatly close to the stitching.


 I fully expect by September it will be just too hot for it… really I should have made it at the beginning of winter! In any case, it feels great to have taken the fabric from out of the stash, and into the wardrobe!


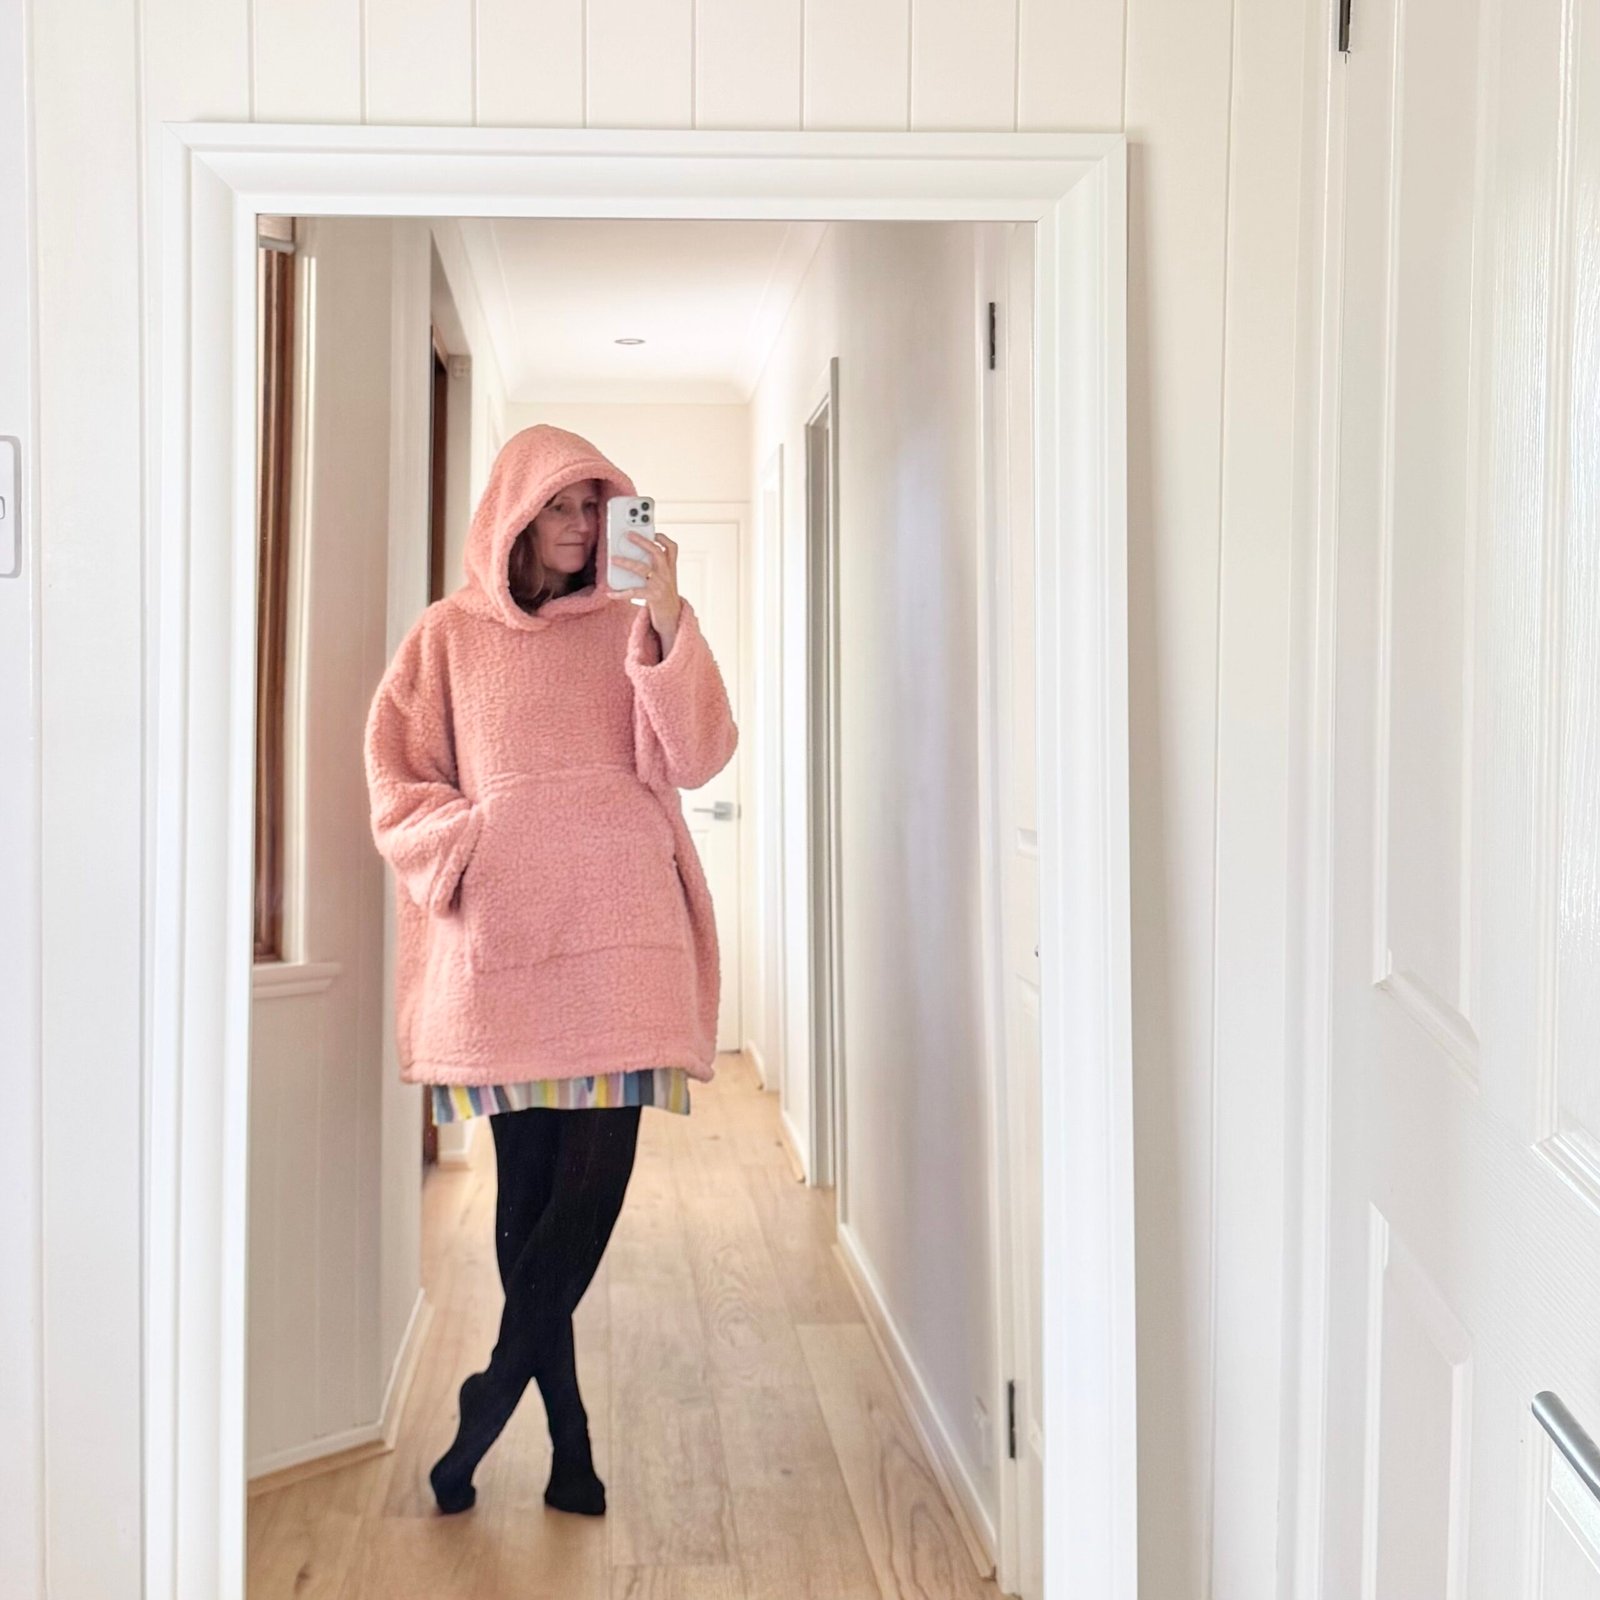
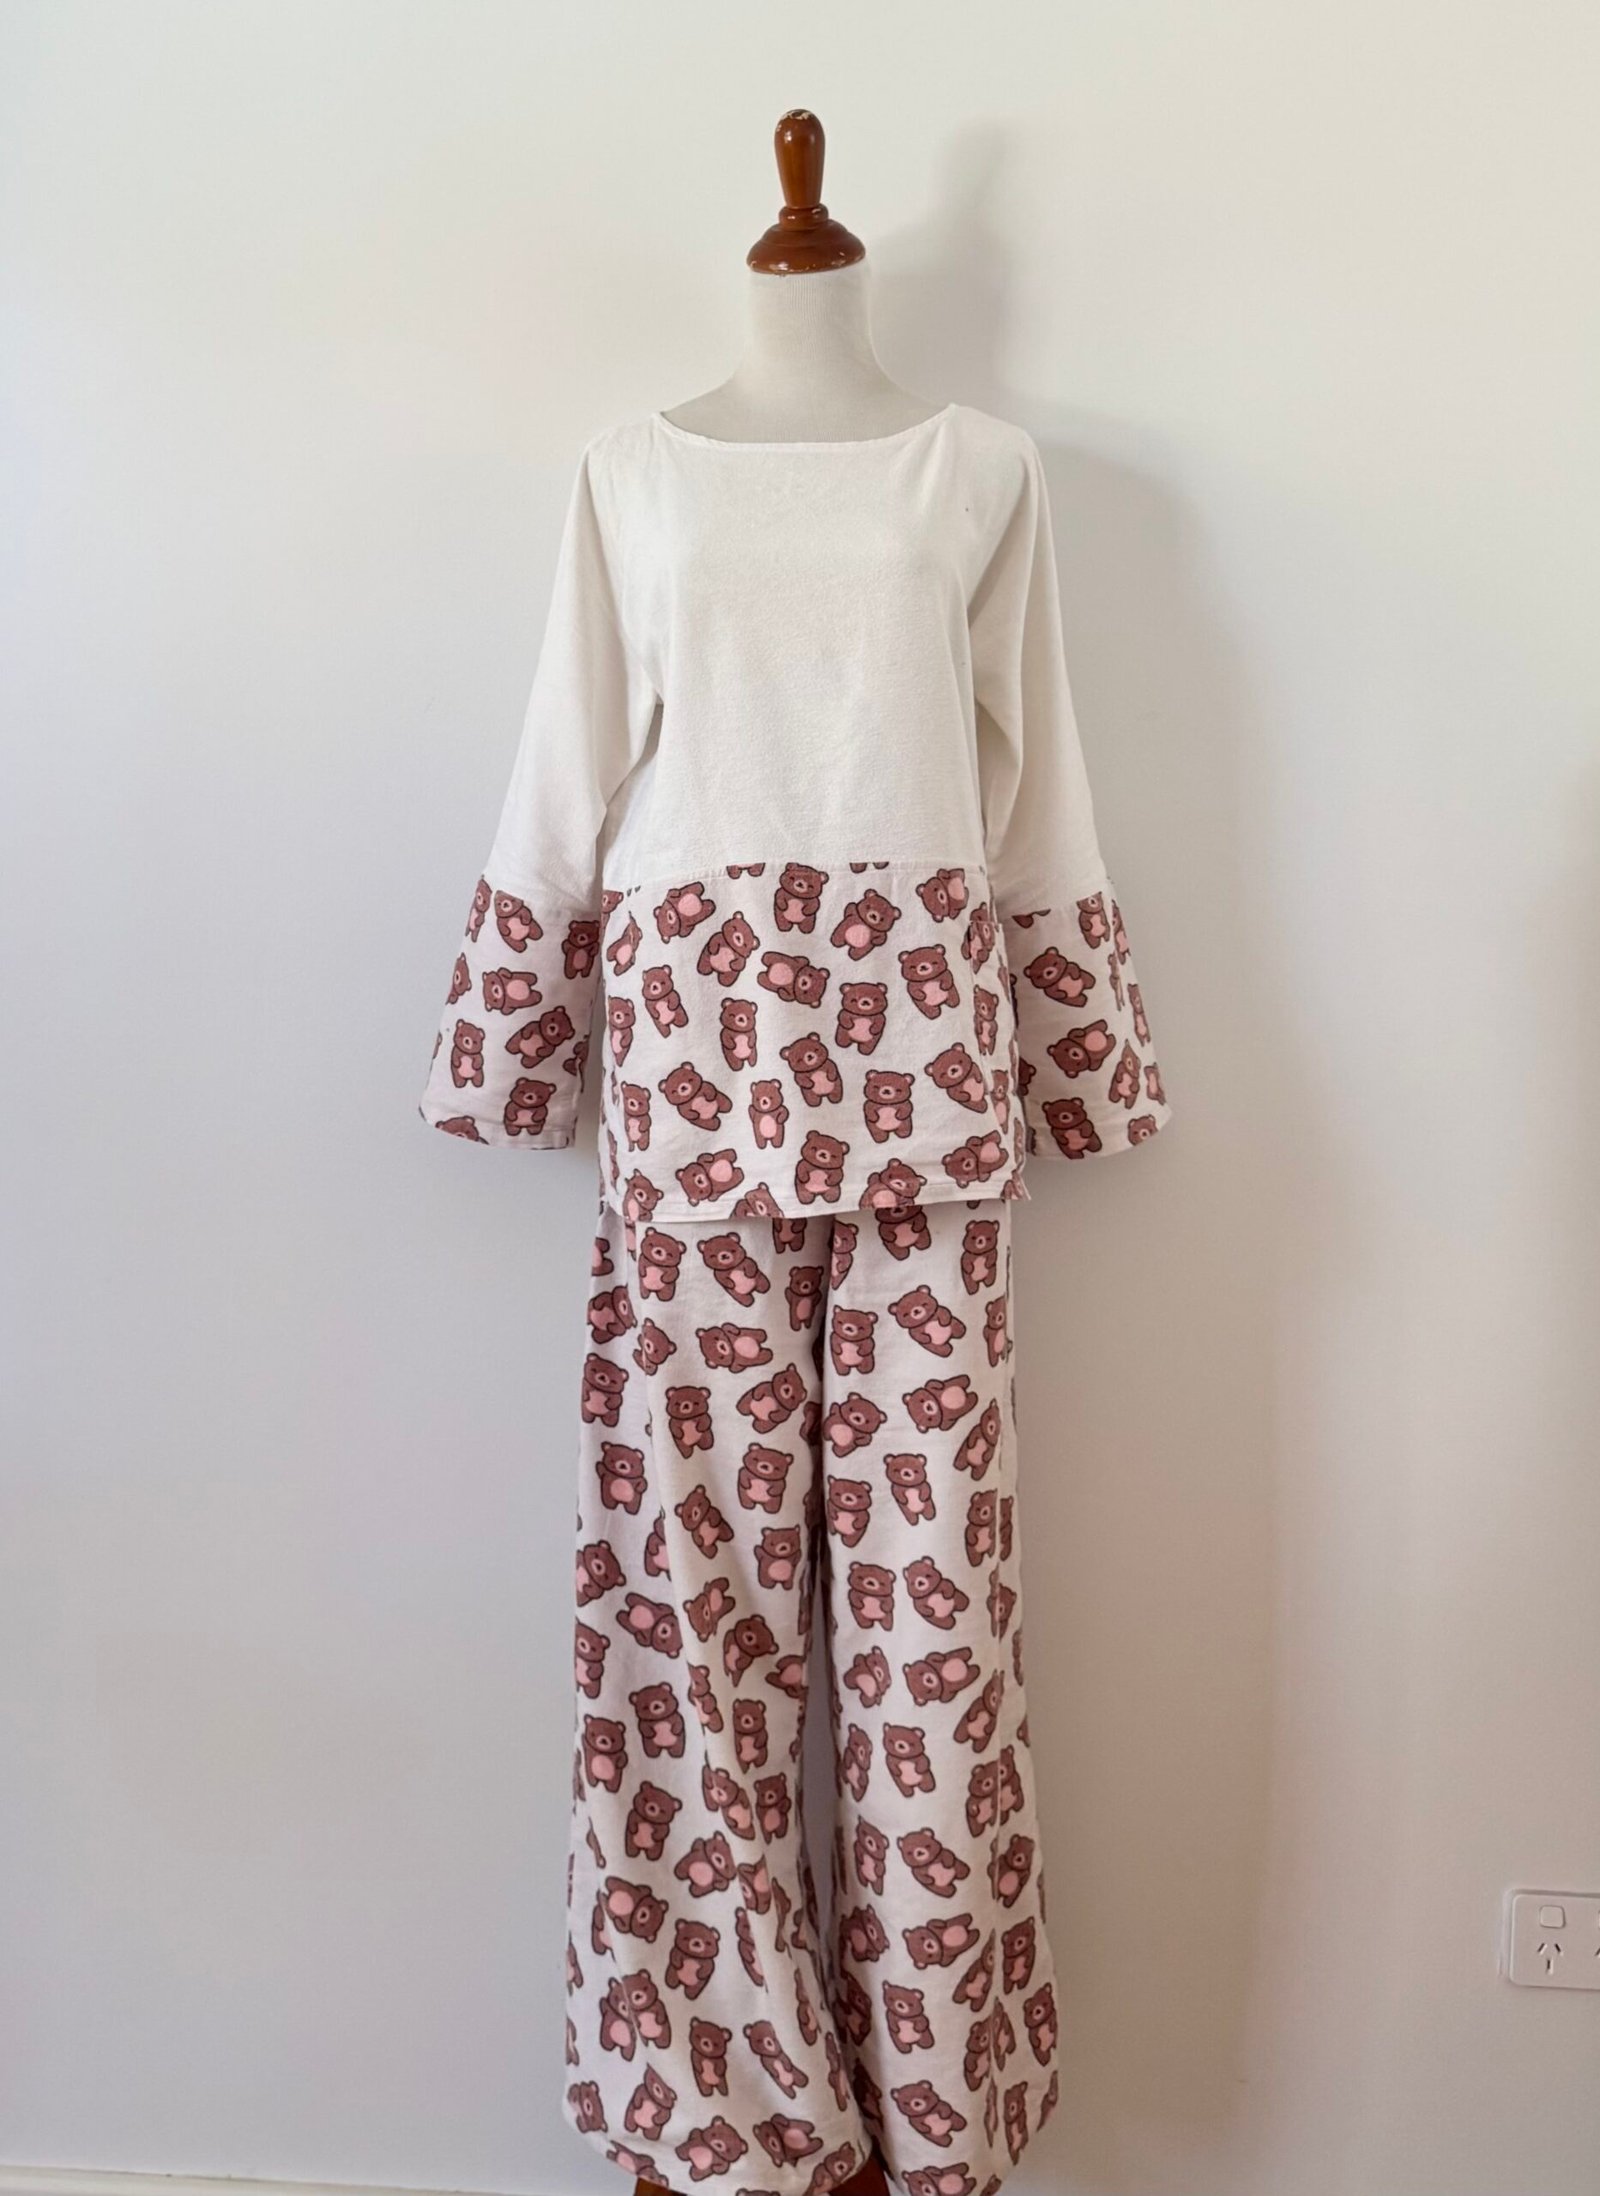
 hello! I’ve made some new things recently… firstly, some new winter pyjamas. 🙂


 hello! I’ve made a new outfit by refashioning some other previously worn old things… from a skirt and old jeans, I’ve made a new/old tunic top and some new/old shorts. I realise I probably I should be using some of the new fabric already in my stash instead of “already used” fabric – truthfully I am not very sensible a lot of the time – however if I really like a fabric but not the garment so much then I do feel like it just makes sense to reuse the latter if I can. Actually, I have been making a number of things lately, and from my stash! but just haven’t got around to taking photos or blogging them yet. For some reason, I’m finding taking photos to be the biggest challenge now.


 I could have sewn new covers, however… well, why not knit up some of my wool stash instead? You might recognise this orange-y coral pink cushion cover as my
  This bright unicorn-pastel one was from a stash given to me by my daughter-in-law Lainey… anyone remember the Flurry yarn? I don’t know about outside Australia, but here there was a short-lived fashion for wearing scarves made from this type of wool. There was actually just over three balls of the same colour way in the box Lainey gave to me, which I thought could be enough for a cushion cover. I felt it looked quite nice with the other cushion too. The gods were smiling upon me, because there was the perfect amount for a second cover, with zero leftovers. I knitting in the round, then grafted with Kitchener stitch at the bottom end, I then stuffed in the old cushion insert and stitched up the top end with the leftover wool. So no, you can’t get the cushion inserts out again without undoing a seam, but I’ll probably just hand wash the cover and insert all together and I’m sure it will be fine.






































