hello! I’m back with a few further “things I have made” ….
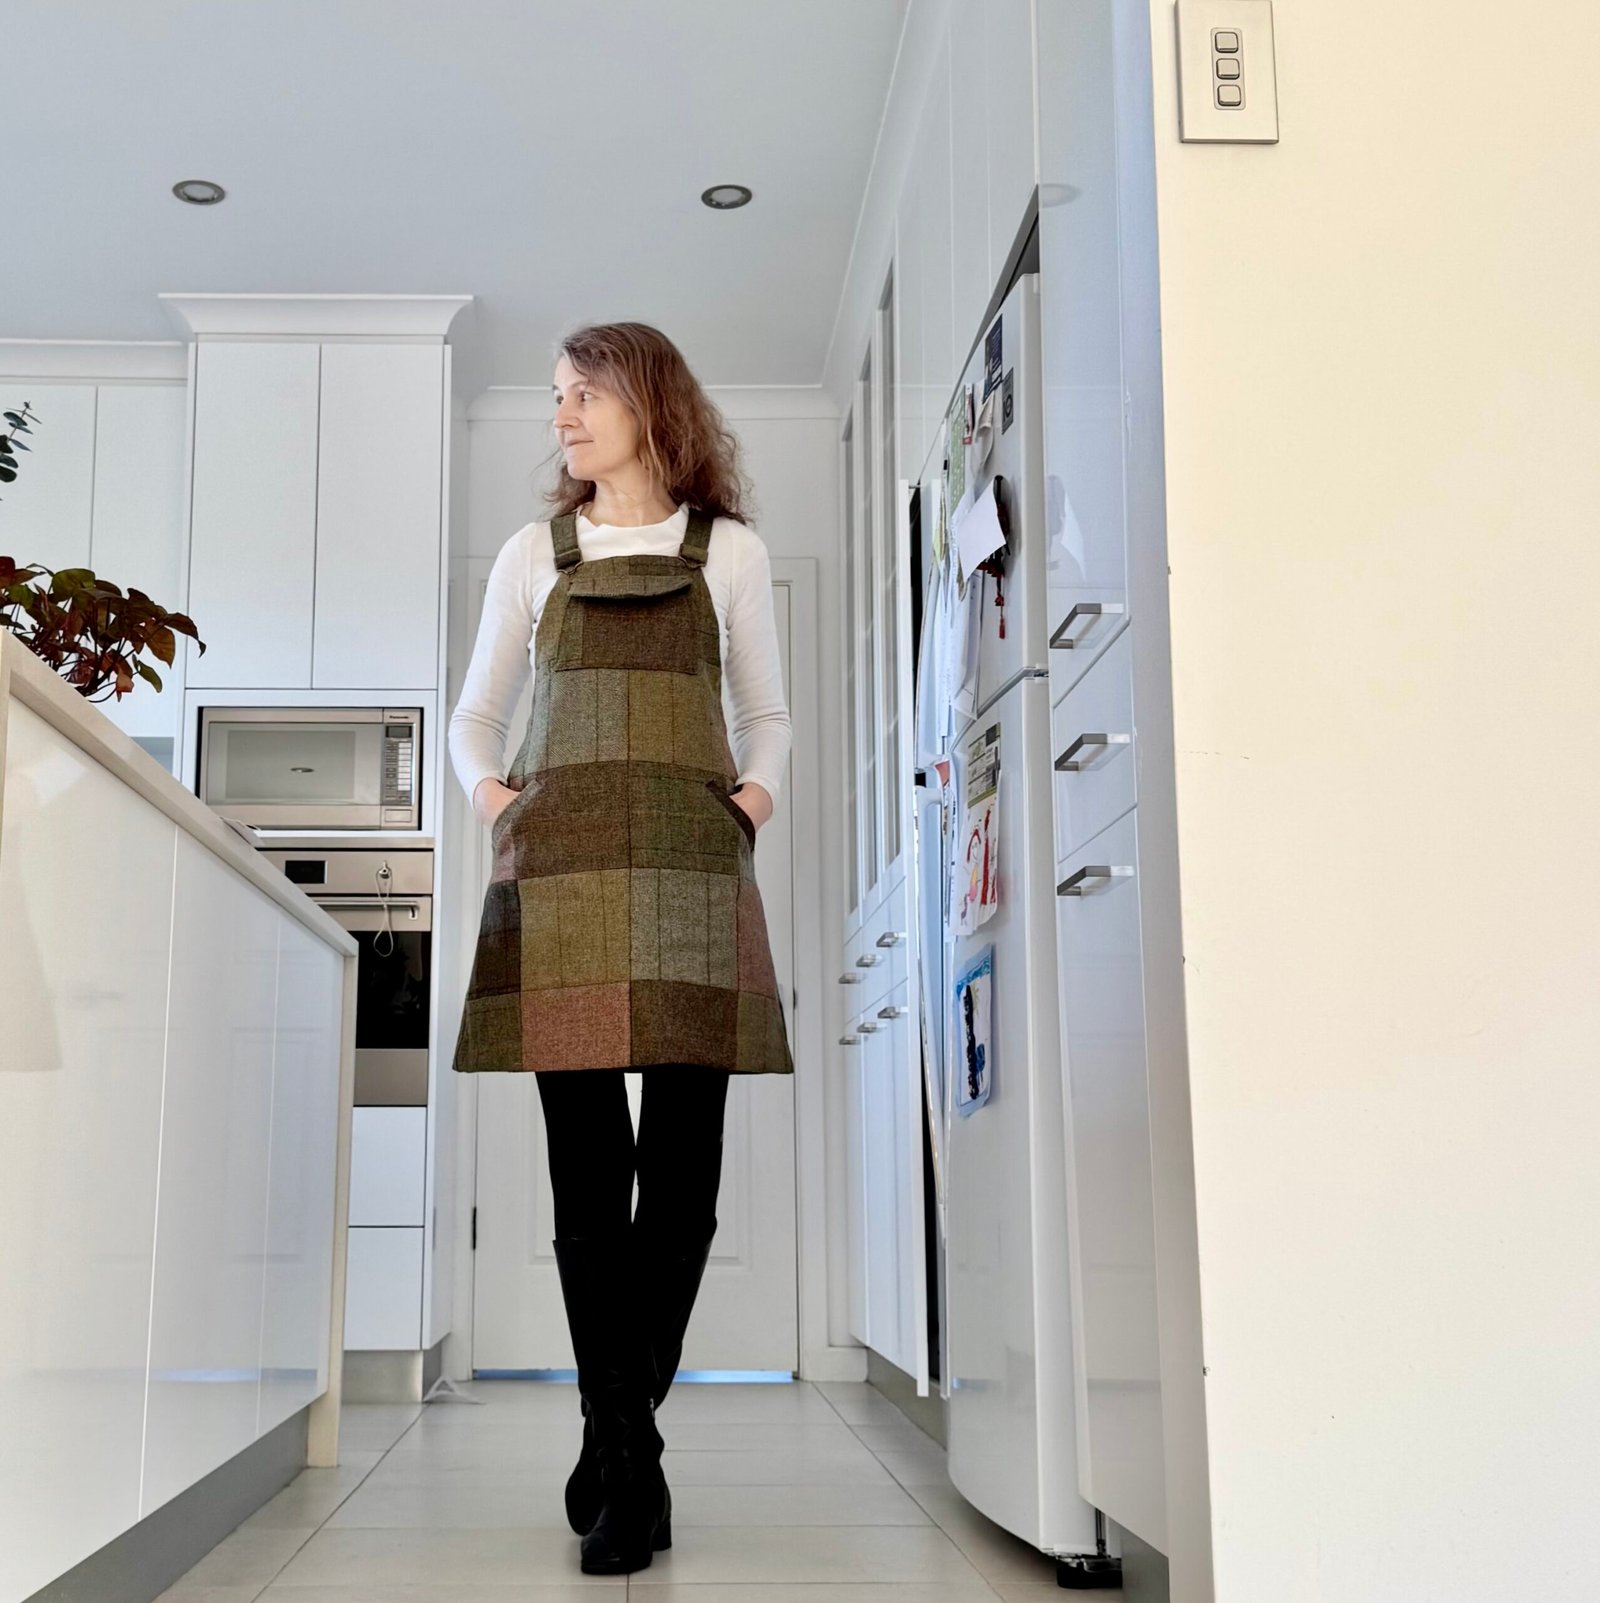
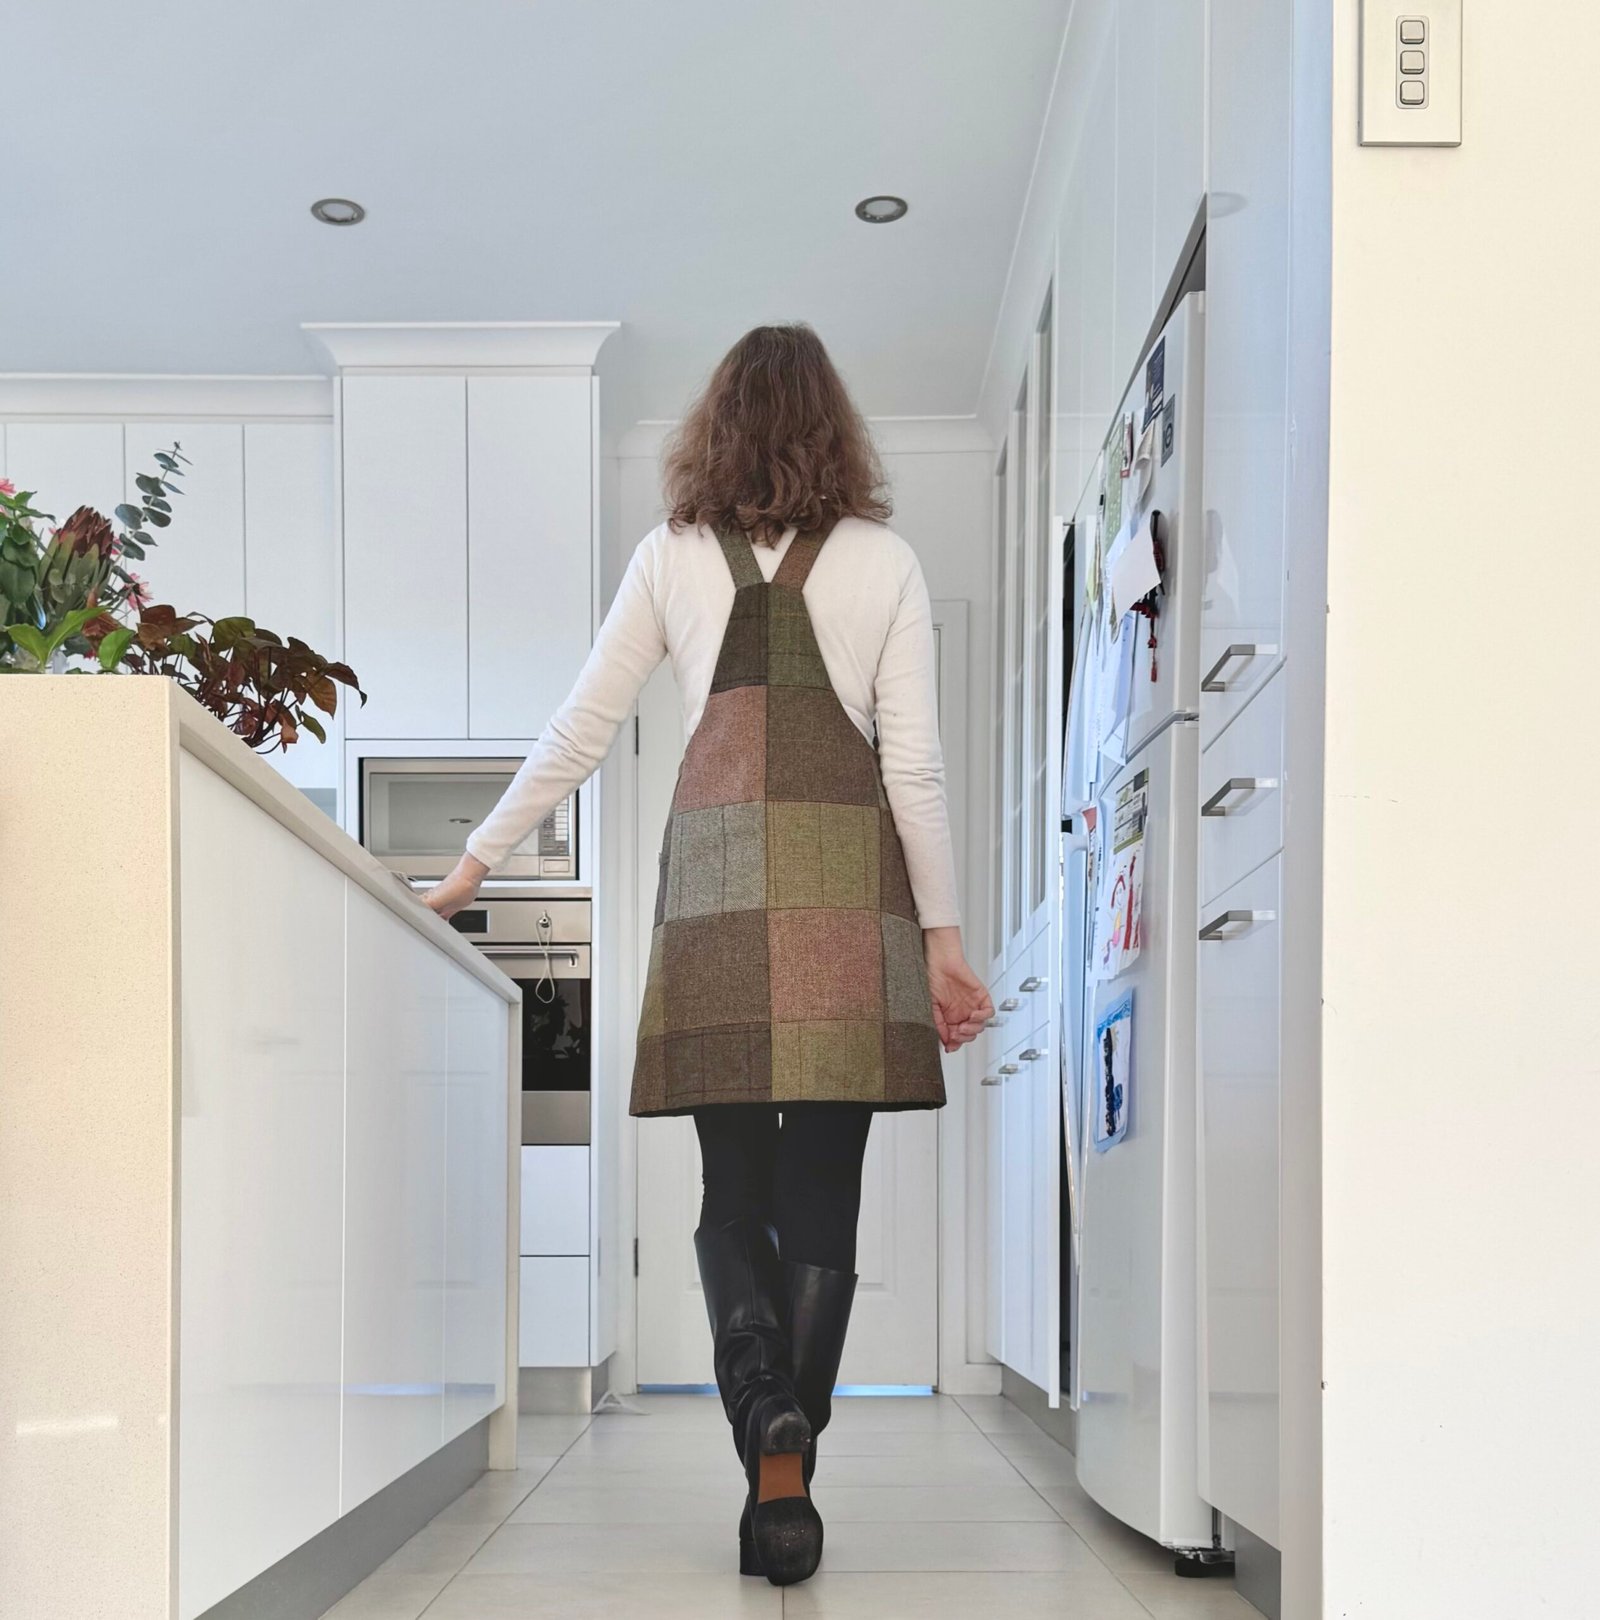
 1) Finished only yesterday is this new patchwork pinafore…. Mum bought a little bundle of Irish tweed cut-offs during a visit to the UK years ago.
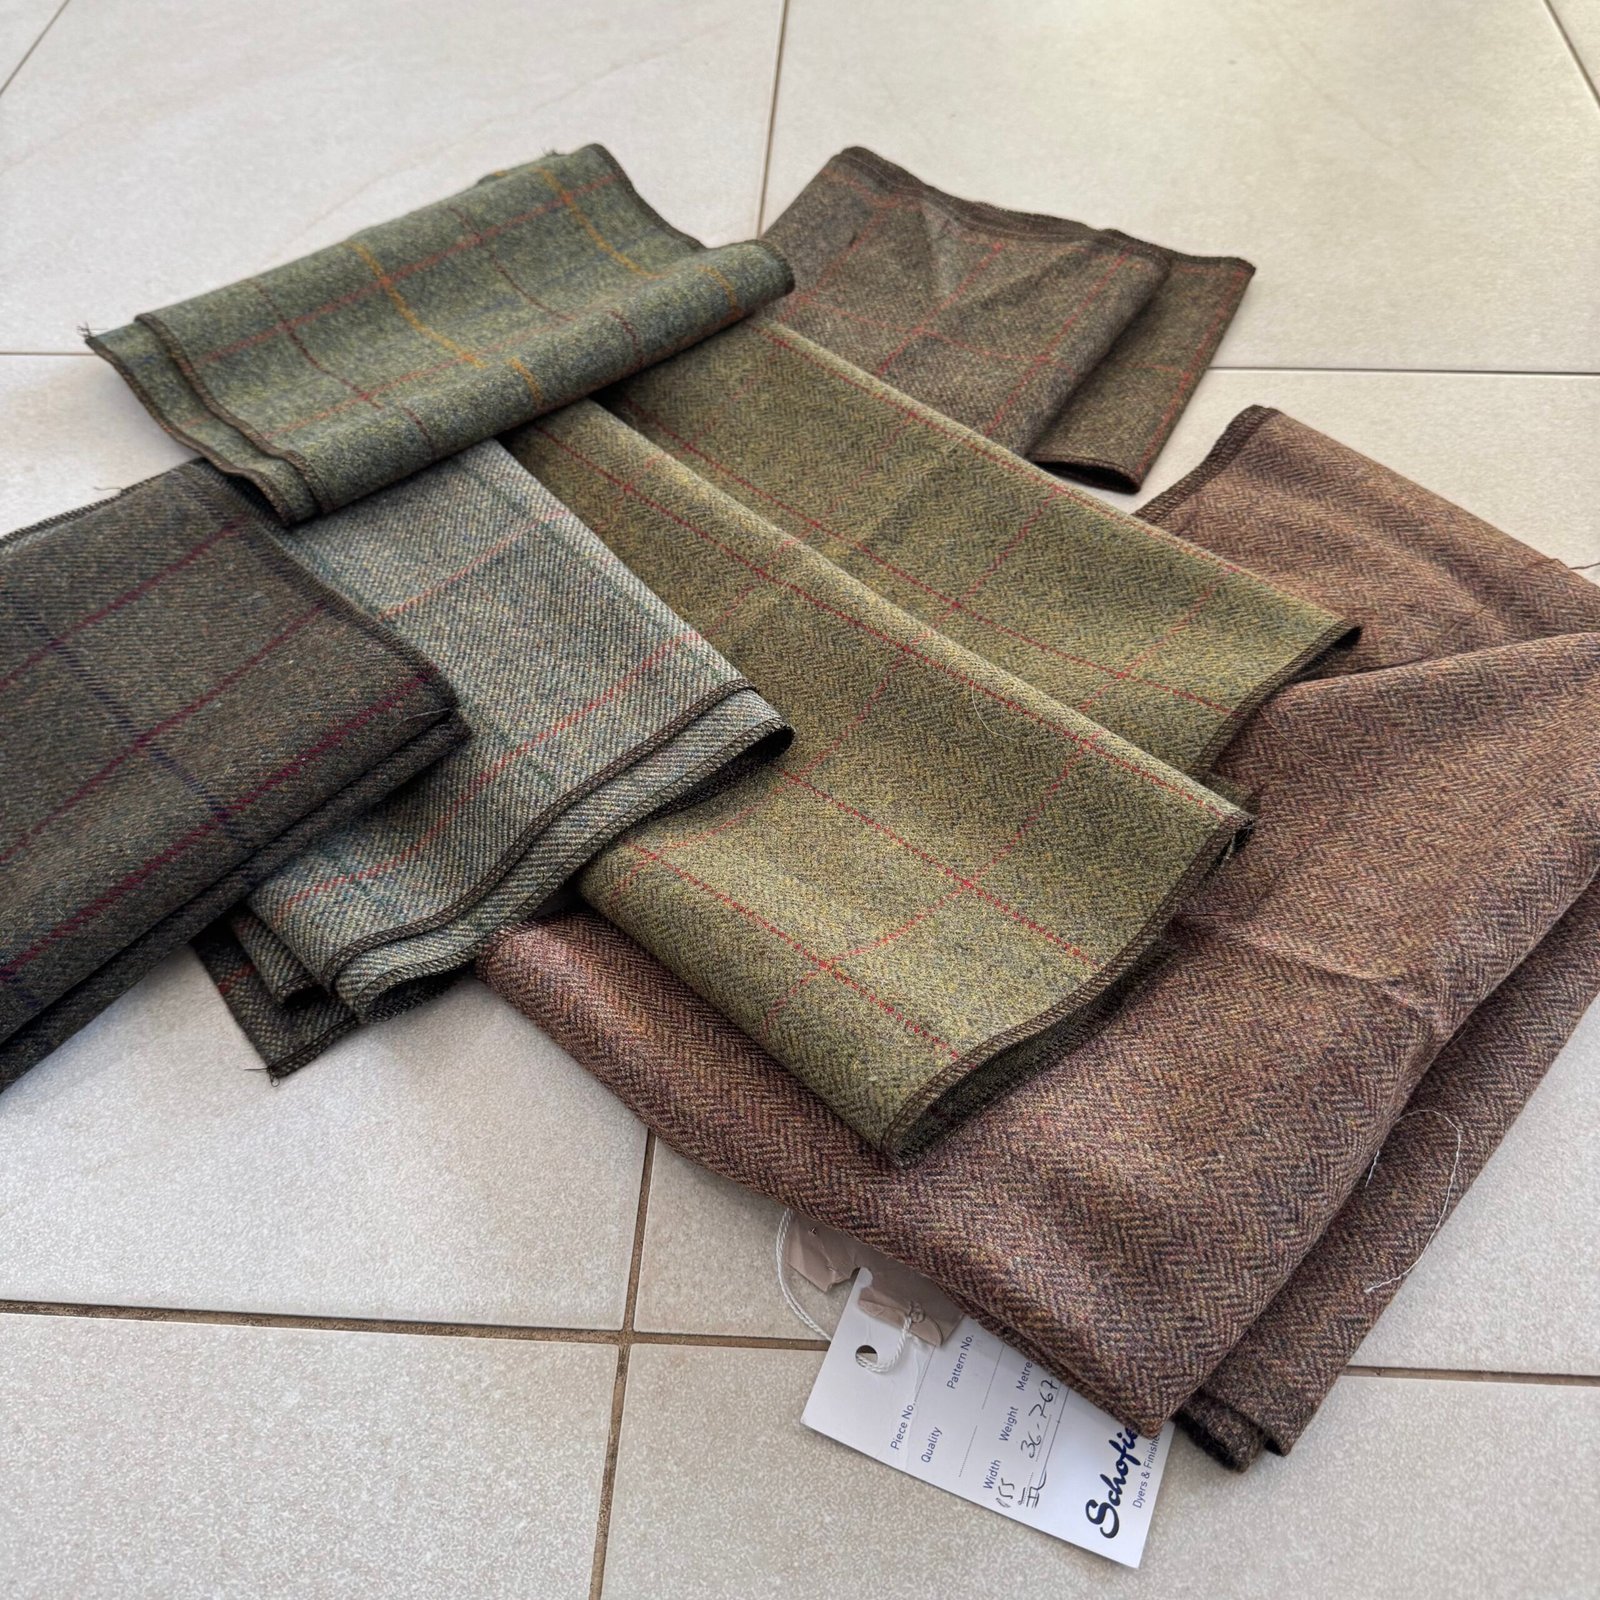 I admit to being quite intimidated by this lovely stuff for a long time! but as my policy for the past few years is to sew my stash completely, the time came to step up, get brave and cut into it. I used a pattern partly based upon the Pauline Alice Turia dungarees pattern, but as I’ve unfortunately thrown out my copy I made a new pattern by laying down my pink pinafore and tracing around it.
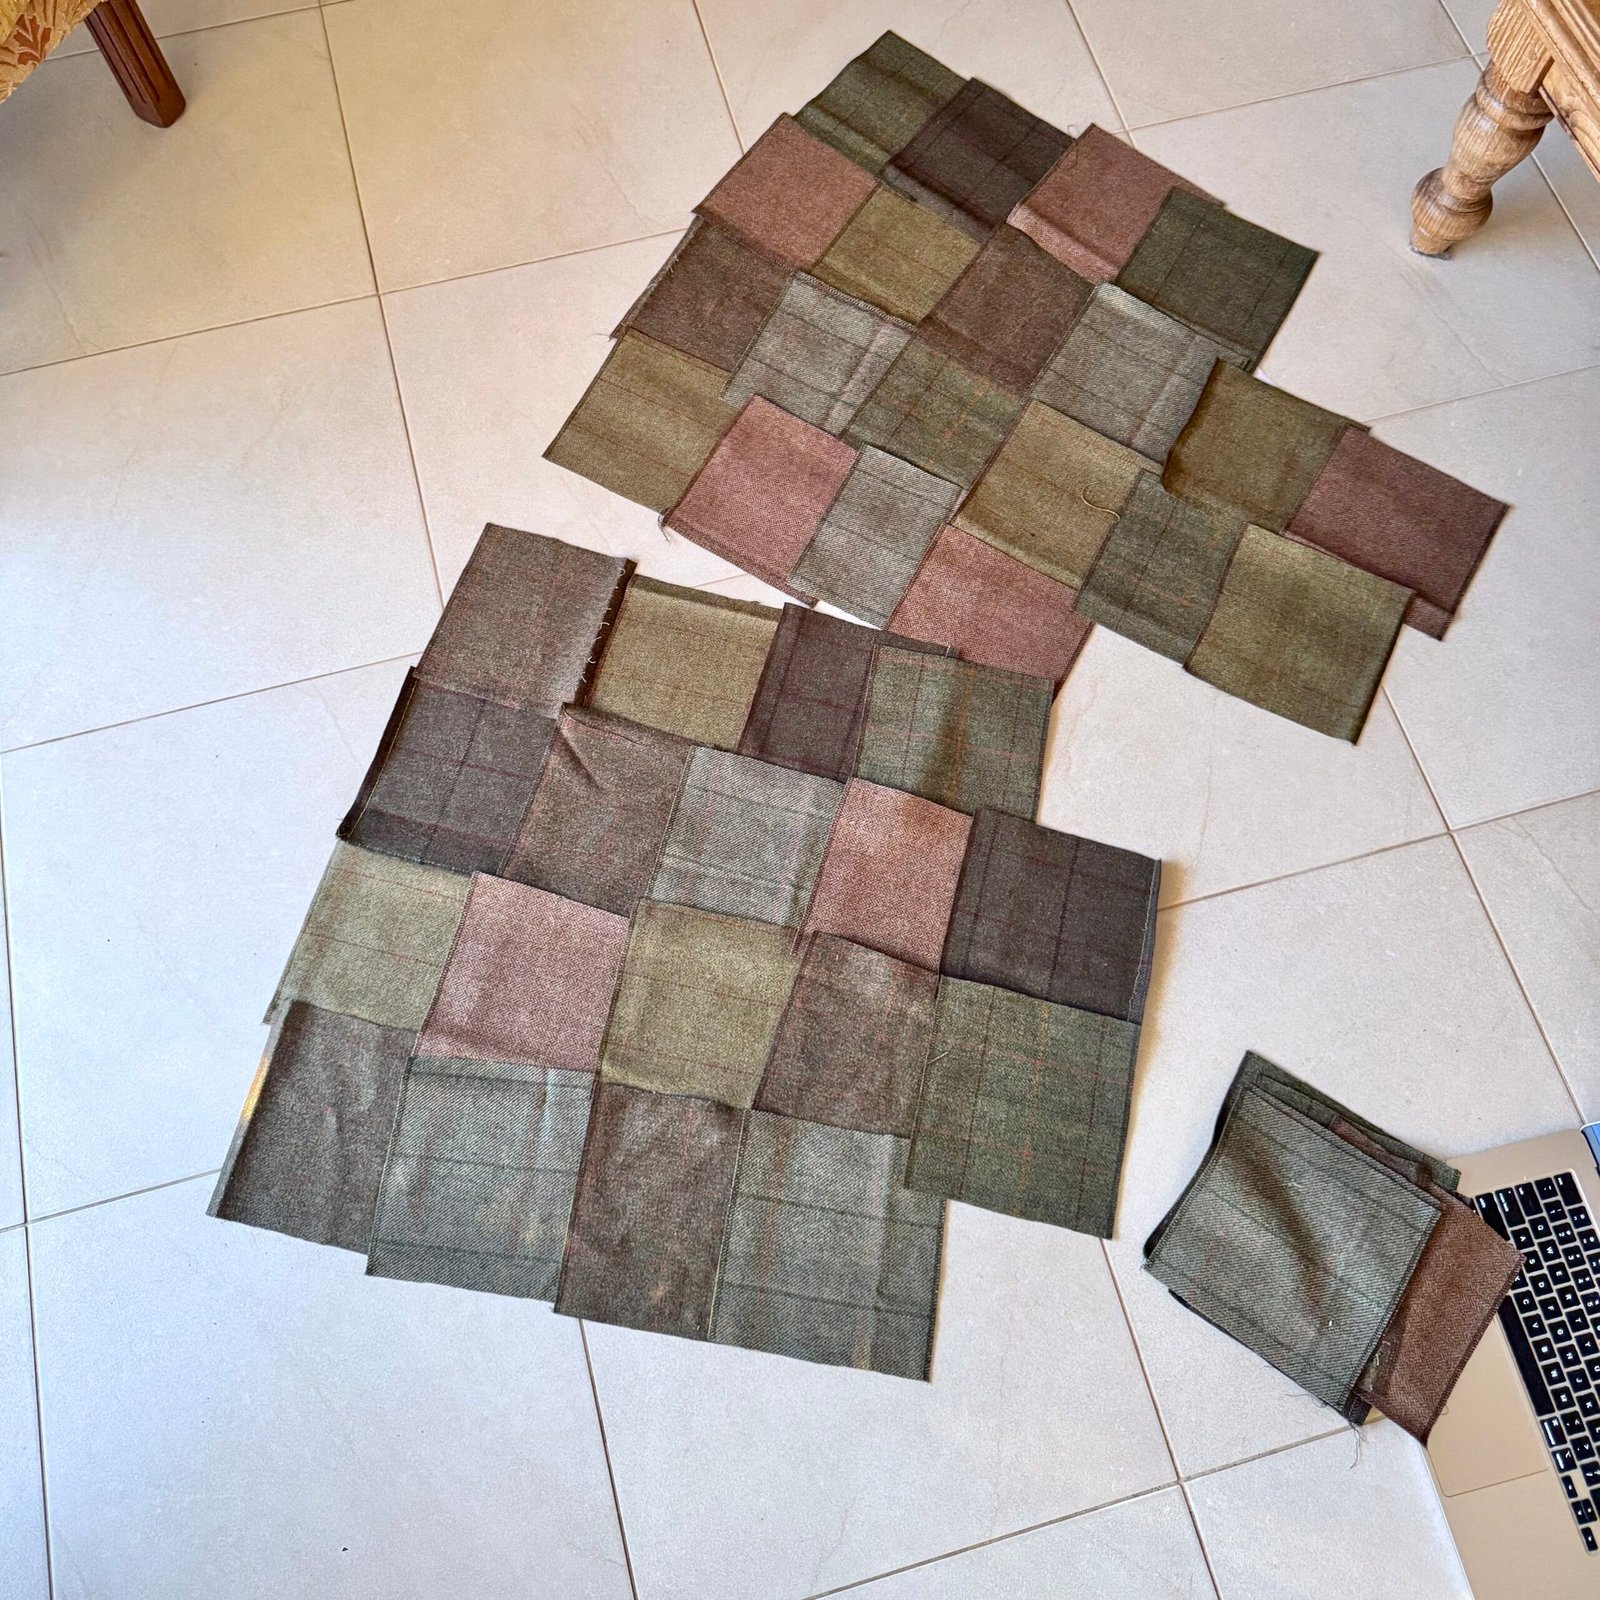
I cut the tweed into equal sized squares, dimensions based upon the narrowest of the lengths, overlocked all edges, arranged and joined them so as to fit the pattern pieces.
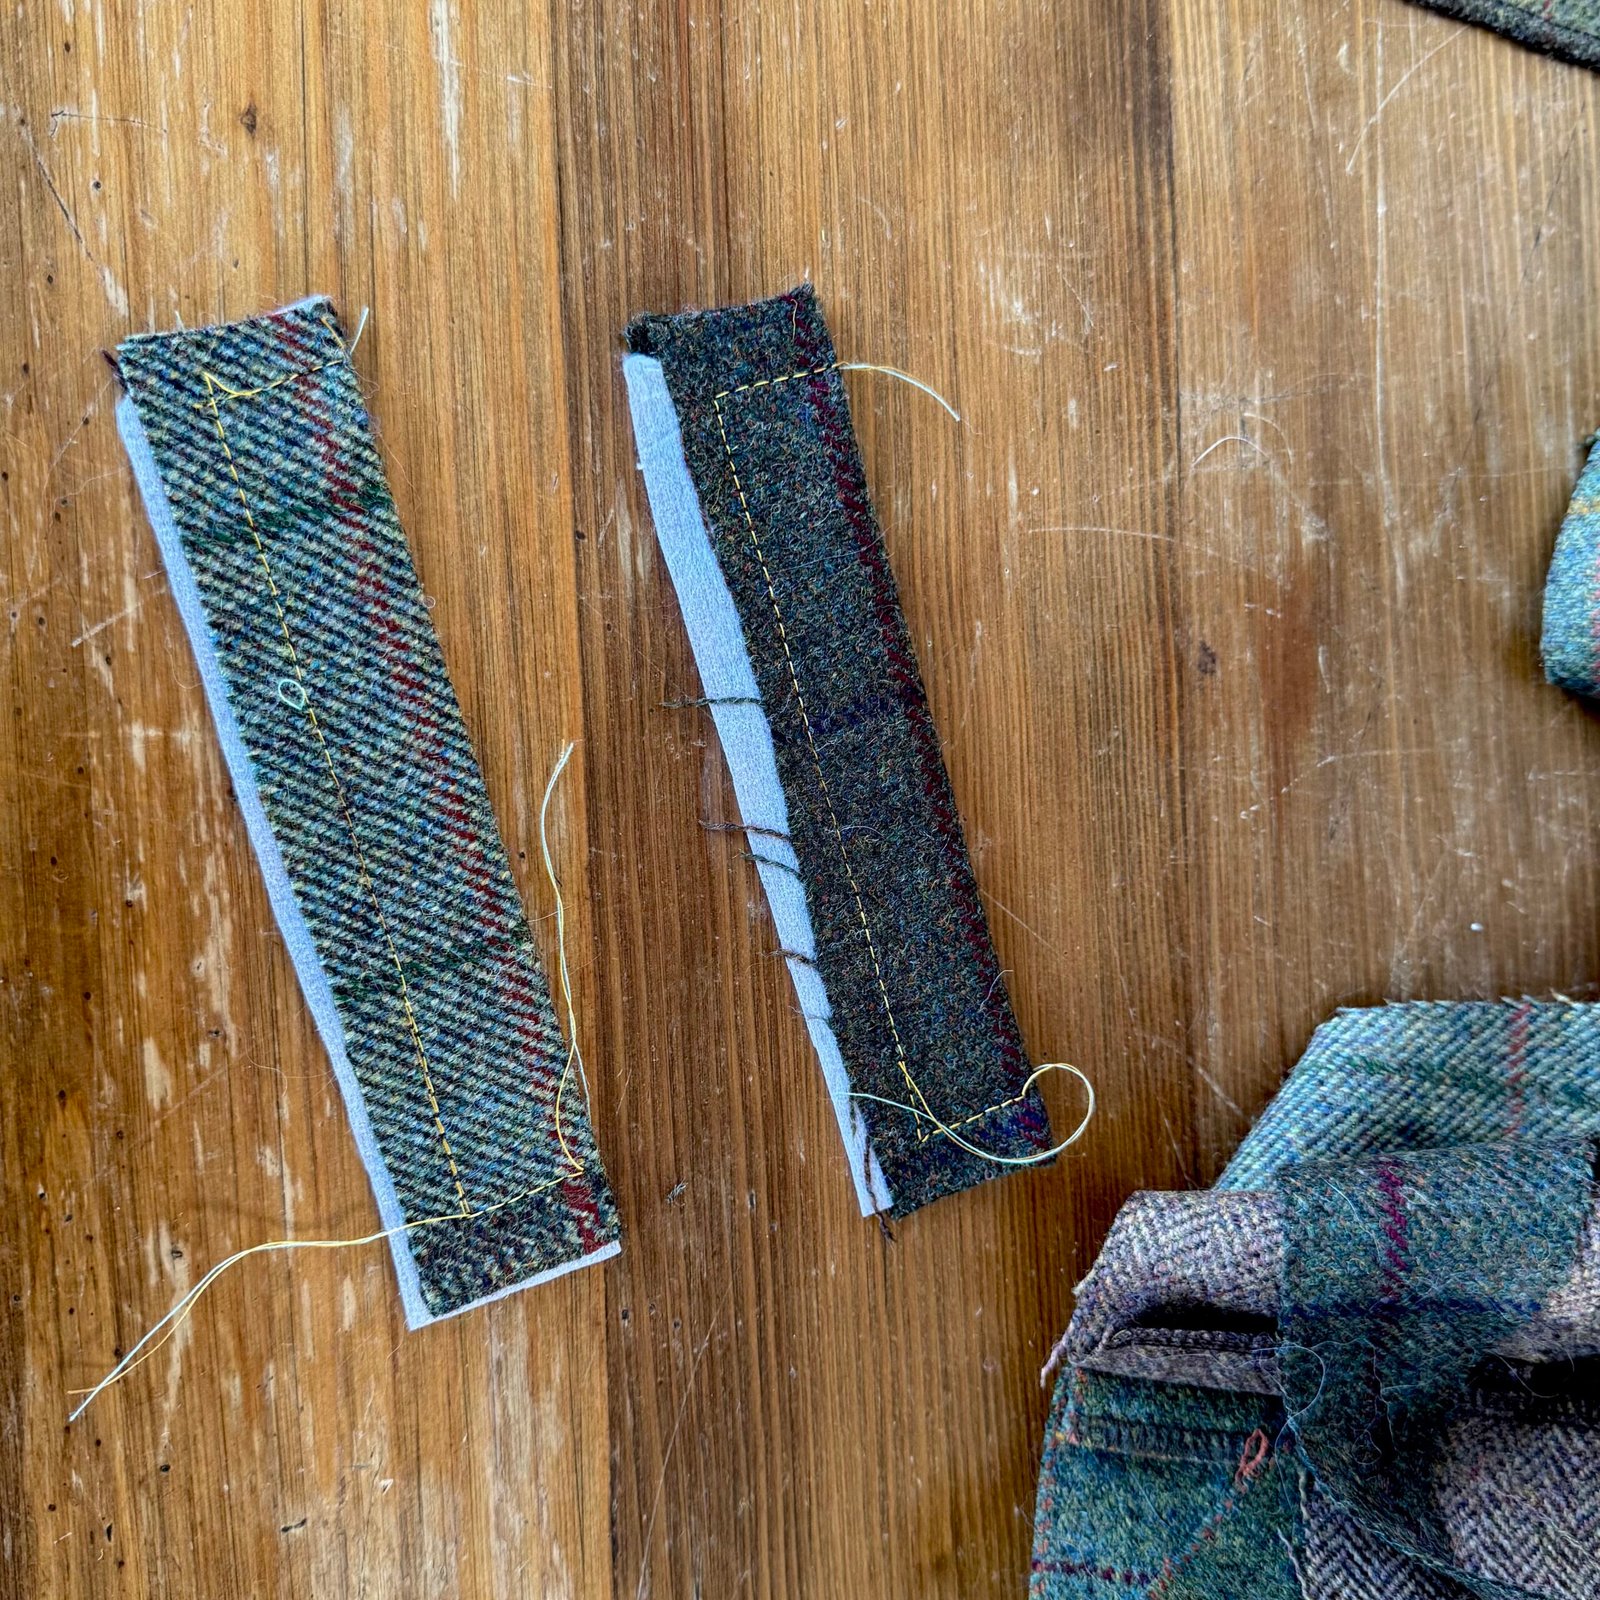
I made welt pockets just like the ones I did on my pink pinafore because they work so well for me.
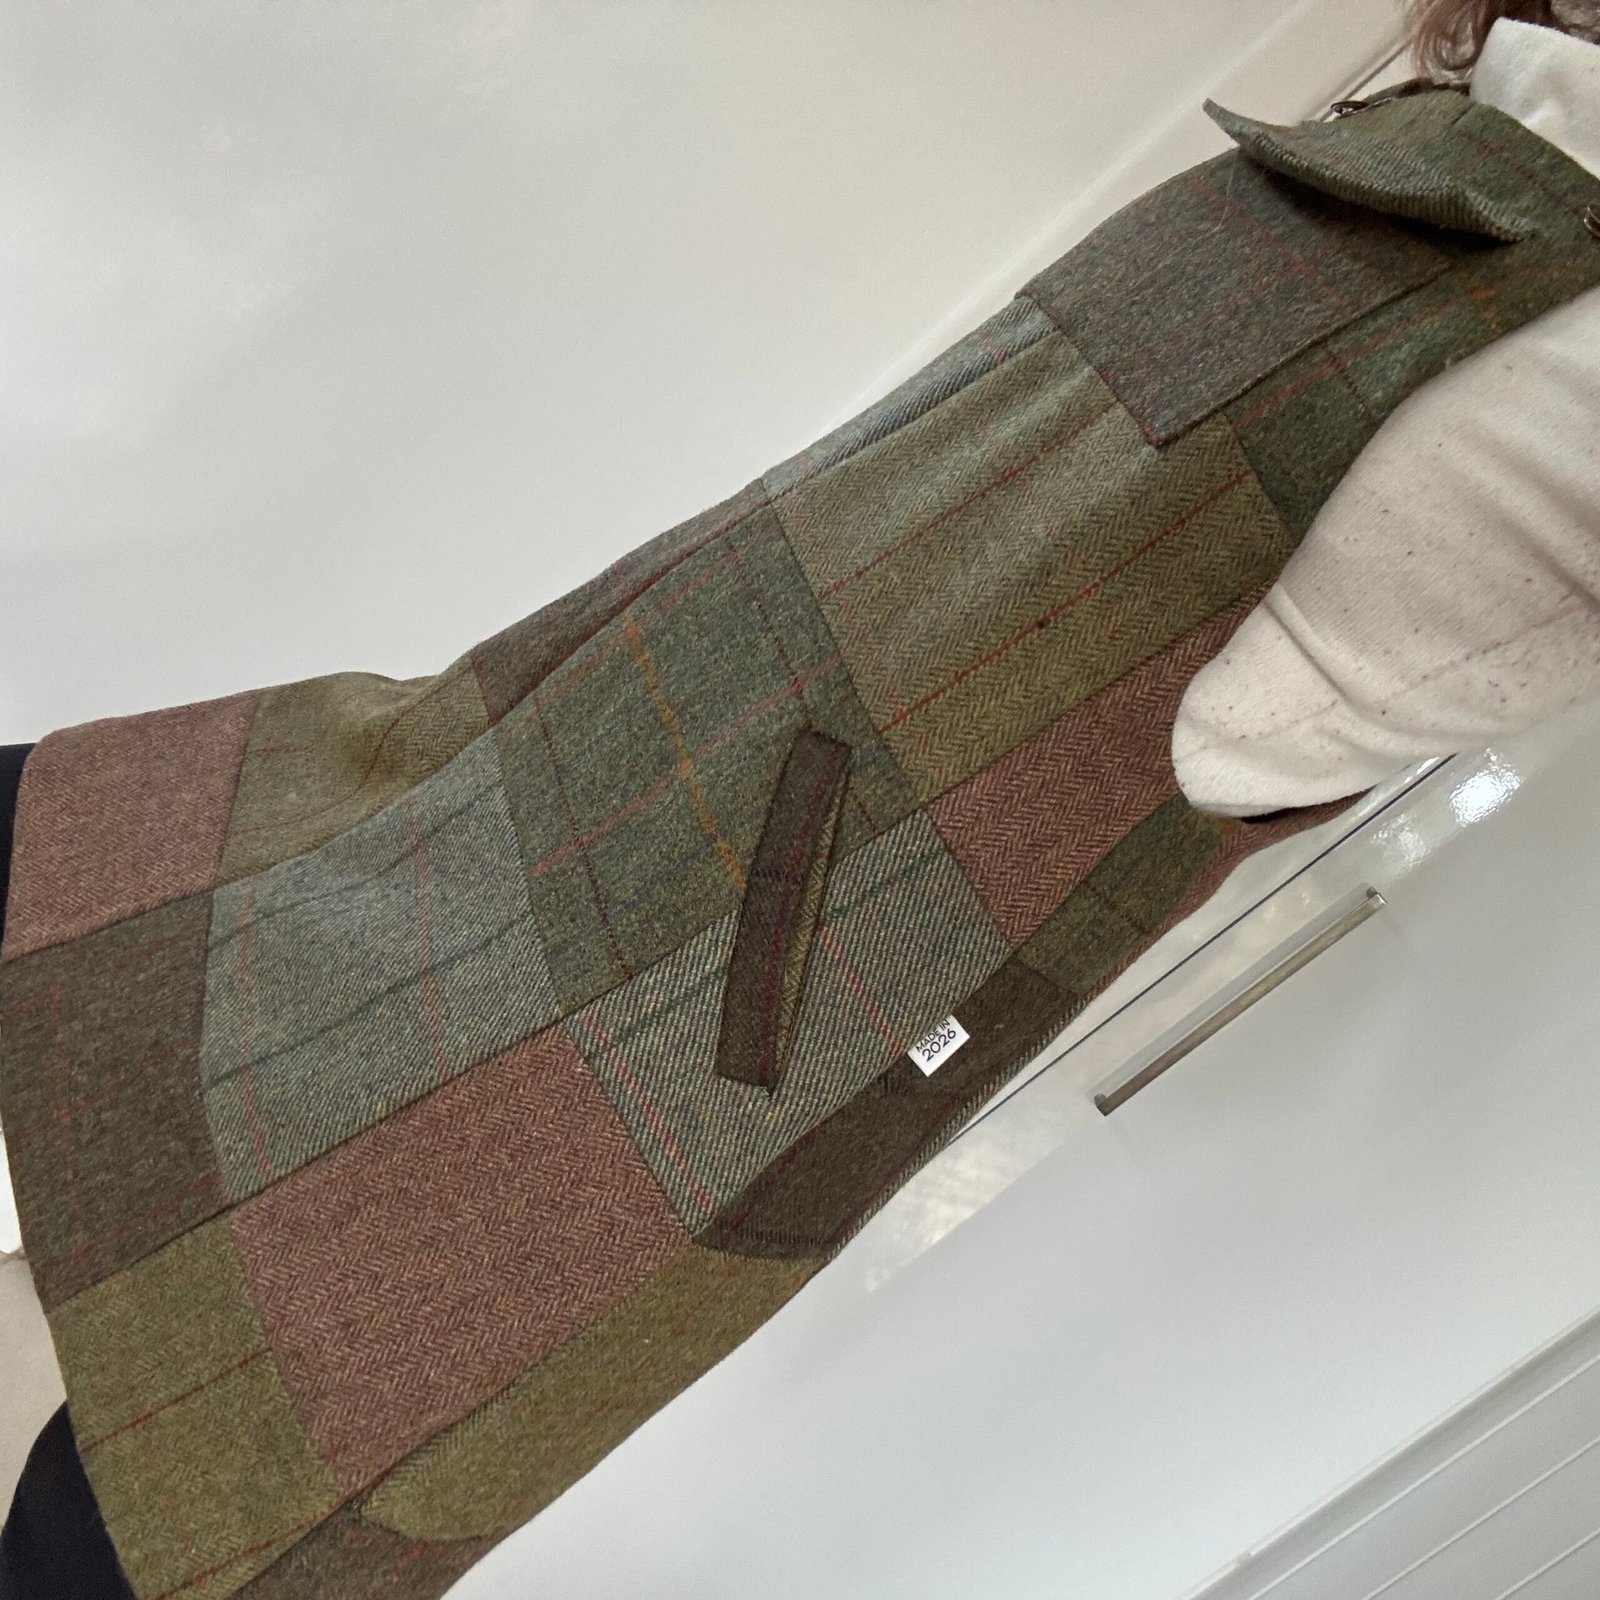
The straps are also patchwork, which created a few problems when I had to thread them through the buckles because of the sheer bulk of the fabric; but I managed to force them through eventually! Initially I decided to line the pinafore with some lovely chocolate brown cotton that I’ve had for many years.
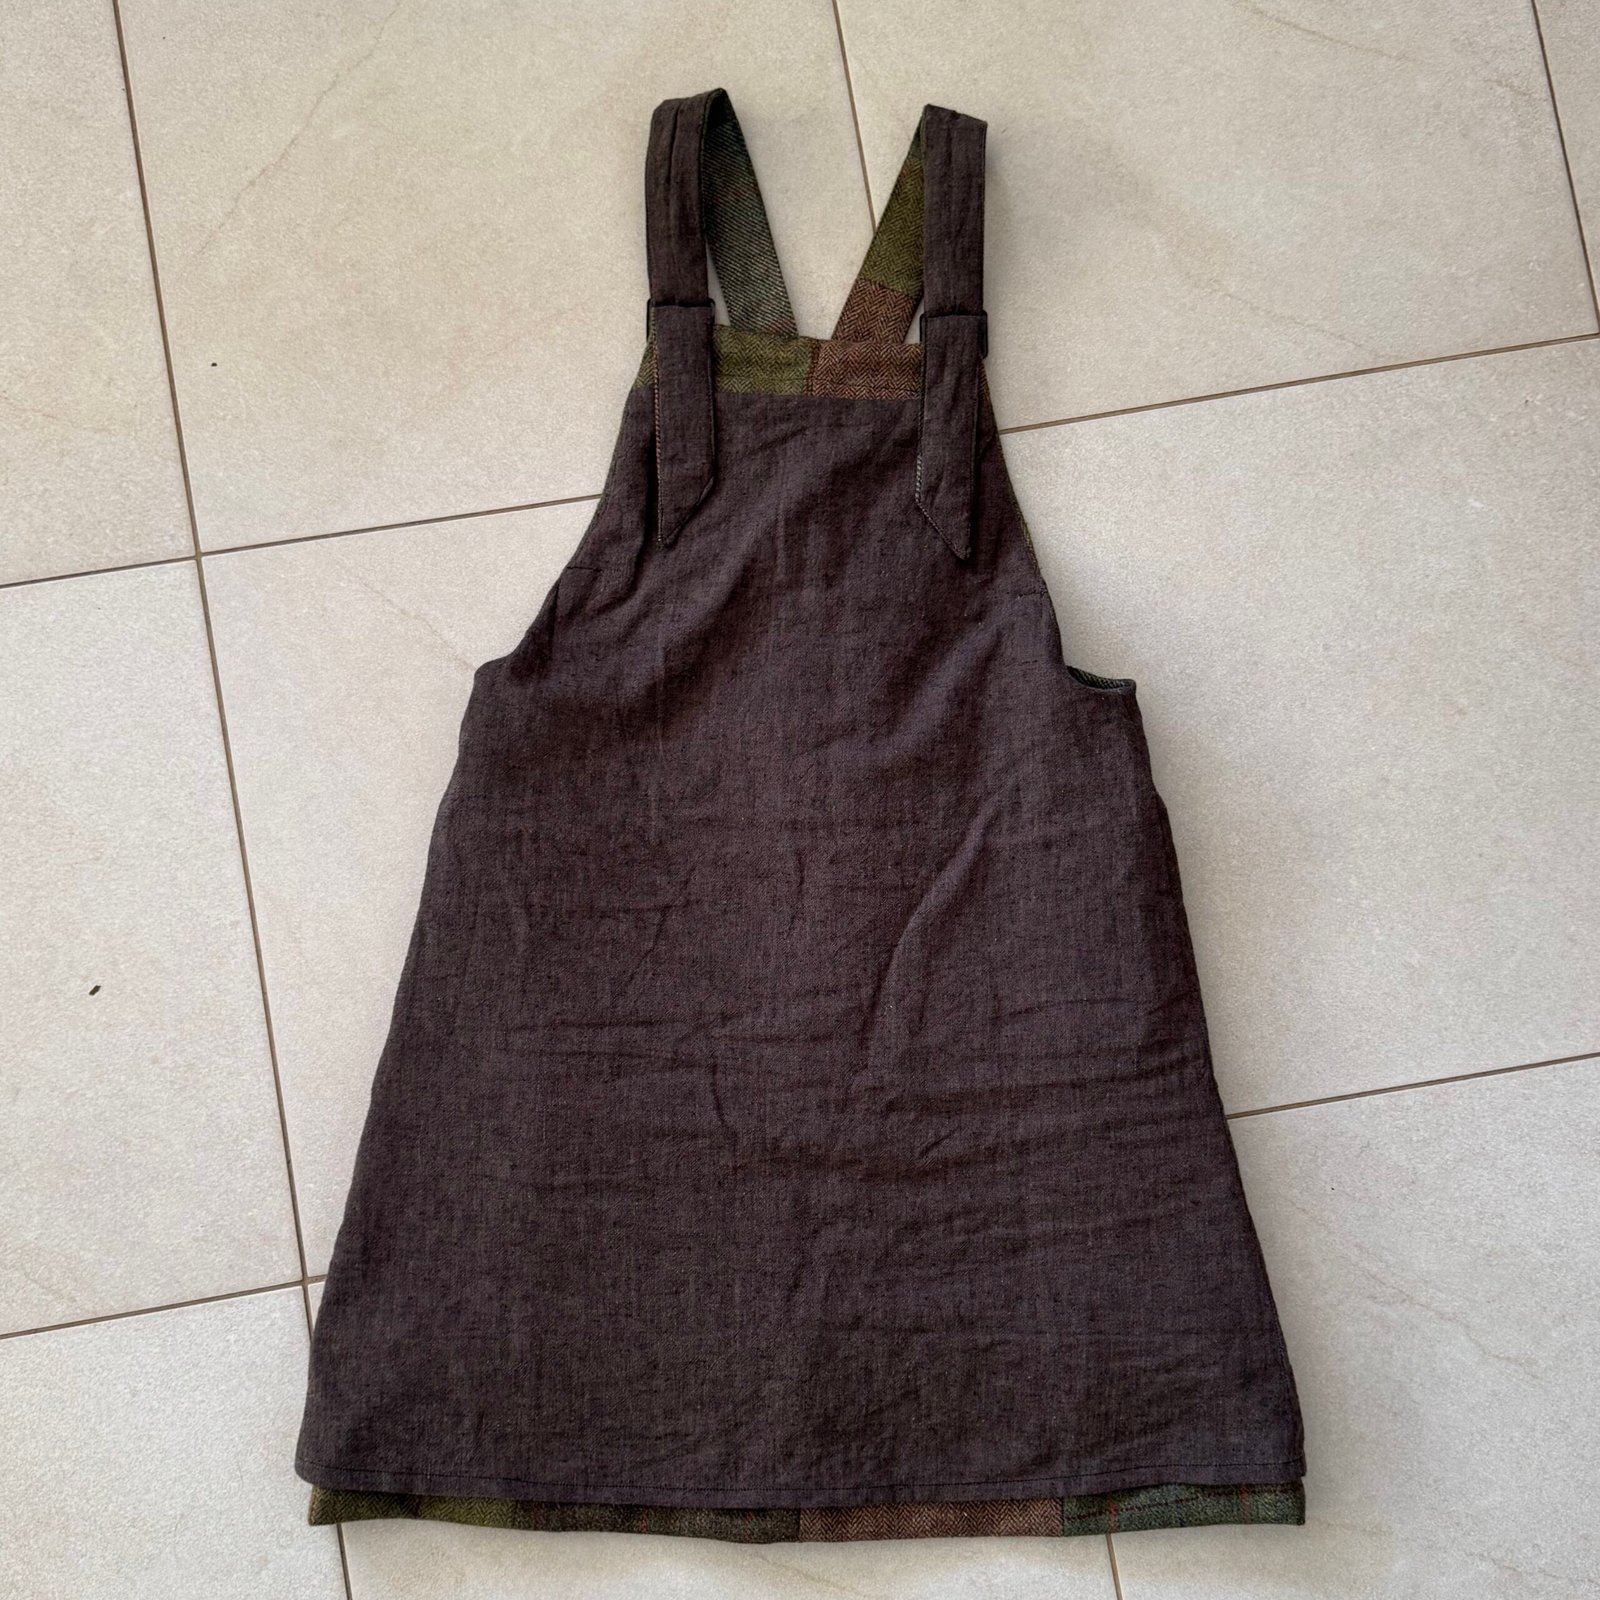
Yes, it looks pretty nice but unfortunately made it quite difficult to wear. I realised very quickly I had to replace it with something a bit more slippery. So I cut most away and attached a new one made of polyacetate lining fabric. Sadly, it doesn’t look nearly as pretty now to my eyes, but it does make it SO much easier and more pleasant to wear!
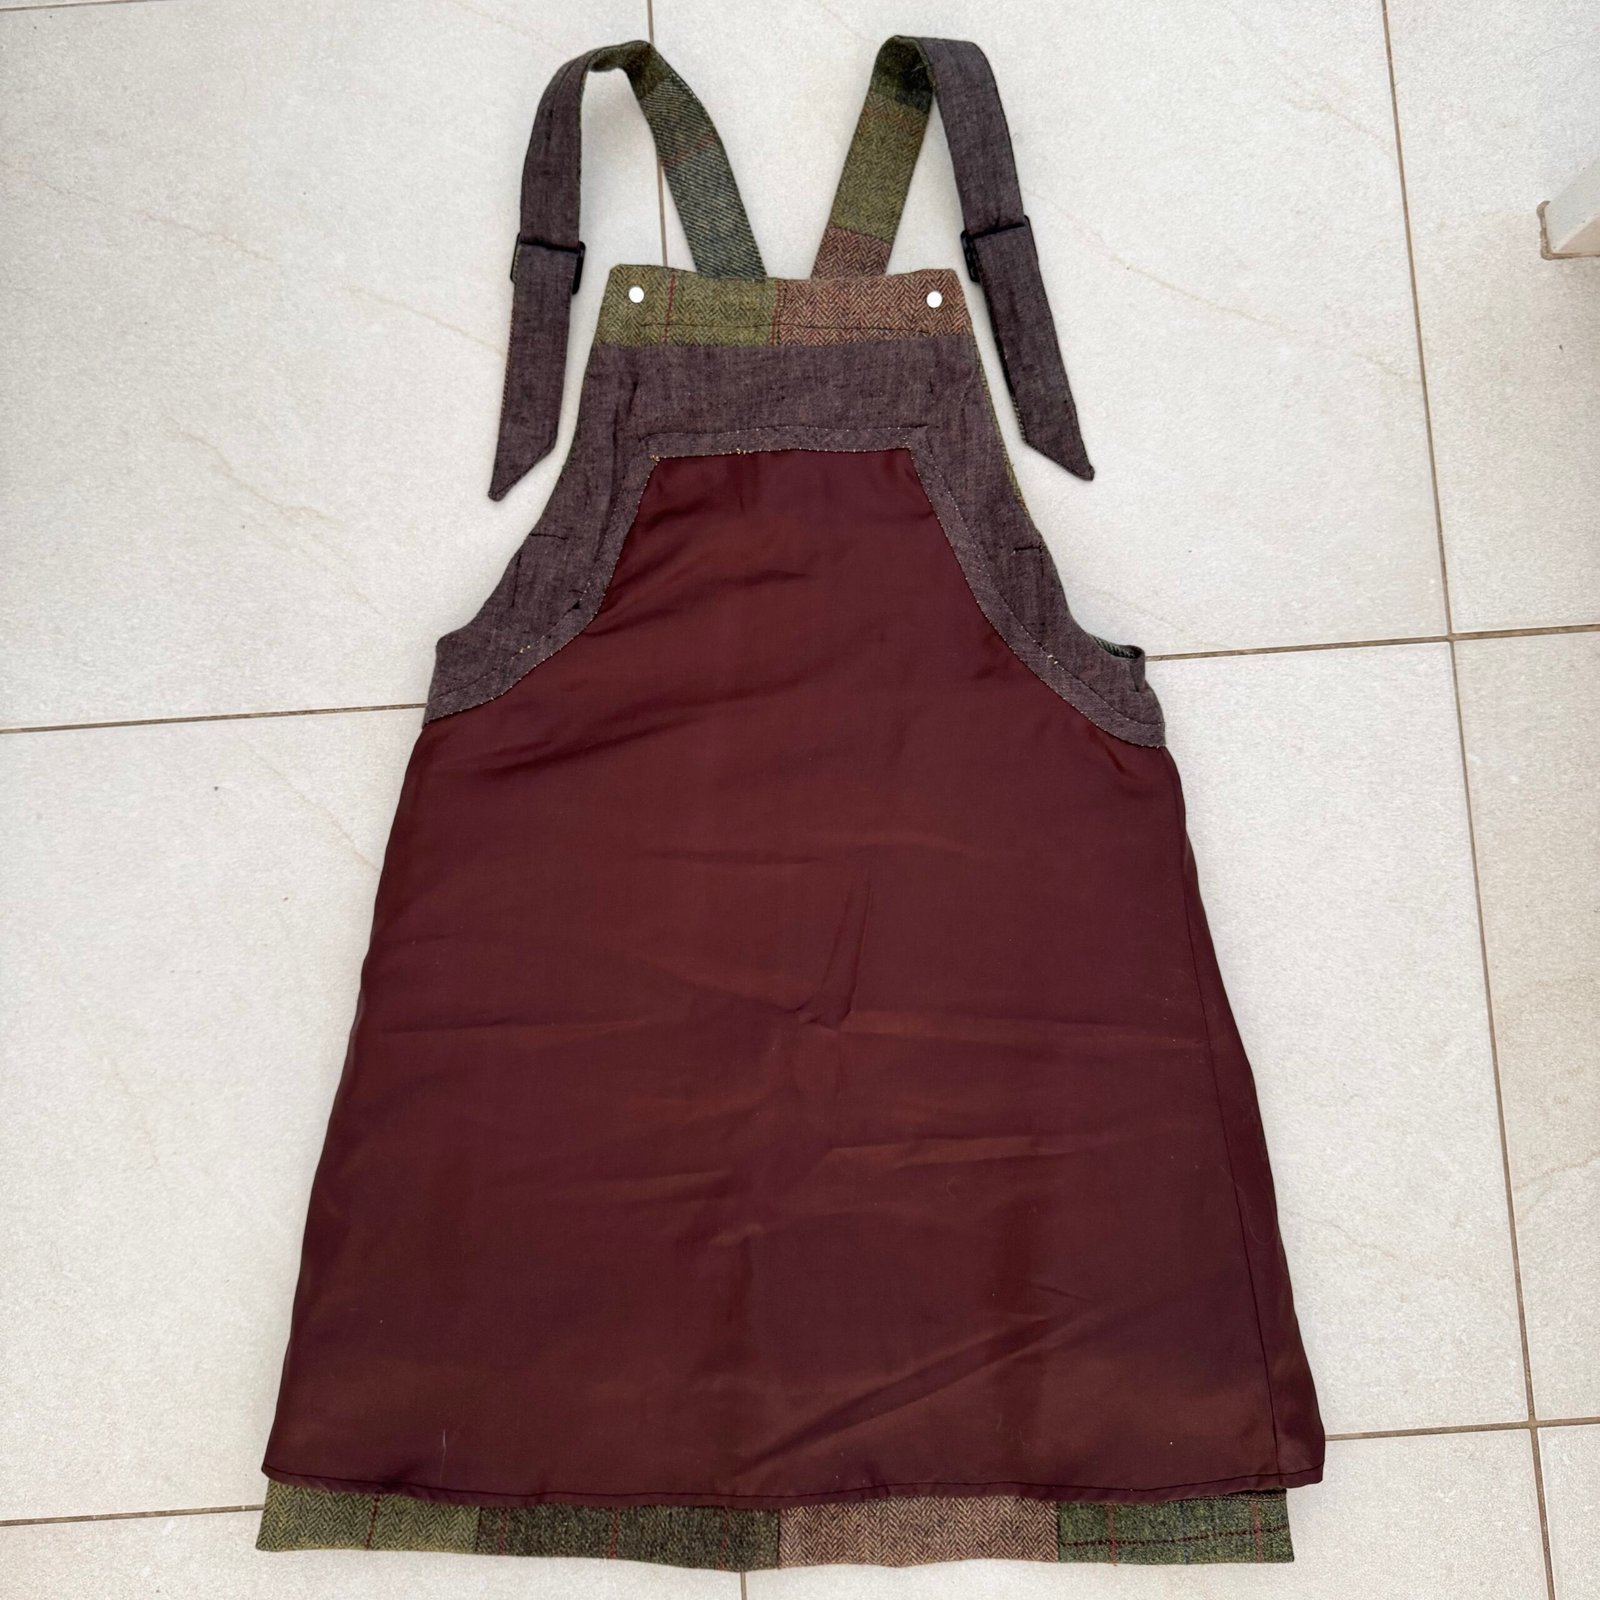
The only way to attach this securely was to press down the seam allowance around the top edge all around and basically topstitch it in place to what remained of the previous cotton lining. However, the topstitching looked quite ugly to my eyes and I wanted it to look a little cleaner, even on the inside where no one can even see it. SoI made a bias strip from the chocolate brown cotton, and hand stitched this over the join all around on the inside to hide it. So much better!
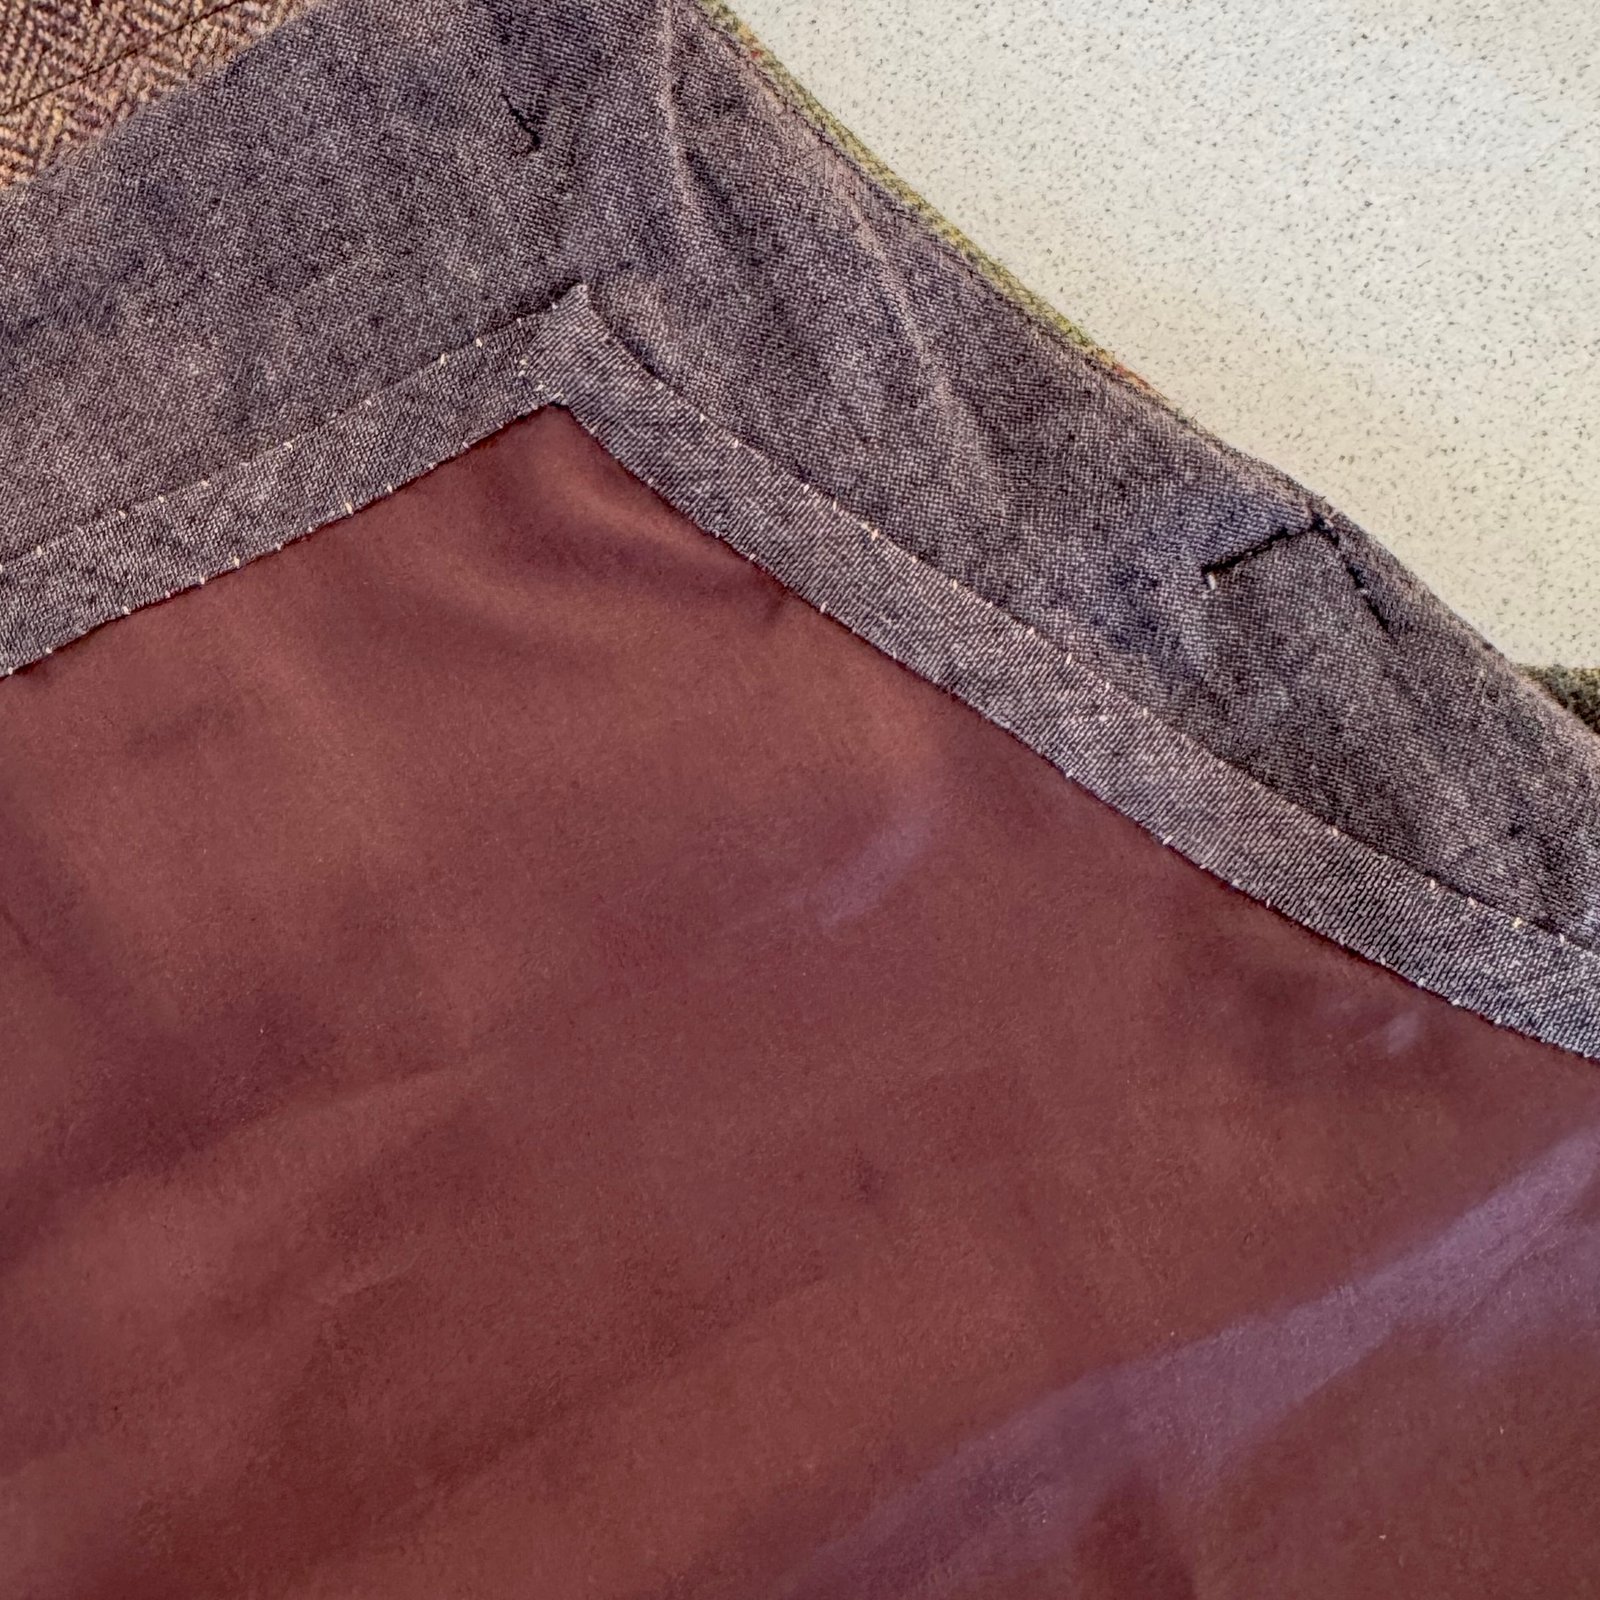
Everything here was from my stash, and I’m so happy to have finally made something I love from this beautiful fabric!
2) Back in summer I made a new little dress using leftover cotton fabrics and the Esme pattern from the book “Everyday Style” by Lotte Jansdotter. I love how it looks like a French flag!
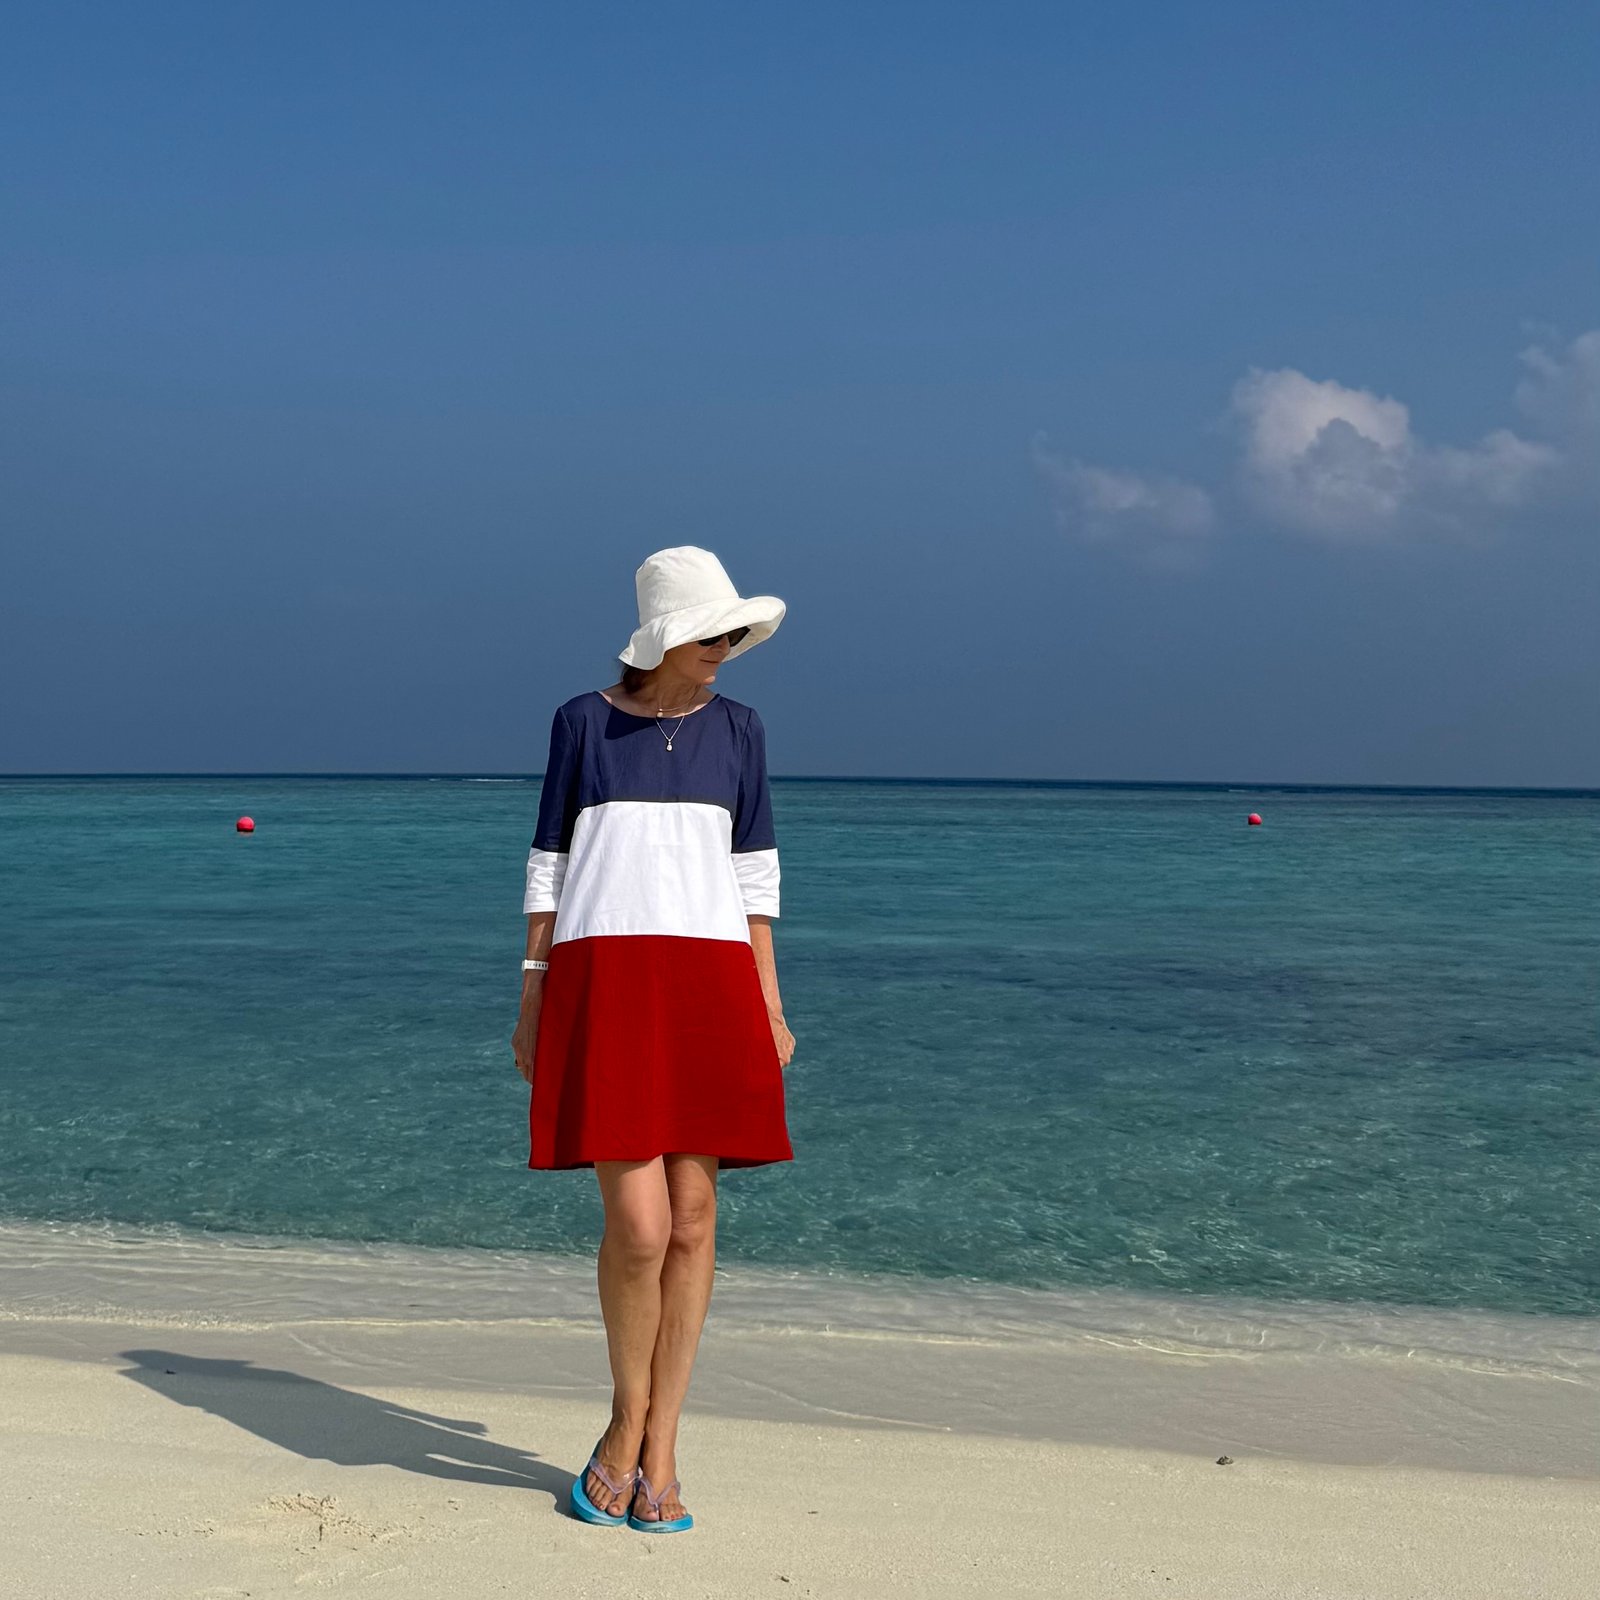
 The seams look like straight lines, but in reality none of them are because of the weird shapes of the fabric scraps I was using! All the horizontal seams are curved to differing degrees. It was a little tricky to get a good neat result but I was actually very pleased with myself how cohesive it all looks in the end! Of course this is a fun and cool, airy little dress to wear and I am extremely happy with it. I’m looking forward to summer so I can get back into it again!
Again, everything from stash.

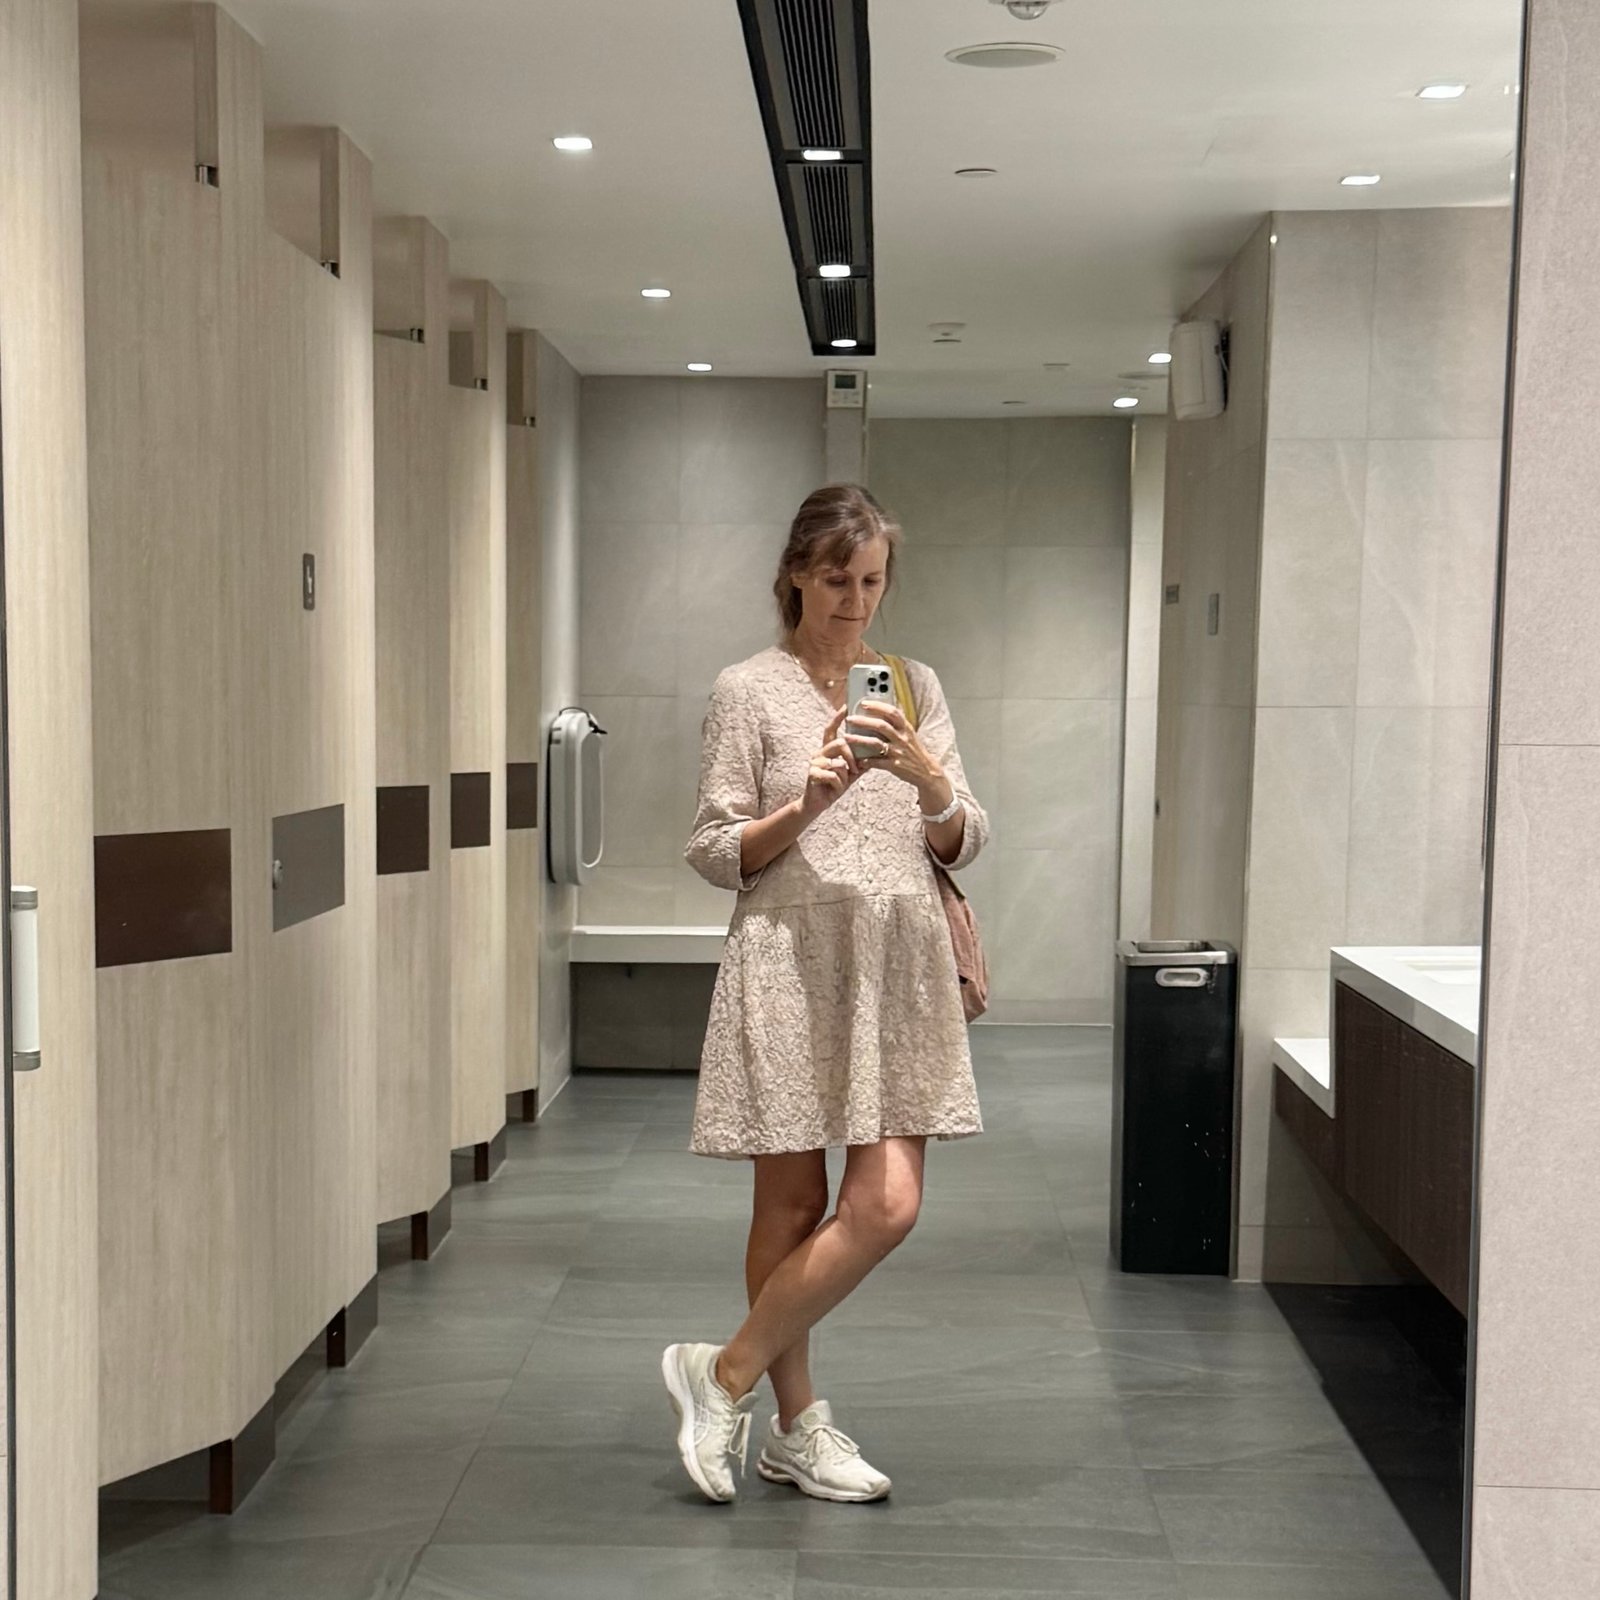
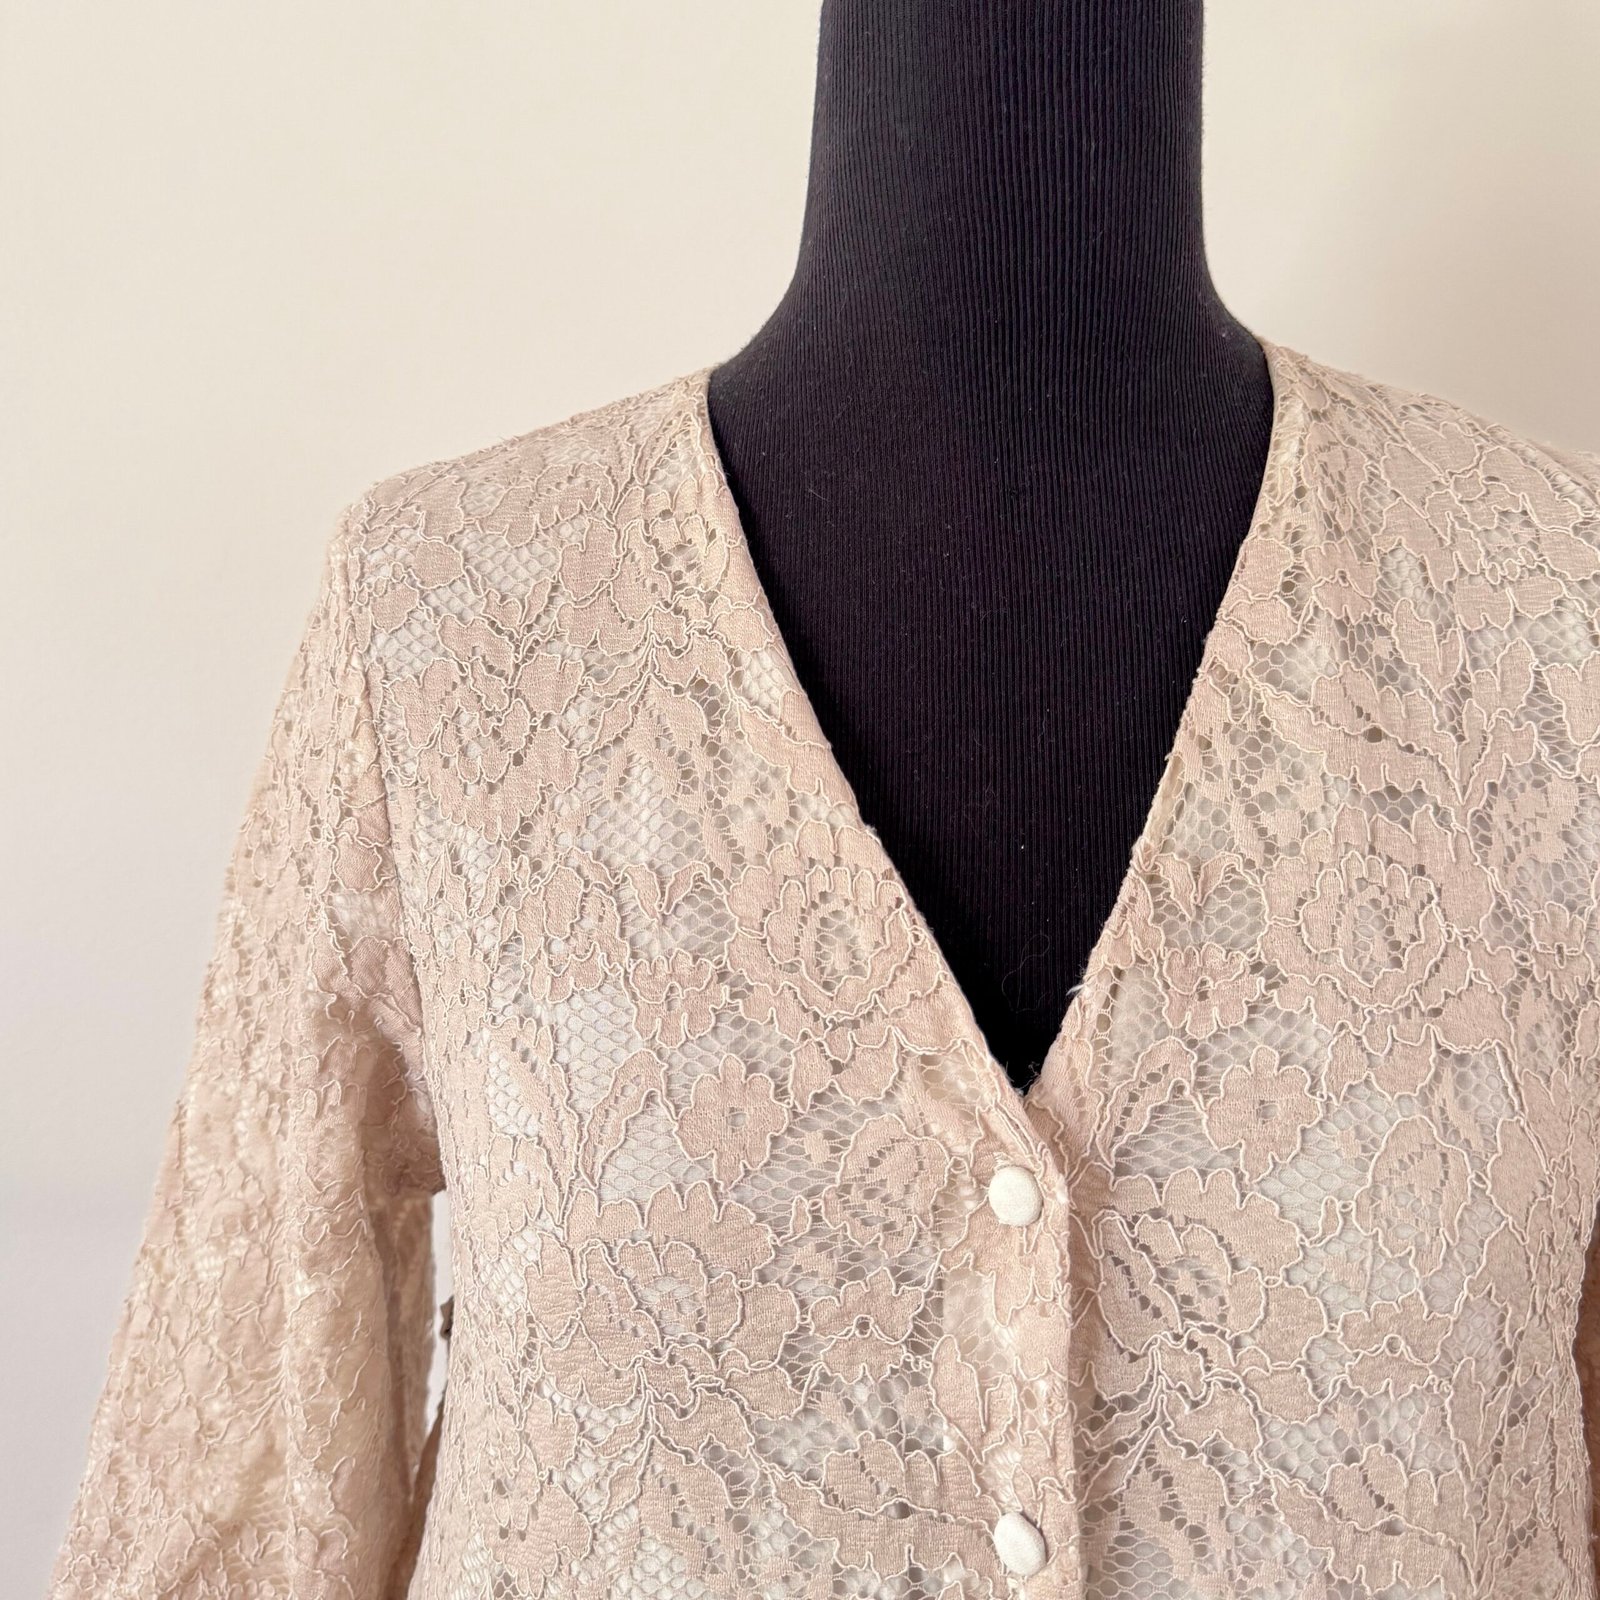
 3) Also during last summer I also made this little lace dress using the Fibremood Lennox pattern and a pale “greige” lace originally from Fabulous Fabrics from many years ago. I underlined all pieces completely with a cream coloured muslin, also bought many years ago, I think from a Morrison remnant sale. The buttons are actually some leftovers from the covered buttons that I made for Kelly’s wedding dress, back here! This is also all from stash, and although I’ve worn this a tonne since I made it I took only one picture of myself wearing it… this rather terrible one, sorry. I’m trying to get back to photographing and documenting things better.
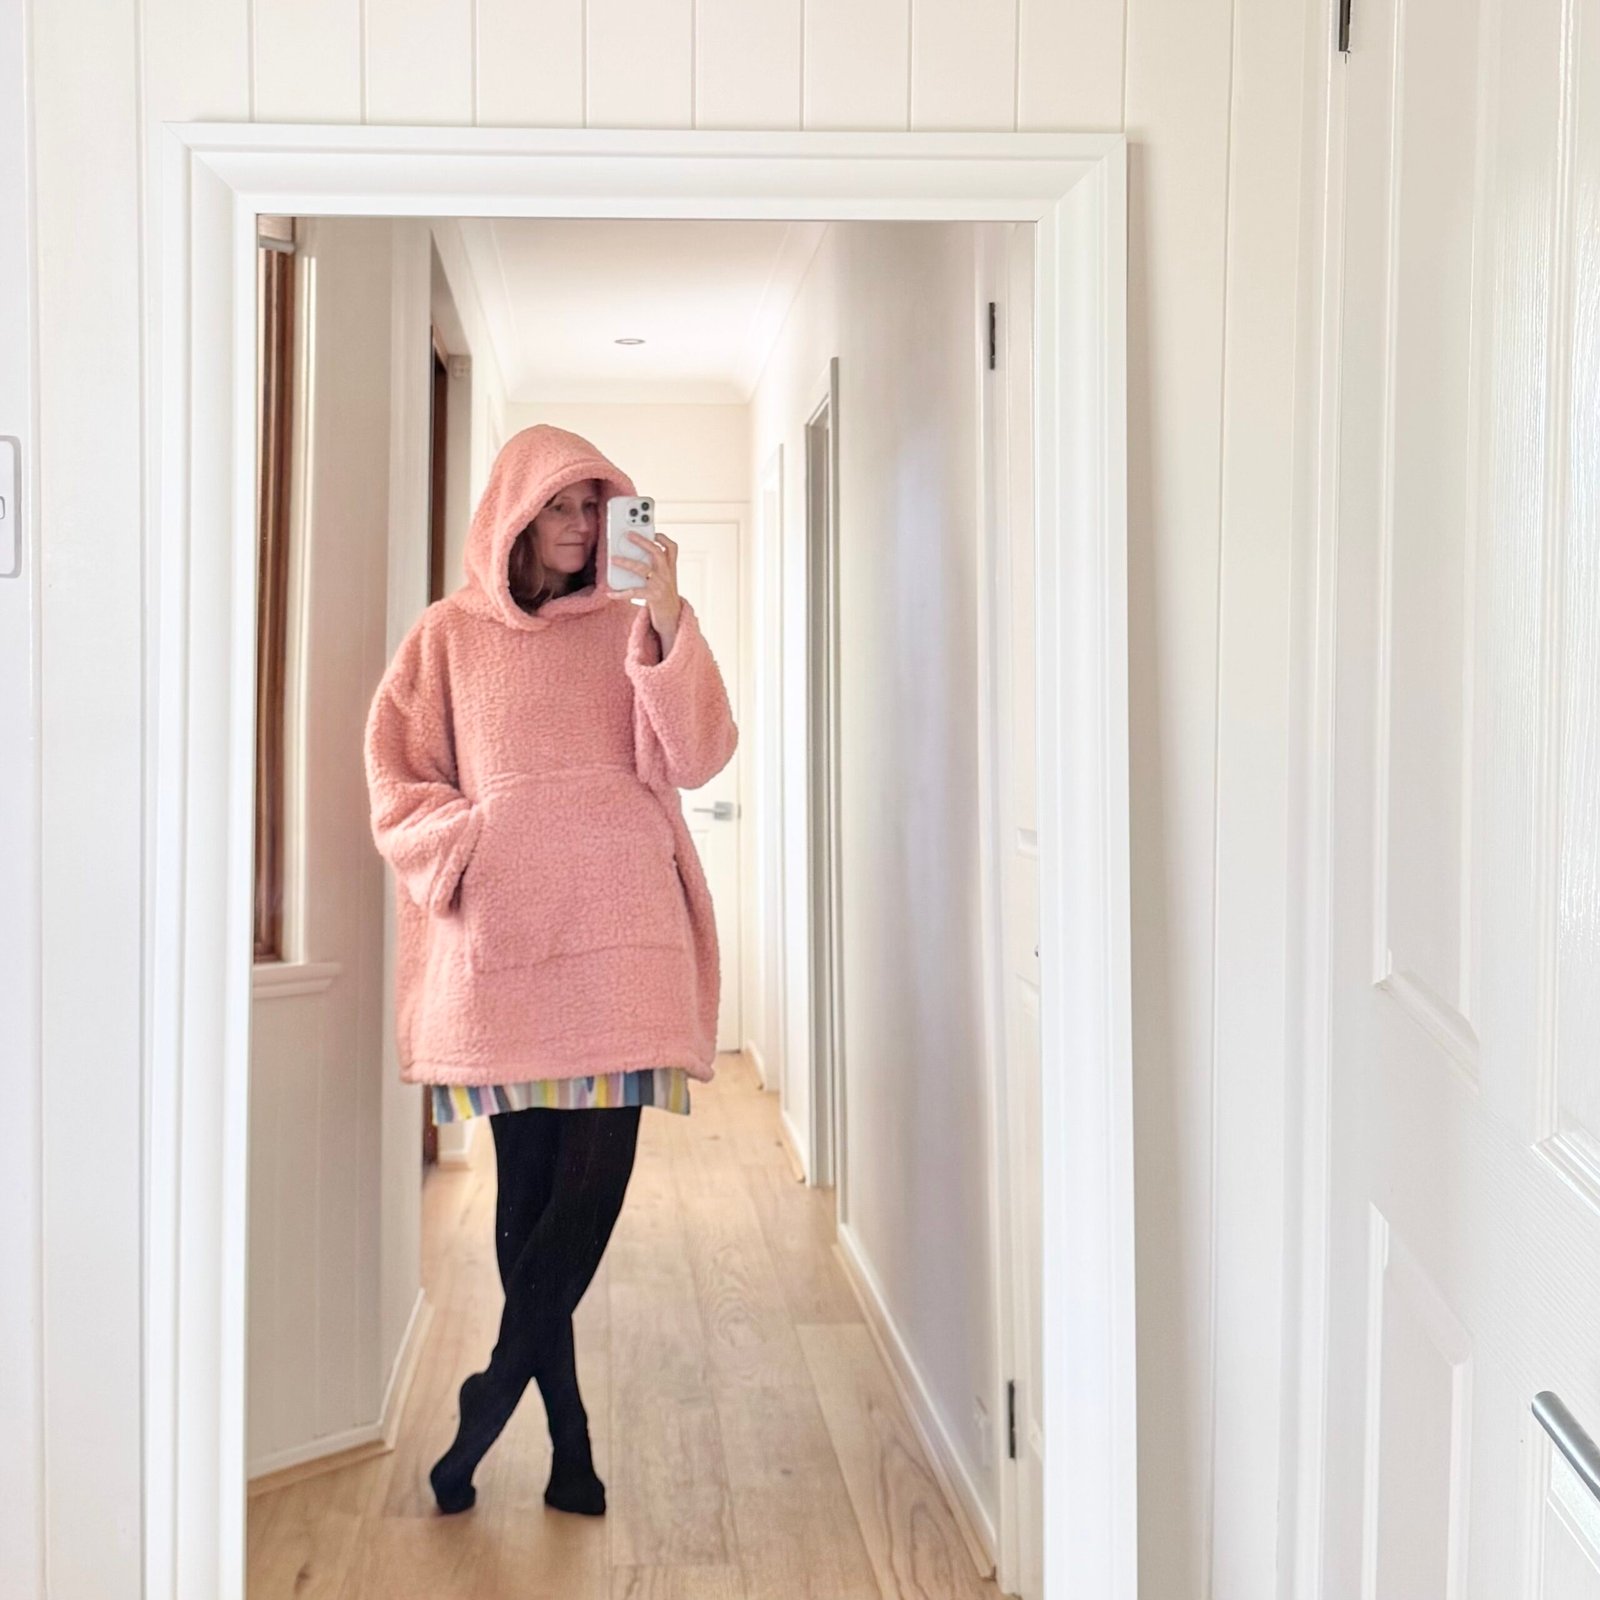
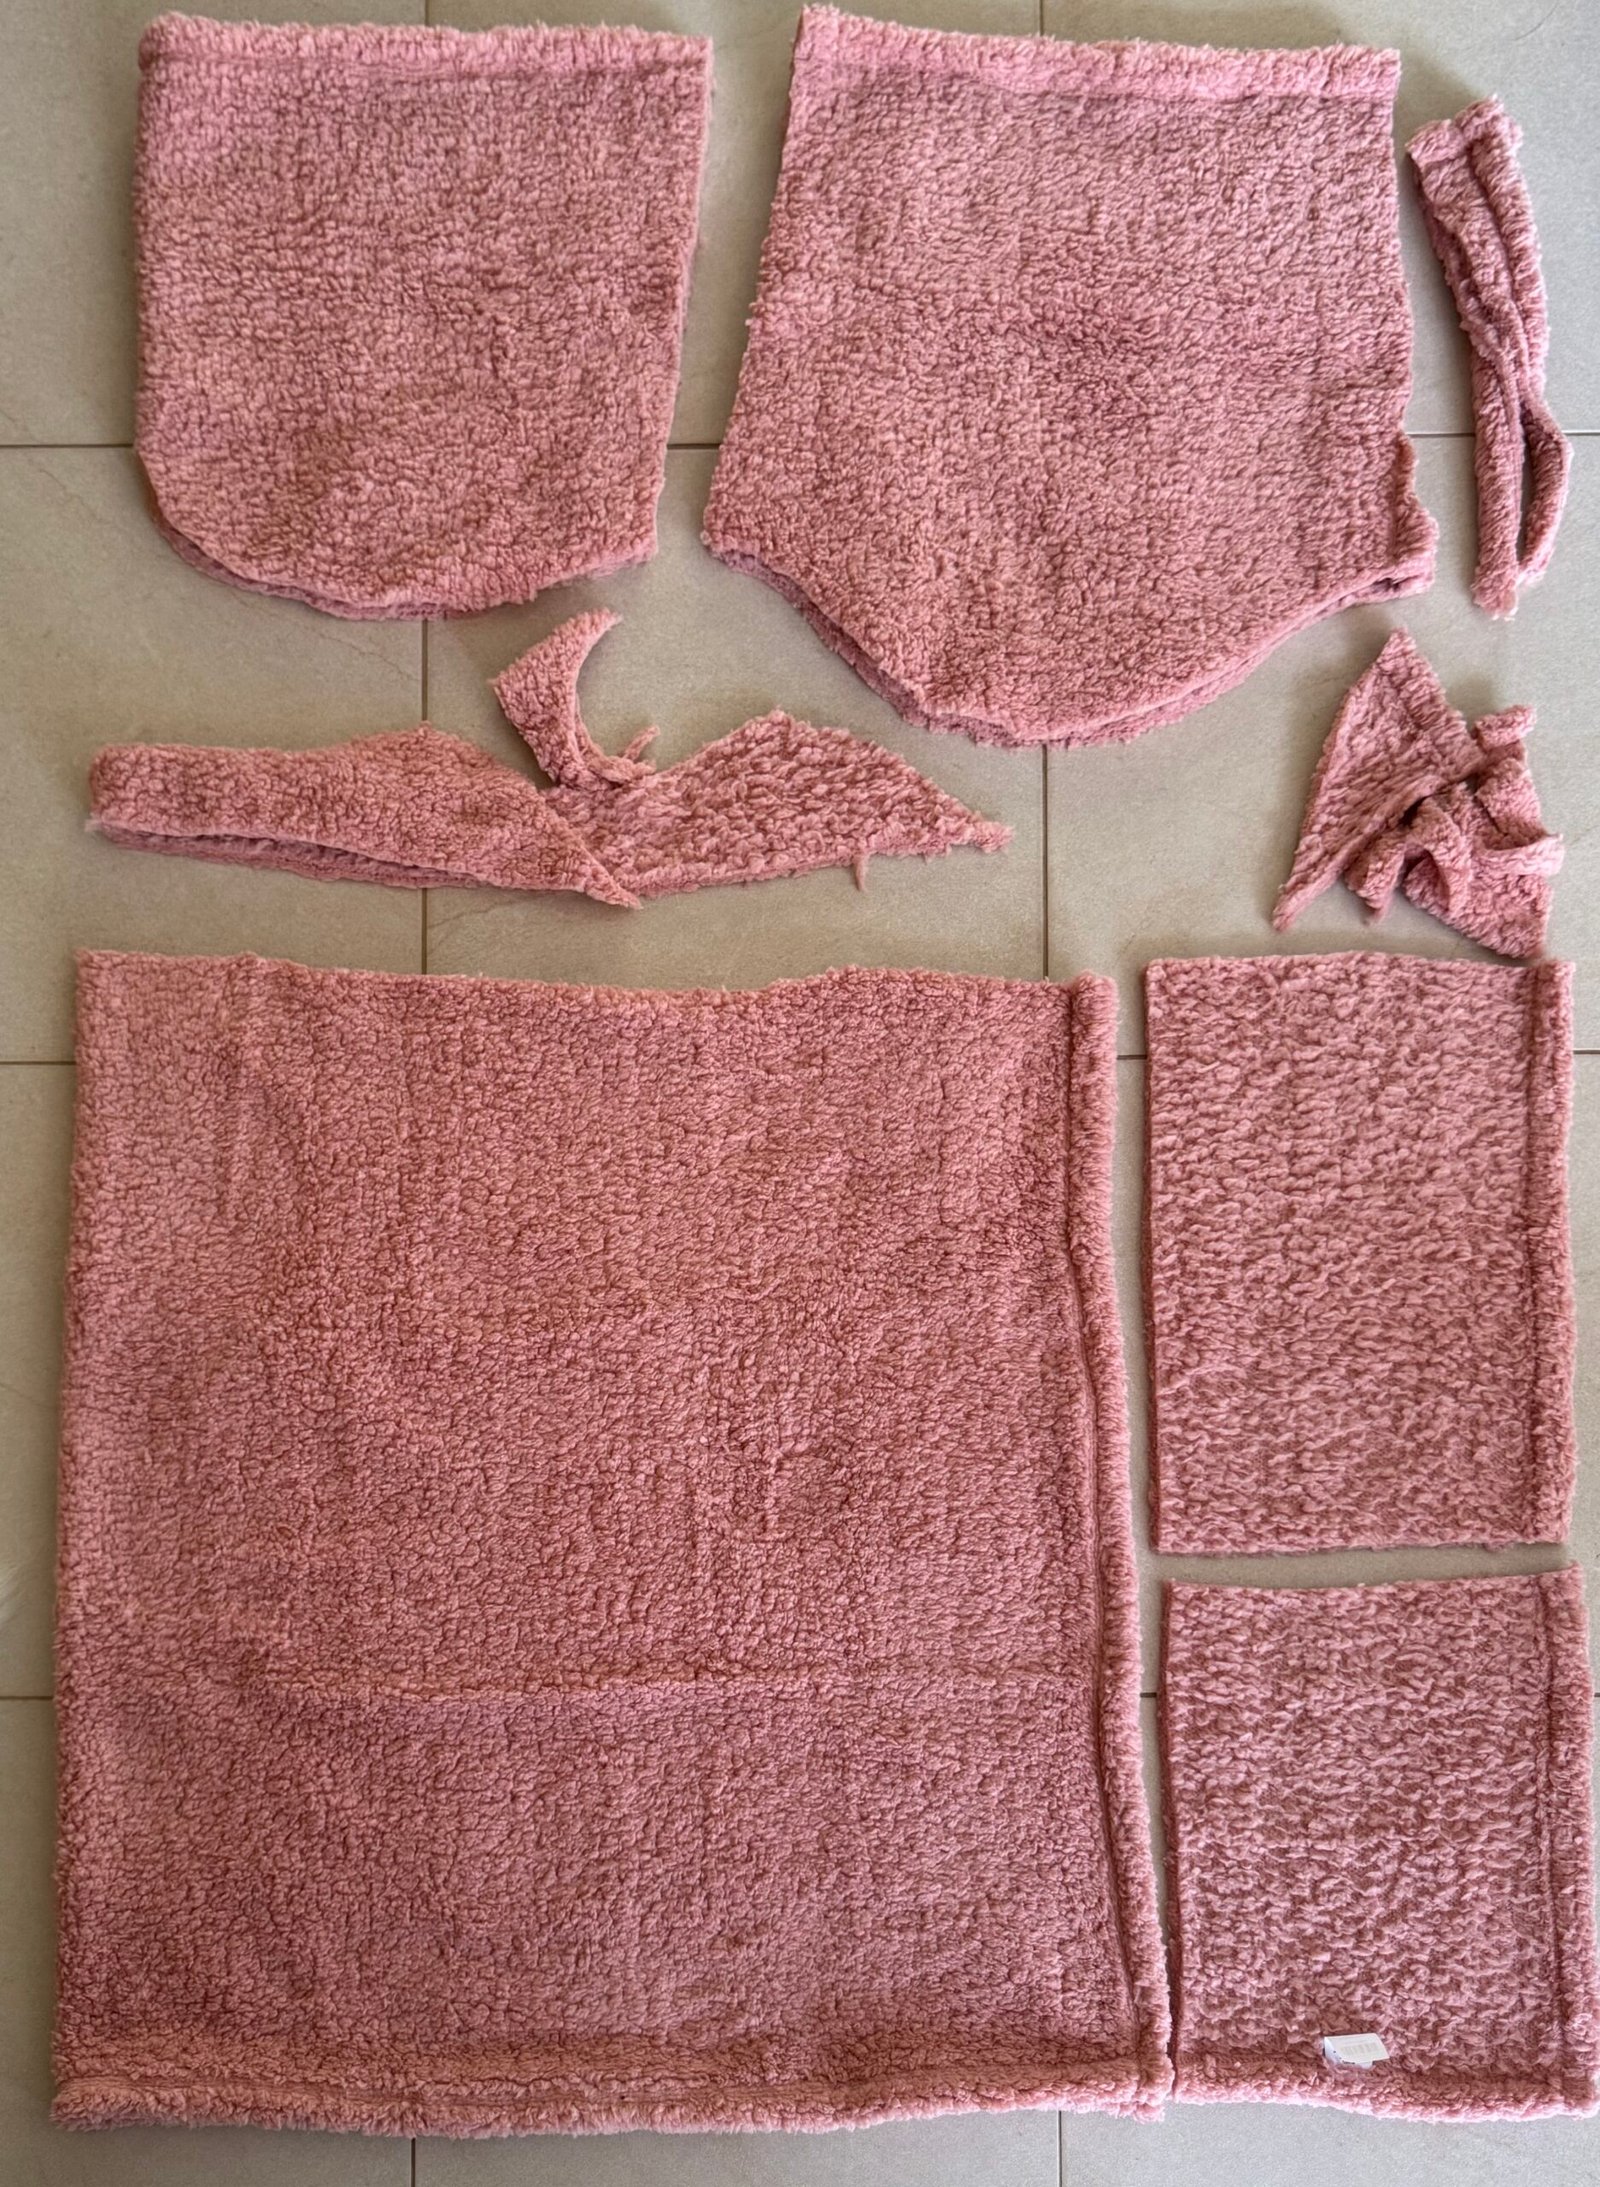
4) and 5) and oodie!! along with some new winter pyjamas. Not particularly glamorous or exciting, and I did have to buy all new fabric but we all have to do that sometimes since we need pyjamas, yes? I’d bought the fluffy pink blanket from Spotlight with a view to making a new dressing gown like my previous one… but the blanket was unfortunately way too small for my pattern. So I drew up a plan that used as much of the blanket as I could, while making a functional winter coverup. I absolutely love the result! It’s super comfy and warm and I’m in it every single evening, even during the day at home sometimes!
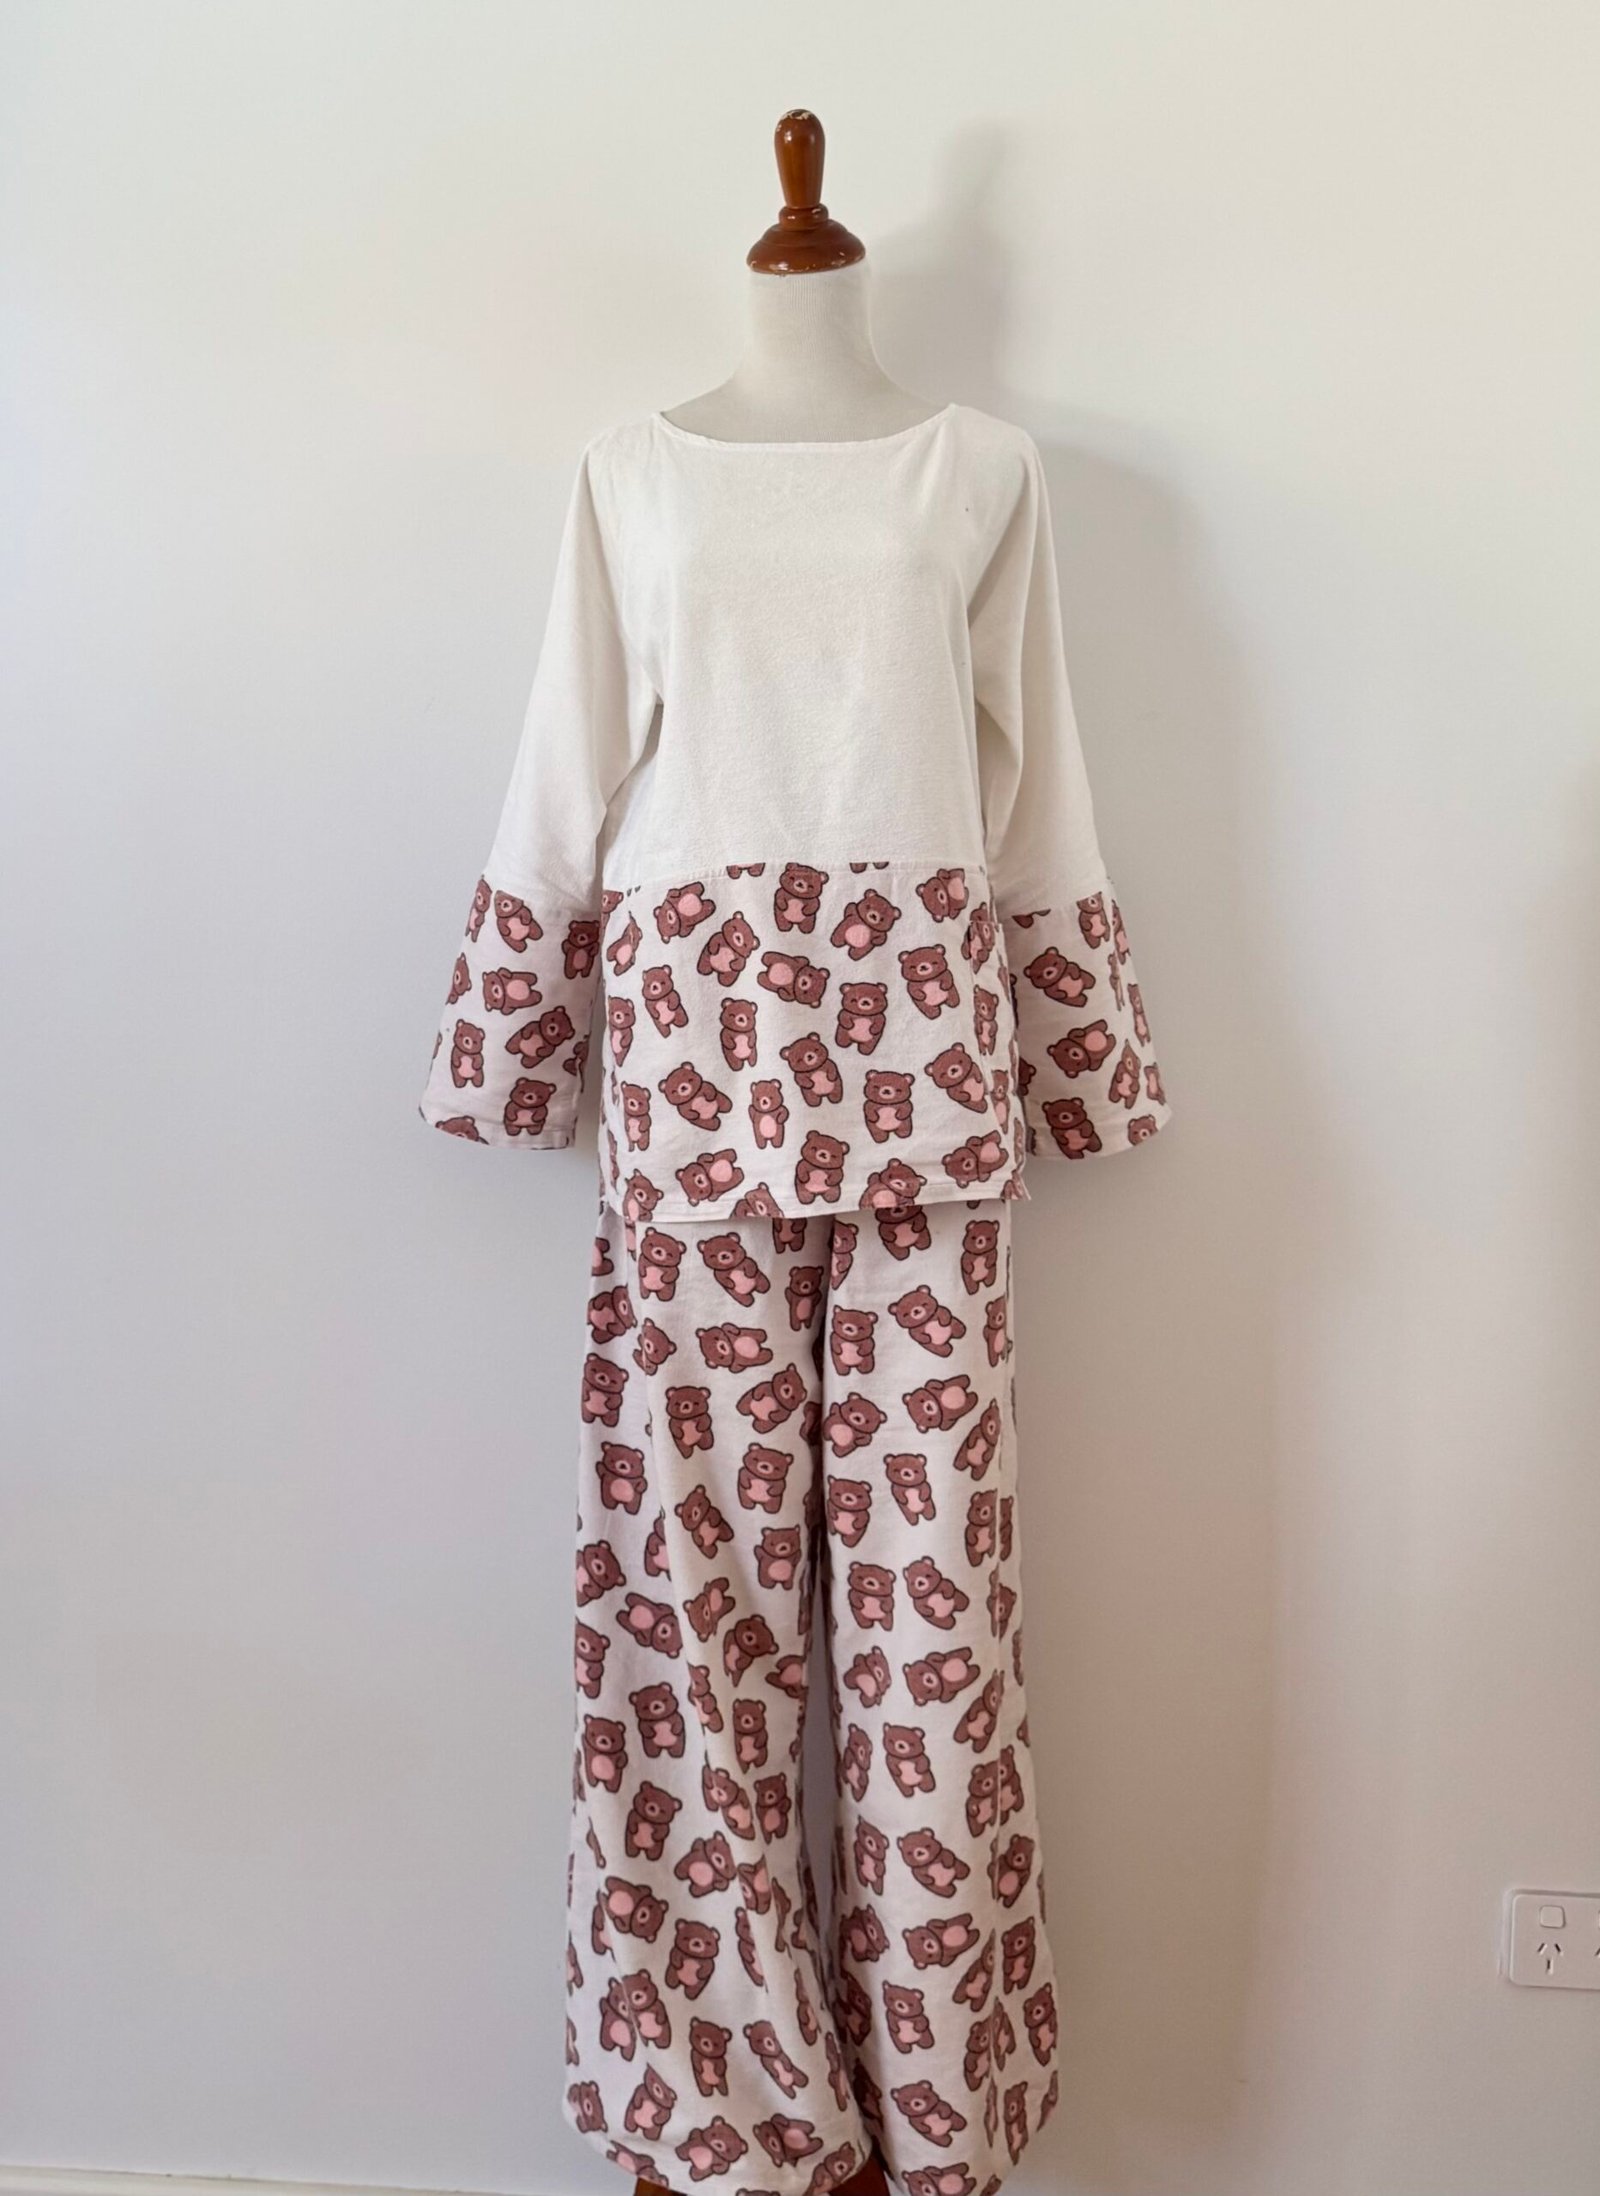
I chose the pyjama fabric simply because the pink of the teddies’ tummies perfectly matches the colour of the blanket so well. The patterns I used for these are my usual; the Closet Core Carolyn pyjama bottoms, and heavily modified Burda 10/2009; 121 for the top.
Finally I just want to add; thank you so much for the lovely welcome back comments on my previous post! I do still have quite a few more things to share once I get around to taking some photos, so please stay tuned!


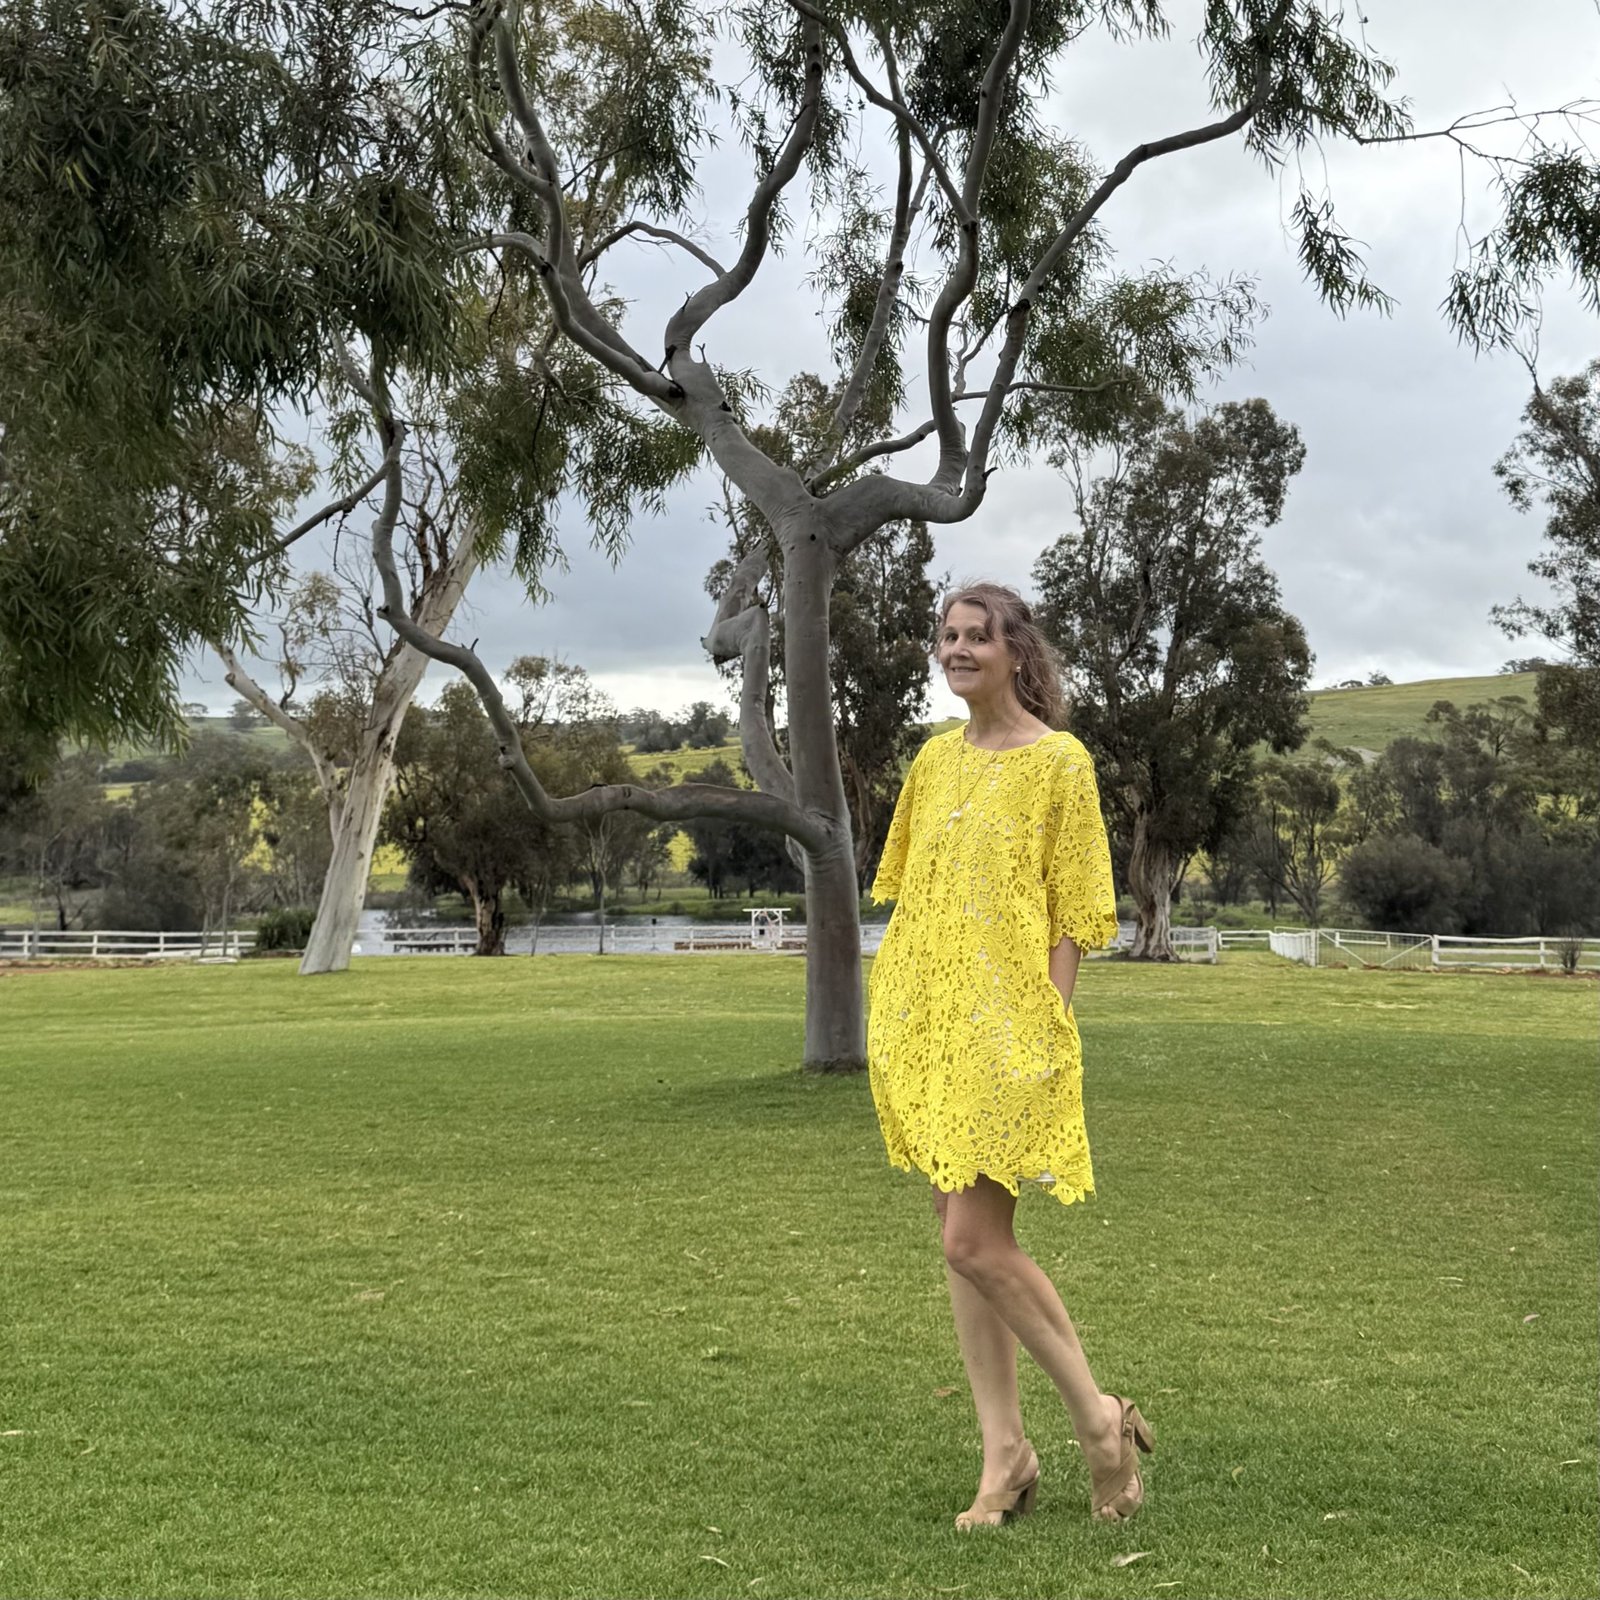
 hello! Recently my lovely niece J married her long-time man and so of course I had to make a new dress for myself for the occasion… I was vaguely toying with the idea of shopping for fabric before I remembered two things: 1. as everyone in our family knows, J’s favourite colour is famously yellow, and 2. I have a piece of very yellow, and happily wedding worthy fabric in my stash already!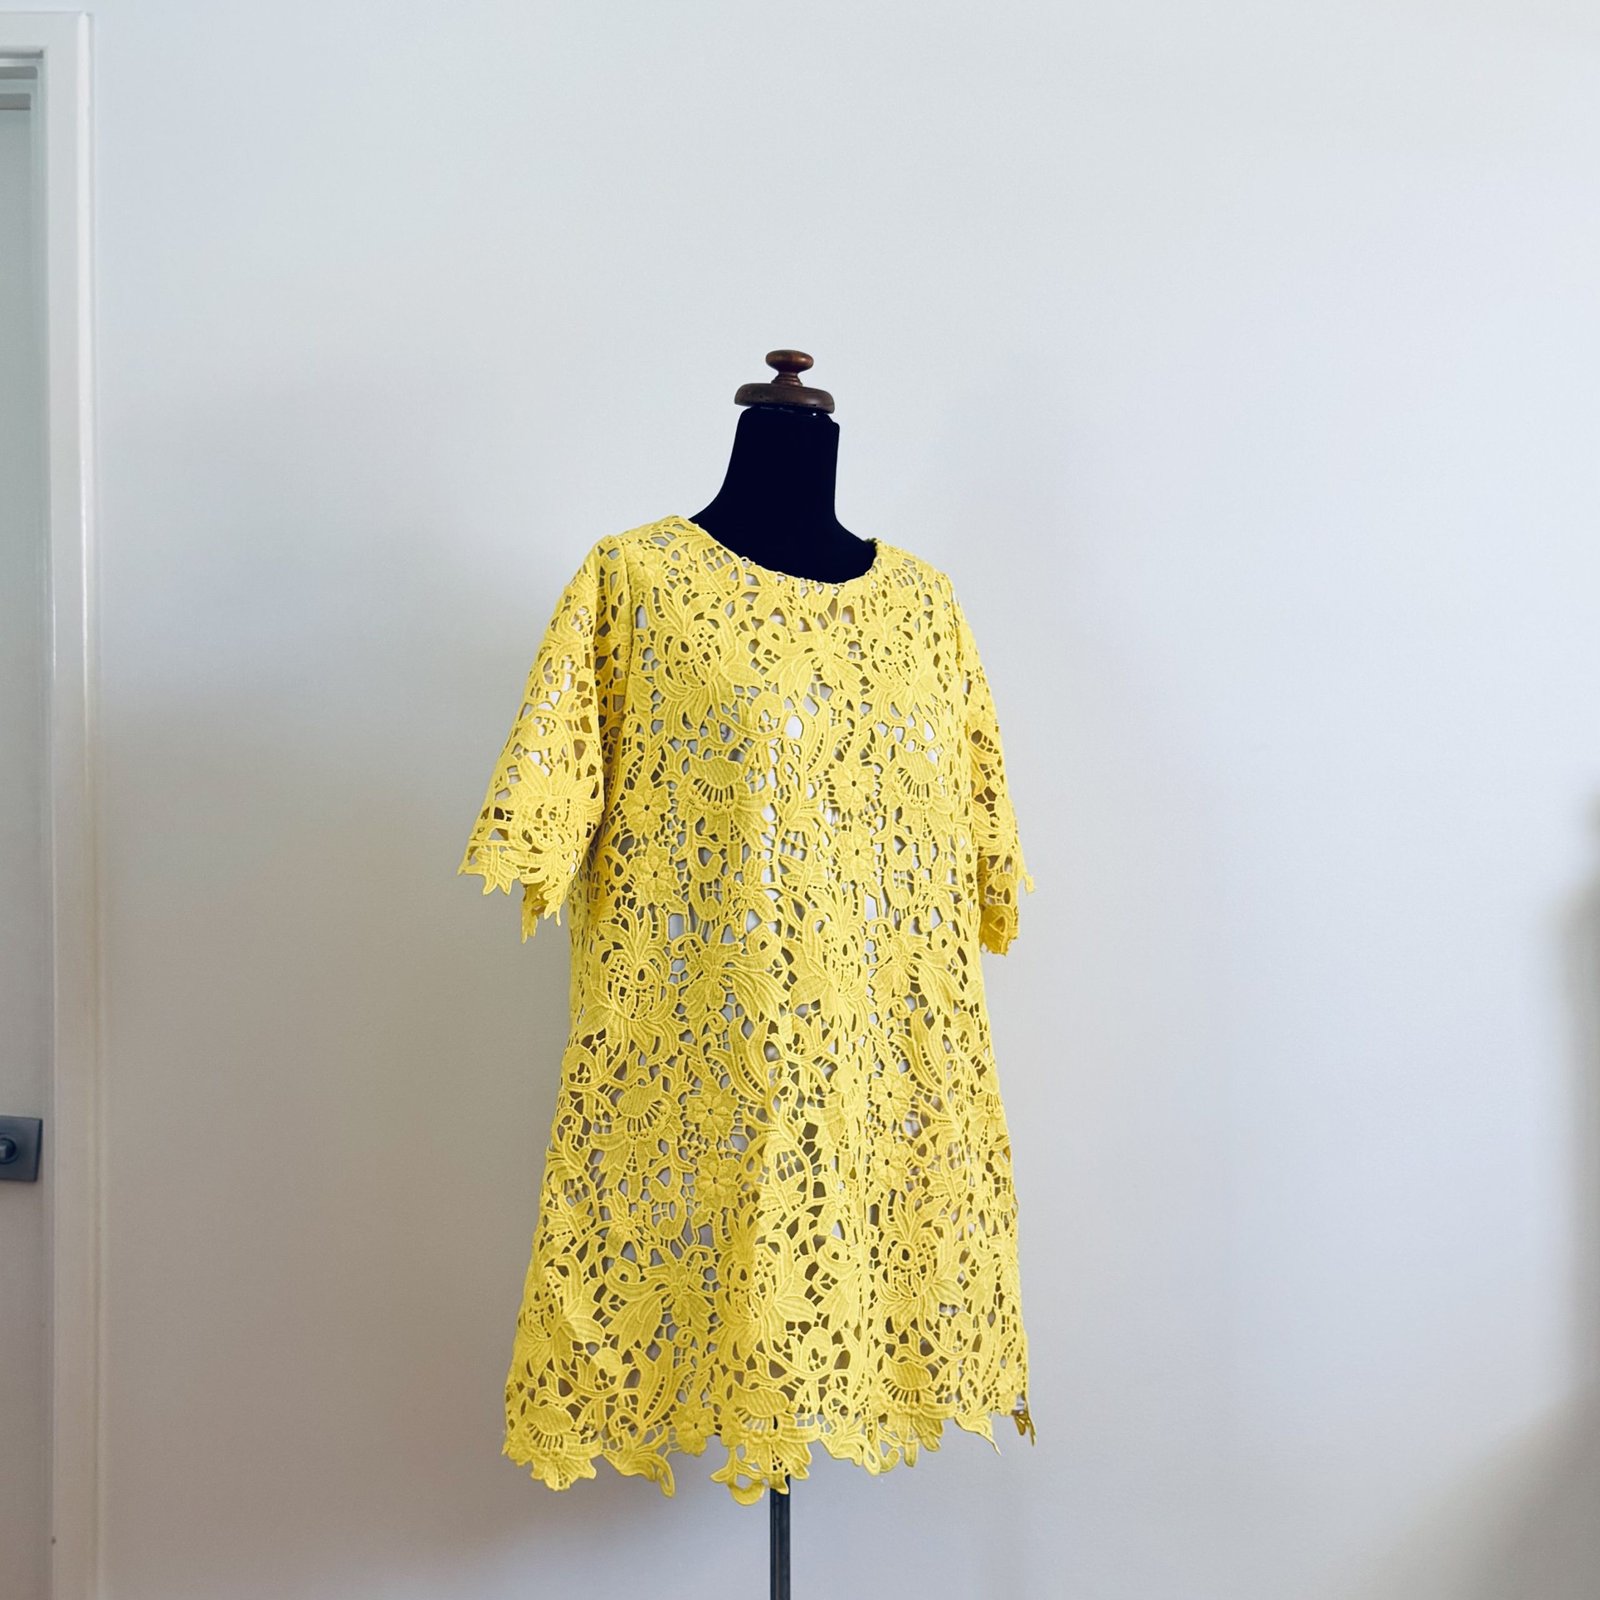
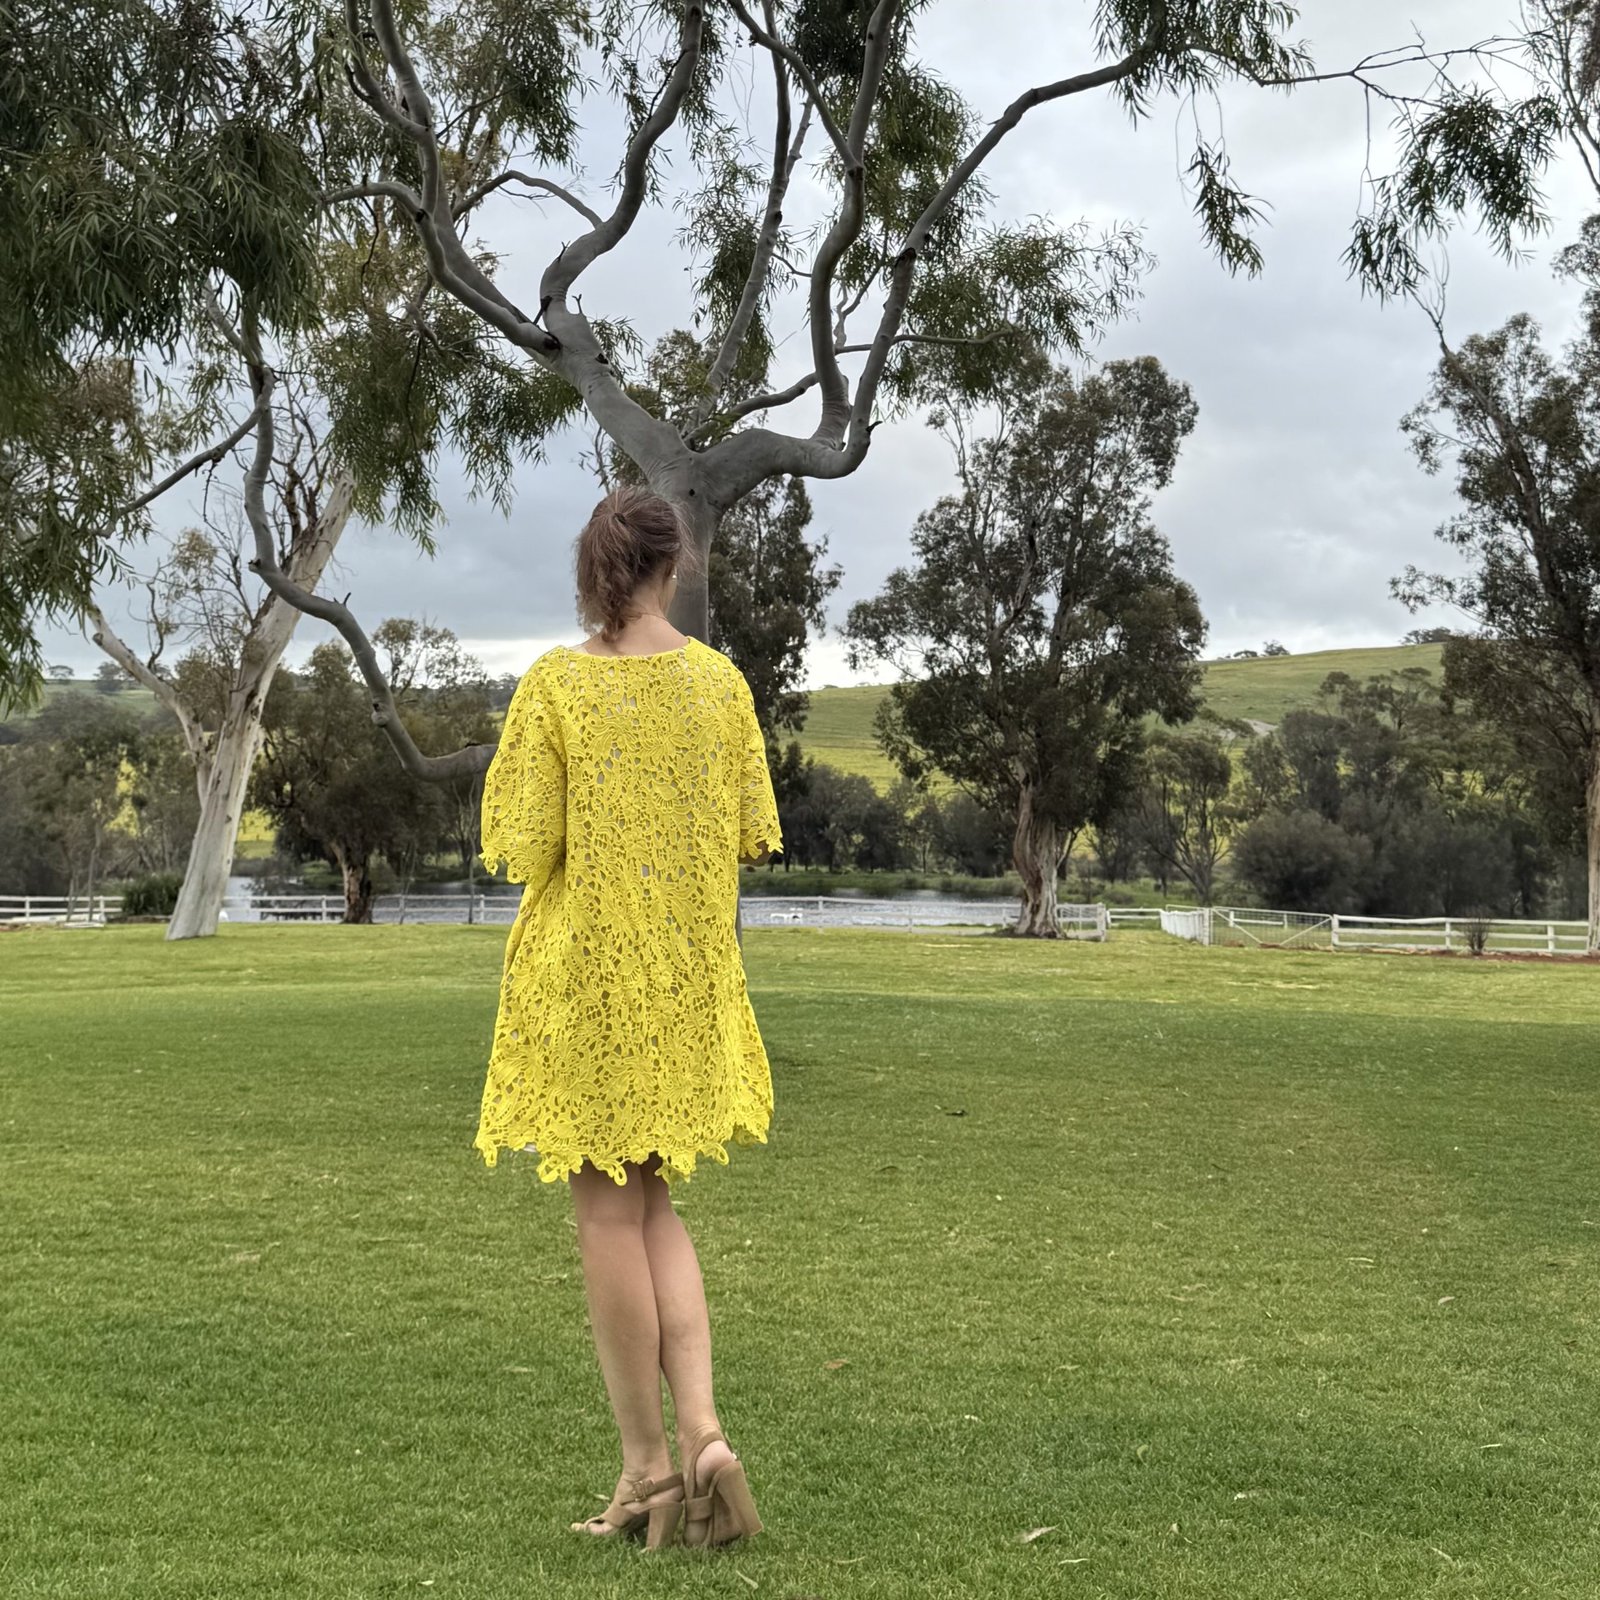
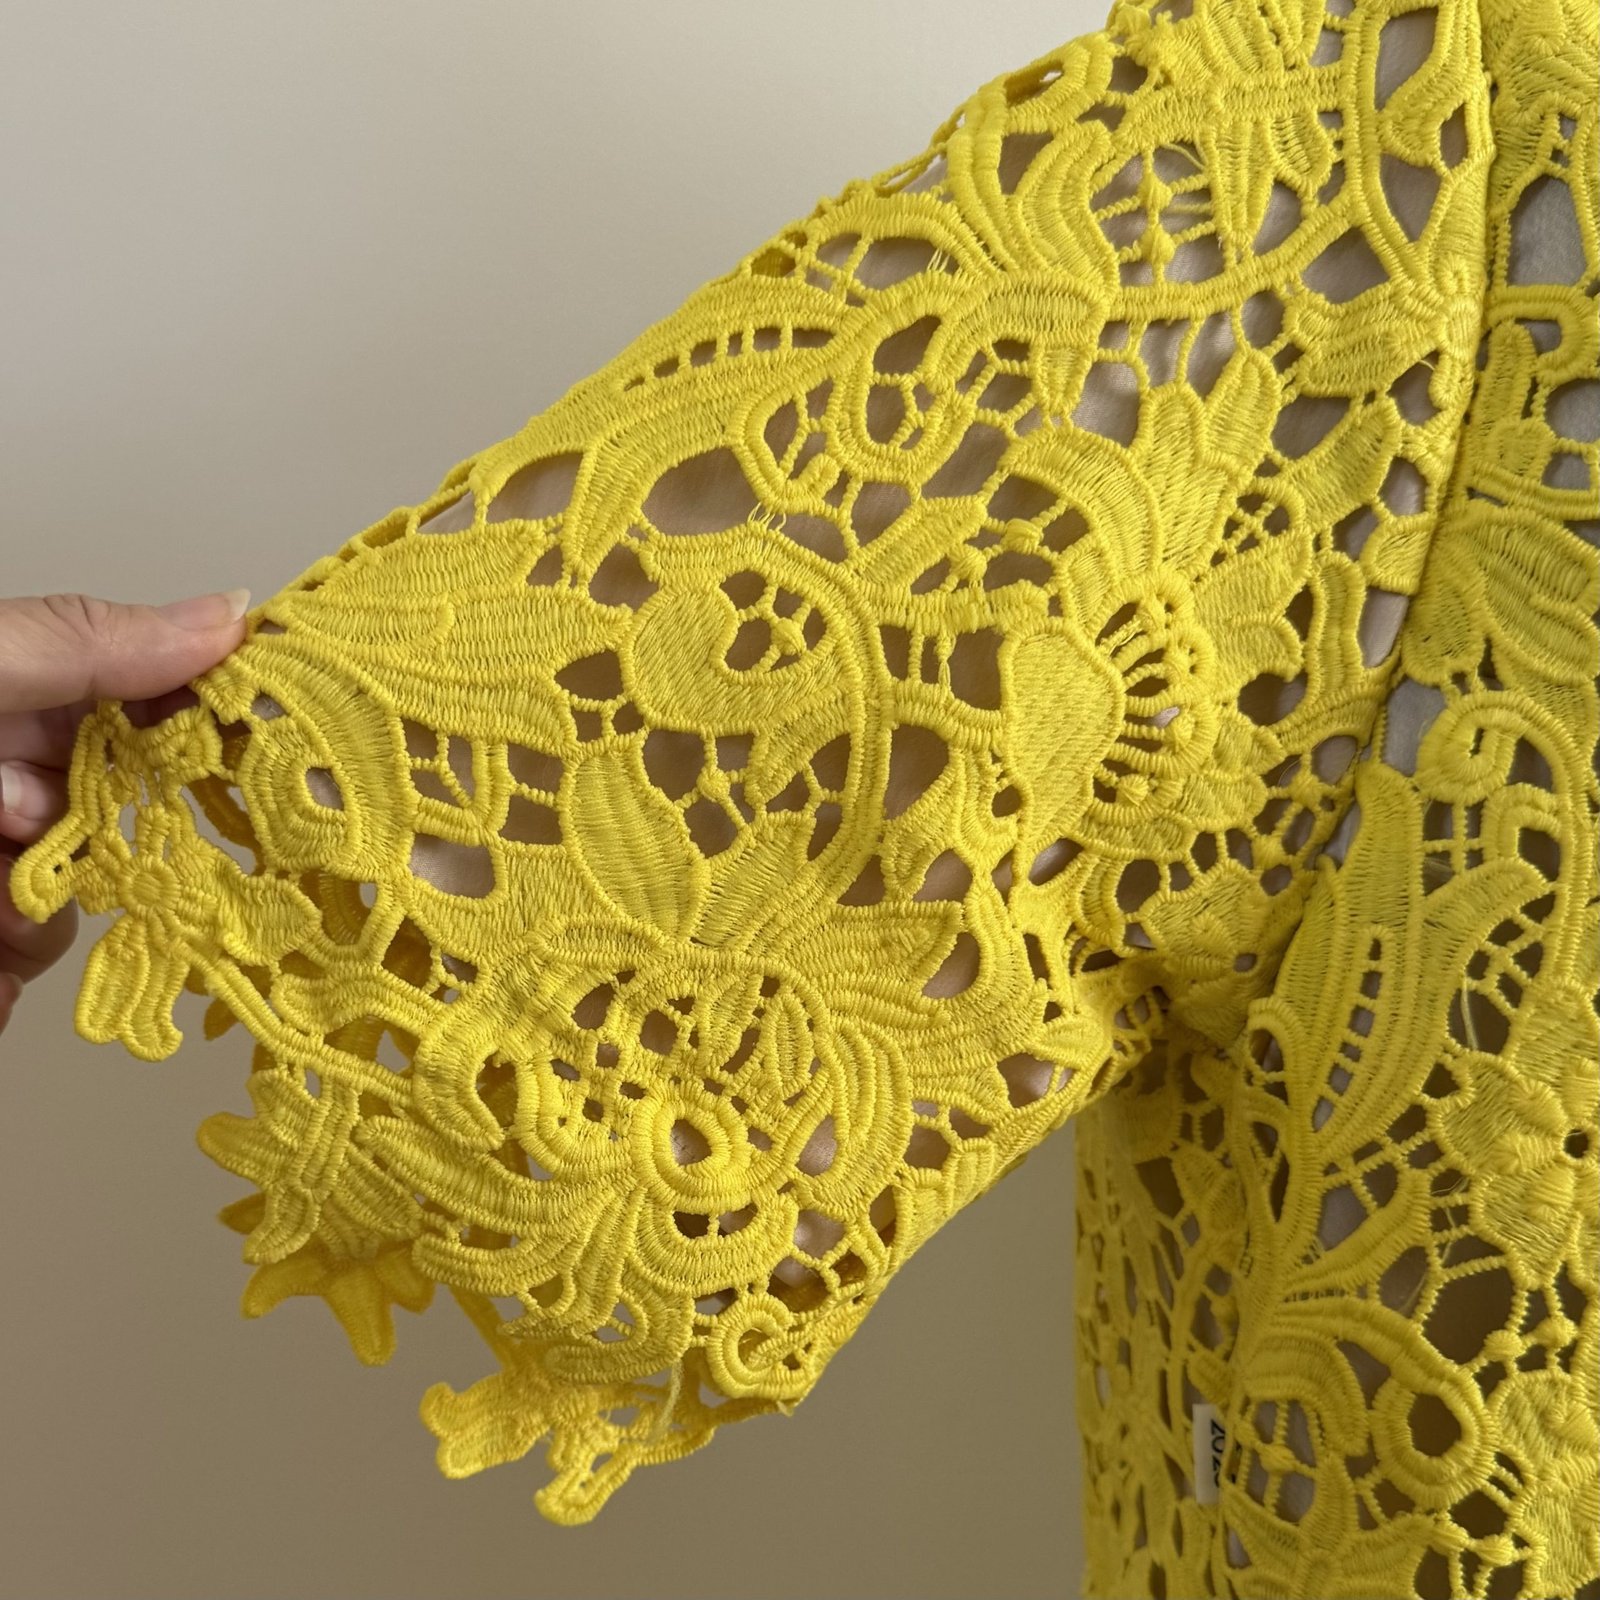
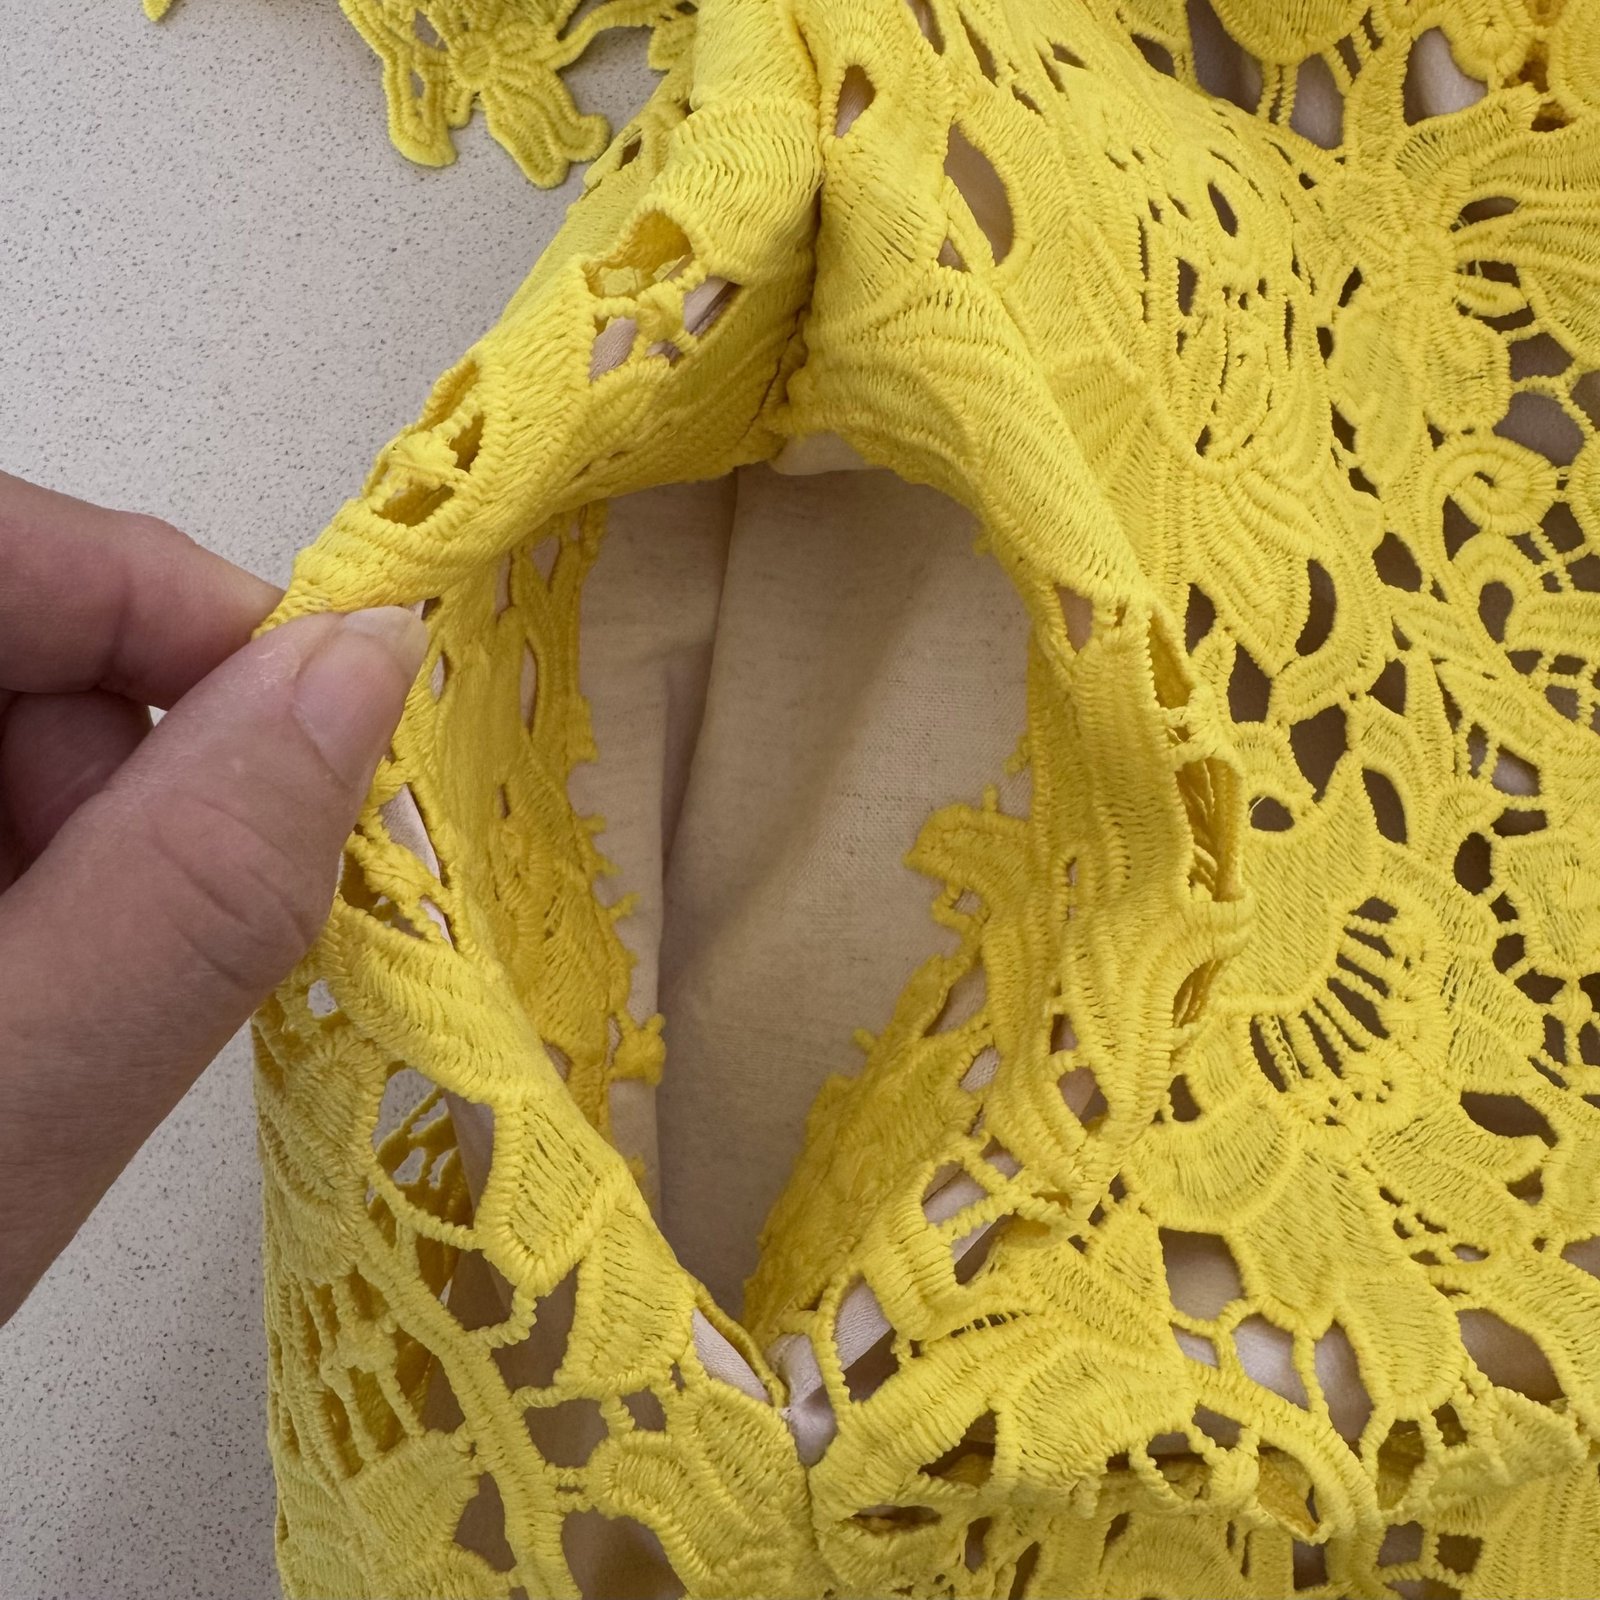
 I cut the pockets and neckline facings from a natural cotton linen that I’ve had in the stash for years, saved specifically for this same sort of purpose.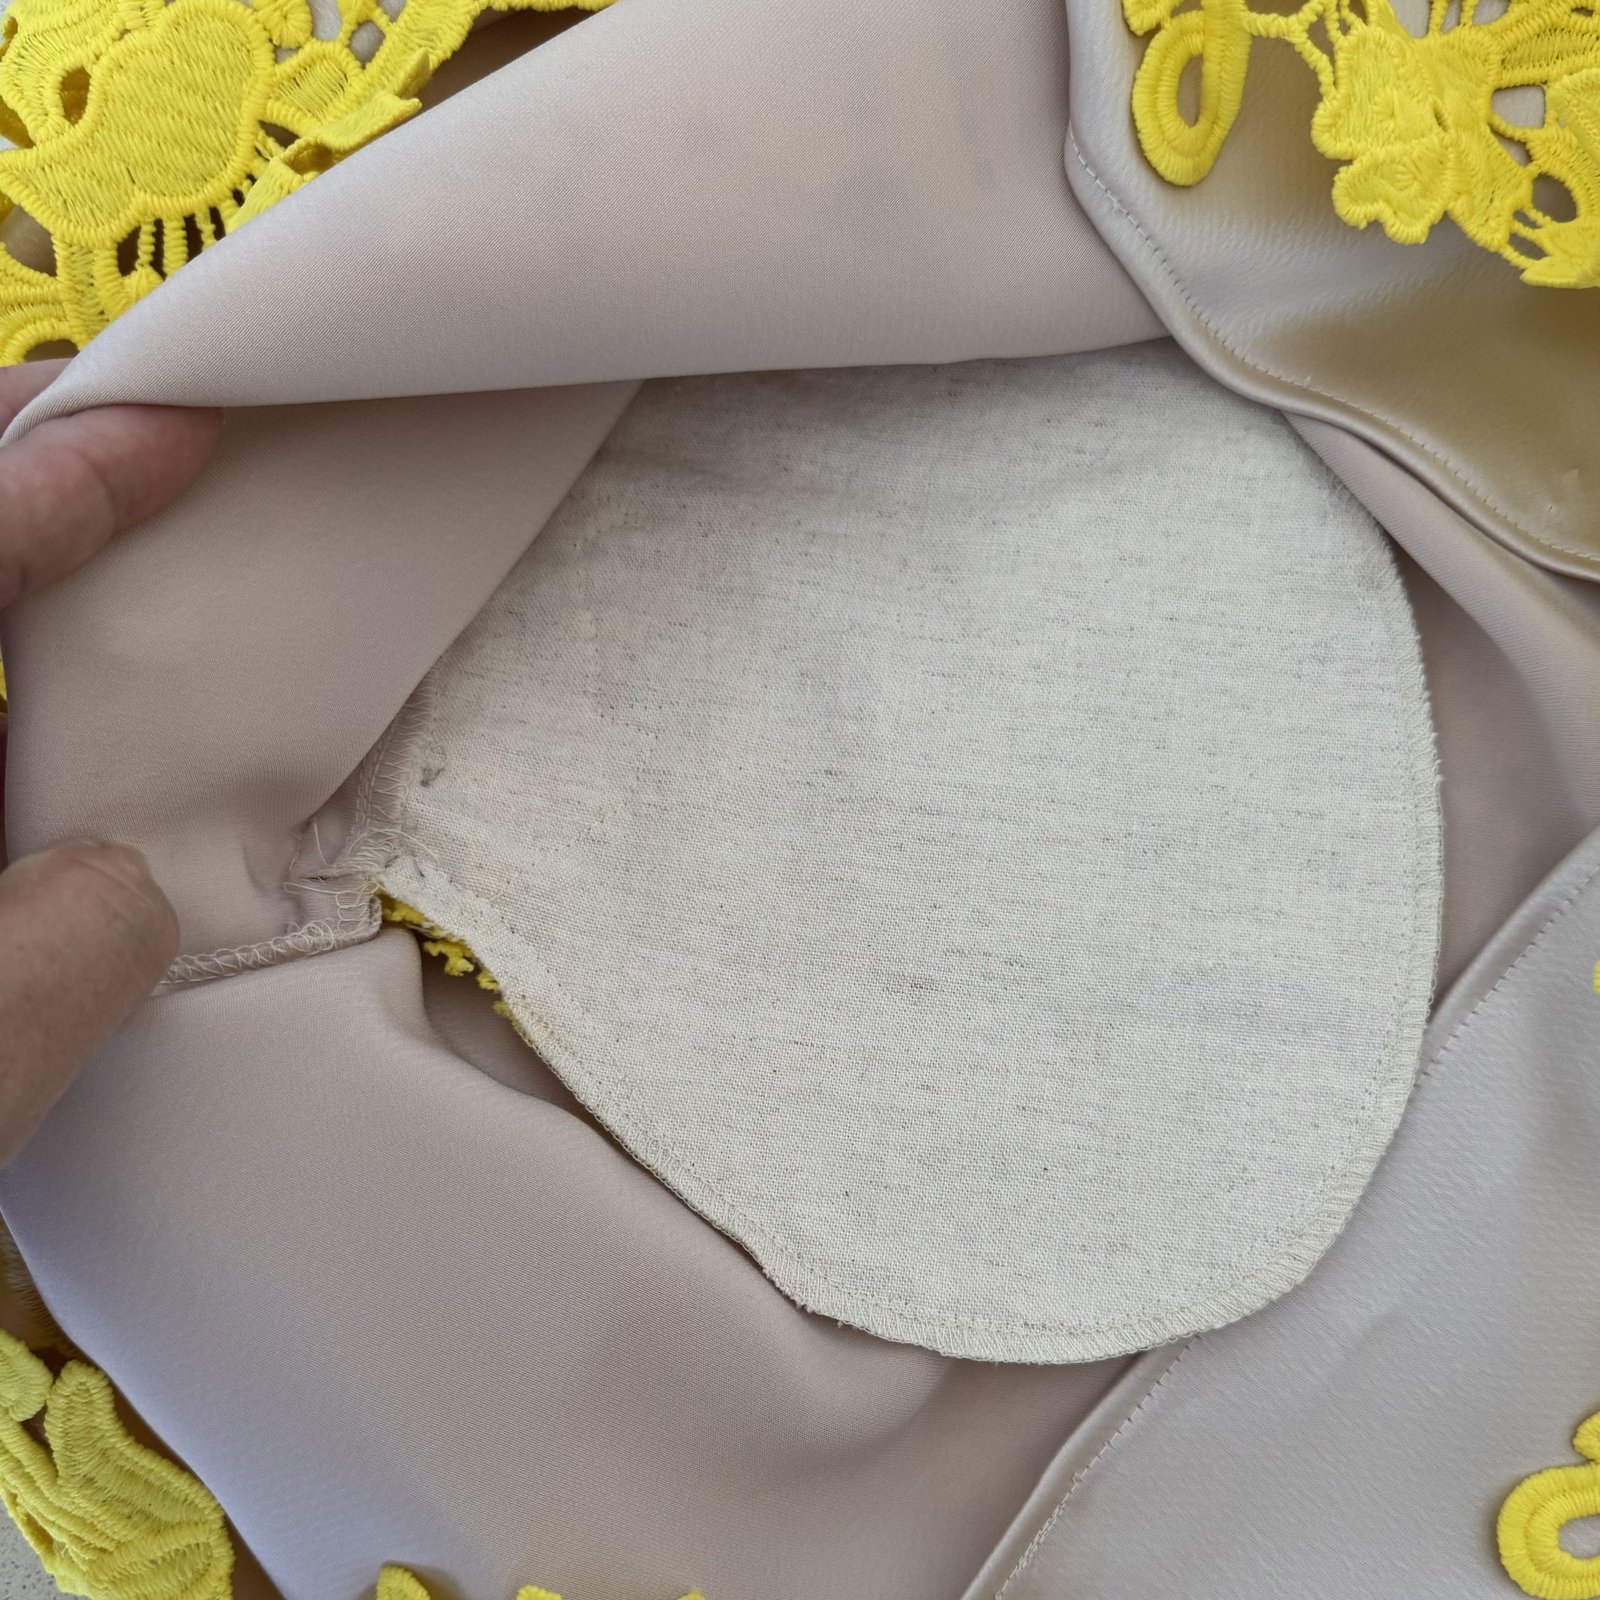
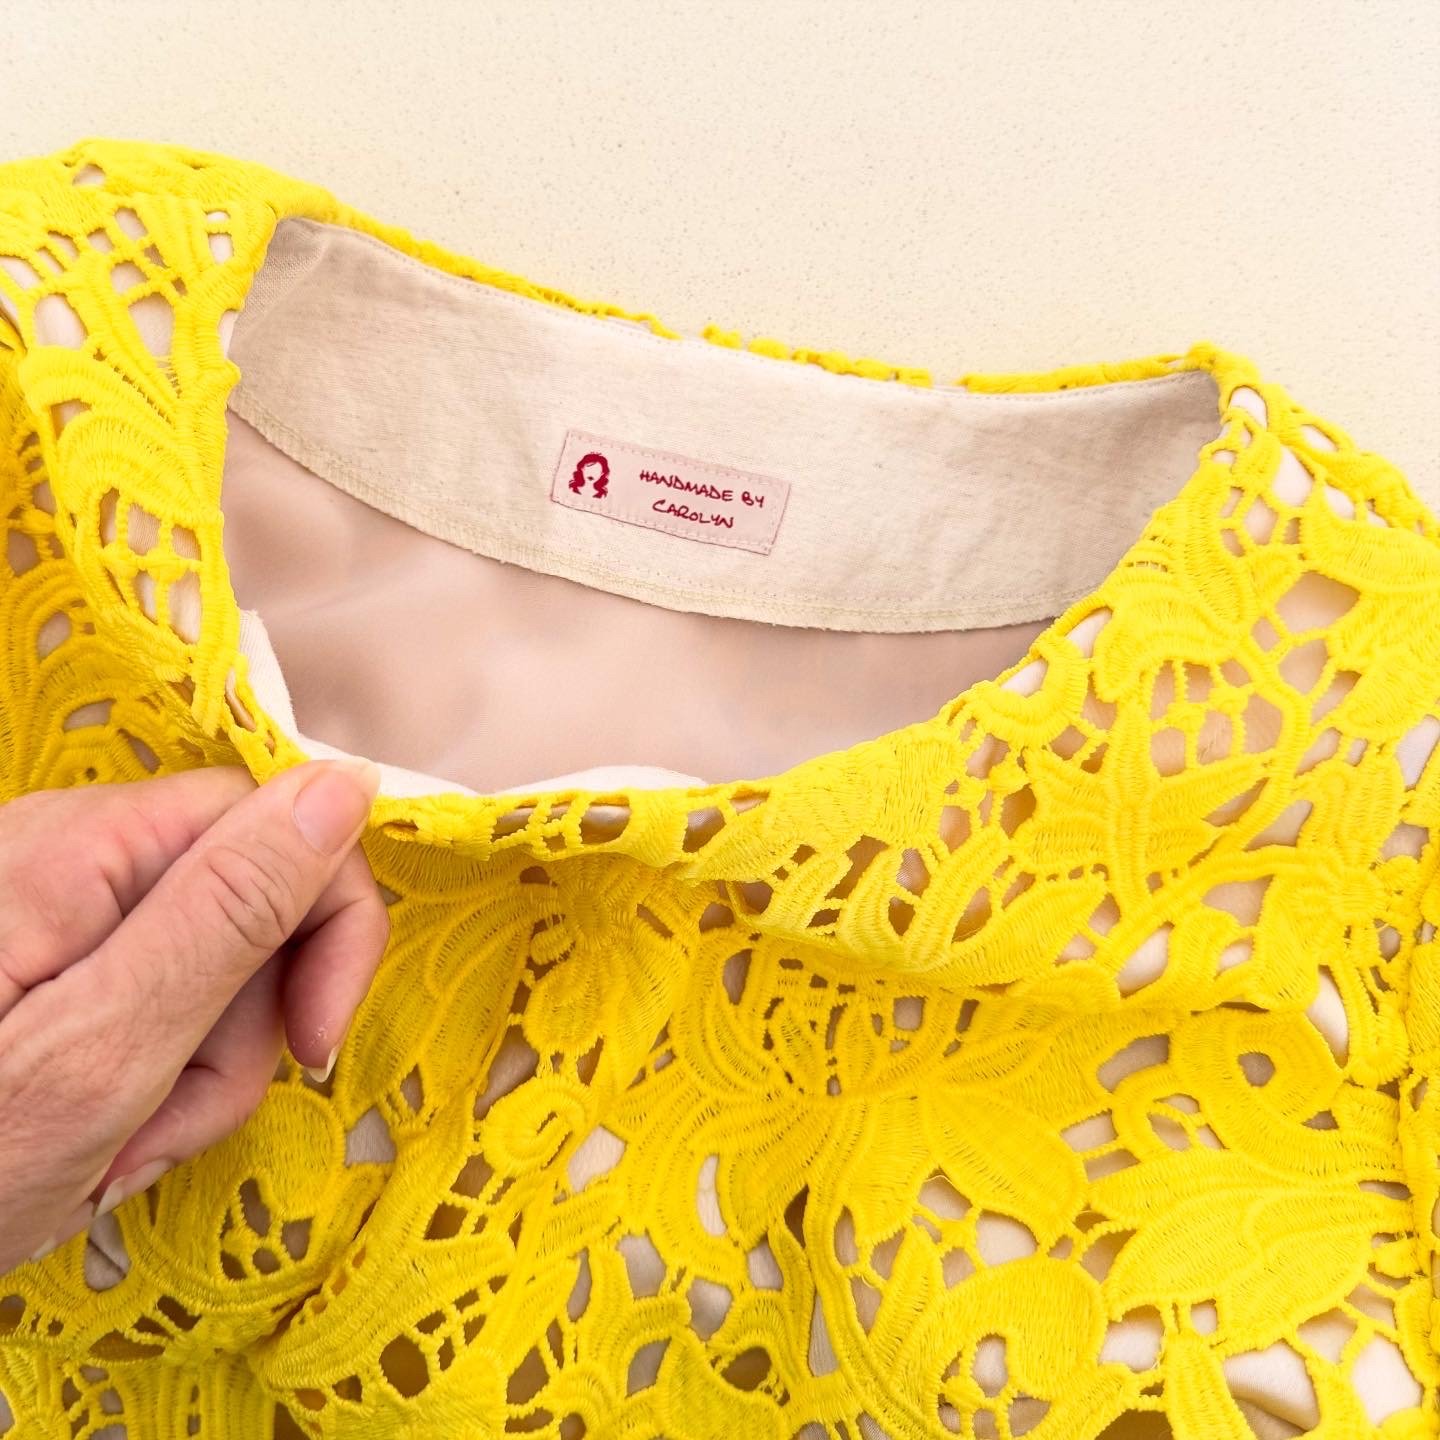 I’m including a picture of the happy couple because, although I did not make the dress, I did alter it to fit her and also did some minor repairs. This took three separate fittings and I took precisely zero photos of the process or anything. My only excuse is that I was also working on my own dress and stressing a little bit that I wasn’t going to get it all done on time.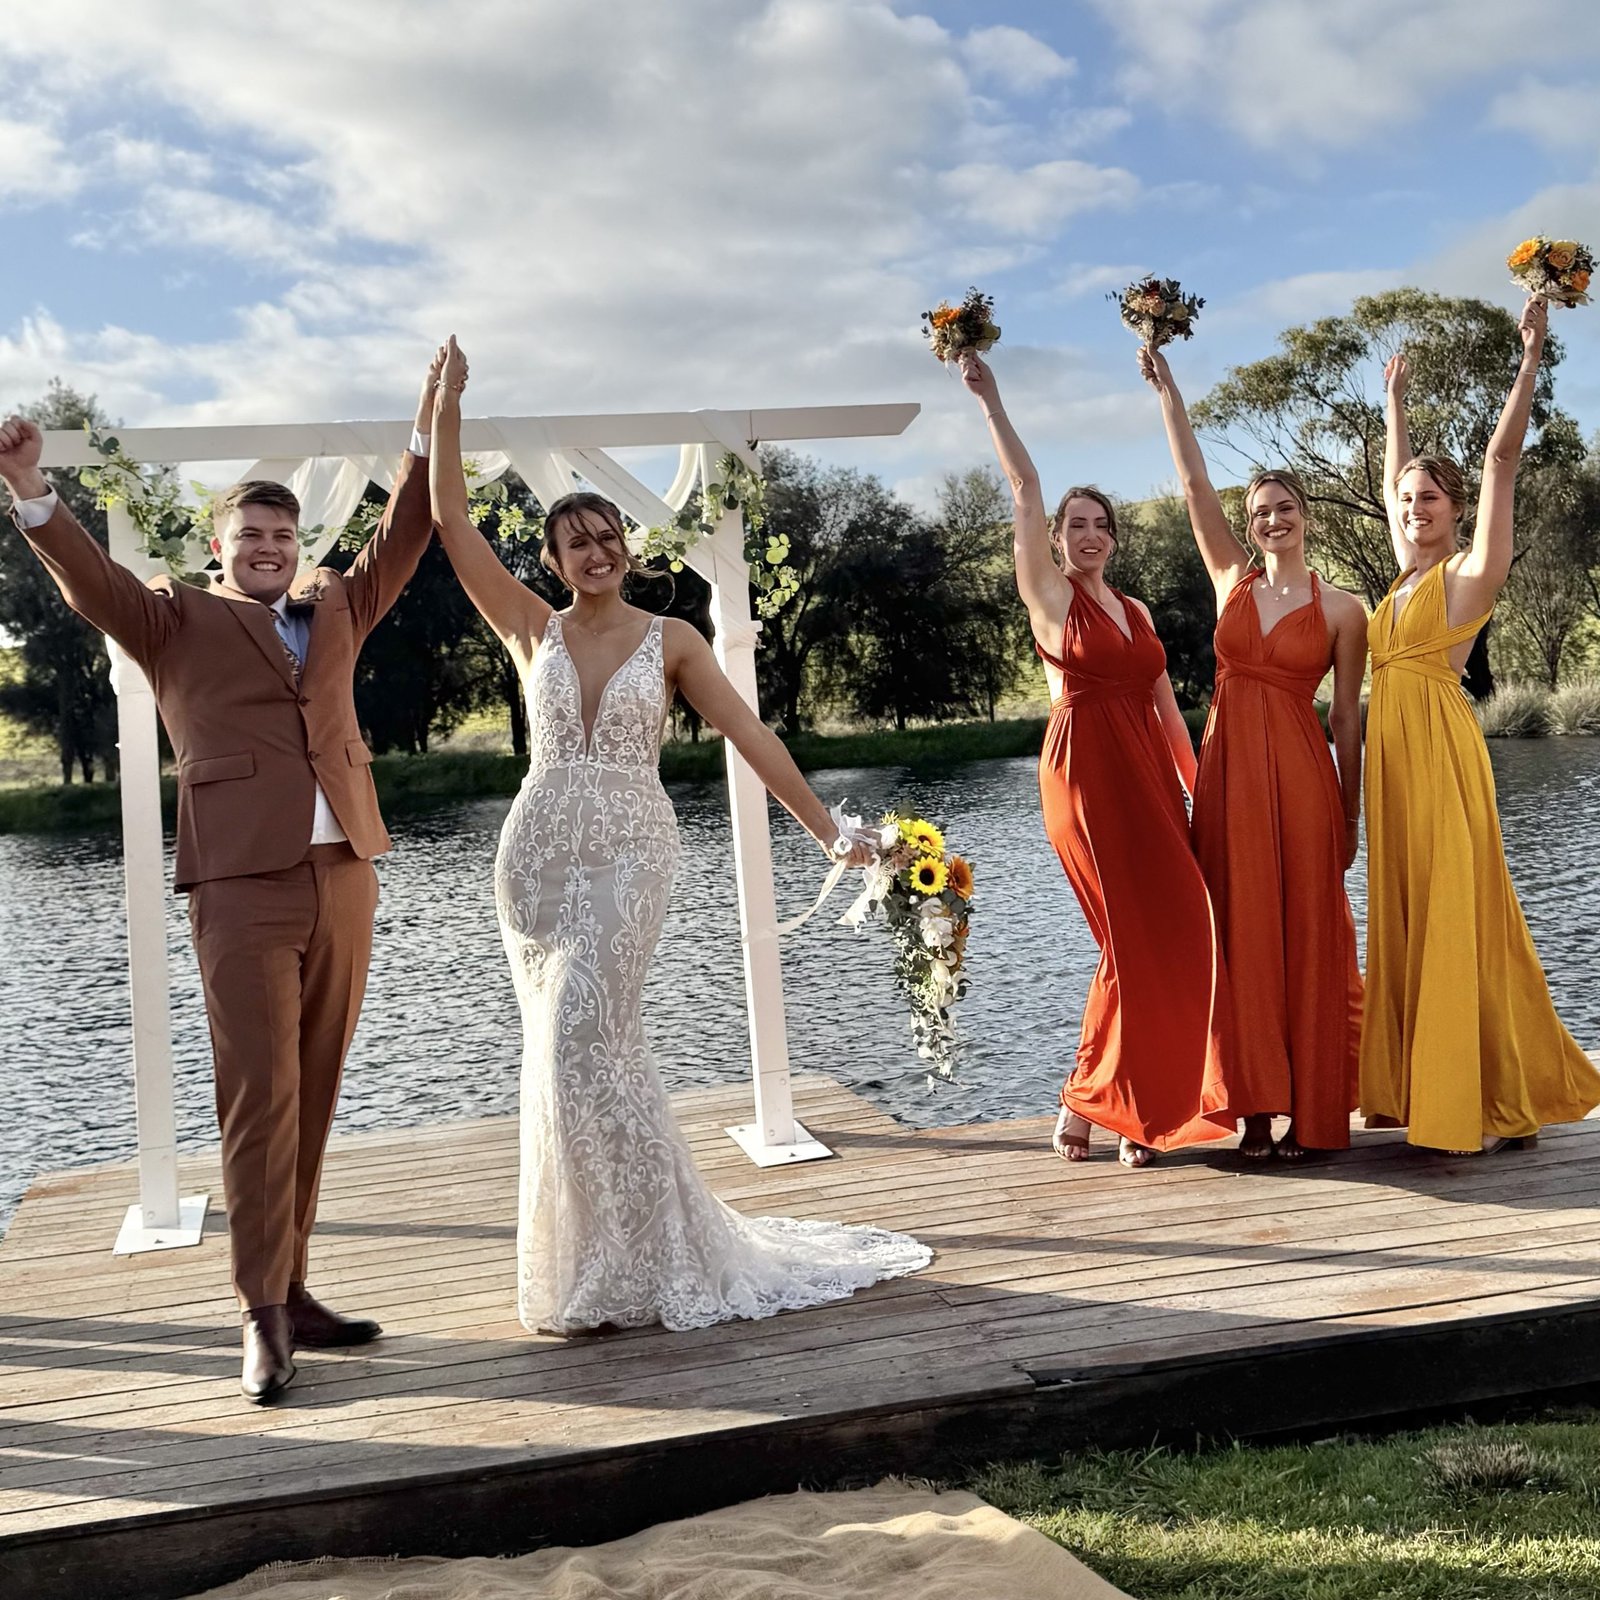
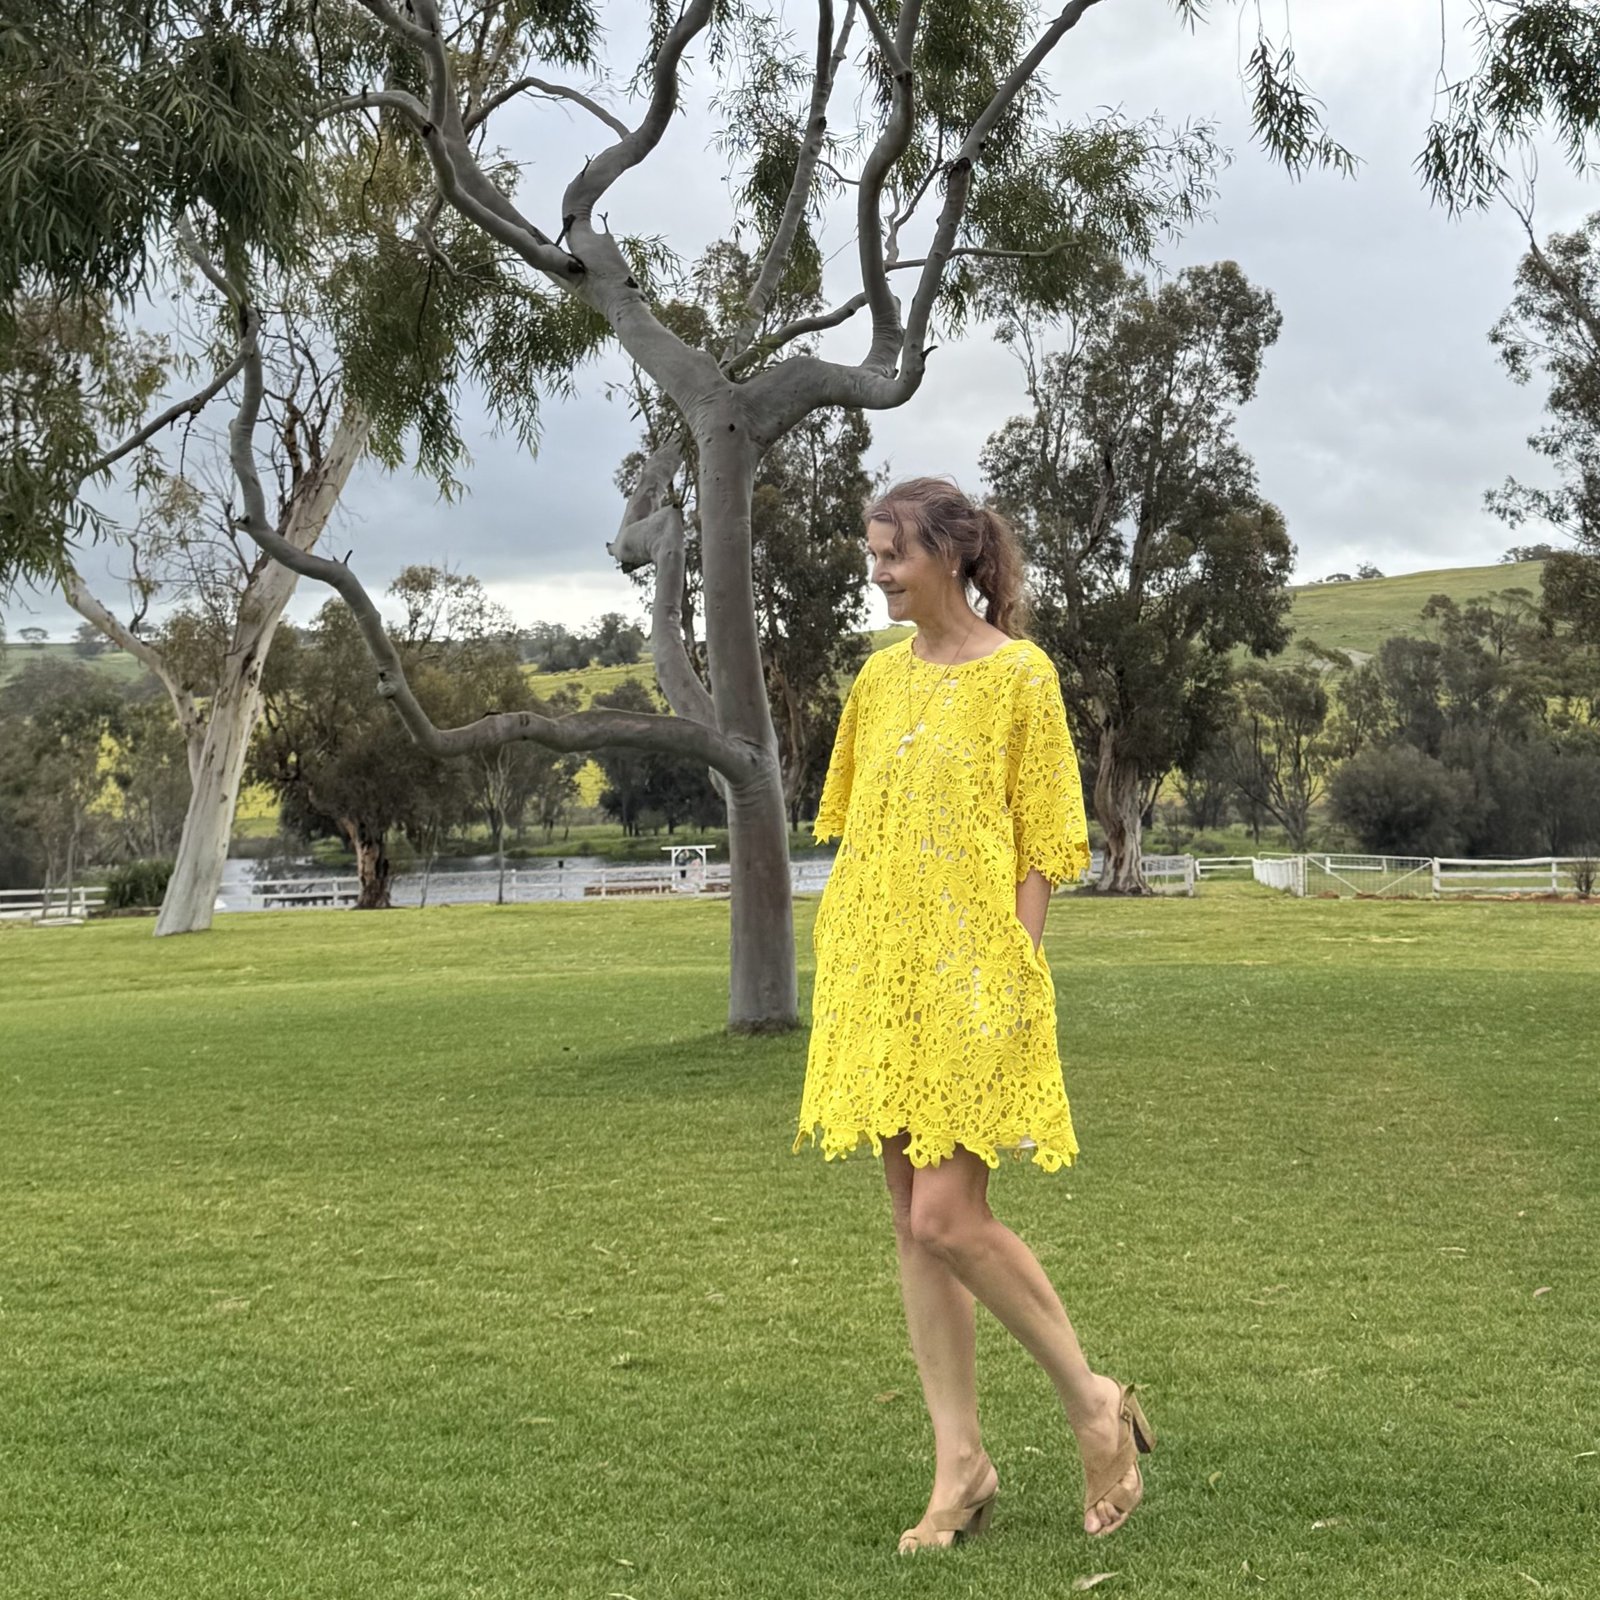



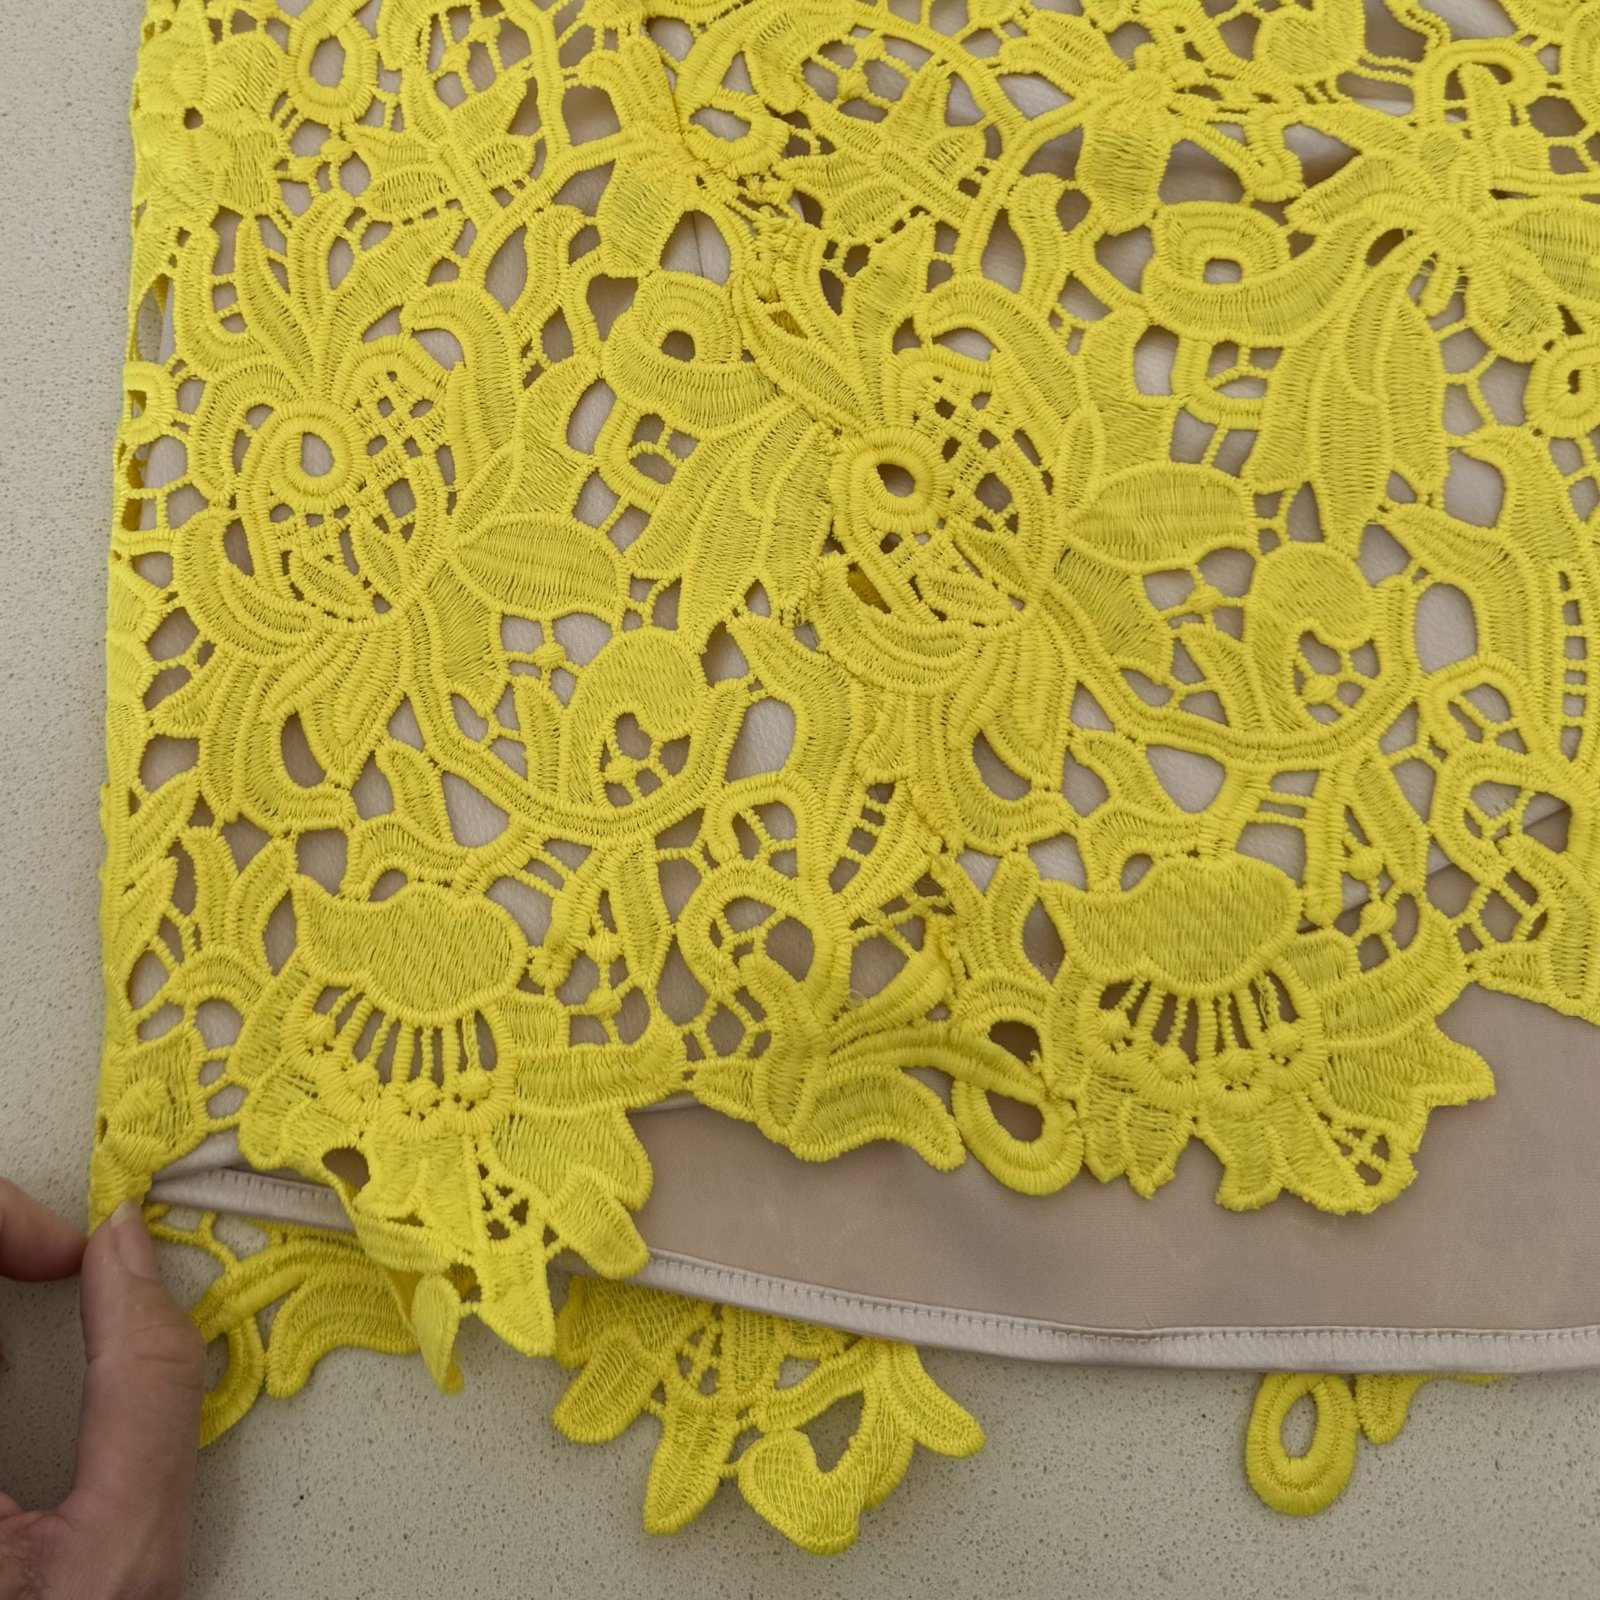
 It’s such an easy to make design there’s really not much to say. The neckline is finished with a bias cut strip and the pattern includes a lovely deep hemline facing, which I edged with the same orange linen bias binding. I think this looks so pretty. Designwise, it has deep side pockets and sleeve cuffs. Hmm, that’s it, really…


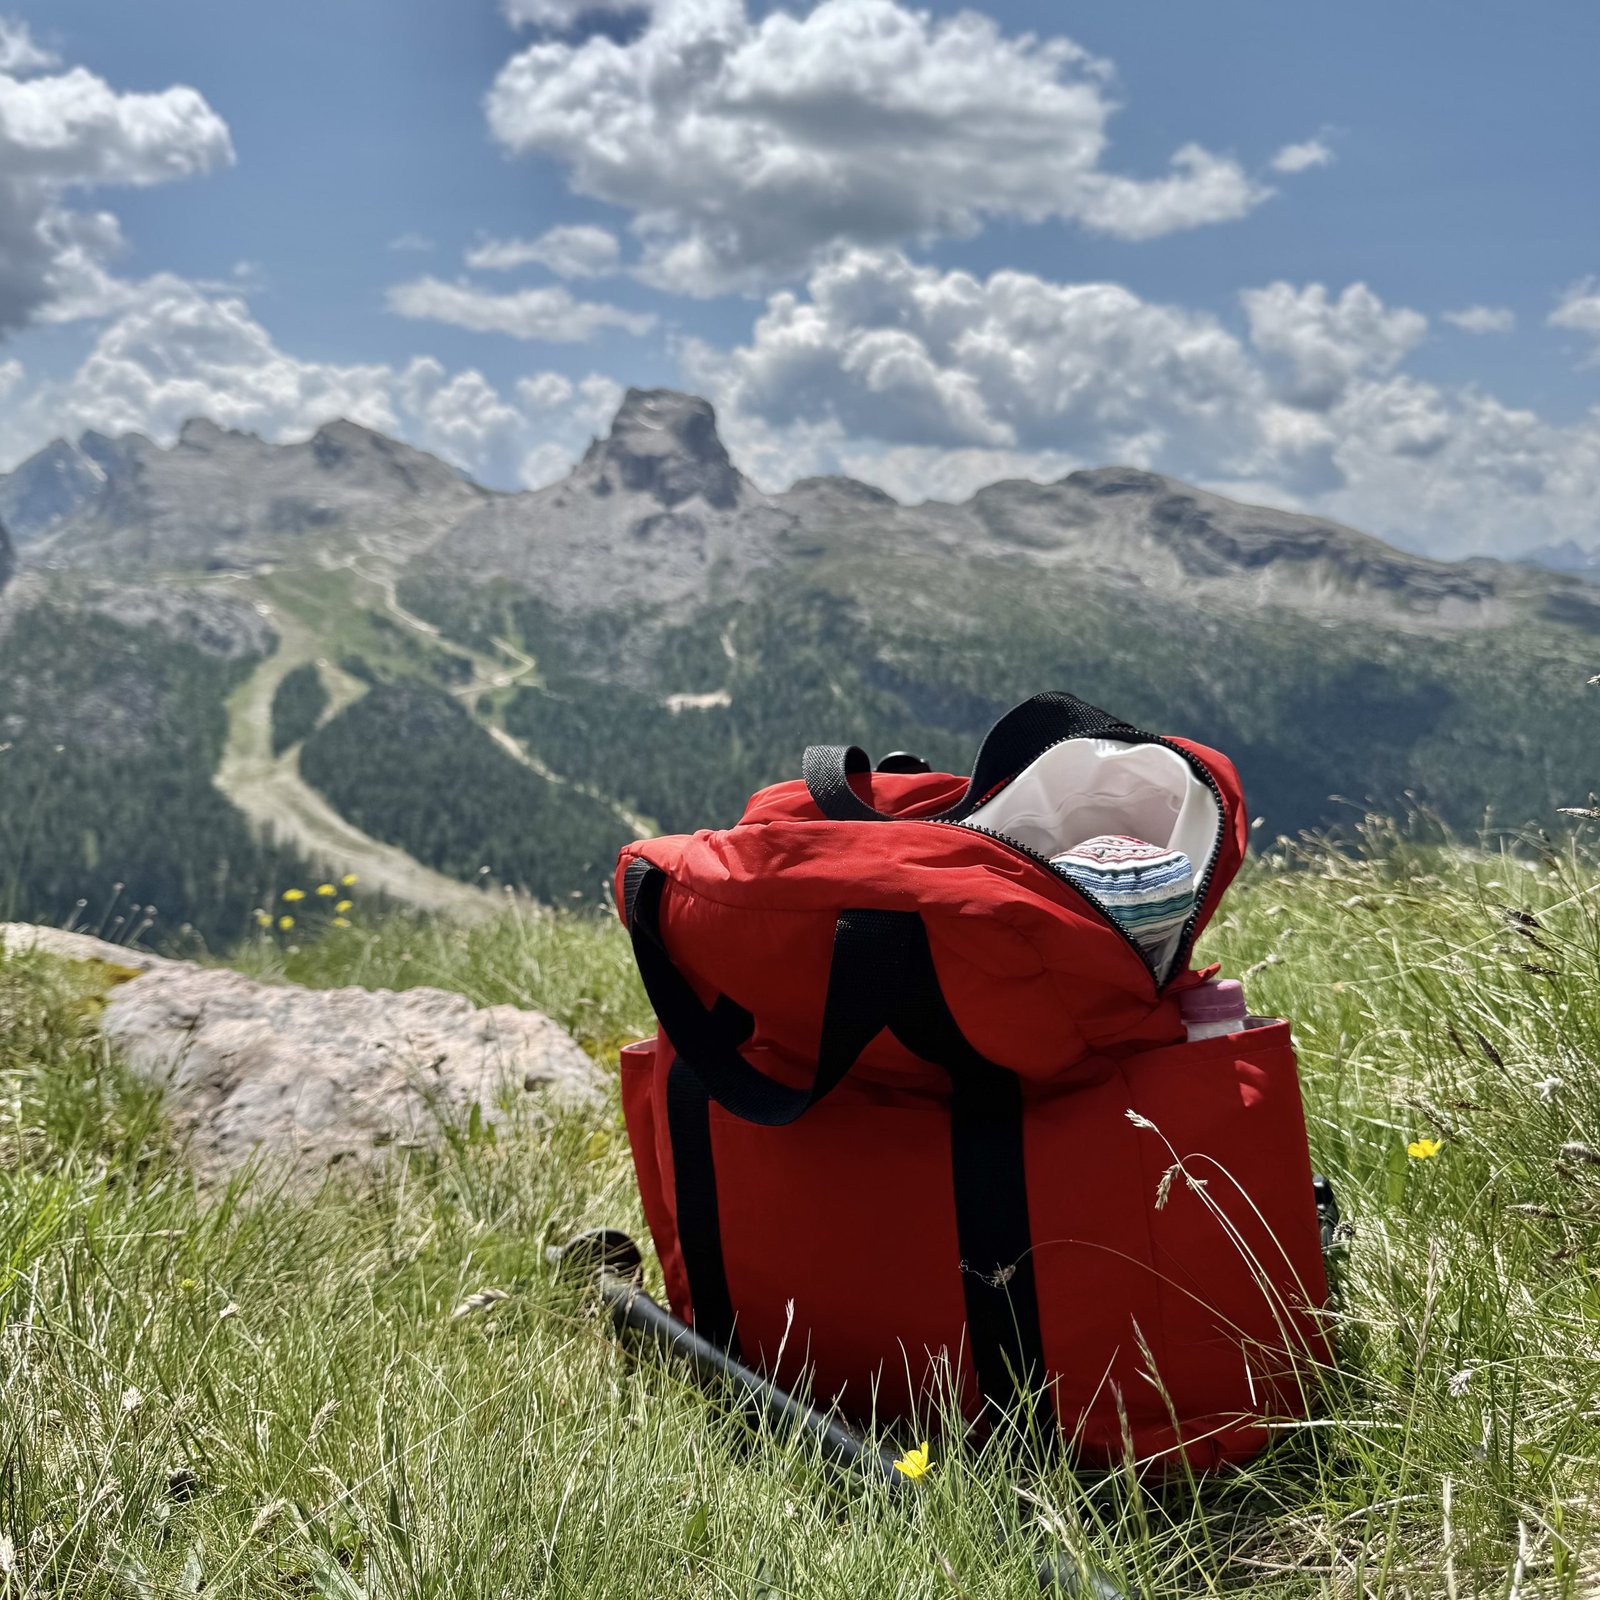


 hello! I’ve made a whole new outfit recently… it’s not so often that I can present a new, head-to-toe handmade outfit like this!
 I settled on this cotton hessian with a multi coloured print of overlapping ovals. I loved this combination of colours; violet, duck-egg blue, teal blue, navy blue, lemon yellow and apricot. I thought it fitted in very nicely with my personal colour palette of true- to deep autumn.


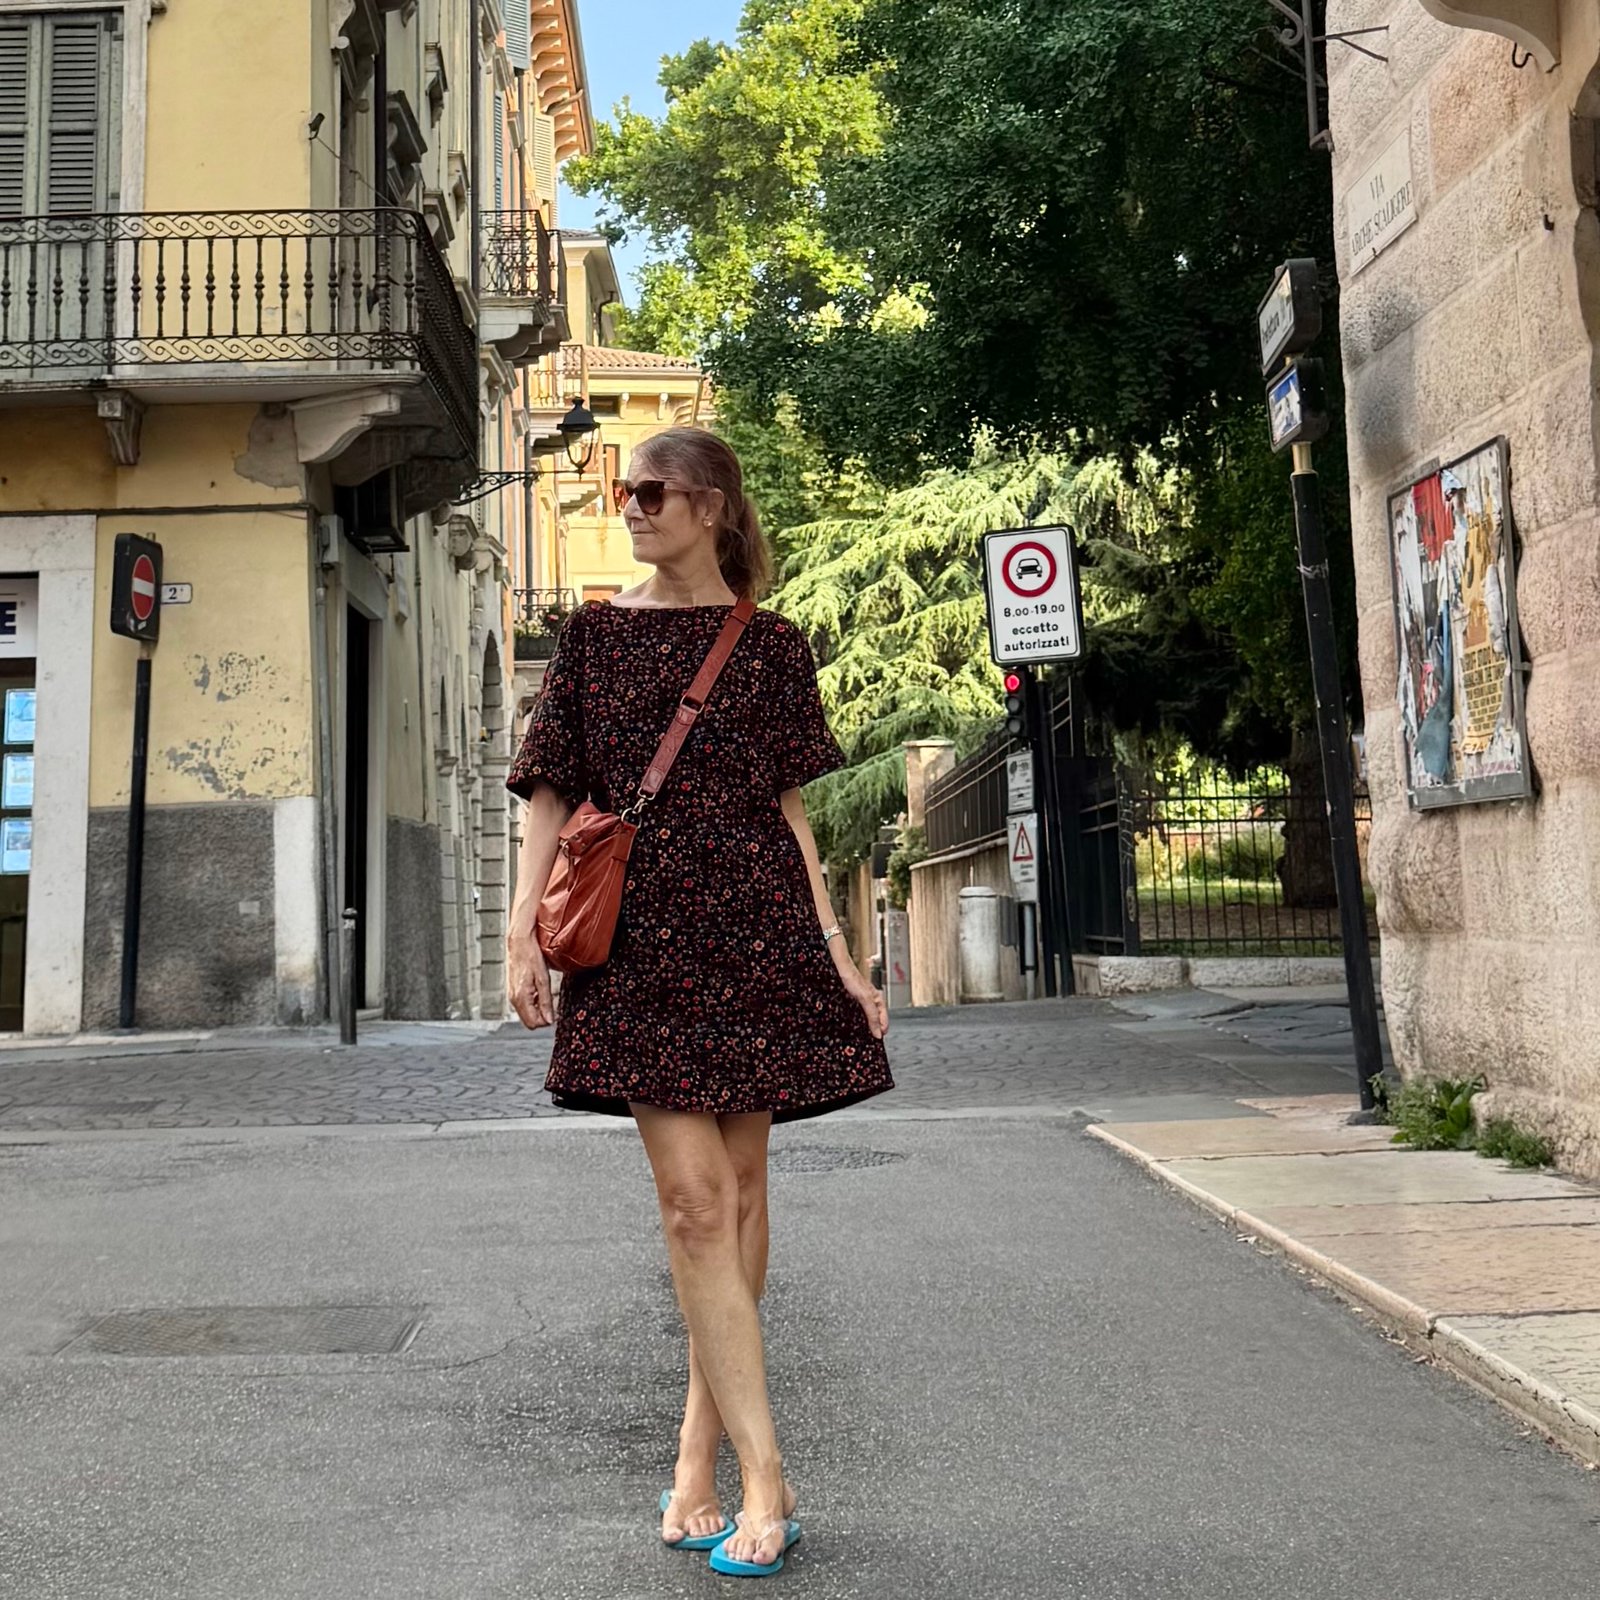
 hello! I made a fun new little dress…
 I cut the collar and cuffs from a neutral linen that I’ve had in my stash even longer. I think this is from Calico and Ivy originally; it’s been very useful over the years for just cutting pockets, facings, and other bits and bobs that require a sturdy and neutral coloured fabric.


 hello!
 Unfortunately there wasn’t enough to do every single seam and edge like I have done in previous examples of this method but I just did as many of the more prominent bodice seams before I ran out of it.
 I know I’ve used this pattern quite frequently but it really is such a beautiful dress design that I don’t see myself every tiring of it any time soon. Of course I really should branch out more and I’m resolving to try more new patterns this year and not fall back so often on the old favourites. In the meantime though, some of my recent as yet unblogged projects have failed this resolution already whoops.
 I wore this along with my


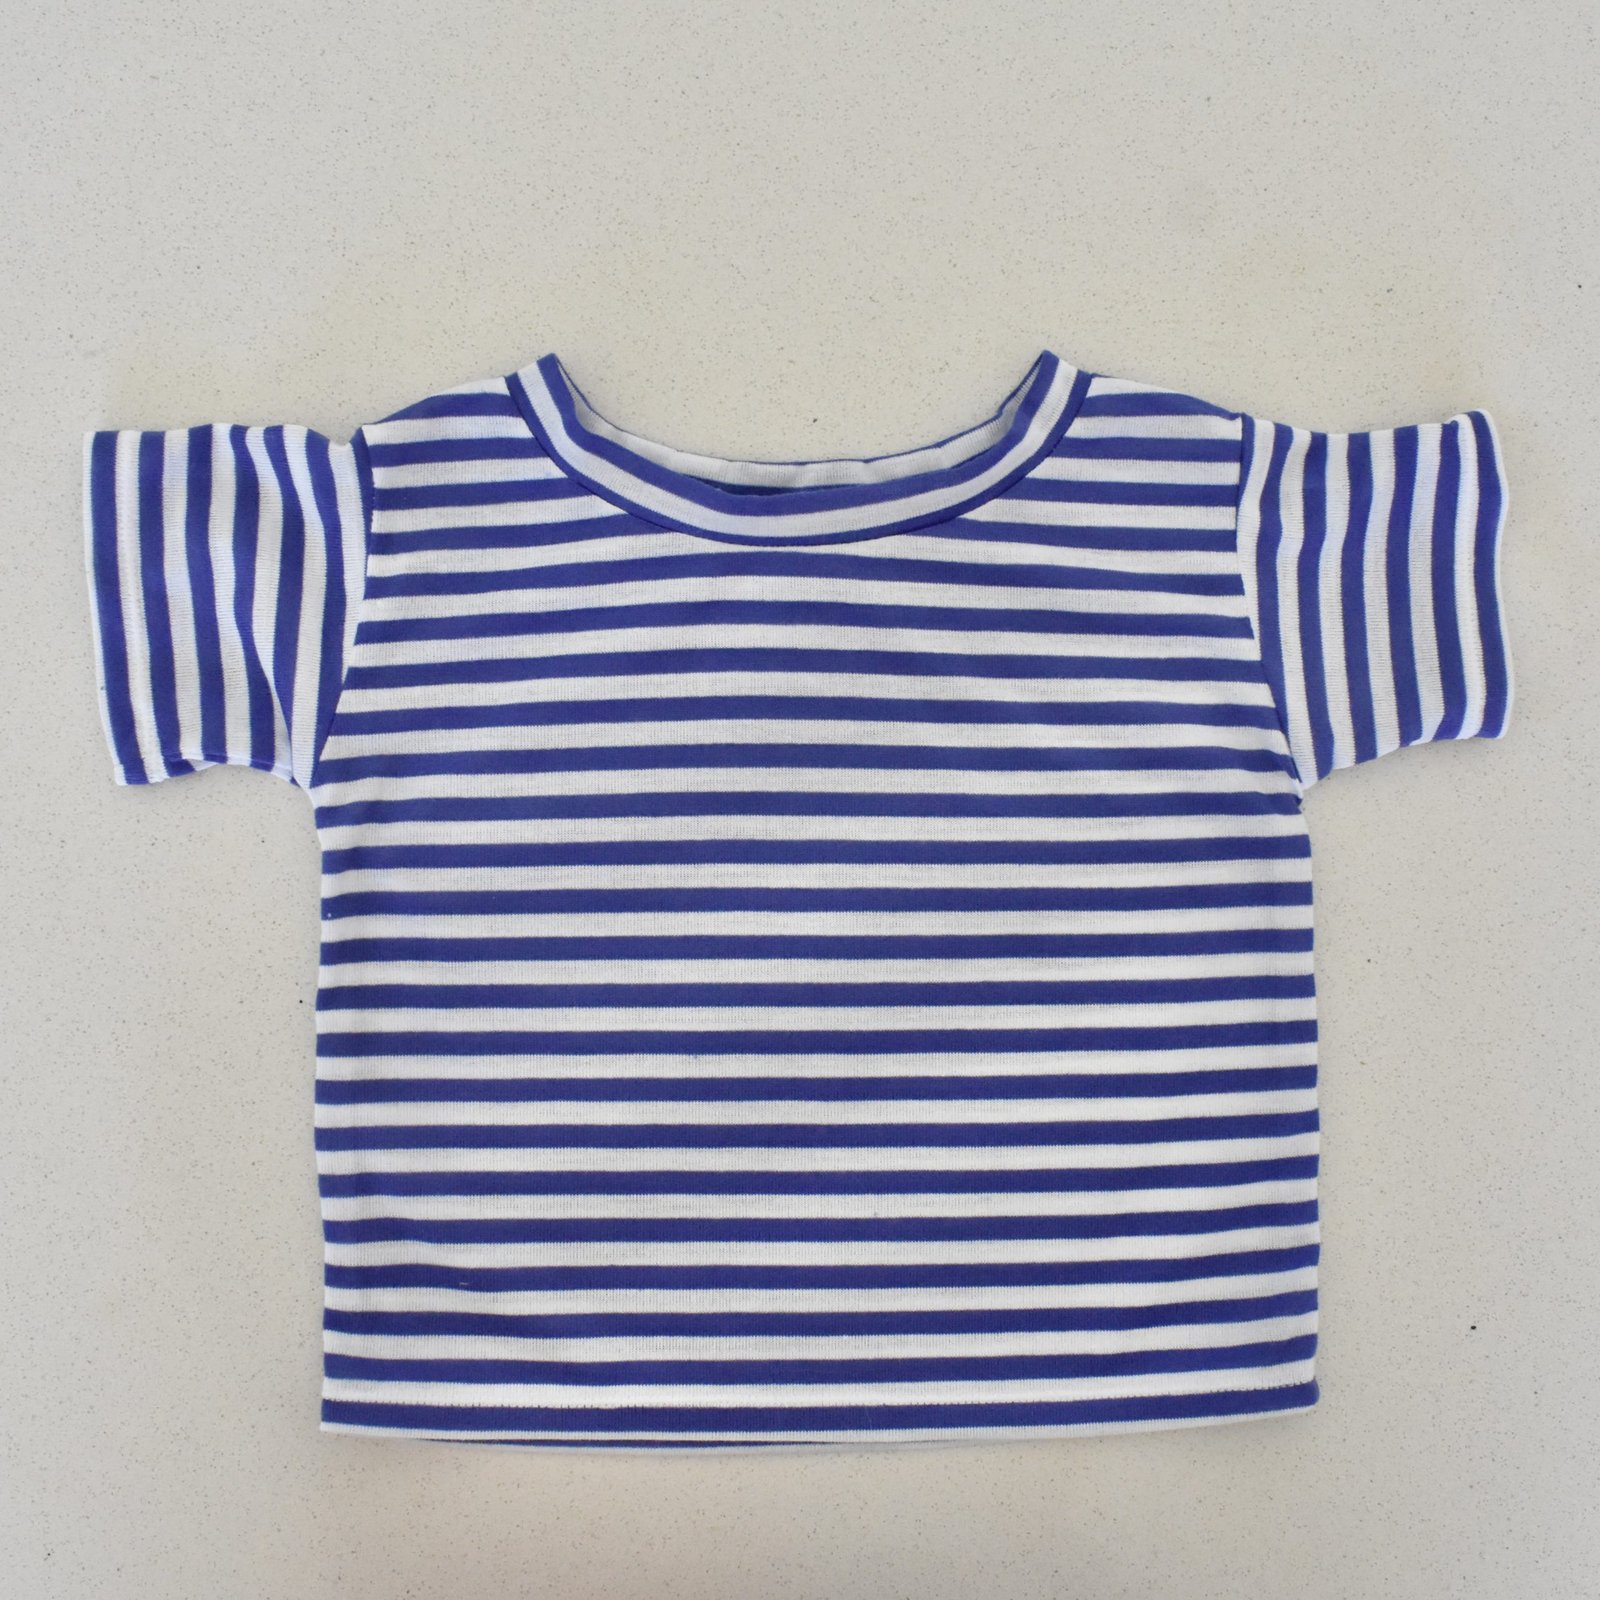




 Taking off all those long (long) lengths of bias cut channelling took quite a long time, made even more painful with the memory of how carefully I had stitched them on in the first place to perfectly line up the channels with the lines of checks, as well as switching up threads depending on whether I was stitching on a black row or a cream row, this additionally making it more difficult to see the stitches I was unpicking. I know, I wonder about my own sanity too, sometimes…
 Anyway. Iteration Number Two was essentially the same dress sans the elasticated channels. I reused the same shoulder straps to be a halter neckline and allowed the otherwise unaltered dress to hang like so. I actually quite liked it like this and wore it with a little T-shirt underneath a few times.

 In the end, Iteration Number Three, the final iteration, was very straightforward to achieve. I settled upon a modified version of a dress from the Japanese pattern book Stylish Dress Book by Yoshiko Tsukiori, specifically dress R. My final version is more narrowed at the top end, and with the yoke also narrowed in width and the neckline substantially more “filled in”. I also left off the sleeves through having absolutely no more of the check fabric anyway, and finished the armscyes with self-made black bias binding. I removed the original inseam pockets – and a big thank you to past me for overlocking all the raw edges separately from each other! – and repositioned them appropriately for the dress’s slightly new form. The yoke is black cotton denim, cut from the leftovers from my wide-leg jeans from last year, and lined with plain black poplin. I did decorative white topstitching just for fun, and added a completely frivolous and not-useful-at-all coin pocket to the front yoke, also for fun. I also reused the “made in 2024” tag that it had from its inception.

 please excuse the totally gratuitous Clara pic…


 I used the very last of my “made in 2024” tags in the little breast pocket. Honestly, the dress was actually cut out in and partially made in 2024. So, 2024 or 2025? It’s kind of a “saddle” project really, spreading itself from last year to this one. I think I can use the tag with a clear conscience. 🙂
 I laid the dress pieces on the cross, and the front overlay on the bias, and used some of the leftover bits to cut extensions to the front overlay so the ties are a bit longer, about 10cm or so. I really like them this longer length.
 As per our pattern, I flat felled the side seams, which I always think looks really nice. You can see here that I used red thread to sew the dress up; this is because it was in my stash already and I didn’t want to buy new thread. I thought this would be fine, and it is really. I hand-stitched the hem.
 A casual passerby would never see any of the bias binding finishes on the inside of the dress, but these give me a lot of joy too. I bias-bound the pocket edges, and the back neckline and armhole edges are bound according to the pattern. Gingham makes the prettiest bias binding! Because of this I actually cut up the entirety of the leftovers and made it into bias binding that I can use on a future project, so please look out for that!
 It was hideously windy on the beach this morning which makes the above pictures a realistic portrayal of my day, however it does make everything look a little wild. Thus, a still picture where the dress is not being blasted to bits. Honestly, the things I do…




































