OK; it’s done, the second and arguably the most time consuming component of my one year one outfit project!
Can I just interject right here… WOOOOHOOOOO!
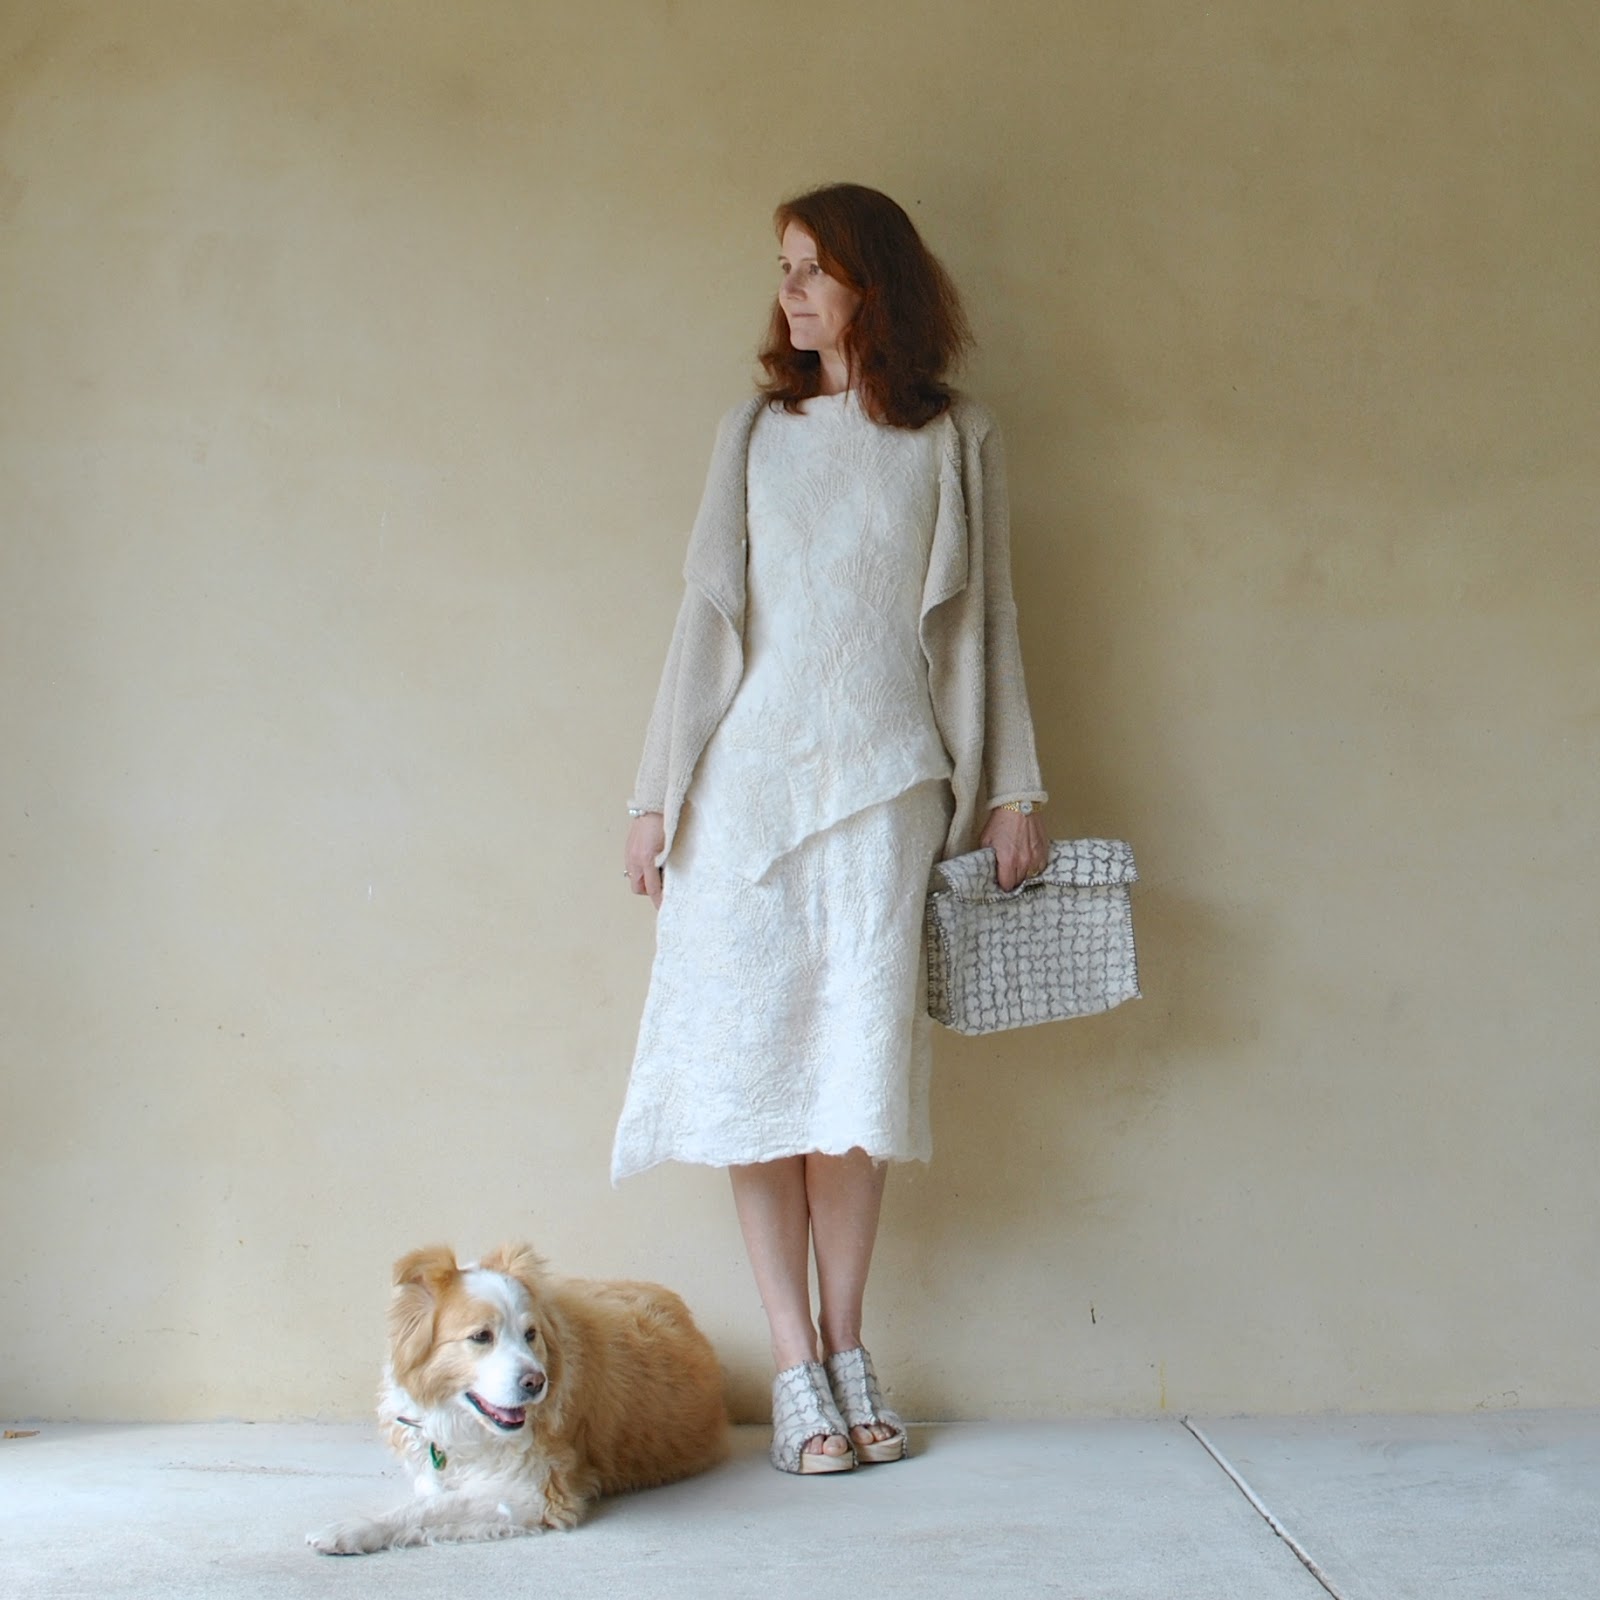
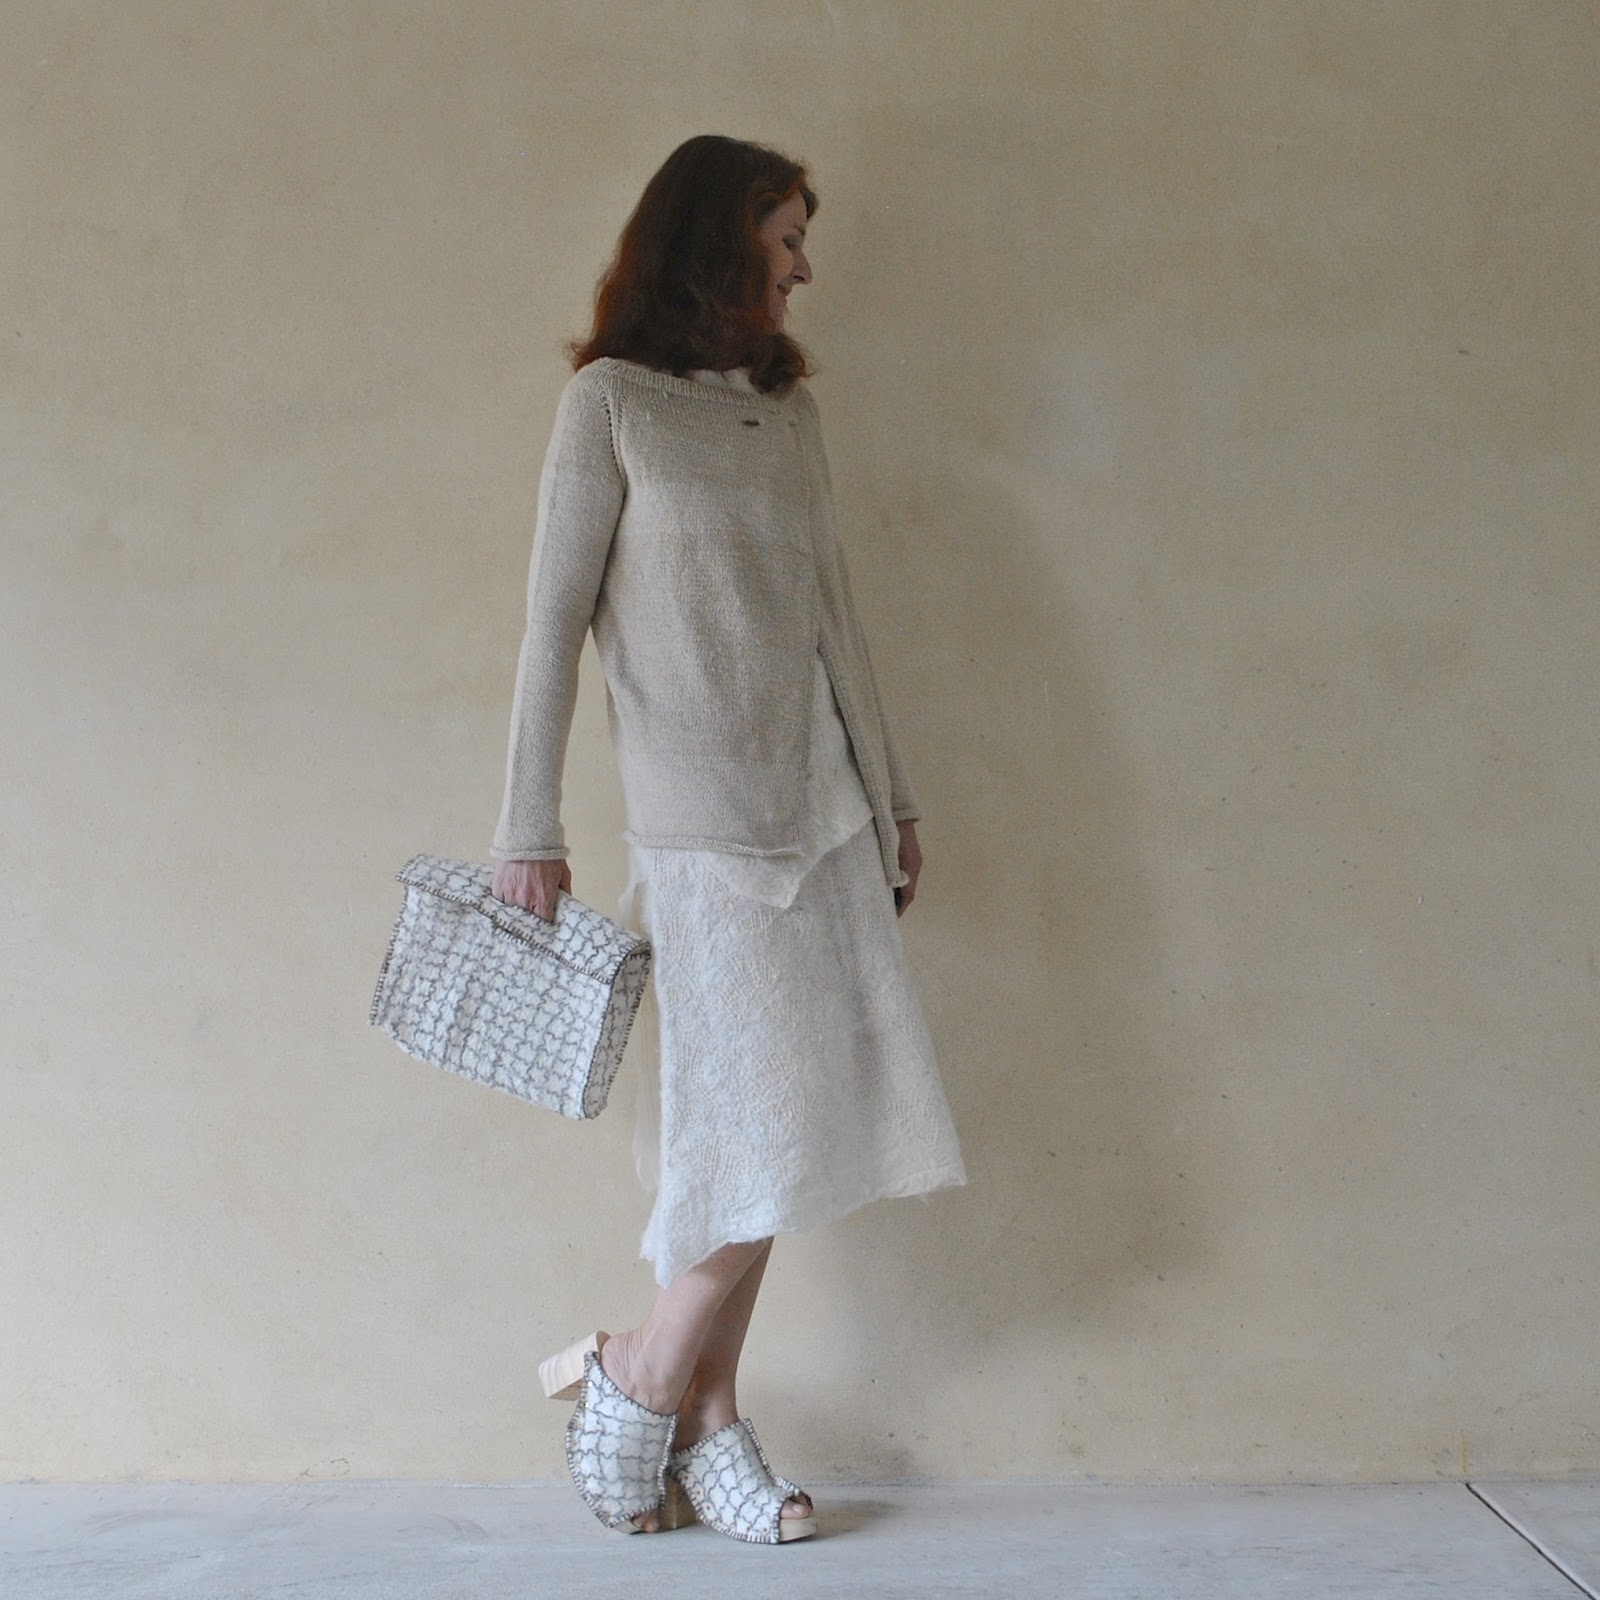
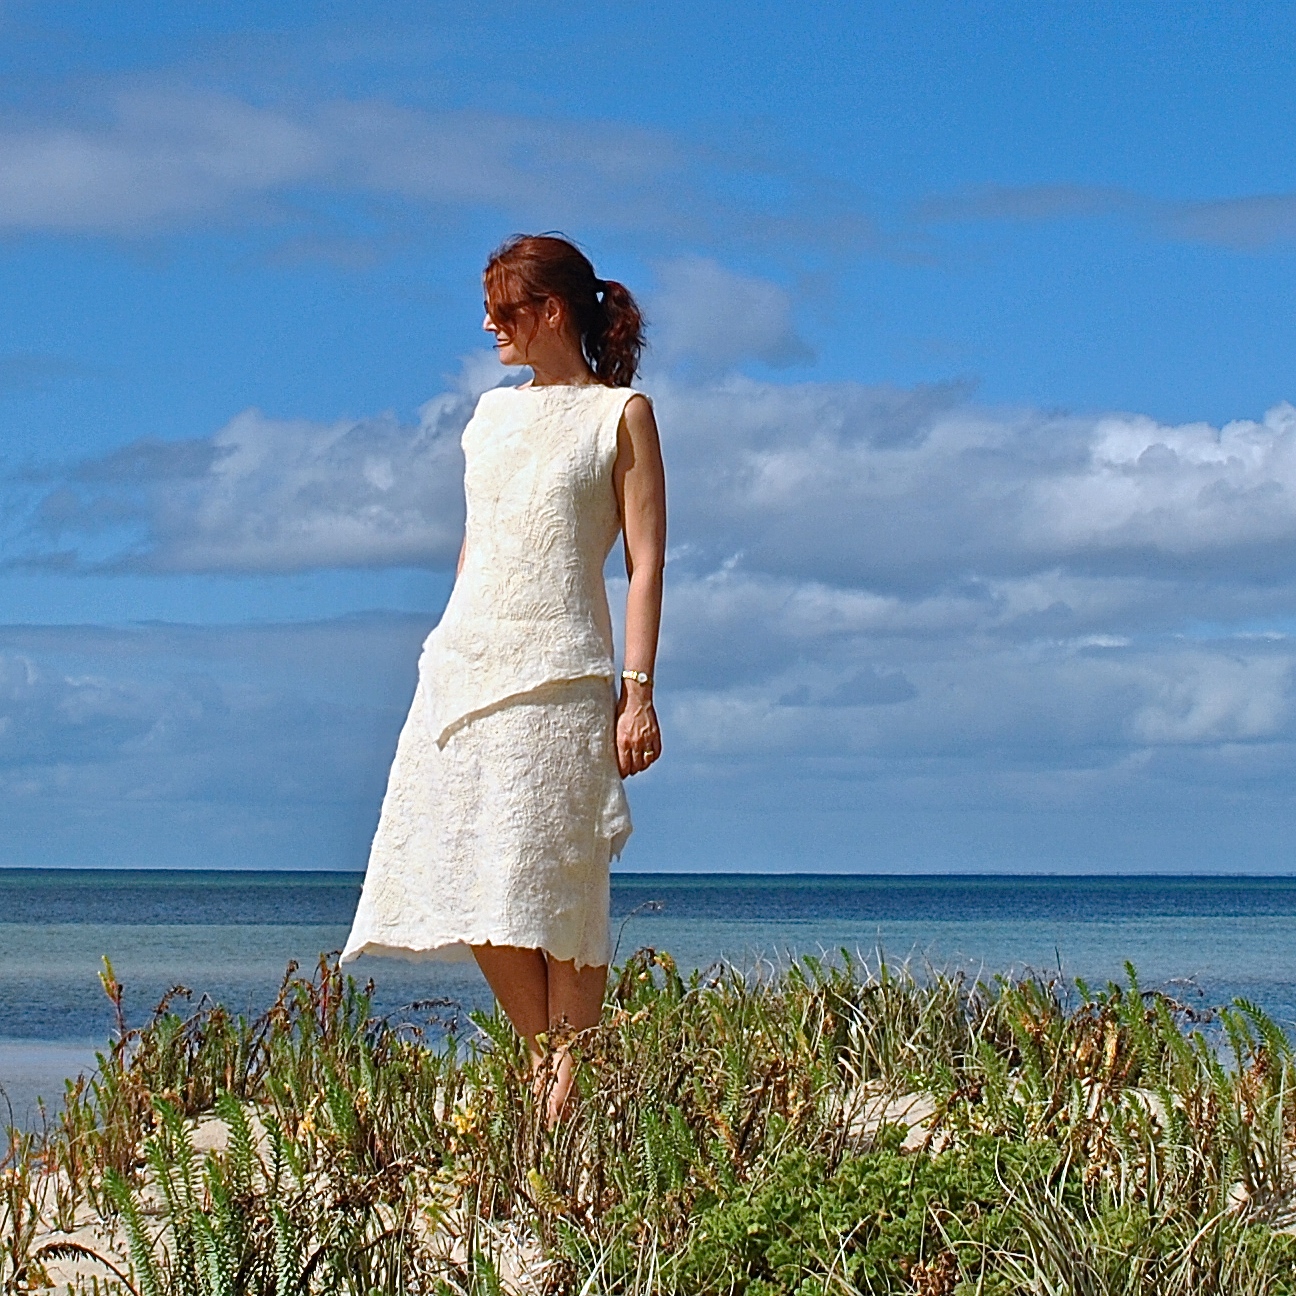
Phew! so, just saying, but I’m tentatively predicting that this one piece could well be my piece de resistance for the year. I made the dress, and not only did I make the dress but I made the fabric too! previously post about making my fabric from Western Australian Merino fleece here.
And I hand-embroidered it, with a motif of my own design. Also the dress is of my own design. Is this a little insane? probably.
Ok, YES.

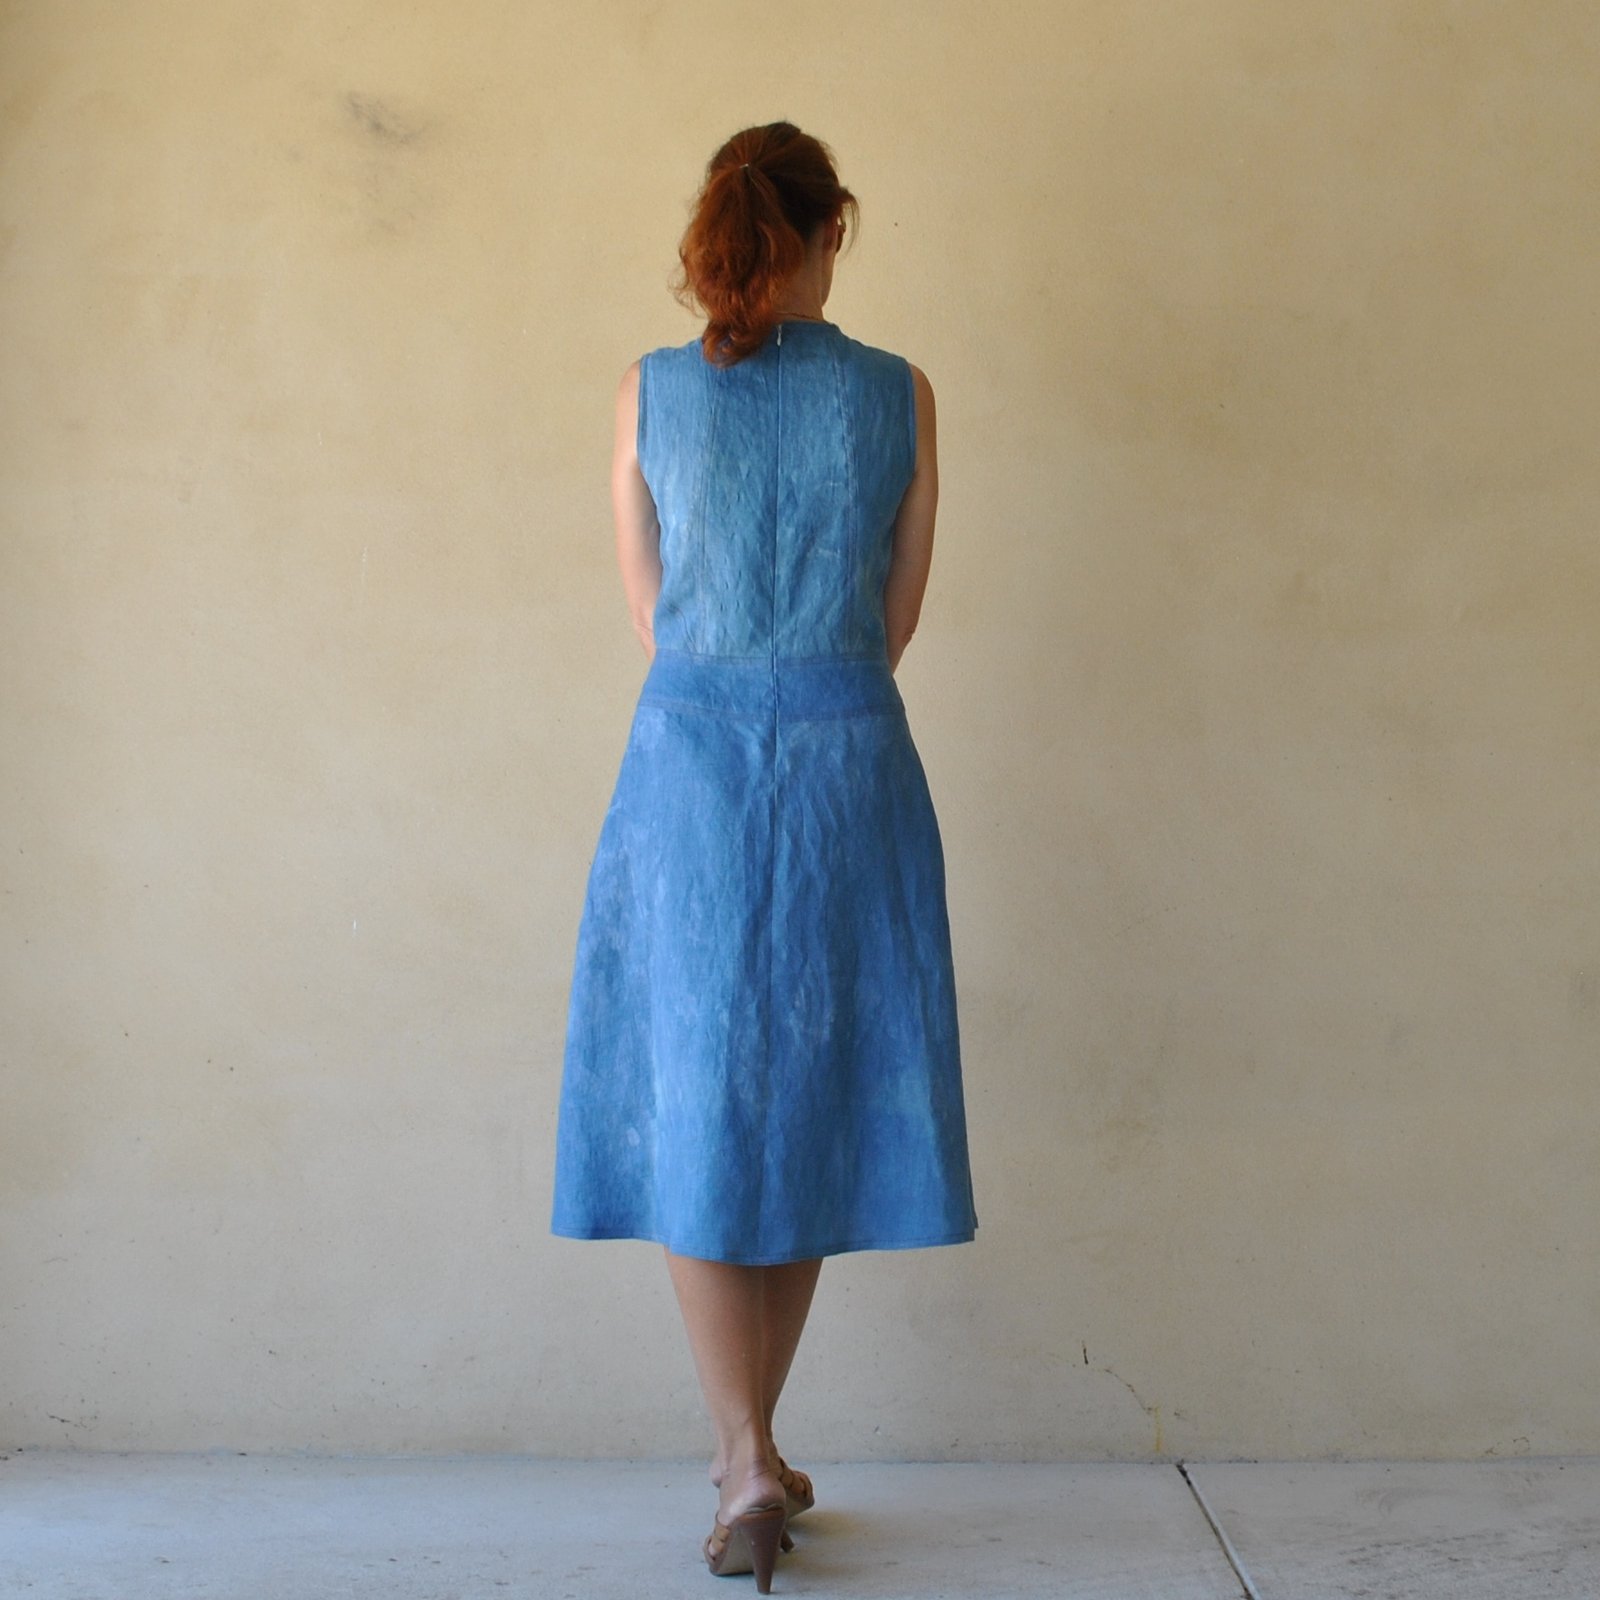
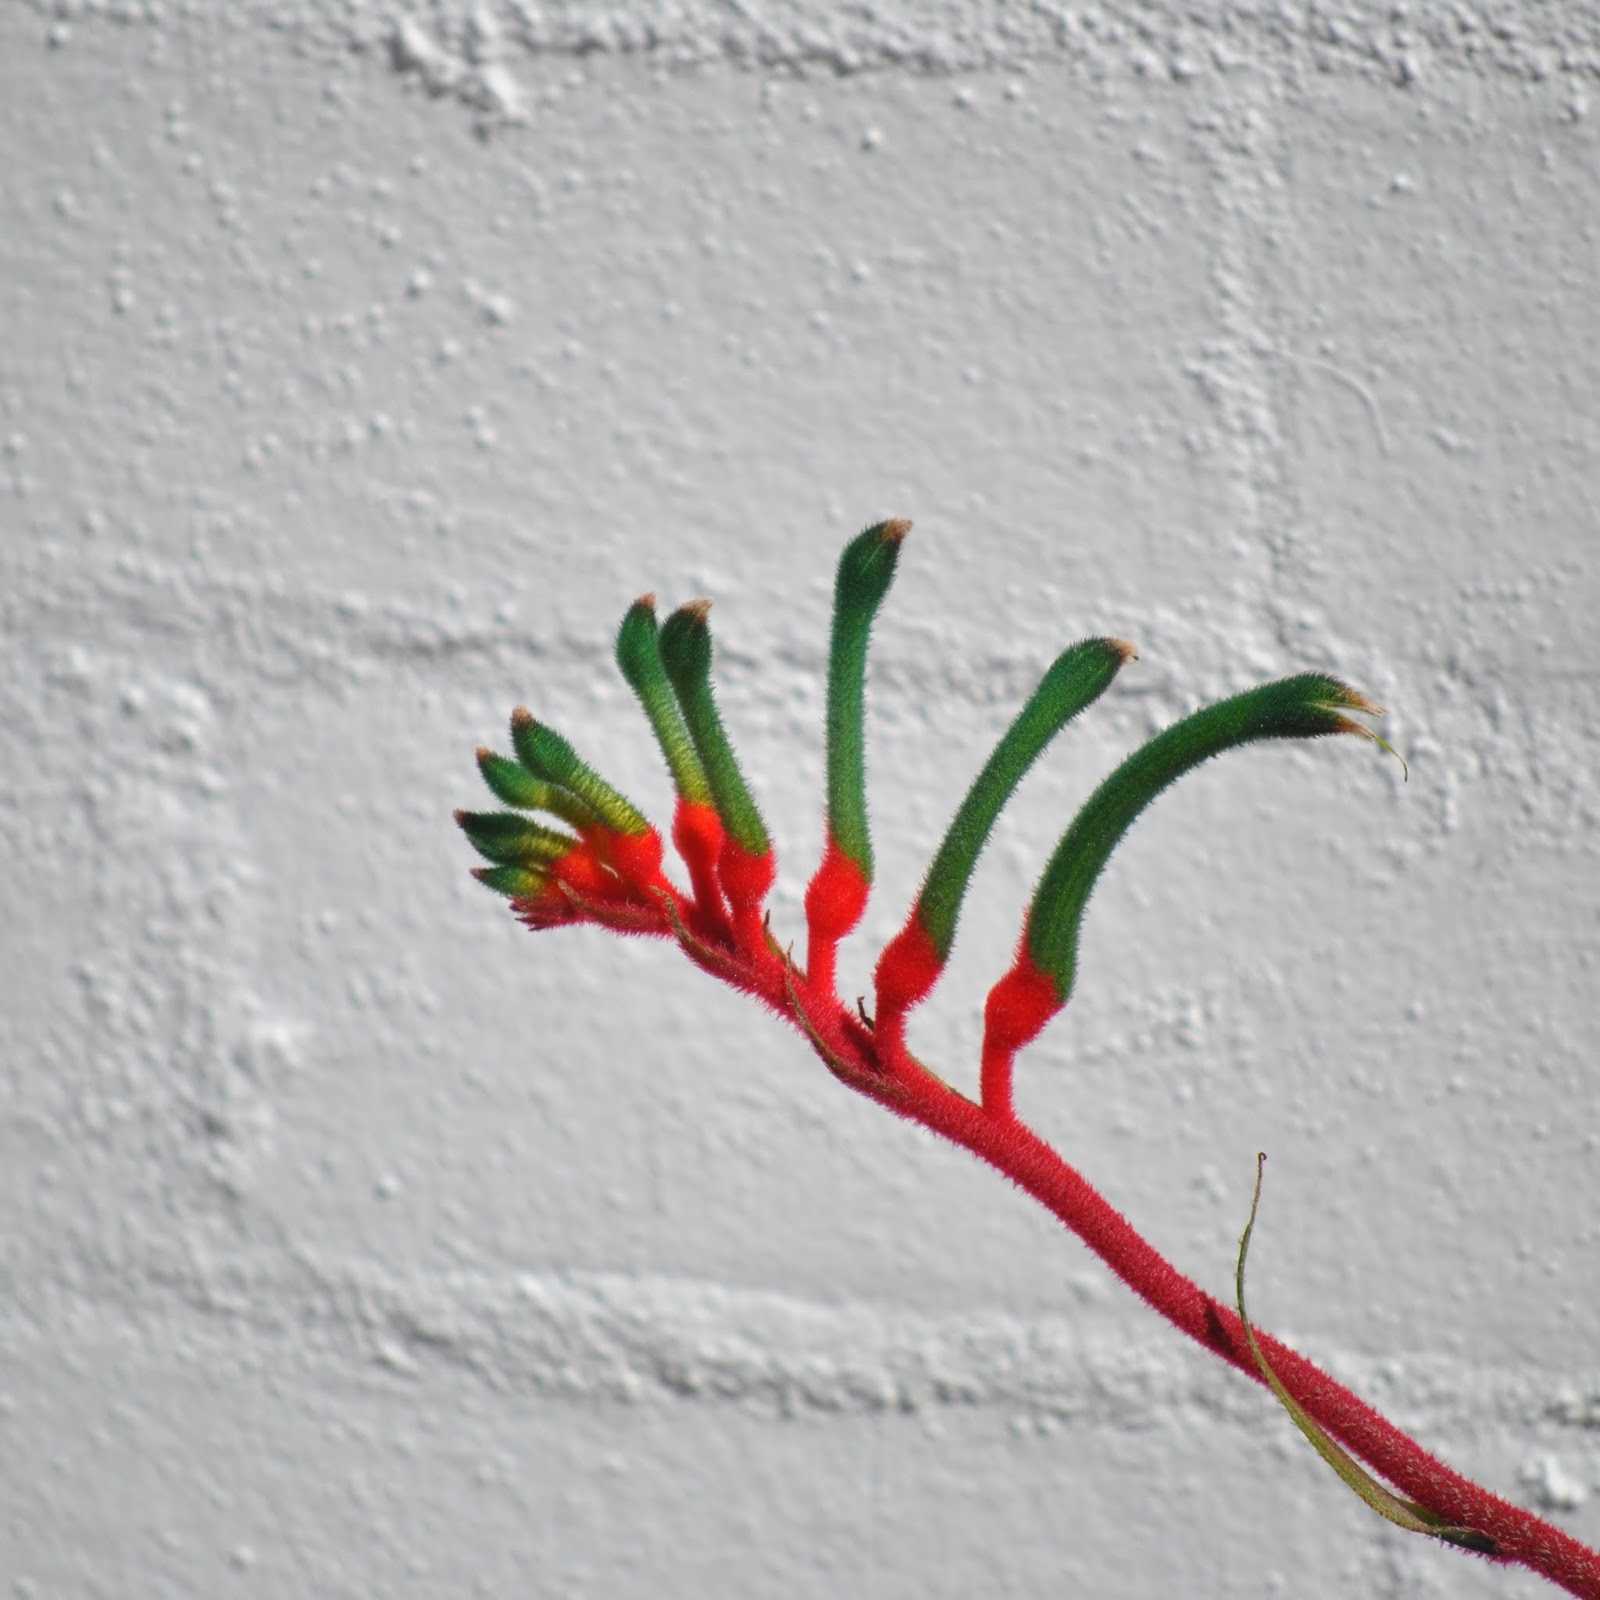
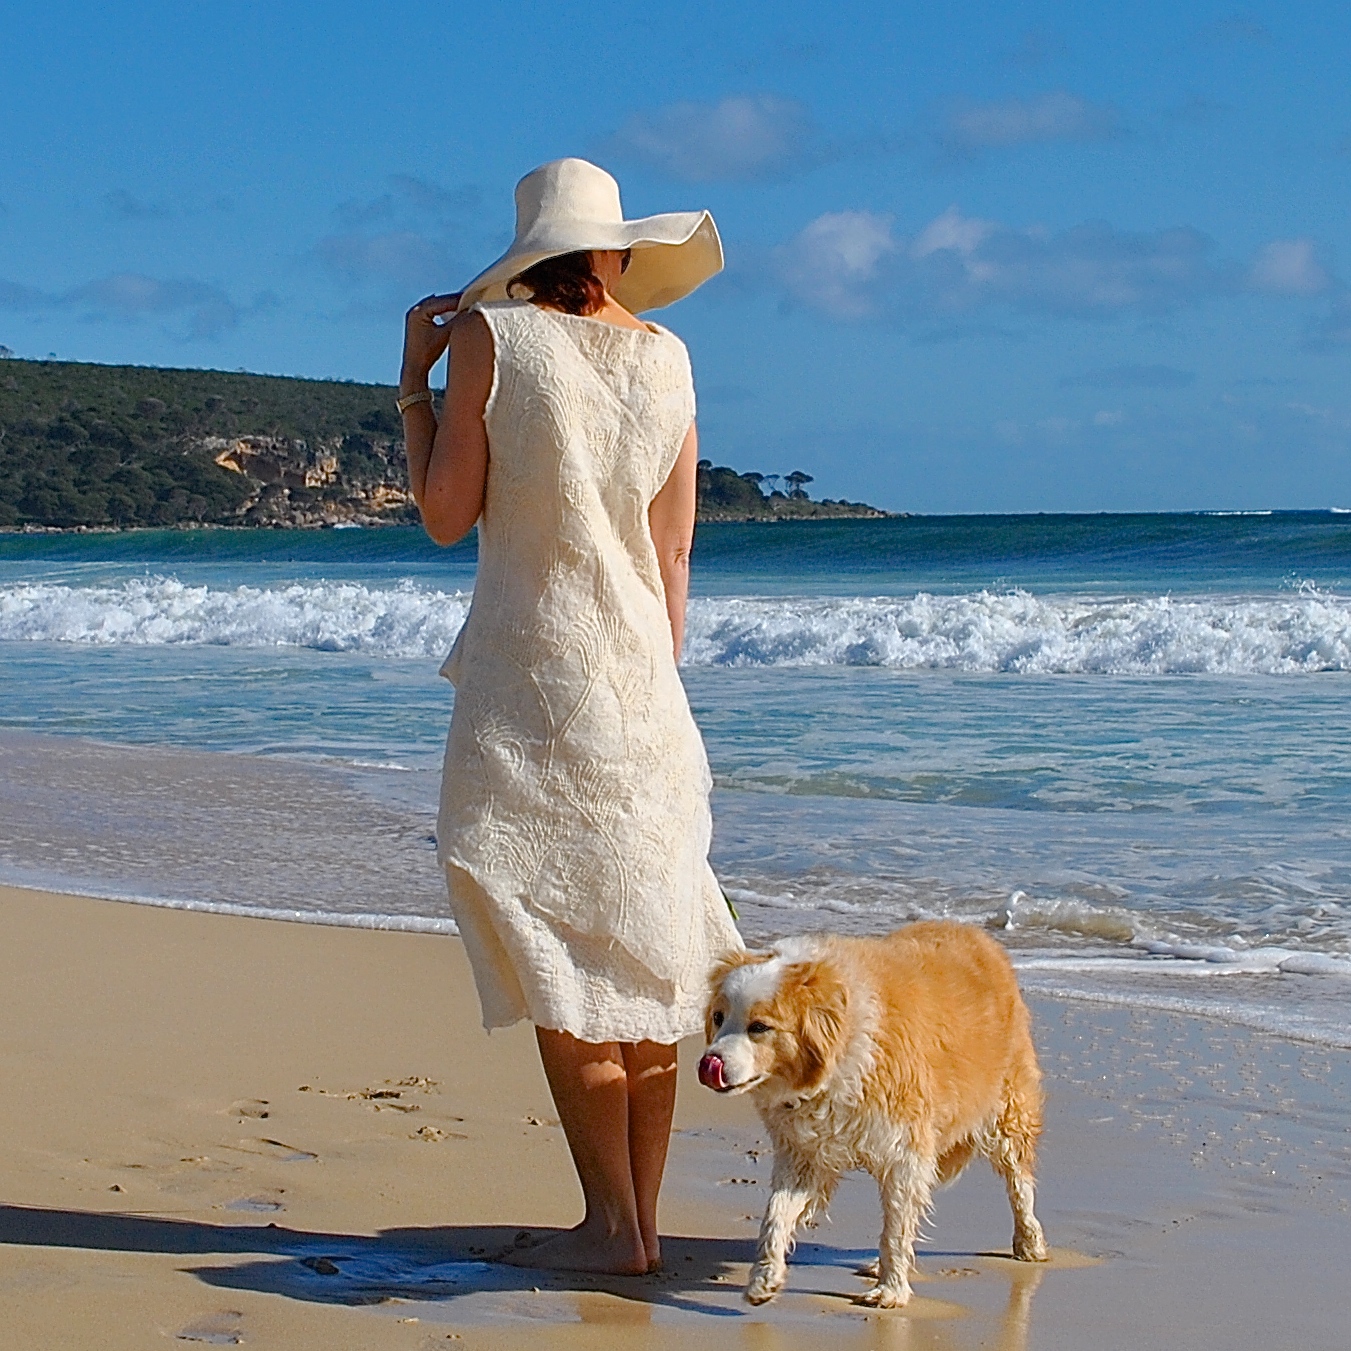
So, the dress. As mentioned, it is fully embroidered with kangaroo paws. Why kangaroo paws, you may ask? Well, the kangaroo paw is our state floral emblem and my project is an all-Western Australian deal, so it seemed like a pretty appropriate choice. I sketched a stylised kangaroo paw design based upon one from one of my own photographs. I drew a few in different sizes and then for each section of the dress drew up separate, big all-over patterns. Some of the paws wrap around the side seams from front to back, which was planned since I wanted to kinda tie the design together as well as I could.
my muse; Anigozanthos manglesii
This style of all-over embroidery is obviously inspired by the Alabama Chanin style, but the design is all mine. I chose to incorporate embroidery for a few reasons; firstly to give some added strength to my felt, since the felt seemed just a touch fragile on its own.
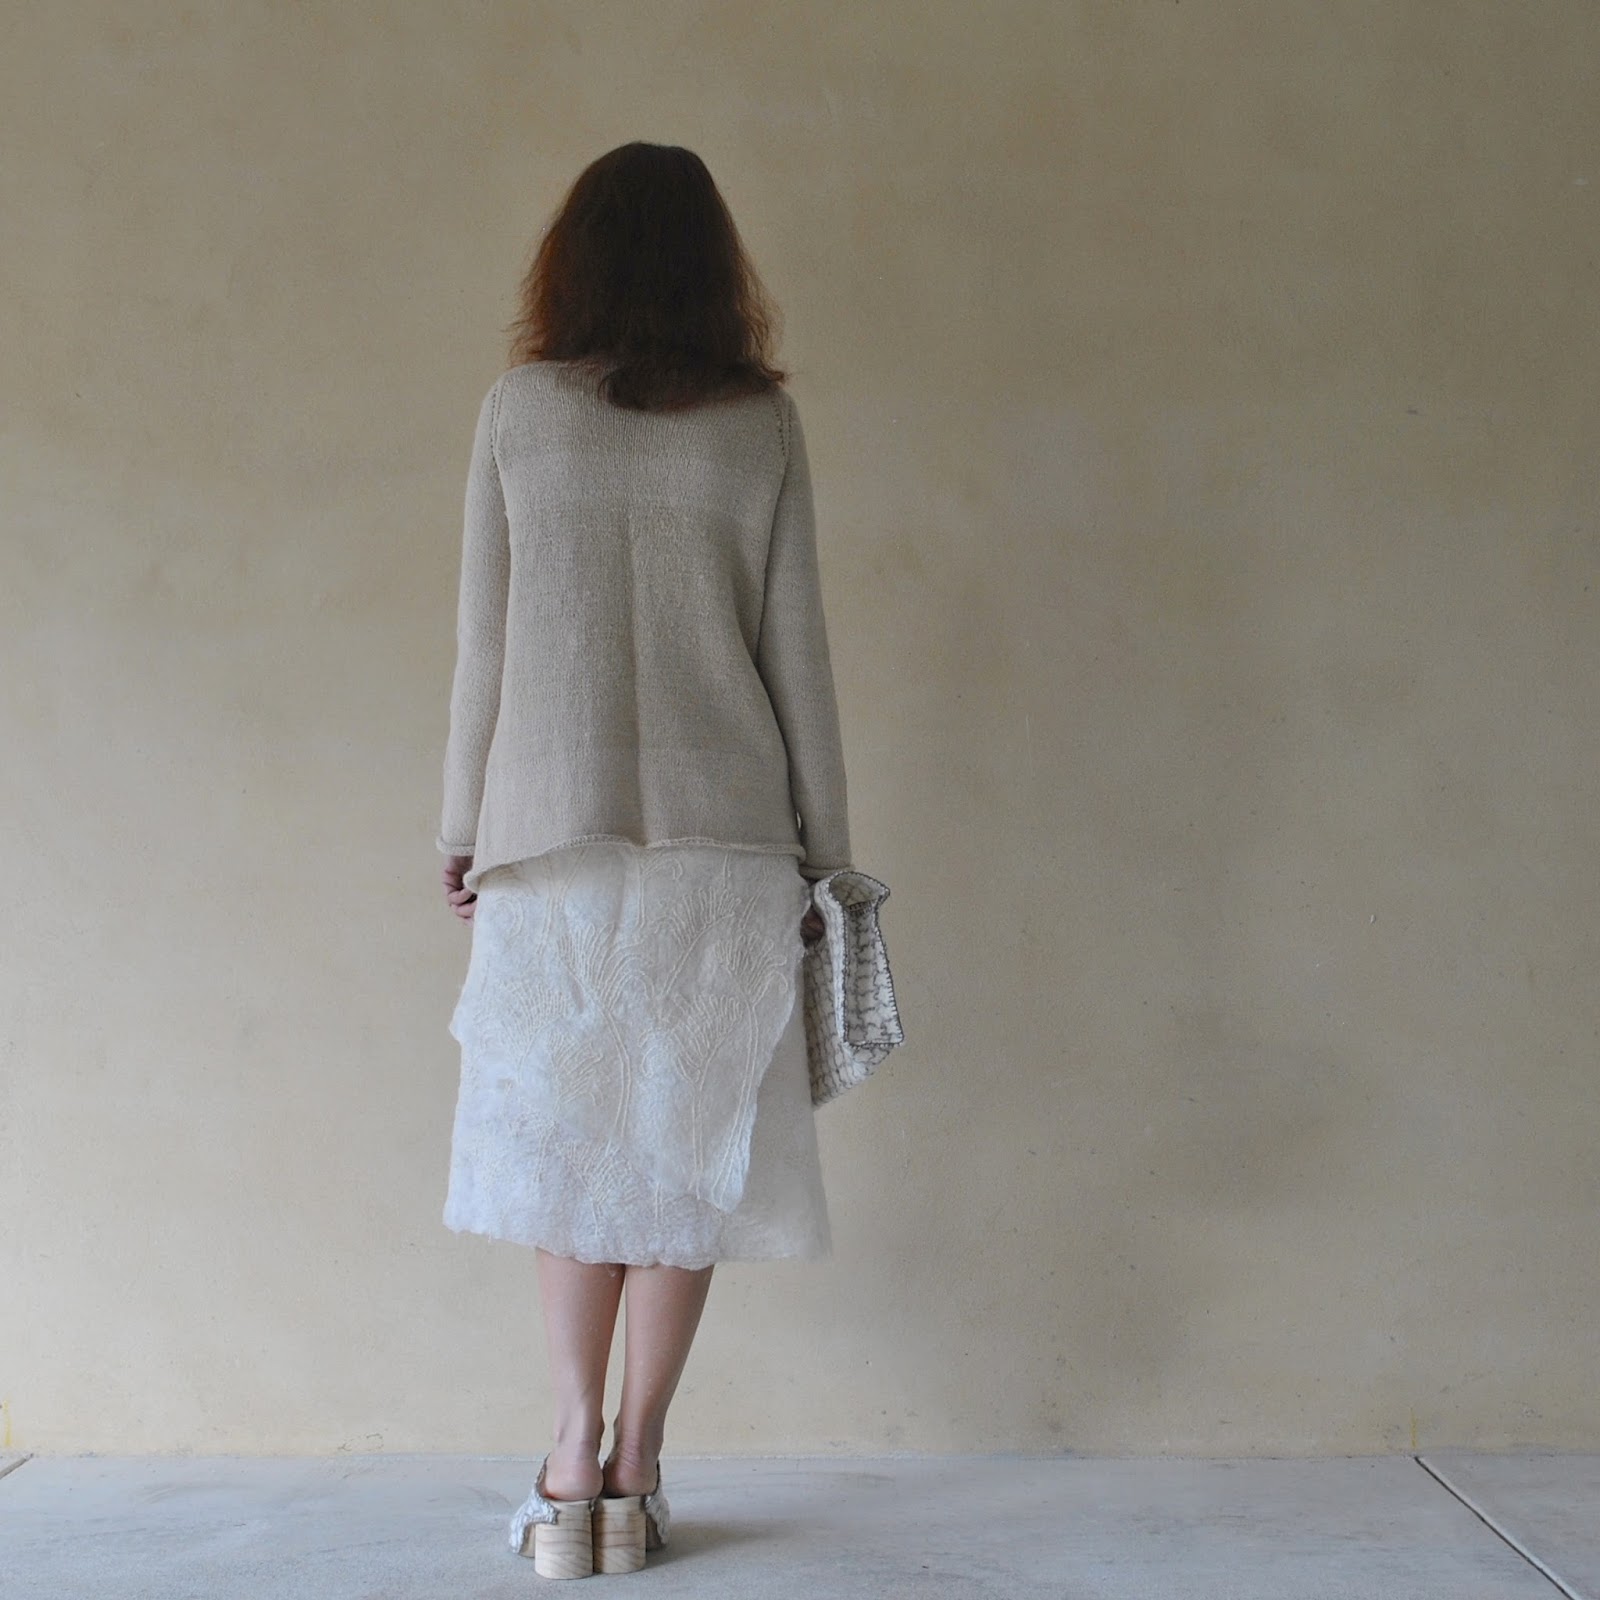
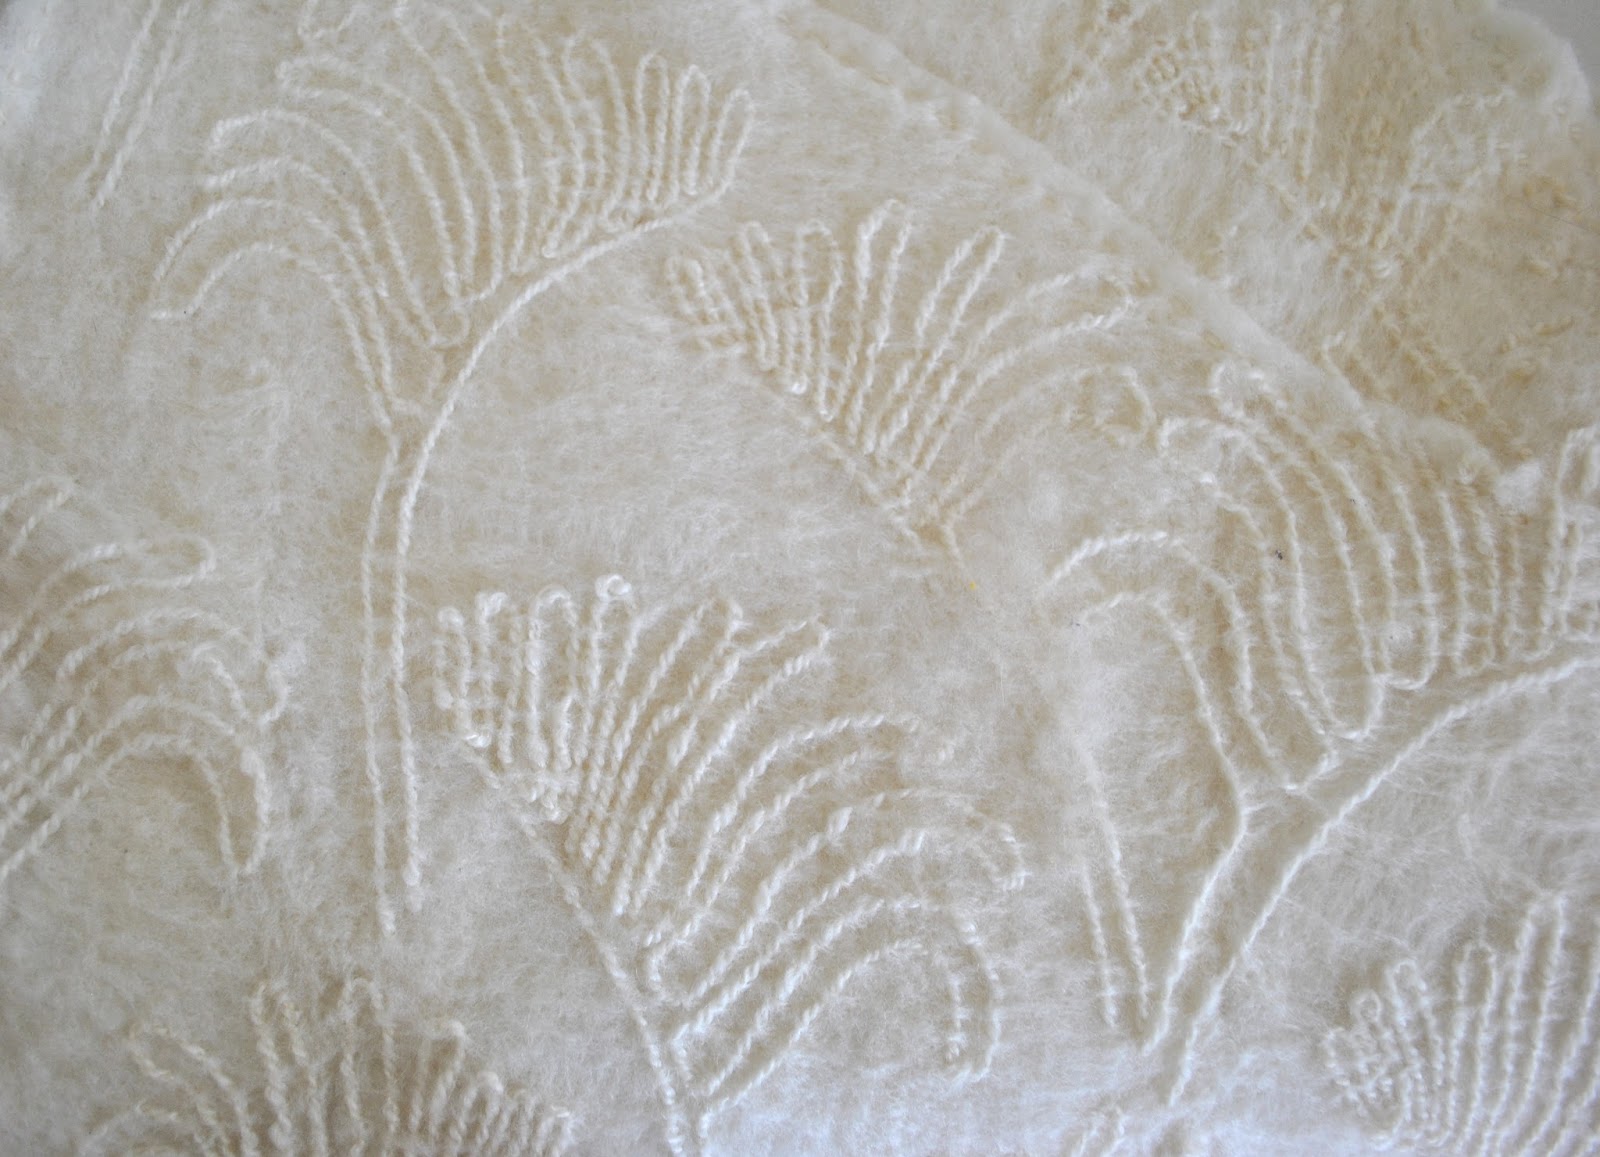
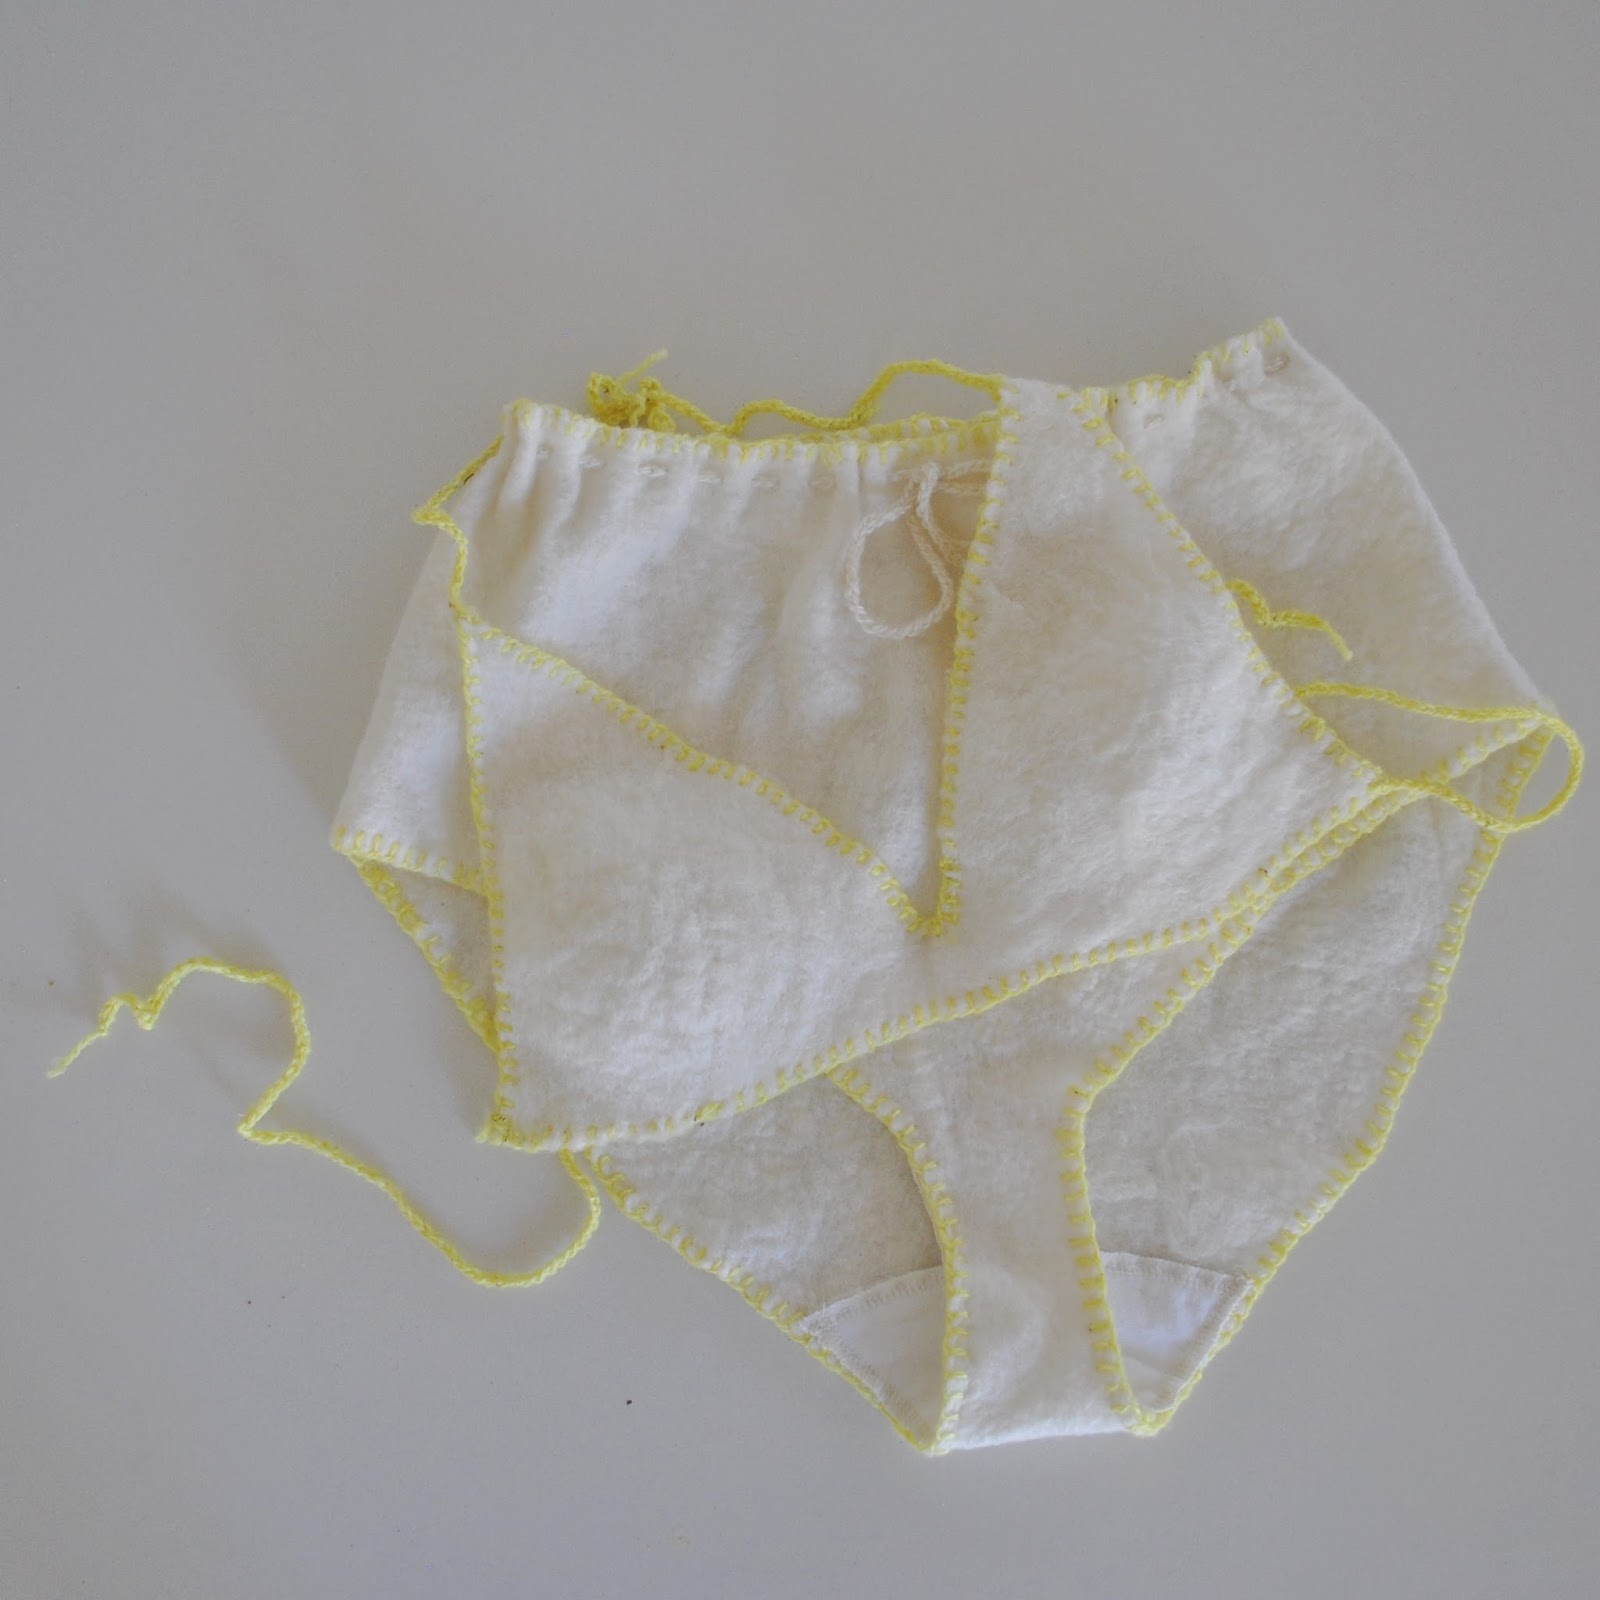
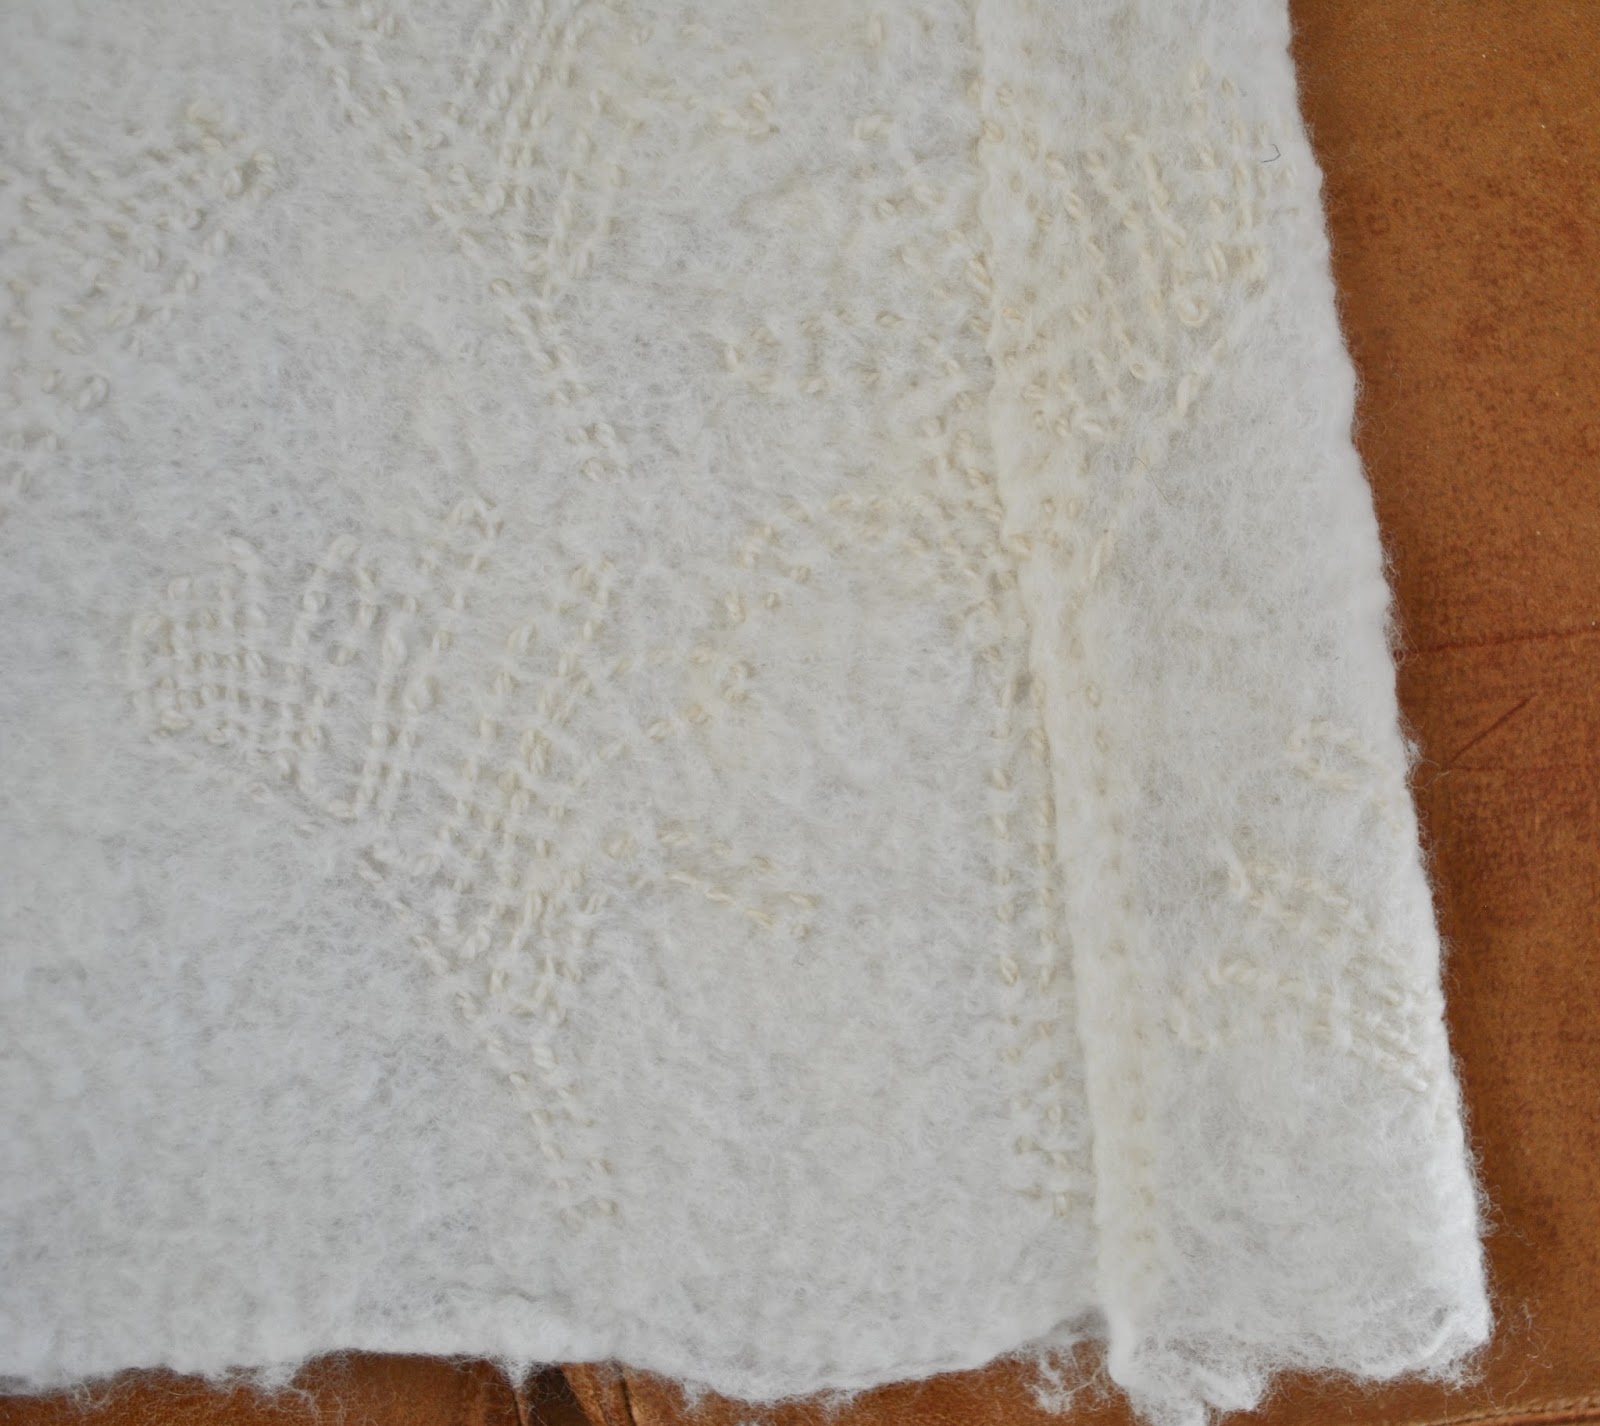
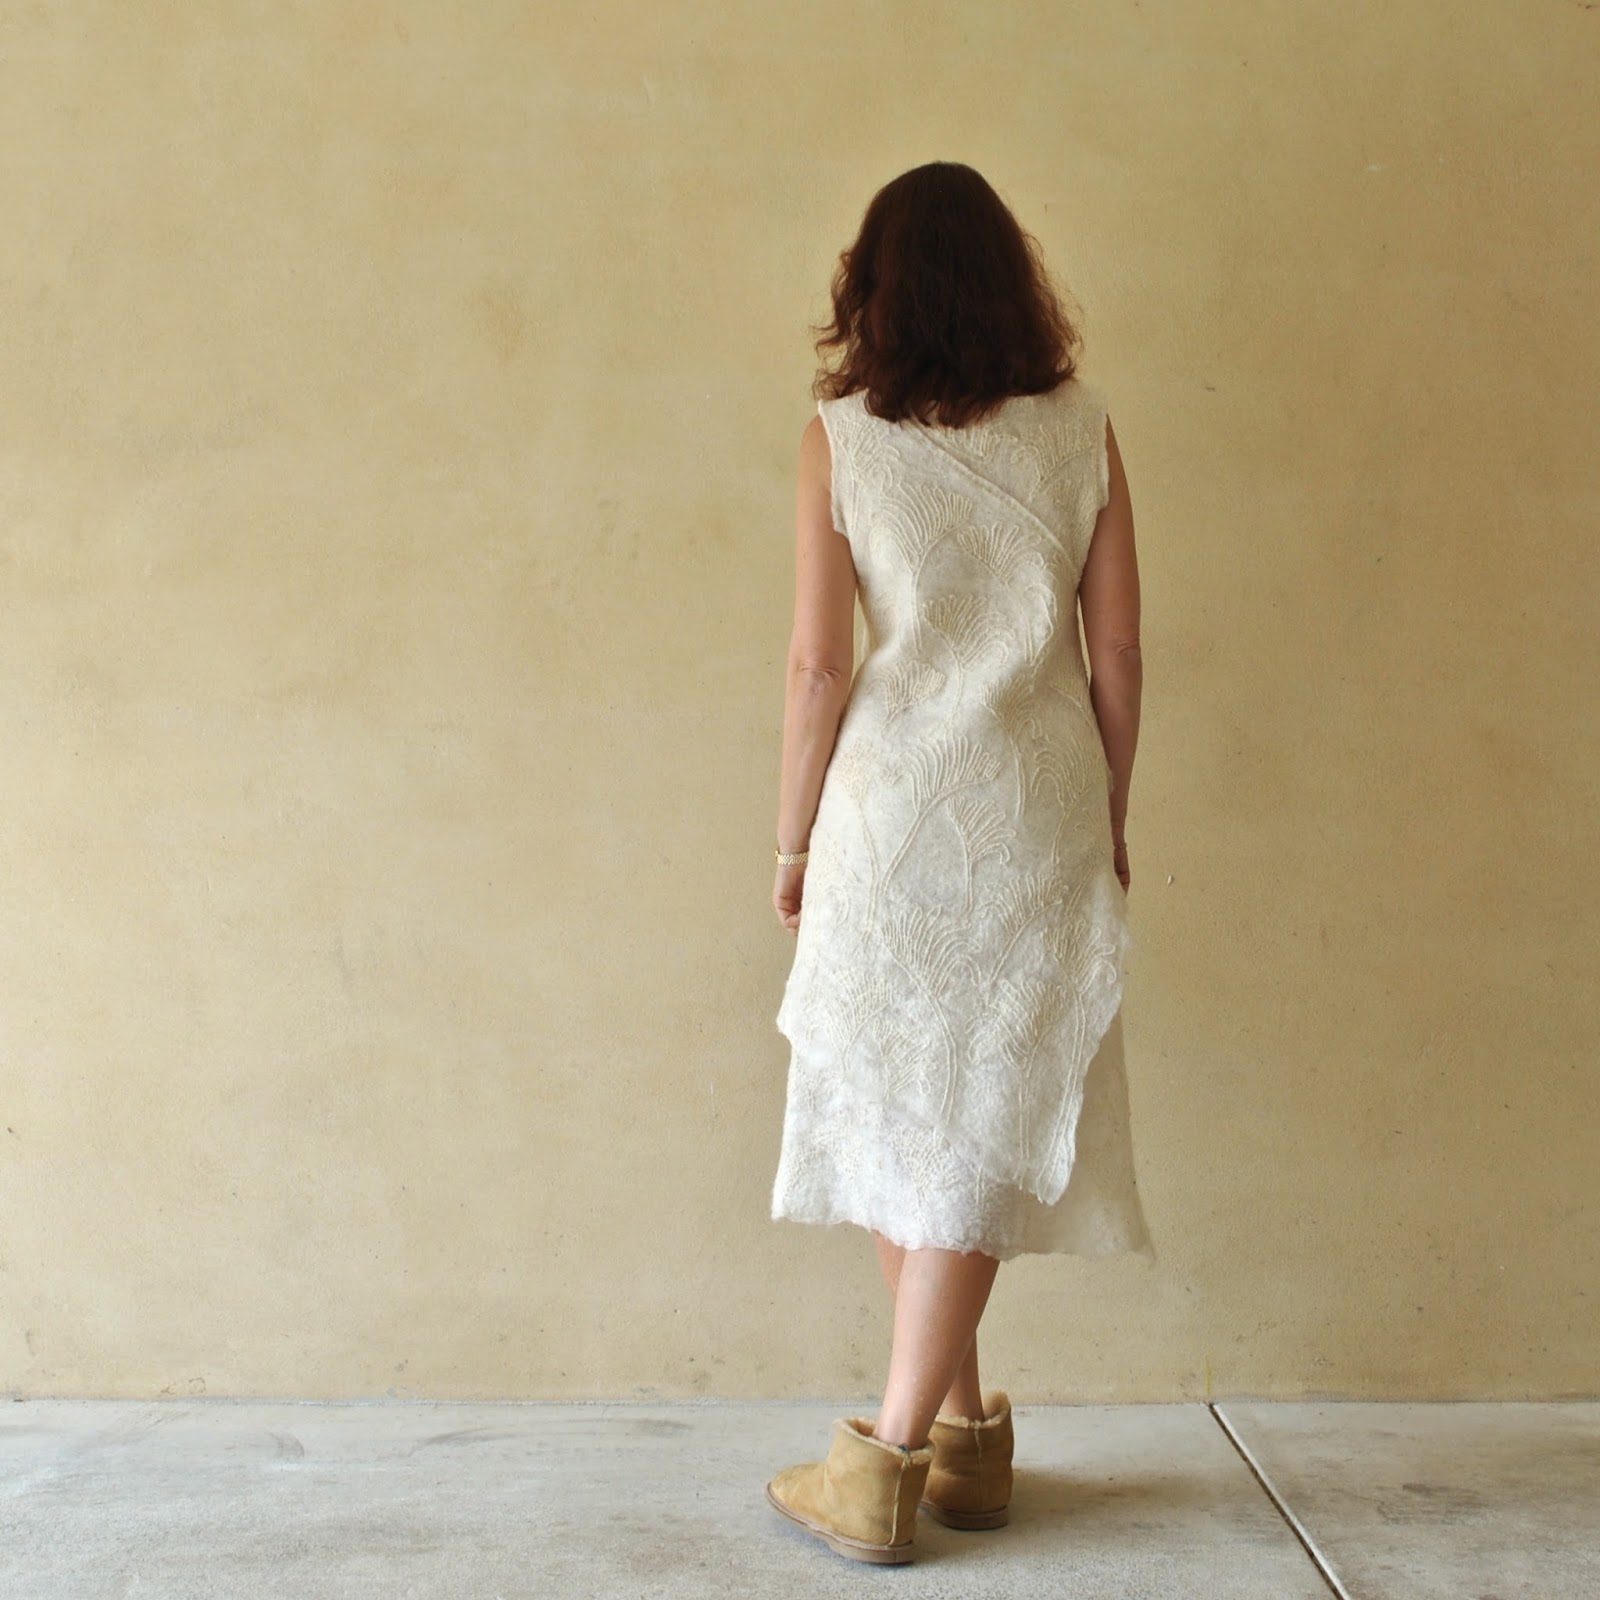
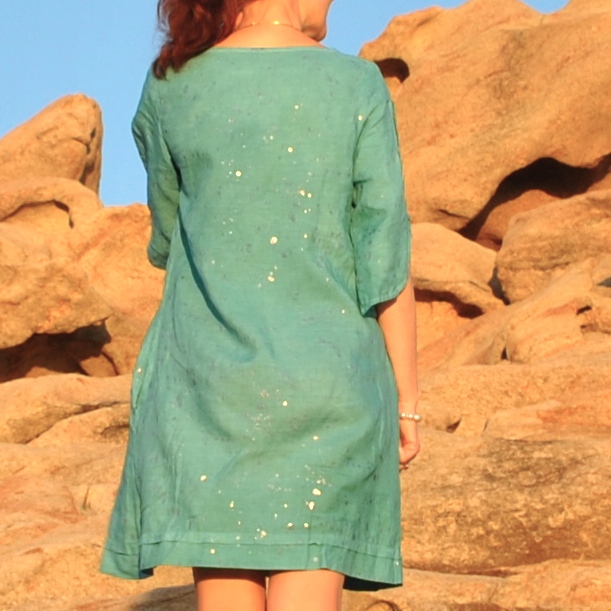
Secondly, for decorative impact too, of course! My felt is quite textured already, but I really liked the idea of something more, and a white-on-white design. I embroidered the under-dress, below, in a regularly spaced and repeating pattern of identical kangaroo paws, while the overdress, above, has a more random appearance, with different sized kangaroo paws, placed non-regularly and more artfully; as if someone had taken a bouquet of kangaroo paws and scattered it across the piece.
For the embroidery: I used natural, undyed Western Australian Merino yarn, handspun here in Perth by a lady named Beverly. I bought this from Bilby Yarns.
The side seams are hand-stitched and hand-fellstitched in a thinner version of the same yarn. I left the lower edge of the dress with its naturally wobbly self-edge, just as how it came out from the felting.

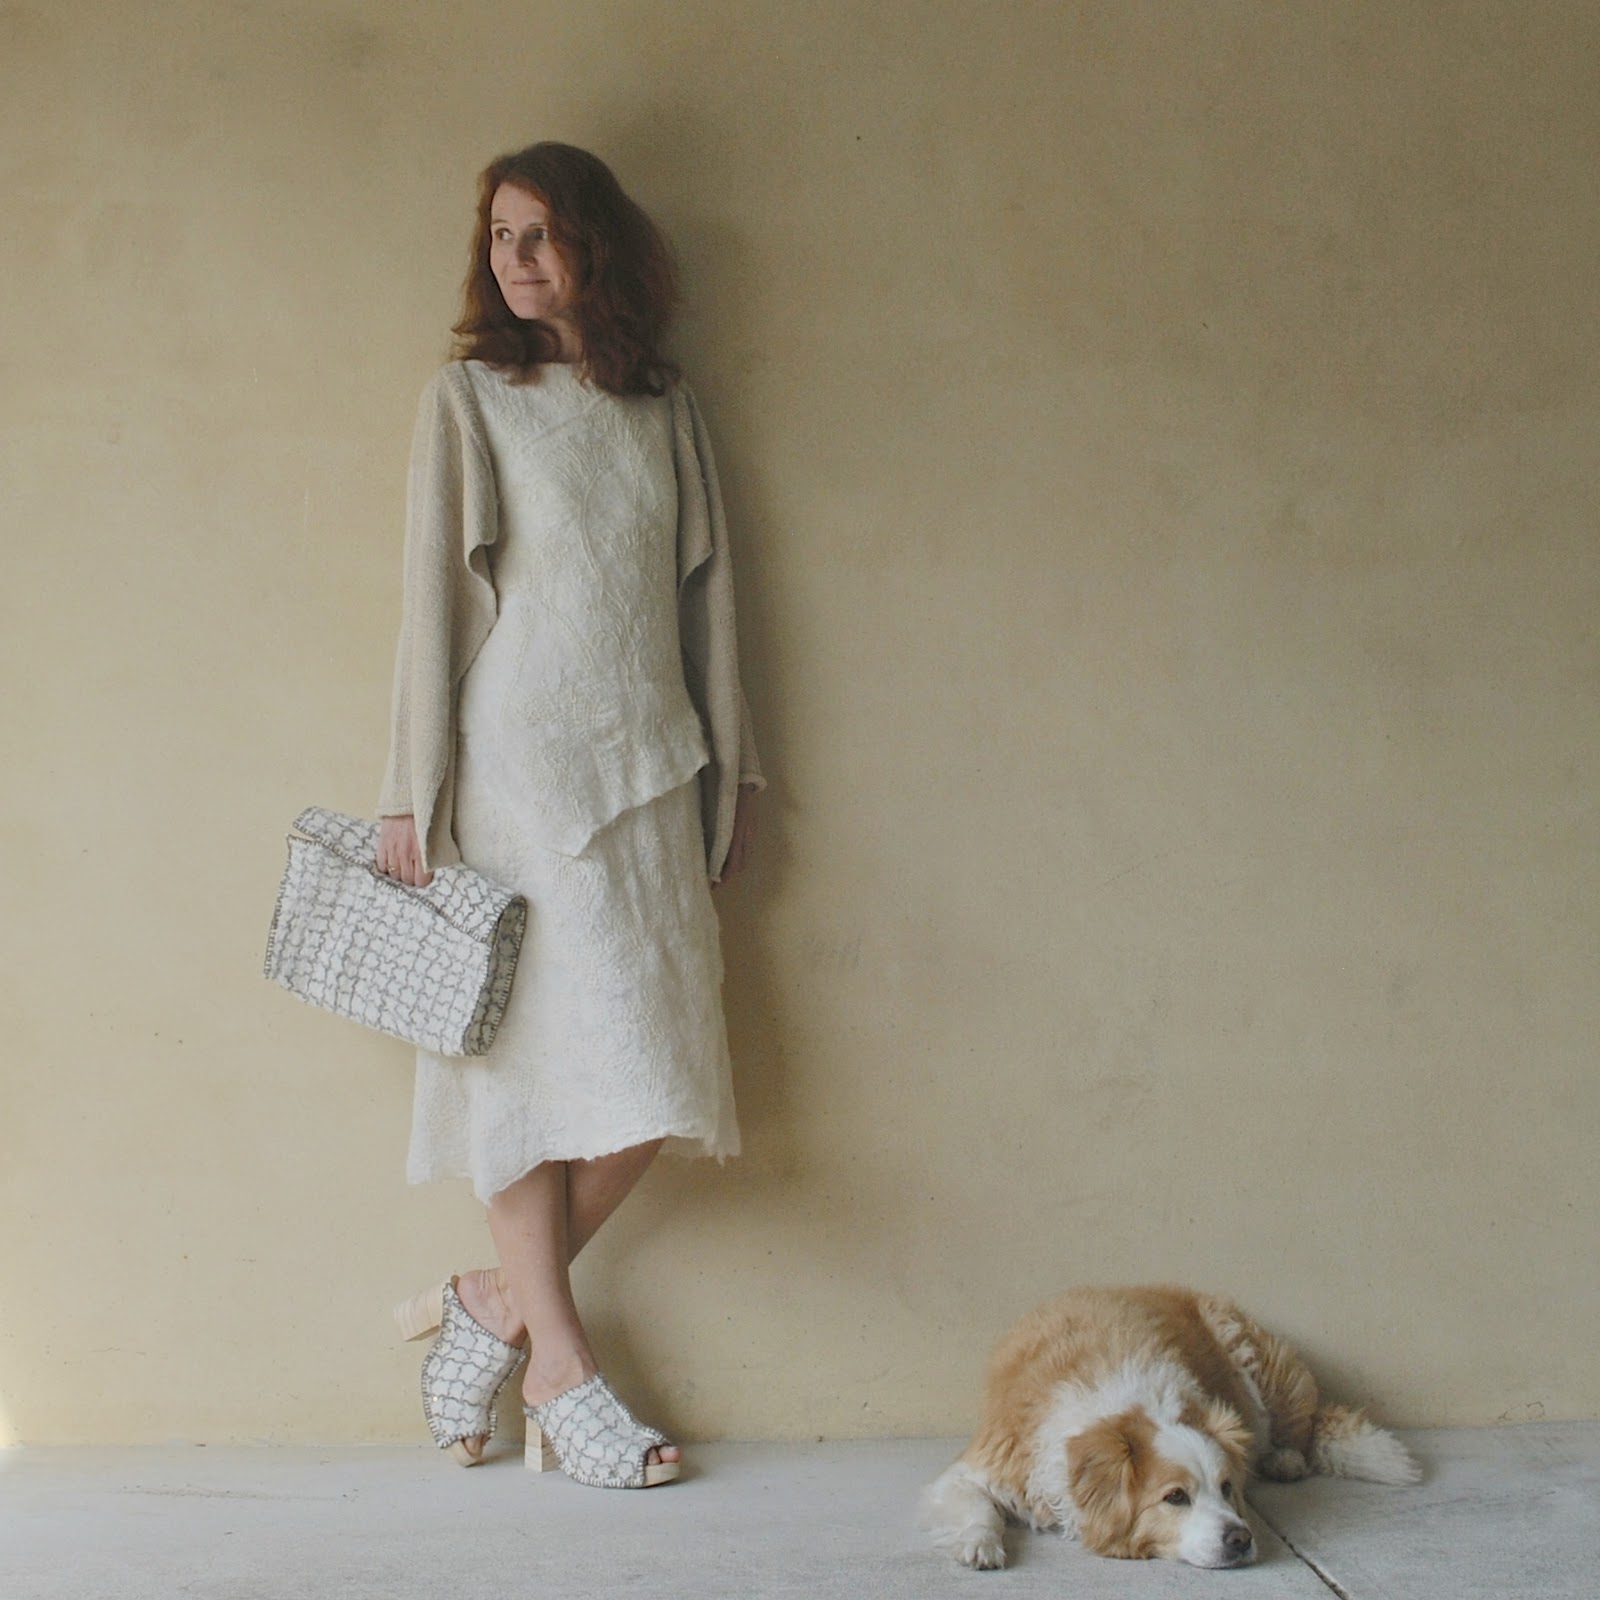
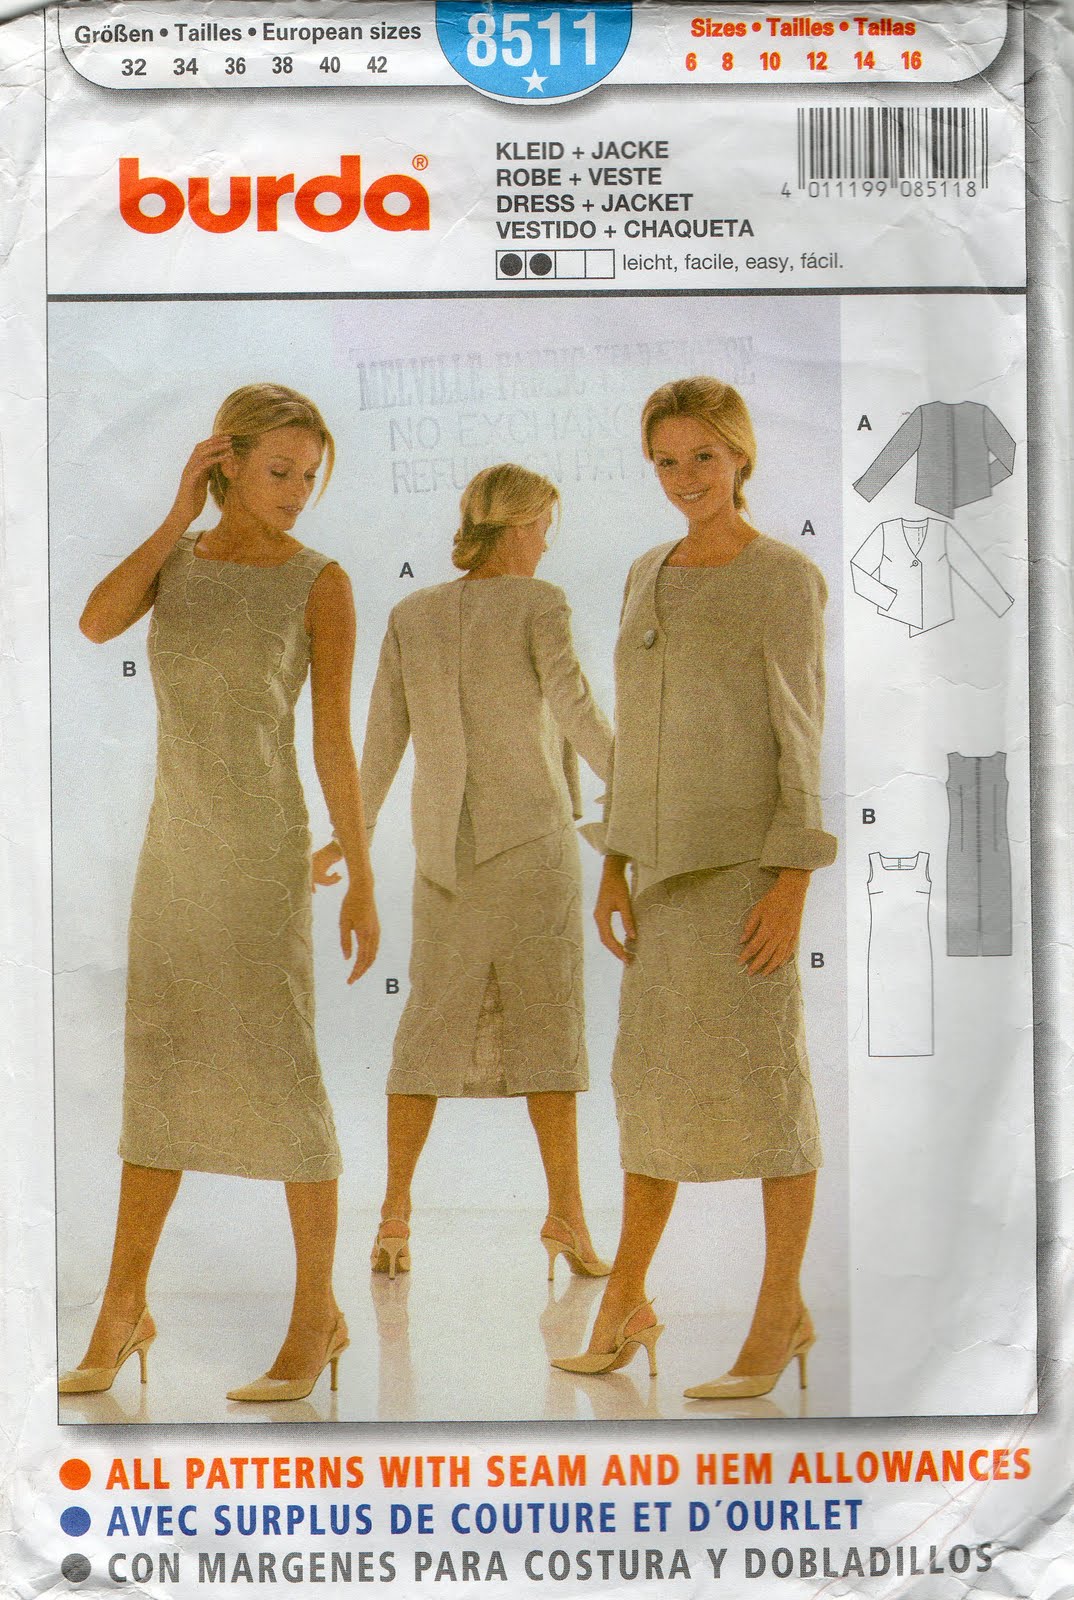
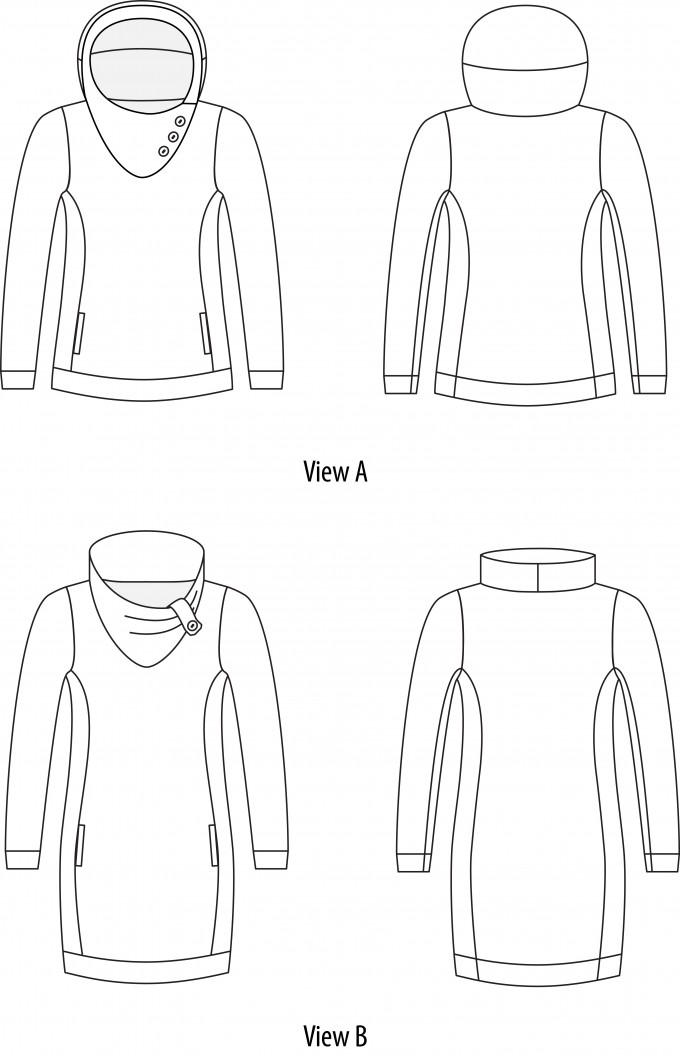
As per the one year one outfit strict criteria, I could not use anything in my dress that was not locally sourced; meaning no thread or zips. So, I could have used buttons, since I still have some lovely ones made by my Dad using wood from my parent’s block… but I decided to go with a dress that I could just pull on over my head and with no closure required. I used my standby plainy-plain dress pattern, Burda 8511 and drew up a wide, midi-length, loose, A-line dress pattern; two layered and with slanting asymmetrical hemlines. The under layer is a full length dress; and the over layer is a shorter and briefer one, one-shouldered with a diagonal top edge disappearing into the side edge/armpit. I cut out “facings” for the top edge, and these are fused/felted to the inside of the dress, underneath the single layer part of the under-dress. Meaning, the dress has two layers of fabric all over, which I fused together by felting nearly all over after embroidering. The front has felted-together layers to waist level, while the back has the layers felted together to below bum level. The remaining lower portion of the overdress float free, and the only parts that are a completely single layer are the lower portion of the underdress.
Clear as mud? Yep, I thought so!

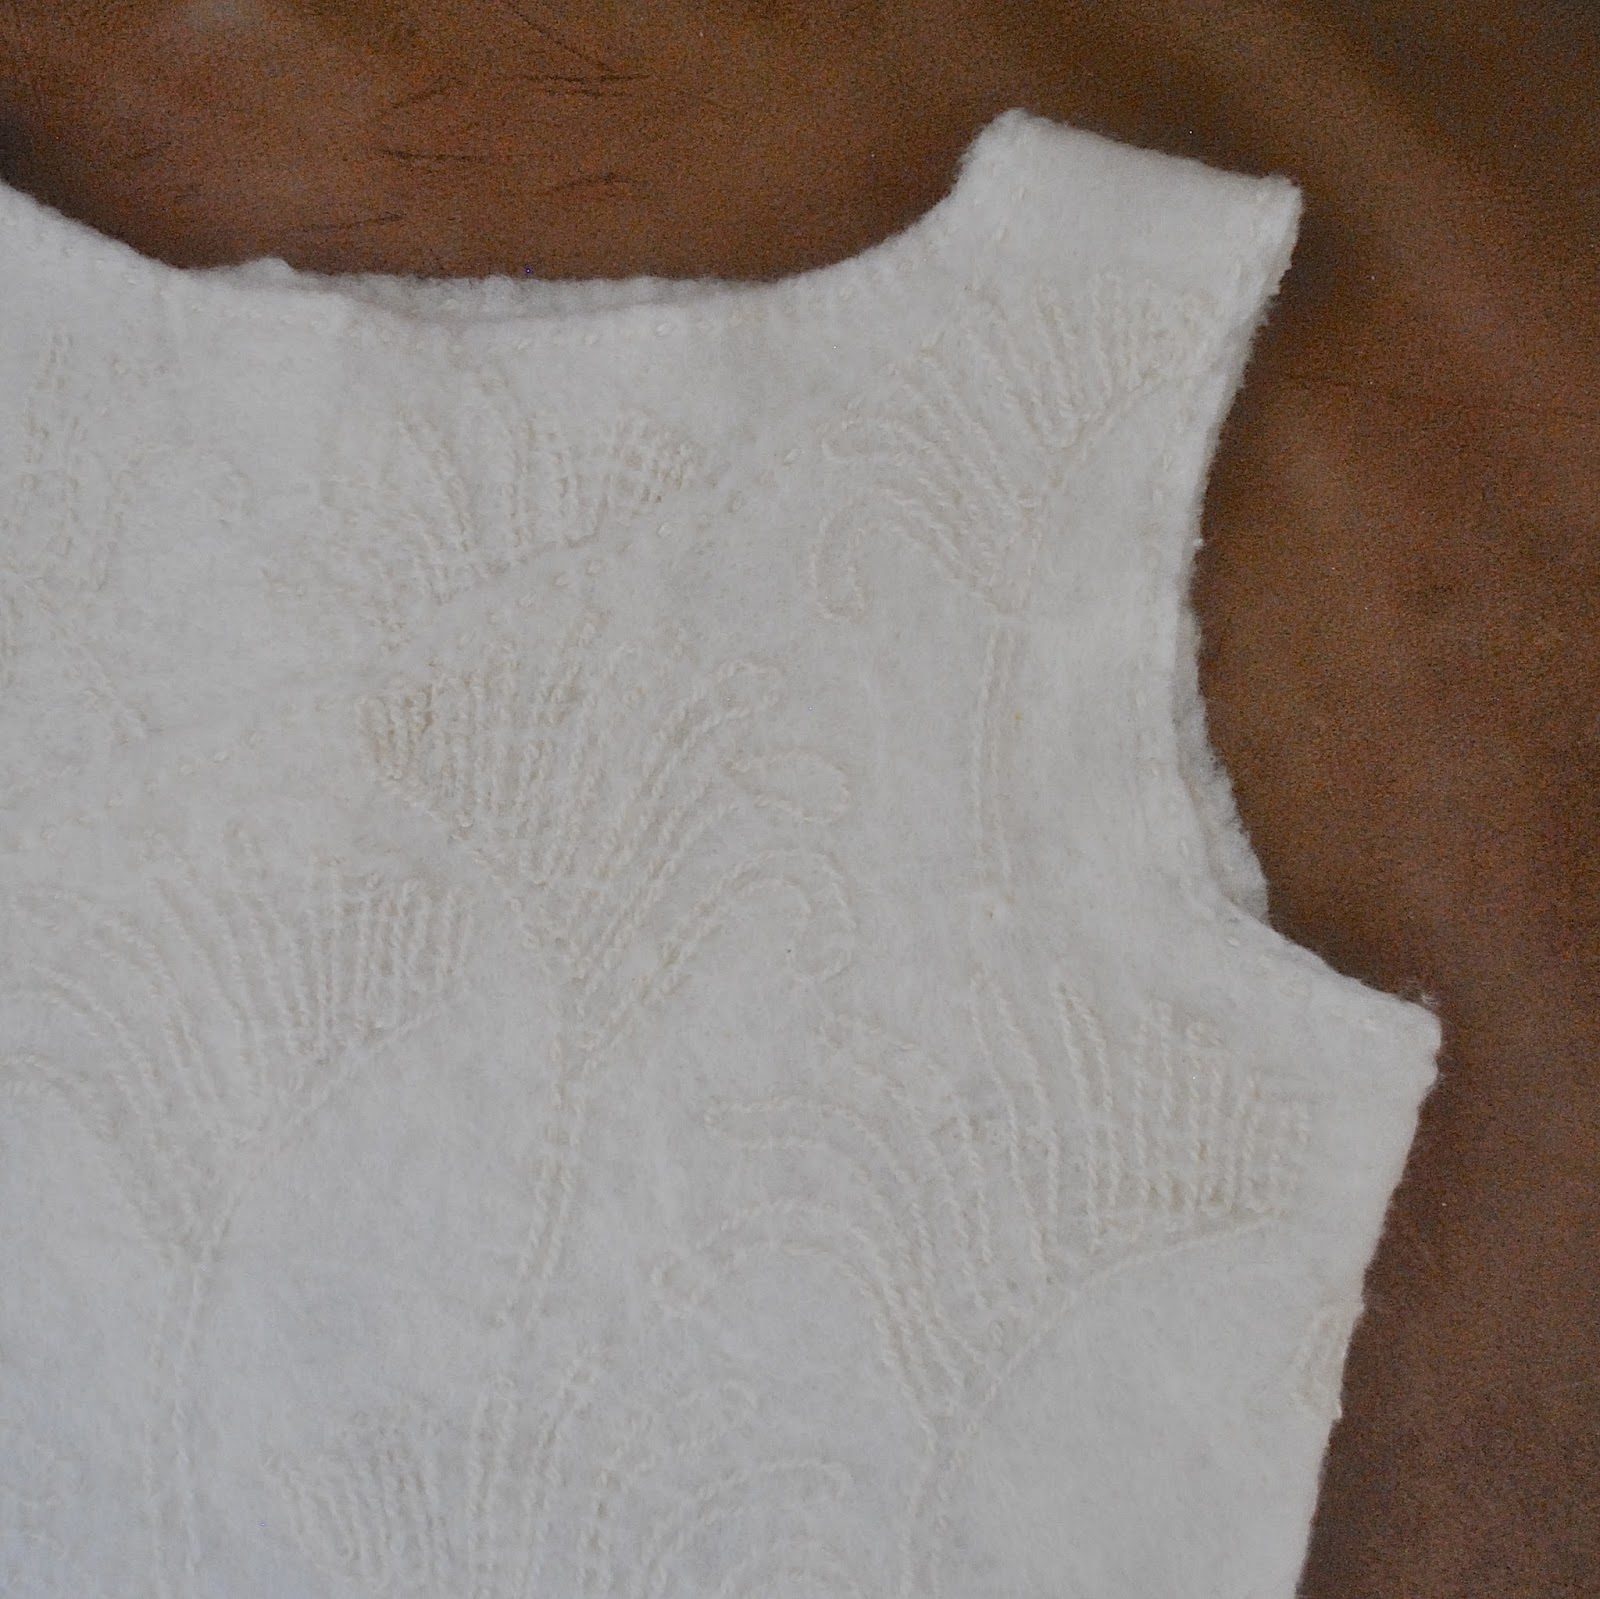
Also: it may superficially look like the dress has not a skerrick of shaping, with no visible darts or piecing, but actually that is not the case! It is shaped… with invisible darts!!! yes, really invisible 🙂 The shaping is not drastic since I needed some looseness to enable me to get the thing over my shoulders ok… but the shaping is there. I cut out the bust darts and back waist shaping darts, and closed them together by hand-felting the layers together with a felting needle. This is a clever little needle, long and with tiny serrated point. You jab it in through the layers of your felt and its serrations enable the wool fibres to meld and mesh together thanks to their own naturally barbed nature, albeit microscopic. This is how felting is even possible, of course! Thanks to this wonderful property exclusive to wool, my dress has a nice subtle shape but with no visible evidence of such shaping, such as darts or seams. It’s also how I felted together the two layers of the dress, all over.
It’s like magic, I’m telling you.
running stitch edging, and invisible bust dart
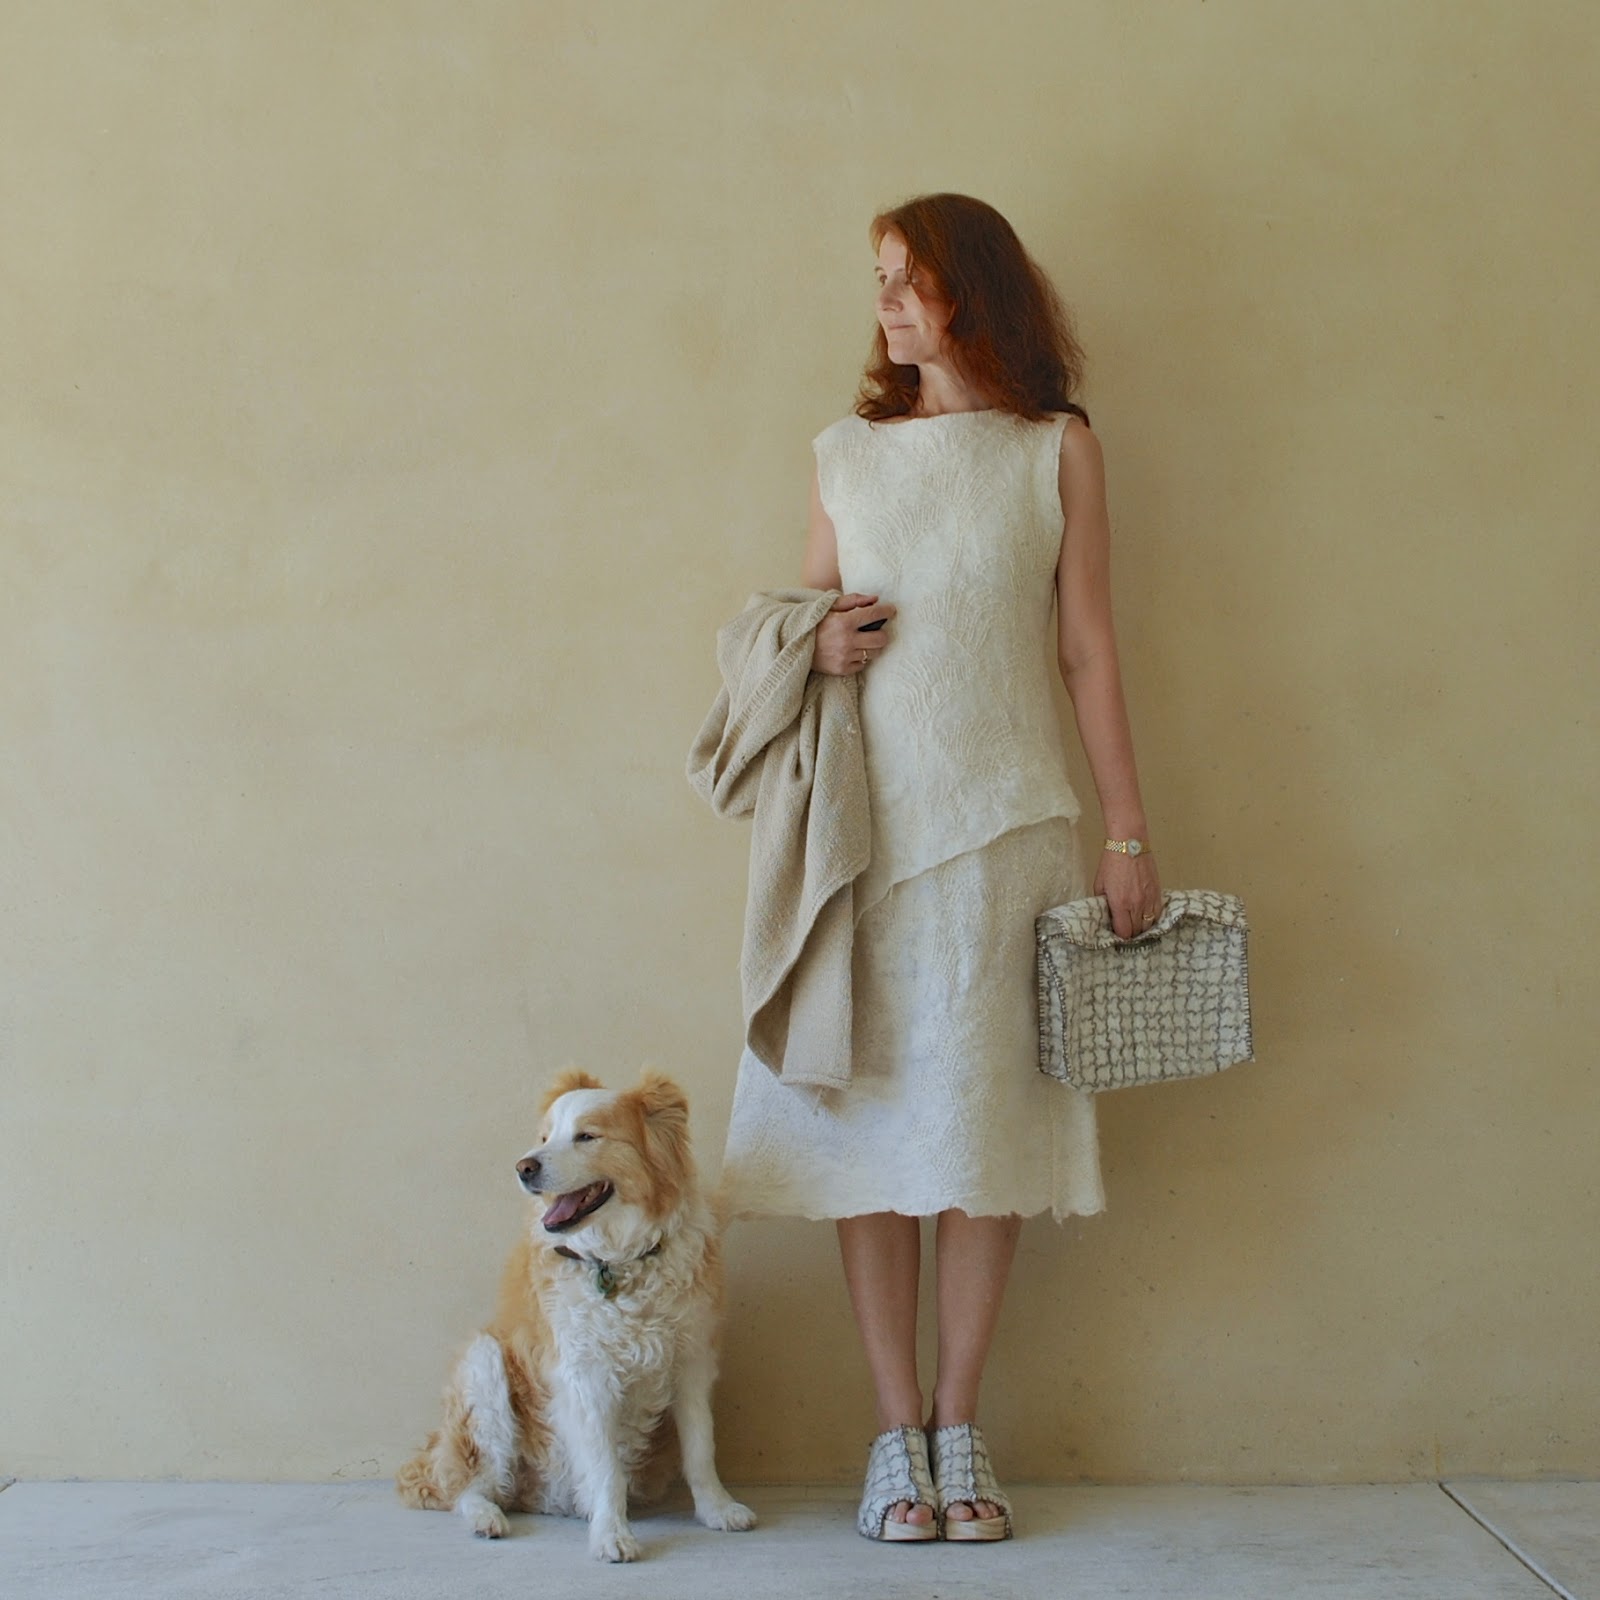
Once I had completed all my wool embroidery, I went over and painstakingly hand-felted those upper and underdresses together as described above. Then the very final step was to run a simple running stitch around the neckline and armholes. I wanted a nice subtle edging to these areas, not only for some strength, as the running stitch is almost like stay-stitching if you like, and stabilises these vulnerable areas that might otherwise get stretched out every time I pull the dress over my head and push my arms through those armholes. The edging also provide a nice visual border that that does not compete with my embroidery… and obviously I want my embroidery to have the biggest visual impact.
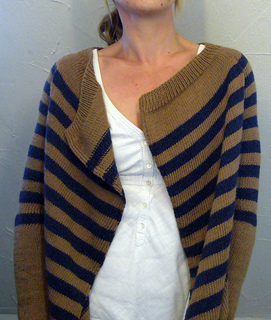
 So! This is merely part two of my one year one outfit project, part numero uno was my knitted alpaca jacket/cardigan, posted here, and I have a couple more components still going in the works. What will they be? we shall see, we shall see… 🙂
I may have a few surprises still up my sleeve, mwahaha!
Details:
Dress; my own design based upon Burda 8511, of self-made wool felt with wool embroidery of my own design
Ugg boots; from some ugg boot shop, forgotten which one
Ahhh, the uggies. I know they’re pretty awful but I just could not resist! Seemed only fitting. I’m gahn the full Strine here, mate. 🙂


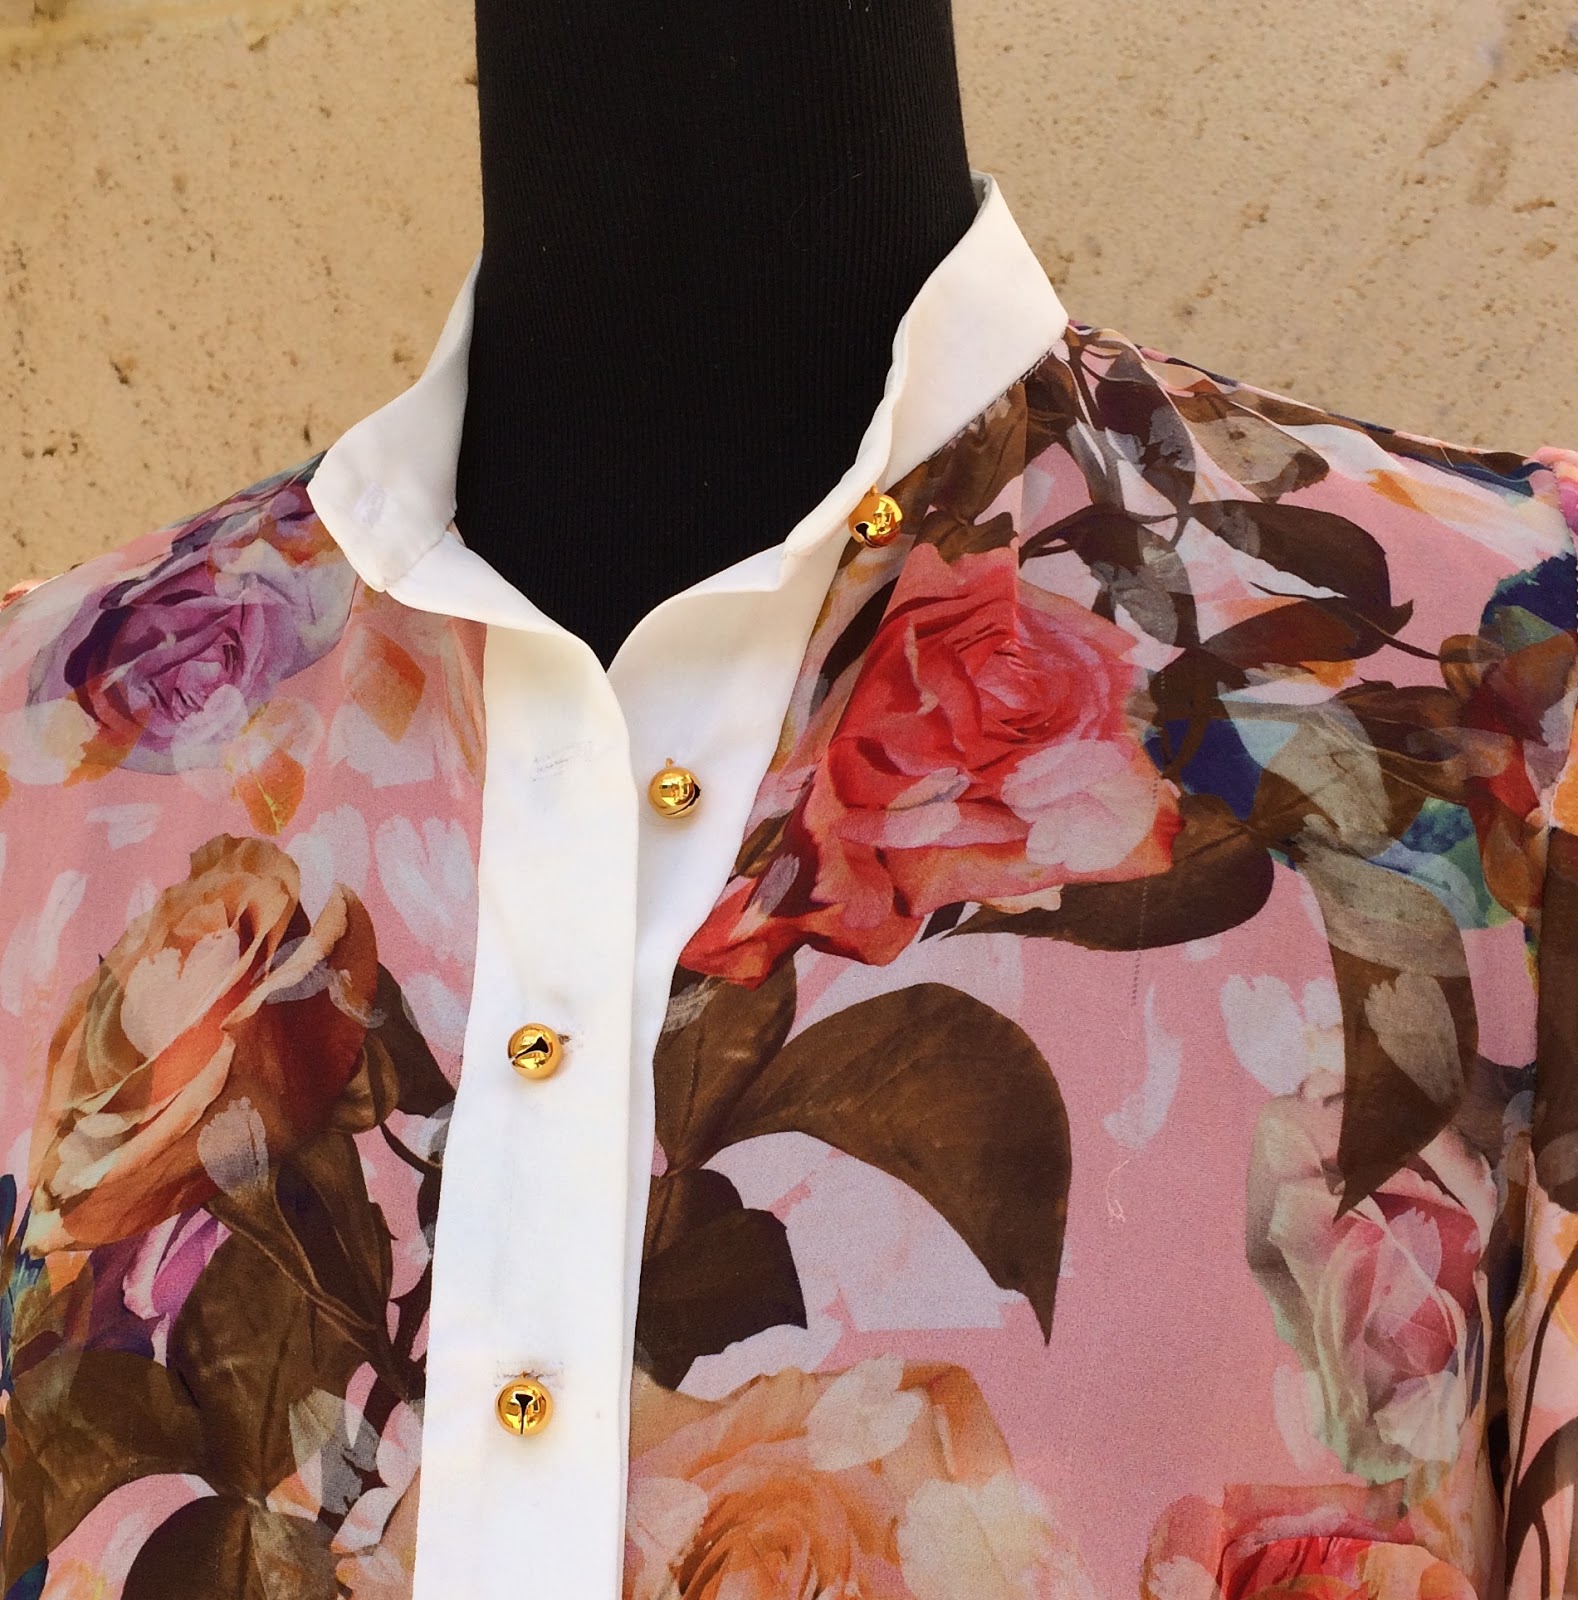
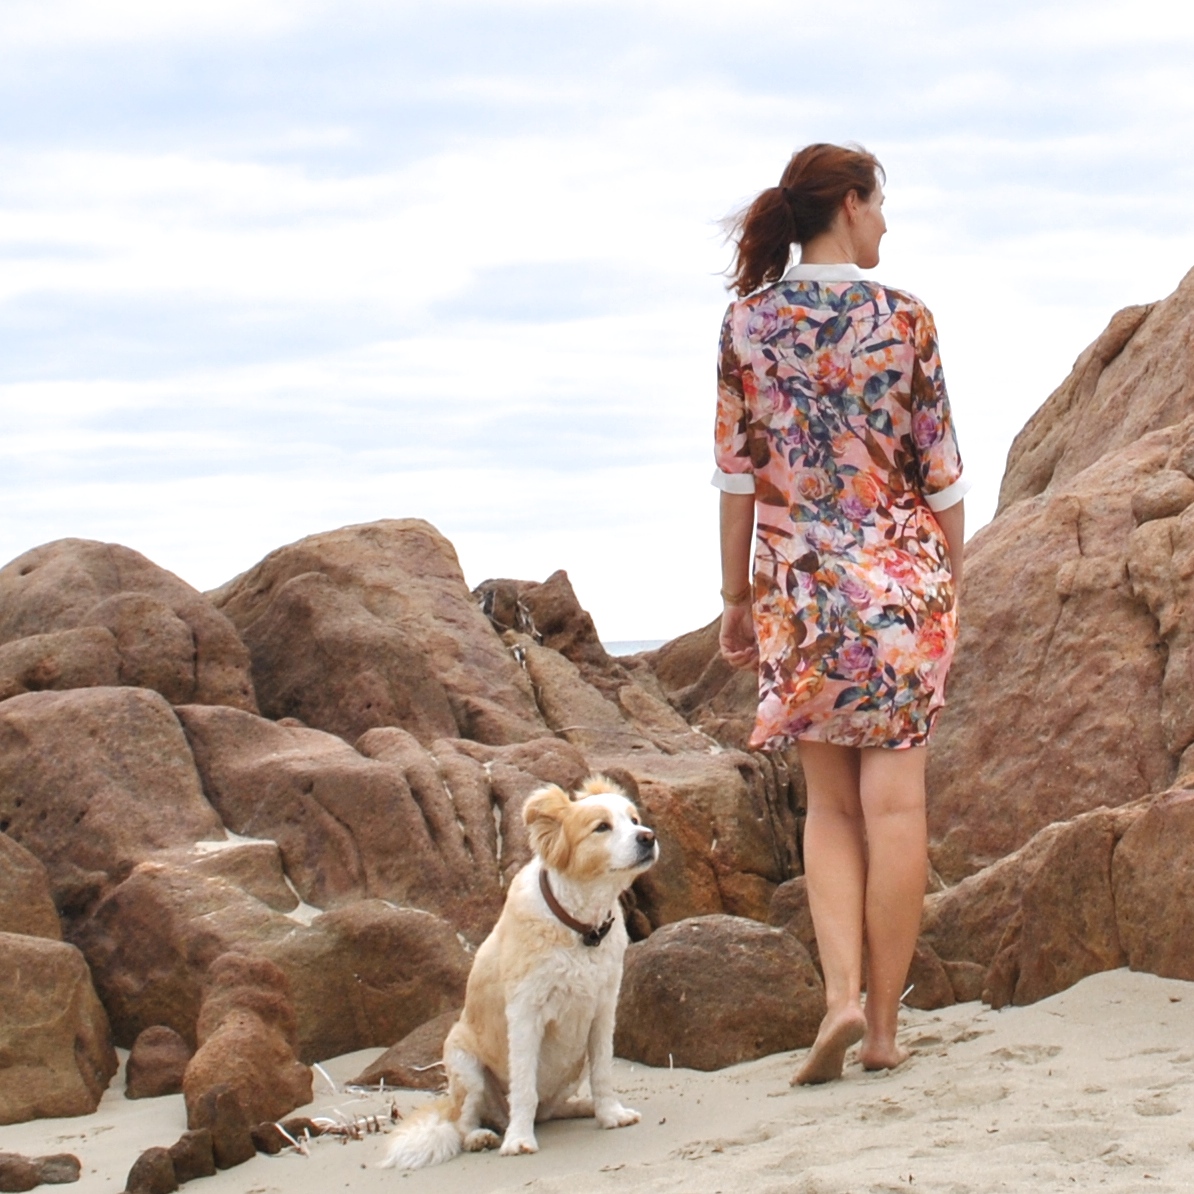
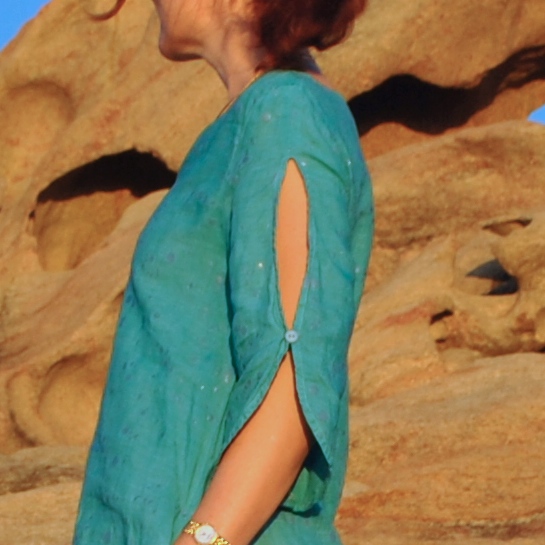
 That townhouse print though; it did cause me a wee bit of angst… how on earth to make it into something that was going to look cute and fun and funky and stylish? You know with some prints the subject material is absolutely perfect for a person, but the print itself is kinda messy and busy and so has the potential to be disastrous? It’s one of those prima donna prints, I felt it would look overpowering in a dress with a sleeve, also I knew it would not play nicely with many other colours/prints; likewise any design details like draping or … well anything at all, was OUT. At first I thought about making a very simple plain sleeveless shift, but still worried that it would look a little naf.
 Once the raglan lightbulb had popped up it was all super easy from there… I used my own raglan sleeve Tshirtpattern, that I’d worked out years ago from laying down and drawing around an old Tshirt … in a time when patterns for raglan sleeve Tshirt were non-existent! Yes, it’s hard to believe now there are tonnes of patterns available everywhere, but for a long time and until quite recently some design features were very difficult to get hold of. We had to hunt for them, and be creative and innovative and sometimes very devious in order to get what we wanted. The elusive Raglan Sleeve tee was one such rare beastie. I think it was often assumed that patterns for basics were something you either had already, or could work it out yourself with no pattern by cutting up an old one.
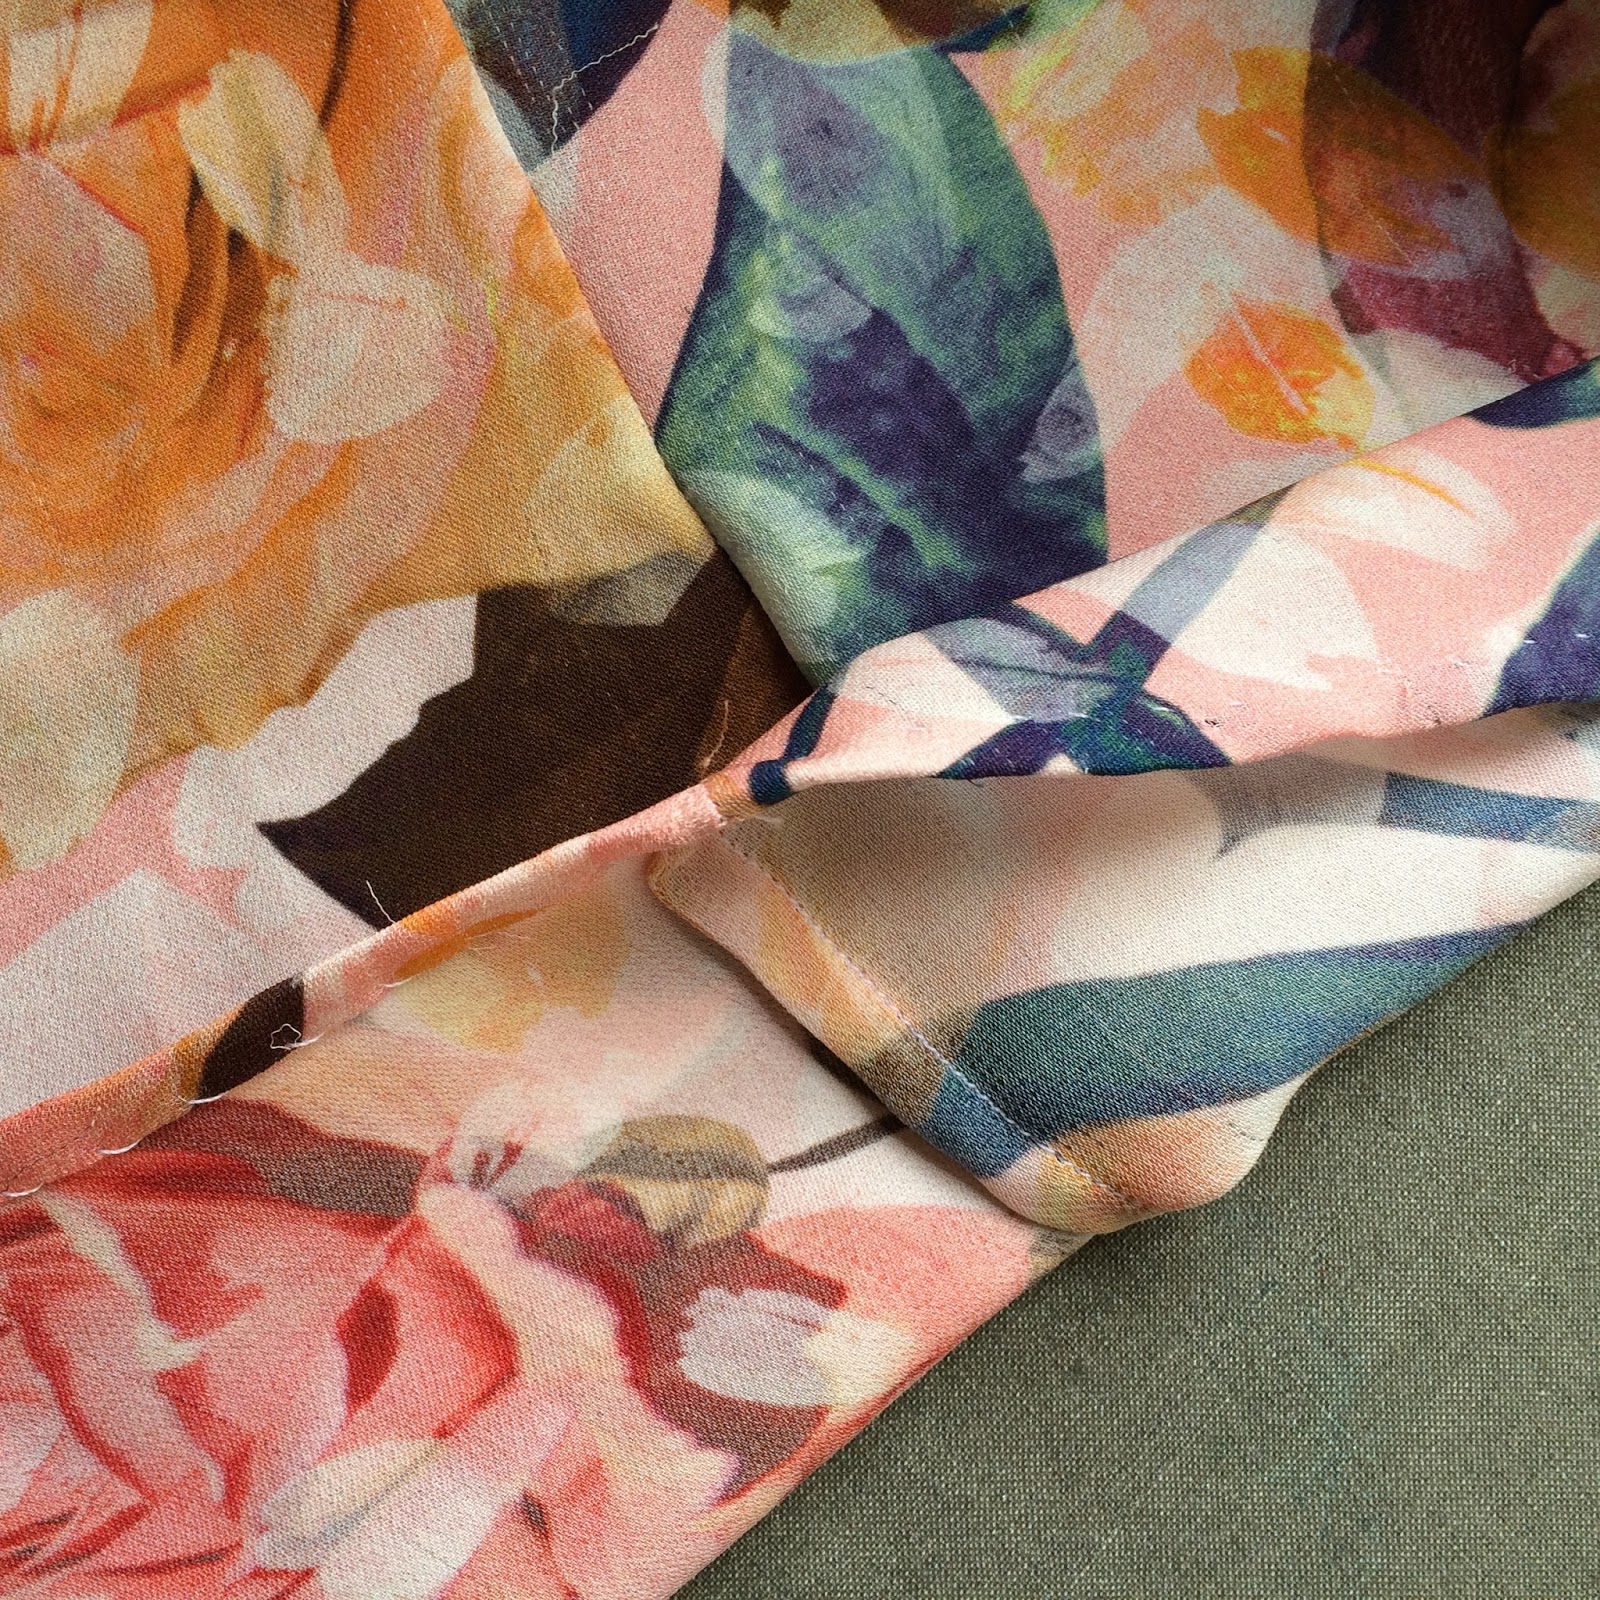
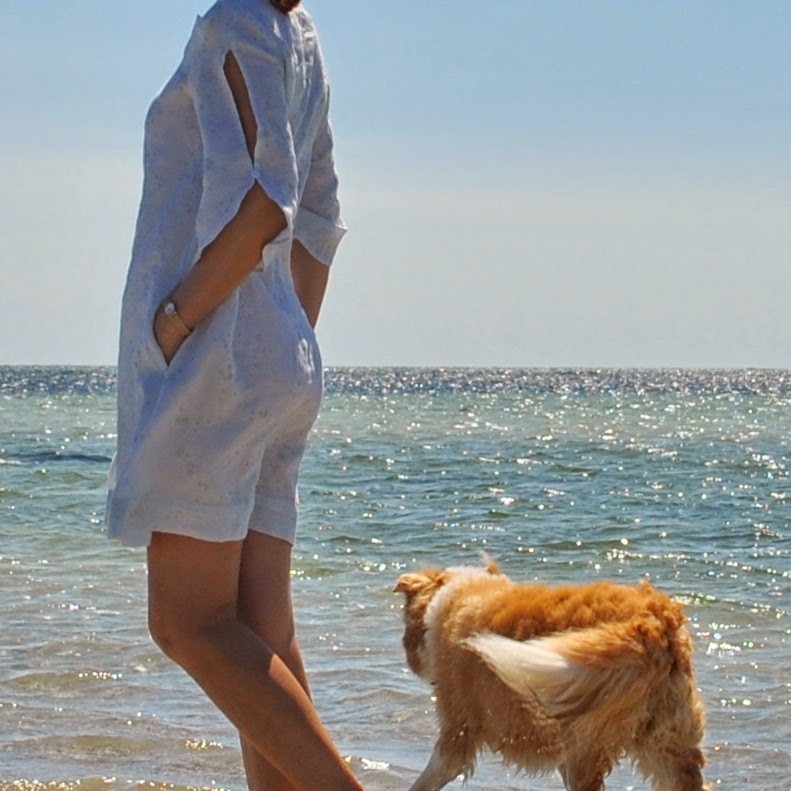
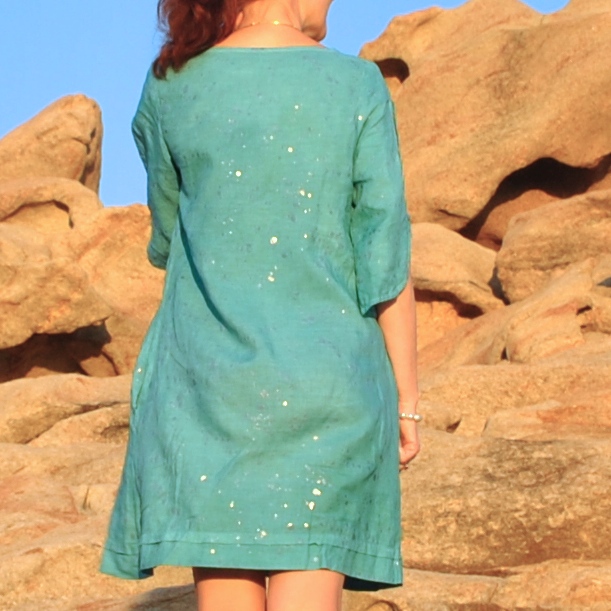
 Collar band, simple folded band done using this method; sleeve and lower edges overlocked, turned up once and stitched on the machine with a twin needle. All seams stitched and overlocked inside to finish.
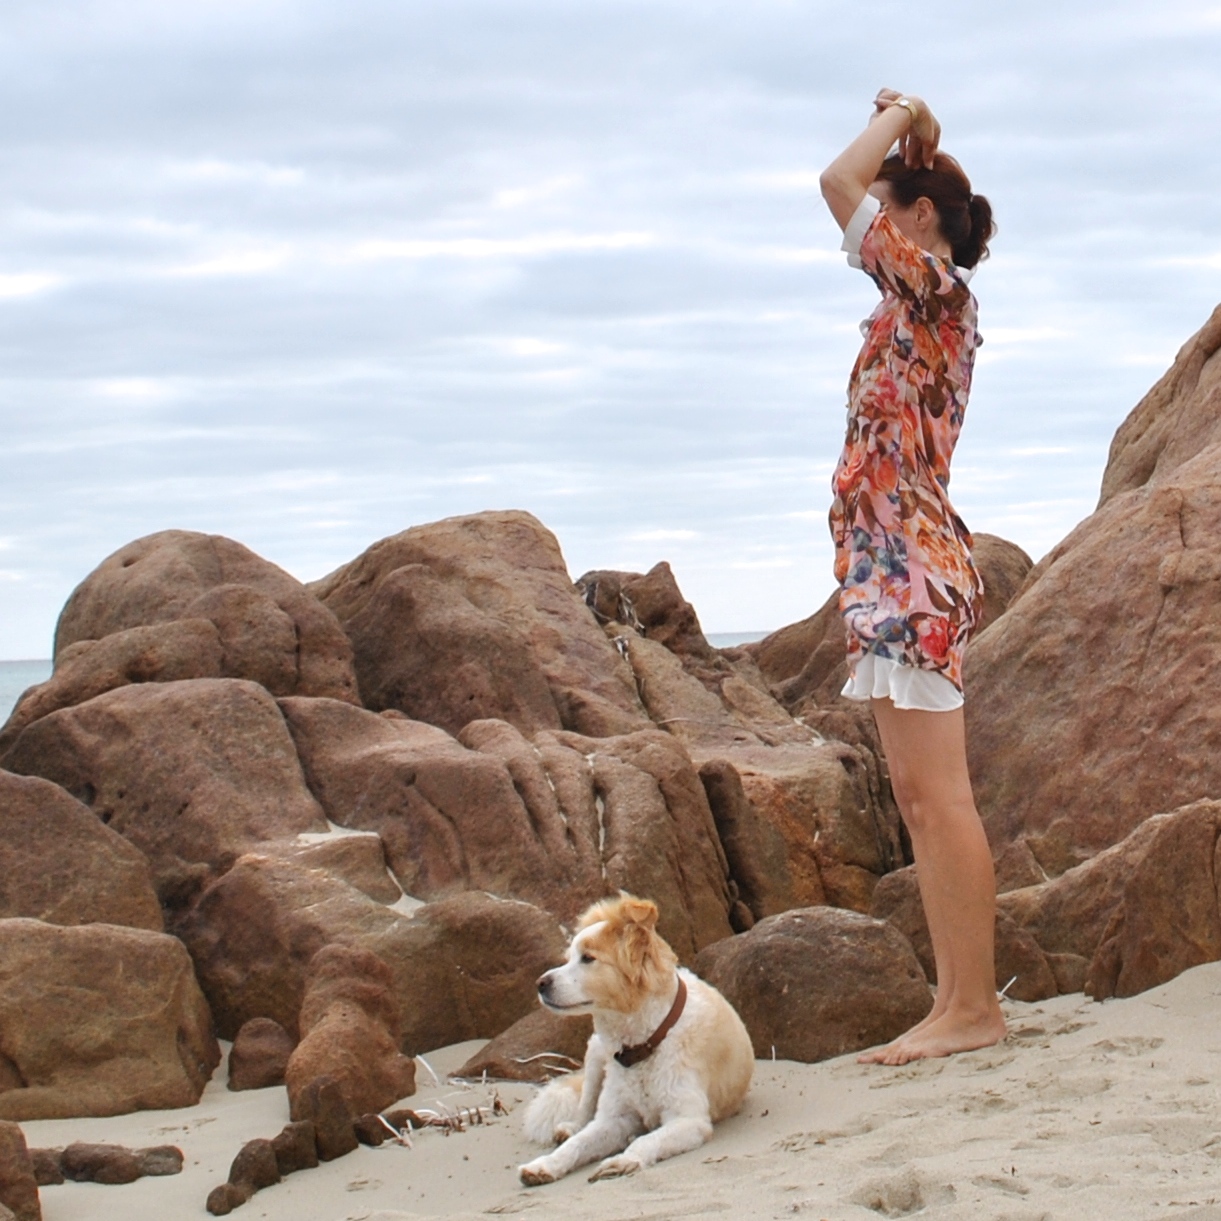
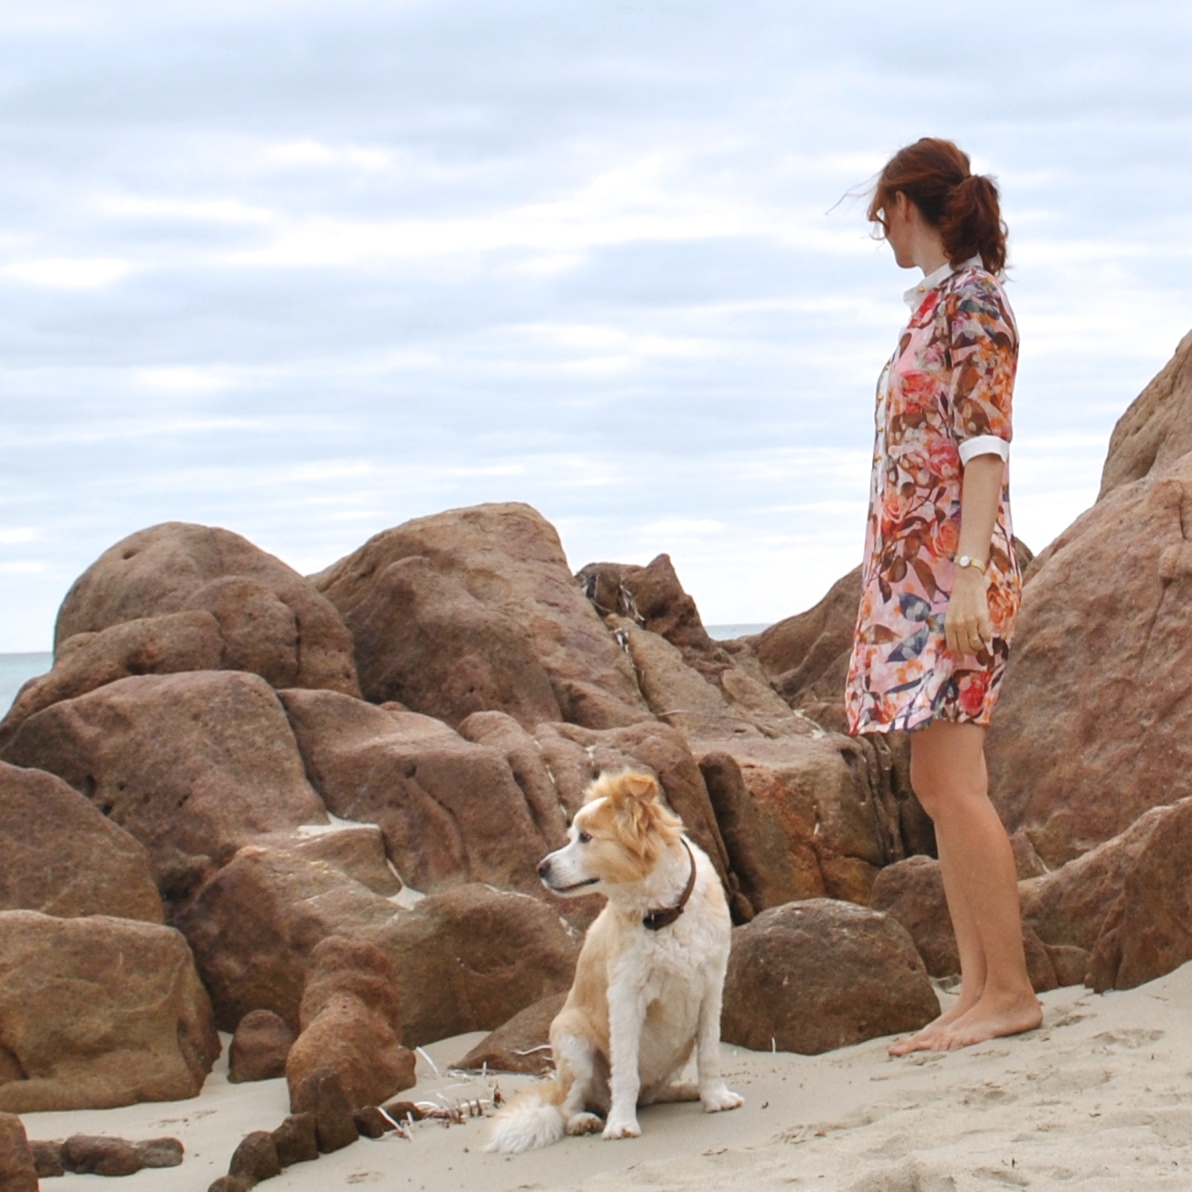
 It’s taken a while but I’ve finally taken pictures of Cassie wearing the dress I made for her for Christmas!
 btw, it’s faaaaaaar harder to hide Christmas sewing from Cassie than it is the boys! who pay precisely zero attention to whatever I’m mucking about with in the laundry… Cassie is a high probability to go snooping around the stash to periodically pet the fabrics and select stuff for herself. I had to be SUPER devious to get this made without her twigging as to what was going on… and she was completely surprised! Yay!!!


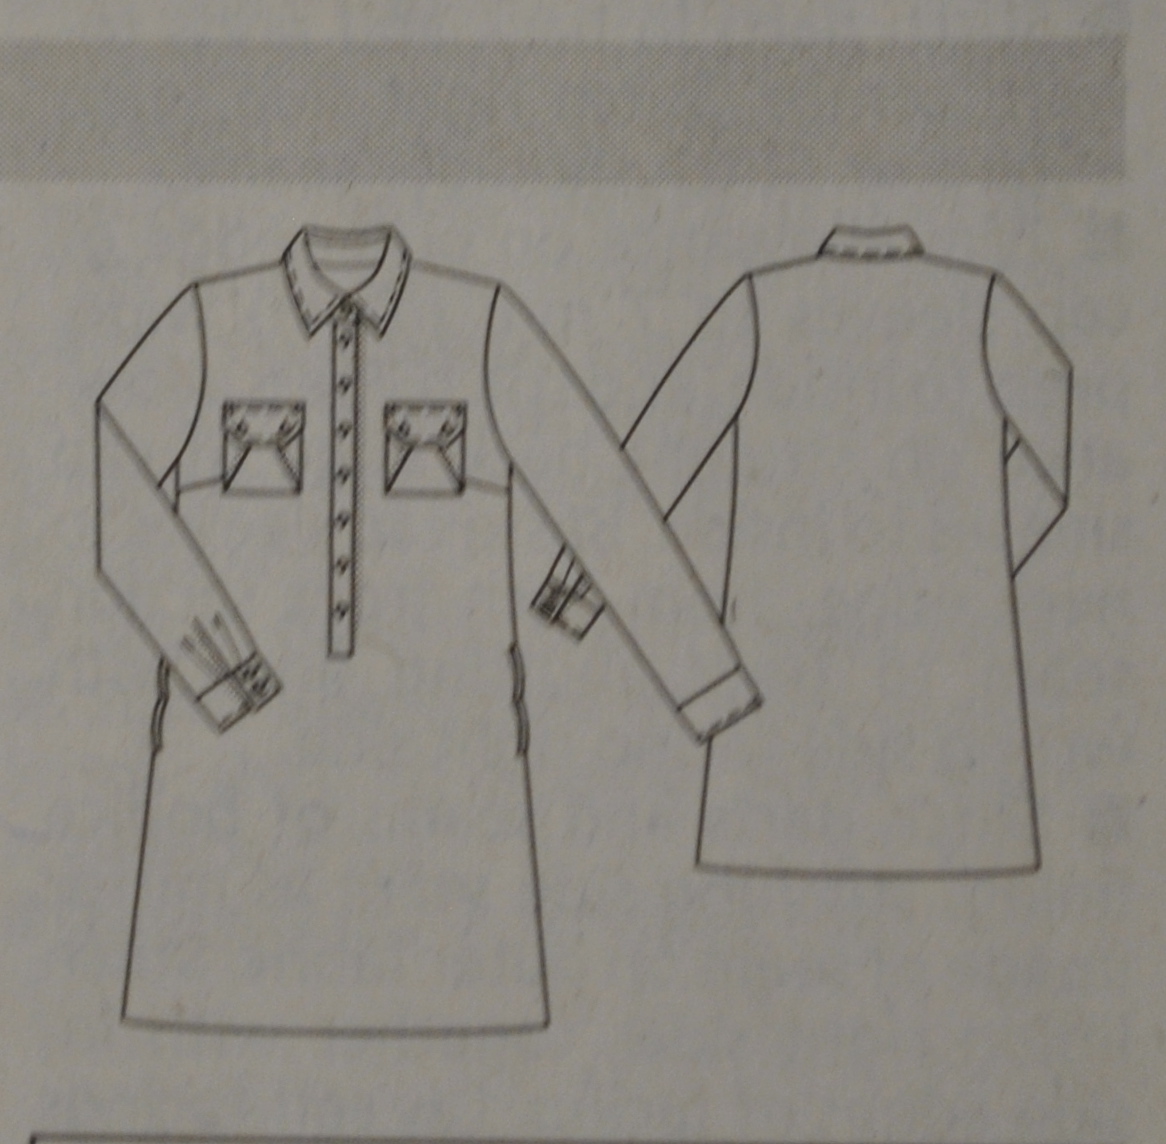
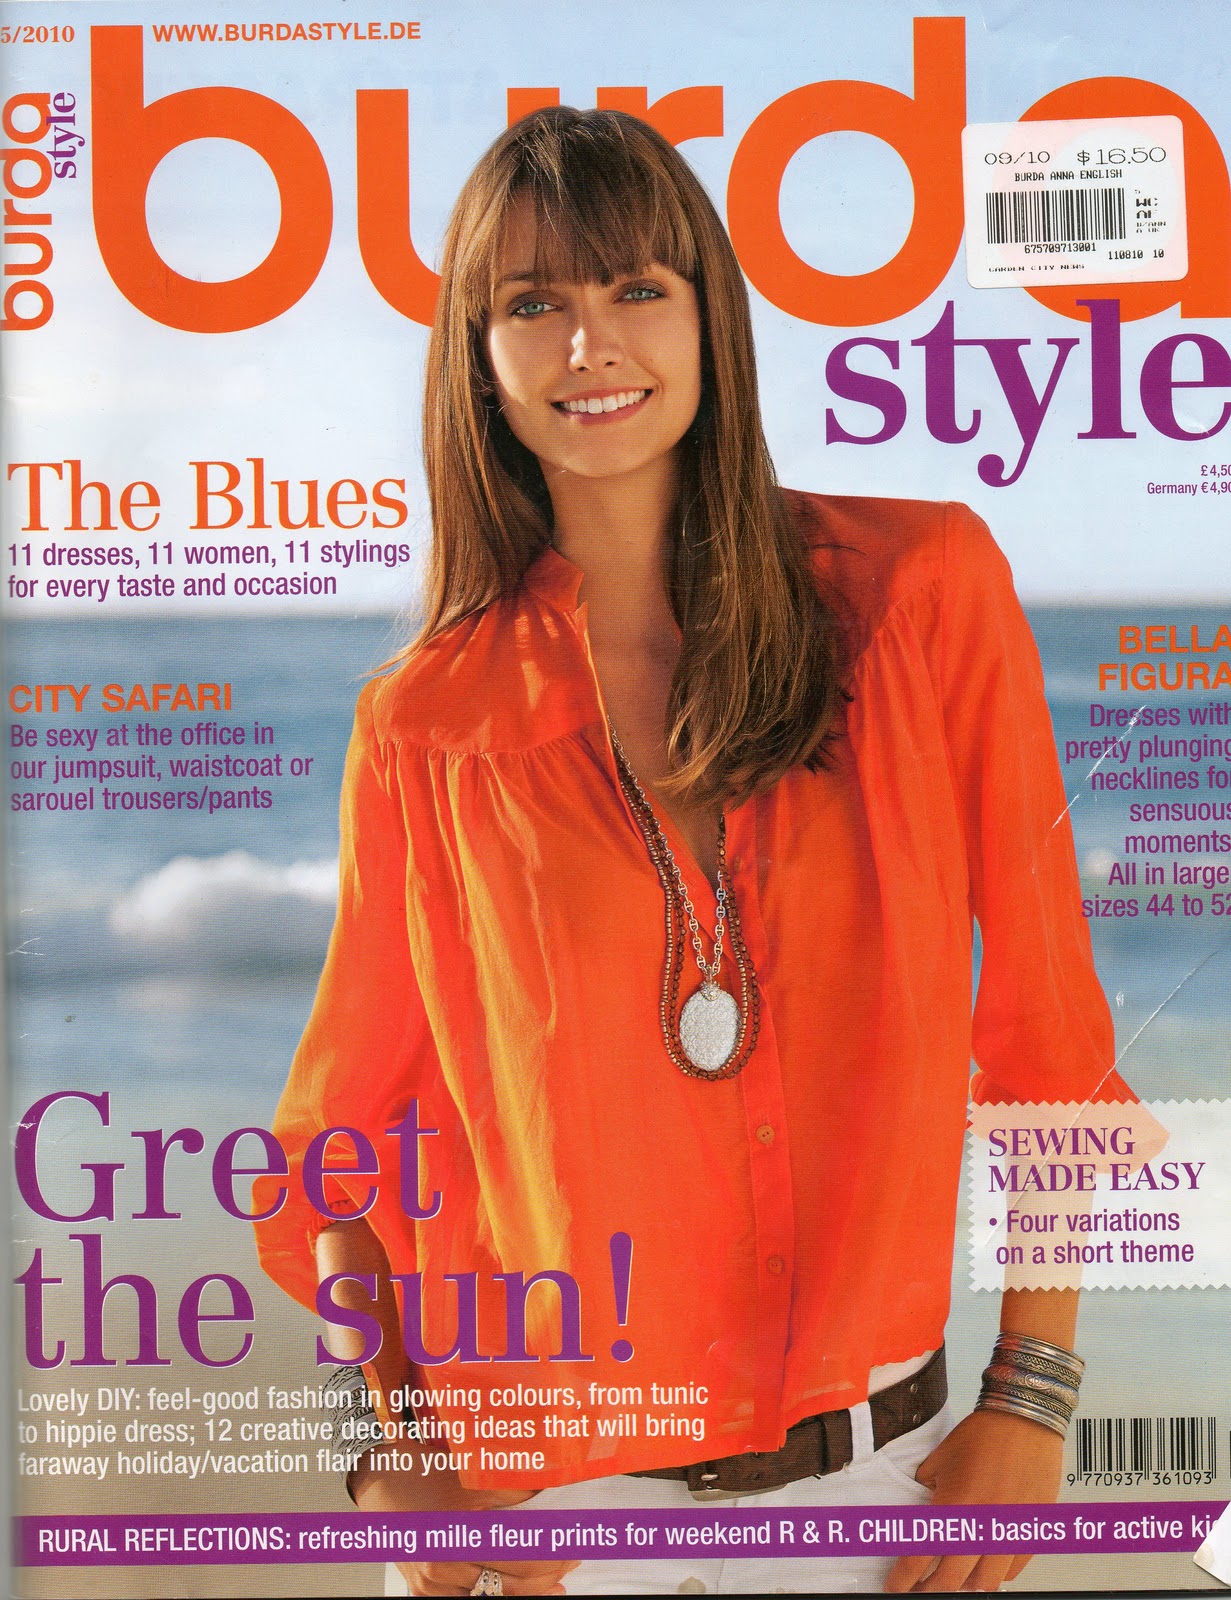
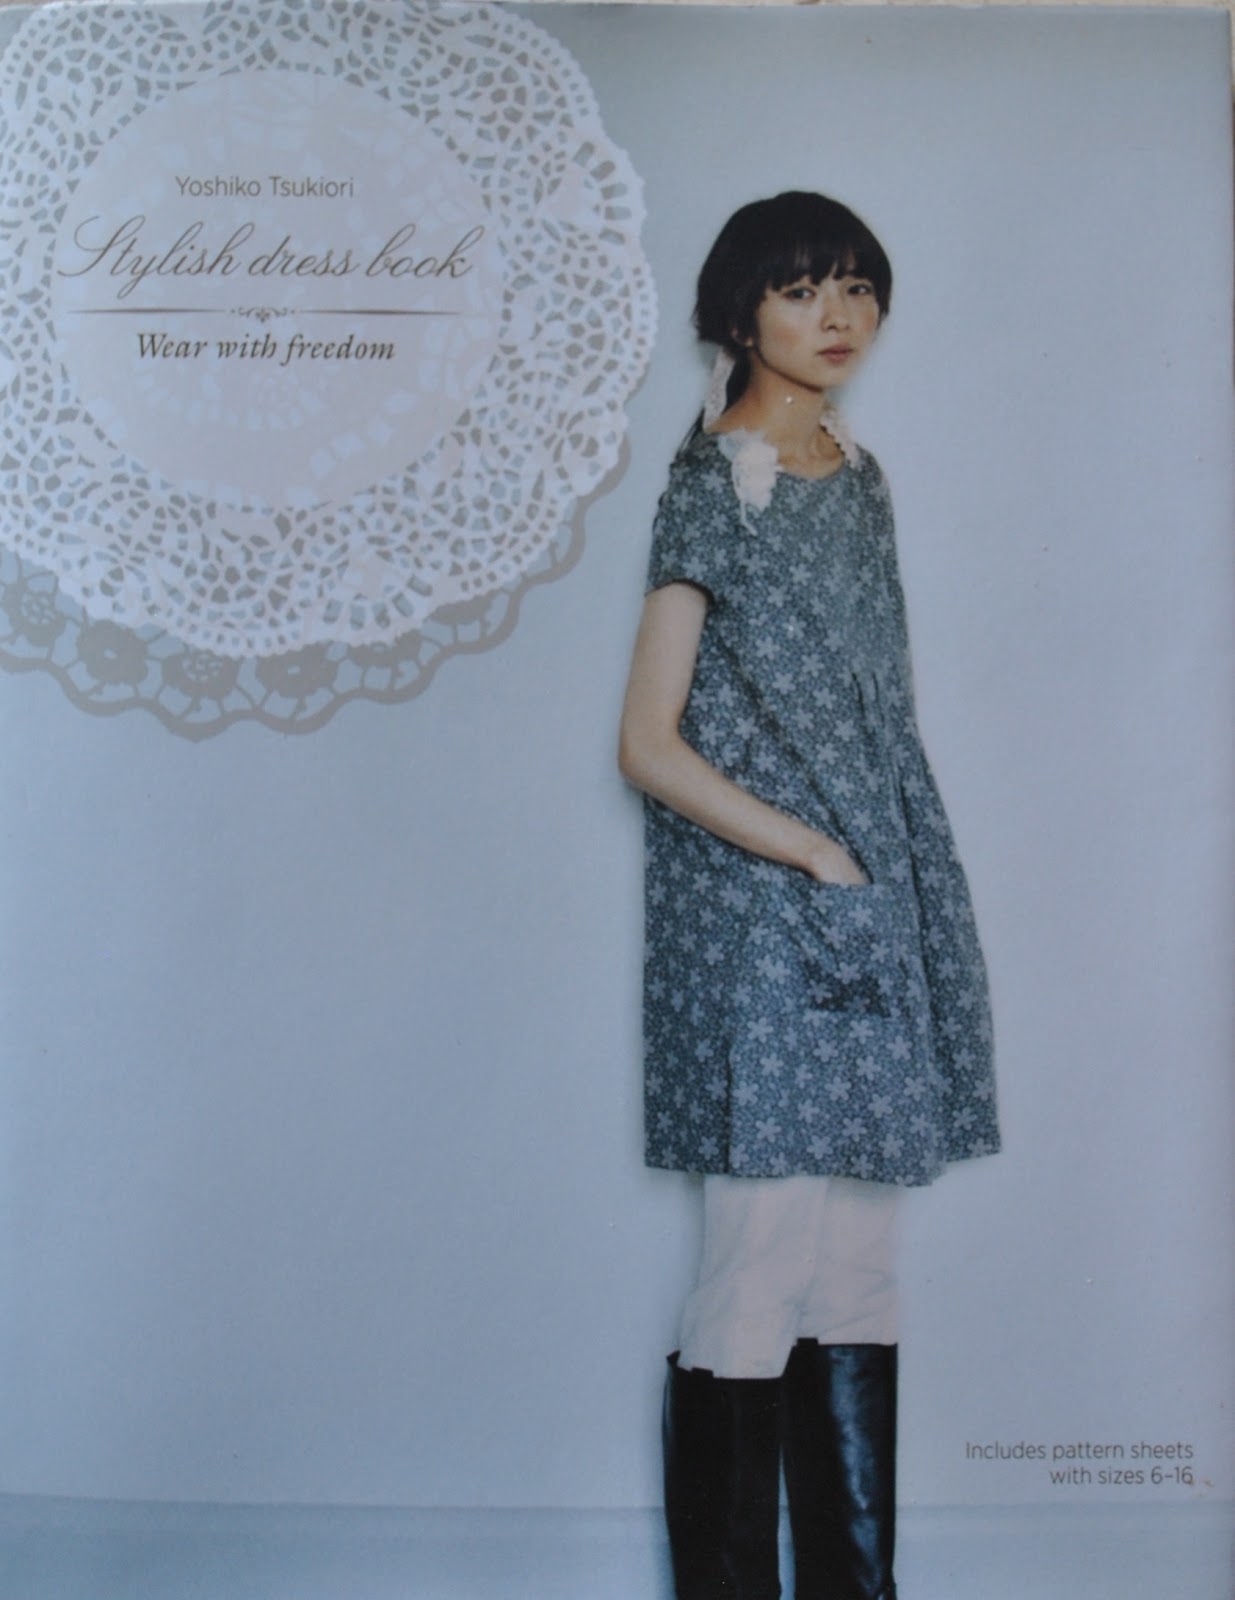
 Although it looks short on the model in the magazine, it didn’t look that short when made up so I removed about 9cm off the bottom to get the same look. Sleeves are about 2cm shorter.


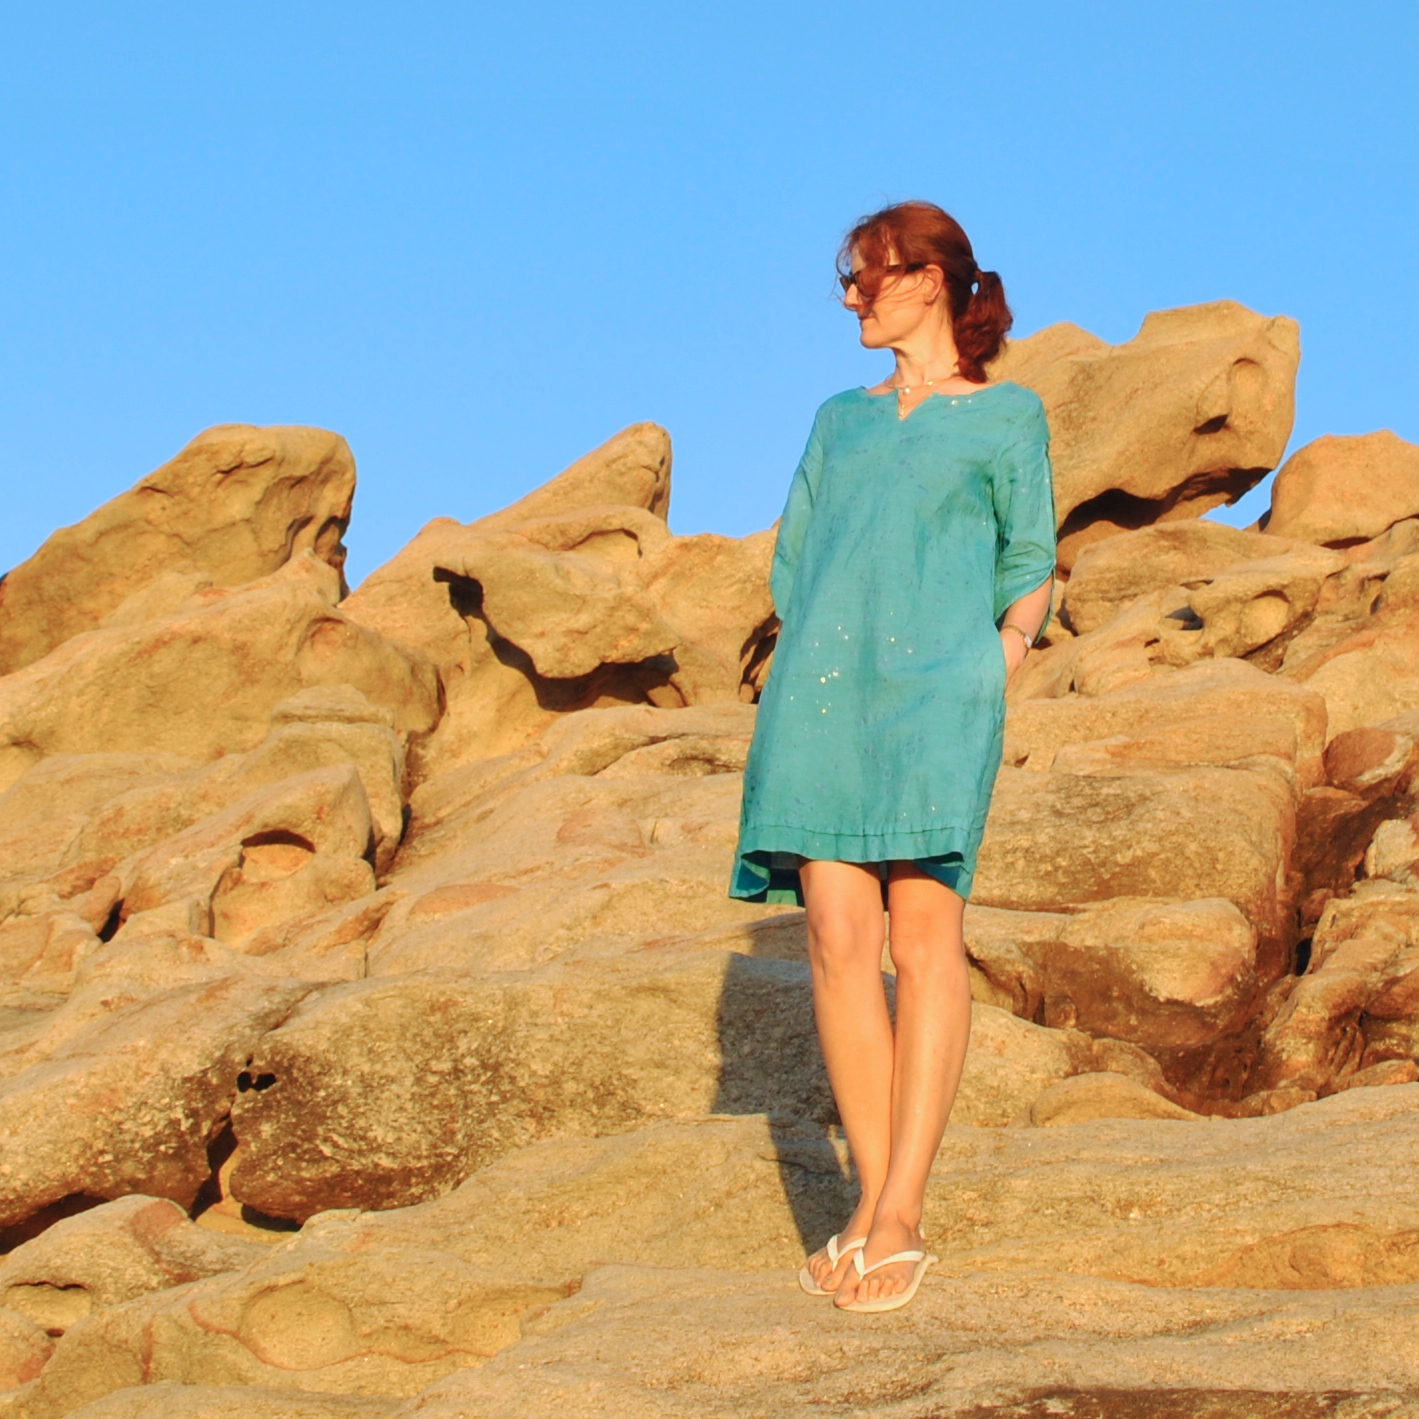
 “Yoshimi dress” since


