Hello! I’ve made a new raincoat!
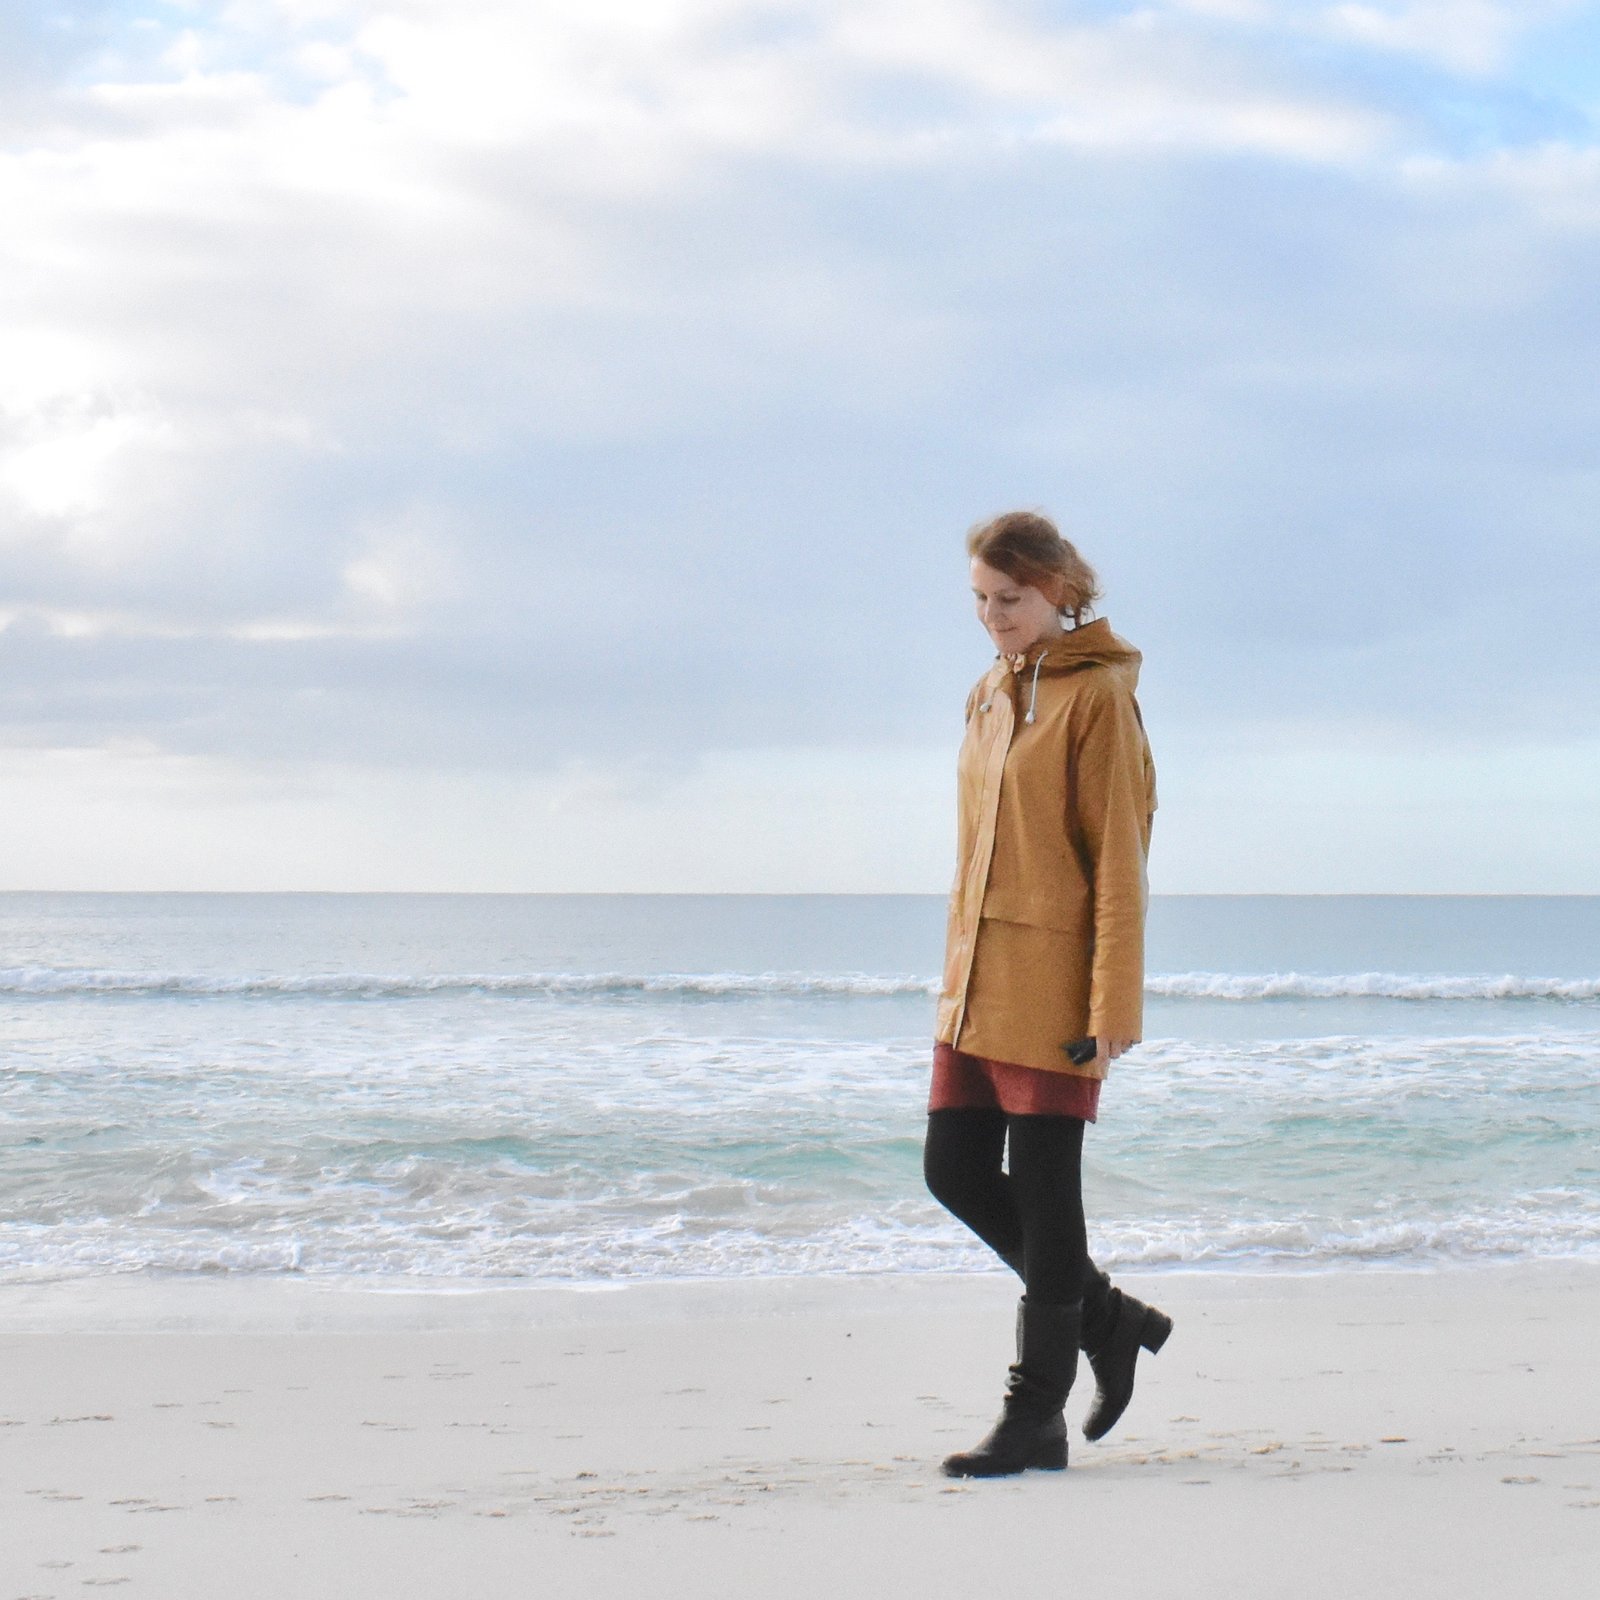
So, I’ve been wearing my pale pink Kelly anorak raincoat, made from a shower curtain, for several years now, it was undoubtedly my most worn garment of last year by a fair dinkum mile! and it’s been such a trooper. I love it so much, still! However it is looking a wee bit shabby now… so I’ve been toying with the idea of a new raincoat for little while. Getting nice waterproof fabric is quite a challenge in Perth, you come across it so rarely and I was wondering if I’d have to brave the scary gamble that is Buying Off the Internet. Then I happened to be browsing in Homecraft Textiles during their yearly 50% off sale, and unearthed this gorgeously mustard-coloured waterproof fabric. The colour was particularly exciting. Something that actually suits me? that’s not black, or navy?!!! Take my money!!!
 Having said that… it’s not the most wonderful raincoat fabric in the world and I had struggles APLENTY but more on that later.
Patterns!! I loved the Kelly anorak pattern, and it did work really well for me as a raincoat, however I have this maybe erroneous belief that a raglan sleeve is better suited in a raincoat… I think that a rounded armscye seam could lend itself to a higher chance of leakage. I could be totally wrong there though, but I just think it anyway. I’ve been looking out for a good, raglan sleeved jacket pattern that would lend itself to being a good raincoat, but to no avail. So I made my own pattern. My previous, blue, raincoat was a pattern I’d worked out for myself; inspired by a cheapie old RTW one that I’d bought for Tim when he was a young ‘un, and which I’d inherited down the track as he grew out of it. I devised some rather unusual pockets for it, and actually totally loved how they worked out. I dug out the pattern, made the modifications to bring it into line with the shape I wanted for my new raincoat. Everyone’s heard of the famous FBA… well I have no use for a full bust adjustment, but in a raincoat I could definitely use a FPA. What is that? a Full Ponytail Adjustment, of course!! I have pretty much never had a raincoat, rtw or me-made, with a hood that accommodated a ponytail comfortably. The hood is always pulling back off your head and exposing your forehead, which is annoying. I’m happy report that this hood is so far perfect!

I’d originally bought some soft tulle to line the raincoat. I’d managed to get some soft netting to line my first, blue raincoat and it worked a treat, and I wanted something similar for this one. But the tulle was horrible; just not soft enough and too scratchy against my sensitive snowflake skin after all, so I’d ended up ripping it out. The raincoat is actually fine without a lining, because the inside of the mustard shell is a rather nice, soft woven stuff.
the white sports fabric seen in the pic is a ventilation panel, hidden underneath the upper back flap

The outside is laminated, actually the fabric could best be described as a lightweight, thinly laminated, woven cotton. The plastic laminate was obviously downright hideous to sew. For one thing, it had quite a sticky waxy coating on the laminate, which gummed up the needles, and the eye of the needle, making re-threading the needle a freakin’ NIGHTMARE. I wiped the laminated surface with a lightly soapy solution before sewing, which did help a tiny bit, and occasionally wiped down the needle too, but it was still pretty bad. When it came to top-stitching, well there was absolutely no way the laminated side up was going to move underneath the foot at all. I cut strips of tissue paper to stitch over, and tore them away afterwards; fiddly, but not a difficult thing to do (above).
seam sealing, also a view of the fabric’s wrong side

Sealing the seams; I used a no-name seam sealer from BCF, a local boating camping and fishing store. It’s supposed to be used for tents and sails I think, but it works beautifully for raincoats too! I used a cheapie old paintbrush to work it into the stitch-holes, and seal everything thoroughly. Since then, it’s been out in three very heavy downpours, and I’m happy to say has stood up to the task beautifully! All the traumas, and it’s been worth it! It’s early days, but I think I’ve found my new favourite wardrobe item!

Oh, and I made a new little skirt too, but it’s not nearly so exciting. Well, I had a small piece of coffee-coloured, wide-wale cotton corduroy, leftover from when I made this dress, and when I was dyeing the fabric for my Sherlock Holmes jacket I’d also tossed in the coffee-coloured corduroy. And it came out a nice shade of golden-mustard. So I managed to squeeze out this little skirt. It’s not made up to any real pattern really, I basically put an invisible zip at centre back, held the front and back up to myself and pinned the side seams and where I wanted darts. Pretty lazy genius, huh? It was a very small piece of fabric, and the resulting skirt was too short for a hem. I edged the bottom edge with a chocolate linen bias-cut strip to finish, and the skirt is lined with pale golden polyacetate lining fabric, itself also leftover from something else, can’t remember what.
And that’s it… until next time!

Later edit: this skirt now has pockets!

Details:
Raincoat; my own pattern, made from thin, plastic-laminated cotton
Skirt; my own design, dyed cotton corduroy
Bobbly top (just above); Burdastyle 04/2014;111, details here
Tights; made by me, details here and my tute for making your own custom-fit tights pattern is here
Boots; Roberto del Carlo, from Zomp boutique


 Yes, I know; a complete mis-quote of an already mis-quote… *braces oneself for outraged Holmes enthusiasts*
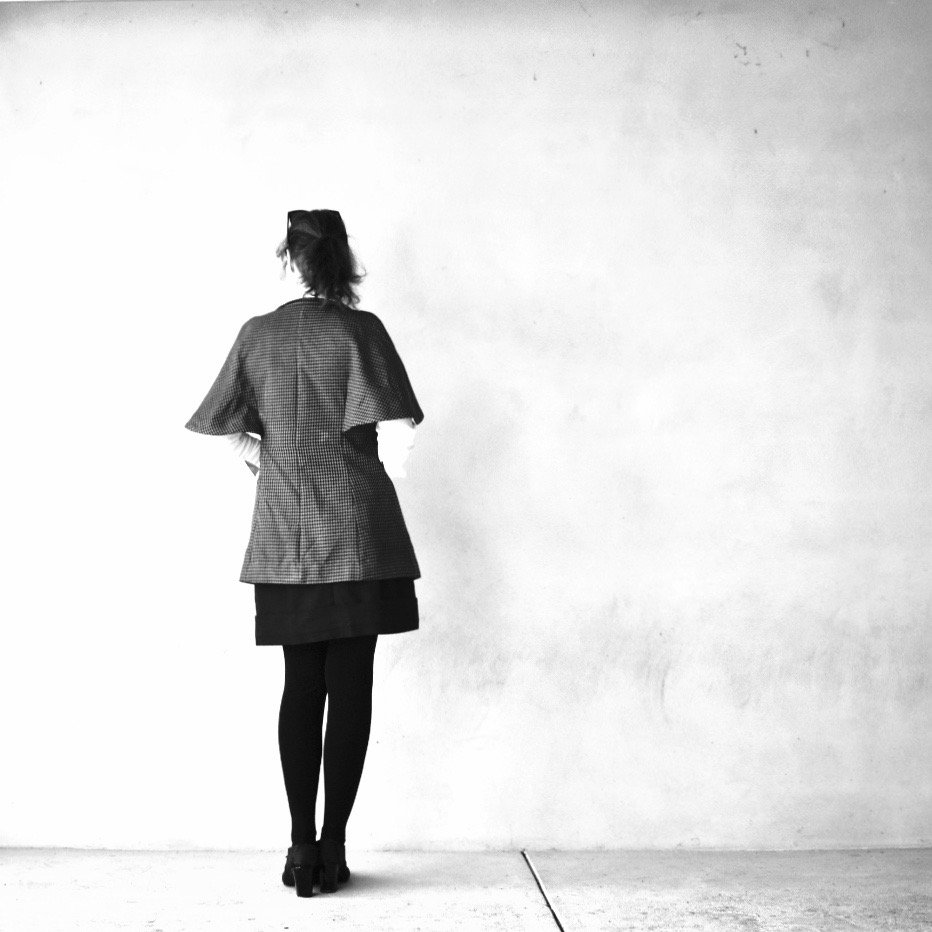


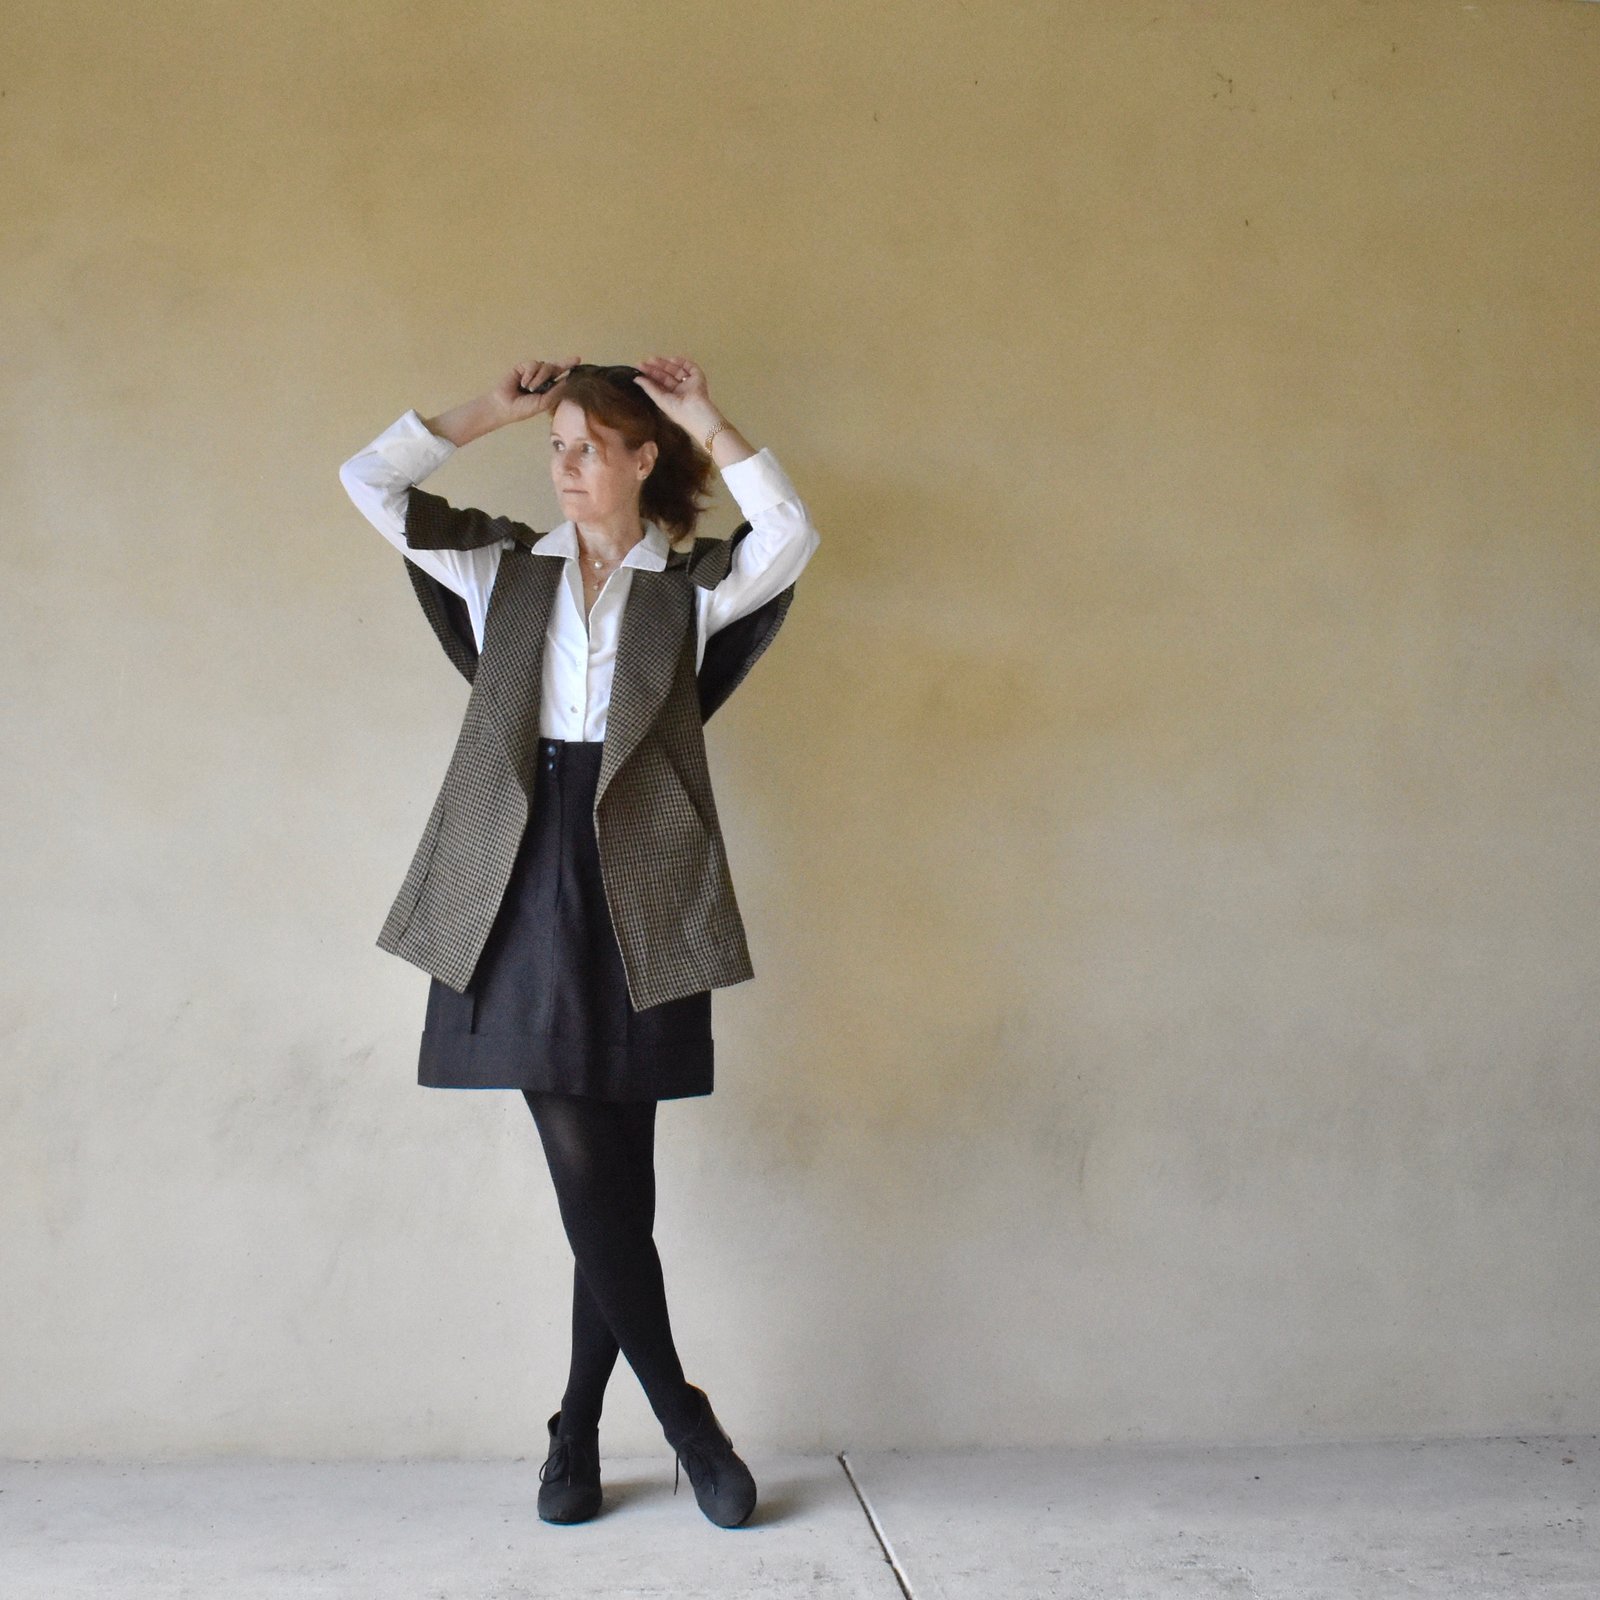 That’s not a criticism btw, just an observation. I really love my new Sherlock Holmes jacket, and I really loved making it too; but I’ve admit; it was not a particularly easy project. Even given the fact that I complicated things for myself a. dyeing and b. deciding I absolute HAD to have in-seam pockets – which were a big success in the end if I say so myself. I’m so glad I put them in. Actually I can’t imagine a jacket without pockets of some kind.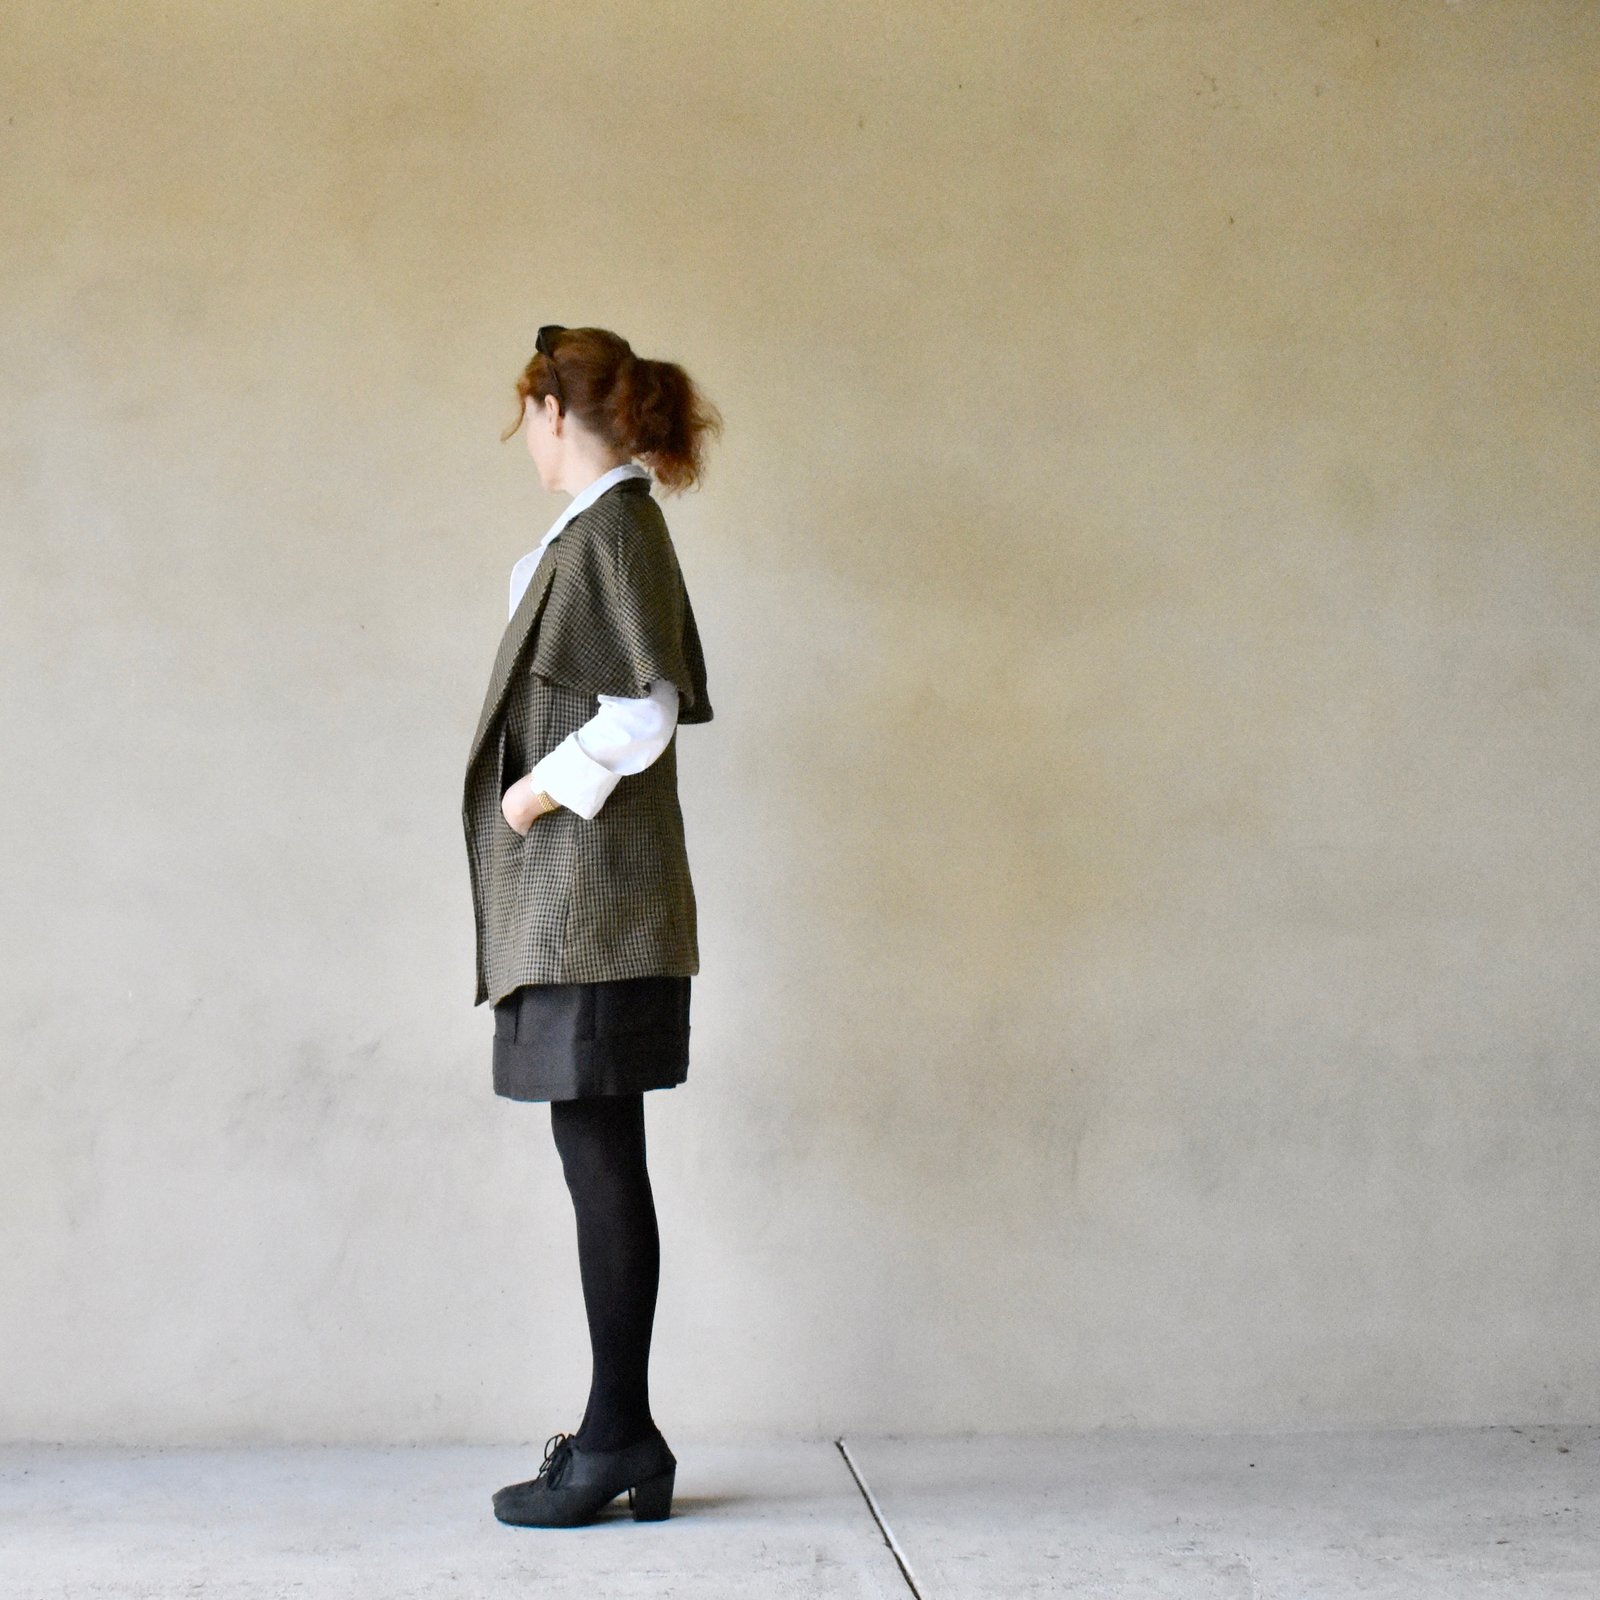


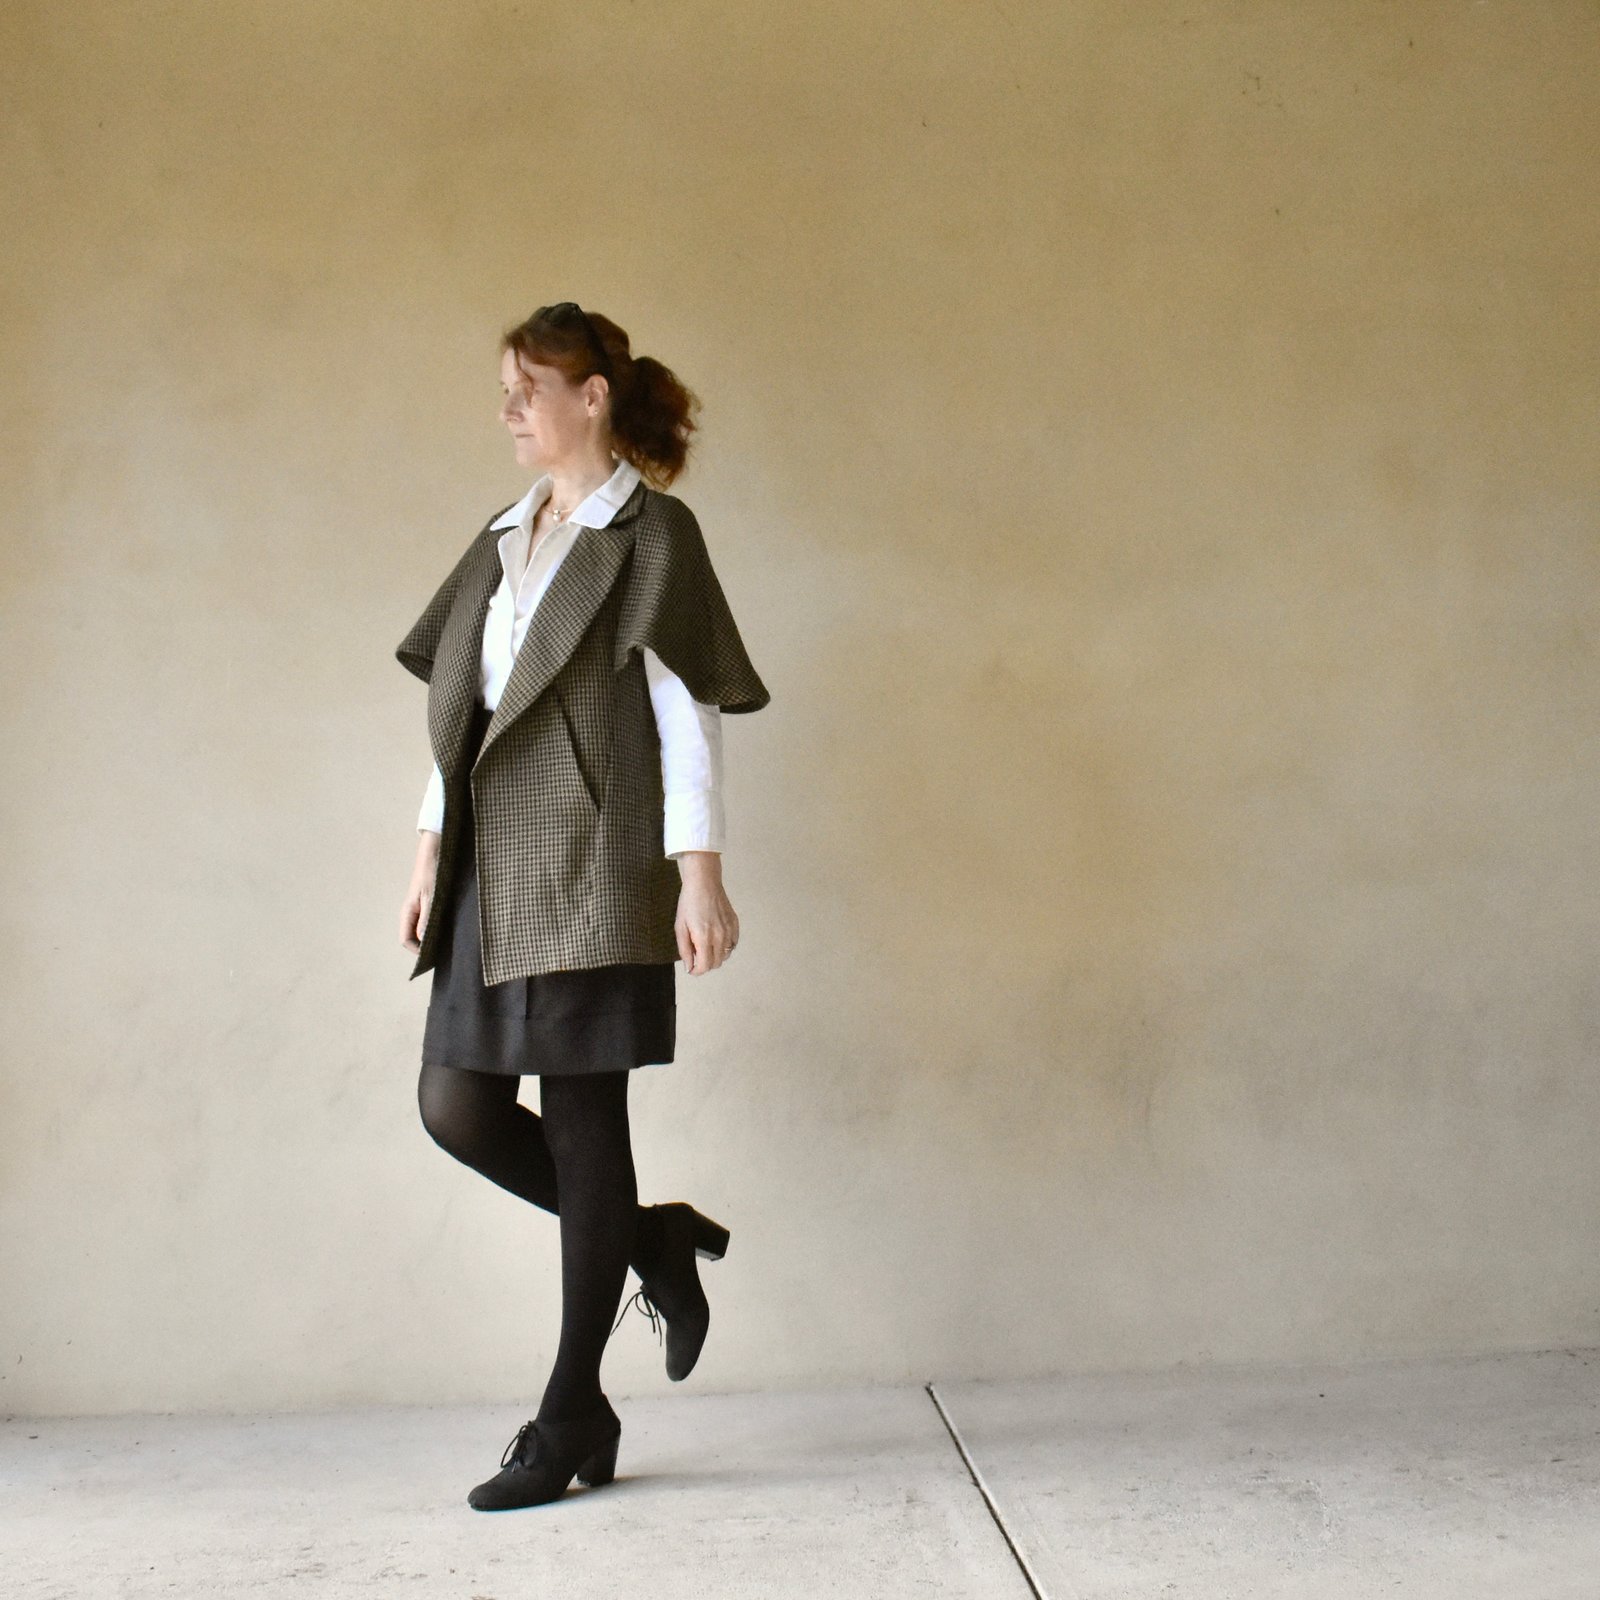


 So, a new year, a new


 That’s the jacket!!


 Bet you can’t guess where I am here… Yeah, I know, it’s a tough one. Some locations are just so obscure and far off the beaten track, but I do like to seek out these especially quiet and sleepy, tucked-away little spots to highlight here on ye olde blog… GO me.

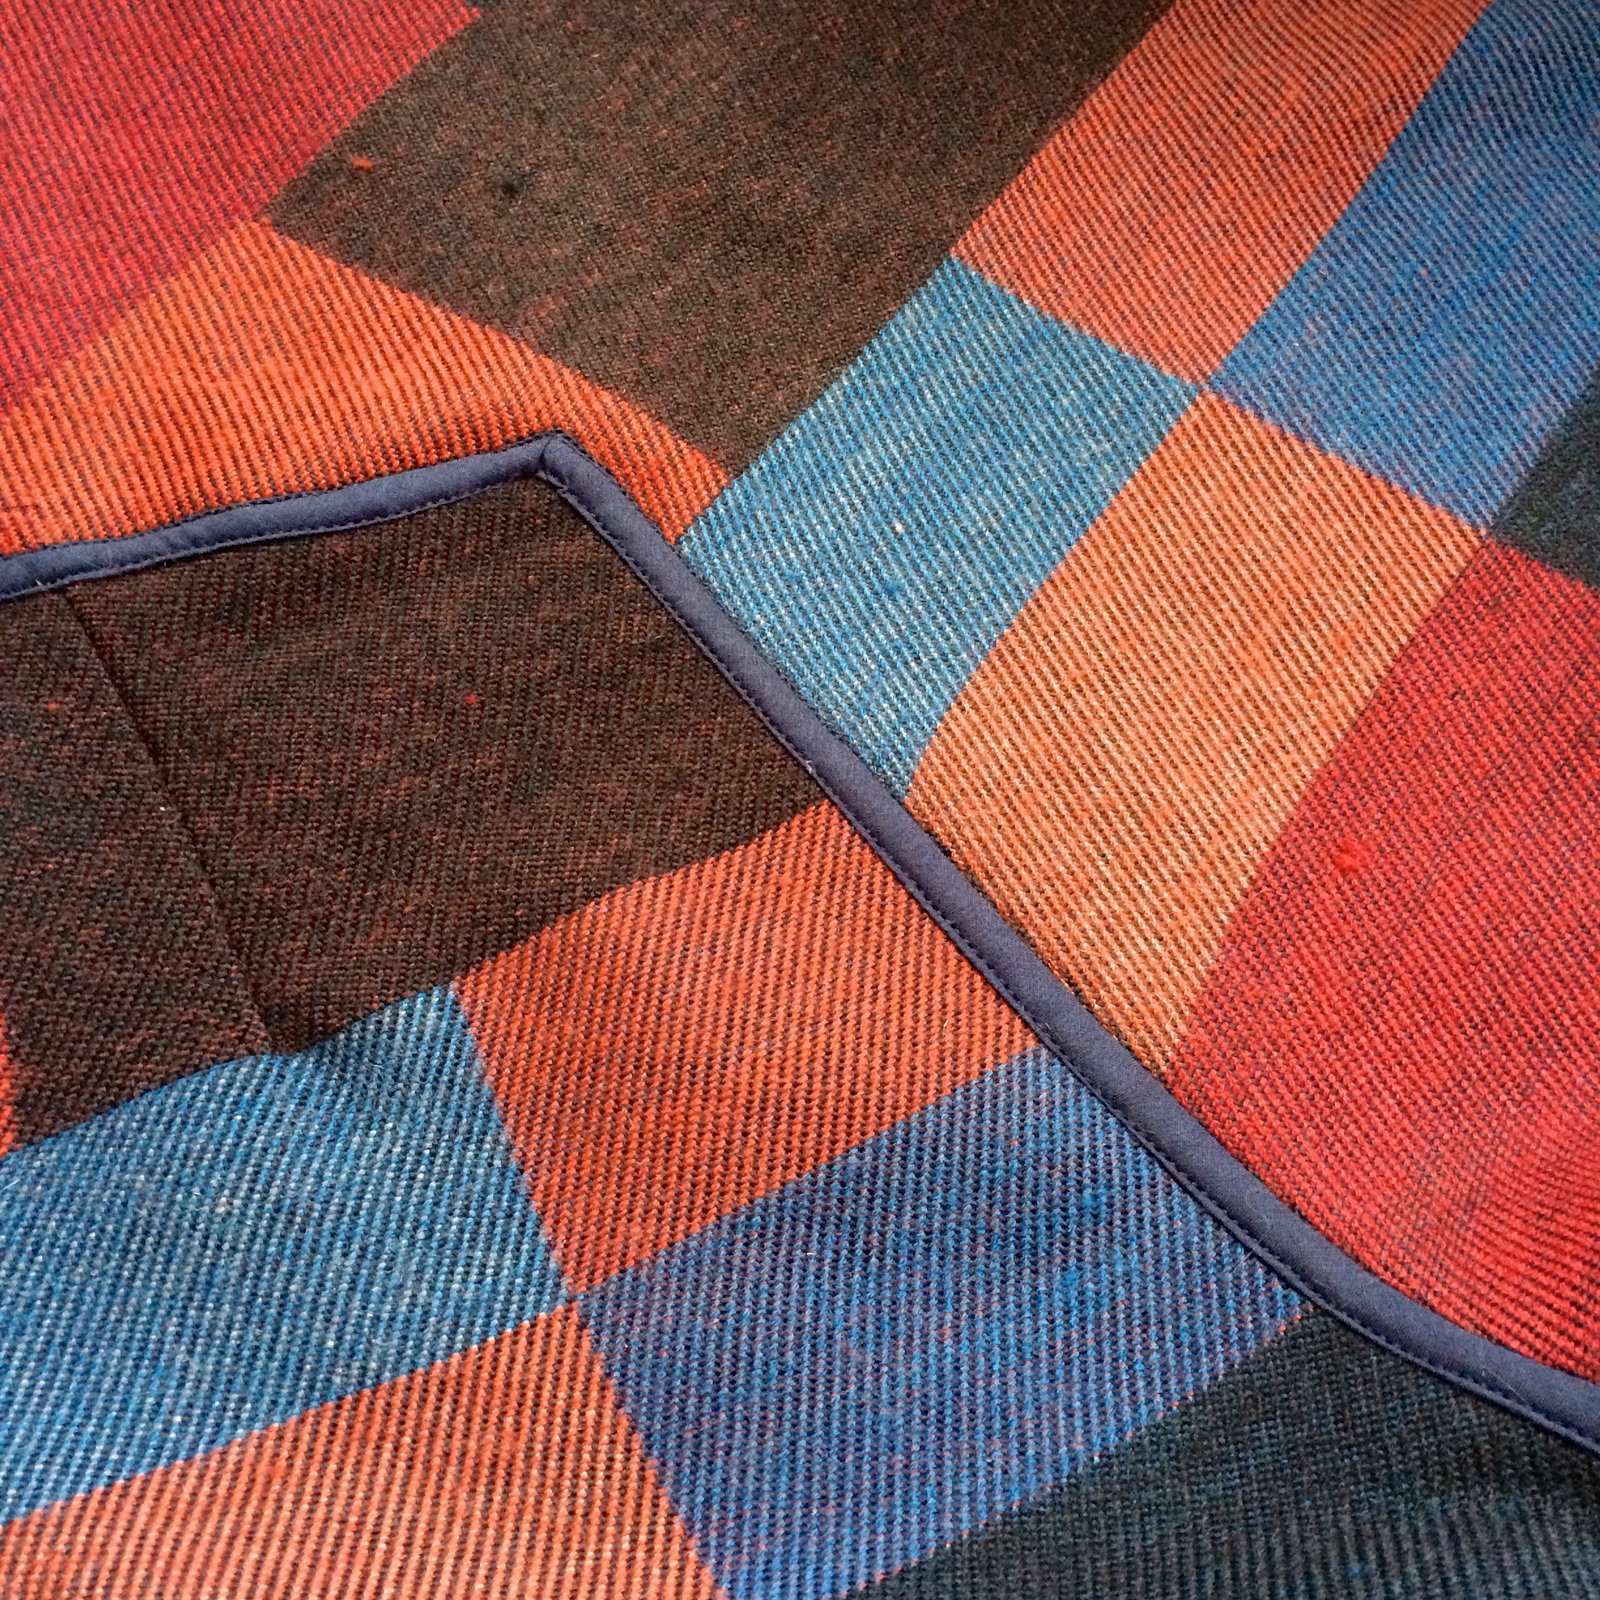


 Voila! Jacket made the same way you’re supposed to, and using the forbidden fabric to boot! Ha!


 O hey!
 A jeans-to-jean-jacket project has been a long-term “thing” in my little bucket list of refashions that I have in my head. and one of the reasons I’ve been collecting my children’s old jeans for only like, forever… recently I was asked to speak at the 20th anniversary celebrations of Australian Sewing Guild, a huge honour! and in the general chit-chat heard mention of their

 While I lurve a patchy aesthetic to my clothing, and of course the beauty of a thing like a jean jacket is that it’s supposed to look a bit beat up and NOT a work of beautifully tailored perfection… I still wanted it to look at least a little bit intentional and not too bunged together. There was plenty of colour variation even within each single pair of jeans as well as fashionable distressing effects everywhere too, so I carefully cut so as to make sure the colour variations were matched symmetrically all over the jacket, for example; the upper arms are cut from the same area of one pair, the side fronts also both from the same area of another pair, ditto the two side backs, etc etc, so as much as I possibly could the lighter blue areas are balanced out nicely and symmetrically with the darker blue areas on the jacket.


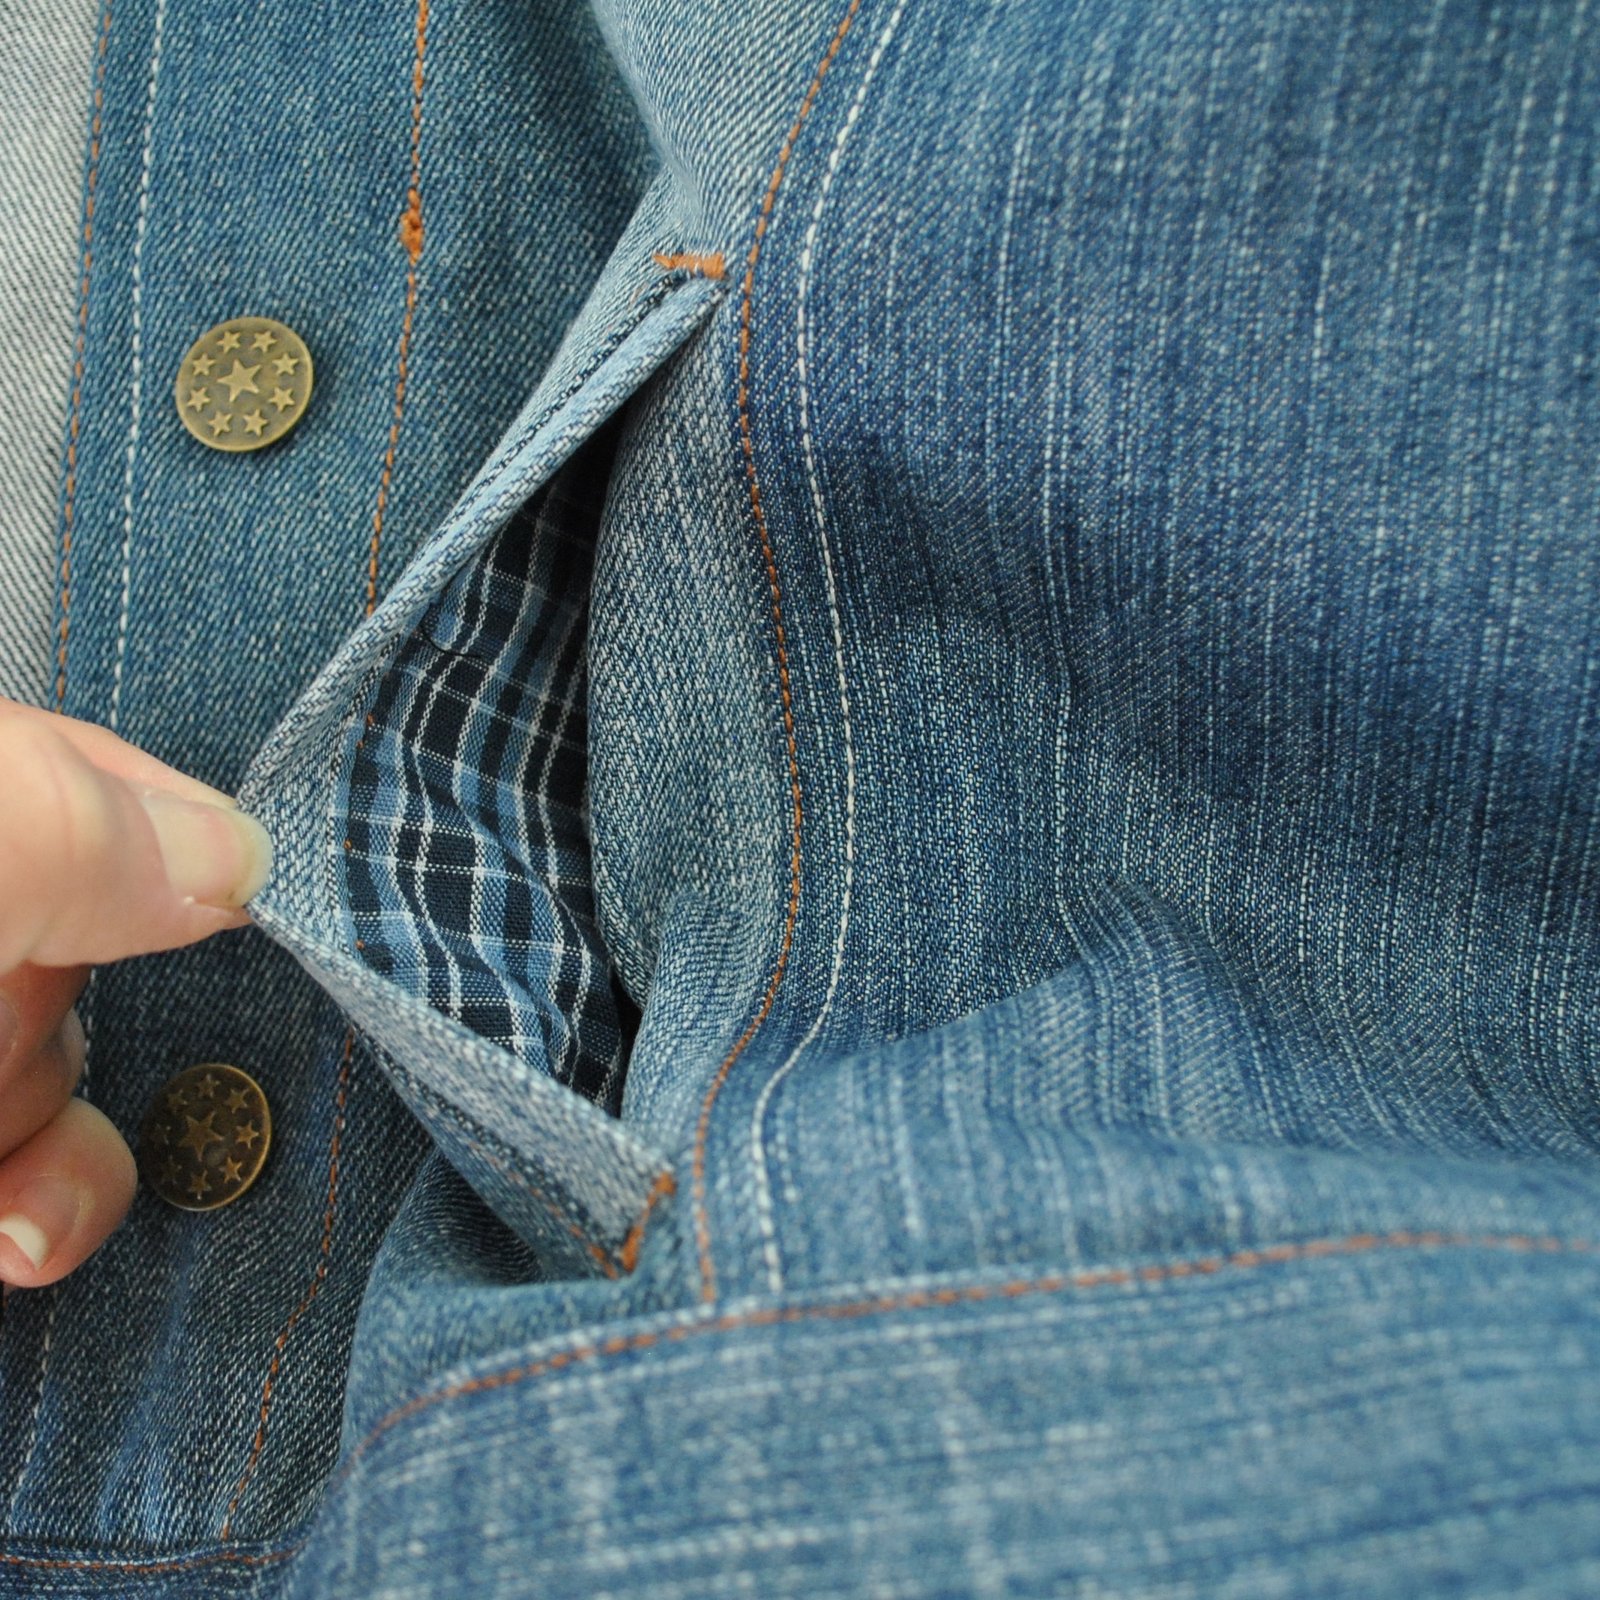

 Thoughts on the pattern: description says a classic, unlined, button-down denim jacket with collar; short and loose-fitting design with flap pockets at the front; sleeve vents and wide button cuffs, wide band at the hem. Well, hmmm, I’m not going to start ranting about my pet hate; the incorrect use of the term “button-down”. Noooo, I’m not. Apart from that! everything else about the pattern is pretty awesome. A slight negative; it is a bit more loose-fitting than I anticipated. Not 80’s loose, but still pretty loose. I’m ok with it really… I will certainly wear it anyway! it’s so comfy and feels absolutely fantastic on! plus I’m only wearing it over a thin little Tshirt here and of course a bit of oversizedness is a good thing when I’ll want to wear it over cardigans or long-sleeved woolly tops in the winter. I think when I get a little time I might have a go at re-jigging the pattern to be a little more form-fitting, for the future. I still have plenty of pairs of jeans that need refashioning, so a second, differently styled jean jacket might even happen. One which even has bigger and better functioning hip pockets!


 O hey-a! After finishing my own Kelly anorak and having it admired to the nth degree by family members, I made a few more! a pale grey one for Cassie, and I also made a deep cobalt blue one for Tim’s girlfriend Kelly. Well, it seemed only right that she should have a “Kelly” too!
 I quickly snapped that top picture of an unsuspecting Cassie waiting to meet up with me in town before she noticed me heading towards her… I know it’s a bit blurry and not very posed to show off the anorak to modelly perfection, but I just really like it nonetheless… to me it attests that she’s been wearing it a tonne, in fact every single occasion that I’ve seen her in the past three weeks since I finished it and gave it to her she has been wearing it. There’s no greater compliment to a seamster than that! as well as a testament to the pattern being an absolute style winner. Kelly’s worn hers each time I’ve seen her since I gave it to her too, but I’ve not taken any pictures of her in it.. will update if she sends me one 🙂
 Both the anoraks are in a nice weight cotton drill from Spotlight, in fact, all the other bits and pieces are from Spotlight too. In both anoraks, I added a few inches to the length of the body and modified the pockets to have separate pocket flaps so as to close the pockets; otherwise these are both made up exactly to the pattern.
 This picture below of Kelly’s anorak has been my most “liked” picture on instagram ever! far more than anything I have ever made for myself! Interesting, no? Well, I think it is, anyway 😉 I don’t know what that “says”, if anything at all, but maybe something. Social media is such a funny phenomenon. Something else also interesting to me is how a person, any person, can have a certain number of followers and the number of “likes” never ever reaches anywhere close to that number. Honestly, I have no idea about how or why this is so, but it’s just a curious thing.
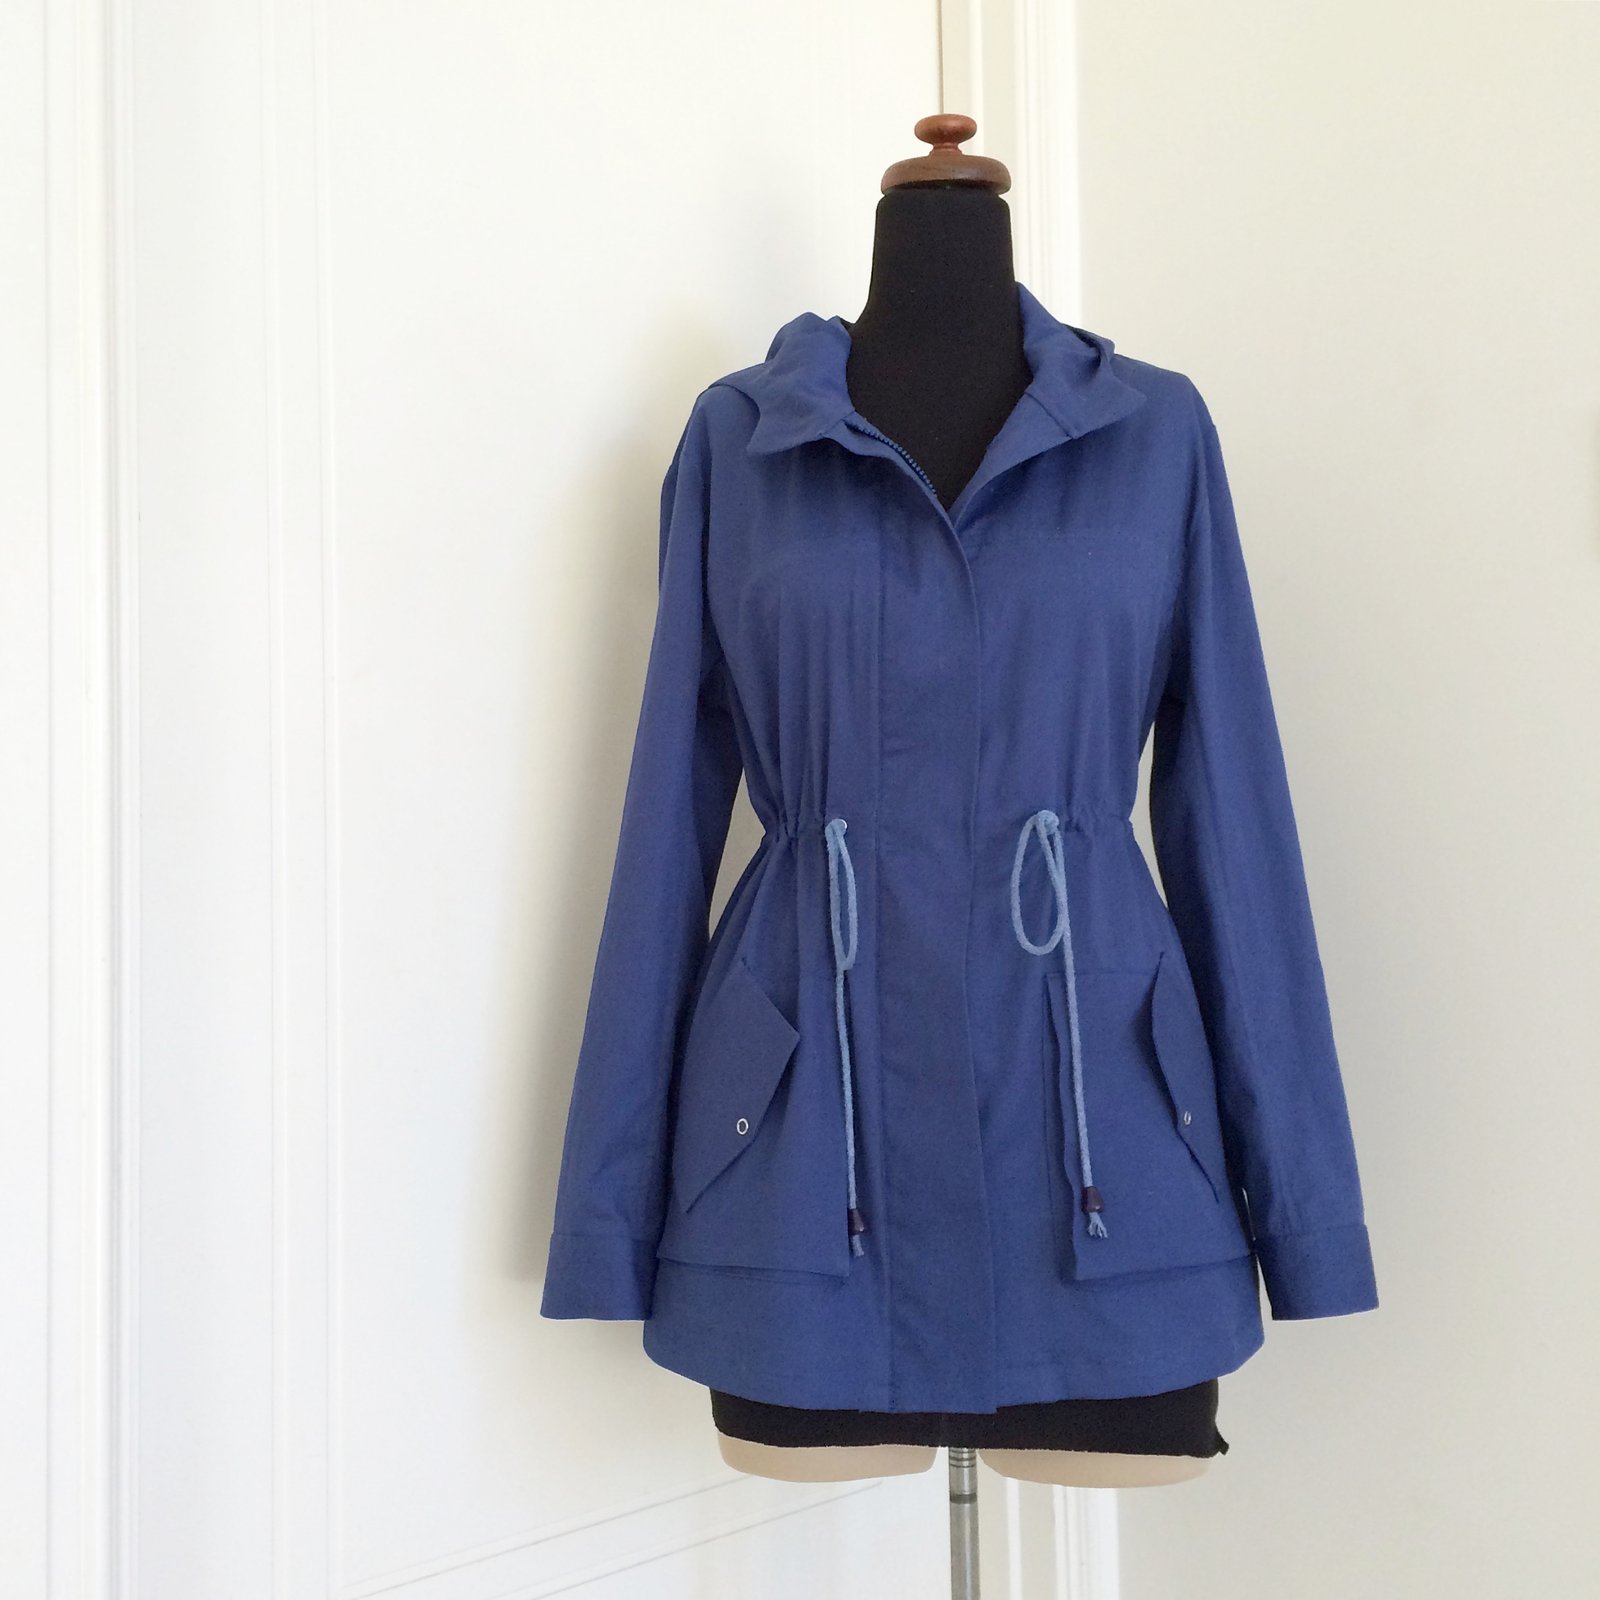 I’d got enough of the same white cord for Kelly’s anorak , but since I’d found a nice, perfectly colour-matched blue zip for hers’, and used blue thread for all topstitching and there was no other white anywhere in the jacket; the white cord looked all wrong. And naturally there’s no such thing as blue cord in the whole of Perth! so I just had to dye it. And, when your regular dye-pot is HUGE and there’s just one little length of cord what’s a mad maker to do? but of course, improvise.


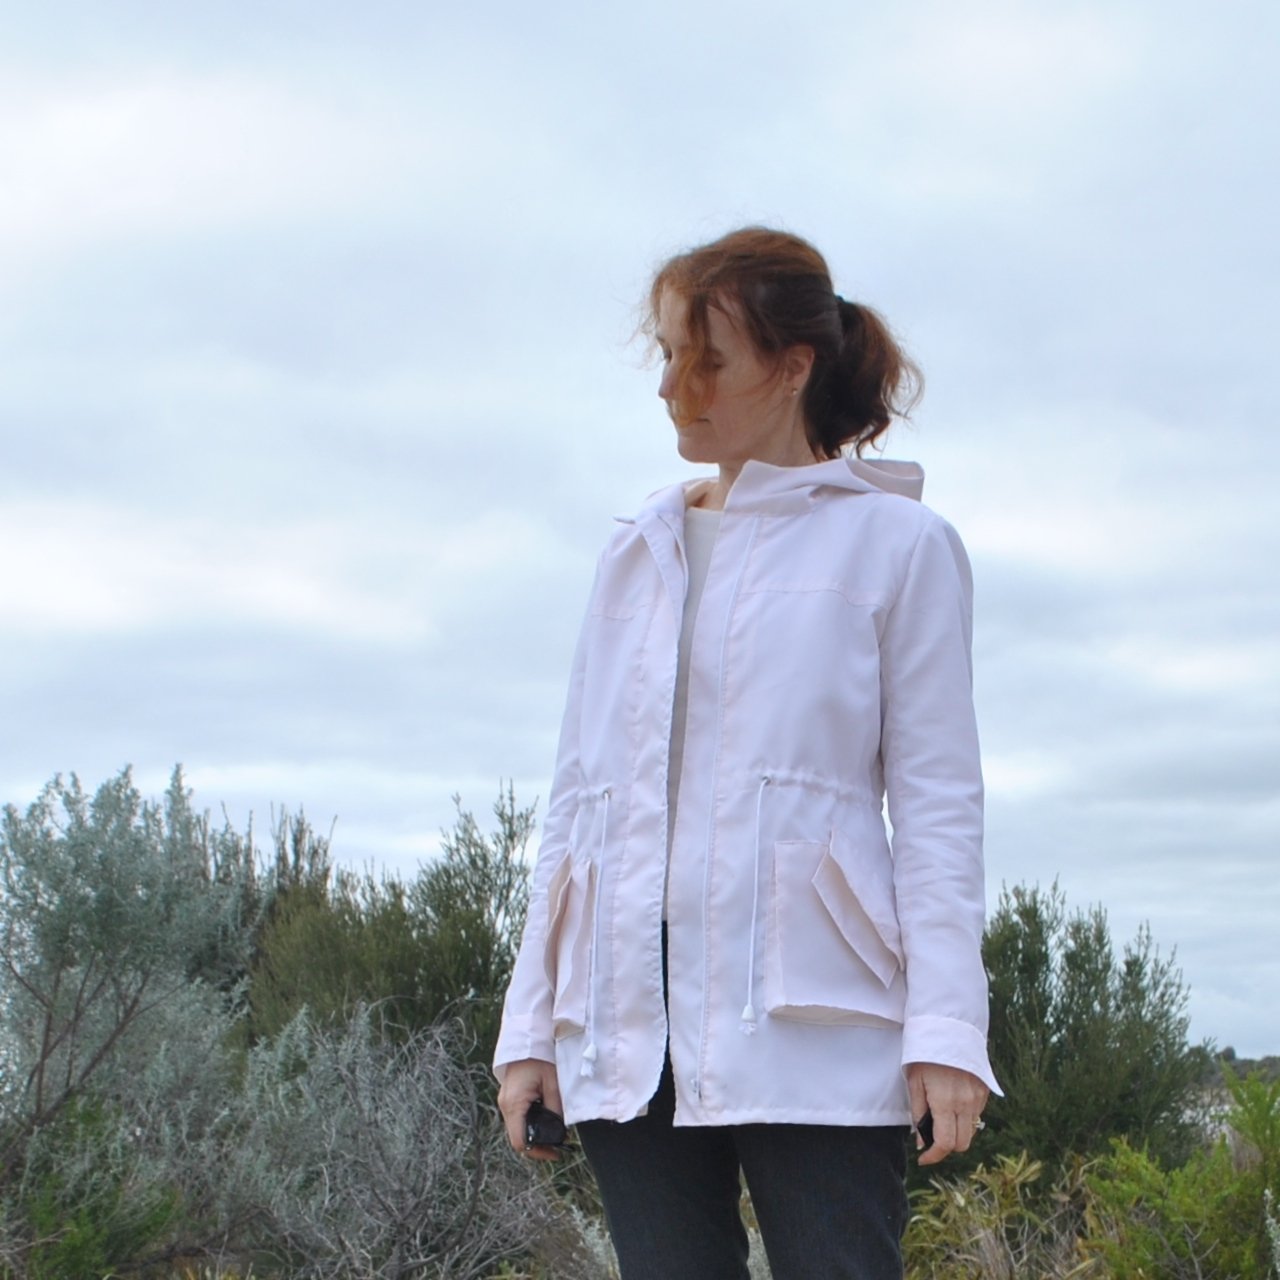 Details:


 Hello!
 I just adore jackets with tonnes of hardware and detailing, like zips and lots of different bits and bobs and interesting pockets. So set about planning for this one to be chockablock with loads of that sort of thing. I considered using the same Burda pattern I used for the previous one, but I had to make lots of additions/adjustments to that in order to make it the complex, feature-laden army-style jacket that I wanted, which is fine! but since making that one, lots of great patterns have popped up with all those features already incorporated into the pattern. Eventually I settled upon the


 There is tonnes of topstitching all over, so satisfied that part of me that adores precision sewing. I’m that weirdo that LOVES topstitching! and am pretty much totally and blissfully happy when I’m hunched over the machine, chugging along; churning out lines upon lines of precise, neatly and evenly spaced, stitching. The wonderful thing about this ripstop is that the little squares in the weave of the fabric make precision stitching and lining up pieces to be perfectly square very very easy.