Hey!
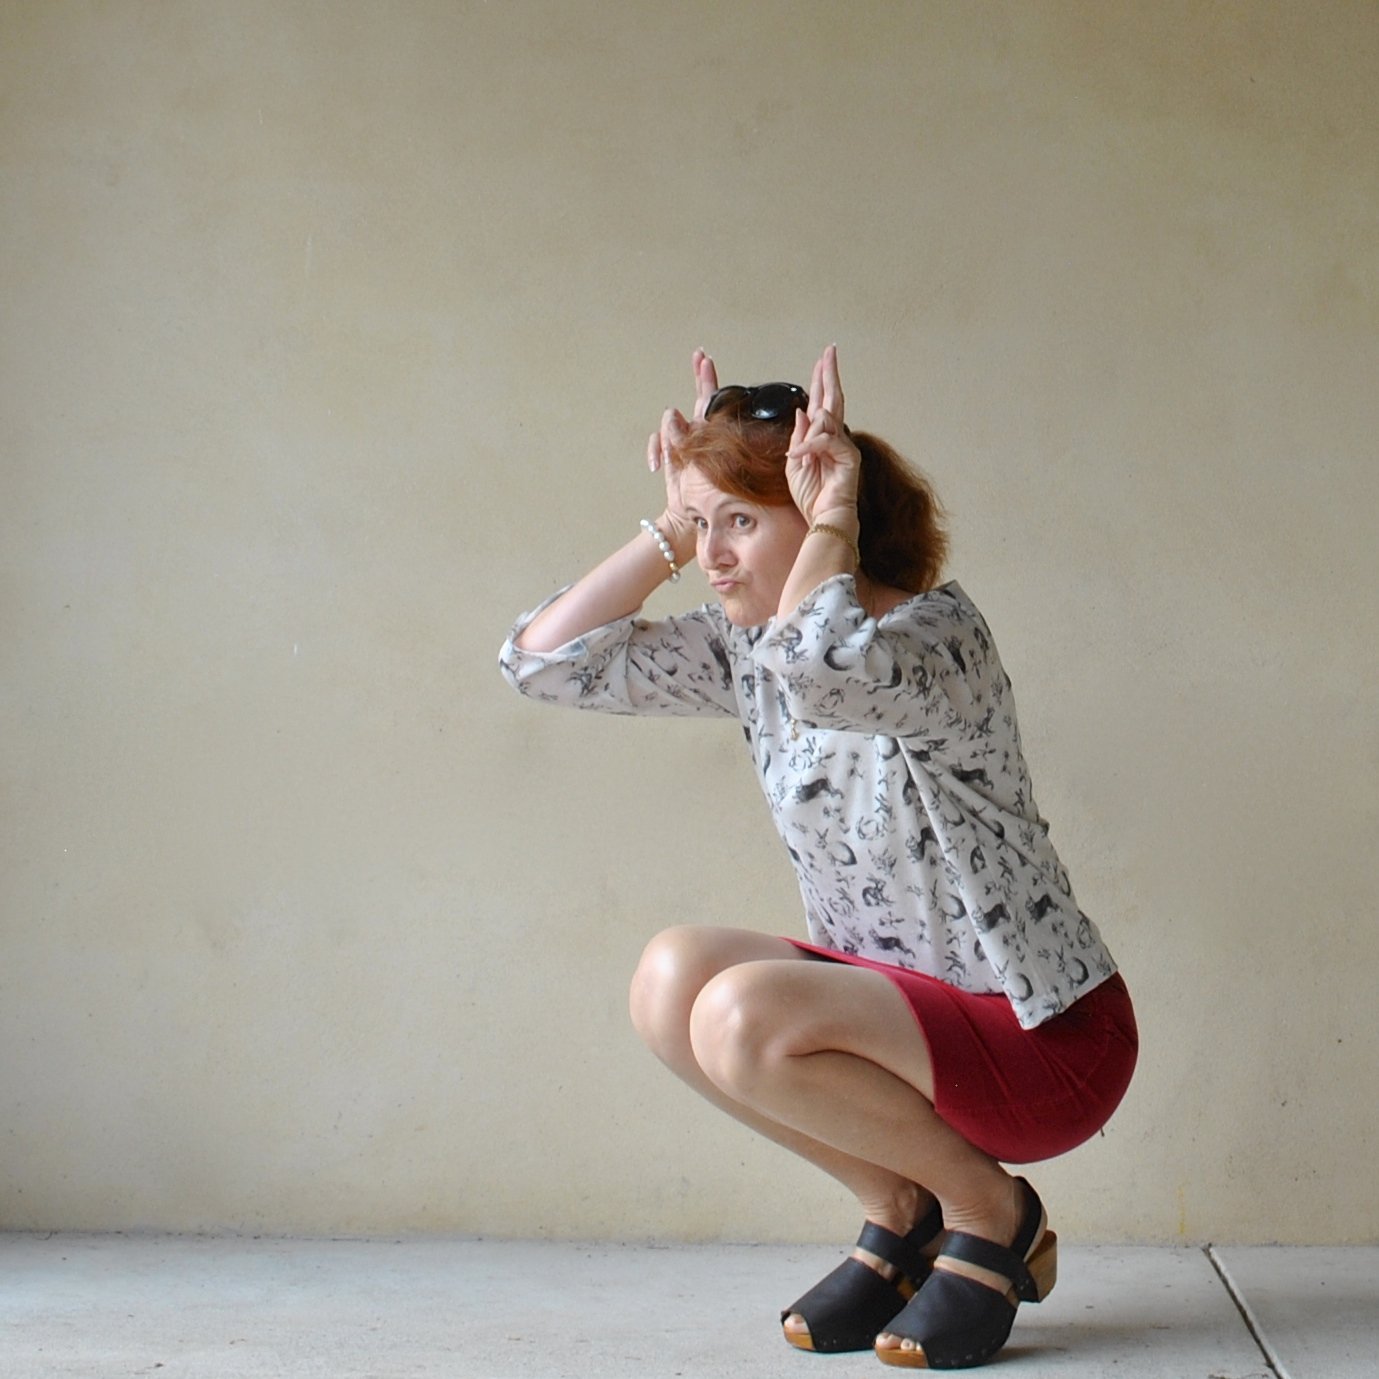
I’ve made a new blouse. It’s the Dove blouse by Megan Nielsen patterns, in an lightweight but warm, faux suede from Spotlight. So, the recommended fabrics for this pattern are shirt-weight stuff like voile and crepe de chine and chambray and linen… not a wintery fabric like this. However, when have I ever taken any notice of fabric recommendations? Pretty much NEVER, haha.
And I love it. Very very happy. Look at those sleeves. Oooo yeah.
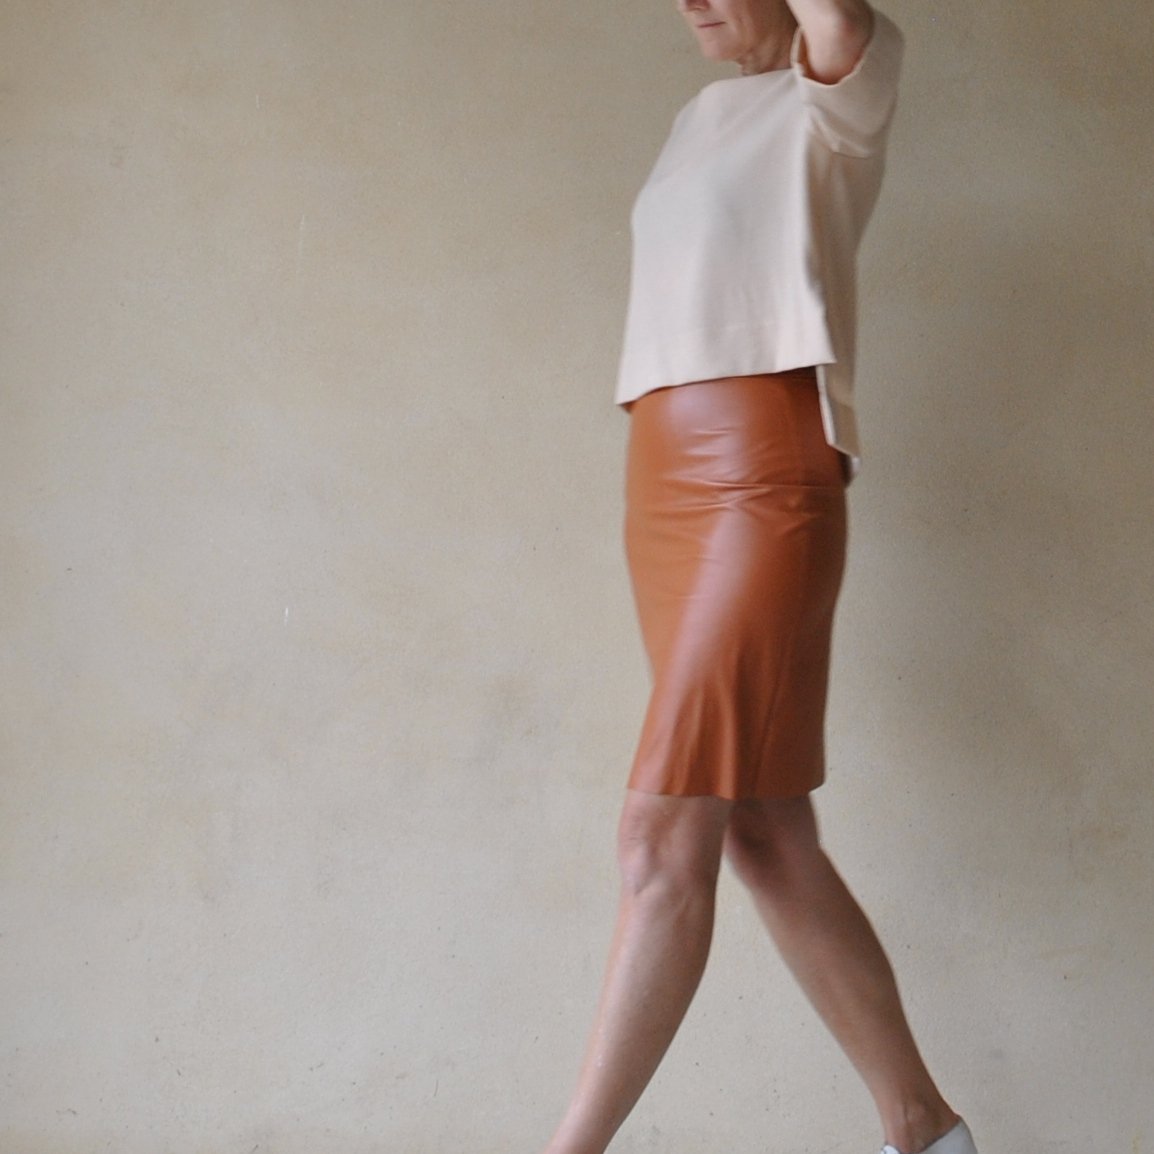
this is a blouse that demands at least one dramatic arm pose
 Now, remember how I mentioned pretty recently that I was looking out for this pattern?? Well, Evie, of Indie Stitches very kindly emailed me to let me know that she had one in stock… and offered to send it to me… thank you so much, Evie! Indie Stitches is an online pattern store with a very nice range of both paper and digital patterns, obviously as the name suggests specialising in small and independent pattern makers like Closet Case Files, Grainline, Sewaholic, Jennifer Lauren Vintage, Papercut, By Hand London, Tilly and the Buttons, Waffle patterns, Megan Nielsen and would you believe this is just a selection?! There are many many more! If you love supporting small independent pattern companies then I highly recommend heading over to the Indie Stitches pattern store and having a browse, at least.
 Please note; I did receive this pattern gratis, however there are no affiliate links in this post. I will always notify my readers if there is an affiliate link in my posts. Also on a tangential yet related note, I read somewhere that people think bloggers are raking in the money through affiliate links, well! that may be true for some types of bloggers, like maybe fashion bloggers? but sewing bloggers… NO.

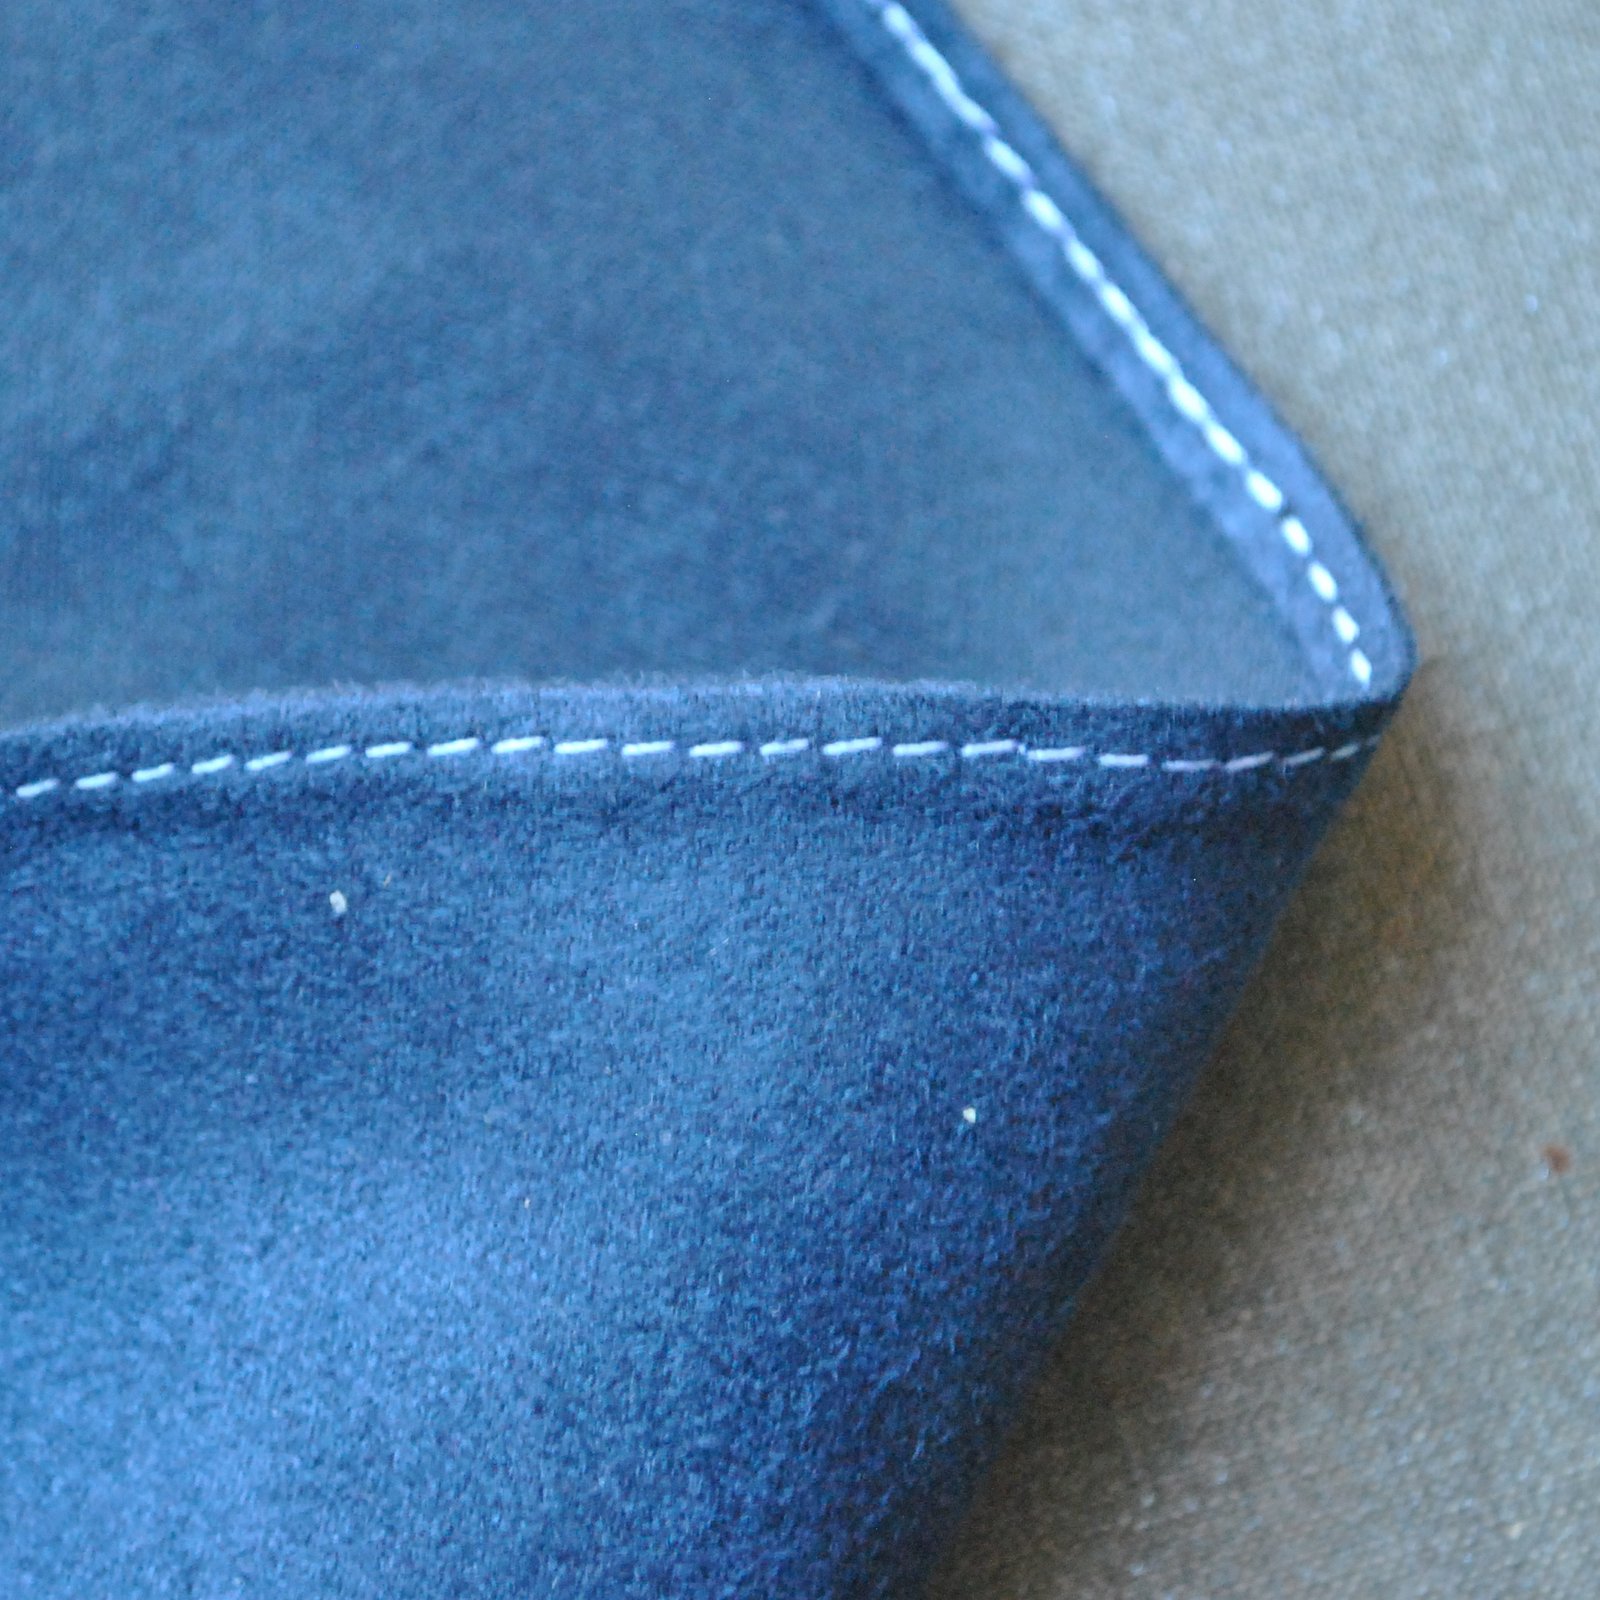
For the sleeves you do a triple-stitched skinny hem… it’s a hem finish I have used a few times before that gives a neat little baby hem but with no rippling or “lettuce-leaf” curling that you usually get with a single-stitched or machine-rolled hem… I think I read about it first years ago in an issue of Threads. I wasn’t sure how it would work out with the slightly thickish suedette, but it did beautifully! and I had a request from my daughter and also from sewnewbee in IG as to how exactly is it done so I did a little sample and took a few pictures for a short tute…
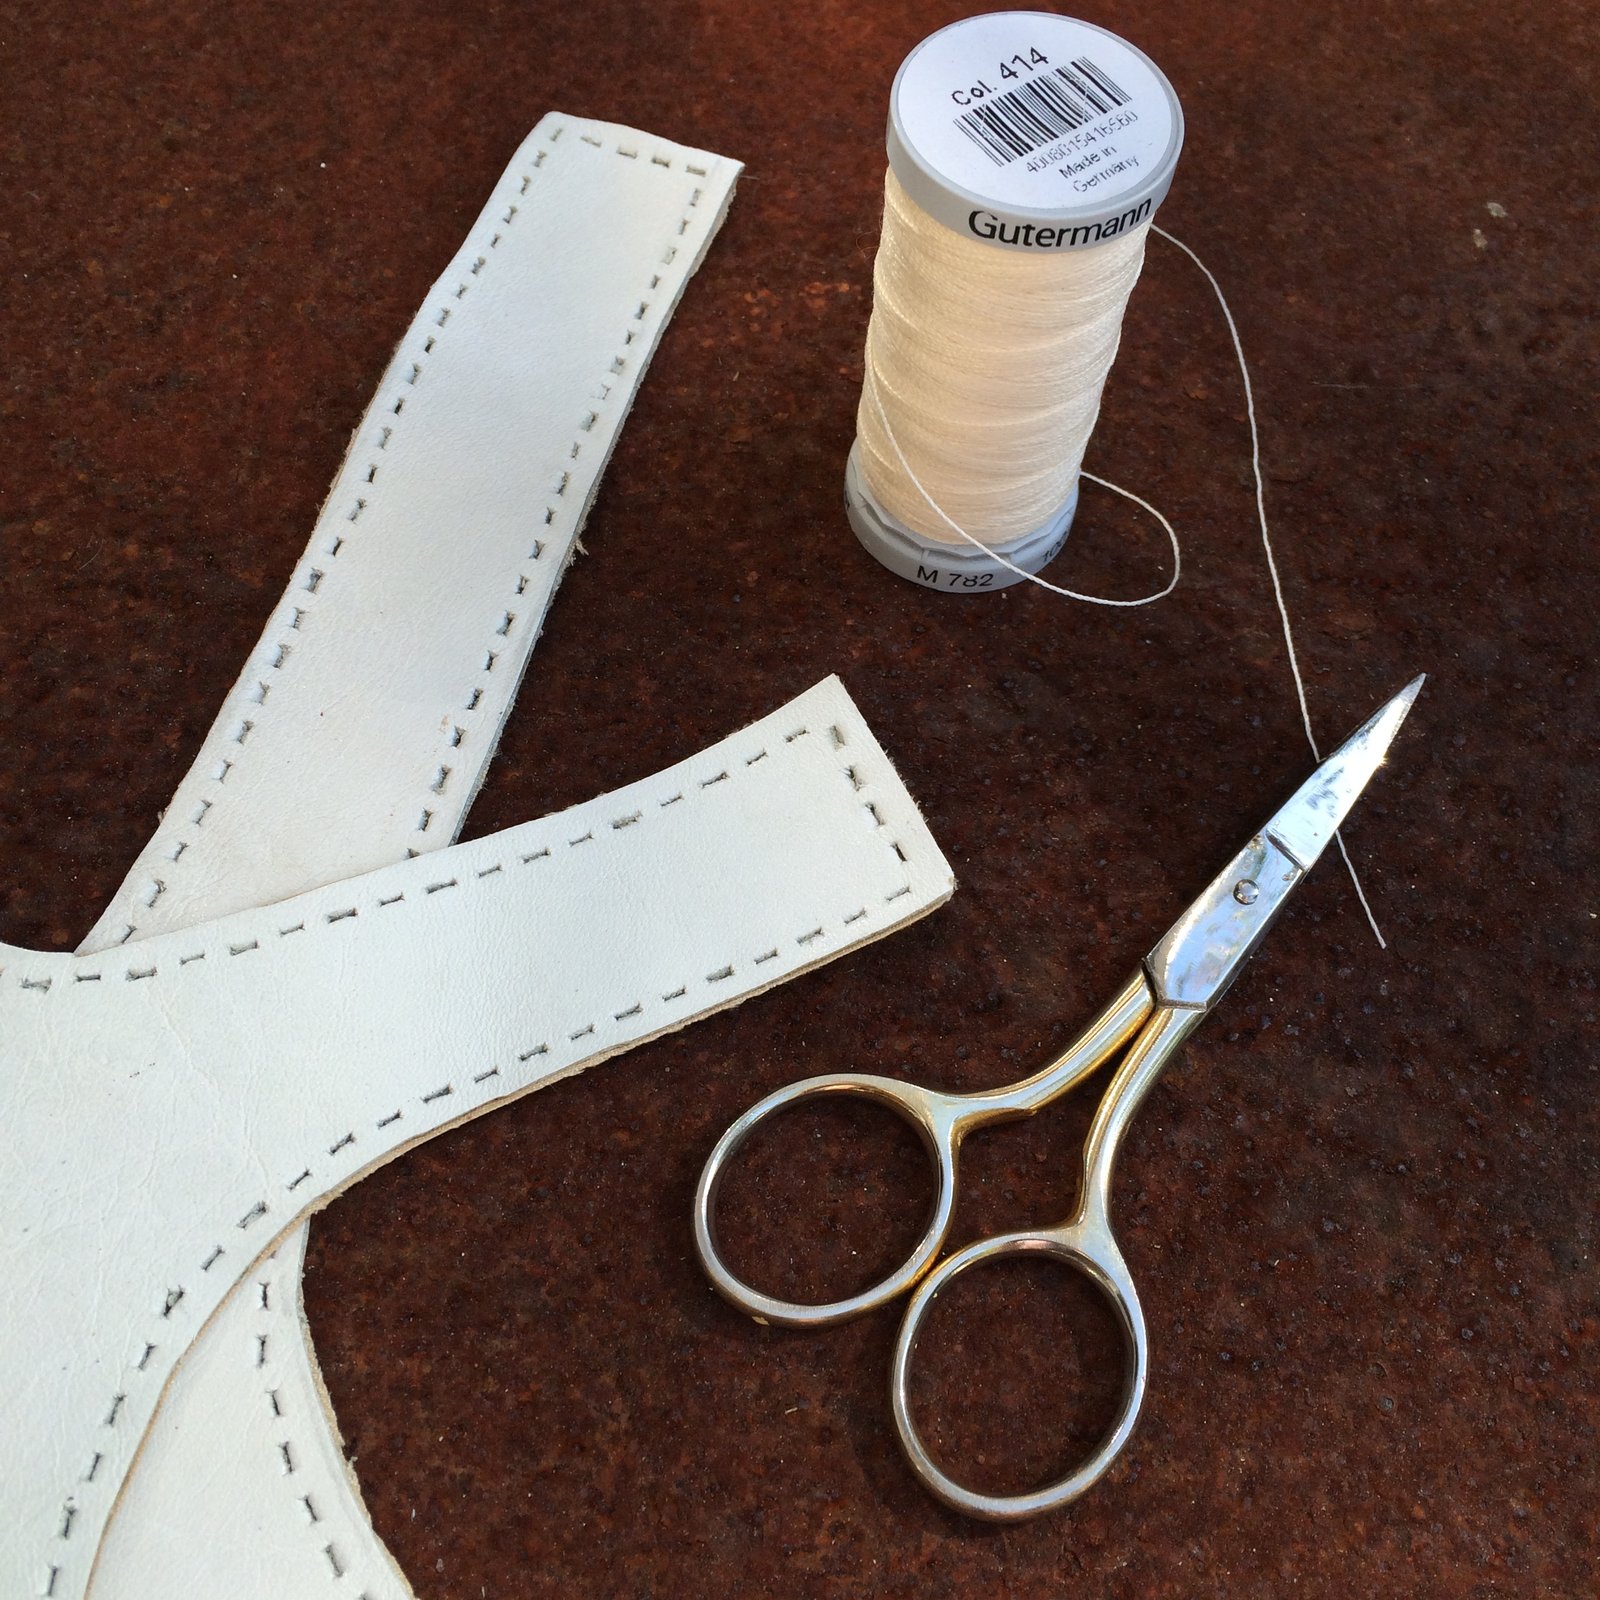
 I used a contrasting white thread here because I found you could barely make out a single thing in my pictures with the matching thread! anyway:
First; stay-stitch at a distance of 6mm (1/4″) inside the raw edge, being super careful NOT to stretch out the edge while doing so. This is the 1st row of stitching.

Turn the raw edge to the underside just outside the previous stitching, so the stitching sits just inside the pressed edge, and press.

Stitch again (the 2nd stitching) at a distance of 2-3mm (1/8″) inside the pressed edge, and give it another quick press…

 Trim away the raw edge as close to the 2nd stitching as you can.

Turn under this now extremely skinny, double stitched edge and stitch again (3rd stitching) right over the visible (2nd) row of stitching. The first two lines of stitching help keep the hem from stretching out as you sew, so your edge will be nice and flat and with minimal “lettuce-leaf” curl along the edge.
Inside: looks almost like one row of stitching, but it is actually two; one over the top of the other

Right side has only one row of stitching… plus a very skinny, nicely non-curly edge achieved in a difficult to hem fabric 🙂
excuse me ma’am, your remote is showing

Details:
Blouse; Megan Nielsen Dove blouse MN2105, version 2, in petrol blue suedette
Skirt; Vogue 1247, yellow corduroy dyed brown, details here and my review of this pattern here
Tights; self-drafted, black polyester stretch, details here and my tutorial for making your own custom-fit tights pattern is here
Boots; made by me, and my own design, details here
location: South Perth foreshore, Western Australia


 This is actually the second Sudley I have made. I also made a dress that has now been assigned to Cassie when I realised it was just going to be a little too, er, young for me. I expect it’ll show up on ye olde blog here sometime…
 I also cut the lower hemline to have a curved “shirttail” line to it. The hems and the neckline are all finished by hand, because I really wanted to have a smooth clean stitch-free expanse of fabric with absolutely no visible topstitching anywhere. This is about as invisible as I could get.




 e to, otherwise… what would I link to?? *horrified gasp* O, the shame of having nothing to link to!




 The design is beautifully breezy and very comfortably roomy… I love the cute little cut-on sleeves with a simple cuff, the petite collar has prettily feminine proportions, and the exaggerated lower hemline looks quite dramatic and really cool, imo. That one big box pleat in the back is fabulous, and a pretty dramatic feature too, yes? love how the folds balloon out and down to that gently shaped back hemline. In fact I love all the features and the shape of the dress, full stop. It’s like the perfect little summer shirt-dress. I’m going to wear this one a tonne, for sure, and and probably going to make a tonne more too!


 Partly because I stingily didn’t buy much of the print, and also partly for the same visual grounding reason as having a belt: I cut the pocket bags in a thick chocolate brushed twill, a small bit of leftover fabric harvested from Craig’s old pair of chocolate moleskins and which I used to make
 Above, I spaced it to turn up the hem exactly between two horizontal stripes in the print. The lower edge of the skirt is finished in bias cut black cotton, the same as for the inner waistband and pocket facings. See that little tiny row of mustard stitches along the top? I initially started hemming with black thread to match the bias; but quickly realised that even though I made my stitches as tiny as tiny could be, that row of minuscule black dots did show up on the right side of the skirt if you looked closely enough, and I didn’t like it!! So I switched to the same mustard thread that I’d used in other seams, which disappears nicely into the print.. so they’re pretty much invisible on the right side, which is the main thing!