 SO! I’m currently making a shearling jacket to take to our much anticipated trip to snowier climes, coming up v v soon… eeeeeeeeeeeeeee! I can’t wait!!
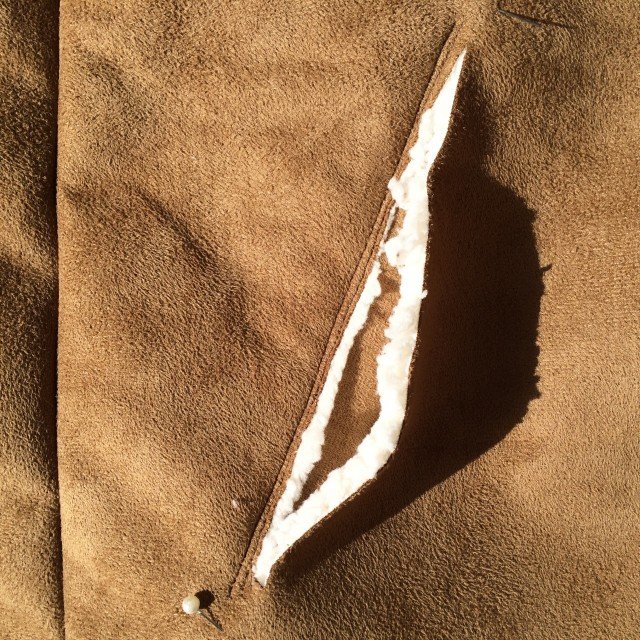
Anyway, I’ve put a couple of welt-like pockets in, and found it necessary to devise a method just a tiny bit different from the usual. So, I took a few pictures to show how I did it…
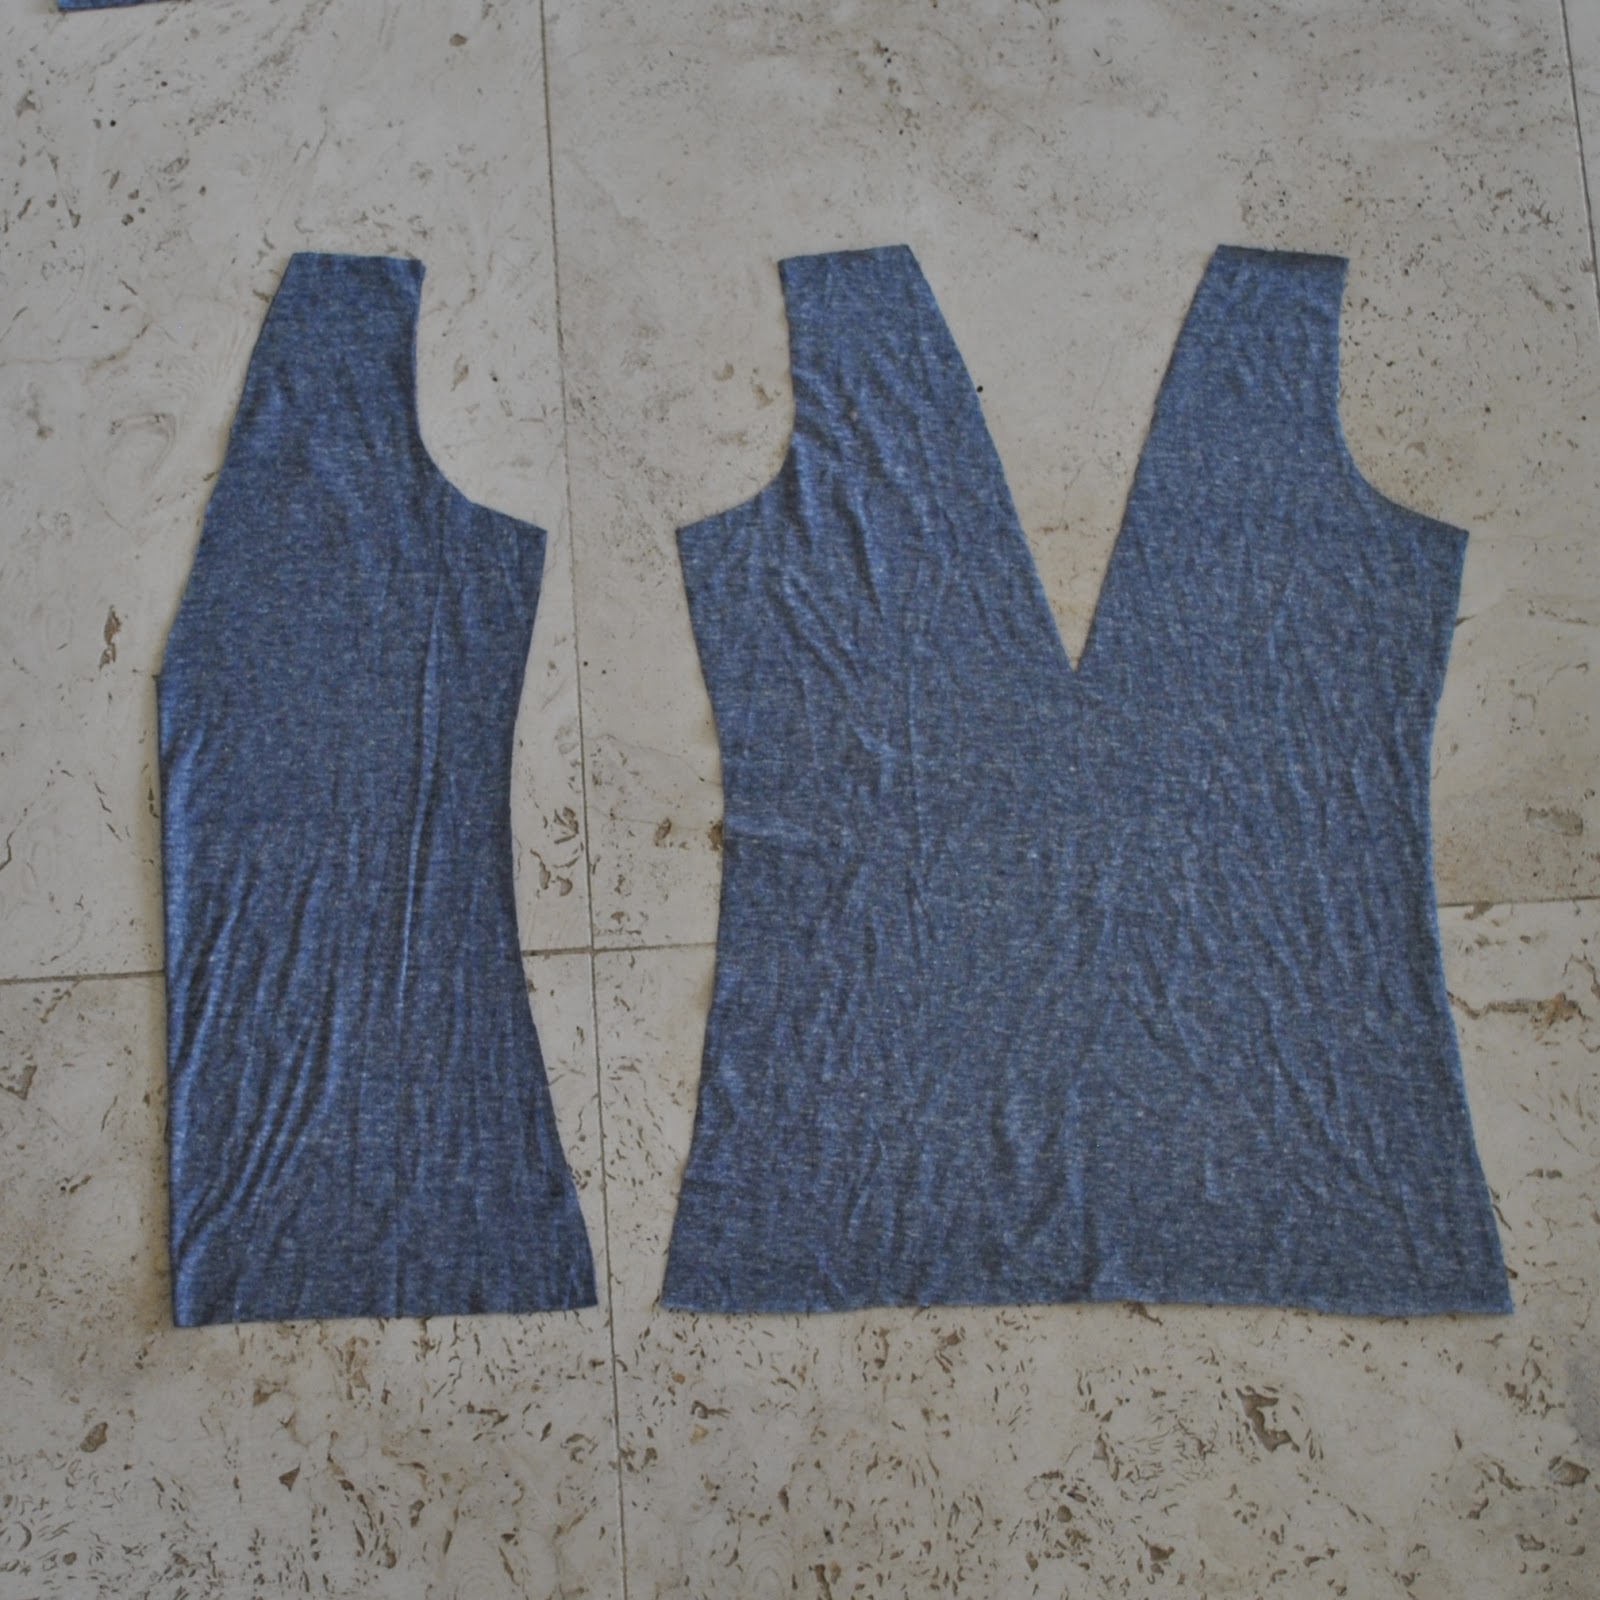
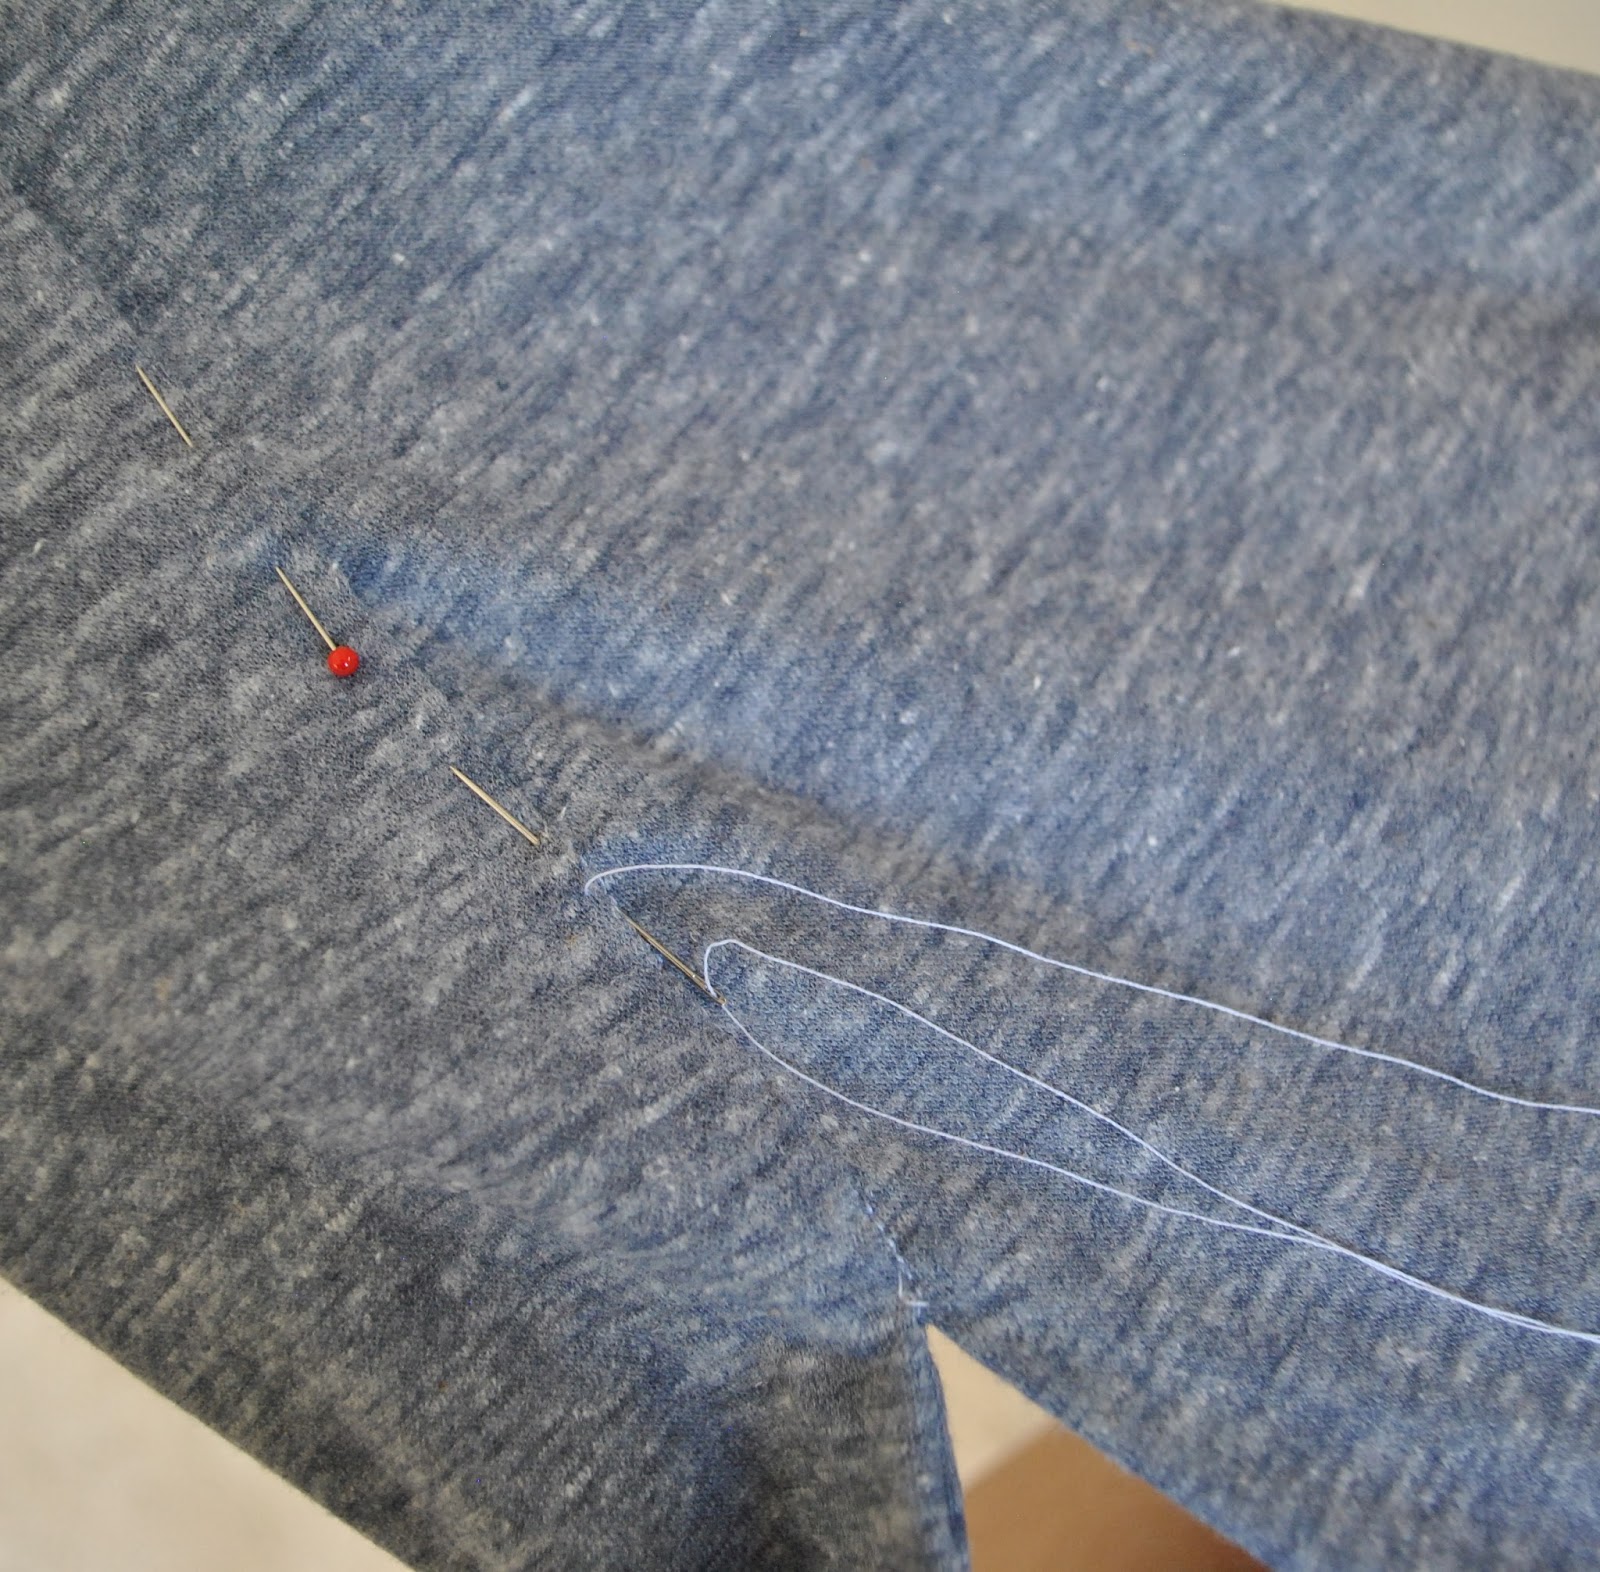
First, cut two pocket pieces in the shearling, two pocket pieces in a lining fabric, and two welts in shearling. Cut the pieces biggish, at least a little bigger than you think you will need, just in case. Remember the golden rule, you can always trim a little extra away, but you can never ever add it! For the pocket lining I used an ivory cotton denim from the leftovers of my favourite flared jeans.


Try on the coat and determine the position of the pockets, mark with pins. Lay the two fronts together to transfer markings to the other front piece, and measure several times to ensure the markings are symmetrical.
Cut pocket opening between the marks, no less than 3cm shorter than the welt piece. To give an idea of lengths; my welt is 20cm long and my pocket opening is 16.5cm… but my hands are pretty big and a small handed person may not need quite so big an opening 🙂

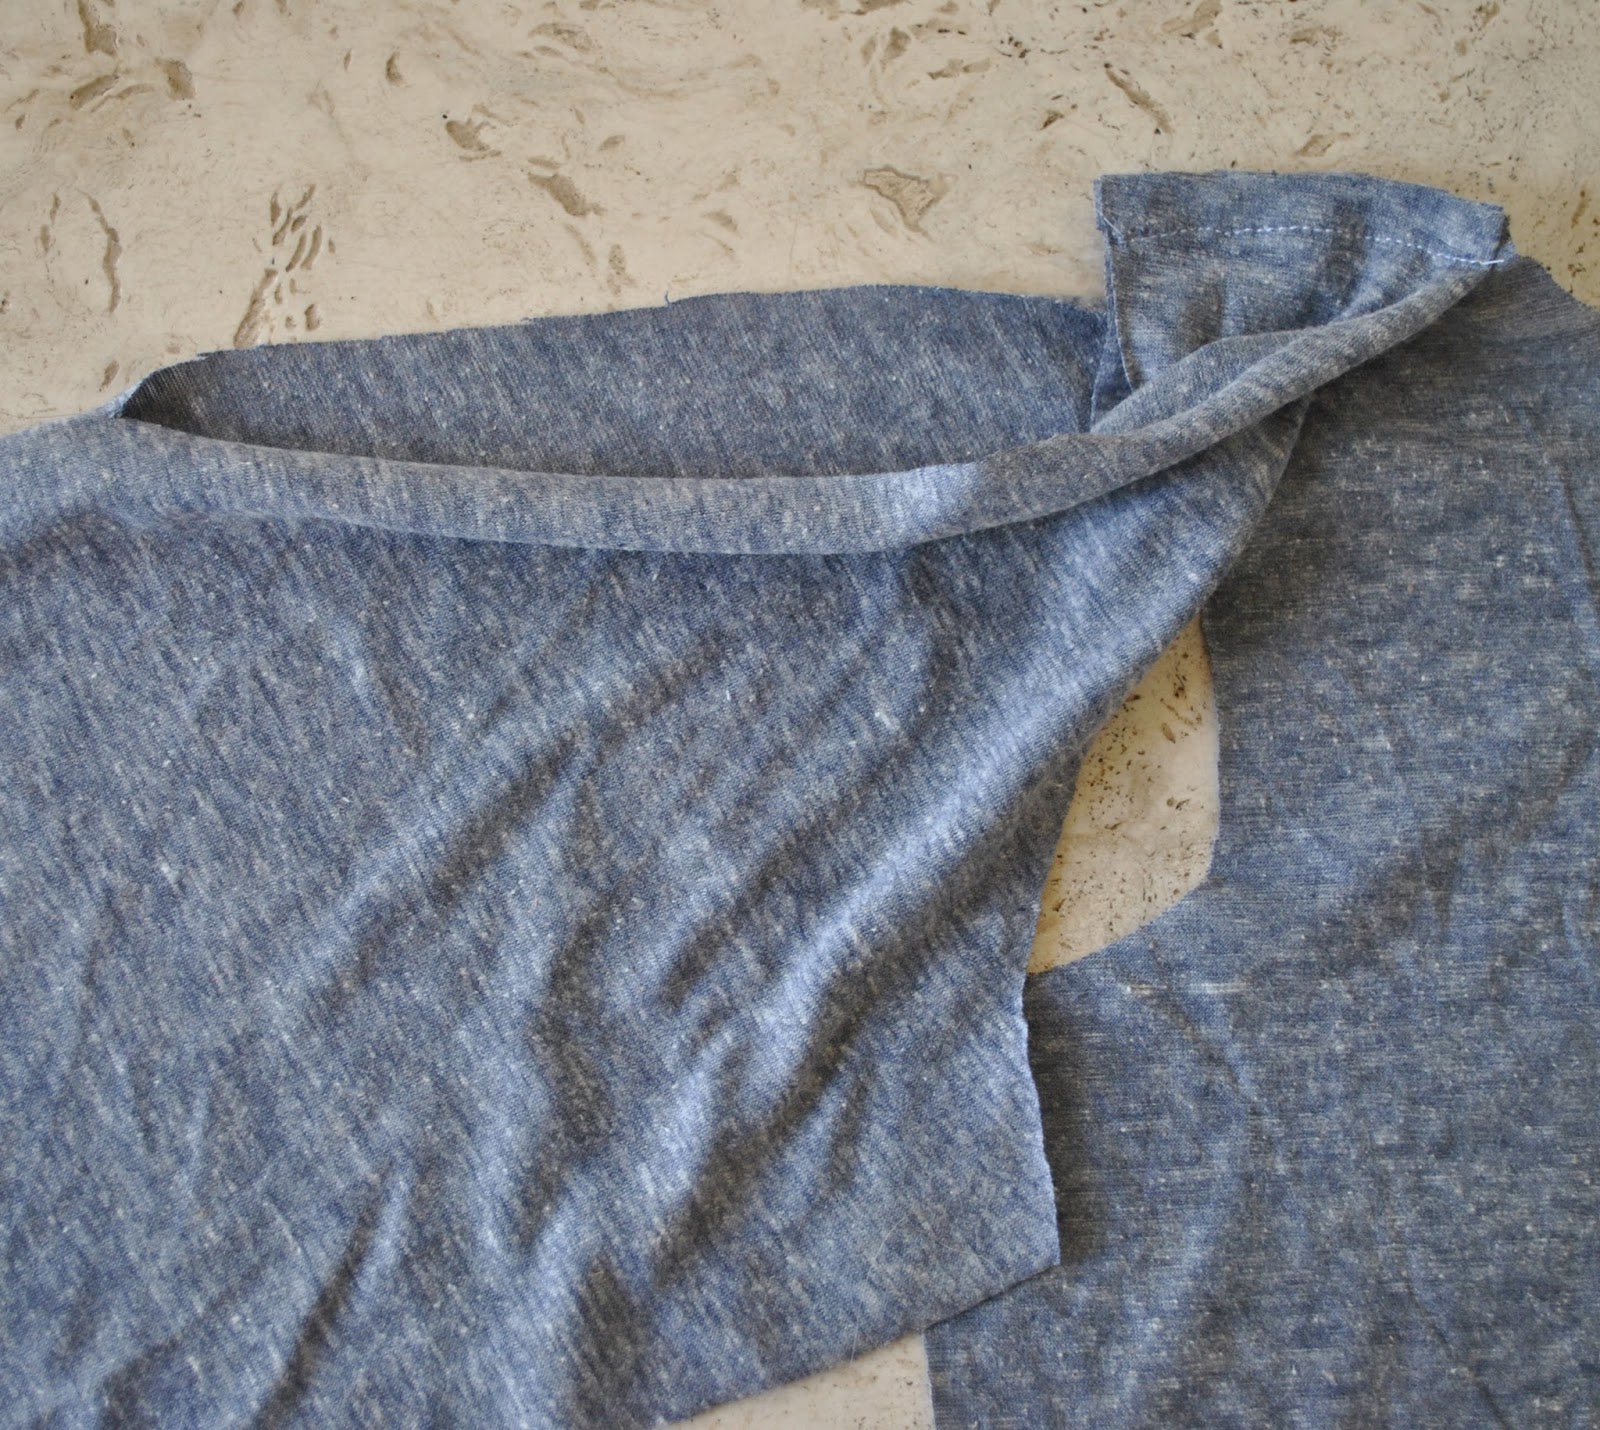
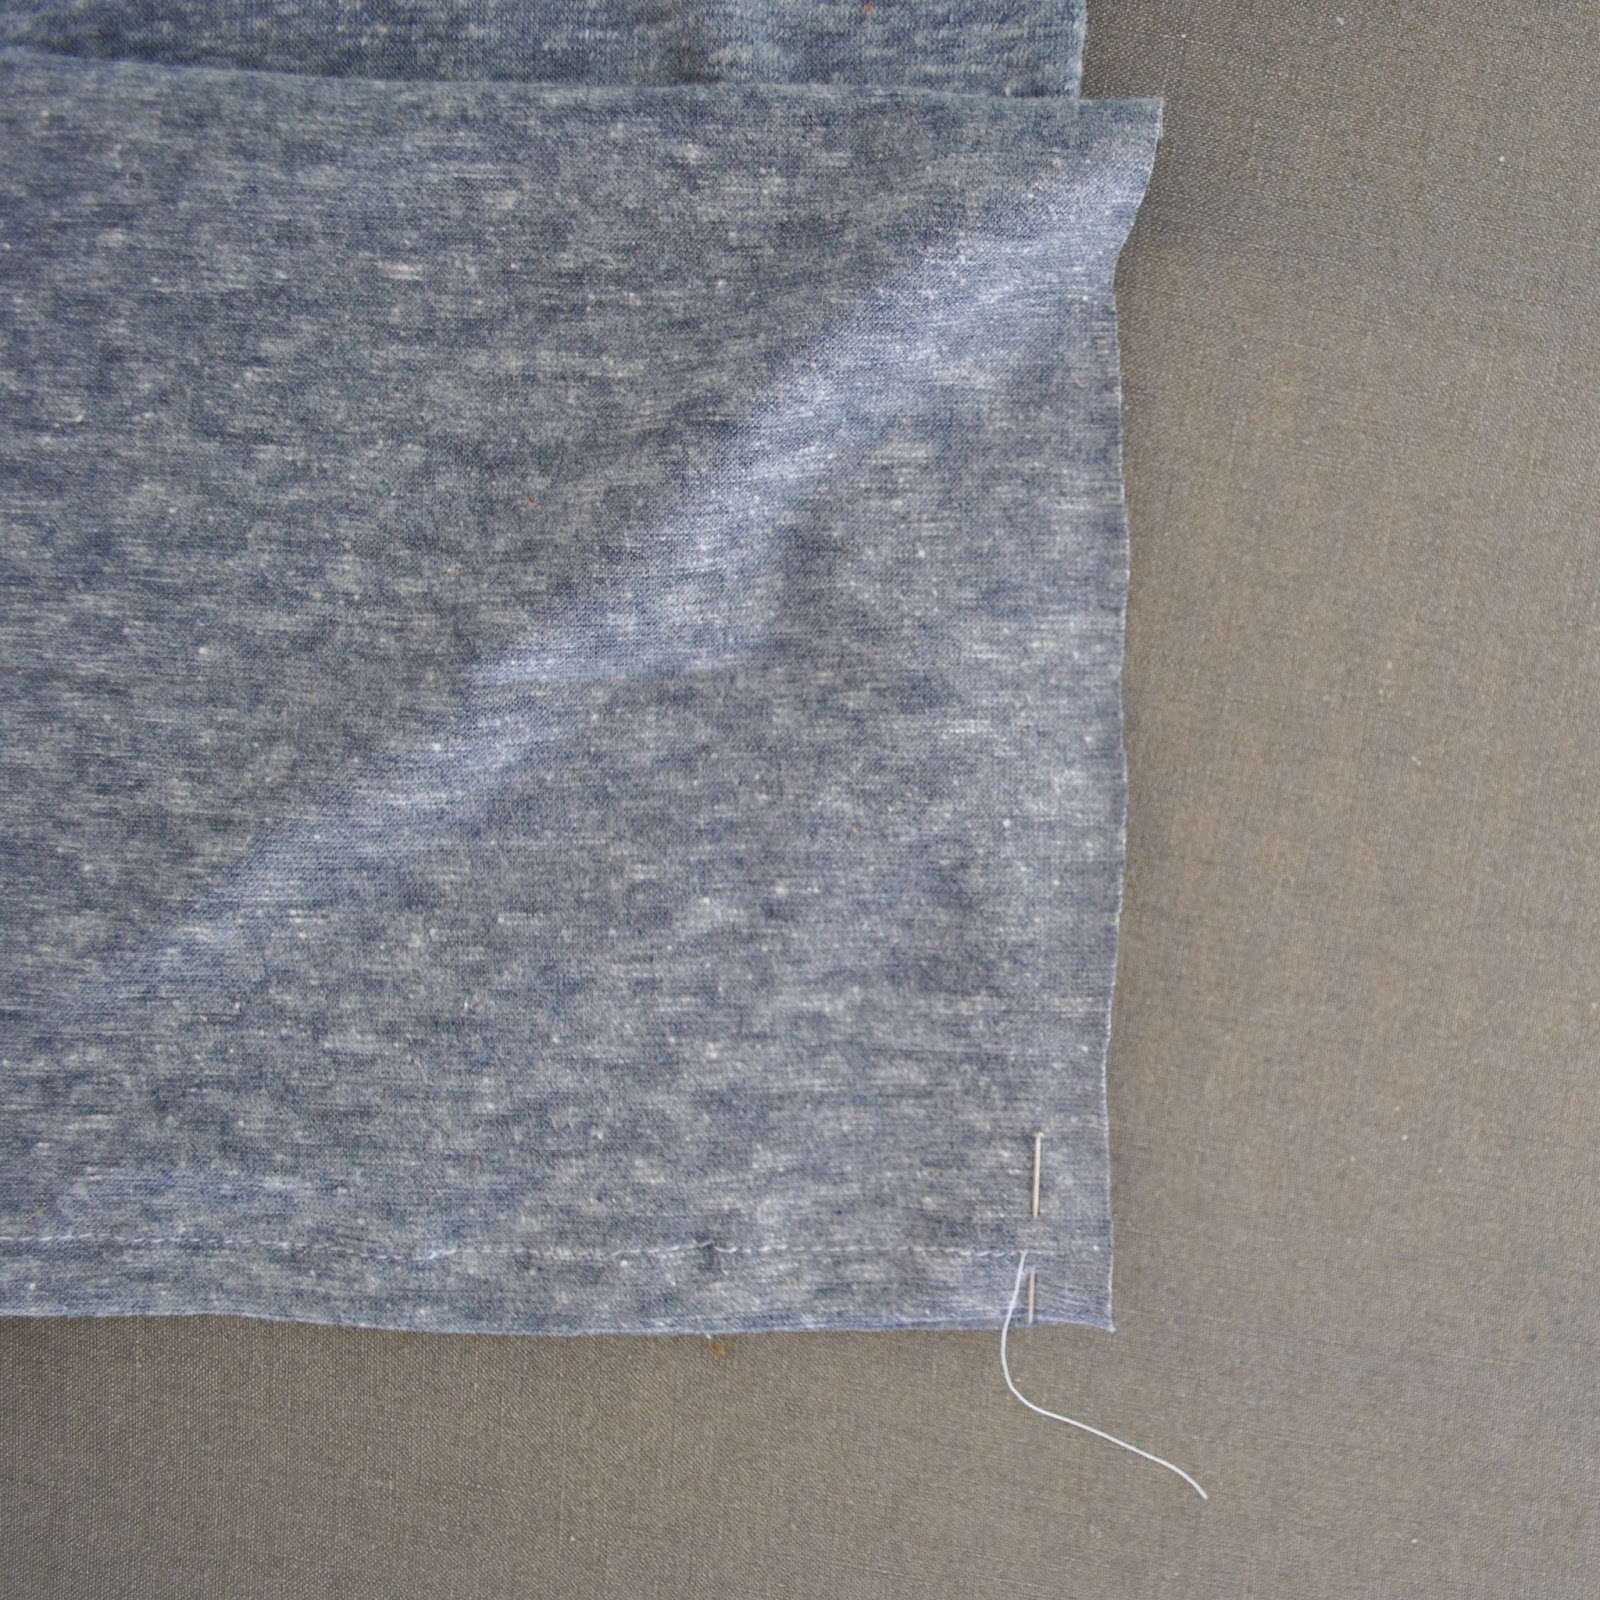
Lay the shearling pocket piece underneath the top edge of the pocket opening, pinning the pieces together with an overlap of 1cm (below L). Stitch from the top side, in a a double row of closely-spaced stitching. (below R)

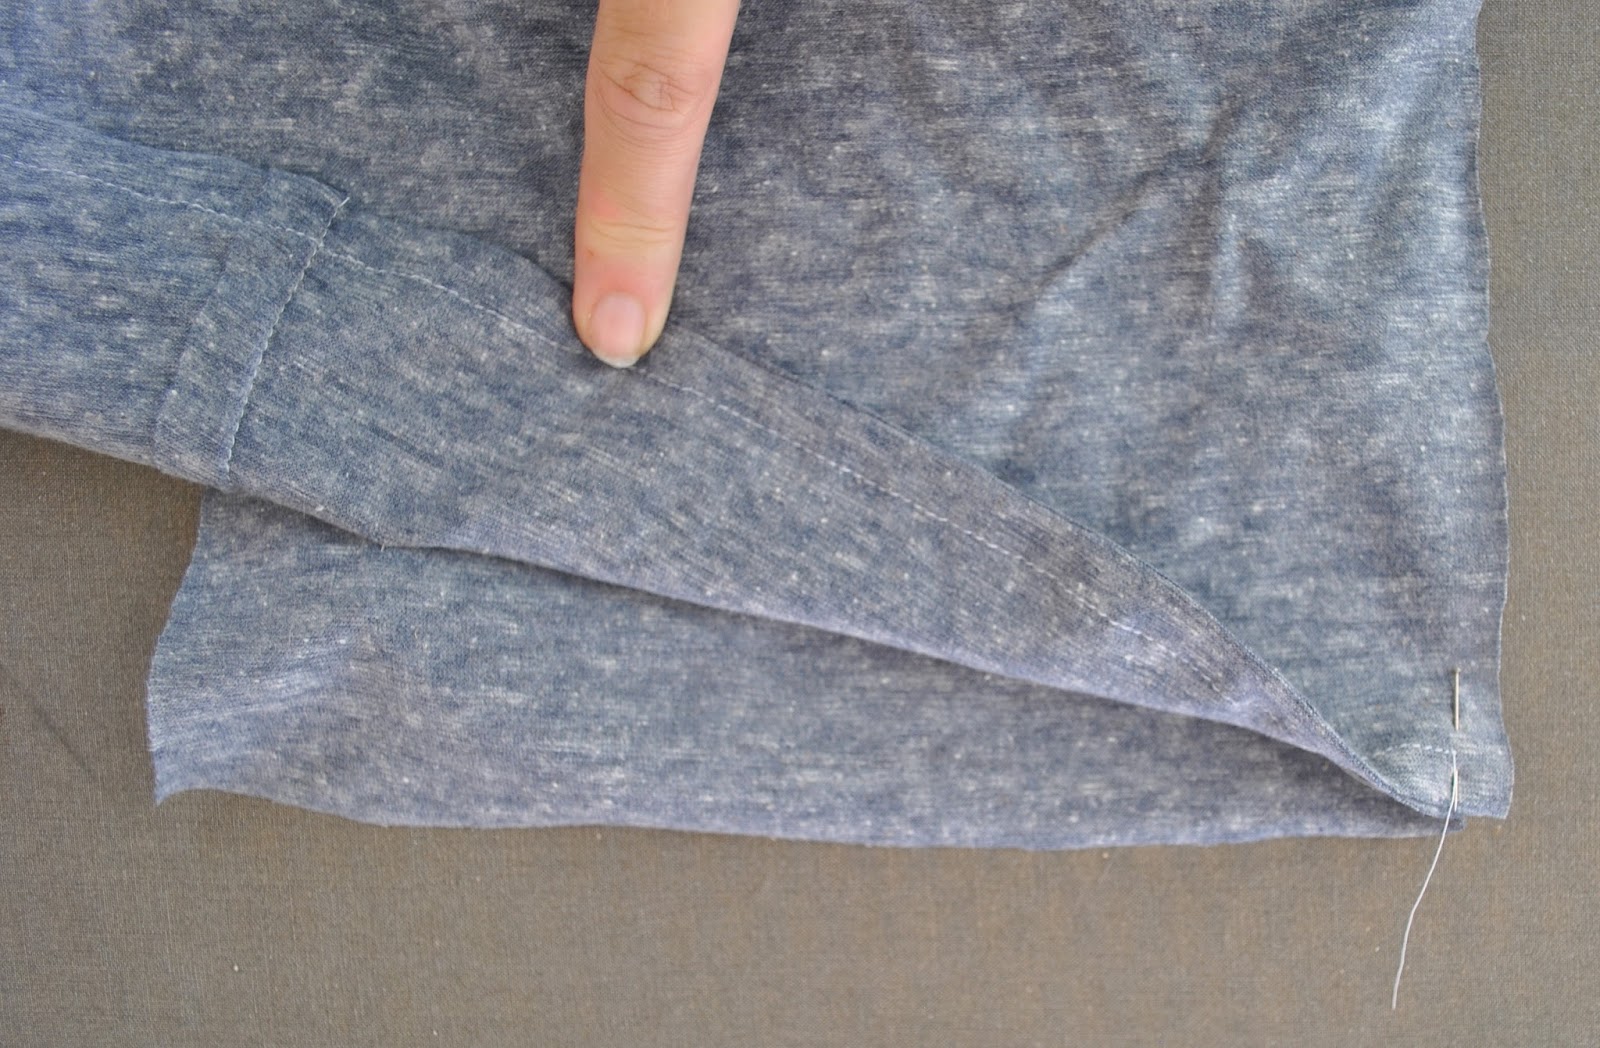
Finish the raw top edge of the pocket lining with overlocking stitch, then lay over the shearling pocket piece, aligning all raw edges and pinning the pieces roughly together near the top (below L). From the outside of the coat, turn in the top edge of the pocket lining piece and pin to the pocket opening edge (below R). From the outside of the coat and keeping the shearling pocket piece free, topstitch in a double row of closely spaced stitching


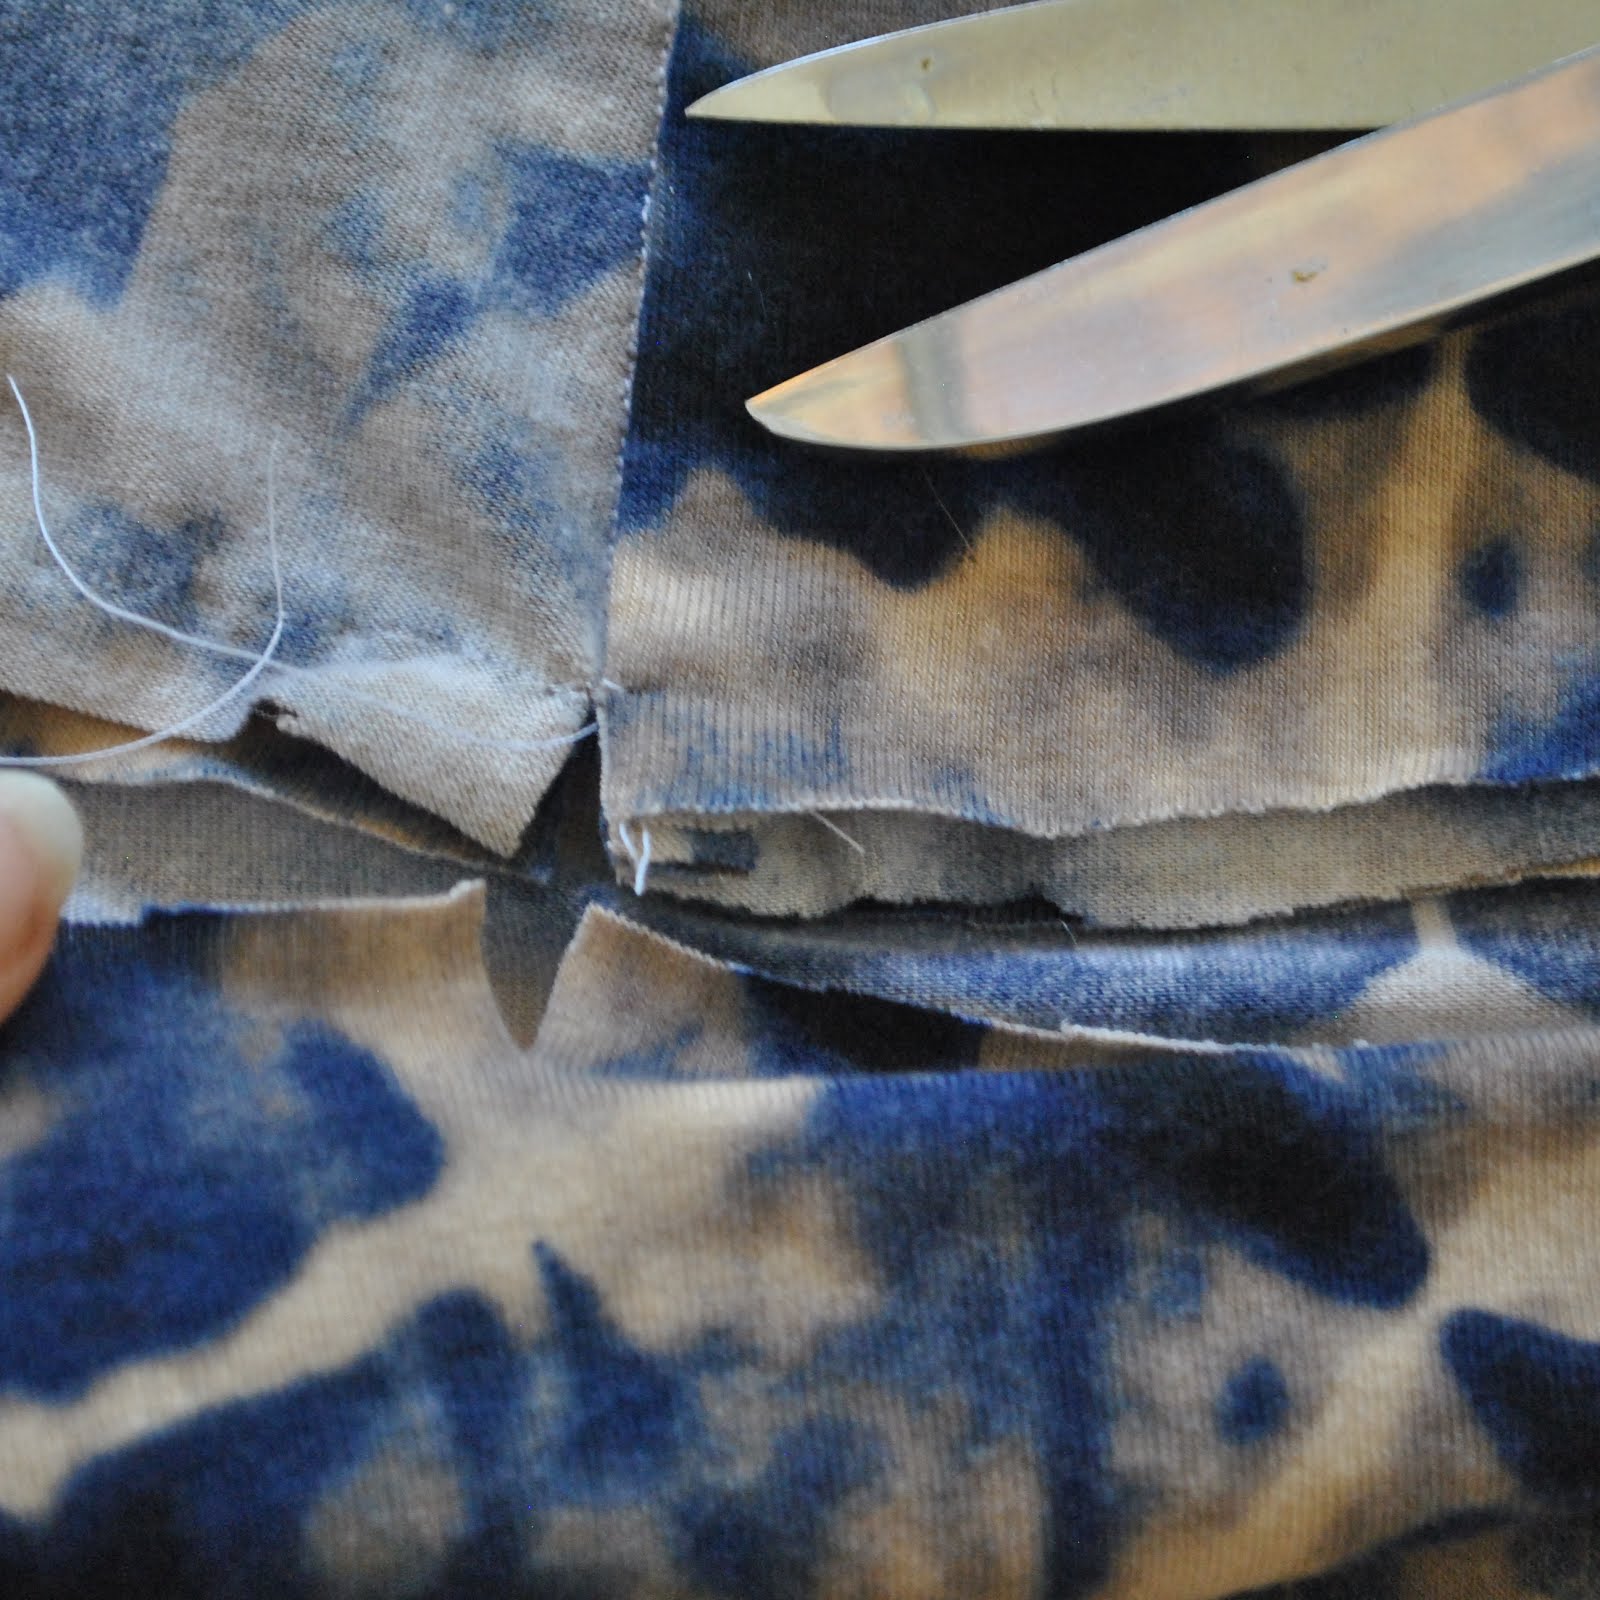
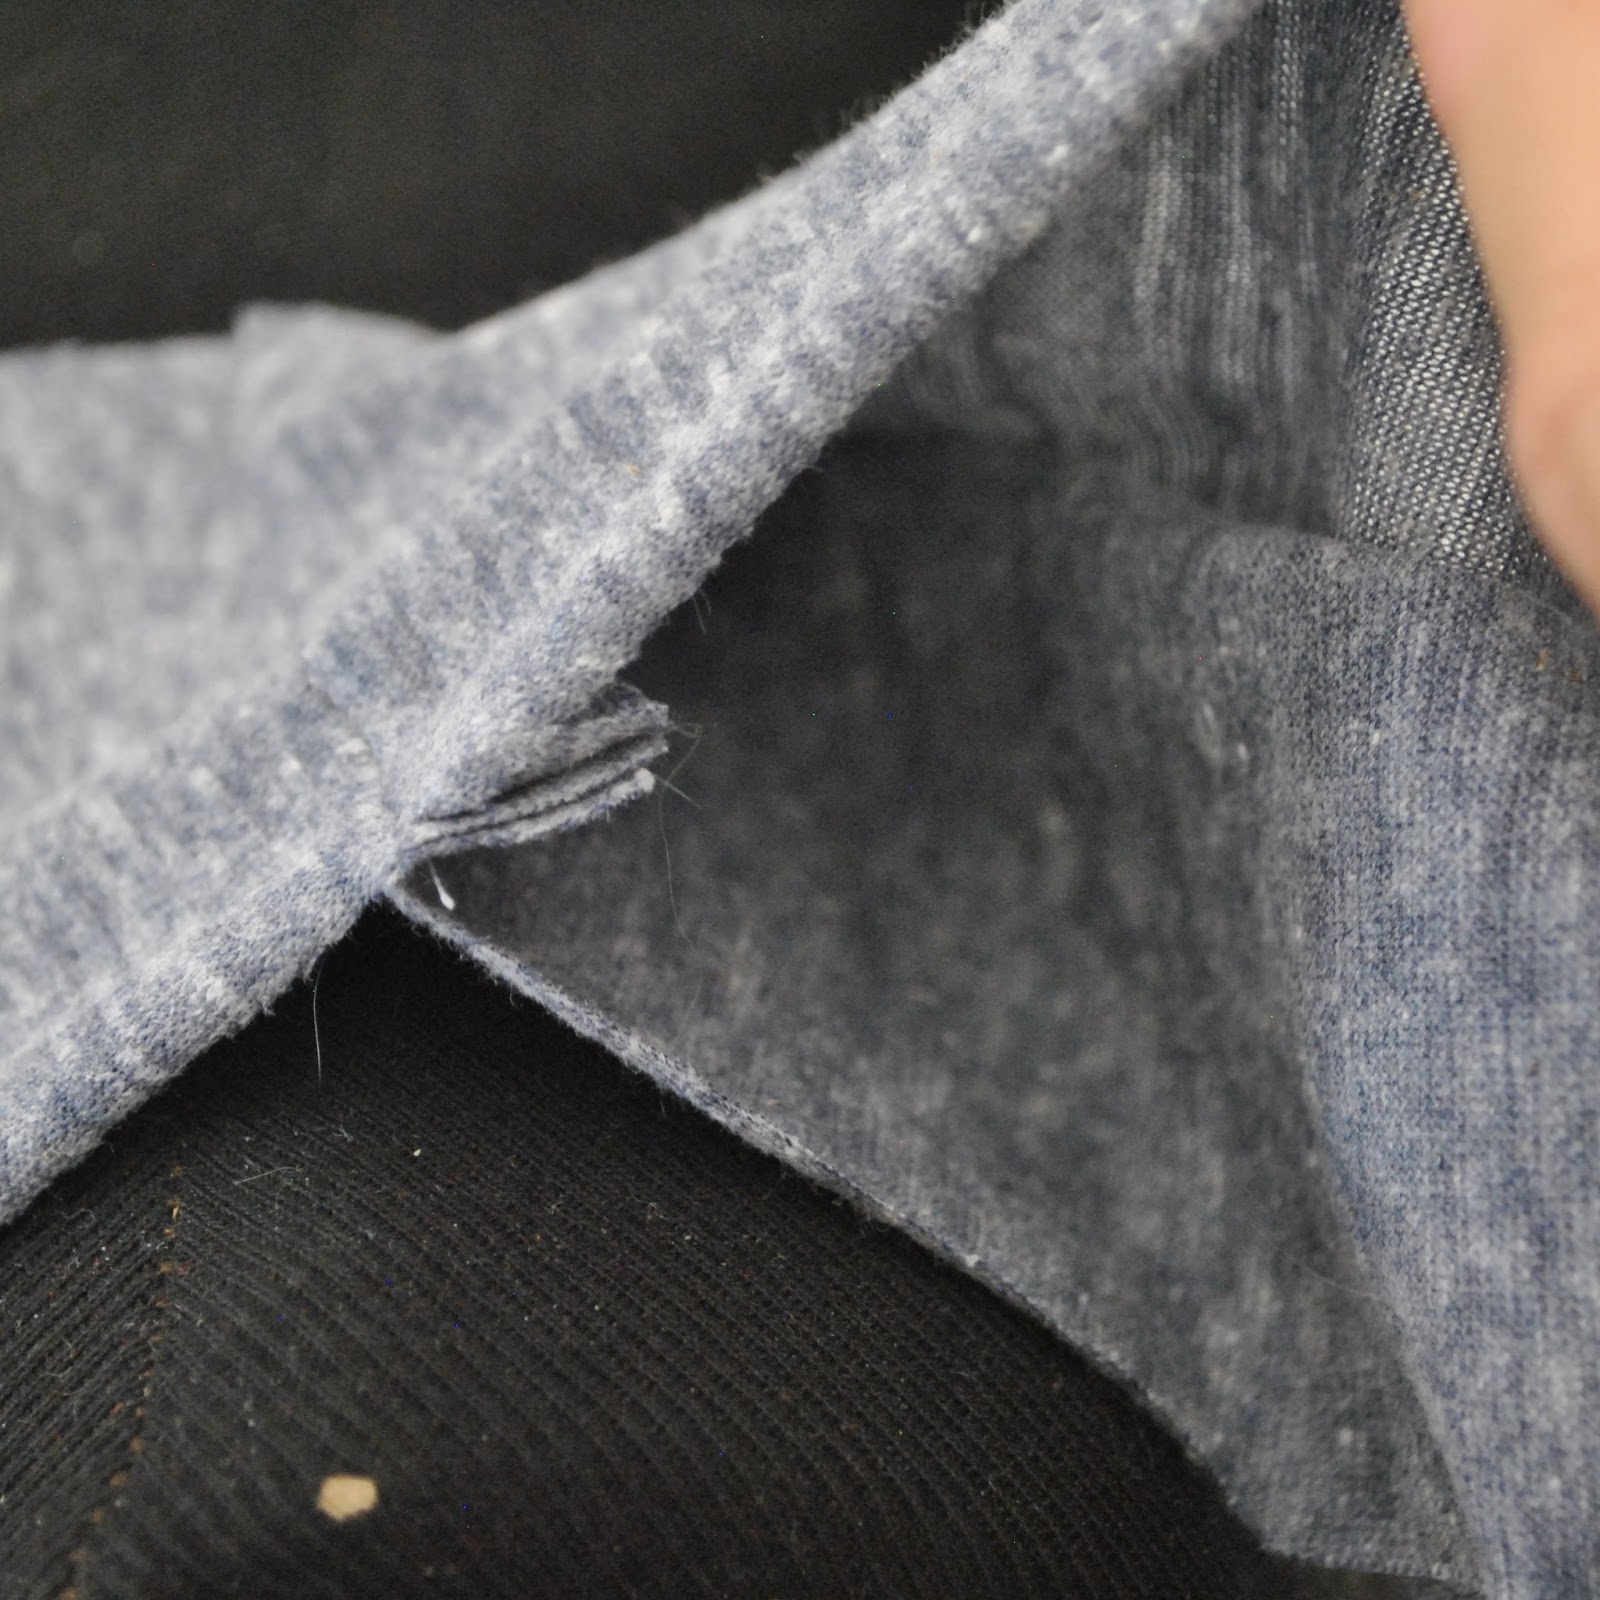
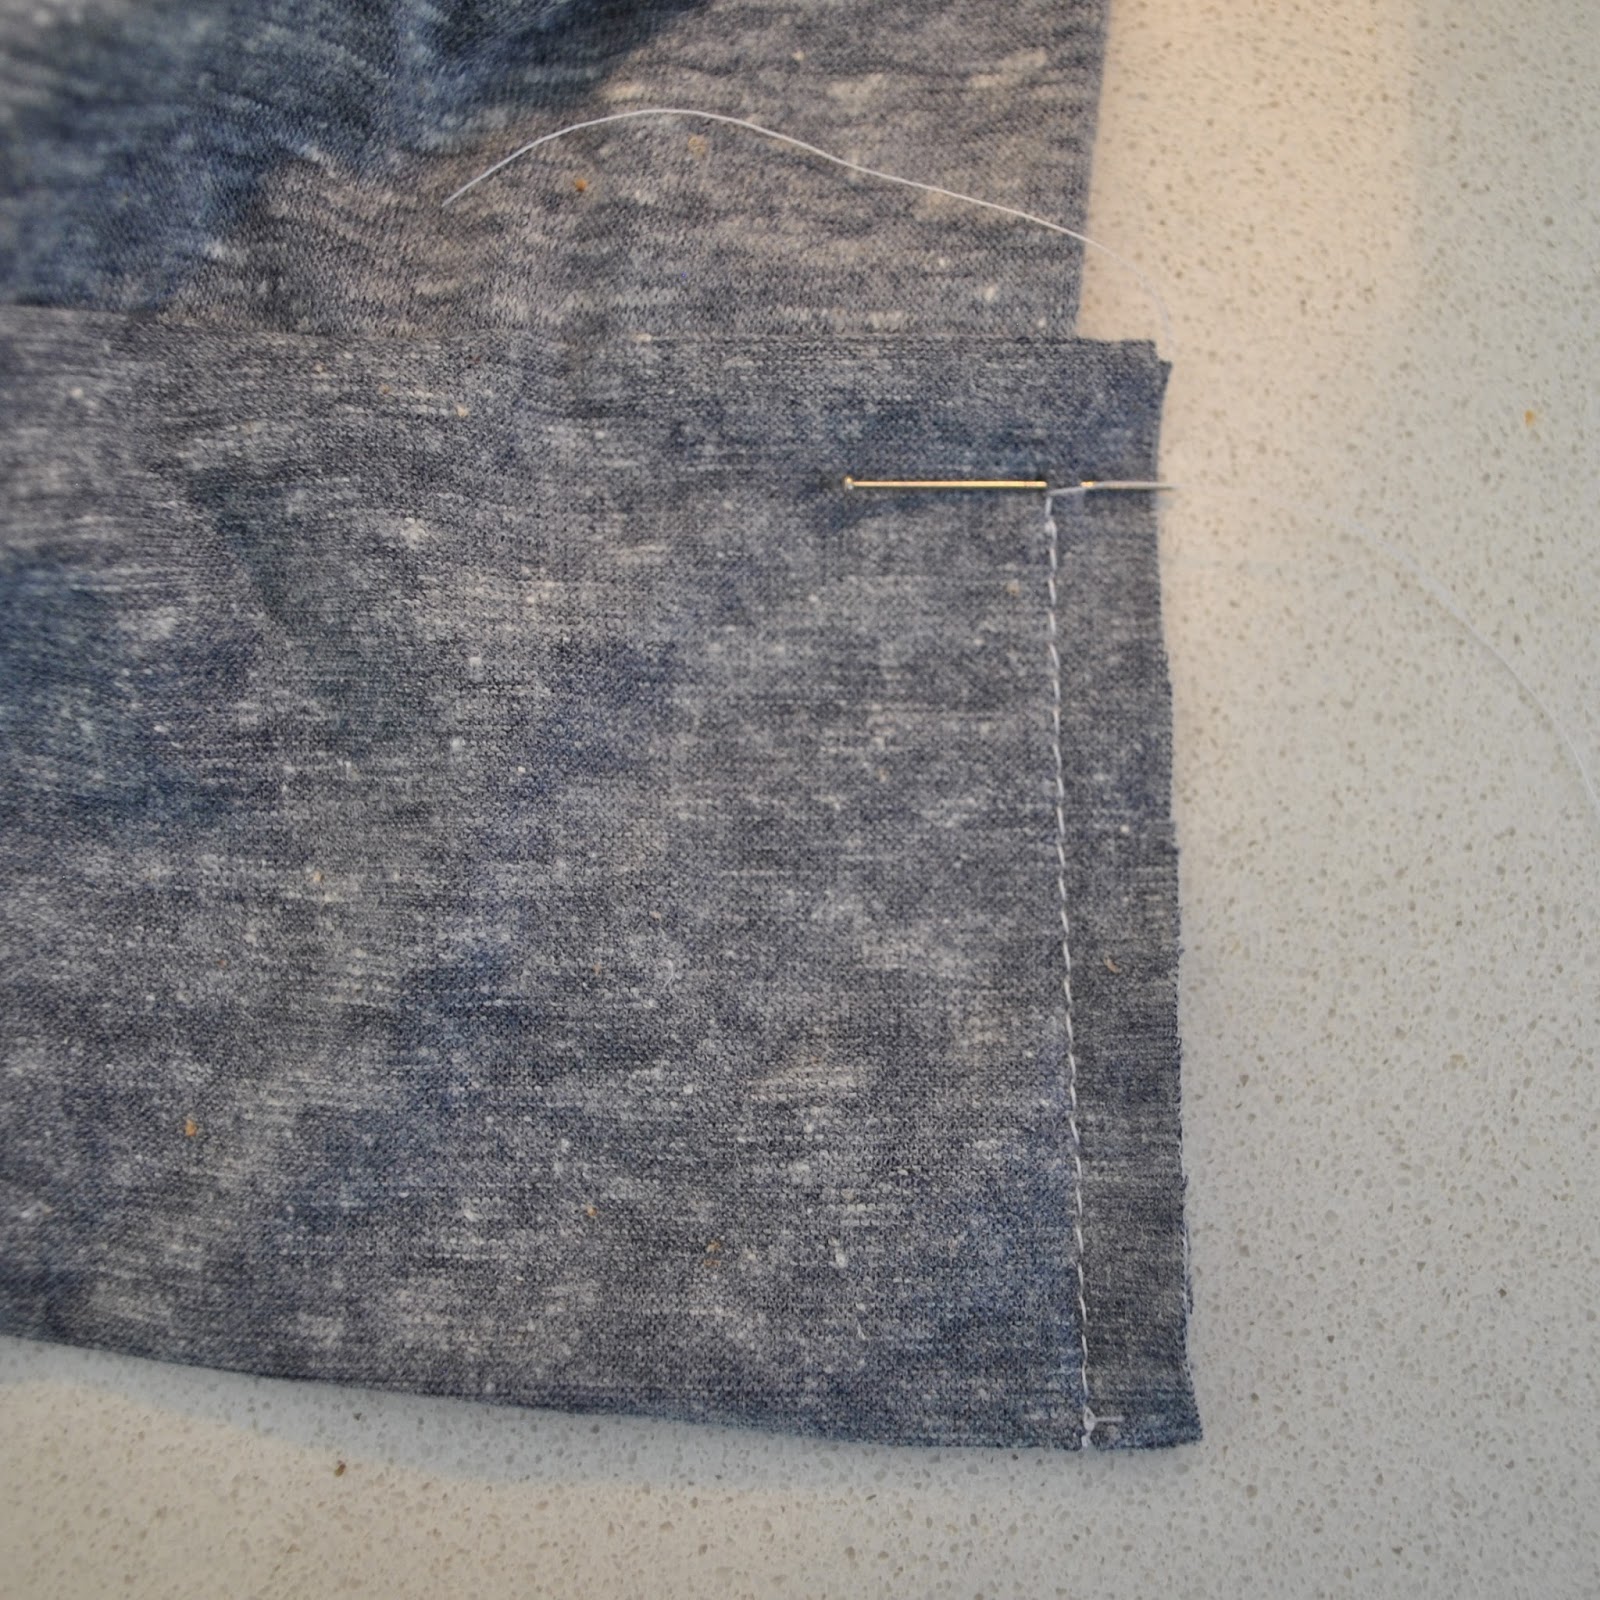
Now stitch a few backward/forward passes of stitching along the two short edges of the pocket opening through all thicknesses.(below)

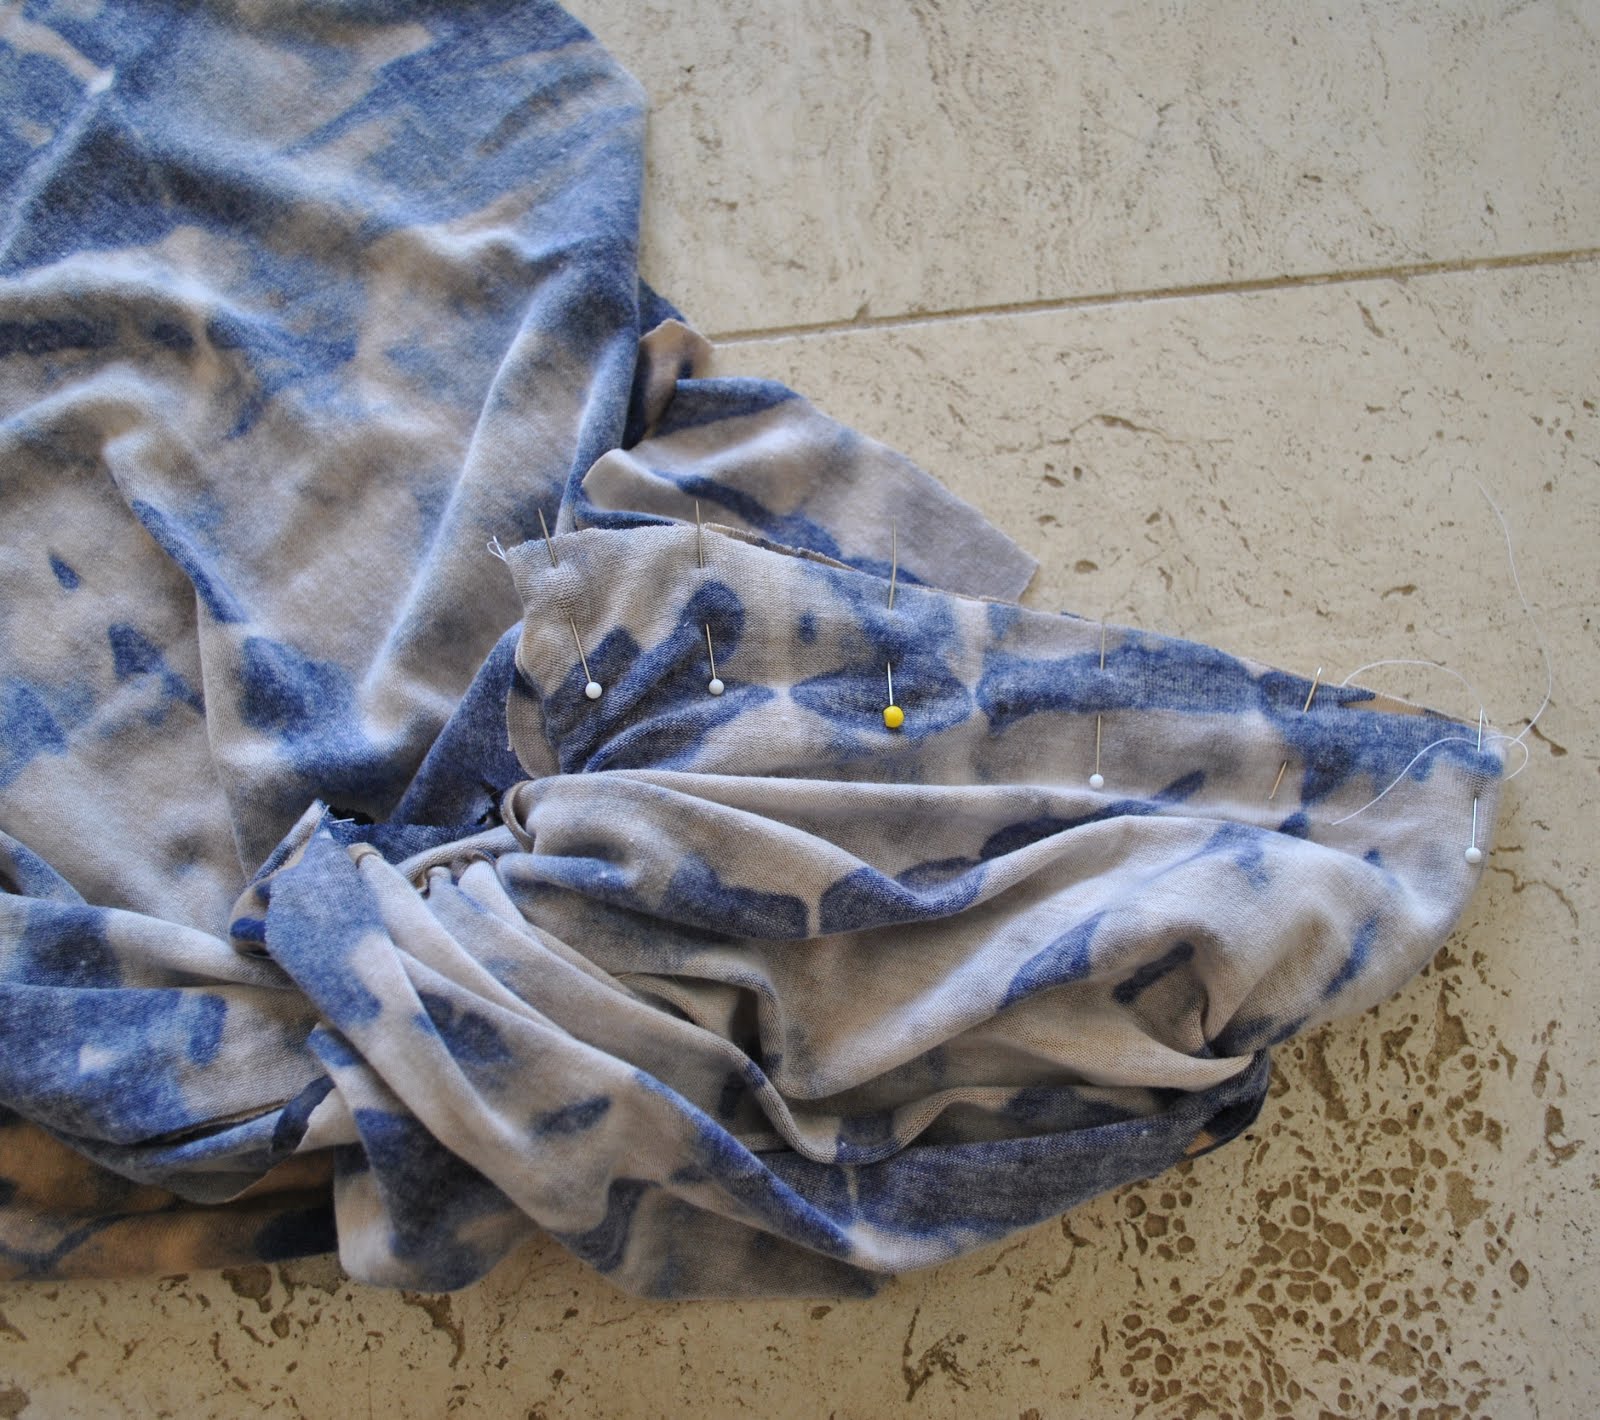
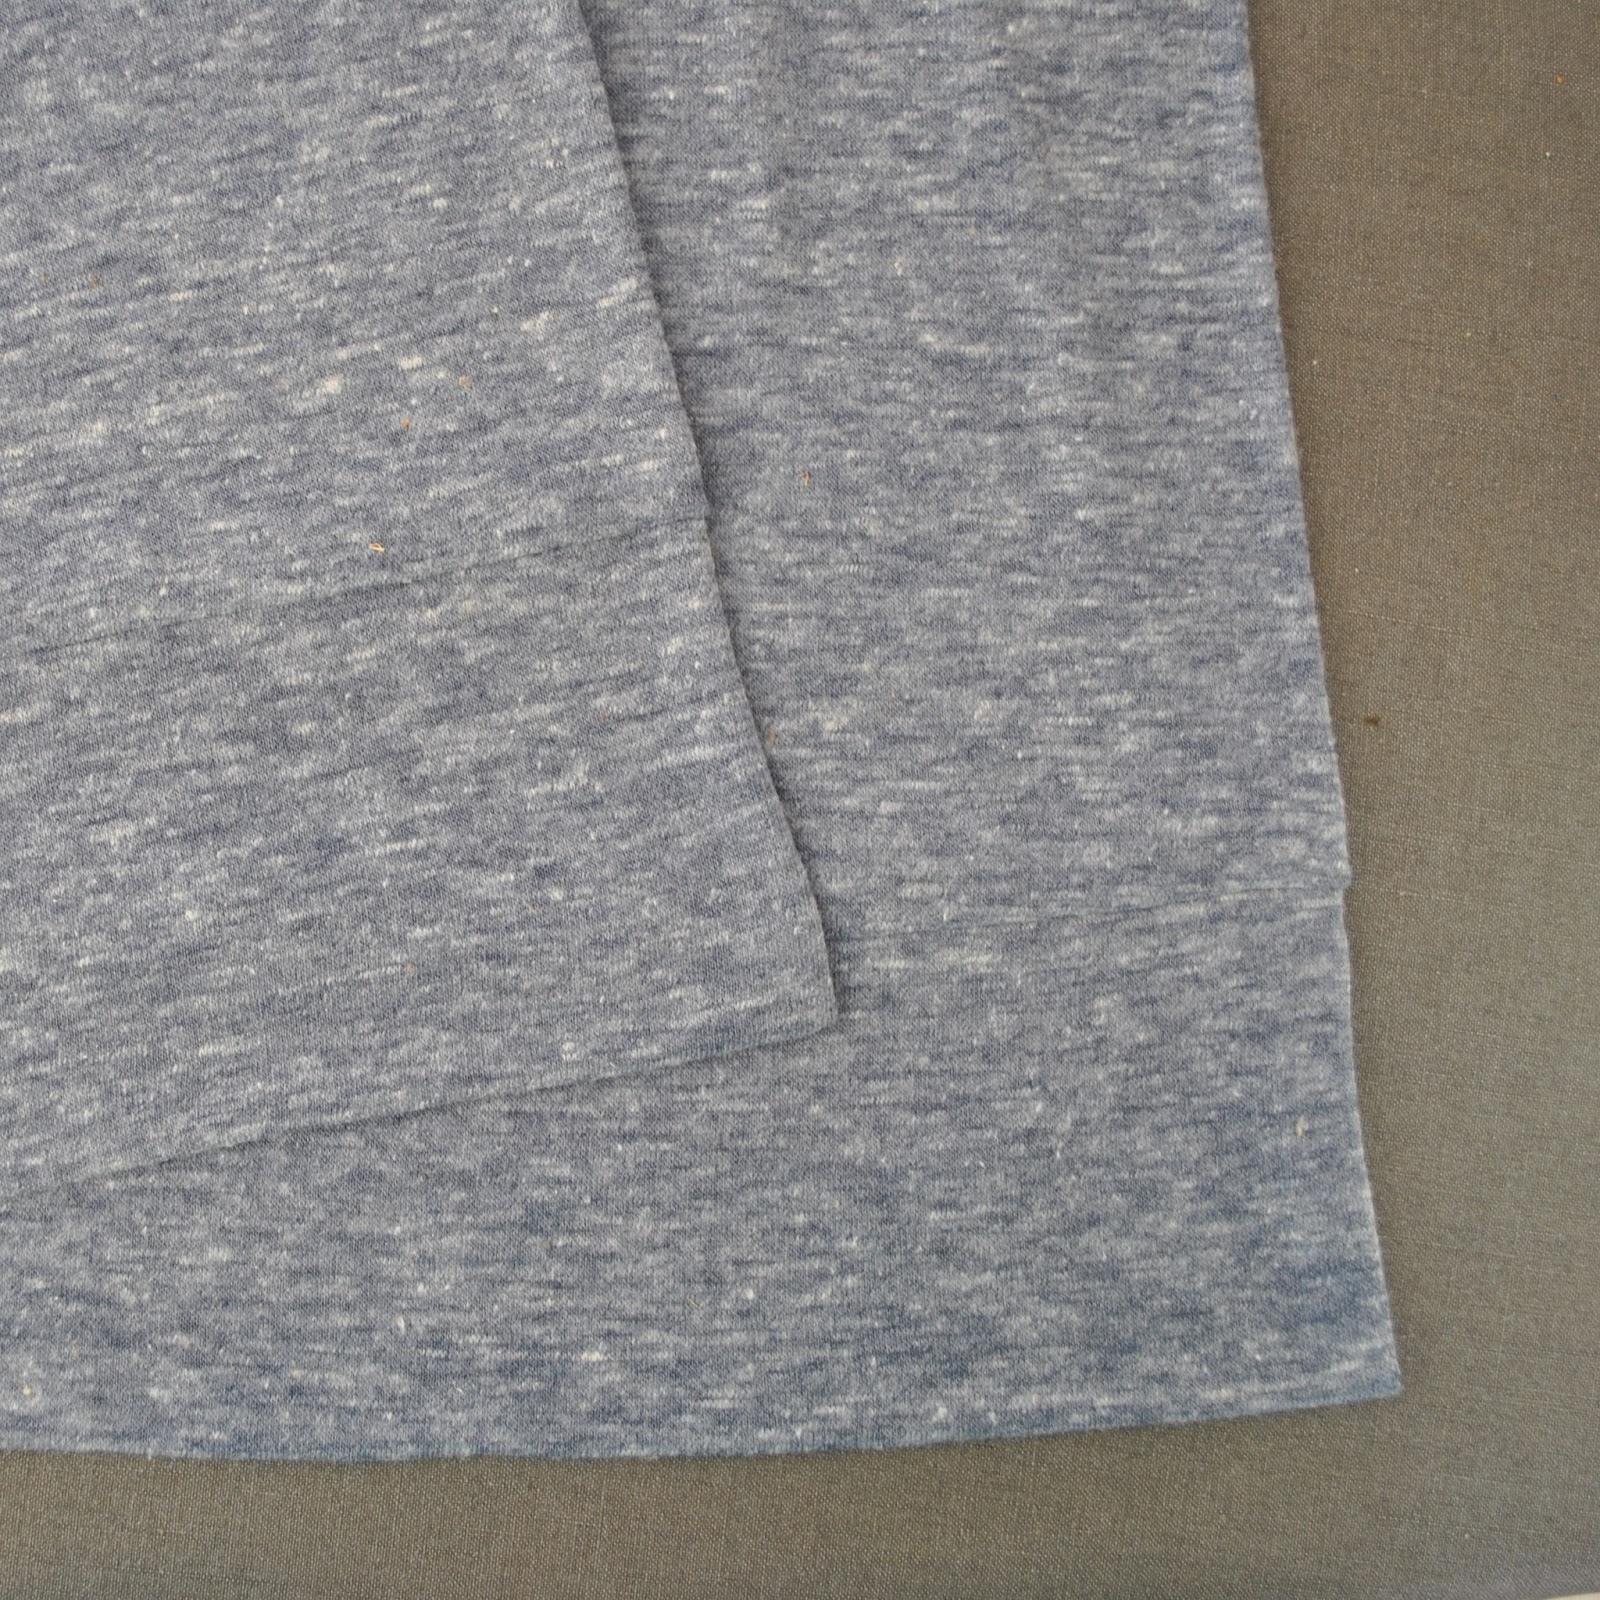
Unpin pocket pieces from each other, and lay shearling pocket piece away from the welt, pin it up well out of the way… likewise, pin the pocket lining piece in position to the coat (below L). Lay the welt piece, right sides together to the coat, underneath the pocket opening and pin; stitch together catching the pocket lining piece in underneath (below R) Note; it’s better to lay the welt closer to the pocket opening edge than pictured below right, as in with the welt raw edge hard up against the pocket opening… but I neglected to take a picture in the correct position, sorry!)


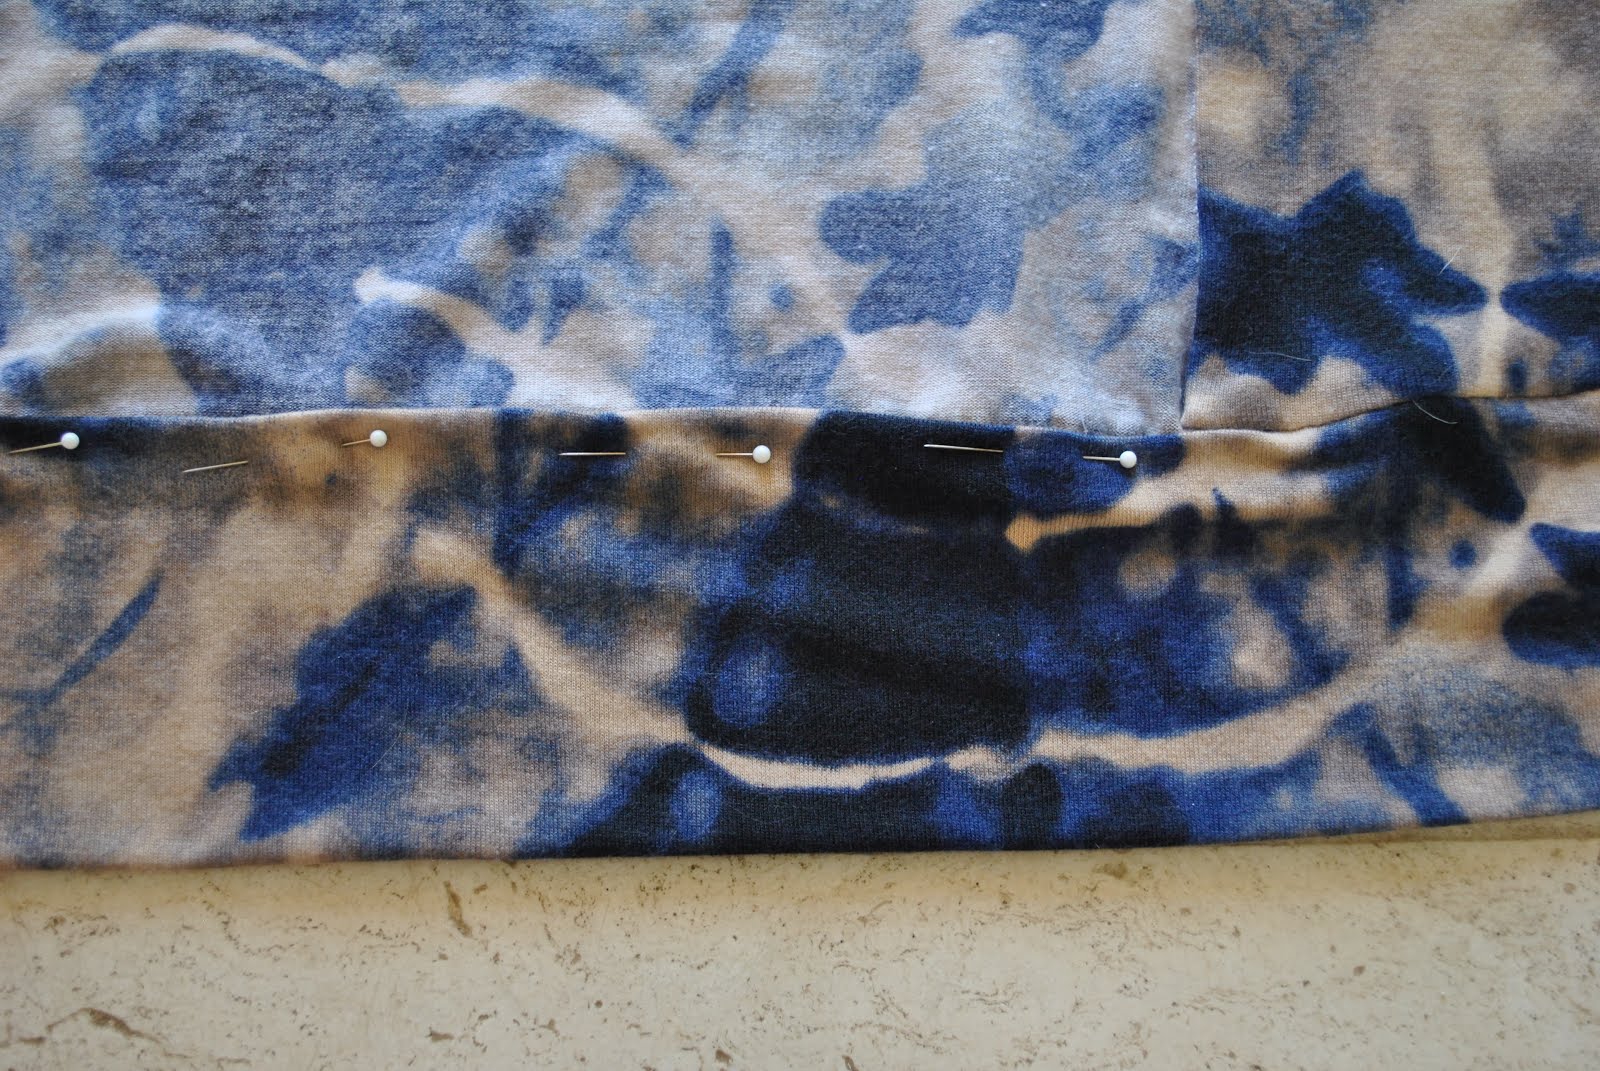
Turn up the welt, pin in position, and again keeping the shearling pocket piece free but the pocket lining piece pinned in position; topstitch 6mm outside the previous stitching (below L) Unpin the shearling pocket piece and lay it back against the pocket lining. Now is the time to determine the finished, desired size of the pocket… try the coat on, measure and trim pocket pieces as desired; finish the raw edge of the pocket lining with overlocking stitch, and stitch pocket and pocket lining pieces together, right sides together. (below R)


Pin the welt up into position. At this point, determine if it needs trimming or neatening up; I eyeballed mine and decided to trim 1cm off the long free edge; a purely aesthetic choice. Once you’re satisfied with its proportions, topstitch it in position along both short edges with two evenly spaced rows of topstitching.

And… pocket done! At this point, I actually decided the pocket itself was still a little too big, and trimmed and re-stitched the curved edges… no biggie, it’s pretty easy to do this, even at this late stage since it’s tucked away inside the coat. That’s a personal choice! Also, technically this is not a pure welt pocket but a sort of faux-welt pocket really… maybe you could call it a sort of patch cover over a welt-less pocket?! 😀
I hope this tutorial is useful to someone, please do leave me a comment to let me know if you have found it helpful. Like everyone, I do love comments!


 Over the years since I first drew the pattern out I’ve had to slightly alter it and custom fit to each of my boys each time I’ve made it. They keep doing annoying things like working out and growing taller with longer arms and gaining a bit here, losing a bit there as time goes on. So it’s always a bit more of an exercise than just whipping out a pattern and zooming it up with the greatest of ease…. NOT!
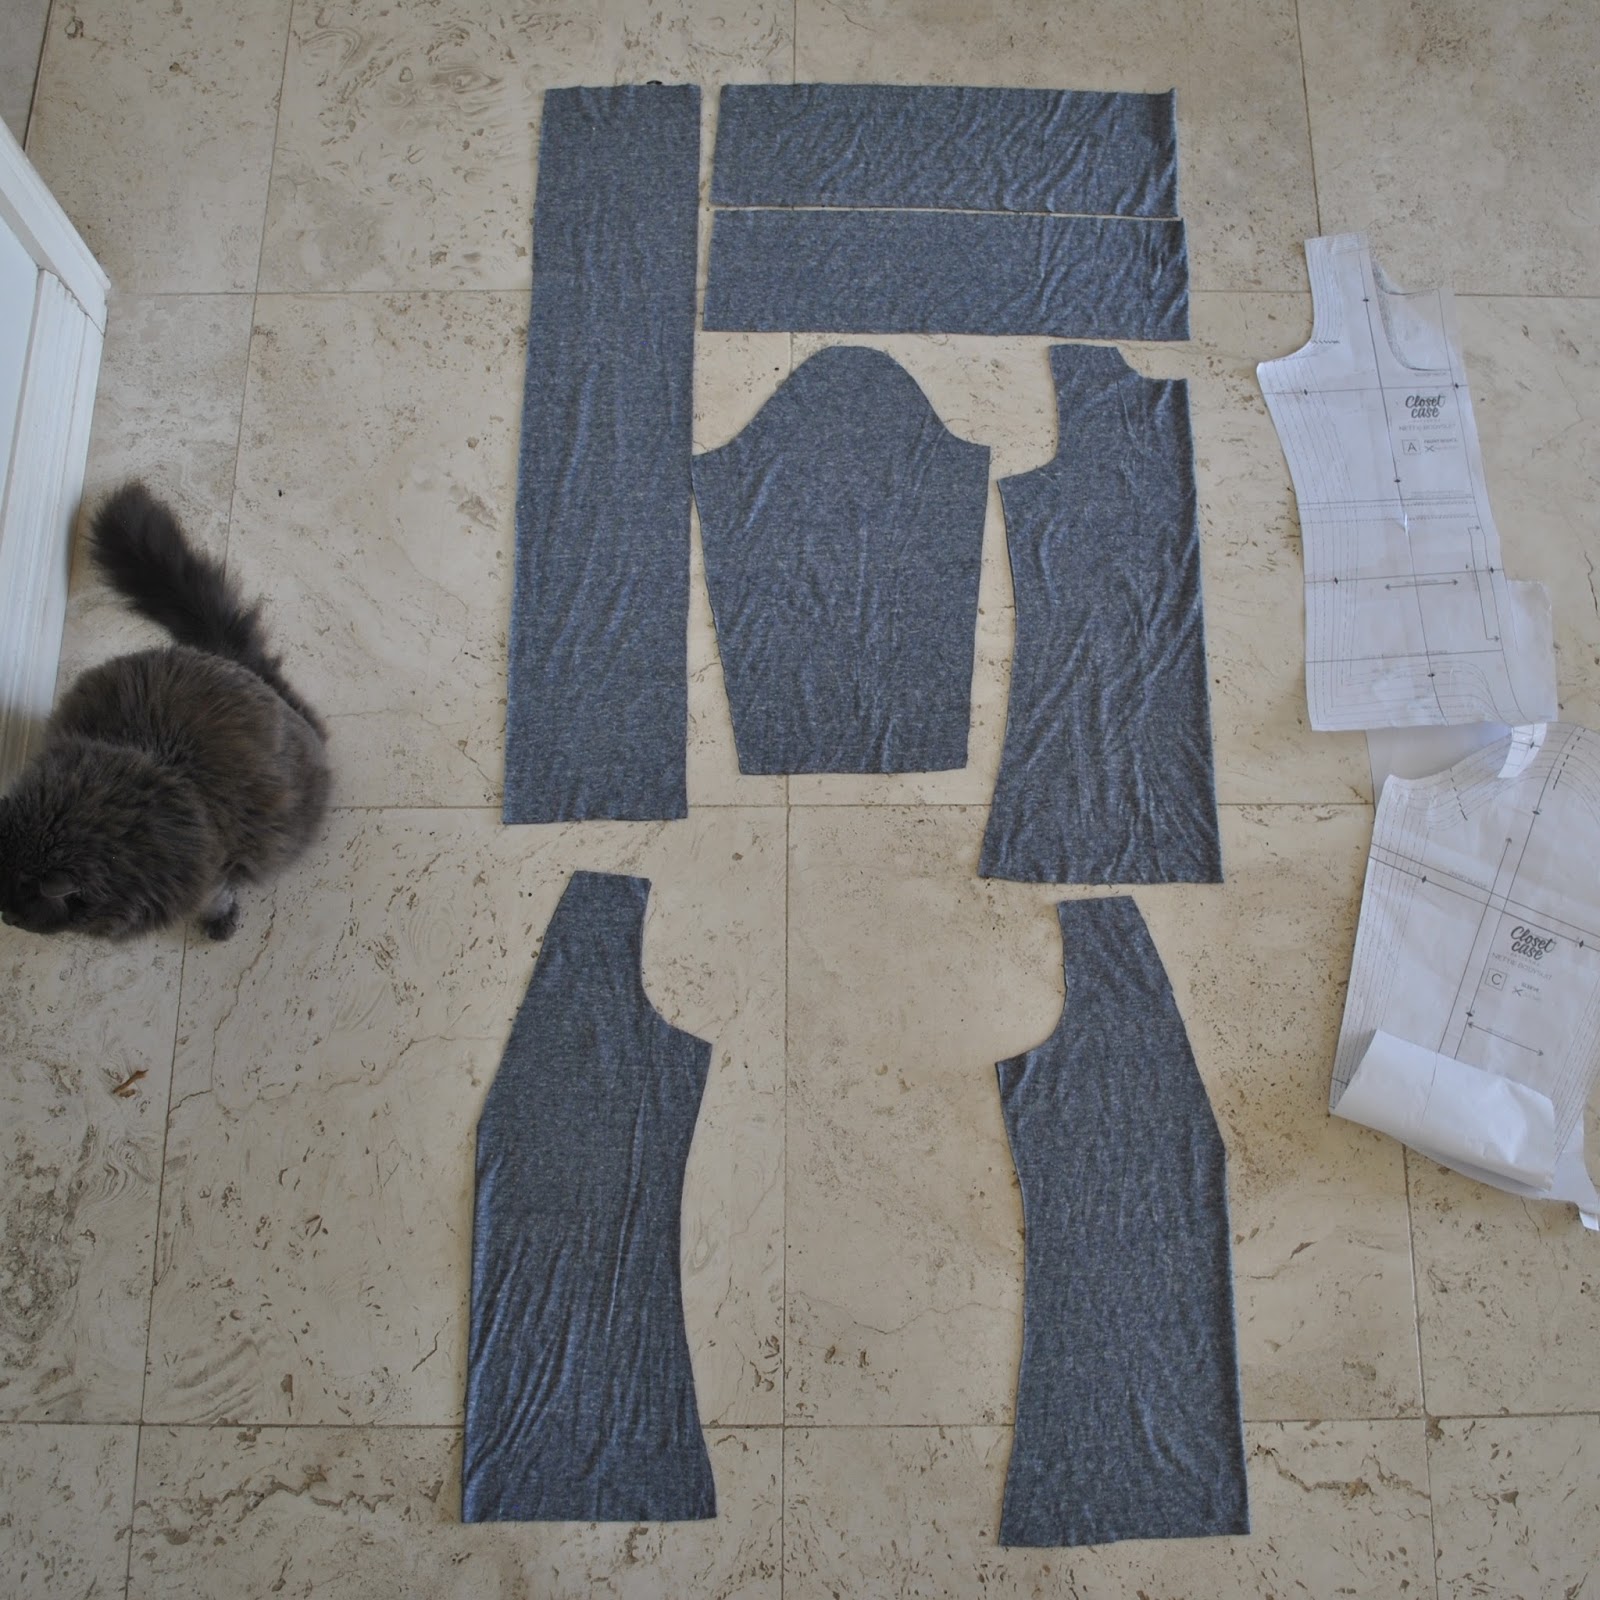
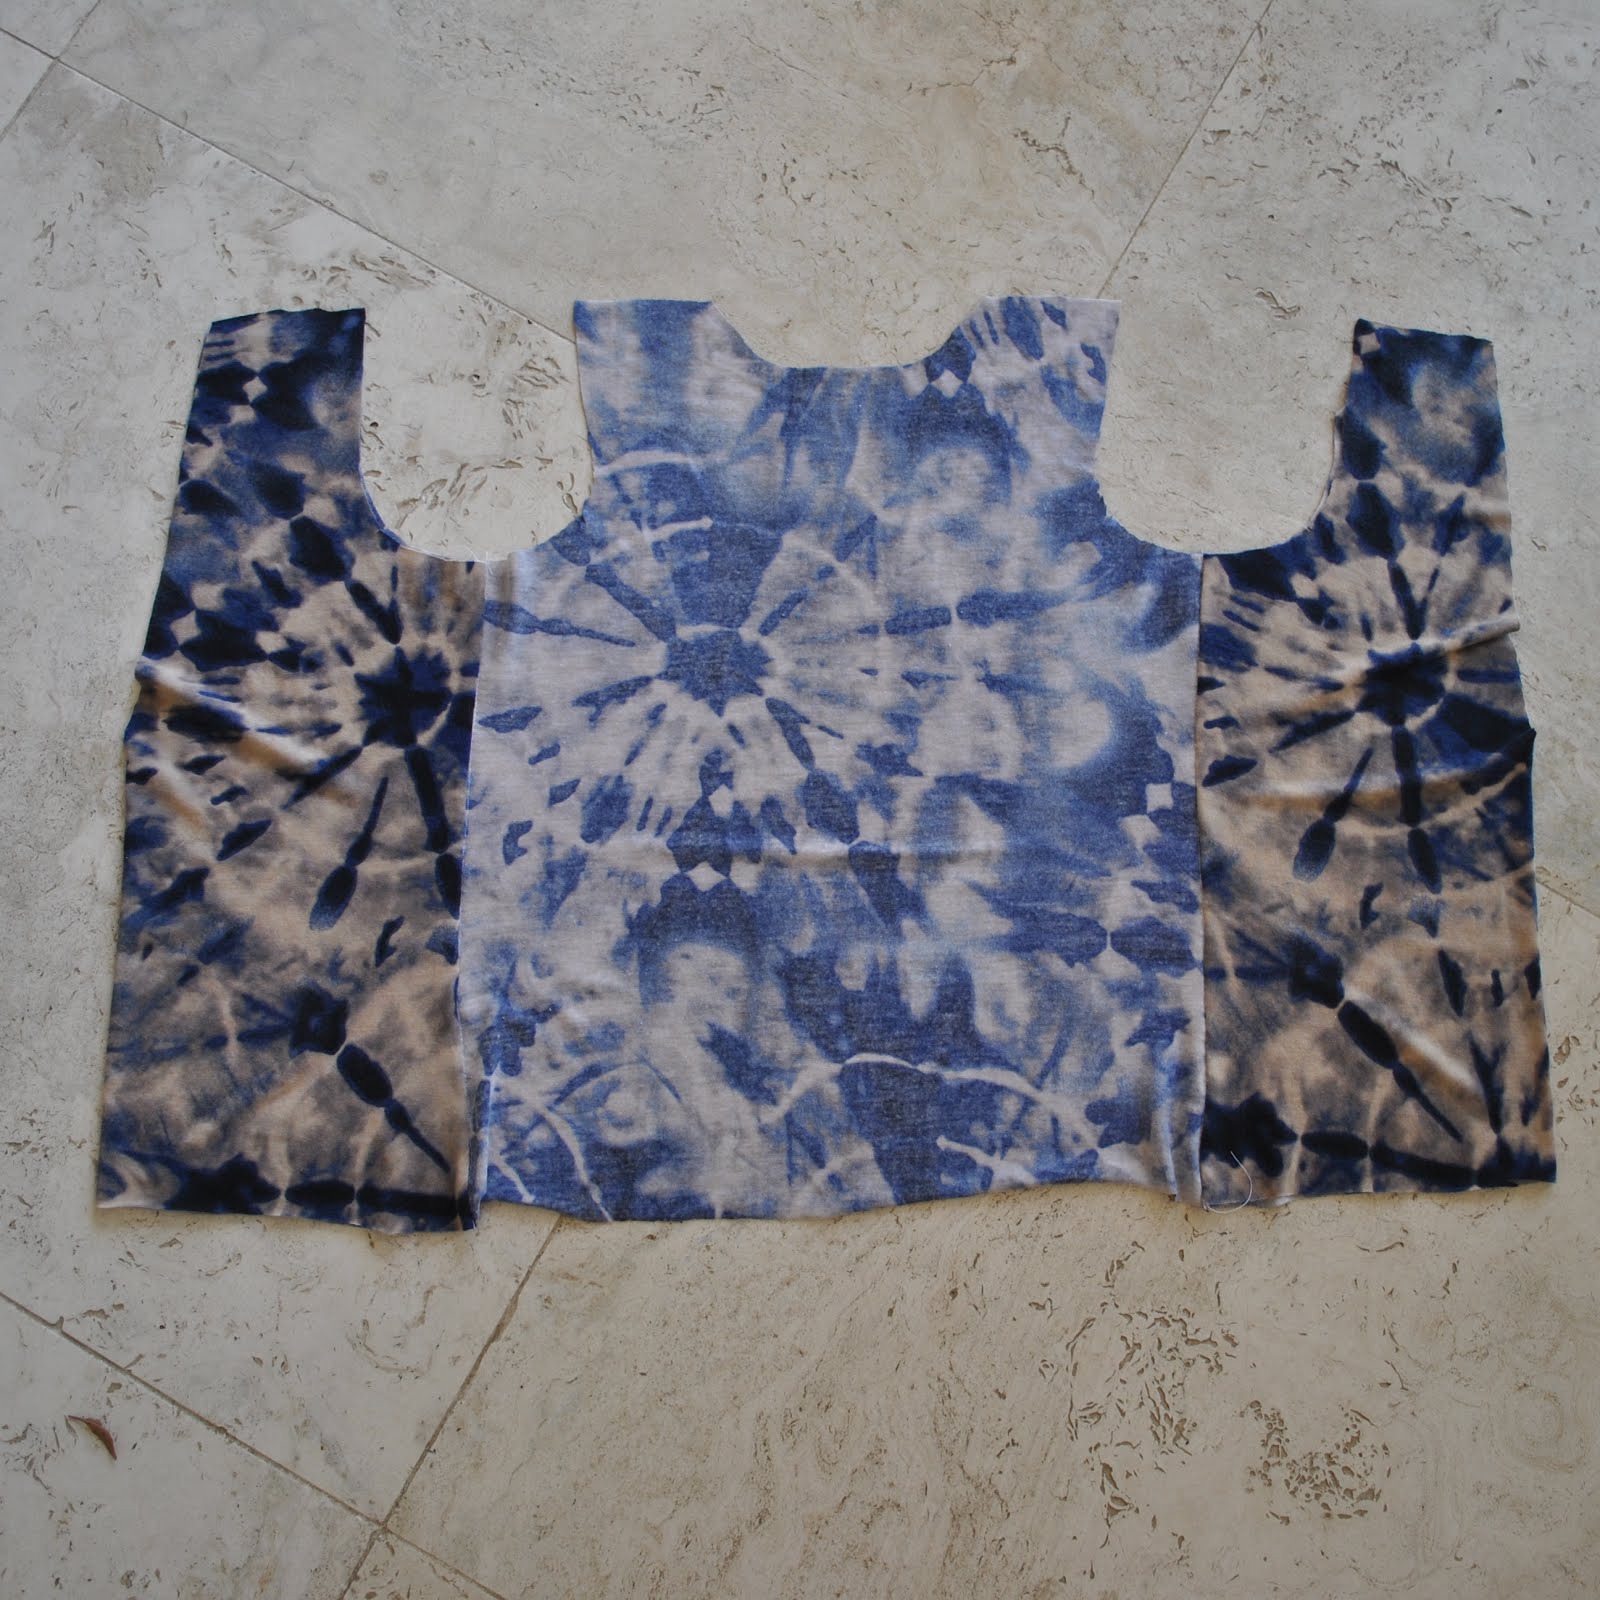
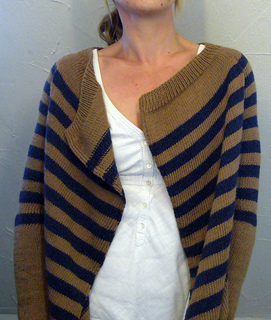
 The air force blue looked pretty cool and right up his alley and it’s a very nice weight, I loved it upon first sight. However, after washing it and hanging it out to dry, then laying it out for cutting, I discovered to my amazement that the “stripe” actually was more of a gentle, slight “wave” of stripes across the fabric looking like this ” ~ “, NOT a straight horizontal stripe. AAAAUGH!! and being “slight” of course, means it really comes across like a bit of a boo-boo, rather than look like an intentional wave, which I could work into the design somehow. Nope, this just looked OFF.
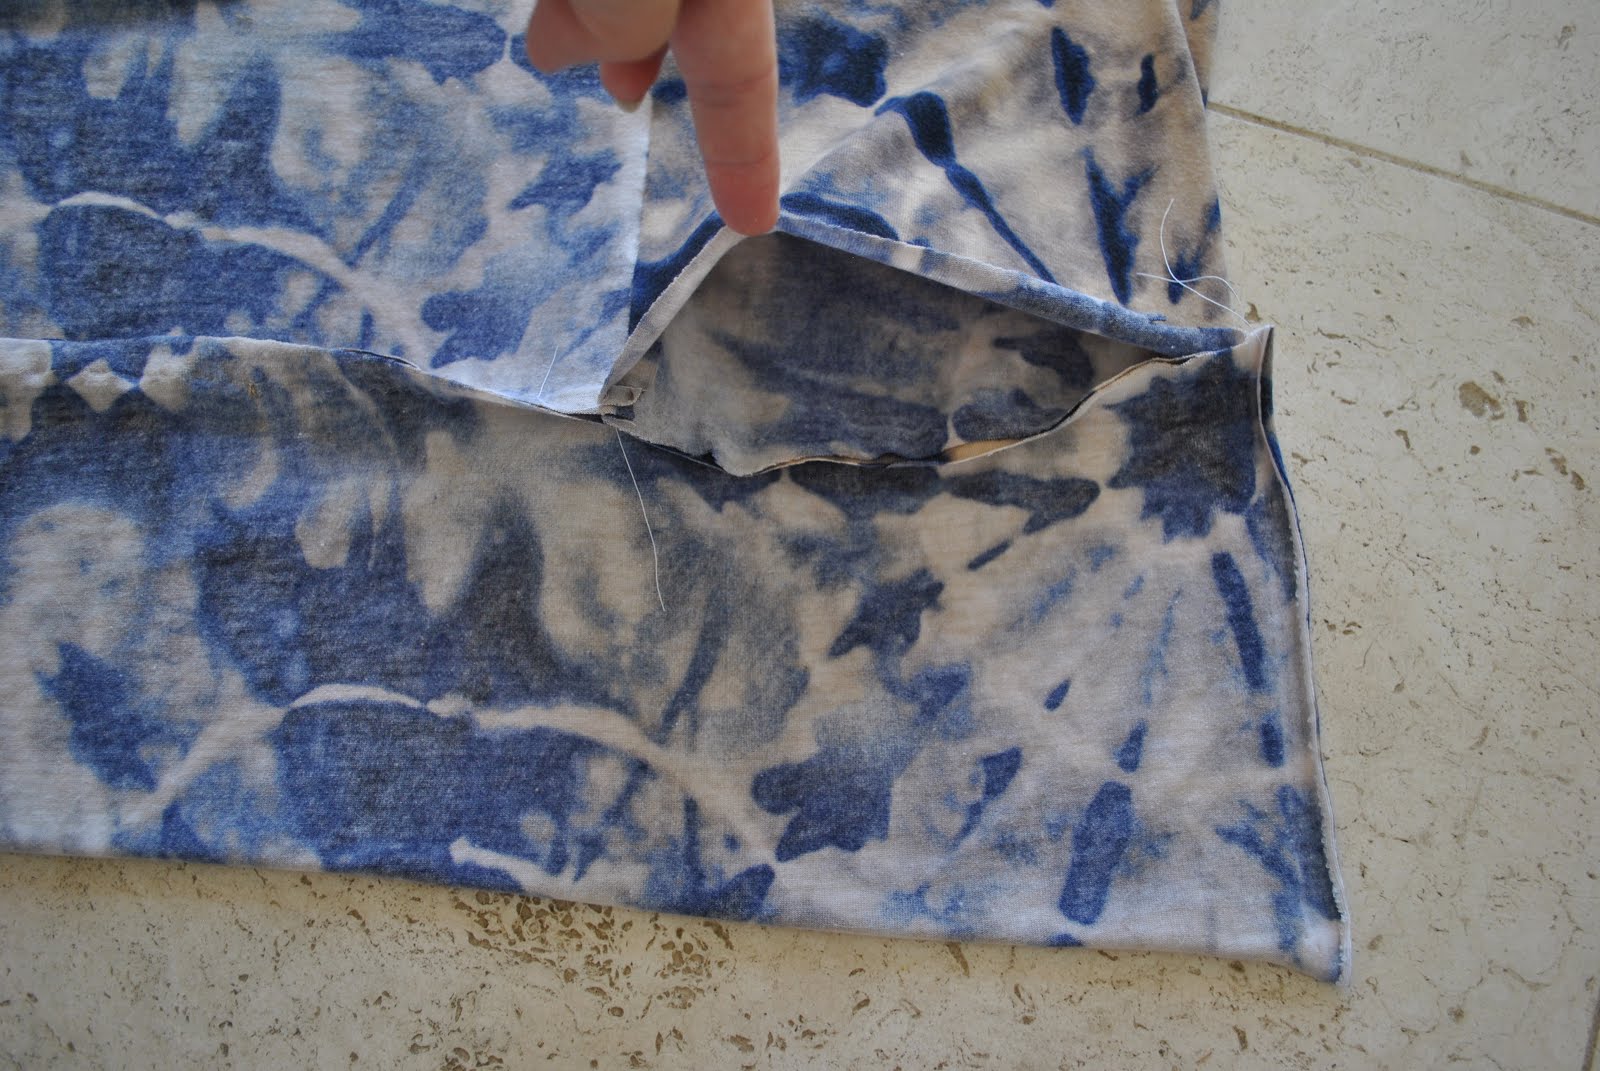
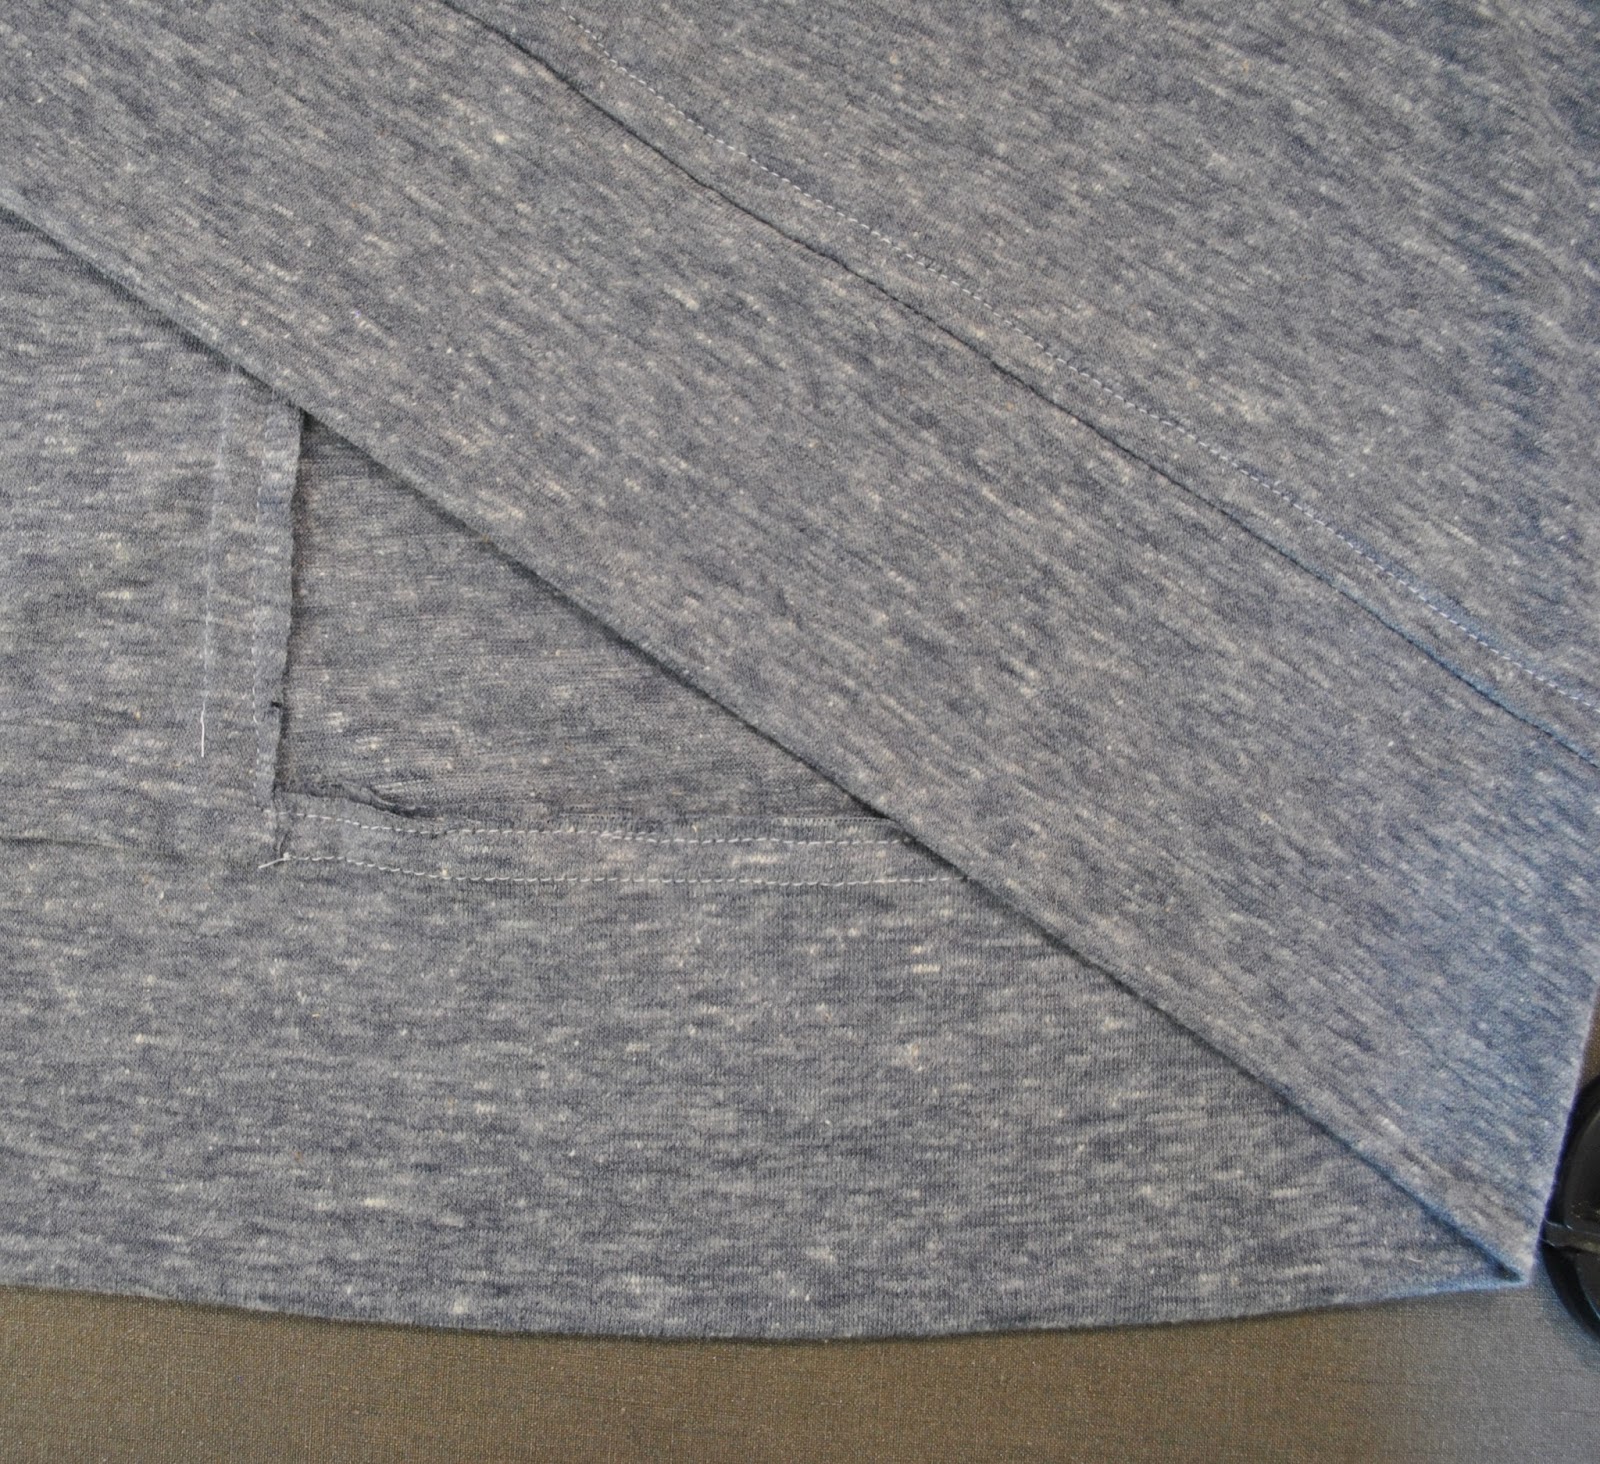
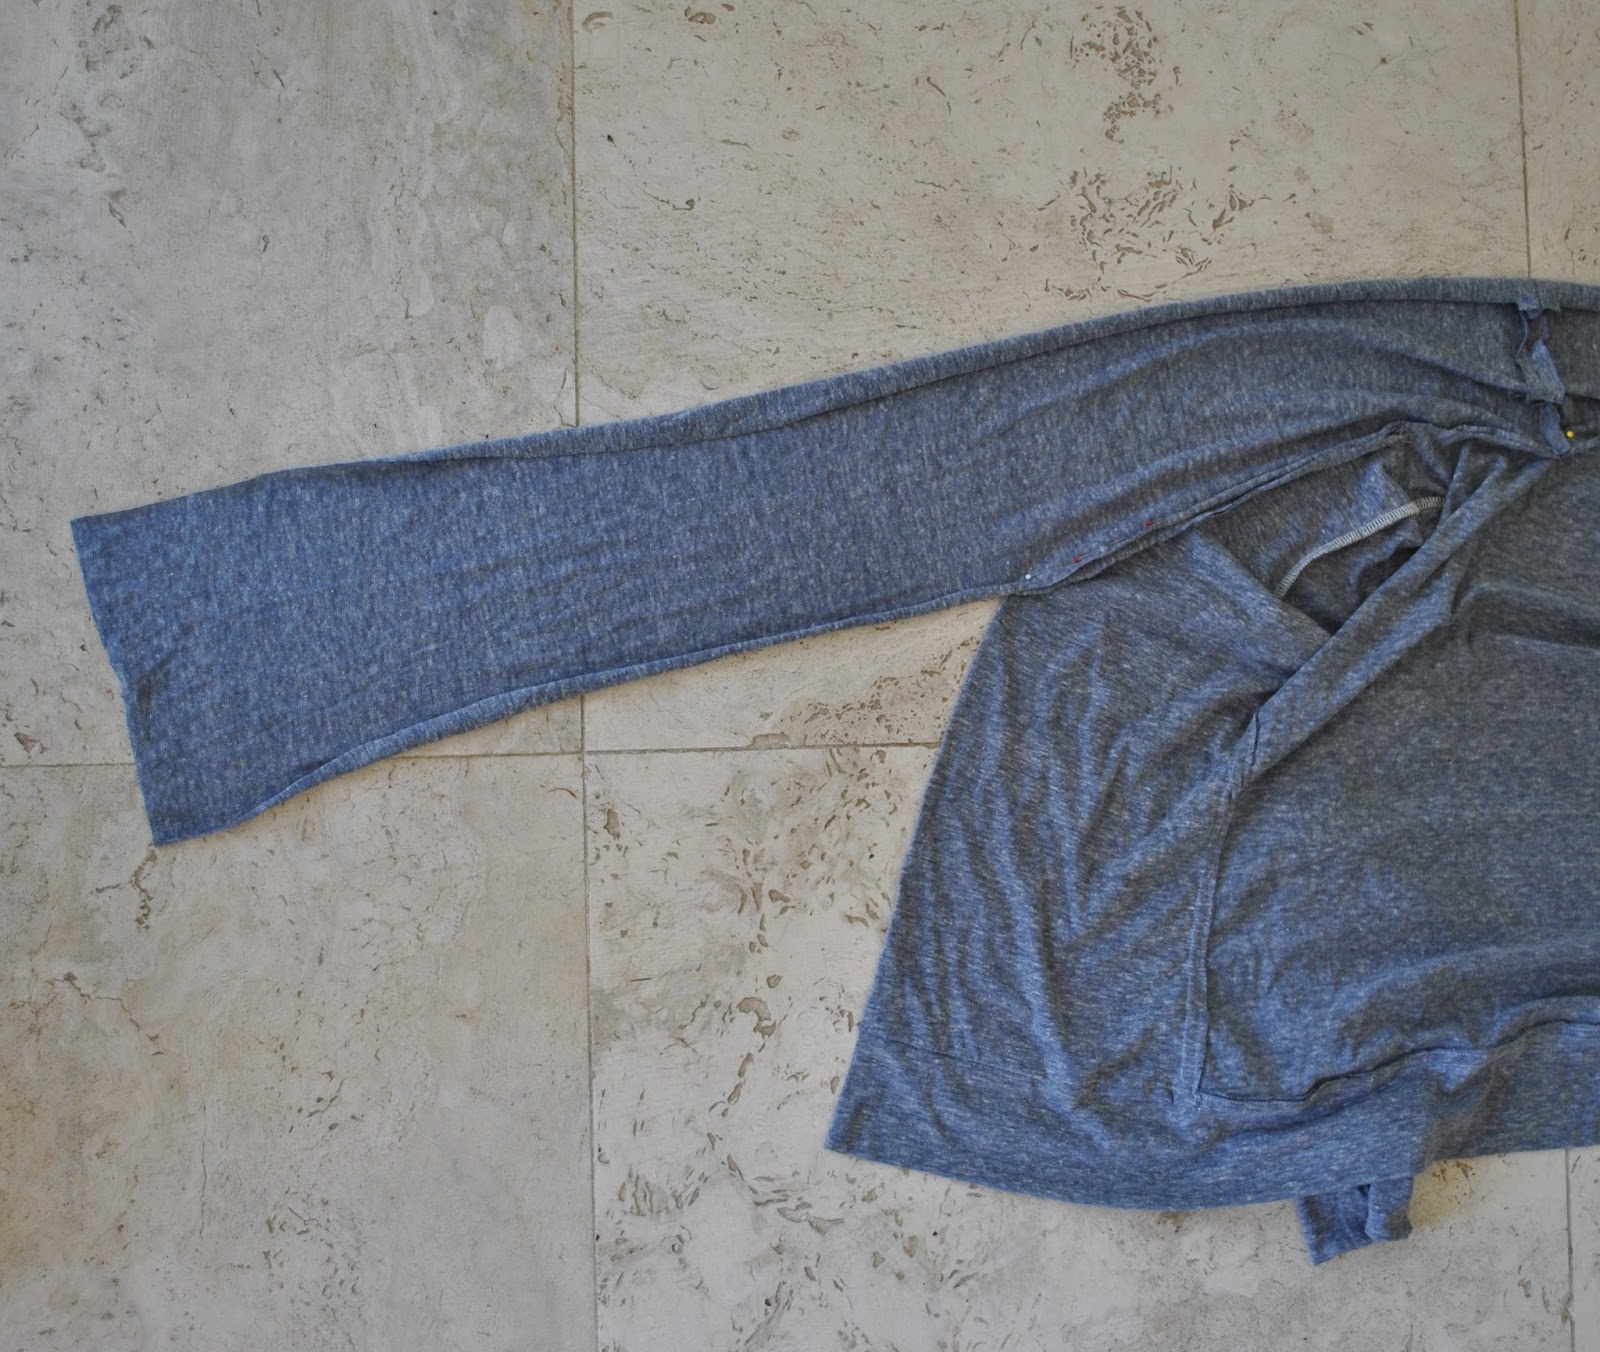
 Oh, the hoodie strings… in each case I made a self-fabric drawstring for the hoodies, bar Tim’s, as explained. To make a drawstring in the jersey, I cut a 1-2cm strip of fabric across the grain. Most jerseys have a natural tendency to roll or curl up across the grain, and you can use this to full advantage while making your drawstring.
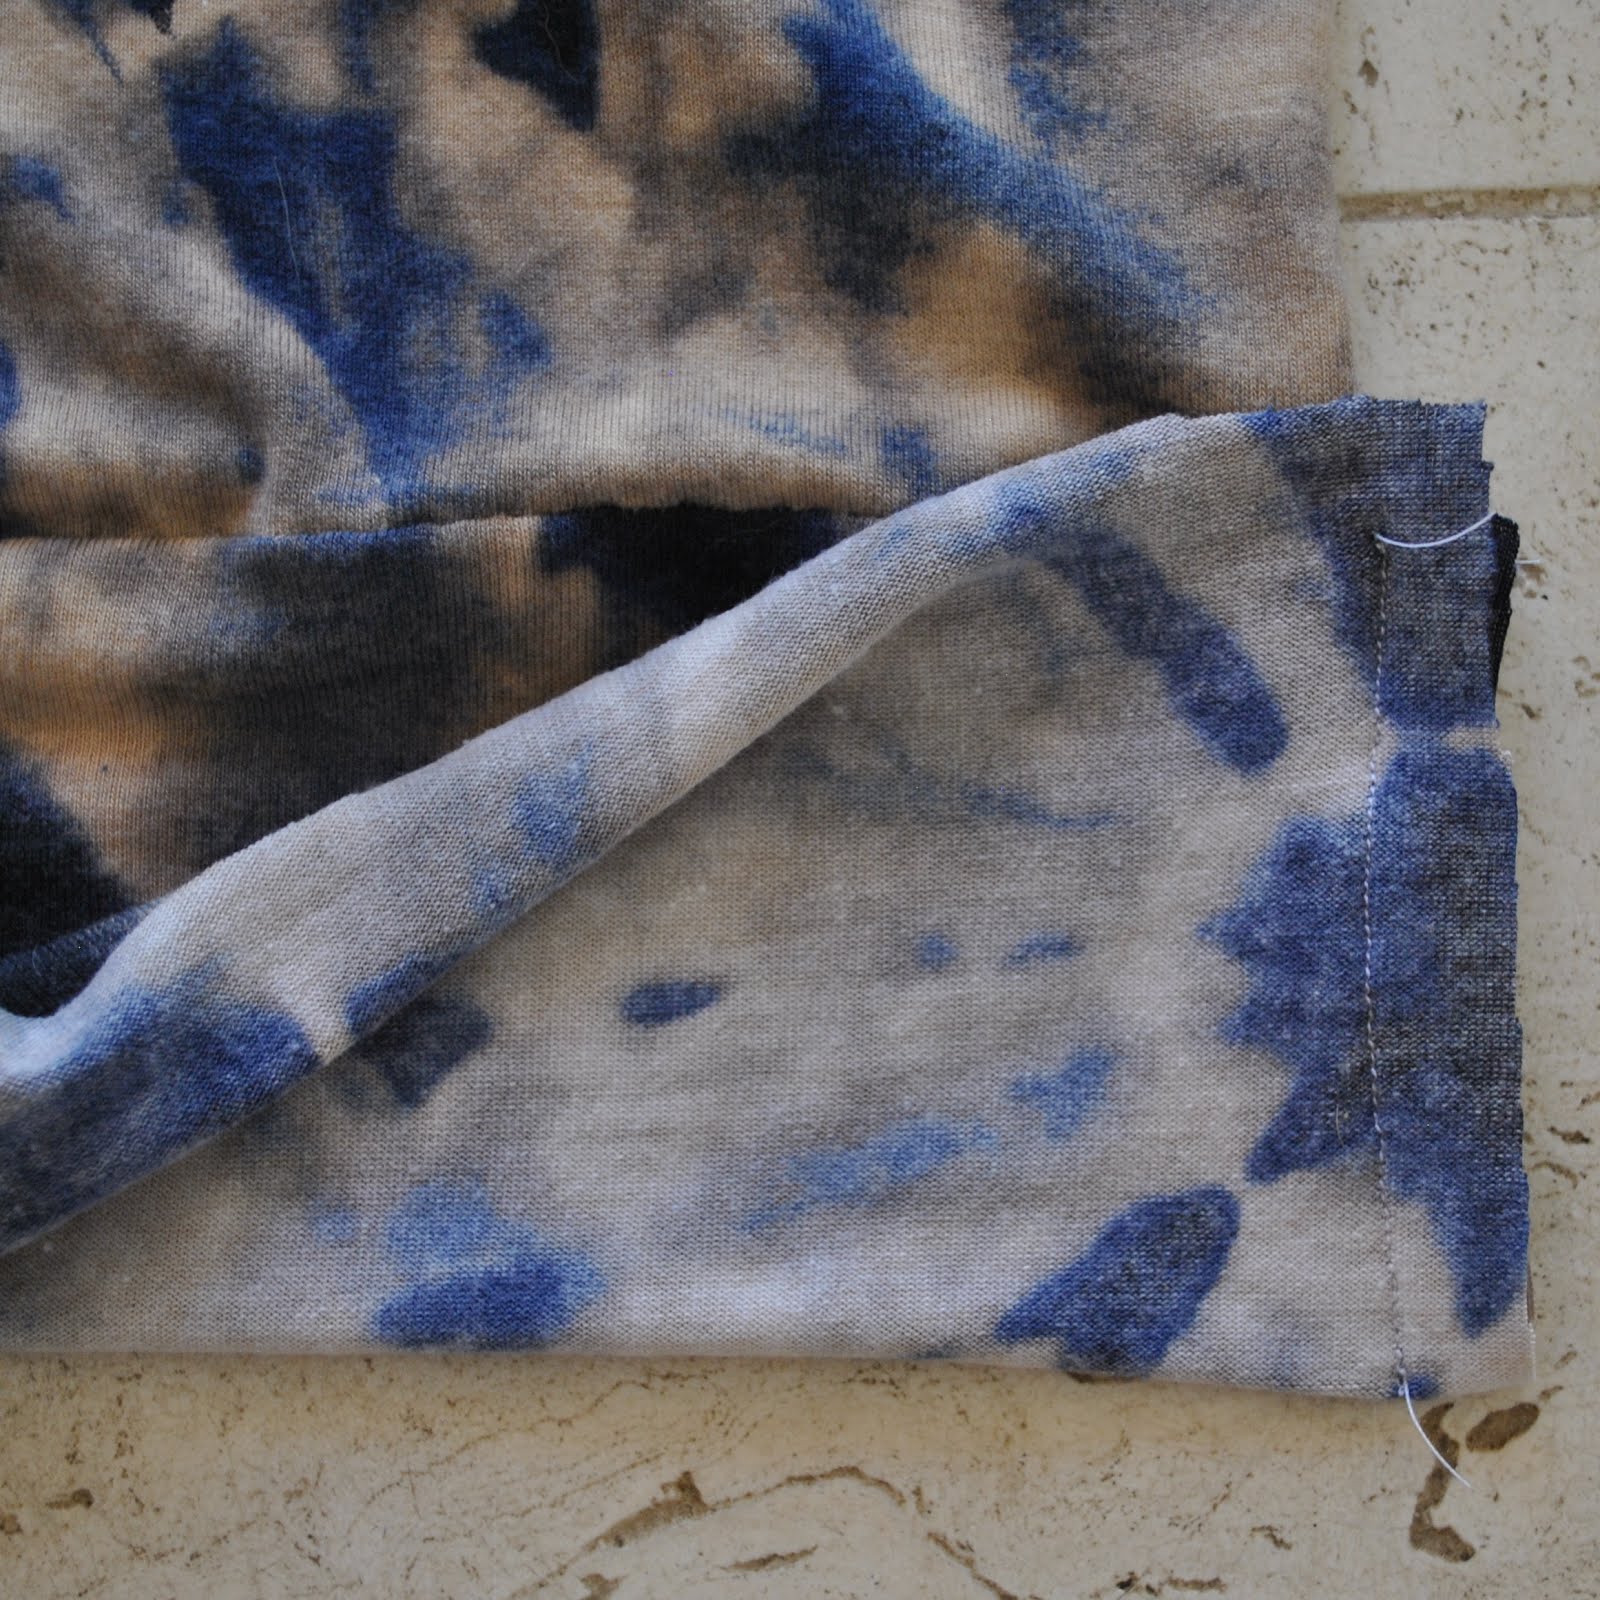
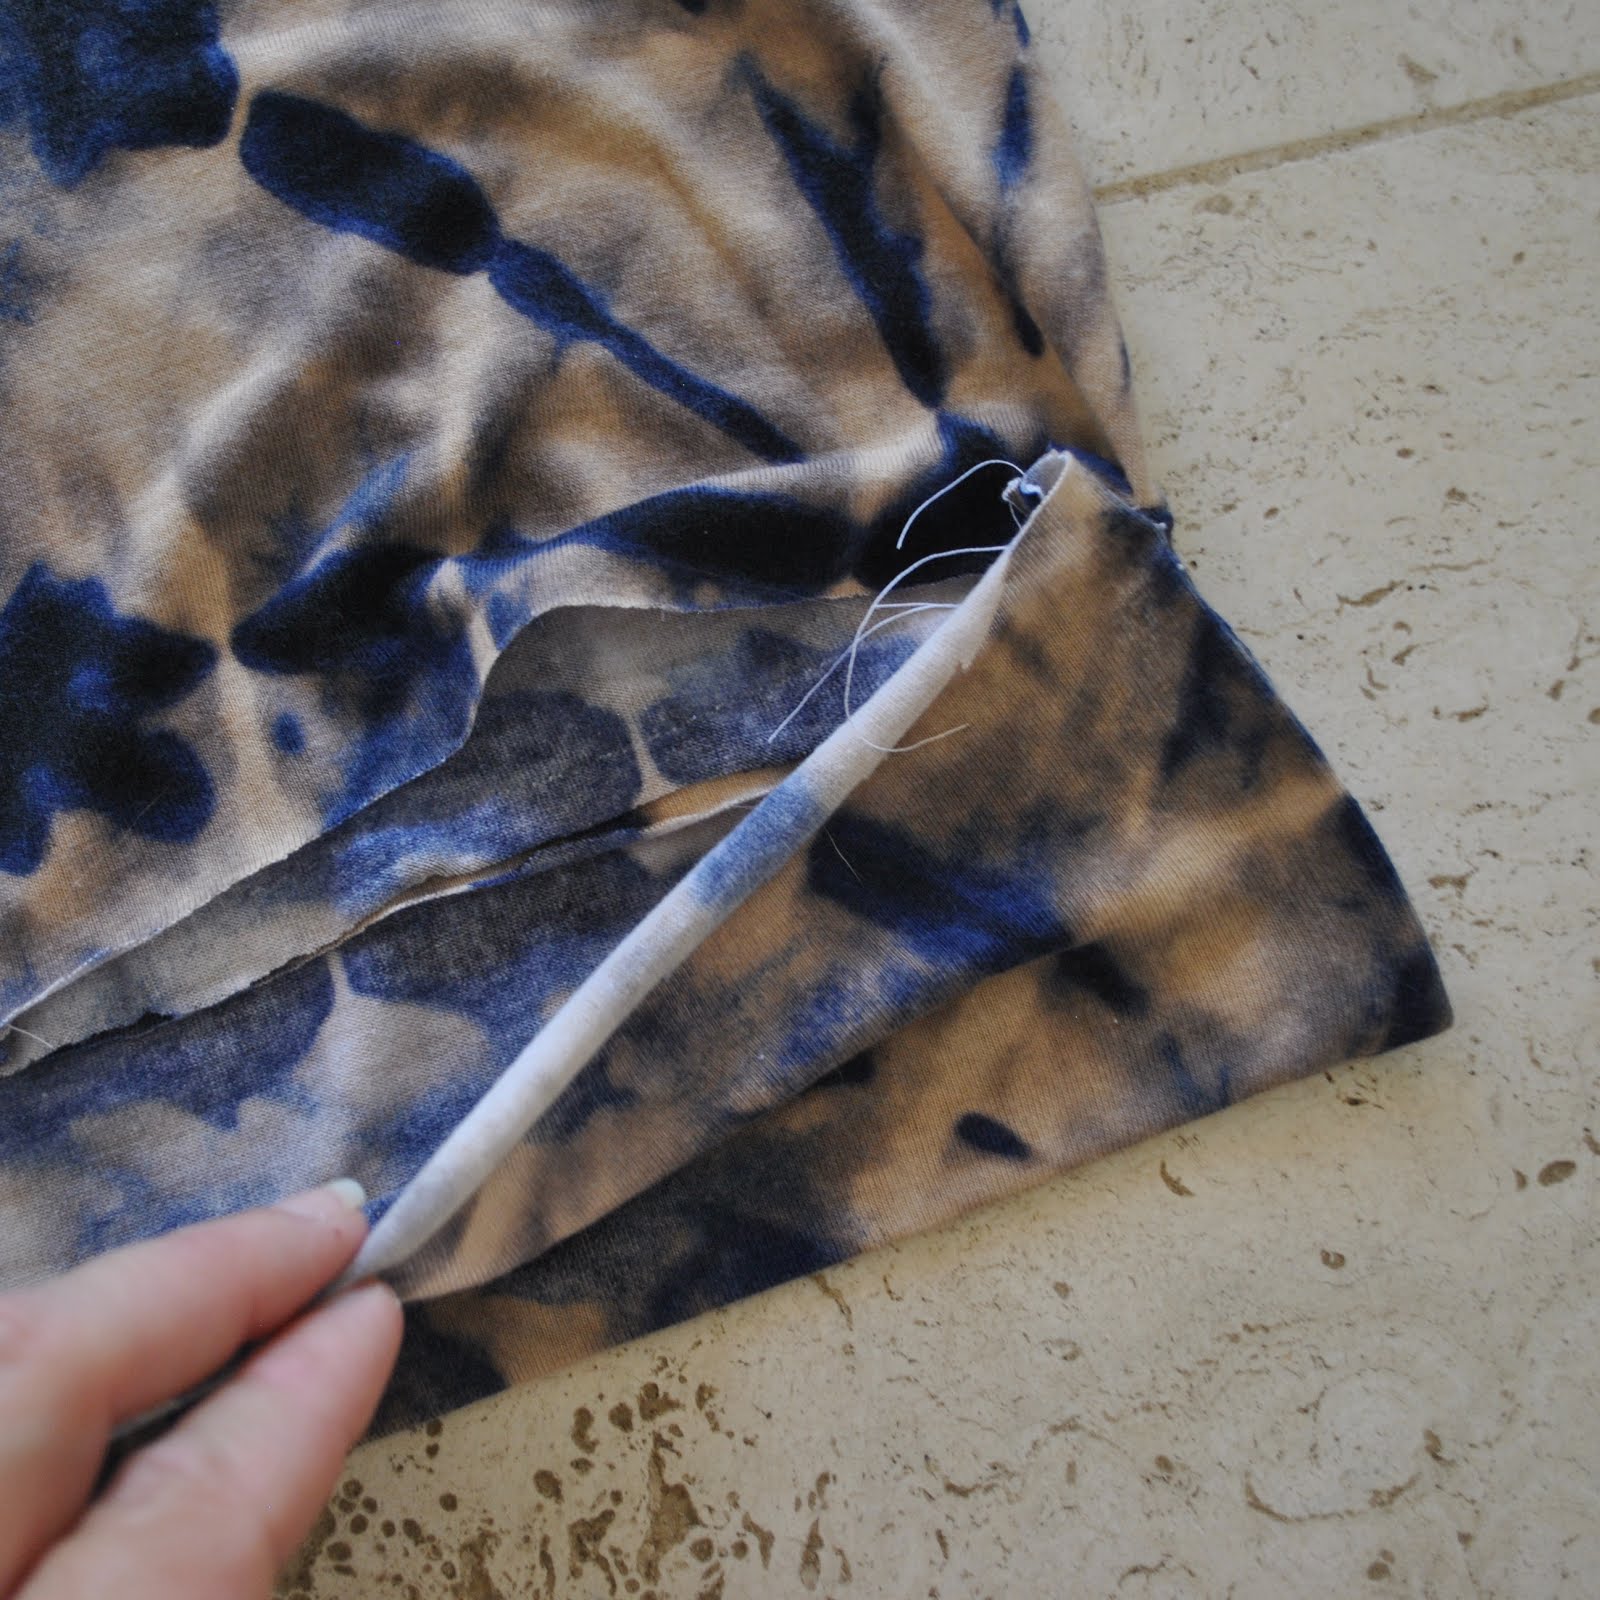
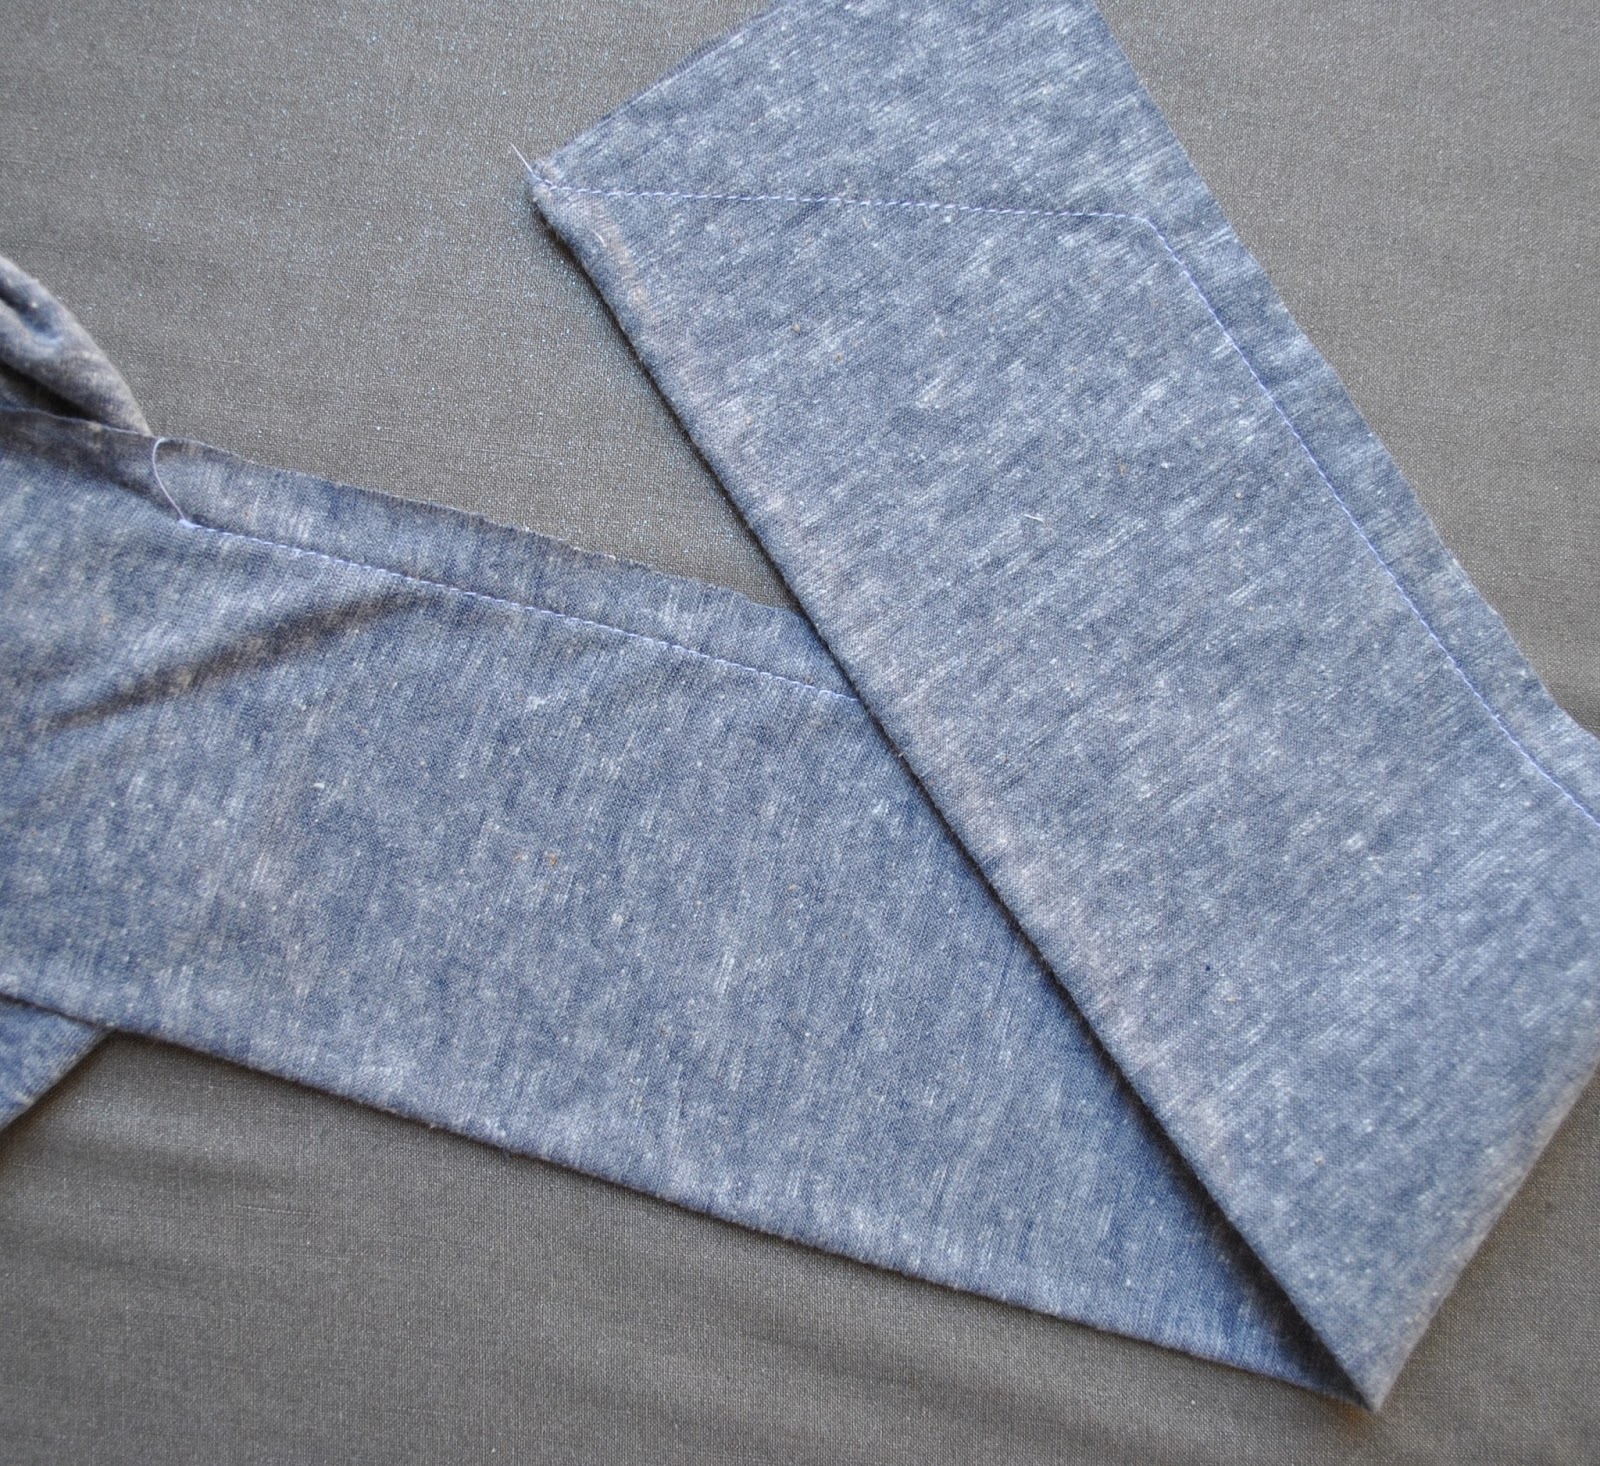
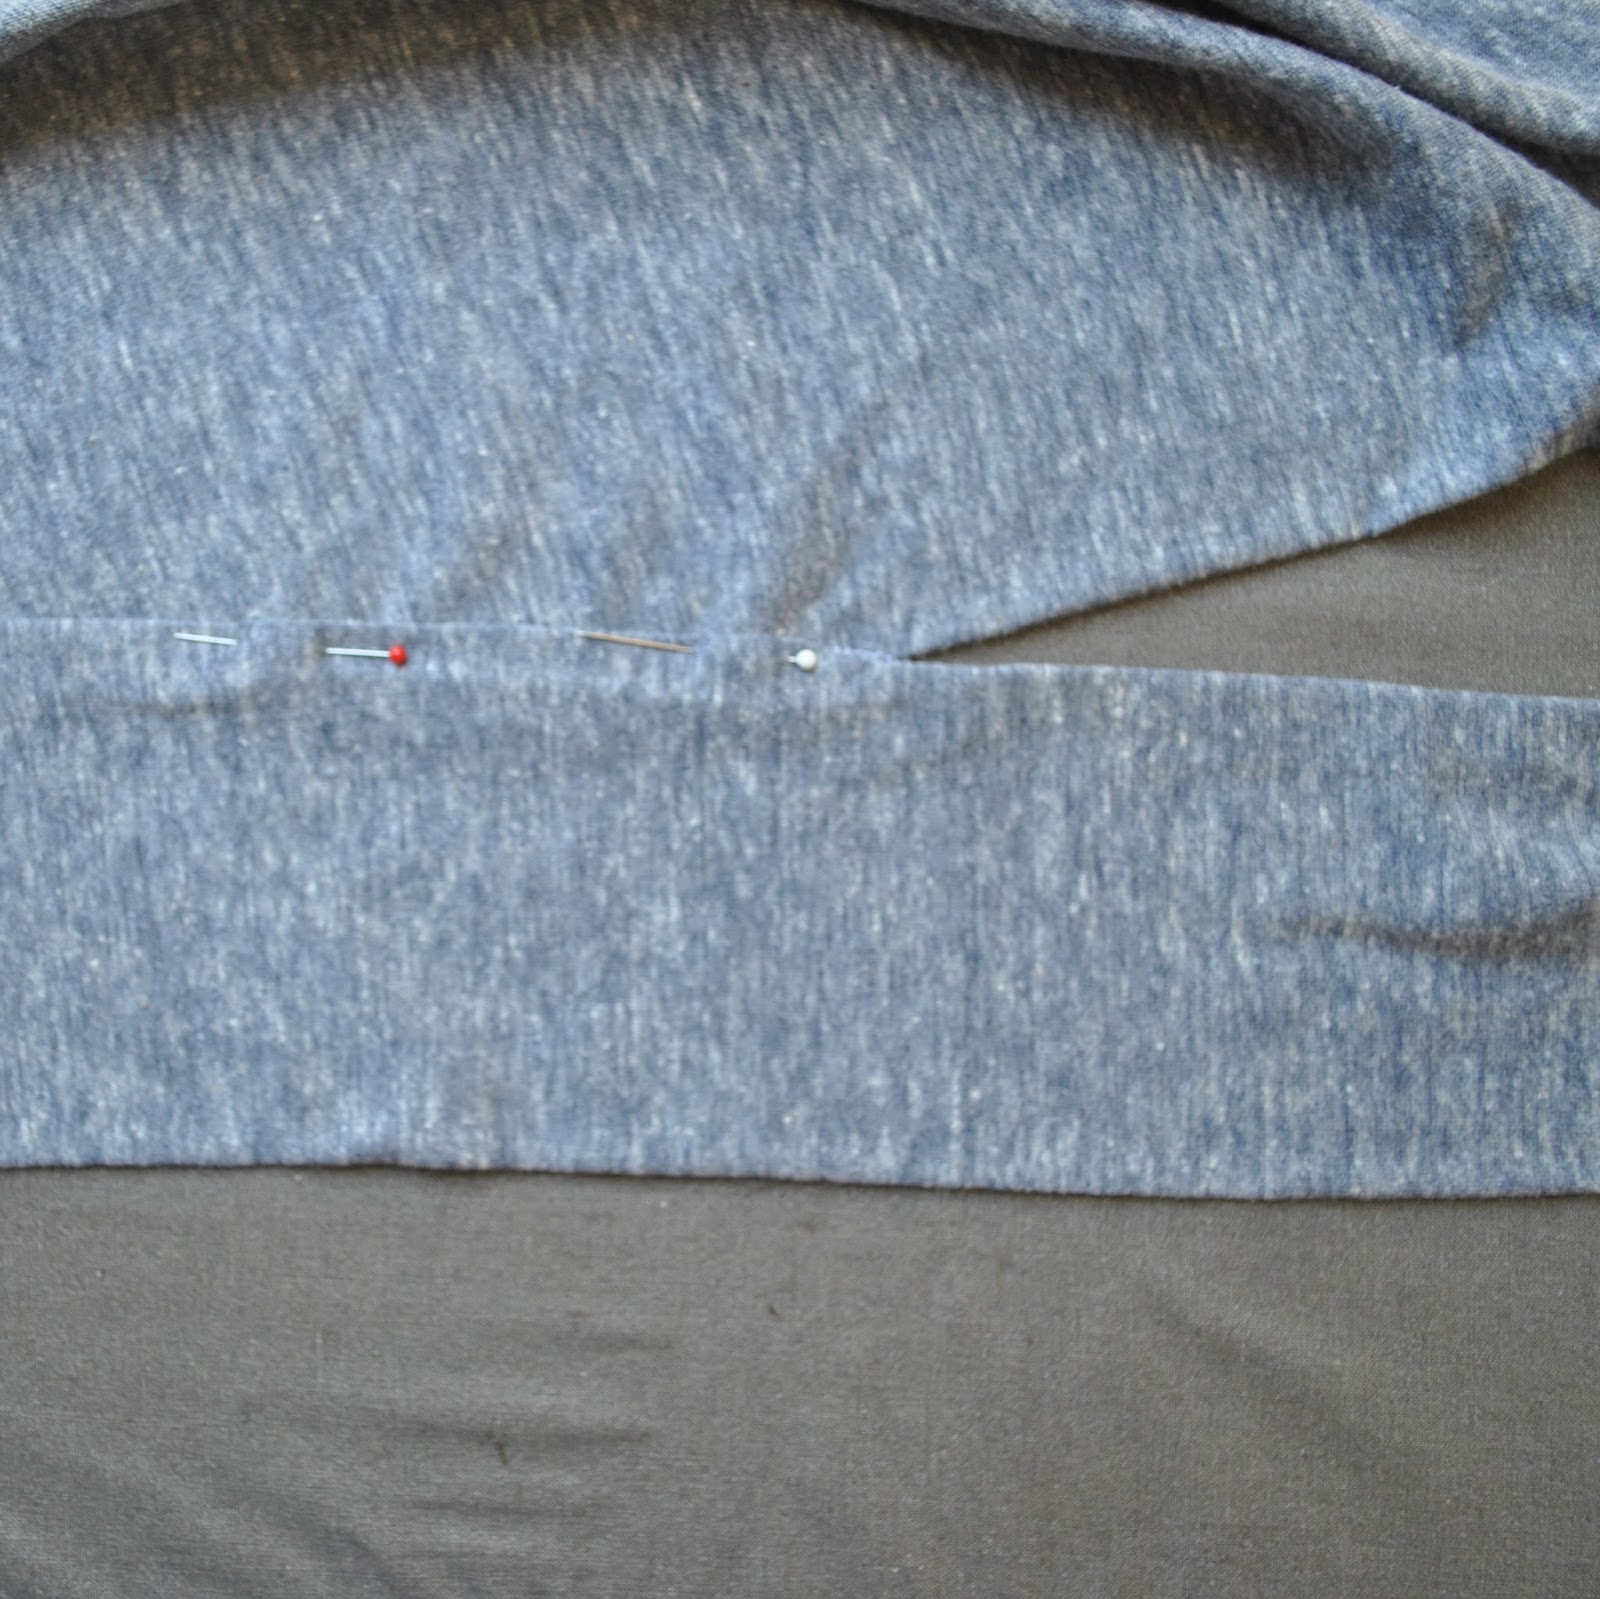


 Well, hello thair! I’m Mr ‘Ed, but you can just call me Mr ‘Ed. Soooo frightfully pleased to meet you. My, but you have ze most beautiful eyes… shining with ze brightness of a thousand stars. May I buy you a drink?


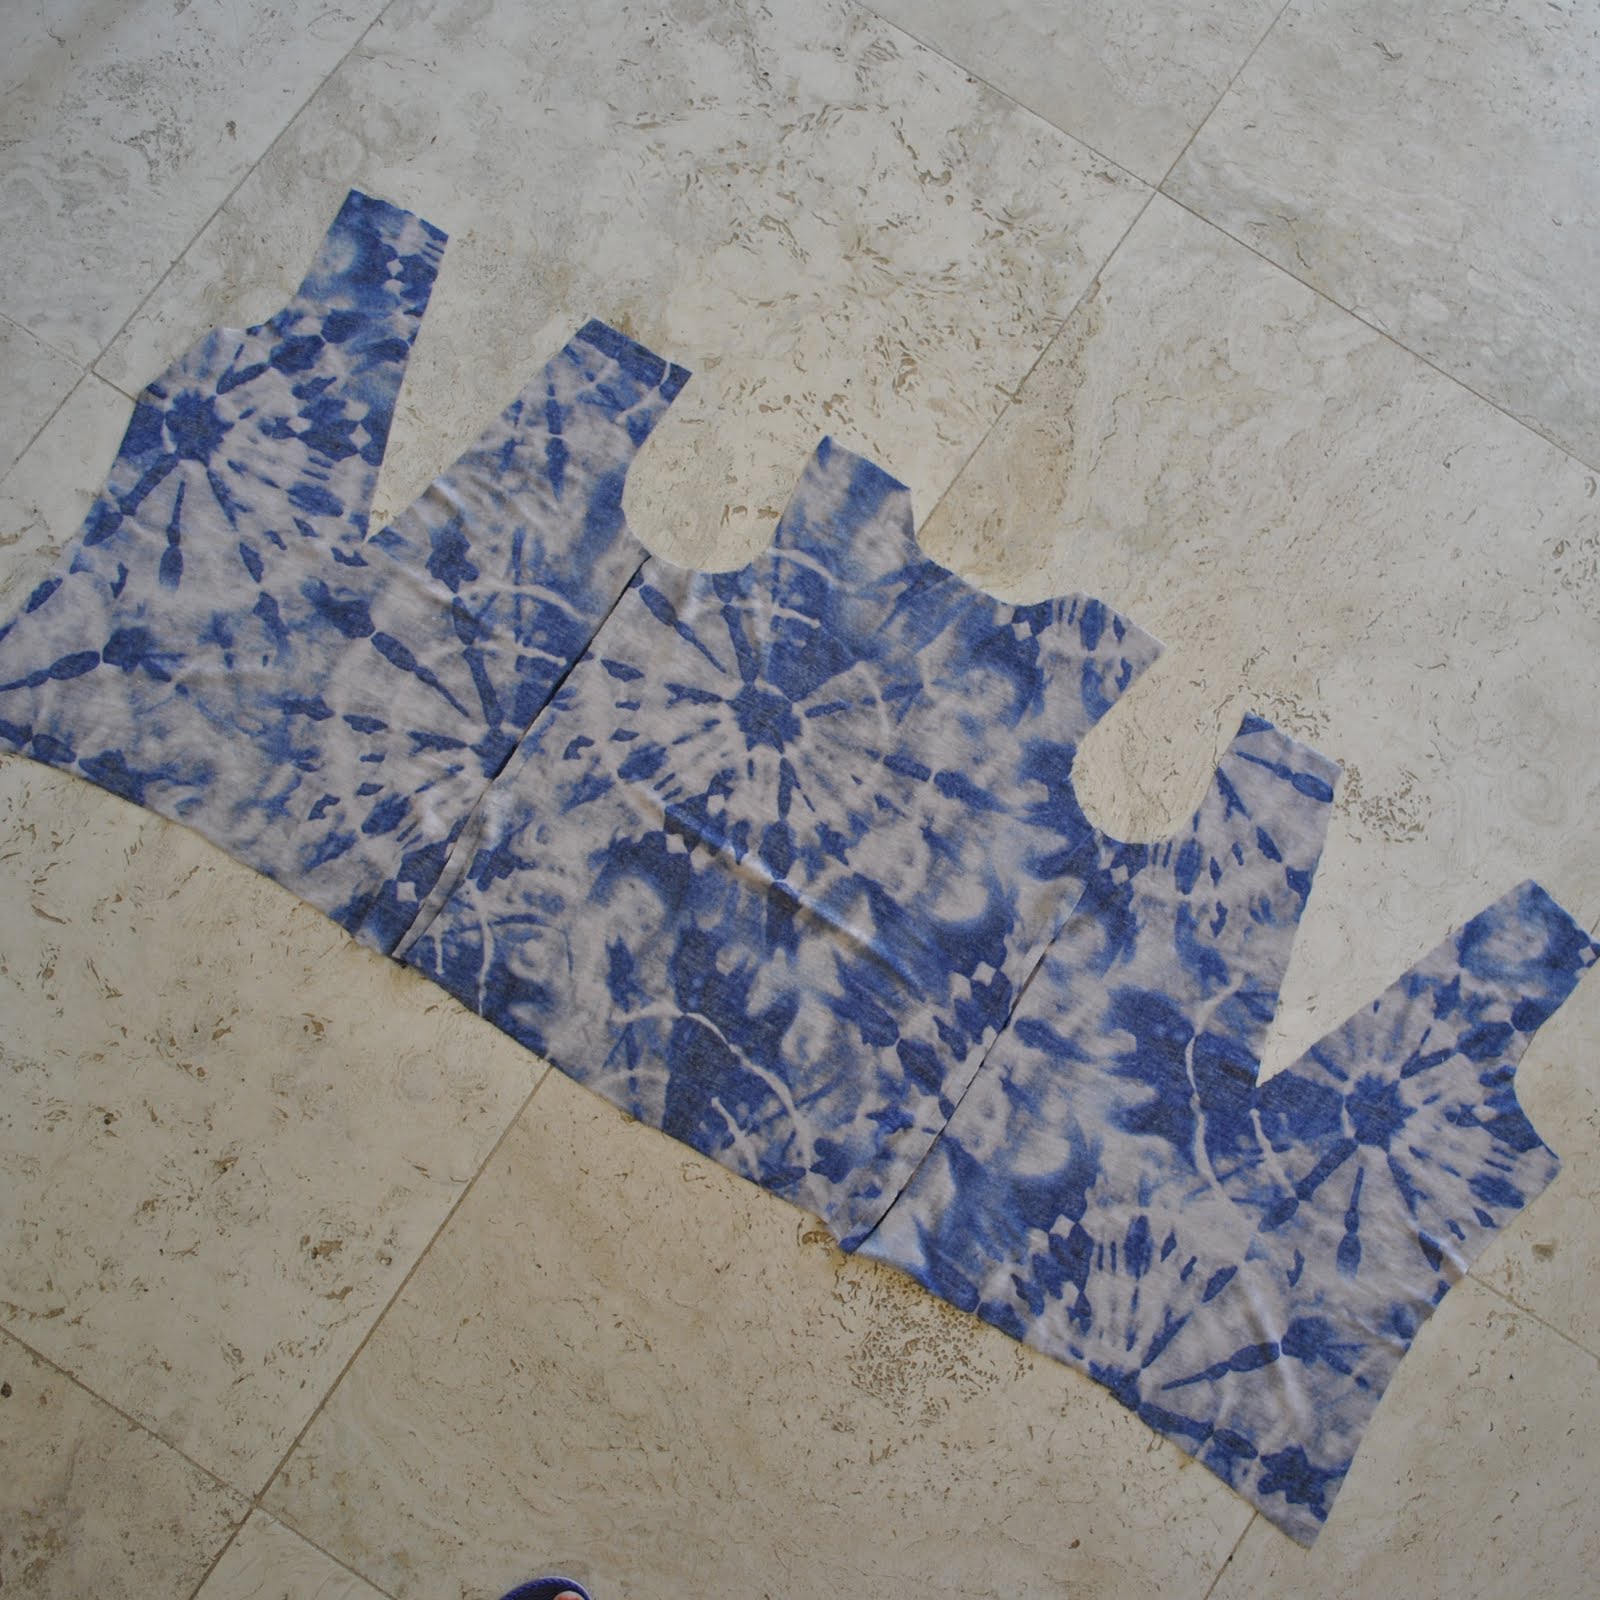
 Cut through all thicknesses, top and bottom.


