
Hello!
So furthering onward with my one year one outfit adventures, I thought I would put together a post on my other efforts so far… I have also been making my fabric for the other components of my outfit. Yes, making freakin’ fabric!!!! transforming Western Australian sheep fleece into felt, with which I shall make…. something. Still ruminating on exactly what...
Along with my fellow one year one outfitters Sue, Nicki and Megan, I visited Bilby Yarns; a small but treasure-packed little shop in Willagee that supports local wool producers and enthusiasts and stocks supplies for anything and everything wool-related you could possibly think of! spinning, weaving, felting, needle felting, knitting and crochet and probably some other endeavours that I haven’t taken in yet, too. It also stocks dyes, both natural and chemical and, most fabulously; yarn from Western Australian sheep, hand processed and hand spun by local ladies. It’s a truly fantastic local resource! and I can see myself paying the shop many more visits in the future. The lovely chatty June kindly demonstrated spinning and also felting to us; and we all came away with supplies of fleece, greatly enthused to make us some felt…
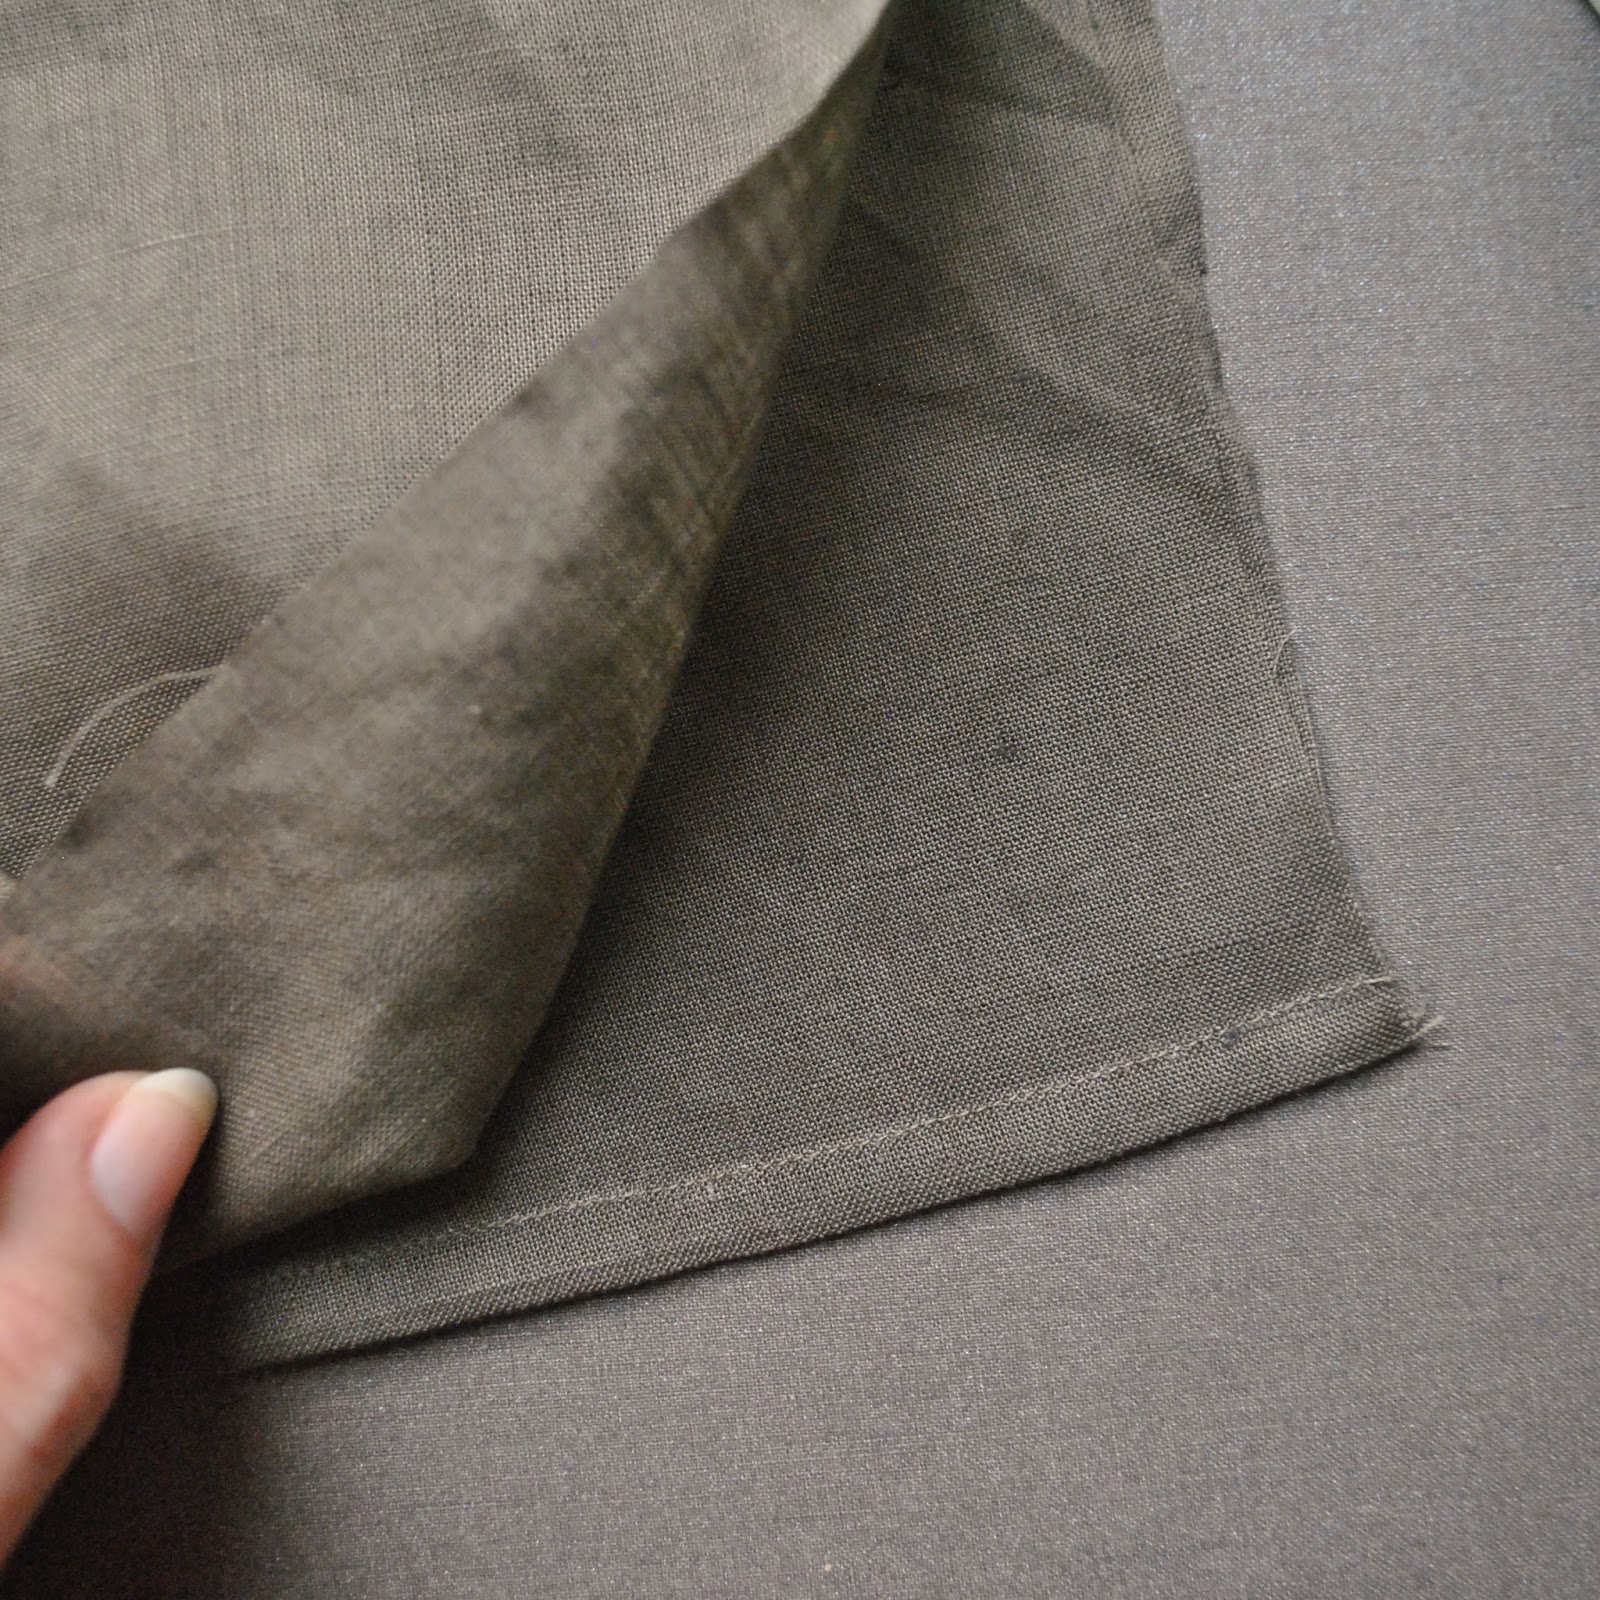
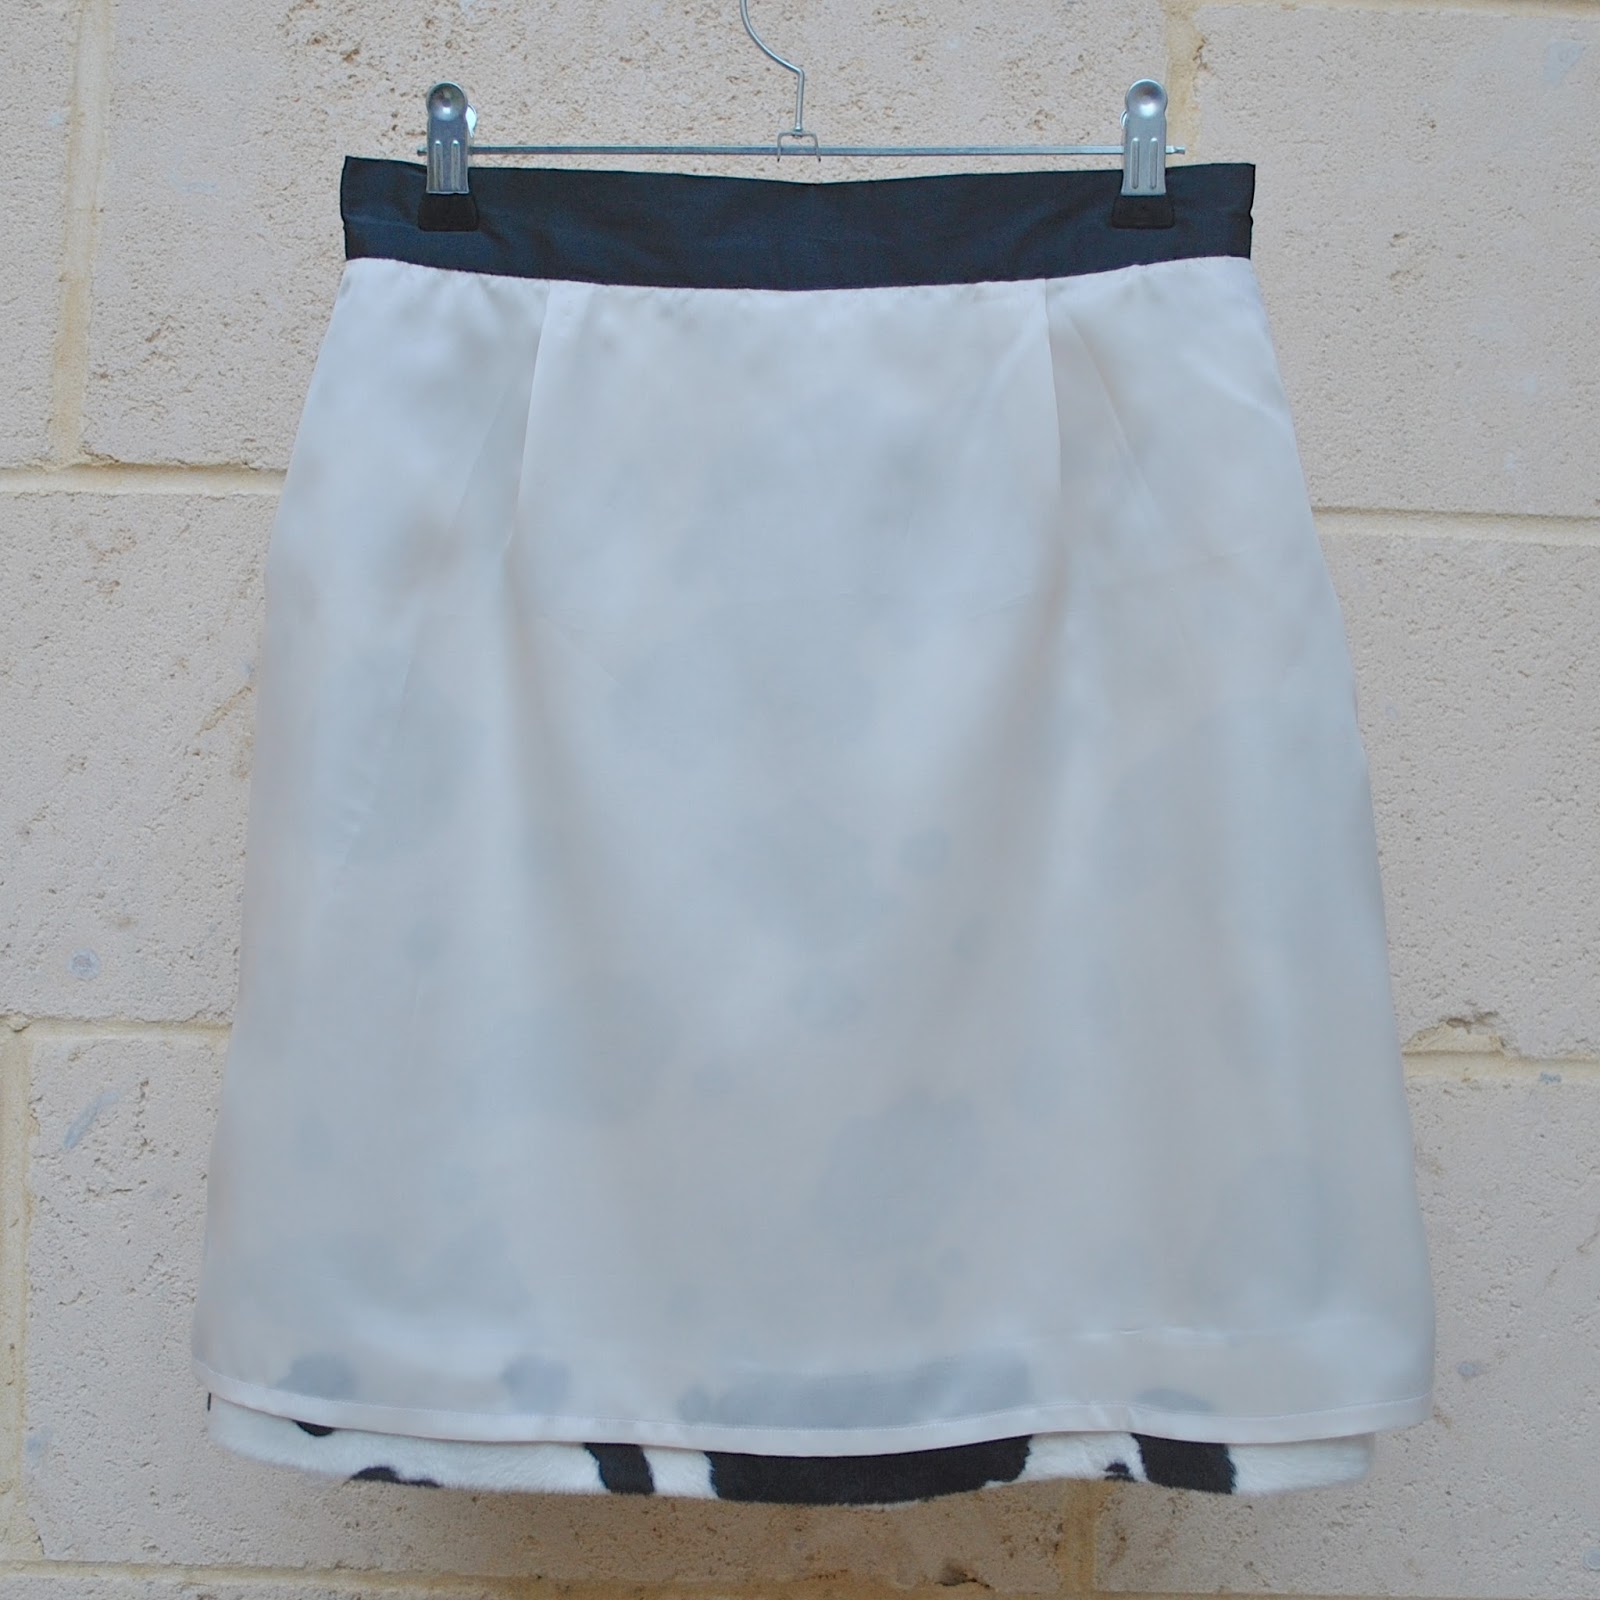
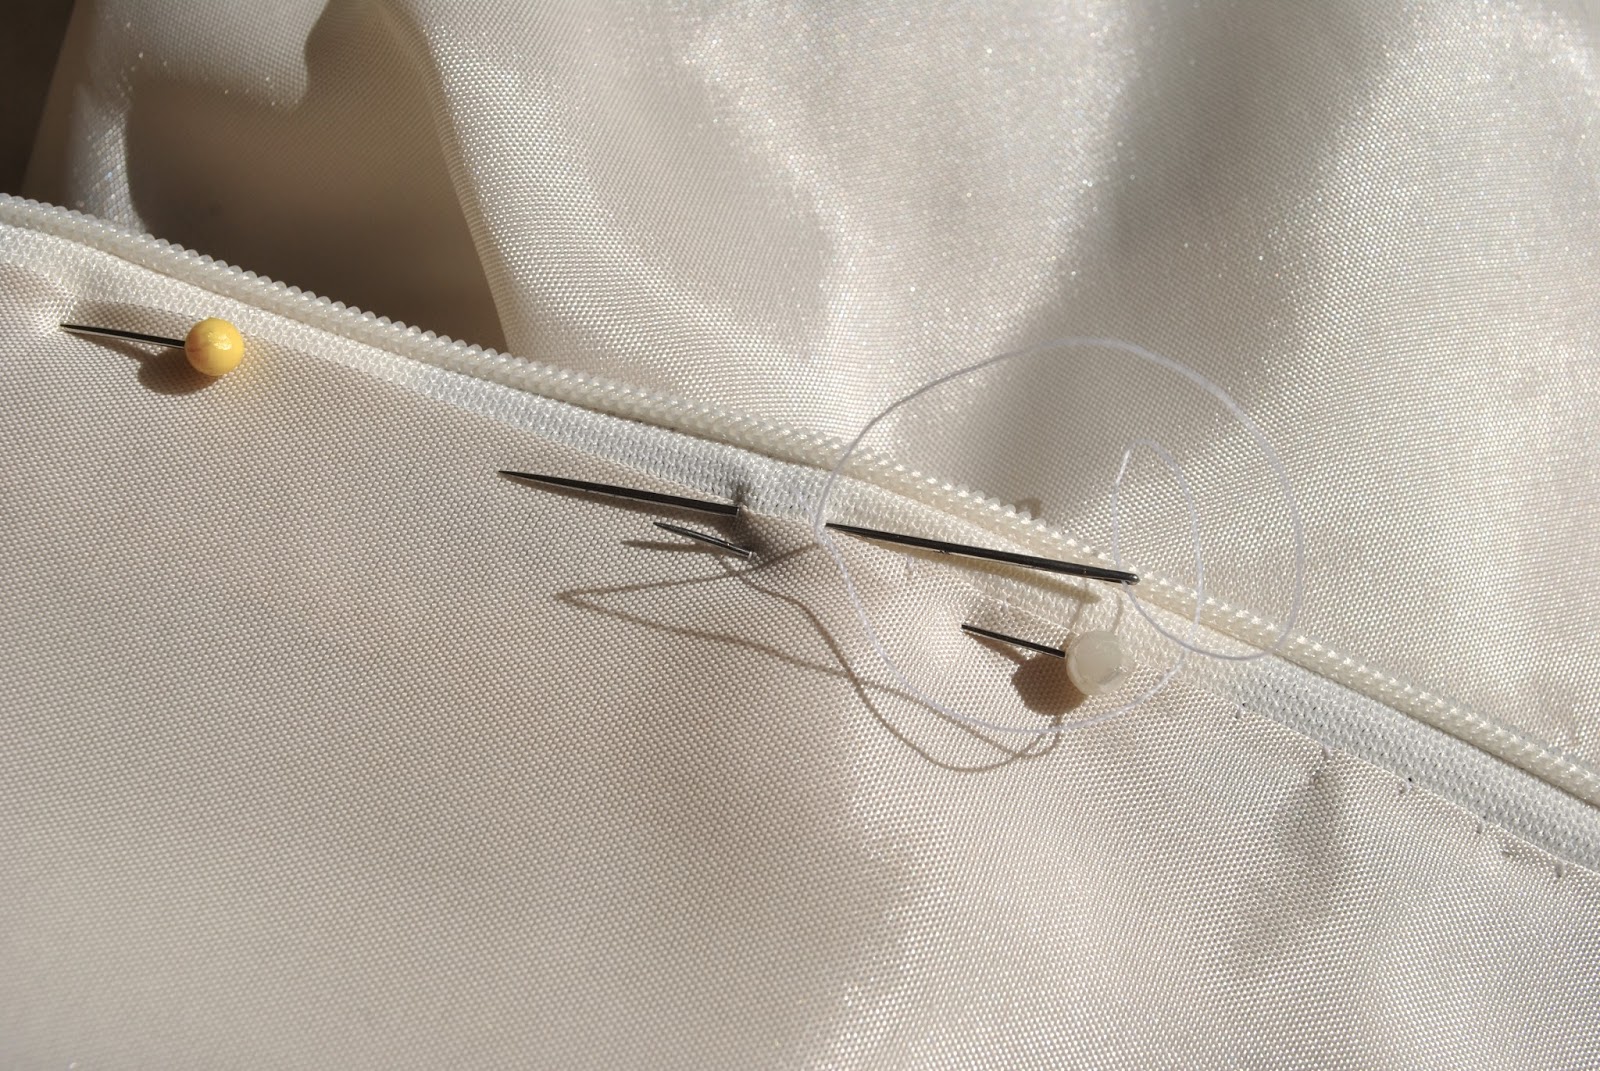
I have made some decorative felt panels a few times before, small and therefore easy things; blogged here and here and a couple of others that I’ve given away and never blogged. However, this project would have to fit in with Nicki’s strict criteria; to be a TOTALLY home grown product. Normally if I was considering making felt for a garment to wear; I would felt onto a piece of silk chiffon to give strength to the fabric.
felt with silk chiffon backing
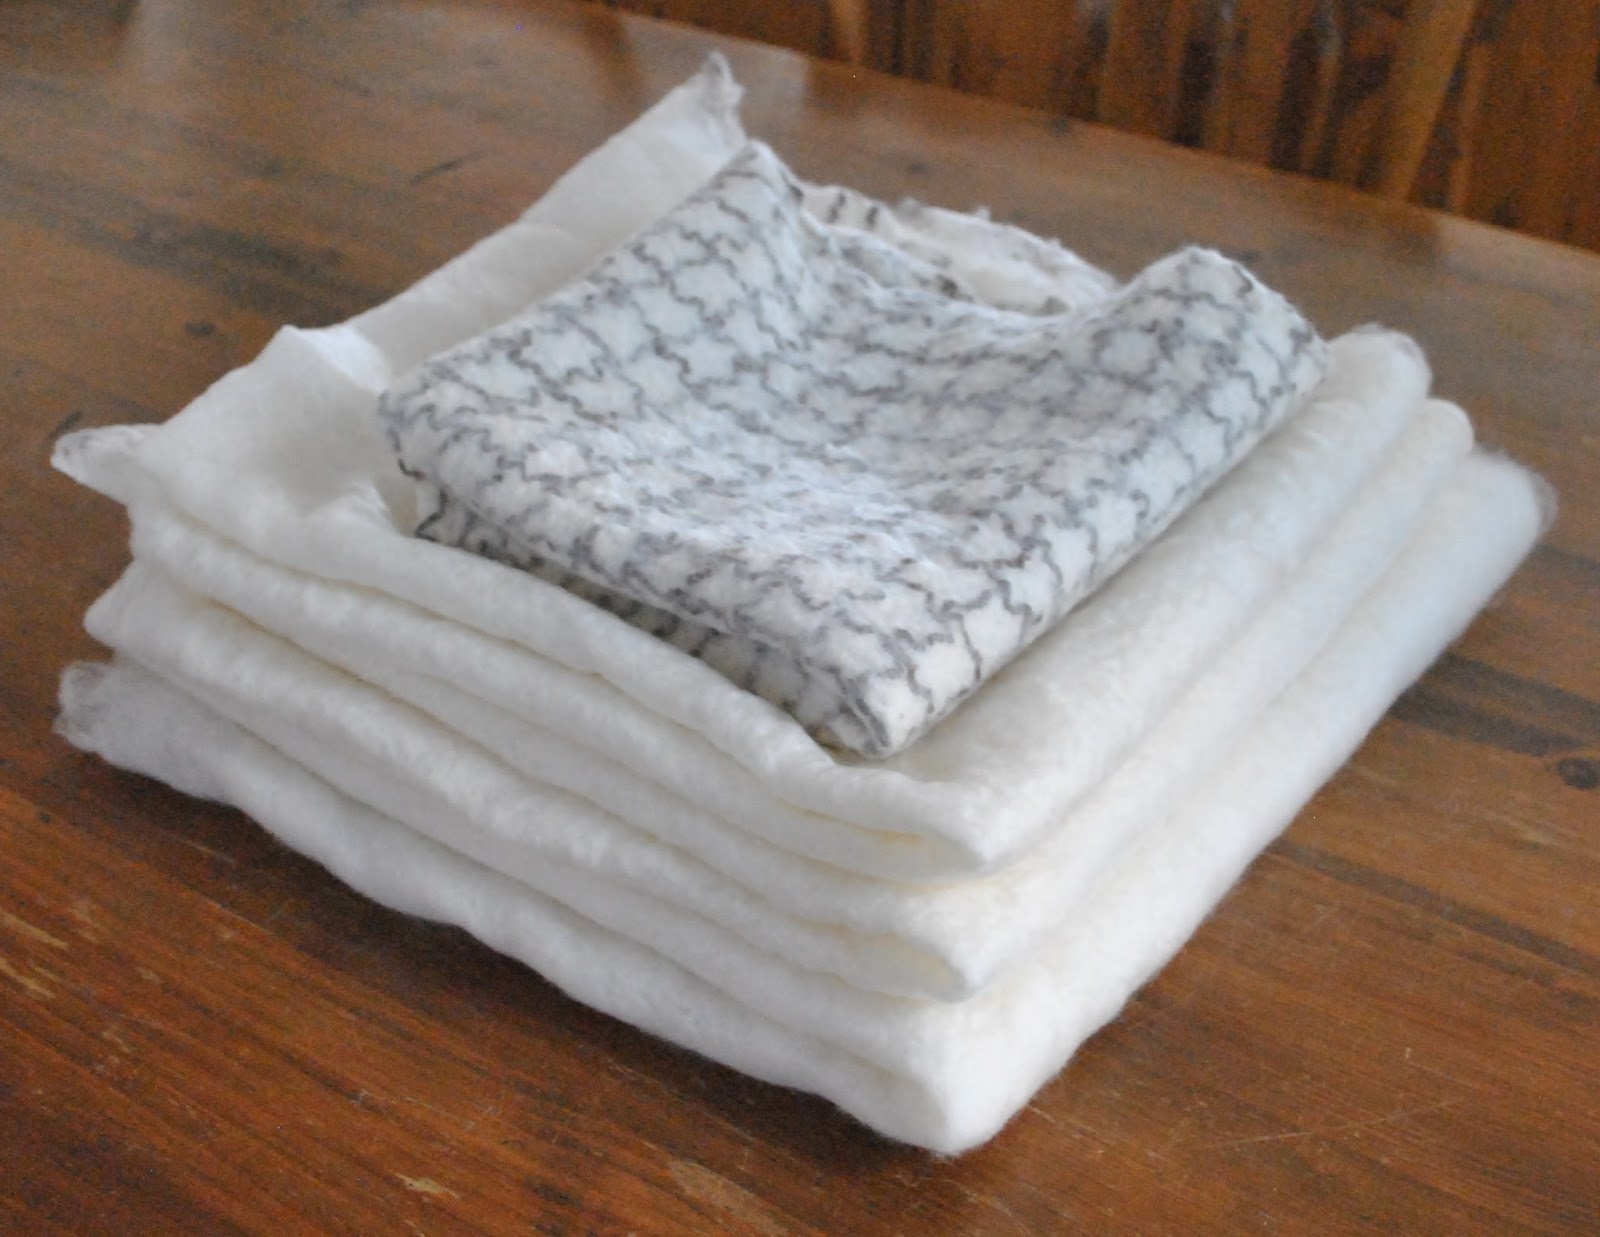
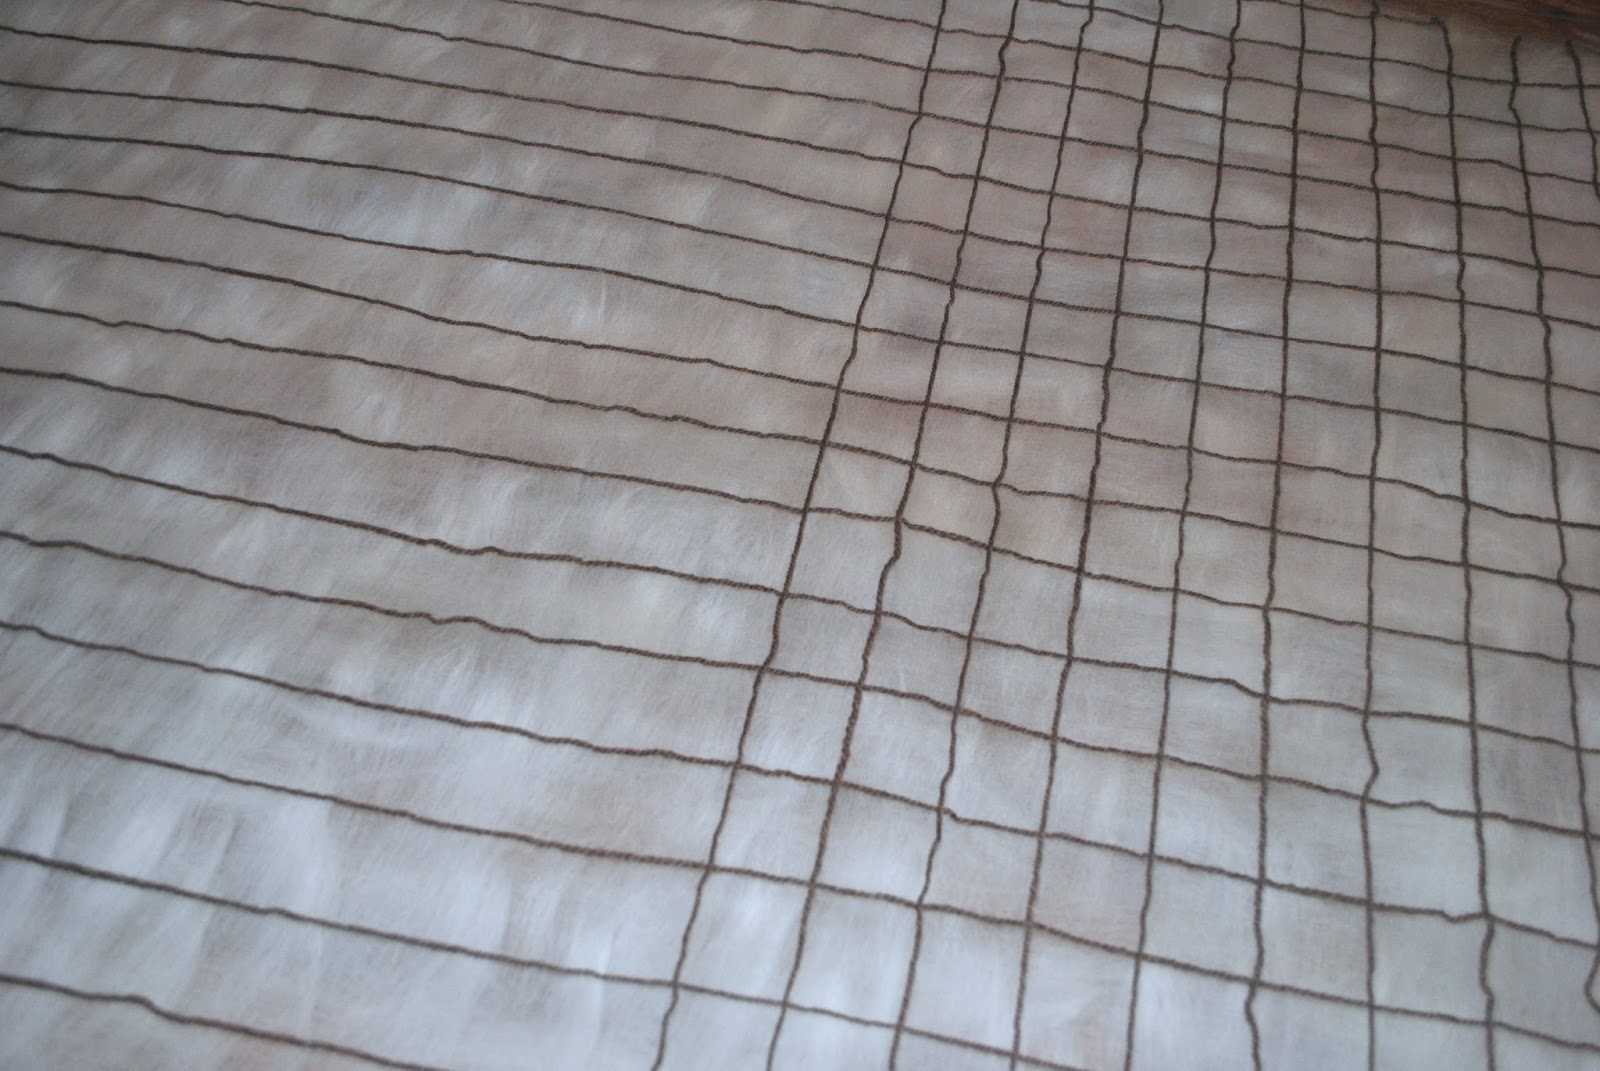
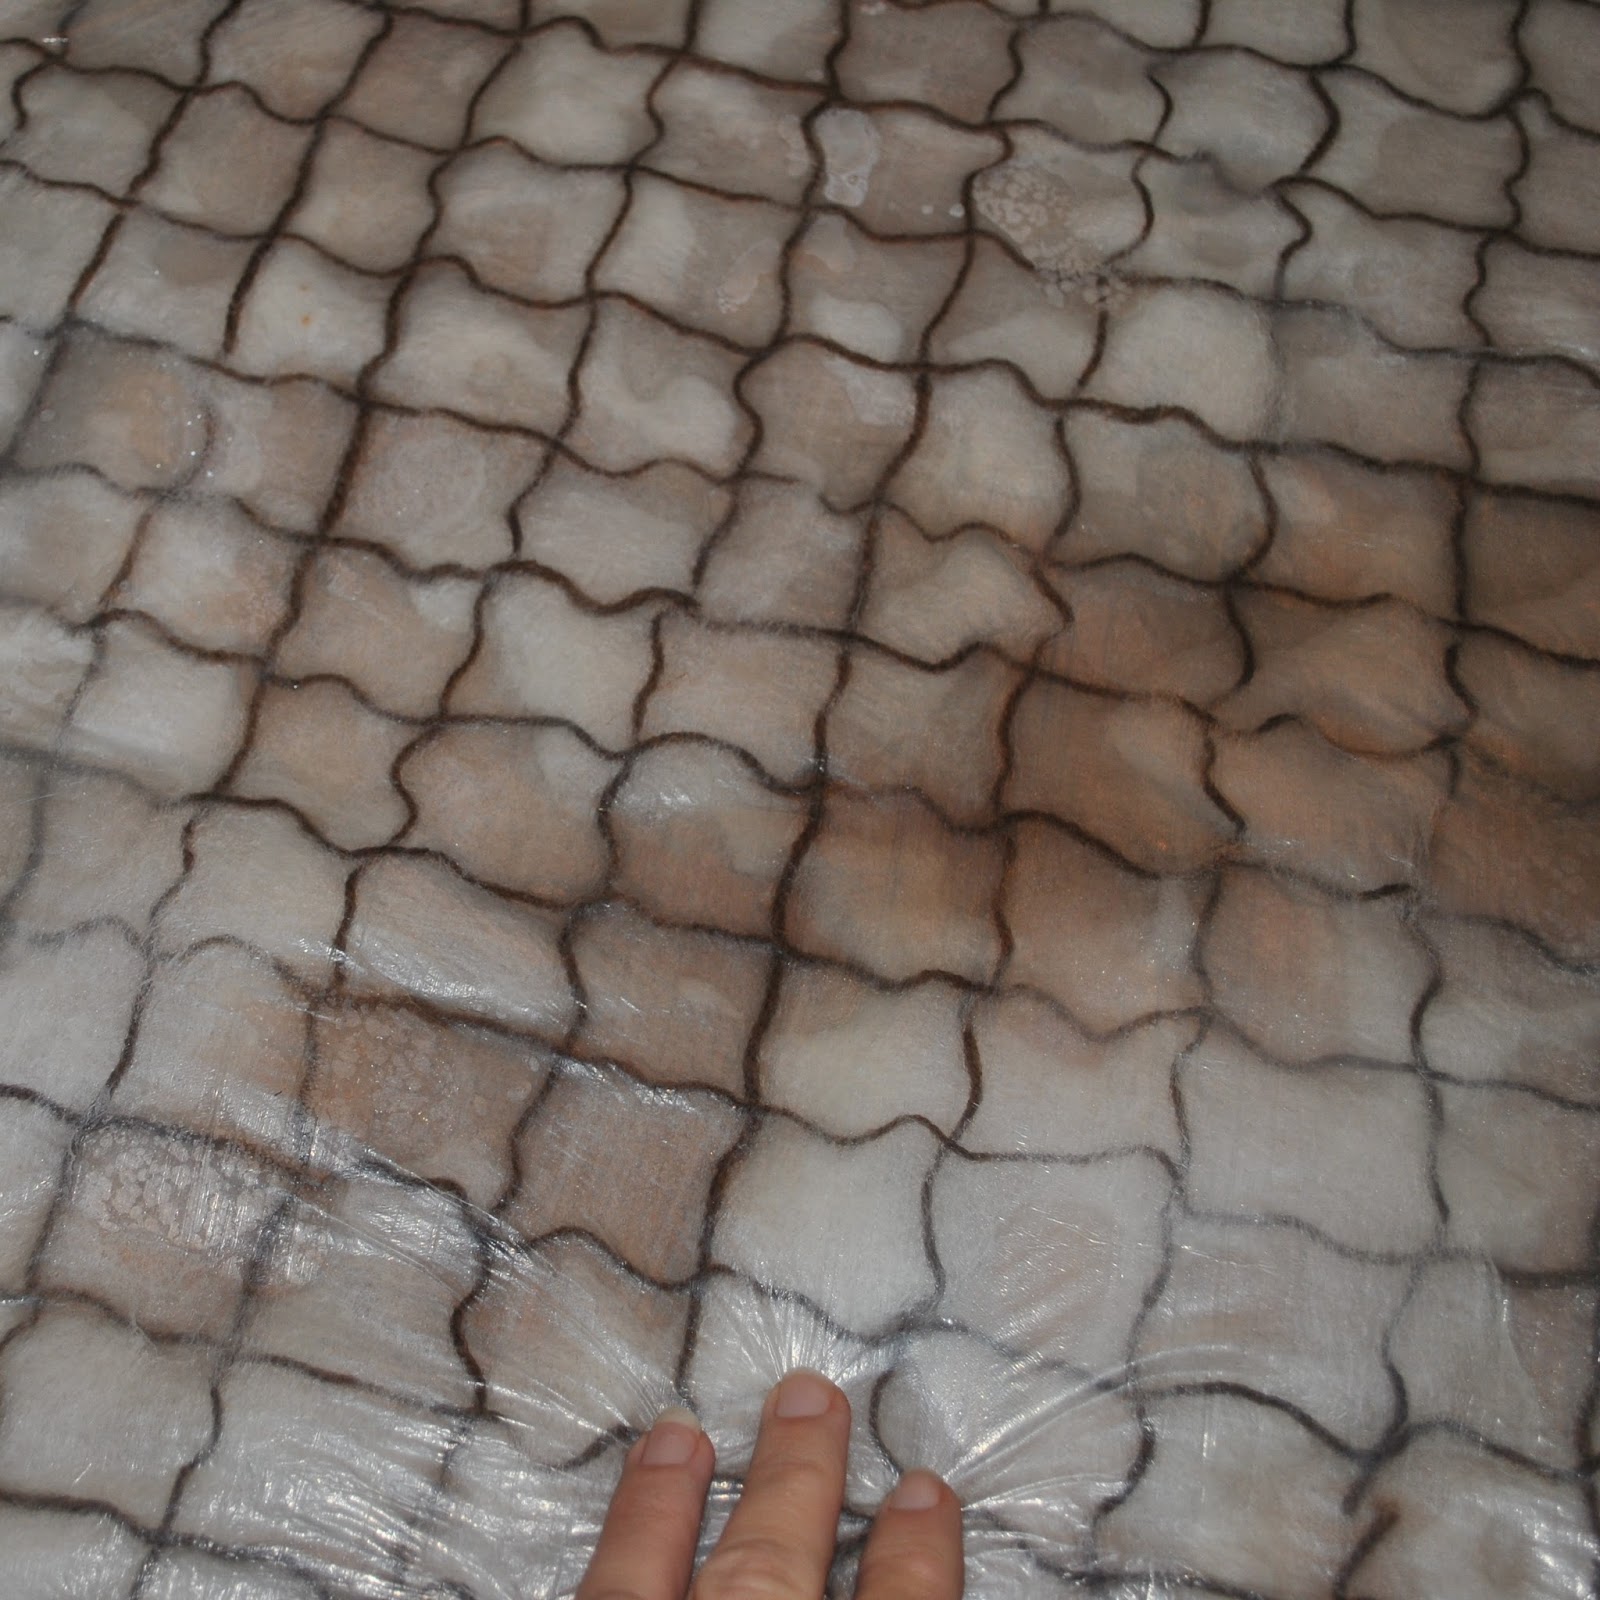
However; obviously silk chiffon is not a thing ever produced here in Western Australia! so in terms of our challenge it was a no-no. I had to think of some other way of building some toughness into my felt… I noticed a small sample in the shop with a yarn grid felted into it, and thought this would be a brilliant way of solving the strength problem. I incorporated a yarn grid feature into one piece of my felt and I will be using another method of building strength into the remaining pieces.
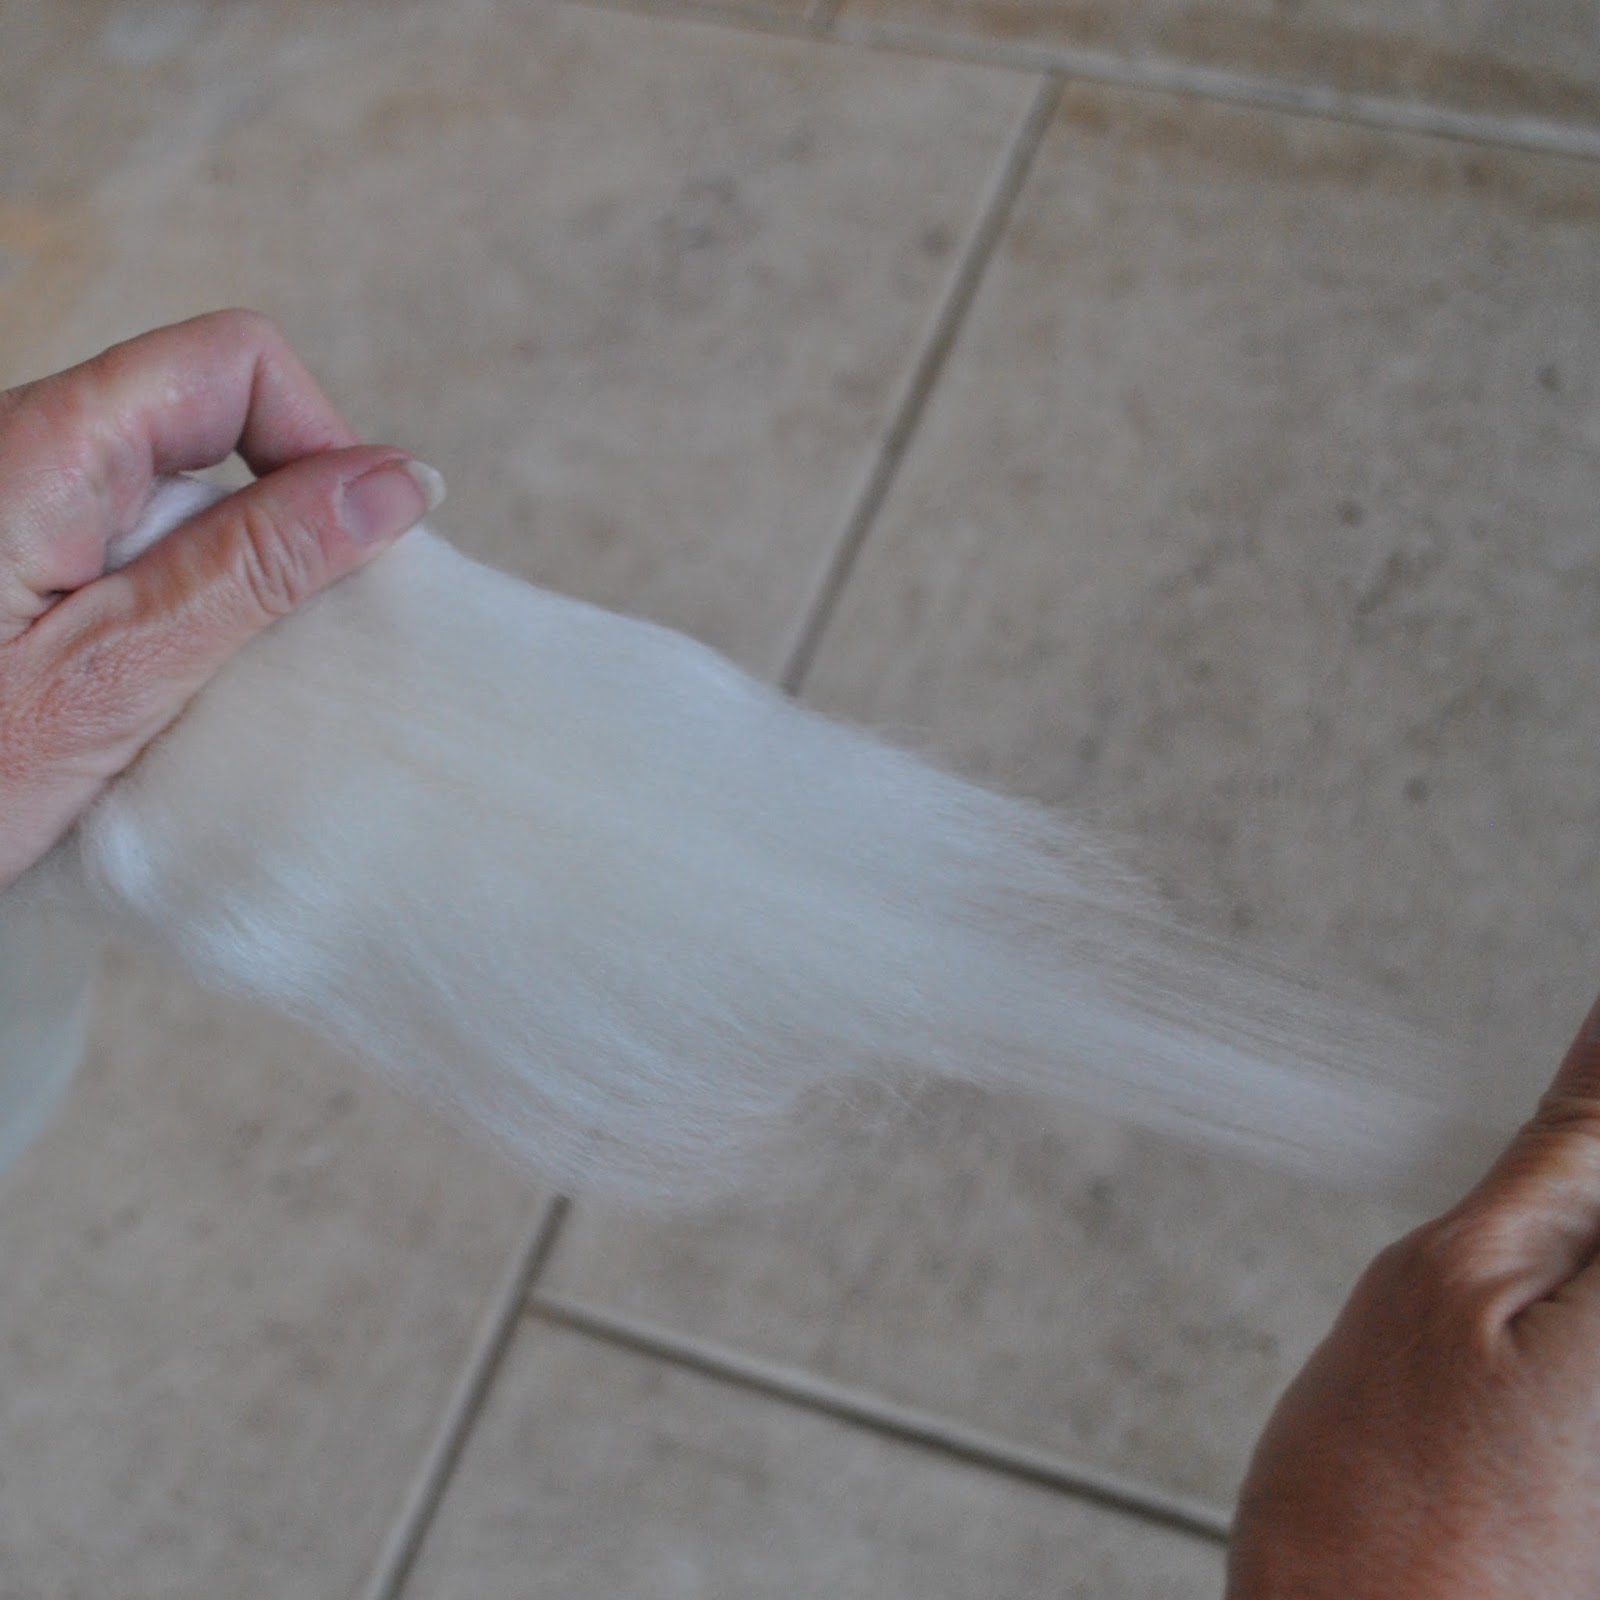
I bought some washed and combed, naturally white Corriedale sheep fleece, and also two balls of locally hand-spun, West Australian wool yarn; one naturally black the other naturally white; and 3 large, thin, plastic, painting drop-sheets from Bunnings.
Modus Operandi:
First of all.. key words: GENTLE! EVEN! Those two words were to be my mantra throughout this entire procedure. OK.
Now: you need a fair amount of uninterrupted time, and for large pieces of felt big enough for an actual garment, a large table; preferably indoors in a wind-less, breeze-free environment. I used my dining room table. When laying out the fleece, bear in mind the fleece will shrink to roughly 75% of its former size in the process of becoming felt, so if you’re after a specific size you’ll need to allow at least an extra third in size dimensions each way.
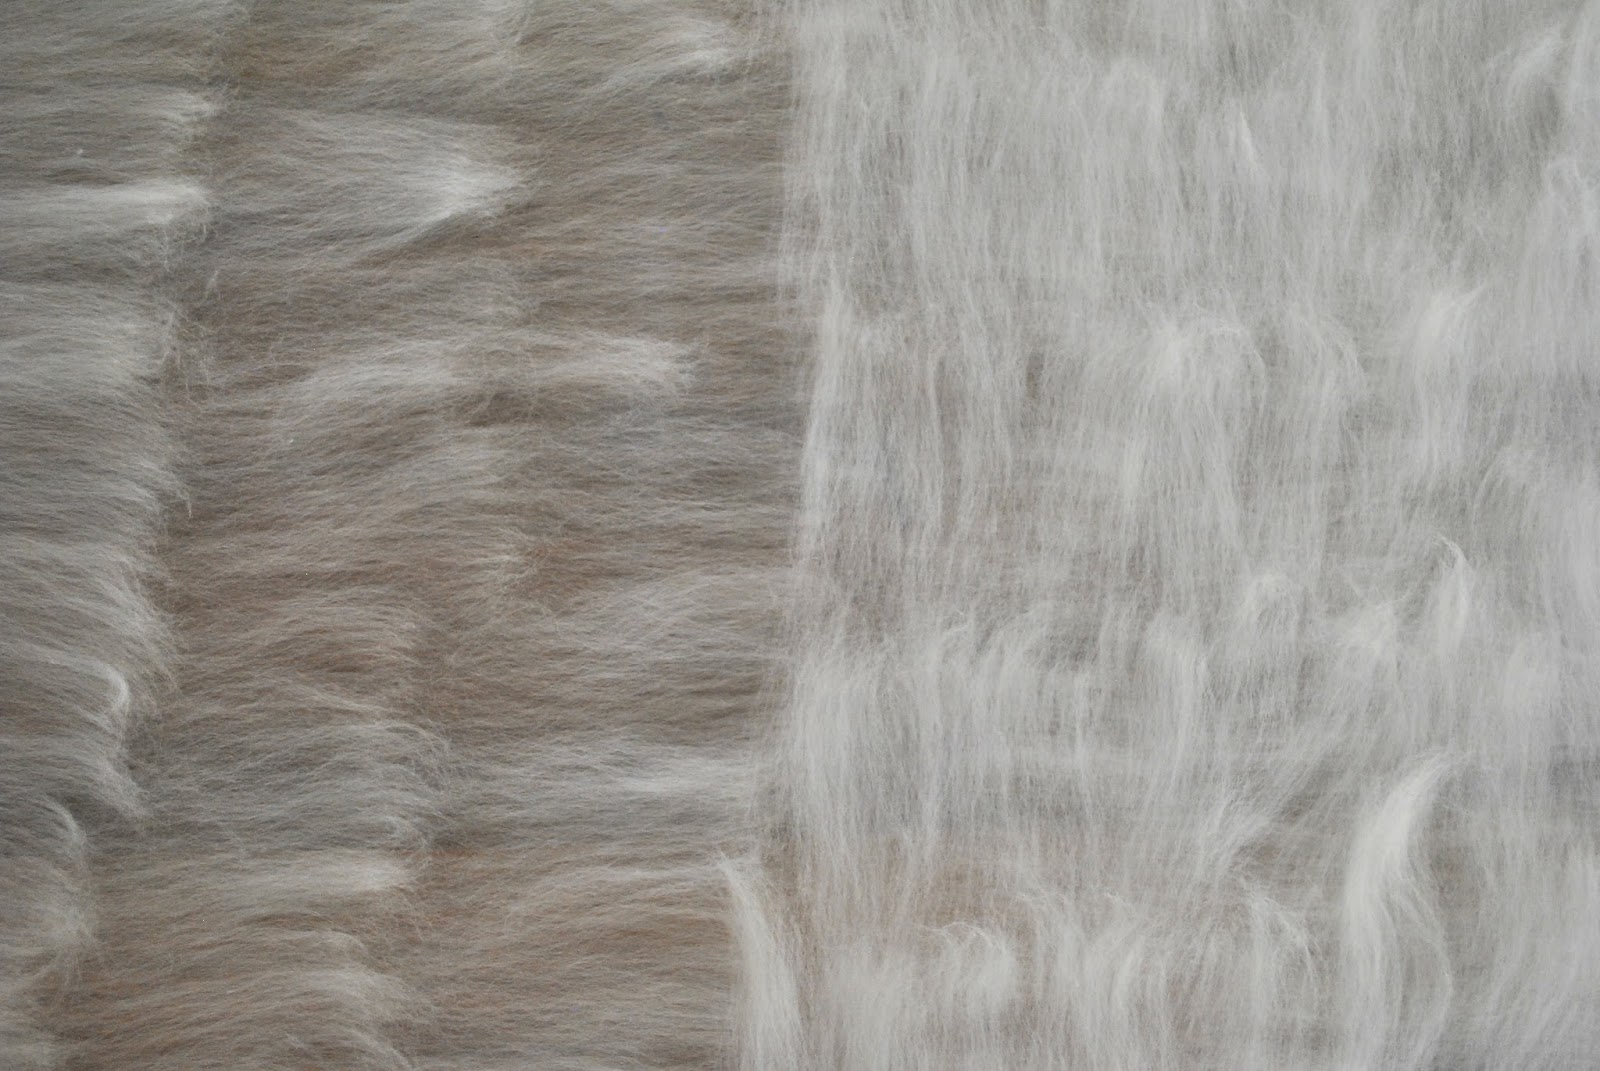
I laid my cut-to-fit plastic drop sheet on the table and start laying out small hanks of fleece onto it. You hold the combed fleece loosely in your left hand, not too tight and not applying any pressure, and then with your right hand you grab and just pull away a small flat wodge. Aim to keep the sections you’re pulling out of reasonably even spread and thickness; i.e., with no thick bits in the middle.


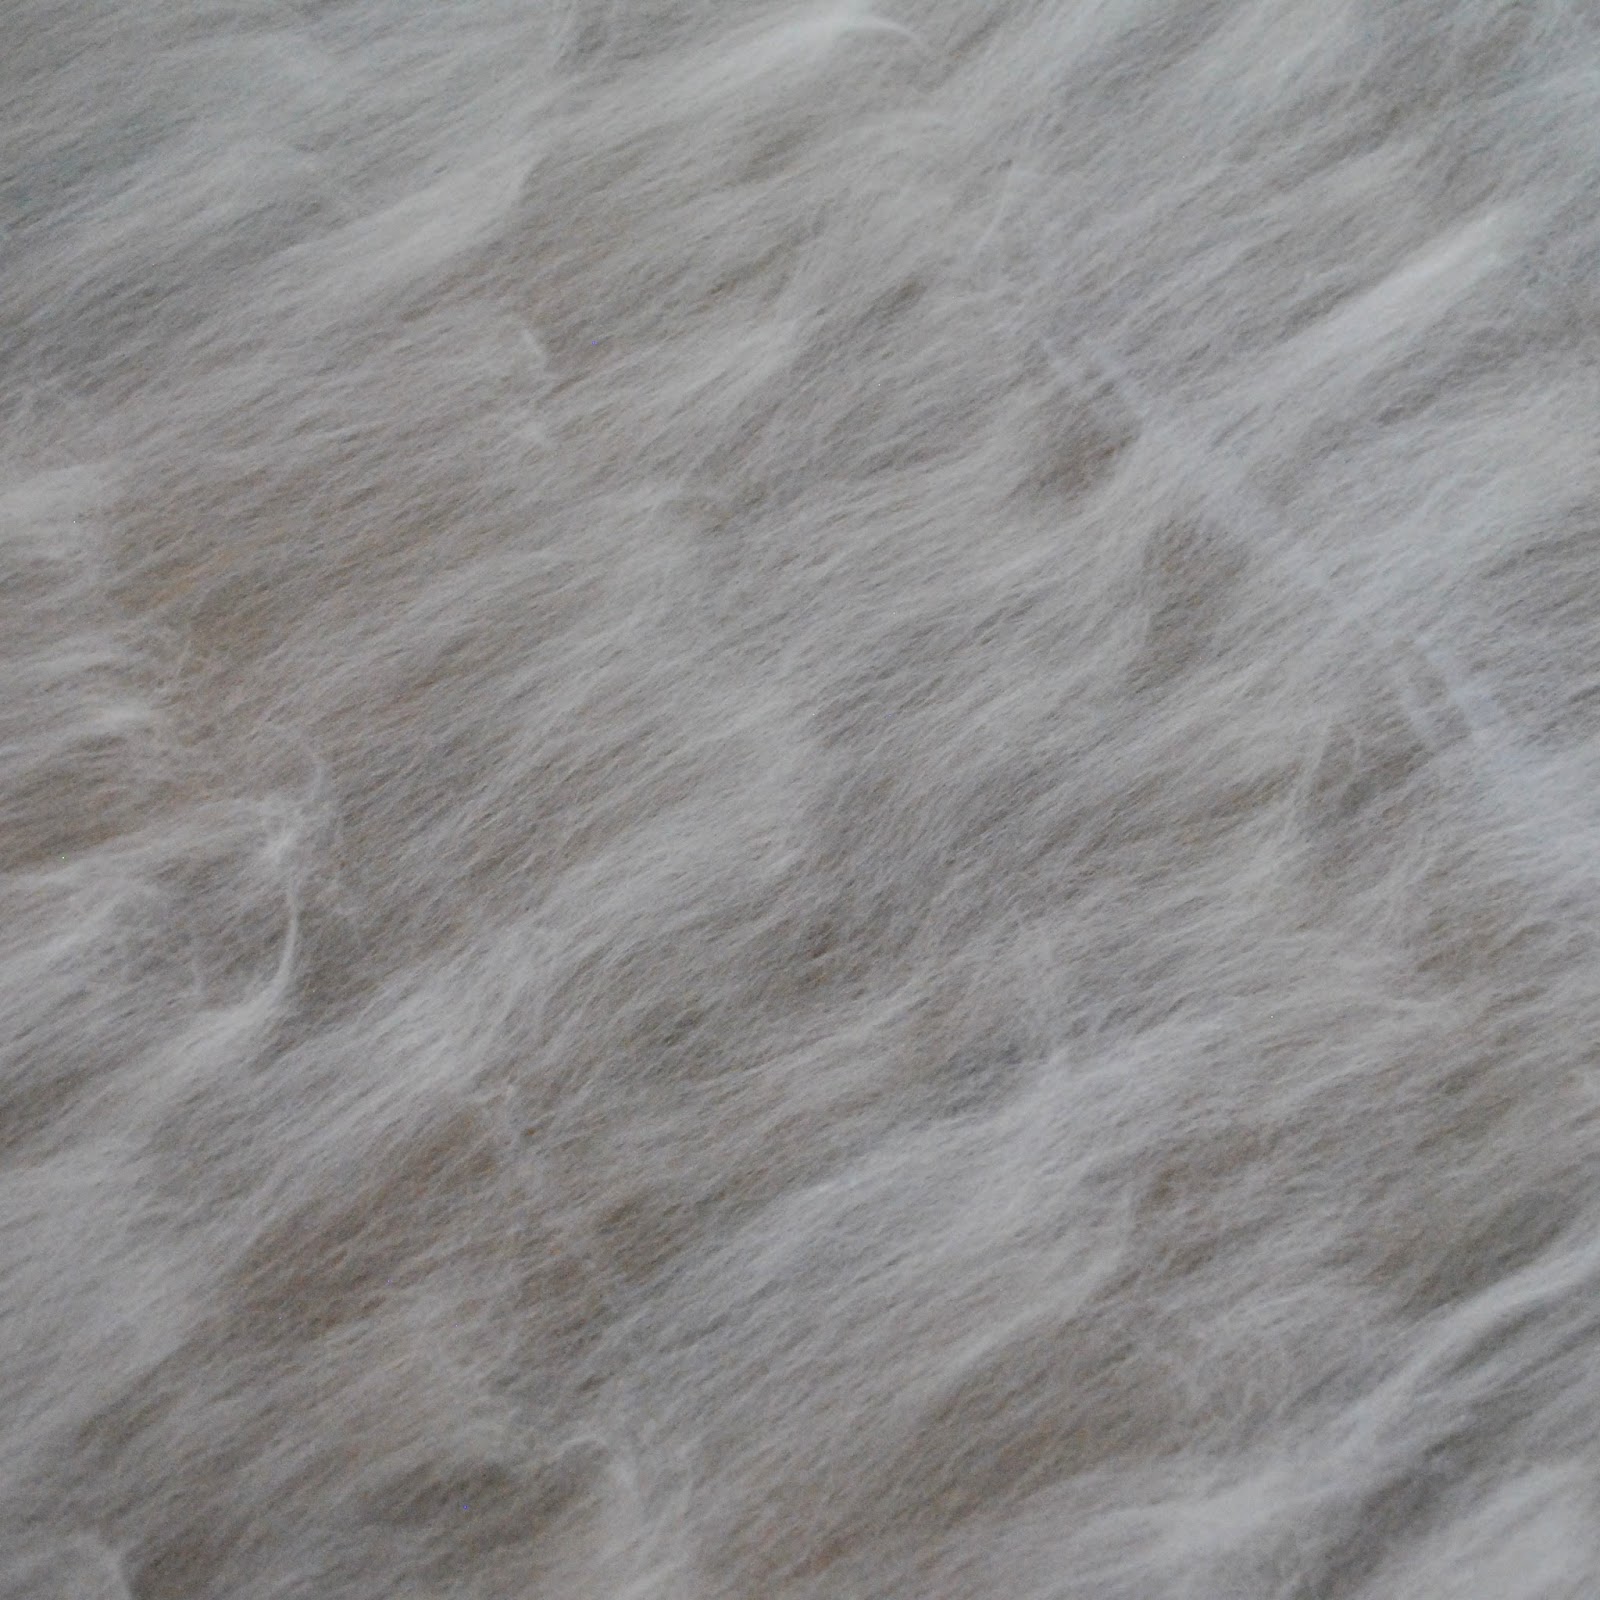
Then, you’re simply laying them all in an even layer as possible, in one direction onto the plastic sheet. I used my whole 2m x 1m table space. This is why you need a good wedge of time, since your family’s not going to be able to eat dinner on the table during this process! and you can’t exactly pack it up out of the way since the wool fleece is so light and floaty that at all times it’s in danger of wafting about, blowing onto itself, or onto the floor if a door opens and a breeze comes through. Plus in my three cat household there’s the very real danger that a curious little helper is suddenly going to jump up onto the table to check out what you’re doing and keep you company while you’re doing it. Eeeeeeeek! The potential for disaster is HUGE!
The top end that you “grabbed” is a little thicker than the tail end, so overlap these by a little bit in each row. Once you’ve covered the area, go over again, this time laying the hanks of fleece crosswise to the previous layer.
For my gridded felt I cut lengths of the homespun wool and laid it out over the fleece in an even grid. Then I laid a very light and thin third layer of fleece over this one. btw, some of the following pictures in this tutorial are of the grid felt and some are just the plain, un-gridded felt… because I was a little erratic in my picture taking; sorry! But the felting process is just exactly the same in each case 🙂

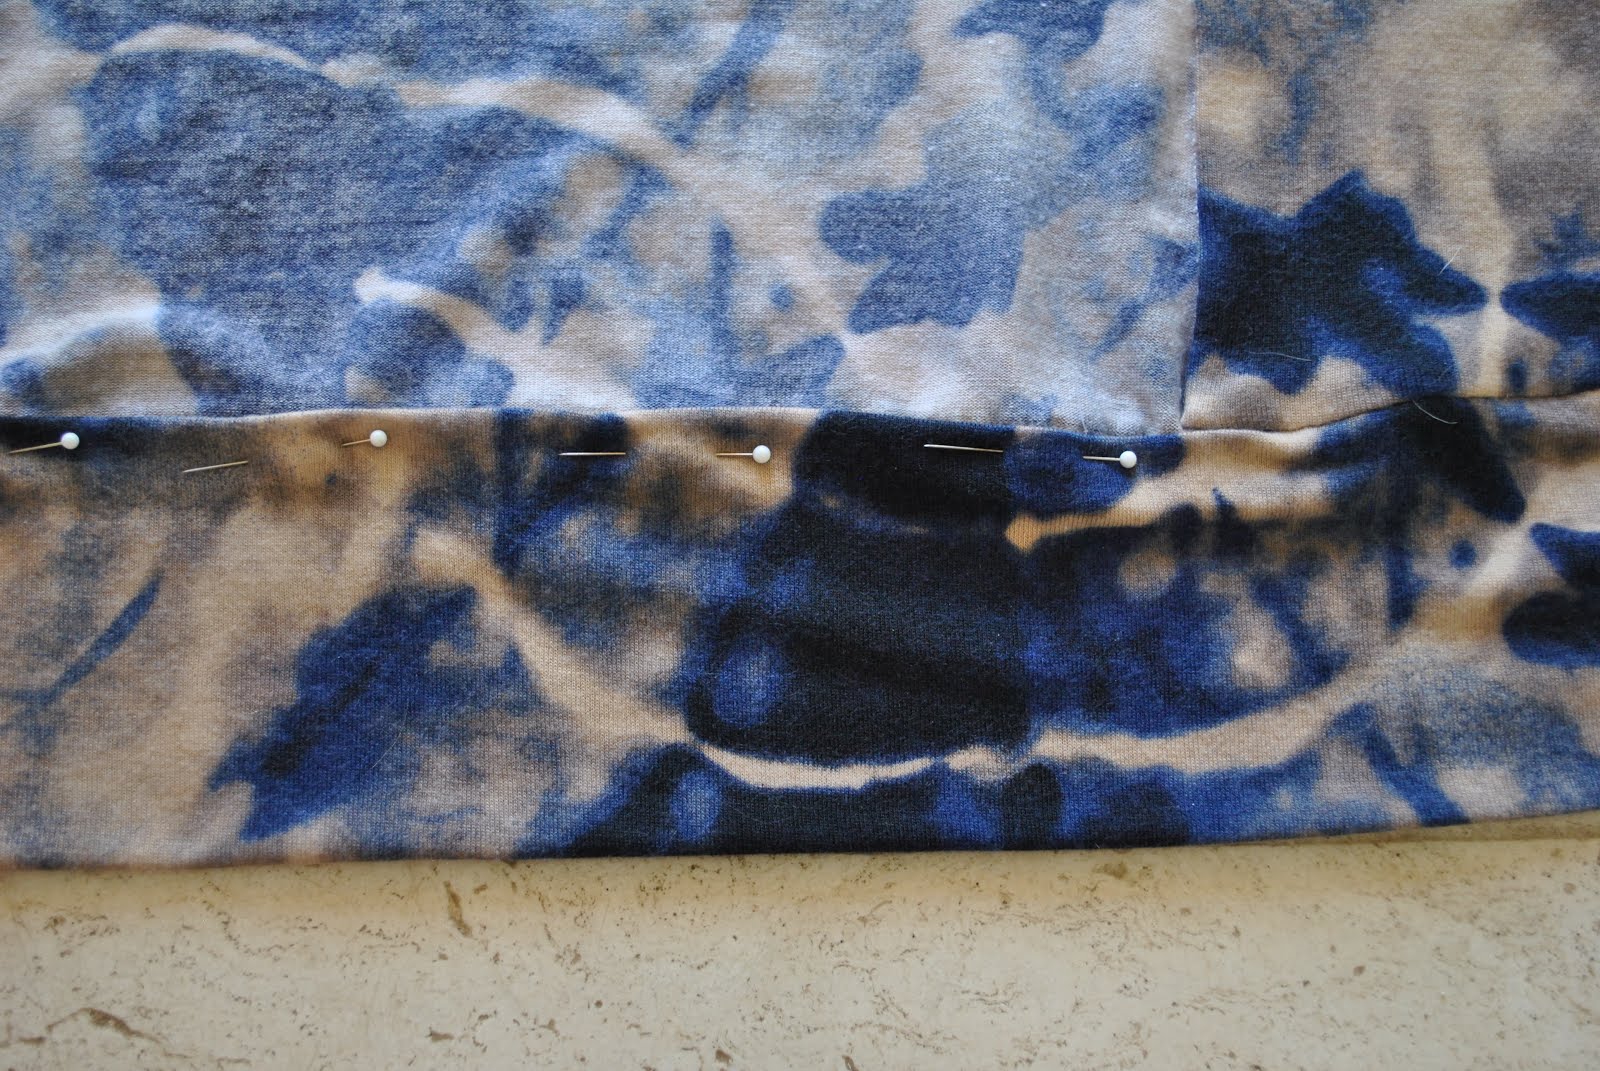
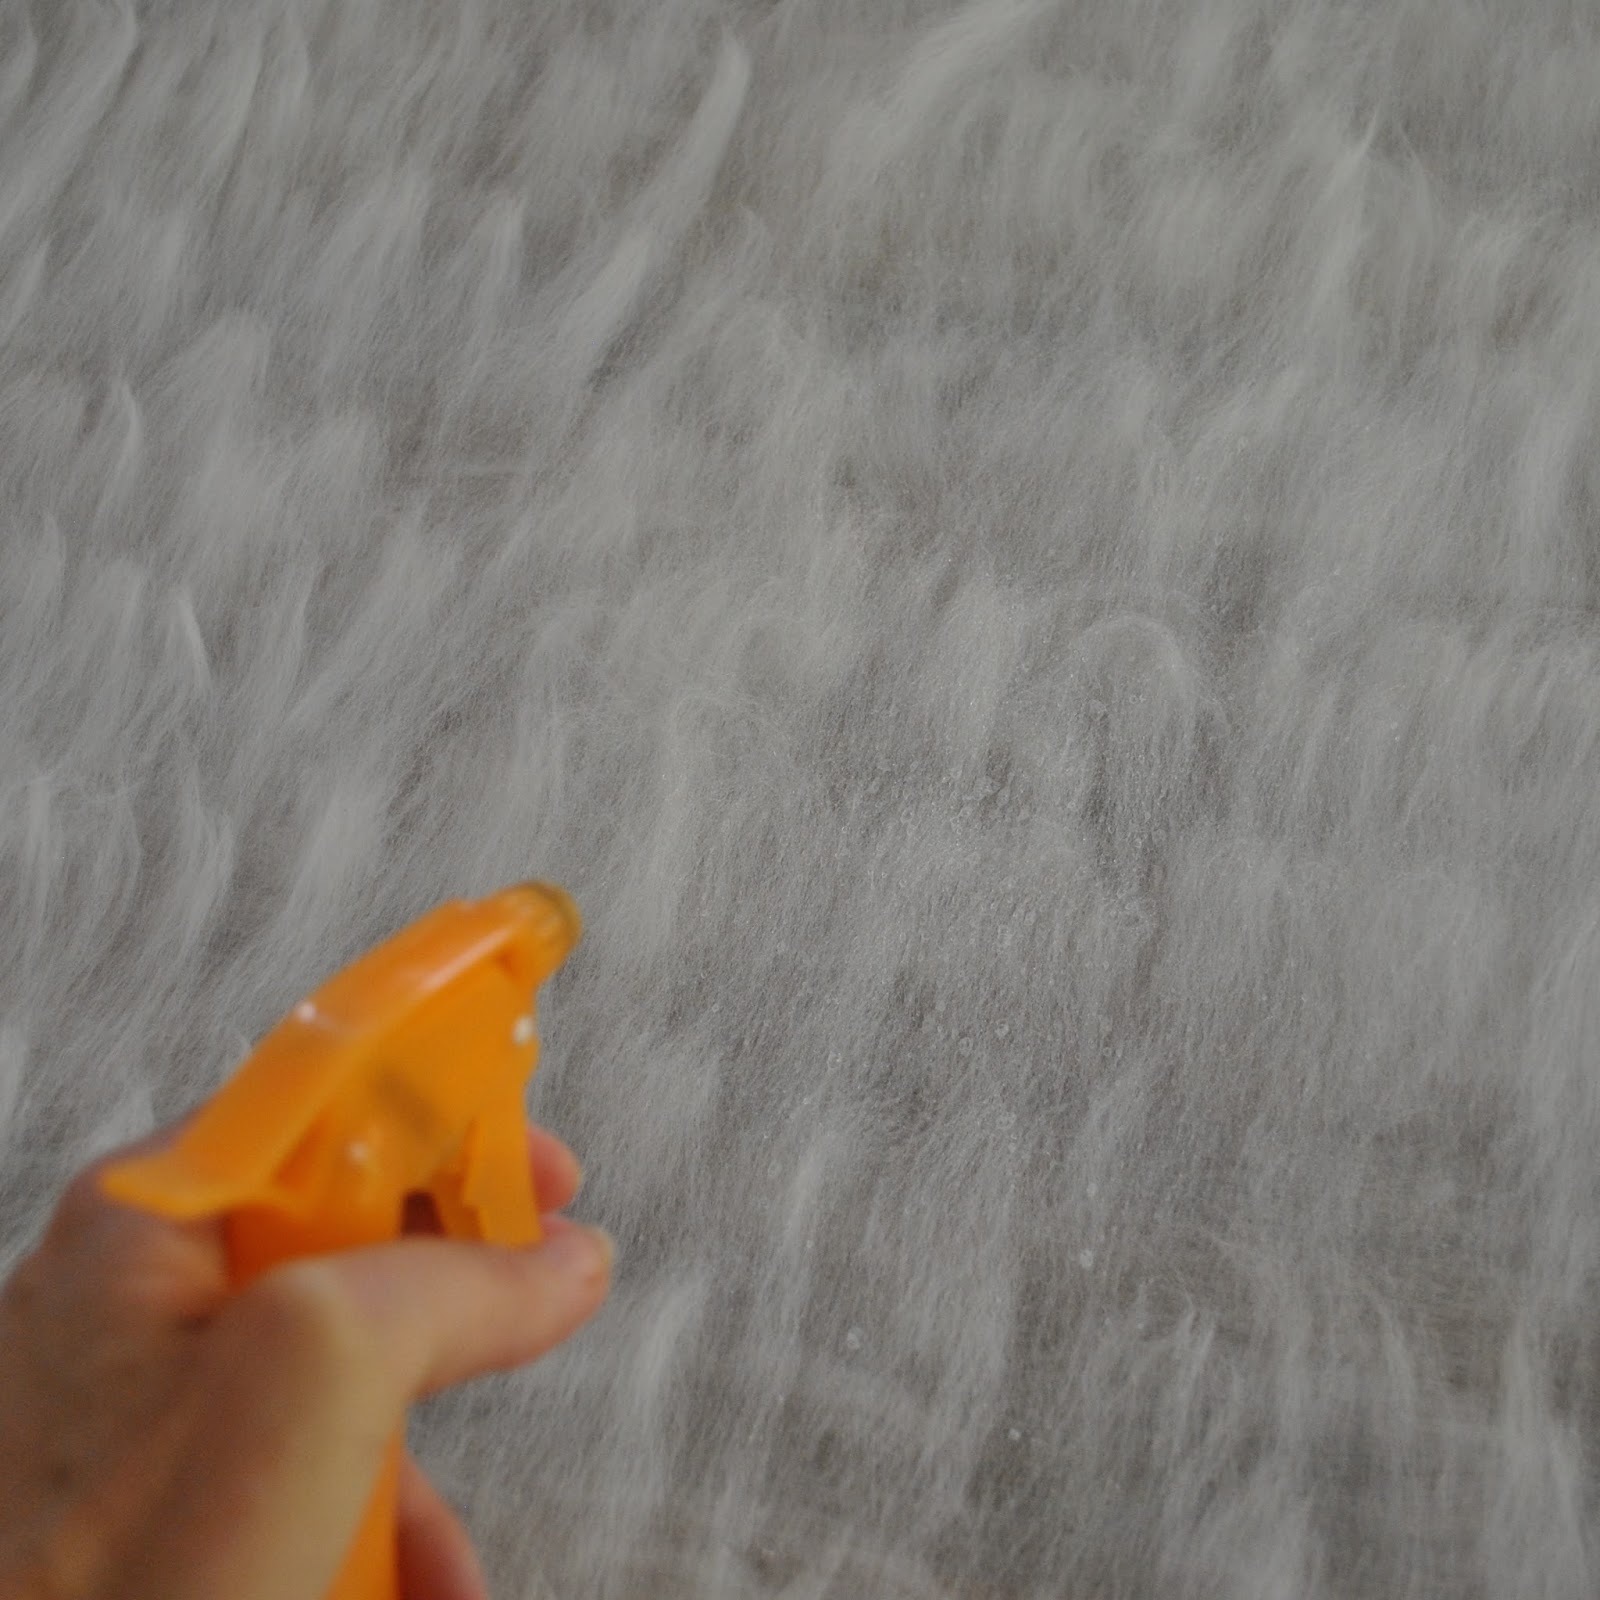
Fill a spray bottle with hot soapy* water and with the nozzle set to a fine mist lightly and carefully start spraying the fleece evenly all over. Take great care to not blow the fleece about with an inadvertently strong spray or jet of water here! which could destroy all that carefully even laying-out… you’re aiming to very gently dampen down the fleece with a light misty spray. Once the fleece has an allover layer of misty dew-like droplets all over, you can spray with slightly more vigour, pausing occasionally to gently flatten down the fleece with your hand, patting it down and allowing the water to seep through the layers of fleece.
* Soap: the ladies in Bilby Yarns recommend the use of a gentle olive oil soap, and I agree this would be a wonderful option. However, inadequate preparation and an impatience to just do it!!! meant that I just used a dash of regular dishwashing liquid for mine. *horrified gasp*
Sorry to the purists out there! I know, I’m a philistine *hangs head in shame* Please don’t boot me out of the felting club!
Eventually the fleece layers will be wet enough that they are no longer in danger of blowing about, and at this stage I allowed myself to add water just a bit more freely, but still lightly! sprinkling the fleece carefully using a small, plastic hand-watering can.
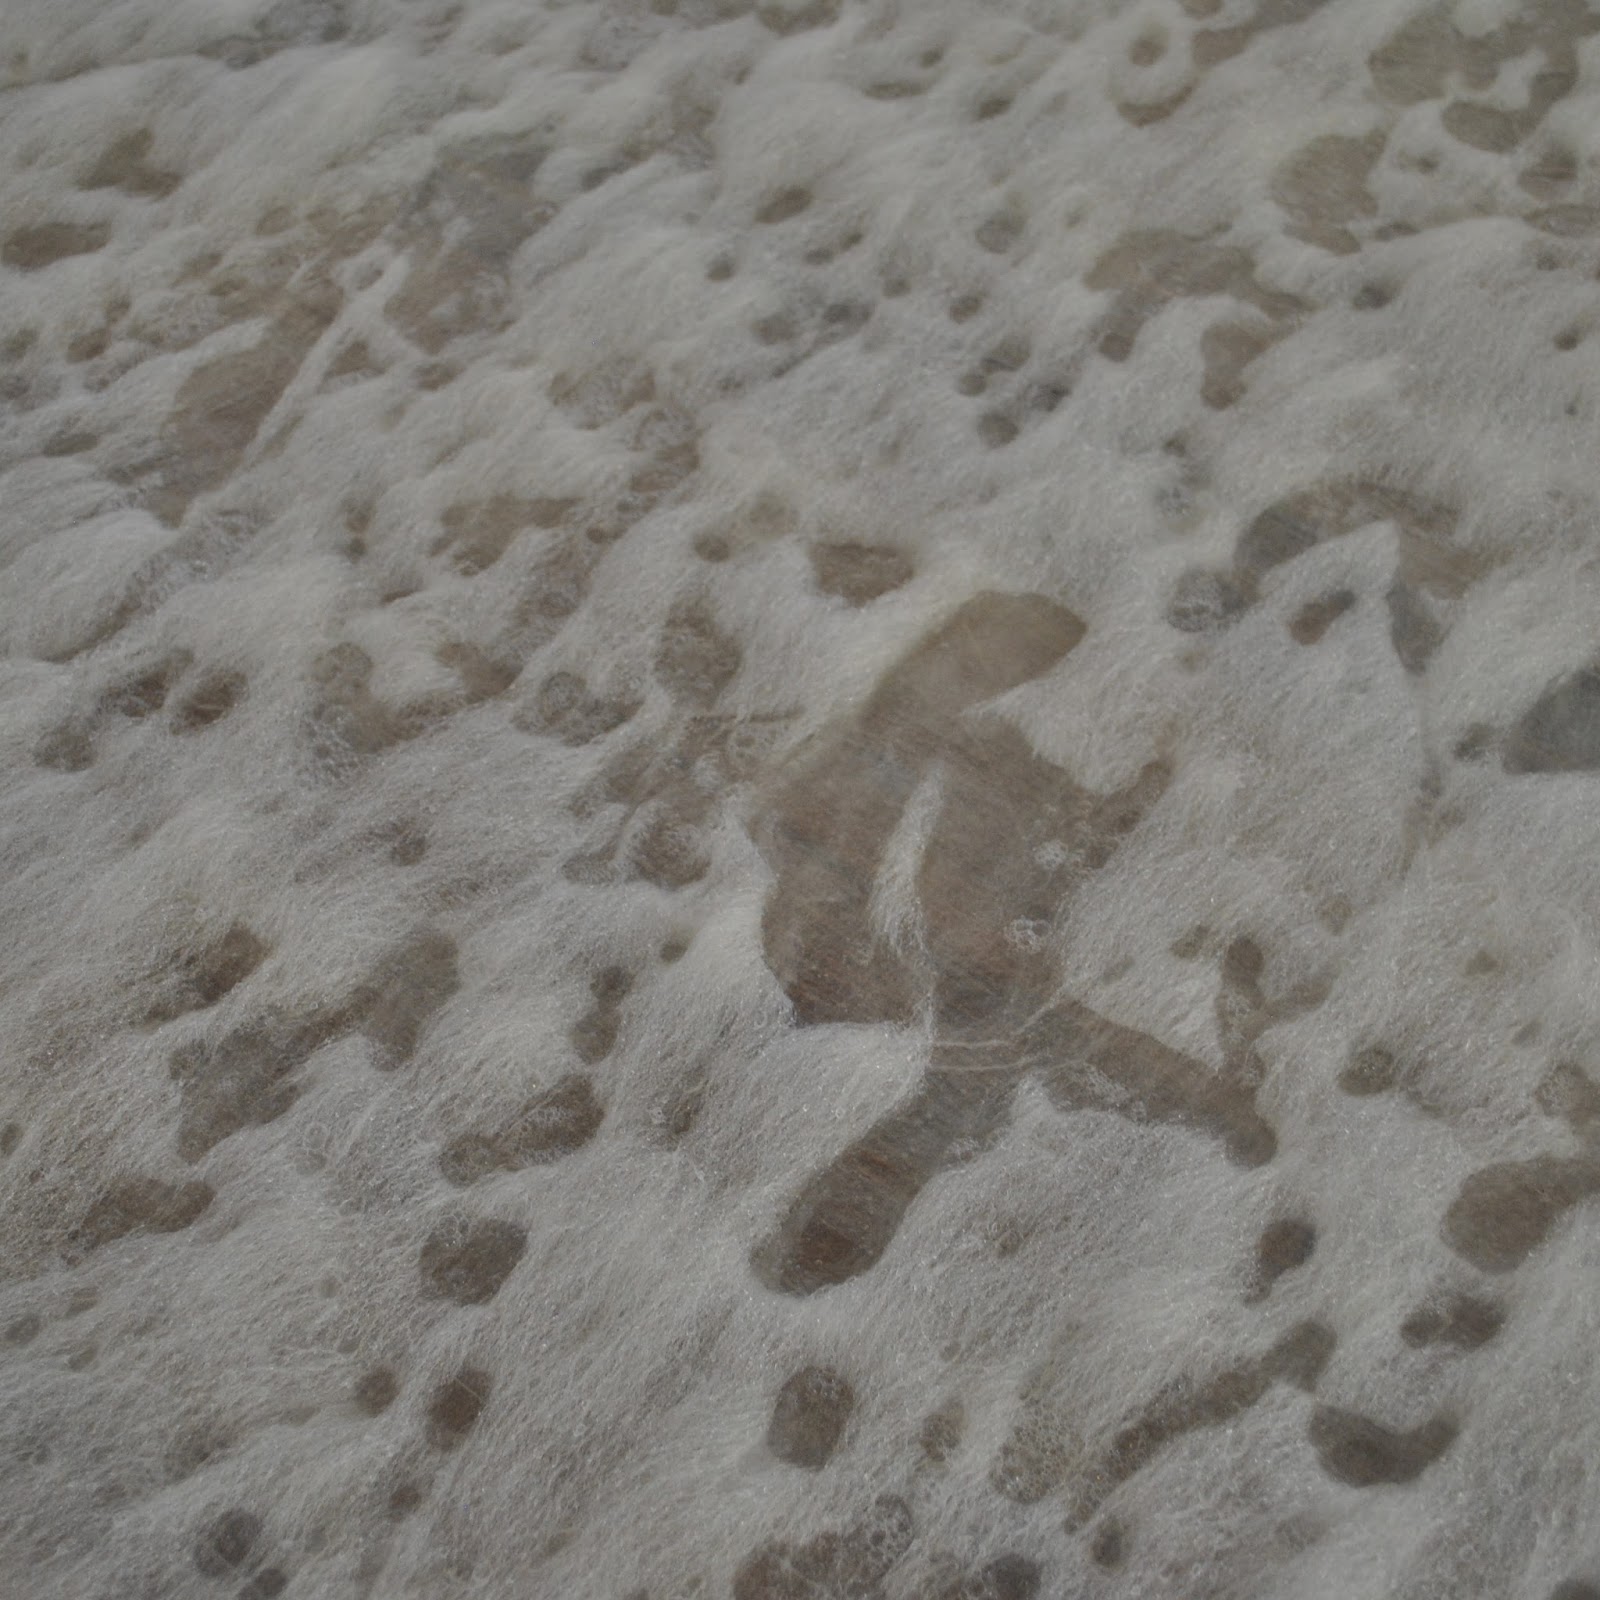
Check all over to make sure there are no dry bits; and once the fleece is wet through lay another cut-to-fit plastic dropsheet over the fleece, smoothing out any air bubbles, and start gently massaging to felt the fleece together. Be light but firm, use small circular movements, and cover the whole area evenly. Every now and again peel back a corner to check that it’s felting together.
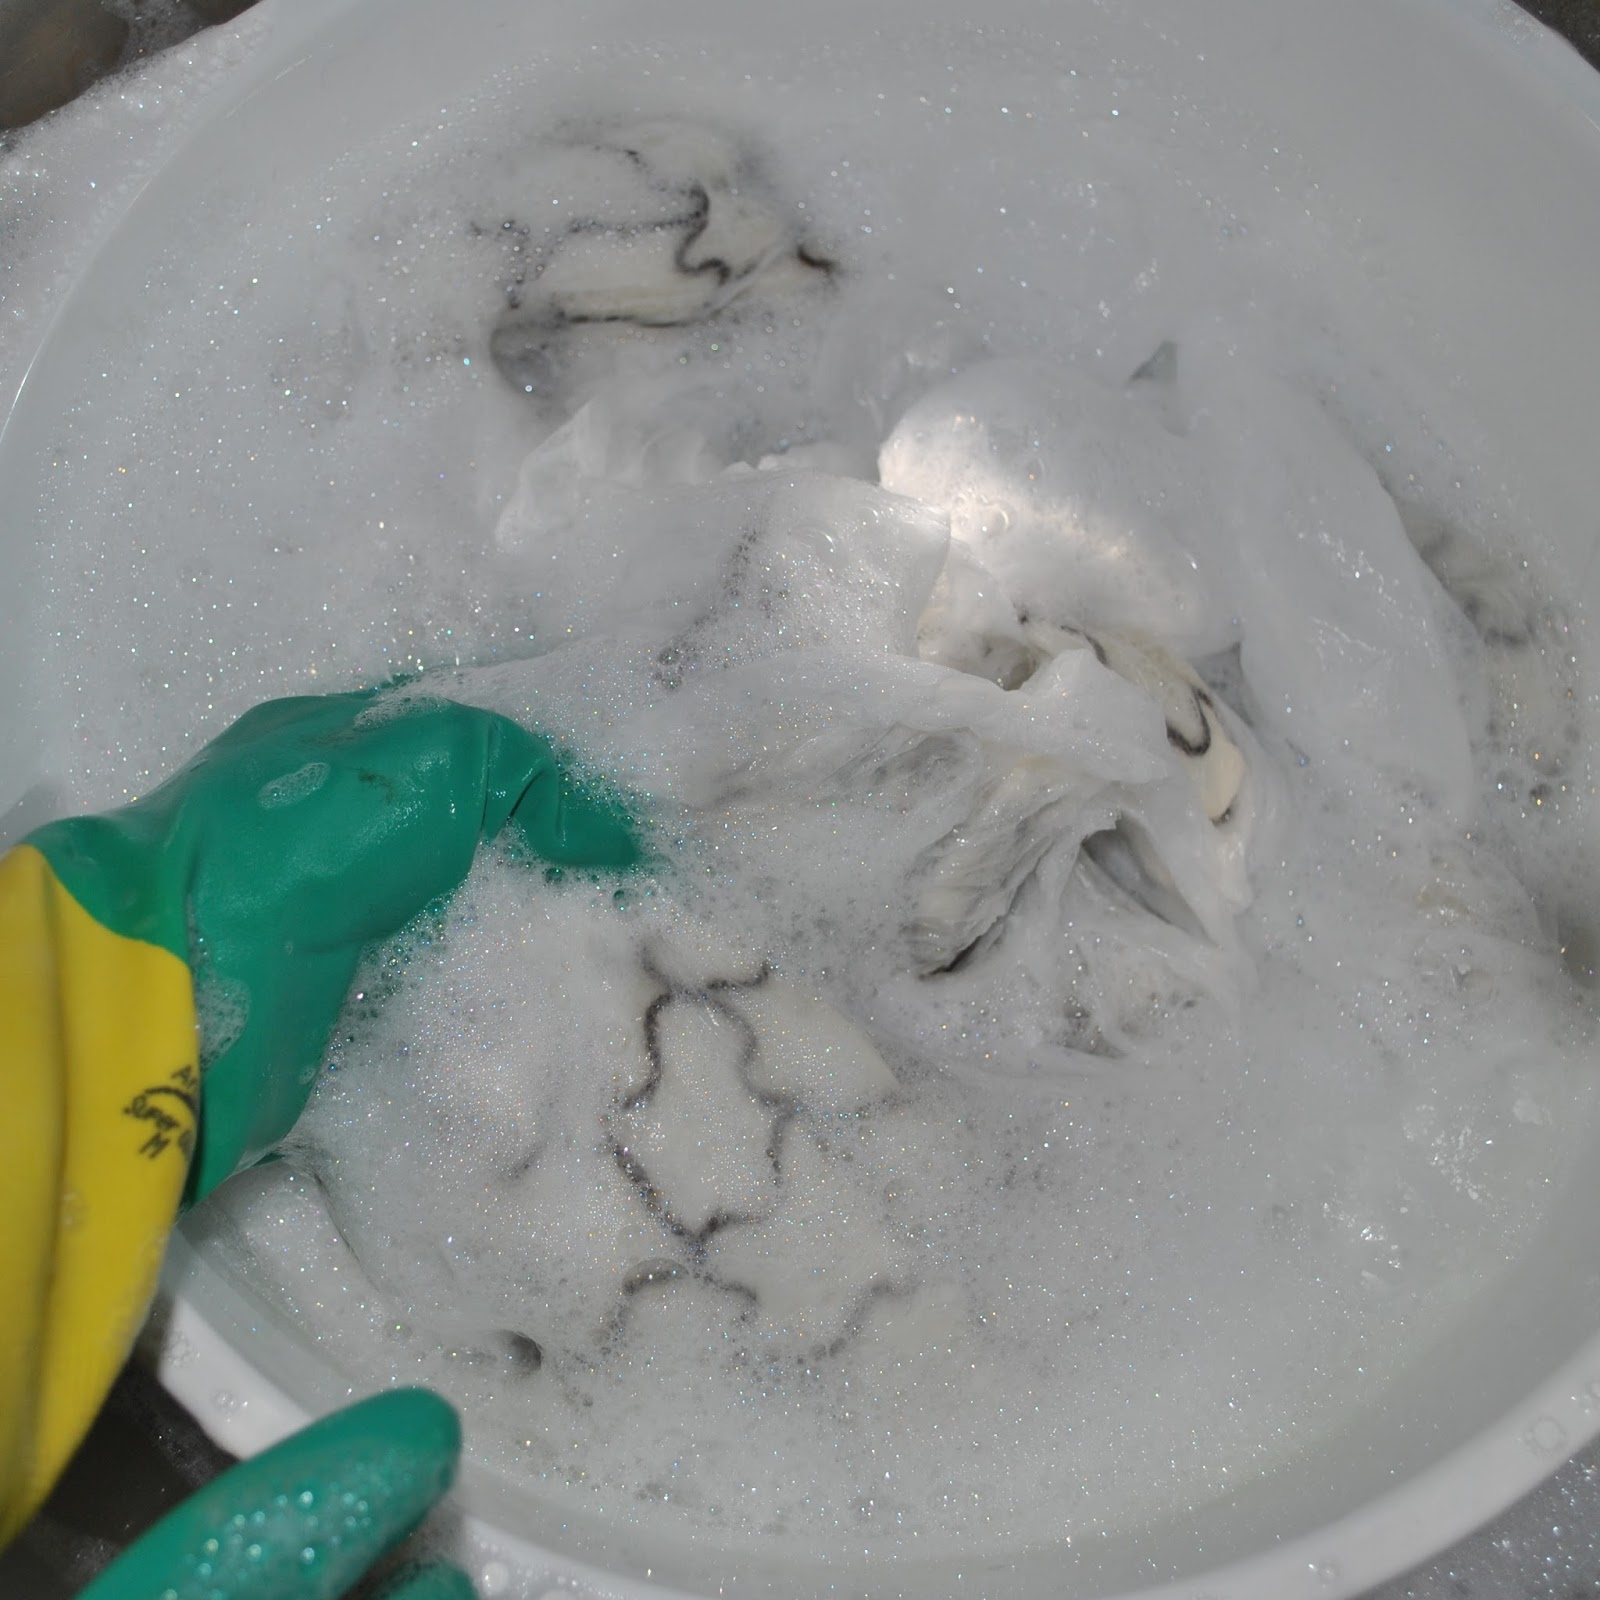
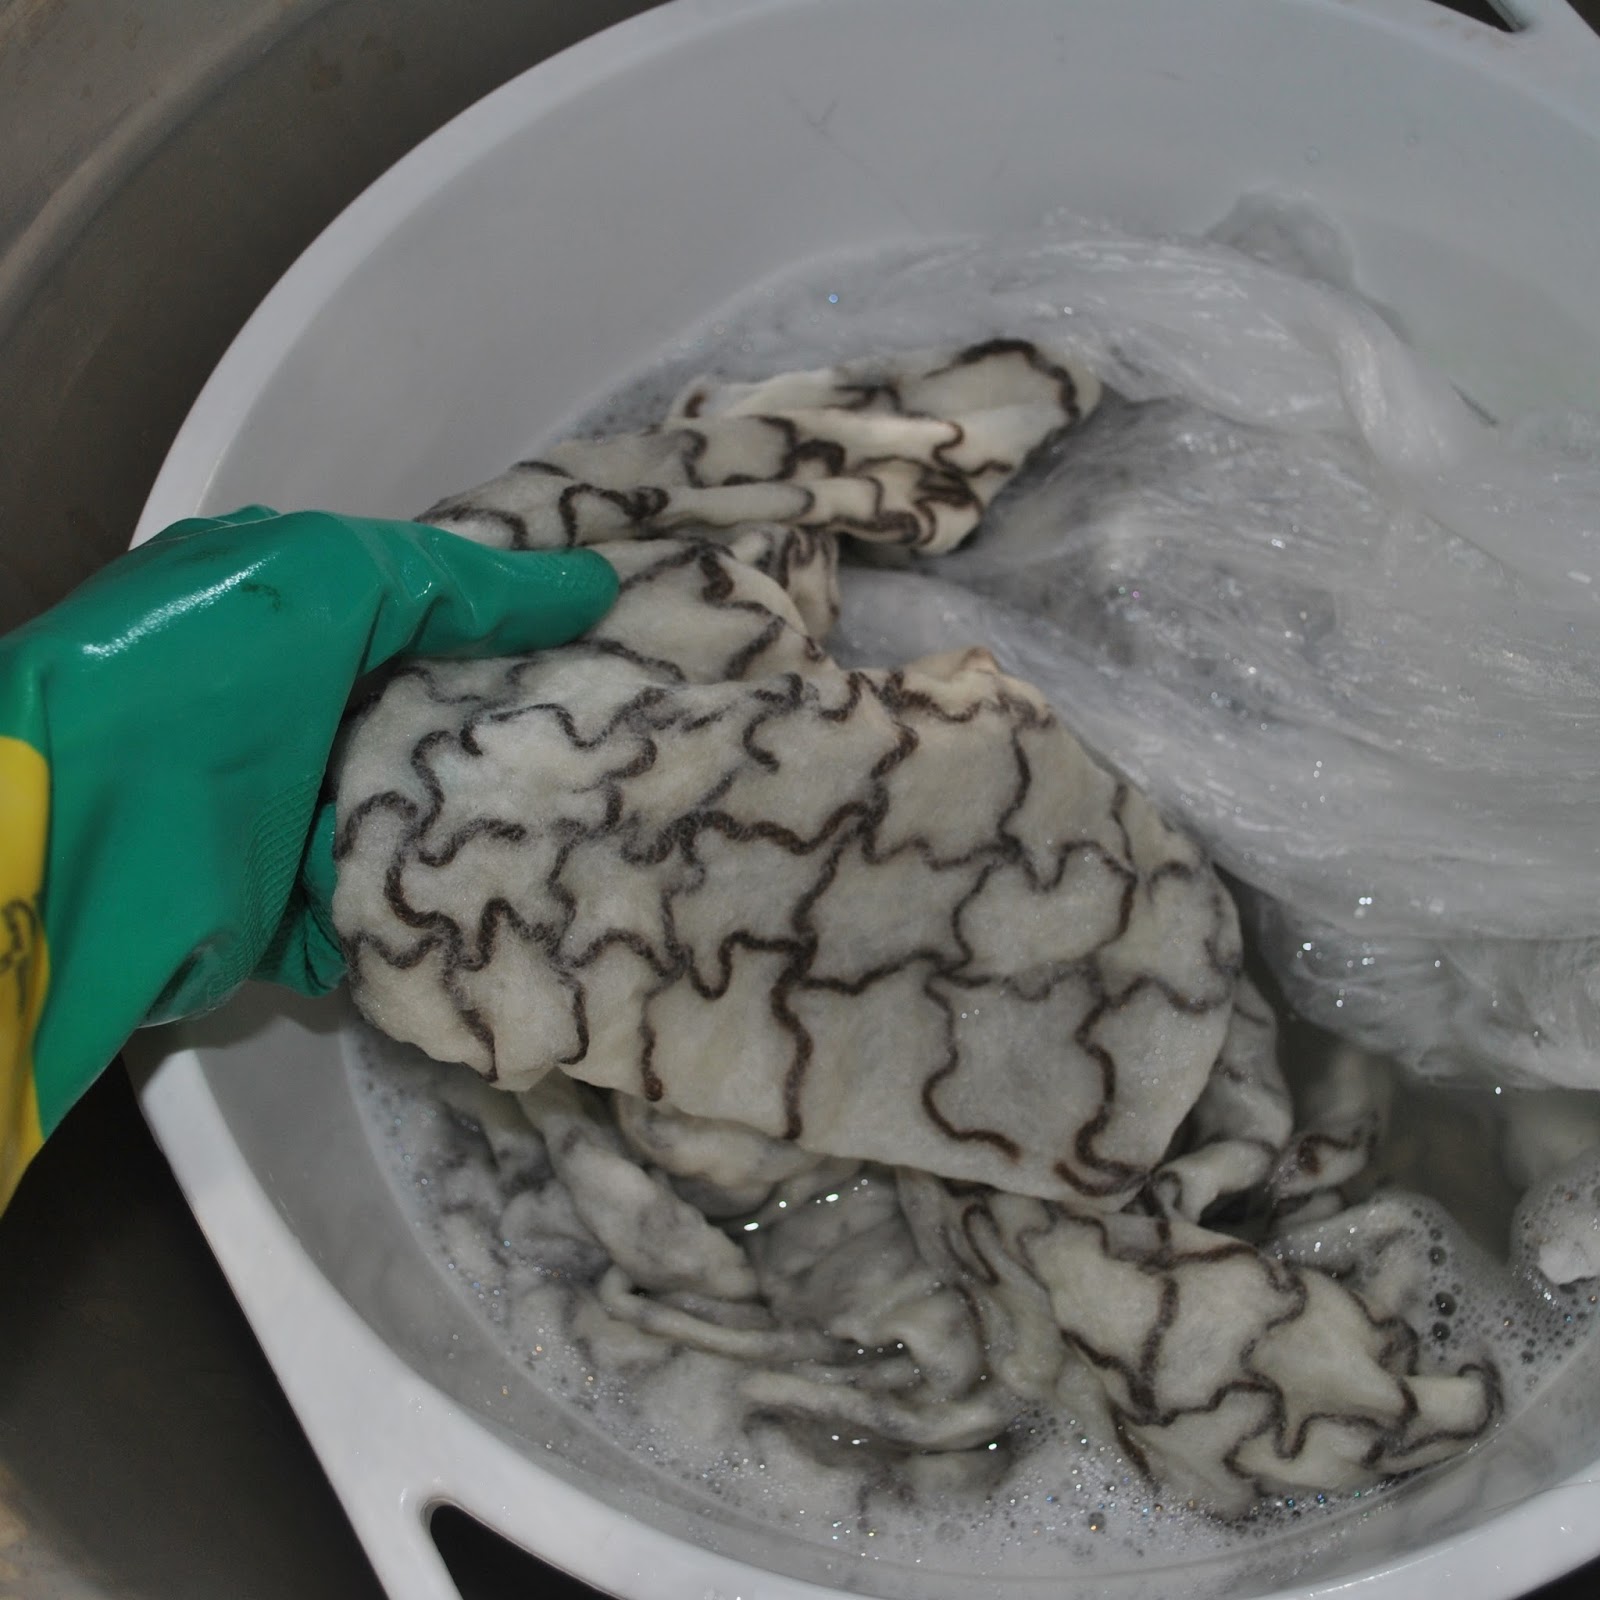
Once it seems to be melded and matted together enough that you can peel a corner away from the plastic and it seems to hold together in a sodden sheet of wool; replace that corner back between the plastic layers, and roll or fold the whole shebang up. Fill a bucket with quite warm, but not hot! soapy water, plonk it in and start to gently agitate the plastic-wrapped fleece in the water. Use the same sort of movements you would if you were hand-washing a precious cashmere jumper. So, a bit of smooth slow swooshing, but no rubbing and nothing very vigorous. Just some nice gentle easy swirling.
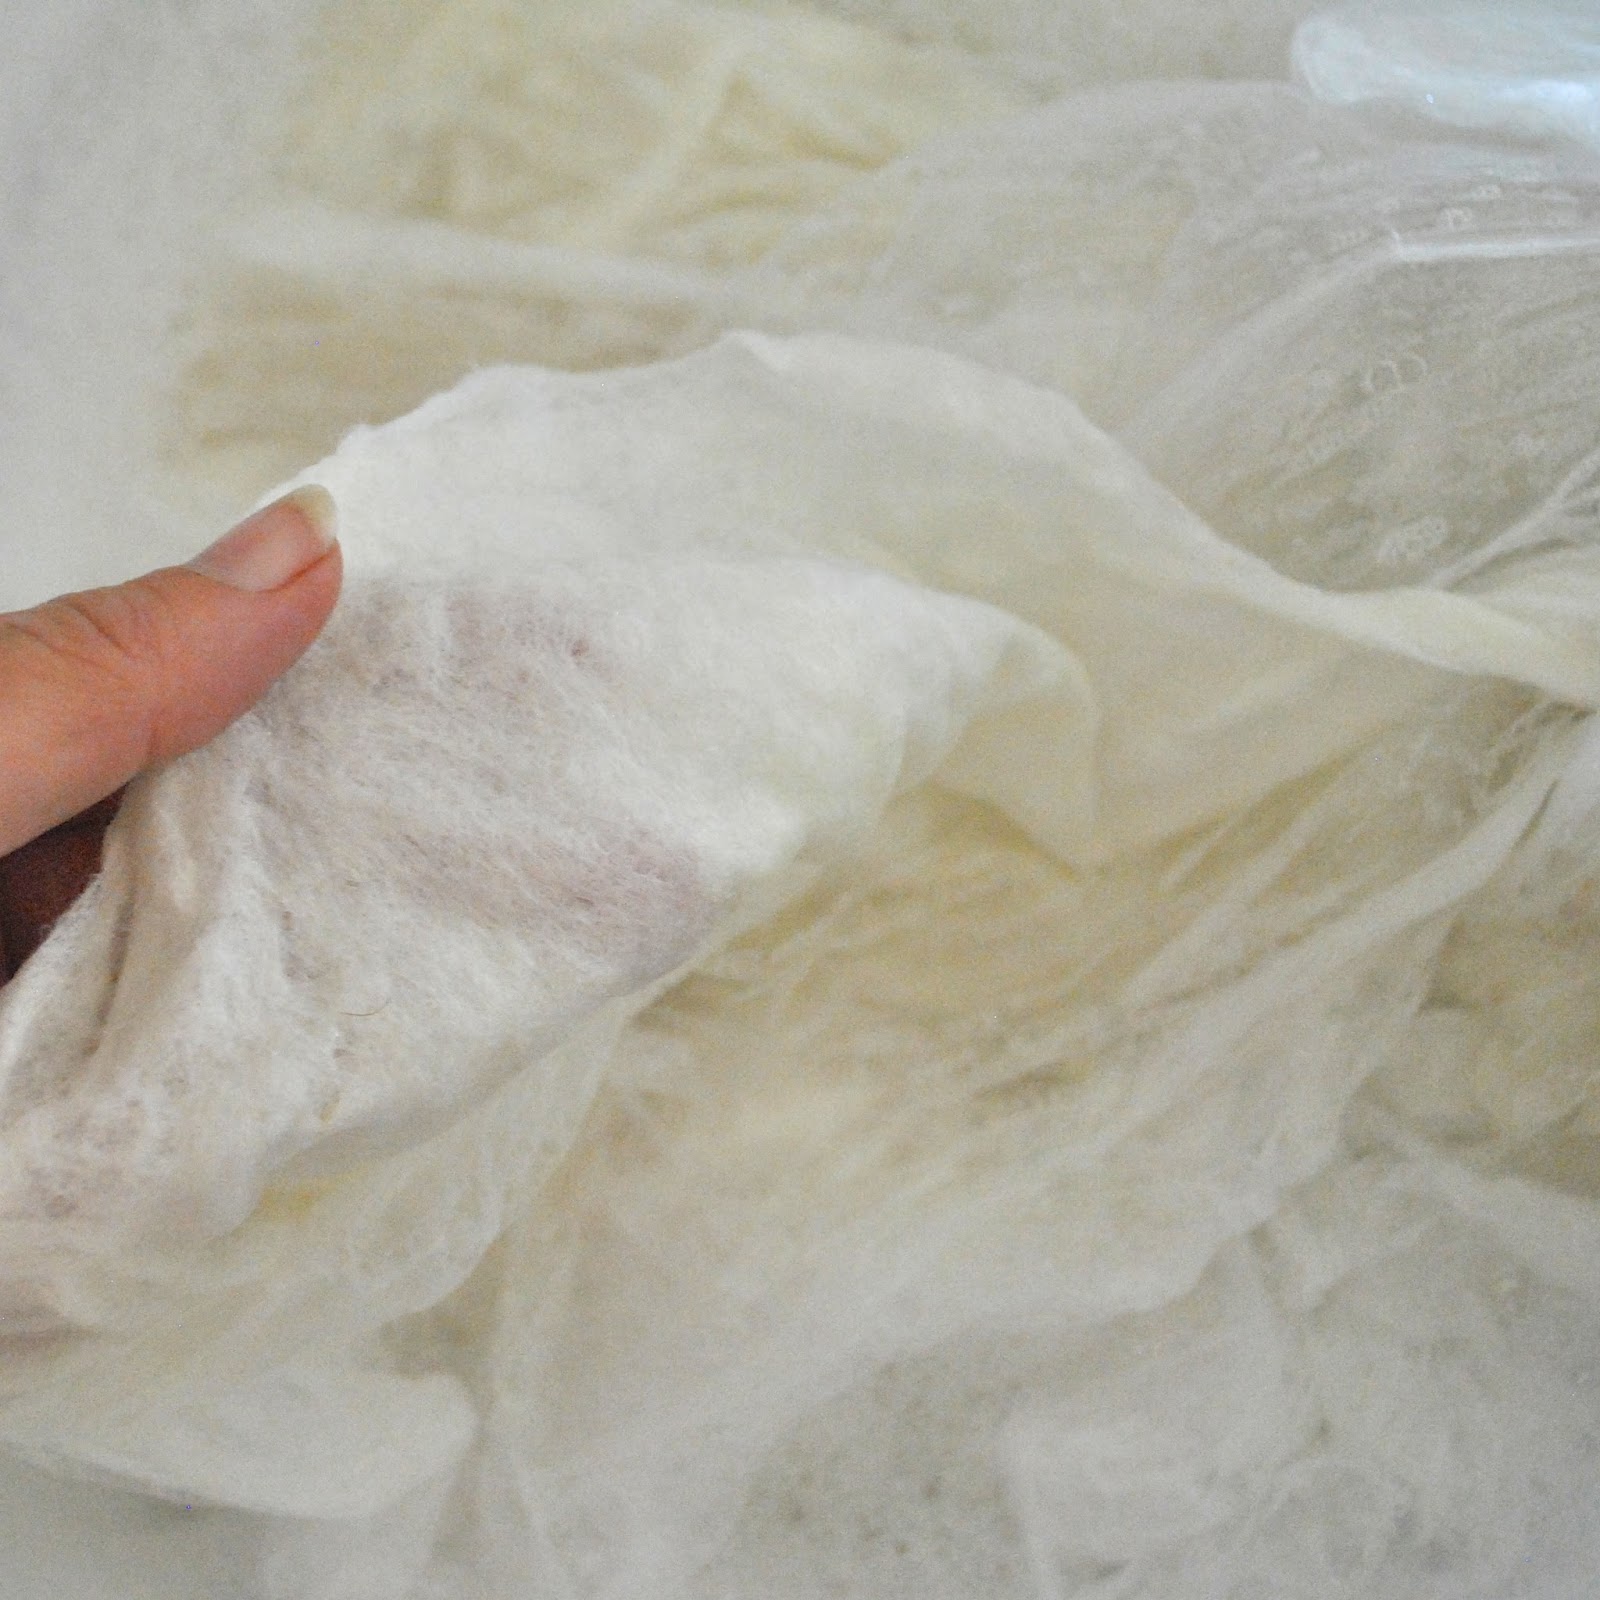
After a few minutes, say 5-10 minutes of this; check to see how the felting is going. Once it has achieved a more stable, fabric-like texture you can peel away the plastic and remove that from the bucket.
Gently rinse out all the soap, using cool water. Still absolutely NO wringing or twisting the felt during this delicate procedure!!
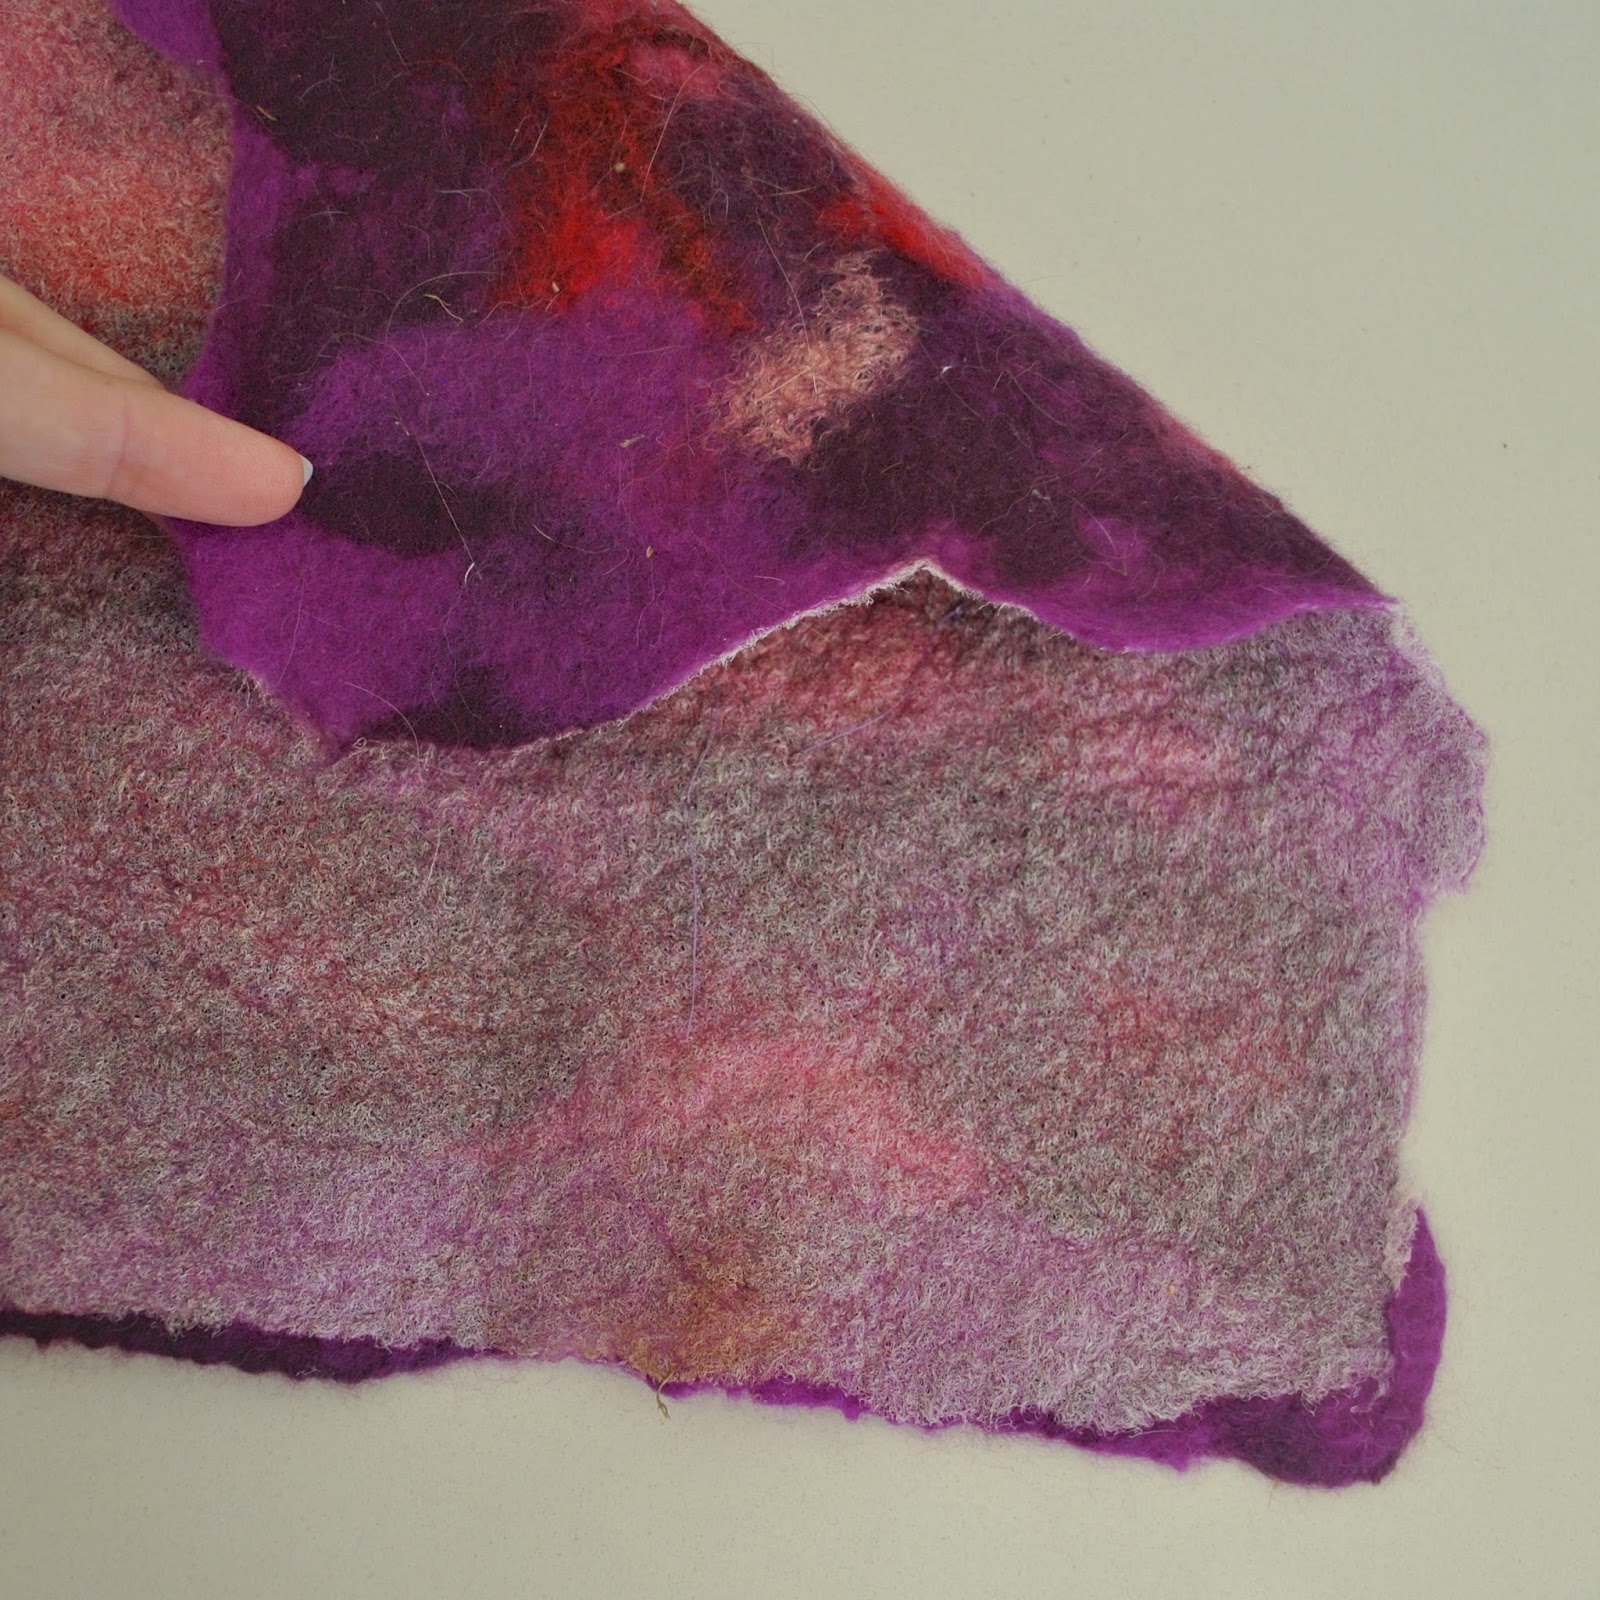
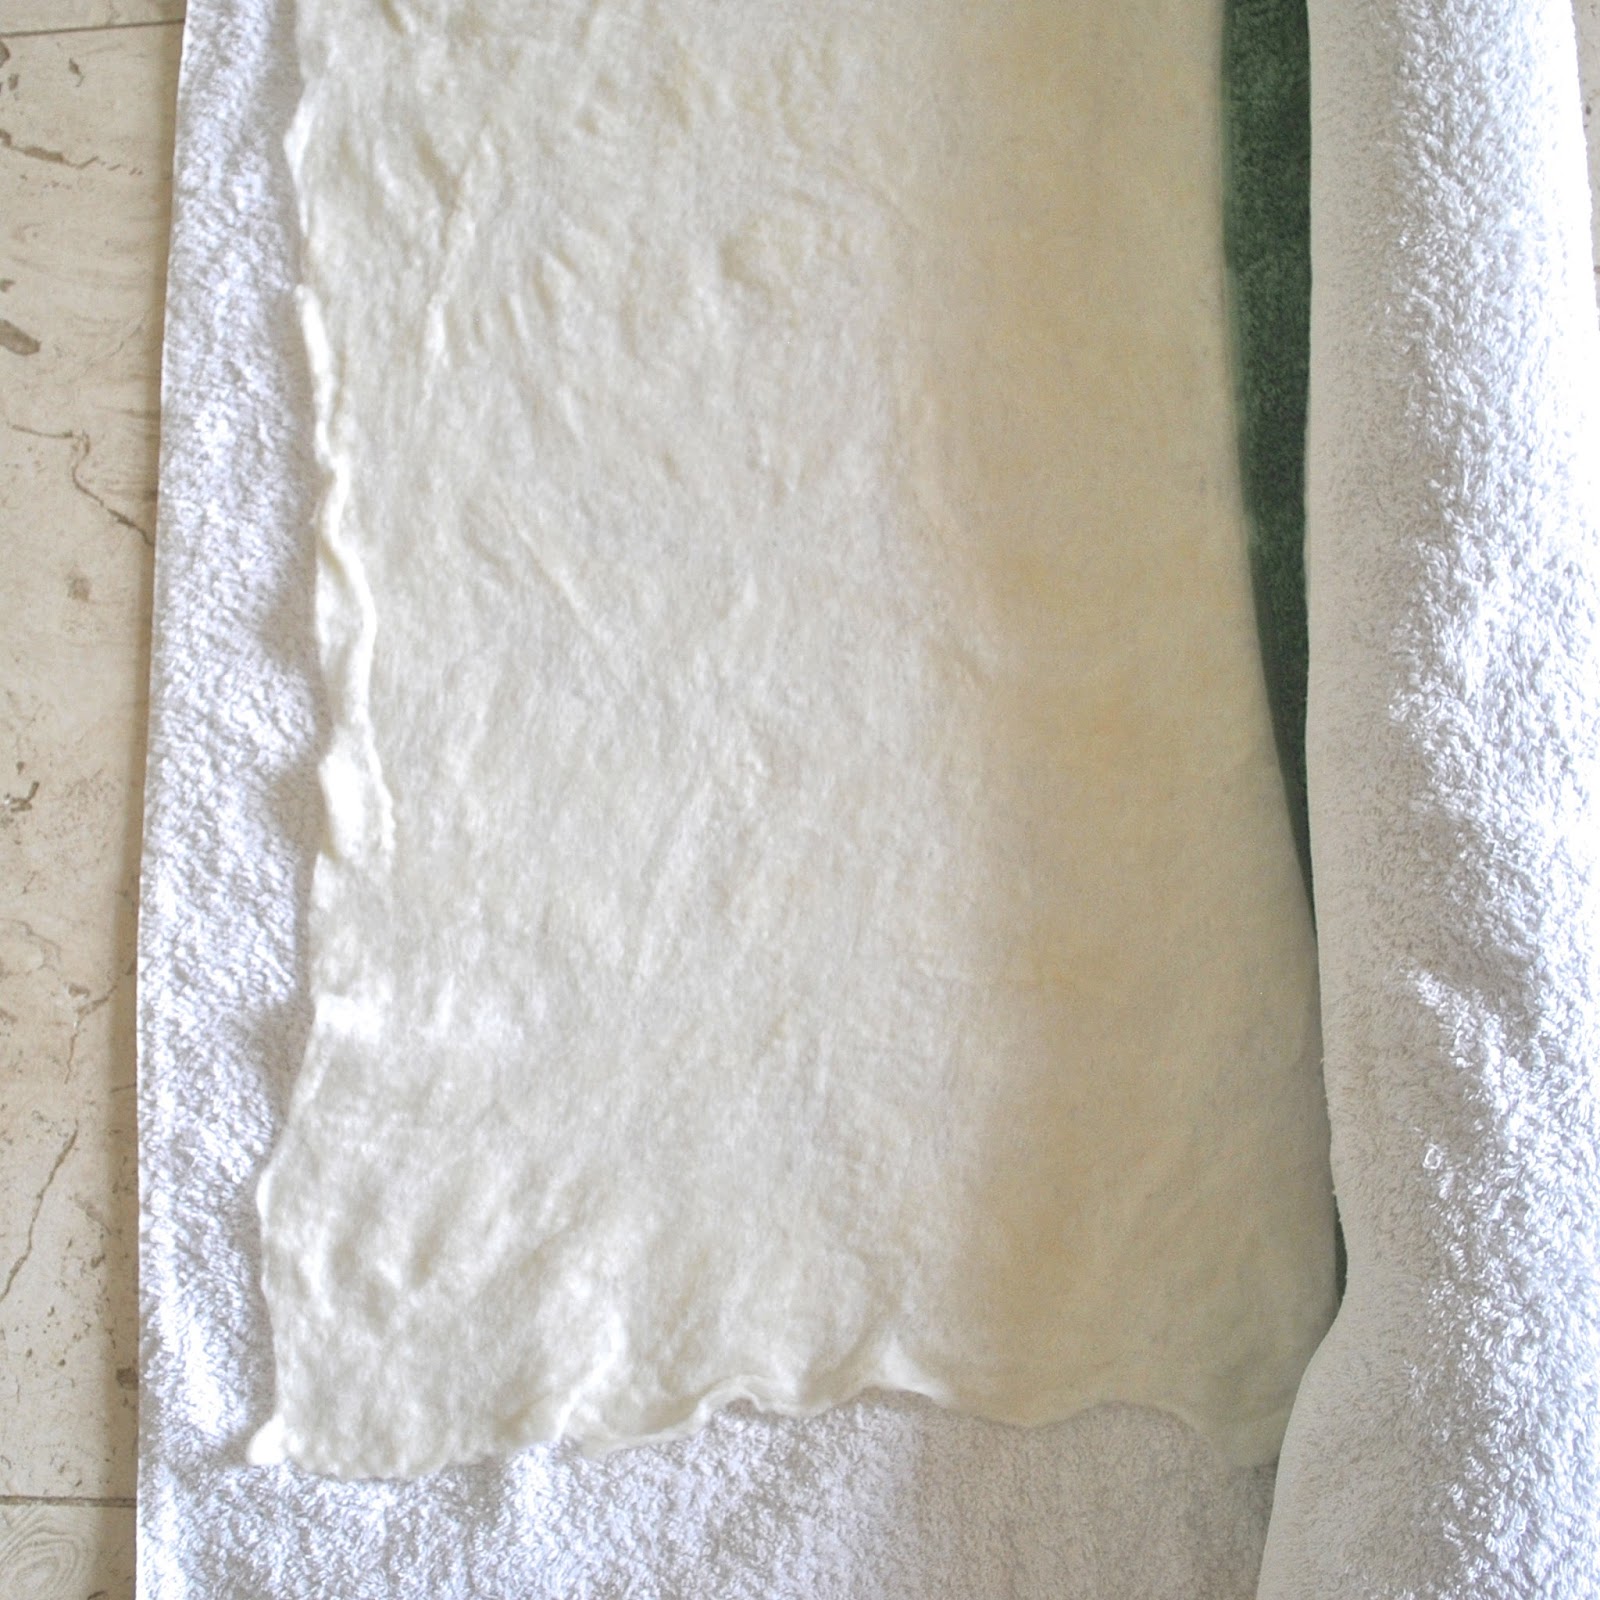
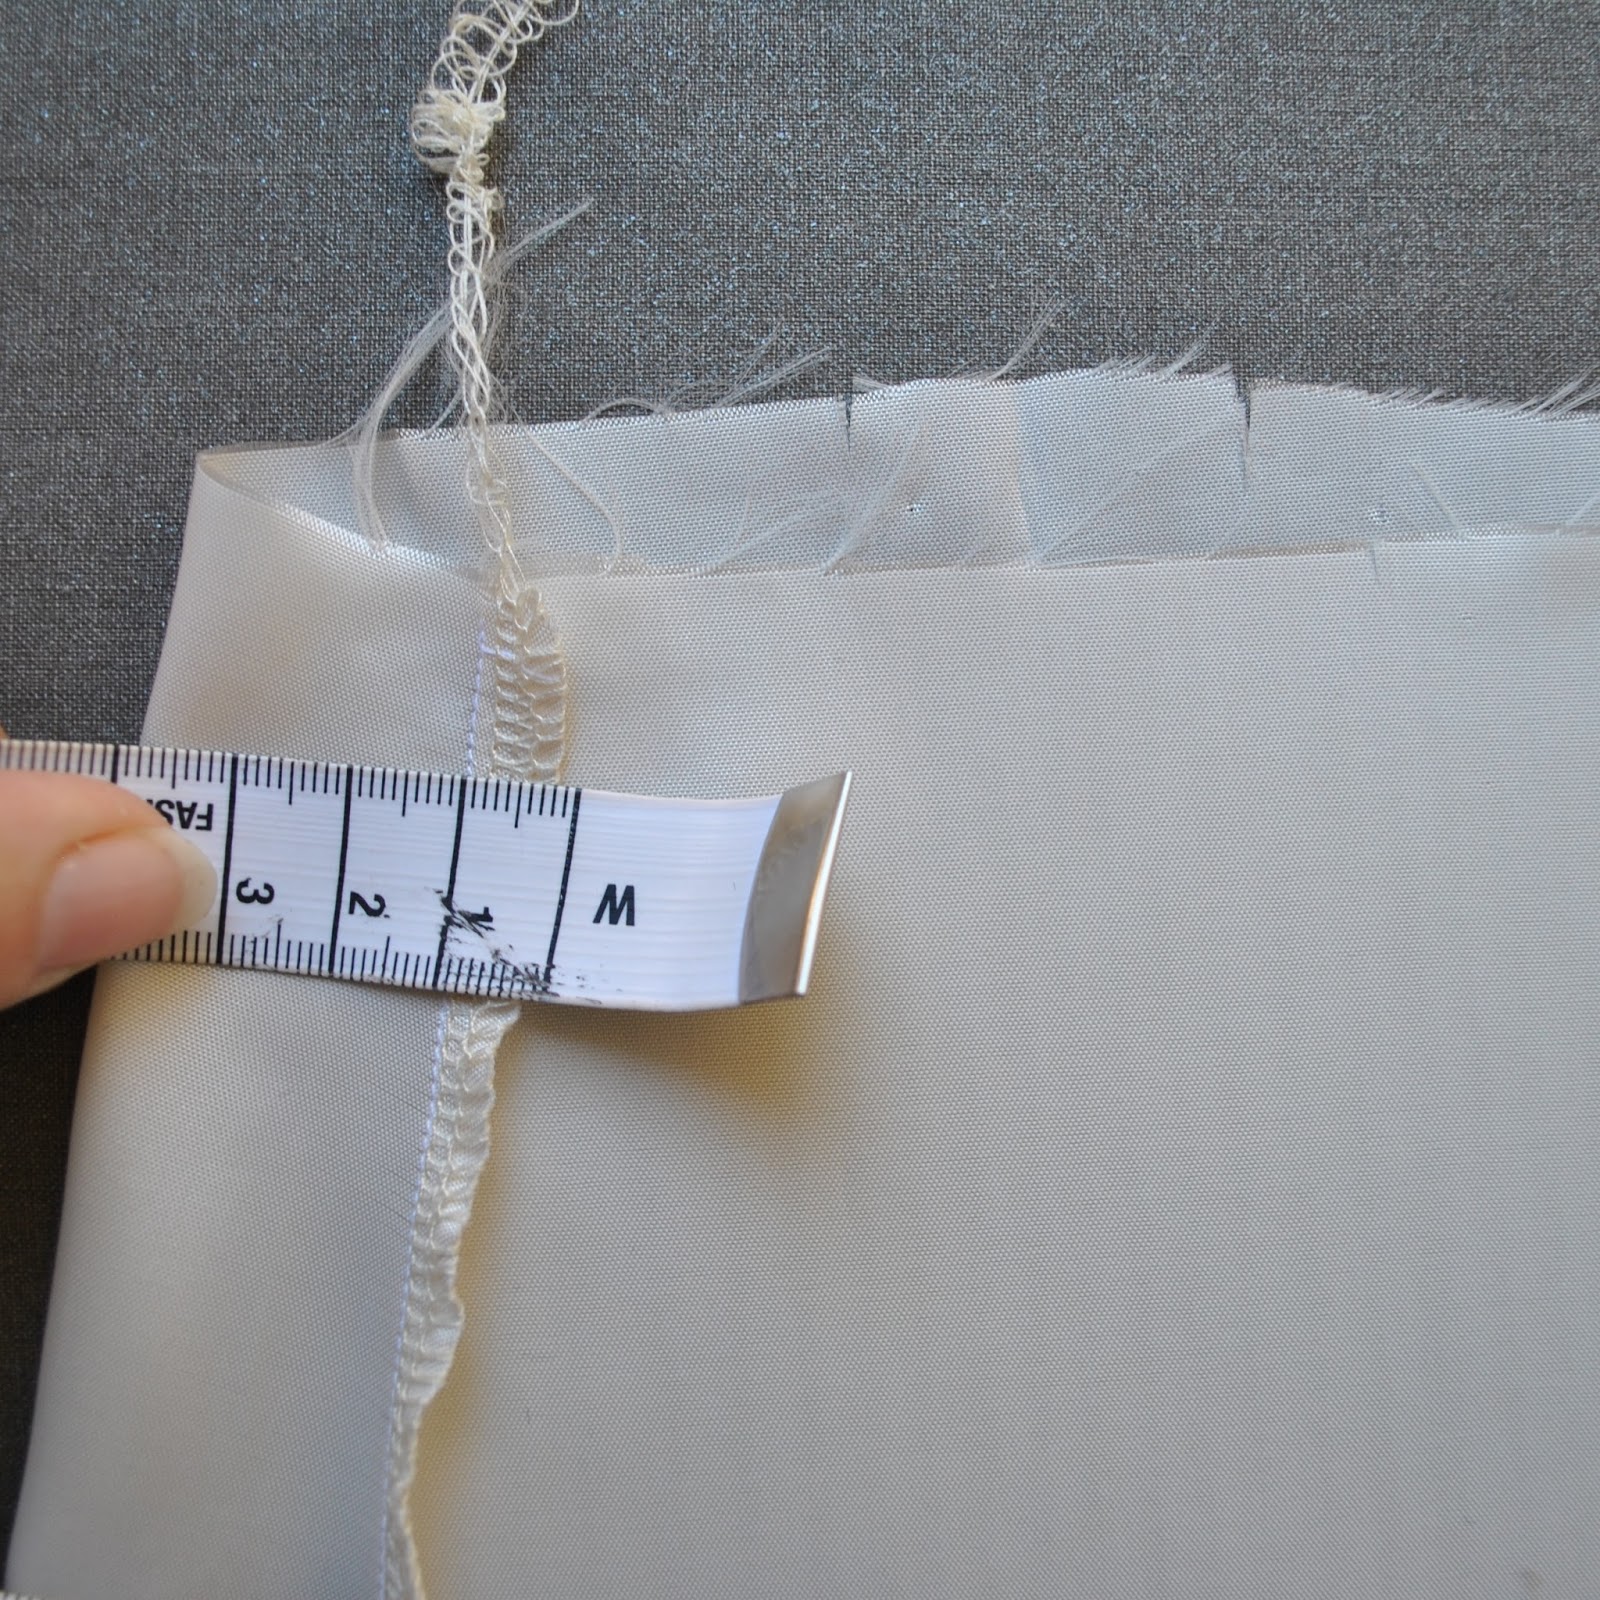
Just like you would that precious cashmere jumper; gently squeeze some excess water out, then lay the felt out on old towels and smooth it out as flat and smooth and even as possible. Gently pull it into shape, tease out the crumply edges, smooth out any creases or little folds. It will have shrunk somewhat during the felting process. For the record; I initially laid out my fleece in a 90cm x 180cm rectangle. After felting; my pieces had shrunk to roughly 67cm x 133cm; ie. approx. 75% of the previous size in both dimensions.
When satisfied it is pulled flat and smooth and into a more or less rectangular shape, roll it up in the towel, smoothing out any little creases that may form as you’re going along. Squeeze excess water out by kneeling on and pressing down on the towel roll.
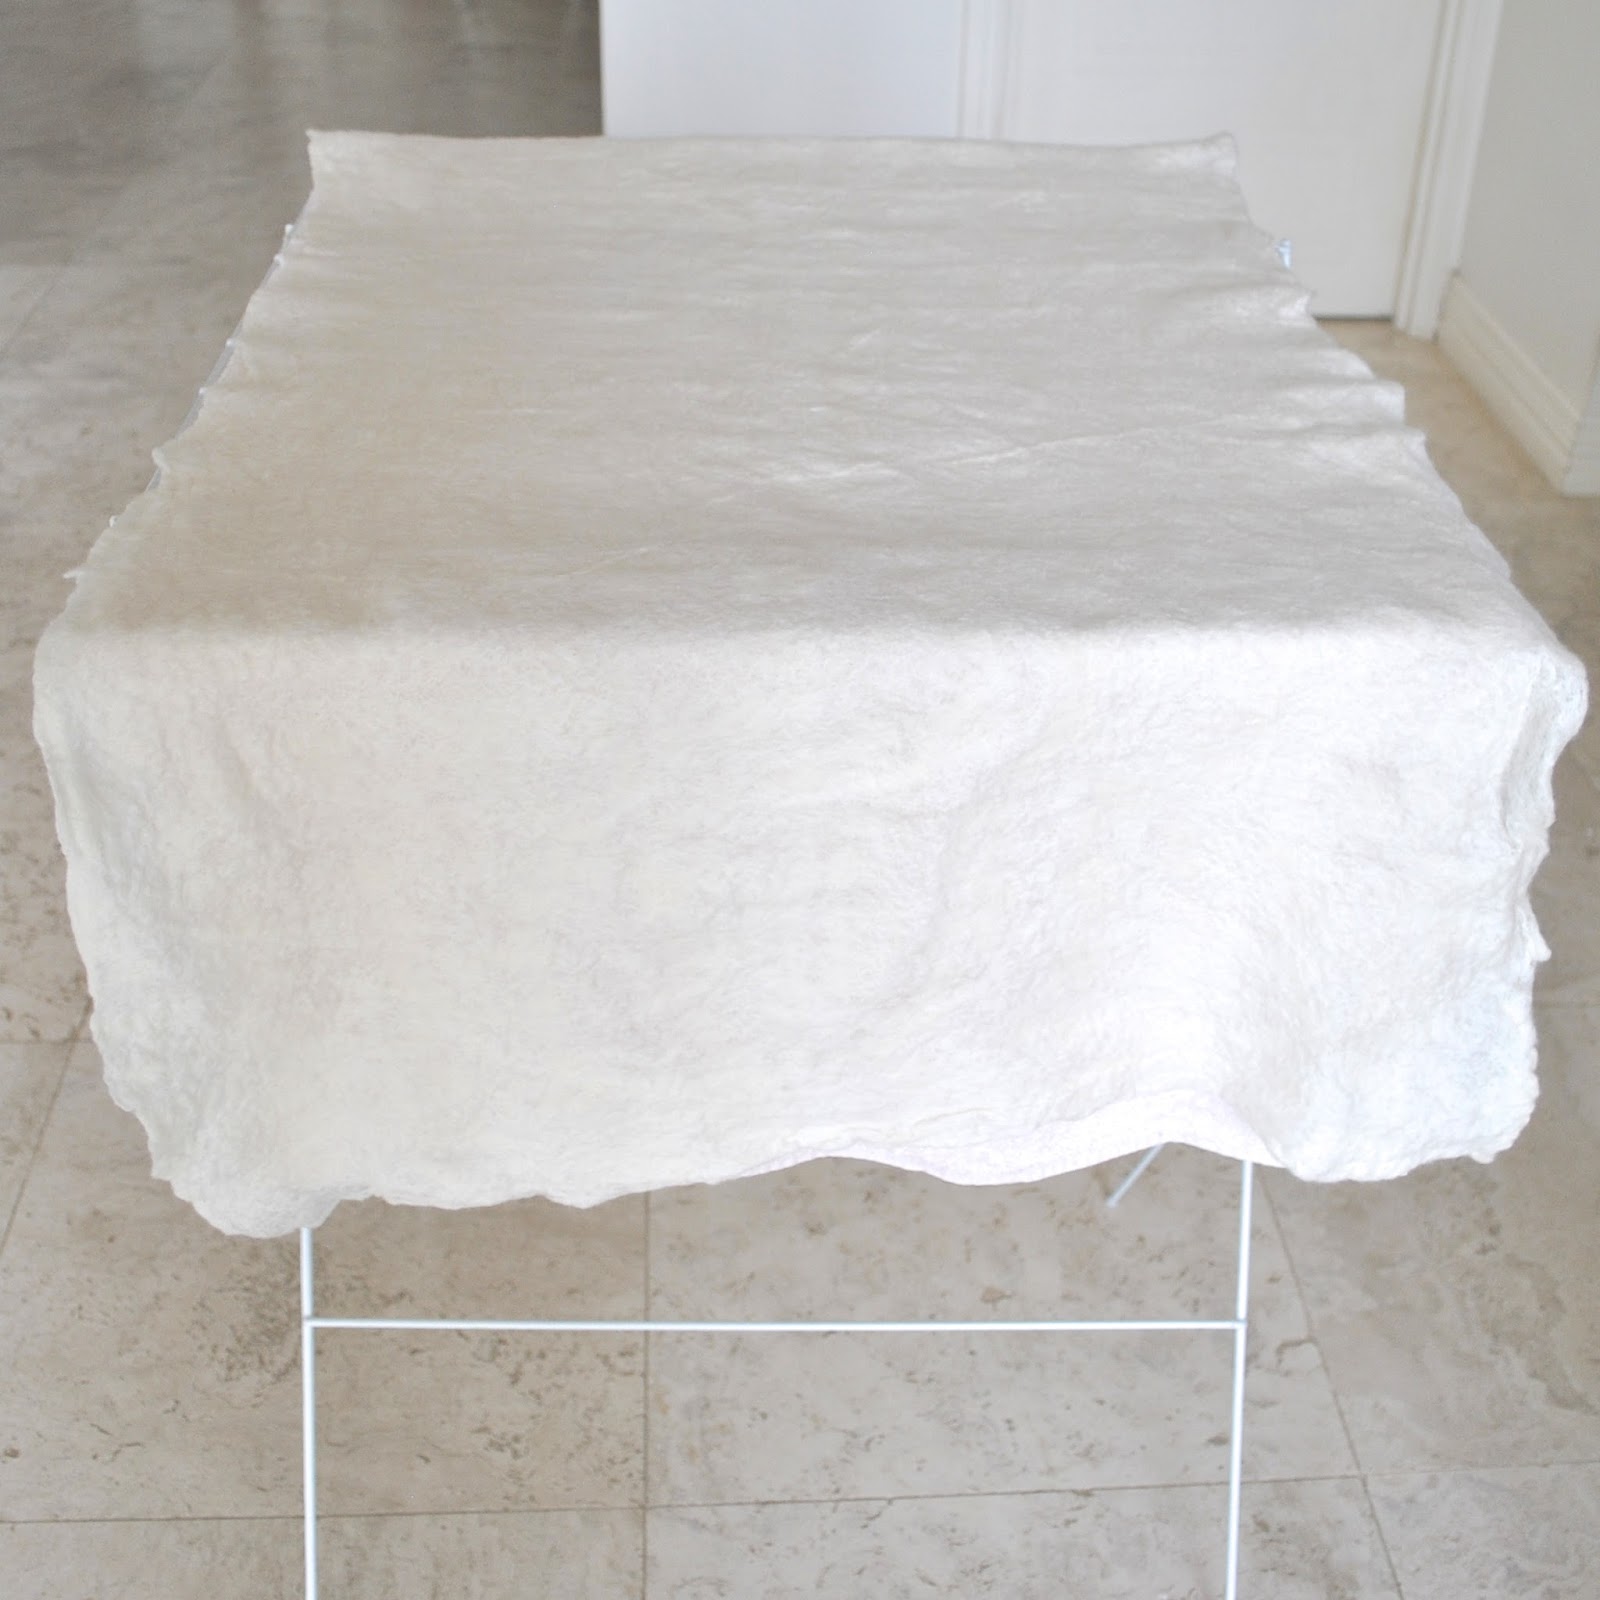
Unroll, lay the wet felt onto fresh dry towels, and let it dry flat.
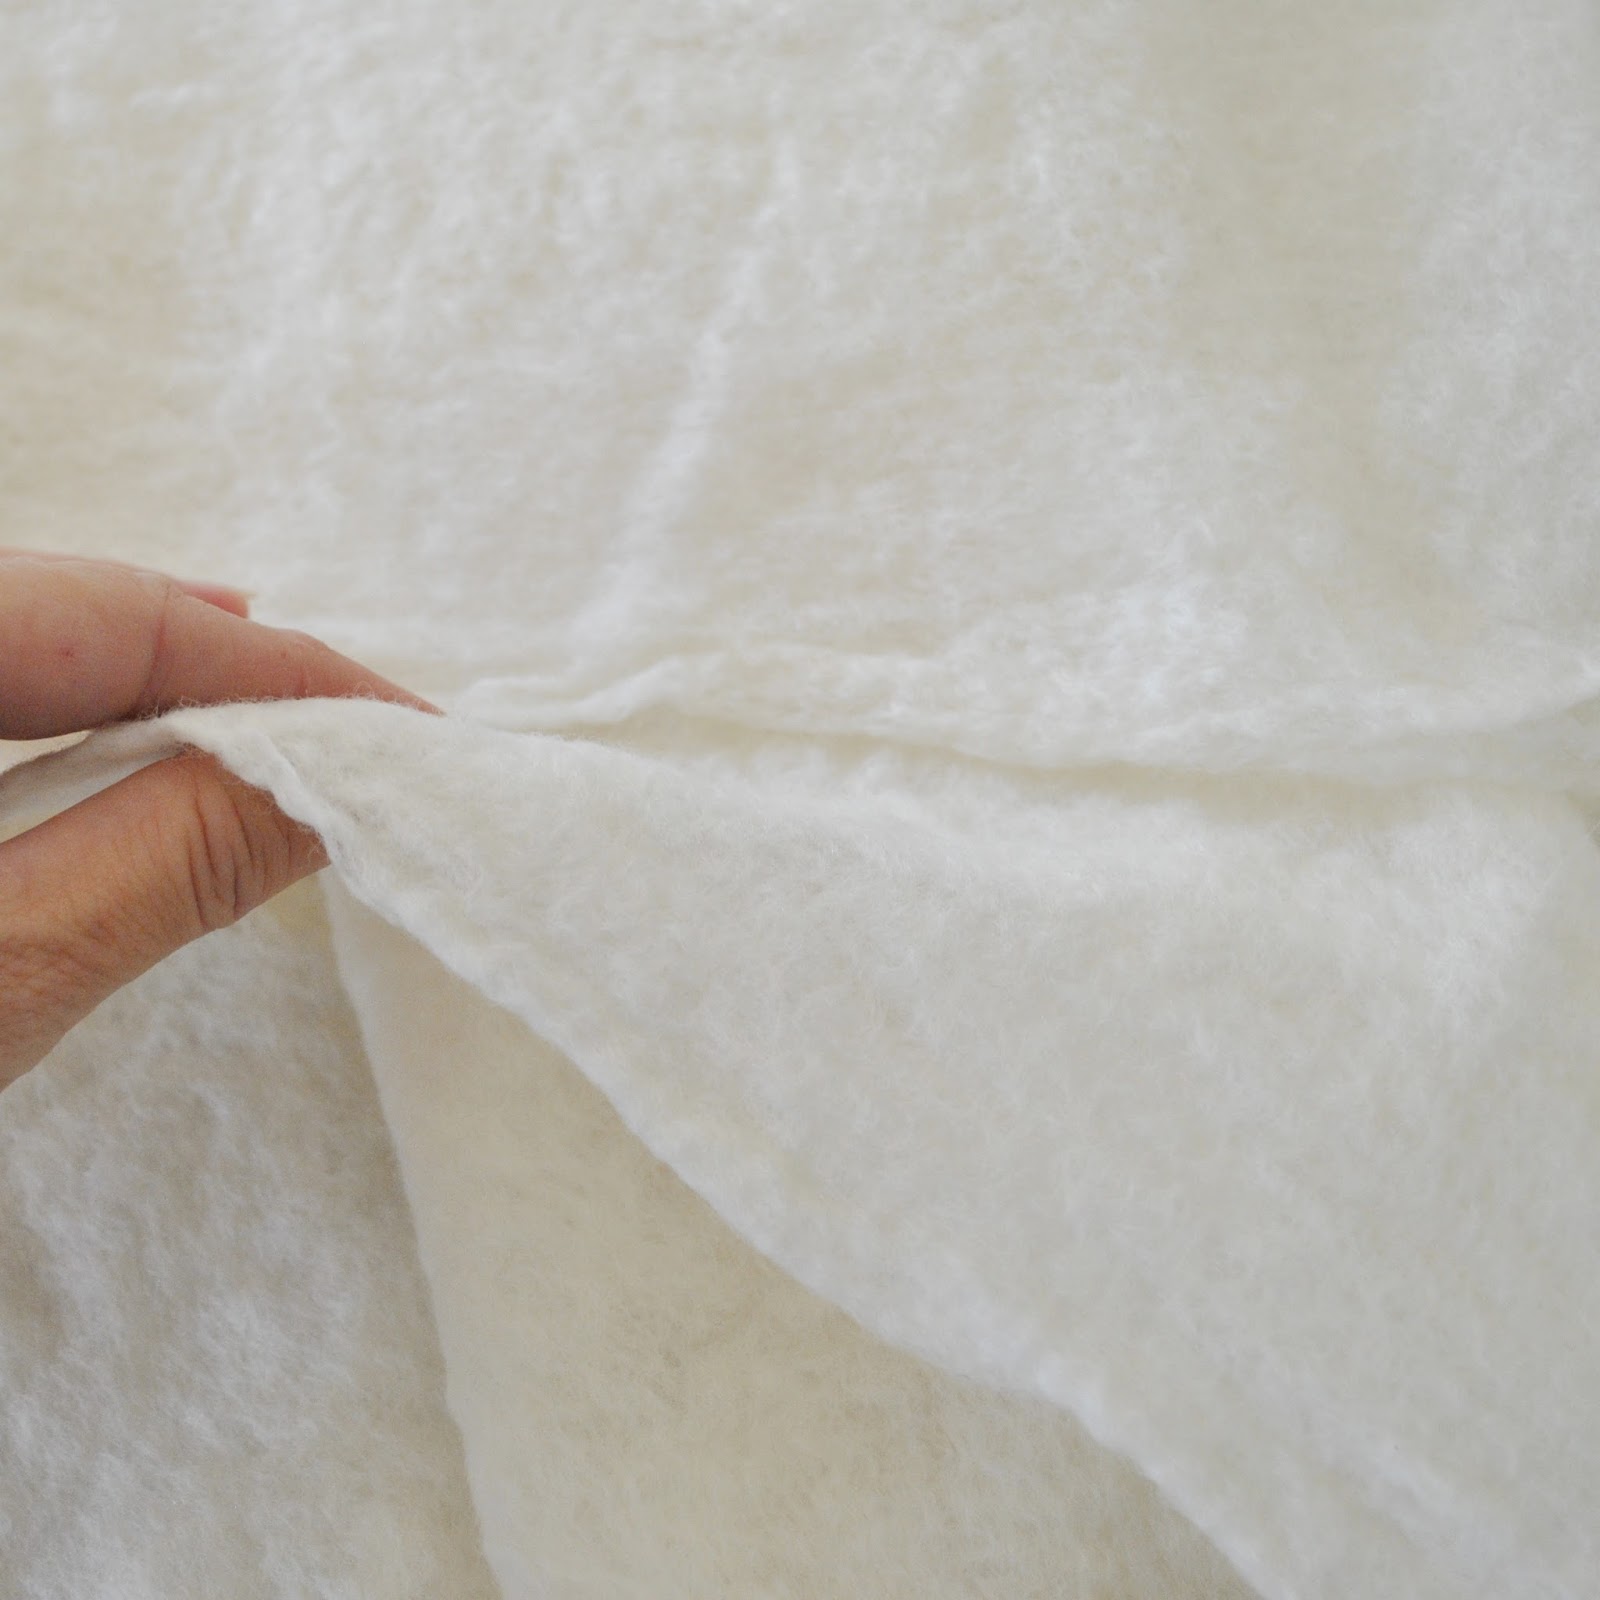
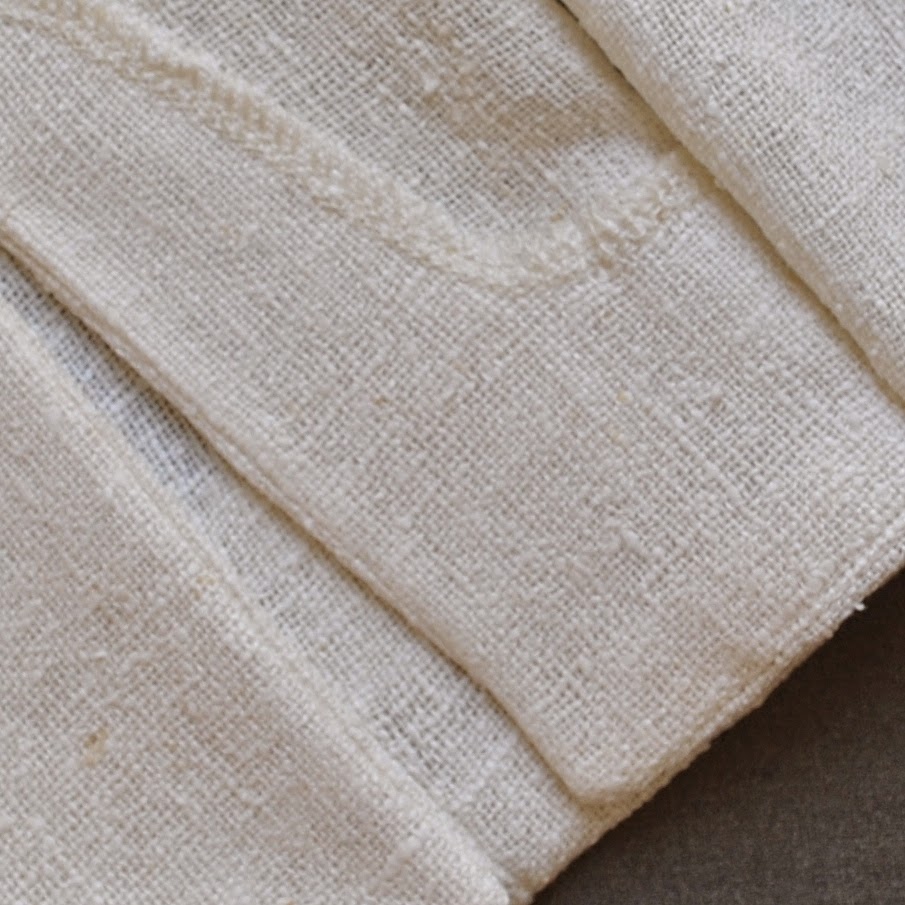
Et voila! felt!
The gridded felt is quite tough, sturdy enough to use on its own; and I plan to add extra strength to my plain cream pieces by adding some wool embroidery of some sort, which I am in the process of designing right now.
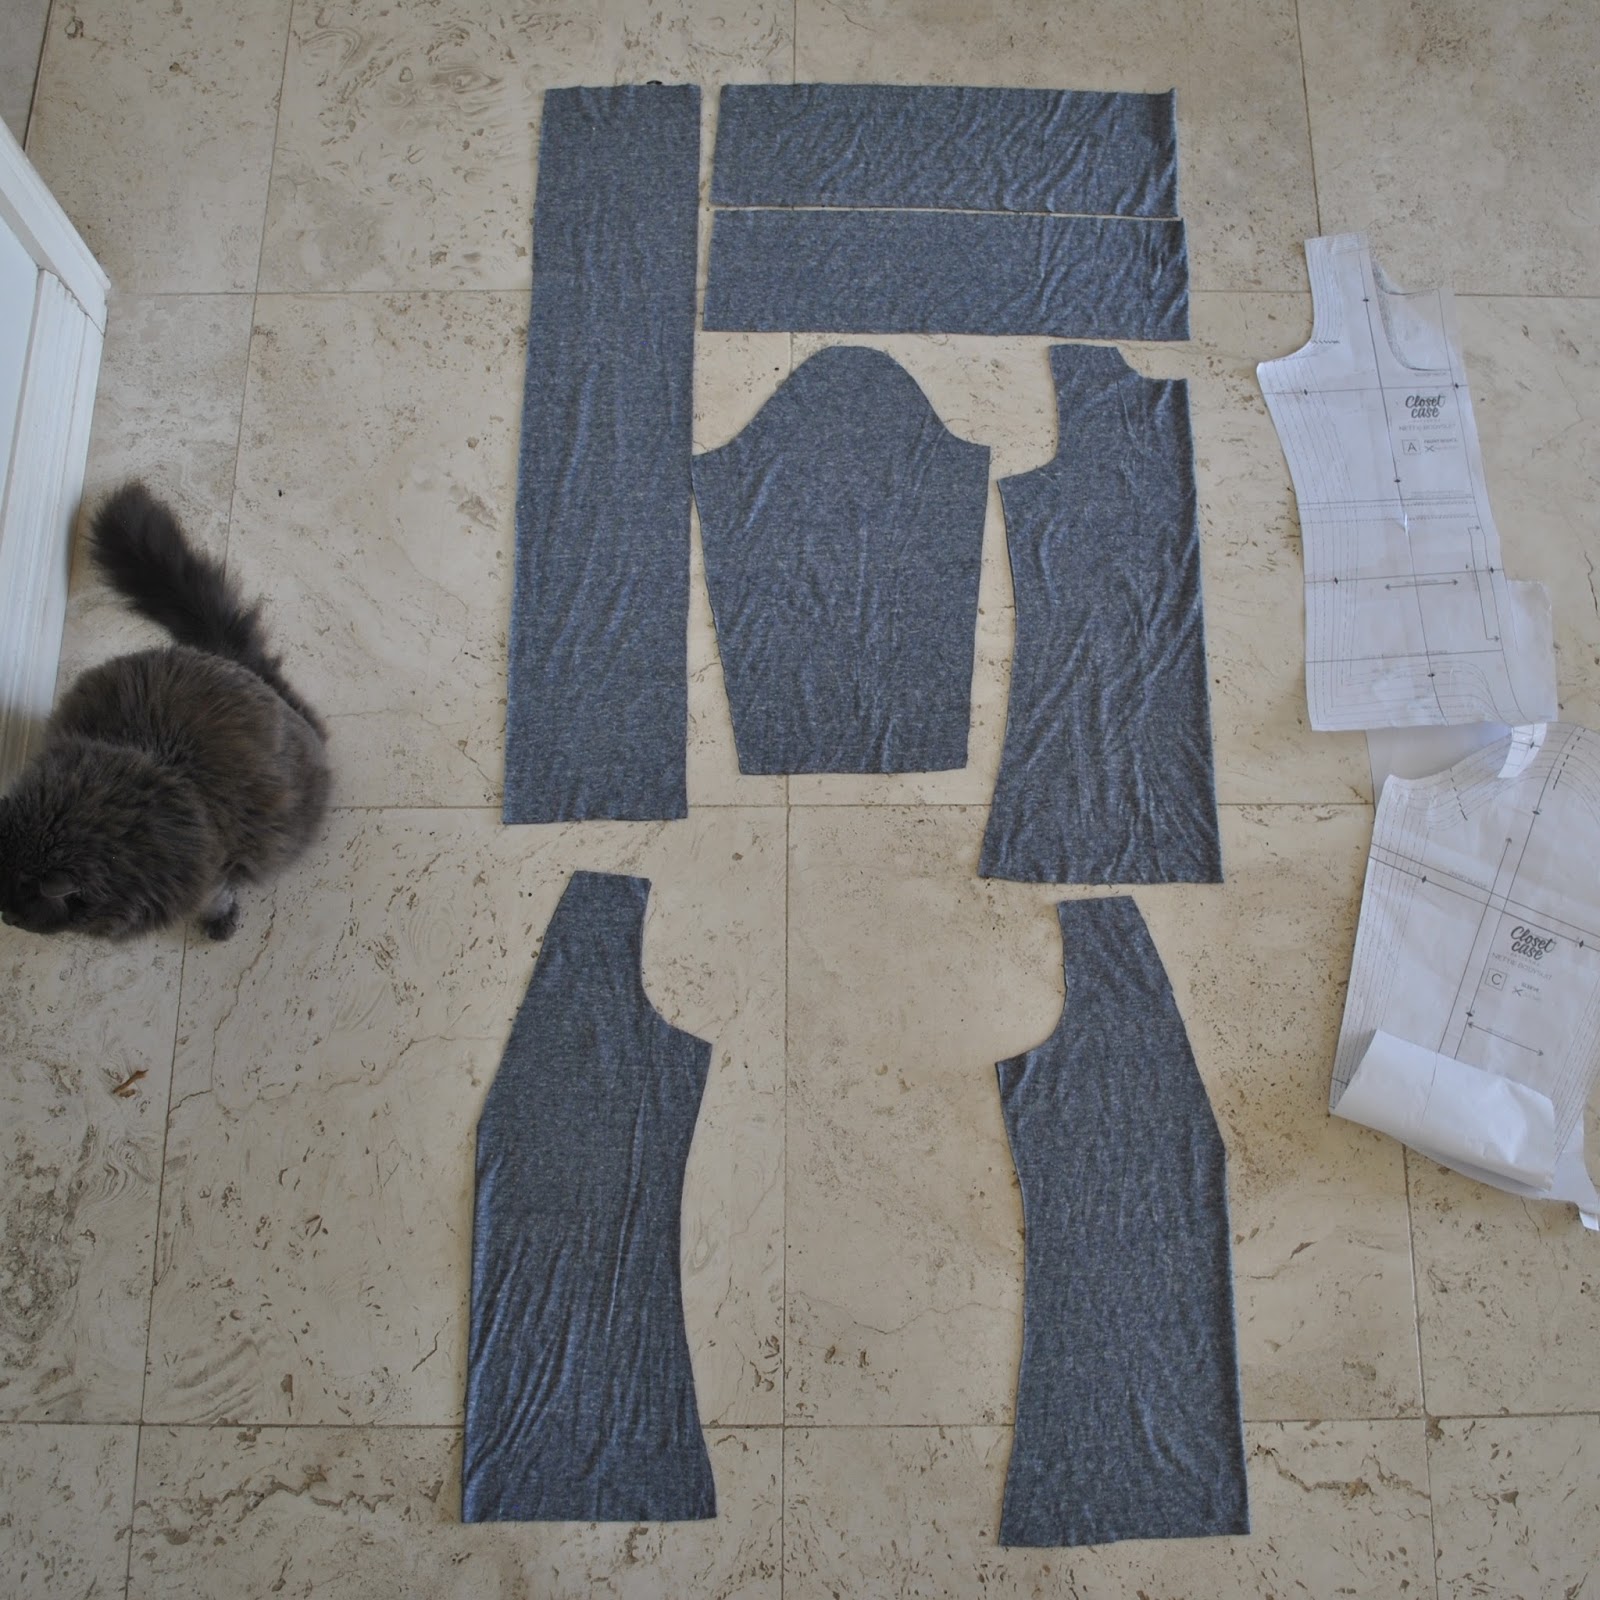
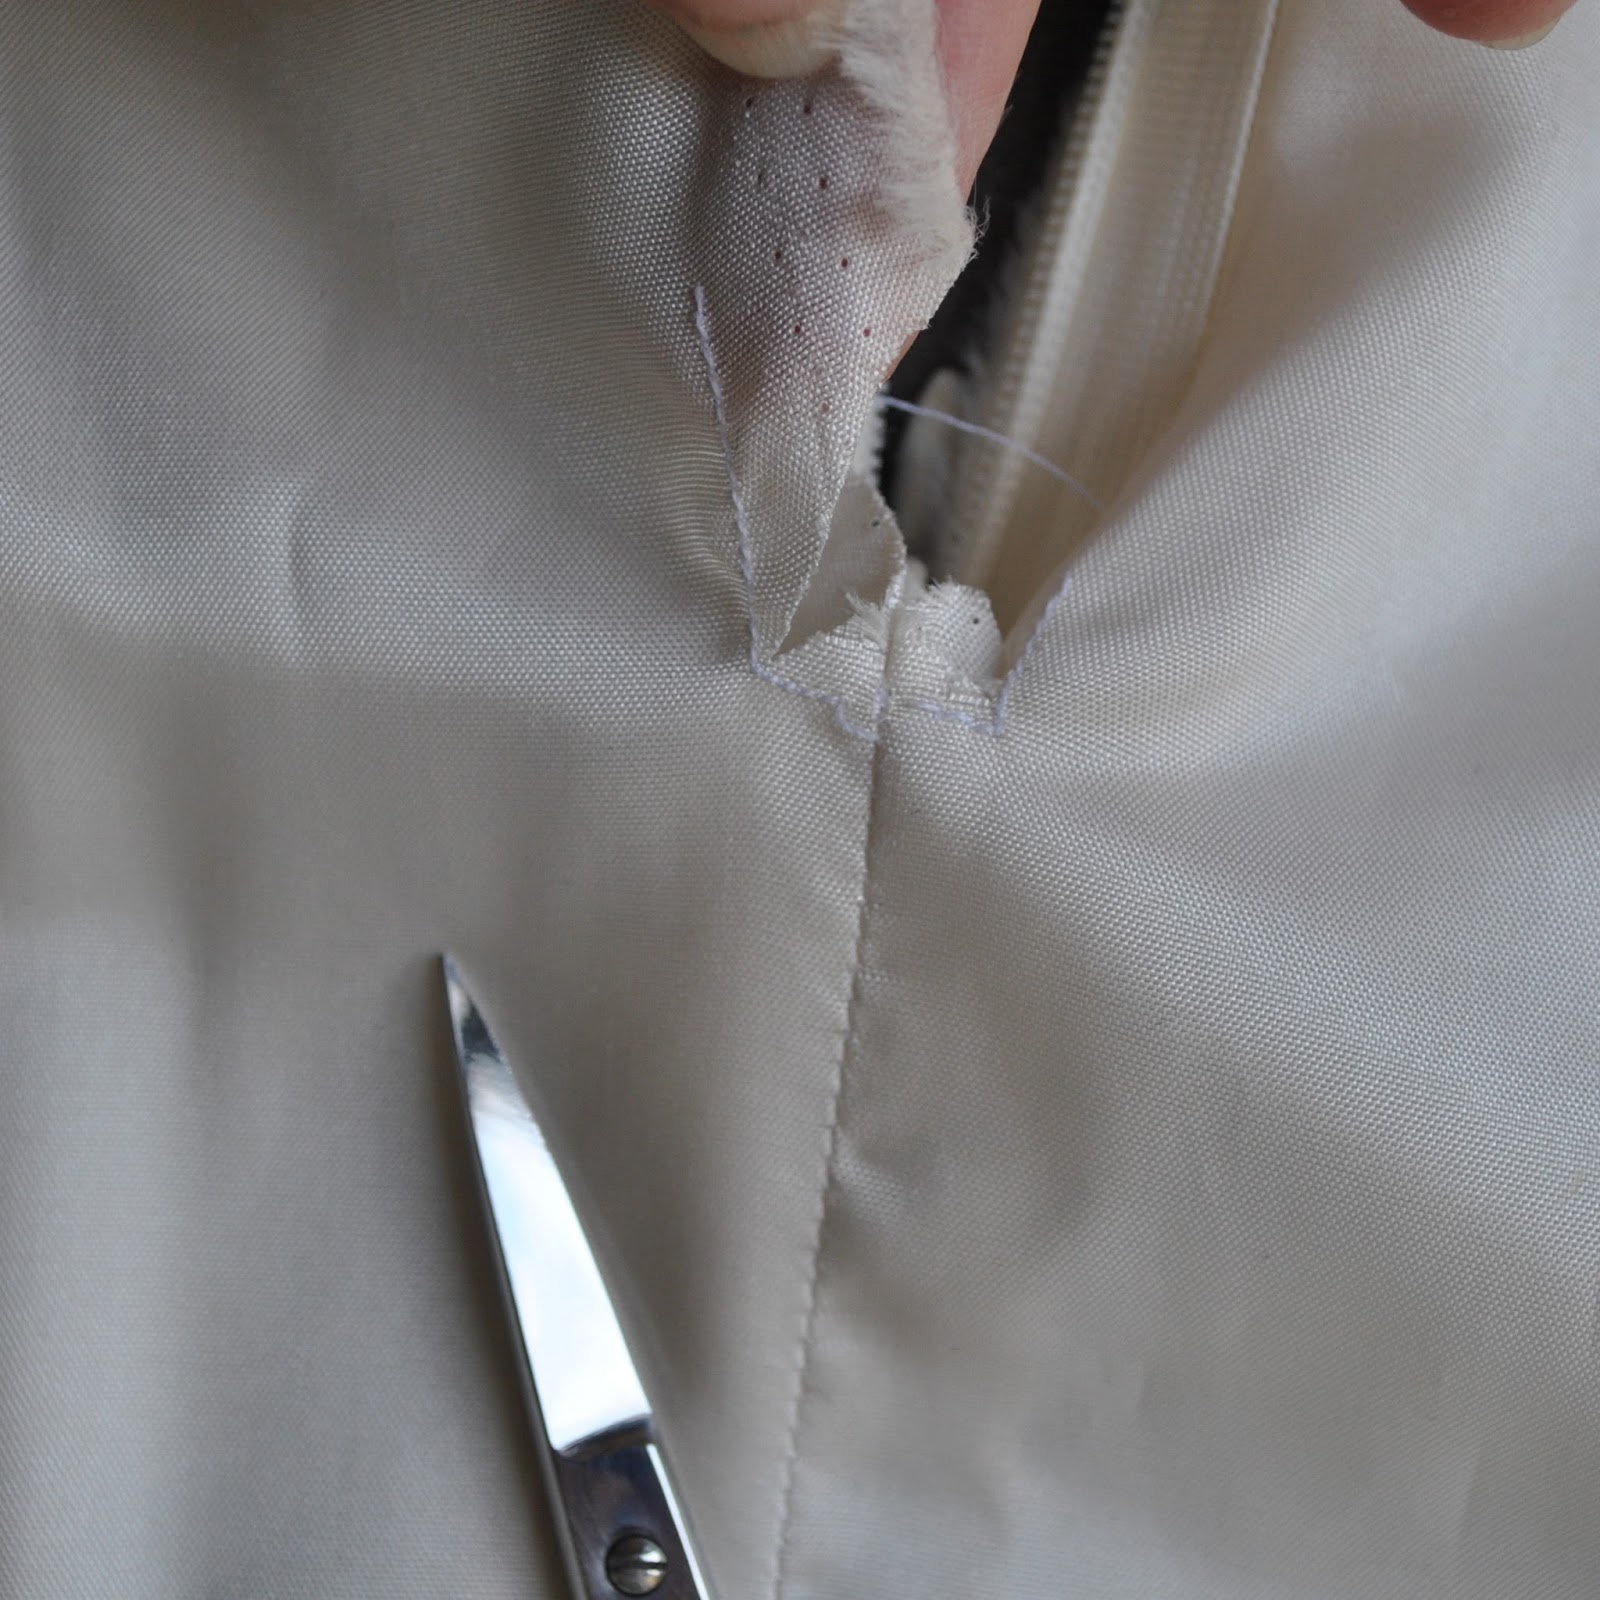
The most difficult part of all will be to cut into this precious stuff… eeep! must not ruin..!


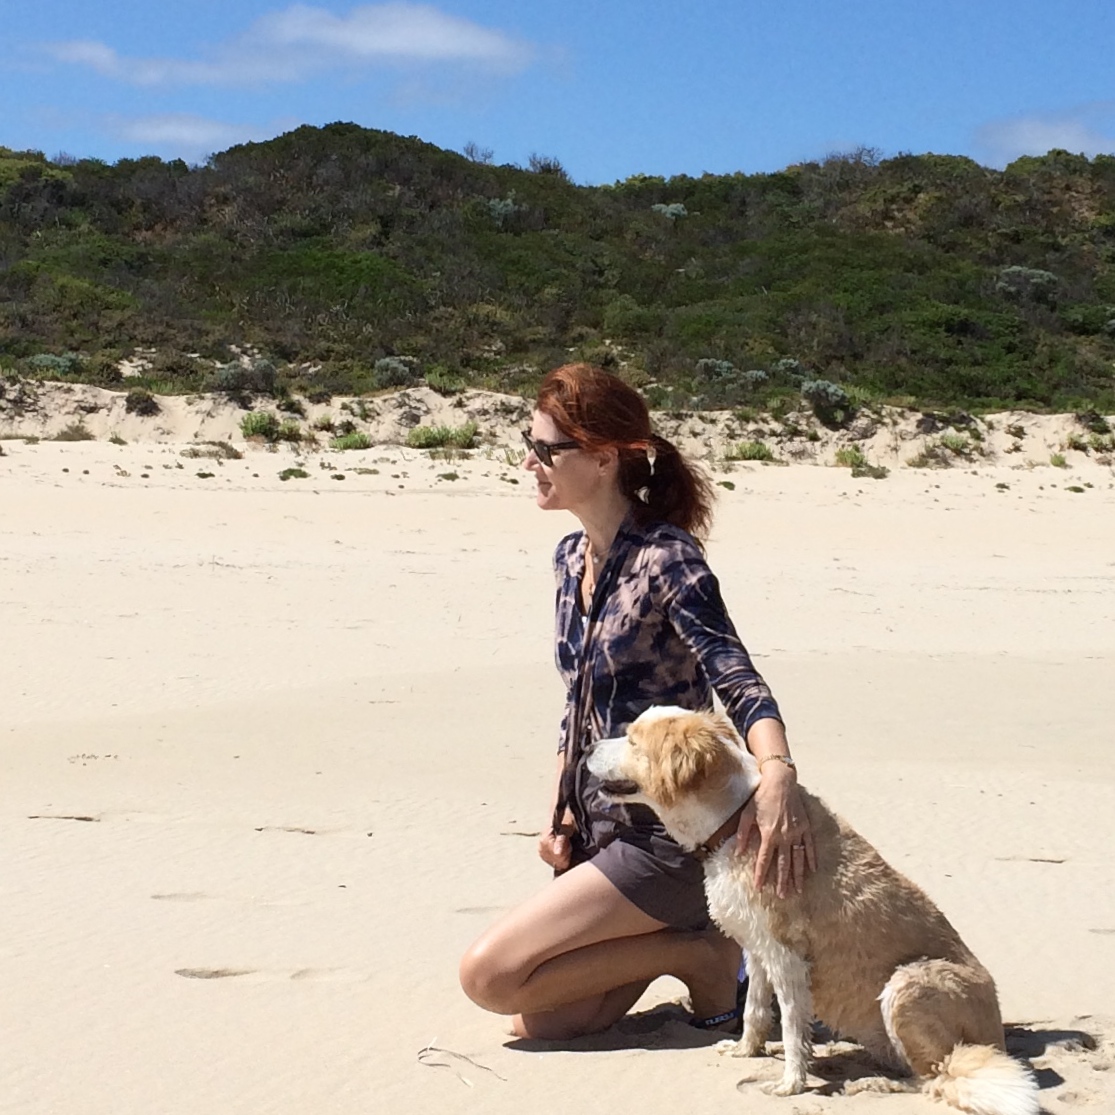
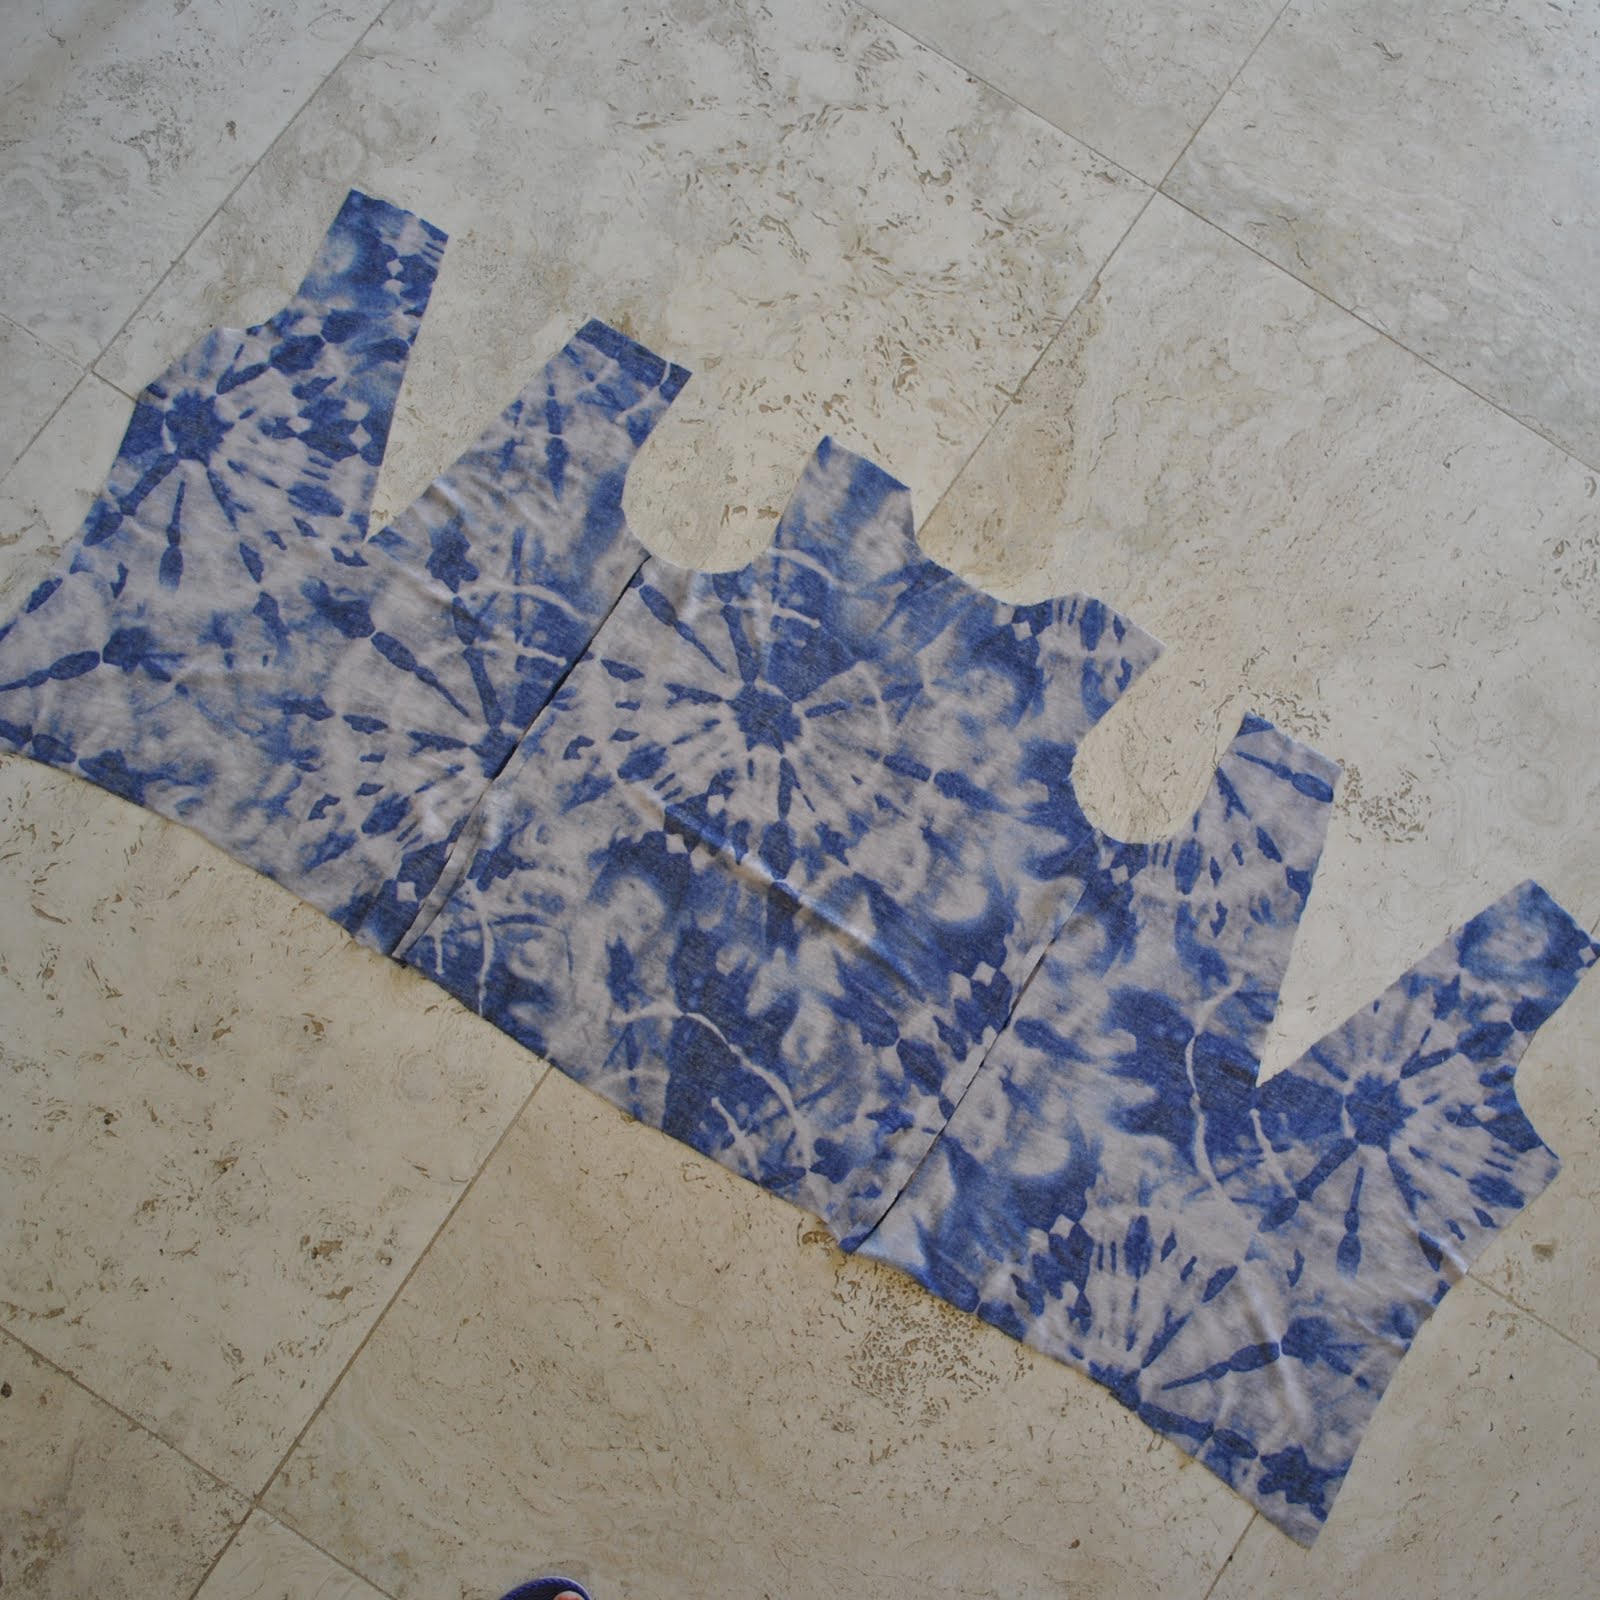
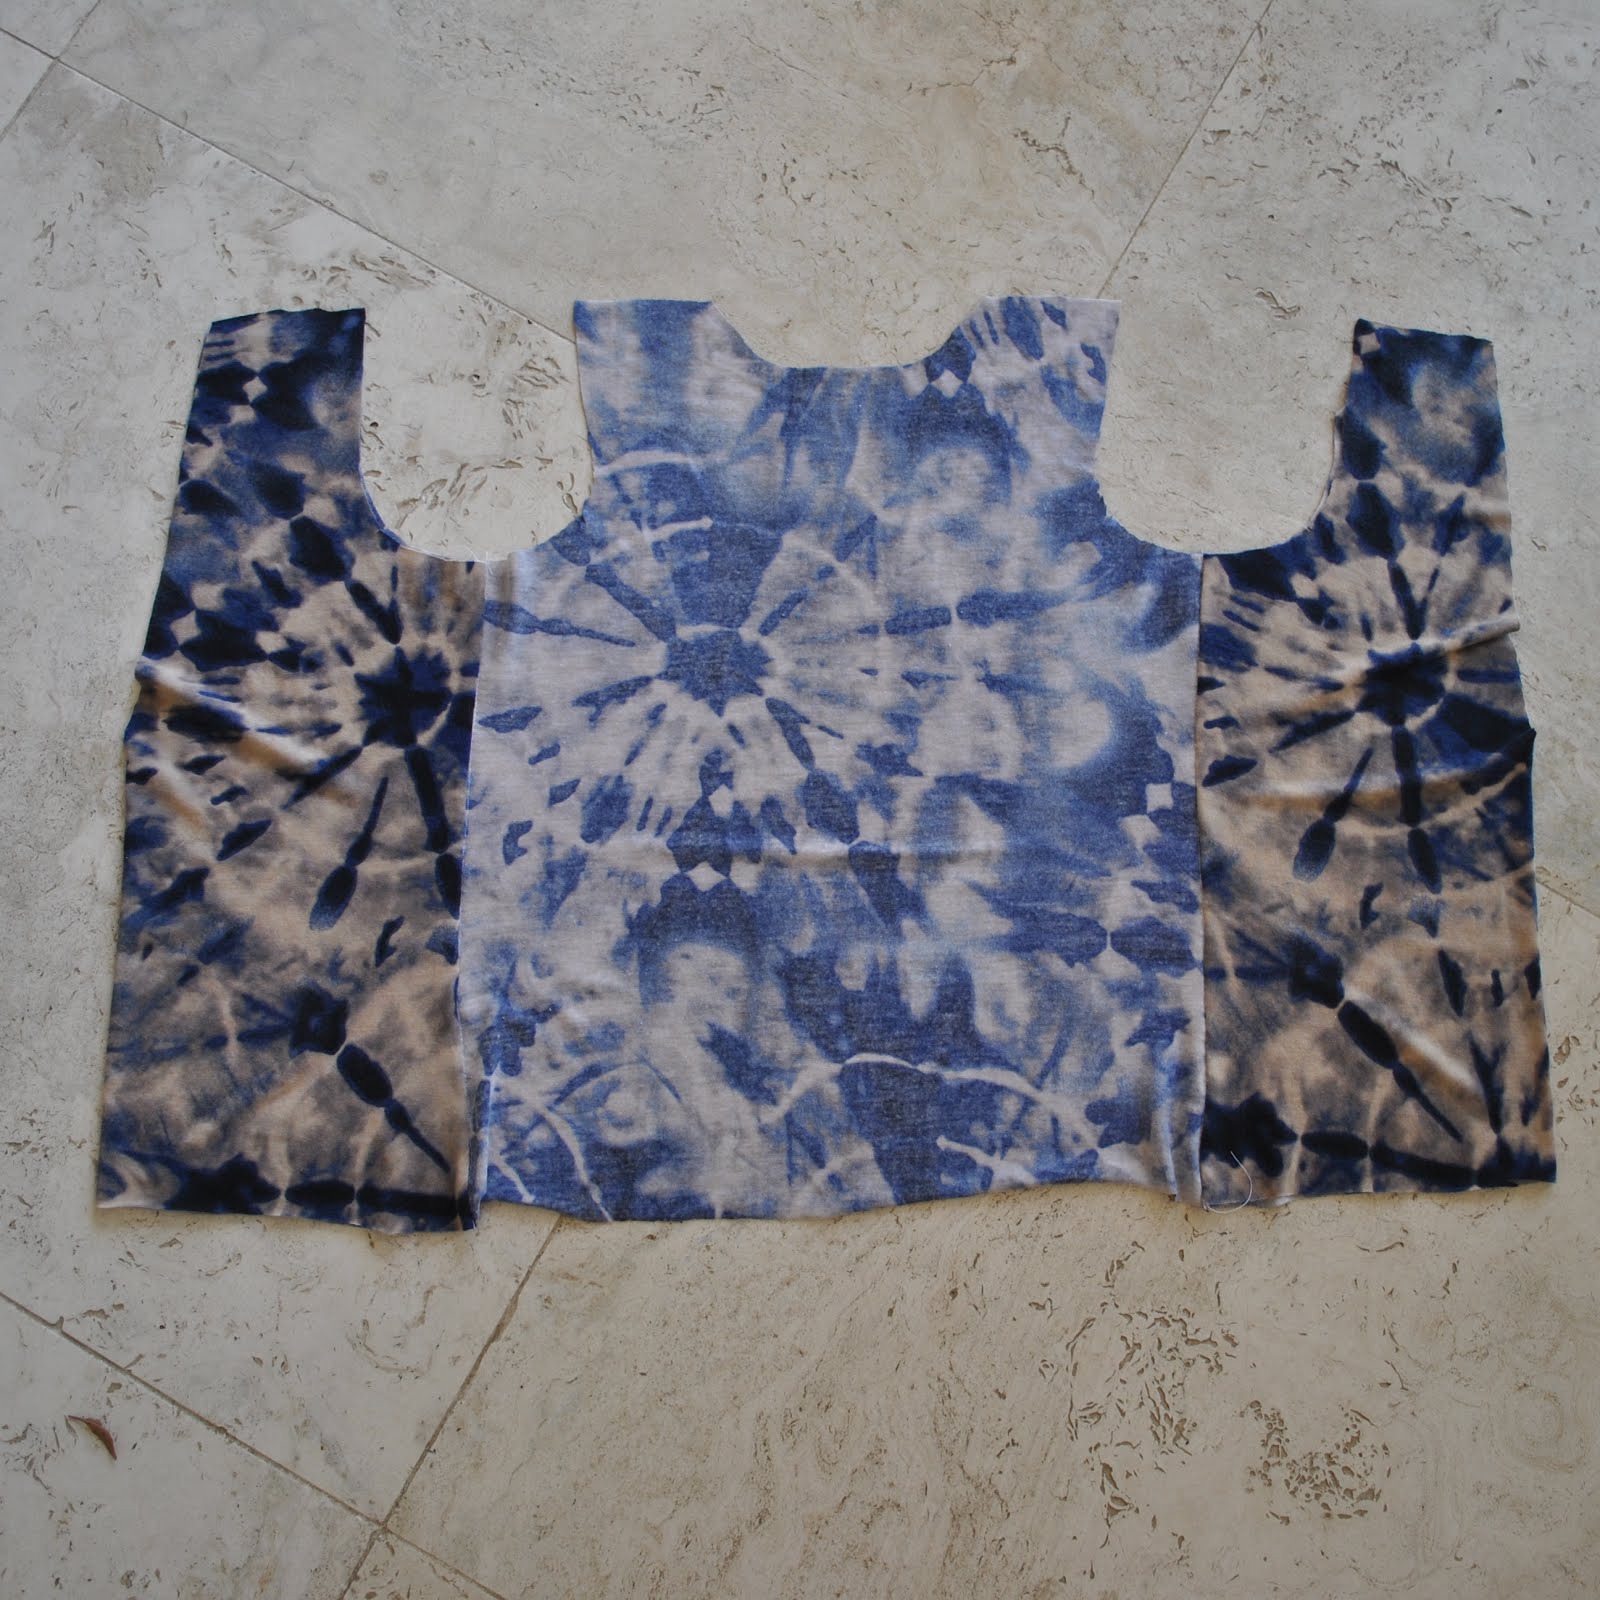
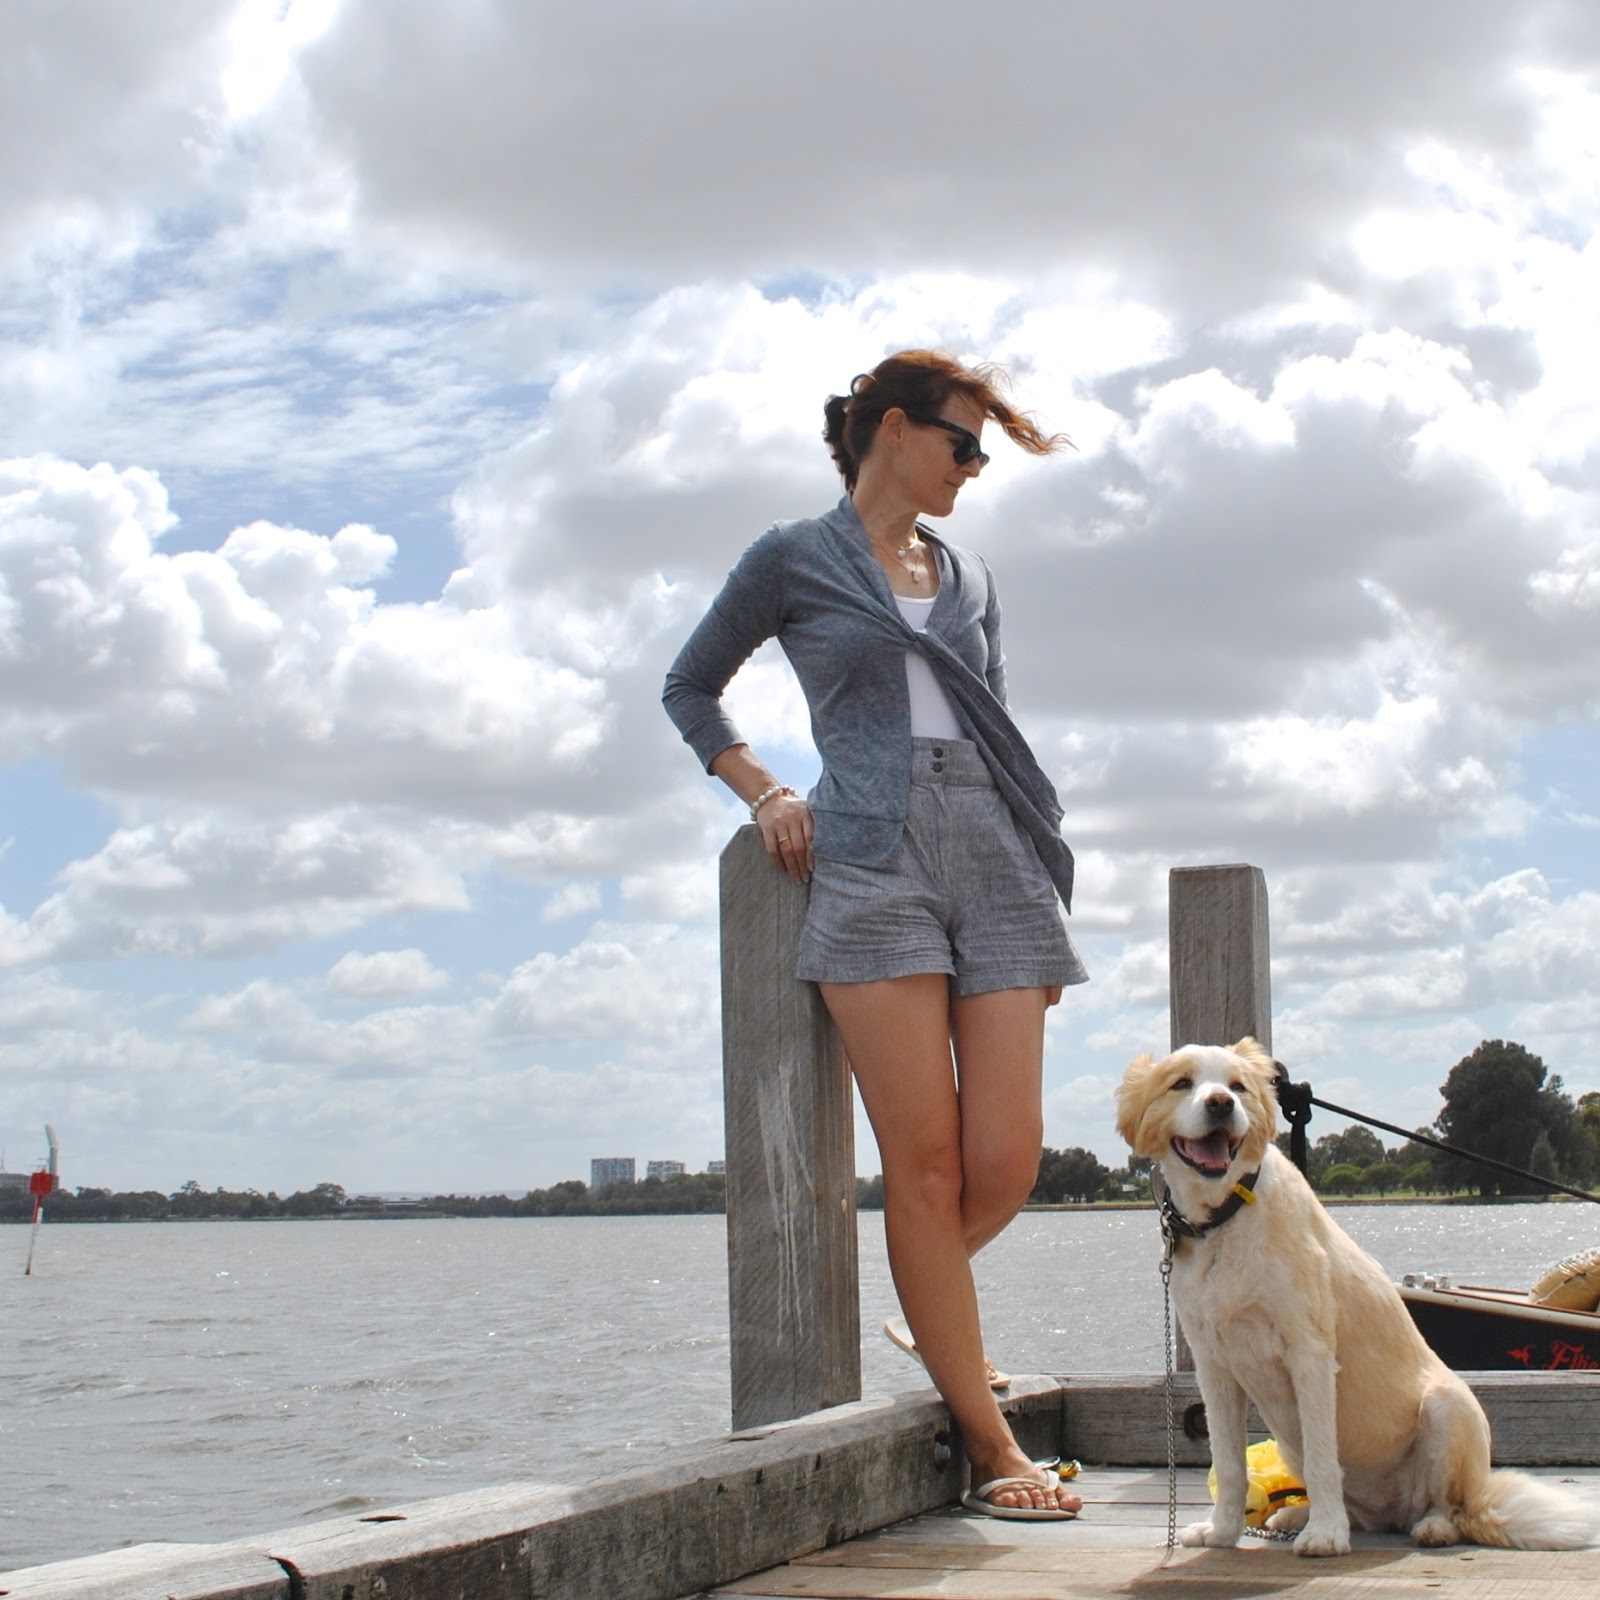
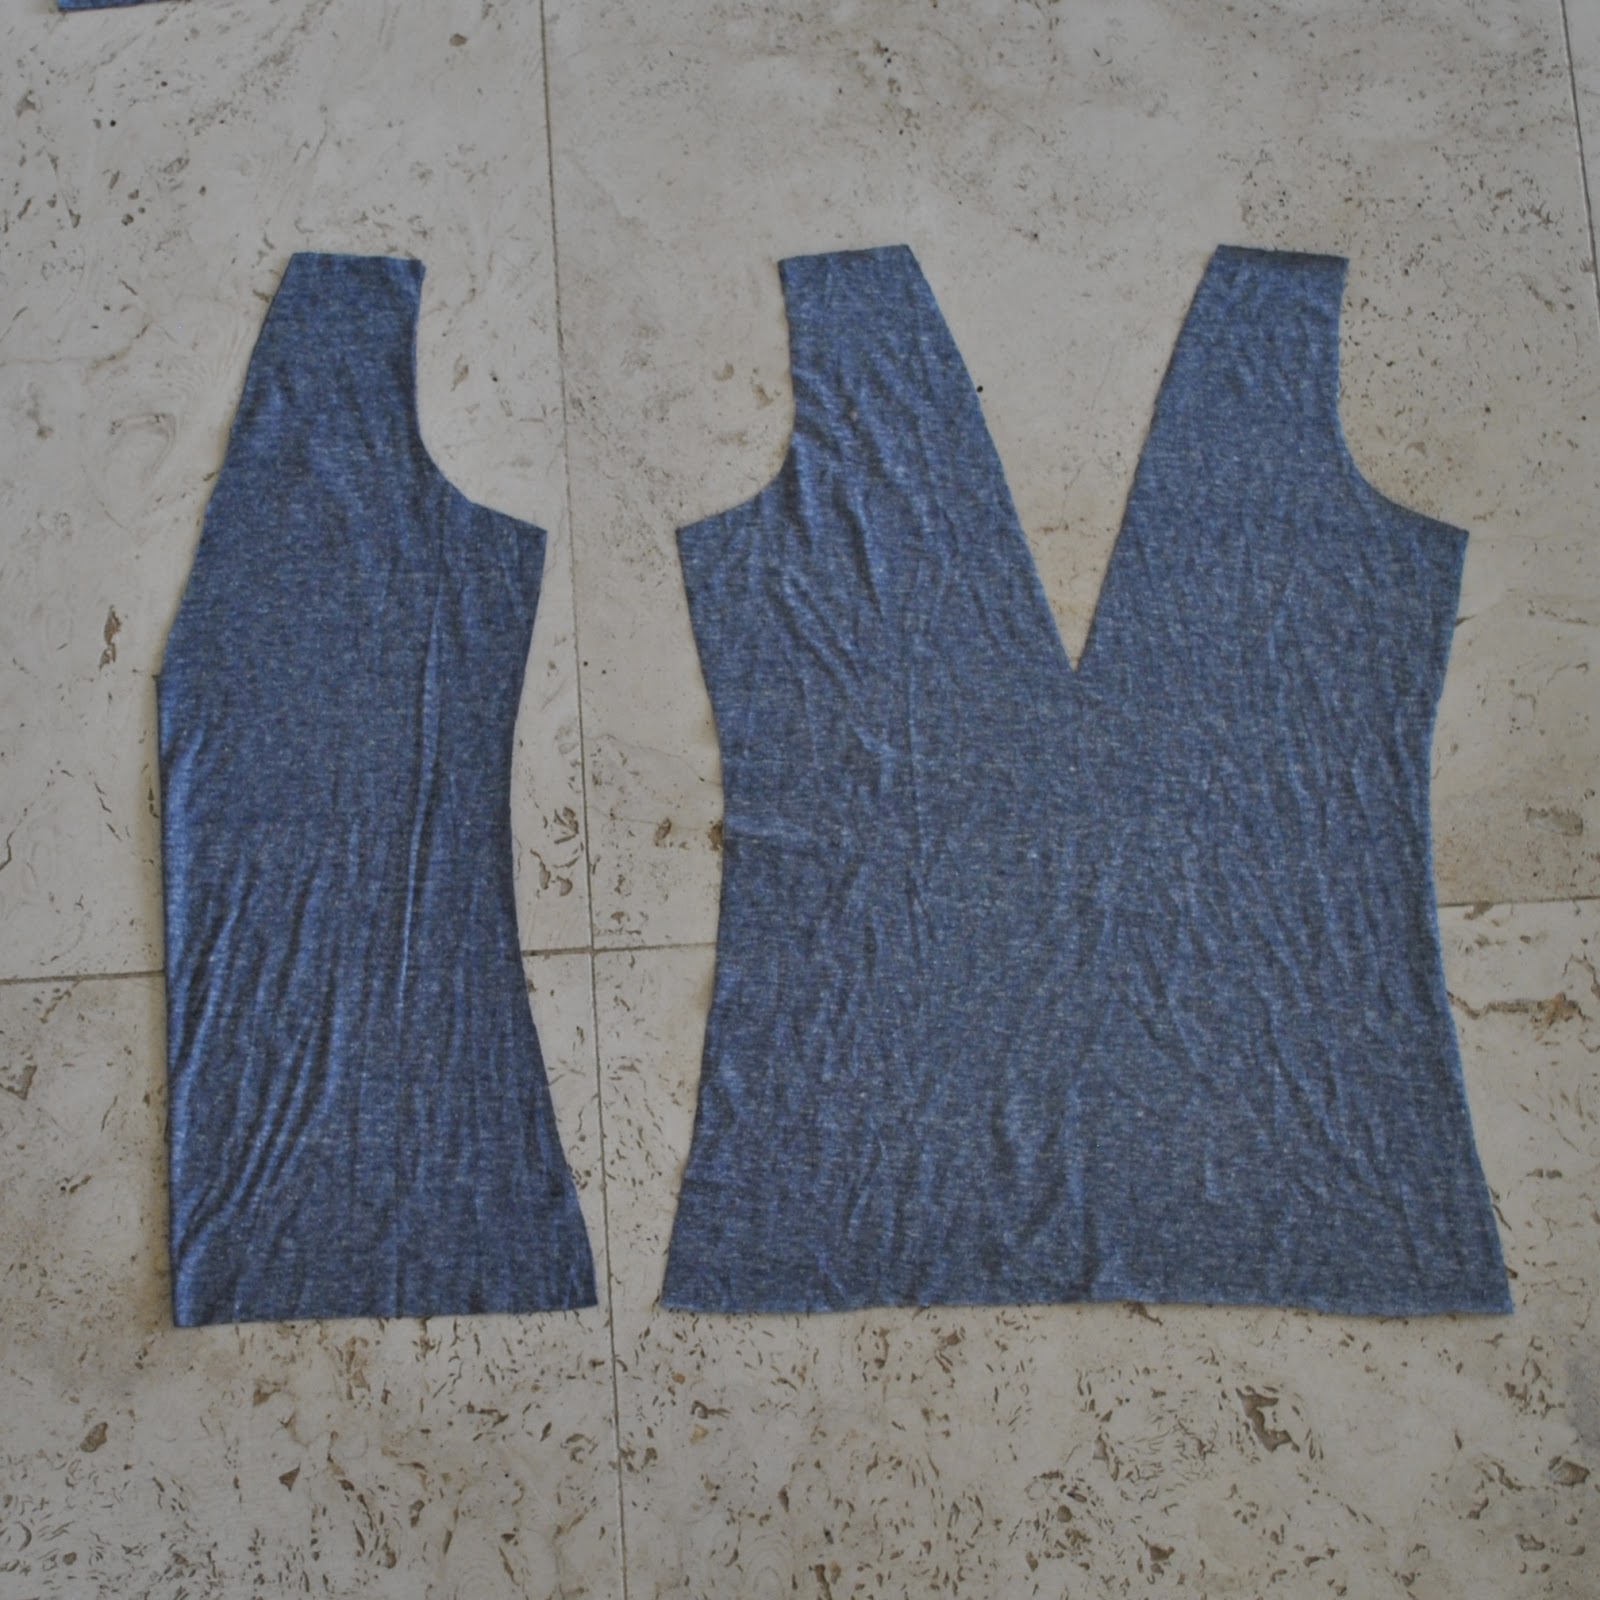
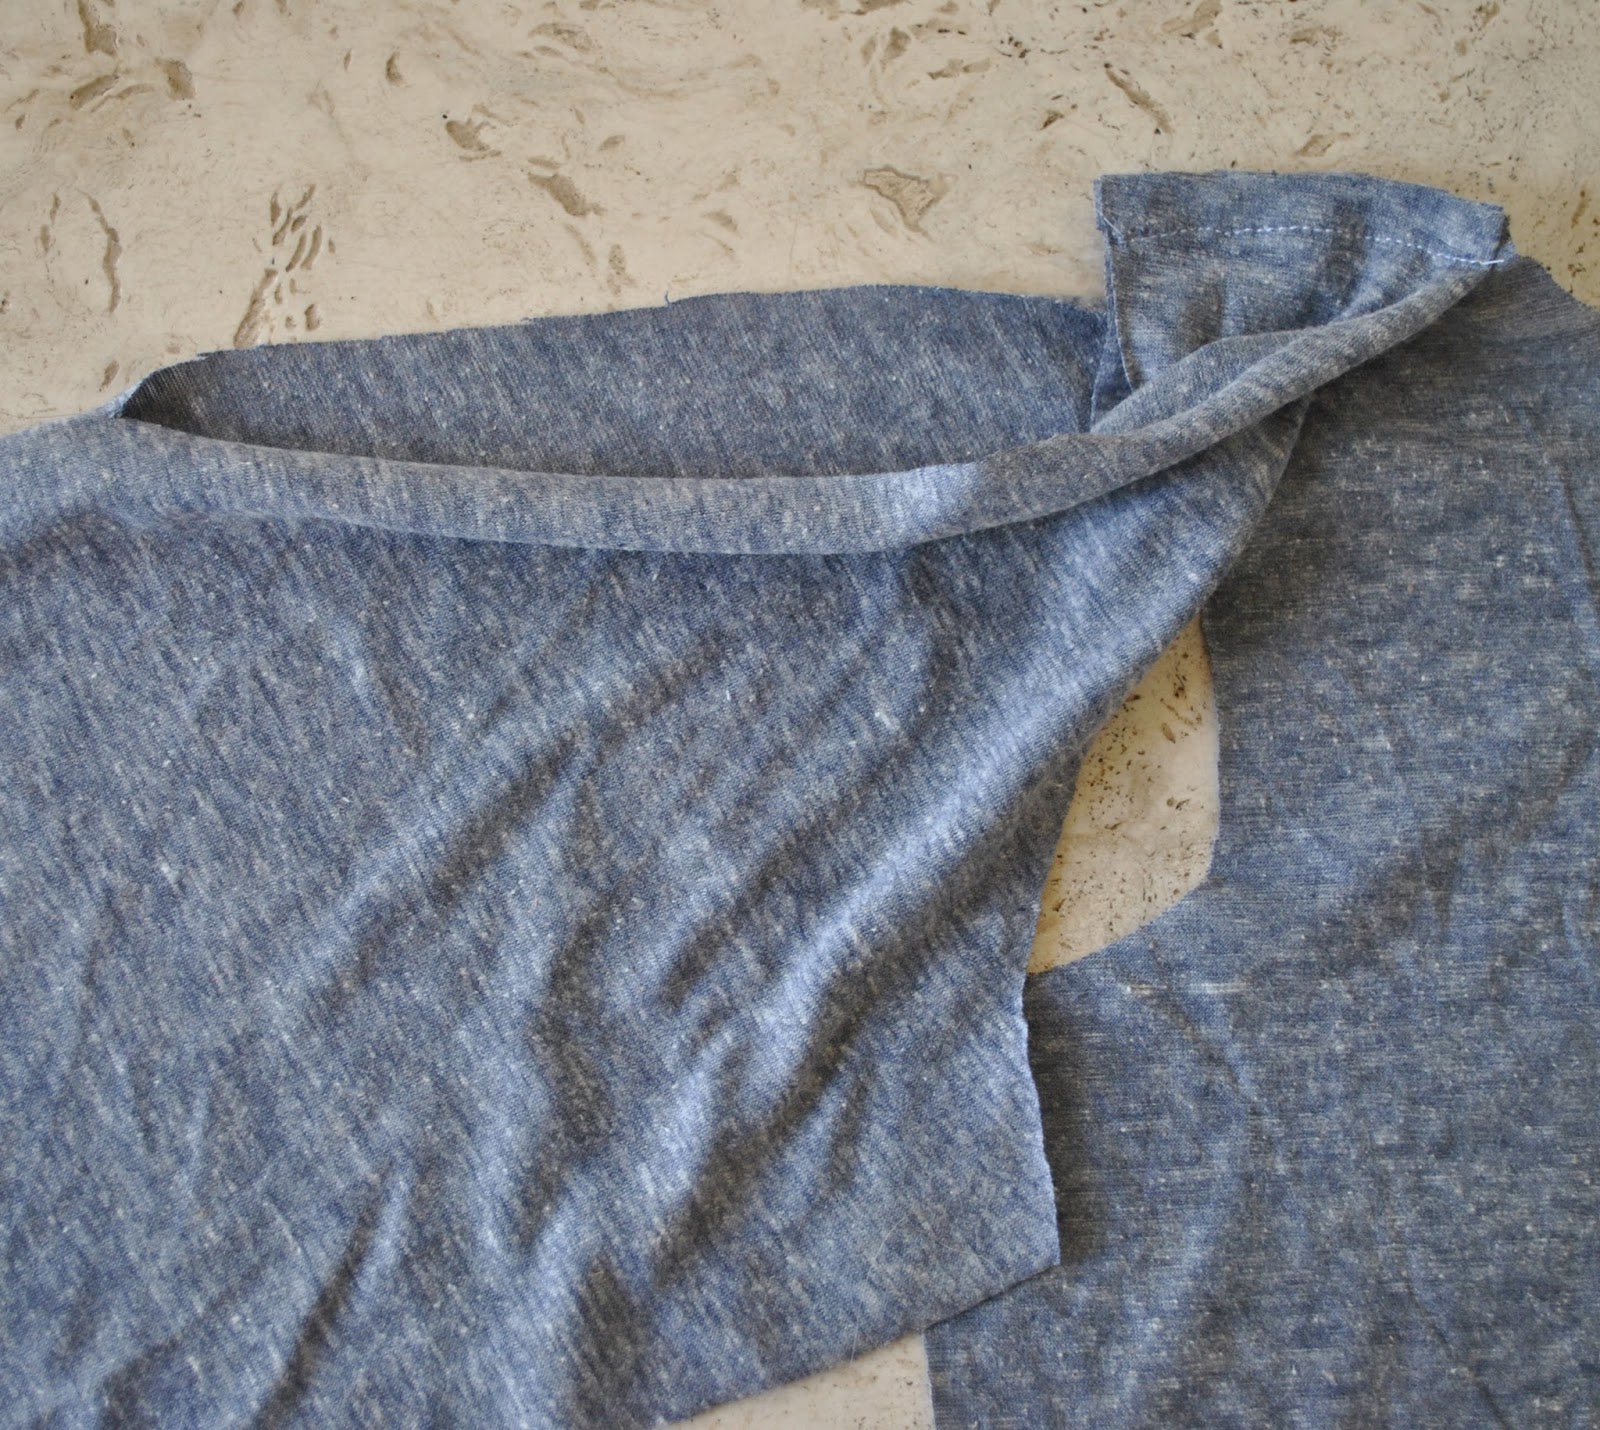
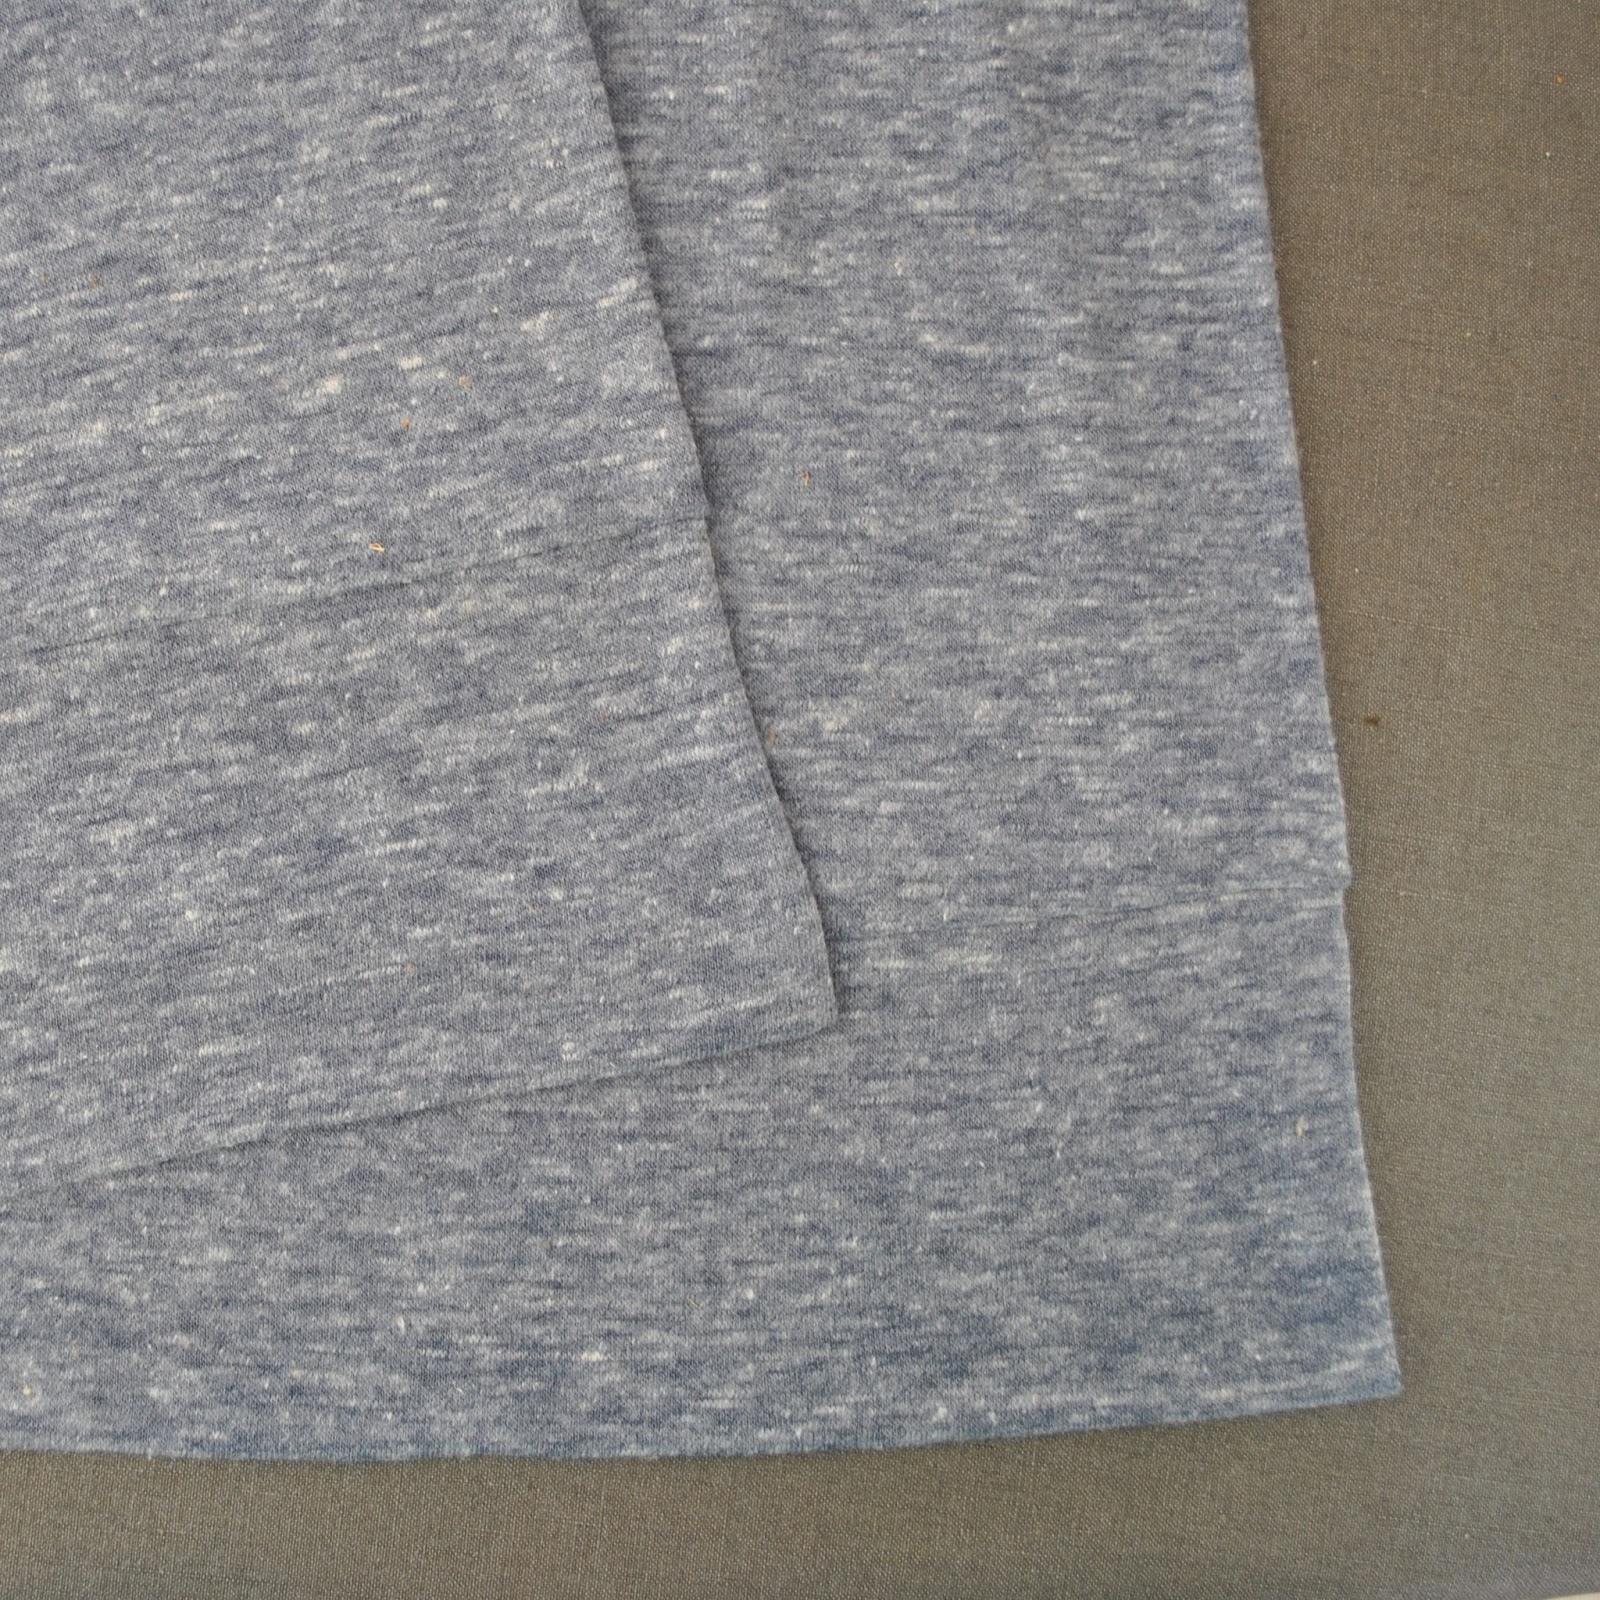
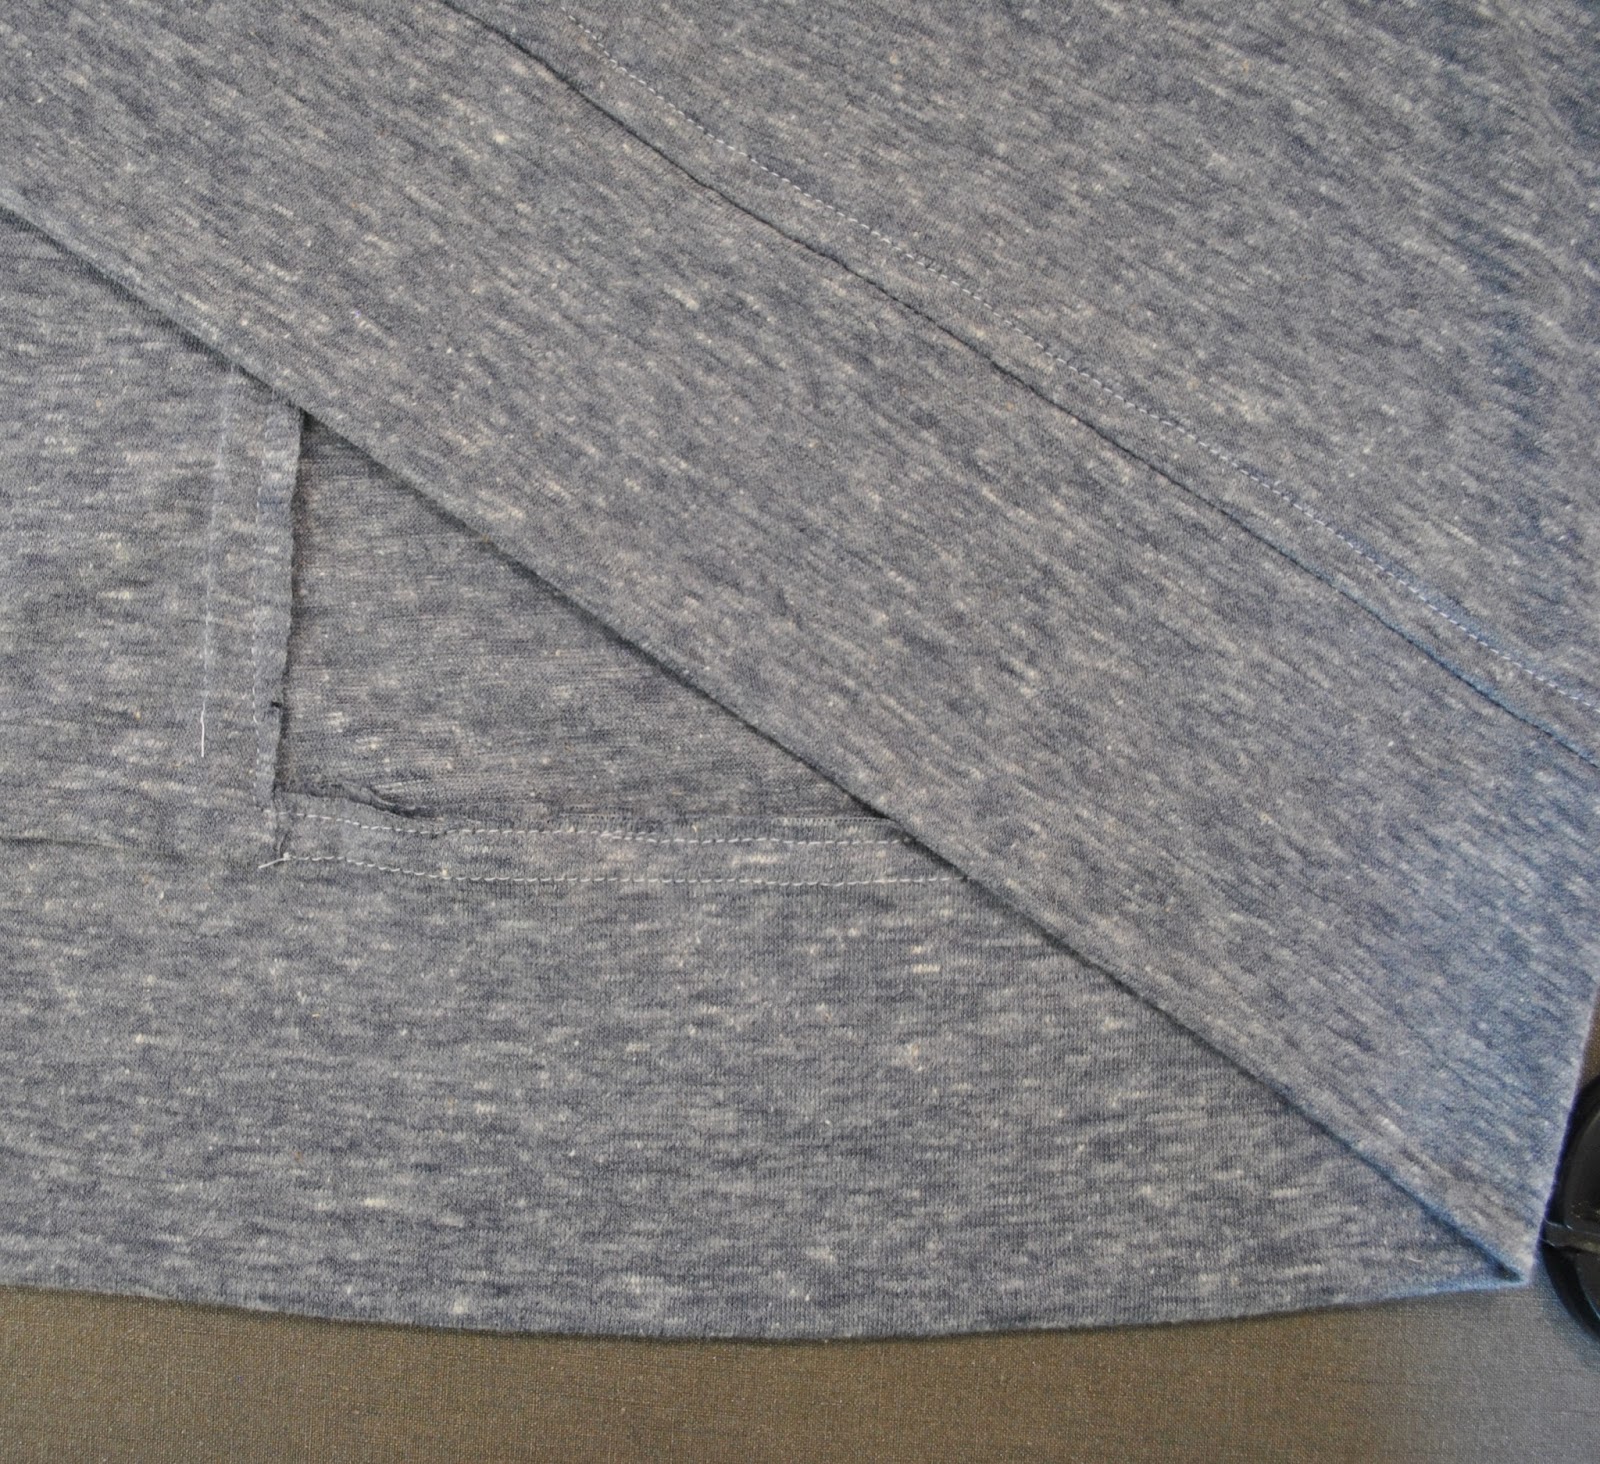
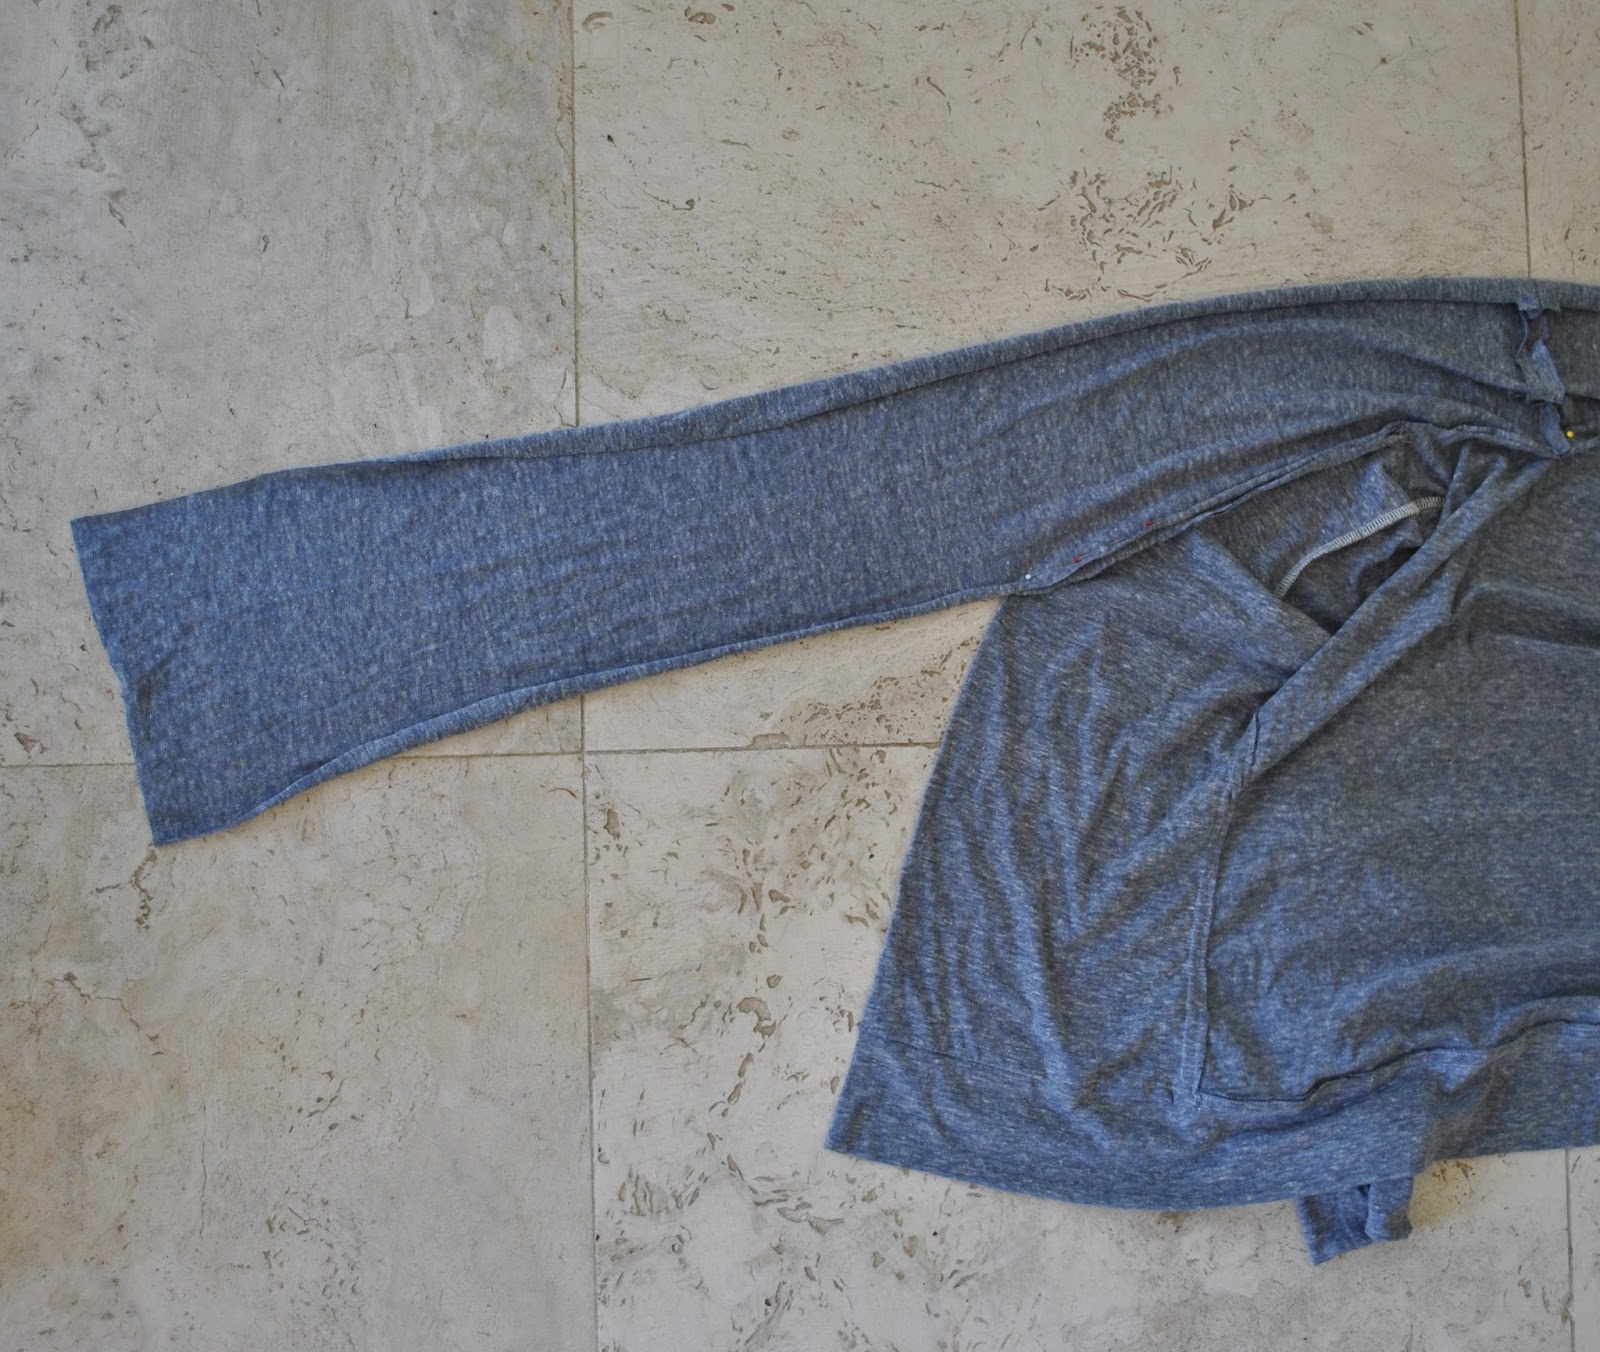
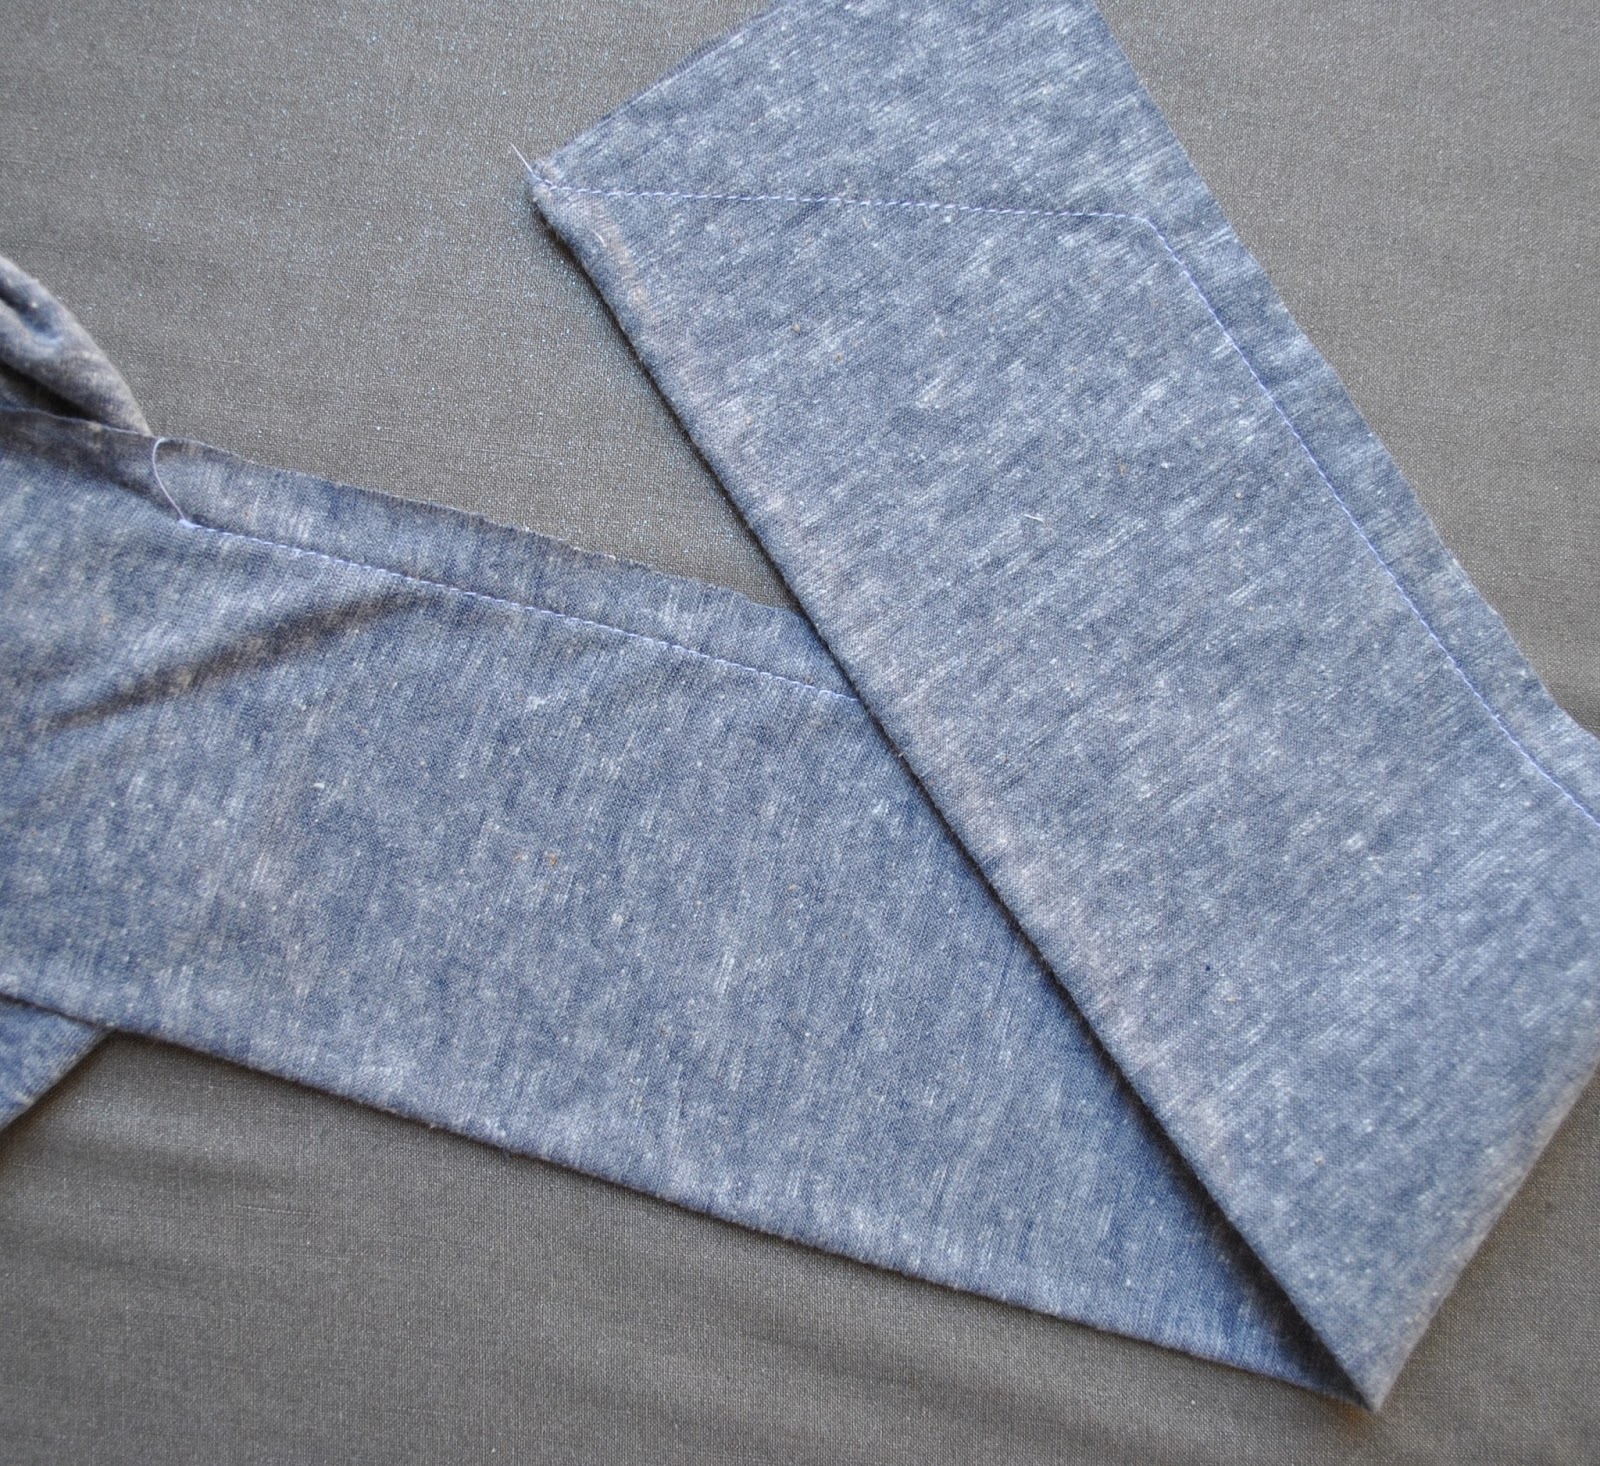
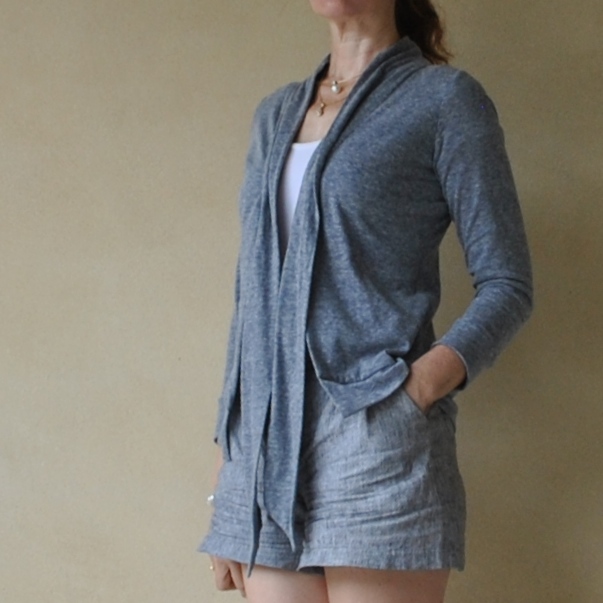
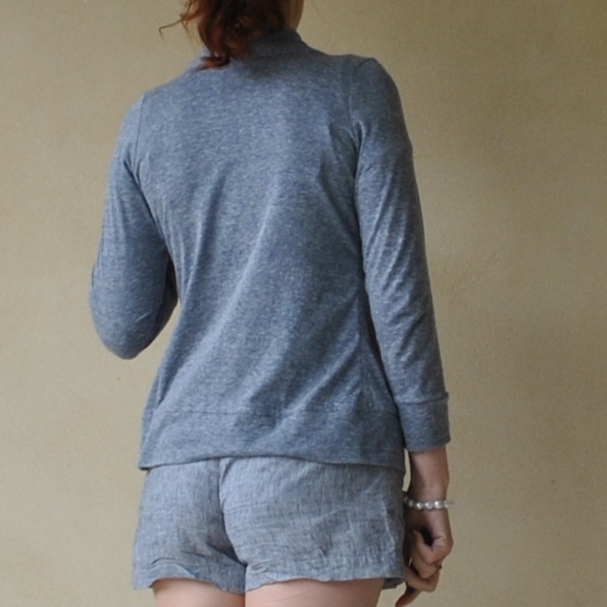
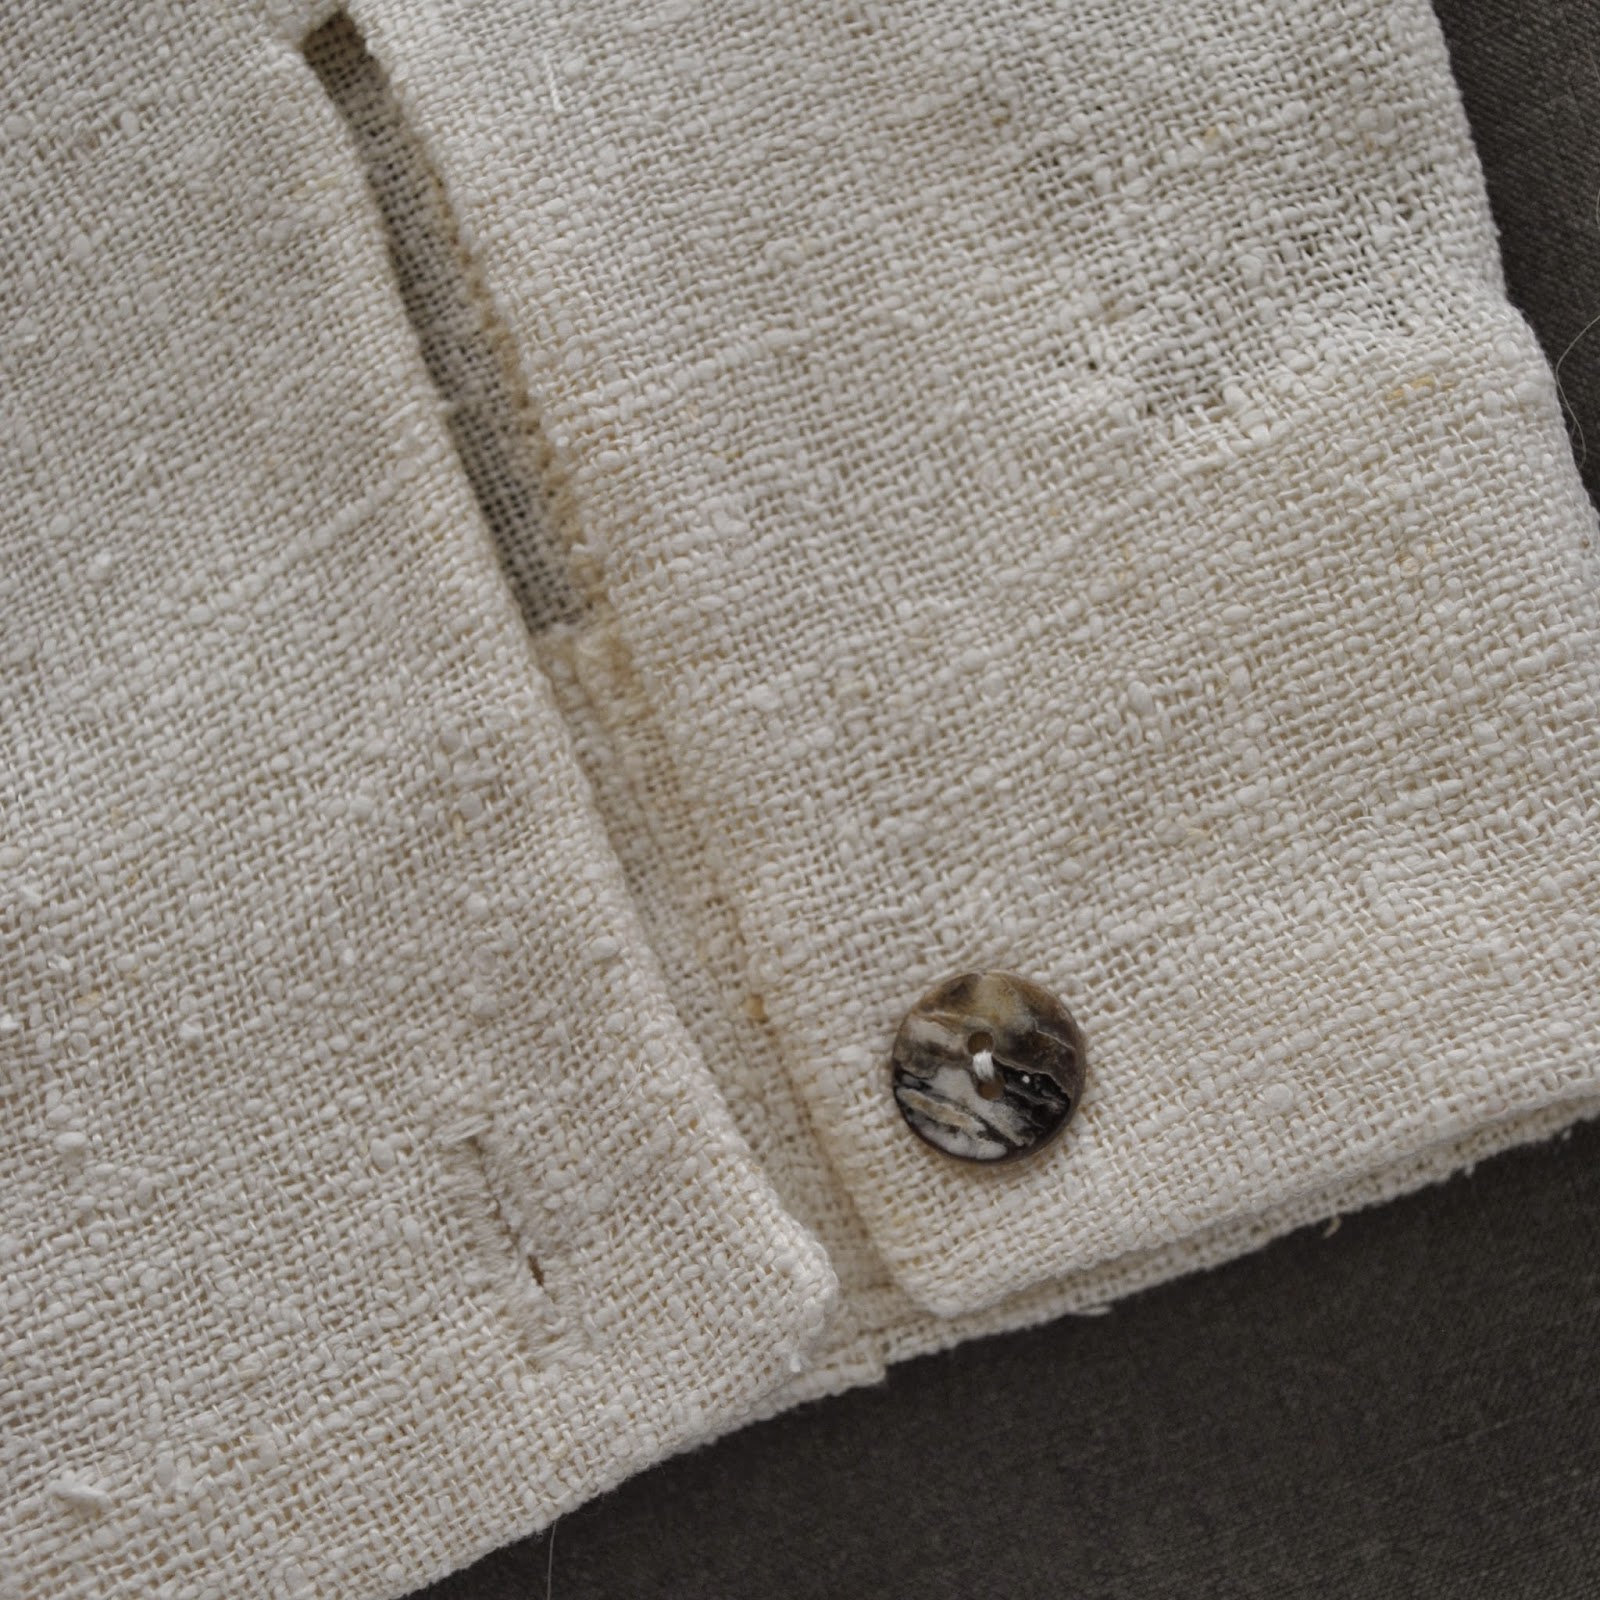
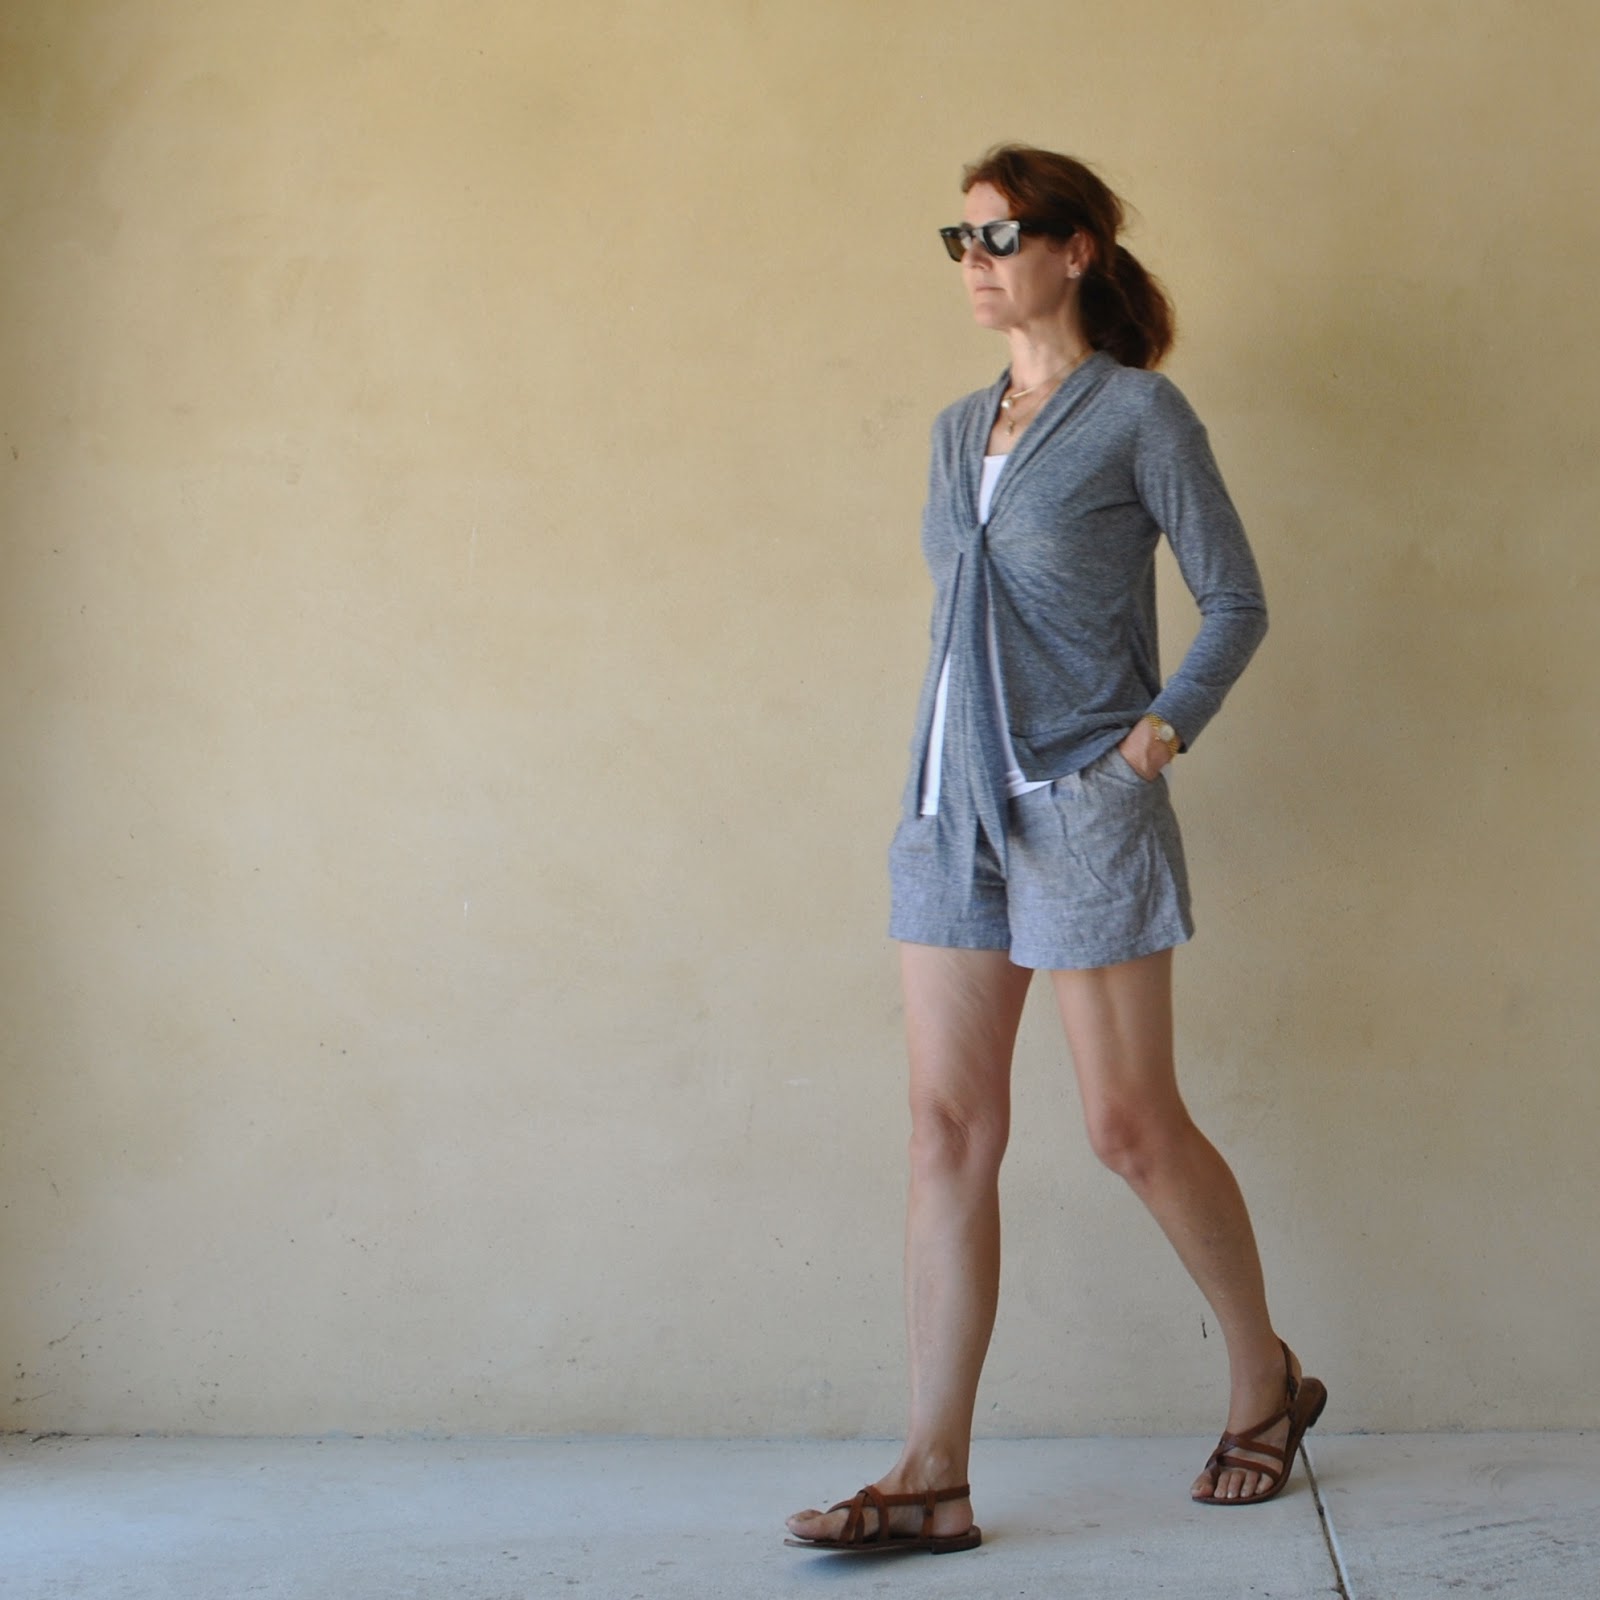
 I’ve made another little cardigan… the last, I promise! for at least a little while!
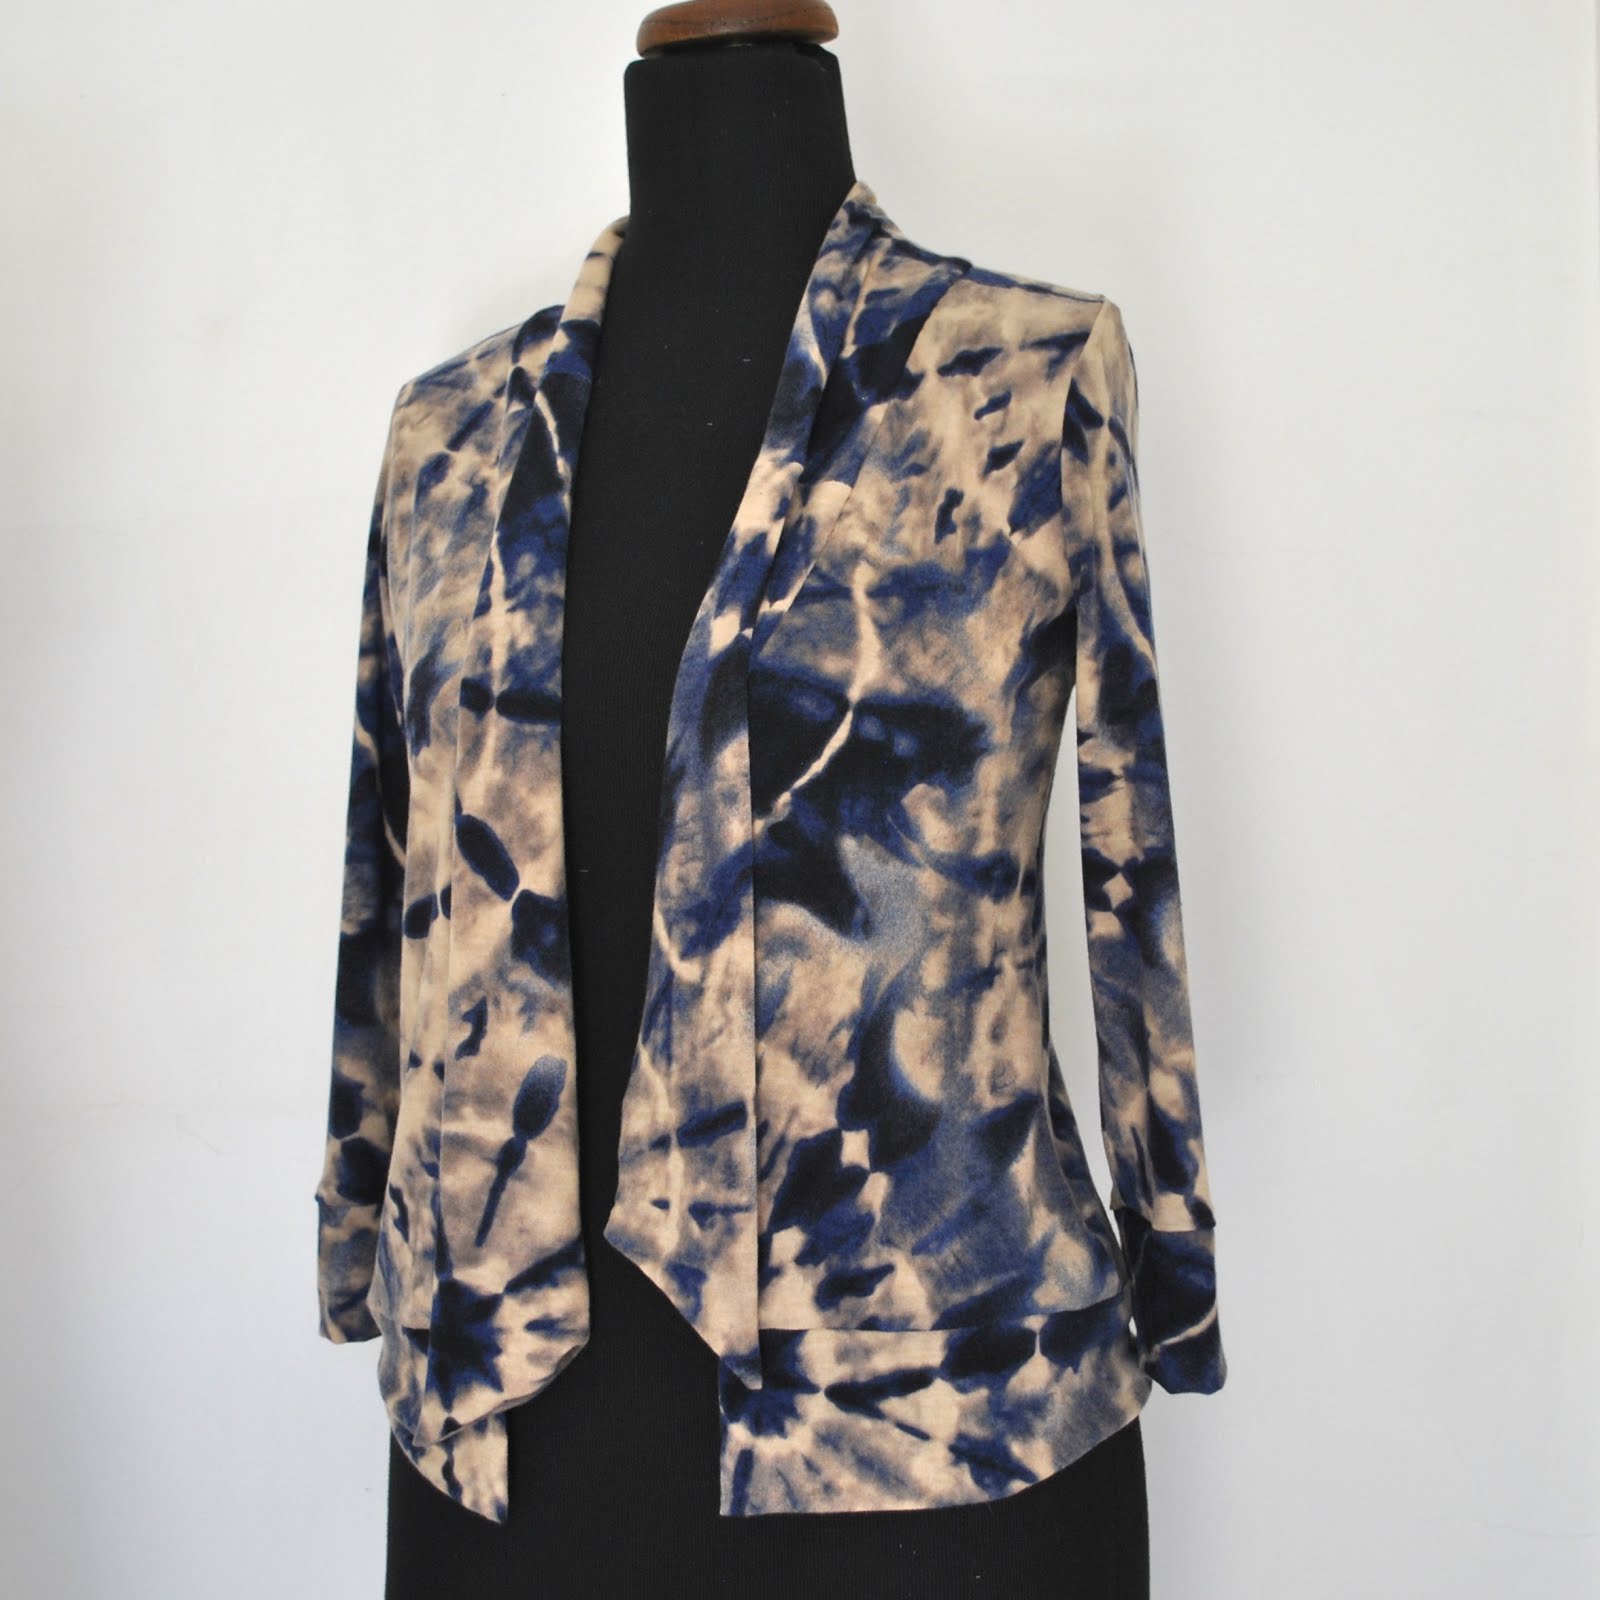


