Category Archives: Crafty Stuff

Christmas prep

Hello, Christmas makes!!  To be honest though my output is quite modest this year, I haven’t gone overboard with the making of Christmas gifts unlike previous years.   Just a few little things…

I’d mostly made this black felt bunny a few years ago, using the Luna Lapin pattern book.  He was kinda my first test of the pattern before making a camel brown bunny for Arthur, blogged here, but I didn’t do too bad a job if I say so myself.  So this year I decided to complete him as a present for Gilbert.

I made his outfit using various bits and pieces as usual; the shirt and buttons were an old shirt of Tim’s… and I used the same buttons for his eyes, the chinos are a nice piece of cotton twill that I plan to use for a pair for myself sometime… hopefully I didn’t cut too large a chunk for that to happen! and his little waistcoat was from a small scrap of fabric that I discovered in a bag of leftovers given to me by my mother-in-law.

I also made Arthur’s bunny a new outfit.  I didn’t have his here to model it so Gilbert’s bunny has been roped in for the job.  It’s a summer outfit; comprising a Hawaiian shirt and board shorts.

I had to include this picture of the shirt-making burrito!  the instructions don’t have this but I figured why not make it as neat as possible.  I used sew-in press studs for the shirt in lieu of buttons; they’re just easier and you don’t have to worry about ruining your tiny little shirt with a bad buttonhole.  The fabric is leftover from my first Myosotis dress.  The board shorts are white linen and blue linen that I dyed myself using a natural indigo  dye bath.  Actually, the leftovers from my recently made Mestre shirt.


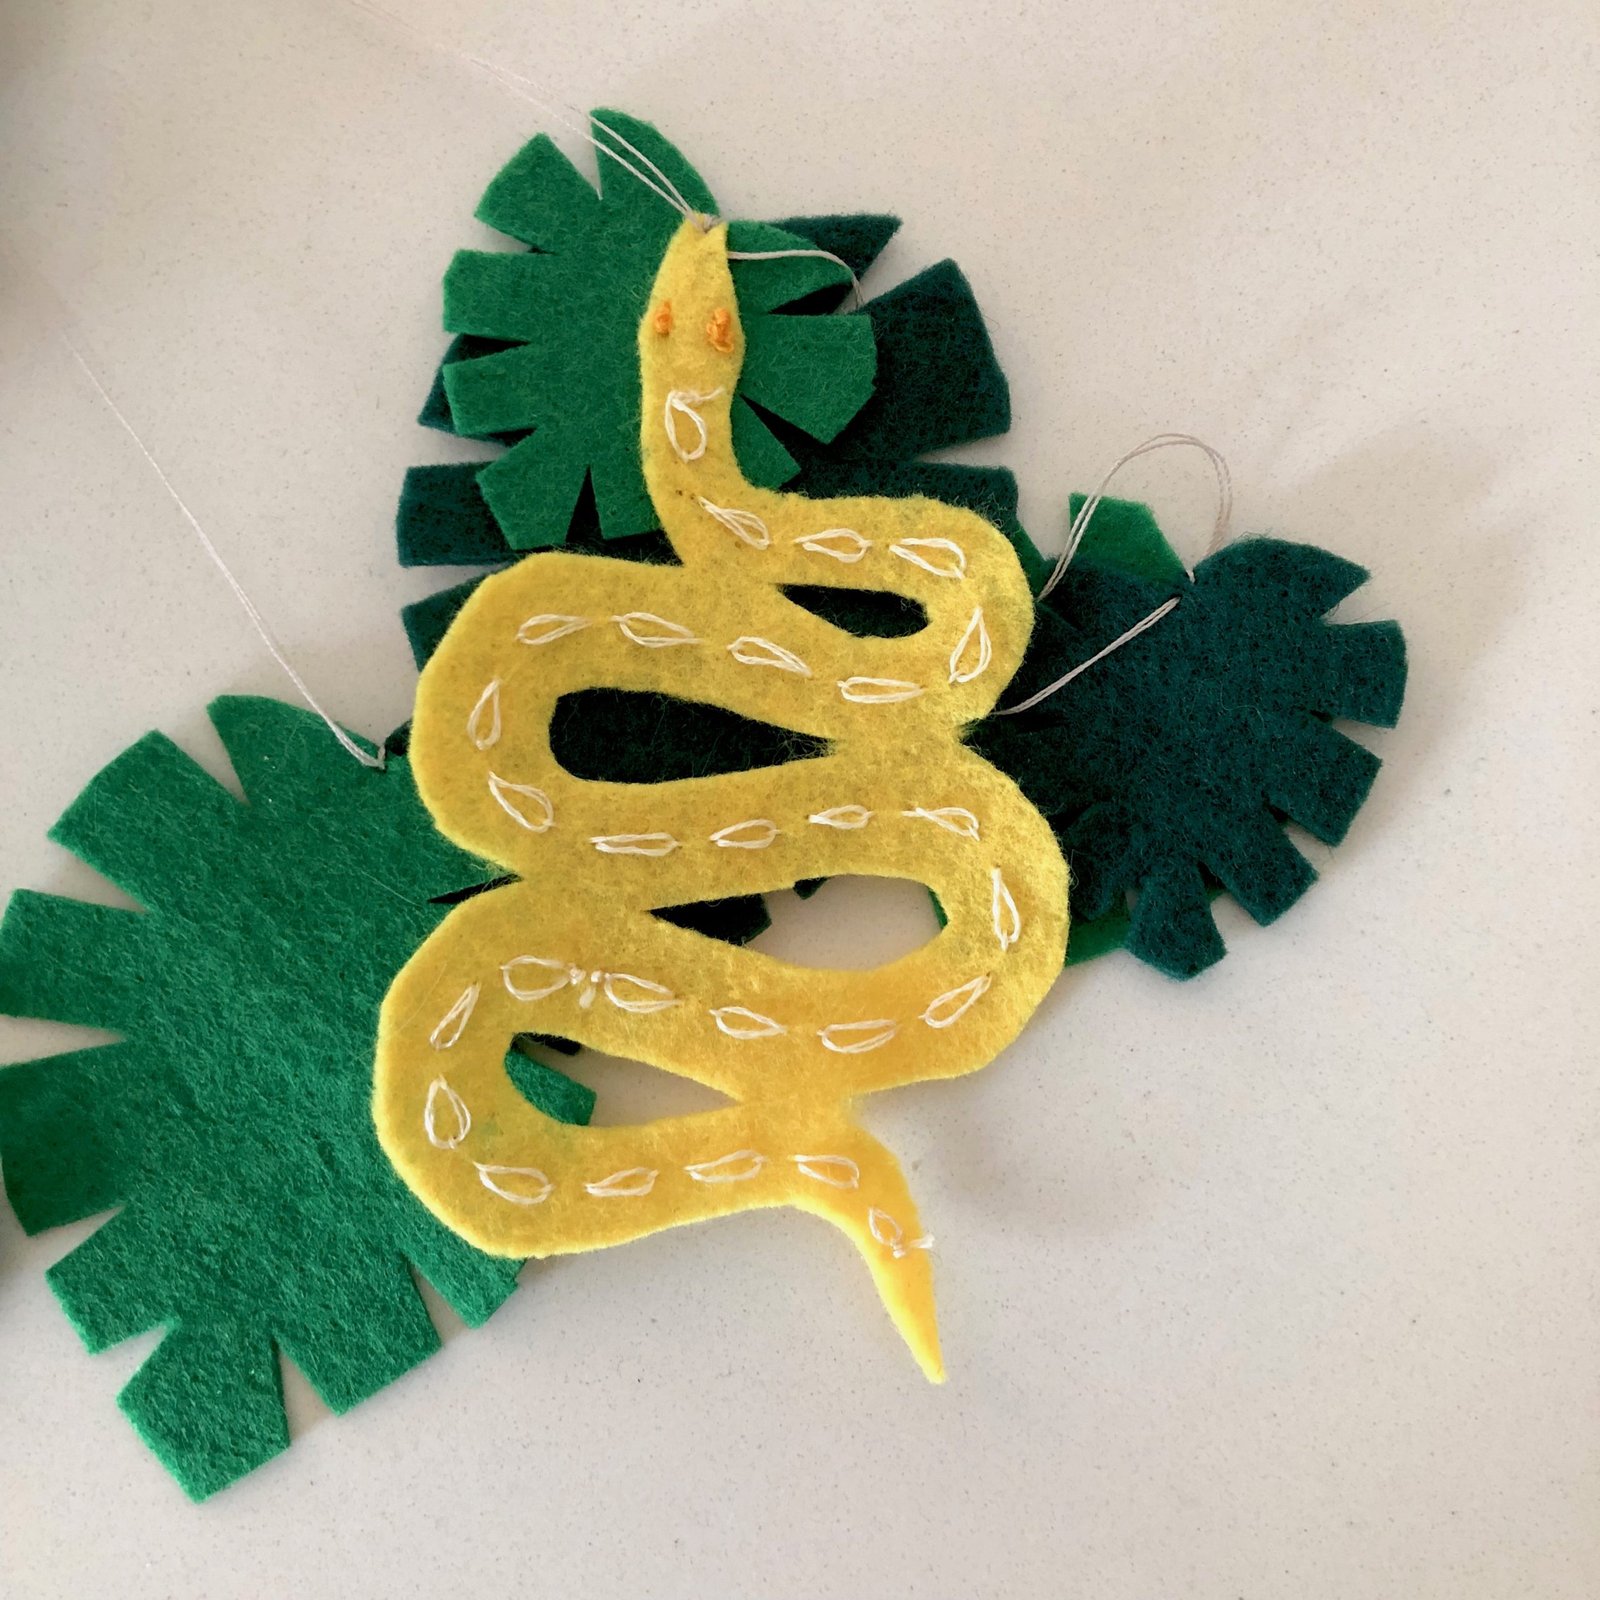
Every year my family always exchanges some sort of homemade food treat too… my effort this year is gingerbread star biscuits to be dunked into tea or coffee.  I made a little more that 160ish gingerbread stars and pondered how to decorate them, finally deciding upon an easy option of polka dots.  Yes, I’m super into polka dots at the moment for some reason.  Oh, and did I say “easy”? haha. For some reason this very simple concept took an entire afternoon and I’ve still got a numb spot on my finger from the pressure of operating the icing contraption thingie.  I’m low key disappointed that so much work resulted in actually quite ordinary results,  hmff.  They are sadly not at all spectacular, but are definitely very yummy and I hope everyone likes them!

In other making news, not related to Christmas pressies; remember this dress?  I made it using our own Karijini pattern and a doona cover.  yes I still love it in principal, but had tired a little of its soft inoffensive colourway and last month subjected it to the unforgiving depths of the dye pot.  It now looks a bit more eye-catching, ahem.  I actually love it, and it feels like a new dress in my wardrobe, which is nice.


pinterestmail

pink cushions

Hello!  My latest knitting project has been some cushion covers… I’ve had two cushions on our front bench for years, which had became bleached over time to a very unattractive dirty-greige.  I took out the inserts and started planning some new covers…

I could have sewn new covers, however… well, why not knit up some of my wool stash instead?  You might recognise this orange-y coral pink cushion cover as my April knitting project.  It was a neck warmer but I really didn’t like it in the end.  I unravelled the whole thing and re-knitted it… and I much prefer it like this.  The resulting cushion cover was quite small so I had to downsize the cushion insert, however I really like it that the two cushions are now different sizes from each other; adds to the casual randomness of the appearance of them now!

This bright unicorn-pastel one was from a stash given to me by my daughter-in-law Lainey… anyone remember the Flurry yarn?  I don’t know about outside Australia, but here there was a short-lived fashion for wearing scarves made from this type of wool.  There was actually just over three balls of the same colour way in the box Lainey gave to me, which I thought could be enough for a cushion cover.  I felt it looked quite nice with the other cushion too.  The gods were smiling upon me, because there was the perfect amount for a second cover, with zero leftovers.  I knitting in the round, then grafted with Kitchener stitch at the bottom end,  I then stuffed in the old cushion insert and stitched up the top end with the leftover wool.  So no, you can’t get the cushion inserts out again without undoing a seam, but I’ll probably just hand wash the cover and insert all together and I’m sure it will be fine.


I photographed one of the old covers because it made me chuckle a bit… they used to be dark purple, and those dark purple circles are where the buttons used to be and thus were protected from the sun.  Also, because I’m very thrifty I saved the buttons too… guess which button was sewn inside the cushion and thus also protected from the sun?!

Some other maintenance issues:

I made these beige trousers a couple of years ago, using the Closet Core patterns Mitchell pattern.

They initially had got a pink wash, and then a deeper pink dye, and I proceeded to wear them about 10 times during their first year.  Then, after about 6 months in the wardrobe without getting another wear, now I’ve dyed them again; navy blue.  It’s like having new trousers!  btw, I’m wearing them with three different Booragoon tops in these pictures!  a white one, pink one, and navy one.  Honestly, I wear my Booragoon tops a lot!

Our Carolyn & Cassie Booragoon top pattern is available here

Maintenance issues 2:  I did a little mending recently which I though to take pictures of… I wear this dark pink T-shirt a lot and love the colour, the fabric is merino from the Fabric Store in colour Red Clay.  It’s so upsetting when a favourite T-shirt develops holes! in spite of lots of mothball thingies they still seem to find their way in sometimes…  Honestly, I’d buy more of this fabric and make another top if I had too, it’s such a favourite for me.


Anyway, I did some flower-style mending … it’s not too awful, I think and at least I’ll be able to keep wearing it.  I’ve learnt over time that it’s best to mend little holes like this early, before they grow bigger, which they most definitely will before you know it!

pinterestmail

work outfit pt 2, blueberry crepe cake

Phew!  I’m currently feeling like the Red Queen! in that I’m running as hard as I can just to stay in the same spot…  anyway, a bit late, but here are some more random things I’ve made recently.

Items 1 and 2;  new things for the little work capsule-wardrobe I’m making for Cassie… and btw, WHY am I making so many capsule wardrobes lately?!  Actually it is kinda fun, so I’m not complaining 🙂

The pistachio green cowl neck top is similar to the previous, avocado green one that I made for her, with a few improvements…  I made it from the leftover cotton jersey that I made Theo’s little panda romper from… so they have a matching mother/son ensemble, should they want to wear something like this!

The mint green skirt is from fabric that I inherited from Mum’s stash, when she cleaned it out… it’s a really lovely suiting fabric and we have enough leftover for a little top too, which I’m planning to make next  #spoilers

The skirt is another heavily modified Vogue 8363, and lined with mint green lining fabric from my stash; this is an absolutely perfect colour match which is nice!  It’s the exact same fabric that used to the blue skirt I made for her recently.  Again, the only new thing I bought for this outfit is the invisible zip, yay!

Item 3; I rarely post cooking/baking projects here, but this one was kinda… out of my comfort zone, should I say!  I recently came across the Cooking Tree on YouTube and quickly became slightly obsessed with her beautiful creations, her beautiful videos and was completely inspired to give it a go.  I picked something super easy, haha; the Blueberry Crepe cake; and for my first crepe cake I’m quite pleased with how it turned out.  The mixture was supposed to make 21 layers; my crepe cake has 20 layers because my first crepe was a fail which means there is absolutely zero excess for spares!

Anyway, it was quite yummy and I really enjoyed the challenge of making it, so I’m definitely going to have a go at some other of the Cooking Tree’s recipes  🙂

pinterestmail

a bumblebee cake

I know I don’t do baking posts here very often, but I actually make a lot of cakes! and if I get to decorate them in a exuberantly fun way like this one then I will be tempted to write a post about it here…

My niece Jacinta was having her 21st, with a yellow-themed birthday party… and what with one thing and another making it very busy for my brother’s family I ended up offering to make the cake.  Time was pretty short and the pressure was on! and I’m so glad I could spare the time myself, as well that I had already prepared my own yellow outfit well in advance!

I made two batches of cake, flavoured one with the grated rind of two lemons for a lemon flavour, the other one with vanilla essence…  baked each in halves to make 4 flat cakes, and layered them alternately. I made lots of batches of plain icing to glue them together and give the cake a crumb crust, and coloured the outer layers with yellow food colouring… finally it’s decorated with real flowers and mini chocolate bumblebee cake decorations.  I wound gold jewellery wire around my finger to make spirals, speared the bumblebees on and secured them with a tiny blob of icing.

I was so happy with how it turned out! Also, we had such a wonderful time at the party and it was so lovely to spend time with all the family!

pinterestmail

Mundaring raincoat

Hurrah!  Cassie and I have finally finished making our newest pattern!  please give a warm welcome to the Mundaring raincoat pattern, currently for sale in our shop, the linky dink to which is over to the right in my sidebar there… or you can just click on the this pattern picture just to the right here.

So, the Mundaring is a pattern for a loose-fitting, below hip length raincoat with raglan sleeves, large front zippered pockets with inbuilt weather flaps, a back weather flap covering a hidden vent panel, roomy hood that can be tightened with a hood cord.  Closure is by an open ended zip, hidden underneath a front band.  The pattern includes separate pattern pieces for an optional lining with additional inner breast pocket, and an appendix with tips for weatherproofing the seams of your raincoat.

I know it’s taken me a long time to finally finish getting this together, I first made this design for myself back in 2012 when I made my blue raincoat

this is actually a great little raincoat and I love it and still wear it!  Then I made a pink and blue colour blocked version for Cassie, improving on the design a little more.

Then I fine-tuned the design to be just about exactly what I wanted, albeit in unlined form, when I made my mustard one

this is when I got actually got serious about turning it into a proper pattern and studying the grading criteria.  btw the mustard one has been a really great raincoat too, and I still wear this one when the colour of it is what an outfit requires  😉

In testing the design I’ve made multiple Mundarings since that time, several in each of the five sizes each… plus another “proper” one for Cassie in this chic, pale grey pleather.  And finally, the cheerful yellow one for myself, and then a lovely blue one for my sister-in-law S.

Doesn’t she look gorgeous?  I’m so grateful she agreed to be my model again!

Both my latest are made using a fabric called Oxford Waterproof that I bought from Remnant Warehouse.  btw, NO, I am not getting free fabric or recognition or anything for promoting it, and these are not affiliate links even, I bought this fabric and am recommending it because I am genuinely a fan and think it is the perfect fabric for my design!

My raincoat is this colour, the Gold colour-way, and S’s is the Royal colour-way.   I fully lined both these raincoats using matching polyactate lining fabric from Fabulous Fabrics, and both of them have white zips and white cords and cord stops, which I think looks really nice  🙂

I sealed the seams on both raincoats using this stuff…

I selected it because it is an adhesive sealant with high flexibility, and bonus that while comes out of the canister kind of cloudy it then dries to be quite translucent.  In my  opinion it’s absolutely perfect for this purpose!  I’ll update this post with the exact product as soon as I can, and am truthfully kicking myself right now I did not take a picture of the canister before (doh!)

The pattern is for sale in pdf form here… we are working on getting a paper pattern up and running, and will update the shop with a paper pattern once we’ve got all our ducks in a row vis a vis that.  But in the meantime… here is is!!  I’m so happy to finally have it out in the world!

Here are some of the specs!

Pockets?  Why, of course!

Details:

All raincoats; Carolyn & Cassie Mundaring raincoat pattern, in Oxford Waterproof from remnant warehouse
White tank top; my hand stitched Alabama Chanin tank top.. it was the first one I laid hands on in the drawer!
Jeans: Closet Core patterns Morgan boyfriend jeans, blogged here
White shoes; handmade by me, blogged here

pinterestmail

baby swing and coconut ice

Tim and I made this adorable little swing for Arthur!

peekaboo!!

Kelly found the design and Tim suggested it be a joint project between us, with me making the swing and Tim taking care of the woodwork etc… Kelly and Arthur and I went to Spotlight together and bought the stuff… apart from the fact that it was like 41C that day it was fun!

Arthur’s first trip to Spotlight!

We bought this cute orange-based kangaroo? wallaby? print which Kelly thought would go really nicely with their deep blue/grey walls and jarrah floors, bamboo wadding, which I used doubled up for extra padding, and white webbing and a white clip-in catch to make a safety belt too… also Tim got pine dowelling and nylon rope from Bunnings.  We based our swing on this one on a blog the Thud… I think that Kelly had found it through Pinterest? I think?  anyway I recommend checking it out because she is hilarious!!

I did have to make adjustments to practically every dimension though for several reasons:

a. the dowel Tim had was 2.54mm (1″) instead of the 19mm dowel used in the tutorial so extra height was needed at every top edge.

b. we wanted the back rest to be above the arm rests because it makes good sense to have the back highest, I think and also makes a nice visual to the layers.

c. I wanted all the kangaroos/wallabies to face UP, so I split the bottom/side piece into two, and cut and joined so the animals stood up each side.  Furthermore, I arranged it so the seam in the back/side piece was on the opposite side for each piece, the inside and outside of the swing, if that makes sense.

d. I added a little seat belt for safety.  The part that goes around his waist is stitched in each side of the back piece of the swing, and the front is stitched in with the seam between the front and the bottom/side piece,

e. I also made a little flat, square, seat cushion, partially for comfort and also so the kangaroos face up when you look inside the swing too.  In addition, I made an extra, super-fat cushion to sit in the back of the swing, which looks cute, and also narrows the opening a little so he’s less inclined to pull his knees up and try to stand up in it.  Although, Tim and Kelly tell me that when he’s in it he just loves chilling out in his swing, mostly just sitting quietly resting against the cushion in it, and happily swinging.

Here is my (amended) pattern…

and Arthur, chilllaxing in his swing … CUTE!!

Oh, and of course everything is going to be an anticlimax after that cutie patootie! but anyway… so, every Christmas I usually make some sweet treat as a gift for extended family and friends.  This year I made coconut ice, but partly due to small supplies of red food colouring I decided upon a slightly different colour scheme from the usual.

I think it all turned out super pretty!  Also, delicious, obviously!  btw, this quantity pictured looks a bit mean but is really just for “pretty” photographic purposes, because everyone got at least four times this amount in little reusable lunchboxes.  I used this recipe from Taste.com…

pinterestmail

garden tea party hat

Short and sweet; I made a hat!!  Well, by “made”; more accurately; I compiled a hat.  I bunged a whole lot of pretty things onto a hat.   Oh I did make that little tea cup, so I guess I can lay claim to a little bit of it….

The green felt hat is a “St Patrick’s Day” hat from Spotlight and all the fake roses and ivy are also from Spotlight.  I made the little tea cup from modelling clay, also originally from Spotlight, and painted it using craft paints from…  guess where?!!  I used green Gutermann’s upholstery thread to stitch everything securely to the hat.

So my 3 nieces/Cassie’s bridesmaids had planned her kitchen tea/bridal shower to be a Mad Hatter’s Tea party, and we all had to wear some sort of over-the-top headgear.  I wasn’t quite sure how crazy to go, and genuinely thought my hat was going to be TOO much, but it ended up being quite subdued by comparison to many of the other fabulously lovely creations at the party!

The theme of the part was a surprise for Cassie, and the girls had made her hat for her, to both match hers and to be bridal at the same time.  Aren’t they the most gorgeous bunch of girls?!!

We had a low-key hat competition at the end, and Cassie won of course.  The funniest thing of all was the prize; a roll of toilet paper!  We all roared with laughter!

Let me explain… with the new corona virus scare currently going on; Australians have reacted predictably, by cleaning out the shops of any and all supplies of toilet paper.  I know, right?  So Australian… Seriously, the toilet roll shelves are empty, all of the time.  You have to get in fast to pick up one of the occasional restocks when they happen! and there are even rumours of people selling vastly inflated toilet paper on eBay.  I haven’t seen any ads myself, but that’s just an indication of the general level of panic.  And so normally, one of the games you’d have at a bridal shower is a toilet roll wedding dress competition.  And such a thing was obviously out of the question with the current toilet roll situation.   So my sister-in-law spared one toilet roll – ONE! which was awarded as first prize for the hat comp.  SO FUNNY!

Here are some of the other gorgeous hats at the party:

Mum made her stunning colourful hat of felt lined with old X-ray film…

Cassie’s friend E cleverly made a very chic and sculptural, royal hat/ruffled collar ensemble, using paper:

L looked super pretty in her floral/gumnut hat…

Arthur very briefly wore his yoda beanie; but he’s not a fan, poor little lad!  A man of discerning fashion taste!

Lots of gorgeous hats!!!

In closing; a few in-progress shots of making my hat… just because well, that’s what I do here.

I made four button-like holes in the bottom of the tea cup to make it easy to stitch onto the hat.  In fact, you could just think of it as a glorified button, to be honest!

Coming up soon… the wedding itself!!!!!  #eeeeeeeeeeeeekkkkk!!!!!!!!

pinterestmail

jungle baby mobile

Yesterday we attended a very special event, and I made a very special gift for the occasion! … Kelly’s bridesmaid and Tim’s groomsman, now a newly-wed couple themselves, hosted a baby shower for who else but our newest little not-quite-here-yet bub…  The new nursery is to be jungle-themed, so I thought I’d make an animal mobile.

I bought acrylic felt sheets, wooden beads and a bamboo hoop from the craft section at Spotlight, and everything else from my stash… embroidery thread for the embroidery, upholstery thread for stringing everything all together, and all-purpose glue… the blue/green wool that I used to wrap the hoop was from a large bag full of wool that a neighbour put out on their verge as rubbish.  When I spotted it I was like… whaaa??? well yes please and thank you! #wastenotwantnot

The designs are all my own:

toucan;

sort of a generic monkey… I kinda wish now I’d made him a specific type but oh well…

gorilla.  btw, most of them have a definite front and back so I’ve pictured both of his here…  He was one of my early favourites so I can’t believe I forgot to take his special close-up photo!  we’ll have to make do with a couple of zoom-ins …

tiger.   I’m pretty pleased with my tiger, it was easily the most labour intensive and fiddly of them all!  This is actually version three; I was dissatisfied with two earlier versions but kept going until I had one I was happy with.  He also has a definite back and front.

panther

blue and red macaw

blue and gold macaw.  Until I was making this mobile and made a point of looking it up, I wouldn’t have noticed that these macaws have black beaks while the red and blue ones have white beaks!

python.  this was a last minute inclusion and I really love him!  My python has a lovely diamond pattern along his length, and it should be noted btw that this is not a very common marking for this particular colouring but I’m claiming artistic license!

There are three different leaf sizes, and I went to a careful effort to balance everything out; the ground dwellers are at the bottom, then there’s the mid-range dwellers, with the birds flying up in the canopy.  Except for the toucan, he’s not flying but I imagined him perched on a branch.

I like the way the blue/green yarn I used to wrap the hoop is sort of “planet earth” colouring, as well as sky/leaf canopy colouring.  Seems sort of fitting.  And the dark wooden beans that are really there to weigh down the motifs, also sorta represent nuts in the trees and on the ground,  and the wooden trunks of the trees.

Lastly, here it is in motion.. thanks Cassie! for holding it up for me to film it!

Kelly sent me a picture this morning showing it hanging up already, which is so cool! and I sure hope baby enjoys watching it from his cot!

Before anyone points it out; yes I know these animals do not necessarily live in the same jungles as each other, but hey; at least they’re all actual bonafide jungle animals and I didn’t pop a cheetah or a zebra in there!

Now before I forget… I said I only had two more things to blog about before the end of the year, but I was forgetting the following!  for Kelly’s birthday she mentioned how she needed maternity clothes, so I offered to take her shopping for fabric and I’d run up a few things…  I’ve shown some of them here but not all of them for some reason, anyway, here are the rest…


a Closet Case patterns Ebony dress with set-in sleeves; in cotton jersey bought from Spotlight for this project

A raglan-sleeved Ebony tee, and a skirt made using Burda 7023.  Apart from the navy blue merino for the sleeves which is leftover from my Nettie tee, these fabrics are all long term residents from my stash, some give to me by Mum.  It’s not a glamorous outfit, but one I thought she could wearing hanging around the house or on the weekend for housework or something… hey, we all need those clothes too!

another raglan-sleeved Ebony tee, and Burda 7023 skirt combo… striped jersey a long term resident from my stash, originally leftovers from this dress; and black jersey from Spotlight, not a leftover but bought specifically for this project.  For my previous notes on adaptions to this skirt pattern, see here.


So; NOW I’m pretty sure I have only one thing left in this year to blog and it’s a lovely one if I say so myself …. stay tuned!

pinterestmail
Switch to mobile version
↓