
I haven’t felt like blogging very much, but absolutely must otherwise I’m going t o get SO far behind… it’s time to get back on the wagon. I’ve been super busy busy BUSY, sewing up Christmas and birthday presents; including this bunch o’ stuff.
Luggage, or “travel sets’. This was my choice for a lot of my pressies for this year. I made three complete sets, plus four extra toiletries bags. Everyone (said they) loved them!
Pattern; the Portside travel set by Grainline Studio. I bought it during their Thanksgiving sale and got going on it immediately… It’s a nice little pattern for three pieces of luggage, a duffle bag, which is quite large, a “dopp kit” which is what we would call here a dilly bag or a toiletries bag, and a “pouch” which is a nice and handy, flat little purse-thing that you could store phone/device chargers, keys, cards, or just any small things that you don’t want getting lost as they knock about in the duffle bag.
Fabrics; all fabrics and bits and bobs are from Spotlight, except for the lining of Craig’s set, which is from Homecraft Textiles. The shells are constructed in thick, strong nylon drill from the upholstery section, intended for use in outdoor cushions and furniture, and all pieces are interfaced with the thickest, iron-on interfacing I could find. It stands up by itself rather nicely, and it should be nice and tough too! I lined everything with thin, waterproof, plastic-coated fabric, so the bags can be wiped clean inside. The interior of a dilly bag should be wipe-cleanable and waterproof in any case so your fabric doesn’t get stained and dirty from makeup/shampoo/toothpaste leakages, and I decided to use the same stuff for everything because I was thinking they all might want to sometimes use the duffle bags as gym bags, or alternately as beach bags. I just wanted all pieces to be both practical and tough.
 Tim’s; made first. All grey/black/white, very masculine which at first I thought perfect for a professional young man. I actually made a matching grey/white dilly bag for him to start with, then suddenly felt all that extremely tasteful grey-and-white was all a bit plain-y plain blah blah blah, and decided it desperately needed an injection of FUN somewhere… we’ve been in sore need of fun around here lately… and Tim is naturally a pretty fun-loving kinda of a guy. When I saw this black/white Darth Vader/stormtrooper fabric in Spotlight, well it all just fell into place. I had bought some Star Wars Lego key rings for gifts when we were in Copenhagen last year; and had some leftover, and thought C3PO made a good zip pull for Tim’s bag.


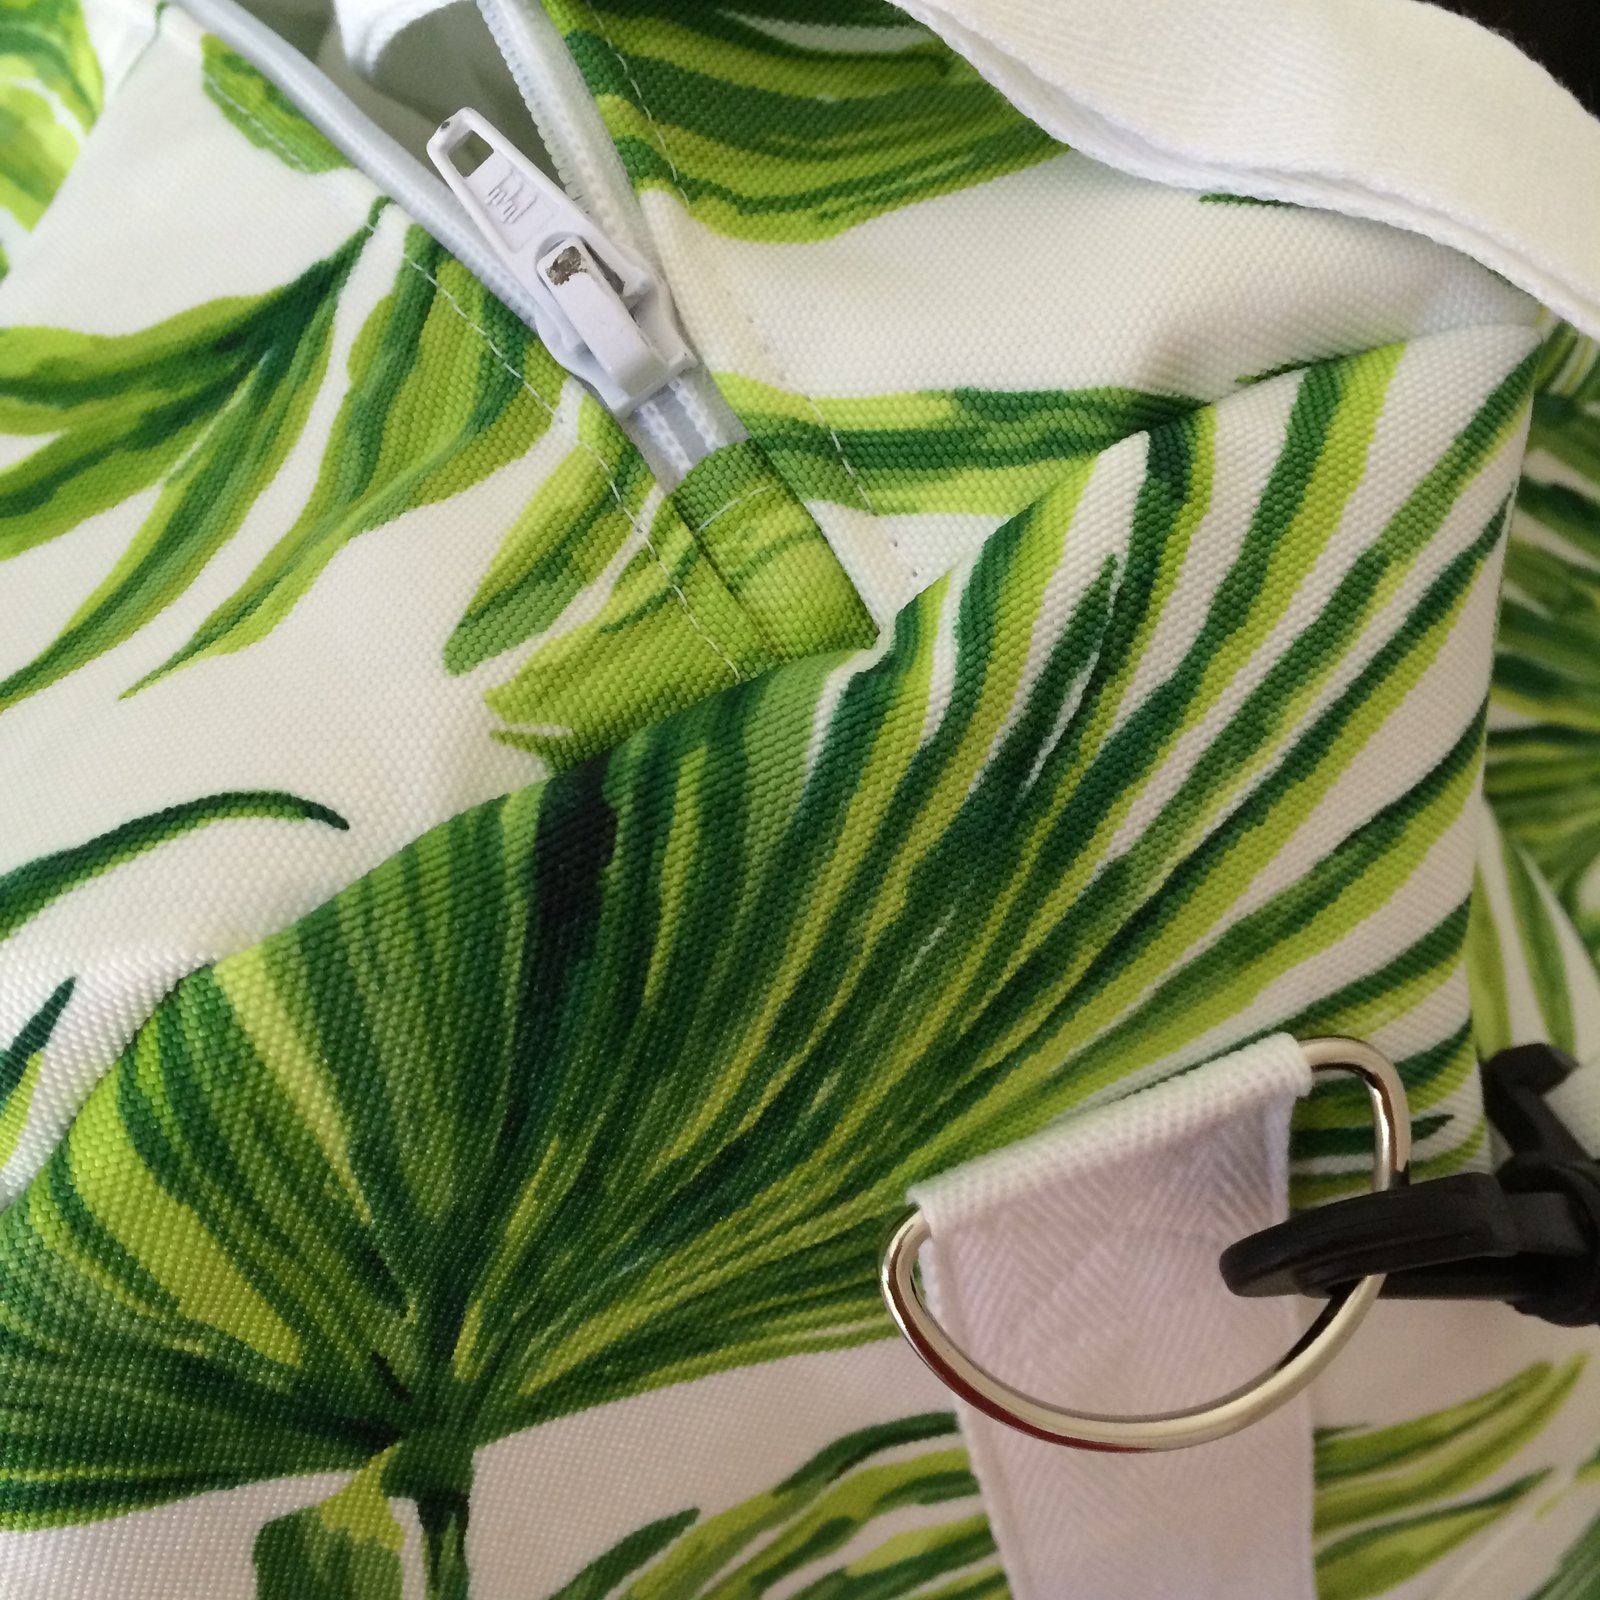
Kelly’s set is all tropical palm print. Also fully lined with the same thin, white plastic waterproof fabric. And may I say… if only Spotlight had had this fabric in when I was planning my raincoat! I would not have resorted to using a shower curtain. But they didn’t. Oh Spotlight. you crazy hit-n-miss, lucky dip of a fabric store, you.


I also made a full three-piece set for Craig, for his birthday… the grey is the same as in Tim’s, and I bought a dirty camel-brown for the contrast, and a dull, air force blue webbing for the trim. I love these sludgy colours together, this one is actually my favourite colour combination out of all the sets… I didn’t like the thought of a white lining for this set, too stark; so went hunting for a “browner” alternative; and found this great, beige plastic at Homecraft Textiles. Actually, Homecraft Textiles had a really great range of waterproof fabrics… I’m seriously contemplating going there to get some raincoat fabric, hmmm.

In addition; I made two more of the Star Wars dilly bags; pretty much identical to Tim’s, except for the zip pulls. One was for Sam, and theother for Cassie’s boyfriend D. Unfortunately I only had one more of the Star Wars key chains, R2D2, which I put on Sam’s dilly bag; I had to promise D that if we ever got to Copenhagen again I would definitely get another key chain to finish his off to perfection!

I also made a pink flamingo dilly bag for my friend P, who LOVES hot pink and wears it a lot, thus the choice of this fabric. It’s funny, I wouldn’t have chosen this otherwise but I kinda fell in love with it while making it, and ended up utterly adoring it. Actually, it’s been pretty hard to part with any and all of these, for real 🙂
 Finally, I made a second palm frond dilly bag, for another friend, M. She’s been so kind and sweet and generous to me all year, and I just wanted to make something for her. The only thing I’m super ashamed of is that I ran out of time and only just finished this one on Boxing Day, so it was a little late. Eeeeeeek!

I enjoyed making all of these.. the only difficulties I had was in getting the hardware, I cleaned my local Spotlight out of their entire supply of 25 and 35cm white and beige dress zips, 51cm white “chunky” zips, and also all their swivel clips and D-rings; completely! and had to visit Homecraft Textiles for more. I like the plastic swivel clips a lot; I know metal ones would be more “classy” and sure I could have found some online, but I just wanted everything lightweight and easy care, and I think these plastic ones are far more practical.
Some thoughts about the pattern and its construction… it is a good pattern, it works, fills a niche, all that; but I made a few minor little upgrades/mods/changes to the way I constructed mine, which I thought were an improvement to the outcome too.
As follows…

When sewing the side edges of the duffle bag and the dilly bag; start and stop the seams 1.2cm (1/2″) from the bottom edge… doing this makes it far easier to stitch the bag bottom piece on to each. Trust me, it really really does.
pictured here is the lower corner of a lining bag, but the same tip applies to the shell also

Also; before the stitching the lining bag to the inside of the zip tape: secure the linings to the duffle and dilly bags, between the shell and the lining bags, up the side seams and the four upper corners, as well as the bottom of each duffle bag. This helps further to keep the lining tamed firmly in place inside the bag, and not billow inside of the bag whenever you take things out.

Zips… the bane of our existence, no? Never the right length… for the duffle bag the pattern calls for 53cm zips, the closest I could find here in Perth was 51cm. To cover up the shortfall, I made a little inset bit to slip into the end of the seam covering the bottom of the zip. I think this looks really nice.
Likewise, the pattern calls for 33cm and 23cm zips; here they only come in 30cm and 35cm; and 20cm and 25cm. So for the 33cm; I bought 35cm zips and just cut the bottom ends off; and for the 23cm zips, well Spotlight ran out of the colours I needed and for several of the dilly bag pocketes I had to resort to a 20cm zip instead and made similar inserts to cover the bottom edge in the same way.

I added a little tab to the bottom end of each dilly bag zip, giving you something to grab at that end when you’re zipping it up. It’s just a short piece of the same webbing that I’d used for the duffle shoulder strap, folded in half and stitched in with the bottom of the zip. This helps a lot when you’re closing the bag.

I also lined inside the side pockets of the duffle bag, and also the side pocket of the dilly bag. It’s just neater and nicer, and more complete that way, I think.


To line the dilly bag pocket neatly… after stitching the upper side piece to the upper zip tape, lay the lining piece right side to the wrong side of the lower zip tape as pictured below, and stitch.

Proceed as per the pattern instructions, by topstitching the lower side piece over the lower zip tape
Not a mod, just a self-evident necessity; for the dilly bag I found I had to clip the freakin’ heck out of the top pieces, to get the top to fit in to the curve of the front/sides.
stretched out to the utmost…

Now, it has to be said; the complete absence of metric measurements in the Portside pattern is pretty annoying. When I saw this I was like, really?! I mean, I can forgive that in a pre-70’s vintage pattern… but not in a modern day pdf, sold internationally. It’s not a deal-breaker for me, but still, this is just not good enough. Sure, it’s not hard for us pattern purchasers to convert all the measurements ourselves and jot them directly onto our pattern, that don’t forget, we had to print out ourselves too; but when you’re paying $14 for it… well, I just don’t think you should have to do that.
Now it looks messy…. should NOT have to do this….
 … I’ve only just noticed this; that under “gather your supplies” the list includes “sewing machine” ;D
… but I don’t want to end on a down note. Overall I’m pretty happy with my decision to buy and make it, well obviously, since I’ve made so many! Maybe I should … er, make one for me?!

SaveSave


 I’m continuing on with my tradition of making a new set of bra plus undies for my thing. The last two years I’ve taken the humble frog as my inspiration, firstly here and secondly here… this time I wanted something different, and by that I meant a creature other than a frog. I had a few different ideas… but nothing jumped out at me… finally I just thought; I’m going to google “jungle” and select the top rating picture as my inspiration, no further argument. I did, it, held my breathe, what creature was I going to have to “interpret”…? and this is what came up…


 Self-explanatory, really. #endblogpost 😉
 Pattern; Vogue 1384. It’s a vintage pattern, hailing from 1984, sorry. Yeah, it’s annoying when people make things in vintage patterns that you can’t get a hold of anymore. But I’m sure this is not particularly aspirational actually, it’s a little weird in that 80’s way. That high, slightly floppy collar combined with a billowing pirate-y blousiness is giving me serious


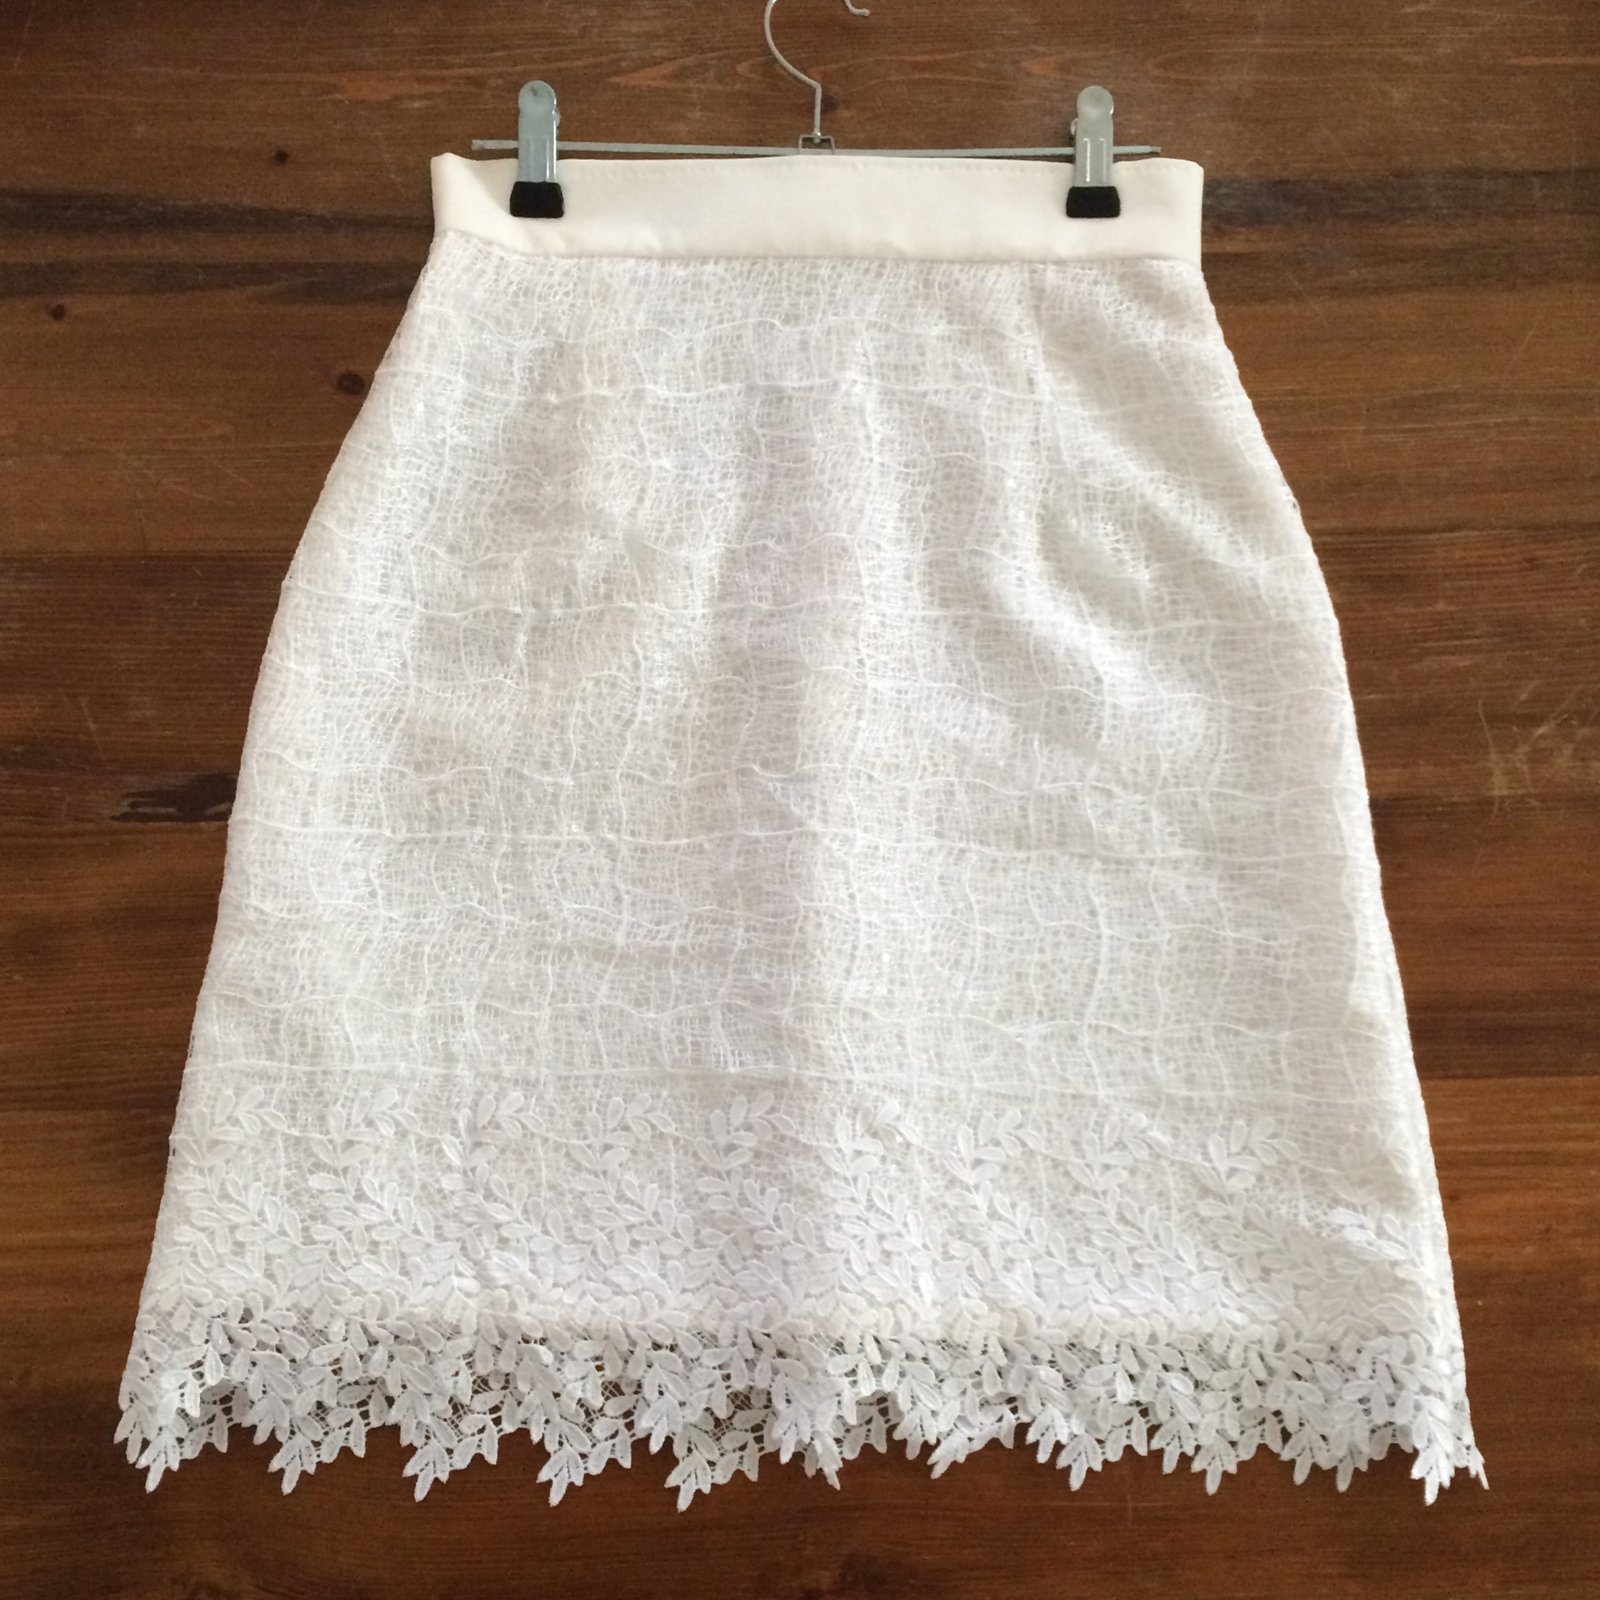
 Then I vaguely thought maybe a navy blue skirt would make it a nicely complete set, and she desperately needs skirts for work too … and lo and behold what should be lounging languidly about in the very next aisle but this teal blue suedette, which is a PERFECT colour match for the rooves. BAM! DECISION MADE. Lugged them both to the counter without a second thought, brought them home, tossed into the washing machine.
 The suedette “looks” nice and perfectly suede-y, but it frays like billy-o. I finished all the raw edges on the overlocker, and the lower hem with a bias cut binding cut from a scrap of purple/blue micro fibre.
  The Tshirt is made up just like the pattern, except for the neckline… I’m lazy with my Inari necklines and have pretty much finished them all off like this! Just overlocked the raw edge, turned it under and topstitched from the right side. Since it’s quite a wide neckline and doesn’t stretch out when you put the Tshirt on and take it off, the stitches won’t snap and this kind of finish works perfectly well.
 The lower hem is finished with my twin needle. Lisa asked about channelling with a twin needle.. all I can say is that I’ve never had channelling and what’s more I have no idea how I’ve avoided it so far either!! Only thing I can think of: I always finish the raw edge on my overlocker, then topstitch with the twin needle, and that’s it! Maybe the overlocked edge stabilises the fabric and that’s what stops a channel forming? That’s the only reason I can think of anyway. 🙂


 ly perfect Word that describes my new “thing” to a T springs to mind instantly. Other times I just plump for the obvious. Today, inspiration was like a wispy breathe of smoke in a dark shadow of the night. Barely present, fleeting and rapidly lost amongst the dusty cobwebs in ye olde brain.
 Pattern; Vogue 1351; bought aaaaaaaages ago. With the intention of making it up immediately, funnily enough! but more on that later…


 Details:
 Partly because of the colour. And partly because the designer is also French Navy. Truly!
 So, recently I discovered
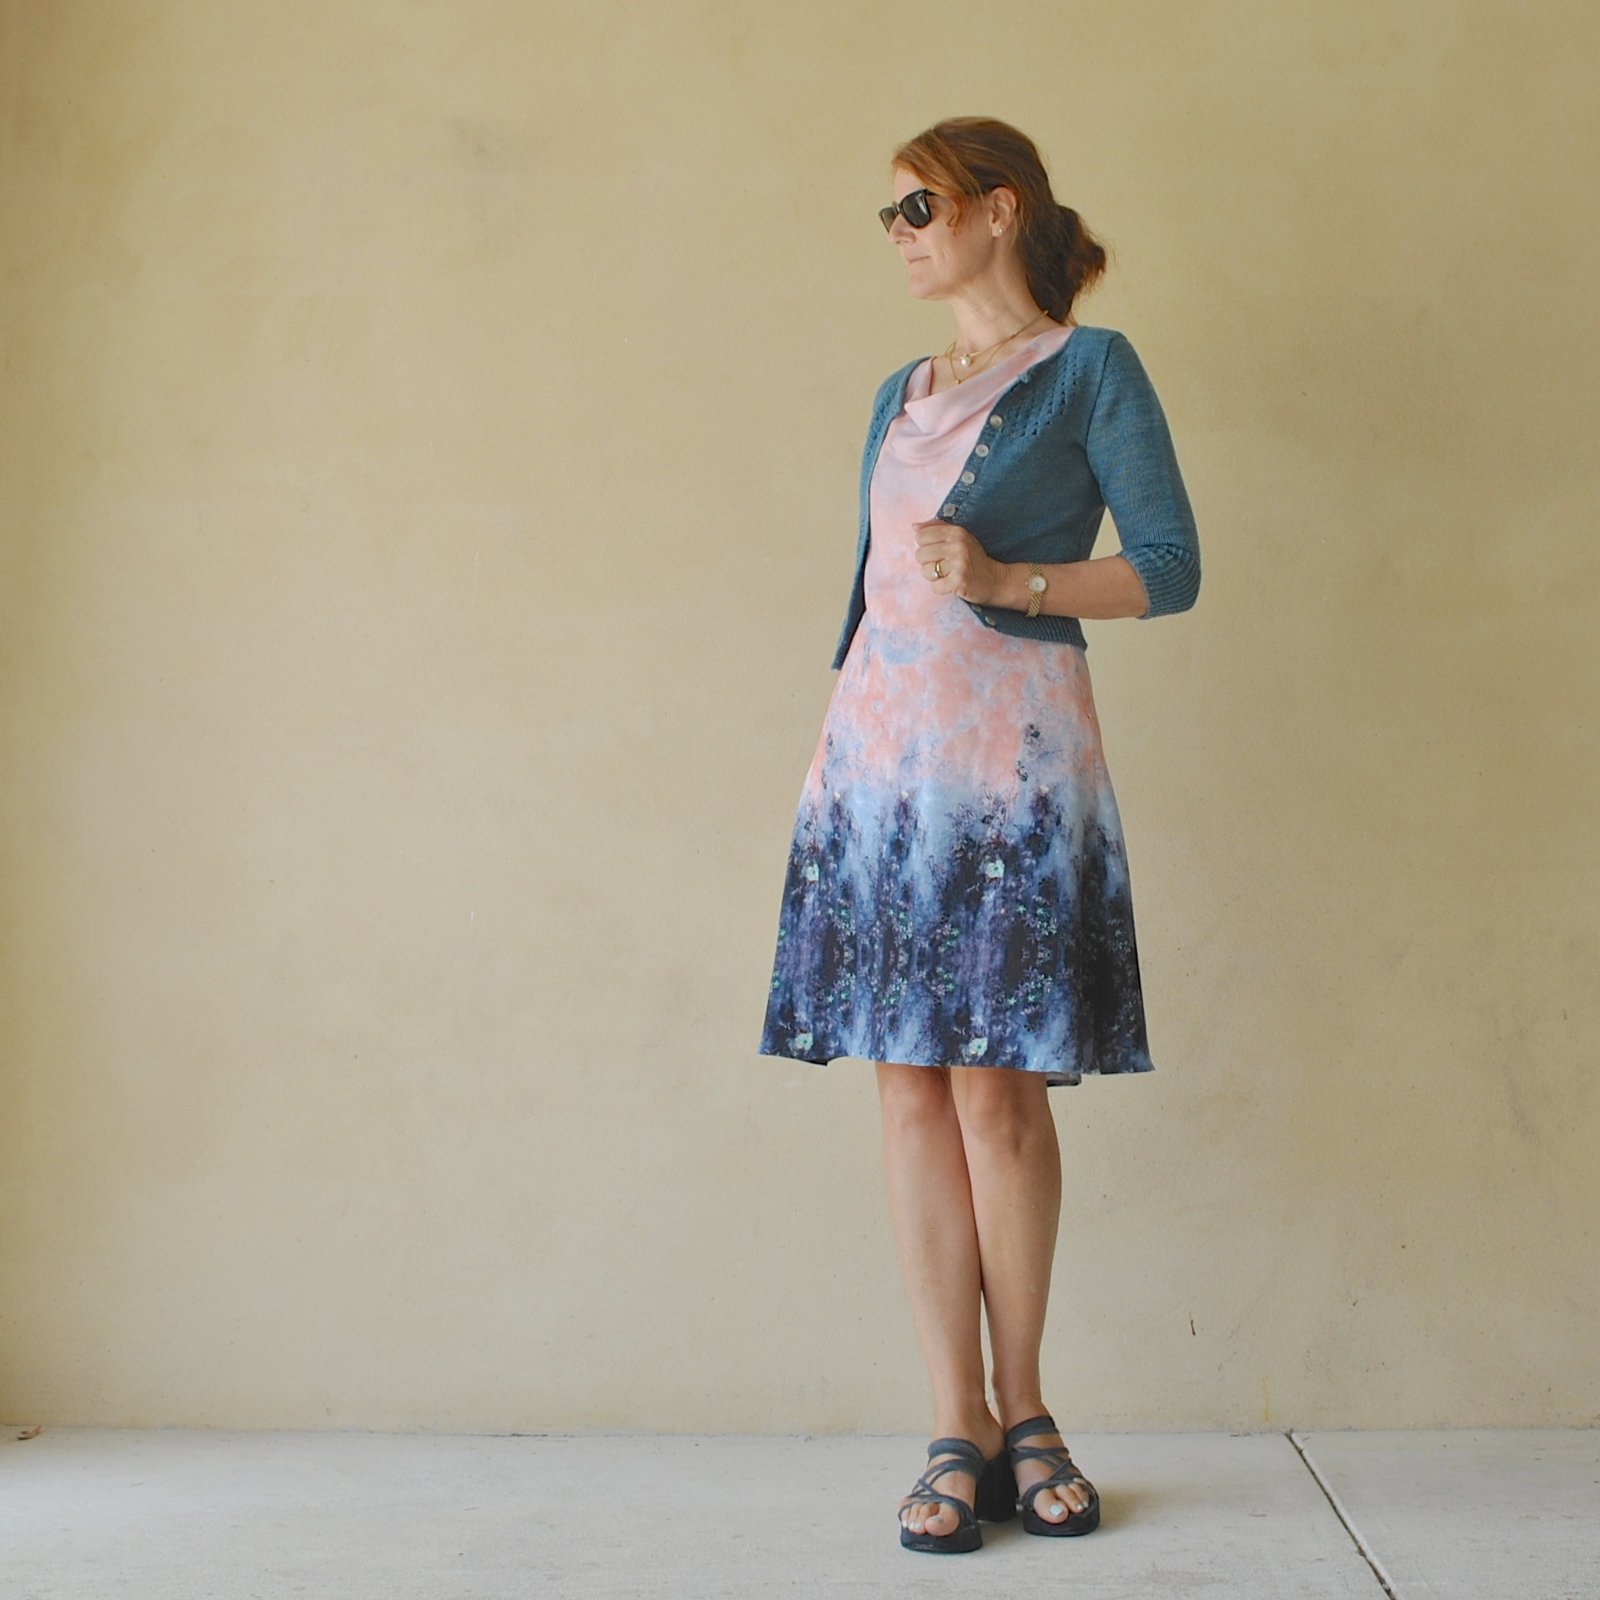
  The Orla is a super quick and fun little pattern which is exactly what I wanted to cleanse my palate, so to speak, after my mad Christmas making-fest… Featuring a gently fitted bodice, rather pert short sleeves, which I think I would be rather nice in elbow length too; a highish waistline, and with a gathered rectangle skirt. I think the low scooped neckline is really lovely, it’s my favourite thing about the pattern. I added 3cm in length to my skirt… just because I thought the gathered skirt gave it a rather young look and I’m.. well, you know. not. Hehe, to be honest I agonised over the length of this skirt, you don’t want to know for how long.. at least as long as it took to make the whole dress. I pinned and tried on, contemplated; re-pinned, re-tried on, re-contemplated… I finally settled upon keeping some extra length that I’d added while cutting out, but I’m still partially tossing up the idea of re-hemming it shorter again. Man, I am SOOOOOO indecisive sometimes, I drive myself batty… I think I’m going to be ok with this length… FOR NOW, she intones, dramatically. I may or may not change it up on a whim, whenever. But maybe not. Might do, though.


 7
7 Funny story; I made this nearly two months ago… and risked


 o buy/make-for men in my life. Honestly, it would be so much more fun and frivolous if I only had girls to make stuff for, but you know. I love these big blokey-bloke creatures anyway.
 All fabrics and buttons are from Spotlight, both a crisp cotton print. Funny thing, while I was making each shirt, I kept each guy’s shirt super secret from that particular guy, but was less careful when that guy wasn’t around. So every now and again they would catch sight of the other one’s shirt. And even though I was careful to say to them, “btw, this is NOT for you!” they each privately thought the other’s shirts WERE for them, and were looking forward to wearing them! I’m sorry! but yes, I was telling the truth 😉
 I altered things very slightly on each shirt… the pockets are different on each one. They both have two breast pockets; but Craig’s has arrow-pointed bottoms, and I did a little bar tack on the top edge of the topstitching, in lieu of the usual triangle. I don’t know why, just a whim. For Sam’s, the pockets have a rounded bottom, and the regular triangle at the top edges. I chose shiny black button for his shirt, to pick out the black feather borders, and unobtrusive, white, matte buttons for Craig’s shirt, to allow the floral to truly shine, hehe.


