
 Hello! I’ve made a new raincoat! This is the Kelly anorak by Closet Case patterns, and I knew straight away I wanted to make it as a raincoat… why? well we’ve had officially the wettest winter and early spring on record, since they started keeping records, so like ever. EVER! It’s been hideous, I tell you! I’ve been wearing my old me-made raincoat all winter, but I’ve noticed that it’s not quite as effective as it used to be. I would classify it as shower-proof now, rather than waterproof *sob*. Well, it is a few years old now so possibly the fabric is becoming a little brittle with age, because I’m pretty sure it used to be lovely and watertight! Now, not so much! #sadface

So a new raincoat was needed… I really wanted a white-ish, cream or ivory one. I just love off-white and think ivory looks so chic and really smart in outerwear. Actually, I think it looks chic in anything!! #welldocumentedivoryfan I bought a plain white shower curtain from Spotlight, and gave it a little water test, posted here on my instagram account. I love how the water droplet looks like a wee little living thing, zipping about on the surface. Obviously the fabric passed with flying colours. Pretty cool, huh?

The fabric was quite see-through, and while I don’t mind a little bit of sheerness in a raincoat it really was TOO sheer, so I decided to underline fully with polyacetate lining fabric. I didn’t want white lining fabric, pure white is quite harsh for my colouring, so I chose this pale golden beige colour. I had this idea that it would tone down the pure white to a warm, off-white, oyster white, which I think my colouring needs. SO. Funny thing! To my mind, this lining fabric is a definite gold, or even brown, wouldn’t you agree? I would not call this colour “pink”… so I’m pretty surprised that the overall look of my raincoat reads pink! Don’t get me wrong, I love it! just that I did not expect this! In retrospect, I can see the colour does have a sorta peach-y look to it…but still! Golden brown under white; gives… pink?!?? Well alrighty then!!

In a raincoat, you need to seal the seams, and for my previous raincoat I used some stuff called Seam Grip, which has done a stellar job in that raincoat for years. So I was pretty sad that I couldn’t find it any more! BCF sold me some of this stuff… it’s a little different, far more liquid-y than the gel-like Seam Grip. It dries on the surface of the fabric forming a slightly hard, just slightly stiff, matte finish; similar to what you would expect if you painted clear matte nail polish on the seams. It does seem to do the trick, though only time will tell. The good thing about it is that it “disappears” on the fabric and you can hardly tell it’s there… unlike the Seam Grip which was a definite visible, shiny “smear” on the seams inside my old coat. Not that anyone ever looks on the inside of my raincoat, but you know what I mean! this new stuff is quite invisible which does look really neat and tidy. So that’s good.

Materials: my shower curtain, zip, eyelets, nylon cord, press studs and the “stops” for the cord; I bought everything at Spotlight. Seam sealer from BCF (boating camping and fishing) store. It’s intended for use on tents and sails! My shower curtain was just enough fabric for my pieces!! Just a few scant patches left enough for me to cut a few extra pocket flap pieces and after that? almost nothing leftover.

Pattern; the Kelly anorak, by Closet Case patterns, available here. Heather asked me to be a tester and I gleefully jumped right in. I really like Heather’s patterns, she has a modern young woman’s aesthetic, with clean lines and unfussy shapes. Basically, I’ve loved everything she’s designed! I made up the pattern just as is, grading out from a size 8 at the top to a size 10 at the hips, according to my measurements, and I reckon the fit is spot on, with just the right amount of ease. I believe Heather has shortened the sleeves, lengthened the body and widened the biceps a touch in the final version in response to tester feedback, however I’m happy with the fit I’ve got here!
Alterations: I just made some very minor alterations simply because it’s a raincoat:

The bellows pockets are designed to have a faux flap, so you can just shove your hands satisfyingly right in those pockets with absolute no impediment… however because mine is a raincoat and I thought functional pocket flaps would be a good idea, you know, to protect whatever is in the pockets from the rain! so I made and added extra pocket flaps on the outside. I LOVE the little double flap effect this gives! ok, maybe it looks a bit weird but I really like it!
I added press studs to the wrist cuffs but left them off the opening front zip placket; reason being that I think a raincoat doesn’t really need them and might actually be more of a nuisance than useful. You know; it starts raining, you want to just throw on your coat and just zip it up quick! bob’s your uncle. The drawstring is good enough for pulling it all in, for me.

In most cases, I overlocked all raw edges to prevent fraying then flat-felled all seams UP, which you always do in raincoats for waterproofing reasons. I remember I went into some detail on this in my previous raincoat post… it’s a little thing but I believe it does make a difference! The shadow of up-flatfelling can just be made out above on my sleeve seams and this front/front yoke seam, which is slightly curved to give some subtle bust shaping.
I hammered in two eyelets tucked up high under each arm to allow body heat to escape; this is an essential in a non-breathable, waterproof garment…

I also added eyelets and pull-cord to the hood opening because, well obviously. A raincoat hood is never merely decorative!

You know what? I’ve worn the raincoat several times, and it’s brilliant. I love it! And so far so good; it’s stood up to a a pretty heavy downpour and I’ve remained happily dry inside It is actually very warm too, which I guess is what you’d expect from a completely waterproof fabric. I’m happy!
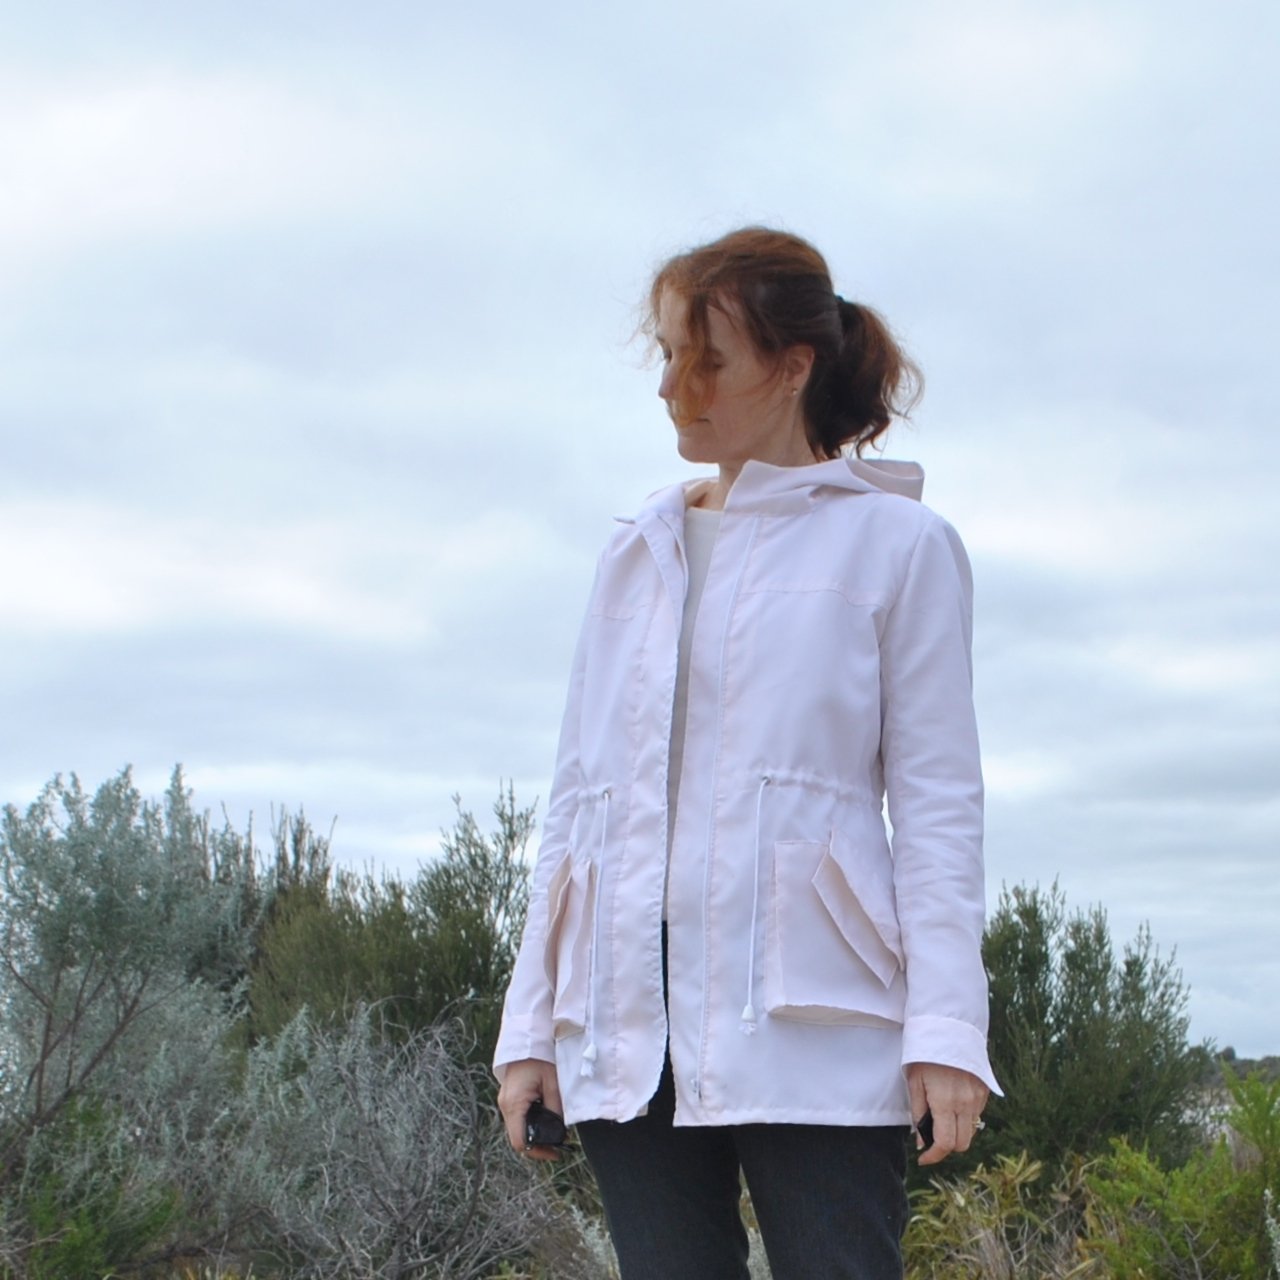 Details:
Raincoat; the Kelly anorak, Closet Case patterns, made using a shower curtain with polyaceteate underlining.
Jeans; Morgan boyfriend jeans, Closet Case patterns, details here
Top; modified Nettie, ivory knit details here… hehe, I’ve just realised I’m wearing all Closet Case patterns, this was not planned, honest!
Shoes, designed and made by me, details here


 It’s not a super supportive thing, but realistically I have no need for a super supportive bra anyway. I still think it’s pretty stable though; I stitched the clear elastic that came with the kit along each side of the cups; so they won’t stretch out, and stitched a little strip of bias-cut white linen in with the side seams. I trimmed the linen strip right down before encasing it within the side seam, so it doesn’t show…. and this stabilised the side seams and makes them nice and strong, and they won’t stretch out either.


 ‘s kinda crazy and huge-skirted and possibly a bit over the top, but you know what? it’s also extremely comfortable and cosy, and so swirly and swishy. The instant I finished it and put it on I immediately felt simultaneously relaxed, like I had put on a warm comfy dressing gown or something; but also a bit chic as well. The big feminine skirt with a nipped-in waist does that, but I really like how the volume below is balanced out by the mannish style shirt top with cargo pockets and flaps, and a notched collar.

 #awkward!! Yes, well; obviously most of us don’t actually twirl very often. Twirling is something of a fashion blogger contrivance… although if I do want to get in a bit of highland flinging I am all set. 😉


 make another one!! Doh!! Clearly there’s something terribly wrong with me… #madvogue1247addict

 aaaaaand, my week of exclusively wearing Vogue 1247 skirts, in a nutshell…!


 Firstly, two sage green/pale coffee, checked tweed skirts. I inherited this beautiful quality piece of wool tweed from my grandmother’s stash after she passed away. Although I earmarked it straight away as two skirts for Cassie and myself I just hadn’t got around to it and have sat on it all this time. It was one of those fabrics I couldn’t bring myself to cut into… you know, inherited from Granny, plus exceptionally good quality, equals inevitable thoughts of sewing tragedy followed by eternal self-damnation…. but I’m making myself get over that nonsense nowadays. Make it! Enjoy it! Live dangerously! So, finally… it helps too that I think Cassie has now grown into fabric of this calibre 😉 not that she didn’t deserve high quality fabrics before, but you know what I mean! it’s very much a grown-up fabric and makes a very smart little work skirt for her now that she has a serious and professional career. The fabric really is beautiful stuff… fine and evenly woven, and there are flecks of all sorts of colours in with the sage green/coffee check… blue, red and gold, caramel brown, forest green, and a hint of purple and black. It has no identifier on it but it wouldn’t surprise me if it was a fully English tweed. My grandmother was very much into that sort of thing 🙂


 sie moved out of home she left this fabric behind and I almost started to factor it into my own plans mwahahahahaha… but of course she hadn’t forgotten it, o no! The reason she had deviously left it behind was so that I could make something for her with it! HA! She chose
 Details:

 what’s with the ballet pose? I have no idea. Anyway… I have a

 I’ve kept the selvedge from off the fabric, and have sewn these inside one of the pockets! just because I love information like this… namely: this design is by prominent Finnish designer Maija Isola, and was created in 1964! out by a year but definitely still of my era, haha. “Pieni unikko” translates literally to “little poppy” I’m not sure what KI 2009 means yet, but I’m investigating…. Also, how cool is it that the laundering info is printed on the selvedge?! so classy and very considerate really, it’s been along long time since I’ve seen such consideration in a fabric. That information’s the kind of thing I usually forget the very minute I swan out of the shop with my new fabric tucked under my wing.


 The loose front pieces also allows you to have these big loose comfortable pockets that you can shove your hands in, while still maintaing quite a slimline dress overall. As a result, the pattern uses very little fabric. I managed to squeeze my pattern pieces out of 1.5m, which is not too bad, not too bad at all, I think *preens oneself on an exceptionally economic layout* I had the merest of scraps left after cutting out my pieces, scraps, I tell you! The pattern has you line the dress, and after a bit of um-ing and aah-ing, I decided to not. Reason? summers here are very hot and I think the breeziness of this lovely cotton fabric is going to be perfect just as it is.


 Press the pocket lining out, then turn it under the front piece and press, forming the 1/4″ (6mm) wide bound edge of the pocket.
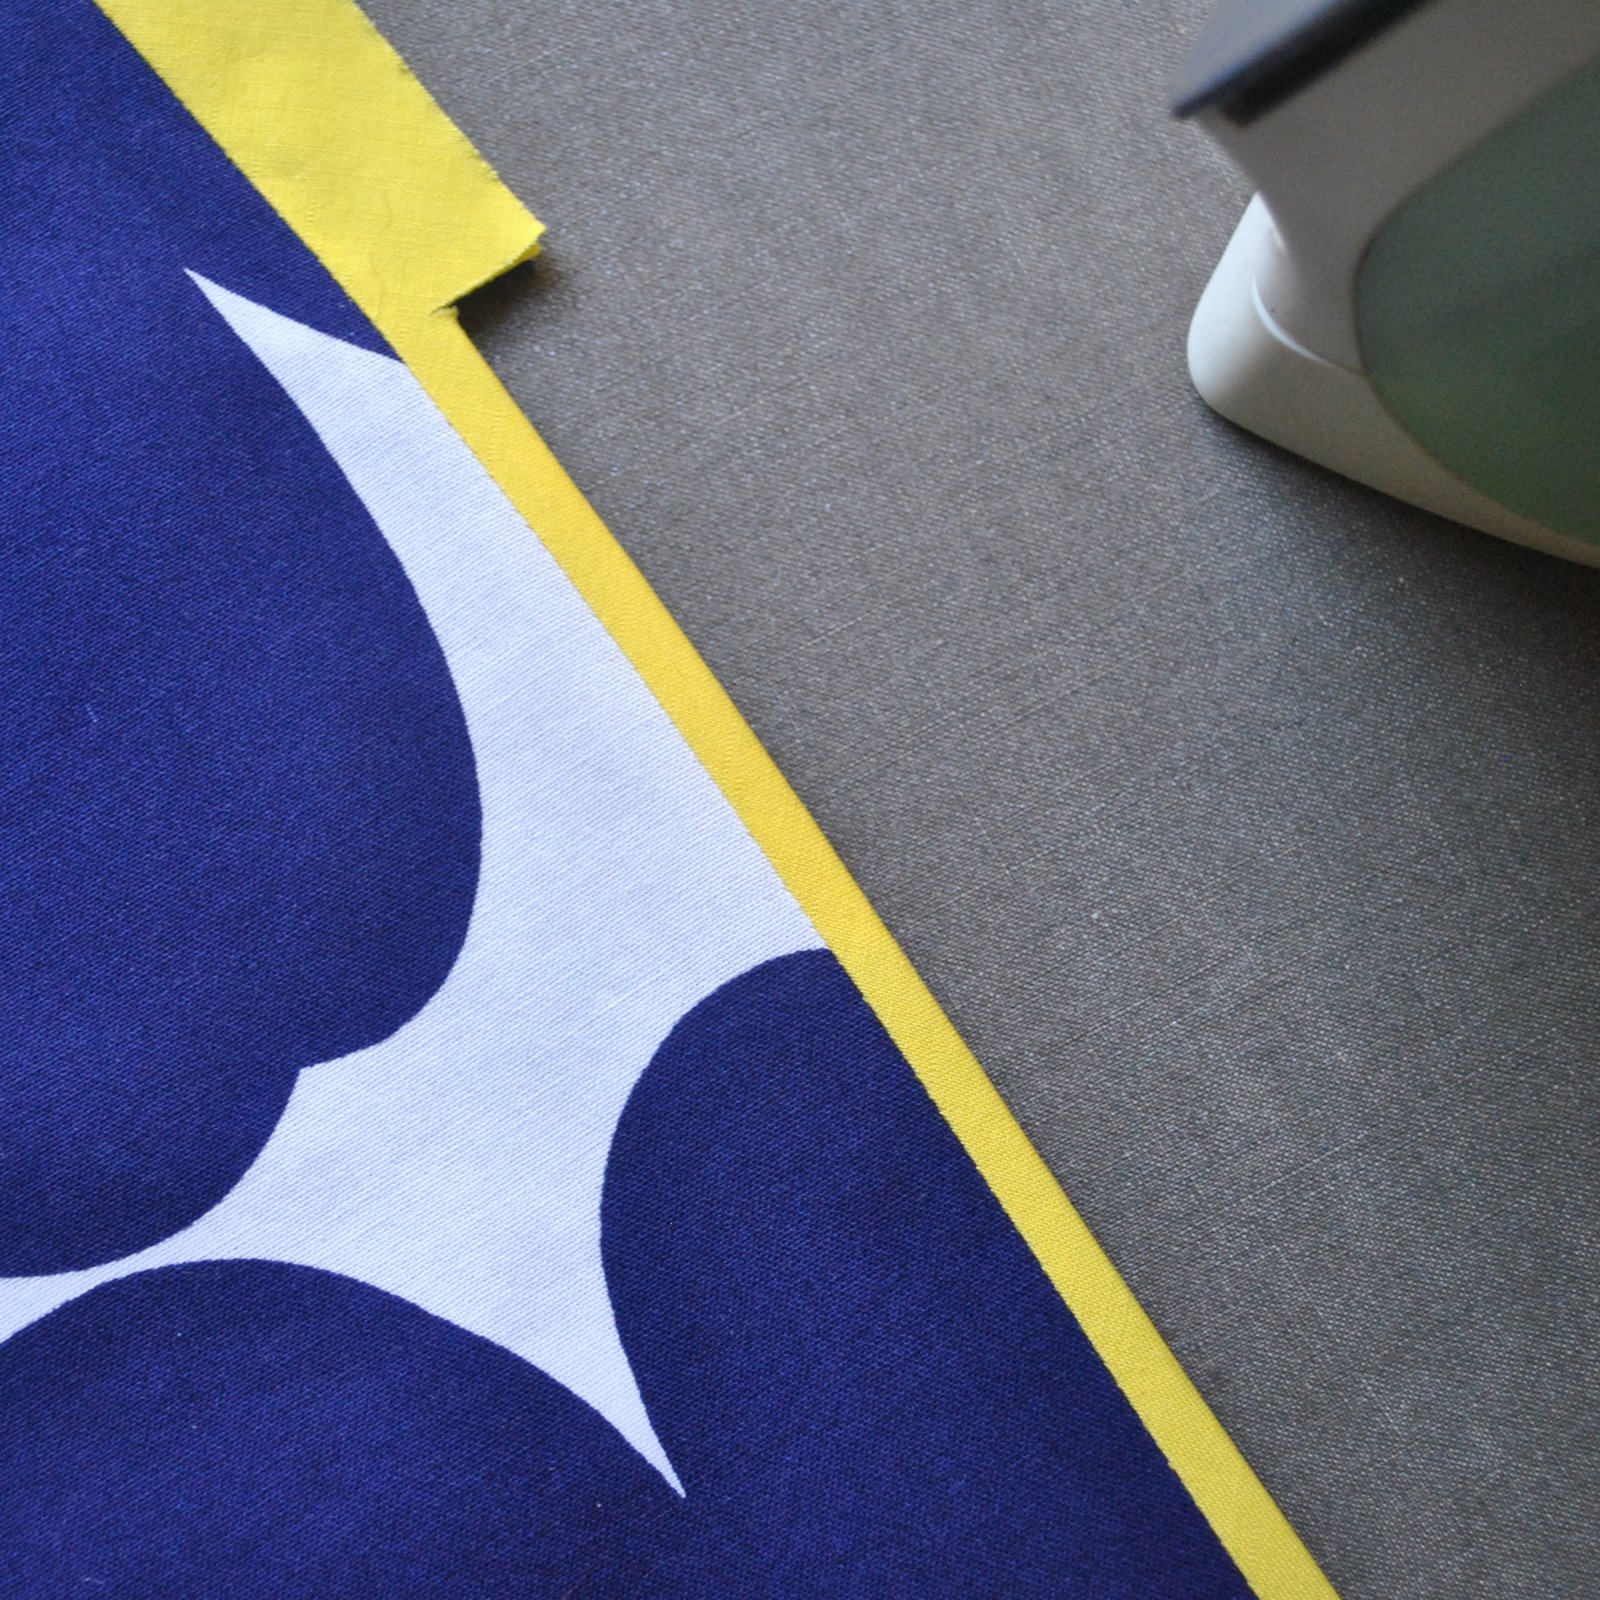


 from the right side (with some irrelevant (white) basting along the side edge… not really necessary for this method)


 I’ve made a new dress using a bunch of my kids’ old jeans that I have
  been saving for this very purpose… and please note; yes, I am wearing
 Materials; obviously, all blue denim jeans. I used three pairs of children’s jeans, one pair of child’s long shorts and one pair of adult jeans. The adult jeans turned out to be necessary when I realised that the full-length panels at the back would look pretty terrible if pieced at the waist; it’s a very much piecemeal kind of a design anyway, and to have that nice long smooth length of fabric at the back is just a nice visual anchor in amongst all that busy patchworking, in my opinion. I decided it would be best to retain it; fortunately I had one pair of Craig’s old jeans in my refashioning bag and could cut the long back pieces from those.
 My vision for this dress has always been to have lots of the existing jeans’ details retained in it, like the pockets with their decorative top-stitching, the coin pockets and belt loops and so forth; HOWEVER when it came down to it I retained very little of all that! The design was just so… busy; I ended up removing a lot of the little details I was going to put in. There’s still plenty of the jeans bits and pieces left in, I reckon just the right amount to keep that definite “jeans flavour” to it. There are a few original topstitched seams here and there, and the portion of a pocket left on the bodice. I also added tonnes of new topstitching in terracotta upholstery thread, in fact every seam is topstitched down in some cases doubly so.
 Something I’ve managed to forget to blog about each time I’ve written about this dress… like all Vogue patterns, for a fitted design it’s a little blouse-y in the boob-al region for my figure; however the princess seamed bodice makes this a very easy fix. I simply pin and stitch to shave a bit off the inner curve of the central bodice piece (above), and this solves the problem for me. A very very easy small bust adjustment, and one I usually end up using for pretty much every fitted Vogue bodice with princess-seaming. I don’t have the same issues with Burda, but always with Vogue. I guess their “blocks” are a little different.

 One pair of jeans, the very pale blue pair, was practically threadbare in places, but I still really wanted to have that pale blue as part of the lovely indigo-y mix… these pieces I reinforced with lightweight iron-on interfacing to the back to stabilise and strengthen these areas (below). Don’t want my new dress ripping in its first wear now, do I?!






































