Tag Archives: Dress

grey gardens

greygardens

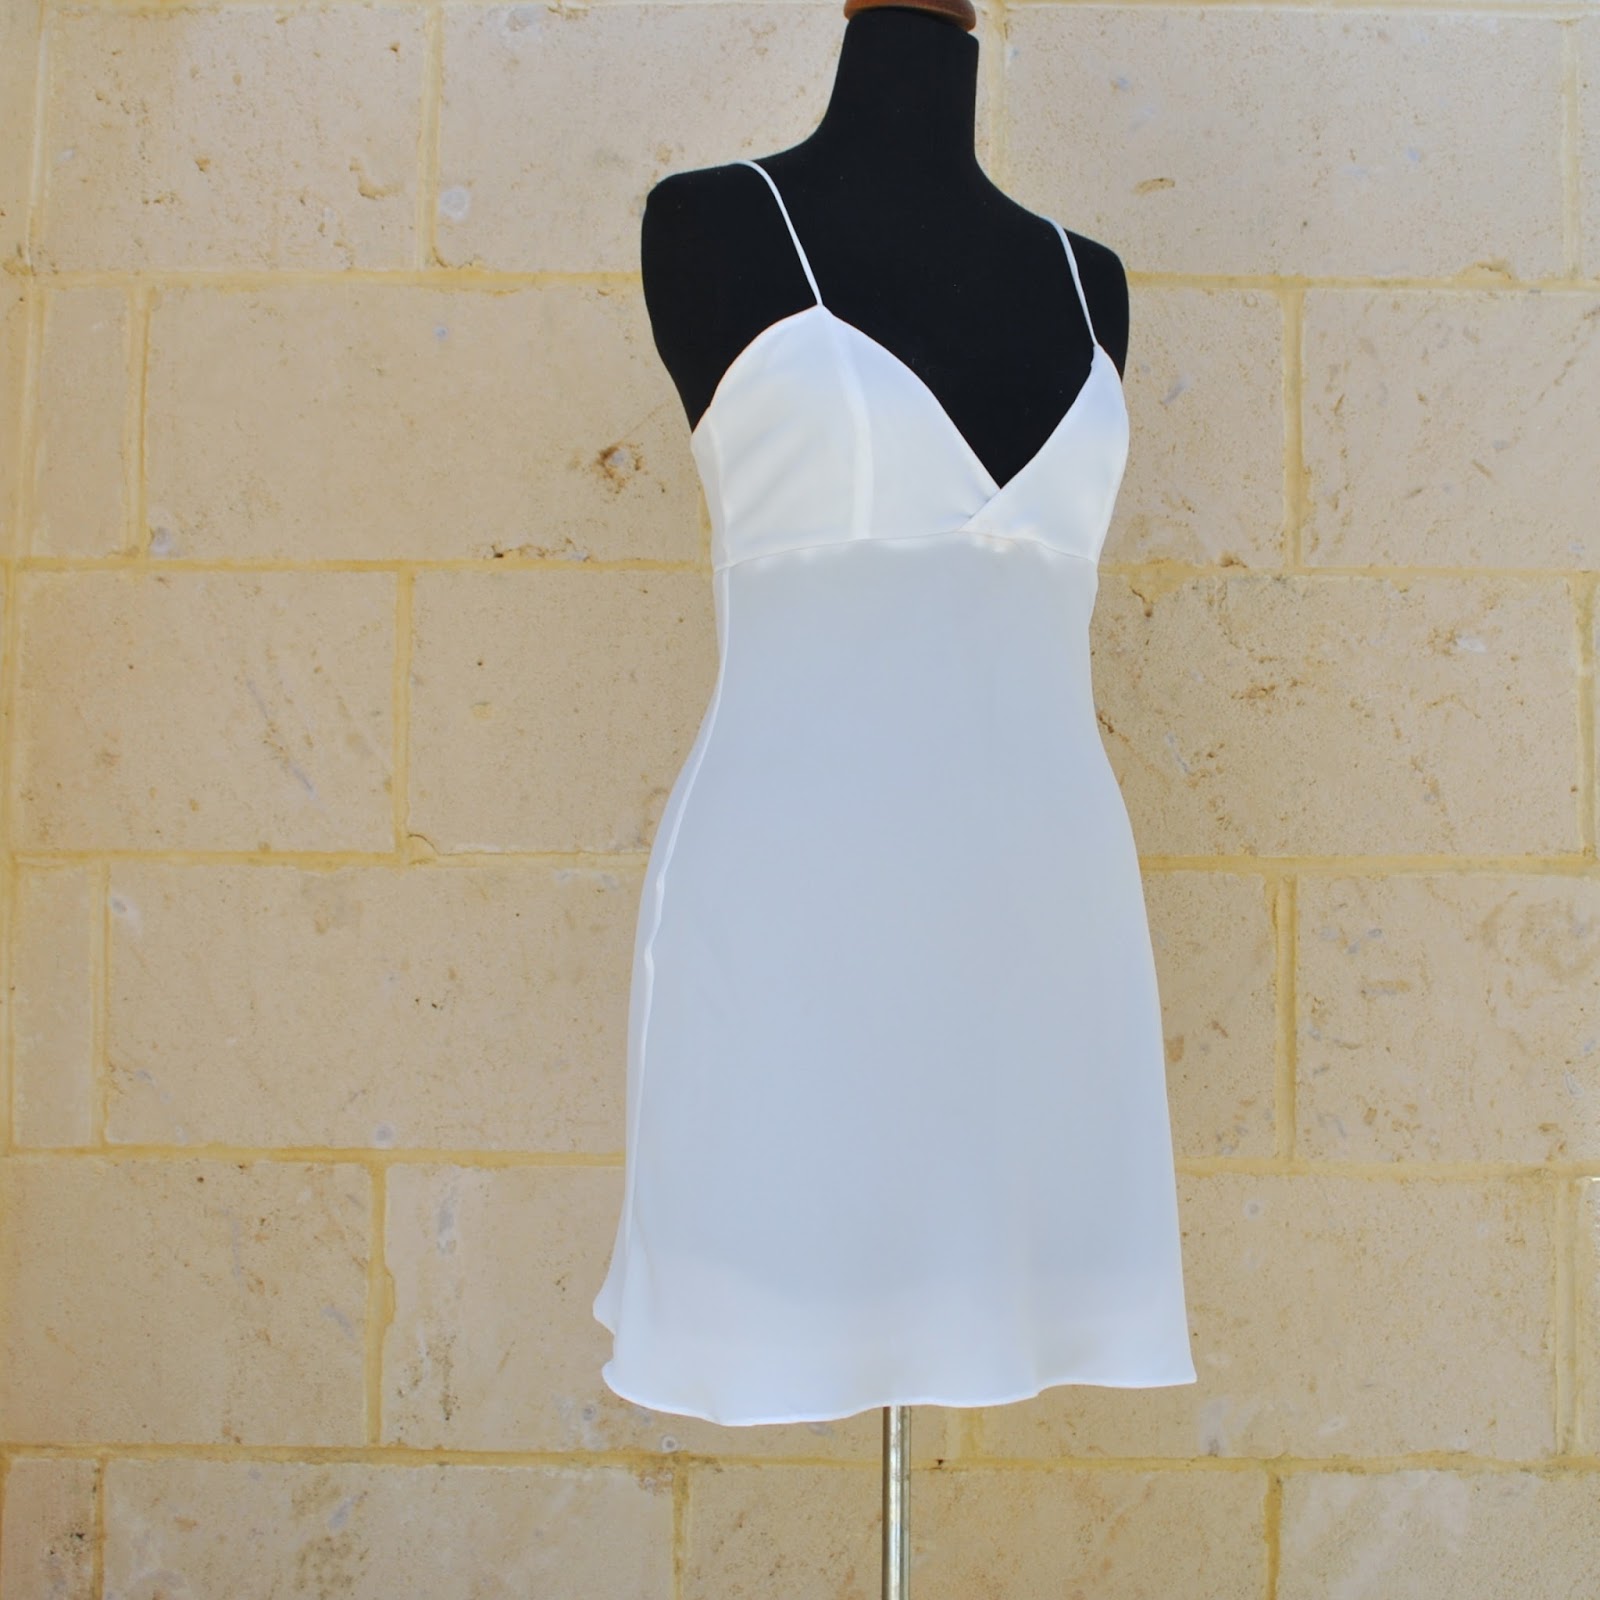
vogue1152I’ve made a new dress… a sweet little autumn dress.    It’s  a quiet dress, and demurely plain in colour; which really throws up the details of the design into the spotlight.  The colour fits in with my current clothes-making criteria; to have things in my wardrobe that go with as many of my self-made shoes as possible! since I will be wearing only my own shoes this year and some of my shoes are kinda colourful and not basic.

Pattern; Vogue 1152, with minor modifications.  This is the second time I’ve made the pattern up for myself, my previous version has just been transferred to the “possible good sammies pile” since I realised I barely wore it last year.  The additional modifications I made to the pattern for this new version are in line with the things I grew to dislike about my first version.

Fabric; soft slubby cotton from Fabulous Fabrics.  I love the grey; a soft and warmish, almost yellow-y kind of a grey, if that makes sense, and one that actually suits me, I believe.   This fabric originally came out in four colours; red, blue, white and grey, and I bought some of each colour! pretty groundbreaking stuff for me, I generally would not be so extravagant but the fabric really is beautiful quality so I just had to!  Actually I’ve just revised my memory; it came in black too, which I did NOT buy and did kick myself over shortly after..  Doh!  This is the last piece I bought to be made up… I’ve previously made up the blue as a dress here, the red as another dress here and the white as a shirt and shorts set here.

Pattern mods;  the V-neck in my first version was so low-cut as to expose the bridge of my bra; so I either had to be sure to wear a pretty, colour co-ordinating bra that day, or a scarf knotted at the front.  So this time I raised the height of the V-apex by about 2.5cm…  at least I’m decent now.

greygardens front

Sleeves; left off the cuffs, removed about 12cm in width from the middle of each sleeve and lengthened them by 10cm; instead of lots of pleats at the top there is just one single inverted (box) pleat at the top of the sleeve cap.  I also made a separate tab or strap that is sewn near the lower edge of the sleeve and wraps around it, catching in the fullness of the sleeve and buttoning upon itself.  Shell buttons from my stash.  A buttoned tab is not the kind of thing you see on a dress sleeve very often, it is the same principle to the tab/strap that you put on the end of coat sleeves, but I like to be different, appropriating and subverting details like that here and there and thus customising my clothing in some small way.  Just one of the reasons I sew for myself!

grey gardens sleeve

Also, maybe I’m just a rebel, I hardly ever follow a pattern obediently and just always have to deviate in some small thing.  Just one little bit of me in there, somehow, somewhere.

I added an extra row of elastic casing in the back to pull it in more, like I did for the first version, because otherwise it all just looks a bit pouffy back there.Also; added inseam side pockets – well naturelment!.. and lengthened the dress by about 15cm.

greygardens backBelow is my full outfit for today… I included it here because I’m absolutely loving how the grey looks with my mustard cardigan! so much so that I’ve worn this same outfit twice this week, throwing it on again the minute it came off the clothes line!  There’s just something about mustard and grey together, I just have a thing for it.  Though I’m sure it will go really well with all my other cardigans too.  As well as my shoes and some tights.  It’s a real autumnal dress, and I can’t wait to mix and match it with all the rest of my more cool weather-y stuff during me-made May.  Hurrah for new dresses!  🙂

Details:

Dress; Vogue 1152 with slight modifications, see my first version and original review of this pattern here
Cardigan; the Miette, a free pattern by Andi Satterlund, details here
Shoes; sandals worn below made by me here, black thongs in the first picture made by me here

ootd

pinterestmail

a townhouse dress

DSC_2712

This new dress is the latest step in my current project to add some architectural whimsy to Cassie’s work wardrobe …. and it was barely off the machine when she wanted to wear it to work straight away, like the next day, meaning today!   I took these pictures before she popped off this morning, looking exactly like this…

I consider that the hugest compliment  🙂

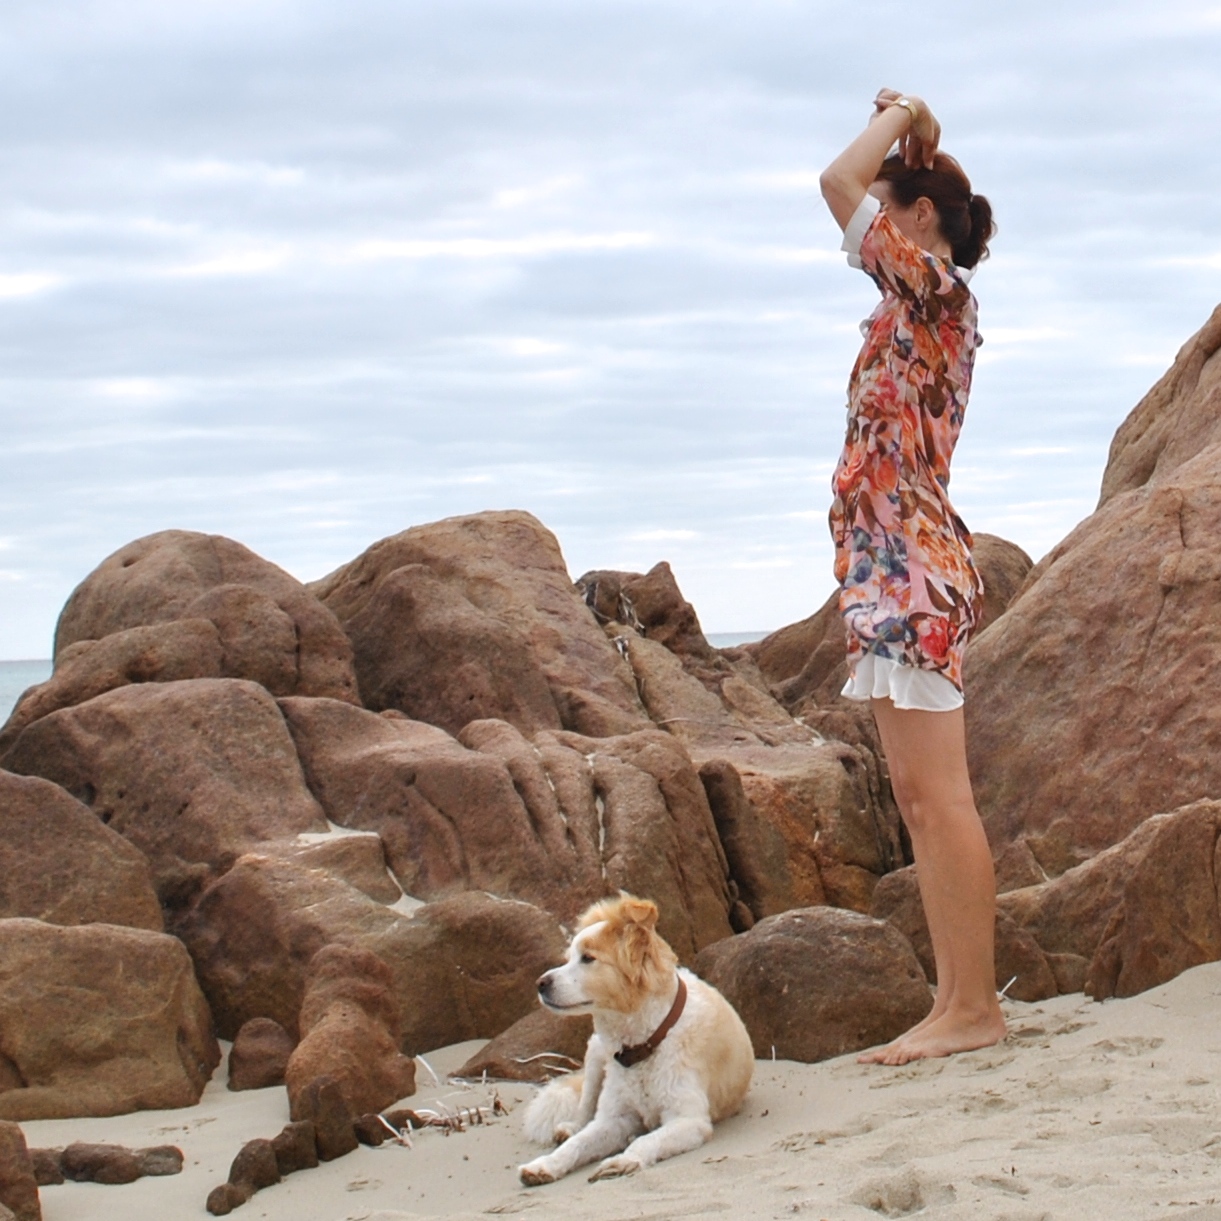
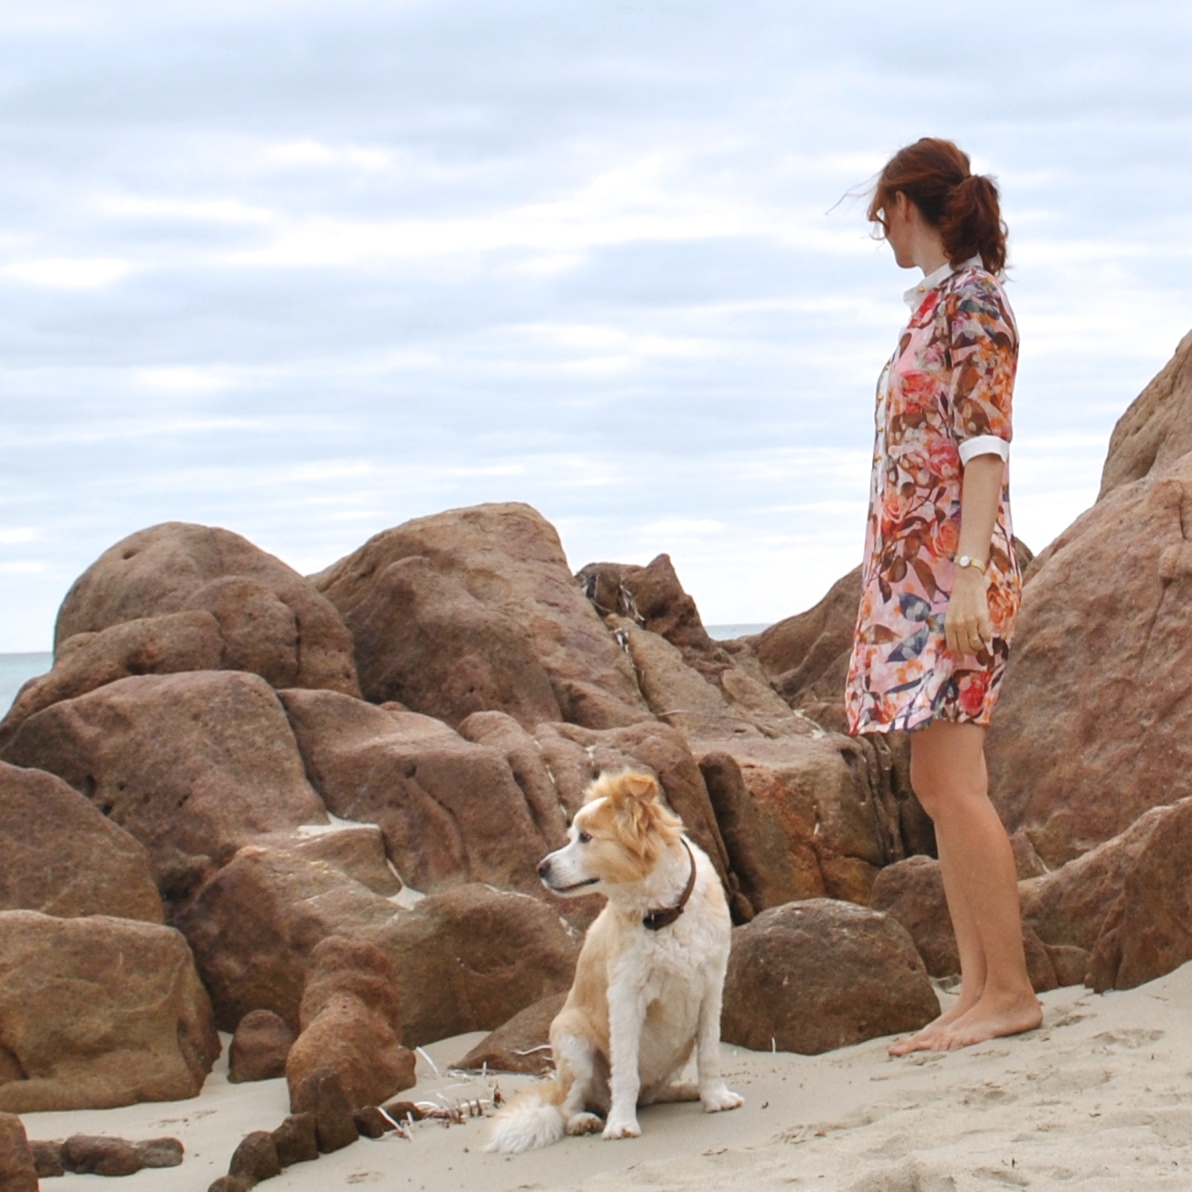
DSC_2700That townhouse print though; it did cause me a wee bit of angst…   how on earth to make it into something that was going to look cute and fun and funky and stylish?  You know with some prints the subject material is absolutely perfect for a person, but the print itself is kinda messy and busy and so has the potential to be disastrous?  It’s one of those prima donna prints, I felt it would look overpowering in a dress with a sleeve, also I knew it would not play nicely with many other colours/prints; likewise any design details like draping or … well anything at all, was OUT.  At first I thought about making a very simple plain sleeveless shift, but still worried that it would look a little naf.

When the idea of a white raglan sleeve occurred to me was an instant kapowww! that this could work out quite cute after all.  The white raglan sleeve lends it that little bit of a fun and sporty vibe and just takes the right amount of edge off the messy print. The sleeve fabric came from an old puffed hem dress *shudder*  which Cassie tossed out.  I’ve kept it because it has a mass of lovely soft ivory jersey fabric in it.

DSC_2724Once the raglan lightbulb had popped up it was all super easy from there… I used my own raglan sleeve Tshirtpattern, that I’d worked out years ago from laying down and drawing around an old Tshirt … in a time when patterns for raglan sleeve Tshirt were non-existent!   Yes, it’s hard to believe now there are tonnes of patterns available everywhere, but for a long time and until quite recently some design features were very difficult to get hold of.  We had to hunt for them, and be creative and innovative and sometimes very devious in order to get what we wanted.  The elusive Raglan Sleeve tee was one such rare beastie.  I think it was often assumed that patterns for basics were something you either had already, or could work it out yourself with no pattern by cutting up an old one.

IMG_8643Collar band, simple folded band done using this method; sleeve and lower edges overlocked, turned up once and stitched on the machine with a twin needle.  All seams stitched and overlocked inside to finish.

Details:

Dress; elongated raglan sleeve tee, body custom fitted to Cassie.  No pattern, townhouse print fabric from Fabulous Fabrics, ivory jersey harvested from an old dress
Shoes; MelissaDSC_2713


pinterestmail

village dress, for Cassie

DSC_2731It’s taken a while but I’ve finally taken pictures of Cassie wearing the dress I made for her for Christmas!IMG_7763

The fabric is a crepe printed with Cinqueterre-like, or Amalfi-coast-like villages, and we both loved it upon first sight.  I knew at once it would be perfect for her, and make a fun little dress for her to wear to work.  See, she works in an office, but it is a creative field, and apparently most of her female colleagues dress quite fun and funky, more arty than corporate.  And previously she had mentioned in a slightly wistful tone that she was the most conservative dresser in her office.
My Christmas pressie radar immediately perked up.

O reaaaaaally!!!

Fortunately for her, she has a mother who will pick up on even the vaguest of  vague-hints, well, when they’re sewing related that is, not so much other stuff that is.. um, less sewing-related ahem.   Anyway, I’m launching the fun-and-funky-wardrobe goal right here and now.   I sneakily snuck back to Fabulous Fabrics on my own and deviously bought some of the village print… mwahahaha.

DSC_2703btw, it’s faaaaaaar harder to hide Christmas sewing from Cassie than it is the boys! who pay precisely zero attention to whatever I’m mucking about with in the laundry… Cassie is a high probability to go snooping around the stash to periodically pet the fabrics and select stuff for herself.  I had to be SUPER devious to get this made without her twigging as to what was going on… and she was completely surprised!  Yay!!!

IMG_7762

For a pattern, I chose Burdastyle magazine 02/2015, number 107, a little loose, raglan-sleeved, gathered into the neckline, tunic style of dress.  It has inseam side pockets and an elasticised waist that sits up on the hips, allowing extra length above to loosely blouse out over it.  The dress looks adorable when worn by a person, but unfortunately I think it comes across as kind of dumpy on a dummy and, dare I say it, positively heinous on the hanger… prime reason why I decided to wait until she could model it for me herself!  In the meantime it has been a great success; having been washed and worn enthusiastically to work several times already.  There is no greater compliment…!

IMG_7761IMG_7769

The print was aligned crosswise and I laid down the pieces that way too, to have the houses “upright” in the dress.  I found 2m of 150cm wide fabric to be sufficient.  My fabric is quite see-through, so I lined it with ivory poly-crepe, the same fabric I used for my ivory Ruby slip… and I made the necktie in ivory as well.  Actually I first made the necktie in the village-y print but it looked way too busy and a little overpowering so I made another one in ivory and it looks about a thousand times better.  I suggested getting black fabric and making it in black instead but she likes the ivory.

IMG_7772IMG_7760

I have some thoughts on the pattern construction too… skip this bit if you’re not making the pattern since it’s not going to make any sense otherwise…

DSC_2630Although it looks short on the model in the magazine, it didn’t look that short when made up so I removed about 9cm off the bottom to get the same look.   Sleeves are about 2cm shorter.

The way they’re written; the instructions are a touch confusing  since for much of it you’re bouncing back and forth between different construction notes, for style 105 and 106, and to complicate things the neckband of style 105 is very different from that of 107, since it has a collar whereas 107 is collar-less!  and there’s zero mention of the collar-less version in the instructions…  so you sort of have to work it out alone.  I attached the folded neckband to the neckline in one pass, gathered it up inside the seam allowance a little, then overlocked the raw edges along the gathering inside.  This helps pull the neckline in a little tighter, and the necktie does the rest of the work in gathering up that wide neckline.

With the pockets, the instructions have you stitch up the side seams, THEN insert the pockets… well I always do it the other way around, so it was kind of a whaaat? moment for me.  Anyway, gave it a whirl.  It works fine, of course… just thought I’d mention it because it was different…  🙂

I made a size 36, Cassie’s usual size, but in the course of making it I tried it on a  few times, just to check various bits and pieces, and found it worked perfectly well on me too, a size 38. Something to keep in mind if you’re a larger size but only have enough fabric for a smaller size!

Anyway whatever; she loves it, I love it on her I think she looks adorable in it, so the final verdict; a great success!

DSC_2705

Details:

Dress; Burdastyle magazine 02/2015-107 also available here, crepe
Sandals; Sportscraft, mine! I’ve had these for about 10 years or so

DSC_2740

pinterestmail

a Japanese indigo dress

DSC_2668
 I’ve made another Yoshimi dress  🙂
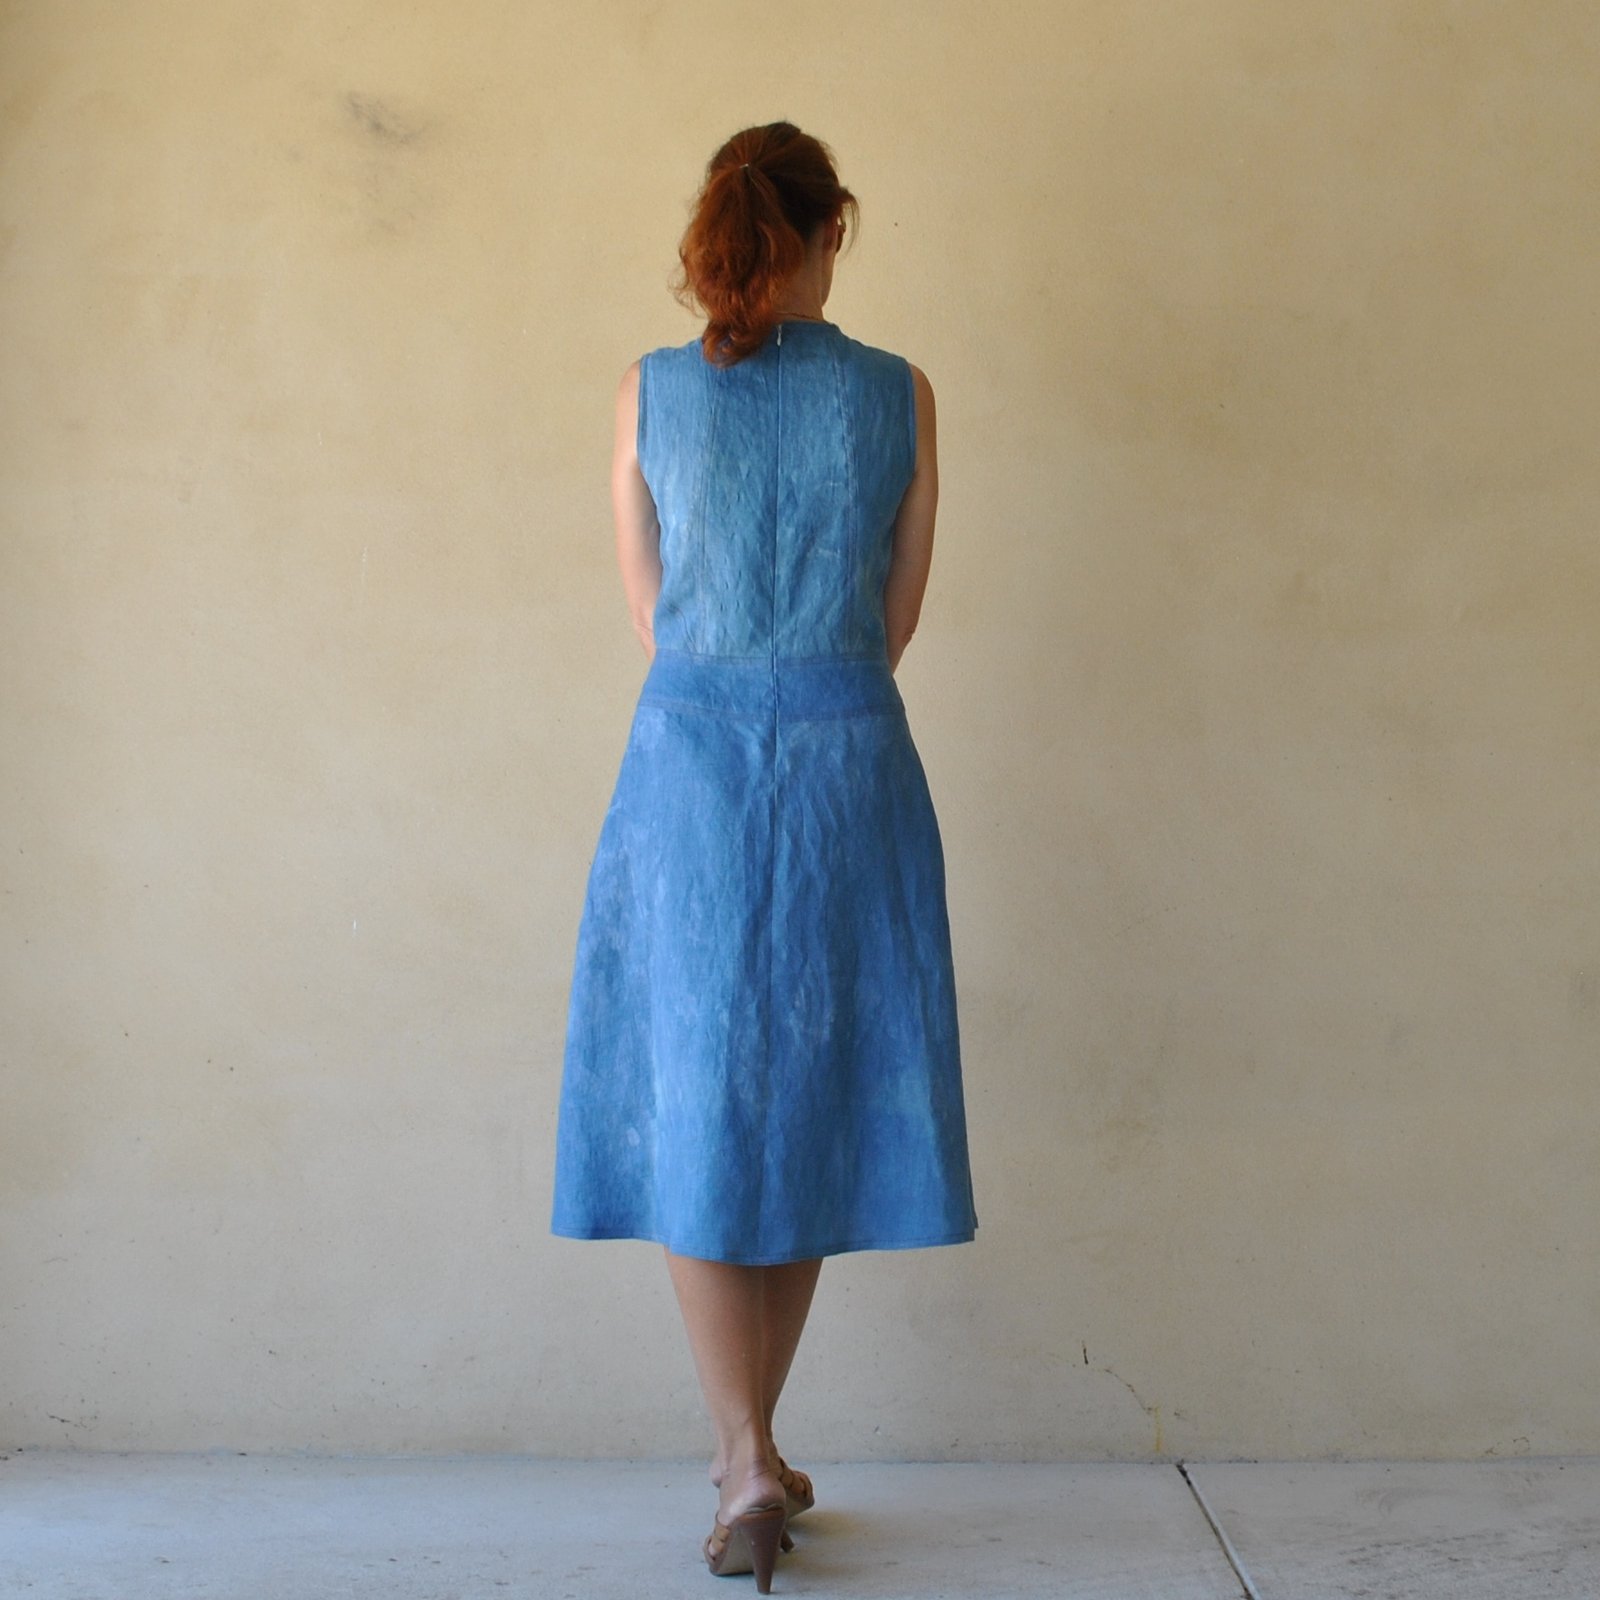
Pattern: Vogue 2900.  This pattern will always be in my head the
vogue2900“Yoshimi dress” since her versions are all very inspiring to me, and as well, the lovely Yoshimi herself personally recommended it for me, so there you go.
DSC_2670
Fabric; linen, which I bought as plain white from Potters Textiles and then dyed real indigo, by which I mean using a real live, actual Japanese indigo plant-based dye pot!  Yup, how awesome is that? I feel so very fortunate to have been given the chance to use Japanese indigo dye, since it’s quite a rare beast in WA.  Growing the plant itself is very difficult here, and yes, I have tried and experienced a personal fail myself in that area… *represses sob*
Anyway, a few months ago, Nicki got together a group of us Perth girlies to go on a fun day out… and what constitutes a fun day out for the likes of us self-dressmakers more that a sartorially related, hands-on, “doing” thing!  And what’s more hands-on than dyeing your own fabric in a real indigo dye vat?!  This dye-vat is the work of the ultra talented and creative Trudi Pollard of Pollard Design Studio.  Visiting Trudi’s studio in Bedfordale and viewing her many amazing creations is quite the inspiring and very humbling experience.  Some of her exquisite textile art can be viewed at the studio’s site here.
IMG_6372 IMG_3735
 I pre-washed my linen twice before the day but was hoping/aiming for just a touch-but-not-too-much blotchiness/unevenness; that lovely natural patina, you know.  It worked out just spot-on how I wanted!
Construction notes: the seam lines in this pattern are lovely and interesting to my eyes and I wanted to highlight them somehow… the first time I made it up I made black cotton edging strips and this time I wanted to do something a bit different, to differentiate it from that dress in my wardrobe.  Now, what does one think of when you think of indigo cotton? well for me Levi jeans are pretty high on the list.  And Levi jeans have that very distinctive double orange topstitching allover, so I went with that as inspiration.  It’s a lot more visually subtle than the black edging, but it’s there, and I really like it!
I had a look online to learn more about the origin of that orange topstitching, and interestingly enough, the reason for it was to go with the copper rivets that were used to strengthen jeans!  Hmmm no copper rivets on my dress, whoops.  Oh well!
I took great care to make sure those diagonal seam lines ended on the exact point and also put in a few little orange bar tacks on other random sewing junctions, for fun.  I know, you can barely see them on the far-away pictures, but up close and personal I think they add a bit of interest to the dress.
IMG_7310DSC_2626
The invisible zip saga… to sum it up, there was not a colour match even halfway acceptable!  I chose a light blue and after inserting, just very carefully touched up the more visible bits of the zip tape with a felt-tip pen.  This may or may not wash out over time, in which case I can always just touch it up again.
IMG_7421
Then the pale blue zip pull was still too glaringly pale for my liking too; so I painted it coppery-orange with nail varnish, custom mixed using a few different colours from the small army of nail varnish bottles that live in my bathroom drawer.  I knew all those funny colours would come in handy again some day!
DSC_2638DSC_2635
Insides; all raw edges were overlocked with white thread, and I used white thread in the bobbin too, for continuity.  I know; it’s not like anyone will ever see inside the dress, but to have it all looking cohesive is still a very satisfying sight to me.
indigofb
So, that’s it, done and dusted!  Now to continue with the small mountain of Christmas-related tasks I’ve lined up for myself and been busily and secretively working away on like a squirrel.  I feel like I’ve been racing around like a crazy scatterbrained whirlwind lately.  Crisis point not yet reached, but getting there…
Later dudes!
 DSC_2655
Details:
Dress; Vogue 2900, in indigo dyed linen, with orange top-stitching
Sandals; from the oppie, yonks ago
Sunnies; ma RayBan wayfarers
 in twirlerrific actionDSC_2672
pinterestmail

jingle bells

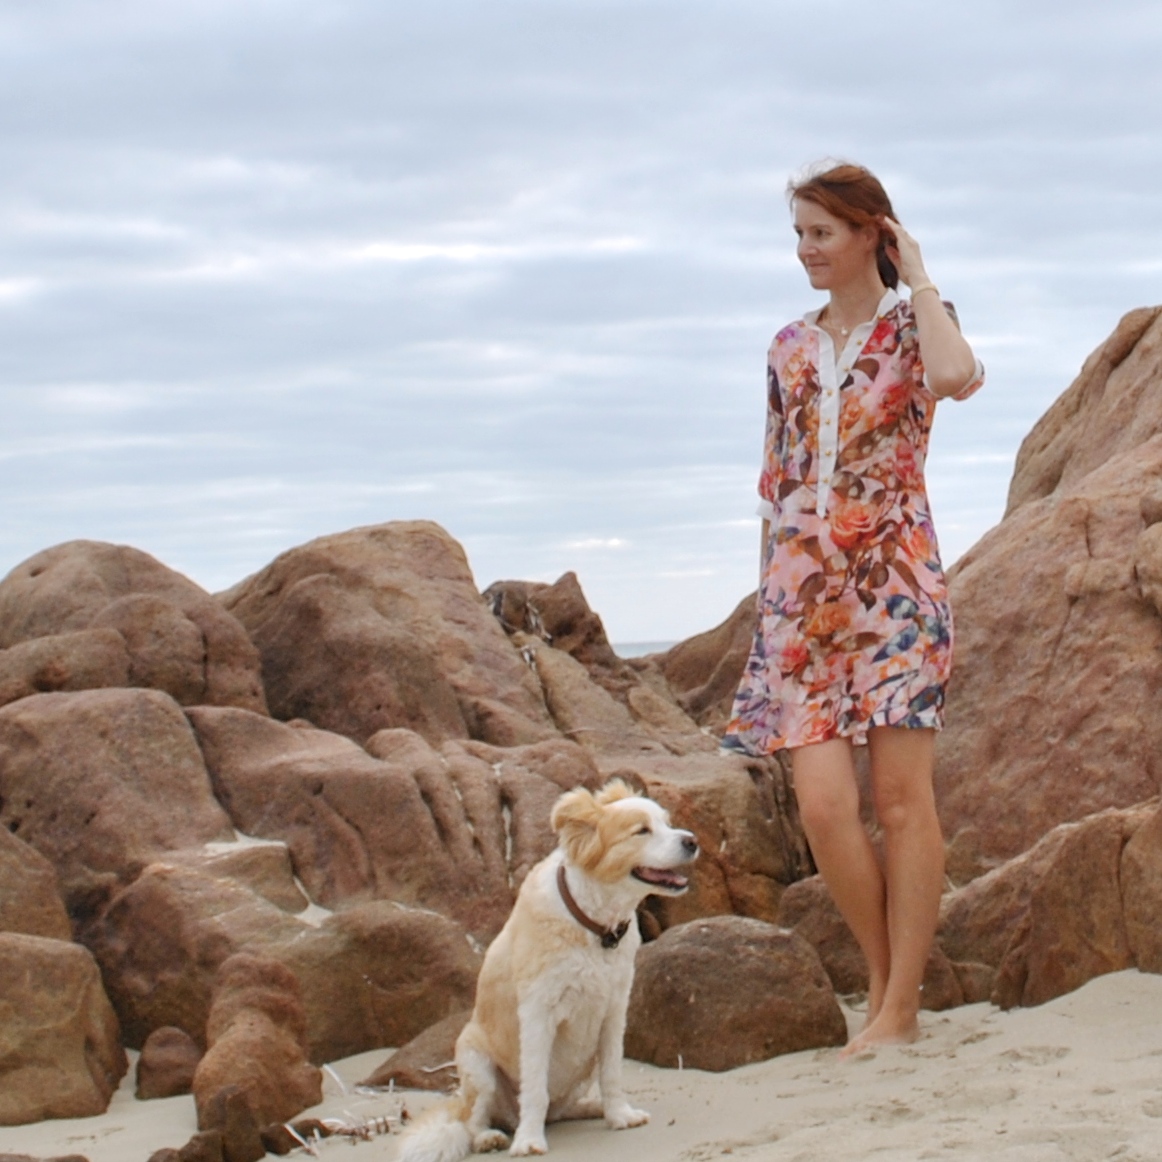
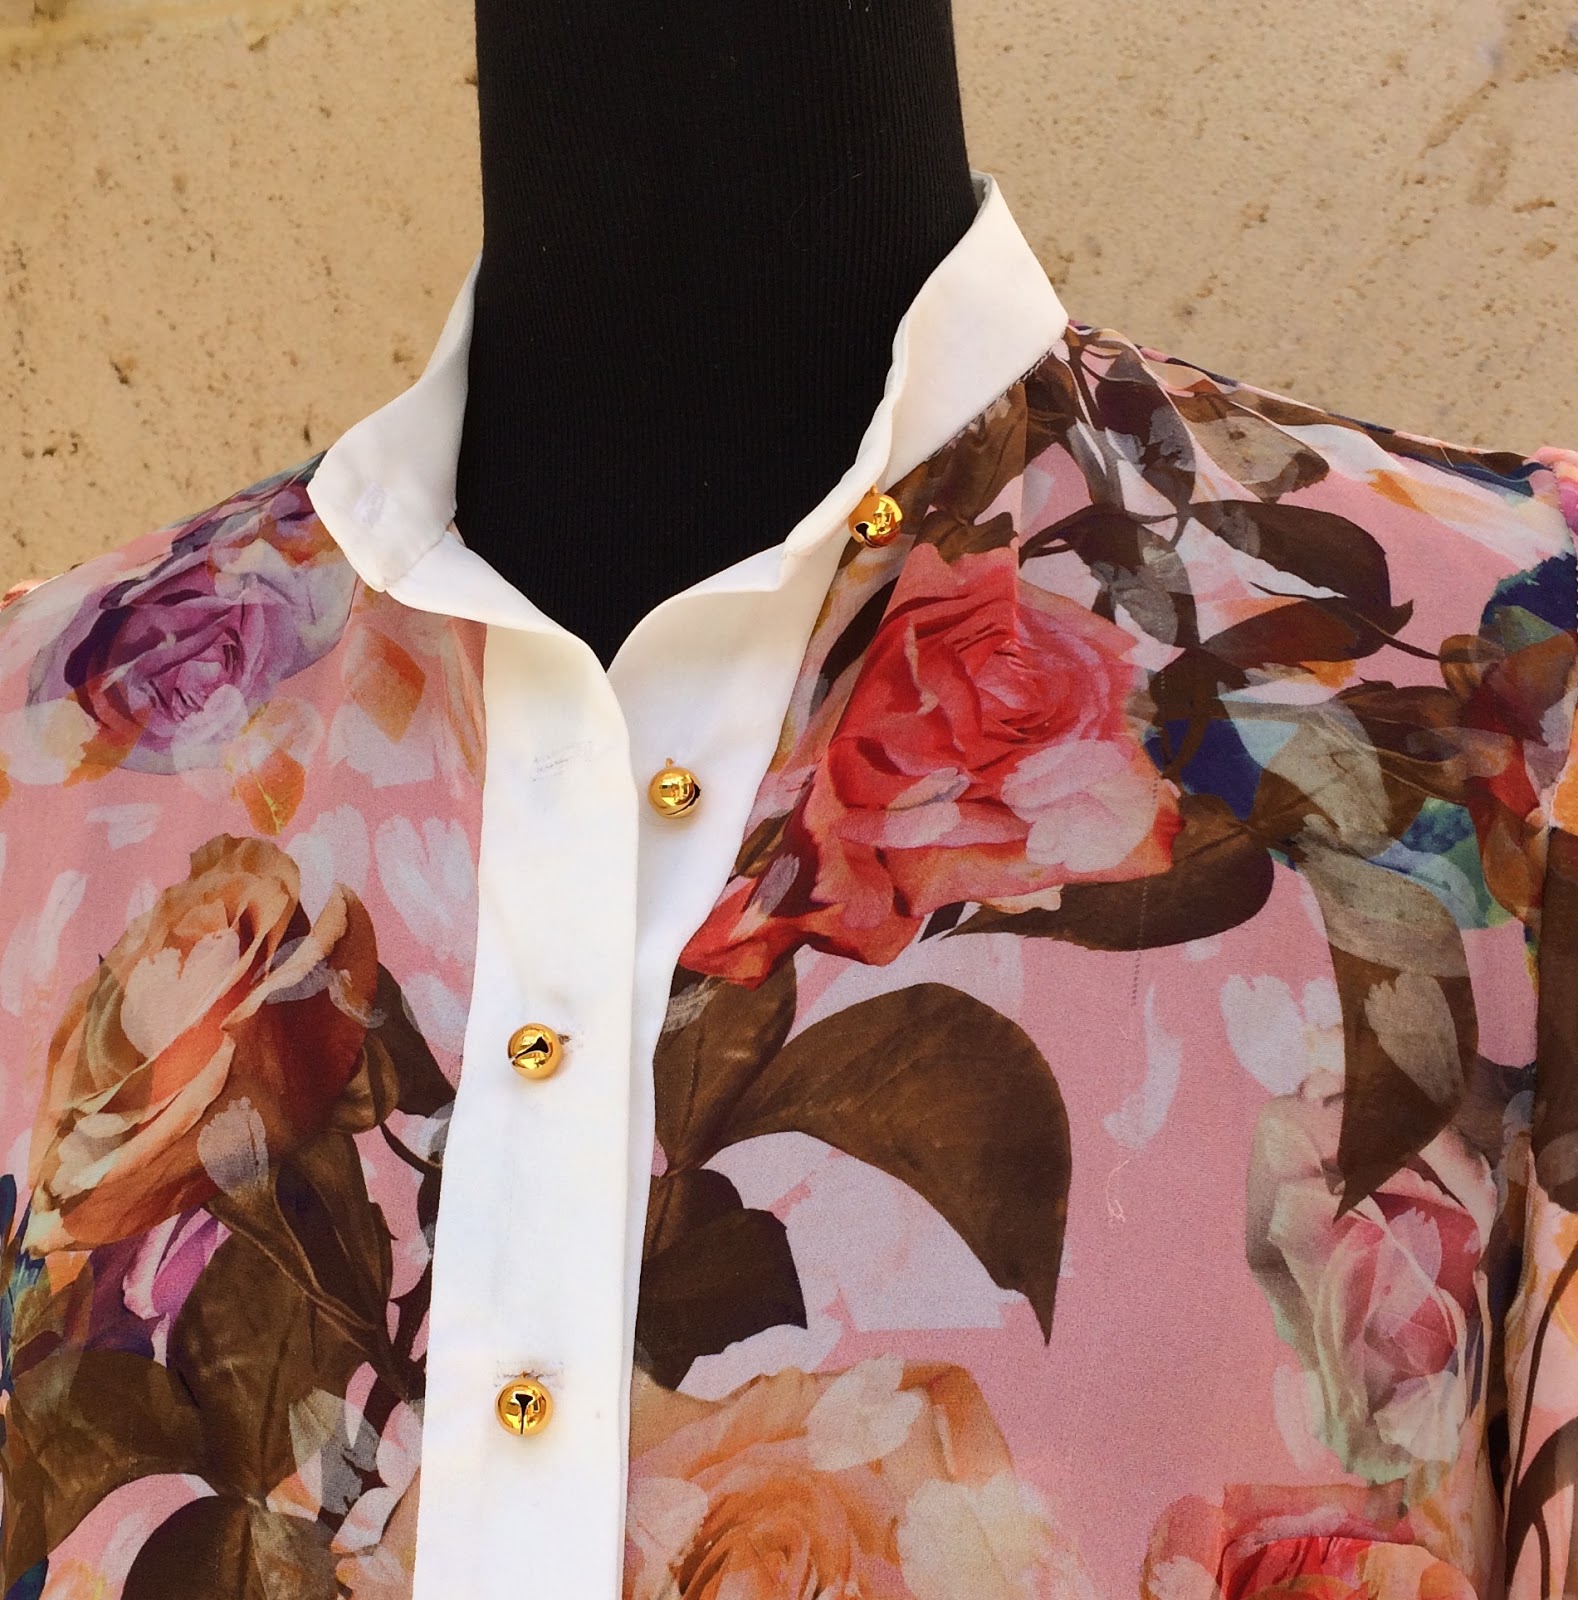
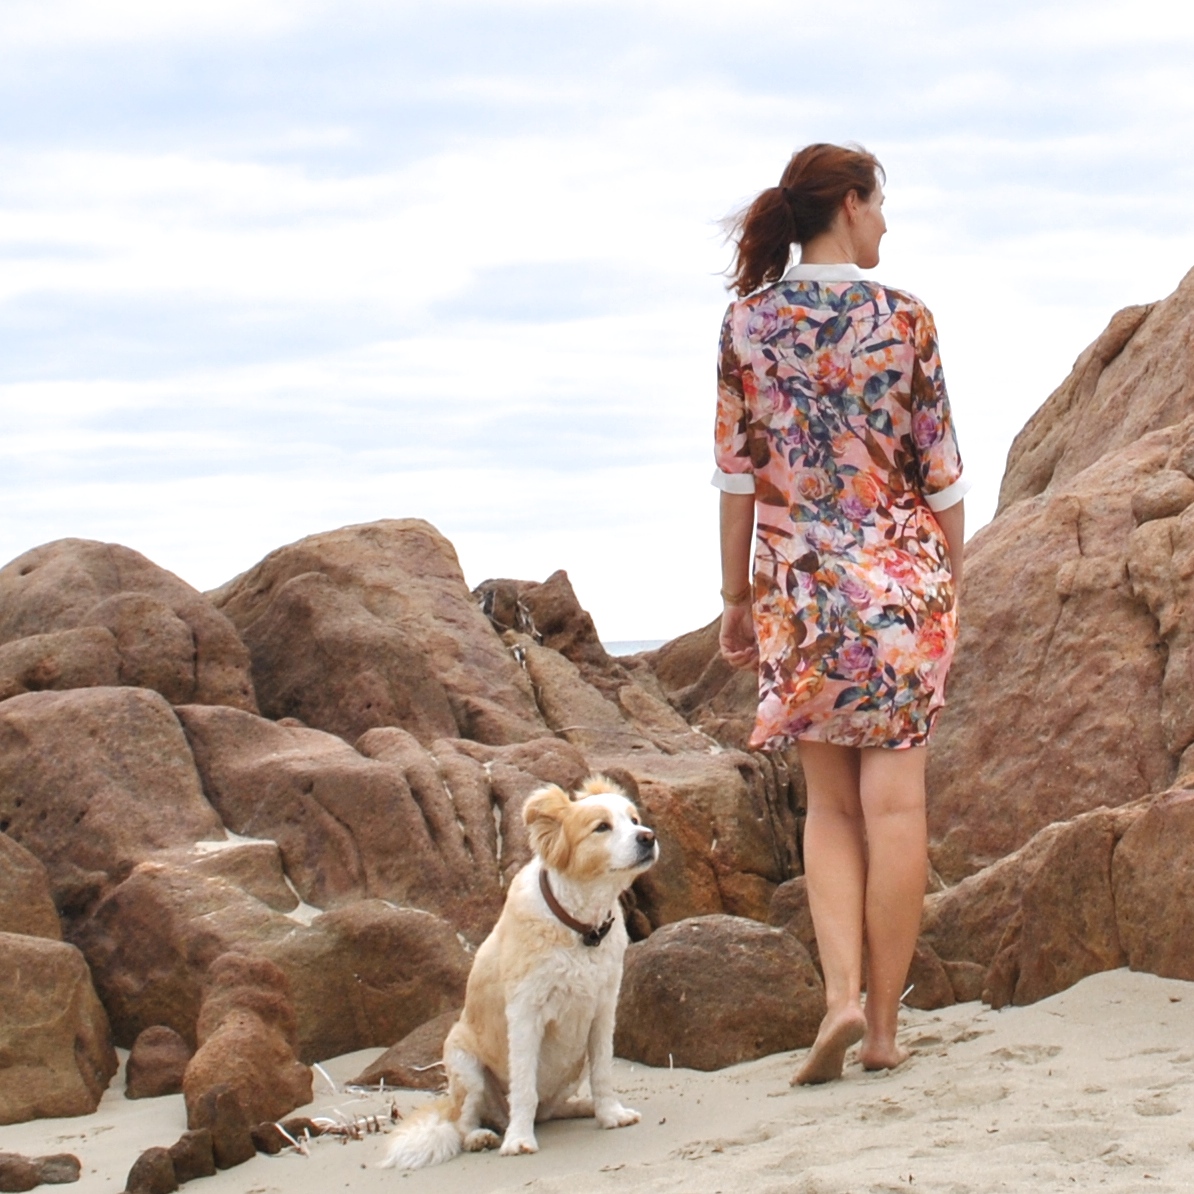
Yes, my new shirtdress literally does have bells on it.  The gold buttons are mini jingle bells, the type you put on cutesie wootsie Christmas decorations.  Whimsical and impractical although many of my sewing/knitting choices may be though, jingle-bells are just kinda… hmmm well the jury’s still out.  See, I just had my heart absolutely set on small rounded gold buttons and this was pretty much it.  I love the festivity of them and am clearly all set up to do Christmas Day with fabulous, jingly panache, but have fears that the relentlessly cheerful chirpy tingalingalinging will become a tad annoying in the interim, and not just to me but to the long-suffering souls who move in and about in my everyday orbit.  So I have not at this stage ruled out carefully injecting a blob of superglue into the opening of each jingle bell, to anchor the ringer thingie to the inside and restore peace and tranquility unto the world.
Glue is on standby and at the ready…

but pretty, non?

Fabric: a very fine coral floral silk georgette from Fabulous Fabric, the very last on the roll.  I bought it using a voucher given to me for my birthday by my dear friends; whom I’ve been meeting every week since our children were in the early school years…  They know my strange predilection for self-dressmaking so very well!  I also bought some ivory crepe; with which I made the slip to go under this dress, and which I also used for the button placket, the cuffs and the collar stand.  Jingle bells were also from Fabulous Fabrics.
I’m so relieved I had the foresight to make a separate slip to wear under this sheer dress, rather than an attached lining… why? because when I go to hang the clothes on the clothesline I’ve found this to happen…

Hmmm, see; the slip, being sleeveless, does not ride up when you lift your arms up over your head, of course.  Just yet another reason to keep a healthy collection of nice slips and petticoats handy in the lingerie drawer.  I have about four hardworking slips currently in rotation and just lately I’m seriously considering increasing the population, particularly since some of the oldies are getting… well, old.  Maybe even double that number wouldn’t be too many.  Slips, seems such a quaint and old-fashioned thing, yeah? the kind of ladylike frippery my grandmother loved and would buy for my birthdays etc and that seemed unnecessary and even rather fuddyduddy-ish to my much younger, more foolish self.  Now I am wearing them.  Am I getting old?  Hmmm, no need to answer that!
arms in regular position, all is well

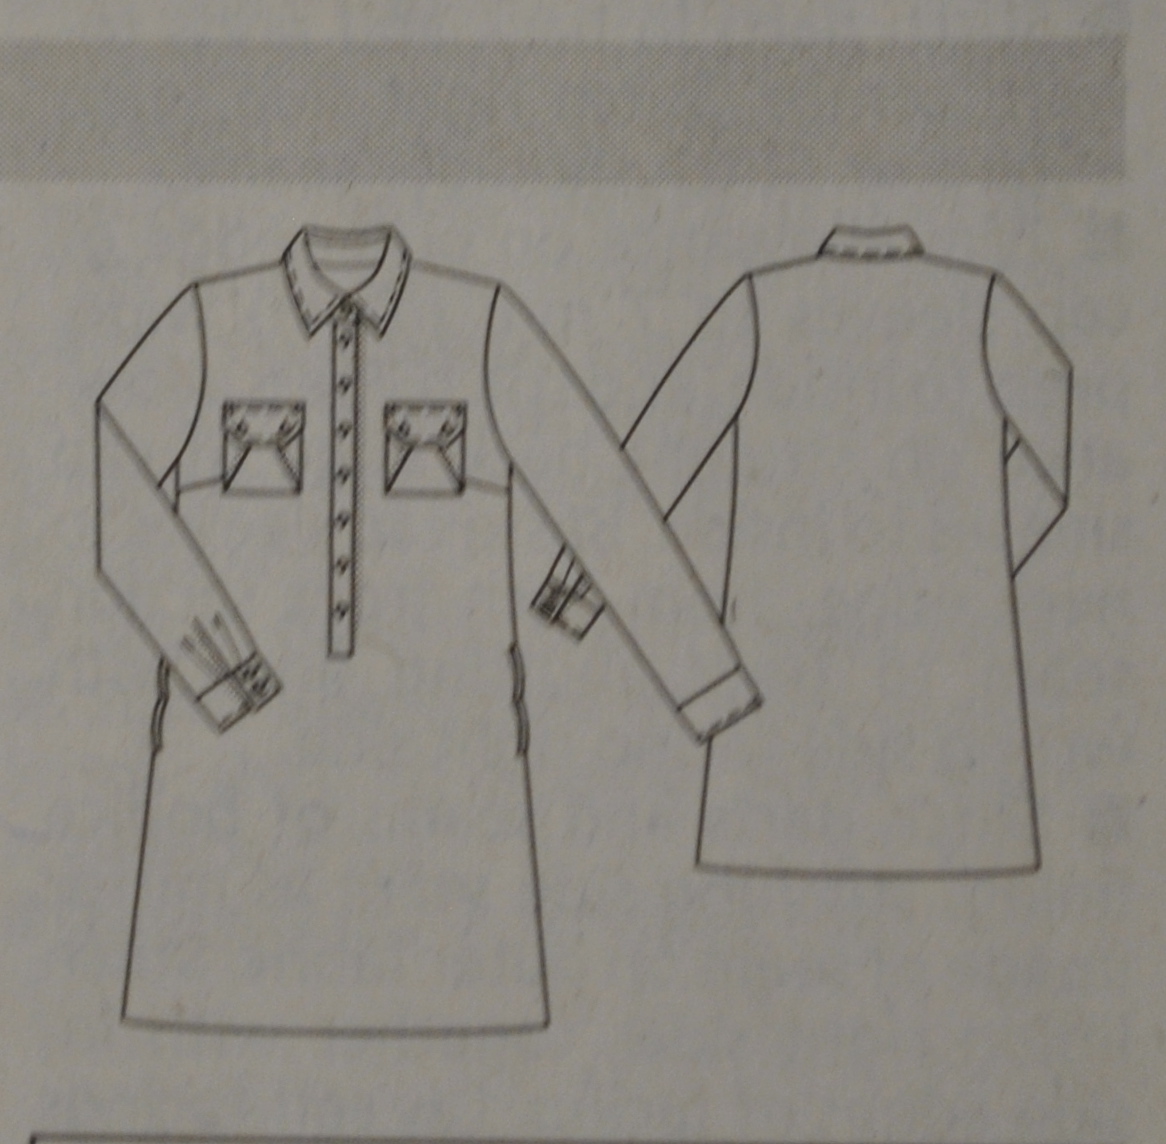
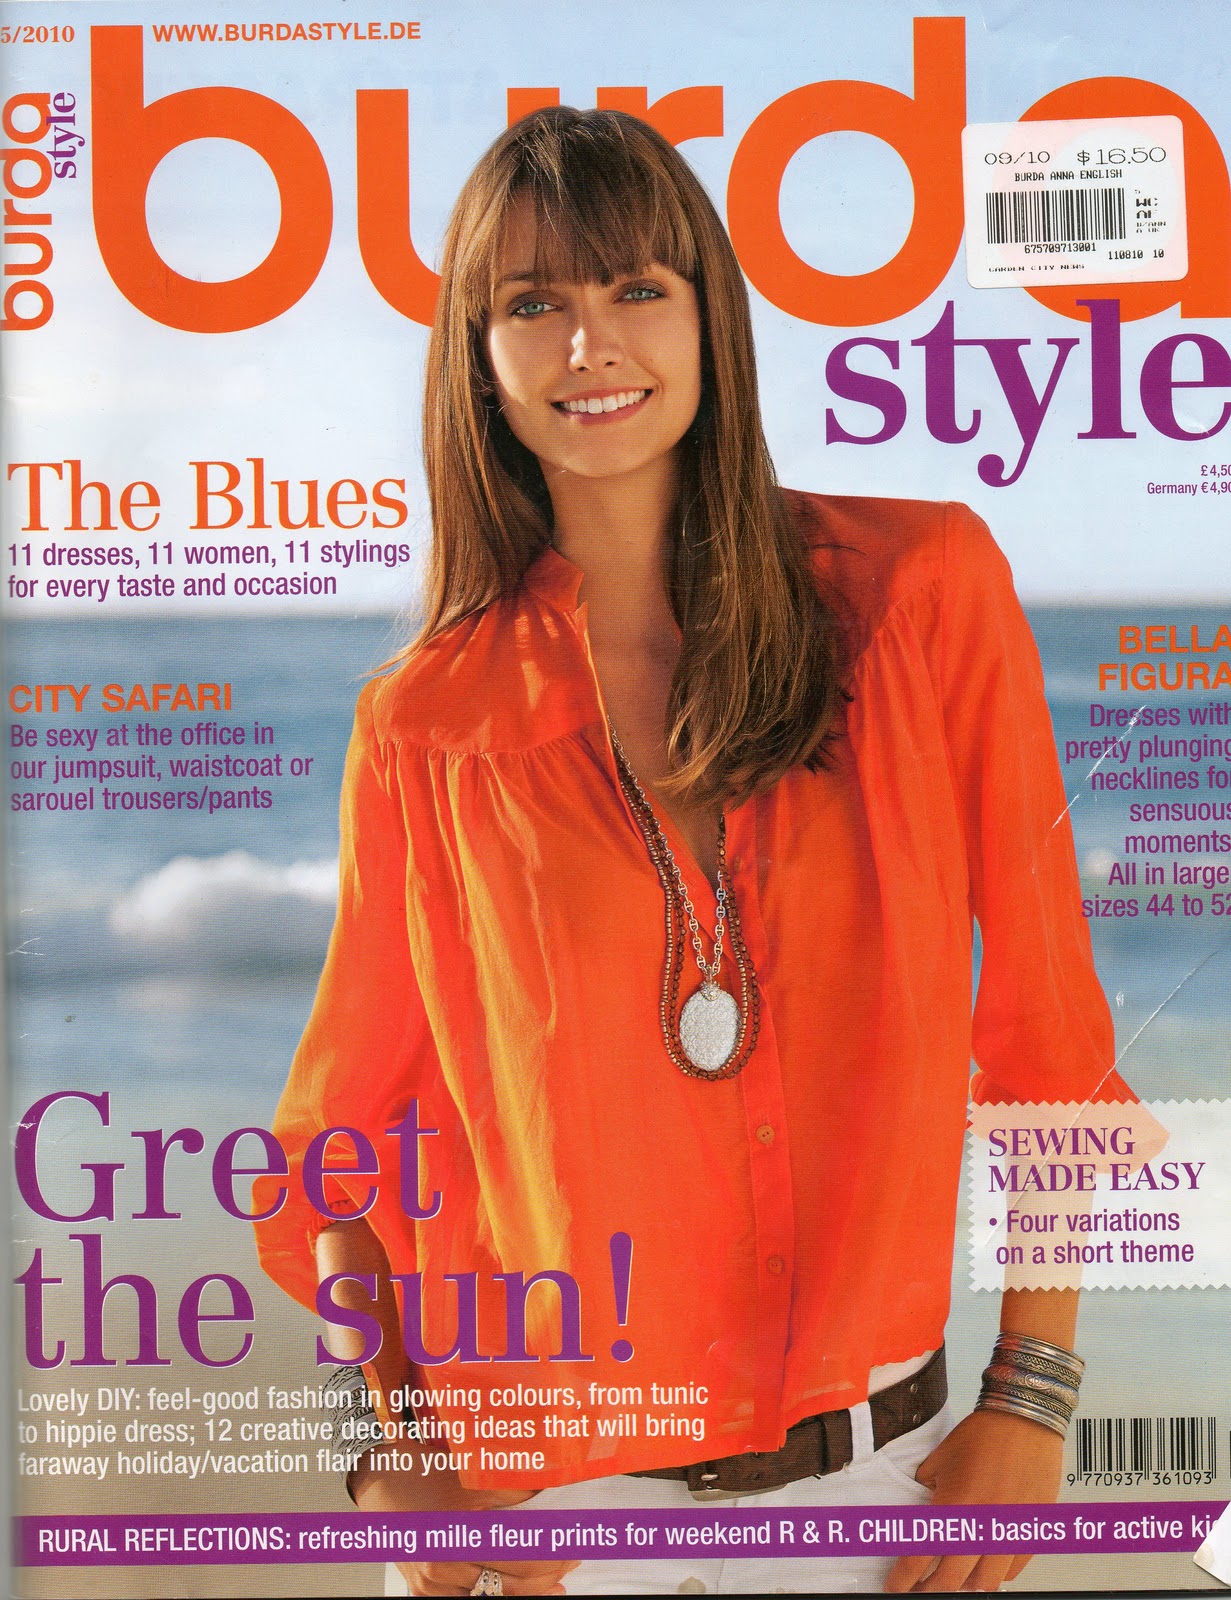
Pattern: Burda 05/2010;111, a shirtdress pattern I’ve used twice before, a plaid shirtdress and a lace version; with sleeves adapted from another Burda pattern, 05-2010-101.  I’ve used this same sleeve pattern also twice before on different, other Burda patterns; my black Pirate shirt and my pale blue silk shirt.  This is that same sleeve but cut shorter and with a shorter cuff to compensate for being a shorter sleeve.
I chose to leave off the pockets, and the collar and just have the collar stand, I felt this lends a slightly more feminine look to a shirt, goes better with all that girly pink floral explosion that’s already going on in there.

Construction notes: I went with all French seams throughout of course, silk georgette kinda demands those sorts of standards! being sheer and all high quality and all.  Only the armscye seams I overlocked the raw edges to finish.  In a shirting cotton or linen I would flat fell the armscye seam like so, but silk georgette just does not lend itself to that level of tailoring.
Collar, button placket and cuff facing were hand fell-stitched to secure them; I wished for no top-stitching to sully that clean-finished, pristine crepe!  In my opinion, topstitching makes a shirt look a lot more casual and maybe a little masculine? whereas absence of top-stitching keeps a thing looking polished and, somehow feminine.  I know, that’s kinda irrational and I cannot logically explain why I have that masculine/feminine impressions of topstitching, but there it is.
The hem is hand-rolled and stitched, and I did the same technique as I did for my slip, with stay-stitching.  I hemmed this before I hemmed the matching slip, to get the right length for both, but it’s taken me this long to finish all the other little details and get out and take photographs of it.
And I also wanted to wait for its first outing to be a day on which I would be meeting all my friends to show it to them, and simultaneously an appropriately weather-ed day, nice enough to wear it! it’s taken a while for those two things to coincide.  Today was that day! hurrah!
Details:
Dress; Burda 05-2010-111, Burda 05-2010-101 sleeves, floral silk georgette with ivory crepe detailing, my original review of this pattern here
Slip (under); the Ruby slip, pattern by pattern scissors cloth, ivory crepe, details here

pinterestmail

teal dress

New dress!
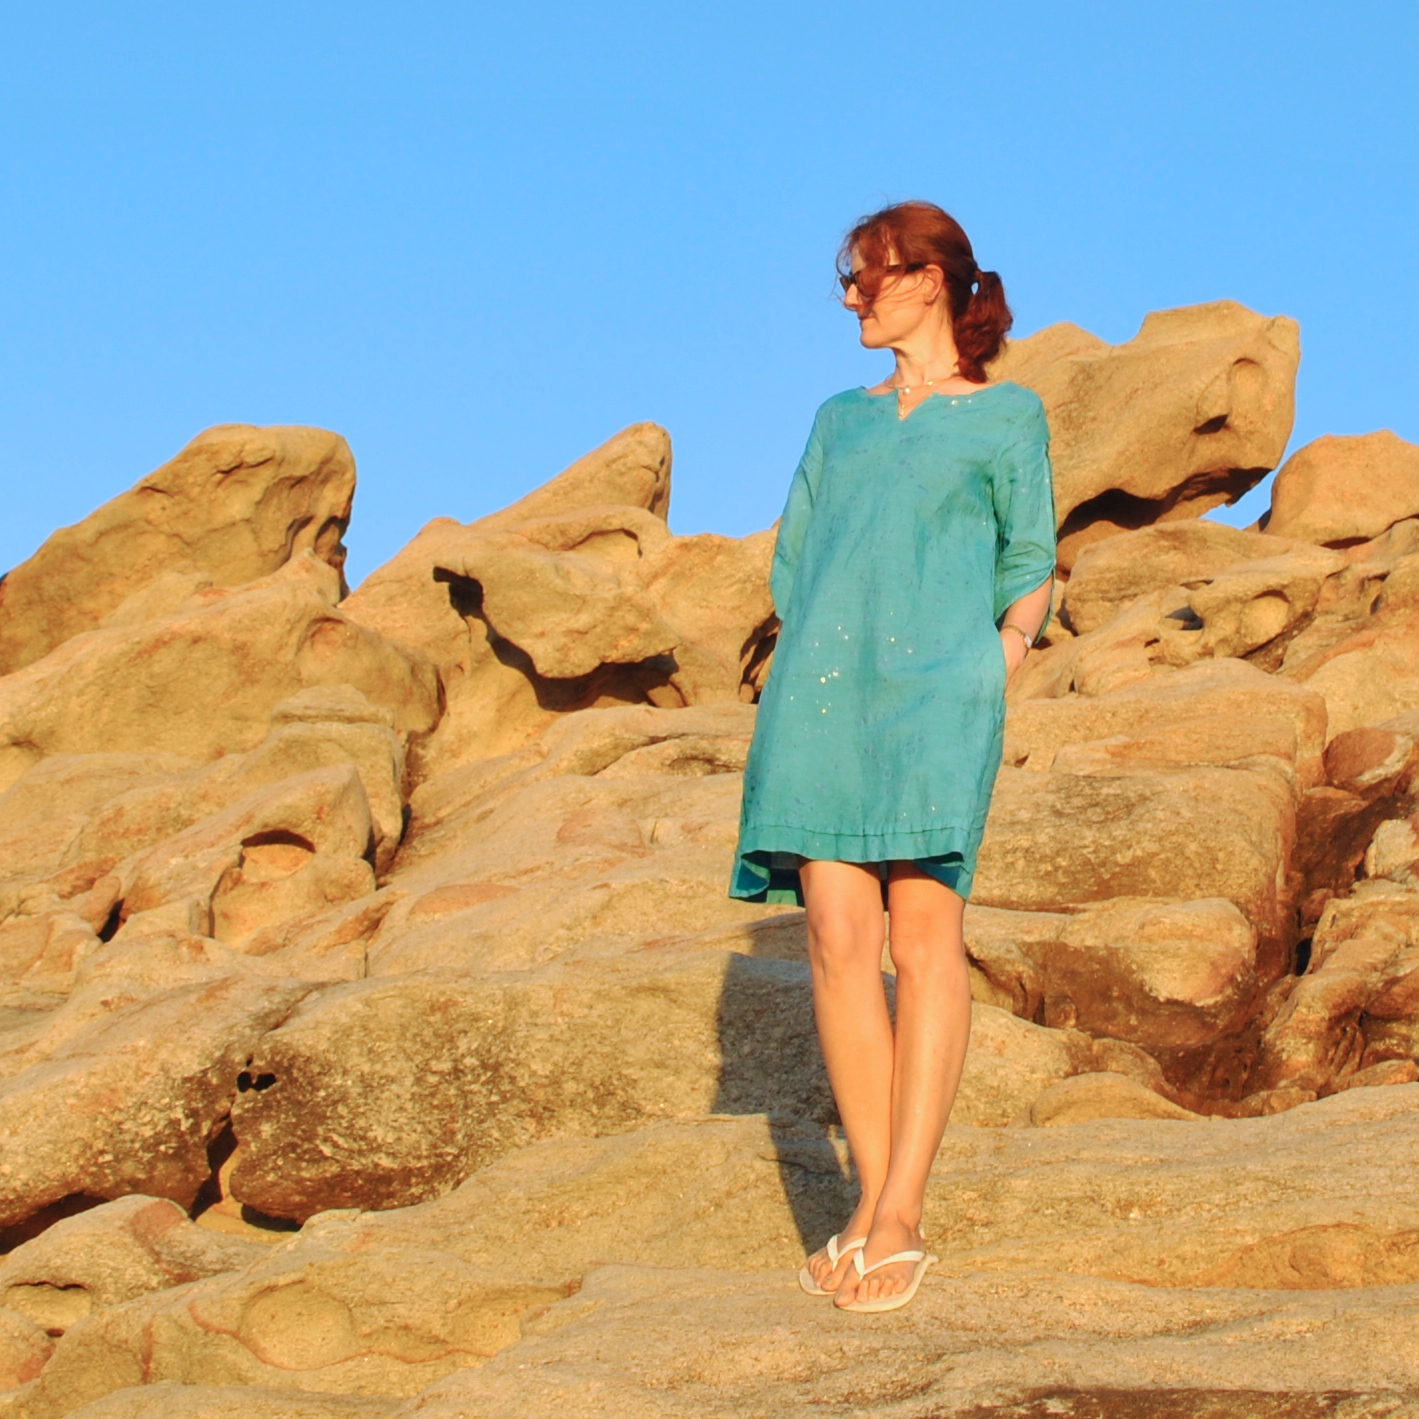
Well actually it’s not really  new at all, in fact I made it barely a year ago…  it just feels like a brand spanking new thing somehow just because it’s a brand spanking new colour.

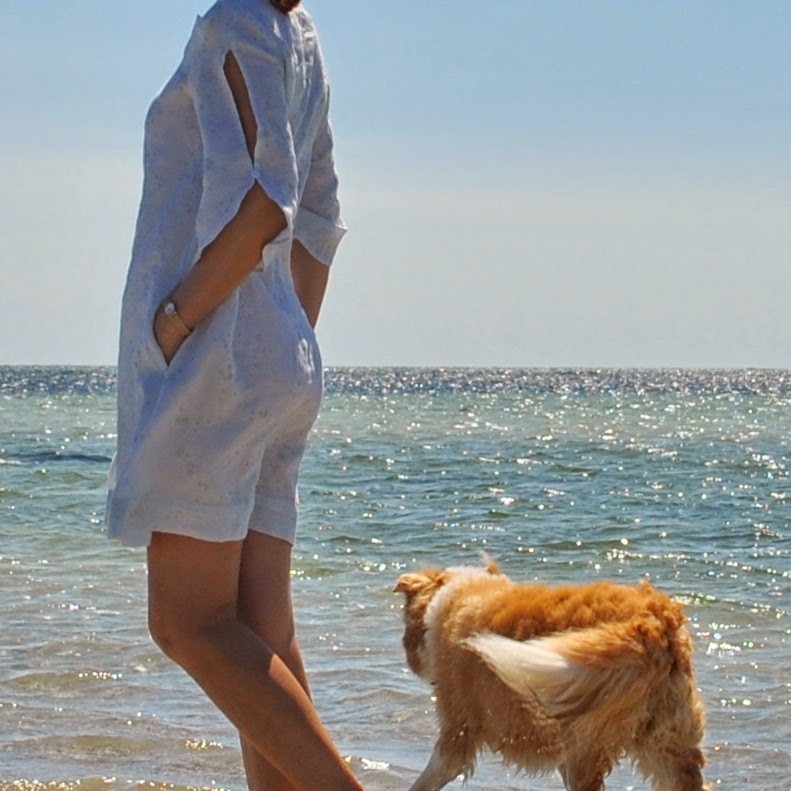
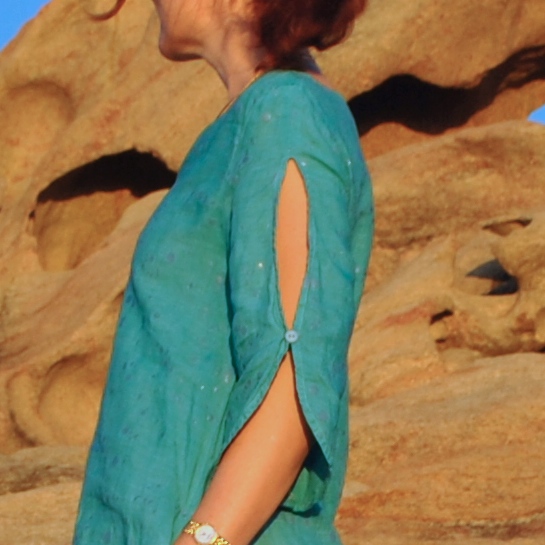
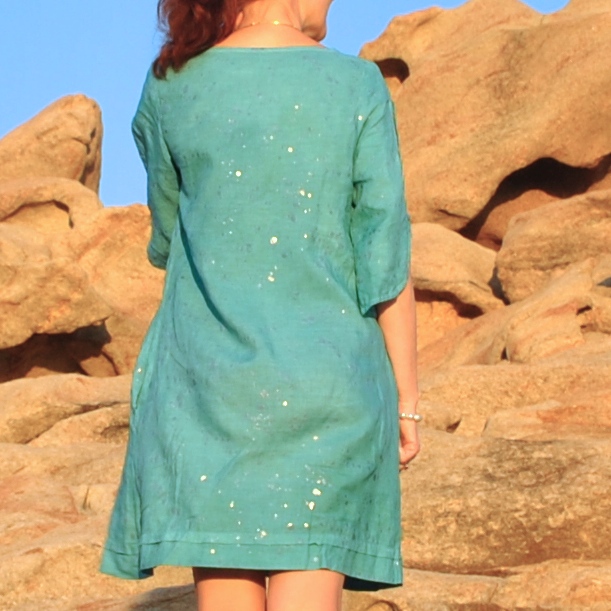
I thought some of the dye batches I’d made up for my Alabama Chanin project still had some oomph in them, and of course I am incapable of throwing out something that still has a use.  I absolutely have to scrounge around to find a further use for it first.  I selected this dress as a suitable victim, ahem candidate for an update.   Its original pale baby blue was never really very good for me, really.   I liked and have worn this dress a lot, but I had to admit the colour didn’t really like me back.  It washed me right out. 
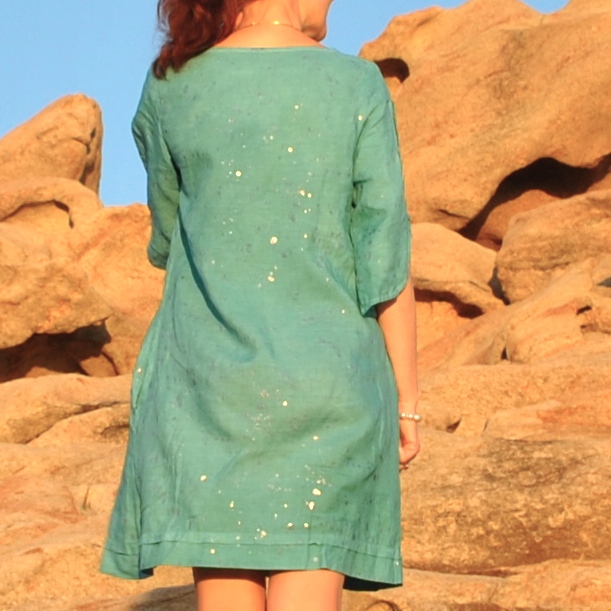
But I still love the fabric; it has an unusual and very charming thing about it, some sort of hard translucent plastic has been “splattered” all over it that sparkle in the sun rather prettily, like random sequins or something.   I only bought the fabric in the first place because I fell in love with those sparkly splatter-dots. 
Anyway; I soaked it, plunged it into an old, cold bath of various mixed up dyes; iDye in Royal Blue, Golden Yellow and small amount of Brown, and left it overnight.  The dye had so much staying power…  the colour came out incredibly strong!  

The buttons on the sleeves were white plastic and I was prepared to change them if the white stood out glaringly hideous afterwards.   However the dye had SO much further oomph left in it that it actually stained the buttons teal as well.  Win!  
Another little happy side effect is that I think the darker colour makes my beloved sparkly splatter-dots stand out even MORE than they did before. 

Moral of the story; you love something but its colour doesn’t love you back?  Dye is most definitely your friend, and well worth a shot  🙂
Do not be afraid of The Dye!
Details:
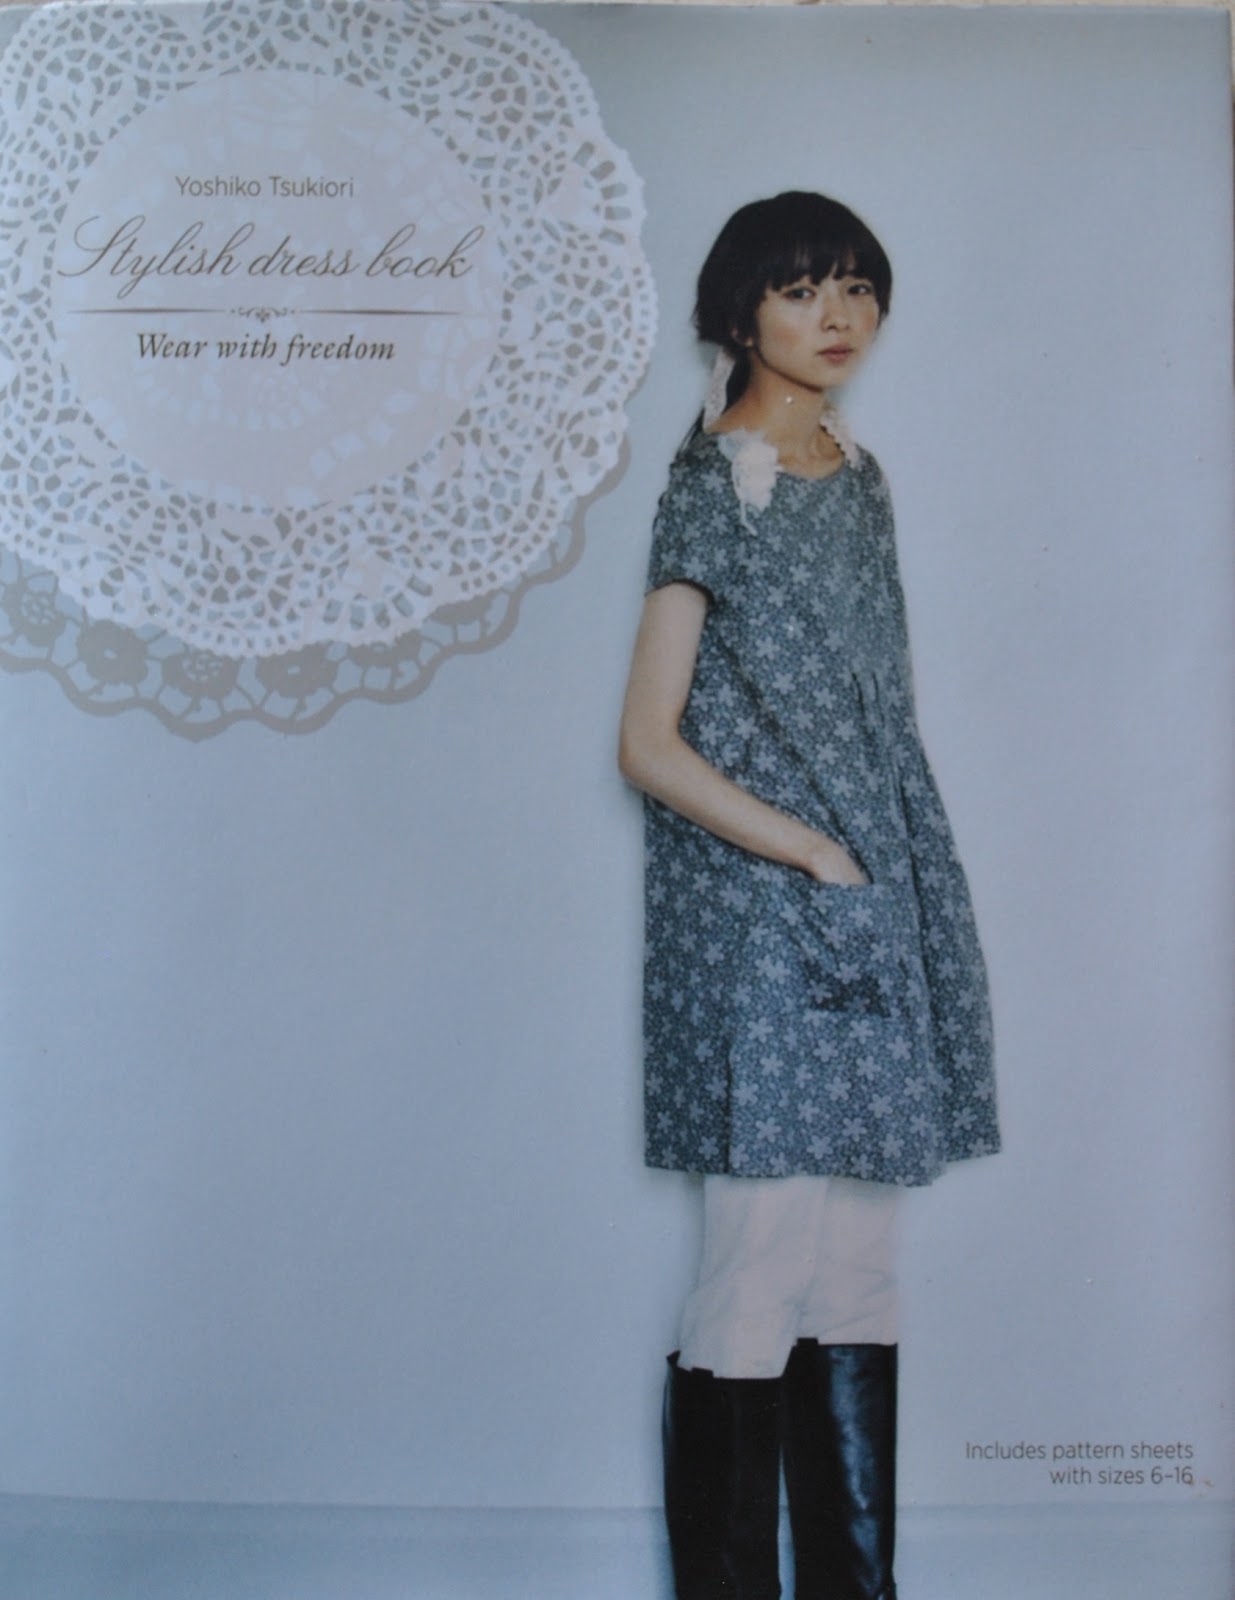
Dress; dress “f”, from the Stylish Dress Book, by Yoshiko Tsukiori, dyed linen, first appearing in its original, powder blue form here.
Thongs; Havaianas
Location: Canal Rocks, Dunsborough
pinterestmail

all Aussie adventures

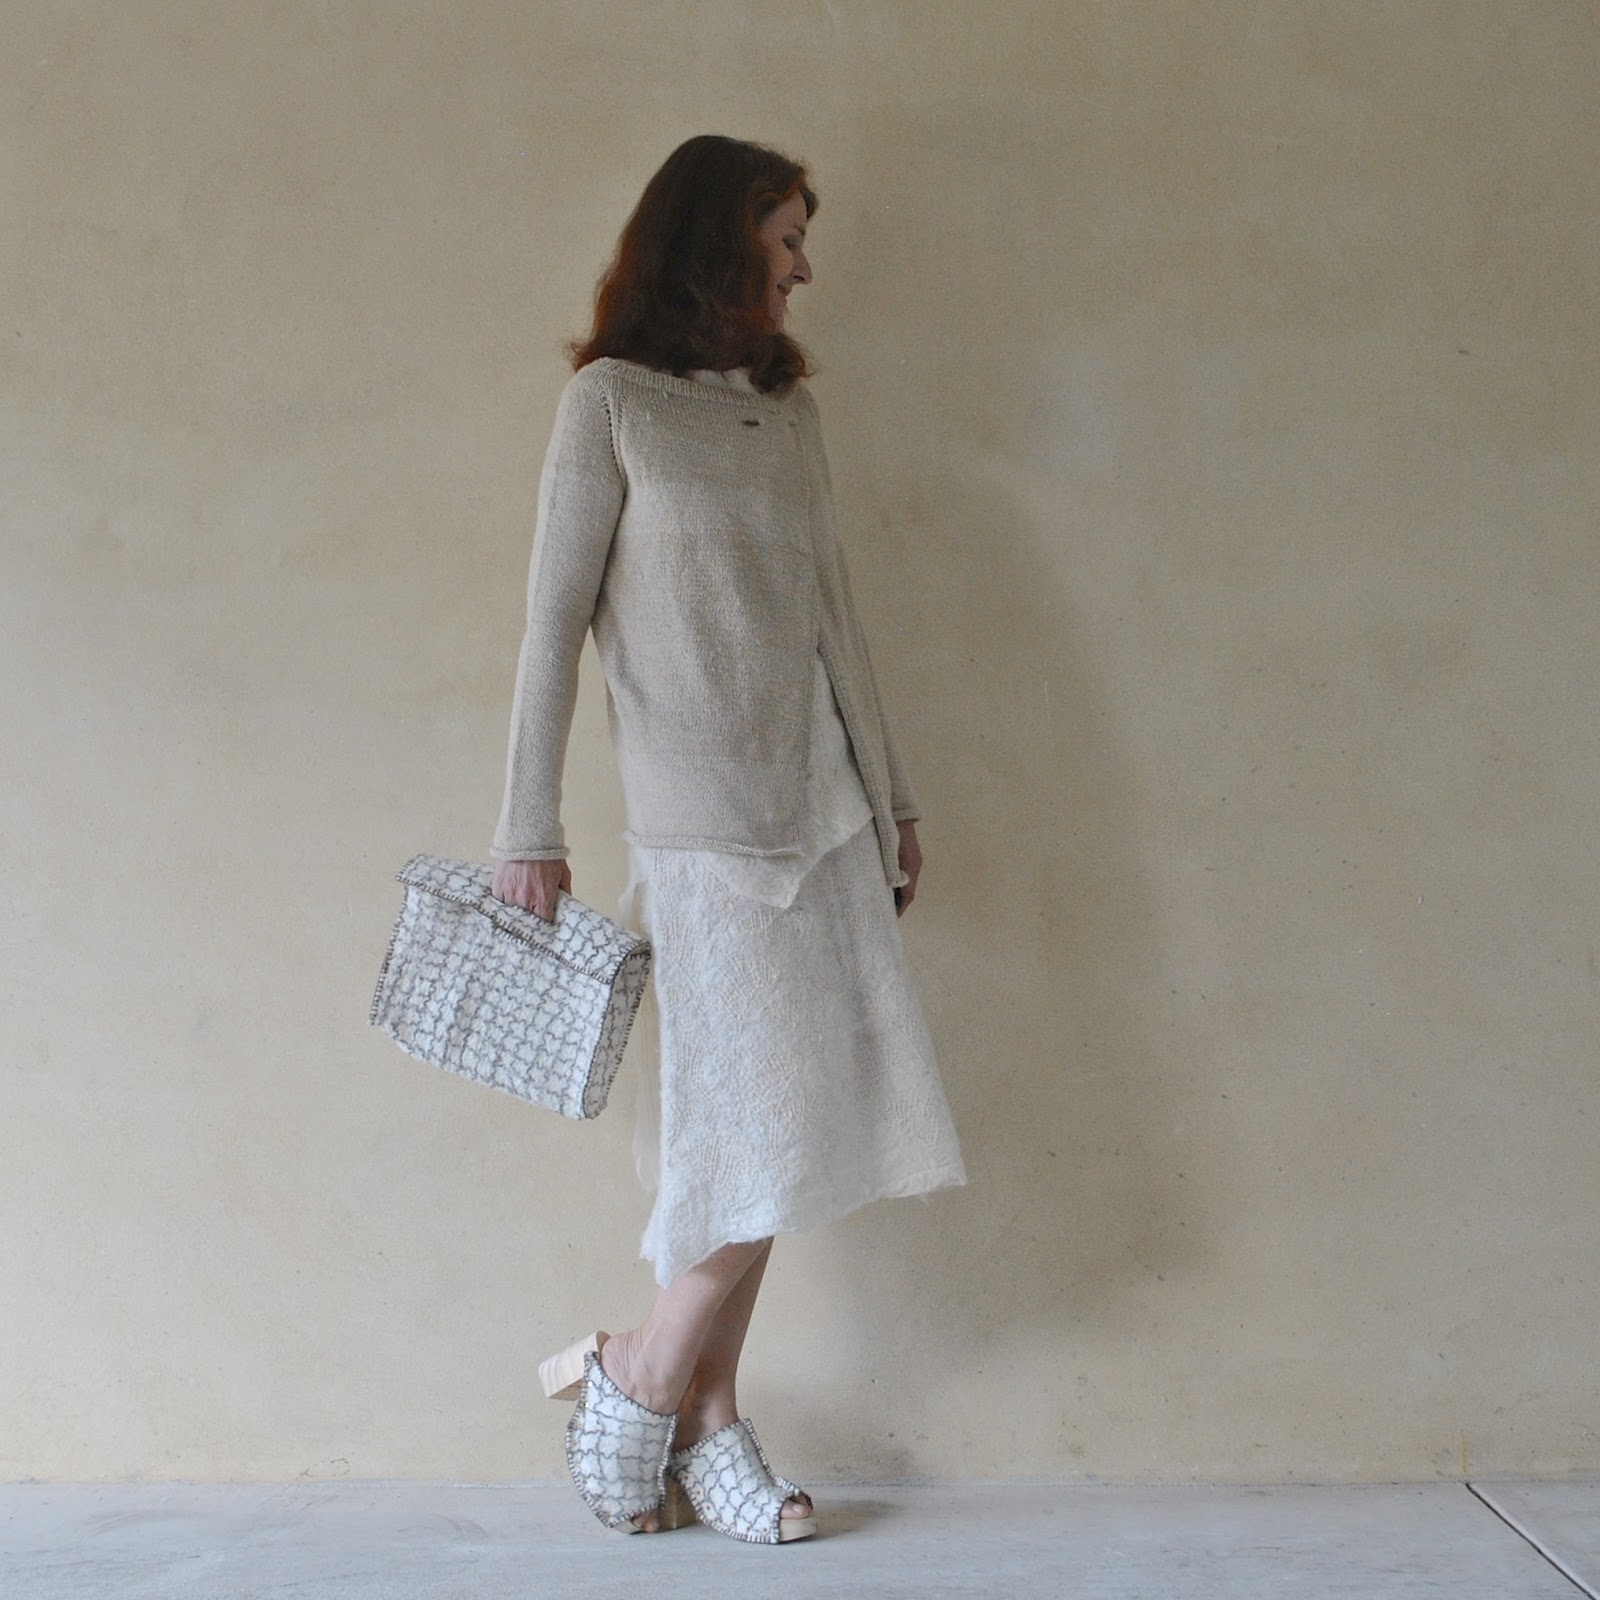
MY OUTFIT IS FINISHED!!!
And I am showing it all together here for the first time.  Can I just say right here; wooooohooooot!
The challenge, as laid out by Nicki of this is moonlight, should you choose to accept it, and I did! was to make for yourself an entire outfit using ONLY locally sourced materials.  Sounds simple, right?  It has been anything but!
I’m very grateful to Nicki for conceiving this brilliant and very thought-provoking challenge, and for inviting me to take part.  This has been one exceedingly amazing ride, has blown my mind more than any other dressmaking challenge I’ve ever done, and really pushed my creativity to the limit.  At the beginning of the year I seriously did not think I would be taking my outfit to the levels I did…. I thought for sure I would be giving myself a pass on some things, for example;  thread, and allowing myself to use regular Gutermann’s thread.  As time went on though I toughened up, embraced the idea of going the whole hog; and I’m very pleased that I did manage to rise to the challenge and make the maximum possible from locally sourced products!
In fact, I’m quite proud and extremely happy! :))
For the challenge, I made:
a knitted alpaca cardigan/jacket
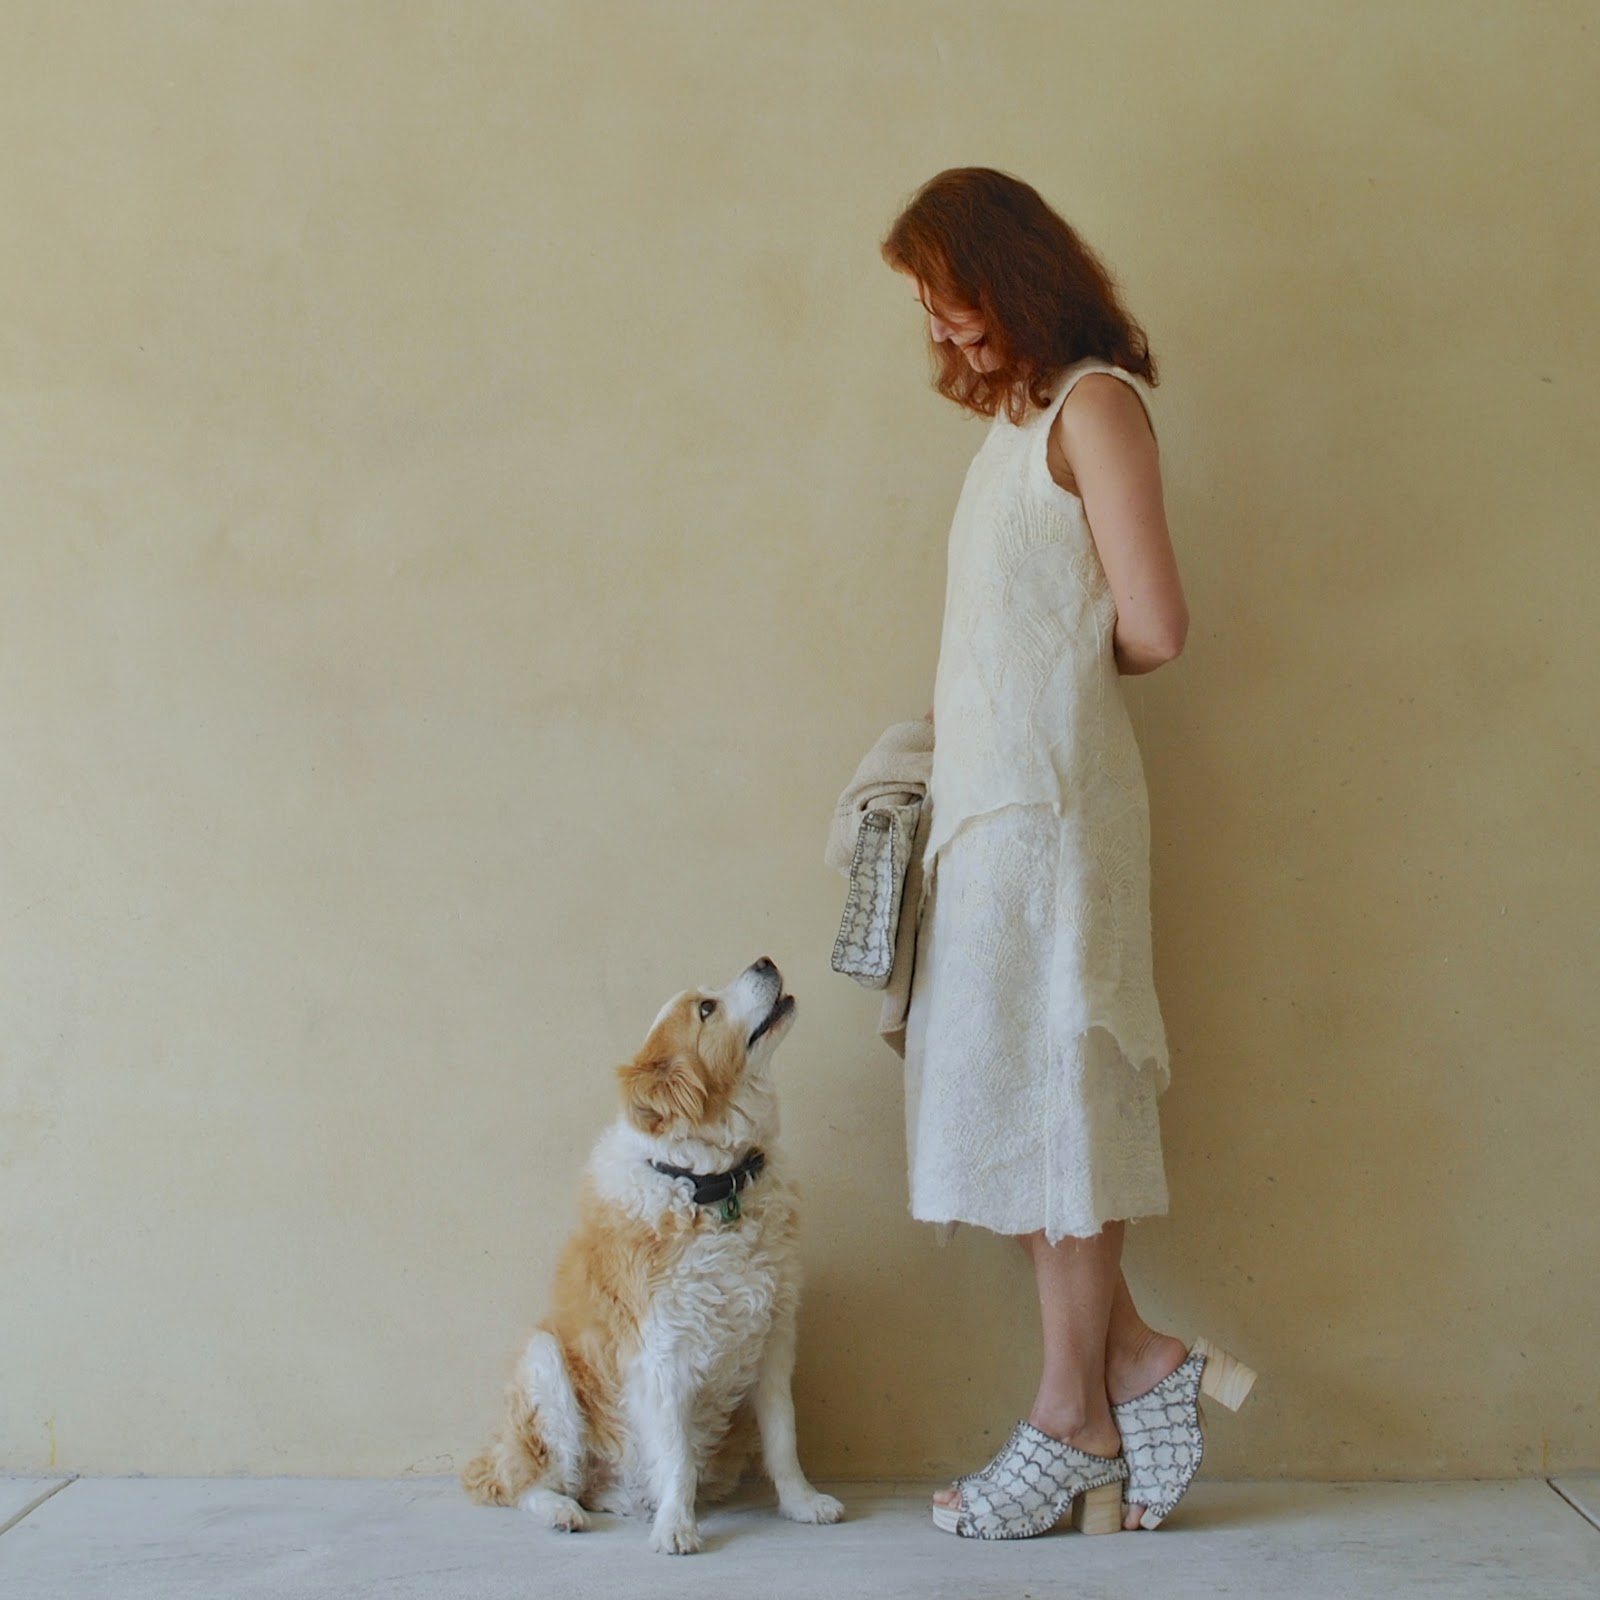
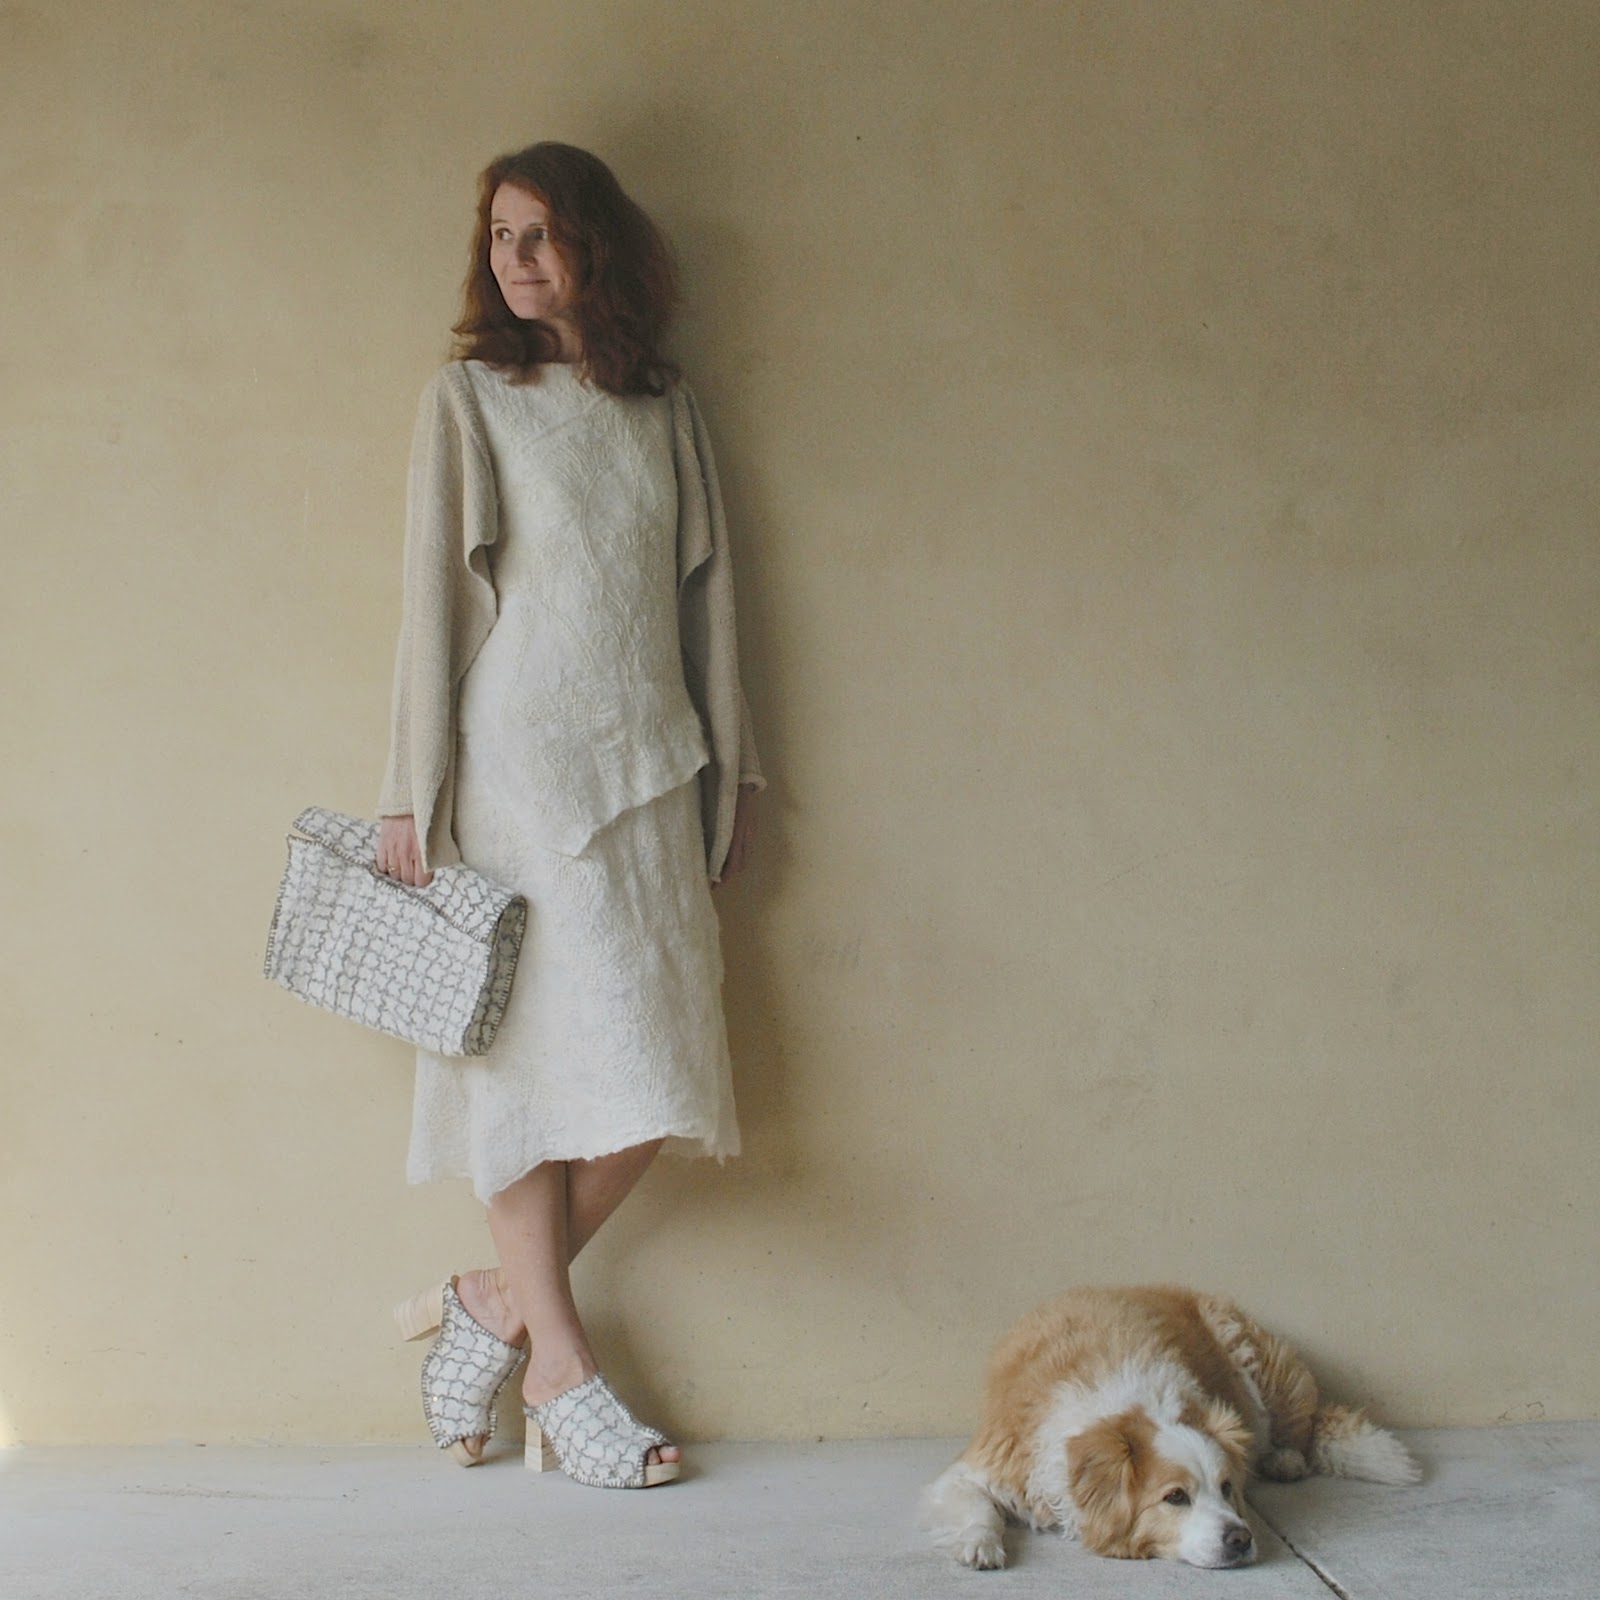
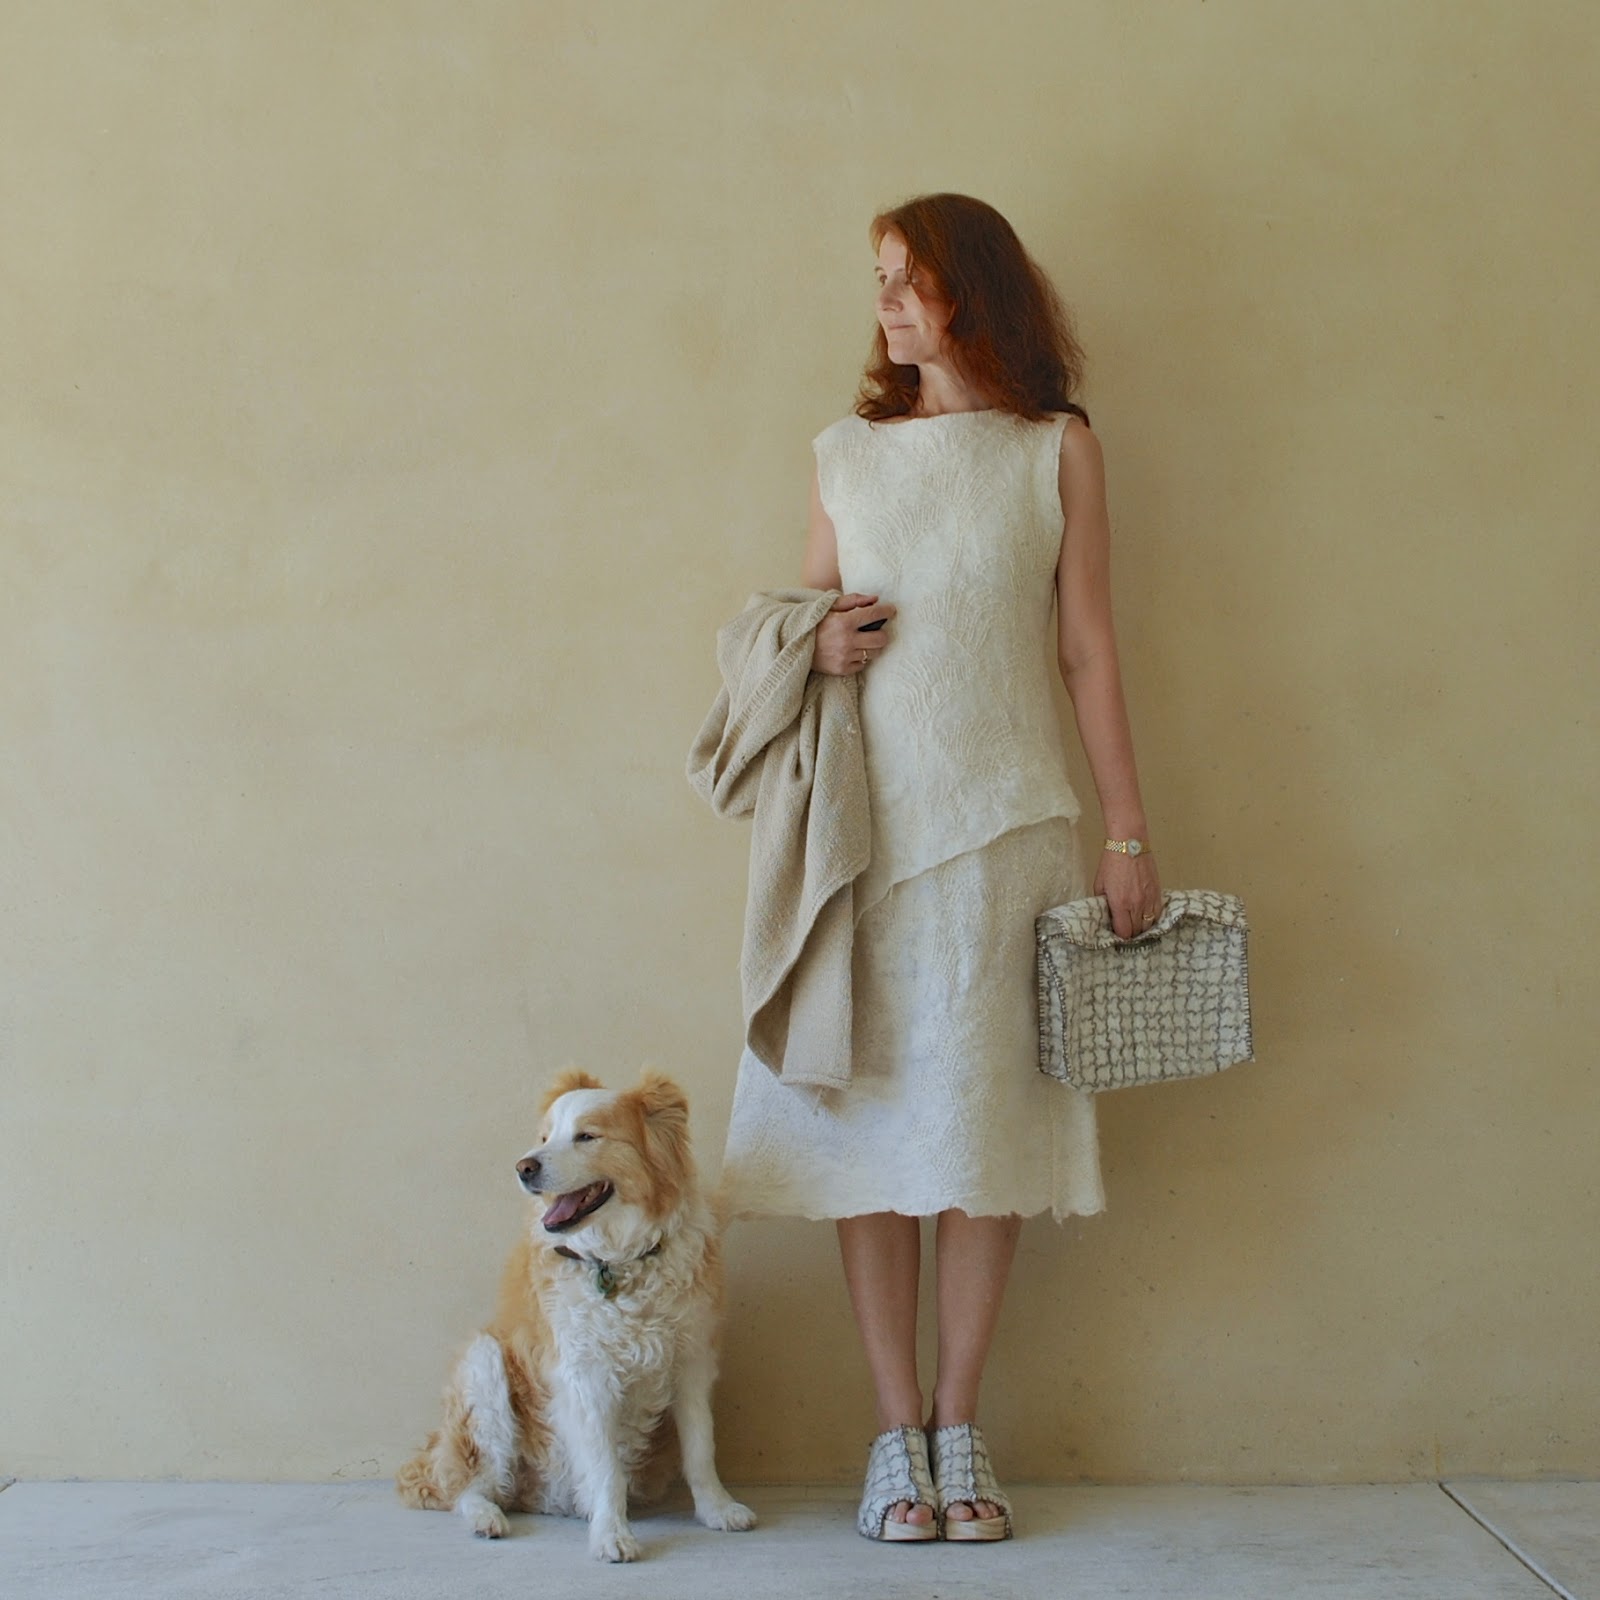
a merino felt dress
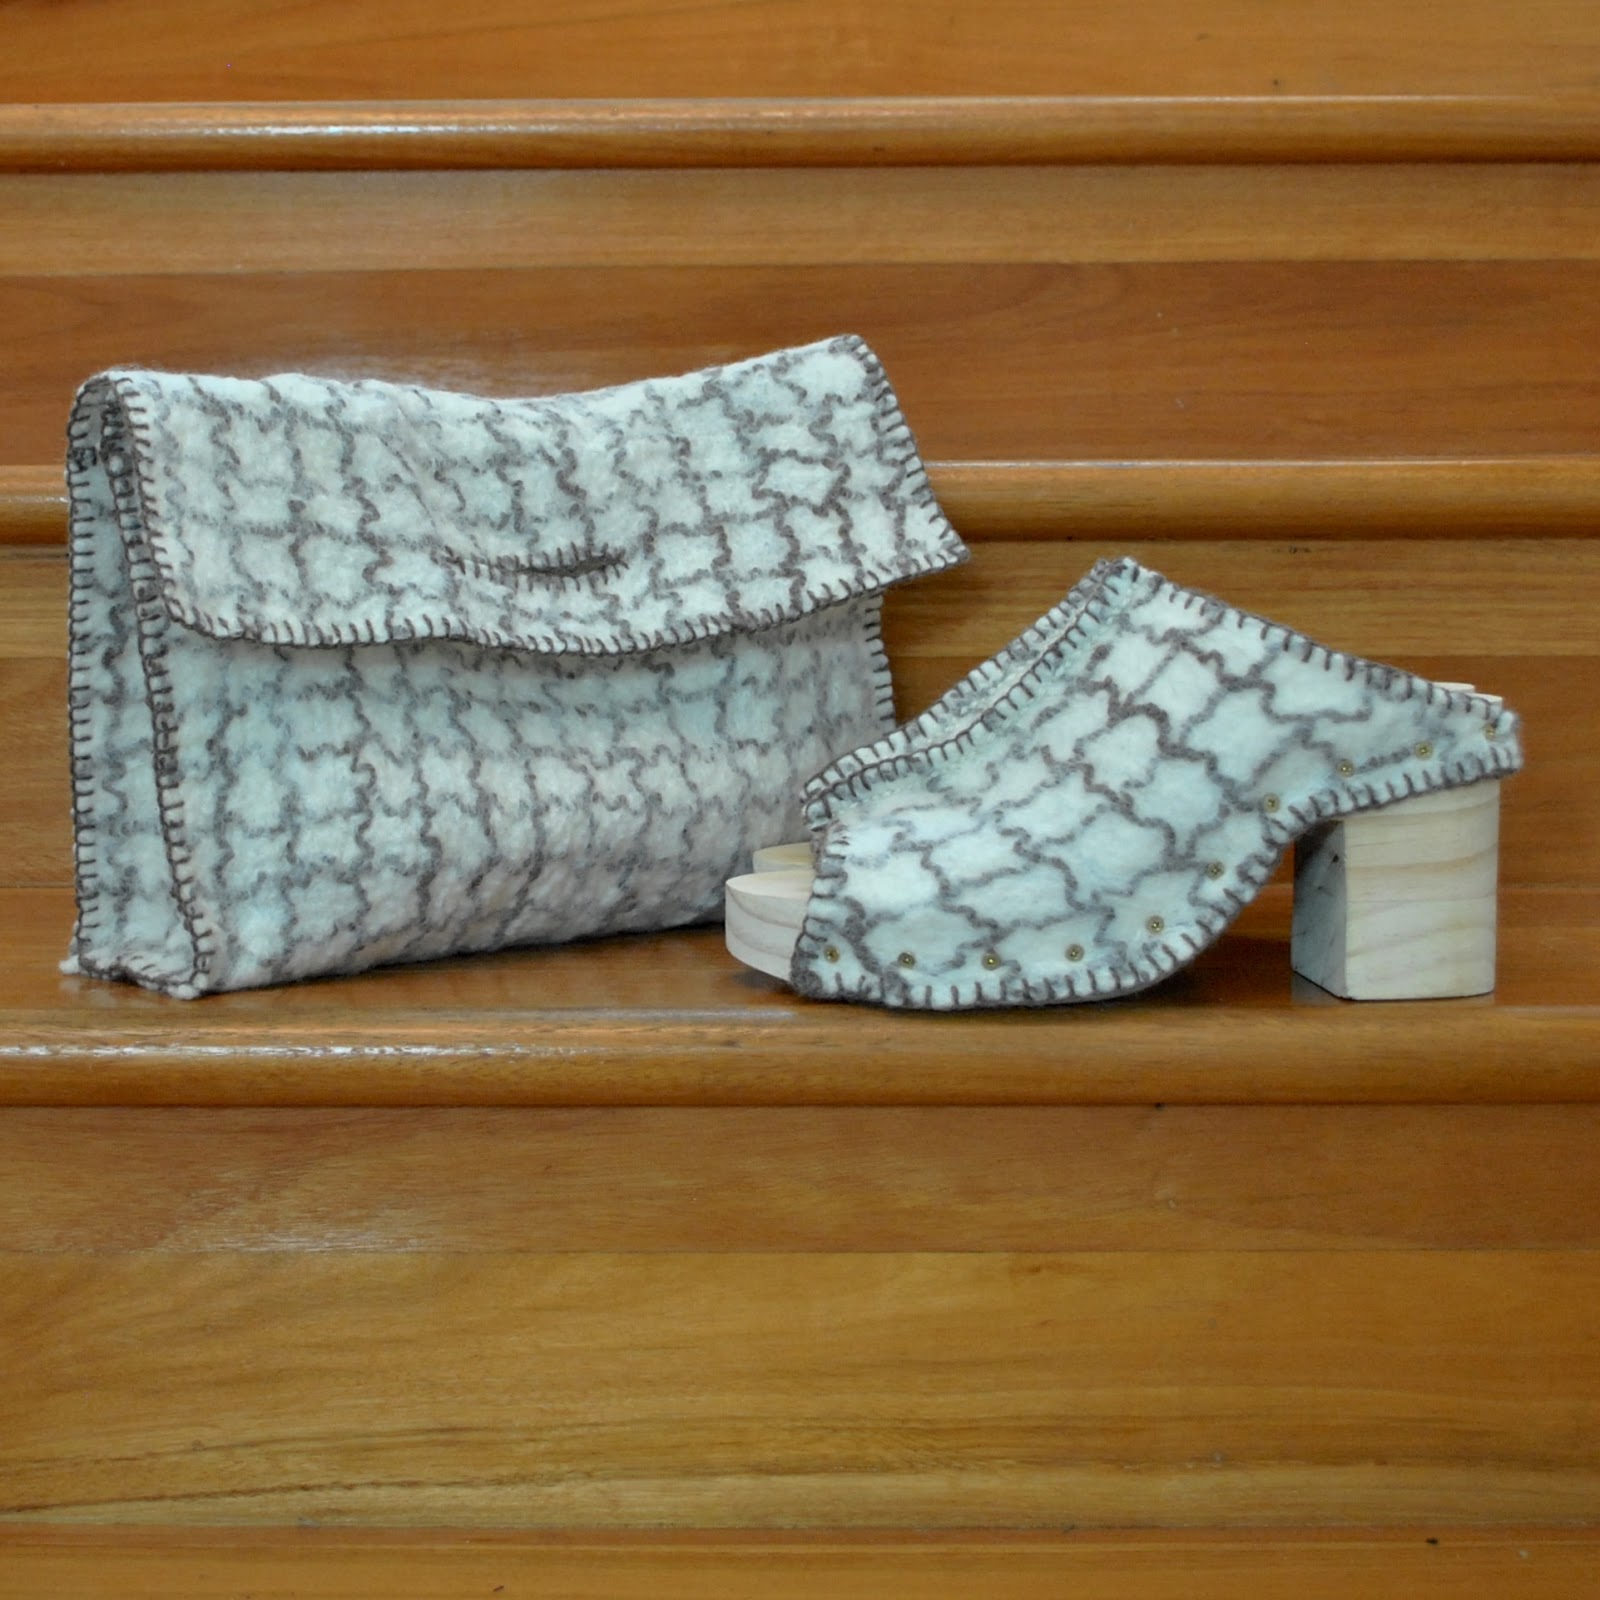
merino felt and pine shoes
a merino fleece bag
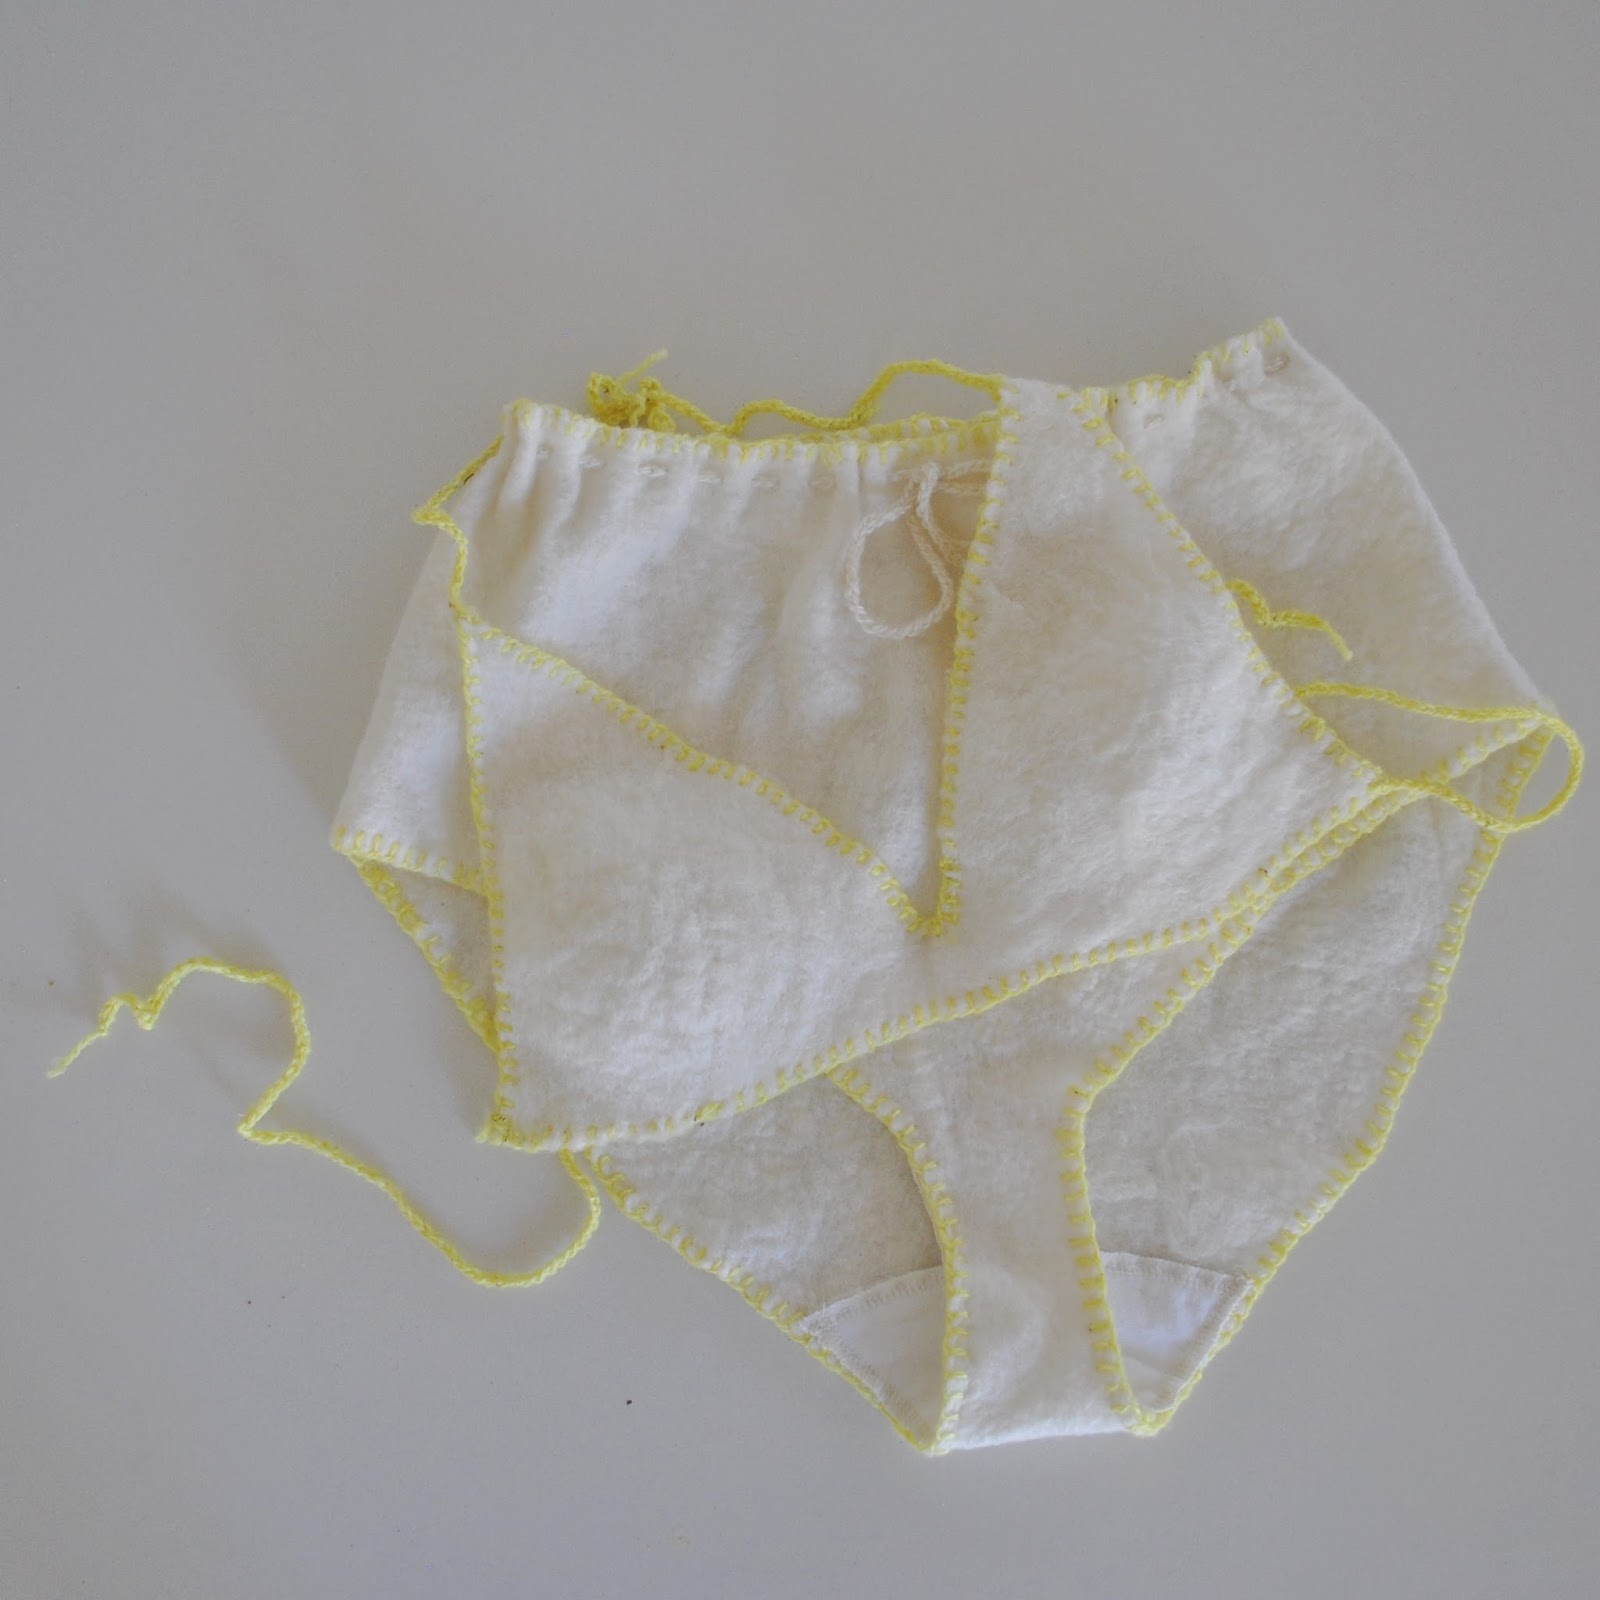
merino fleece undies and bra
In a nutshell, every single blinking thing I have on here is made by myself, using pretty close to 100% south-west Australian sourced materials

Those of us in Western Australia; SueMegan, Nicki and myself, have had to be quite innovative in our approach, I think.  I mean, forget zips, thread, elastic… there is not even any freaking fabric made in WA!  This was our single biggest hurdle, I think!
However, we are extremely fortunate in that we have wool available to us; lots and lots of wool!   Australia has the world’s biggest wool economy… did you know that 80% of the world’s apparel wool is from Australia? and Australian merino is the world’s best quality woollen fibre.  22% of the country’s wool production is here in Western Australia (source)

Hardly surprising then that all four of us have used wool as the majority component in our outfits.
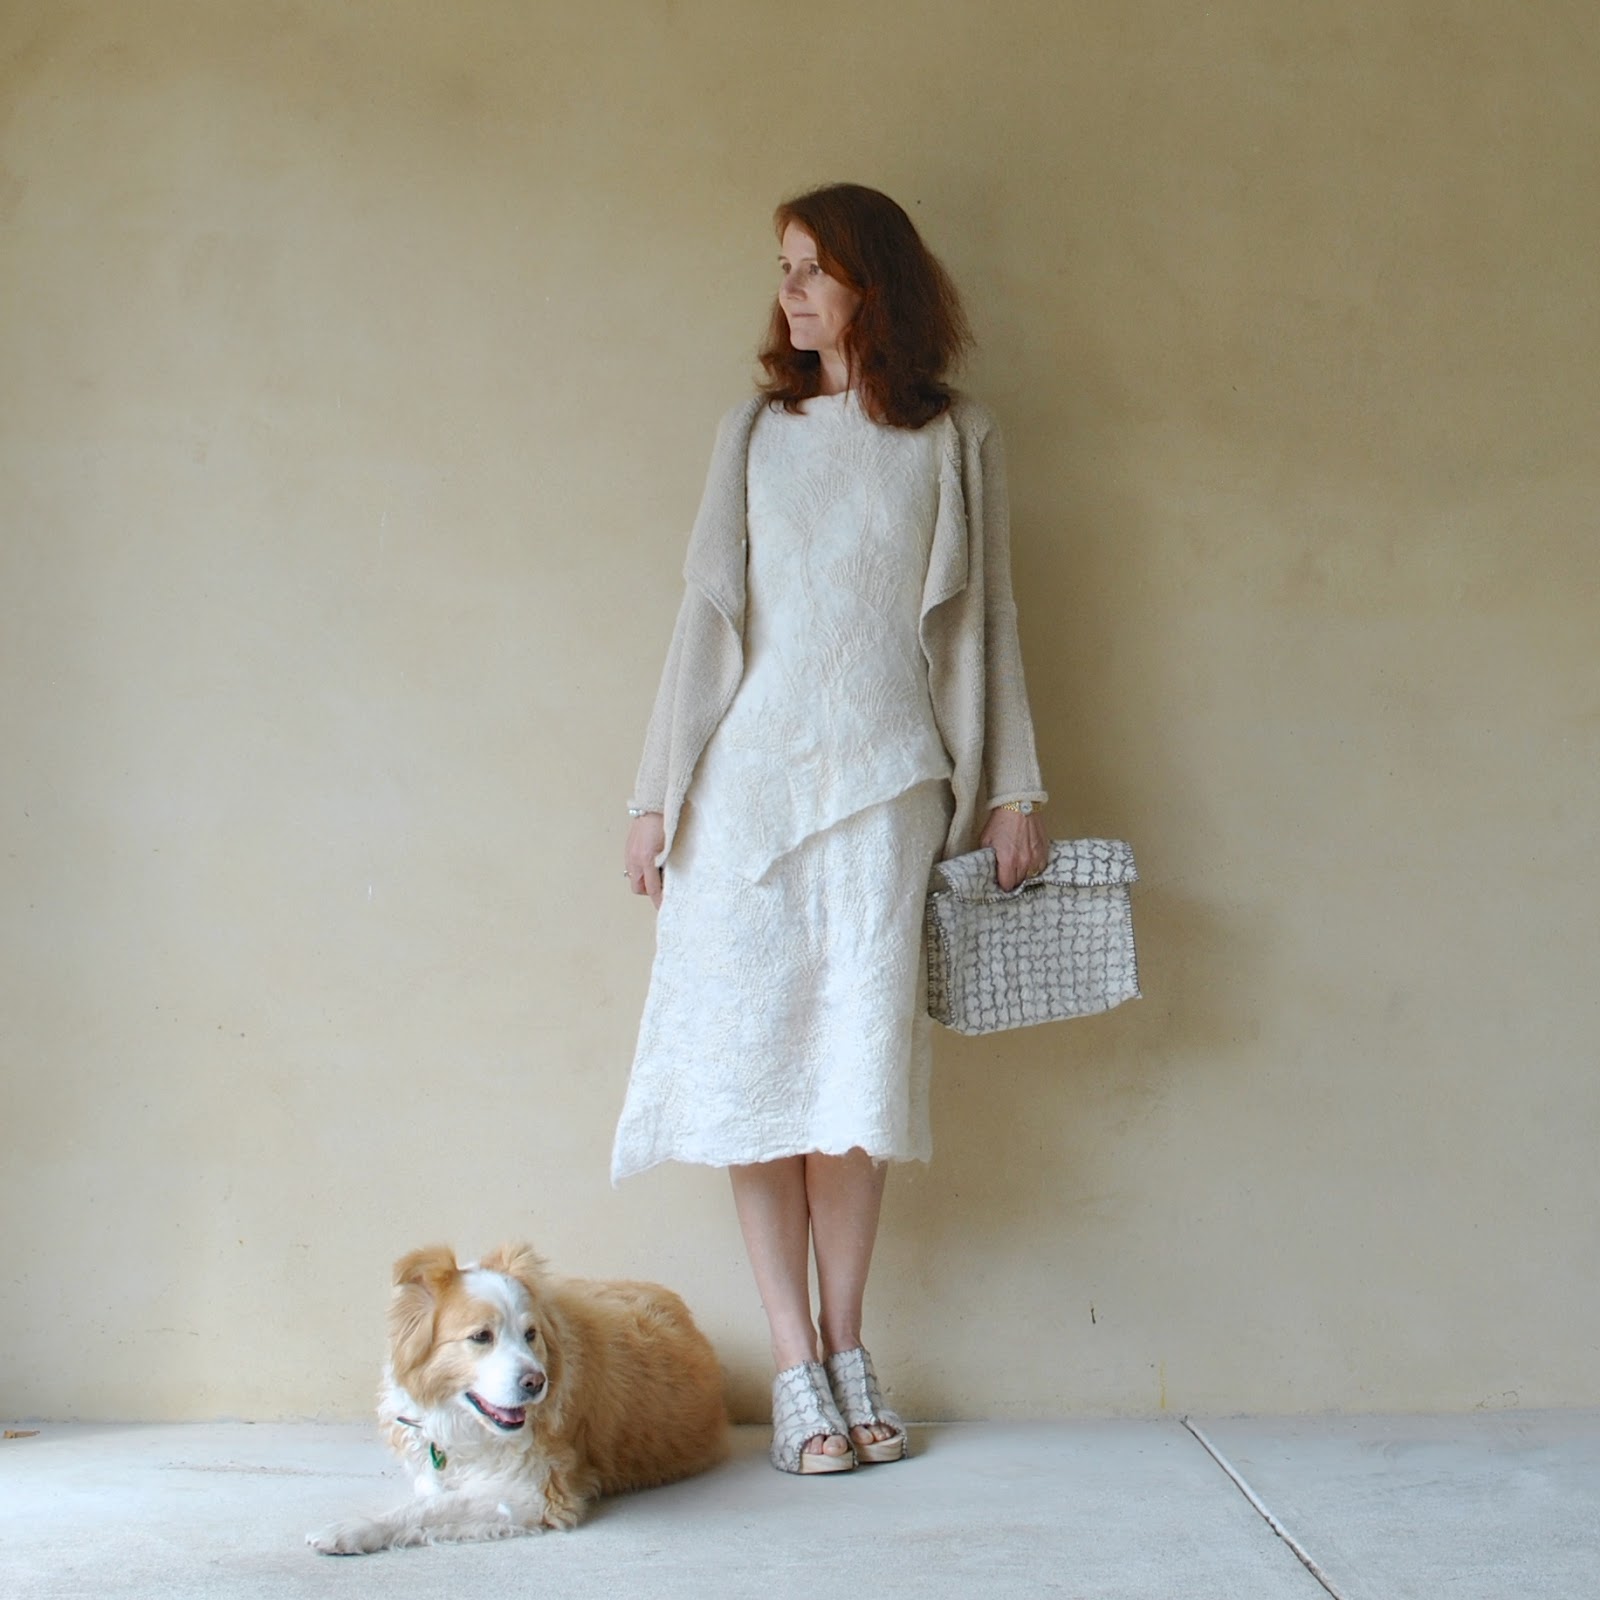
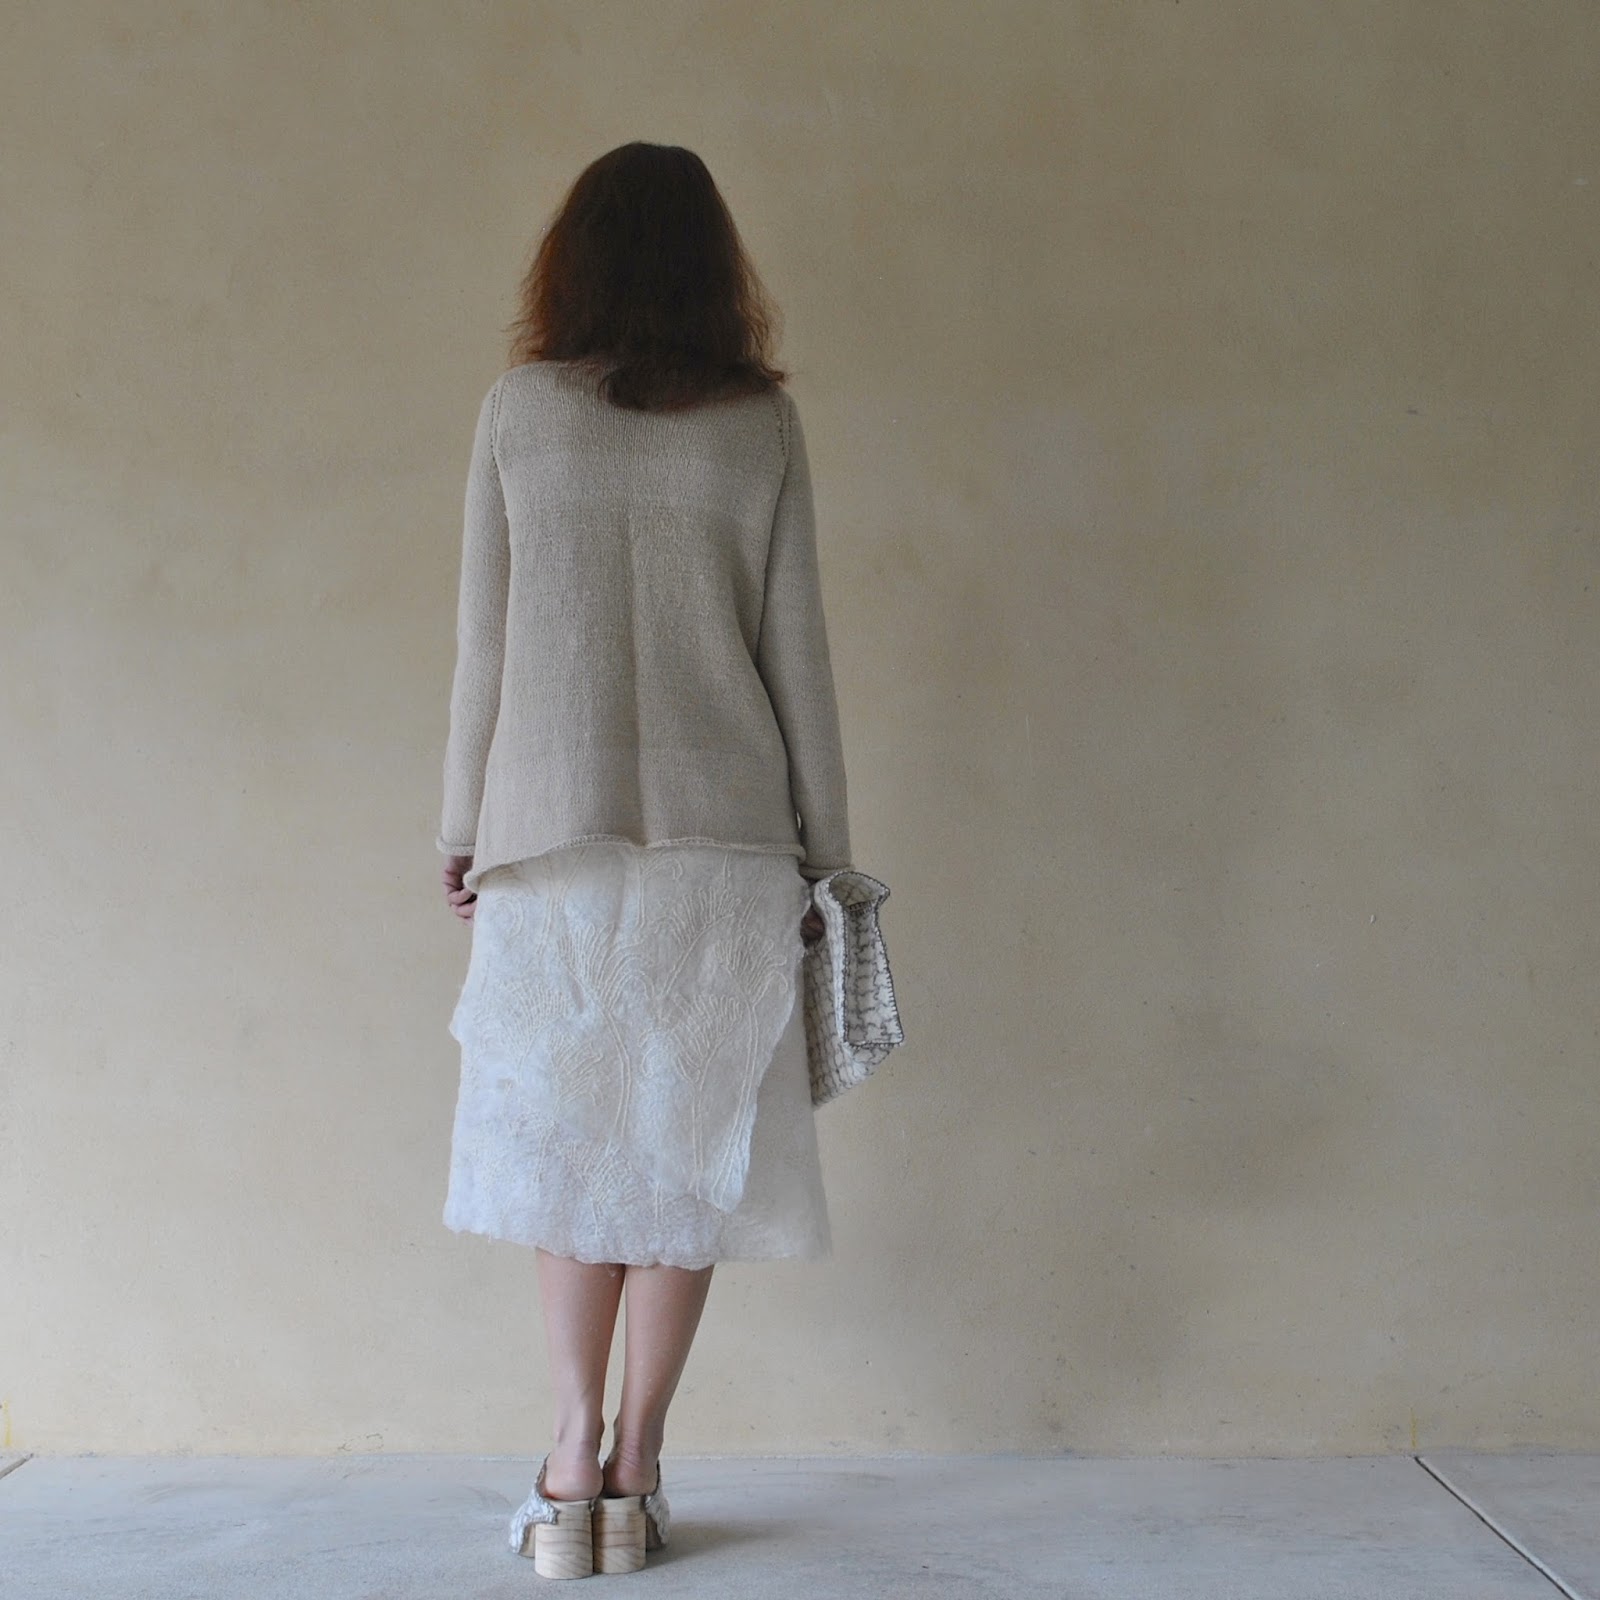
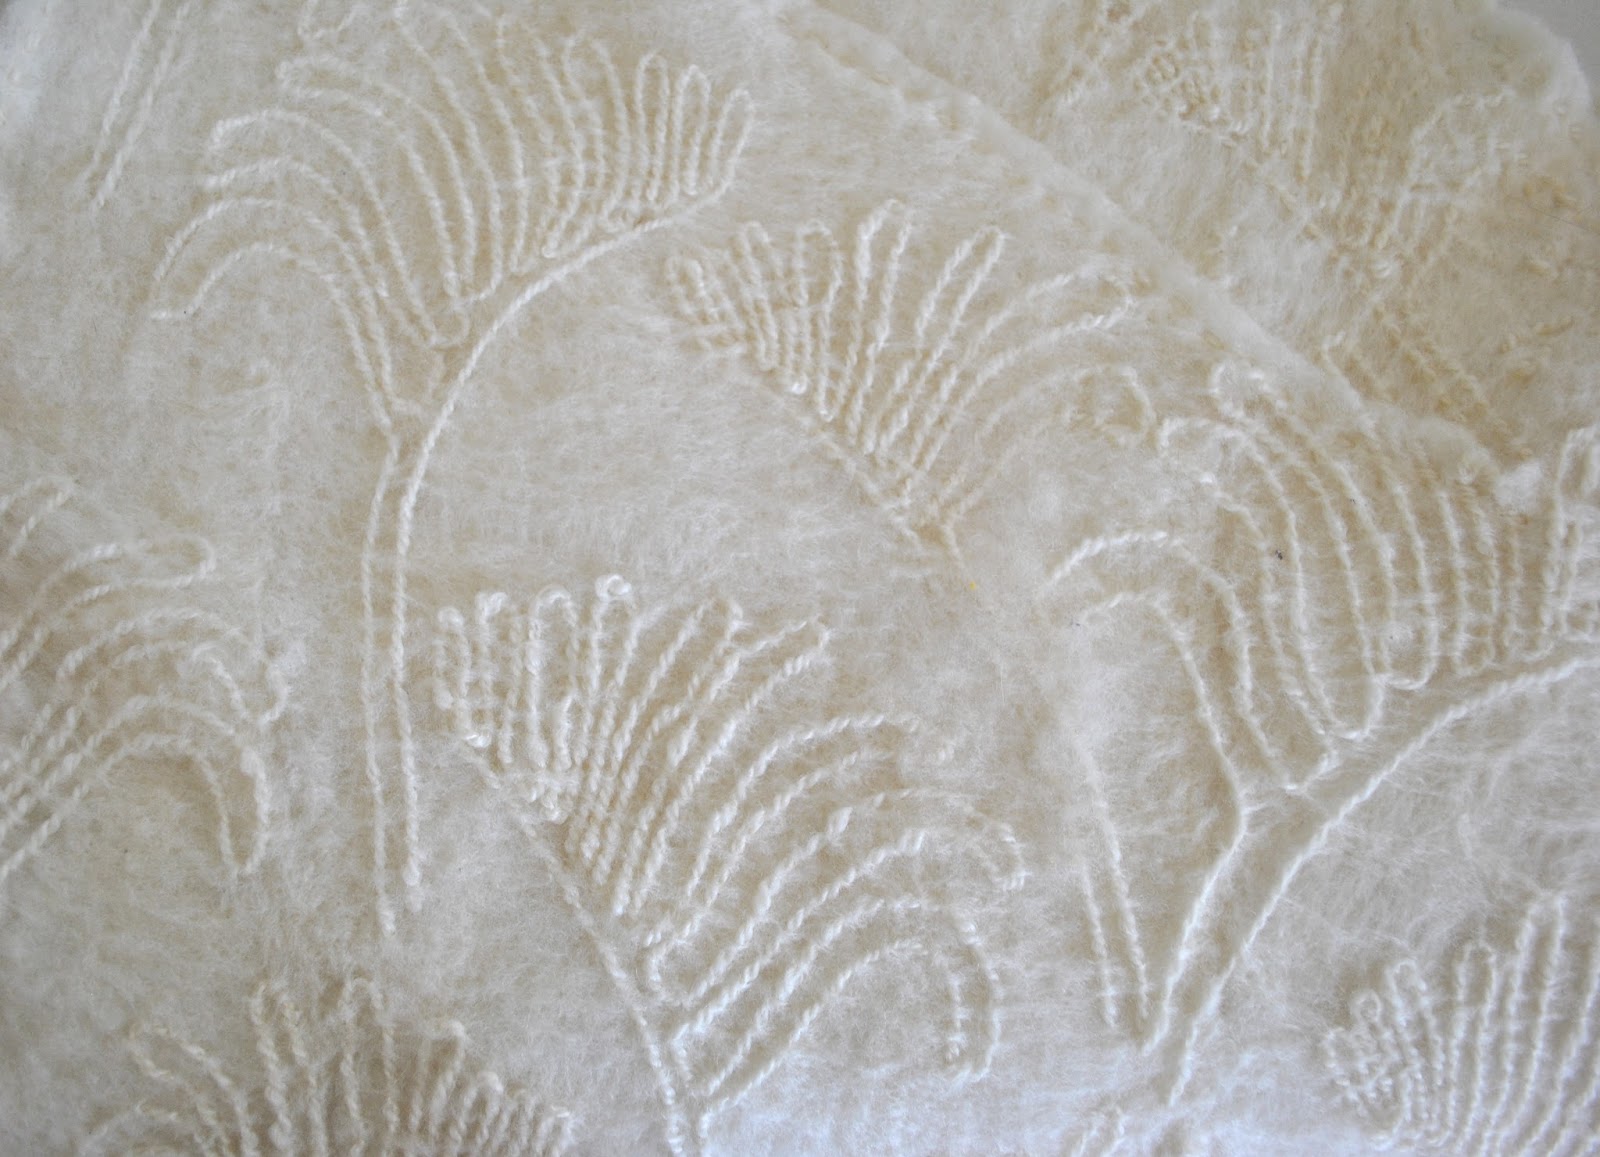
My dress, bag, underwear and shoe tops are made from Western Australian merino fleece.  I made my wool felt fabric from the fleece as outlined in this post.  My dress is made from natural undyed merino fleece felt, and I hand-embroidered the fleece all over with locally handspun, undyed merino yarn.

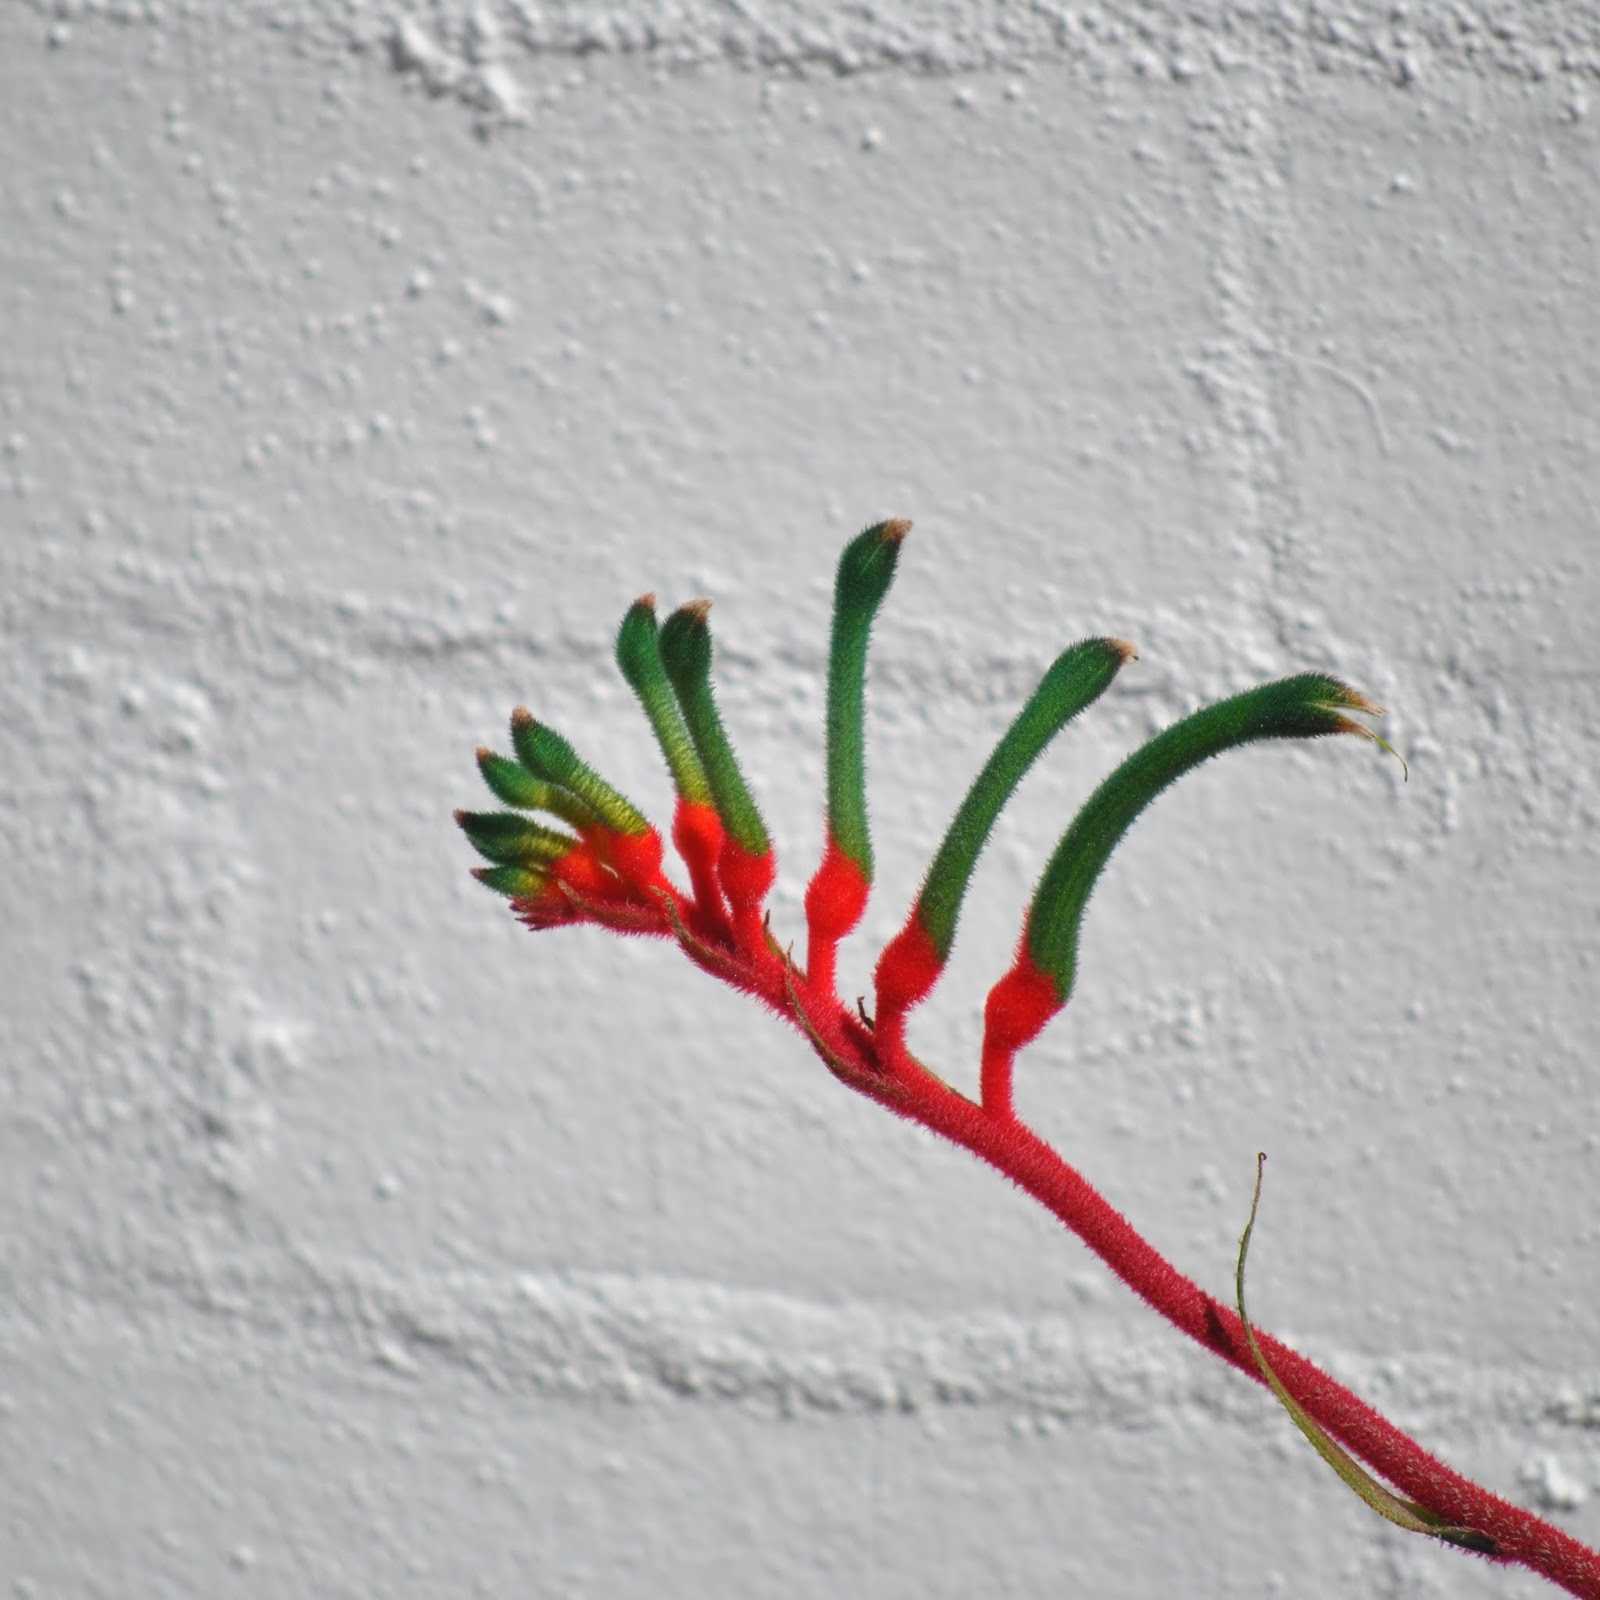
Anigozanthos manglesii

The embroidery design is my own; a random arrangement of of kangaroo paw motif, for our Western Australian state floral emblem.

My underwear features the only “colour” in my entire outfit; I dyed the decorative yellow edging and ties using sour grass picked from my own garden, as posted here.
All the other fleece, yarn and wood in my outfit I left in its naturally coloured state.

My cardigan is alpaca yarn, from the Fibre of the Gods, a tiny mill operating on a farm in Toodyay.  This establishment produces alpaca yarn on their own property, from the fleece of their very own alpaca herd.  I bought some of their yarn directly from off the farm and knitted my cardigan, as posted here.

My wooden shoe soles are hand carved by me, using Western Australian pine.  The pine is grown by Bunnings on their own pine plantations down south and milled by Bunnings in Manjimup.  I made my shoes and my bag from my merino fleece as outlined here My bag and shoe tops are also merino fleece, with a grid pattern made of naturally black sheep yarn.

And that’s it, in a nutshell!
Well, typing it all out like this has kinda brought it home to me for the first time; I am wearing a pretty-close-to 100% homegrown outfit, top to toe, for maybe the first time in my life!  I’m kinda amazed, even at myself.  It’s a little mind-blowing to me.
Final thoughts: I’ve learnt a tonne doing this challenge.  Firstly, our local industries are precious and need our support.  That goes for everywhere, not just here in WA!  I personally am going to put more effort into supporting our local products regularly.  I mean, I’m definitely not giving up my more “regular” sewing, but I am going to do this challenge again.
Secondly, that if you really put your mind towards doing something, keep yourself focused on getting a project done, to overcoming obstacles, then you probably can do it.  Sometimes you need to sleep on it, think outside the box a bit.  I learnt a lot as I was going along, and several times had to improvise a solution to a problem.  There were moments when I questioned my sanity in doing this, when I wondered if my ideas were even going to work… a felt dress? unlined? felt underwear? sounds like the vision of a lunatic, or at least a recipe for disaster, for sure… well OK even I can admit that felt underwear is not really a practical nor a workable thing!  … do NOT recommend.  😉
Also, I had lots of fun!! I LOVE a challenge and this challenge really stretched my capabilities; which is the very best sort of challenge, in my opinion!   I thought hard and long about each aspect of my outfut and tried very hard to honour the materials, to minimise my waste and to make something truly Western Australian in feel and flavour as well as provenance.
There were also moments when I realised I had to accept a small defeat; in the case of this outfit; the glue holding pieces of wood together in my shoes (from NSW, Australia), the nails holding the felt to the soles of my shoes (China) and the cotton jersey liner for my undies (China).  They are very tiny elements so I’m not going to beat myself up over them too much.
I guess the important thing is that I gave everything careful consideration,  and really thought about provenance and the possibility of substituting local products in as many instances as I was able.  As well, I wanted to produce something stylish and lovely, that I knew I would love wearing and feel proud and happy in.  I genuinely love my outfit, and feel pretty pleased with my efforts!
Lastly; maybe I’m on a bit of a post-challenge high, but I’m quite excited about attempting this again next year… in fact I already have ideas and plans!
Mad? maybe, but quite happy to be so!

Details:
Cardigan; the Caramel cardigan, in Fibre of the Gods natural alpaca, grown, shorn, washed, carded and spun in Toodyay, Western Australia and hand-knitted by me, details here
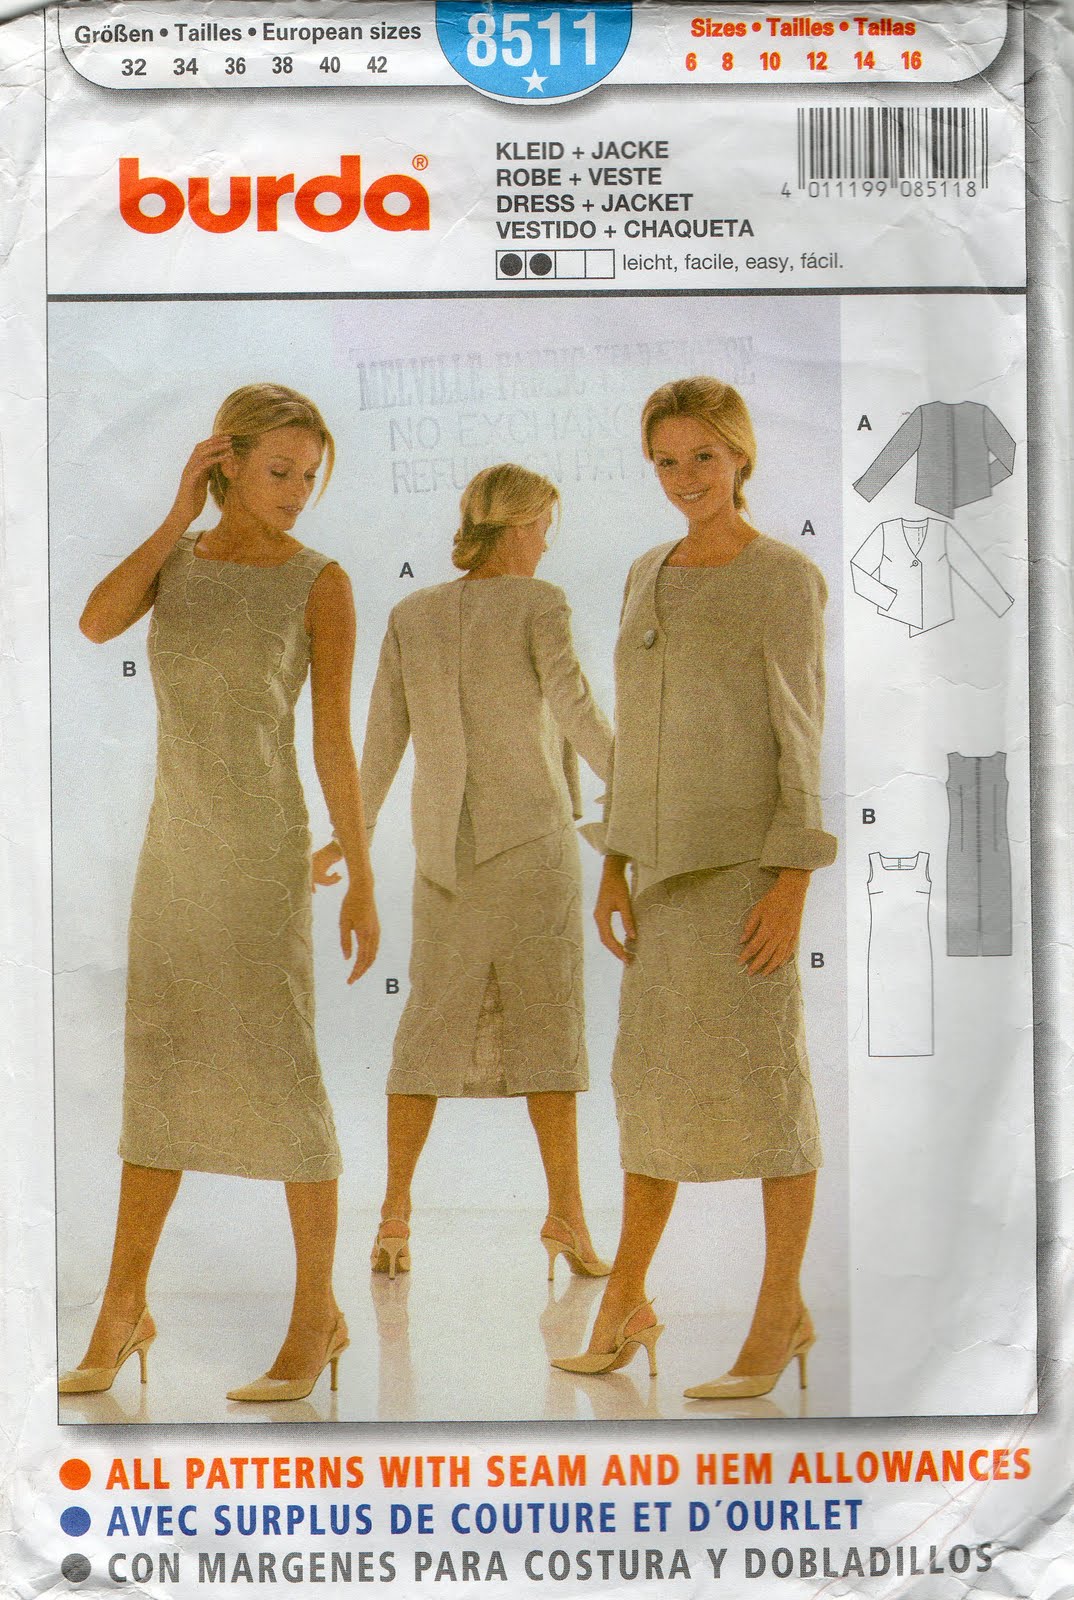
Dress; my own design based upon Burda 8511, made from merino felt made by me and hand embroidered with locally handspun merino yarn from Bilby Yarns, details here
Shoes; my own design, pine soles from Bunnings hand carved by me, felt tops made by me from merino fleece bought at Bilby Yarns, details here
Bag; my own design, in felt made by me from merino fleece bought at Bilby Yarns, details here
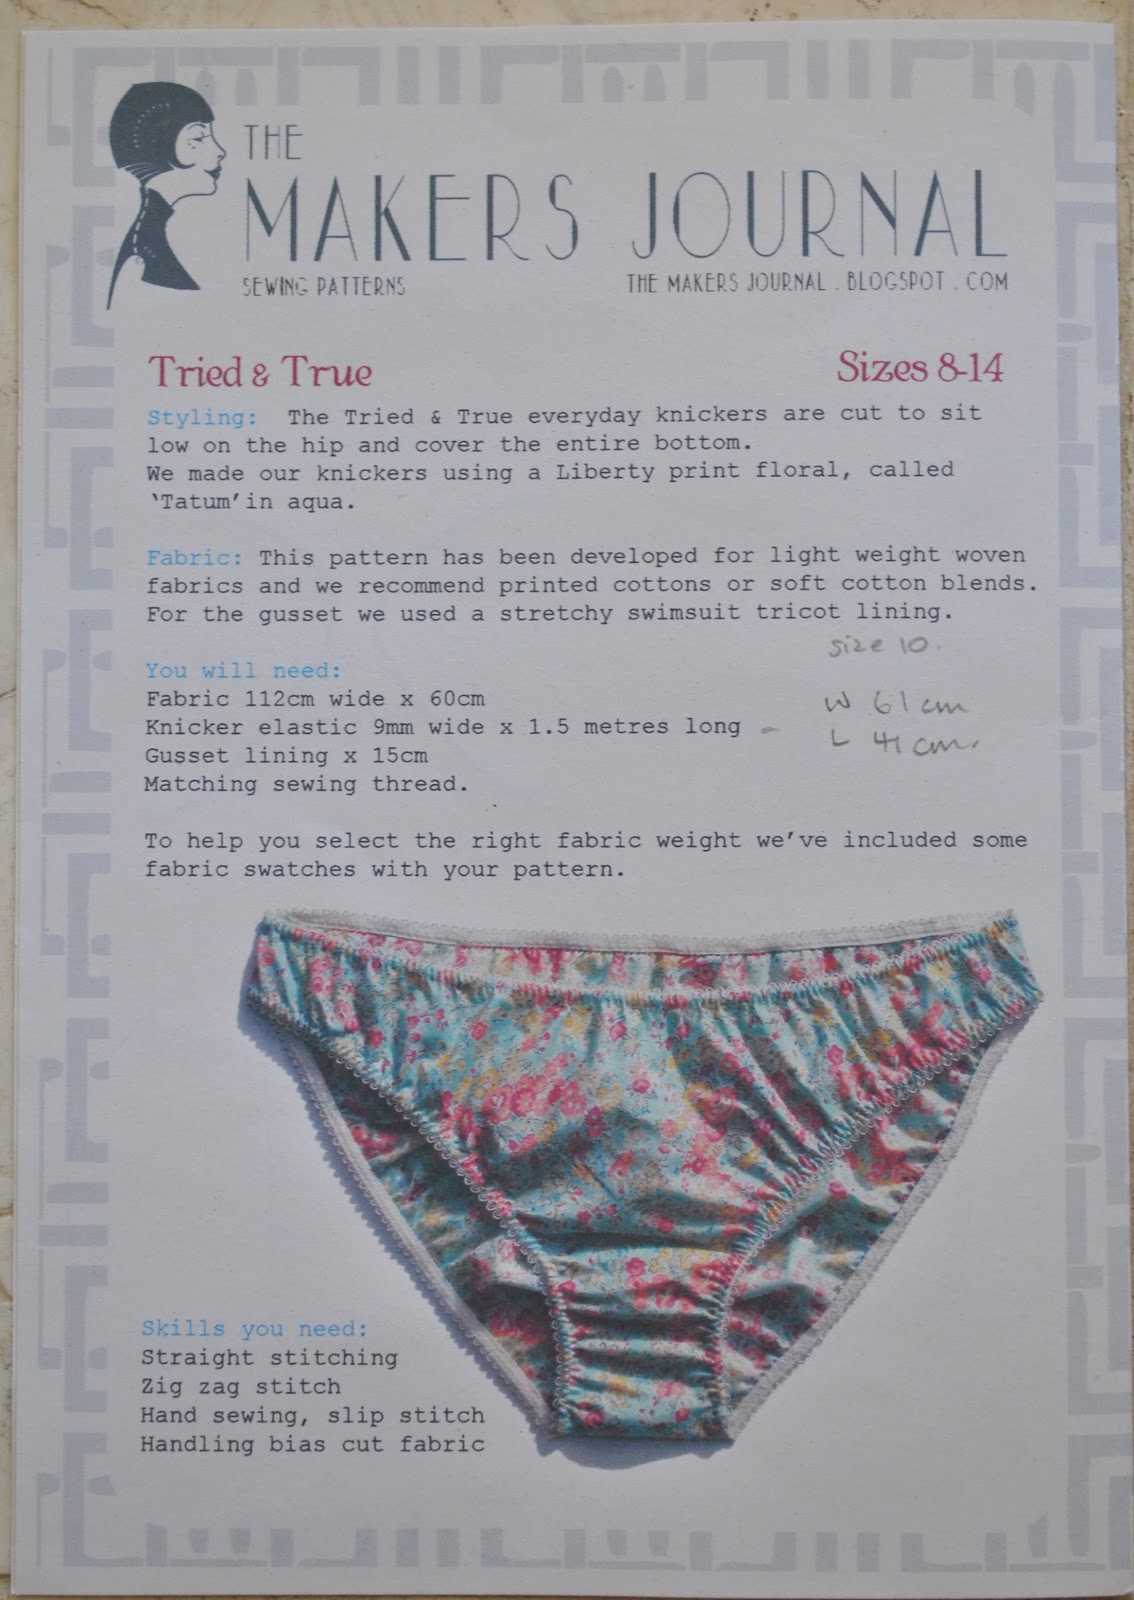
Underwear; my own design, knickers derived from the Tried & True knickers pattern by the Makers Journal, in felt made from merino fleece bought at Bilby Yarns, details here

pinterestmail

snuggly chocolate-y ensemble

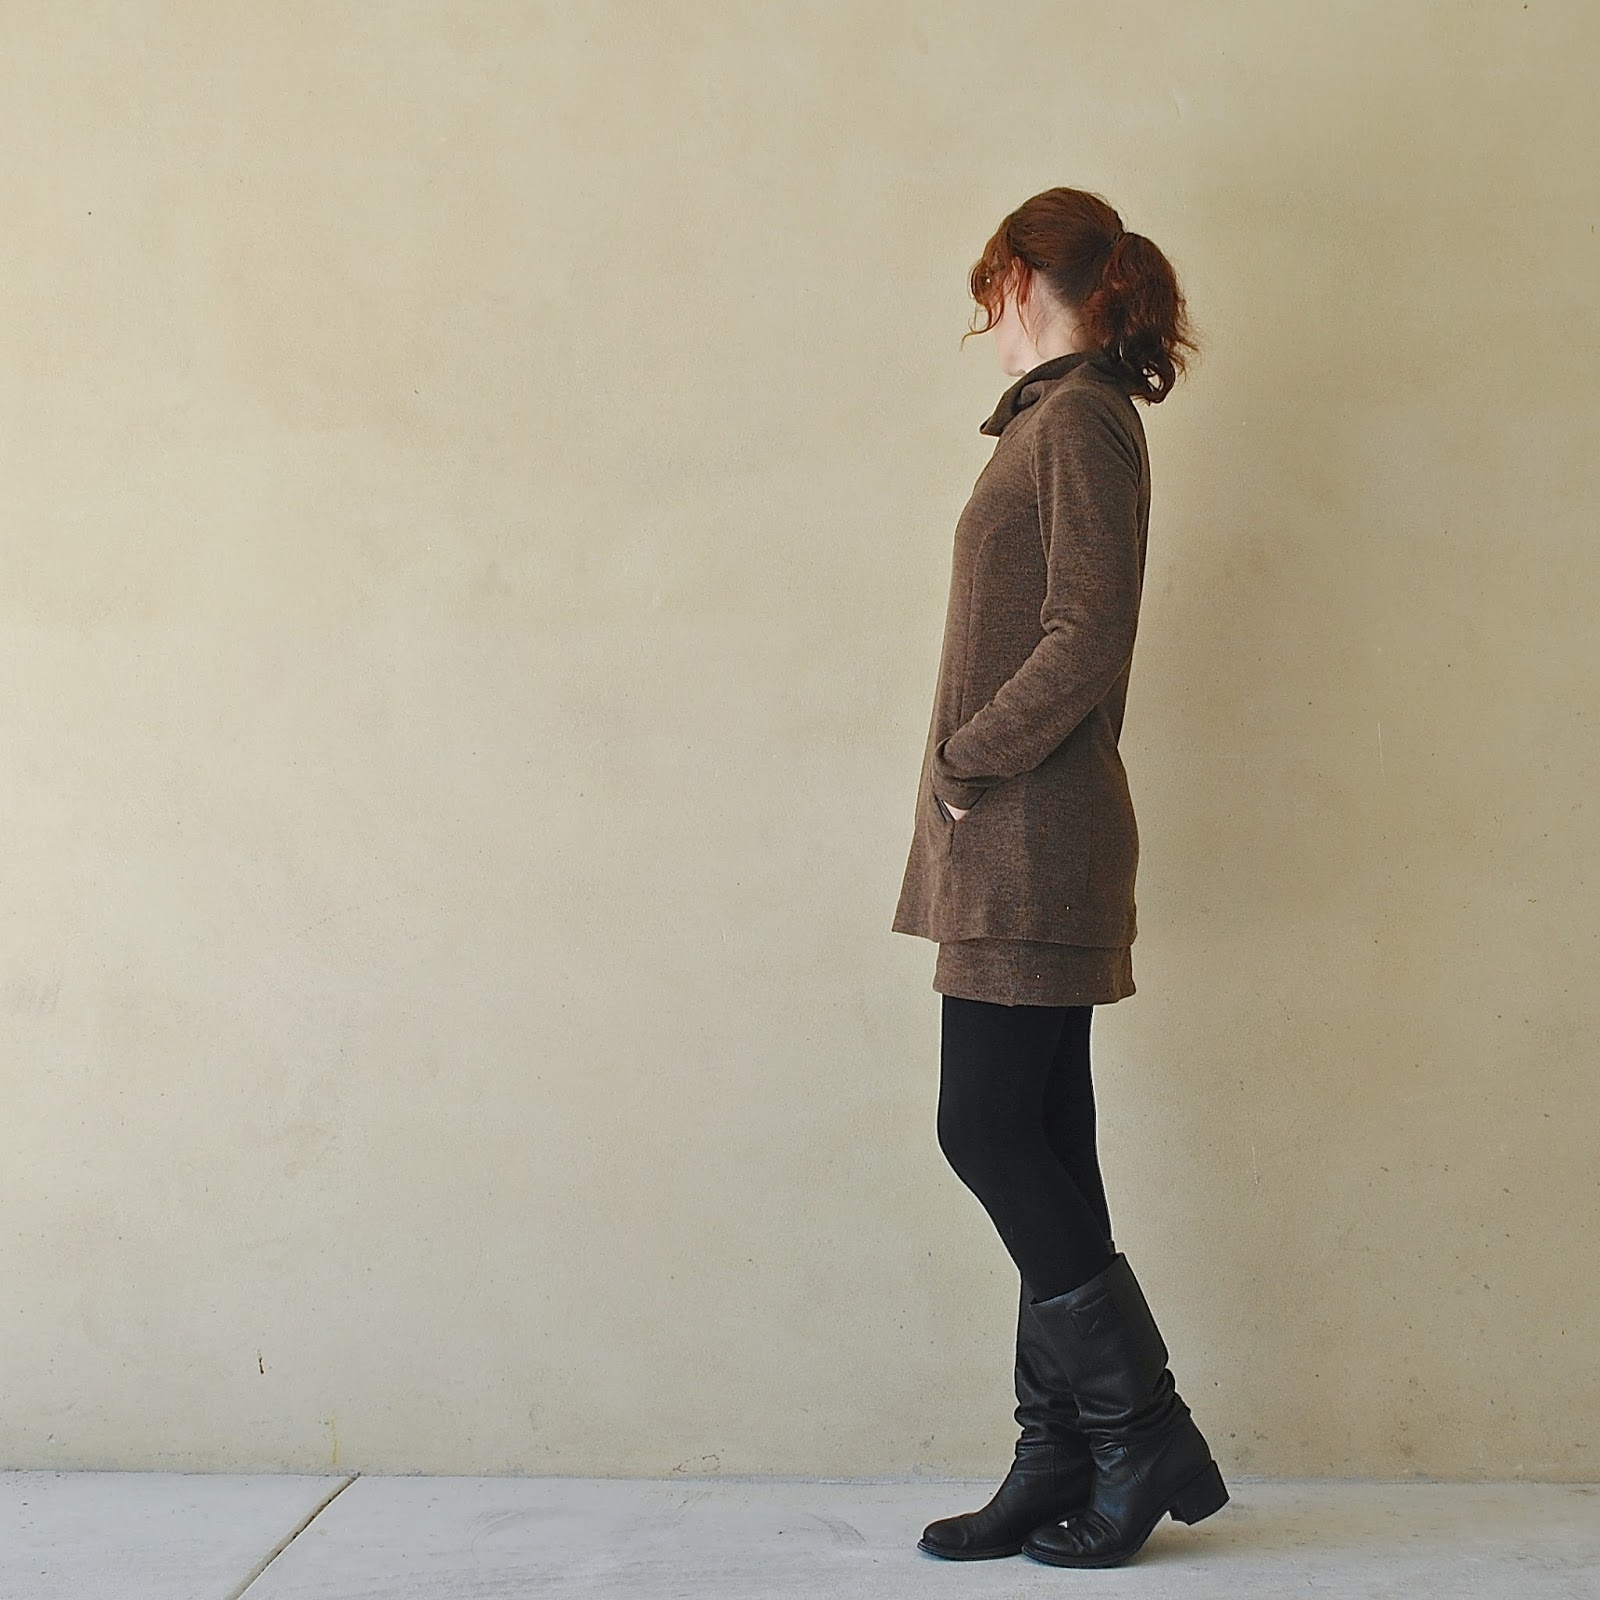
True to form, right at the beginning of spring I’ve made a rather wintery ensemble for myself.  Typical!  😀
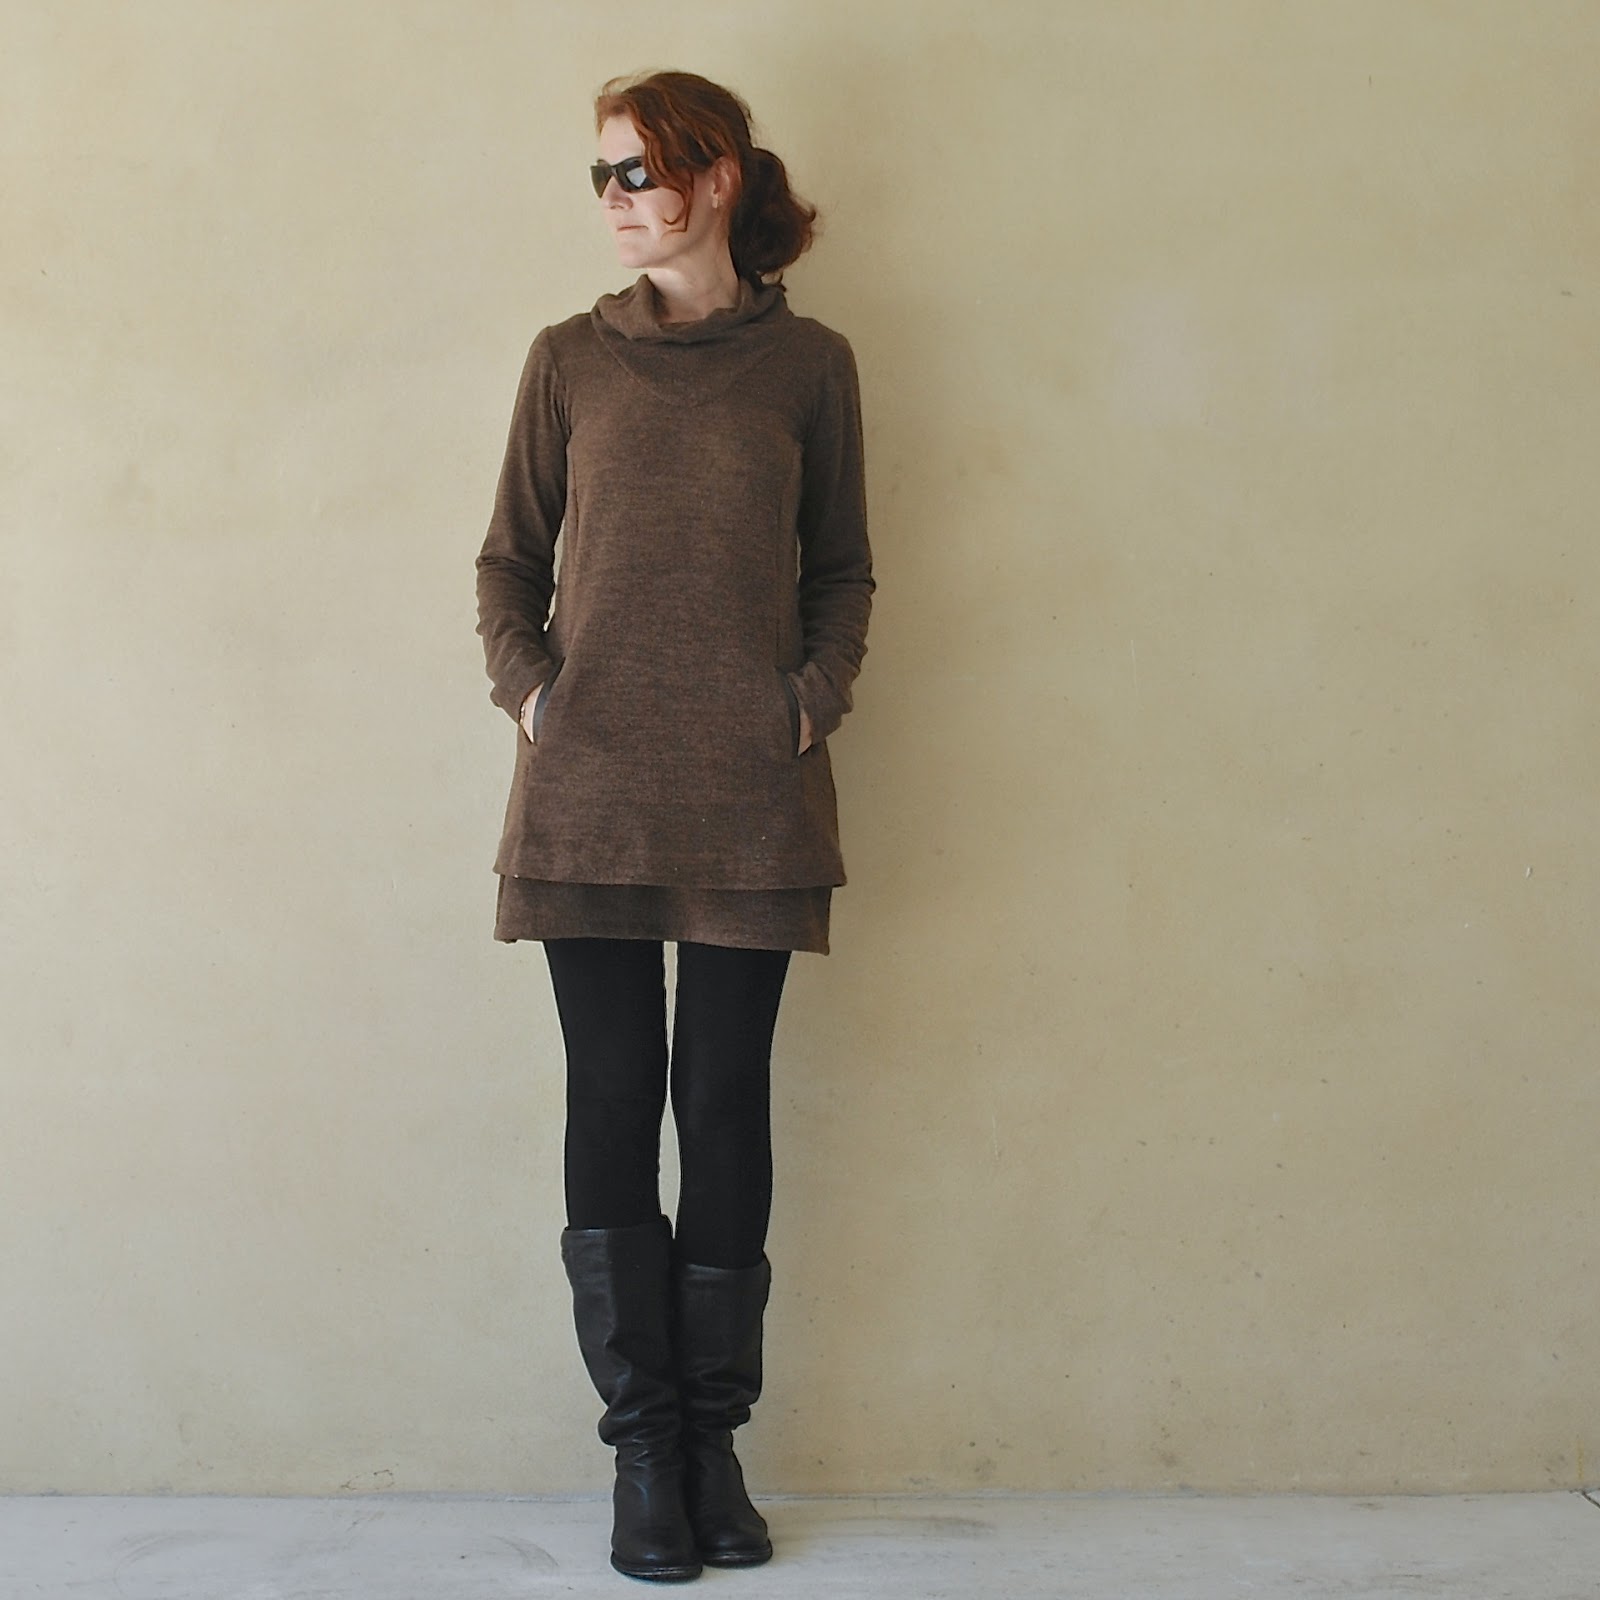
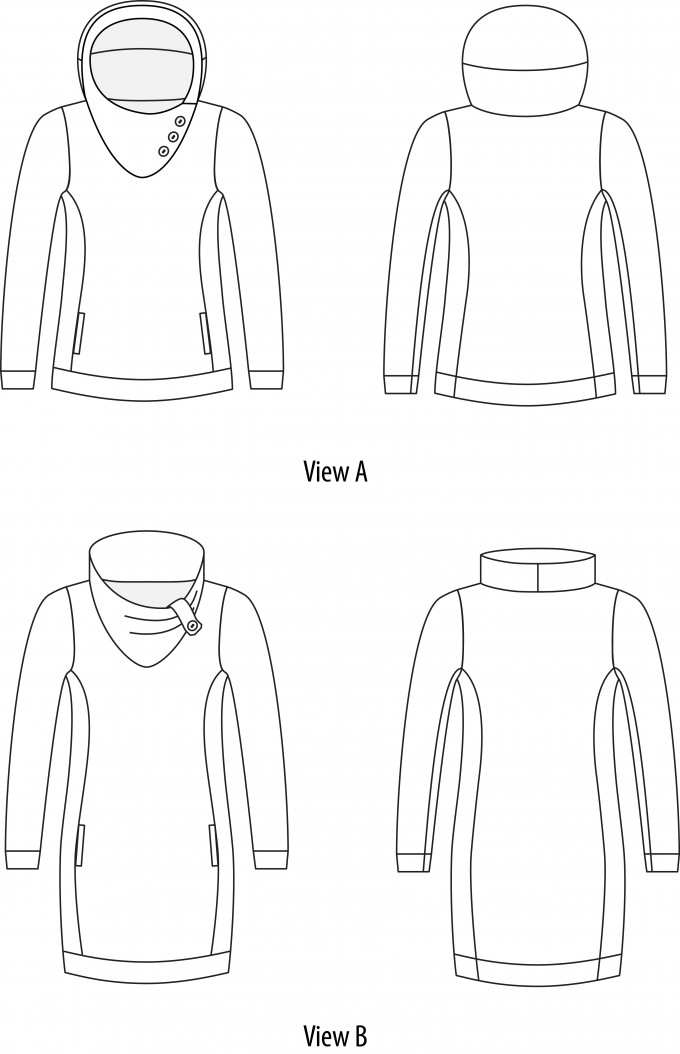
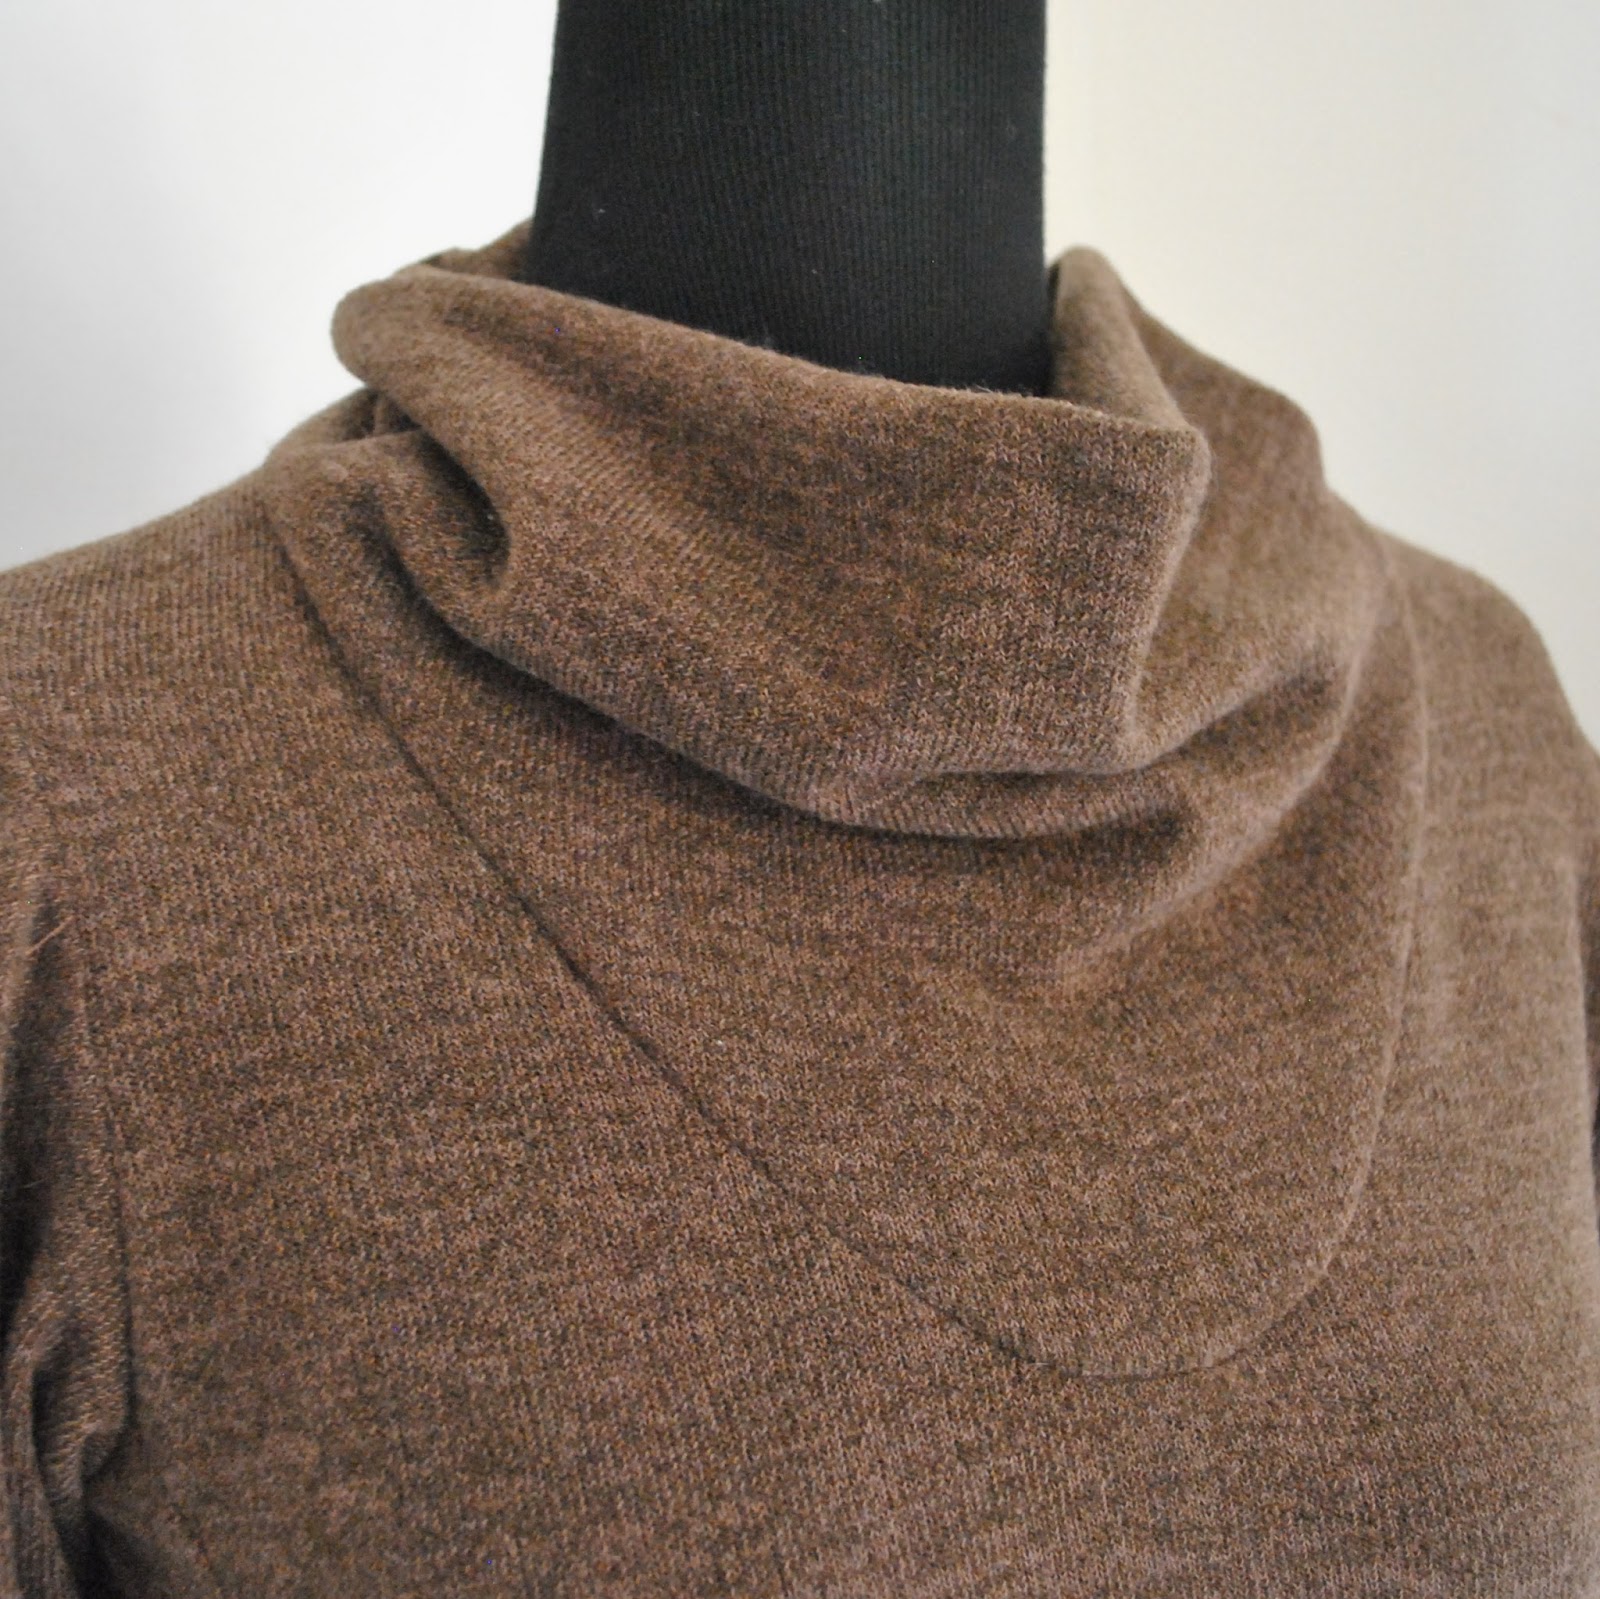
No, actually Mari from Seamster Patterns contacted me again asking me to take part in the second and last part of the SewIndependent month and as luck would have it Paprika Patterns Jasper sweater dress was one of the patterns available.  I’ve had my eye on this pattern thanks to Megan’s and Sue’s versions.  We’re all Perth girls so how fun would it be if we all met up wearing our matching Jaspers, hehe.  For my Jasper, I decided get some of this lovely chocolate-brown marled knit from KnitWit, which I have also had my eye on for some time but been unable to justify the purchase.  It’s gorgeous stuff.  Soft and springy and slightly fluffy and ever so snuggly.  With yet another little bout of luck, I discovered it was on sale for half price.  The advantages to shopping at the end of the season!  Booyeah!!  *does an almighty air fist pump, although only mentally because the lady in the store would have thought I was bonkers*
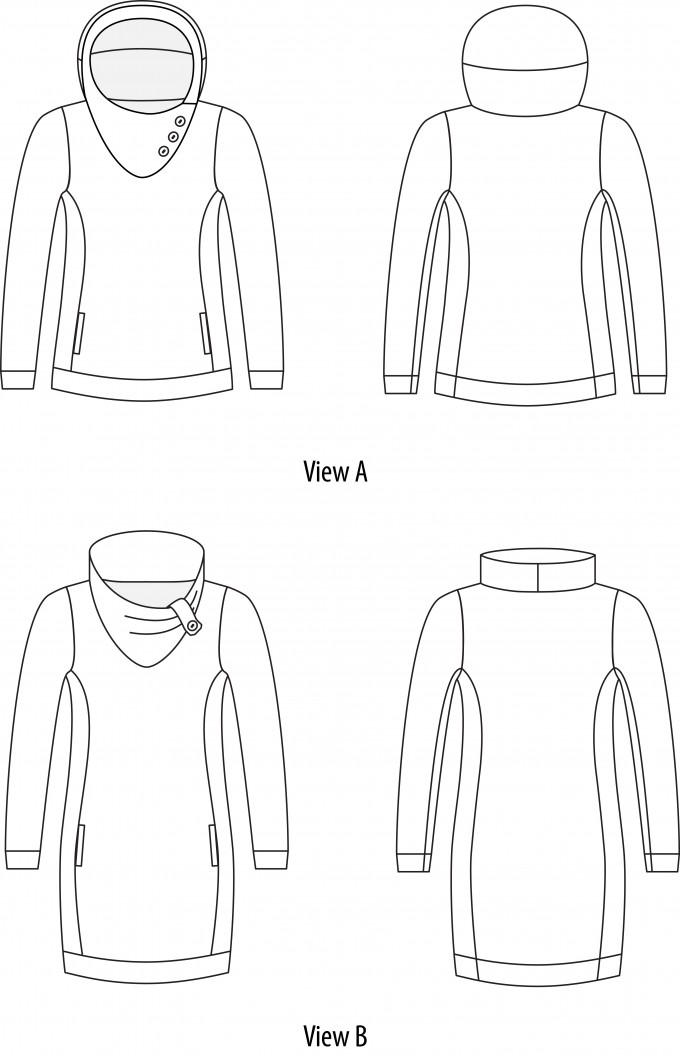
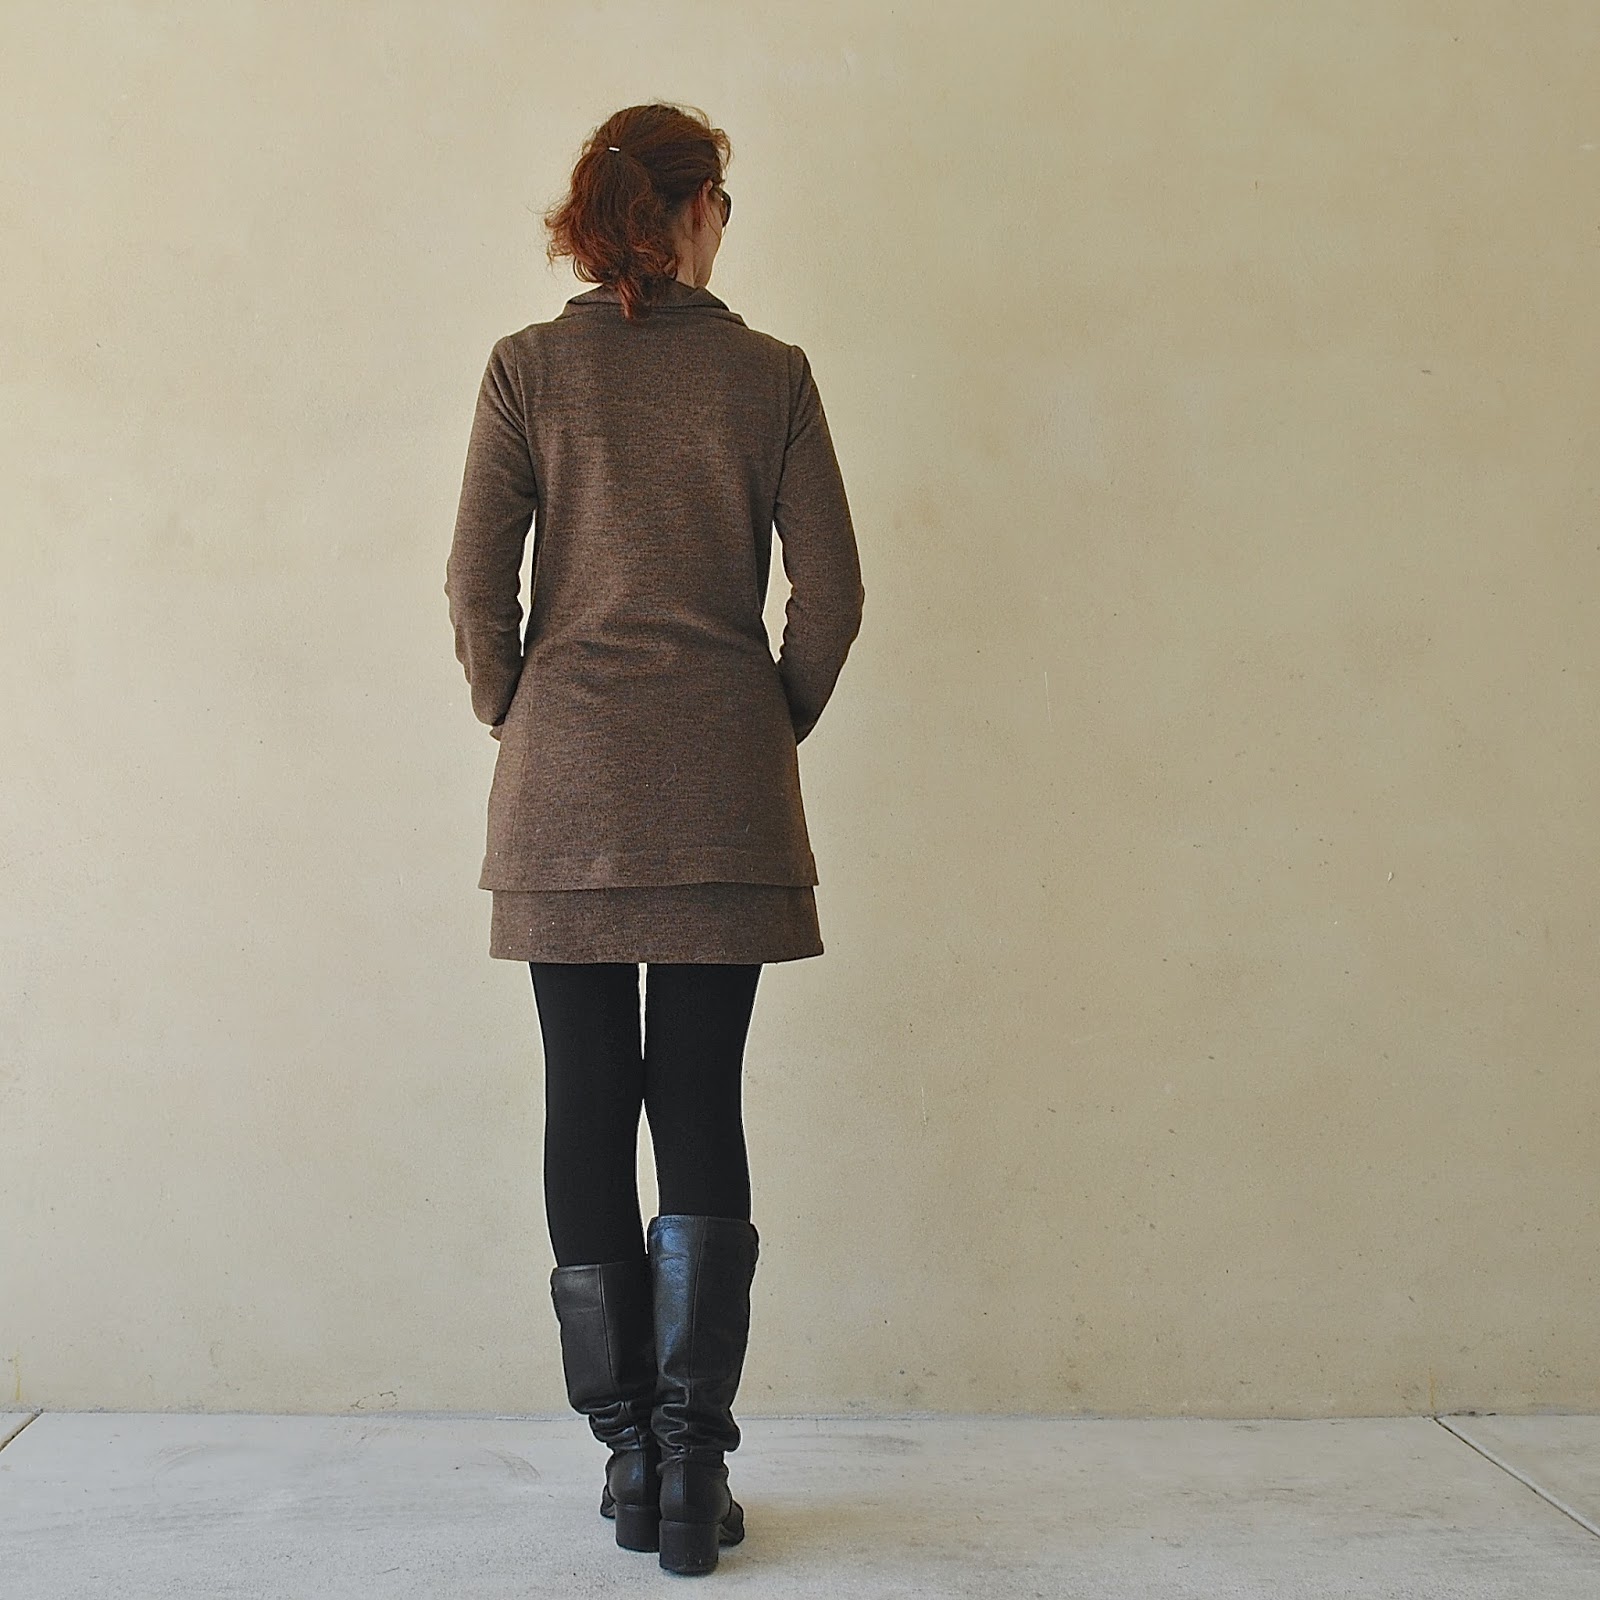
I made up the dress version with collar, and left off that buttoned placket thingie.  I was a little doubtful about how the curved-in nature of the skirt would look on my pear-shaped self, and so I cut the pegged portion edge of the pieces from hip level down to flare out straight and slightly A-line, rather than curving inwards.  I think this silhouette is far far better on me.  

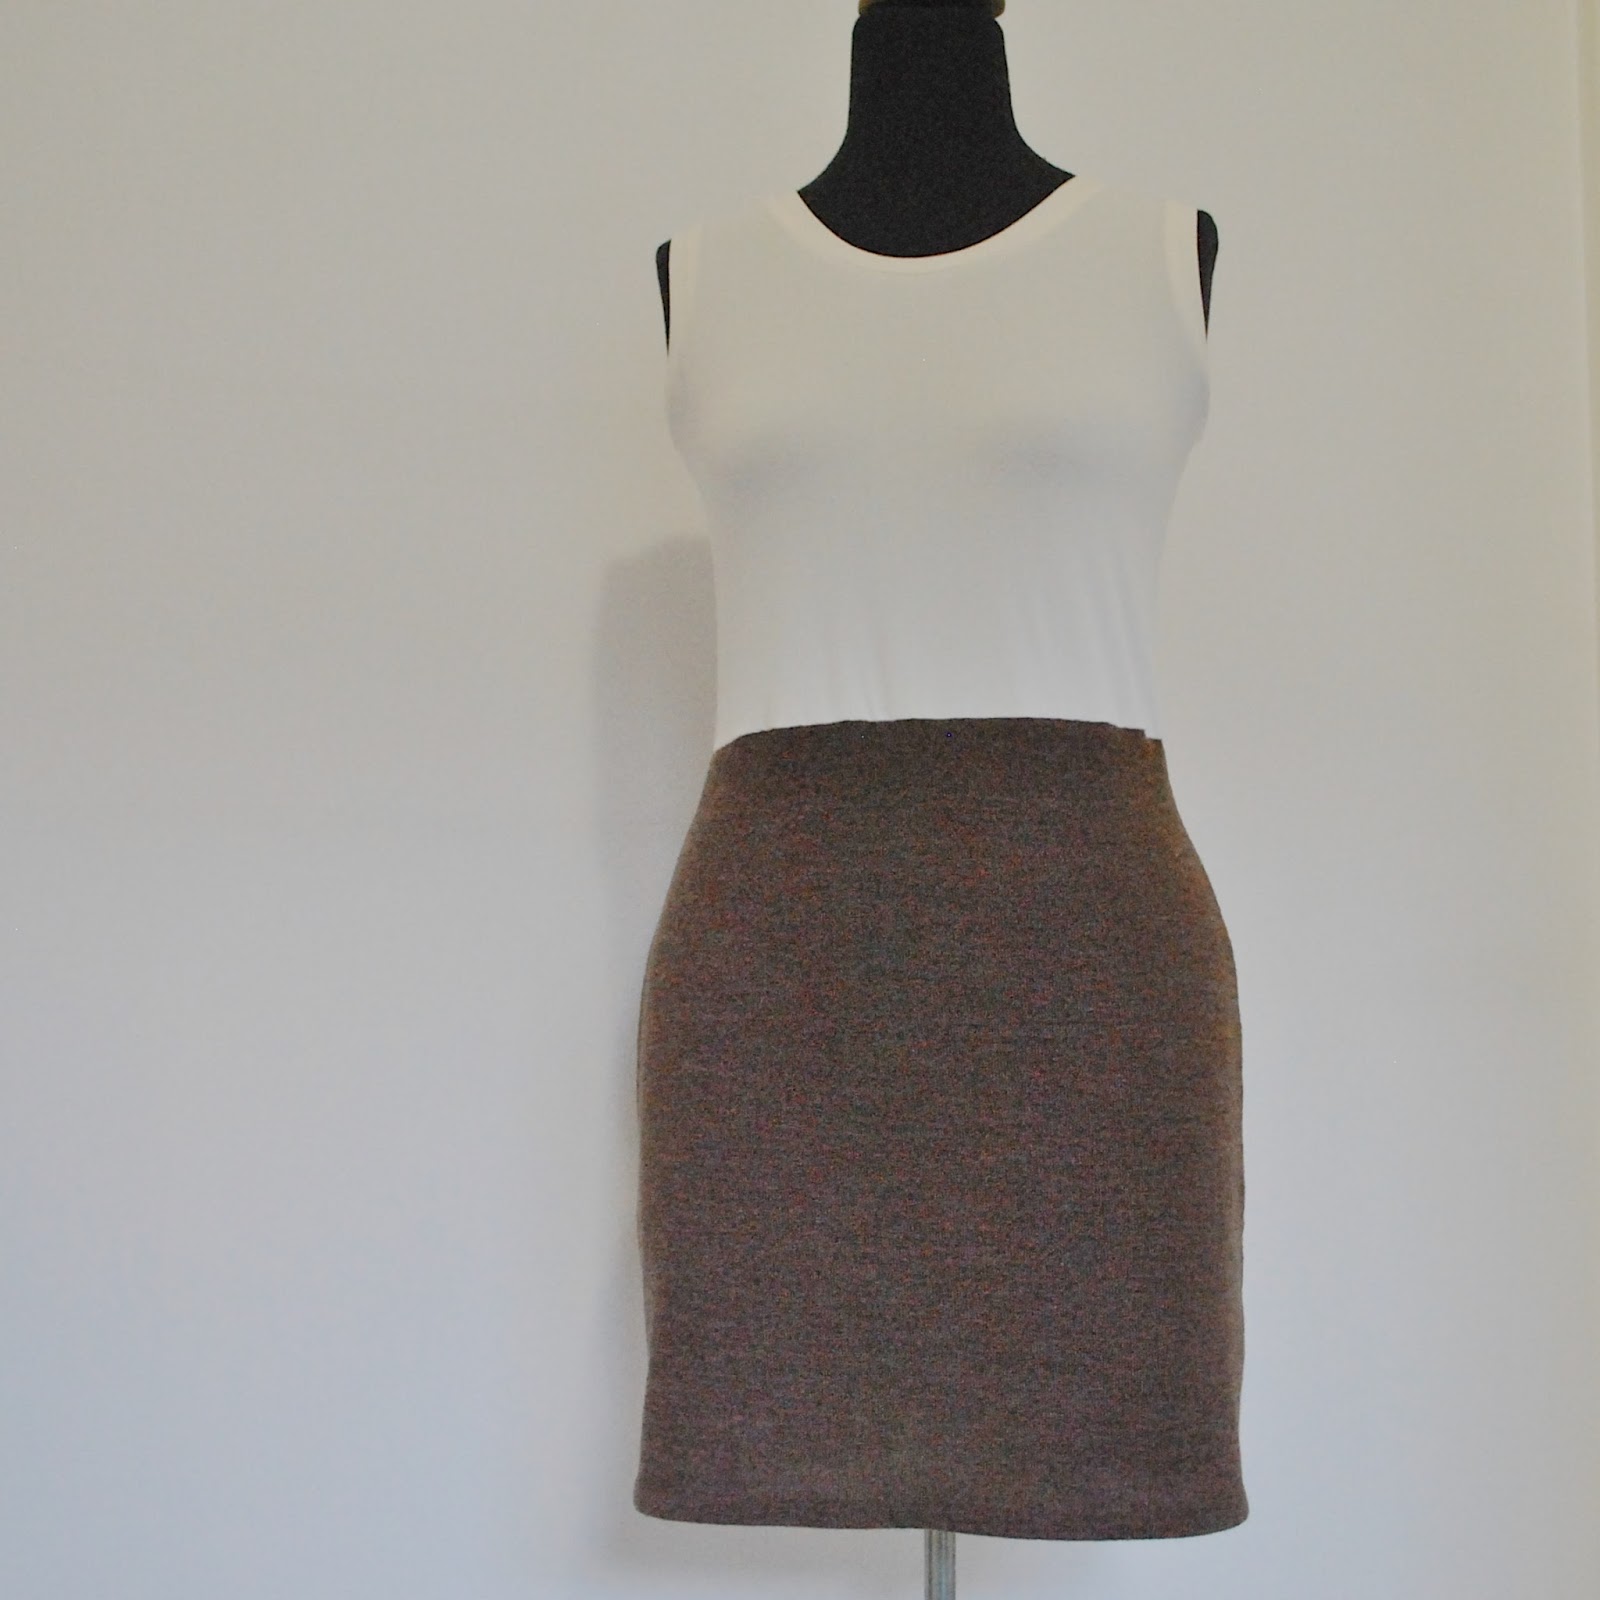
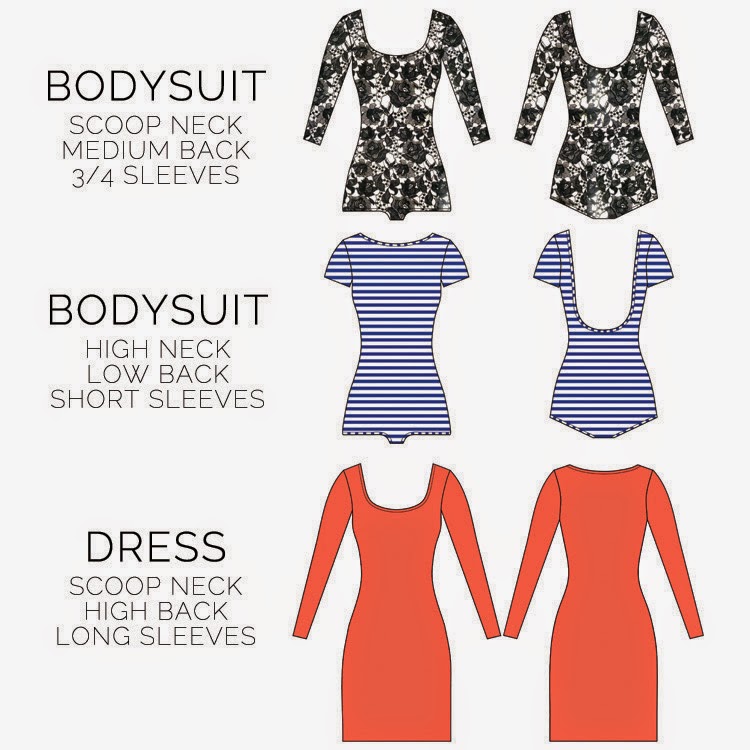
I also left off the lower band and simply hand-hemmed the lower edge instead… this gave me a little fabric leftover, and so I decided to use this to make a kind of mini-slip to wear underneath the dress, so it’s like a set.  My “slip” is the simplest affair; comprising a “skirt” cut from the chocolate brown knit attached to a “singlet” cut from cream-coloured poly stretch knit.  I vaguely used the Nettie bodysuit pattern for this bit; cutting it wider and looser, the armholes quite a bit deeper and wider, and gave a random mid-point scoop to the neckline, to get more of a singlet shape at the top.  I finished the armhole and neckline edges using a self-fabric band and hand-hemmed the lower edge of the skirt.

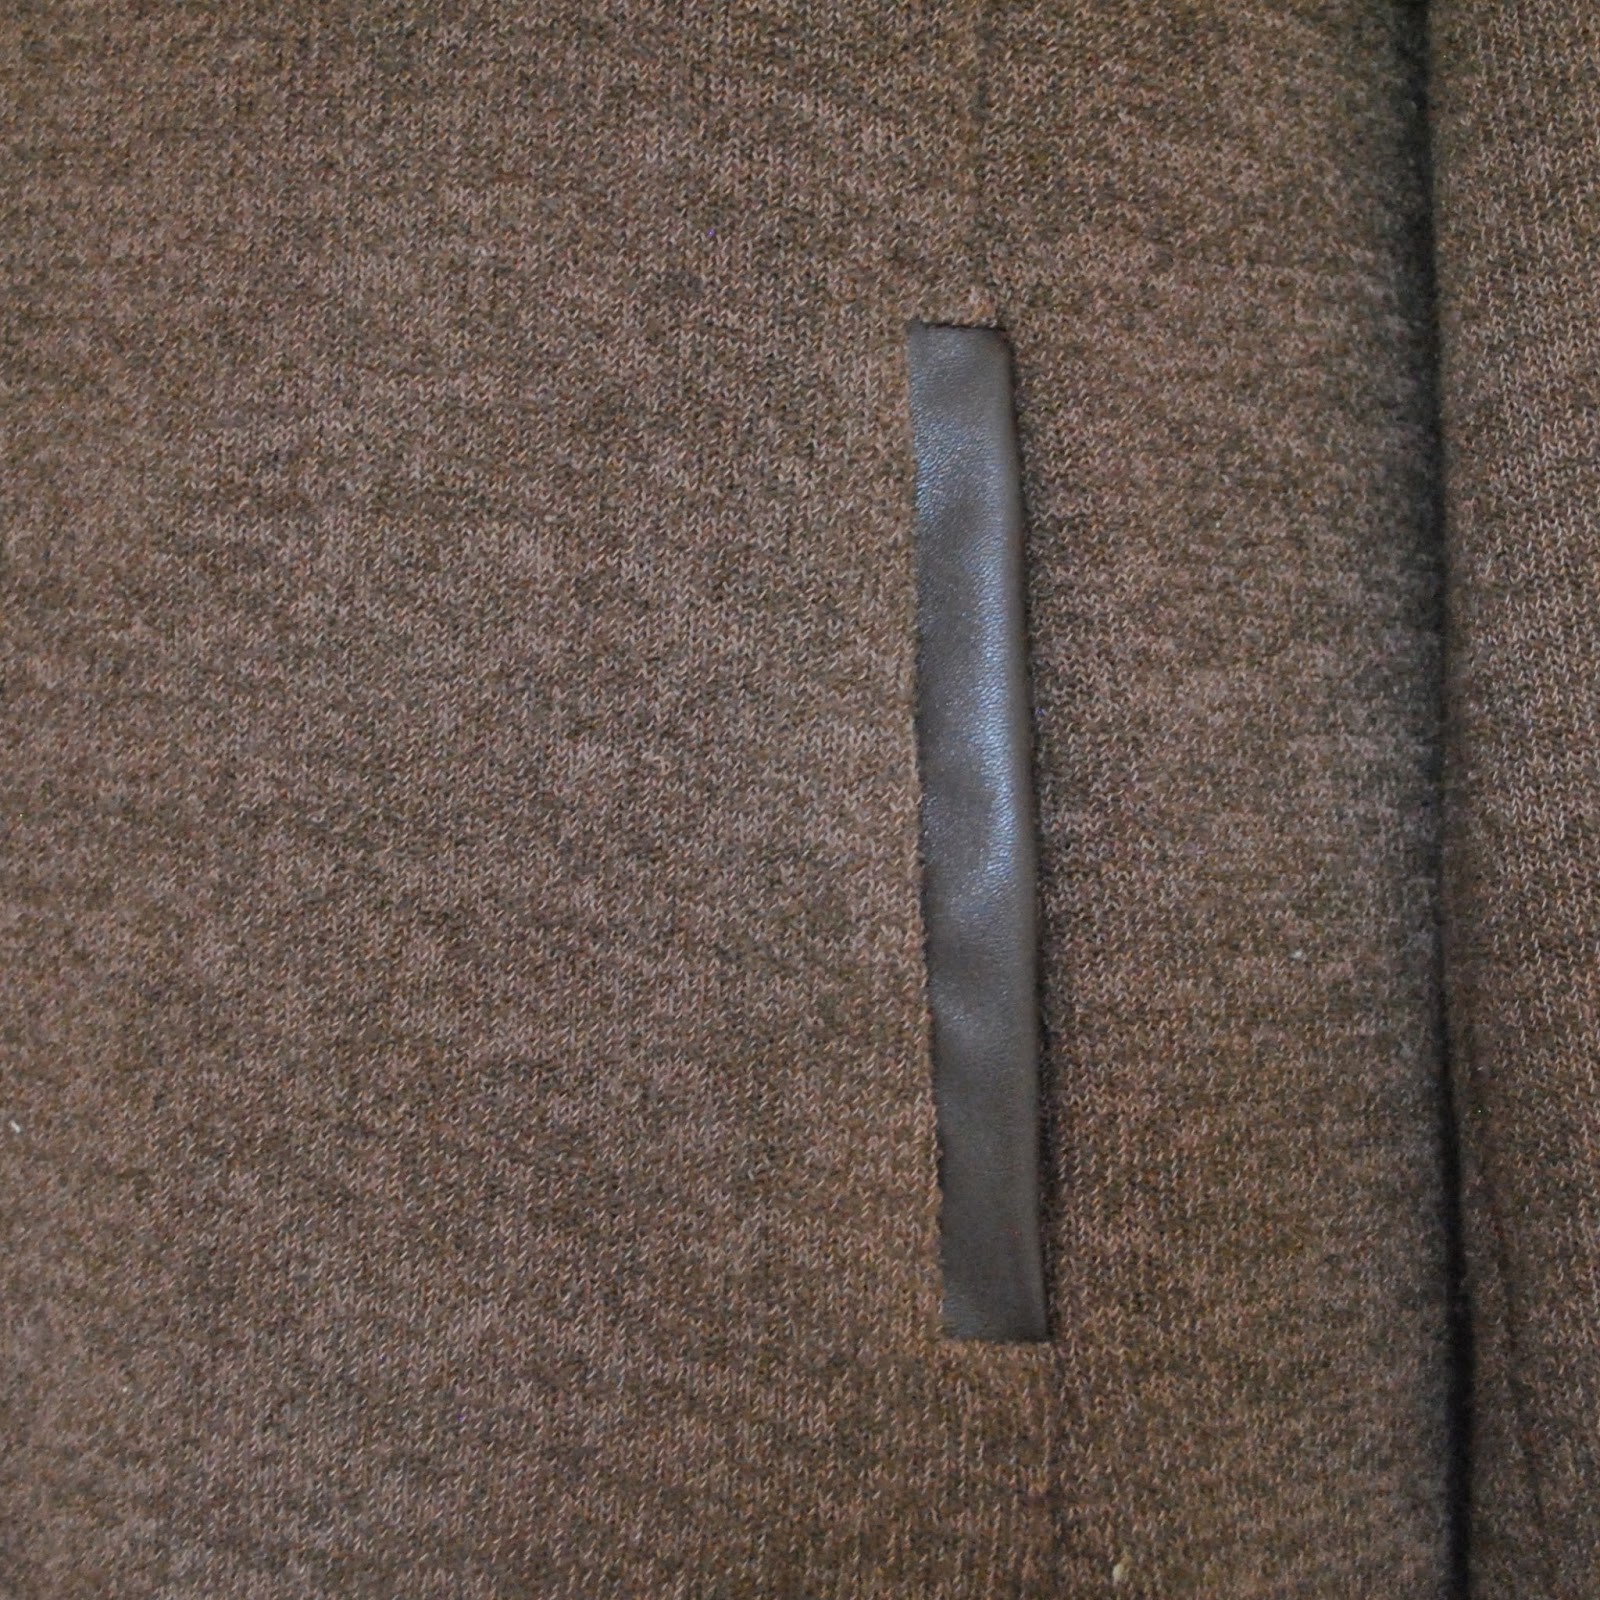
I originally had high-flown ideas of adding a few faux leather details to my ensemble, thanks to a quiet ongoing little love affair with pleather detailing; and so I did the tunic welt pockets in pleather.  Also partly for the extra stability it lends to the welt.  I think they turned out rather well, and aesthetically I LOVE how the shiny smooth pleather contrasts against the fluffy softness of the knit.  

To visually tie the two pieces together, I then proceeded to finish the lower edge of the slip skirt with pleather binding.  I cannot stress enough how hideous this turned out; the pleather was so stiff and structural compared to my soft and super-flowy chocolate knit that it made the hem of the skirt flare stiffly and super-duper-unattractively.  No sooner had I finished it, put it on and laid eyes on it in the mirror than I seized the scissors and cut that bit off; ahem, taking absolutely no pictures to assault the eyes.  Trust me, it was just too awful for words.  So now, the welts are the only lonely bit of pleather appearing anywhere on the ensemble; nowhere else to balance it out. I’m a little disappointed, but think it doesn’t look too ridick.  Maybe a bit.  Anyway, it’s done, so yeah.  There’s no point in getting too upset after the fact.

LOVE this collar.  This colour, too.

Fortunately, I adore it and can see myself wearing it a tonne.  Besides being warm and comfortable and cuddly like wearing a blanket, it’s absolutely my winter style.  I love minis for winter, and I love loose drapey tunic tops, and double-decker love the combination of the two together.  It’s also “my” colour.  Sorry to yammer on about “my” colours, but I’m lately on a bit of a thing about autumnifying my wardrobe, colour-wise.  
Adhering dutifully but very happily to my resolution to be more mindful in my sewing  🙂

Details:
Tunic dress; the Jasper by Paprika Patterns, chocolate brown knit
Slip; Nettie bodysuit modified; chocolate brown knit and cream poly stretch knit
Tights; my own pattern, black poly stretch knit, details here It can possibly be seen from my pictures; these have HAD IT.  I’ve worn these to sags-and-bagsville and back; and desperately need new ones! but with spring here I’m trying to hold off until next year  🙂
Boots; Roberto del Carlo, from Zomp shoes

Funny coindidink; I’ve only just now realised that I mindlessly plucked the Nettie pattern out to eyeball for my slip because I already have this pattern; however it’s actually another one of the patterns on offer in sew indie month!

As mentioned, the pattern is part of the Sewing Indie month.  I received the pattern free in order to help spread the word, but chose it myself, paid for my materials, made it myself and am very happy with the pattern.  Please note that as always, there are no affiliate links on my blog and never will be.
The Paprika Patterns Jasper sweater dress, along with the Nettie bodysuit and eight other patterns, is part of the Indie pattern bundle on sale from Monday 1st September until Thursday 10th September.
As with the first pattern bundle there is a charitable component to the sale, with 20% of pattern sale proceeds to be donated to Women for Women, which helps women dealing with violence, marginalization, and poverty due to war and conflict.

My fellow seamsters participating and making their own version of the patterns are:
pinterestmail
Switch to mobile version
↓