
OK, I’ve done some pretty involved and intensive projects in my time, in fact more often than not, lately! and this one definitely ticks that box too.
Quite a few months ago, Cassie mentioned that she wanted us to go to ComicCon together this year, and furthermore, she had already chosen a good costume for me to make…

source
source
This is Queen Rutela, the queen and elder of the Zora; proud, elegant and graceful aquatic-people who reside in the Zora’s Domain in the Zelda universe. If you’ve never heard of Zora, it’s ok, that’s perfectly normal because this stuff is the very height of geekiness and so far from the mainstream it’s a little embarrassing … However! you have now! She is a rather tragic character; the story is as follows: Queen Rutela was the wife of the late King Zora and mother to Prince Ralis. During the events of Twilight Princess, Shadow Beasts invade the Zora village, so Queen immediately sent her son to Hyrule Castle for his own safety and to inform Princess Zelda of what was going on, prompting the invaders to make an example of Queen Rutela by executing her in front of her people.

I liked the idea of going as Queen Rutela for several reasons, partly because she’s a mother so I felt she was age appropriate for me, also her story moved me because it is so sad, she’s so protective of her son and so motherly, it tugged at my heartstrings a bit. But mostly, well, let’s be honest, because her attire and bearing is just so beautiful and I relished the challenge of giving a good go to making it! Also, the Zora have always been my favourite species in the Zelda universe 🙂
ANYWAY! here we go…

Firstly, the dress. More accurately it’s a 3-piece ensemble, I made an ankle length petticoat/underdress, a skirt, and a long tunic top; all using white polyester stretch stuff (some leftovers, some new, variously from Spotlight, Fabulous Fabrics). The plain, strapless, ankle-length petticoat is one I made many years ago, so long ago I’ve completely forgotten the pattern I used. I never thought I’d say that, because I tend to remember patterns FOREVER, but not this time! The skirt has the other “skirt-y” layers on an elastic waistband, and the tunic top is a drastically modified Nettie bodysuit, basically my go-to Tshirt pattern. The sleeves are in two parts, a close-fitting “under” sleeve that is wrist length, and the “over”sleeve has a very high sleeve cap and a bell-shaped bottom edge that is gathered and “pouffed” into the under sleeve, then point-stitched in place to get artistic-y folding. At the shoulder edge, the extra fabric in the sleeve caps is pulled in with three sharp darts; making a jutty-out sort of shoulder cap… that’s a technical term there, btw.

I stitched frilly “gills” to the side underbust area.
Oh! I’m getting ahead of myself… those frills were formed in the following way; I clean-cut the eyes using my rotary cutter, then holding the edge just slightly and evenly stretched out, passed it over a candle flame; which melted the edges just a little and set them in a naturally curly frill. I took a little bit of practise to get this just right, with the right degree of frill and with minimal scorching! Fortunately, those bits that looked a bit charred black just crumbled off when I rubbed them between my fingers.

Once I’d made the three parts of the dress, I shrouded Bessie in plastic and newspaper, dressed her, masked off the bits that I wanted to remain white, and sprayed the skirt, then the top utra-carefully and judiciously with poppy red enamel spray paint (Bunnings)

The colour is a little brighter than ideal, I really really wanted a warm, dusky coral pink, but with spray paint you’re unfortunately stuck with whatever is in the VERY limited pre-mixed range… 🙁 /

Spraying was pretty scary, my application isn’t perfect, and there is a blotch on the R shoulder that is a bit heavy and which was pretty devastating for a while, but I had no choice really but to accept what I’d done. As it turned out I shouldn’t have worried too much because you couldn’t even see the blob once my headpiece was on!


Next, the fin/wings… I cut four-layers in light grey polyester organza, and simply stitched all layers together by skinny zig-zagging around all edges, and slip-stitched it in places to the top of the sleeves.

Next, the jewellery; and this bit was lots of fun! It’s a long time since I’ve played about with jewellry-making and I really enjoyed it 🙂 I used Super Sculpey modelling clay, jewellery wire and gold metallic acrylic paint (Spotlight) and some really lovely turquoise glass jewels (Fabulous Fabrics), and baked my pendants in the oven before painting them, and stringing them together. It’s hard to see the exact details of the Queen’s jewels in the short footage of her that there is, and what’s more, the details seem to vary from picture to picture, so I took a little creative license and designed my own, closely inspired by what I knew of the Zora style, and the arrangement that I could see from the footage.

The body-lace fastens at the small of my back; the necklace is supposed to sit out very wide on her shoulders, and I managed to get this look by stitching rings halfway along my shoulder, and the necklace clips onto these, wide on each shoulder. I also made a “beaten gold” collar/choker from interfaced gold metallic jersey (Spotlight), hand stitched radiating lines over it, and stitched the last pendant to it, then stitched white vinyl “petals” (Clark Rubber) around the lower edge. This closes by press studs at the back.

Headpiece: it’s simply a long tail in the same polyester stretch, stuffed with Hobby Fill (Spotlight). I inserted fins of fabric-covered cereal-box cardboard into the side seams, and I took the precaution of spray-painting the cardboard ivory first because the polyester is kinda see-through, and stitched it to the rim of a red swimming cap, also catching into the stitching a white plastic face-mask (Spotlight)

Now for the hair! This took quite a bit of nutting out…. I’d stretched the bathing cap/head-tail/face mask contraption to Mr ‘Ed, my foam head, above.

For the hair I used skinny foam noodle (Clark Rubber) and stitched the top bit of the hair through all layers. This stuff is pretty bouncy with a mind of its own, but I damn well forced that sucker to be what I wanted it to be with firm and masterful stitching to get the folded part/hair at the centre top. Take that, foam noodle!! BOW TO MY WILL…

The blonde “coral” hair was easier and actually lots of fun, like being in kindergarten again… I snipped it into lengths, and painted the bits with various mixed shades of pale yellow, shaded with addition of lilac and metallic gold. I wanted the hair to be in shades because we all know a flat colour just looks fake and, well, flat, any painted thing always looks so much more vibrant and real and rich when it has several different shades in it. Going to this much effort sounds complicated and maybe even unnecessarily involved, but I whizzed through making the hair, loving every paint stroke. I strung them on yellow thread and stitched them to the cap through all layers, and painted part of the top layer of hair in the same way. There is 35m of noodle in this thing… I can hardly believe that myself but yes, really!
One “strand” came off while I was pulling the thing onto my head, aaaaagh NOOOOOO! which was a bit of a worry, obviously! but I had plenty of “hair” and luckily every other bit stayed put.

The final step was to spray-paint the top side of the head-tail with the same poppy-red spray paint. Scary!! but I was super SUPER careful… On another note, this picture below gave me a laugh! the head looks hideous, the stuff of nightmares!!! Zoe “looks” terrified but of course she wasn’t… she’s knows what’s real and what’s not. Even on Saturday morning when I emerged from the bedroom in full costume plus makeup, all the cats just looked at me, maybe a bit quizzically! but they still knew it was me.

Oh, wait… doing the make-up was the final step, of course! I painted white dots around her brow line, just like in my inspiration pic, and then trimmed away the mask. Cassie suggested a strip of Hollywood tape on my nose, which helped keep the nose piece firmly in place throughout the day. Also, with amazing luck, Priceline had a 40% off all makeup sale in the days beforehand so I got some white translucent face-powder and rather horrible bright red rouge-y stuff for the matching poppy-red circles under my eyes and lips.


The photo at the top is my first attempt to photoshop myself into a fake background! pretty good, huh?! this actually took me aaaaaaages… hehe, #photoshopnoob Well, I felt like Queen Rutela just HAD to appear in Zora’s Domain or it would be, well, you know, just like an unfinished and half-done effort, so I decided I just had to do it!
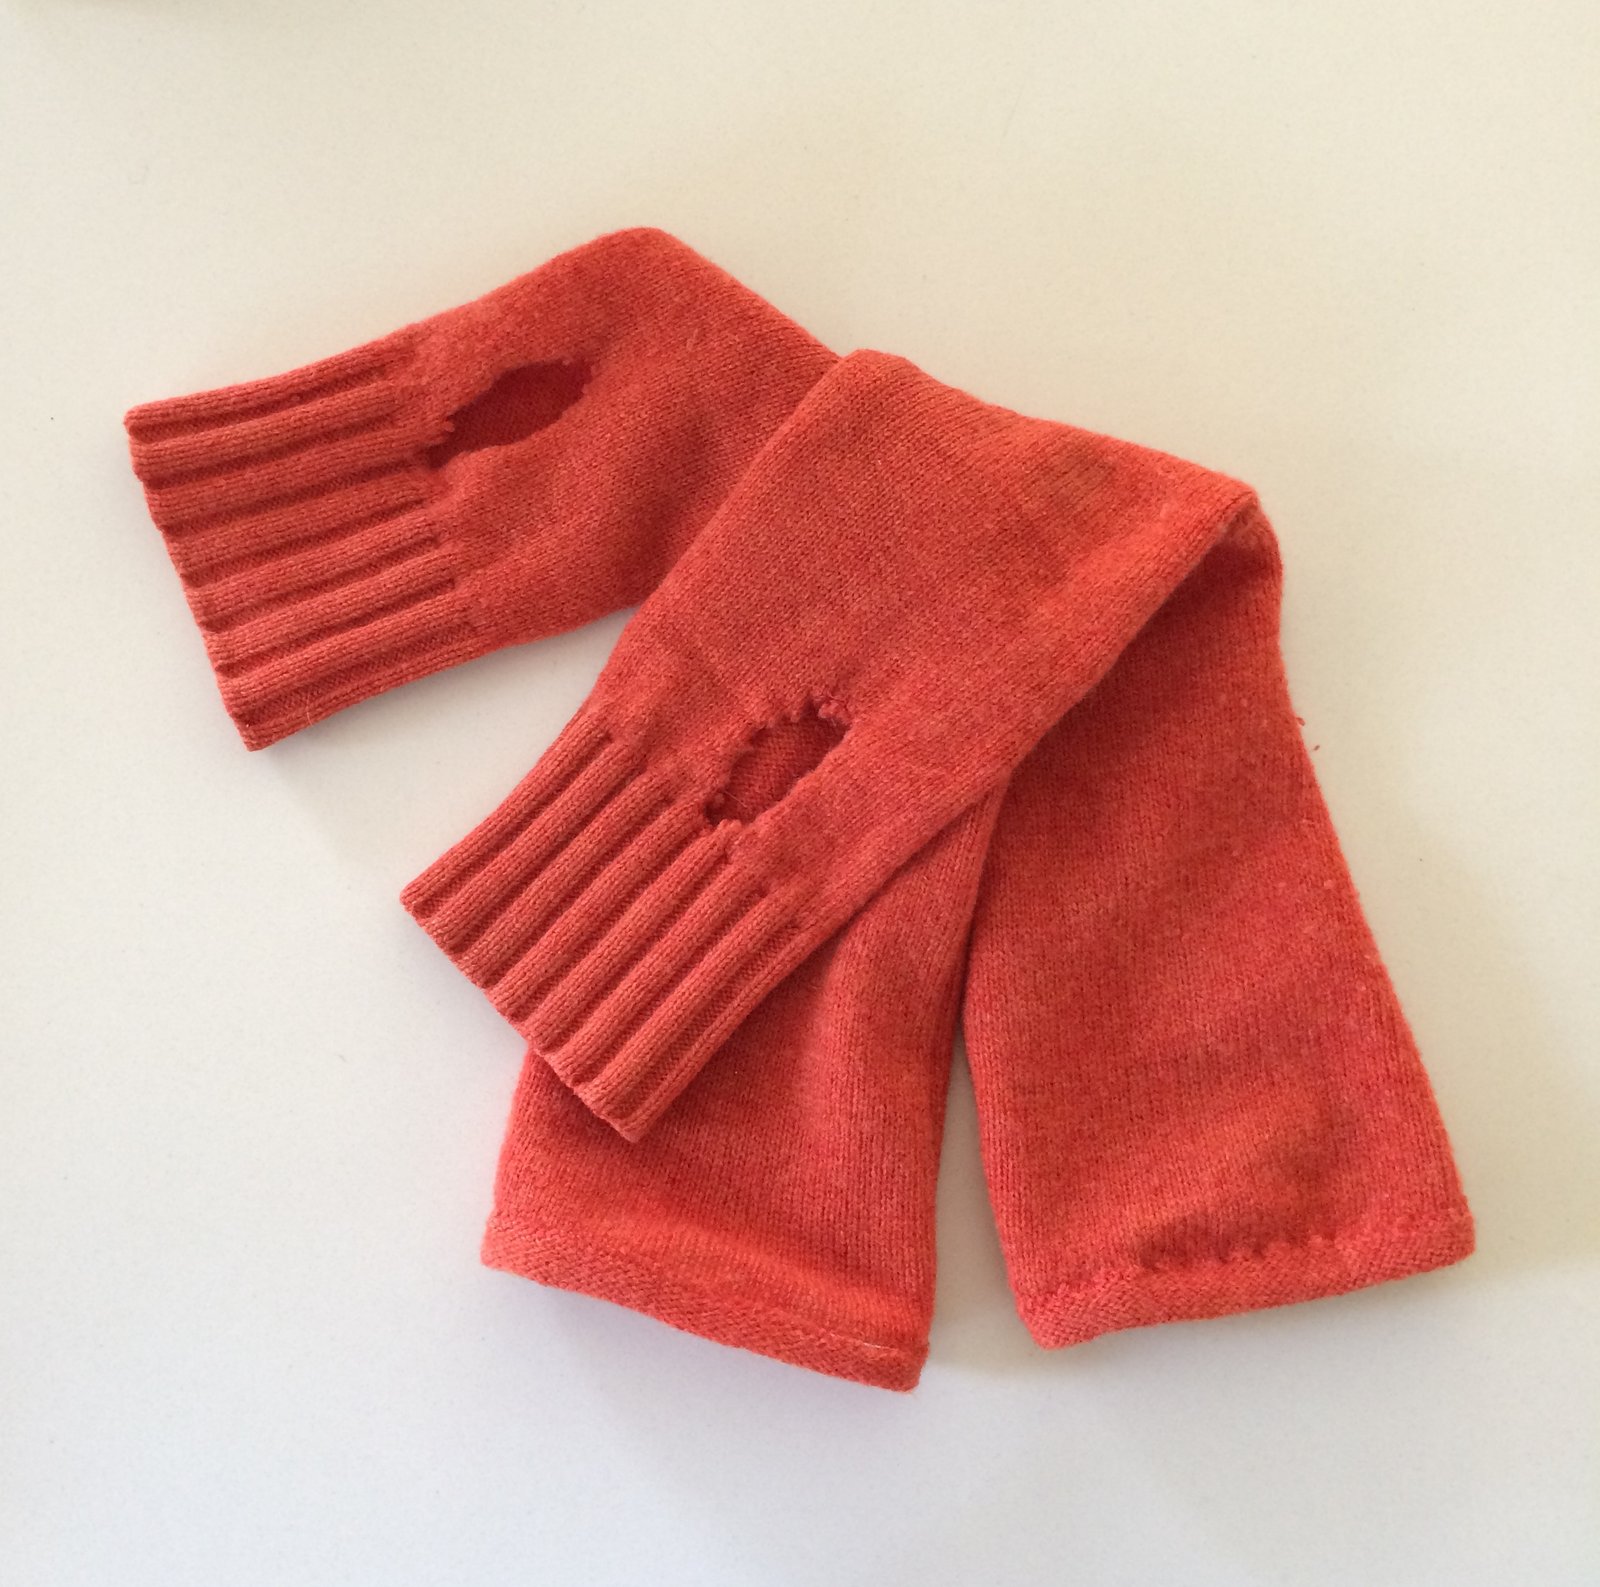
 I didn’t get any photos of me actually at ComicCon in Perth unfortunately; we were just having way too much fun! plus my gloves made it impossible for me to operate my phone! However about a million people asked to take my picture, which is not as weird as it sounds, it’s just the done thing at ComicCon when you dress up; everyone does it! Also it was highly gratifying when people recognised my character, totally made my day!!! Every now and then I would hear a call; “Queen Rutela!!!!!” which was really nice!


 I cut the neckline and all pieces as is, and diddled about with the lengths to get the look I wanted… as follows:


 Self-explanatory, really. #endblogpost 😉
 Pattern; Vogue 1384. It’s a vintage pattern, hailing from 1984, sorry. Yeah, it’s annoying when people make things in vintage patterns that you can’t get a hold of anymore. But I’m sure this is not particularly aspirational actually, it’s a little weird in that 80’s way. That high, slightly floppy collar combined with a billowing pirate-y blousiness is giving me serious


 Then I vaguely thought maybe a navy blue skirt would make it a nicely complete set, and she desperately needs skirts for work too … and lo and behold what should be lounging languidly about in the very next aisle but this teal blue suedette, which is a PERFECT colour match for the rooves. BAM! DECISION MADE. Lugged them both to the counter without a second thought, brought them home, tossed into the washing machine.
 The suedette “looks” nice and perfectly suede-y, but it frays like billy-o. I finished all the raw edges on the overlocker, and the lower hem with a bias cut binding cut from a scrap of purple/blue micro fibre.
  The Tshirt is made up just like the pattern, except for the neckline… I’m lazy with my Inari necklines and have pretty much finished them all off like this! Just overlocked the raw edge, turned it under and topstitched from the right side. Since it’s quite a wide neckline and doesn’t stretch out when you put the Tshirt on and take it off, the stitches won’t snap and this kind of finish works perfectly well.
 The lower hem is finished with my twin needle. Lisa asked about channelling with a twin needle.. all I can say is that I’ve never had channelling and what’s more I have no idea how I’ve avoided it so far either!! Only thing I can think of: I always finish the raw edge on my overlocker, then topstitch with the twin needle, and that’s it! Maybe the overlocked edge stabilises the fabric and that’s what stops a channel forming? That’s the only reason I can think of anyway. 🙂


 7
7 Funny story; I made this nearly two months ago… and risked
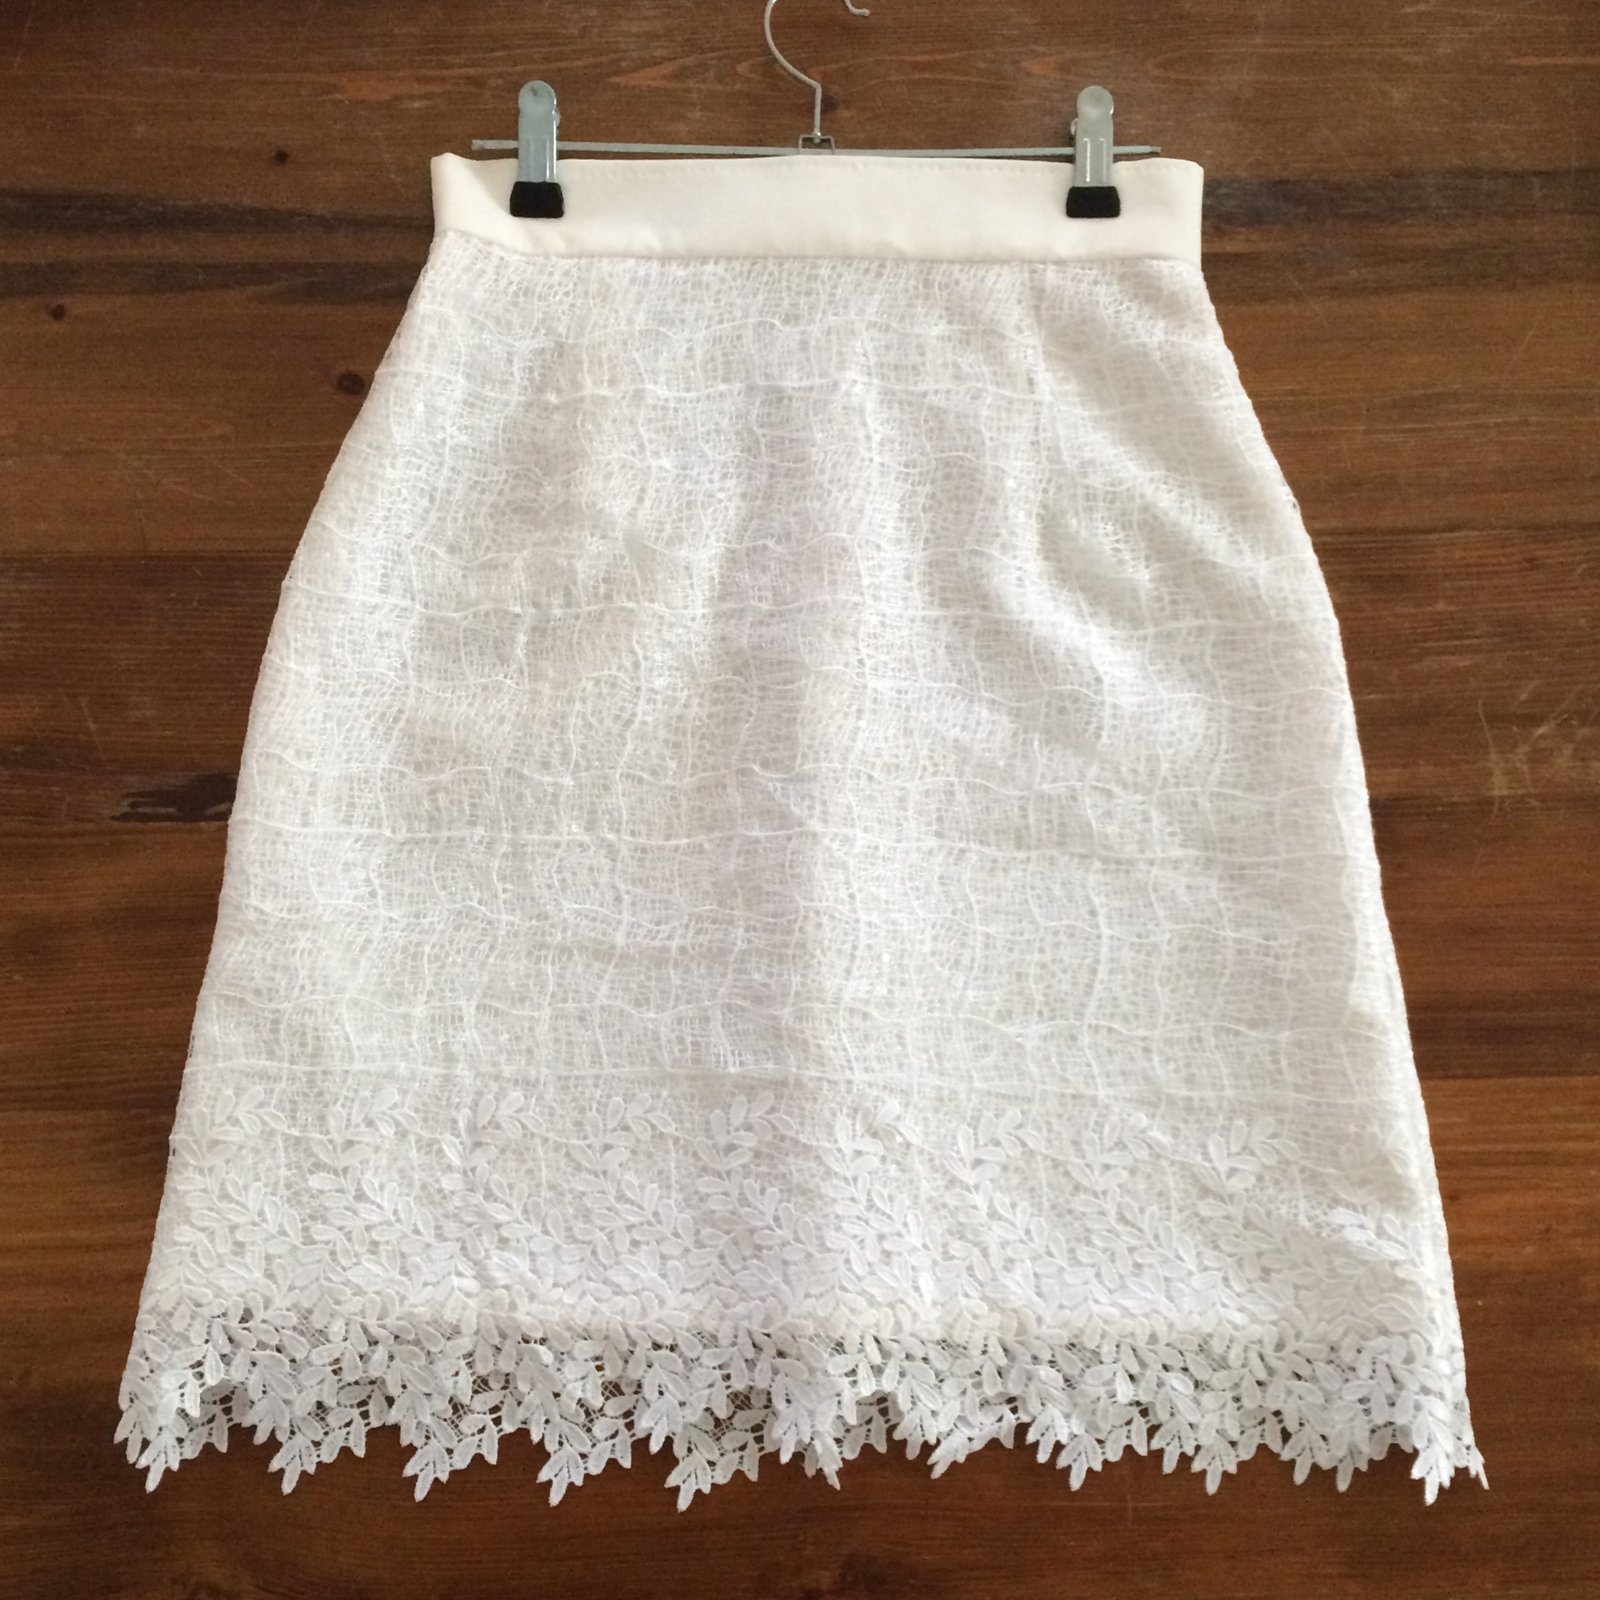


 Pride of place of course goes to Mum’s skirt…
  a fully hand-embroidered and hand stitched Alabama Chanin skirt; with embroidery in the reverse appliqué method, and using the four panelled, mid length skirt pattern from the book Alabama Studio Sewing + Design by Natalie Chanin. The cotton jersey fabrics were originally white and Mum dyed them herself in two different shades of grey and blue. Mum traced and cut the stencil design June’s Spring from p116 in the book herself, enlarging by 300% as recommended, (
 When snipping out the motifs she carefully left a very narrow border of the cream stencil round each one.


 A month or so ago Mum mentioned how she specifically wanted an unobtrusive, very plain white top to wear with this skirt so I offered to run one up for her… I chose the Esme top pattern from Lotta Jansdotter’s book Everyday Style and a slubby plain white cotton from Fabulous Fabrics. I measured Mum all over, secretly storing the measurements away for future use, mwahahaha… no one gets away from the handmade in my family!! and drew the pattern so as to custom fit it or Mum’s measurements. Instead of the neckline facings I finished the neckline with a bias cut strip, because I think it’s a much nicer and neater finish for a neckline edge. Mum wants to know how to do this herself so I’ve promised to write a tutorial sometime.


 Firstly, two sage green/pale coffee, checked tweed skirts. I inherited this beautiful quality piece of wool tweed from my grandmother’s stash after she passed away. Although I earmarked it straight away as two skirts for Cassie and myself I just hadn’t got around to it and have sat on it all this time. It was one of those fabrics I couldn’t bring myself to cut into… you know, inherited from Granny, plus exceptionally good quality, equals inevitable thoughts of sewing tragedy followed by eternal self-damnation…. but I’m making myself get over that nonsense nowadays. Make it! Enjoy it! Live dangerously! So, finally… it helps too that I think Cassie has now grown into fabric of this calibre 😉 not that she didn’t deserve high quality fabrics before, but you know what I mean! it’s very much a grown-up fabric and makes a very smart little work skirt for her now that she has a serious and professional career. The fabric really is beautiful stuff… fine and evenly woven, and there are flecks of all sorts of colours in with the sage green/coffee check… blue, red and gold, caramel brown, forest green, and a hint of purple and black. It has no identifier on it but it wouldn’t surprise me if it was a fully English tweed. My grandmother was very much into that sort of thing 🙂


 sie moved out of home she left this fabric behind and I almost started to factor it into my own plans mwahahahahaha… but of course she hadn’t forgotten it, o no! The reason she had deviously left it behind was so that I could make something for her with it! HA! She chose
 Details:


