My dear friend Yoshimi sent to me a beautiful birthday present last year; some really beautiful, deep indigo blue linen gauze… The colour is quite glorious, not a solid colour but mottled and variegated with plenty of depth and character; and the texture is ultra light and sheer, quite breezy and with a slight stiffness very similar to organza. It’s utterly lovely.


It’s taken me quite a while to decide what to make with this precious stuff… I would take it out and pet it, thinking of a million options. I layed out several different patterns onto it, only to pack them all up again… obviously it had to be perfect, also I really wanted to make the absolute MOST of every little bit using a pattern resulting in as little waste as possible! I finally settled upon this Burda pattern, Shirt Dress 03/2016; 112B, The pattern pieces fitted on my piece of precious fabric PERFECTLY!!
 However.. modifications happened along the way. Of course they did. My dress has the same bones, but the original is actually a very boxy design, with quite a pronounced dropped shoulder. I’m sure it’s a lovely design for the right fabric; as in, something with plenty of natural “flop” that allows those shoulder seams to drop gracefully down over your upper arm.
My fabric doesn’t want to flop in the slightest; while super-breezy it stil has quite a bit of oomph and structure. It works beautifully in the tailored details of a shirtdress, but really the shoulders did not drape in the desired manner at all… So I ended up taking quite a bit of width off from each shoulder and side, and slimming down the sides of the dress bodice too, so my final dress is more like a gentle A-line shape. I couldn’t say I “self-drafted” the armholes, that just sounds terribly pompous when it was basically just tonnes of super careful pinning and multiple tryings-on. I’m so so happy with the final result though. I think the more fitted, yet still loosely relaxed shoulders, the slimmer bodice and A-line shape is perfect for the fabric.
Other alterations: I inverted the pleat the other way in the centre back, also left off the placket to hide the buttonhole band. Fun fact; my pattern is the German version, and while I plugged the instructions into Google translate I actually couldn’t make head nor tail of them, haha!! I think I’ve made enough shirts that I managed to put it together ok though 🙂

I LOVE the sleeves which are unchanged from the pattern, they’re only very slightly gathered at the top, and blouse-y at the elbow, with deep pleats taming that blousiness into the bands. I also love the petite little collar. The collar stand is the tiniest I’ve ever made, so skinny and narrow, only about 1.5cm deep. I was slightly terrified how this would go, fortunately, the linen gauze was an absolute delight to sew and eased beautifully everywhere I asked it to. Like sheer heaven.

I found these awesomely cool yet delicate brass buttons at Fabulous Fabrics. I’ve previously used these very same buttons before, on my khaki linen “army” shirt; five and a half years ago!! I’m so glad they still are stocking these; they’re quite old-fashioned-y, a bit dinged-up and antique-y looking, so very much to my taste!
I also made a little matching belt, which is basically an interfaced waistband with just one button and two buttonholes.

With the fabric being the divine will o’ the wisp that it is, my new dress needed a slip; so I hemmed it so as to work well with my ivory crepe Ruby slip. You can see the slip when I’m wearing it, but hey; you were going to see any slip I wear with this ultra-sheer dress! so it may as well be a nice one! I really love the way the ivory underneath lightens and brightens and highlights the variegated blues and really brings them to life.
I absolutely adore my new dress; thank you so much, Yoshimi!!


Details:
Dress; Burda Shirt Dress 03-2016;112B slimmed down a bit, Japanese indigo linen gauze
Slip; pattern scissors cloth Ruby Slip, a free pattern available here; ivory crepe, details of mine here
Shoes; made by me and my own design, details here
Location, the Crawley boatshed, Crawley, Western Australia

yes; it was blowing a freaking gale, not really ideal but I had the photo opportunity so *shrug*…
Funny story; this is a very popular spot for wedding parties and also for tourists to stop and take pictures. I rocked up and there was a Chinese man taking pictures, so I waited at a little distance for him to finish… once he had I went over and put my camera on the steps. However he hung around for a bit, then came back and started gesturing to his camera and at me; at first I thought he was asking if I wanted assistance with my pictures and I assured him that I was fine, gesturing that I had my remote, etc. However, no! what he wanted was for me to be in his pictures!! eeeek! he demonstrated where he wanted me to stand and how he wanted me to pose, gazing up into the sun and beaming like a stereotypical sun-worshipping Aussie. He took quite a lot of pictures, so if you ever see me popping up in some Chinese guy’s holiday photos, that’s why!!!


 Self-explanatory, really. #endblogpost 😉
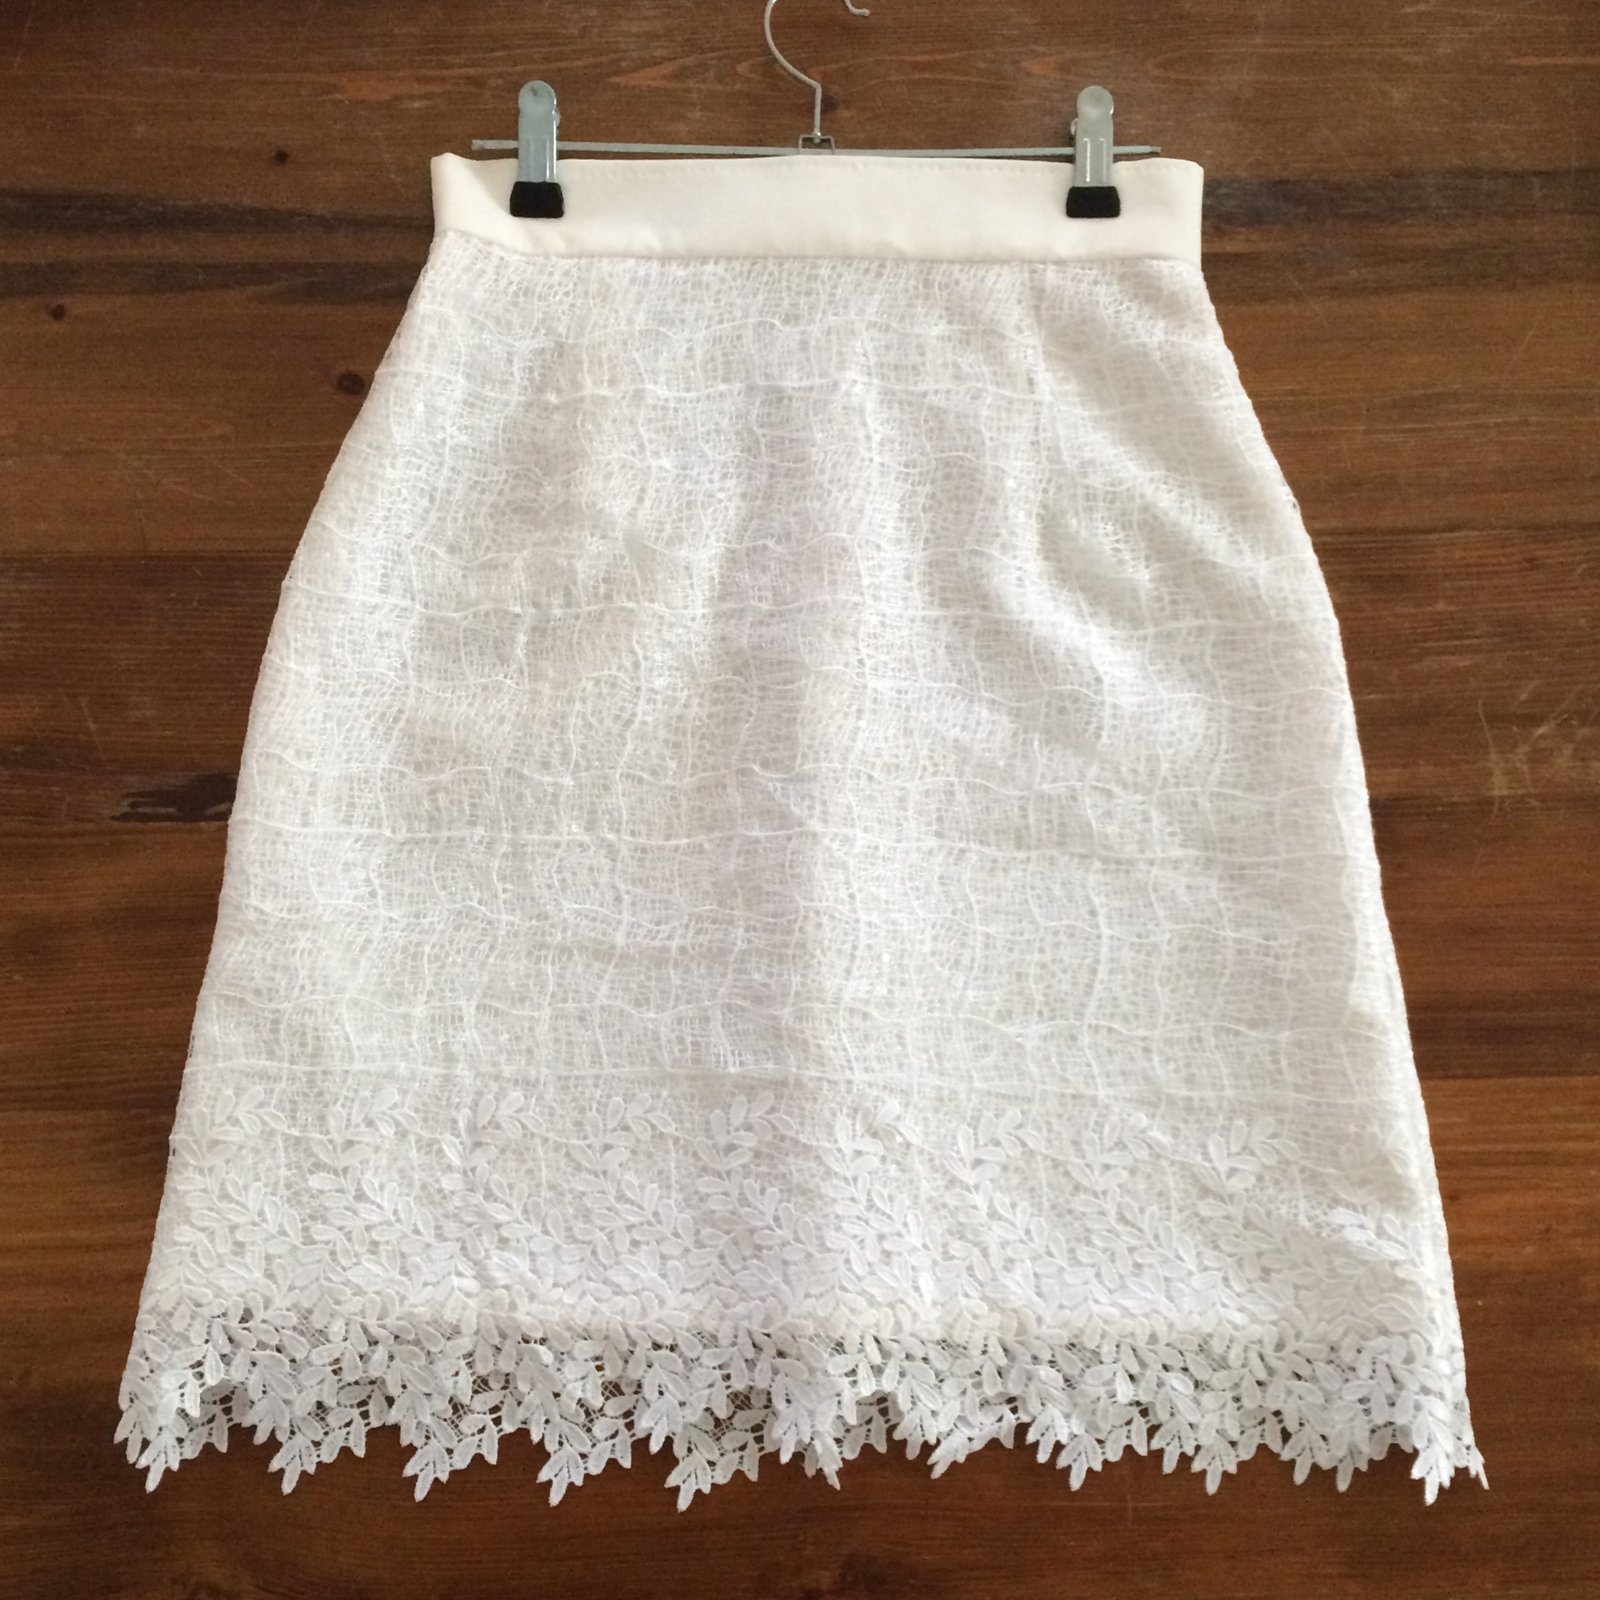
 Pattern; Vogue 1384. It’s a vintage pattern, hailing from 1984, sorry. Yeah, it’s annoying when people make things in vintage patterns that you can’t get a hold of anymore. But I’m sure this is not particularly aspirational actually, it’s a little weird in that 80’s way. That high, slightly floppy collar combined with a billowing pirate-y blousiness is giving me serious




 7
7 Funny story; I made this nearly two months ago… and risked


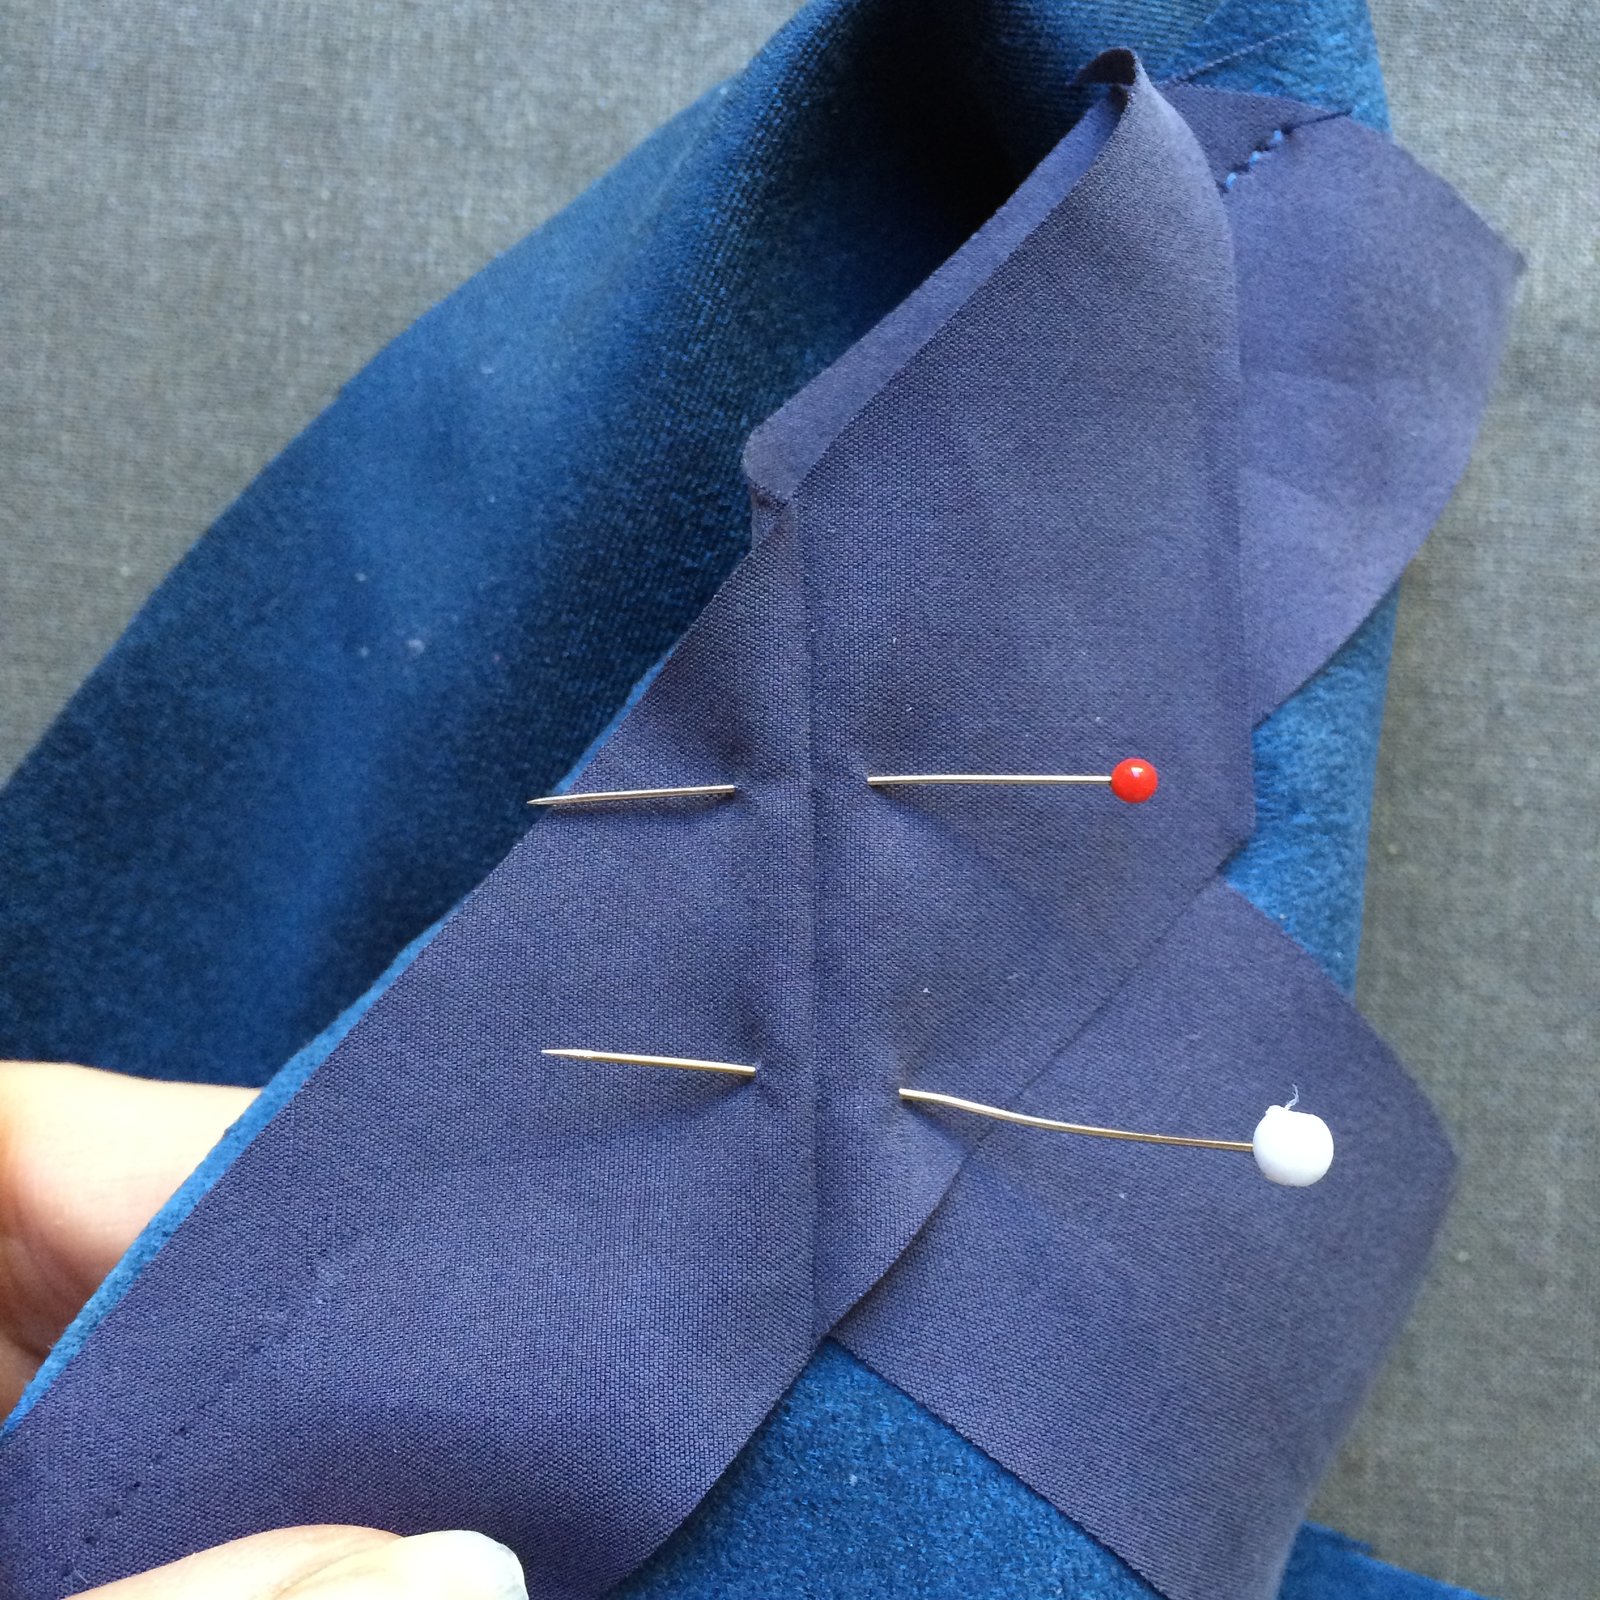
 Oh! I almost forgot! not a Christmas present, but a few months ago I also made a Named pattern Inari tee dress for her. This isn’t for work obviously, it’s just a casual, slop-around-at-home thing… the fabric was leftover from a hoodie that she made for herself previously, and she bought it in Tokyo during one of our holidays there. I added a kangaroo pocket at the front because, well you know; pockets! and finished the neckline and opening edges of the pocket with a bias binding; left off the slits and finished the bottom gently curving longer at the back than at the front, mimicking the high-low hem of the original pattern.


 o get SO far behind… it’s time to get back on the wagon. I’ve been super busy busy BUSY, sewing up Christmas and birthday presents; including this bunch o’ stuff.
 Tim’s; made first. All grey/black/white, very masculine which at first I thought perfect for a professional young man. I actually made a matching grey/white dilly bag for him to start with, then suddenly felt all that extremely tasteful grey-and-white was all a bit plain-y plain blah blah blah, and decided it desperately needed an injection of FUN somewhere… we’ve been in sore need of fun around here lately… and Tim is naturally a pretty fun-loving kinda of a guy. When I saw this black/white Darth Vader/stormtrooper fabric in Spotlight, well it all just fell into place. I had bought some Star Wars Lego key rings for gifts when we were in Copenhagen last year; and had some leftover, and thought C3PO made a good zip pull for Tim’s bag.


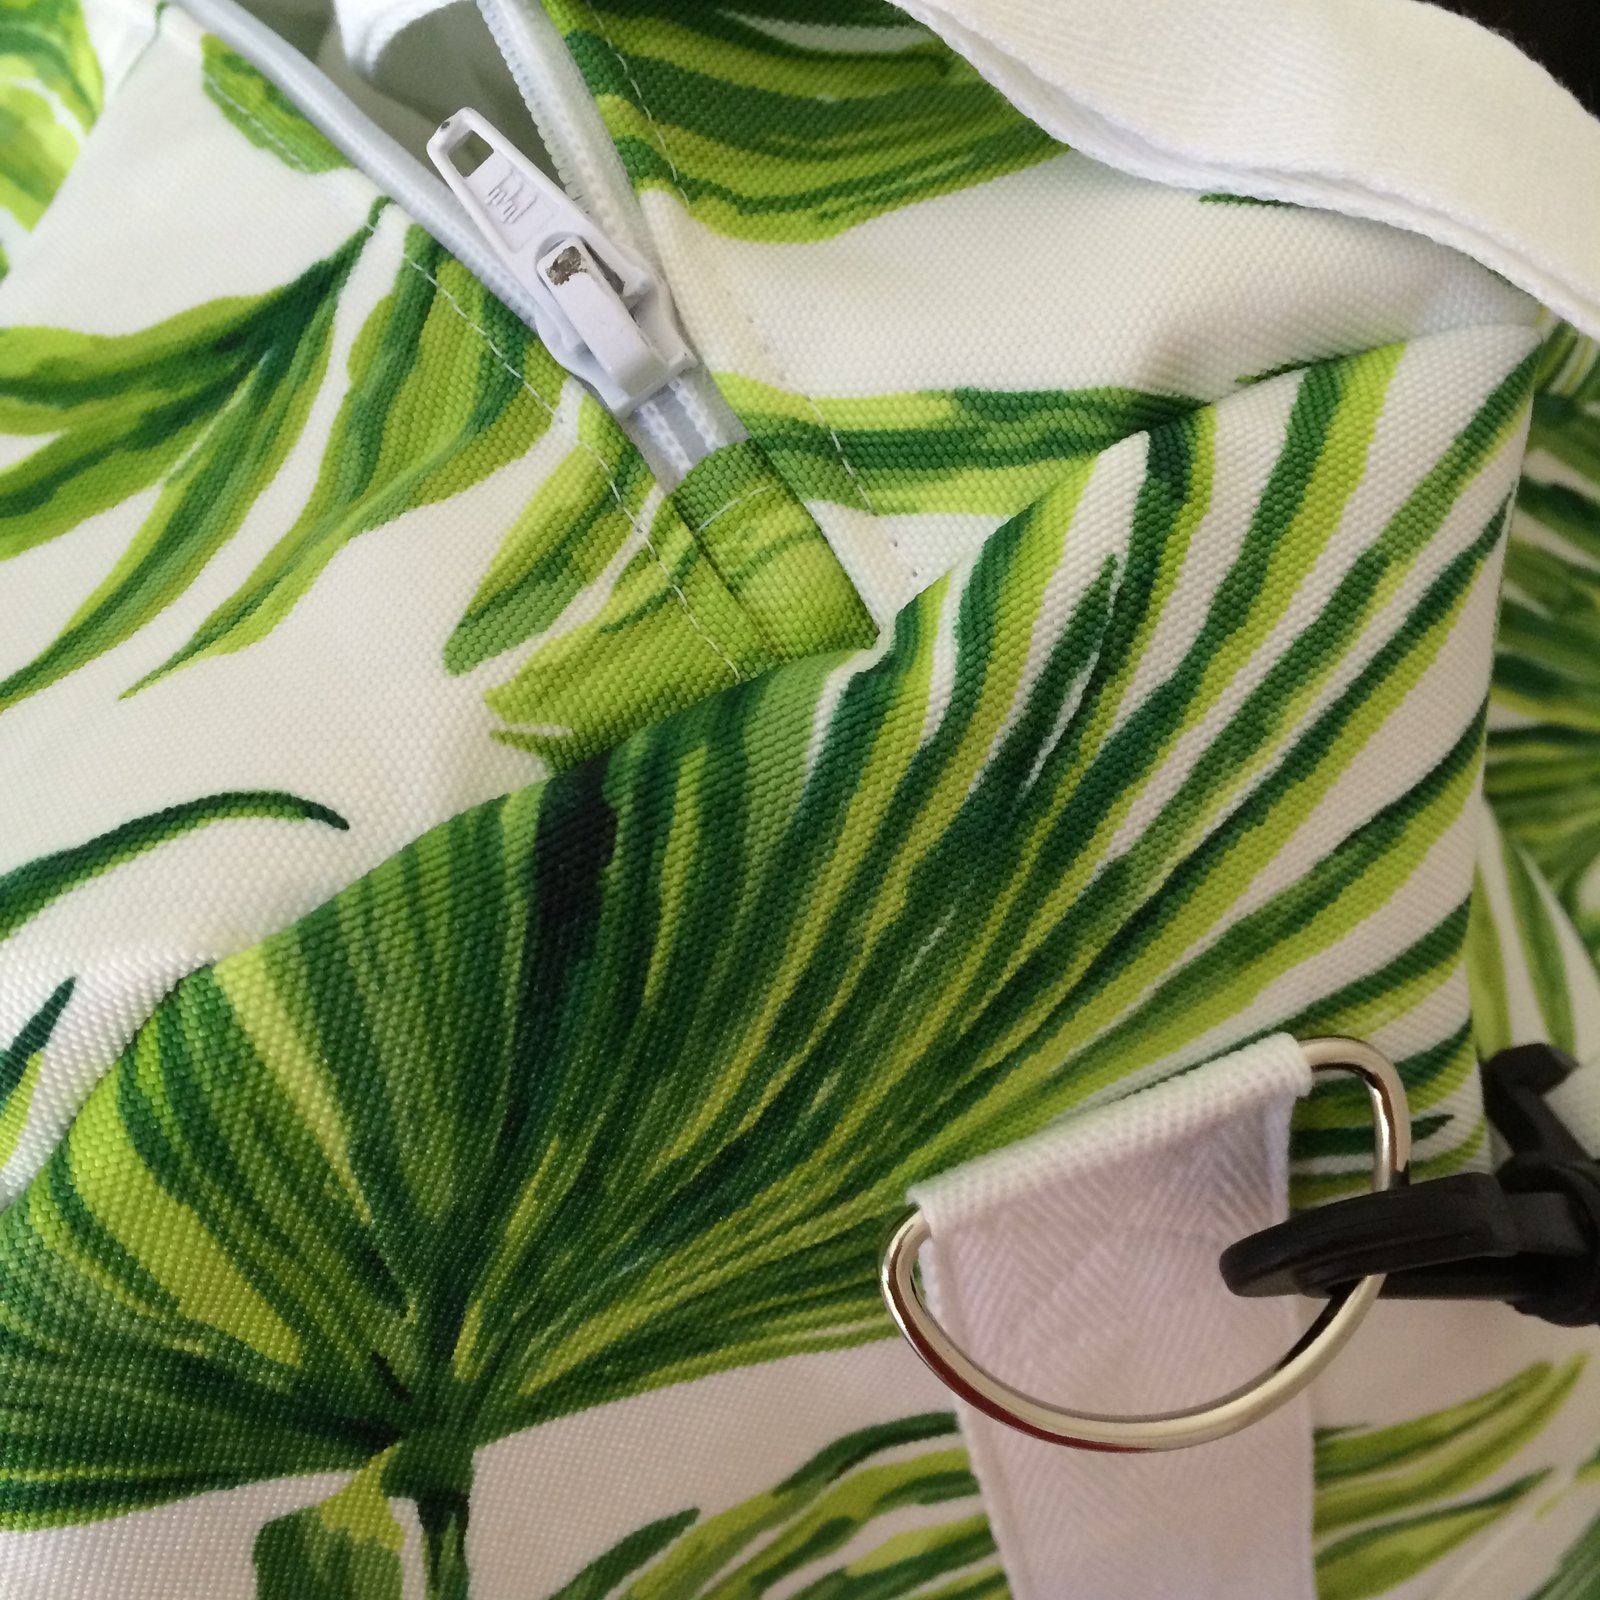
 Finally, I made a second palm frond dilly bag, for another friend, M. She’s been so kind and sweet and generous to me all year, and I just wanted to make something for her. The only thing I’m super ashamed of is that I ran out of time and only just finished this one on Boxing Day, so it was a little late. Eeeeeeek!




 … I’ve only just noticed this; that under “gather your supplies” the list includes “sewing machine” ;D