hello! I’ve made a whole new outfit recently… it’s not so often that I can present a new, head-to-toe handmade outfit like this!

I bought this Minä Perhonen hessian on a previous trip to Tokyo, and after a suitable period of stash marination picked out Burda dress pattern, Burda 07/2018; 118. One I’ve used before, a true goodie based on its very tiny fabric requirements. btw, did you know that this very Finnish name actually belongs to a Japanese label? I didn’t; but I’d done some investigations prior to our trip and discovered this surprising fact. Of course then I had to visit the eponymous store and spent an agonising 30-60 minutes trying to choose just one of the beautiful fabrics. Difficult, indeed.
 I settled on this cotton hessian with a multi coloured print of overlapping ovals. I loved this combination of colours; violet, duck-egg blue, teal blue, navy blue, lemon yellow and apricot. I thought it fitted in very nicely with my personal colour palette of true- to deep autumn.

Because of the wide weave and slightly rough texture I opted to line it, the first time I have done so for this pattern although the design is supposed to be lined. And now I have done so I can reliably report that the lining instructions are pretty sparse, bordering on unhelpful. They start out with one or two seams and then suddenly say something like “add lining”… ok maybe I’m exaggerating, but not by much! I ended up stitching the bulk of it in by hand. Of course this results in a very neat and tidy finish. I cut it it purposely to be a little generous, so I’m not concerned that those hand stitches are going to come under strain.


I cut the facings from a greige medium-weight linen from the stash. I used a different griege lightweight cotton from stash to bind the hem raw edge before stitching it by hand. The pale pink lining fabric was also in the stash, so my only required purchase was a new, “natural” 60cm invisible zip. I’m loving shopping the stash as much as I can! Gradually chipping away at it, honestly when I do get down to zero I’m going to throw a party!

I made a size larger than my usual for some reason. Not sure why I did this now because it’s a tad too boxy. Also, while the print is absolutely gorgeous, the hand of the fabric is both quite heavy and drape-y, a combination that I don’t really love all that much. Definitely not going to stop me from wearing it though!

Here I am wearing it for its maiden voyage, during me-made May.

Aaaand, I made a new pair of shoes! and fortuitously they go beautifully with my new dress. This style of shoe should look pretty familiar to anyone who regularly reads my blog, since I once again used a kit from leather needle thread. This particular woven, three-colour style is a new one though. I had lots of fun making these, as usual!


I have a kinda embarrassing confession though… it was in making these ones that I finally realised that I’d mistakenly been putting in the buckle upside down for some of my previous clogs, whoopsies. They are the correctly way up here, and for my most recent black ones too. My mustard clogs and teal clogs were upside down… fortunately it was actually pretty easy to unpick the pieces and reinsert the buckle in the right way around. I’m such a dolt, because I’d always felt they looked a little funny… well it all makes perfect sense now and the clogs look so much better!
at left, incorrect… at right, correct!


 hello! I’ve made some new things recently… firstly, some new winter pyjamas. 🙂


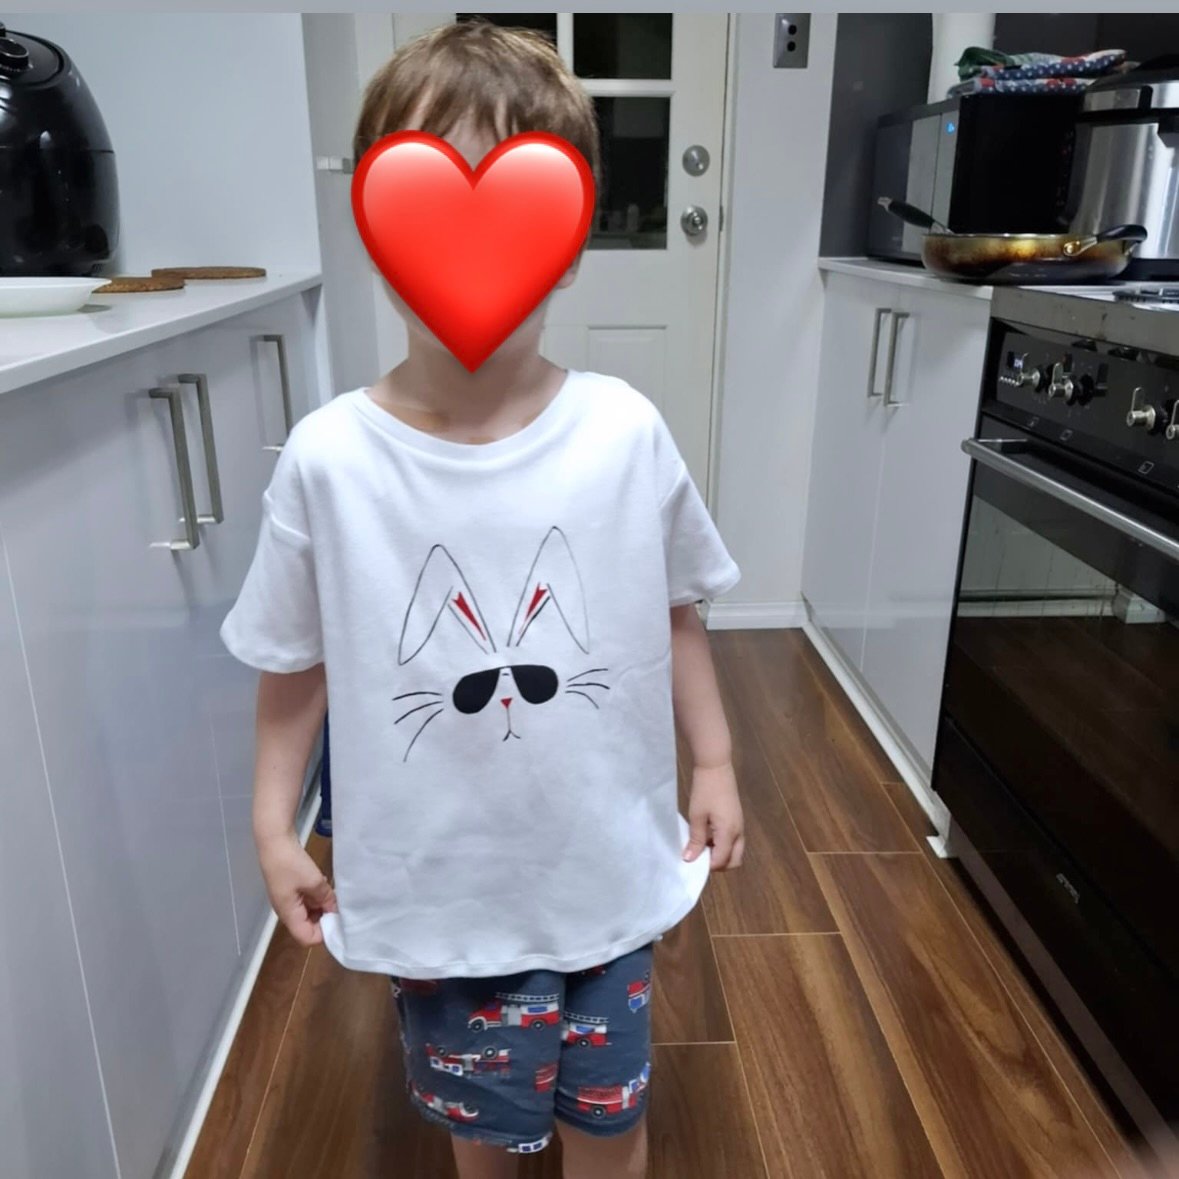
 Hello! For the Easter just gone by I wanted to give something to my three little grandsons… chocolate has been ruled out by the parents and so I had to think of something else. I decided upon this! As a teen, my eldest Tim used to have a pink T-shirt with a “cool bunny” printed on it which he absolutely loved. It was actually a very different print from this one, but with this in mind I googled “cool bunny” and something like this was one of the millions that came up. I thought it was really cute!
 I hand-drew the design on tracing paper in lead pencil, then transferred the designs to equally sized pieces of wrapping paper.


 First print done!
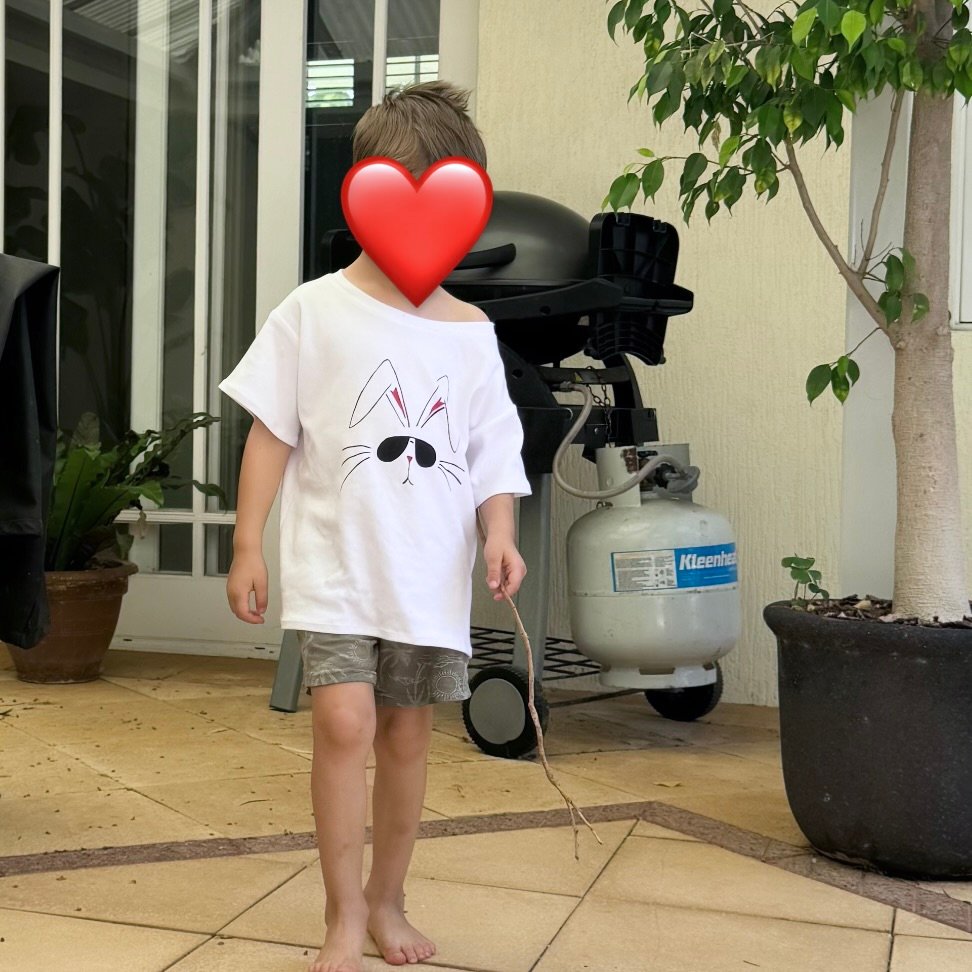
 Second print!


 and this one did not. If you can’t see it straight away, just look at the red, inside-the-ears bit, and you can see how skewiff it is compared the the others. I’ve still got this fabric, and may use it for something else in the future.
 Heat set the prints, and then I sewed up the T-shirts.